Make Glitter Stickers
Hello Graphics Fairy friends! I’m Diana from Dreams Factory and I’m happy to be here again to share another DIY project with you! Today I will show you how to make these absolutely gorgeous Glitter Bee Stickers using only a handful of supplies! We will be actually raiding our beauty stash to make these, I will show you how to create a super cool faux resin effect! We will be using holographic chunky glitter and a totally unexpected item that will help us achieve this amazing 3D effect on the wings. As a final step, we will add some small holographic rhinestones to create the eyes of the bees and make them even more charming and lovable!
This is not my first time playing with non-crafty supplies in the DIY department, I’m always keeping an eye open for new things I can use. The truth is I love creating little experiments with unexpected supplies because I can add my own twist to things and create something truly unique. So for today, the ‘secret’ ingredient that we will be using is … drumroll please … gel nail polish! This is different than regular nail polish because you need a UV LED lamp to cure the gel and the final effect will be something similar to resin. Of course, if you have UV resin, you can use that instead. But if you don’t have any of these, you can try mixing the glitter with regular nail polish – buy a few inexpensive bottles and add the glitter to the bottle. Or just some regular craft glue that dries clear. You might not be able to create that 3D-raised effect with these last two, but I’m sure the final bees will still look amazing.
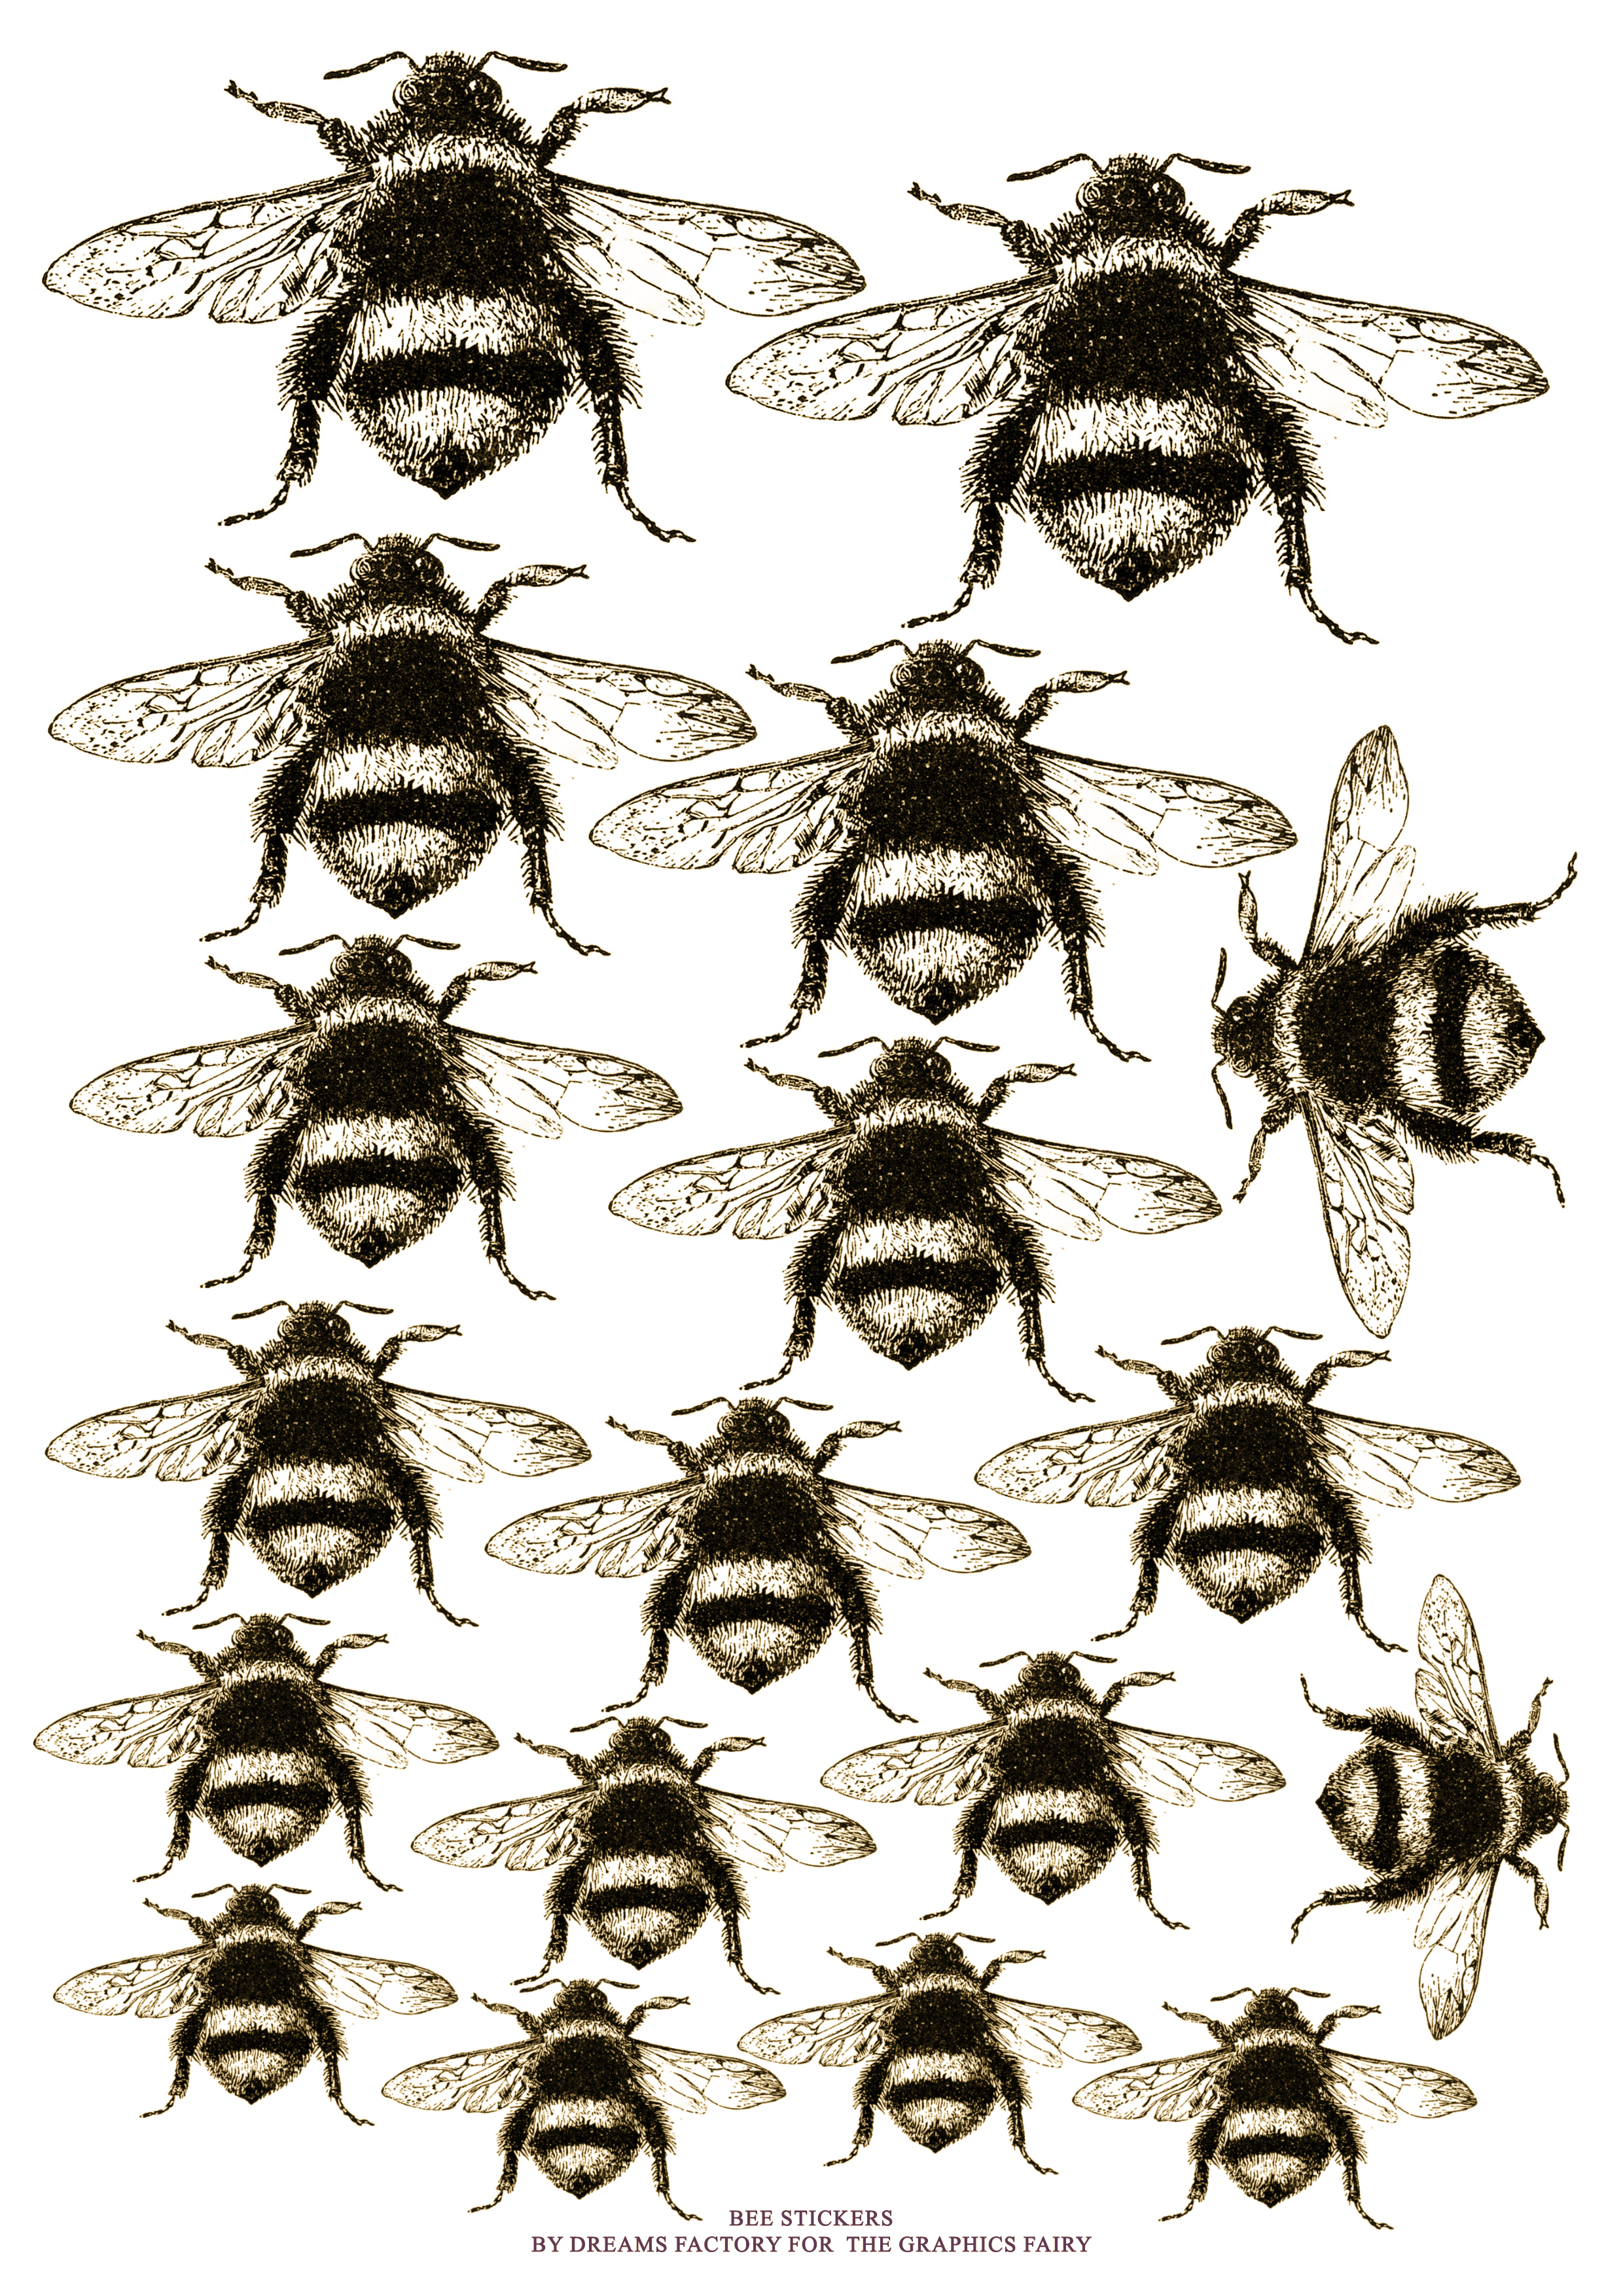
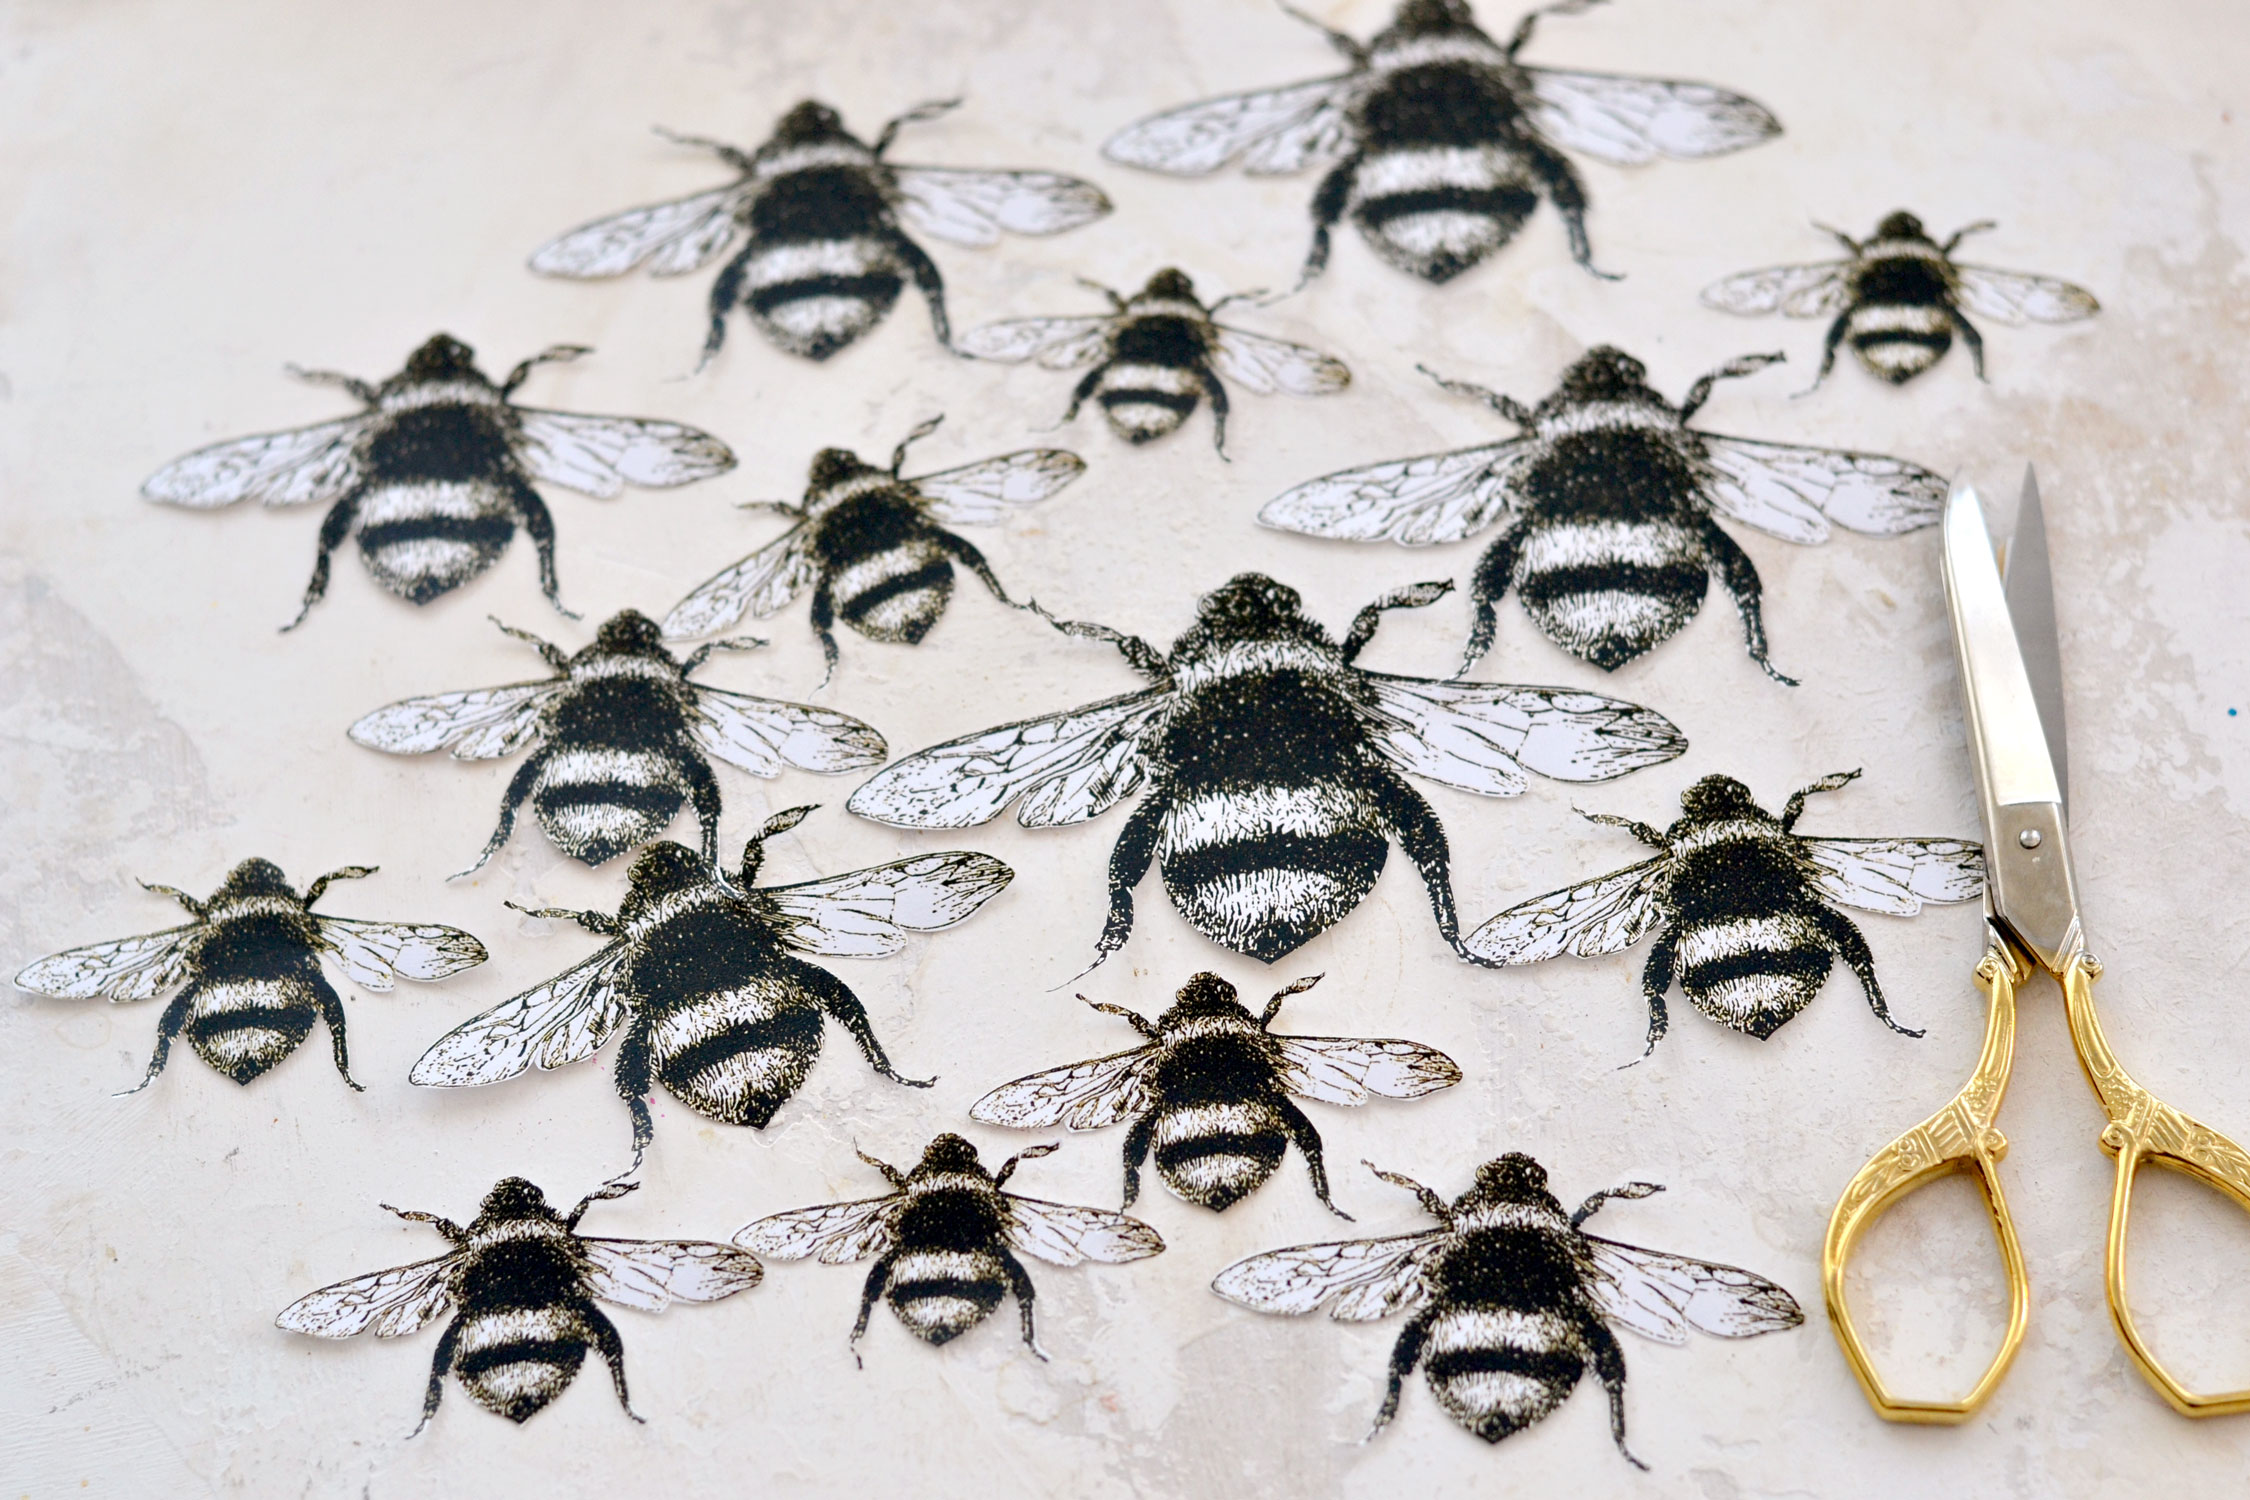
Here is the free printable that I created for this project, you will find different-sized bees that you can use on all sorts of creative projects. Just save the free printable on your computer and print it as many times as you want to create as many stickers as you want! I would suggest making more, it will be great to have them around for when in need.
I used a laserjet printer for this project, I’m pretty sure an inkjet printer won’t work when adding the gel nail polish on top afterward. Although you could try adding a sealer first and experimenting. Here’s a quick post about sealing inkjet prints.
Free Printable:
—-> Click HERE to Download the Full Size Printable PDF <—-
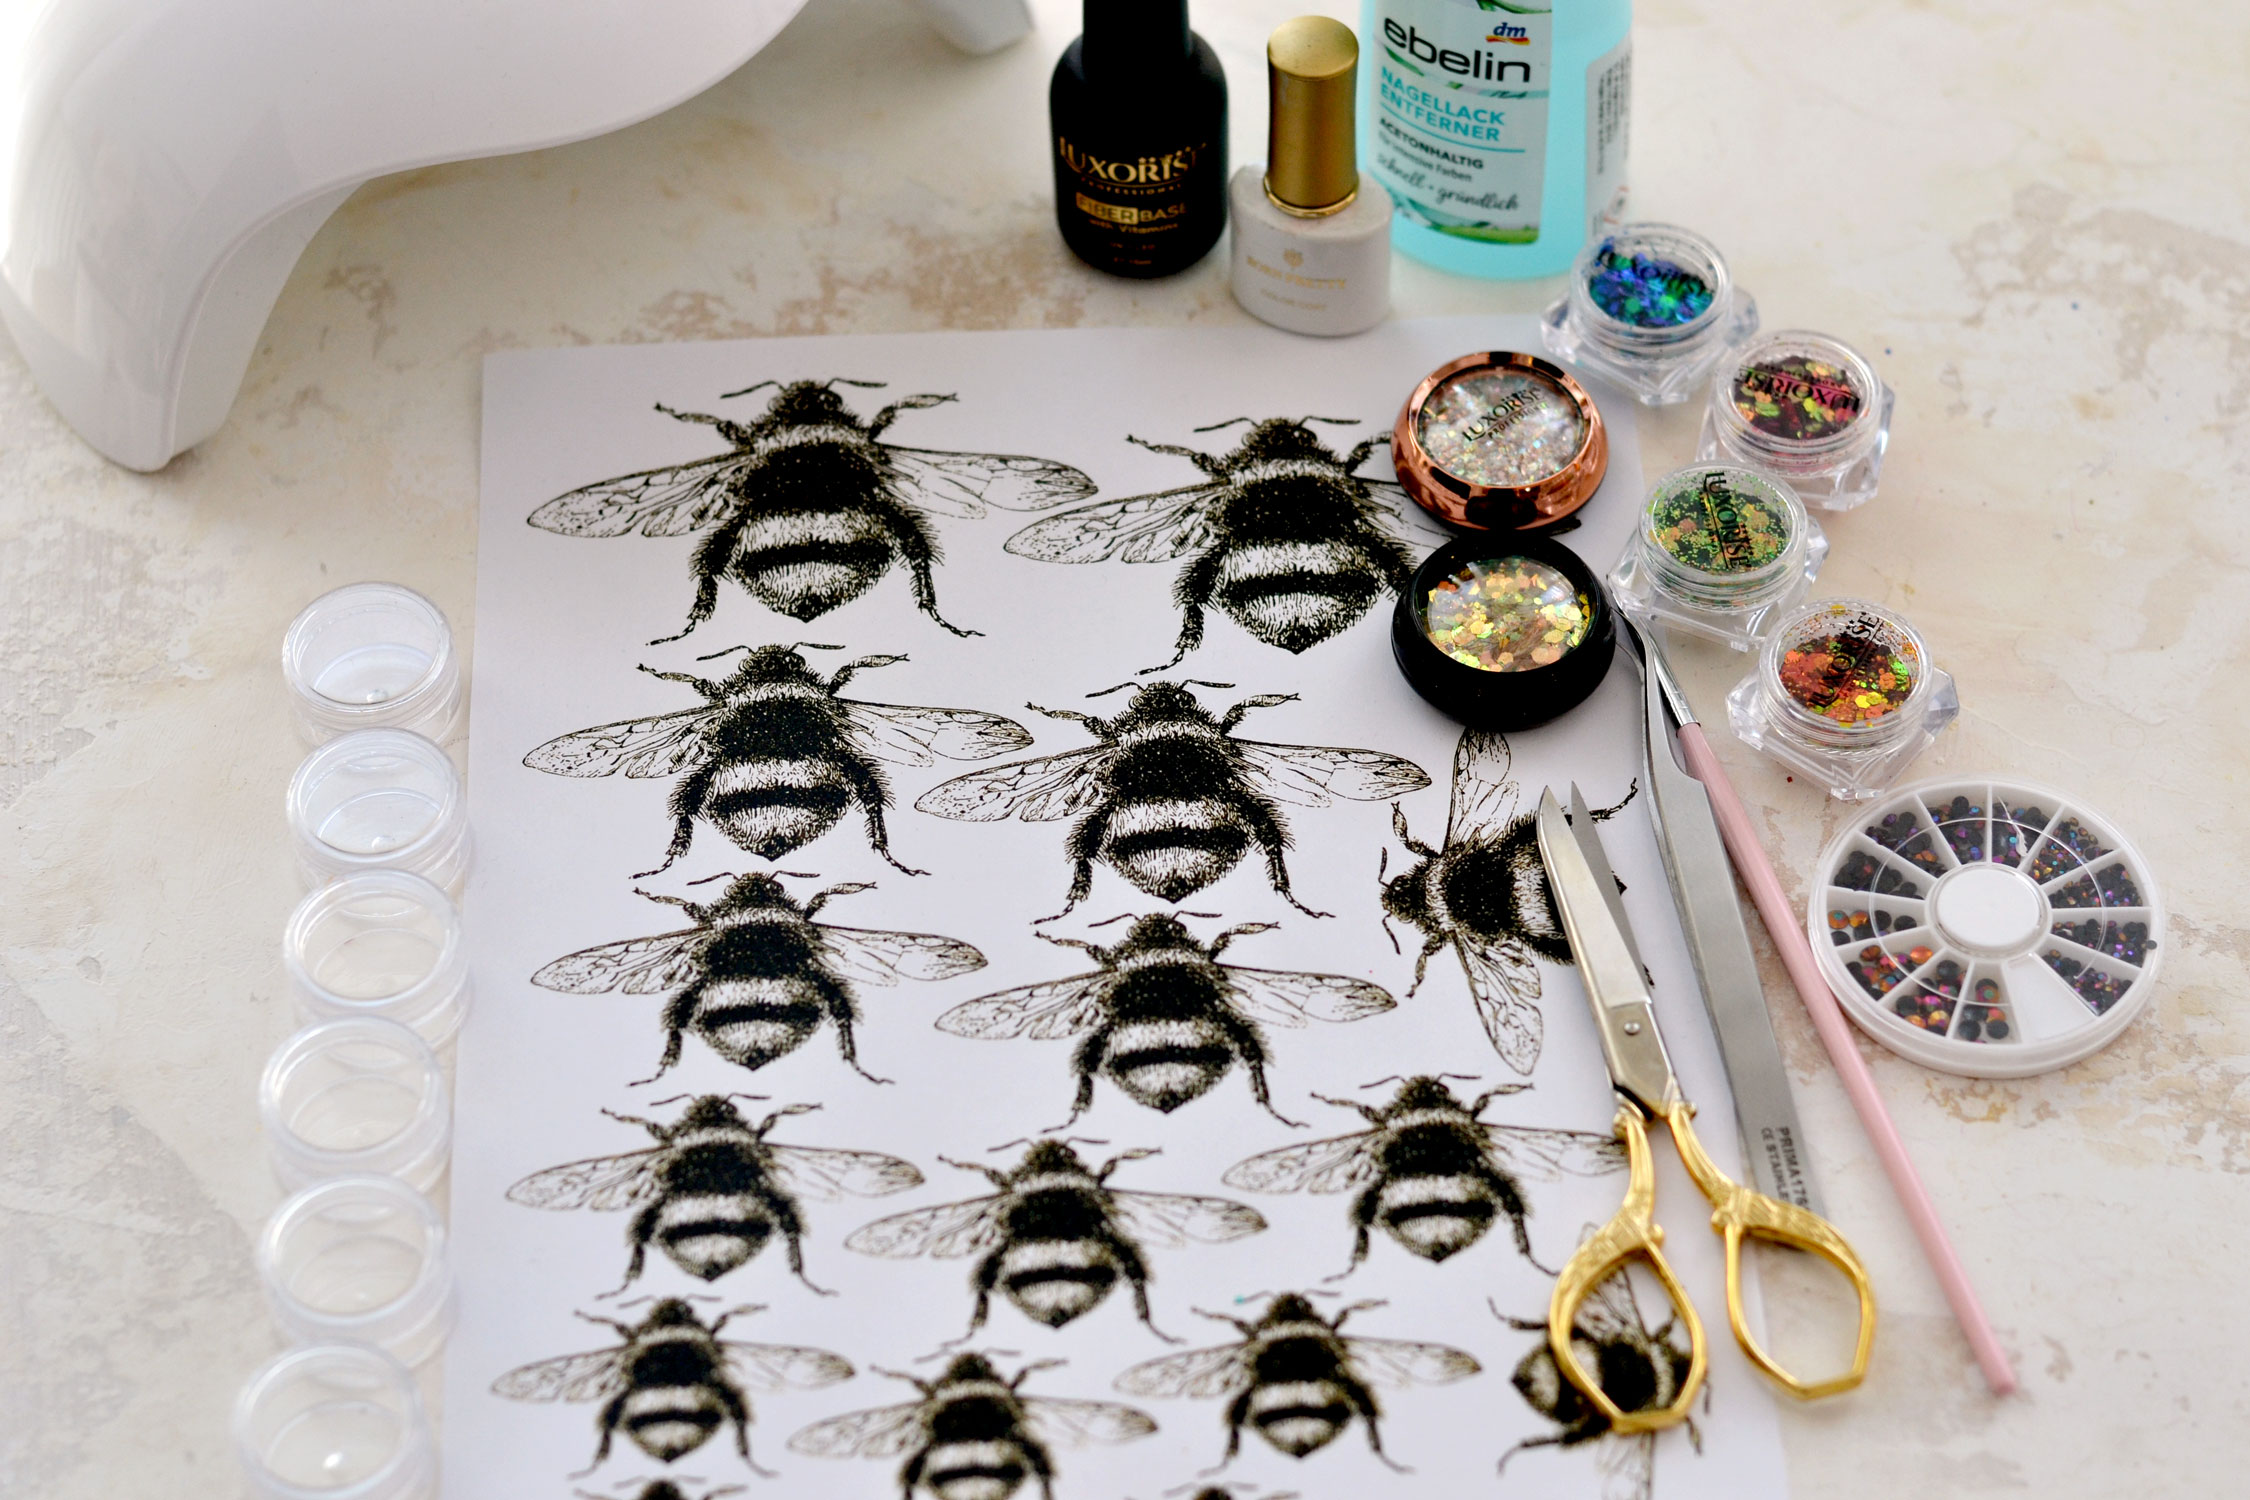
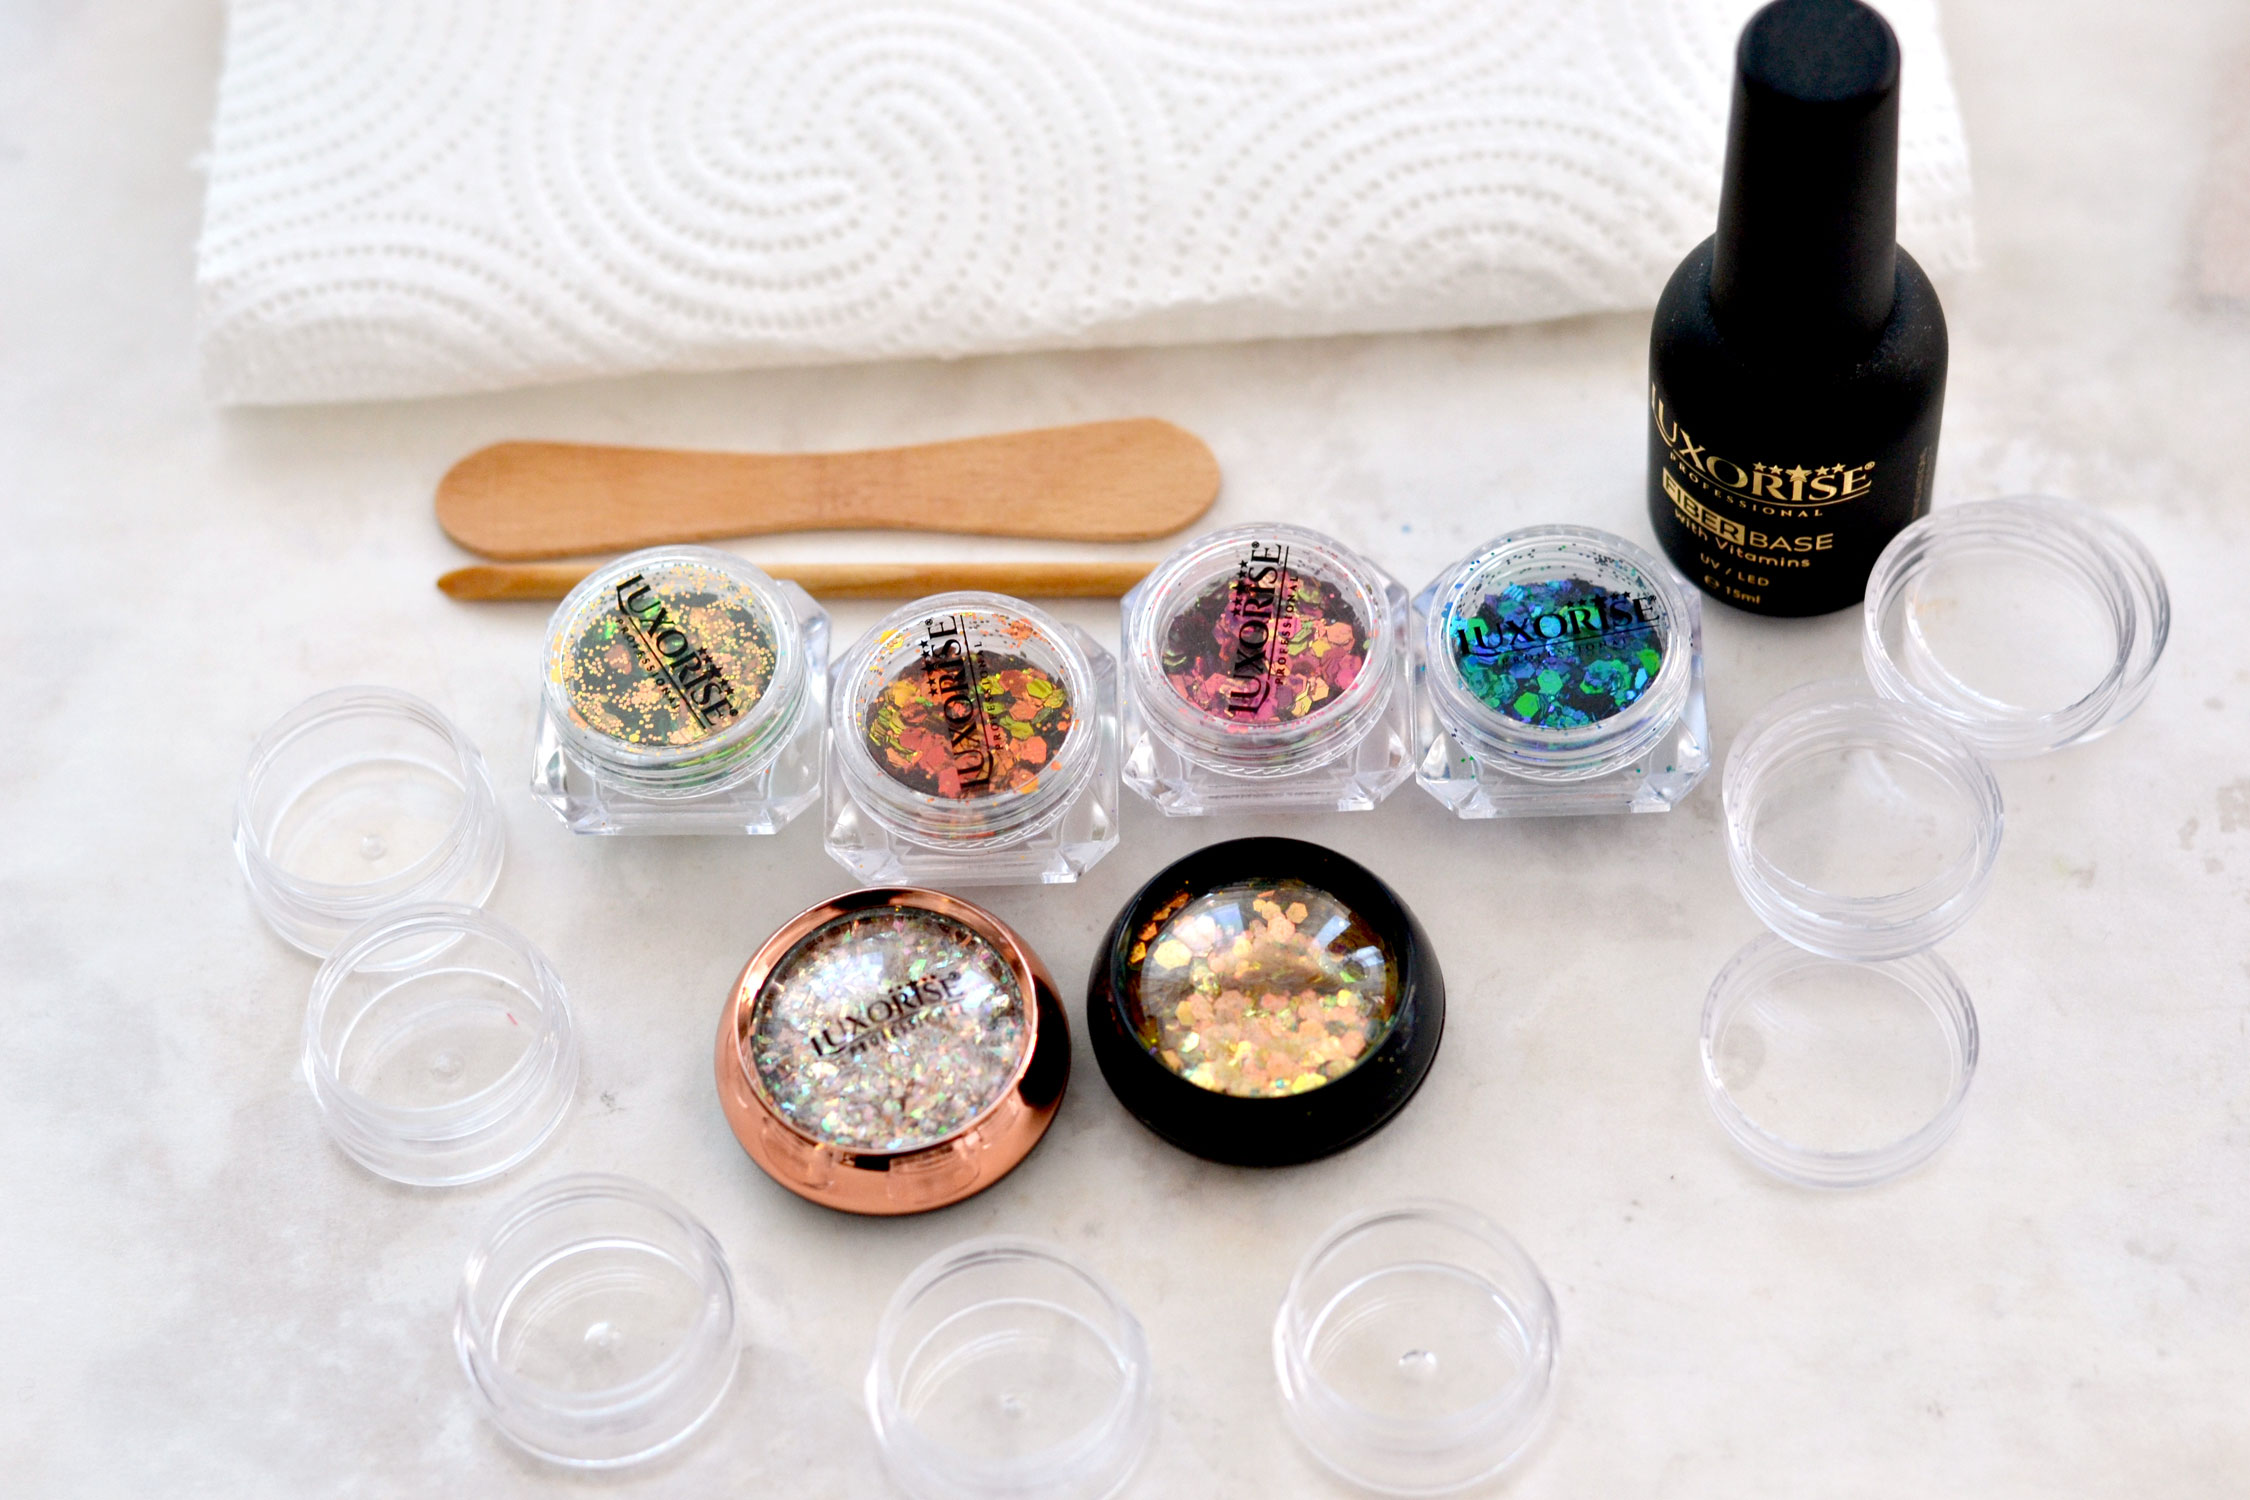
Supplies for Glitter Stickers:
- clear gel nail polish or top coat gel nail polish (ideally the no wipe-off type)
- holographic chunky glitter
- UV LED lamp
- small containers (for mixing)
- white cardstock paper, regular printing paper or sticker paper
- home printer
- scissors
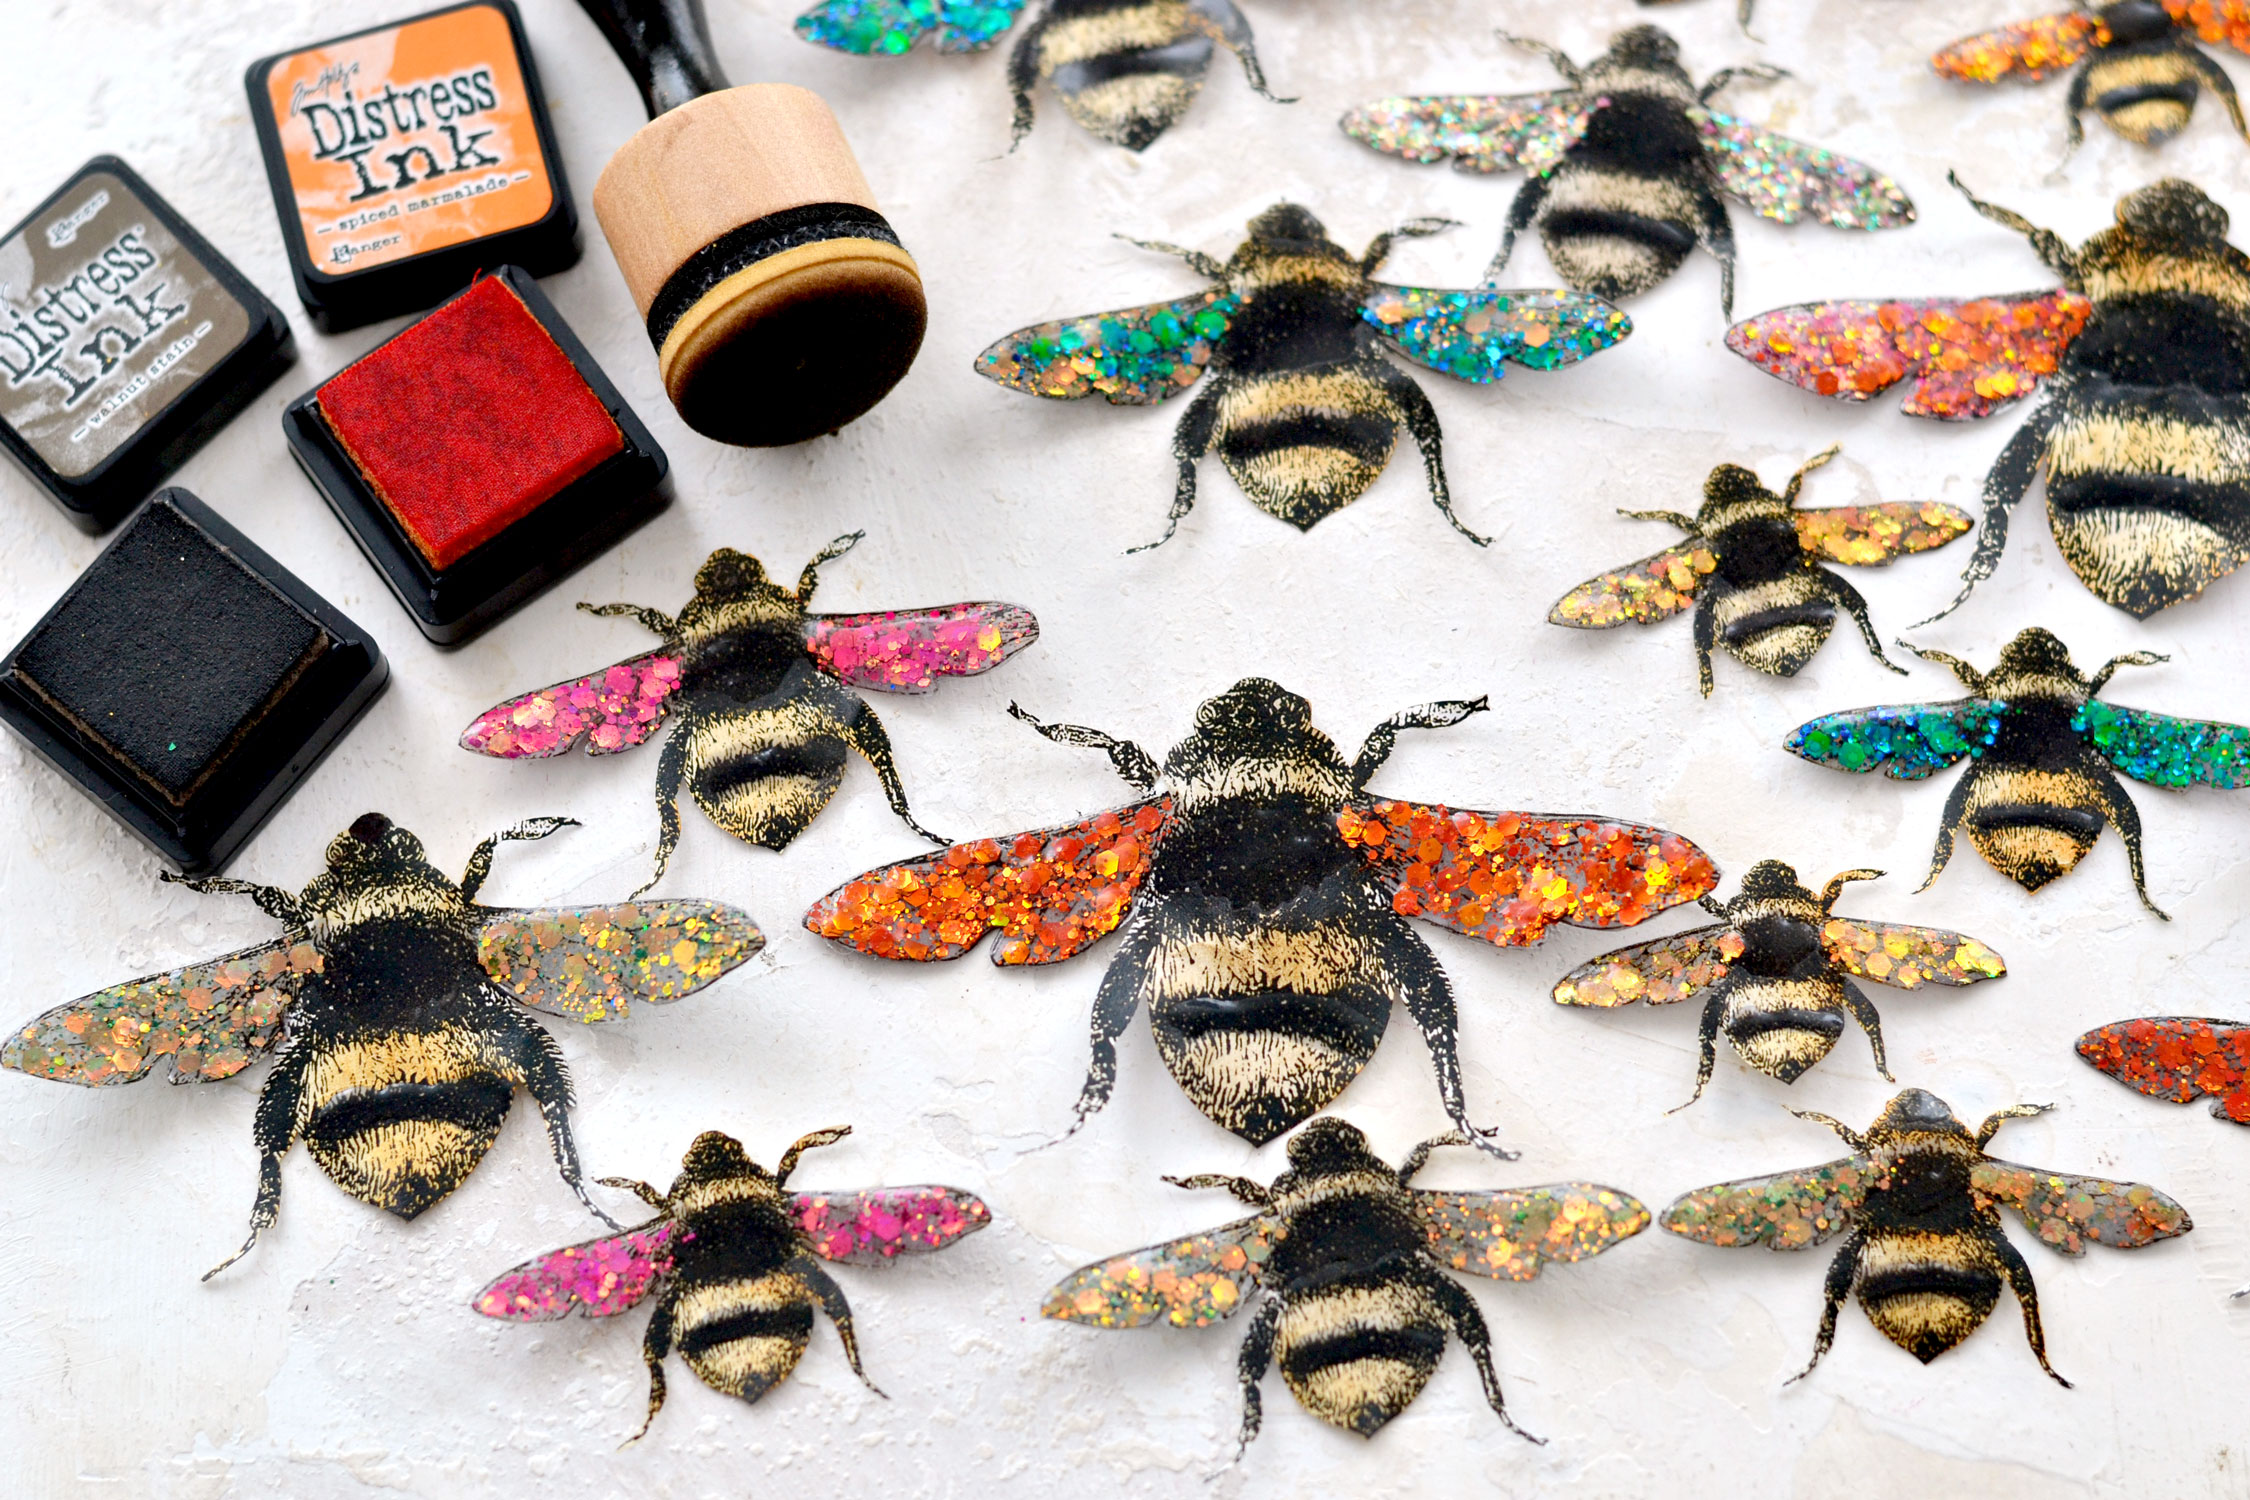
- mini distress inks
- blending tool with foams
- wooden spatula (for picking up the glitter)
- toothpicks (for mixing)
- small brush
- craft glue
- small rhinestones (to create the eyes)
- parchment paper or a non-absorbent surface to protect your working space
- nail polish remover (to clean your brush afterward)
- paper towels
Step by Step Tutorial:
Start by printing the free printable with the lovely bees. You can use sticker paper if you want, but if you don’t have any around you can use regular paper or cardstock. If you don’t use sticker paper, you will need to use some craft glue or some double-sided tape afterward to adhere the bees to your projects. I couldn’t find my sticker paper anywhere so I just used regular paper, I thought it would be easier to cut than cardstock paper would be.
Use your scissors to cut each of our lovely bees. Take your time while doing this to make sure you get a beautifully cut rounded shape, without any sharp points. You’ll need to be careful around the legs because they are quite fragile. You will also need to be careful around the antennas, as you can see I actually cut them off because I thought it would be hard to cut and keep them as they are throughout this whole process. Use a rounded cut on the head of the bee to make the eyes more visible.
P.S. If you have a cutting machine, now would be the perfect time to put it to good use!
Use something on your table to protect your working space – a recycled plastic sheet or a silicon mat work great. I like using white parchement (baking) paper because it is quite inexpensive and I can easily throw it out afterward. For extra safety, you can use multiple sheets, we all know glitter usually has a mind of its own when you least expect it (wink-wink).
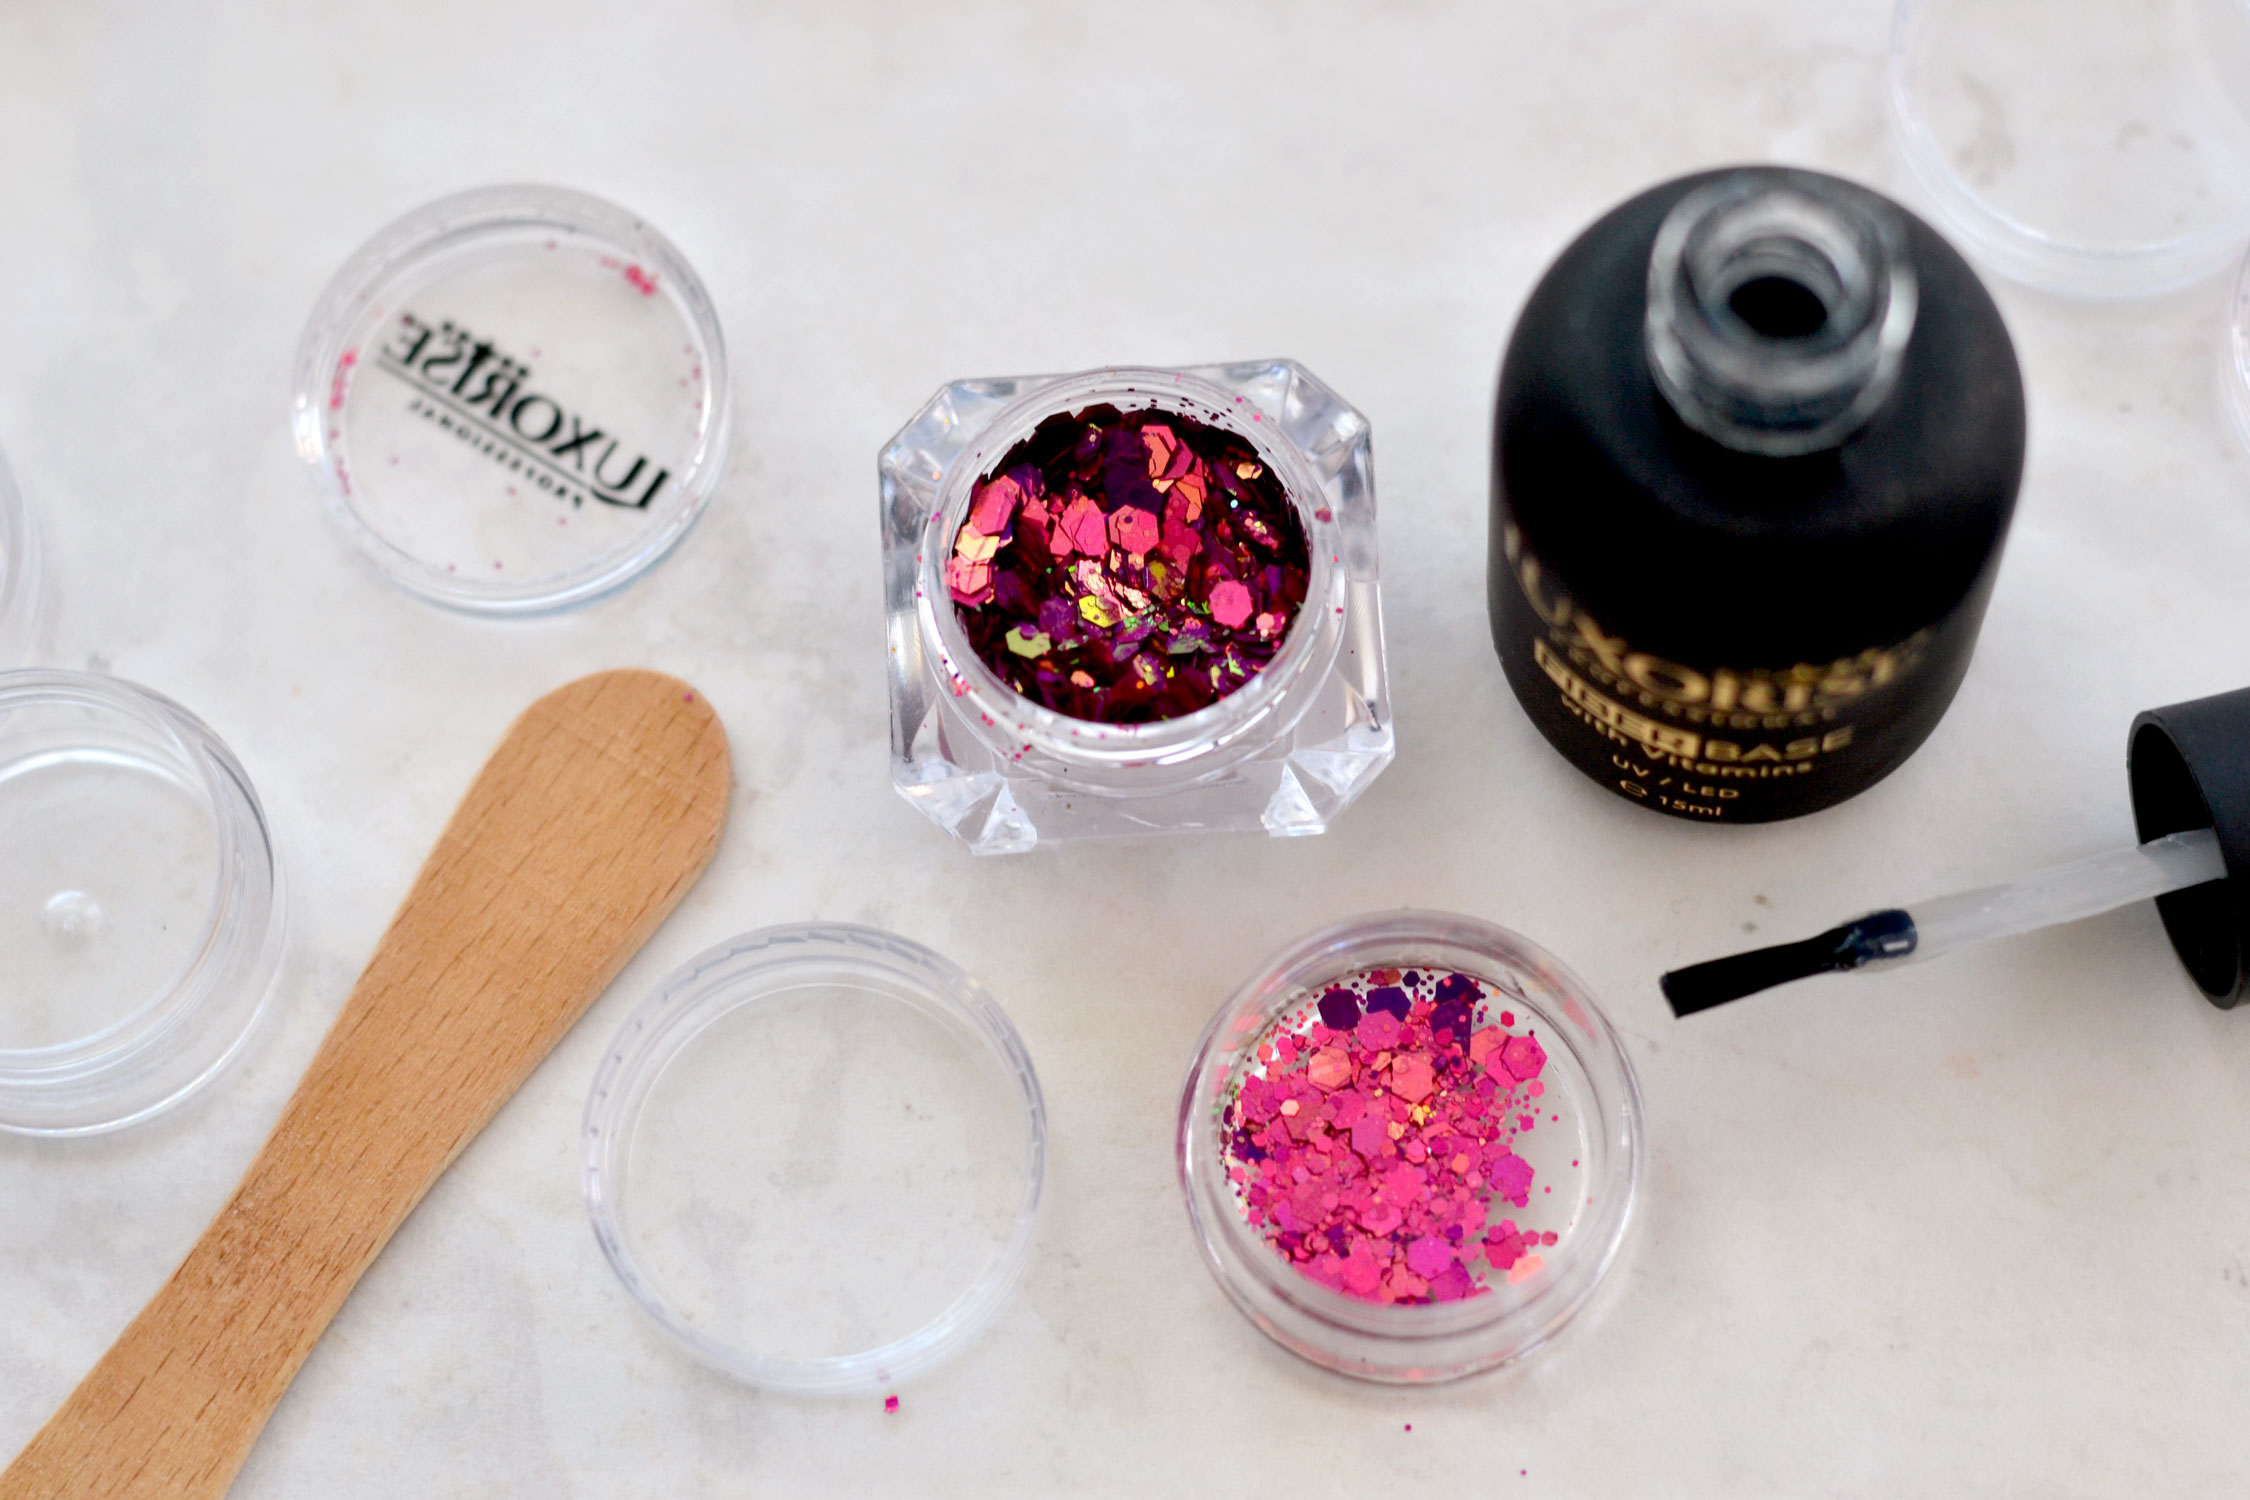
Prepare small containers for mixing. If you have containers with lids, you can make more of this mixture and keep the leftover for future use. If you don’t have containers with a lid you can use a small piece of plastic and just mix everything there.
Good to know: Gel nail polish doesn’t harden on its own when in contact with air, you will need to use the lamp to cure it in order to harden it.
You will also need a small spatula or a disposable spoon (I used a recycled ice cream spatula), orange wood sticks or toothpicks (for mixing) and some paper towels.
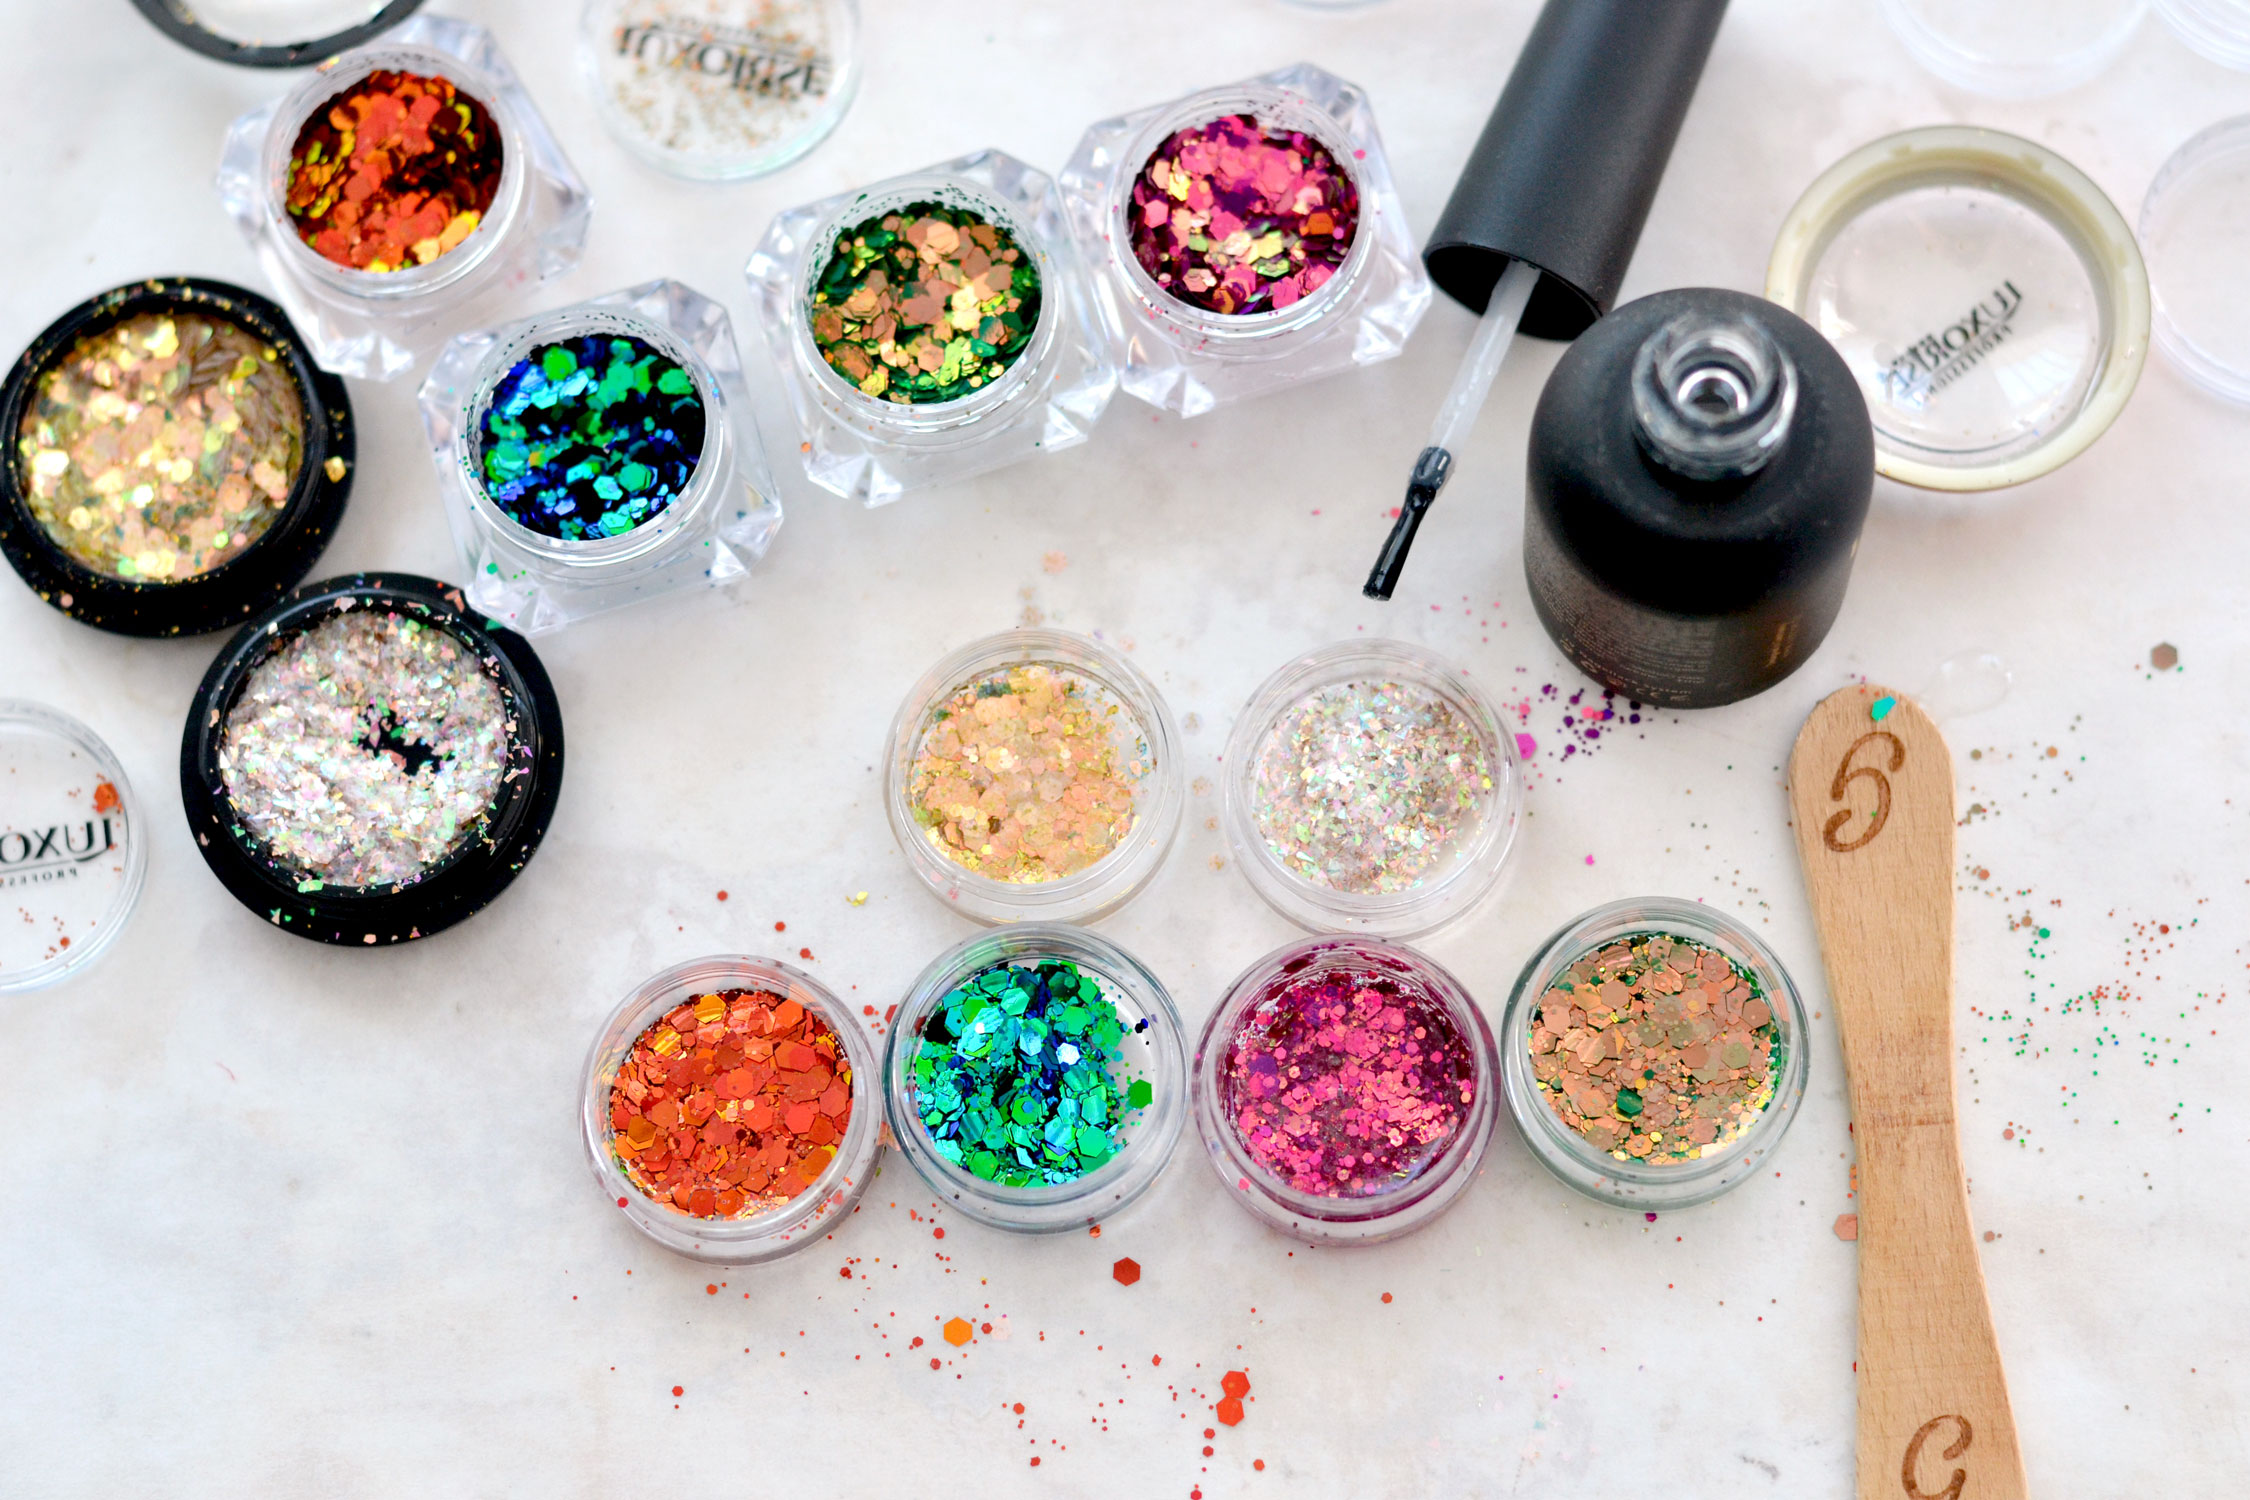
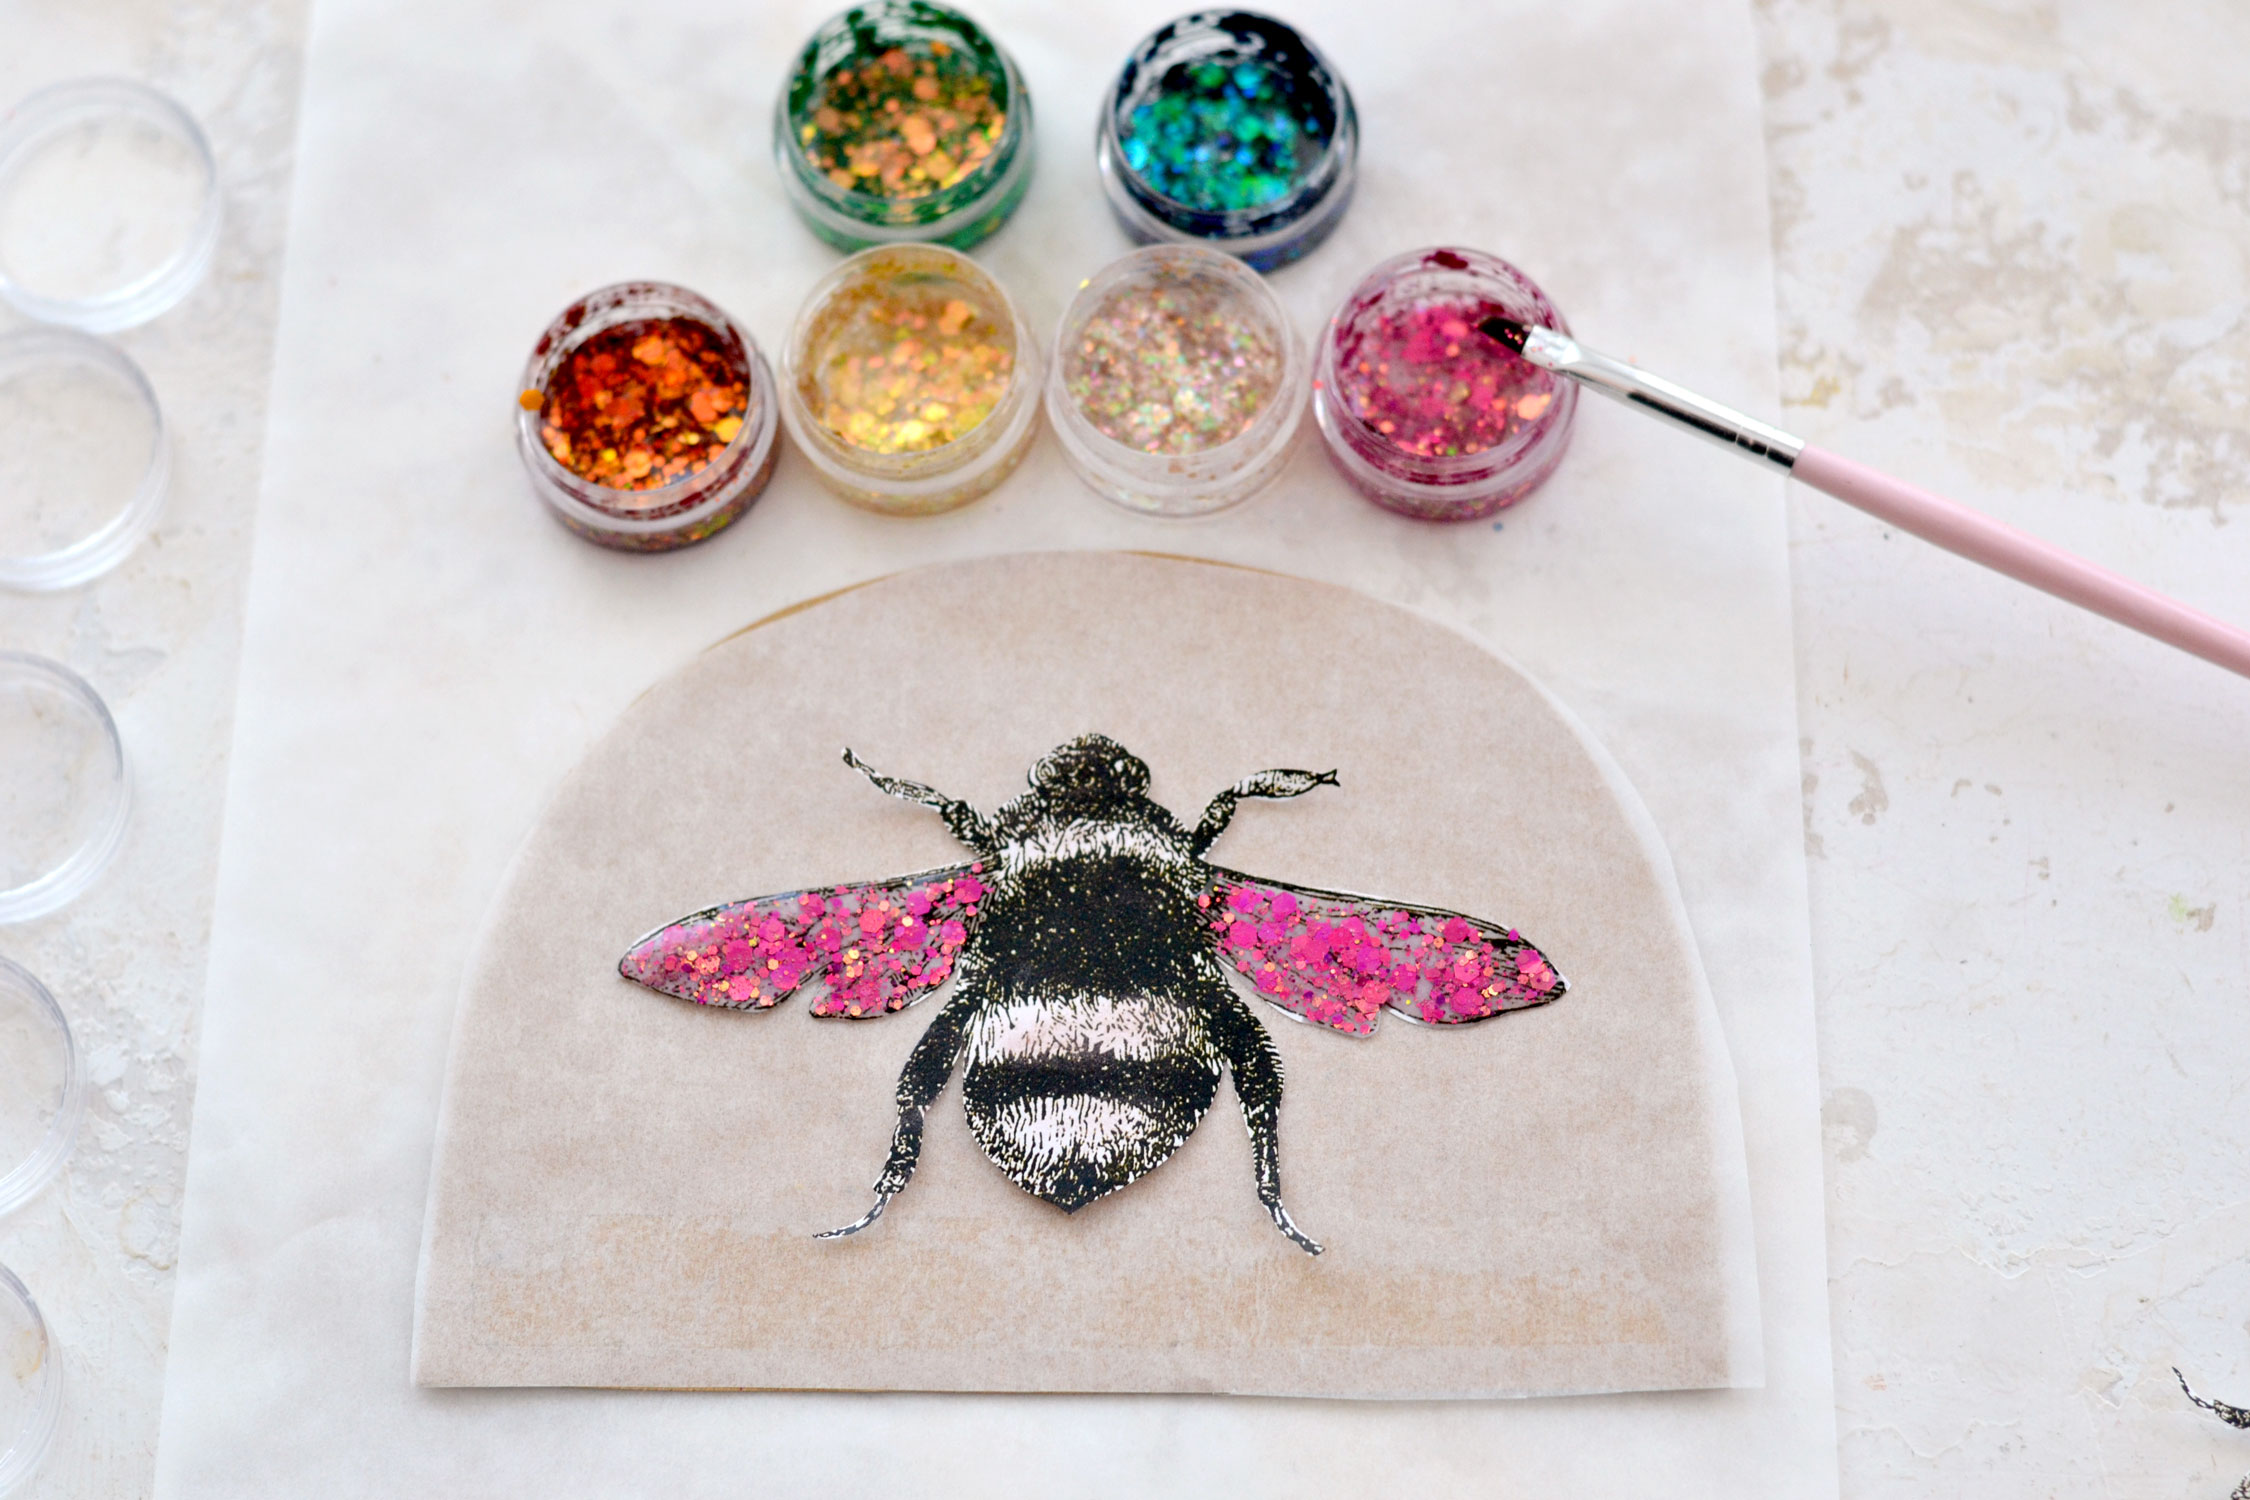
Start by pouring clear gel nail polish into your small mixing container first, then use your spatula to add some of this gorgeous glitter on top. I added two scoops of glitter and I used a toothpick to mix them well. I would say that the proportions depend on the type of supplies you are using, but also on your preferences, so make a few tests before. My mixture had a gluey, close-to-pourable consistency, if you feel like you maybe added too much glitter, you can just add some more clear gel nail polish and mix everything again.
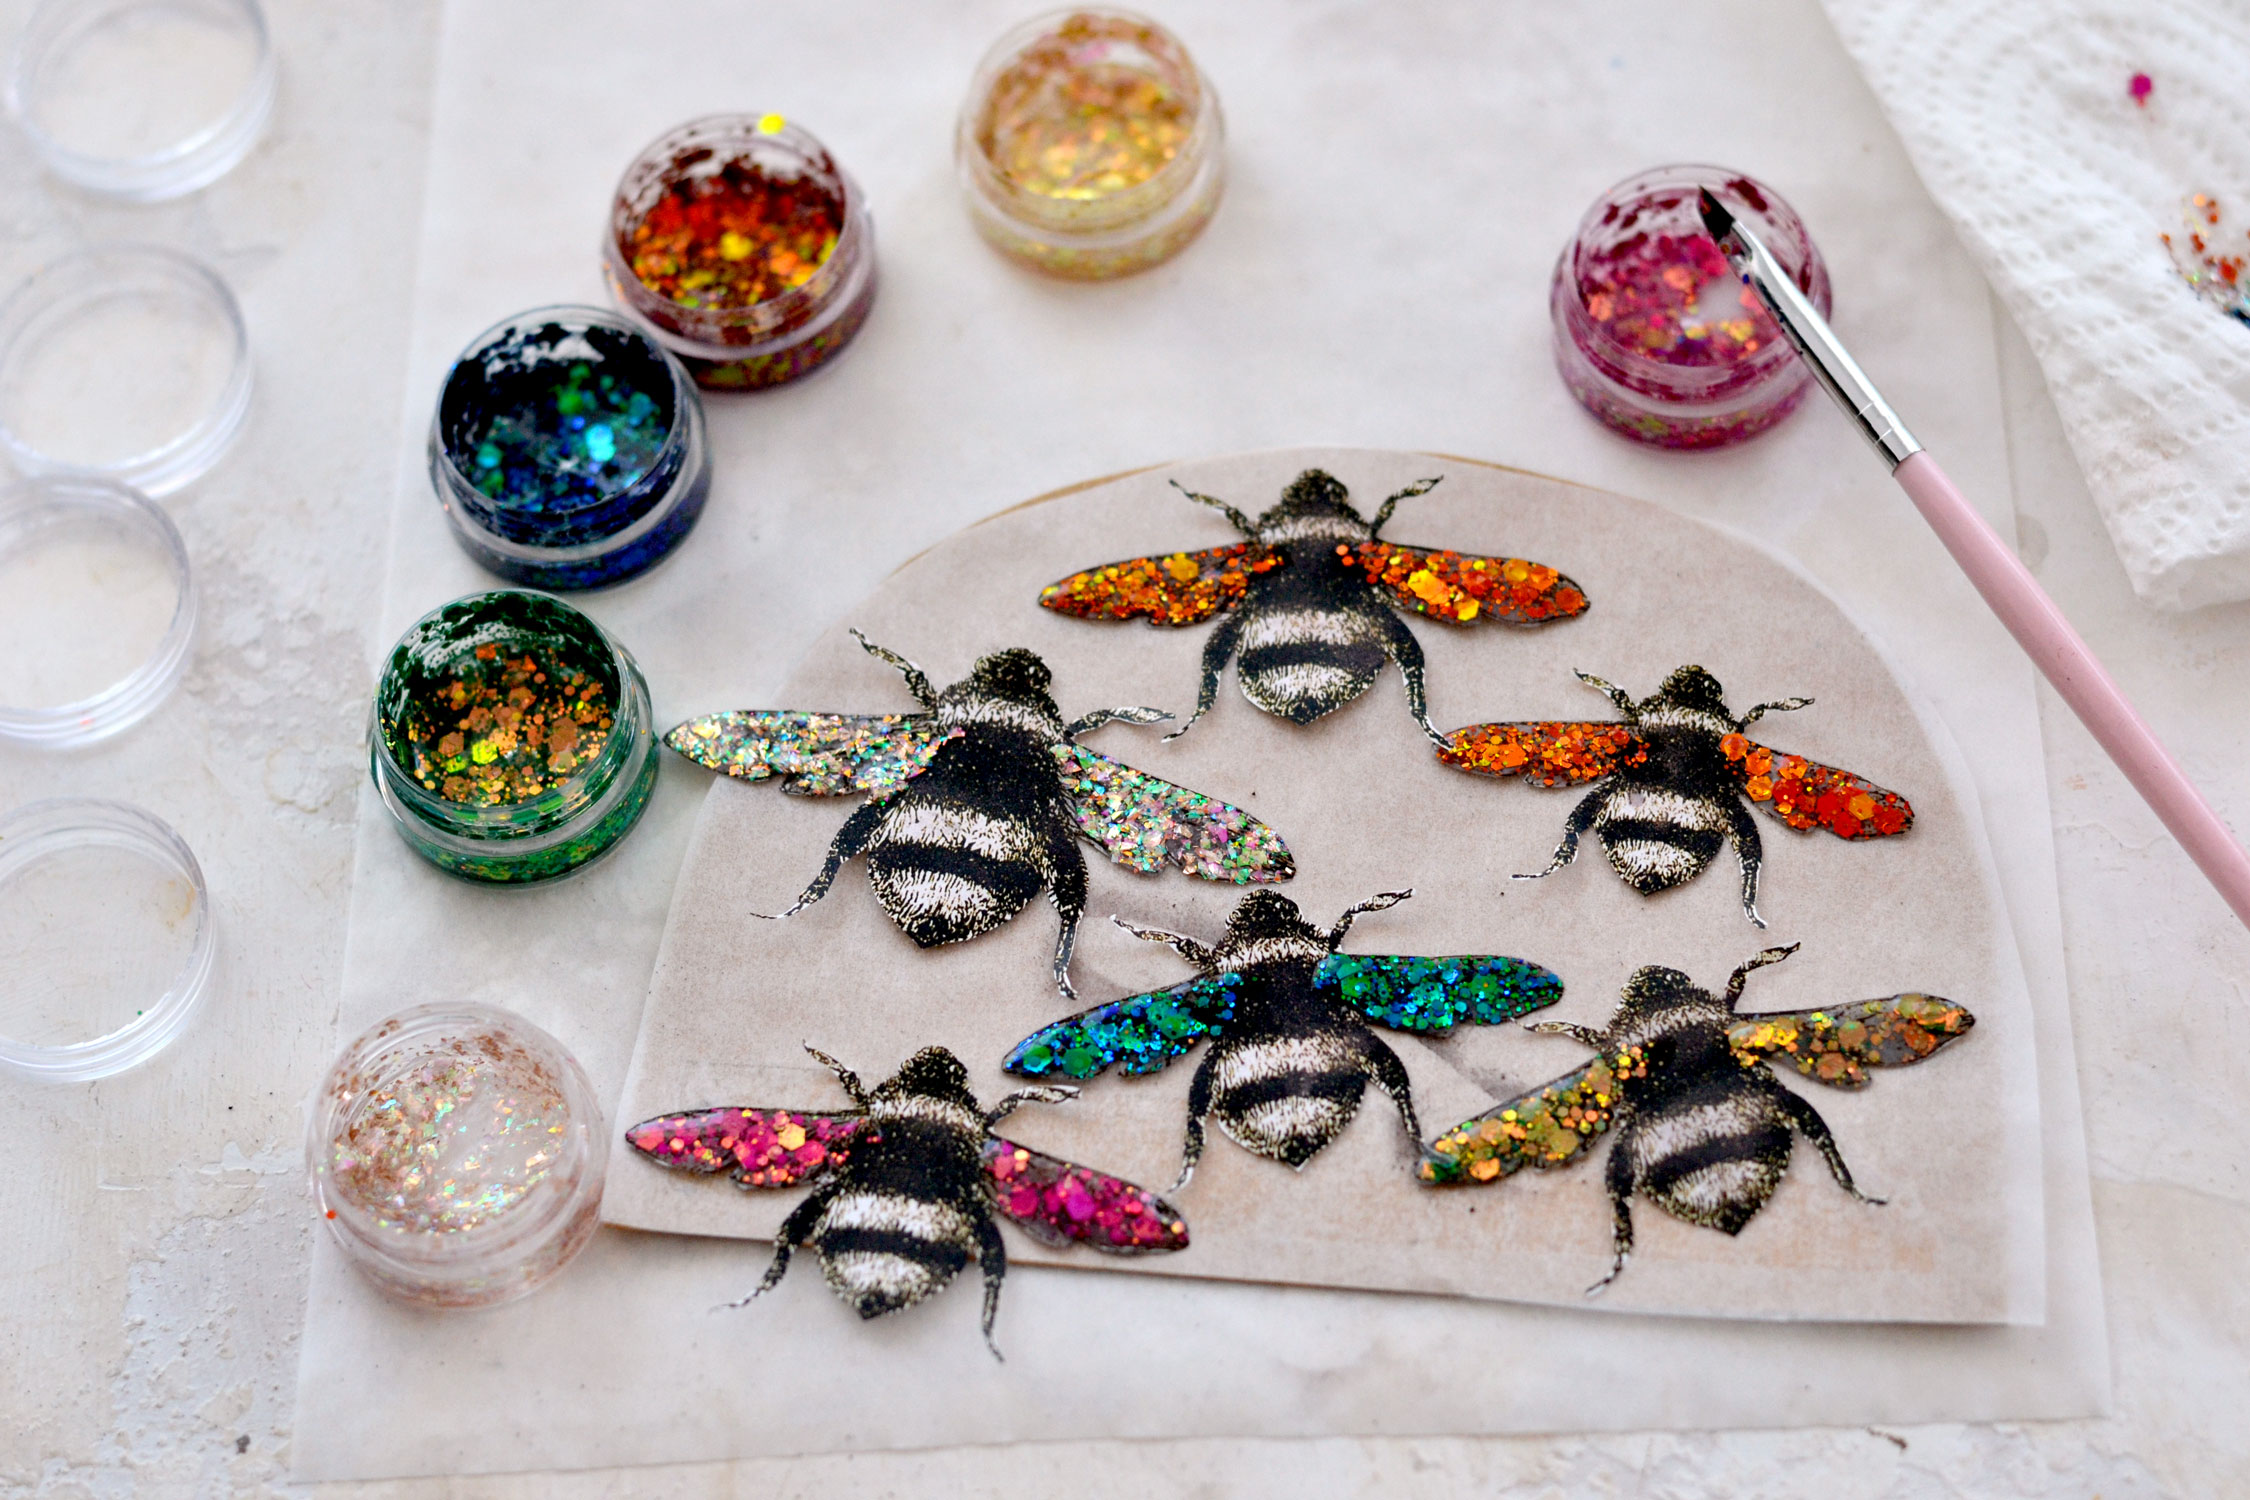
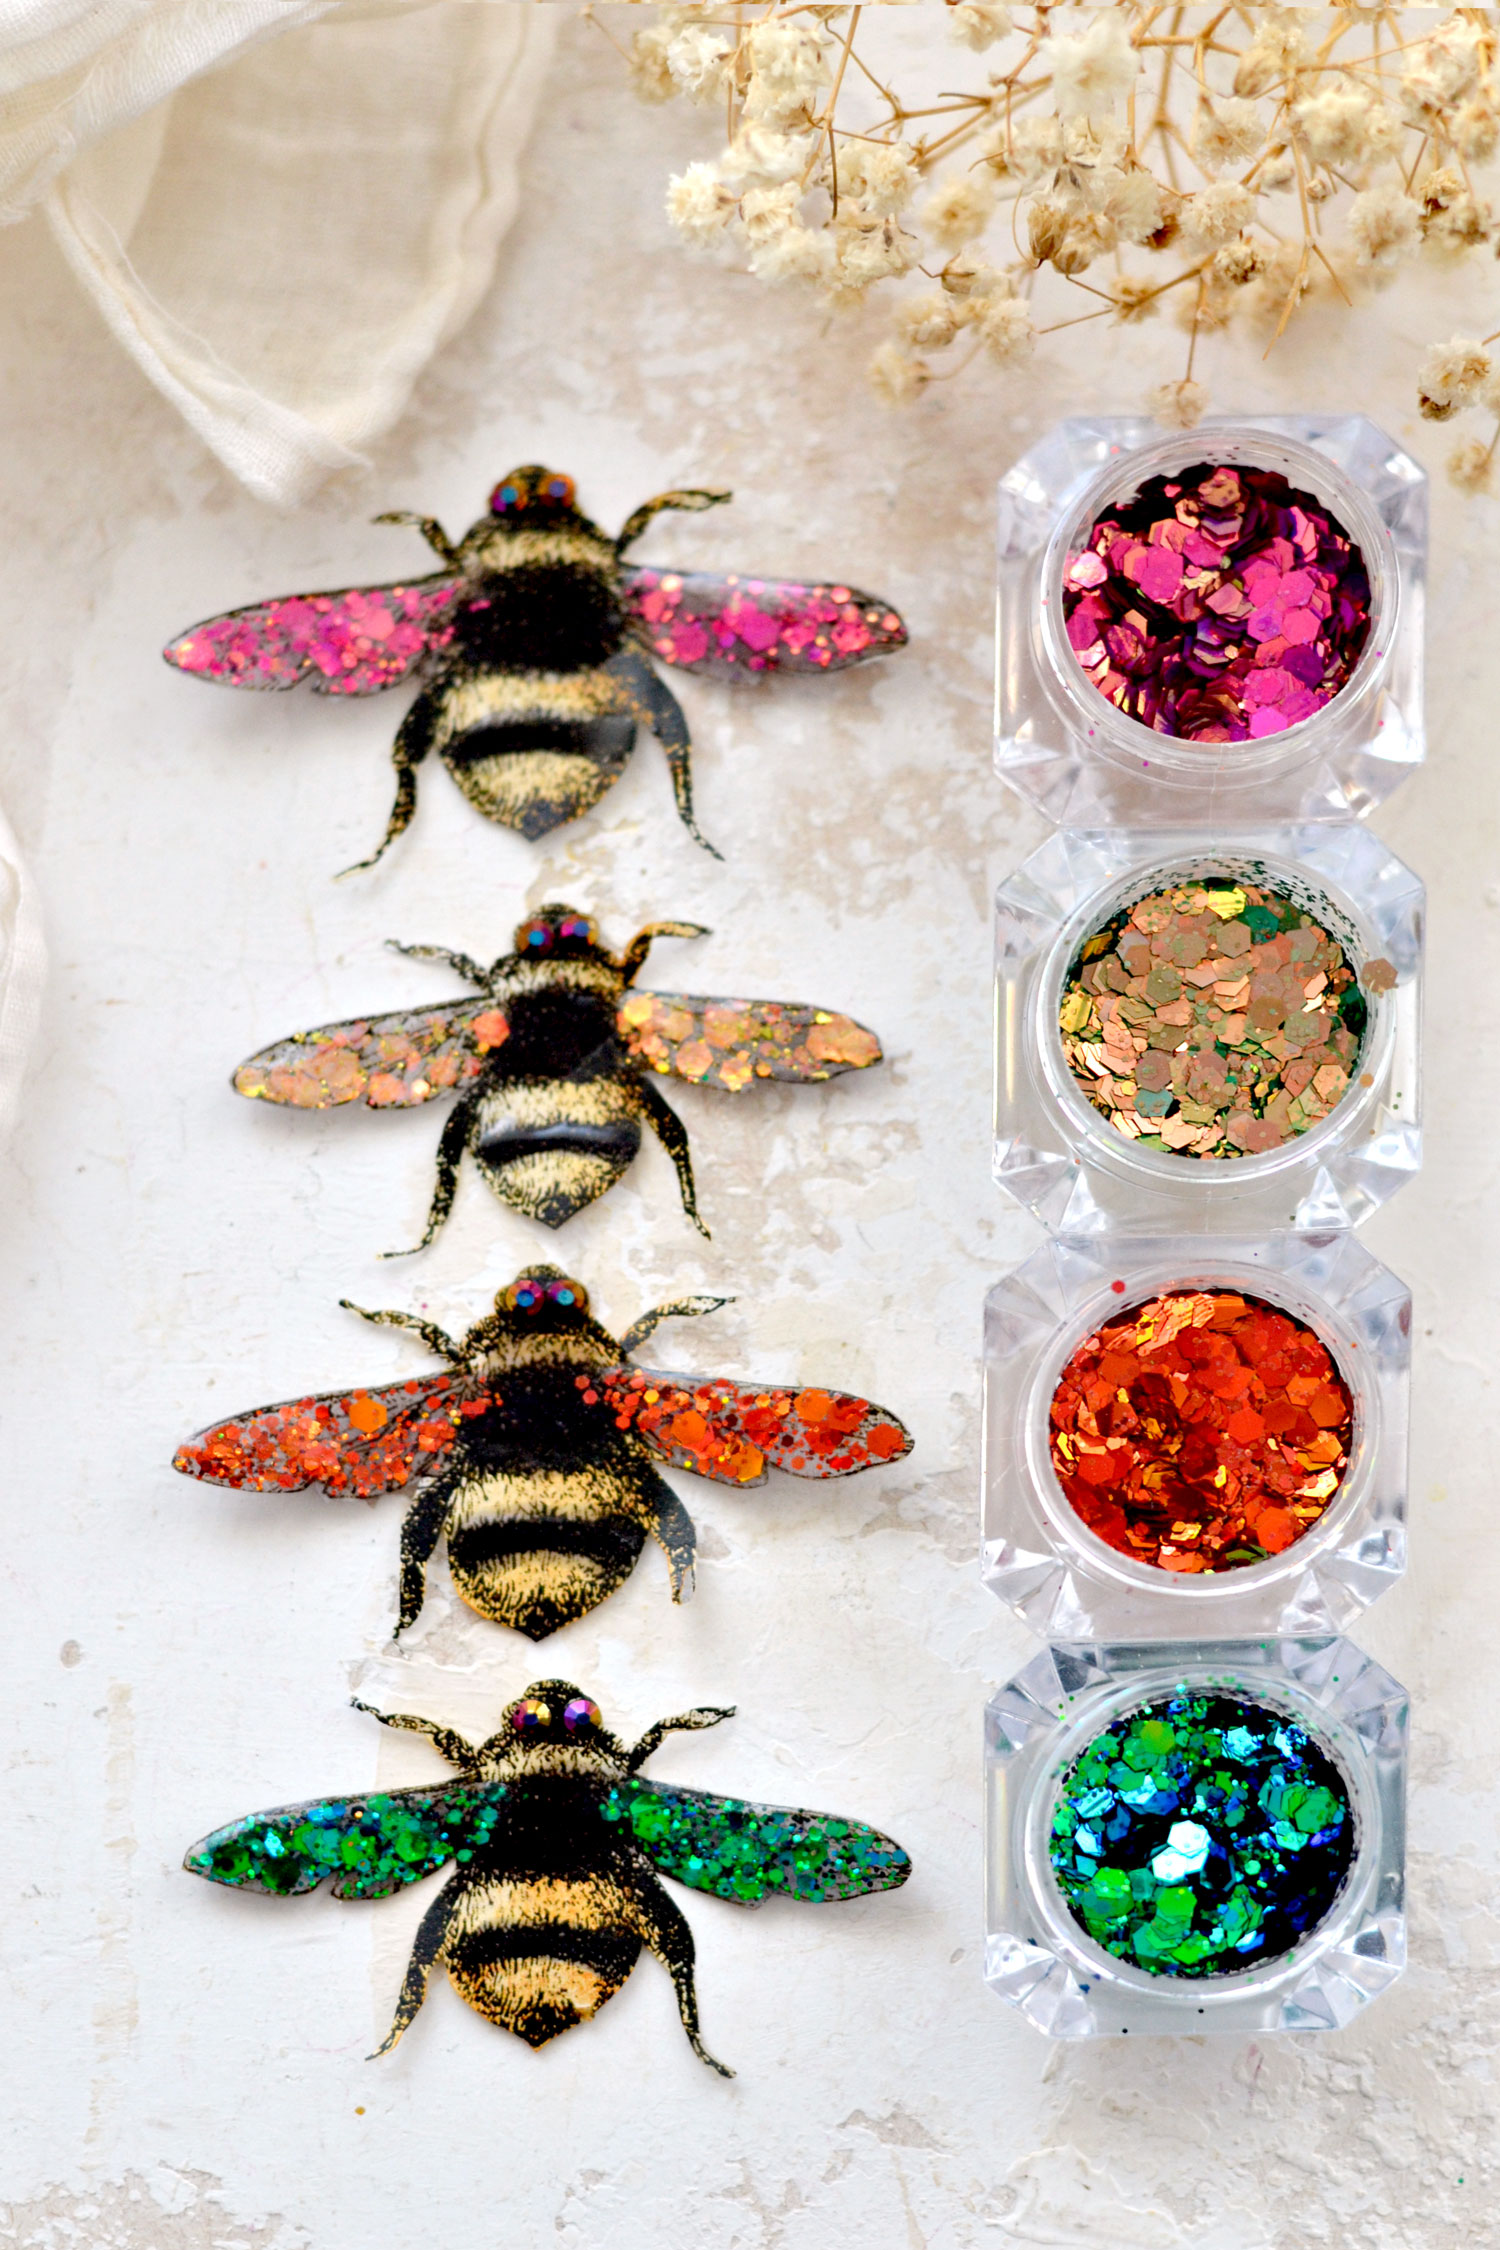
I used chunky holographic glitter (for nails) that looks different depending on the lighting. Nowadays this is quite inexpensive, so you can buy them online or in makeup stores and you can make as many glittery mixtures as you want!
Cut small pieces of cardstock that fit under your UV lamp and cover them with cut-to-size parchement paper. Use a small piece of double-sided tape to glue them together. You can now use these small portable improvised working stations to paint your wings, then simply slide them under your lamp to cure.
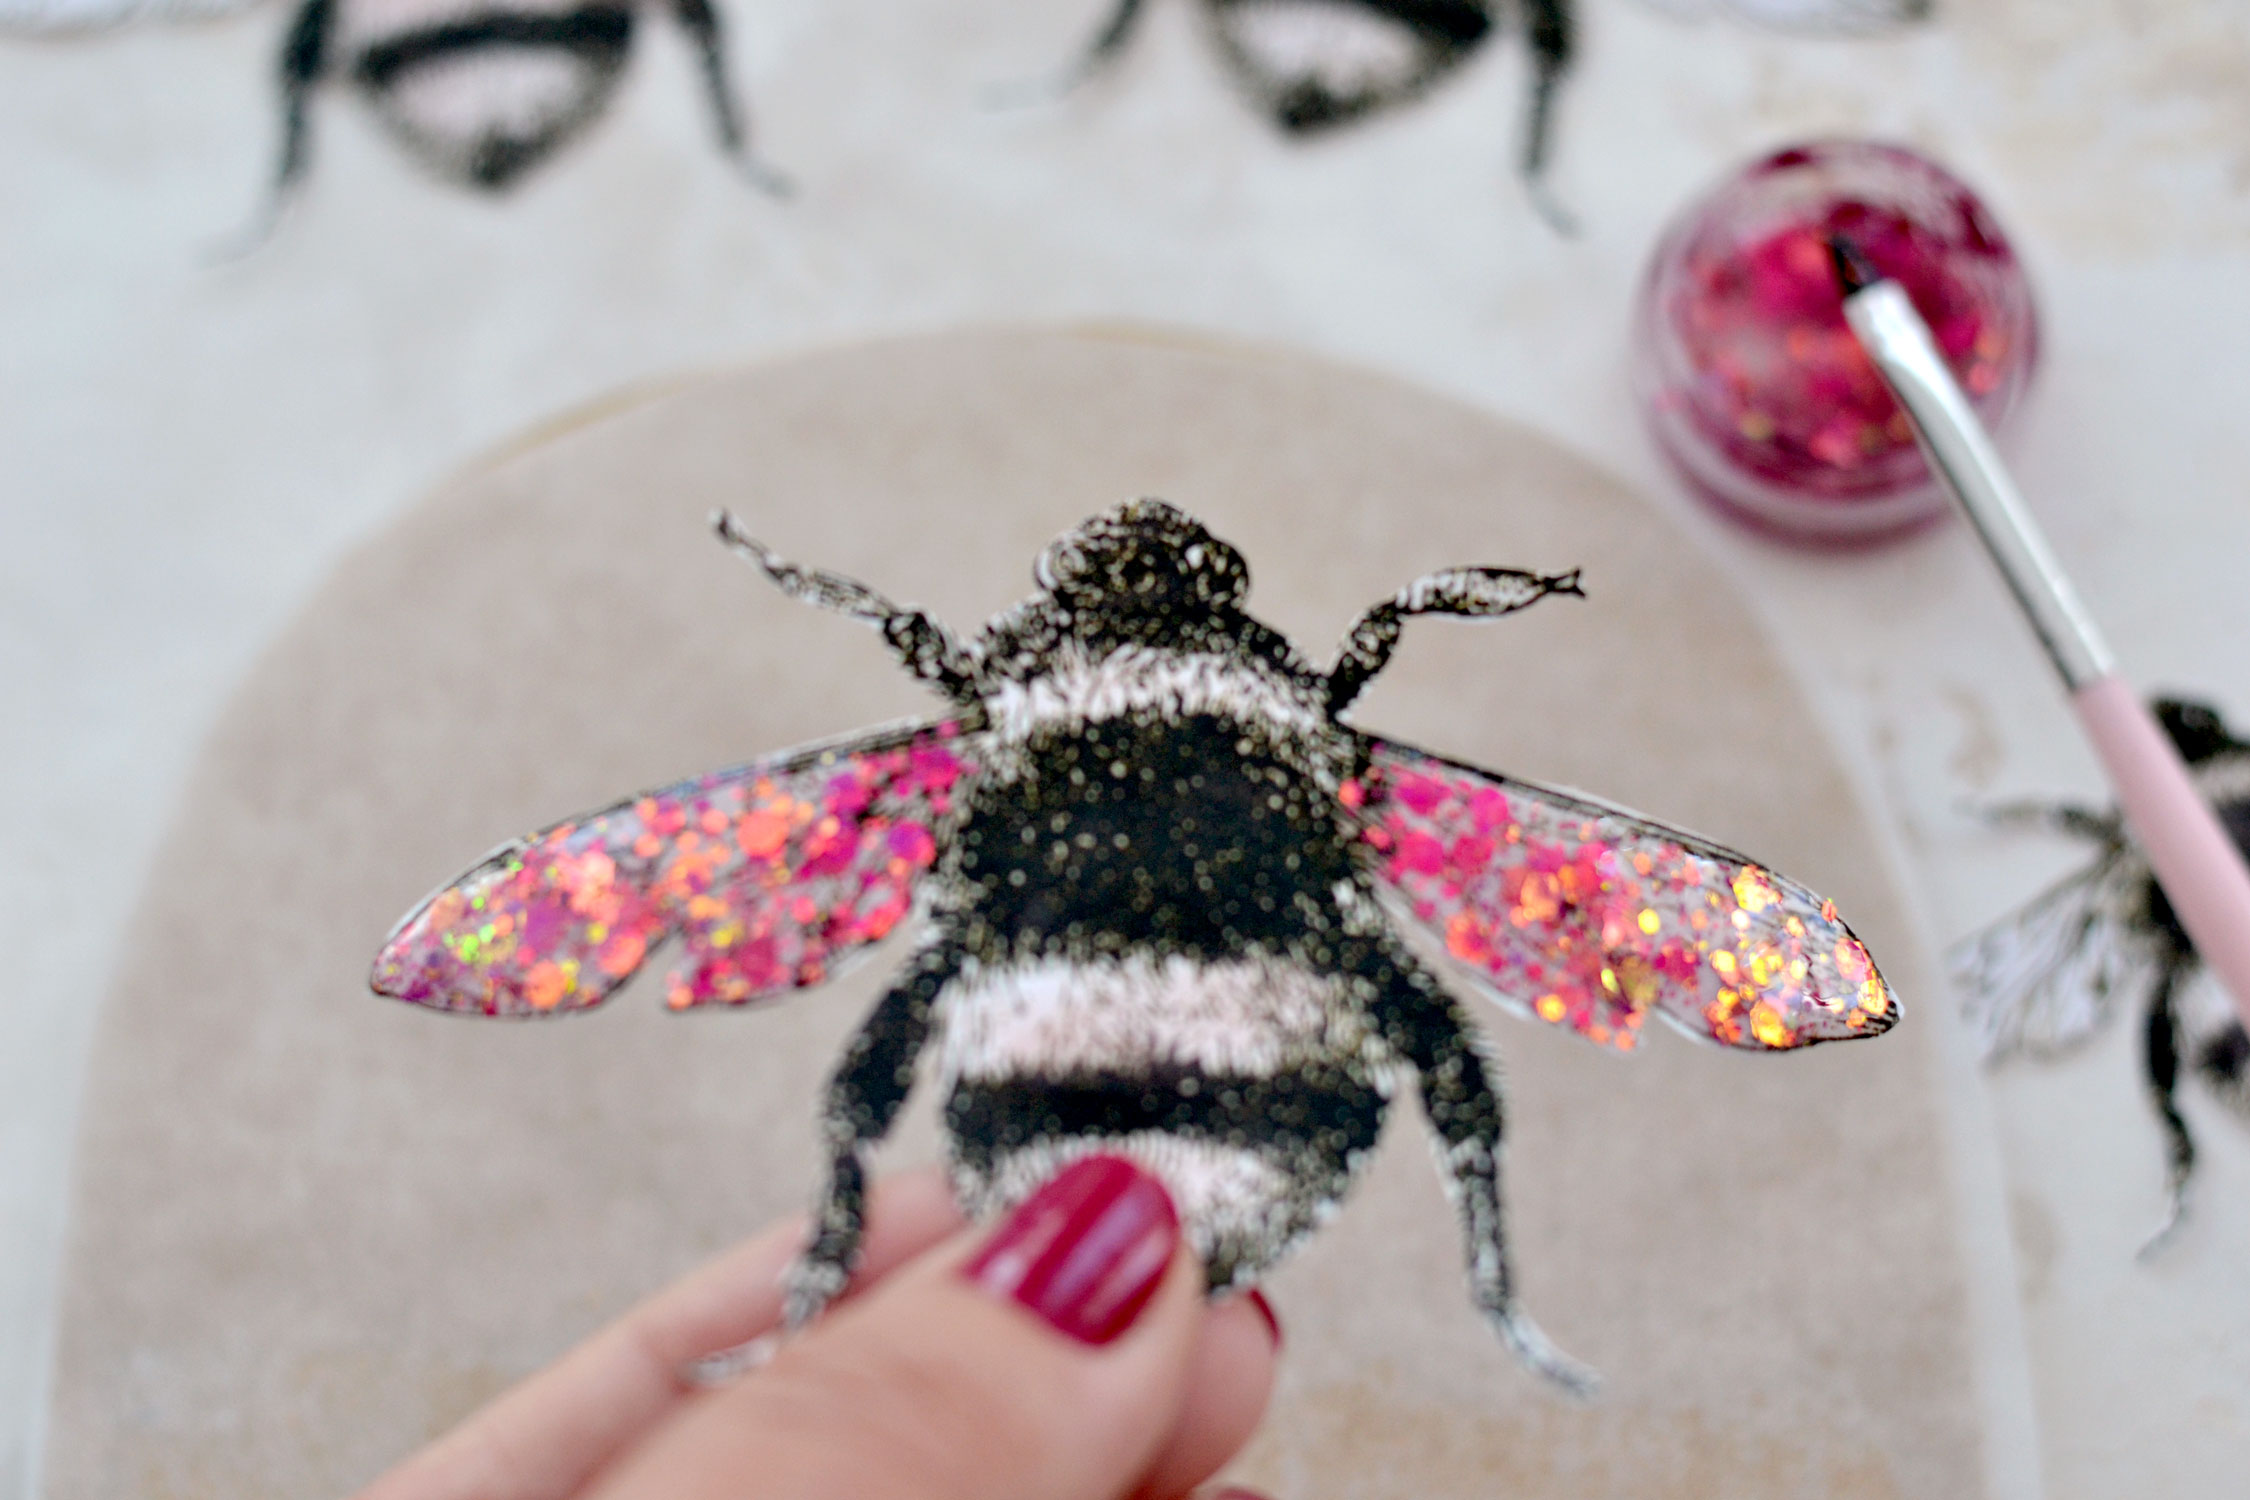
I found it easier to paint the wings with the glitter-gel mixture (especially around the edges) while holding them in my hand. Use a small nail art brush or a regular brush and add enough mixture to cover the wings completely but without going outside the edges. My gel nail polish had a fairly thick consistency so I was able to paint while also building to add some volume. You can then carefully place the bee on your portable working station afterward. If you want, you can use a little bit of clear gel nail polish on the body of the bee too. You can use the small brush of the gel to paint a rounded shape on the large stripe of the bee and a thinner one on the small stripe, following their shape – this will create a little bit of volume and add more interest to the stripes.
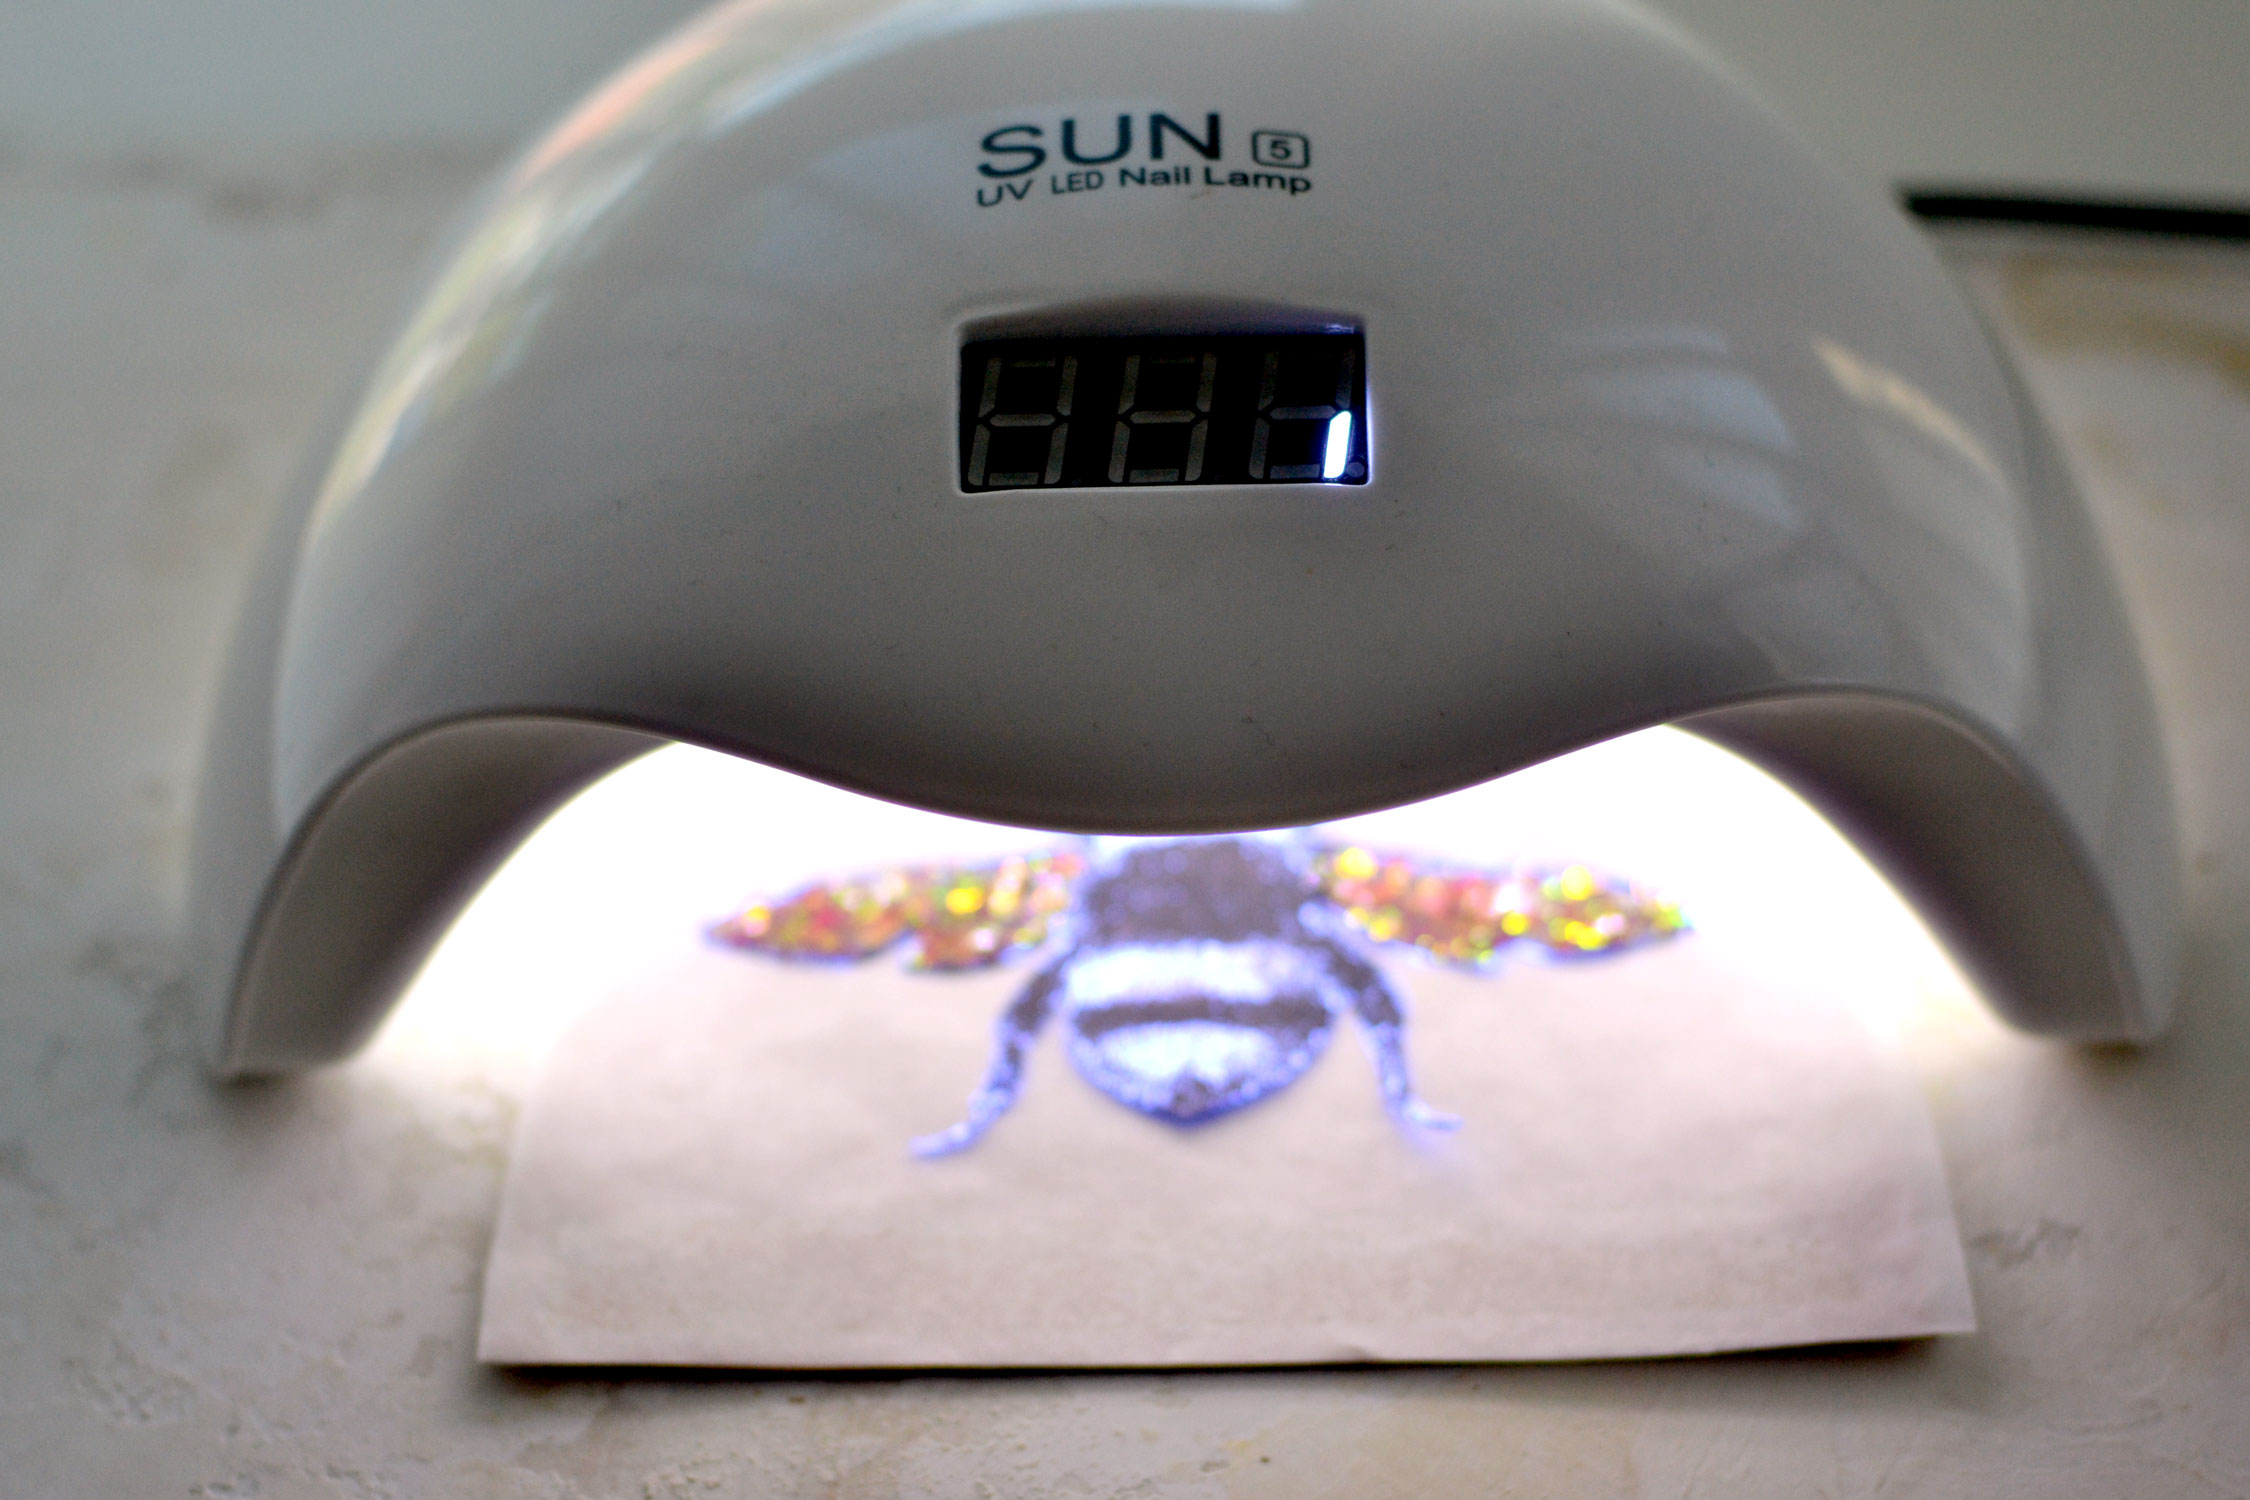
Place the bee under your UV LED lamp and cure it according to your gel nail polish instructions. You will need to make a few tests here again, maybe on a piece of scrap paper to see if it needs a little bit more time for curing than per instructions or not. This will also depend on the paper you are using and how absorbent it is. Because gel nail polish is not intended to be normally used with an absorbent surface like paper, you will see that it will soak into the paper and the wings will become almost transparent.
I would suggest making a batch on one of your portable working stations and then curing it, just to make sure the gel doesn’t spread too much because you might lose some of the 3D effects.
You can place one or two larger bees on your cardstock or several smaller bees (just make sure the painted areas don’t touch) and then cure them.
After curing the gel nail polish, the bees are ready to be used! Just make sure you use one of those gel nail polishes that doesn’t need to be wiped off after curing.
P.S. If you only have a wipe-off gel nail polish or wipe-off top coat you will have to use some type of alcohol or even acetone to wipe off the sticky residue it usually creates. It will still work, but you’ll need to be more careful when wiping it off so you don’t tear the paper.
And then, you will be able to use a little bit of distress ink to give the paper more of a vintage look. I used a mix of brown and orange distress ink because I wanted them to look more like real bees, but of course, you can use other colors if you want to make yours more colorful. Again, be extra careful not to tear the legs of the bees.
NOTE: If you want to completely cover the body of the bee with gel nail polish to give all their surface more of an enamel or a resin look, you can! Just use the distress ink before painting the gel nail polish on top, or even before cutting them, it will be so much easier!
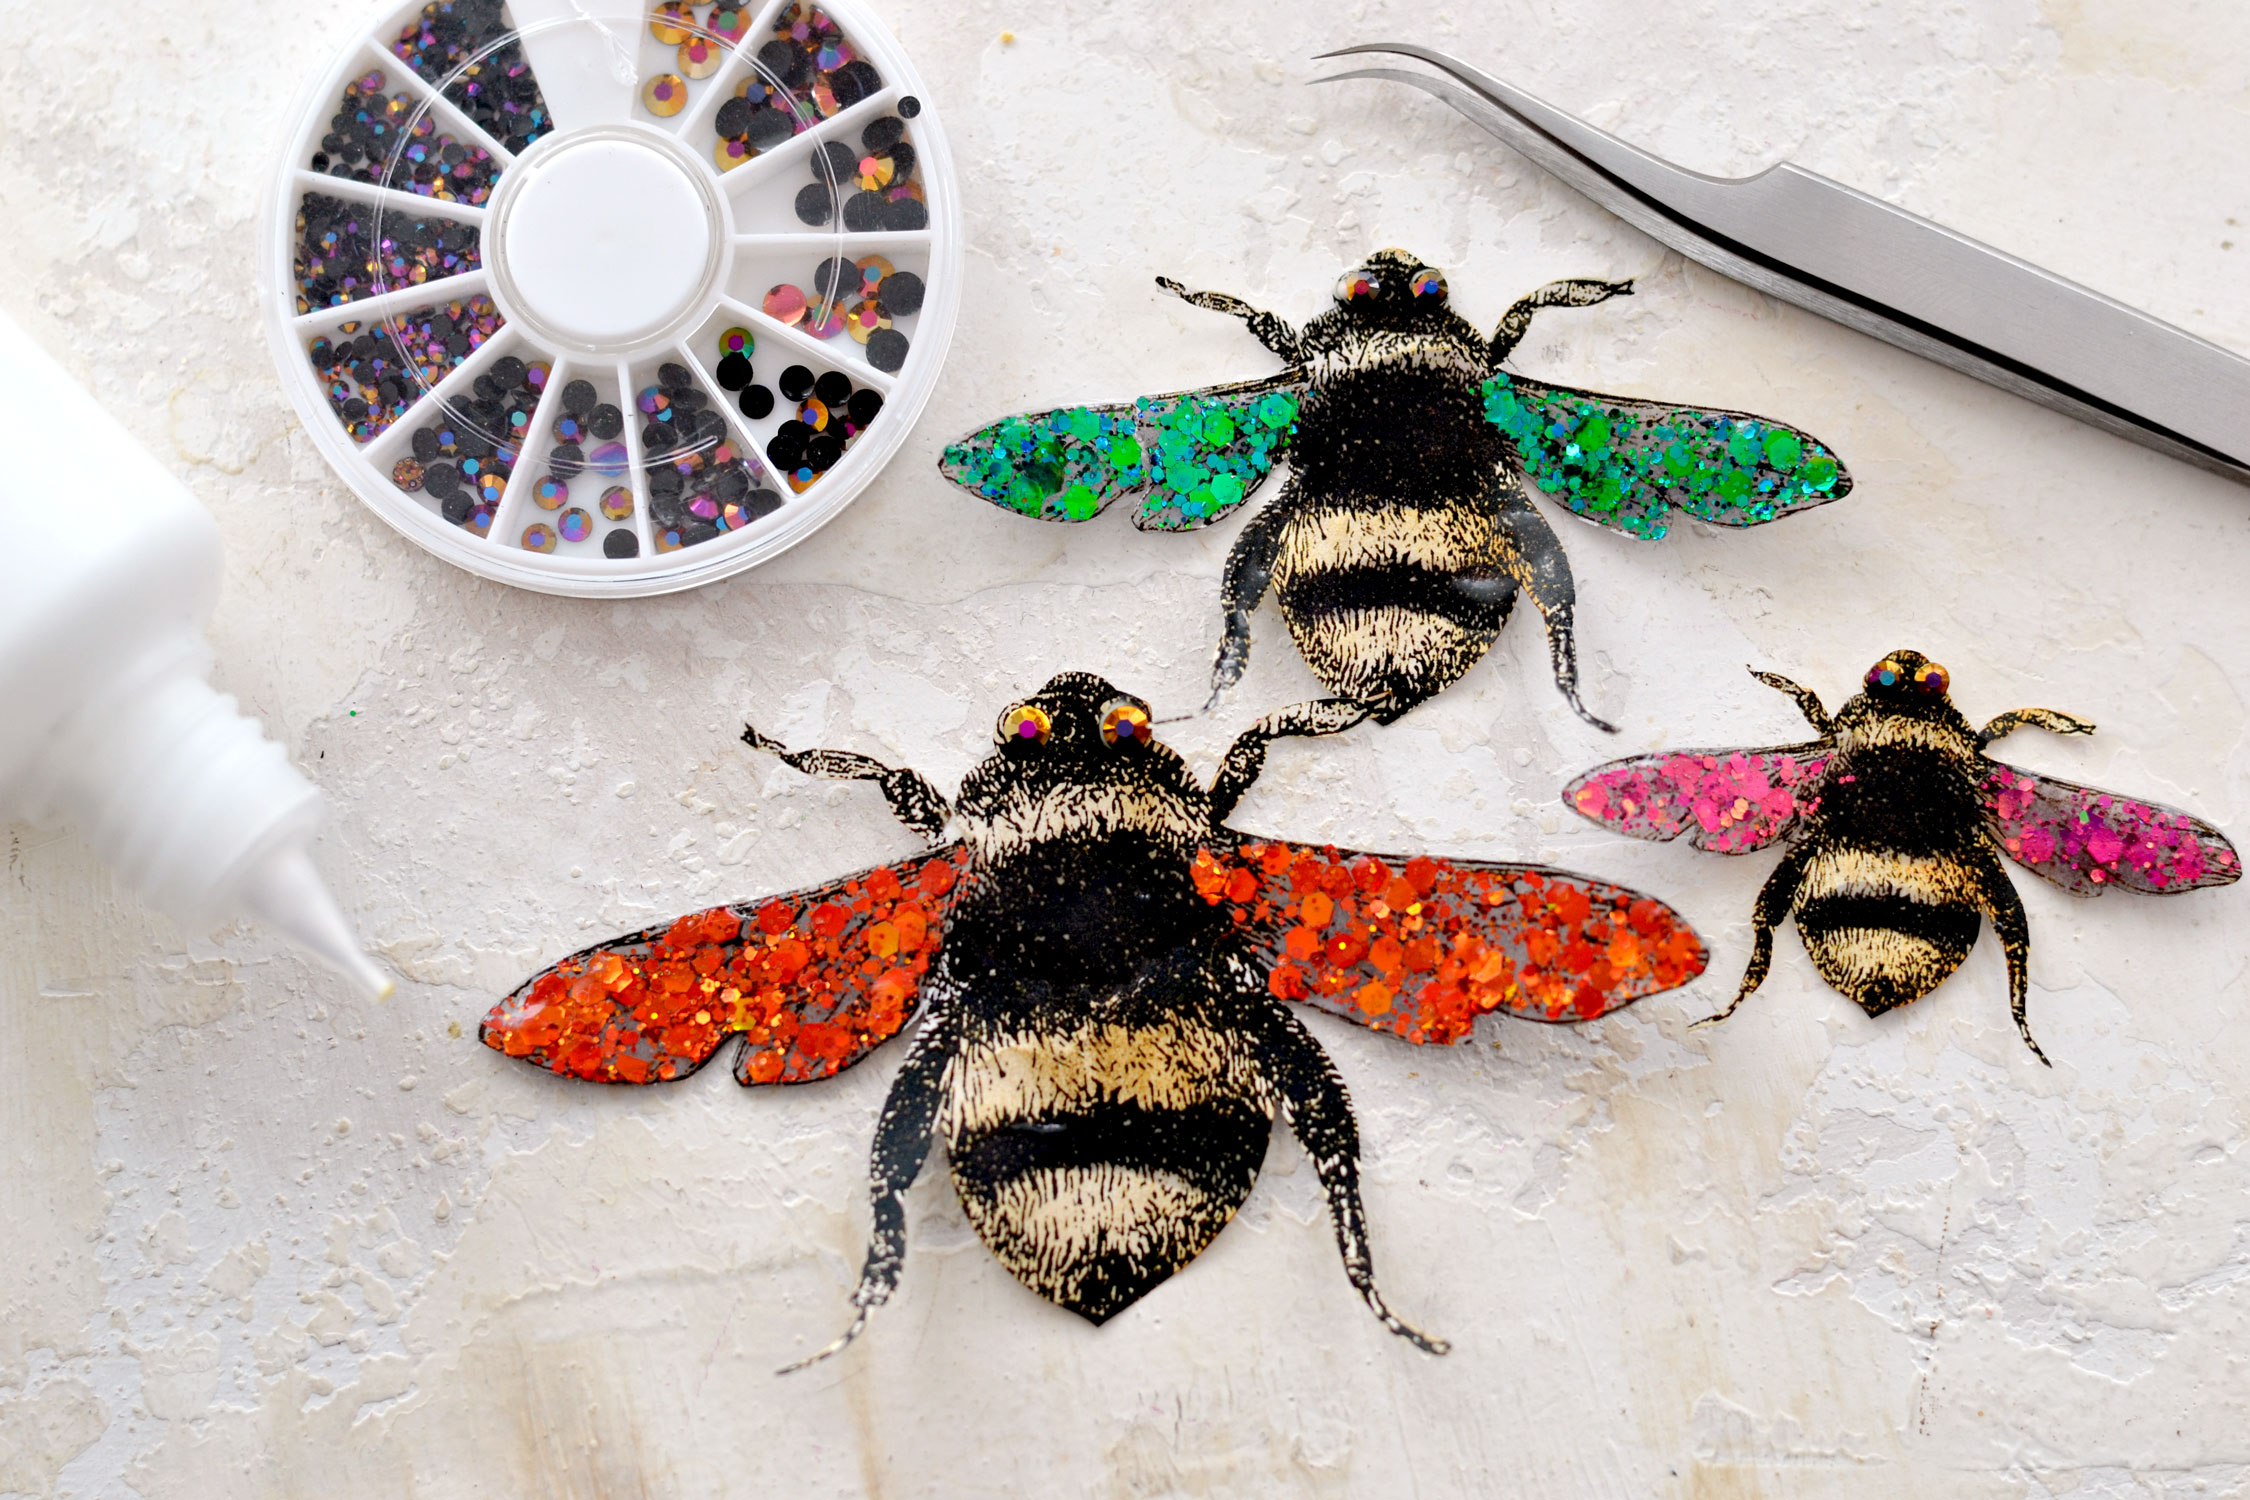
As an extra step for making your bees even more charming, you can add small rhinestones to make the eyes! You will have to use tweezers because these nail art rhinestones are quite small, but I think they will add even more quirkiness to your bees. I used a little bit of craft glue using a fine-tip applicator and just placed the rhinestones on top.
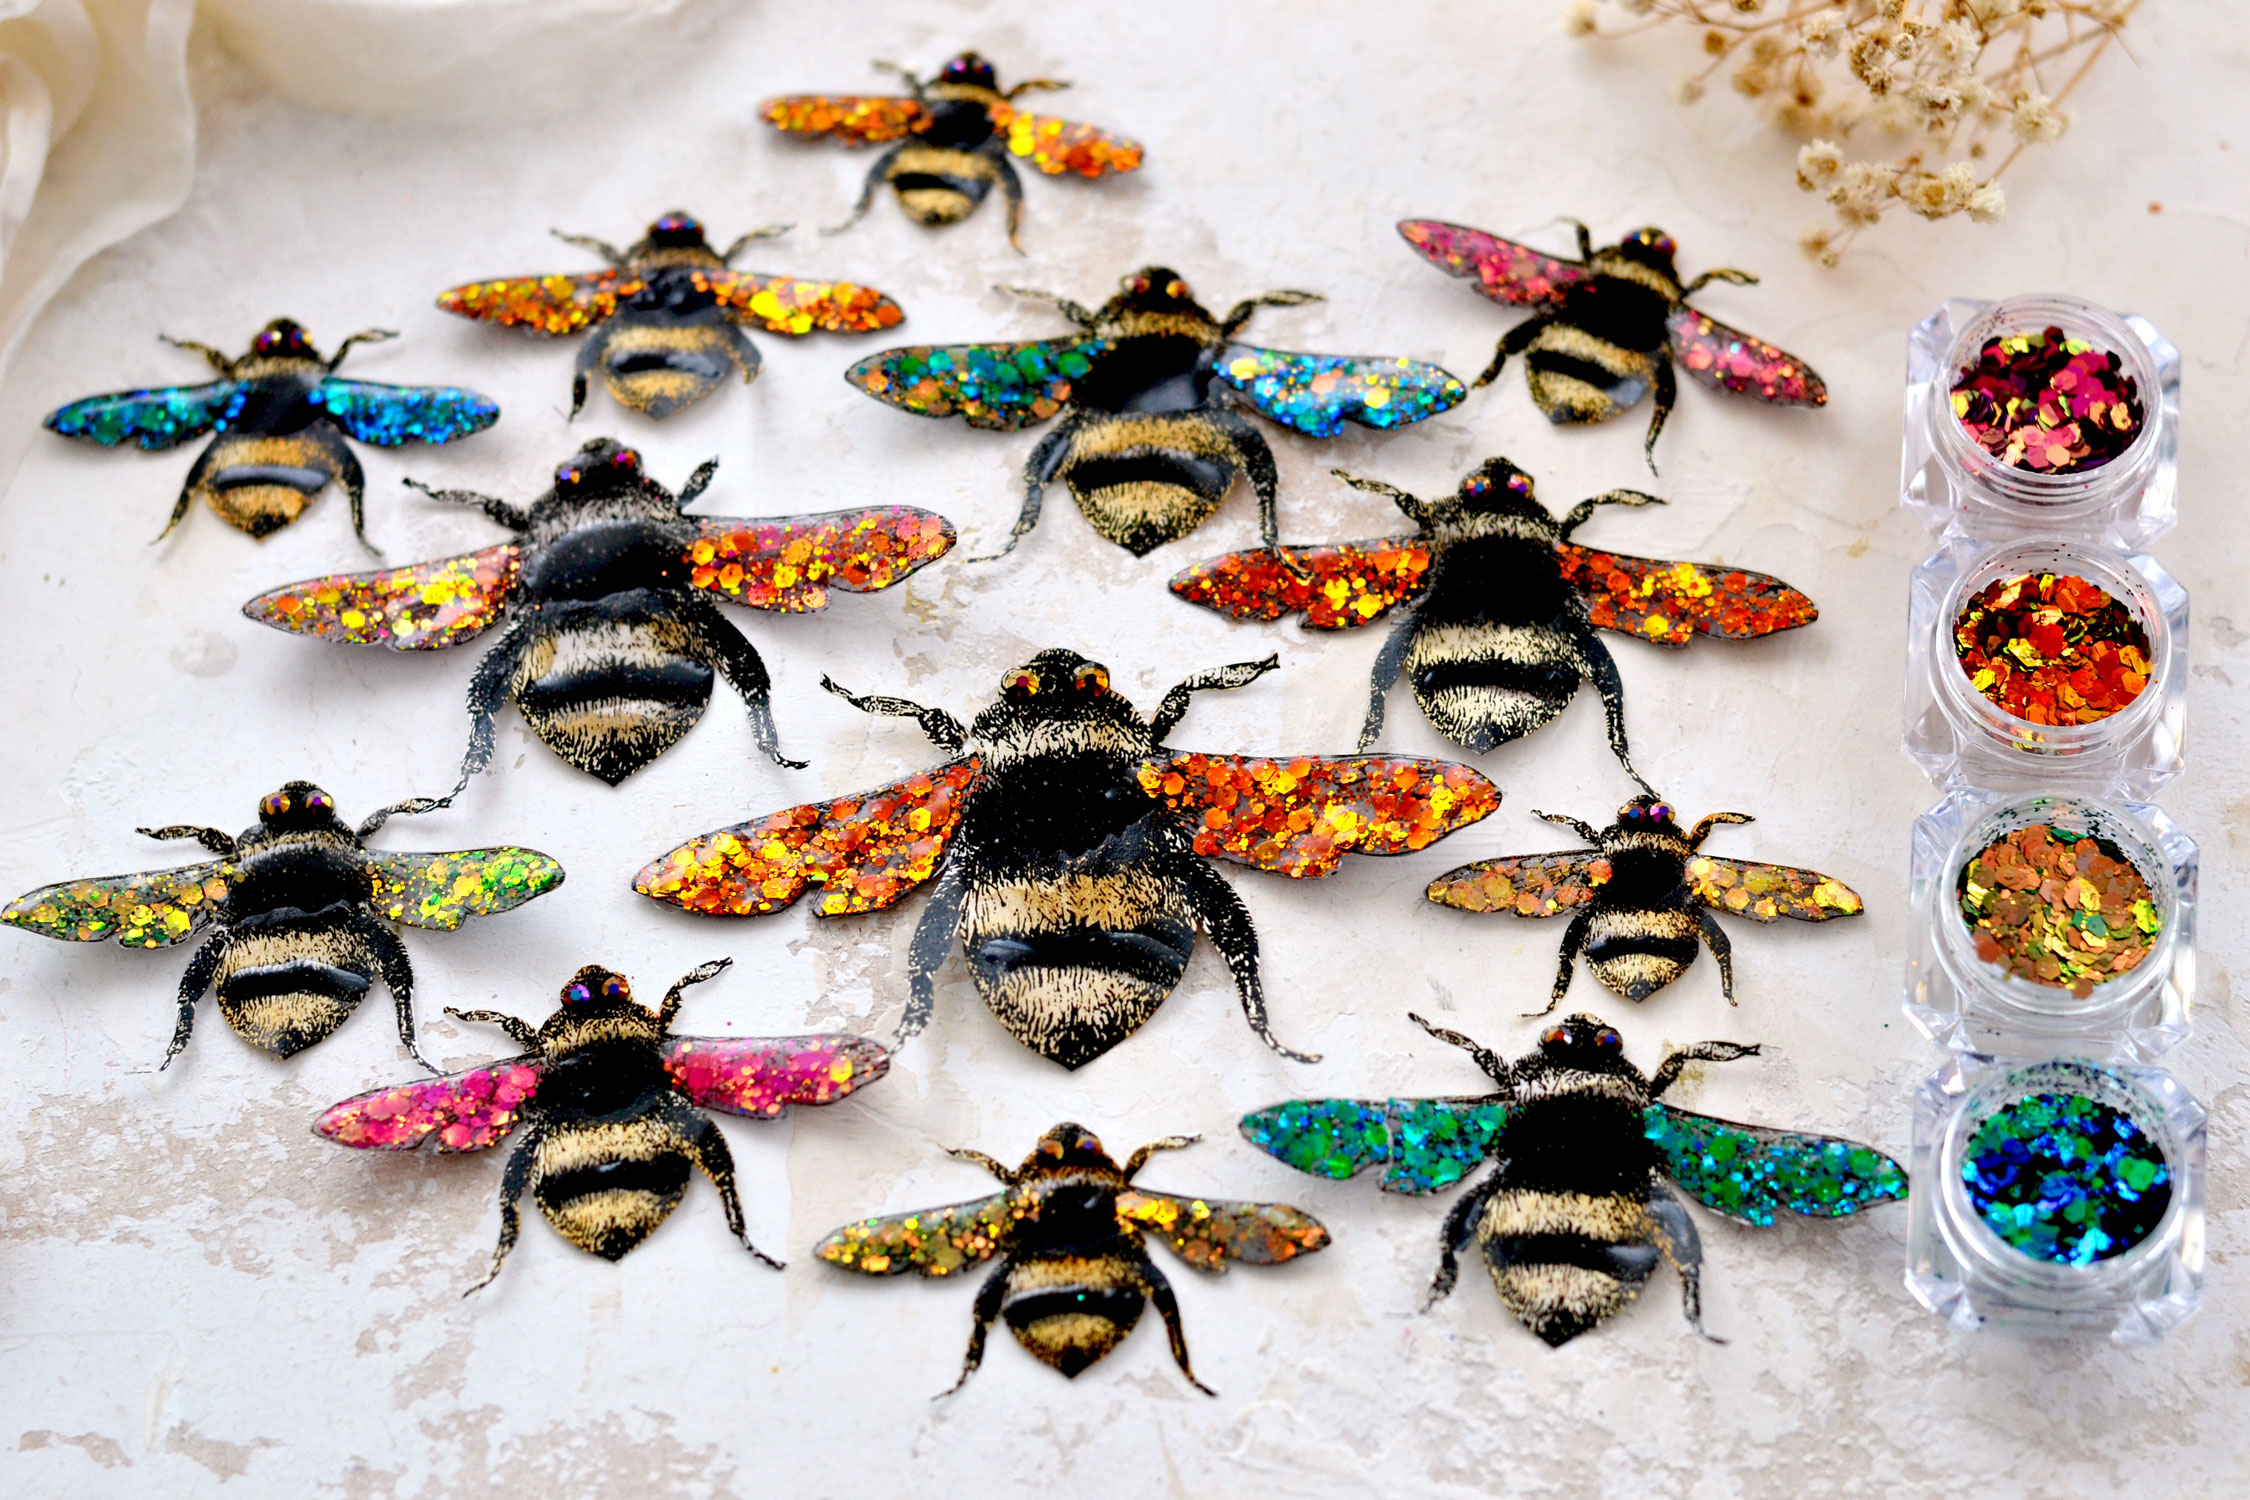
The final results will blow your mind, I was simply mesmerized by all these gorgeous bees!
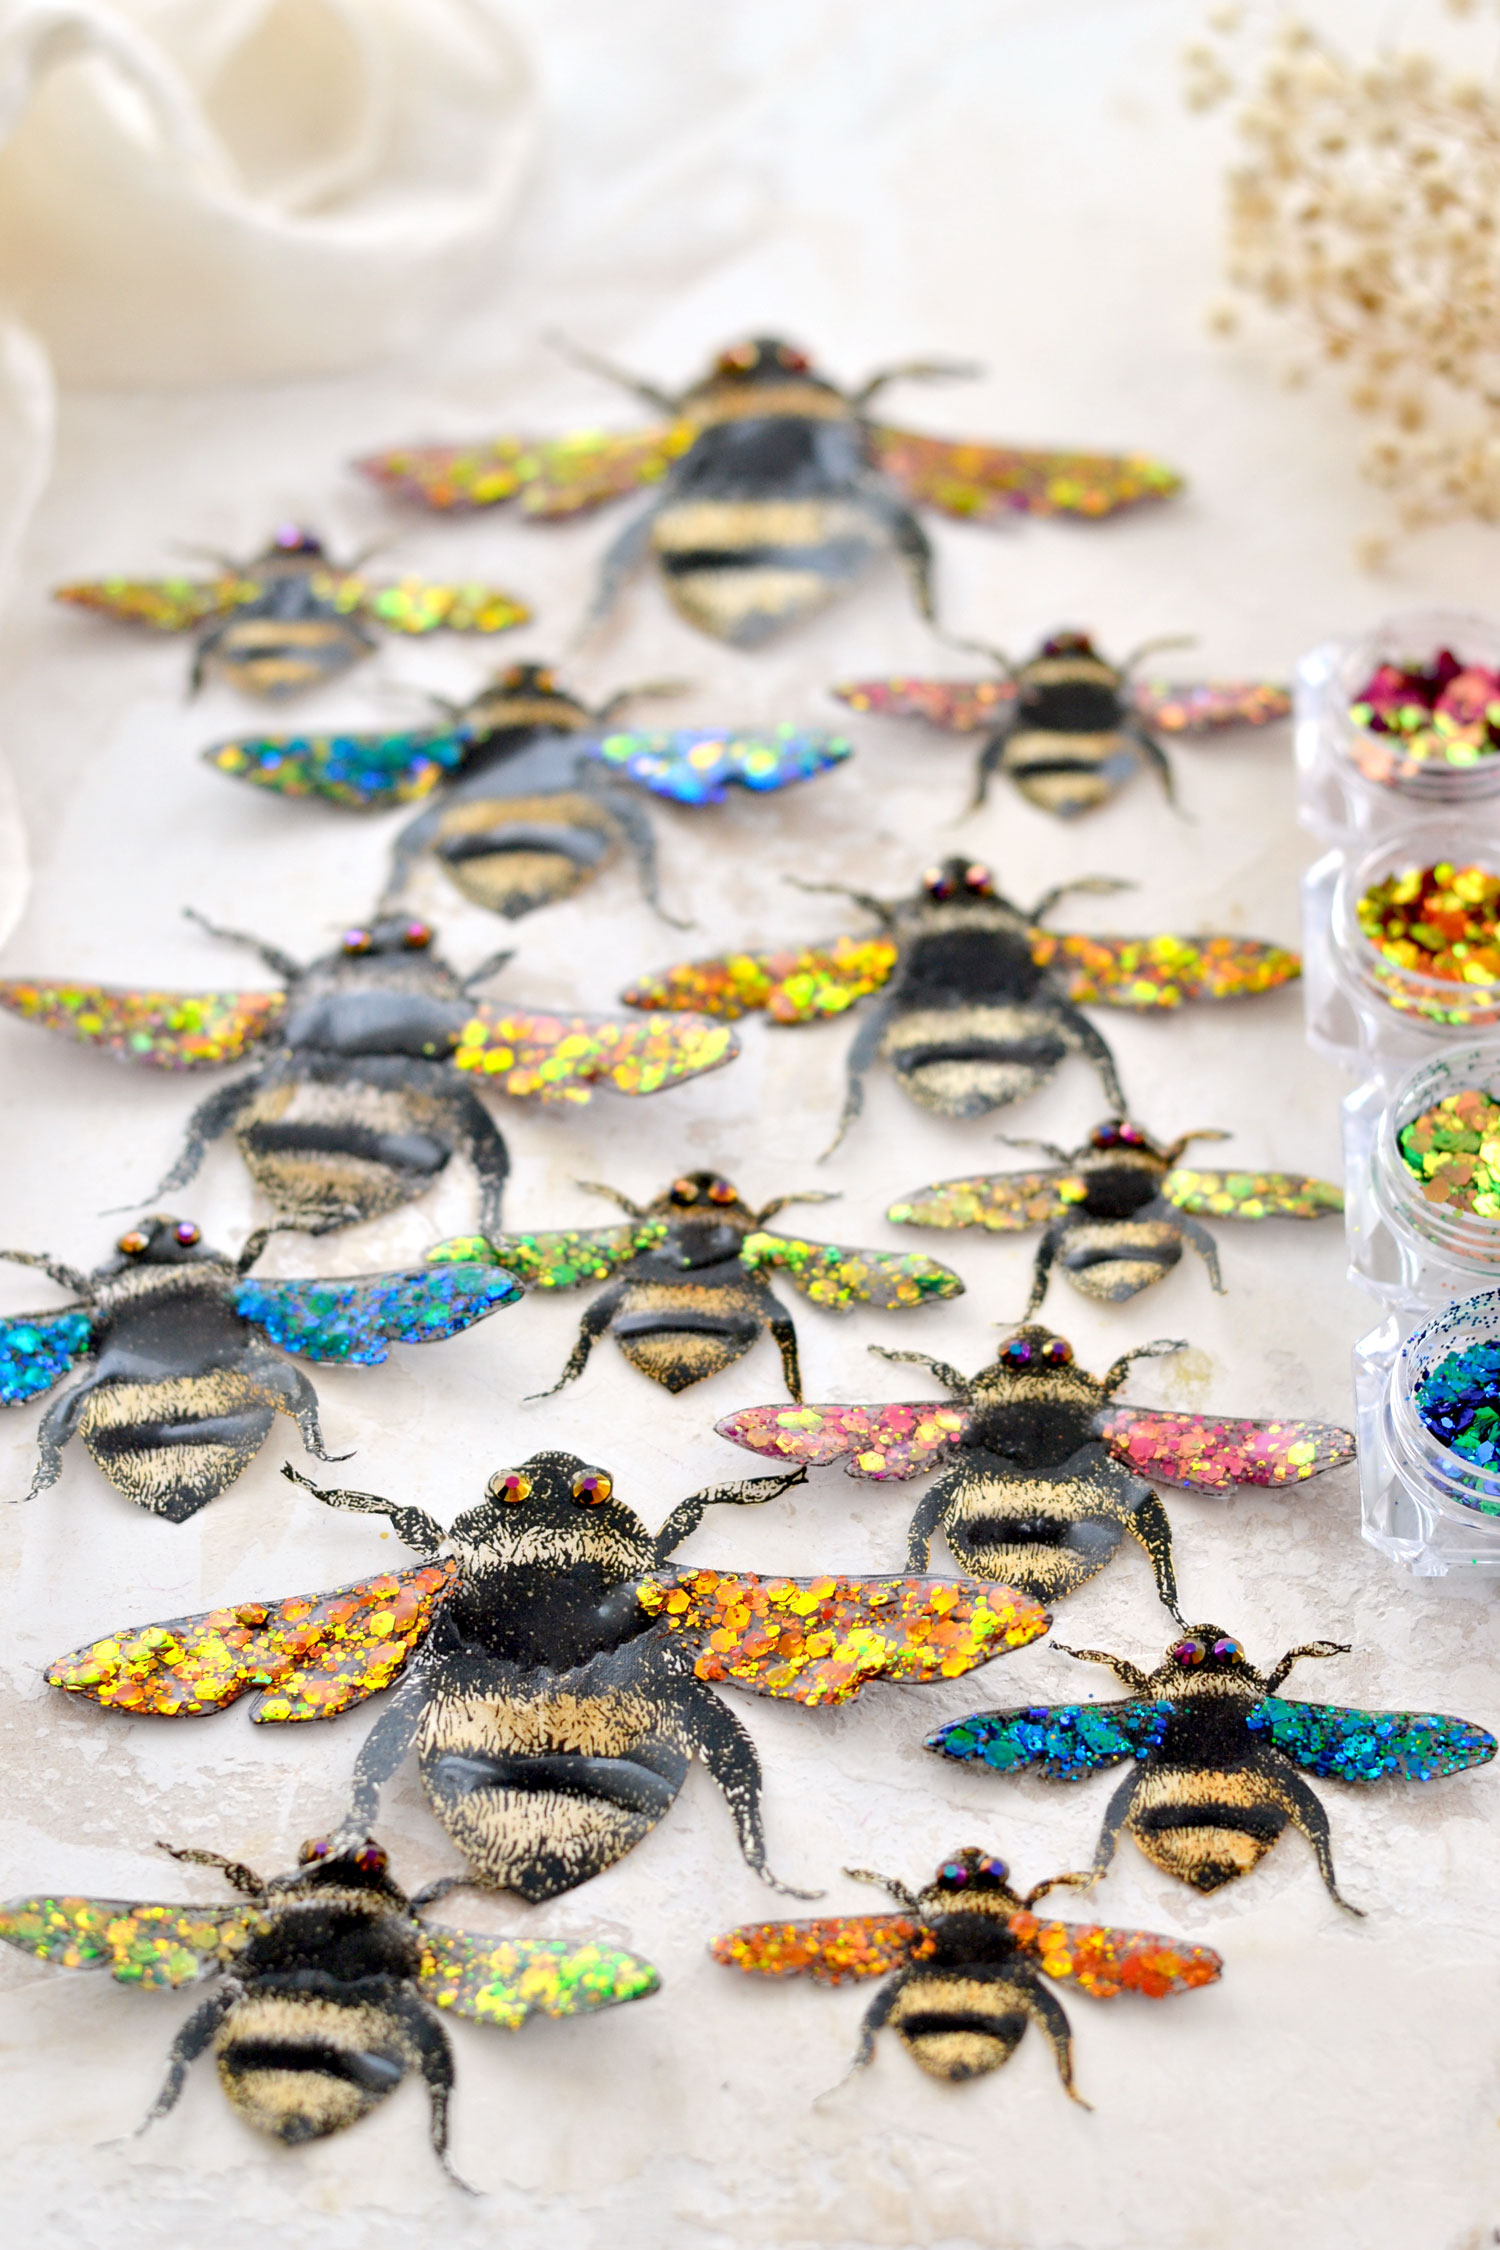
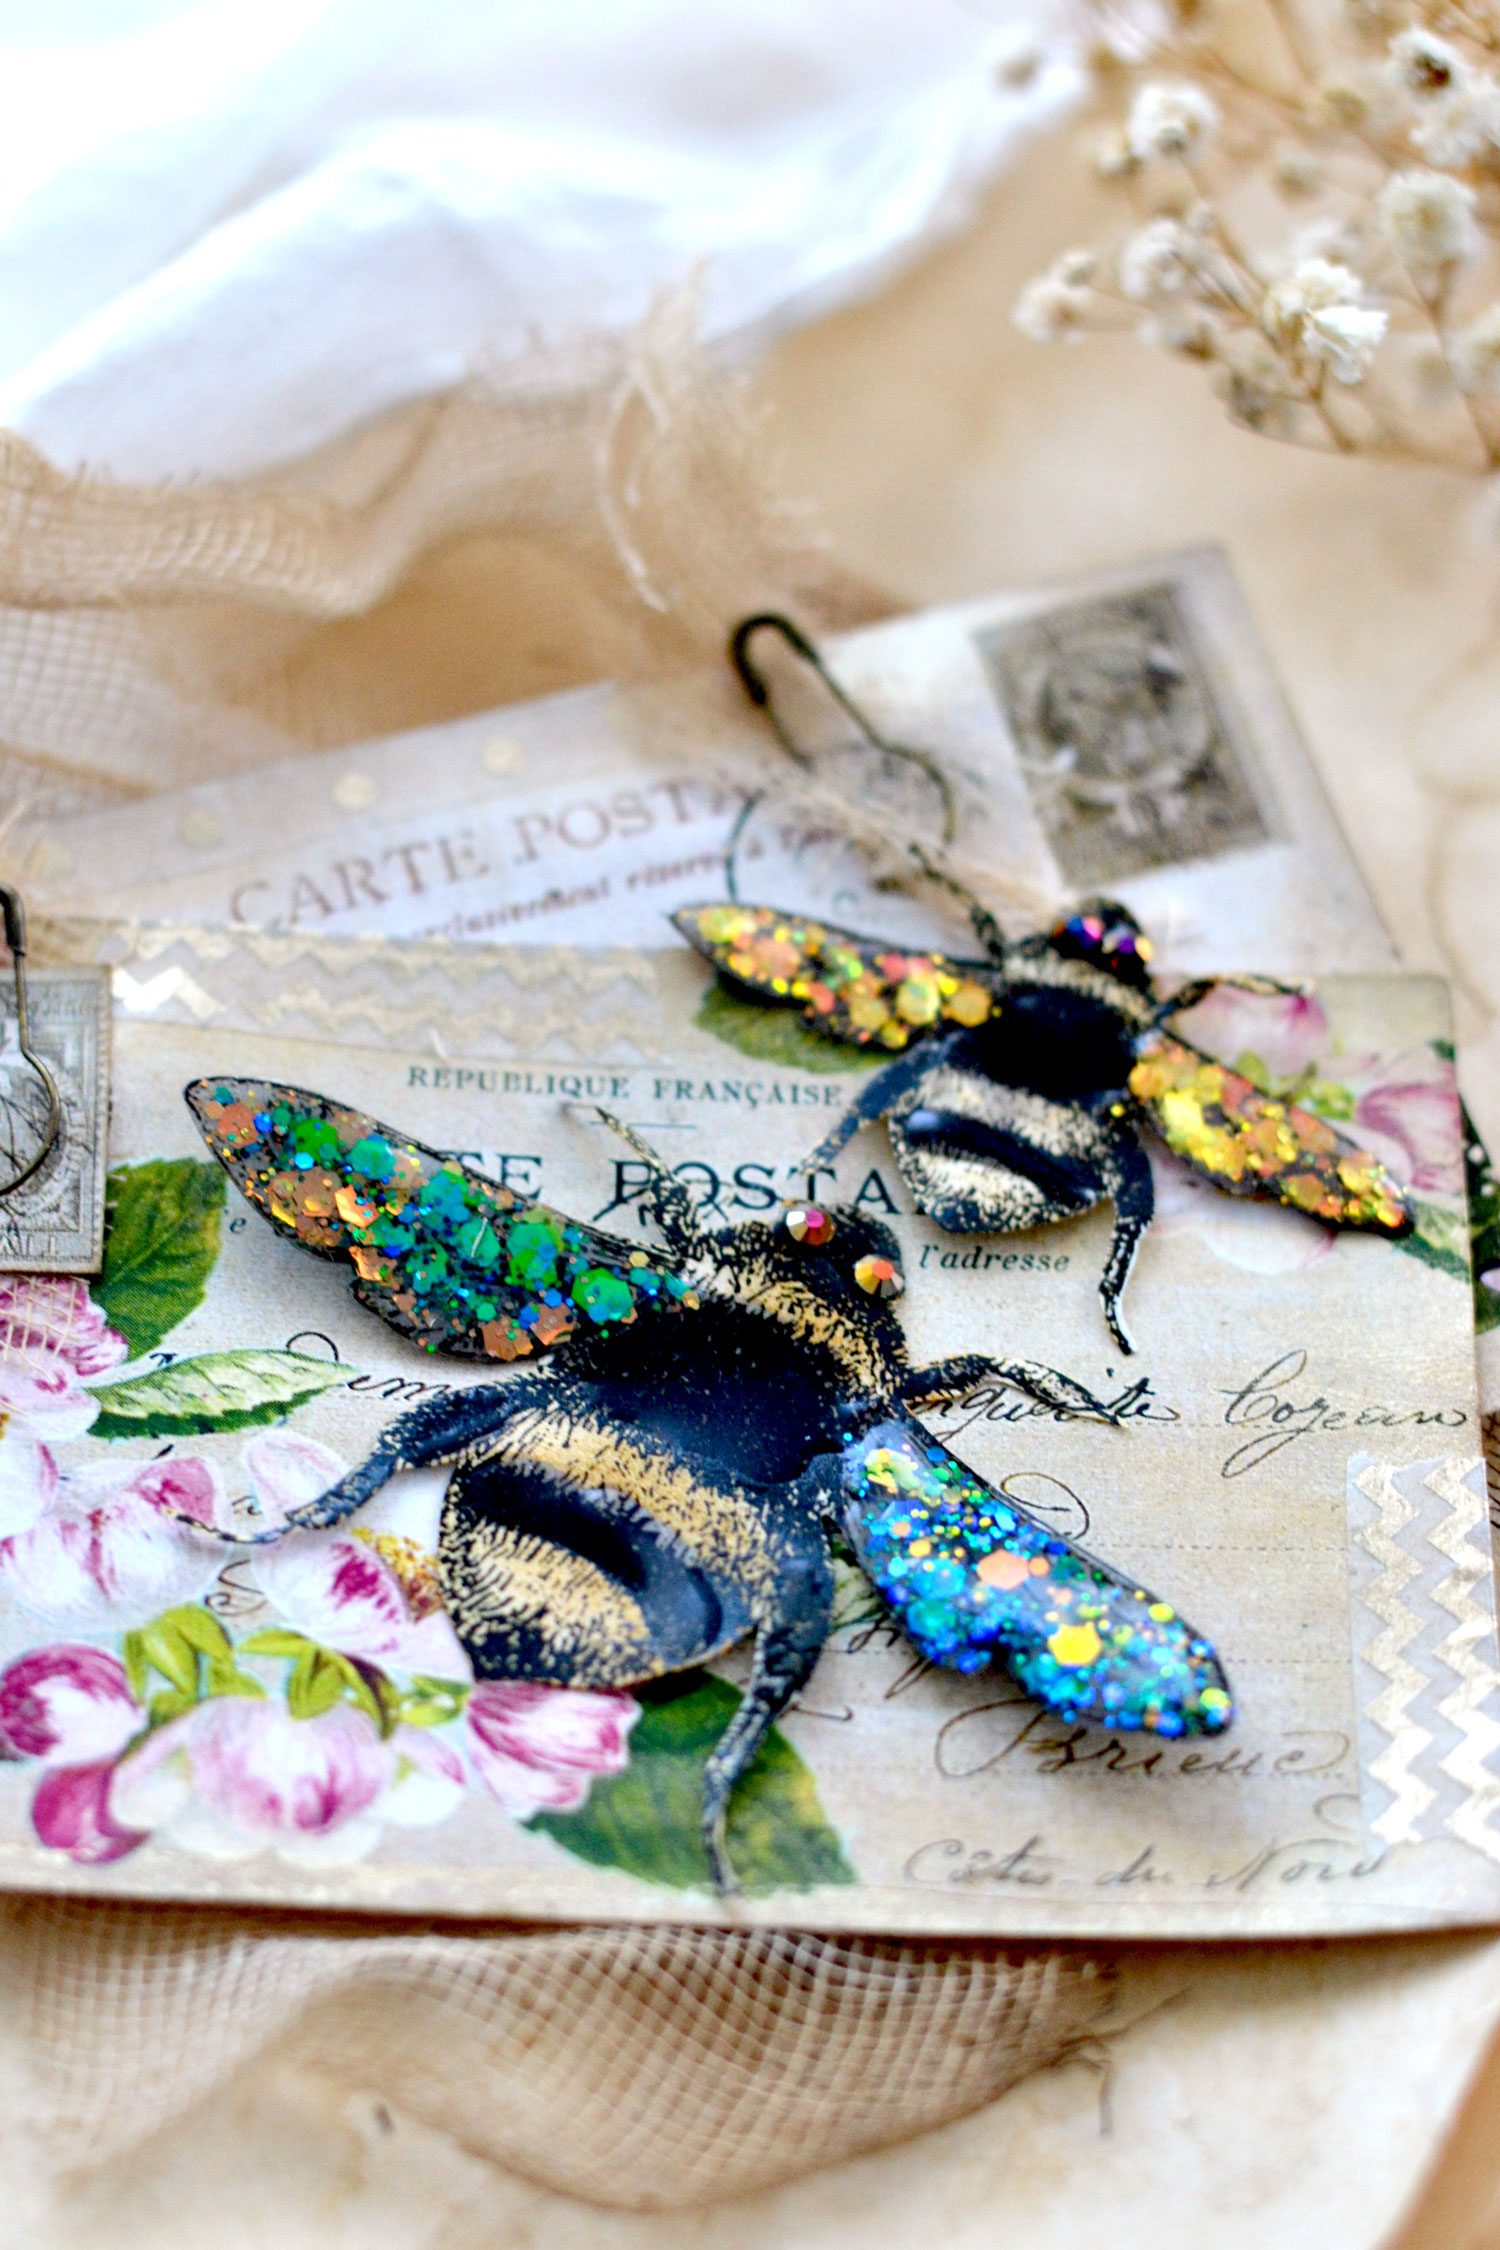
I couldn’t stop admiring them from all angles! You can see stunning effects created by different lighting when admired from different perspectives.
The chunky glitter becomes completely encapsulated into the gel nail polish and depending on the type of gel you are using, you will be able to create a beautiful raised dome effect on your wings.
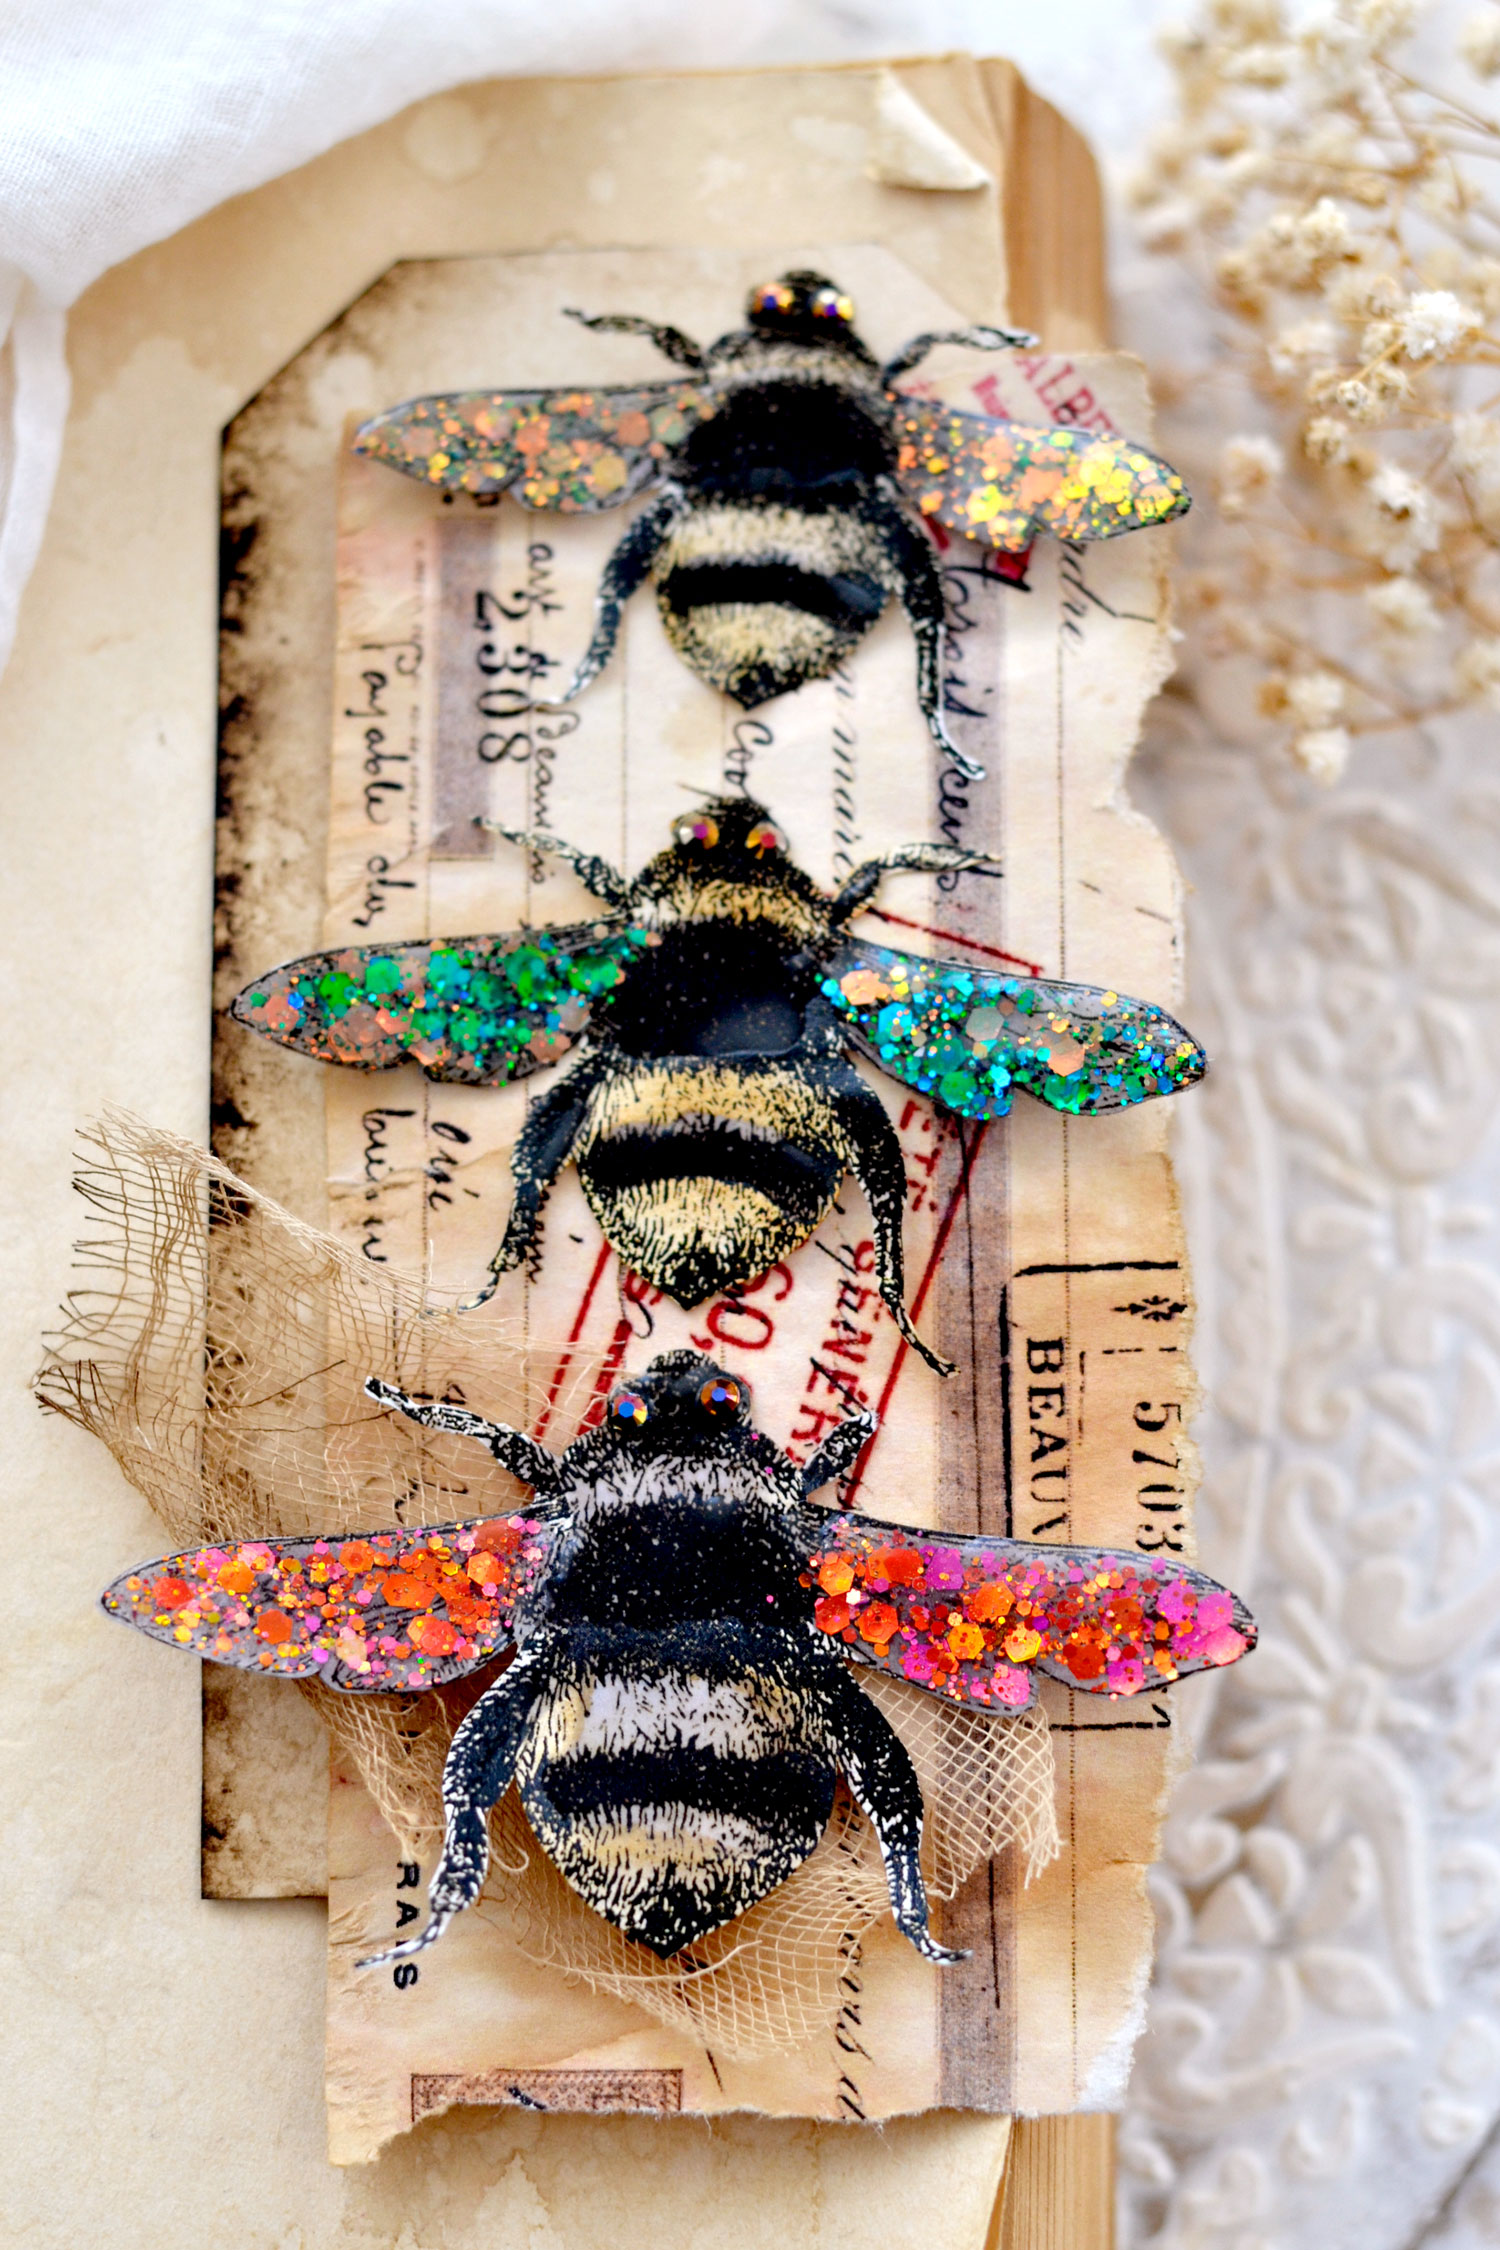
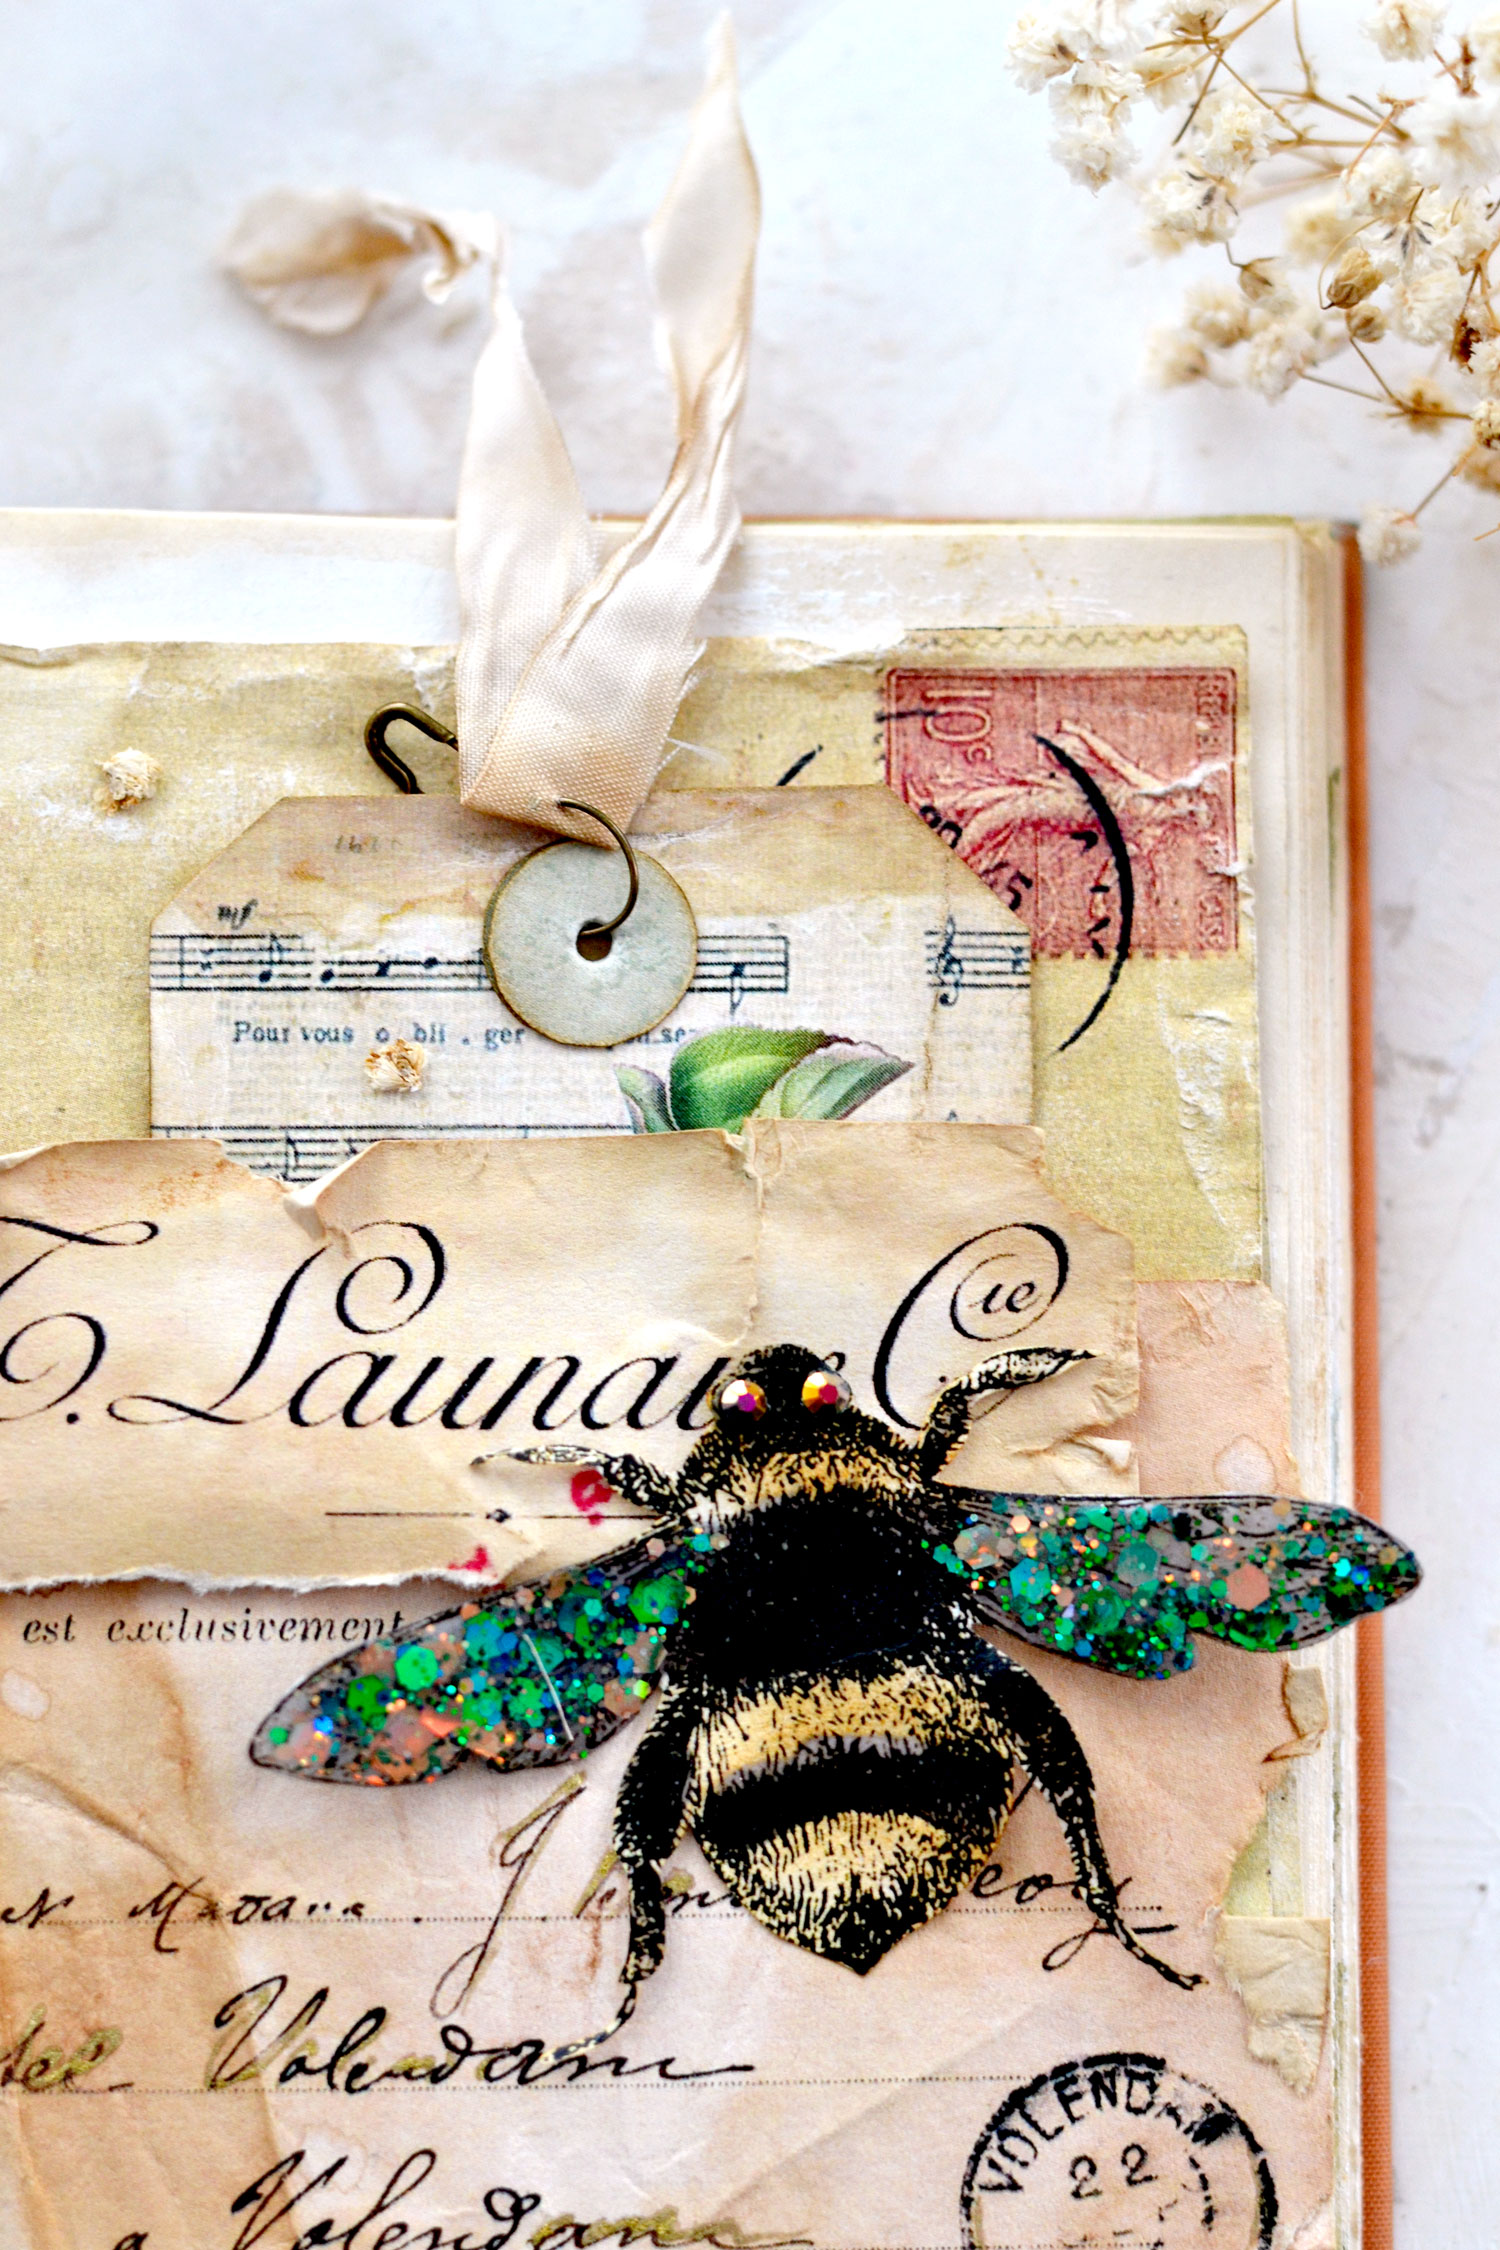
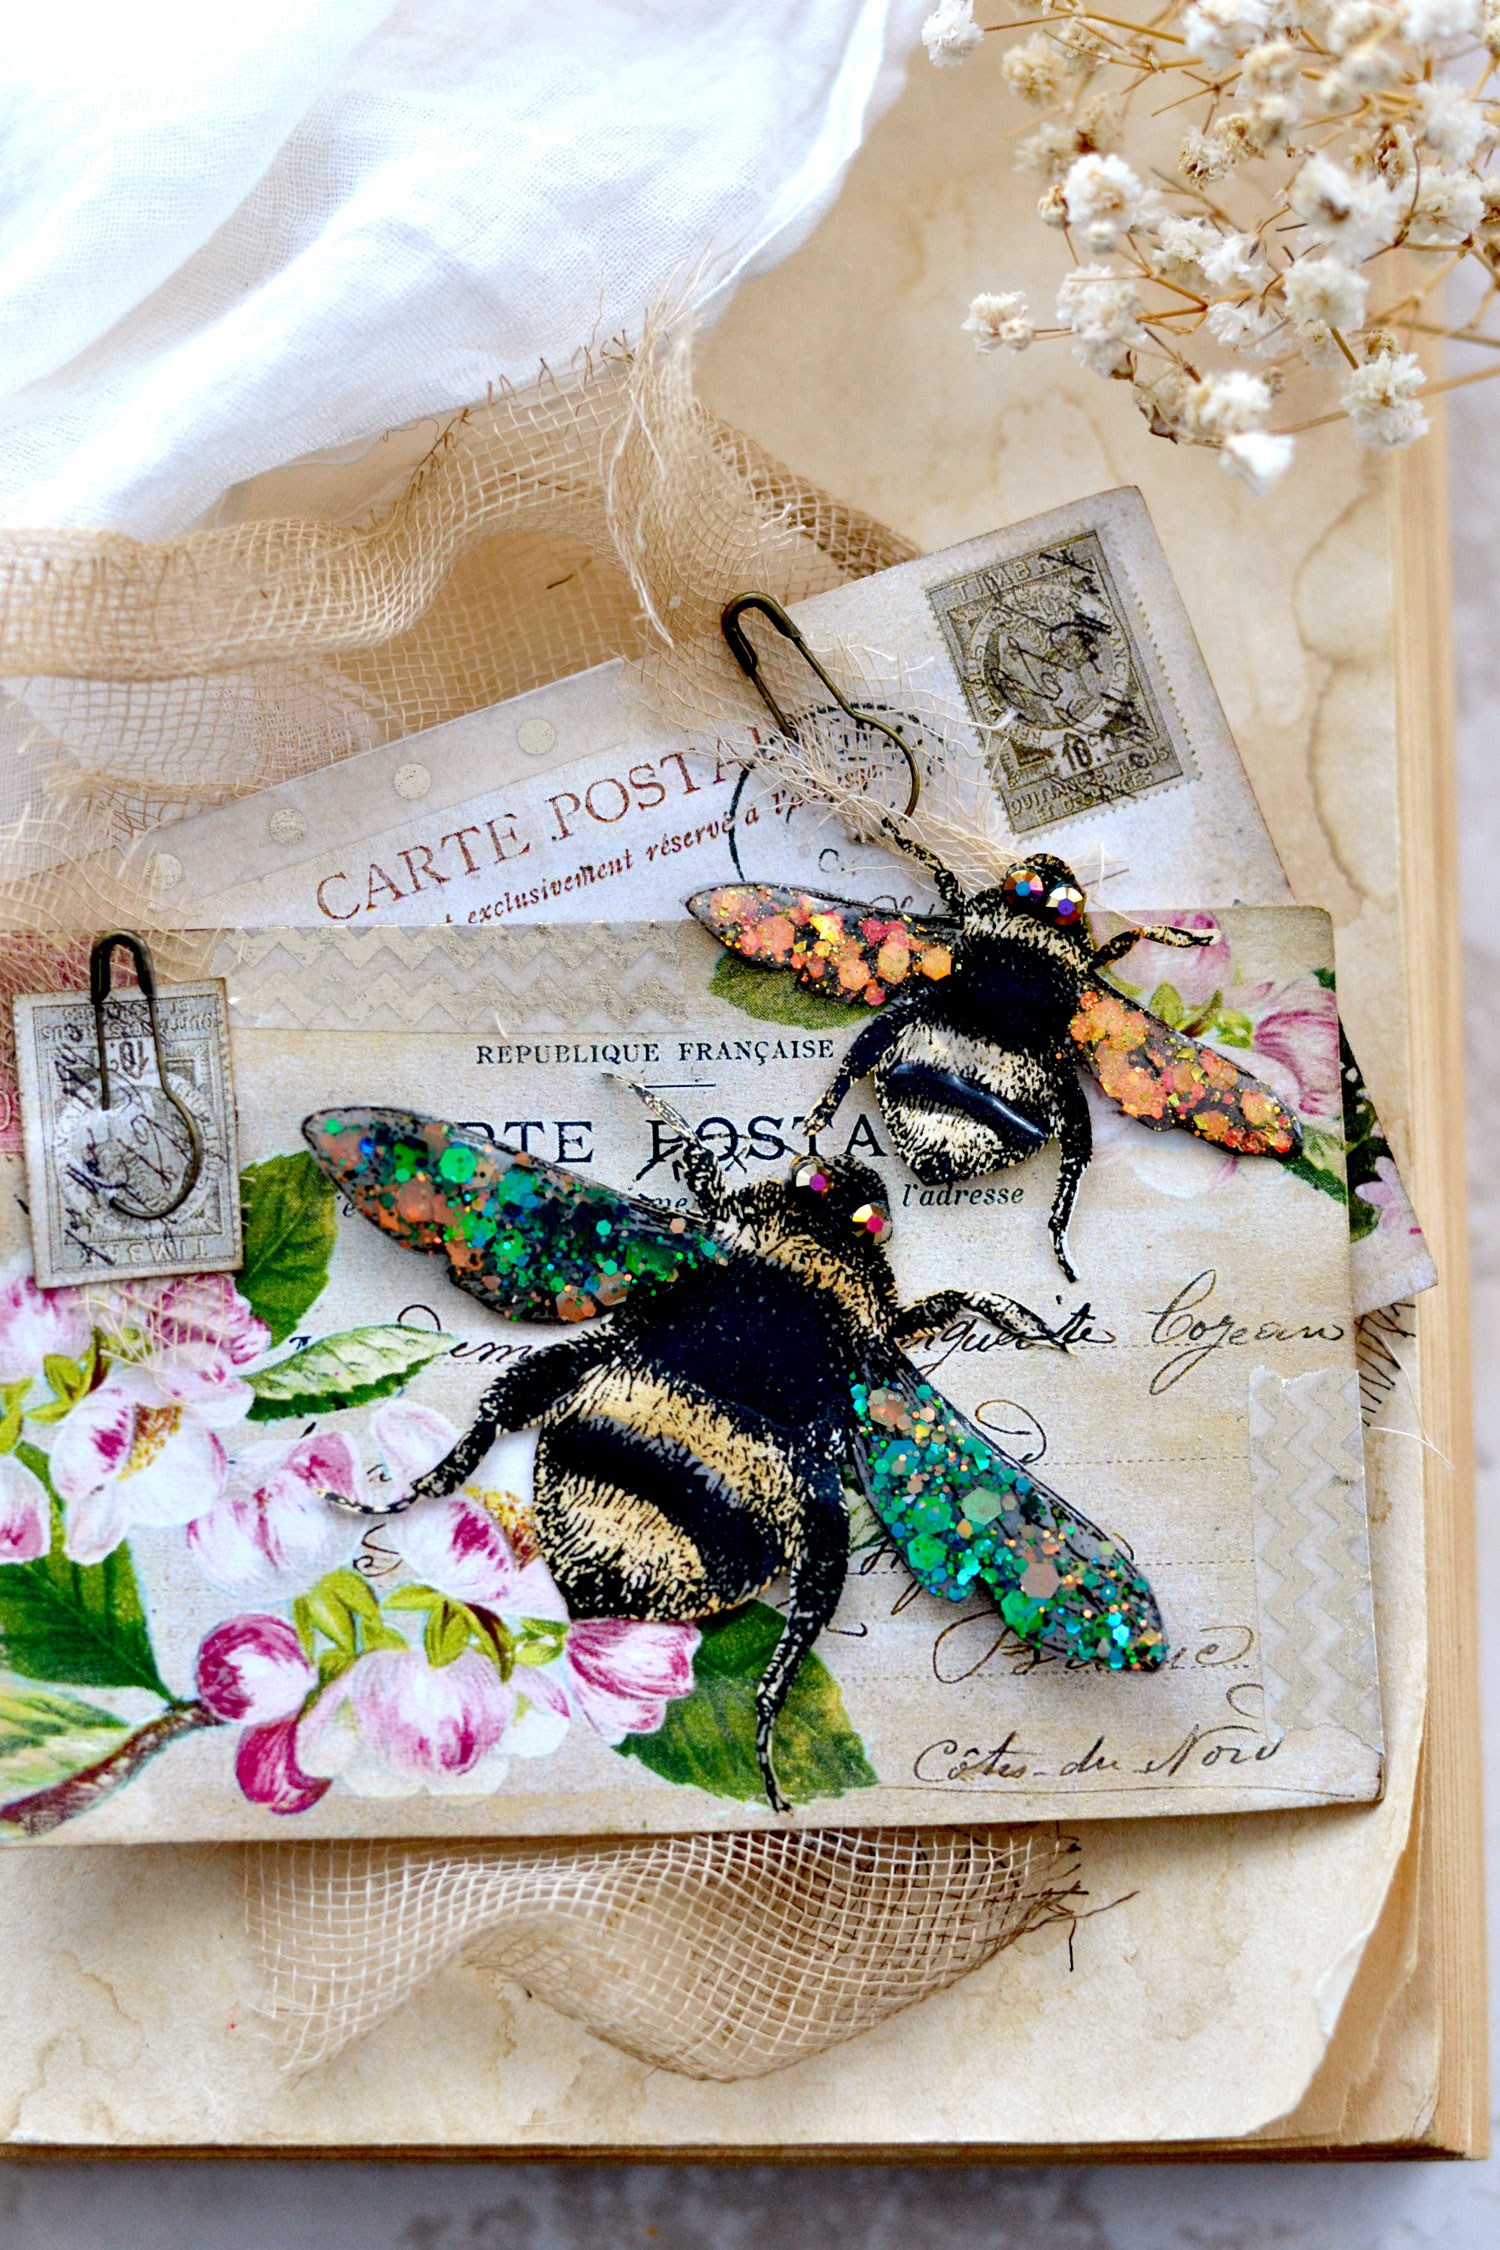
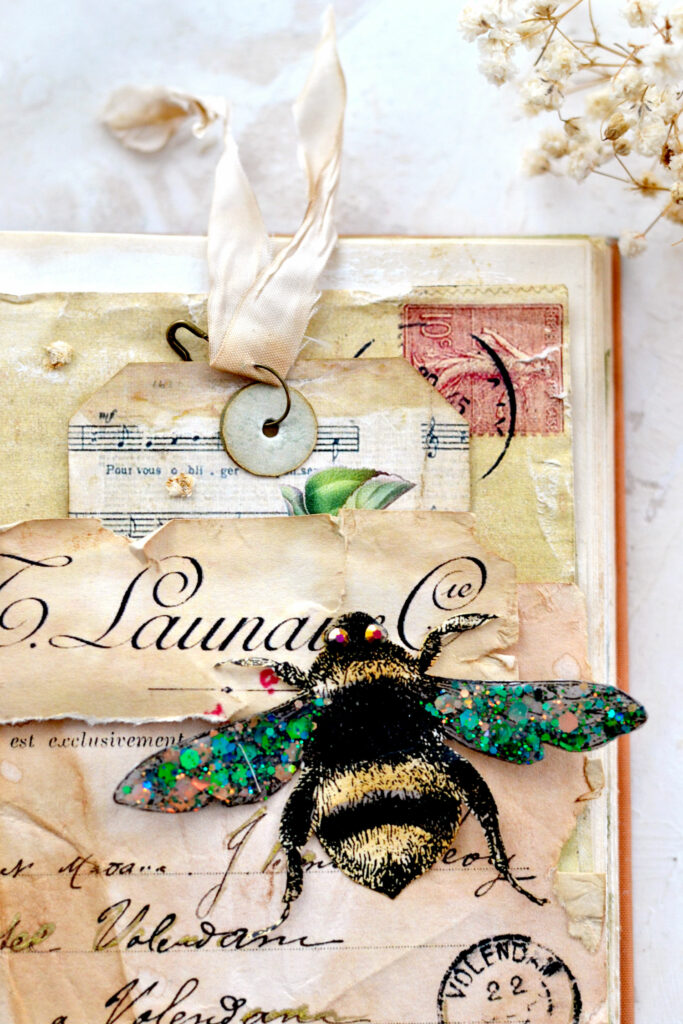
I was curious if these vivid glittery colors would look good with vintage papers or scrap pieces of ephemera and I was happy to see they were a perfect match! Can you believe how stunning this green-bluey-gold bee looks?
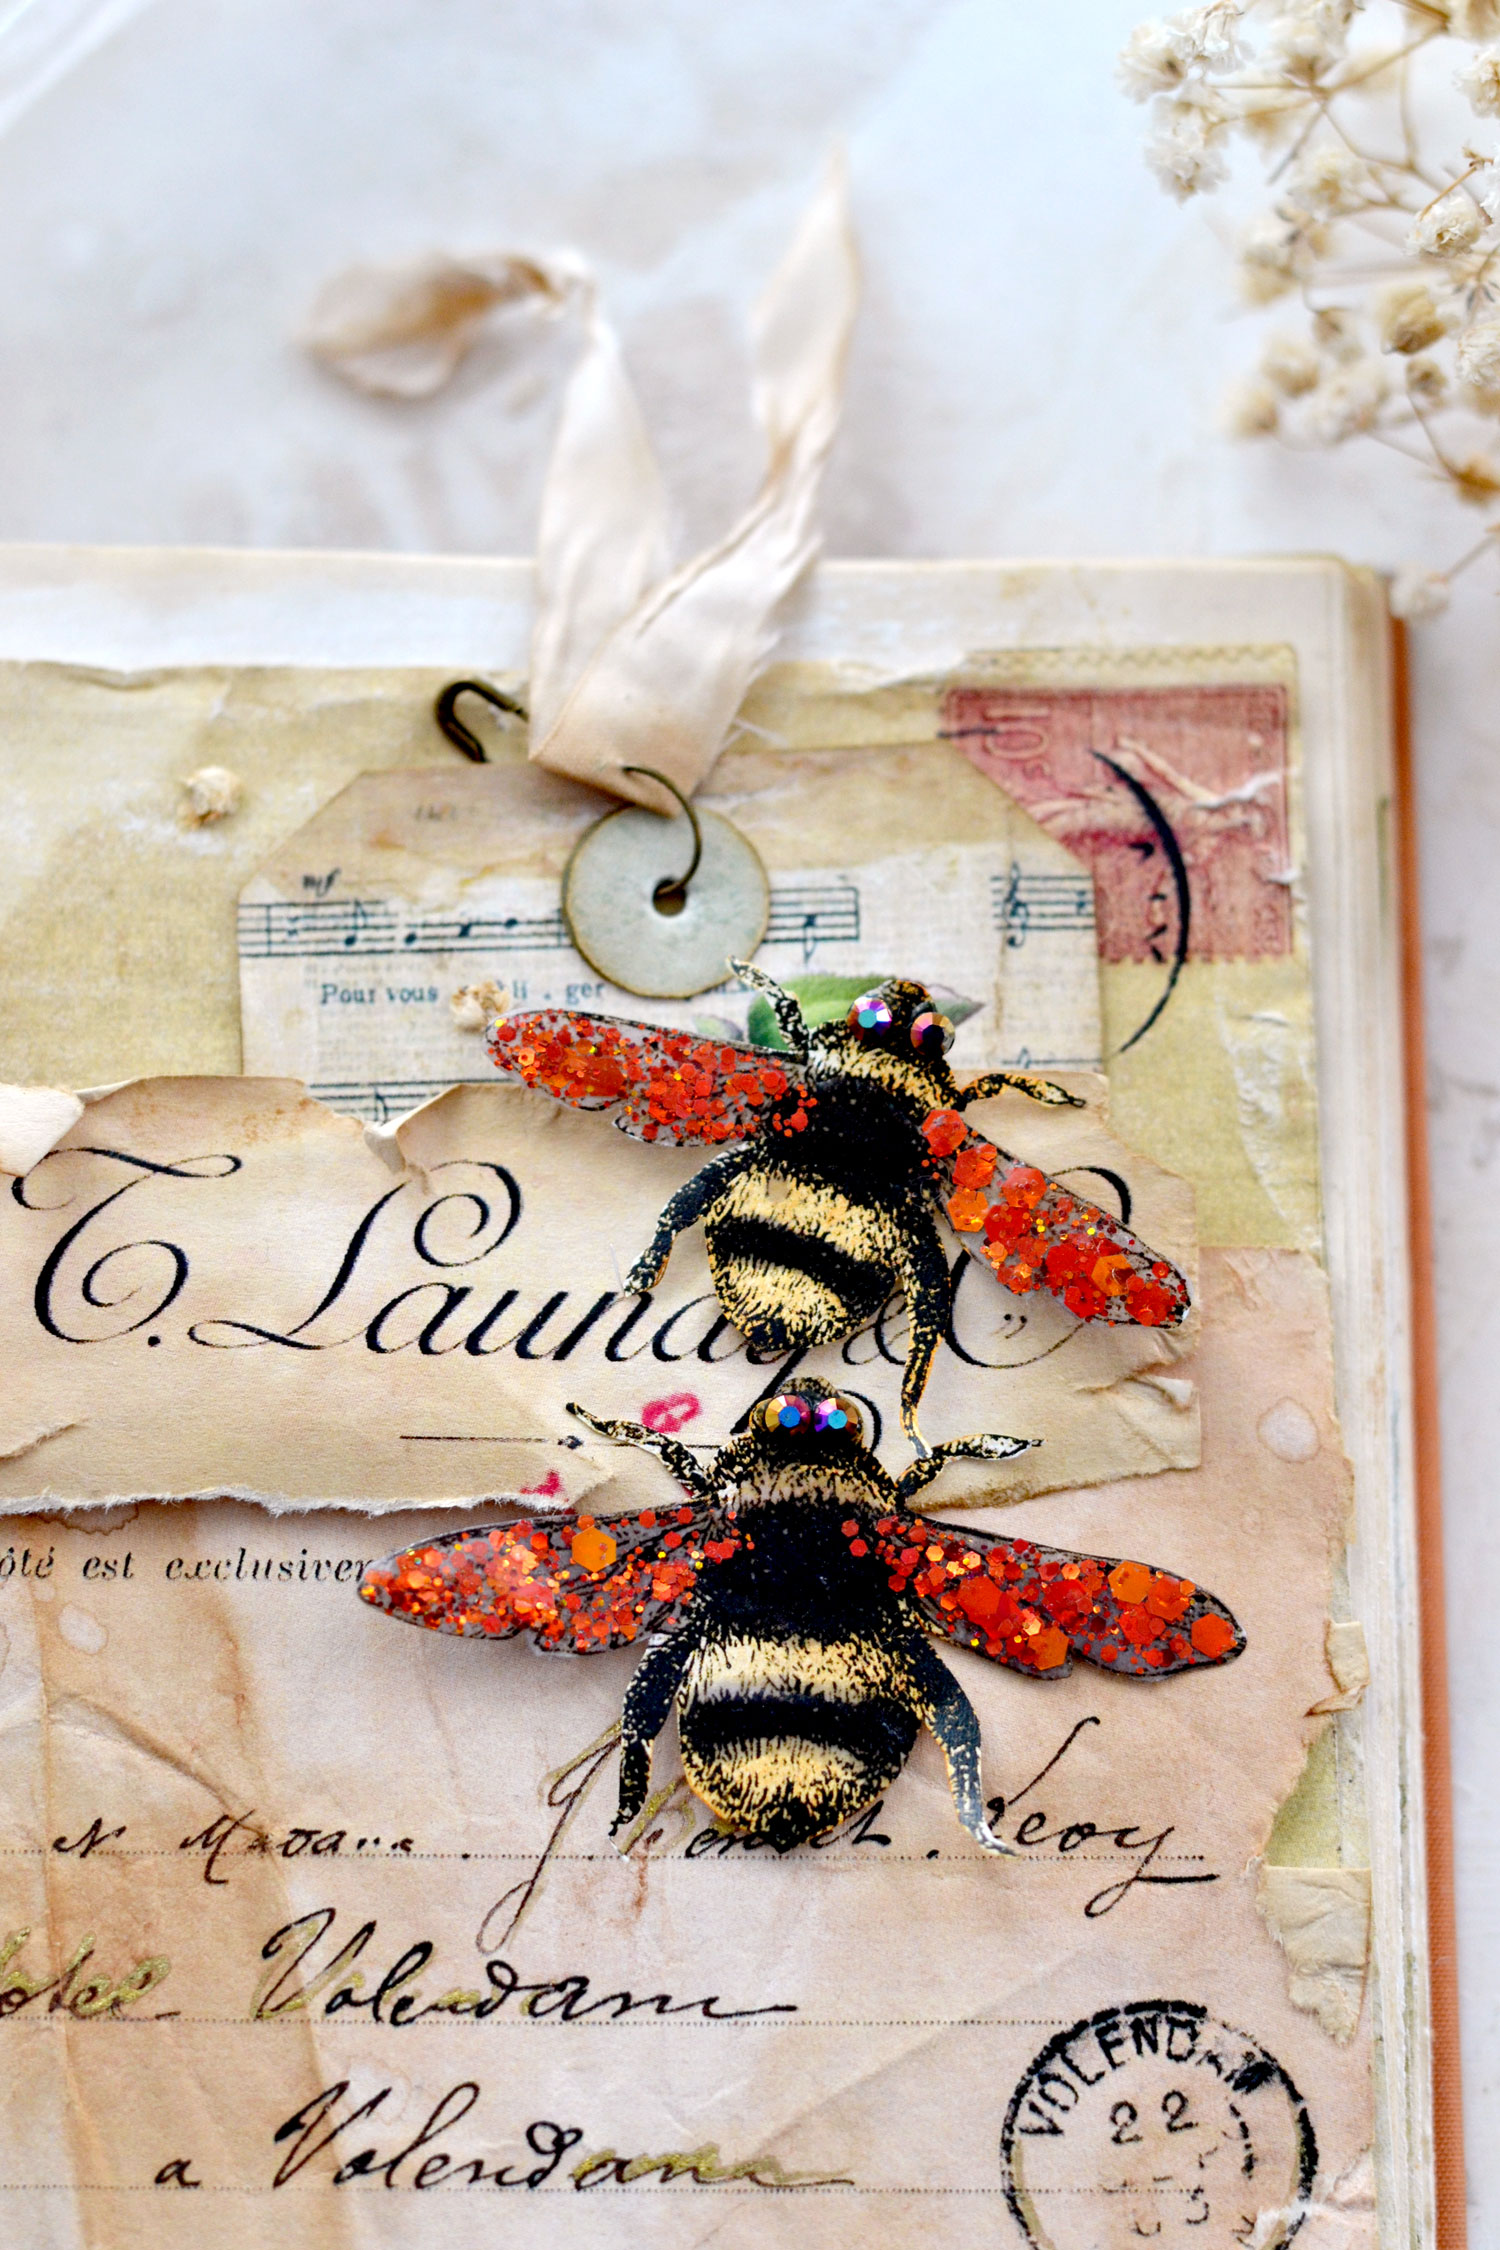
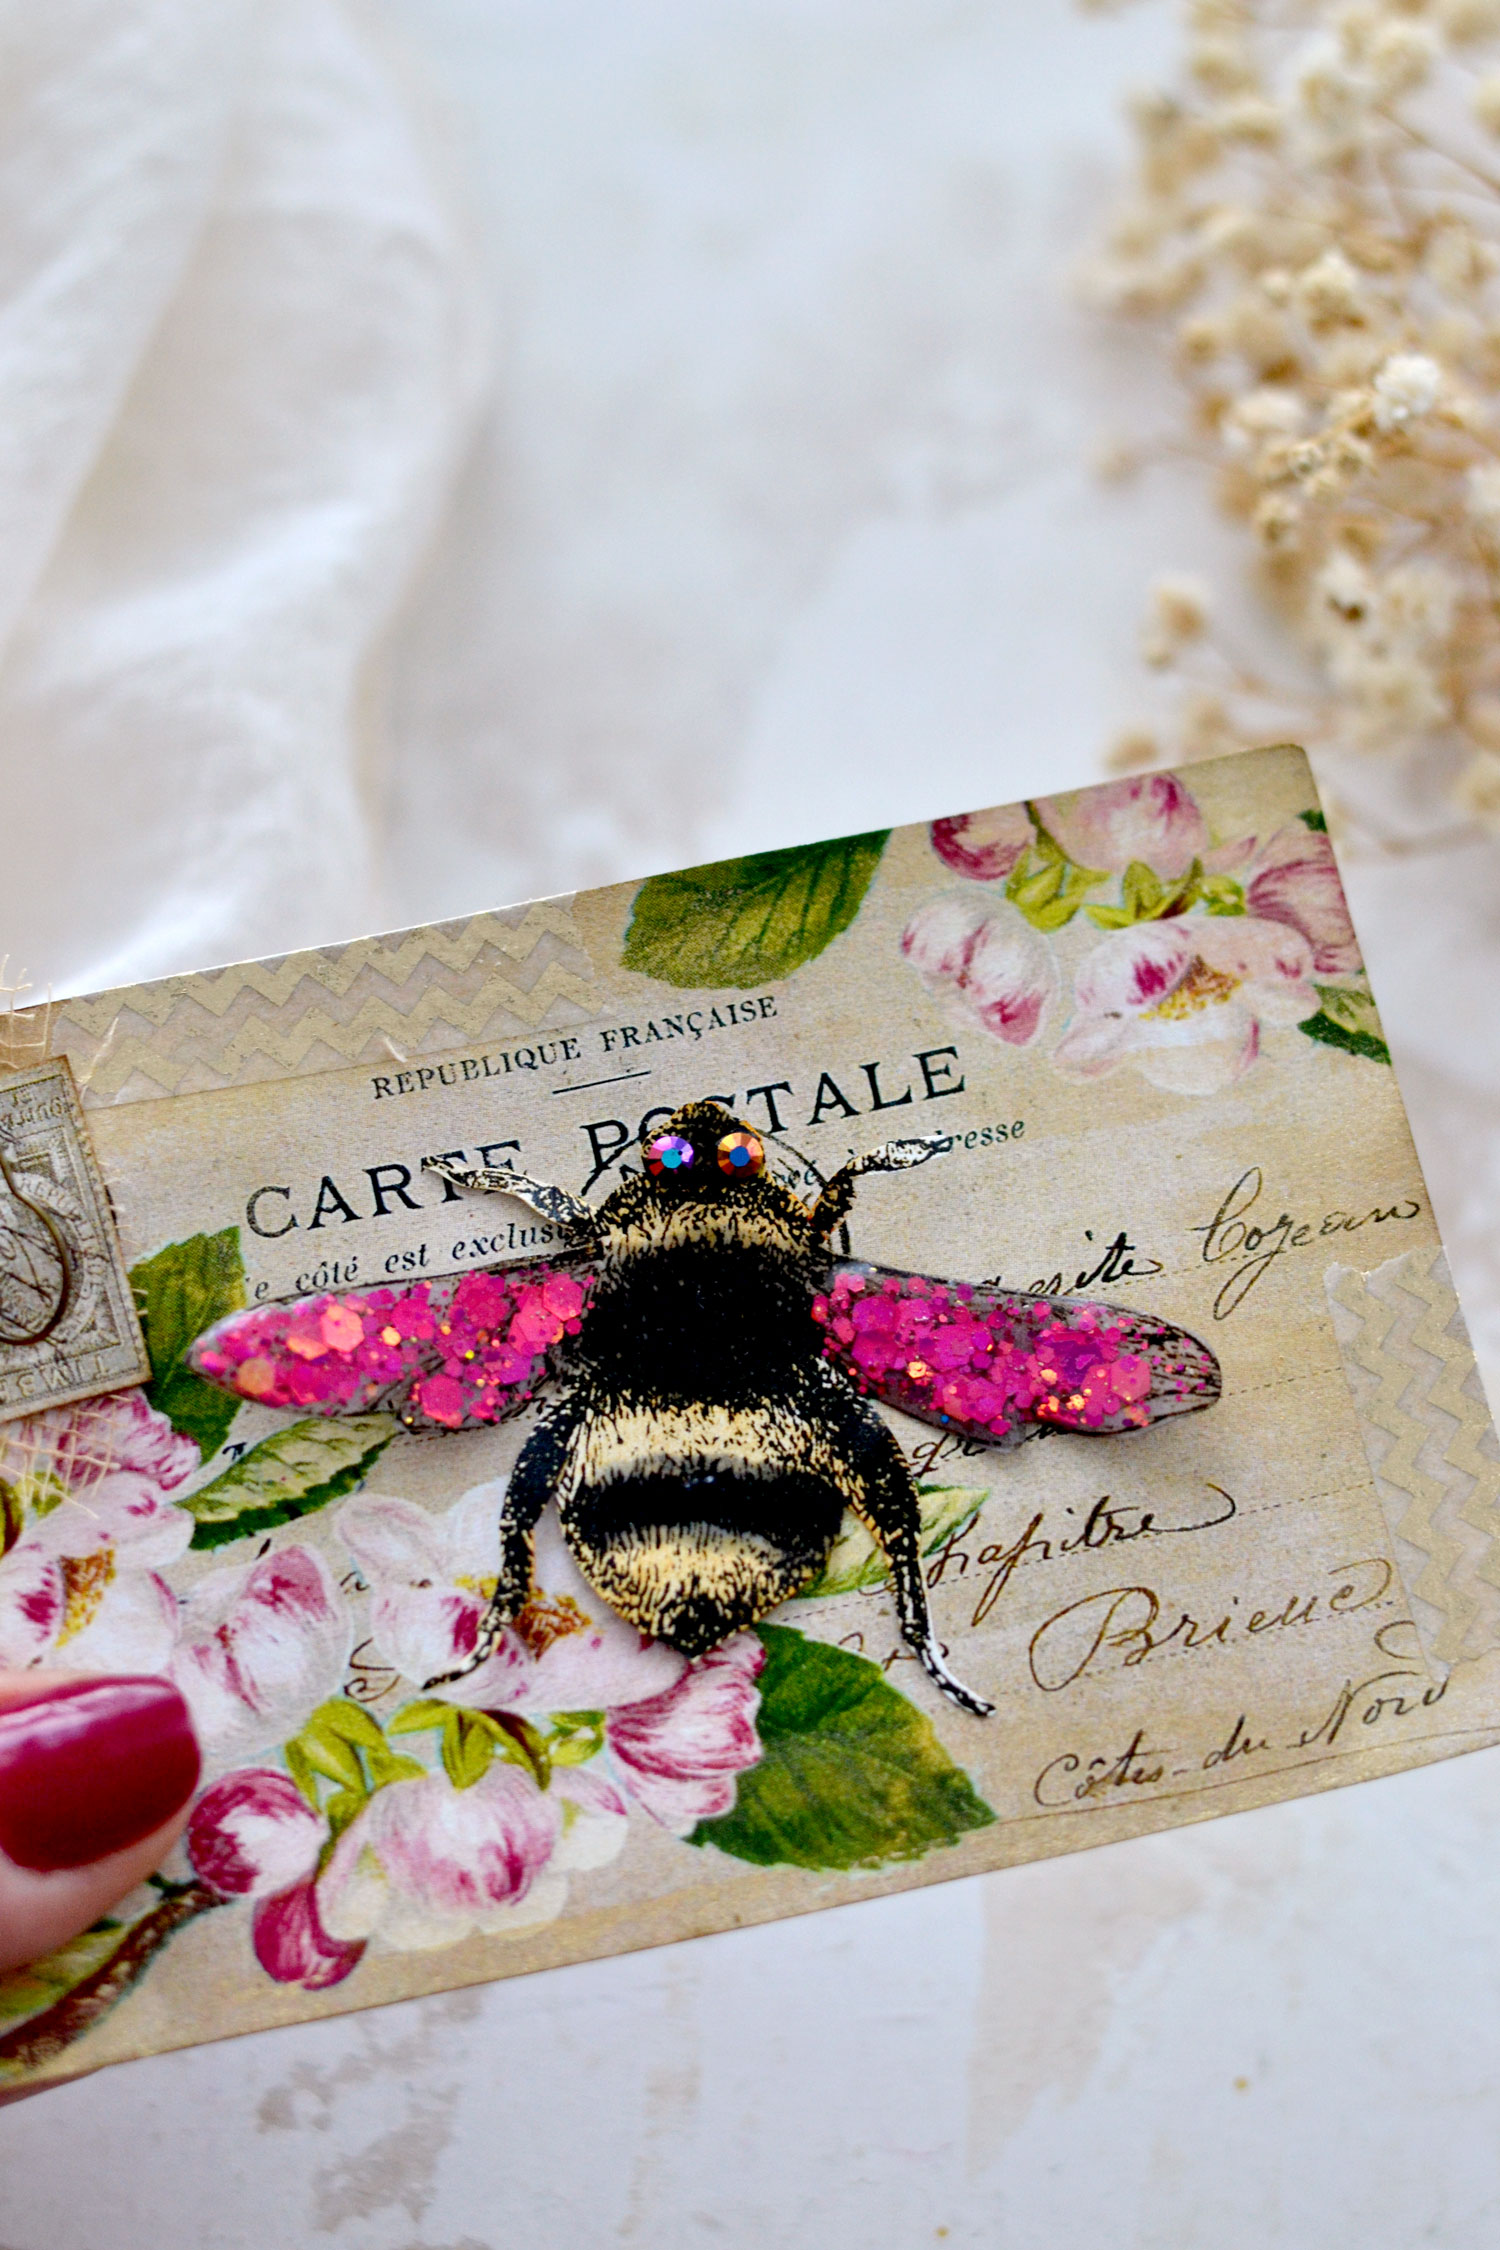
I would say some of the colors would make quite a bold statement on your creative projects, but that’s a great thing! I think these orangey-pink ones look absolutely gorgeous, we sometimes need bold statements to bring that touch of quirky color into our lives!
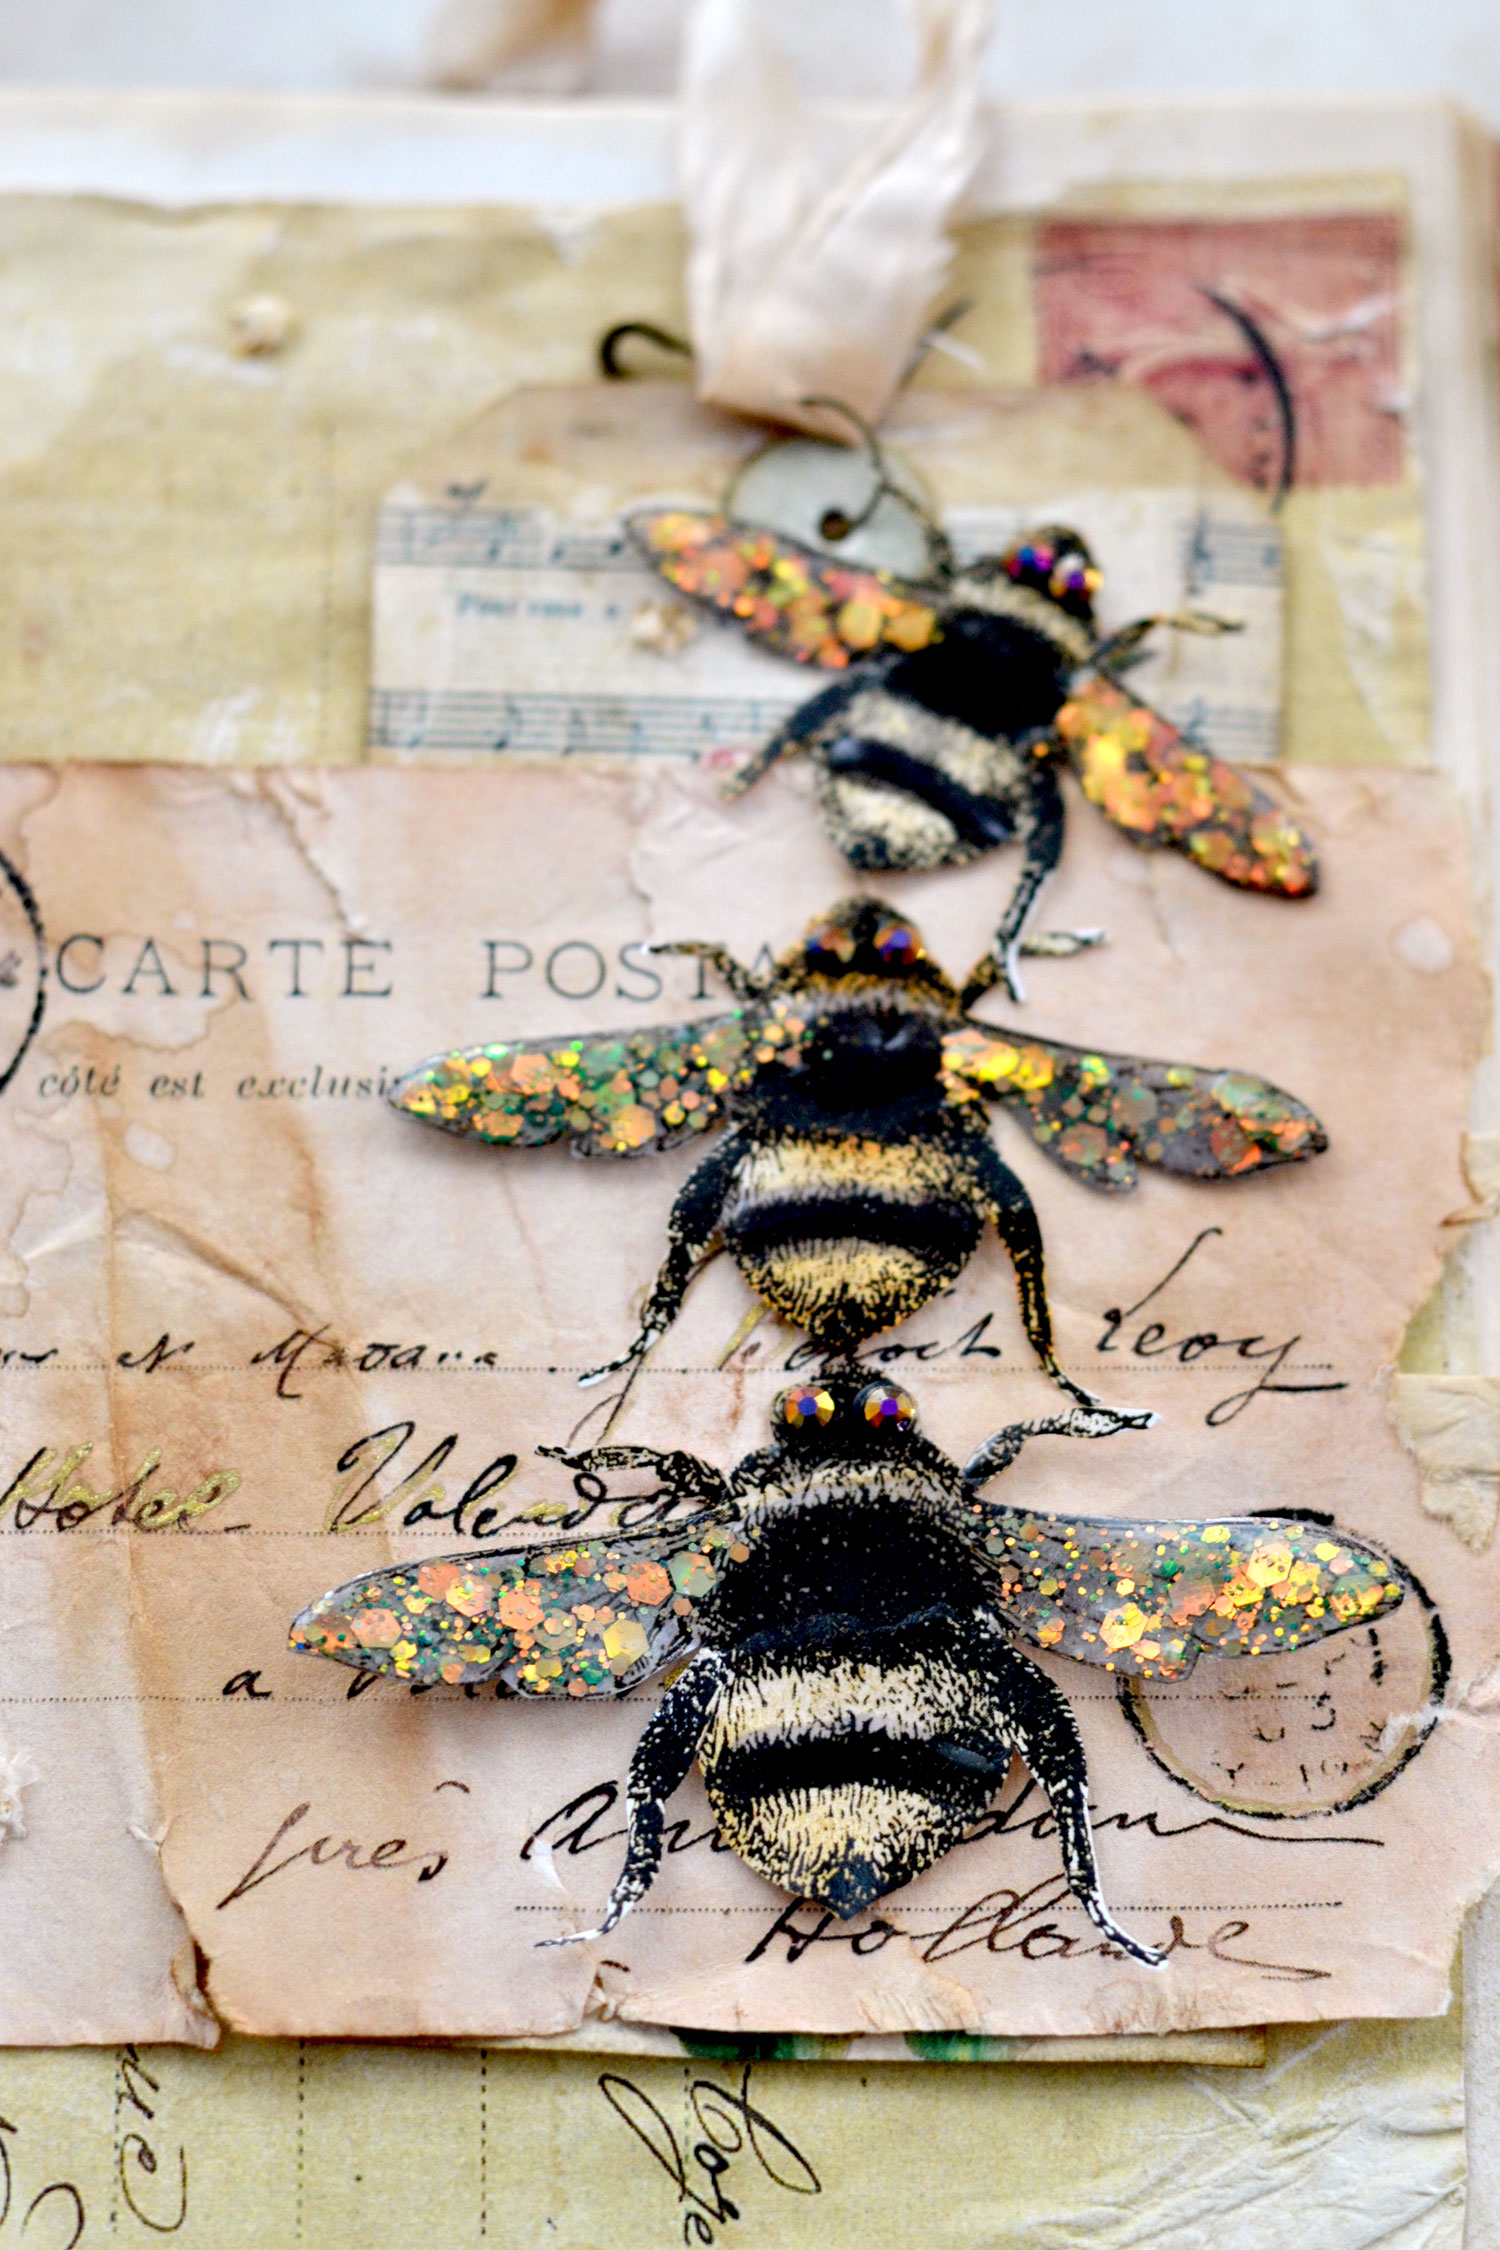
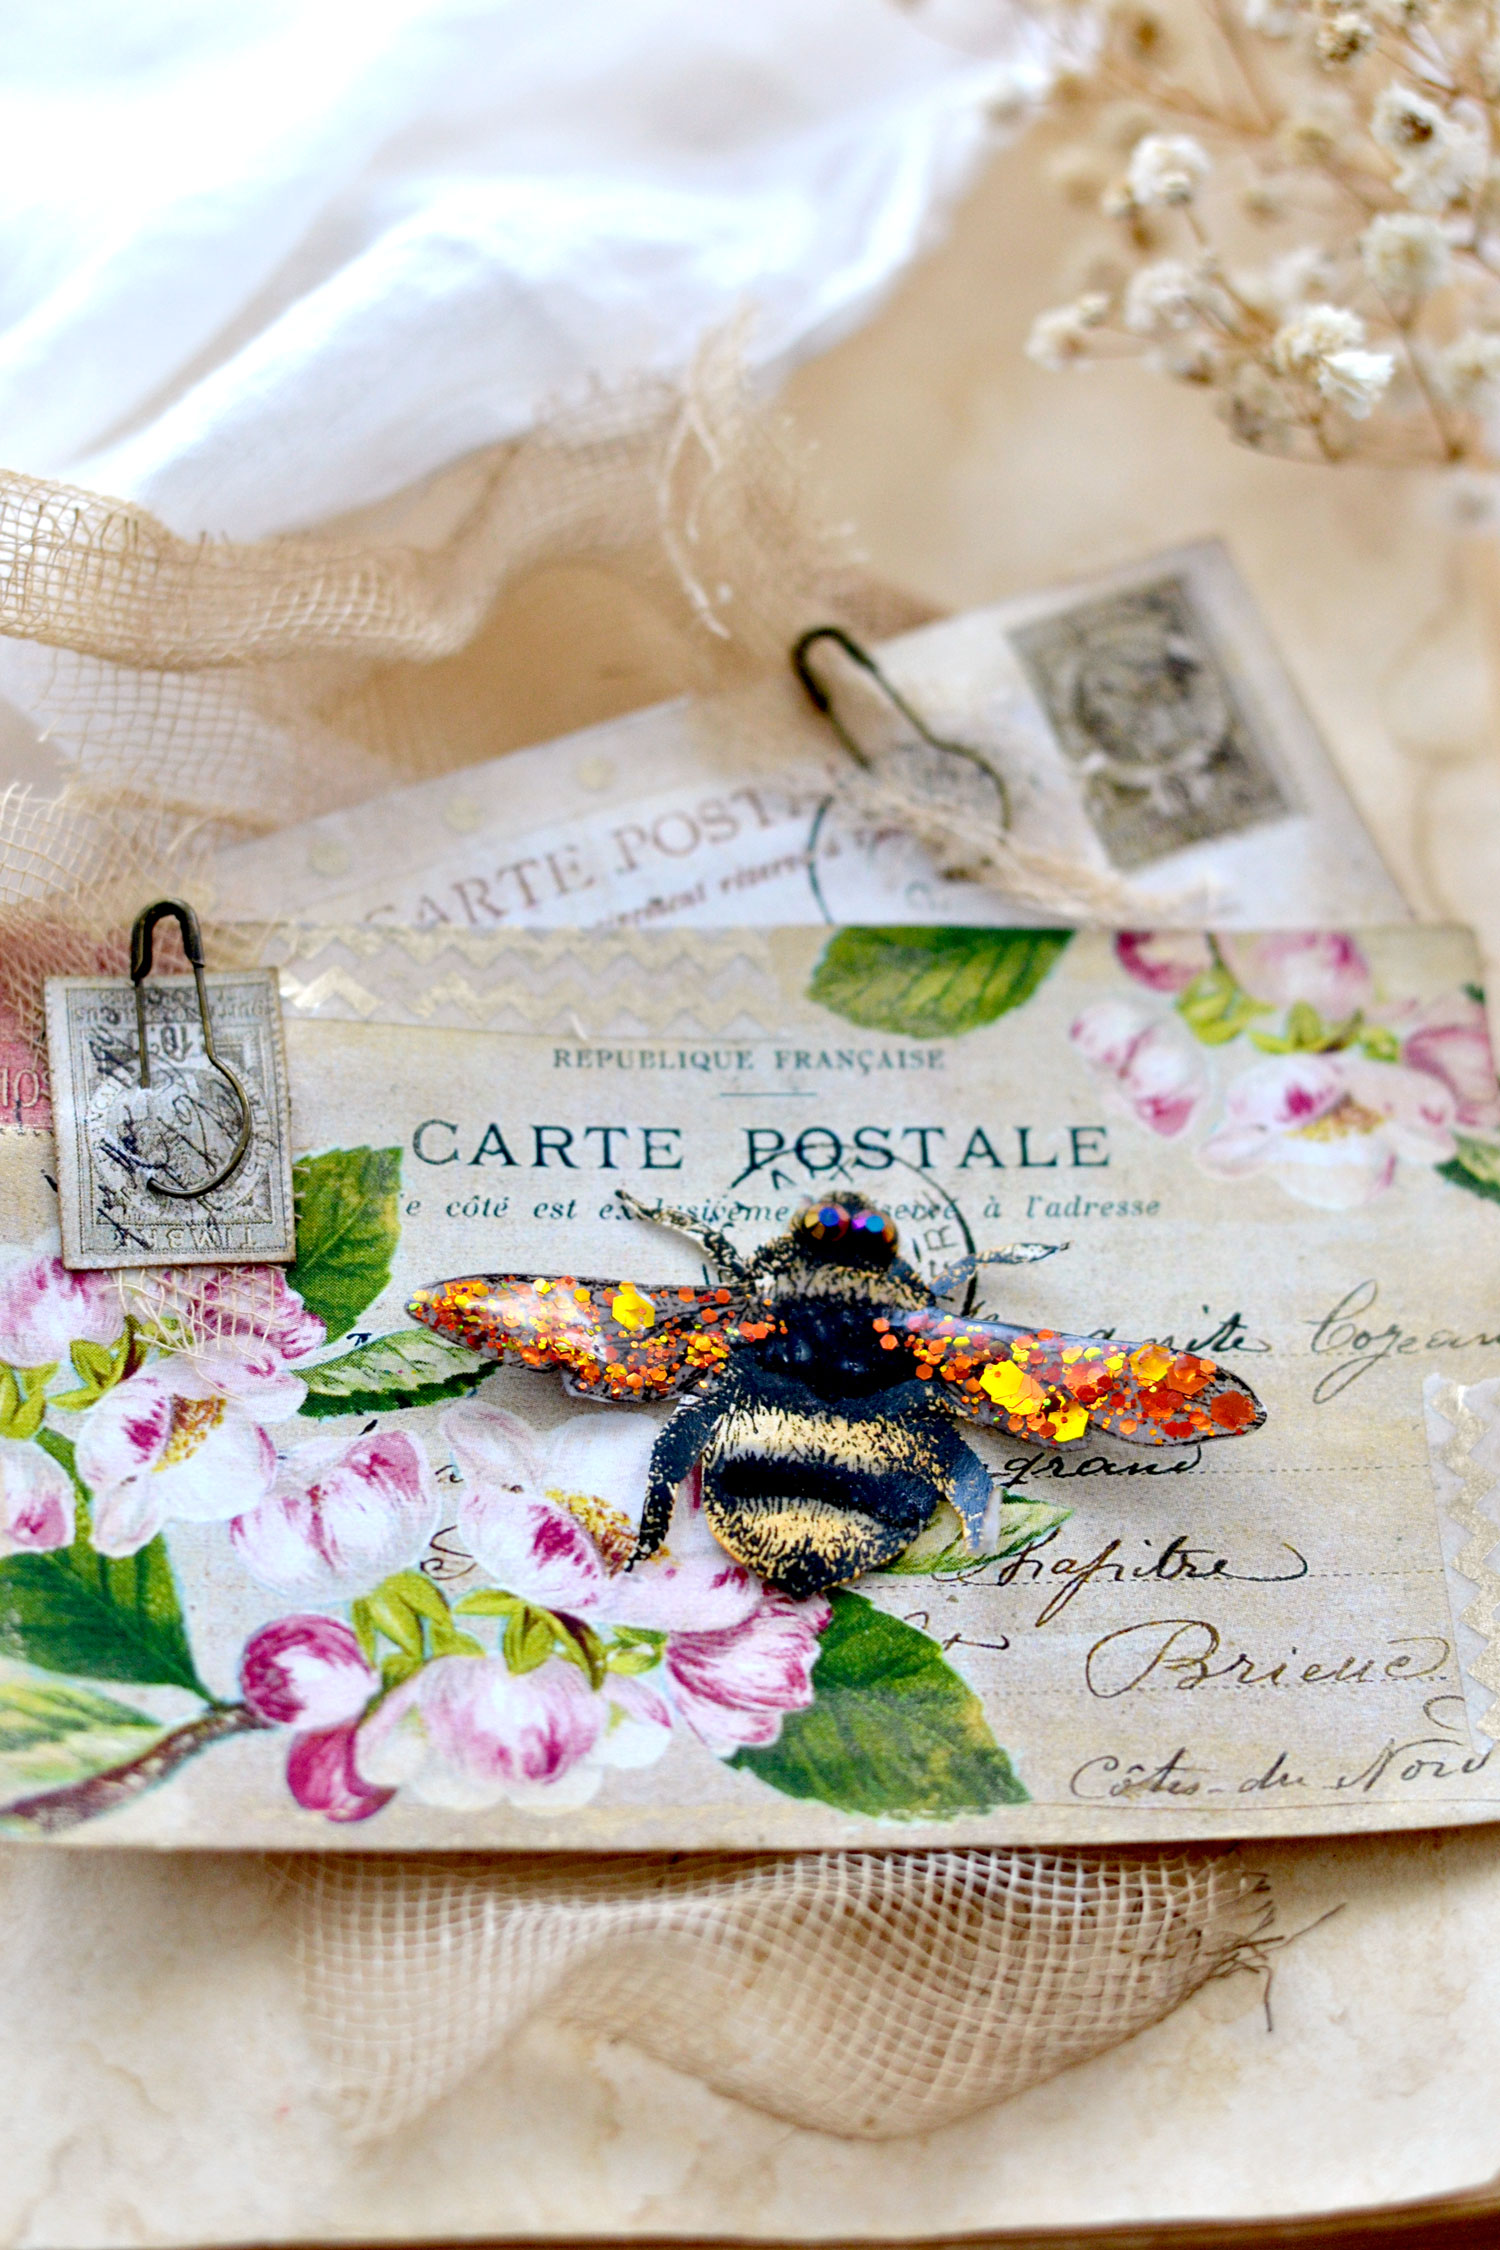
If you want to keep things more on the neutral side, you could use these gold bees, which are more universal and look stunning with all sorts of vintage papers!
I had so much fun creating this project for you, so I hope you will decide to give it a try! You could also use some clear transparent sticker paper that has a glossy or matte finish, I think it will look amazing with these.
One thing that I noticed is that the gel nail polish will create small bends in the paper when it soaks through. That didn’t happen on the wings, but more on the areas that I didn’t completely cover with gel. If you look close to the image below you will see something like this on the large stripe on the body of the bee. I think that maybe next time I will try to cover the surface of the paper with some Mod Podge before and let it dry, so the gel doesn’t sip through all that much. I didn’t mind this small accidental warp, but it might be something you want to consider when you start experimenting on your own.
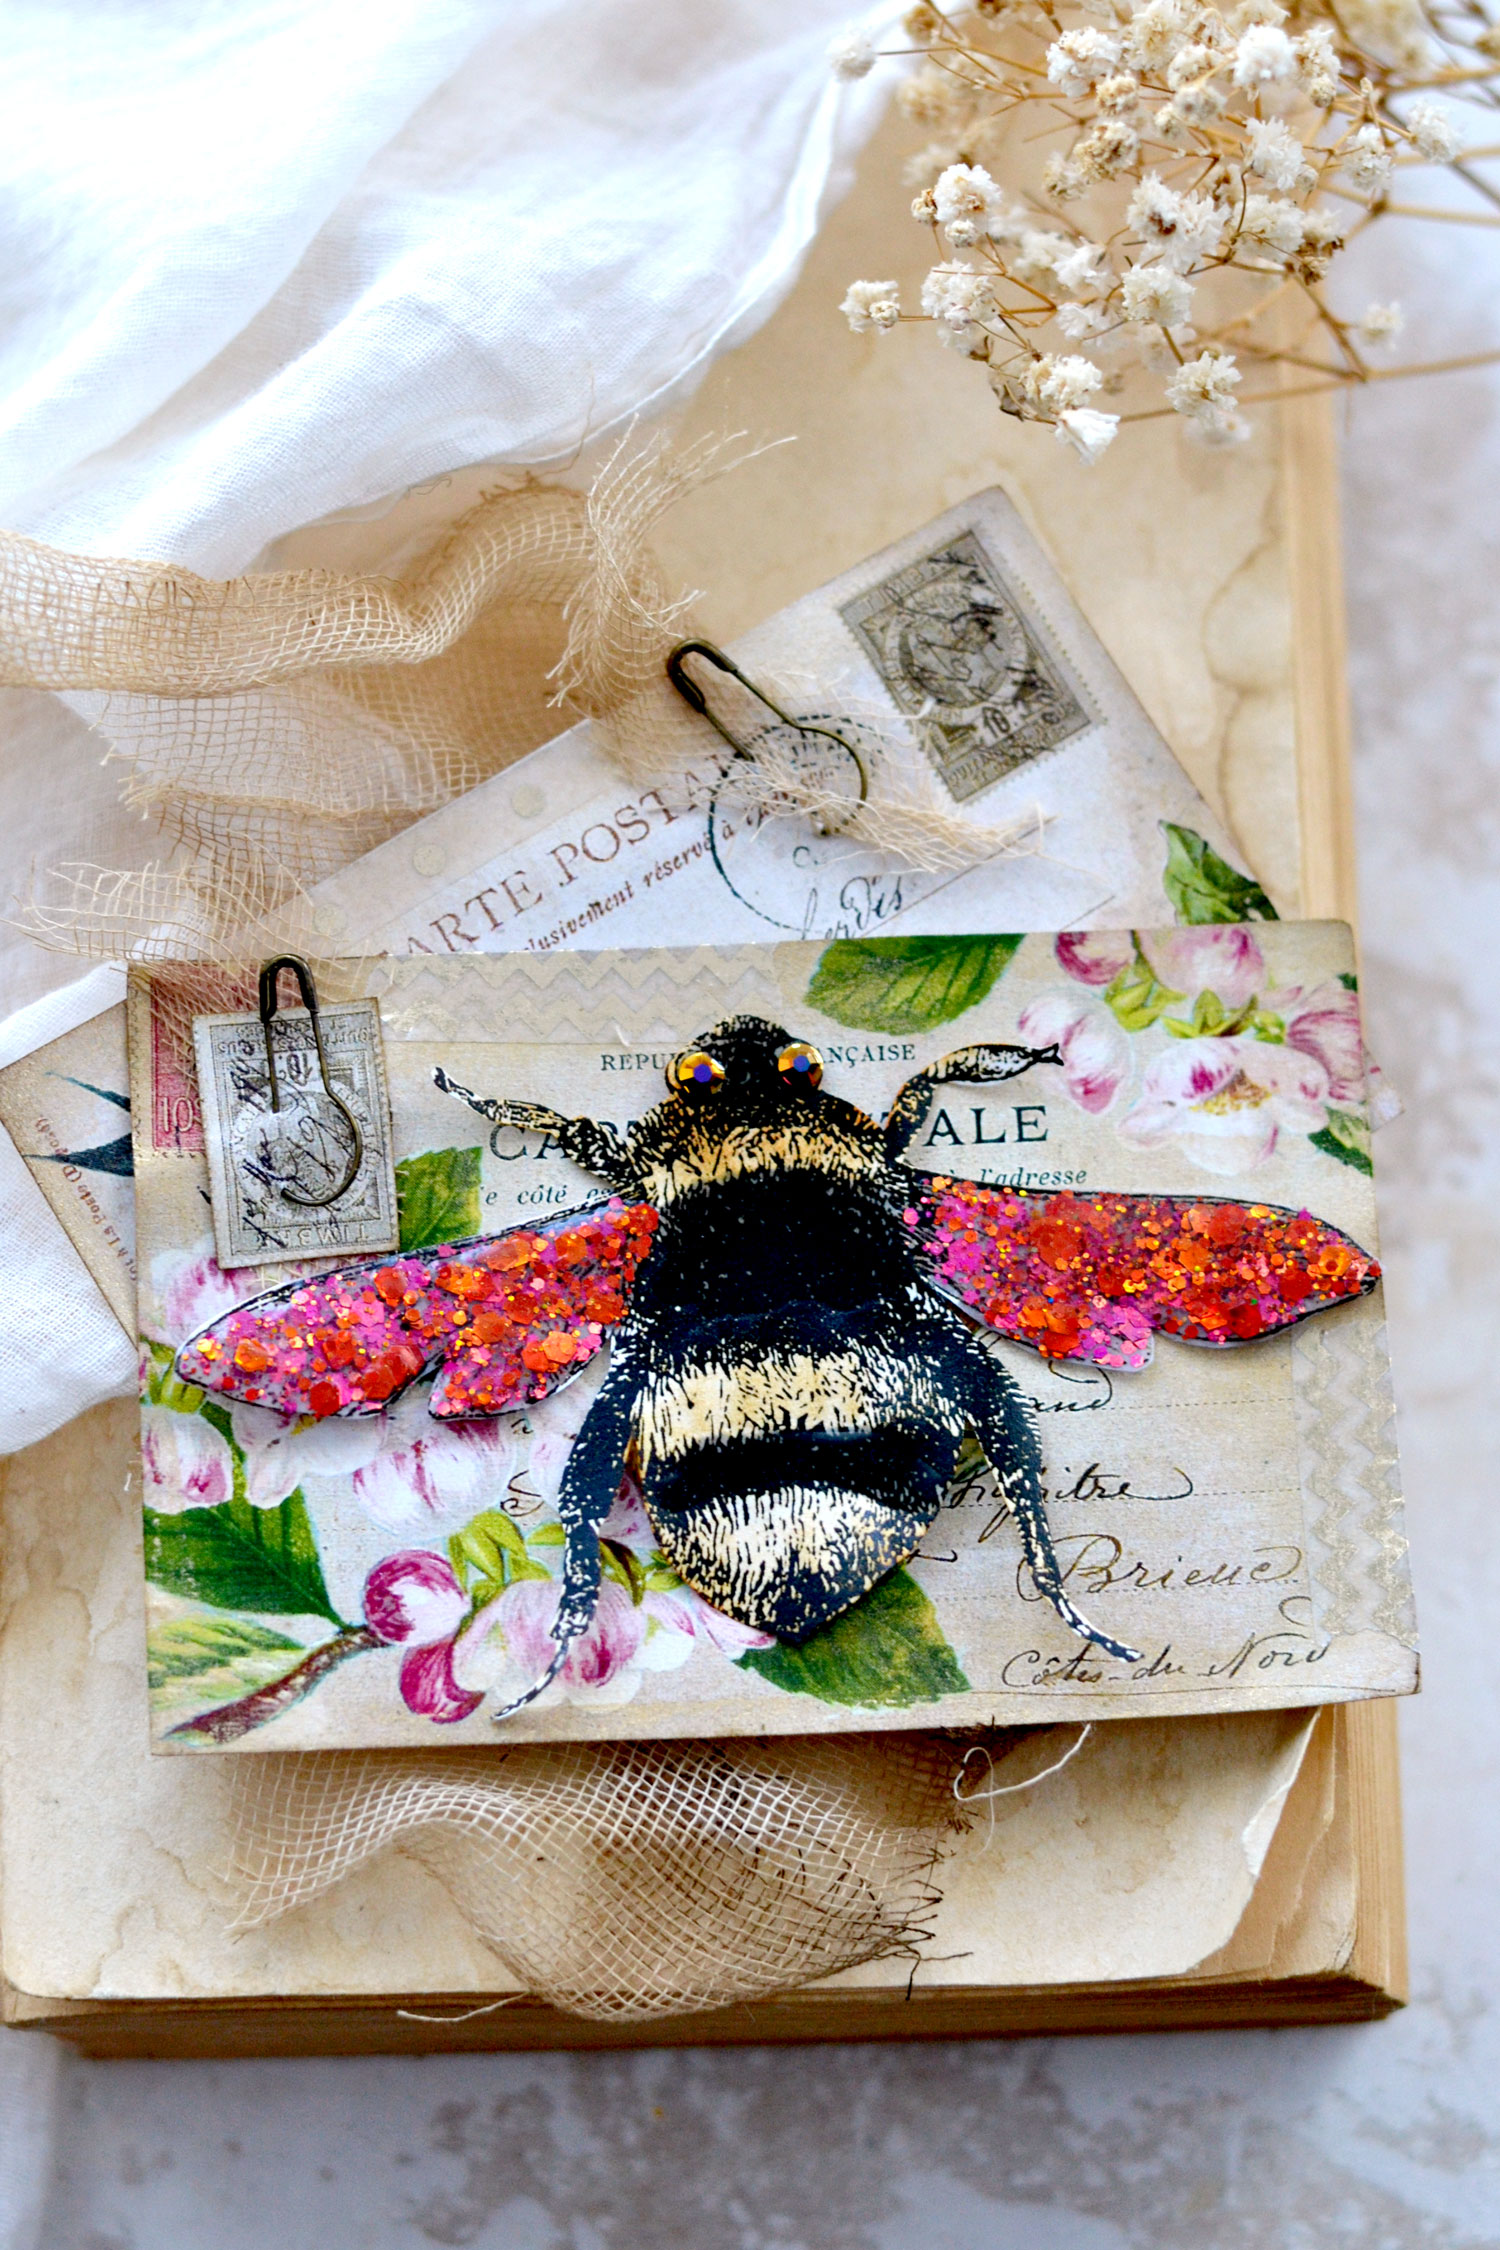
Here I used the bees with a lovely postcard with apple blossoms from my DIY Spring Postcards tutorial. Again, a match made in heaven, if you ask me, this gold-orange glitter bee turned out to be one of my favorites!
OK, I might have had a little bit too much fun photographing this lovely project, but I wanted to somehow encapsulate all their beauty for you.
They are quite mesmerizing, don’t you think?
I’m sure you are already contemplating millions of ideas on how to use these gorgeous vintage bee glitter stickers, they will instantly beautify any of your creative projects! I’m thinking junk journal covers, gift tags, bookmarks, keychains, brooches (for clothes or why not, even purses), fridge magnets, planners, recycled jars and boxes, flower pots, window, laptop or phone decals, the sky is the limit!
Happy crafting,
Diana | by Dreams Factory




Priscilla says
These are gorgeous!!! Thank you for the instrutions!
Karen Watson says
Have fun making these cute stickers Priscilla!
Julie K says
I have a Cricut cutting machine, but I’m still a newbie on it. Any tutorials on how to fussy cut it suggestions?
Karen Watson says
Hi Julie, I know there are lots of great tutorials on YouTube, you might want to give that a try. I’m afraid I don’t have any on this site, although we do have a couple on our Premium Membership site. I hope that helps!