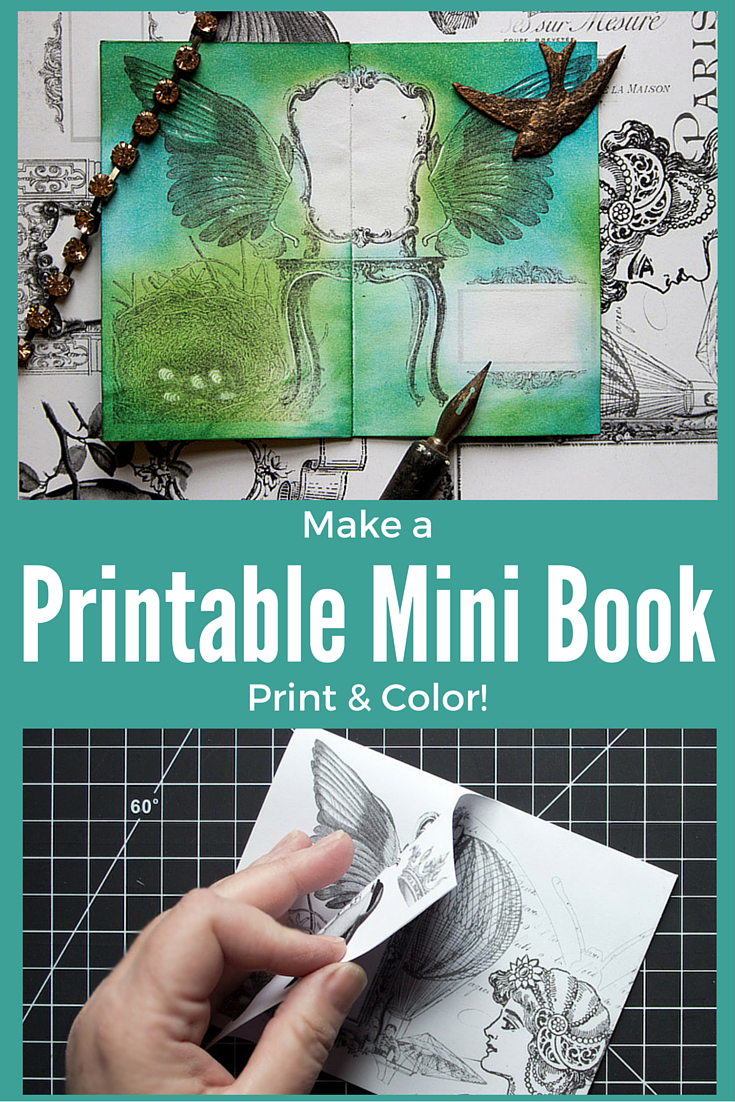
Today I will show you how to Make Printable Mini Books! Creating this little Book was such fun…having access to the endless well of inspiration here in The Graphics Fairy treasure trove is a huge gift that I know we all appreciate!
Hello, Graphics Fairy Friends! It’s Heather from Thicketworks. Today I’m excited to share a special printable, that you can use to make many variations of this charming printable mini book!
– This post contains affiliate links –
This project began with a delightful trip through the archives, here at The Graphics Fairy. Such a pleasure to just spend time browsing among the offerings…Thank you Karen, for providing the world with the raw materials to create joyfully!
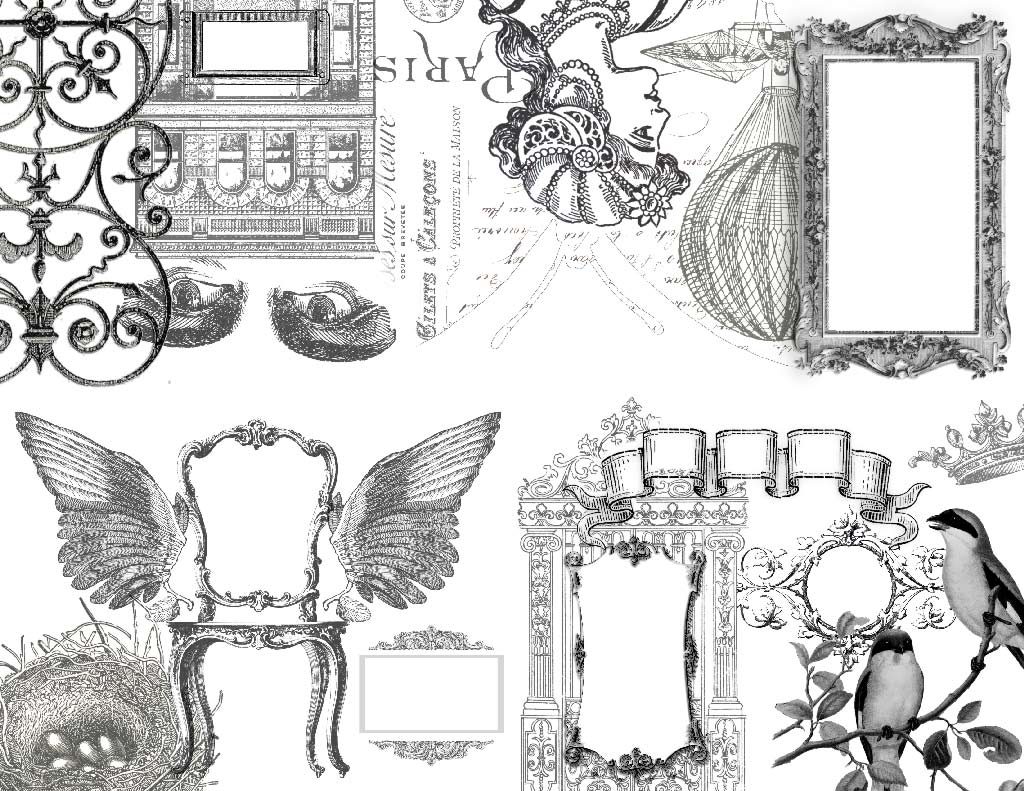
After having selected the images that ‘spoke’ to me, I arranged them into a printable collage.
Don’t worry, the fact that some of the images are upside down is intentional!
Click HERE to download your free PDF file:
A list of the source images used in this project:
Fancy Ornamental Embellishment
Note: The collage was printed on sheets of ordinary printer paper, on a laser jet home printer. If you don’t plan to use wet media to color your book, or if you use Durabrite Inks, a thoroughly dry ink jet print is fine.
If you’re looking for a great Printer for Crafting, with Water Resistant Ink check out this post:
The Best Printers for Crafting!
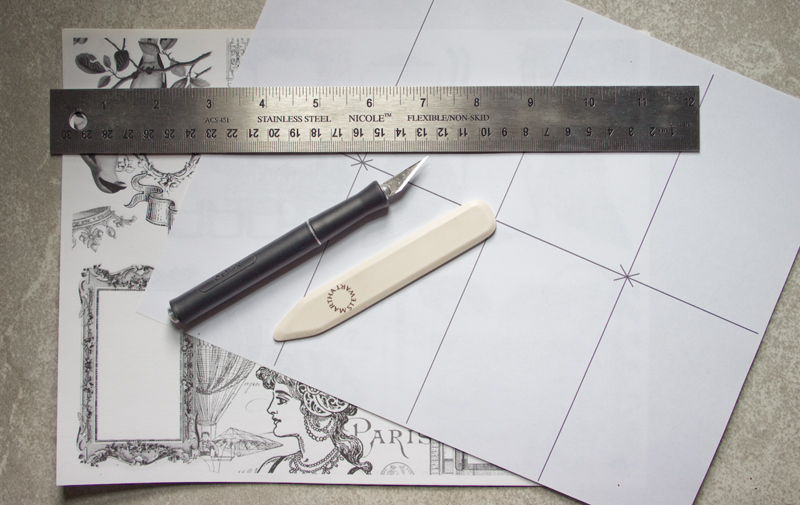
We’ll need just a few simple supplies to complete this project, in addition to the printed collage.
Supplies:
- A bone folder
- A glue stick
- A ruler
- A craft knife and cutting mat, or scissors
Optional:
- A hole punch
- Metallic Cord
- Distress Inks & Blending Tool
- Craft Mat
- Heat Tool
- White Gel Pen
- Metallic Gold Pen
- Flat Backed Pearls or Gems
Below, you see a plain diagram describing the fold lines and cut line for our mini-book.
(Each fold must be created precisely to obtain the best results.)
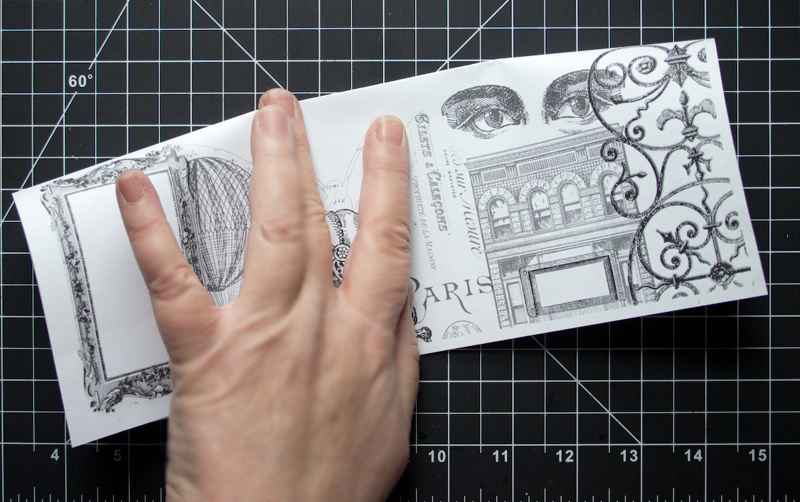
To begin, fold the printed collage down the center of the long axis, and crease with your bone folder:
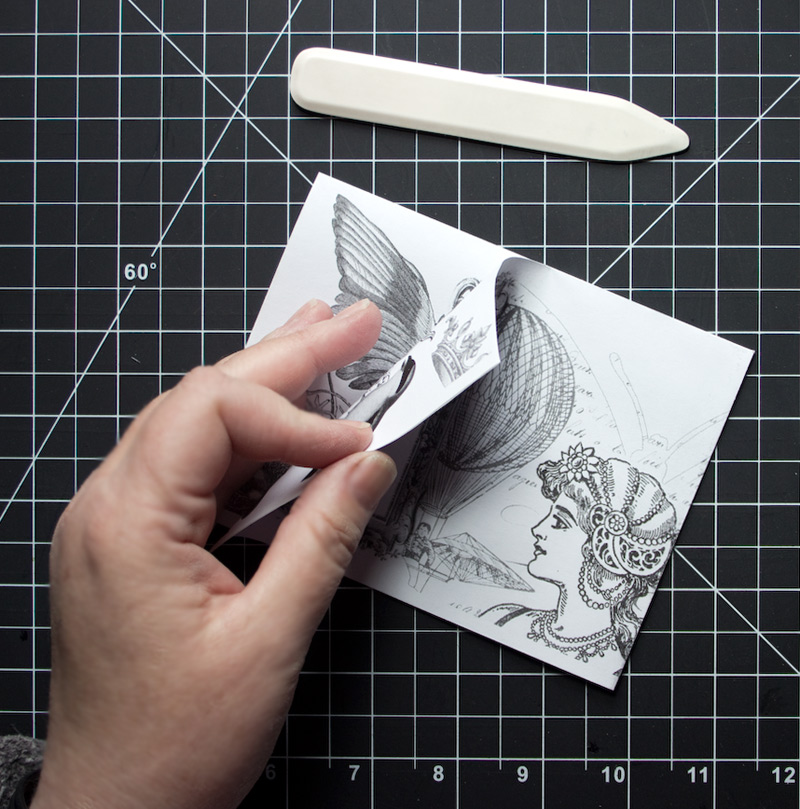
Next, fold in half along the shorter axis. You now have one vertical and one horizontal fold.
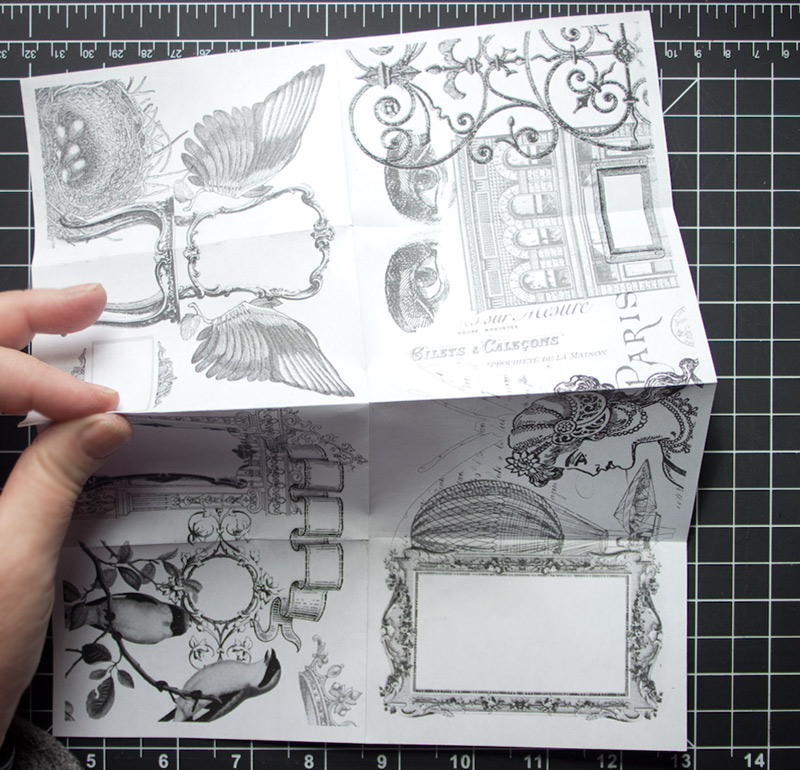
Keeping the vertical fold in place, fold each half of the paper back on itself, creating two additional horizontal folds:
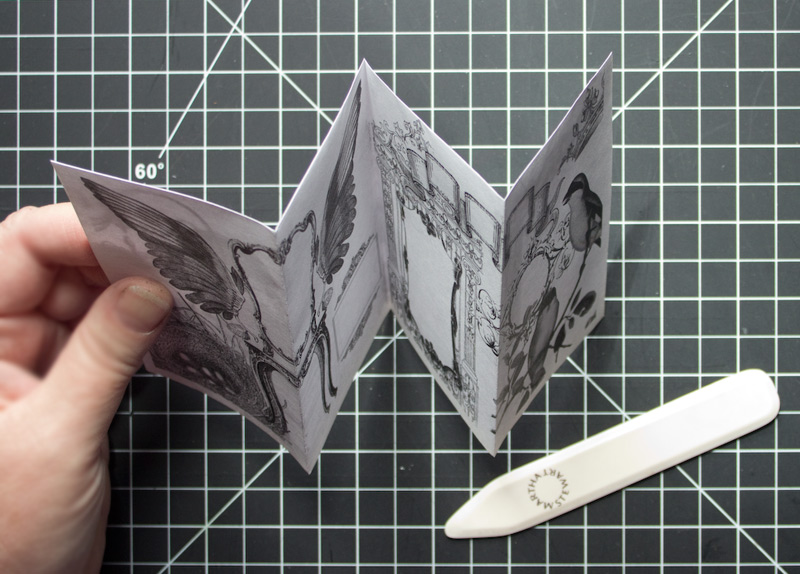
Crease them firmly with a bone folder. The result should resemble an accordion shape, with the imagery displayed ‘right way up’ on both sides:
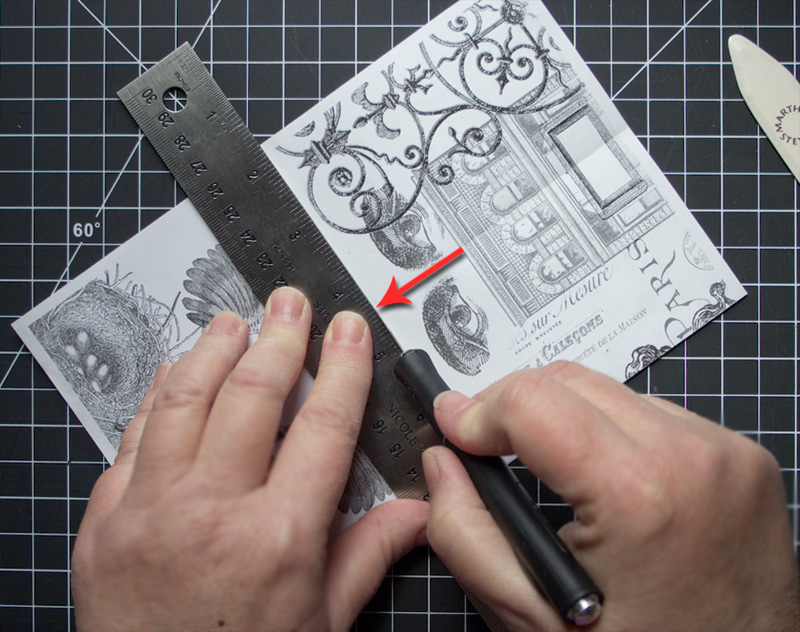
Open the sheet of paper, and re-fold it along the central horizontal axis:
Using scissors or a sharp craft blade, make a precise cut from the point indicated by the red arrow to the folded edge:
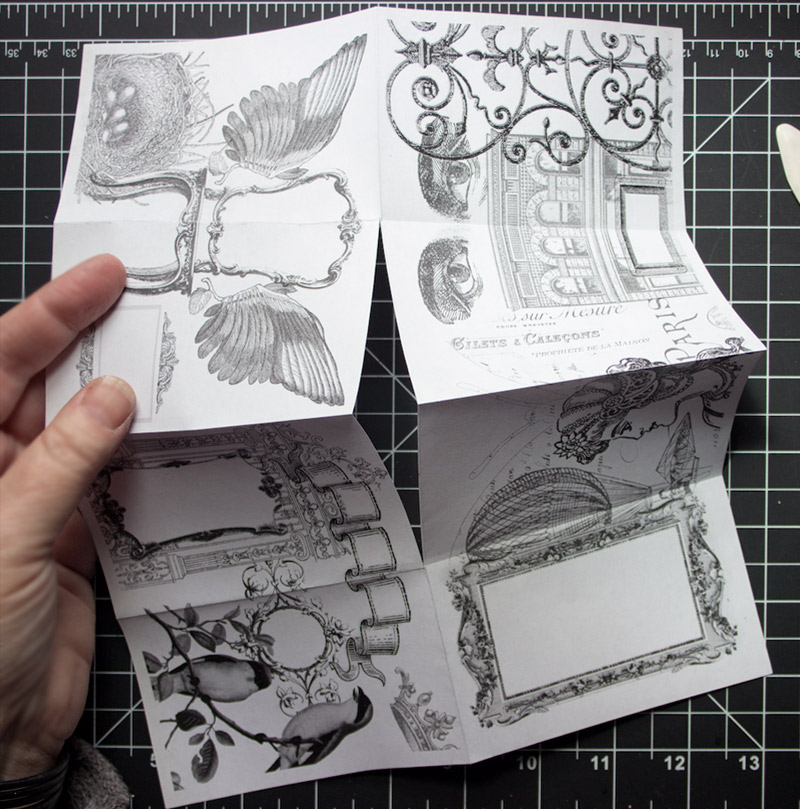
The resulting slit should extend along the central vertical axis, between the fold lines shown:
The slit allows the paper to now be folded into a 4 pointed star shape:
Using your glue stick, glue the papers back-to-back in this star shape.
Note: I recommend a glue stick, rather than liquid glue; it will not cause warping of the paper, and provides plenty of adhesion.
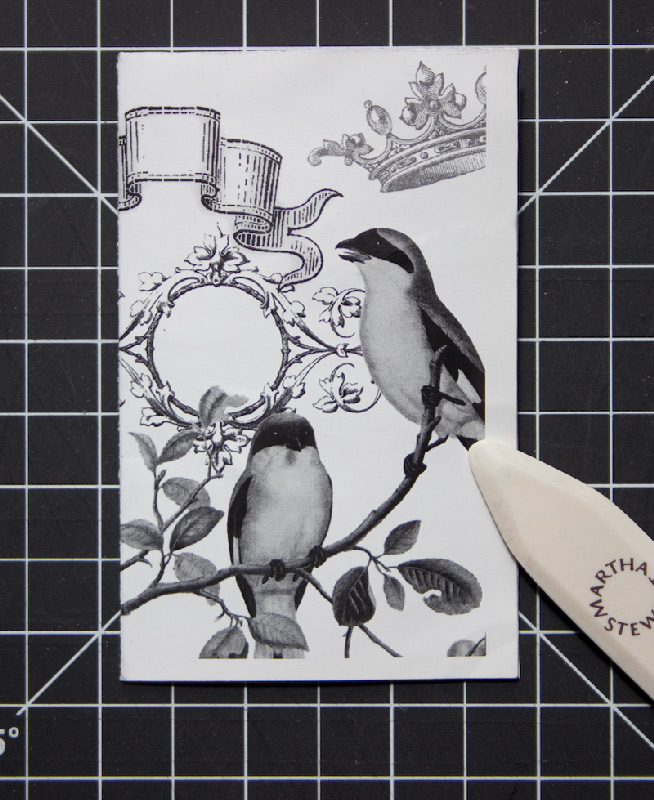
Smooth each set of pages with the bone folder, reinforcing the creases and gently coaxing them into a book form.
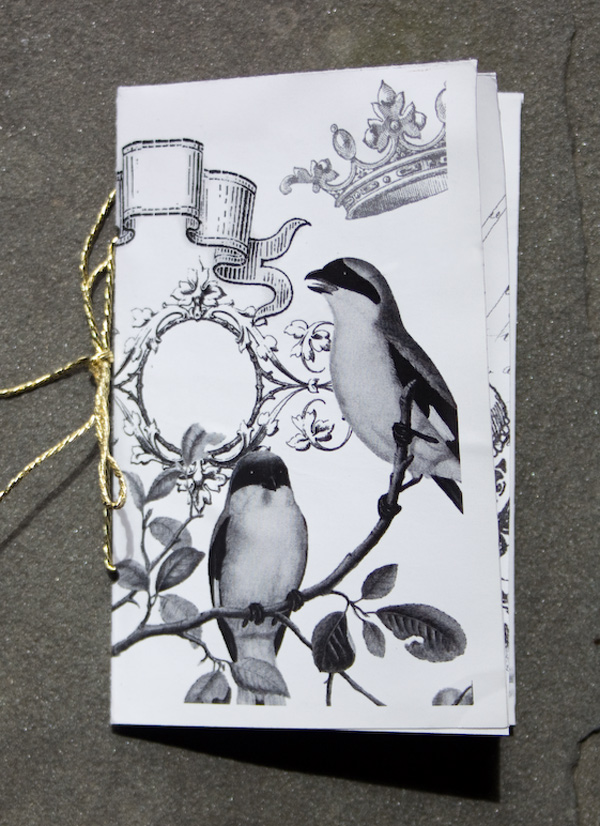
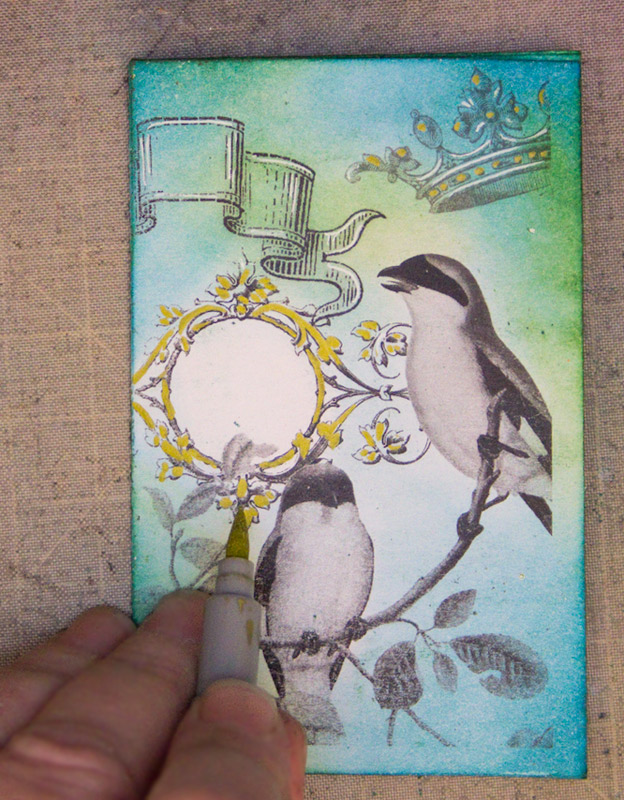
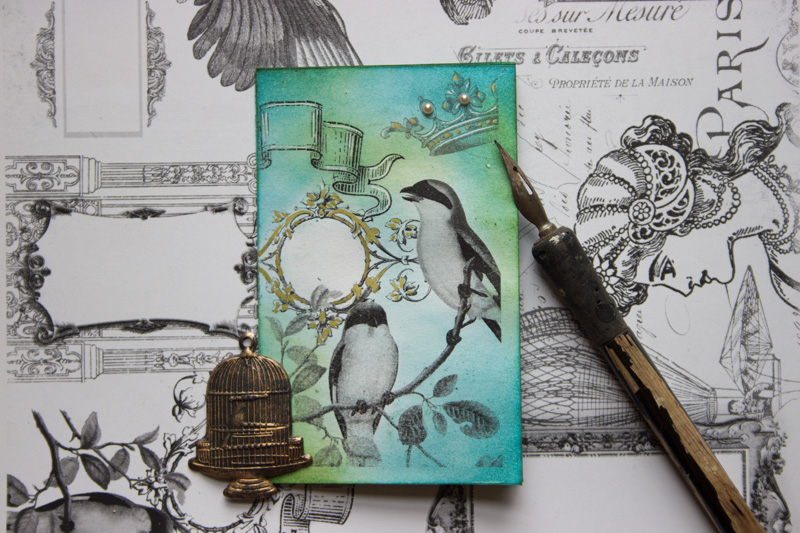
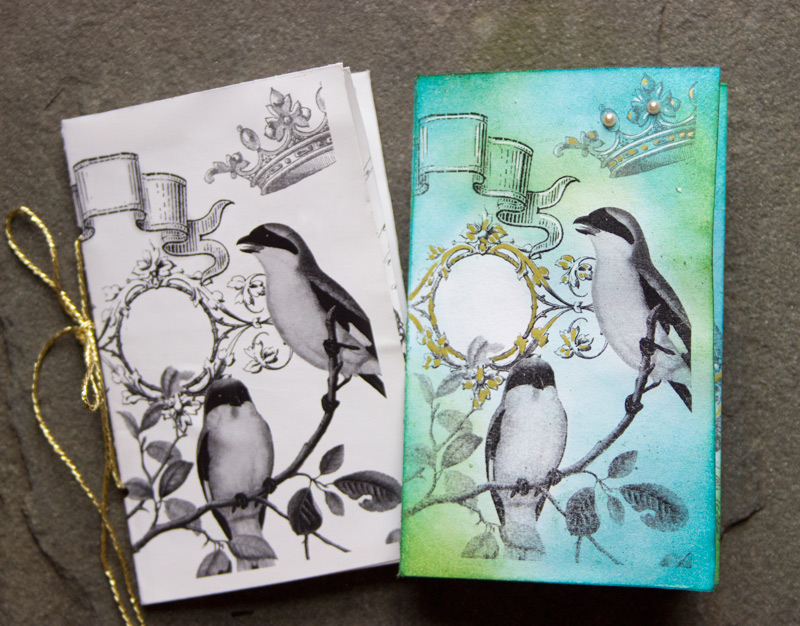
I chose to have the birds and crown on the ‘cover’, but you can use any page you like:
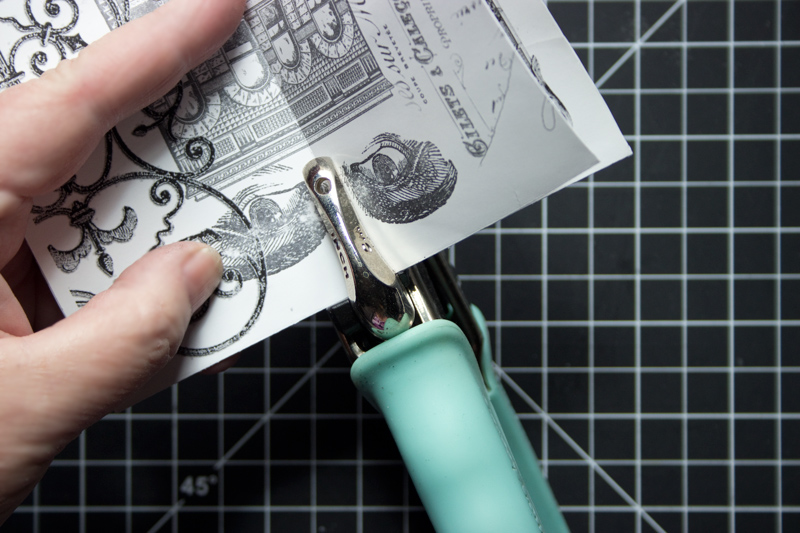
For an added touch, you can punch two holes, with the hole punch tool, along the ‘spine’, one at each end, and thread decorative cord through them.
Your printable mini-book is complete!
It’s perfectly lovely as is, and there is no need to embellish further…
Unless, of course, you’re a ‘more is more’ type of crafter! (I am!)
It can be very enjoyable to create more interest and drama with color.
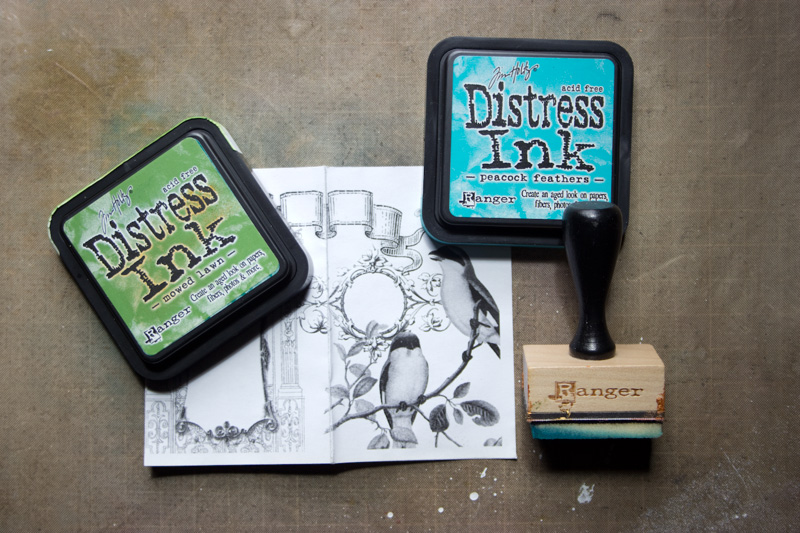
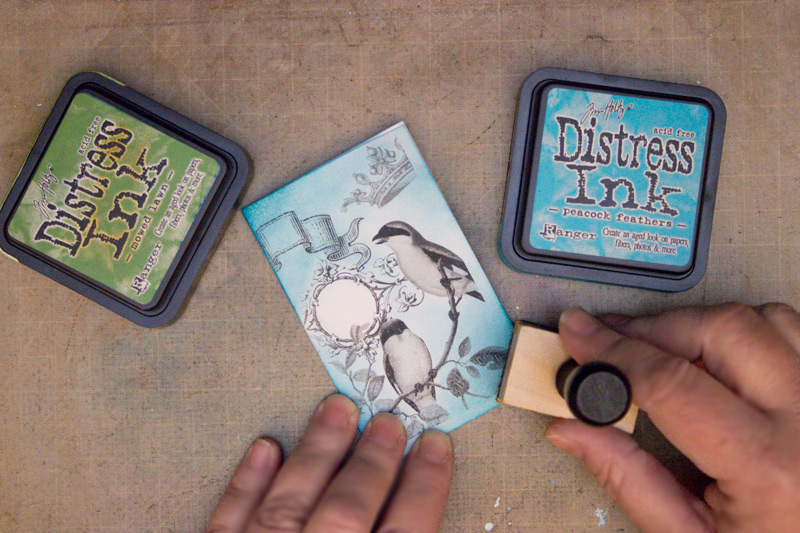
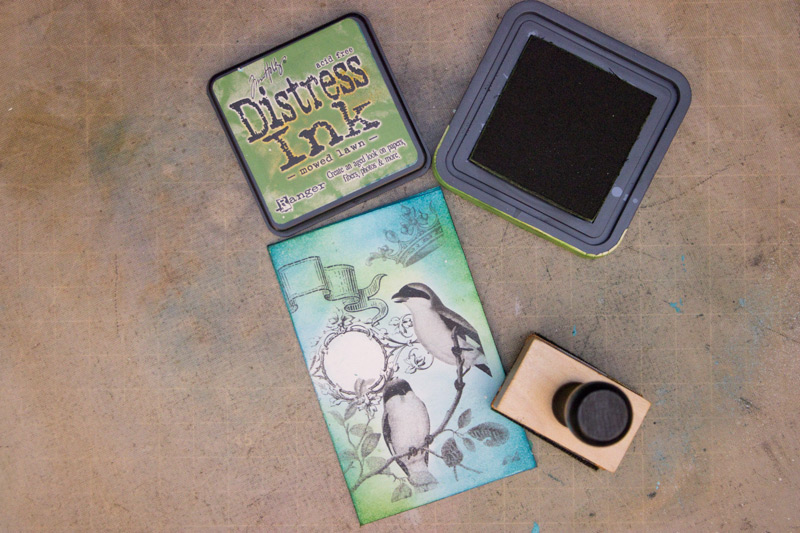
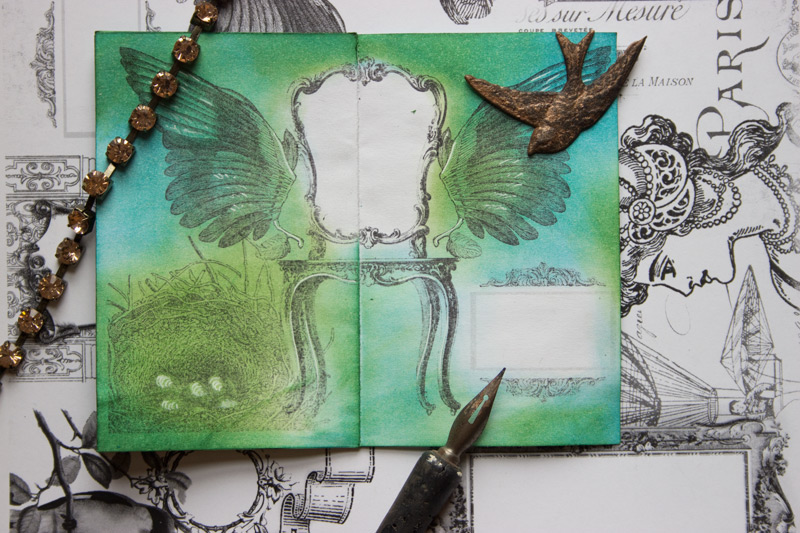
I used Mowed Lawn and Peacock Feathers Distress Inks to add color:
A blending tool allows you to gently swirl the ink onto the surface of the paper, creating lighter and more vivid areas:
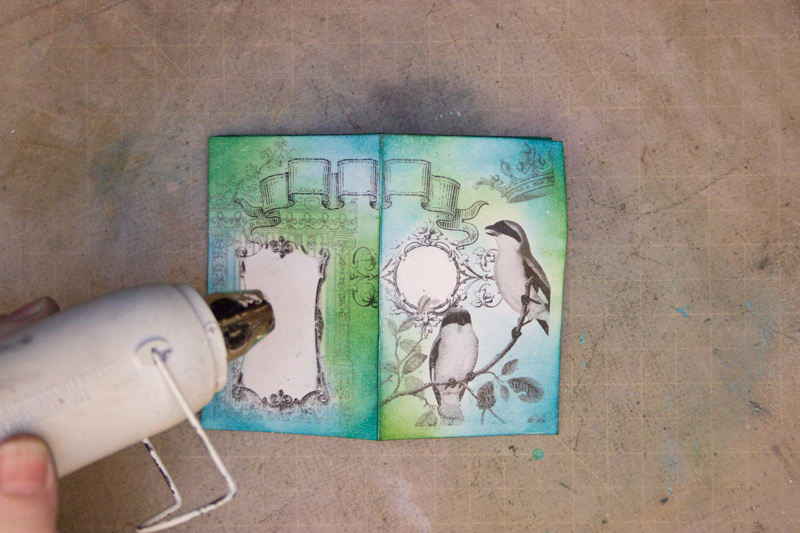
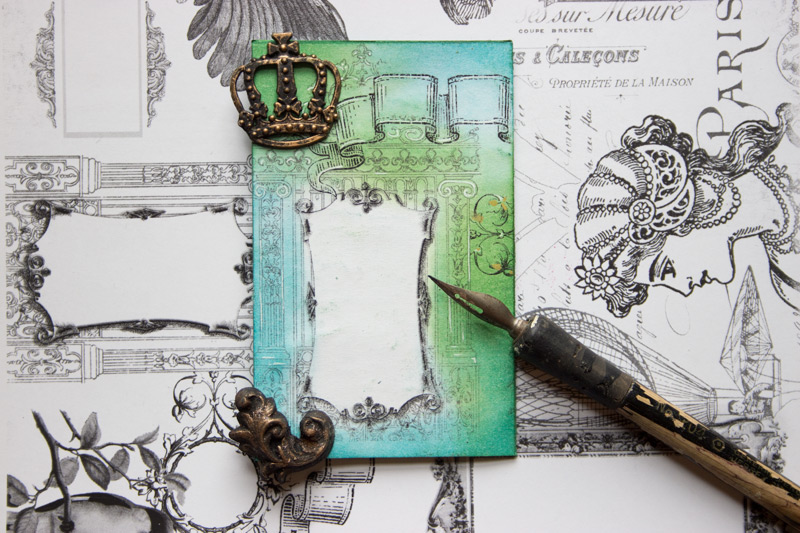
The design includes several ‘framed’ areas to allow for journaling, or sentiments to be hand written.
I chose to leave these areas white:
Once you have completed inking your pages, a heat tool ensures that the ink is dry before moving on to the next steps:
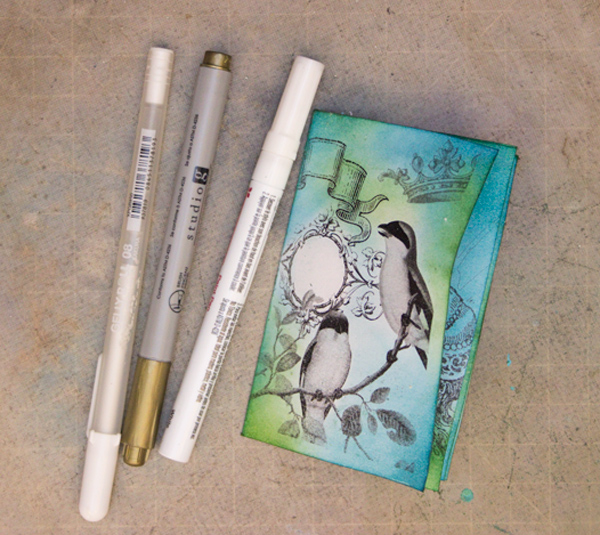
I love to embellish graphics with touches of white and gold…
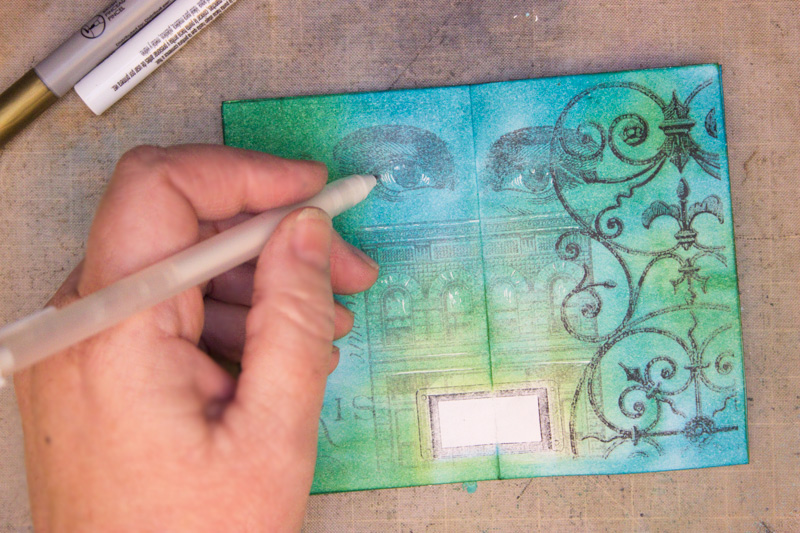
Tiny dots and lines of white Pen can highlight portions of the graphics:
Touches of gold Pen can emphasize the ‘bling’!
The addition of tiny gems or pearls enhance the design:
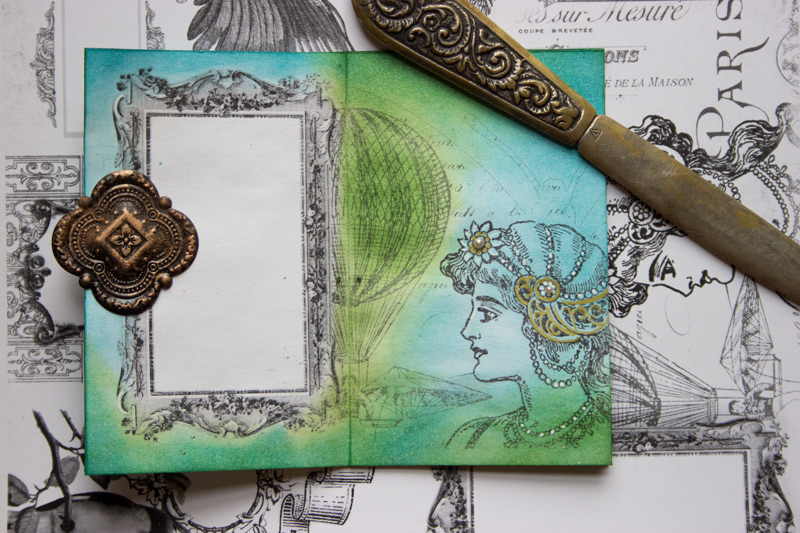
The headdress of the figure has been highlighted with white and gold pens, and tiny pearls:
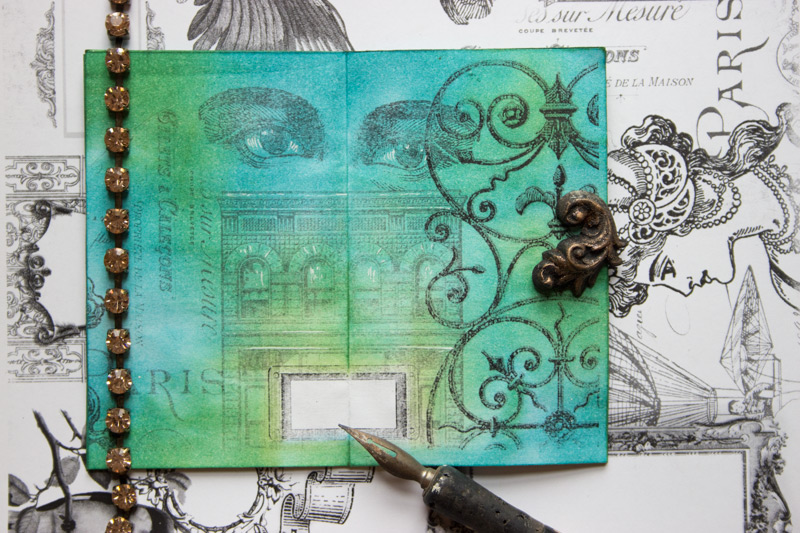
The tinted pages leave spots for tiny love notes in the white areas:
Use your imagination, and create color combinations that appeal to your senses!
The completed mini-book is the perfect way to tell someone you care, or to showcase your favorite quotes!
Both versions of the Printable Mini-Book are charming…
Isn’t it fun that this sweet keepsake can be created from a single sheet of printer paper? I hope you enjoyed learning how to Make Printable Mini Books today!
I love that.
Thank you for visiting The Graphics Fairy today – it’s such a pleasure to share crafty goodness with you!
Take Care,
Heather
P.S. If you’re in the mood to explore quirky techniques and mixed media mayhem, drop by Thicketworks and say ‘Hi’! You’re always welcome there.
You might enjoy this recent project:




Lois Angers says
This looks like a lovely project that can be done with simple materials.
Heather Tracy says
I’m glad you like it, Lois! It’s fun to see what can be done with one sheet of paper! xox
Rupa says
Heather, I noticed that a few projects you shared on GF are not in your pinterest. Would you pretty please mind adding them there so we can find them all in one place easily? 🙂 PS: On to trying your “Easy backgrounds” papers later tonight, as I just received my Primay oil pastels yesterday…yippee!!
Heather Tracy says
Hi Rupa! Oops…I’ve been meaning to update my Pinterest boards…thanks for the reminder, Rupa. Excited that you’ll be playing with the Water Soluble Oil Pastels – they are SO creamy! Yay!
Helena says
Wow! what a super project .. so creeeative ! So clever and lovely of you to share it and show a step by step tutorial.. Thank you so much for all you do … and for your time and creativity! Thank You!
Helena
graphicsfairy says
Thanks so much Helena! 🙂
Rupa says
Ah! Finally some crafting time and I made this book. Love it, thanks so much. I need new graphics now for another book ? Let me see if I can concoct it with images at GF although I am not sure about the placement etc so they fold and look well.
Heather Tracy says
Yay! I’m so happy you made one, and that you like it, Rupa! There’s no doubt in my mind that you can concoct your own wonderful design…please share the results, my friend! xox
Helen says
This is such a fun project to do!
Thanks for the inspiration
graphicsfairy says
Thanks so much Helen!
Elizabeth says
I’ve made 4 Mini Books, love them. Have you made any others?
Heather Tracy says
Hi Elizabeth! Yes I have. I LOVE them…it’s such fun to get all that mileage out of one sheet of paper. Maybe one day we’ll publish another design…:)
Rupa says
This is such a lovely little book. It can be customized with so many variations. Thank you so very much for the instructions! You and Karen are angels for all you do!! PS: Not sure why my comment last night is not showing up.
Heather Tracy says
Hi Rupa – thank you so much for taking the trouble to come back and leave a comment again – not sure what happened, but I couldn’t find the previous one. Thanks for your kind words, my friend. I love this little project and it was so fun to design!
Poly says
Fantastic!!!! Love your idea….just beautiful:)
Thank you for sharing.
Heather Tracy says
Hi Poly – thank you for your kind words – hope you have fun with it, I sure did!
Poly says
I will !!!!!!!!!!!!!!!!
So Kind of you to give your time 🙂
Monica Downing says
This is awesome with EXTRA sauce…thanks so much for sharing
x0x0x
Monica
Heather Tracy says
Hey, it’s Monica! Hello there, and thank you so much for your sweet comment! xoxox right back at ya…
Andrea says
Wow! Amazing!! Thank you for showing us this.
Heather Tracy says
Hi Andrea! So happy you enjoyed it – thank you for your sweet comment!
Kathleen Kemler says
I just love you and Karen so much!
You both make life better and more creative.
Heather Tracy says
Oh, Kathleen…you know that You are the reason we do what we do! Love you more! xoxo
Karen Watson says
I need a blushing smiley emoji for that sweet comment Kathleen!! xo
mare williams says
I SOOO ENJOY YOUR TUTS!!!!! THANKS AGAIN FOR SHARING YOUR KNOWLEDGE!
Heather Tracy says
And I sooo enjoy your support! Thank you, Mare! It’s always a delight to share fun stuff…:)
Barbara Raney Ferrell says
Thank you for the tips you left me on the molds it was easy after your tips. This mini book is beautiful as all your work is. Thanks Barb
Heather Tracy says
Hi Barbara! I’m thrilled that you are having better luck casting…that makes me super happy! Thanks for your kind words, my friend. This was a joy to create.
Diana says
Thank you so much for the great tutorial and collage sheet. This looks like fun. I love it.
Heather Tracy says
Hey Diana – so glad you like it! It IS fun, and I hope you enjoy putting it together…
peggy gatto says
This is just the best!!! Thank you
Heather Tracy says
Oh Peggy, you’re so sweet! Thank you my friend…