Metallic Stamp Effects
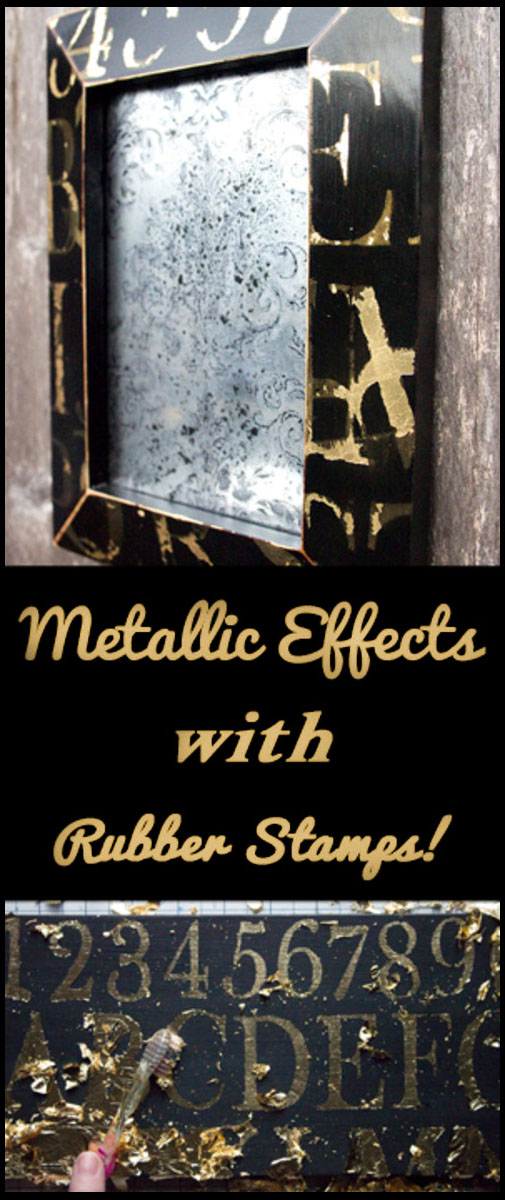
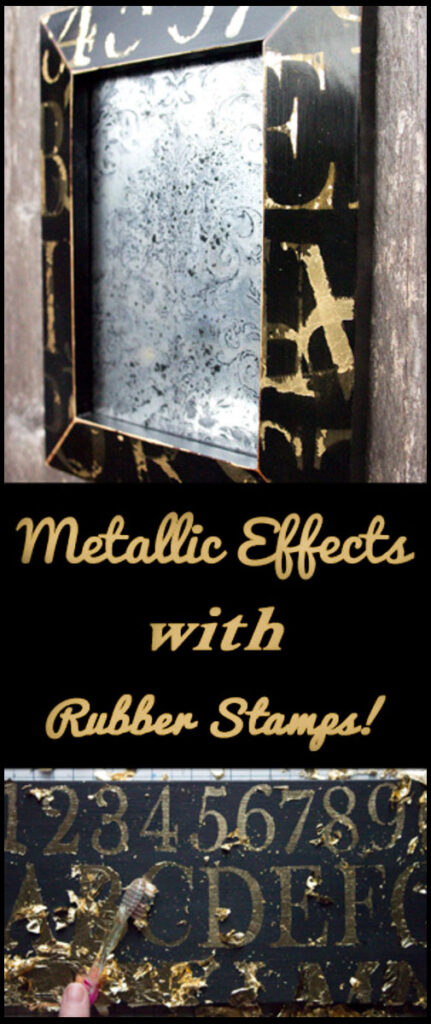
Metallic Stamp Effects just thrill me…. I’ll bet that you like them too! Let’s take a look at four different ways that we can use rubber stamps (or Silicone etc) to create metallic stamp effects on our projects… Hey there, Graphics Fairy Friends! Heather from Thicketworks here. I’m excited to share the results of recent experiments about metallic stamp effects that resulted in some luscious and eye-catching metallic finishes!
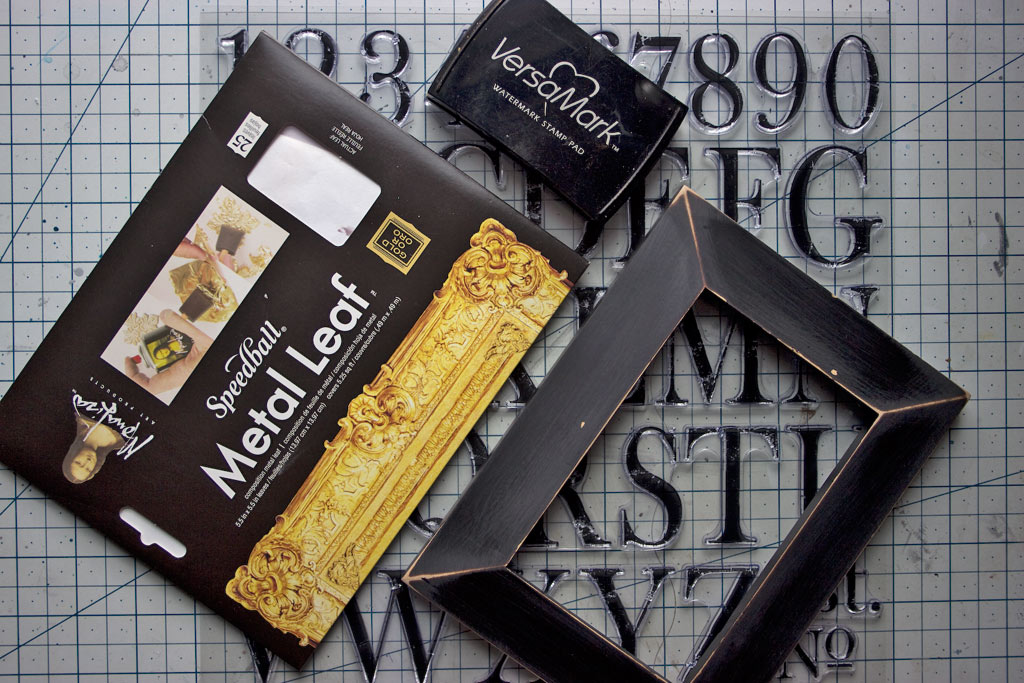
We’ll be using a few different supplies, in order to achieve these four different looks…
Metallic Stamp Effects Supplies:
Iron Orchid Designs Decor Stamp: Alpha I (No longer available, a similar set of Alphabet stamps can be used)
Justrite Damask Stamp (No longer available, a similar Damask stamp can be used)
Iron Orchid Designs Decor Stamp: Grainery (No longer available, an all over striped pattern stripe can be used)
Items to alter: a picture frame, black cardstock and boards were used in this demonstration
LA Colors Loose Eyeshadow: Sunshine
Ranger Sticky Embossing Powder
Paint brushes: soft round, and stiff flat
Soft old toothbrush
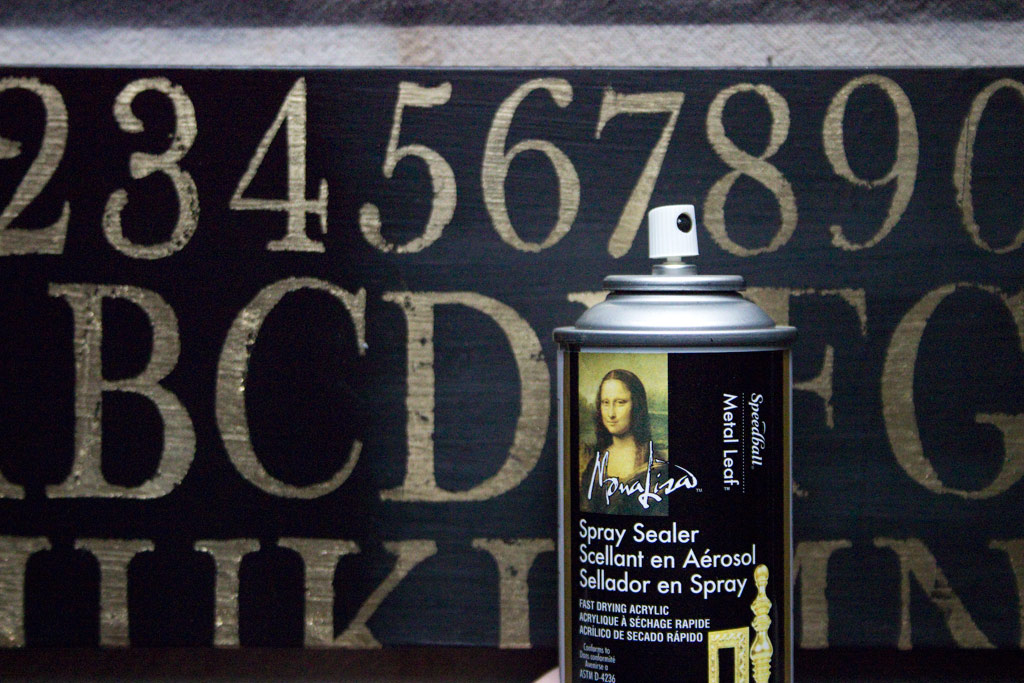
Mona Lisa Spray Sealer for Metal Leaf
Heat Tool
Soft Cloth
How to Create a Two-Toned Metallic Gold Finish:
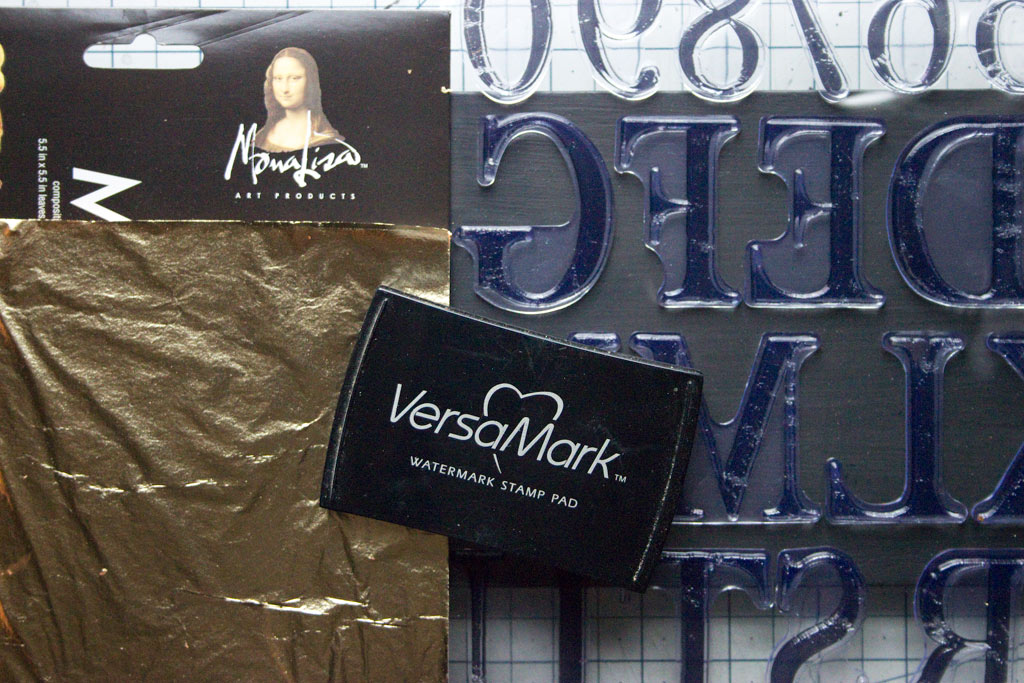
Gather your item to alter {small wooden frame with flat / angled surface in this demo} Gold Leaf, VersaMark Inkpad, LA Colors Loose Eyeshadow: Sunshine {or your favorite Gold Toned Mica Powder} and an Alphabet Rubber Stamp.
Have your paint brushes handy!
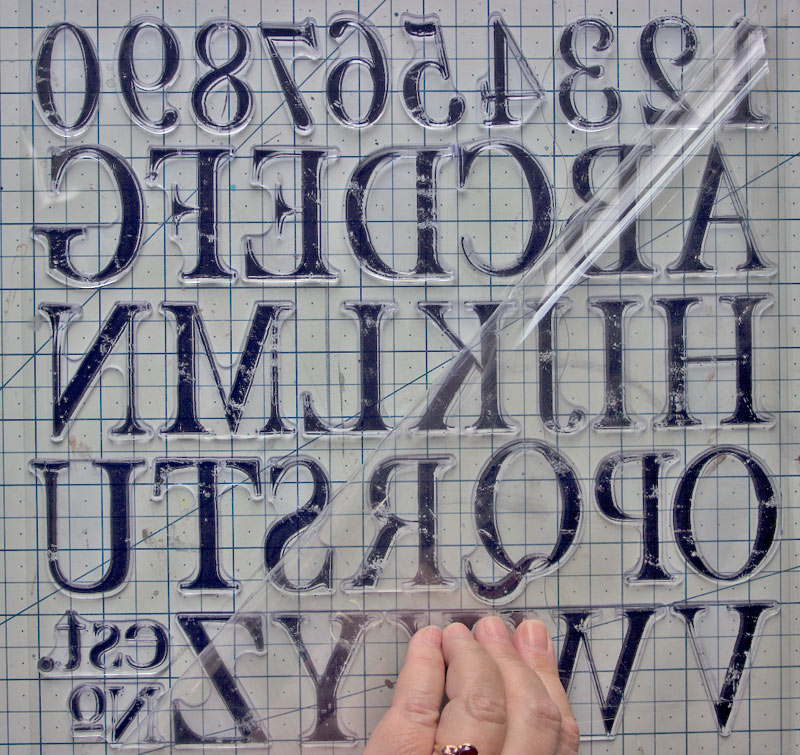
Peel the protective cover sheet away from the Stamp Set:
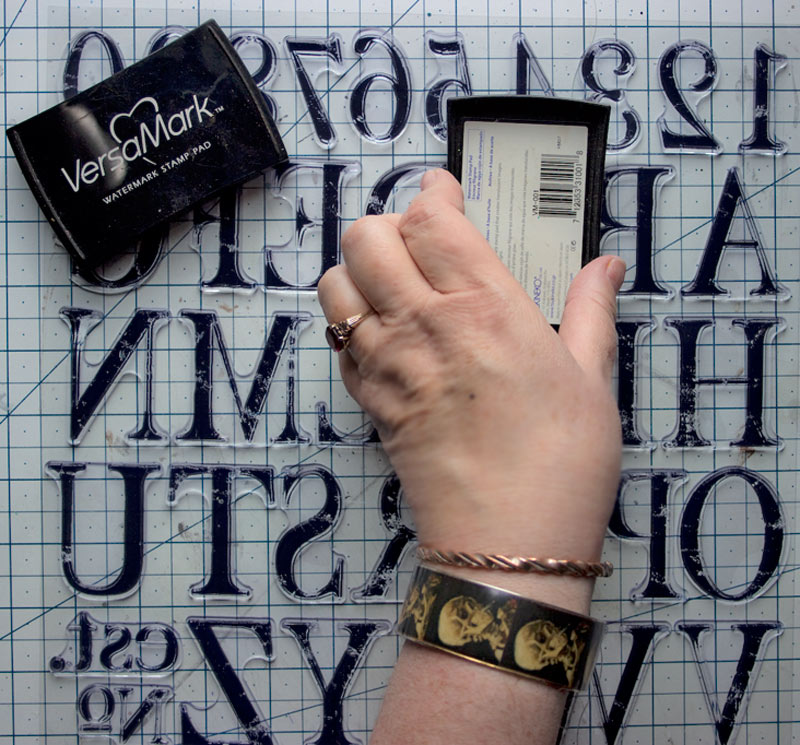
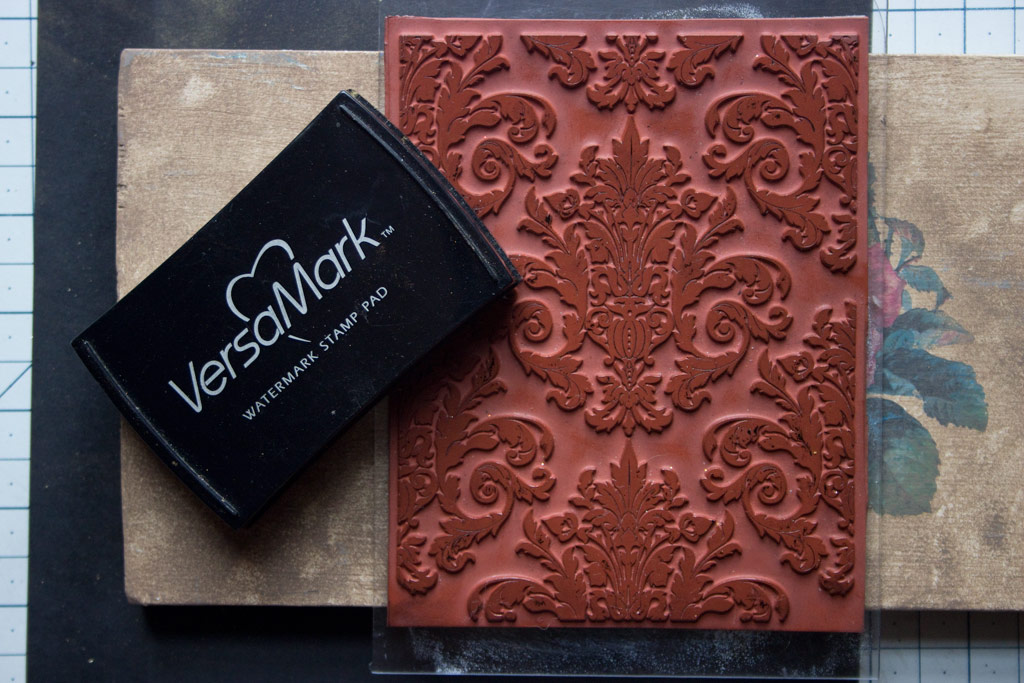
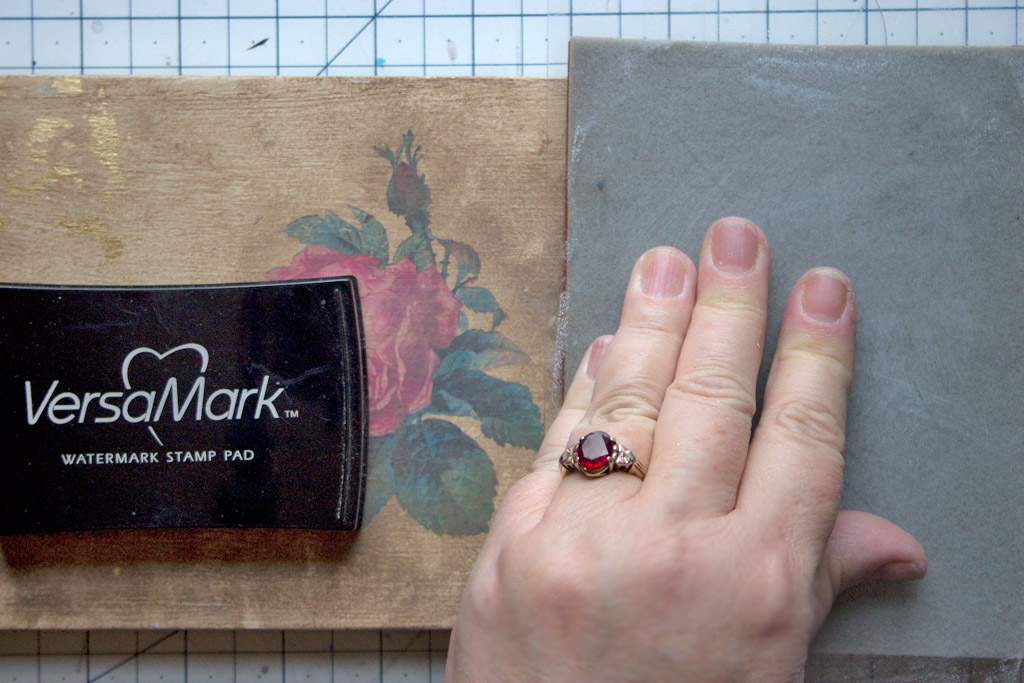
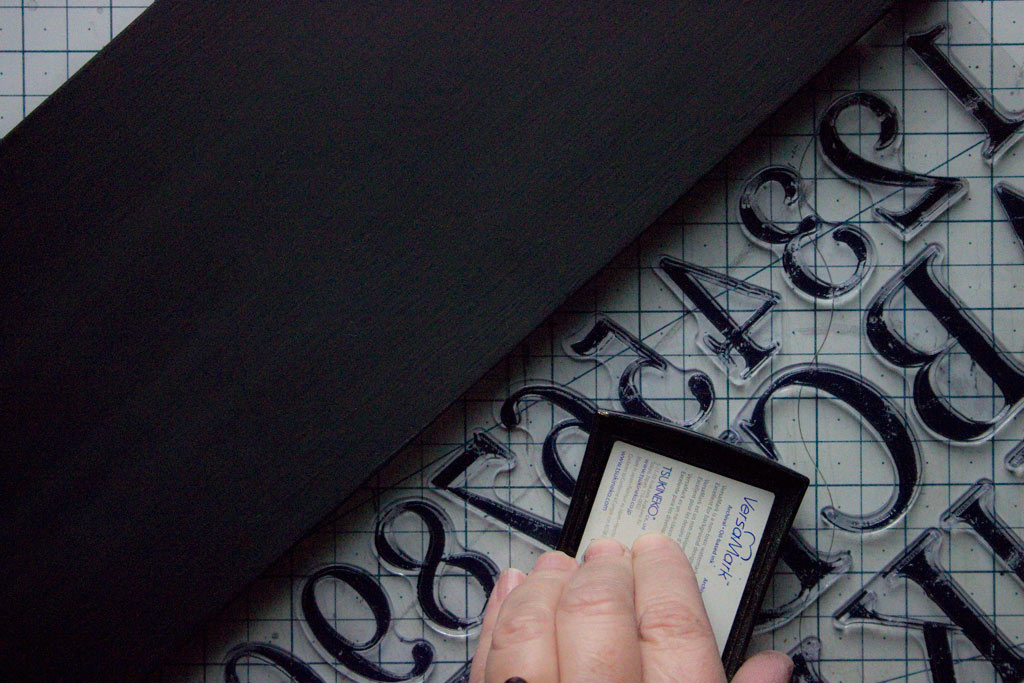
Apply VersaMark to the surface of the stamps (do not remove them from the backing sheet)
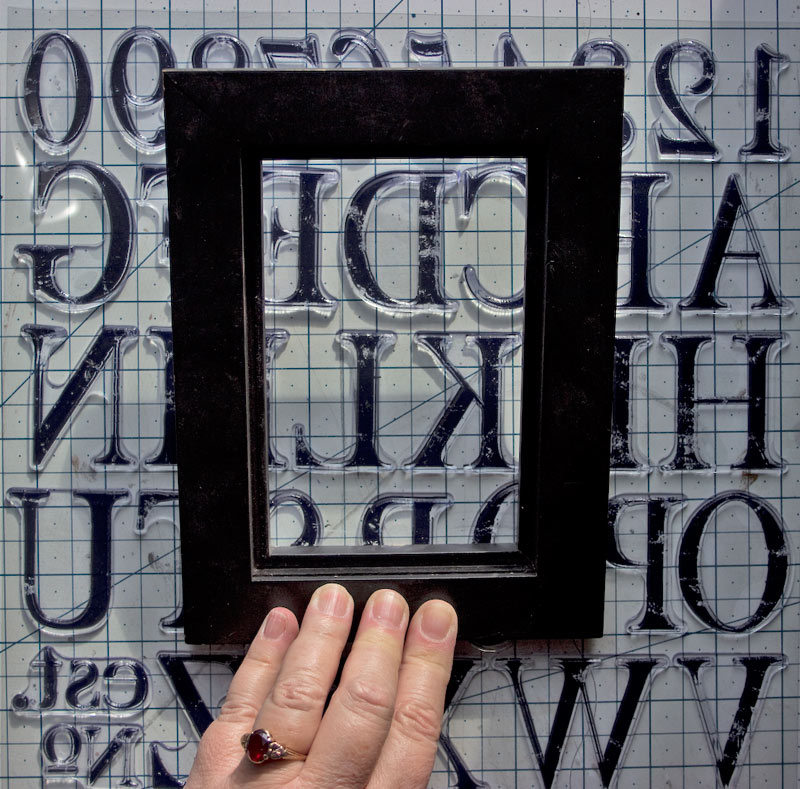
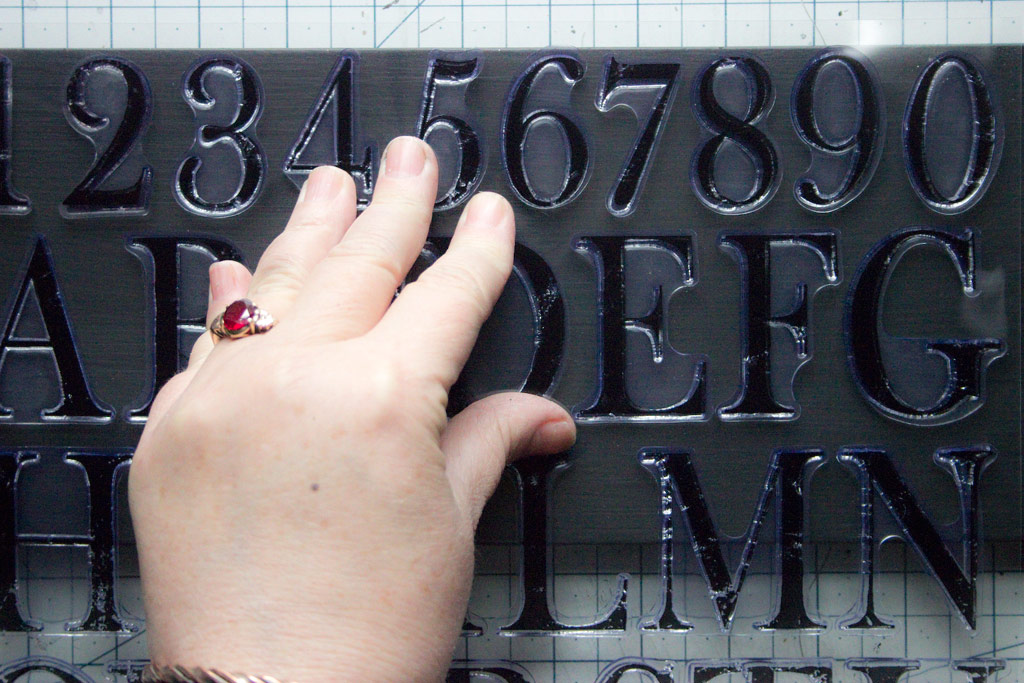
Press the flat surfaces of your item against the surface of the stamps, until each surface is printed with VersaMark:
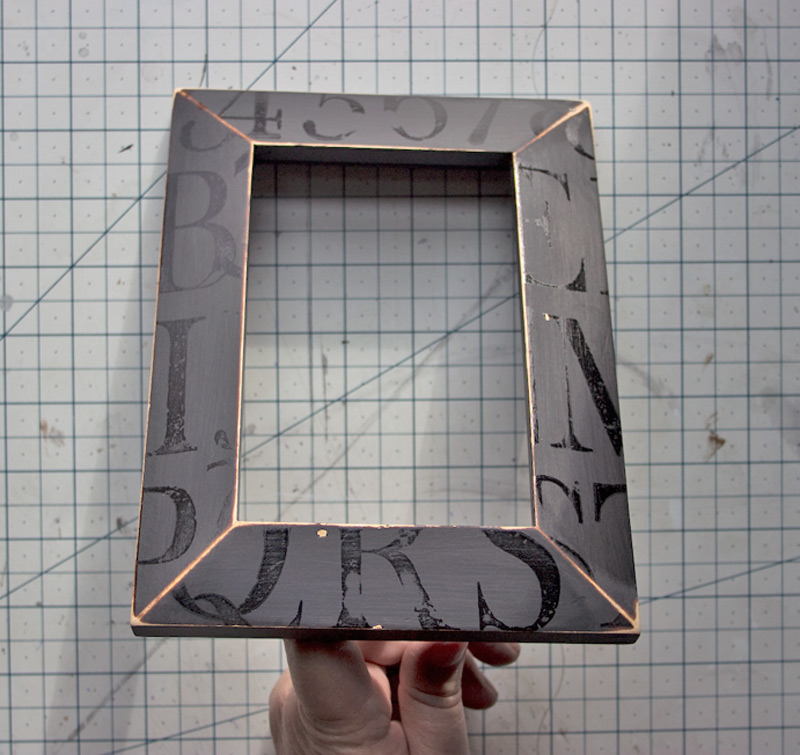
Allow the VersaMark to dry slightly: 1 to 2 minutes should be sufficient.
This will create a distressed Gold Leafing Effect, and we’ll make the most of that in the next step!
The result should look something like this:
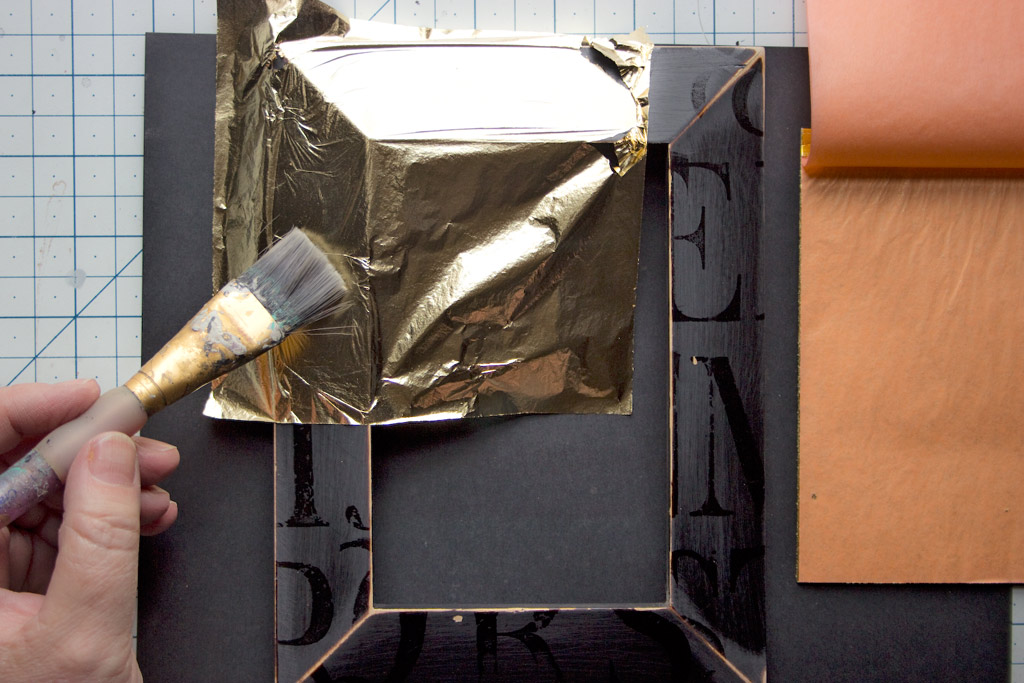
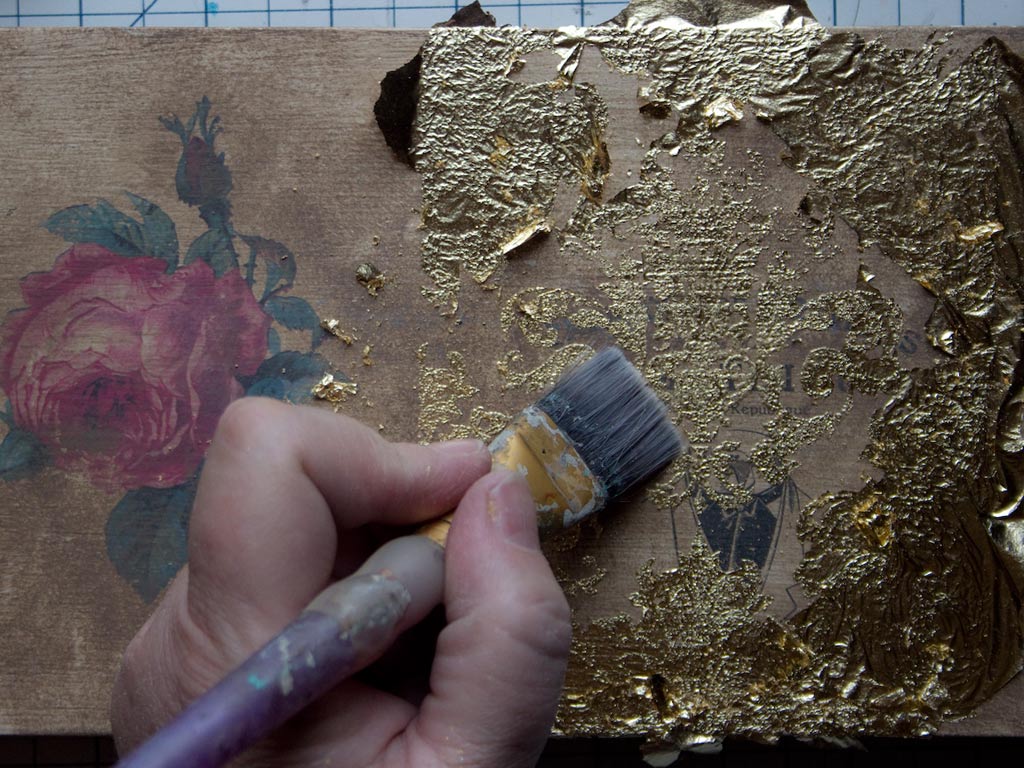
Apply the Gold Leaf onto the surface, and burnish with the bristles of a dry, firm, flat brush.
Continue burnishing, until the leaf has adhered firmly to the VersaMark.
You will have patchy results, due to the drying of the ink.
That’s what we want!
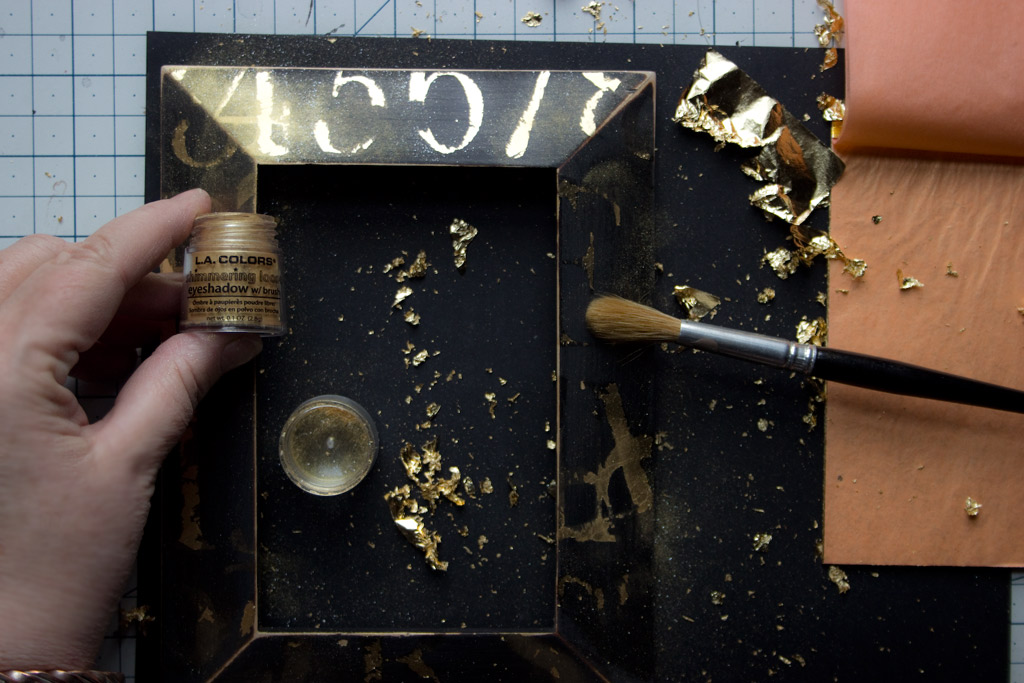
Even though the VersaMark was not quite juicy enough to adhere all of the leaf, there is plenty of residue remaining in order to add Mica Powder with a dry, soft round brush.
And yes, that is loose powdered eyeshadow. I find it at the Dollar Store from time to time, and it’s excellent for this application!
Pick up the loose powder with the brush, and swirl it over the VersaMark.
Gently wipe away the excess powder with a soft cloth.
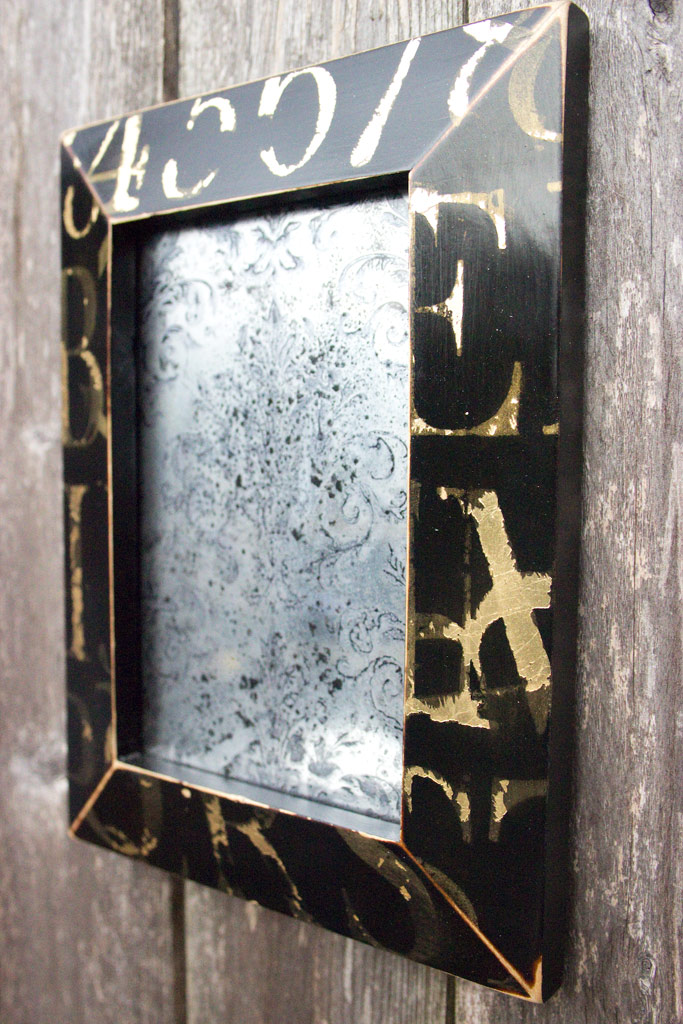
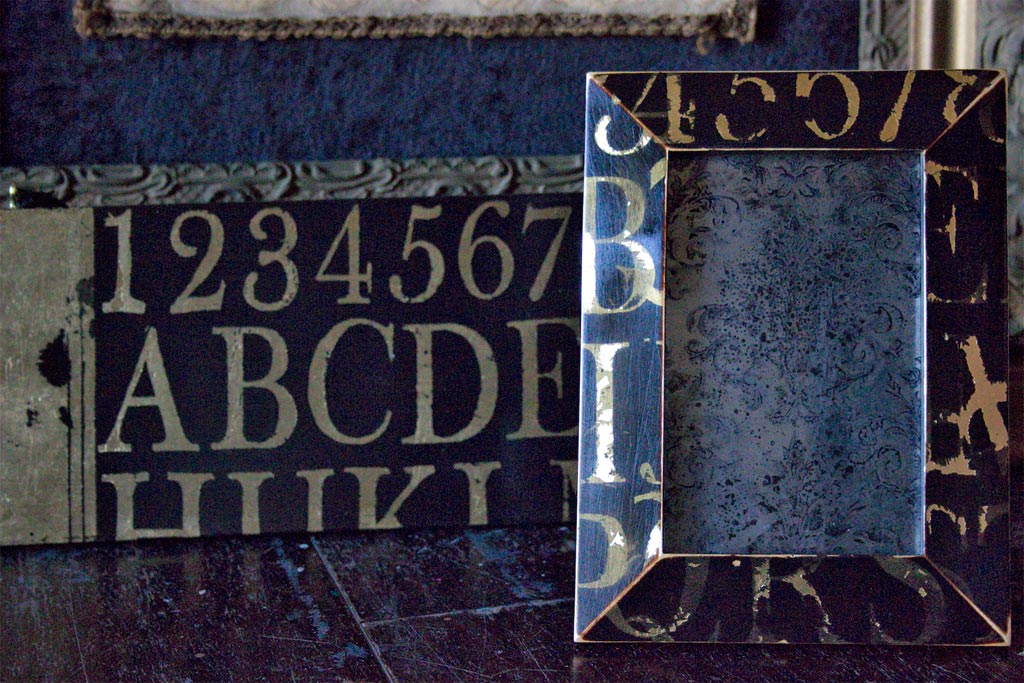
You’ve just created this AWESOME two-toned Metallic Stamp Effect!
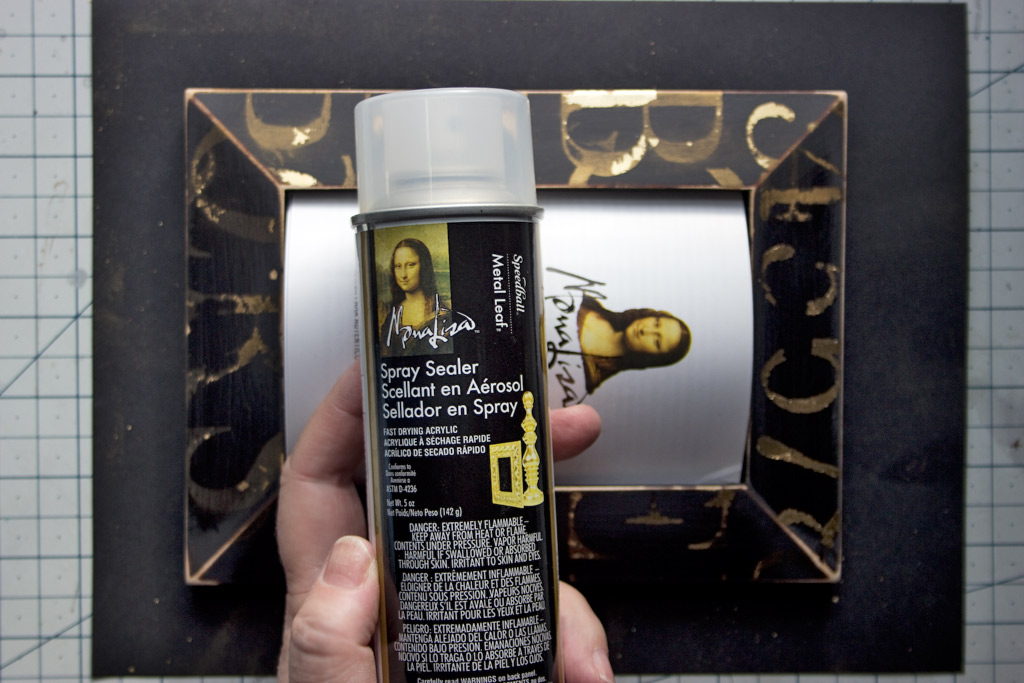
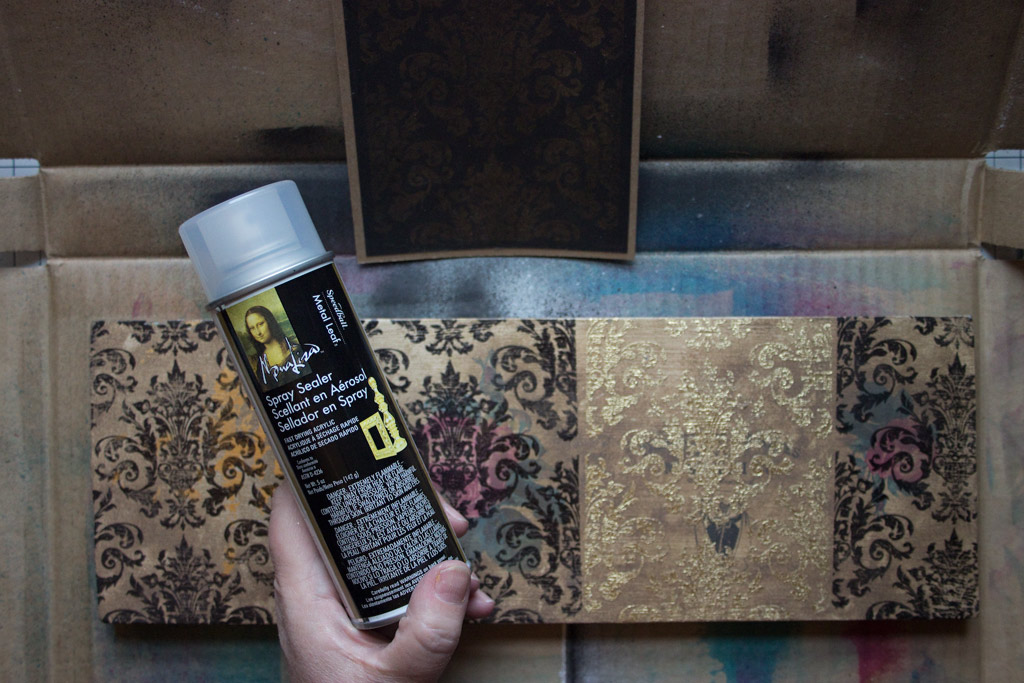
One quick coat of Mona Lisa Spray Sealer for Metal Leaf will intensify and protect the results.
Be sure to have adequate ventilation for this step!
The ragged nature of the adhered Metal Leaf coupled with the softer tone of the Mica Powder creates a multi-dimensional effect that has vintage character and charm!
The elegantly distressed result pleases the eye with richly organic complexity!
How to add Metallic Effects to Cardstock:
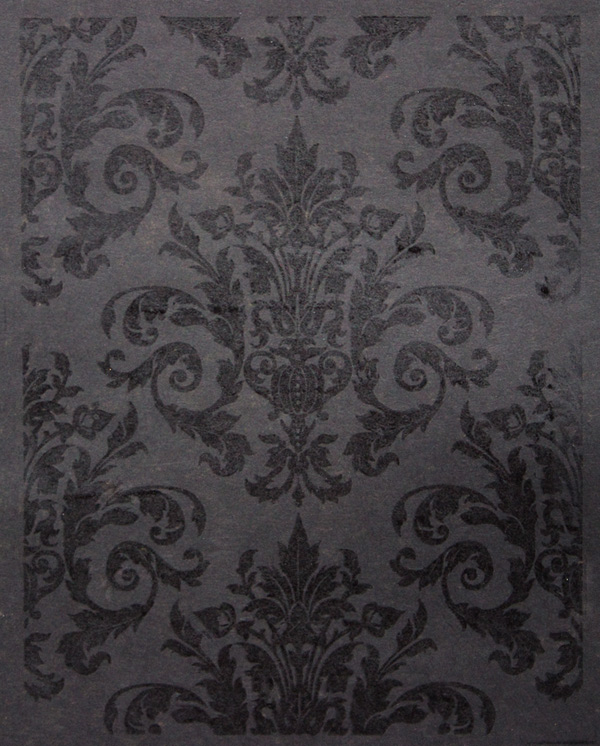
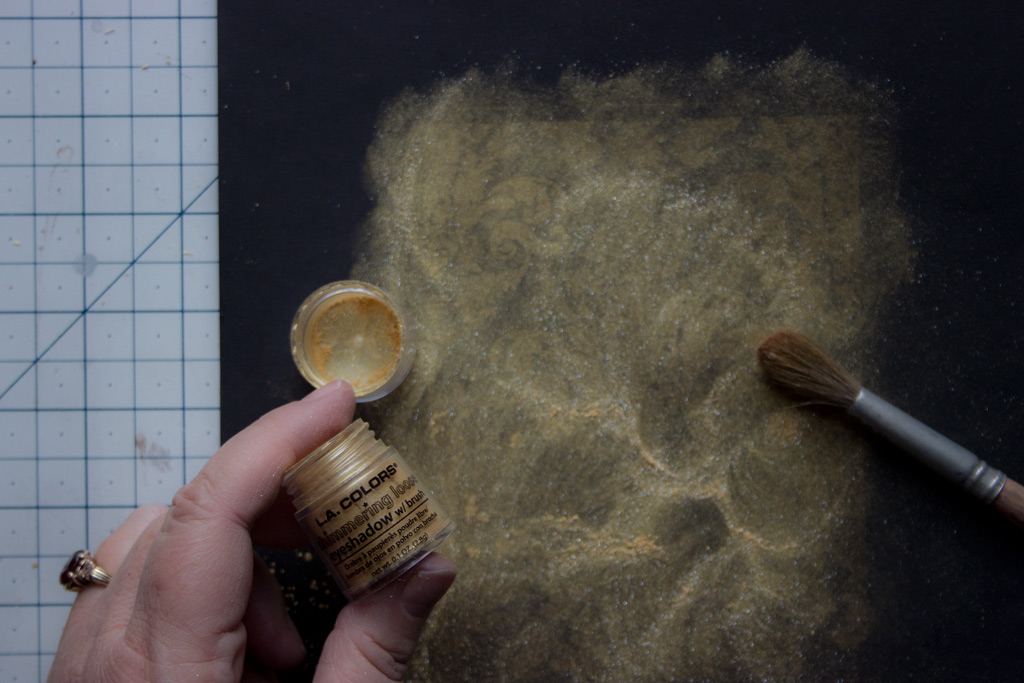
While you have your Gold Mica Powder handy, experiment with VersaMark stamping an elegant damask design onto Black Cardstock:
Swirl the Mica Powder over the stamped surface…
Tap off the excess Mica Powder, and return it to the container.
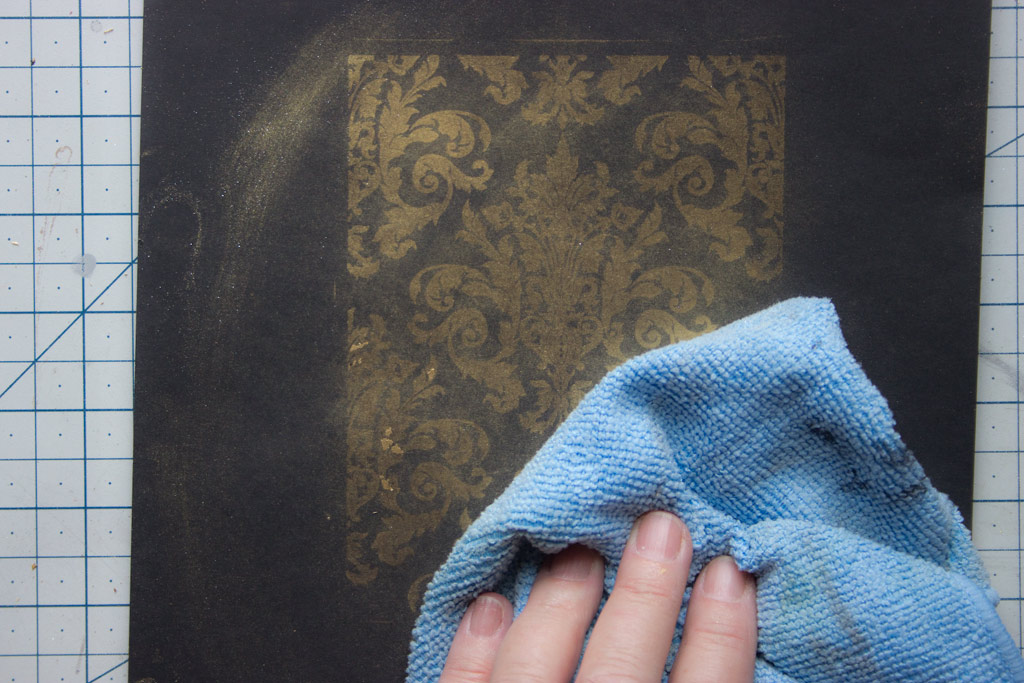
Wipe away the remainder with a soft cloth:
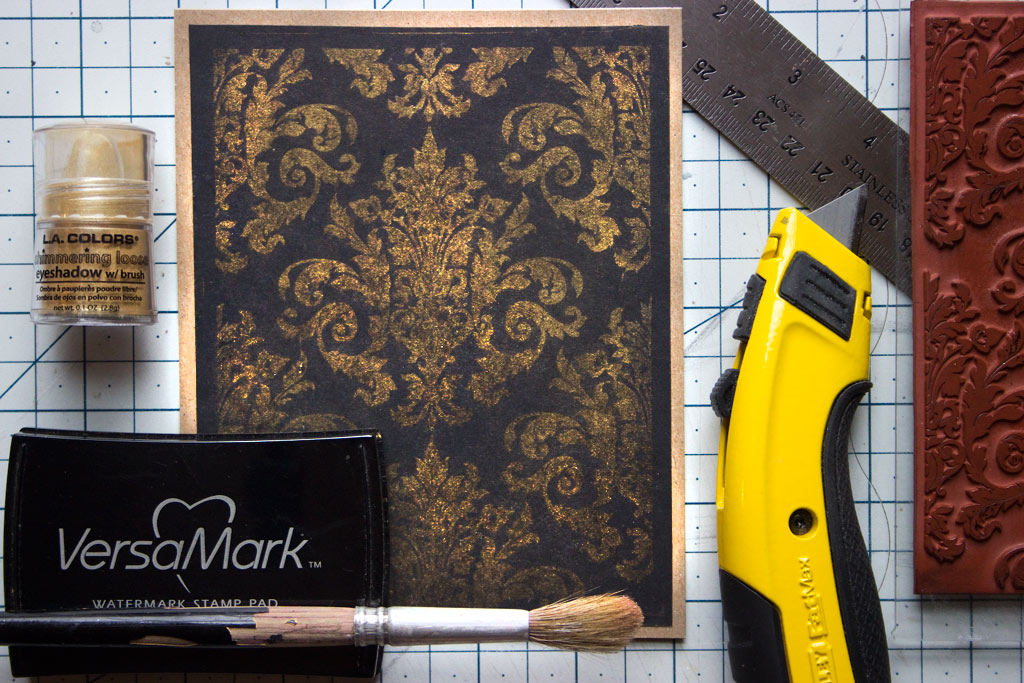
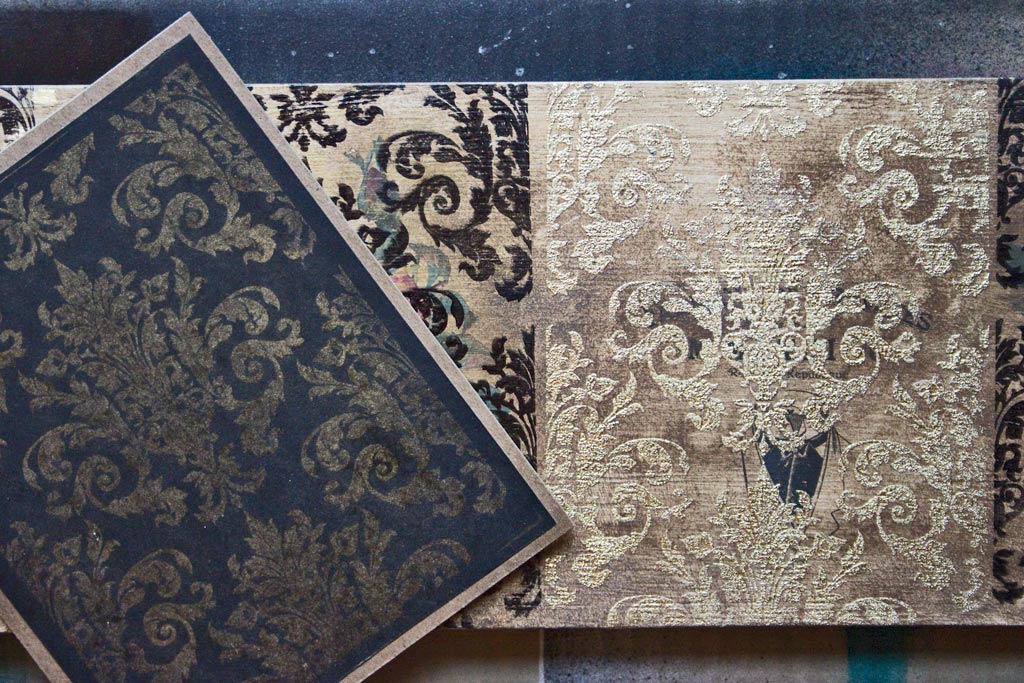
Now you can create a card, embellish an Artist Trading Book, do anything you like with the softly gleaming patterned cardstock!
How to add Textured Metallic Effects:
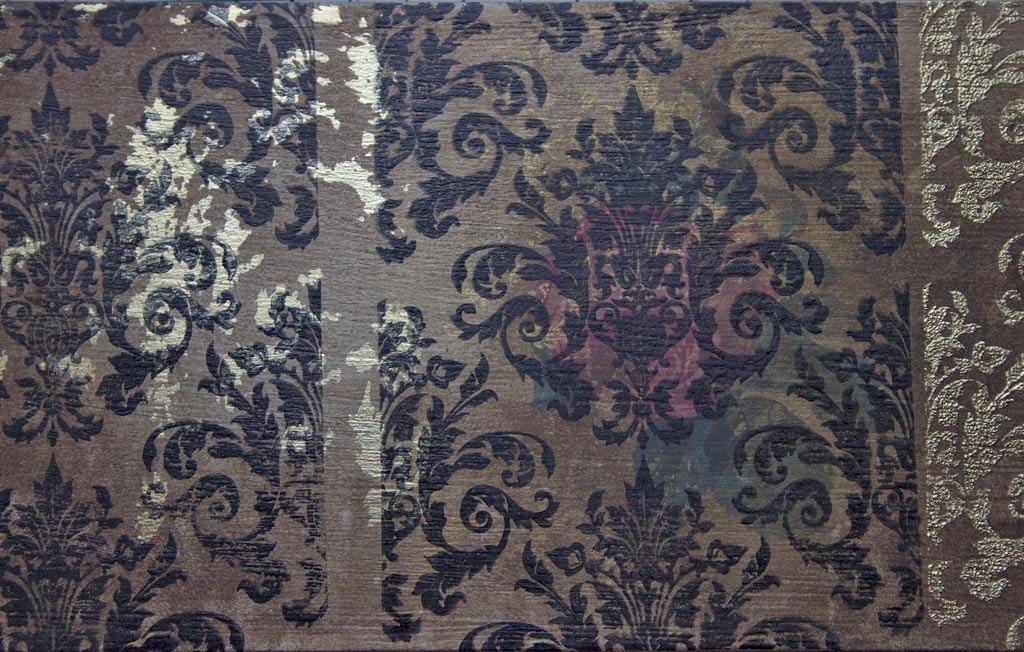
For this demonstration, I selected a board that has been painted with Chalk Style Paint, and has several Image Transfers on the surface.
We’ll add our Leafing right over the top!
Apply VersaMark to the board using your favorite stamp:
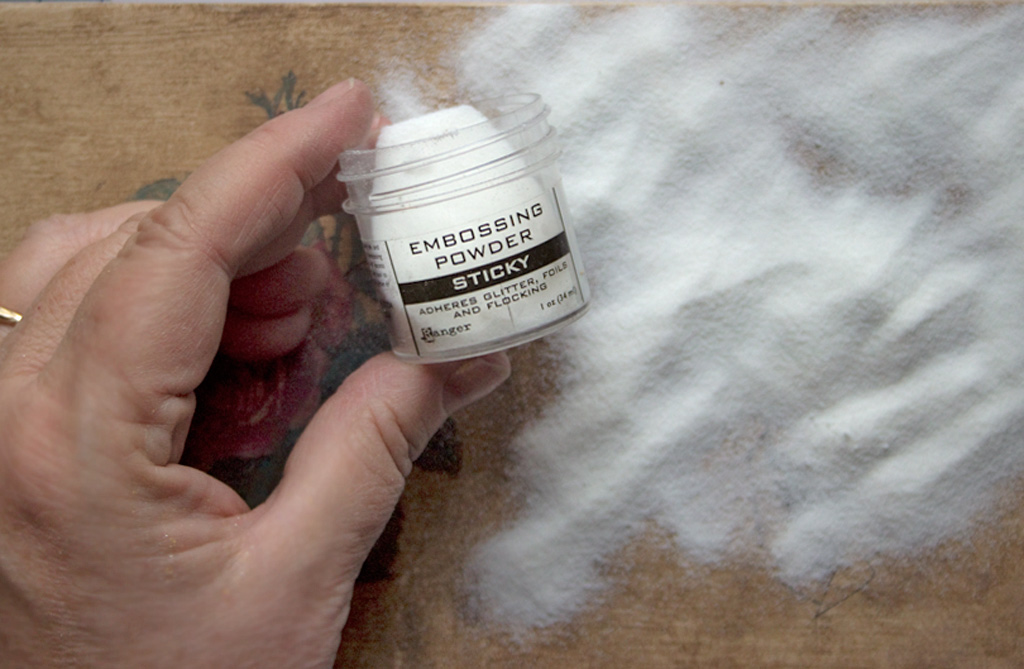
Cover the stamped image with Ranger Sticky Embossing Powder
Tap off the excess, and return it to the container.
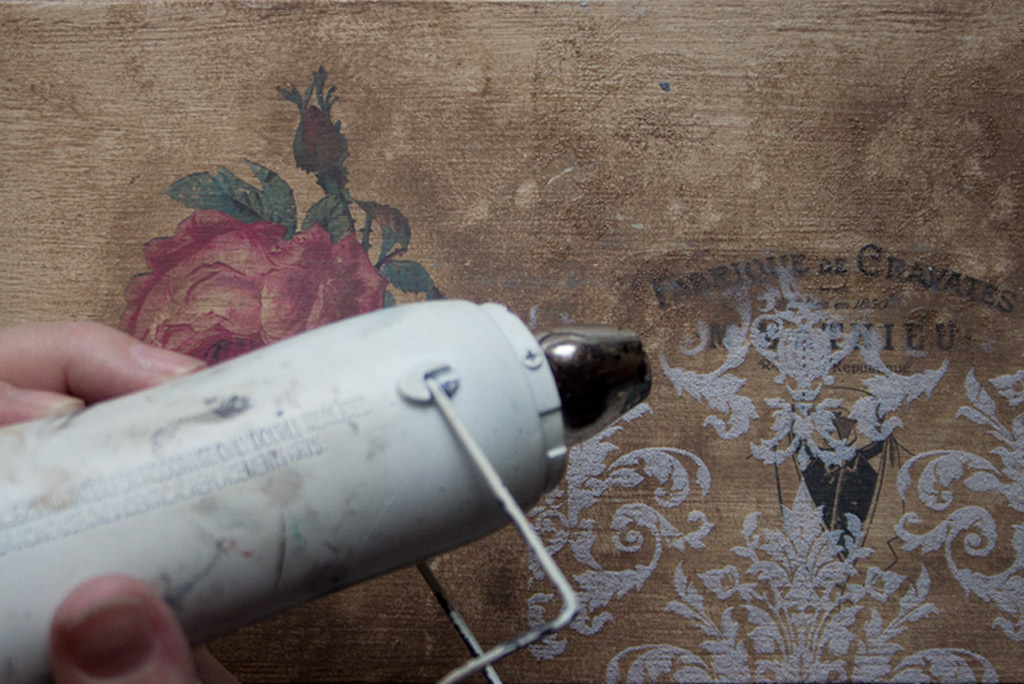
Use a Heat Tool to melt the adhesive powder.
Note: it will become almost invisible during this step.
Apply Gold Leaf onto the stamped design, and burnish with a dry, soft, flat brush:
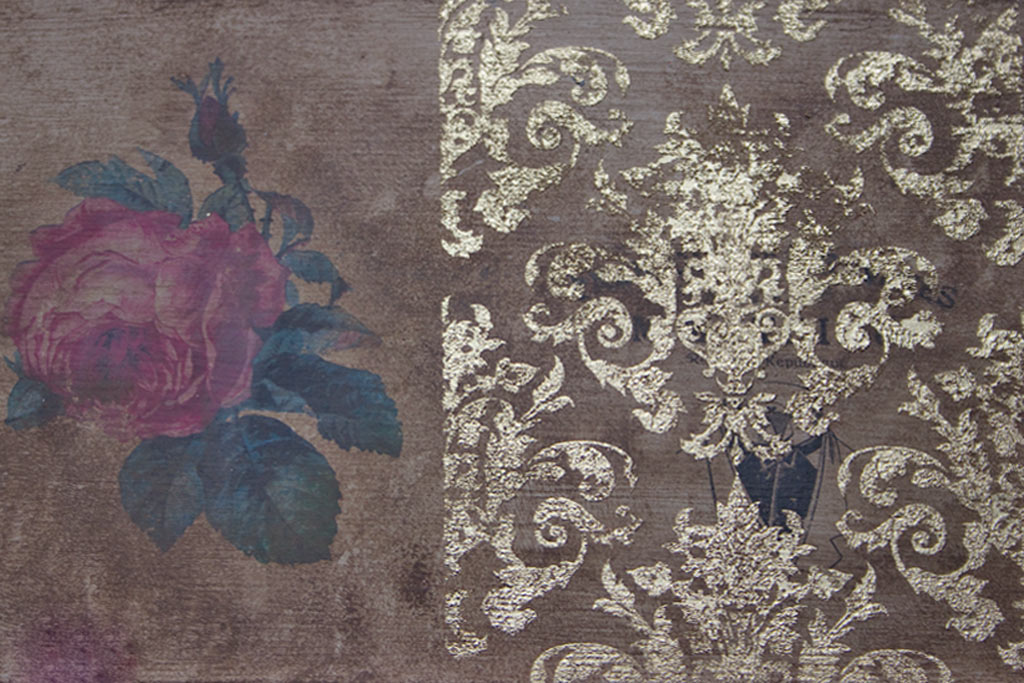
The result is textured and extremely tough!
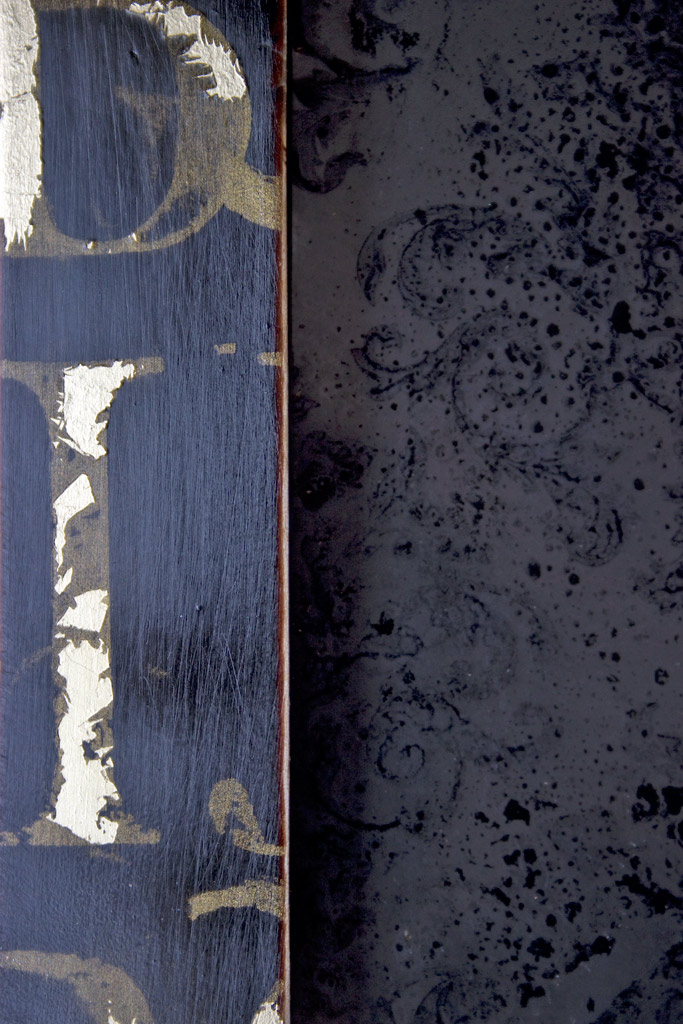
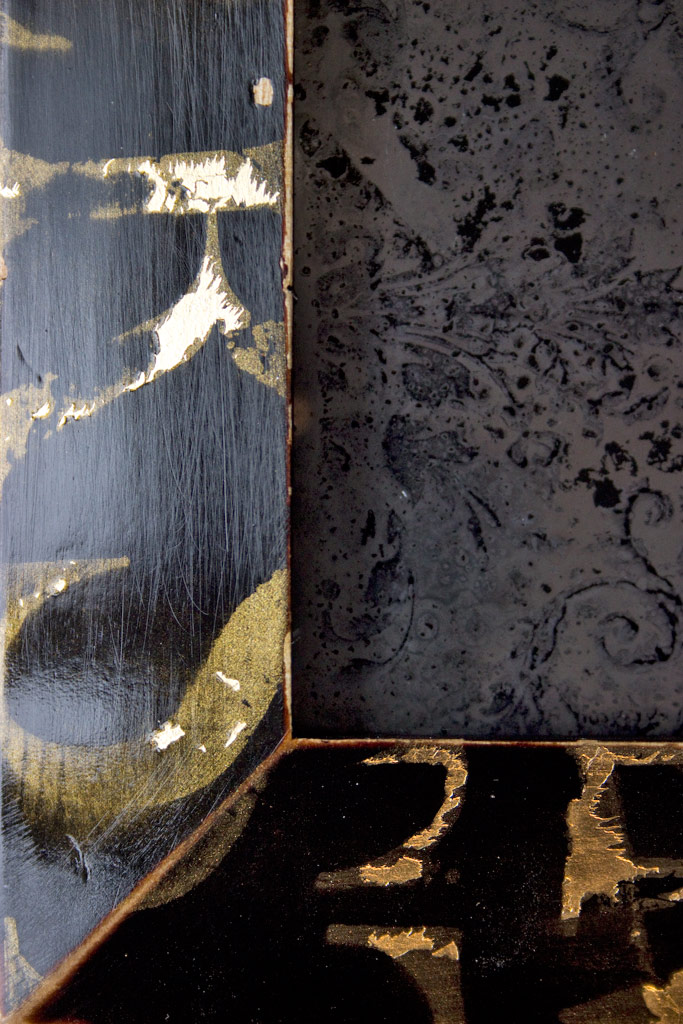
Here, you can compare Traditional Gilding, (on the left) with the textured surface of the Sticky Embossing Powder method (on the right):
Seal your surfaces!
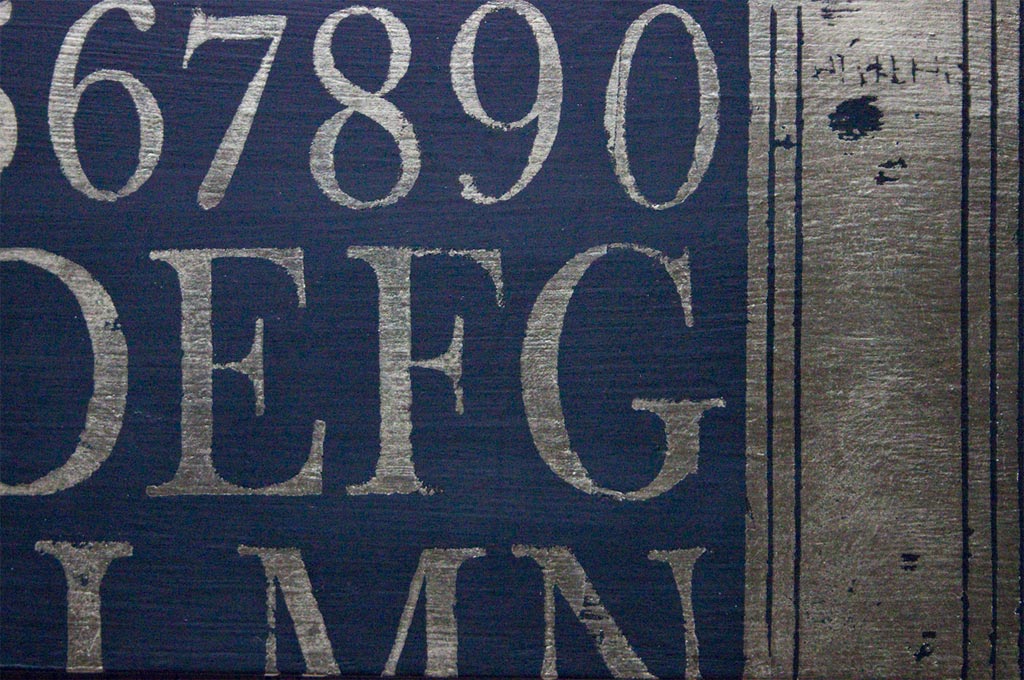
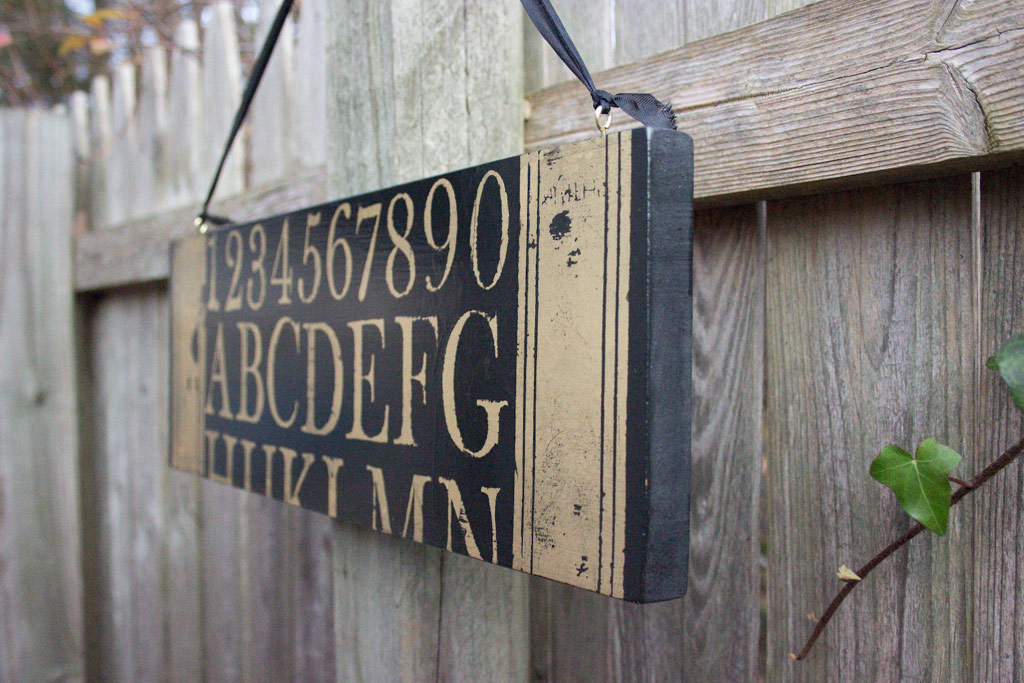
How to create a Clean and Bold Metallic Effect:
Firstly, make certain that your VersaMark pad is saturated with ink – a dry pad will not produce these intense results!
Note: this board was base-coated with Rustoleum 2X Primer: Black prior to the stamping.
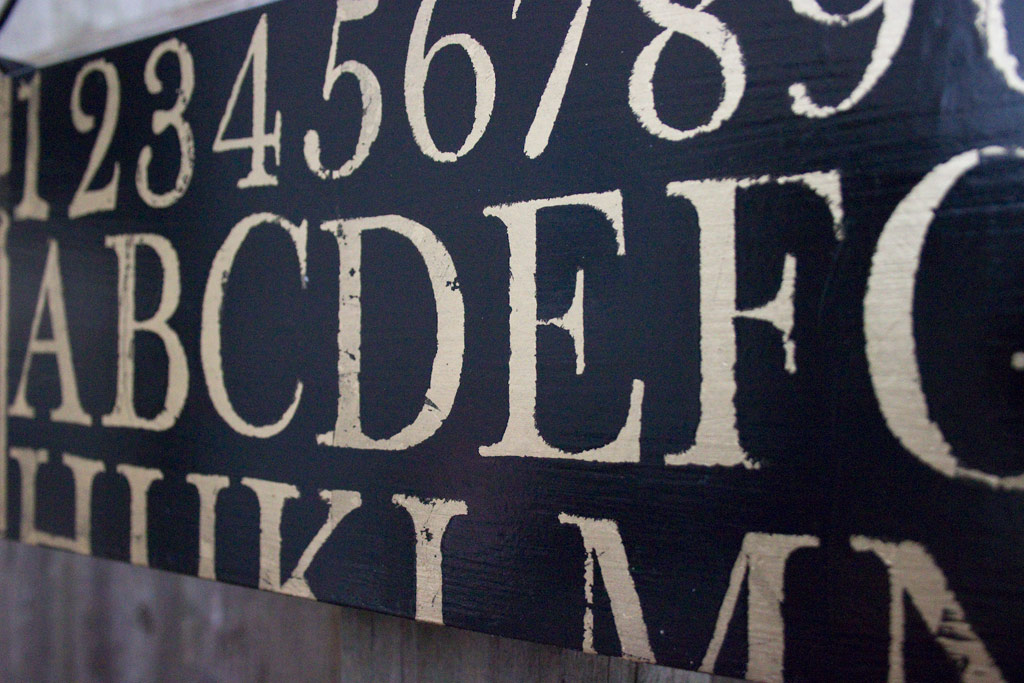
This smooth and enamel like surface will result in cleaner stamped/gilded graphics.
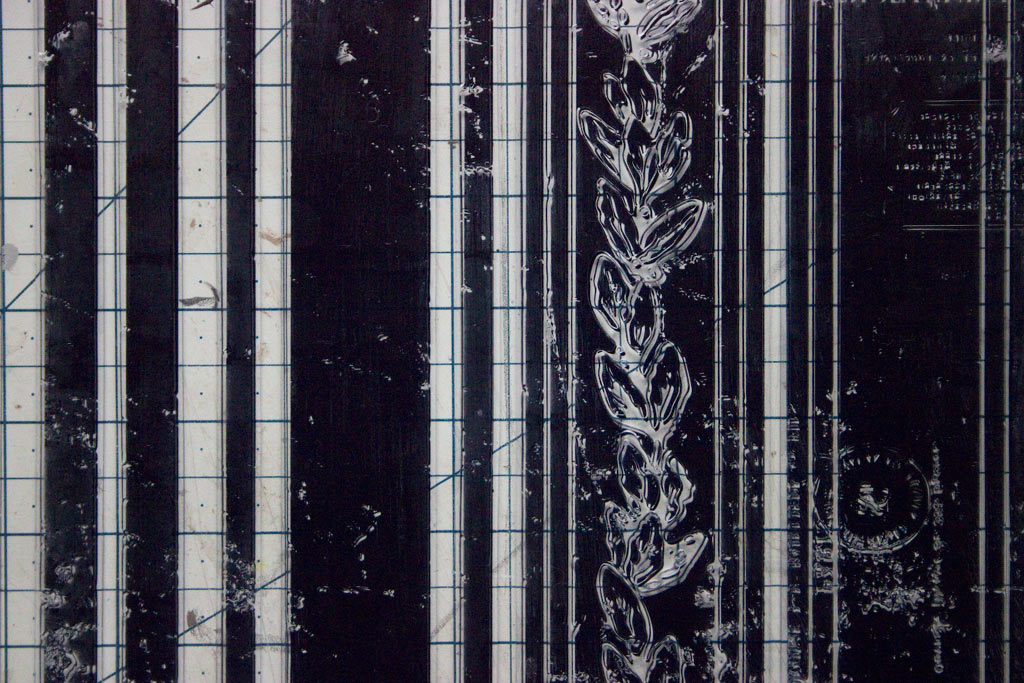
Ink the surface of the stamps, making certain to have full coverage:
Immediately press the stamp sheet onto the prepared surface:
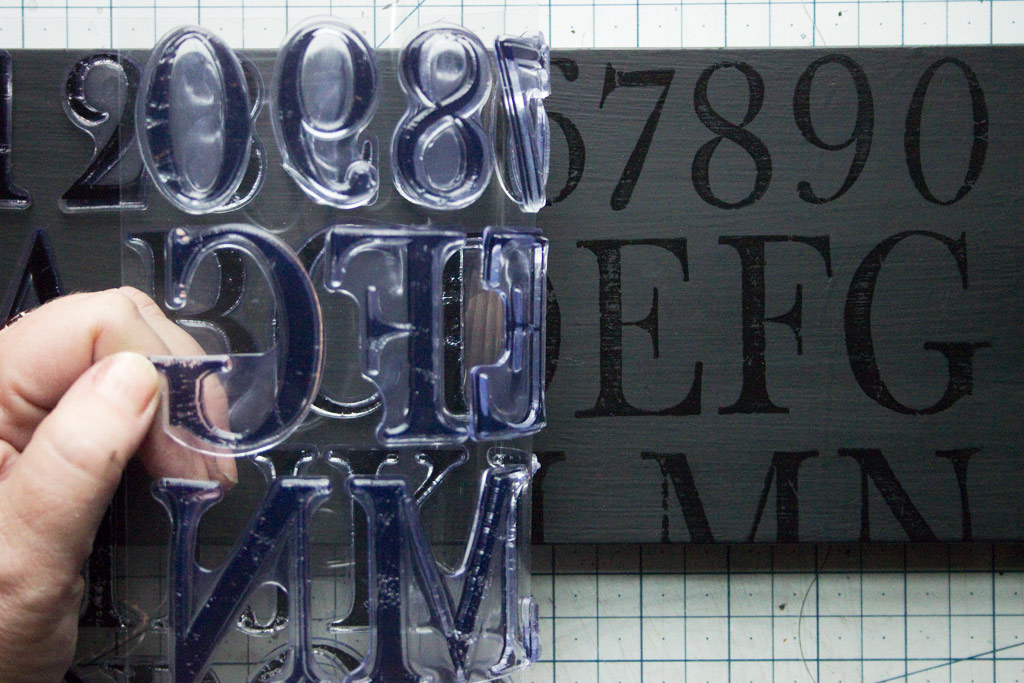
Quickly and carefully peel the stamp sheet away, revealing the design:
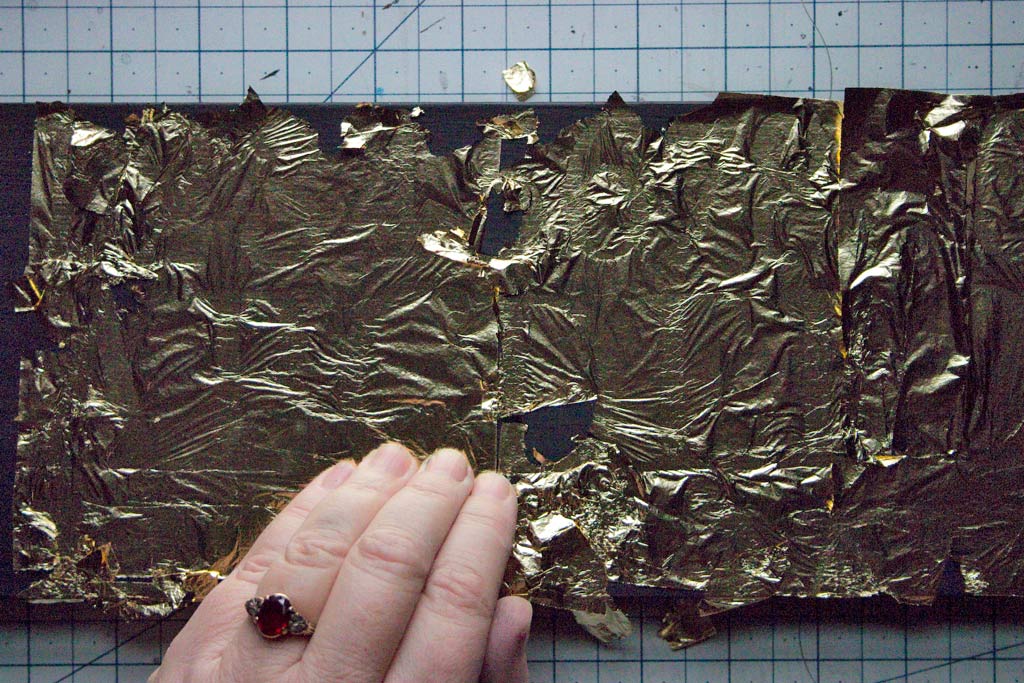
Quickly and carefully apply Gold Leaf onto the surface, and burnish carefully with your fingertips.
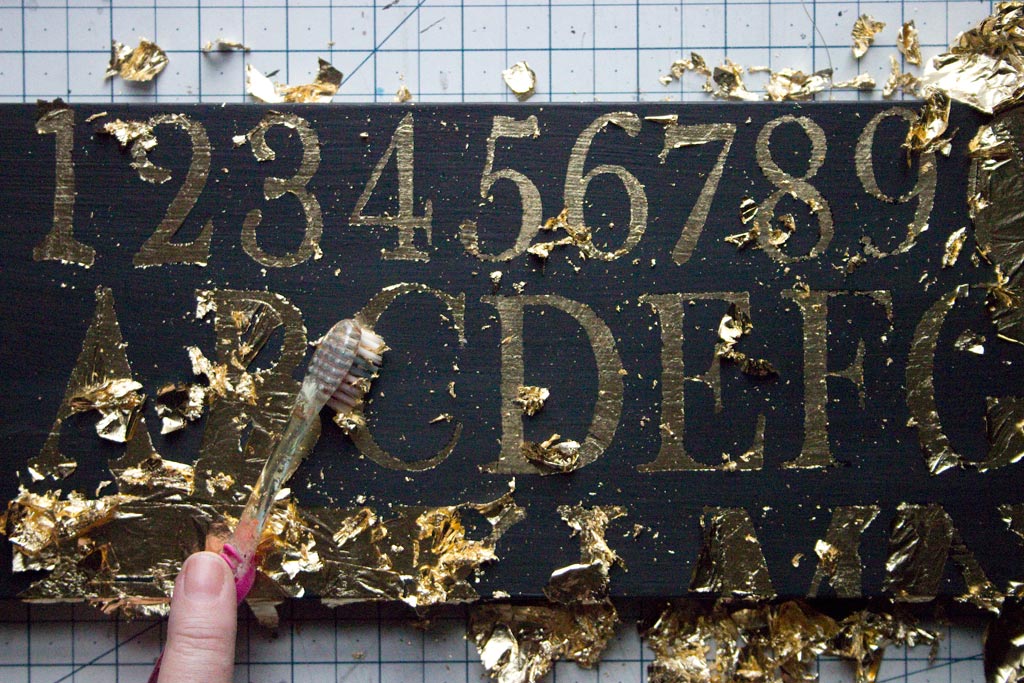
Once the leaf has adhered to the VersaMark, gently ‘scrub’ the surface with a soft toothbrush, in a swirling motion.
Note: all the leaf flakes that are created can be stored and used in future projects.
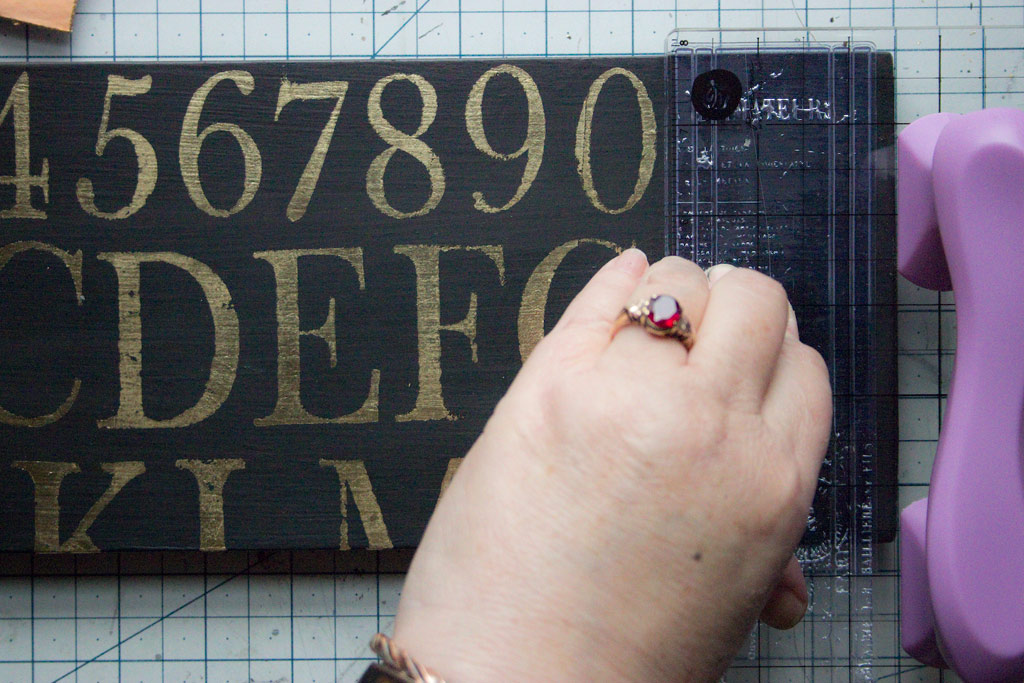
To give a bold finishing effect, use a wide stripe stamp (on the right).
This time, mount the single stamp, so that you can apply the design precisely where you wish to:
Follow the same procedures for applying, burnishing, and ‘scrubbing’ the Gold Leaf.
Repeat this step on the left border – resulting in a ‘bookend’ effect of Bold Metallic Stripes.
Seal!
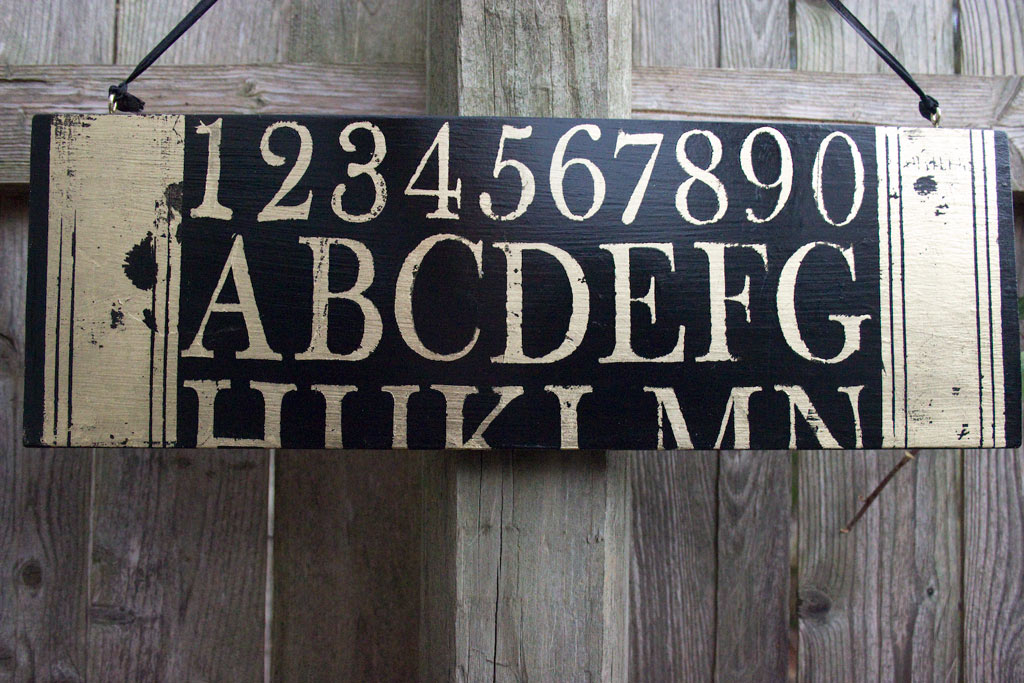
The slight distressing of the stamp designs creates a lovely effect – bold and clean, with just a hint of vintage charm!
This technique is fast and simple, if a bit messy!
The results speak for themselves:
Two-Toned Metallic Stamp Effect:
This design makes such a strong statement when used on multiple surfaces:
Mica Powder Metallic Effects on the left…
Sticky Embossing Powder Metallic Effects on the right:
I love the gleam of gilded surfaces, and I’m thrilled that we can use our stamps to bring them to life!
Thank you so much for visiting The Graphics Fairy today!
I hope you enjoyed learning how to create Metallic Stamp Effects. It’s been a pleasure to share these recent experiments with you….I hope that you find ways to incorporate these simple techniques into your crafting and home decor!
You may also like this Wax Paper Crafts technique HERE.
For quirky crafting goodness, visit me at Thicketworks – we’ll make some happy messes!
Until next time,
Heather
It’s finally here! Our first online crafting eCourse! If you’ve always wanted to try the art of Mixed Media, be sure and check out this amazing course by Heather Tracy! Click HERE to learn more about it.


Faith W says
Utter deliciousness!
Heather thank you for this article and for sharing techniques that are achievable.
Heather Tracy says
Hi Faith! Ooohhh – I’m so happy that this is appeals to you! Thank YOU for stopping by, my friend. xox
Mia says
Great post, my friend. Thank you for the instructions. They are very helpful!
Heather Tracy says
Yay! So glad you found it useful, my friend. Thank you for your kindness, Mia! xox
Lyn says
It’s all beautiful !! But I’d like to know more about the skull bracelet you’re wearing !
Heather Tracy says
Hi Lyn…thank you – the bracelet was an anniversary present from my husband. It’s a reproduction of a Van Gogh by the Erwin Pearl Company. I NEVER take it off! Thanks for stopping by The Graphics Fairy!
Carol Sterenstein says
What a perfect combo–Antiqued Mirror enveloped in a Metal Effect Frame! Absolutely stunning.
Heather Tracy says
Hi Carol! Thank you so much for visiting today…This project was such fun to create, and even more fun to share! Thank you for your kind words 🙂
Rupa says
All I saw the pic and “metallic effects” title on GF and I knew it is Heather!! Oye, woman, your art/ideas race my heart! Thank God I am not weak hearted lol! I kept scrolling like crazy and reading very fast like it would go away…..phew….I made it to the end without passing out 🙂 What a fabulous post, once again! I haven’t had much time for the MM project lately, so instant gratification here to see and drool! My fav is the chalk painted numbers with book end borders. For the project where you apply gold foil and the mica powder, do you apply mica basically wherever no foil stuck? I must say my embossing ink (i.e. watermark stamp pad) is no where as juicy as yours. I guess now I need the Versamark Brand. I don’t use all this often enough that they tend to dry. I have an off brand as well as TH embossing ink and the latter is good. Plus, there is even a re-fill to juice up the embossing ink pad again, just like other refill colors.
Heather Tracy says
Hi Rupa! I love your enthusiasm, my friend…it just gives me a huge boost! 🙂
Okay, let’s see: Yes, the Mica Powder will stick where the Leafing did NOT, resulting in the lovely two-toned effect. Sounds like your Tim Holtz embossing ink would work well for this – I don’t think you HAVE to have VersaMark, it’s just the one I’ve grown to know and love. Thank you for being so generous with your kindness! xox
Cath says
Brilliant. Never the expected. Never the ordinary. Never the umpteenth iteration. You had me at “metallic” because who can resist that, but the subtlety of shading and the offbeat cropping–love these projects.
Hey, did you happen to catch the documentary on PBS about David Beck? I saw part of it. Never heard of him before but I fell instantly in love with his work. This has nothing to do with your post, but, I’m so excited to see his work that I have to tell someone. I figure you know of him. At the very least, I’ll bet you’d appreciate his work. In these dark days it is a joy to find artists like you and him to lift the veil of gloom and give us something to rejoice in. Thanks for sharing your artwork with us.
Heather Tracy says
Hey, it’s my friend Cat! Lovely to hear from you, dear. You know how much pleasure I take in experimentation…sometimes the results are quite interesting. It’s wonderful to know that this pleases you.
As far as David Beck goes, I must say I don’t know of his work, but of course, NOW I must find out! Thank you so much for your kindness, and for sharing your enthusiasm for creativity. xox!
Cat says
I managed to catch another airing of the documentary about him on PBS. If you (or any readers) can find it locally, it’s a fascinating show. The advantage over looking at his art on line is that you hear him talk about his work, which is interesting. And, much of his work is kinetic so you can see it in action. Grand fun to watch.
Karen M. says
Great article!! Can’t wait to try some of your ideas. Beautiful!
Heather Tracy says
So happy you found it useful, Karen…I know you’ll love creating these effects! So fun 🙂