DIY Embroidery Hoop Ornaments
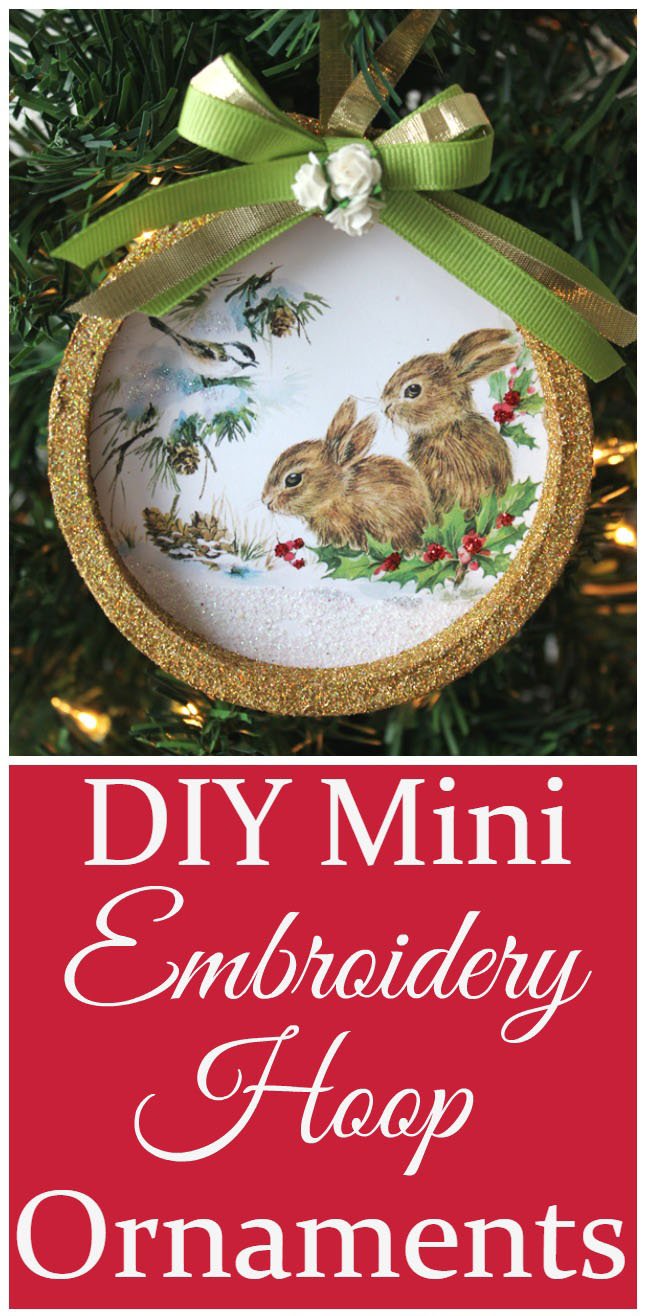
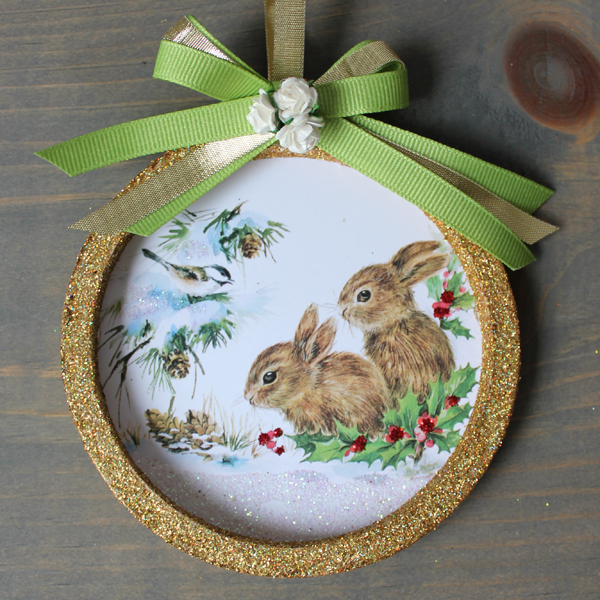
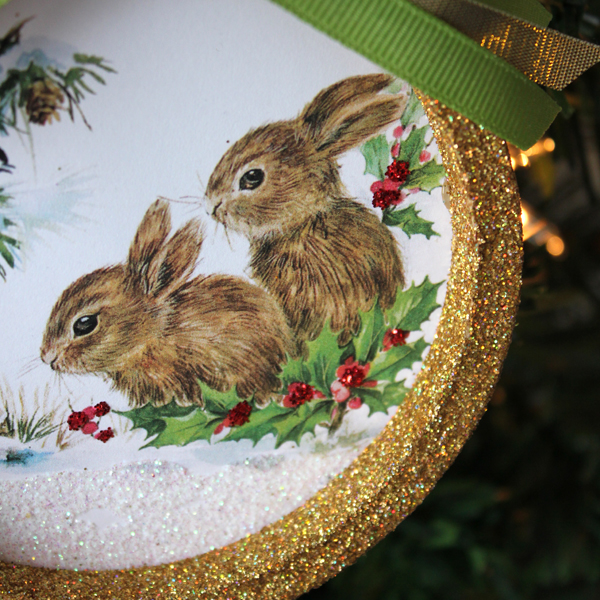
Hi everyone…it’s Andrea from The Cottage Market and I am here today to share how to do DIY Embroidery Hoop Ornaments. This one is super simple and I really think that the end result is pretty adorable! So sit back and check out the step-by-step DIY for this cute Mini Embroidery Hoop Ornament…I highly suggest making a lot of them because they are that easy and make the most fabulous present toppers that will be used year to year on the tree! If you are looking for the adorable little bunnies I used…click right here. I don’t have to tell you that you can use any graphic from this amazing site…the possibilities are endless!
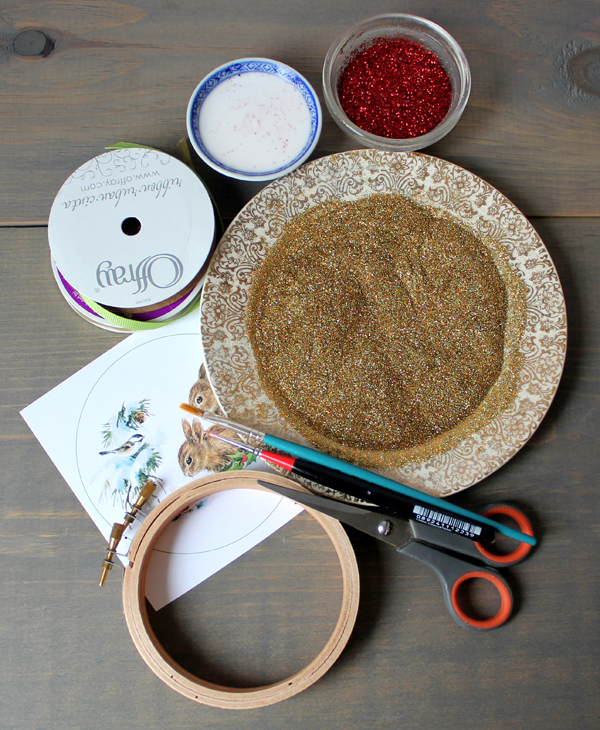
Supplies for DIY Embroidery Hoop Ornaments:
You are going to need: Glitter…Your print sized to the embroidery hoop you are using, a mini embroidery hoop or two or three or…scissors…ribbons…embellishments…your favorite craft glue.
Full Craft Tutorial:
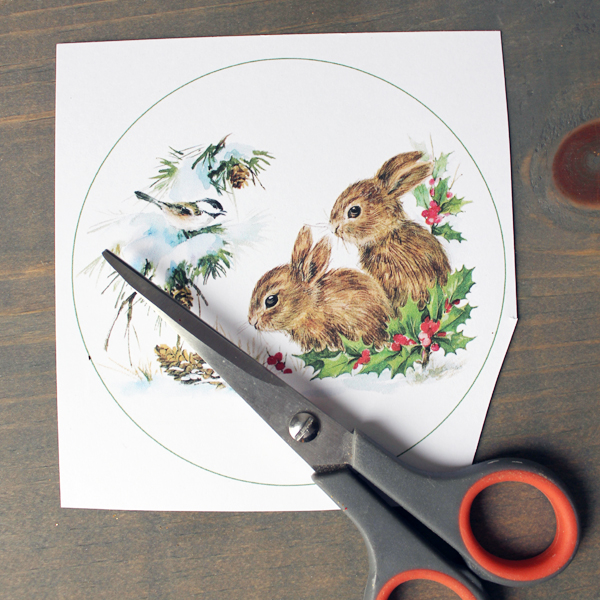
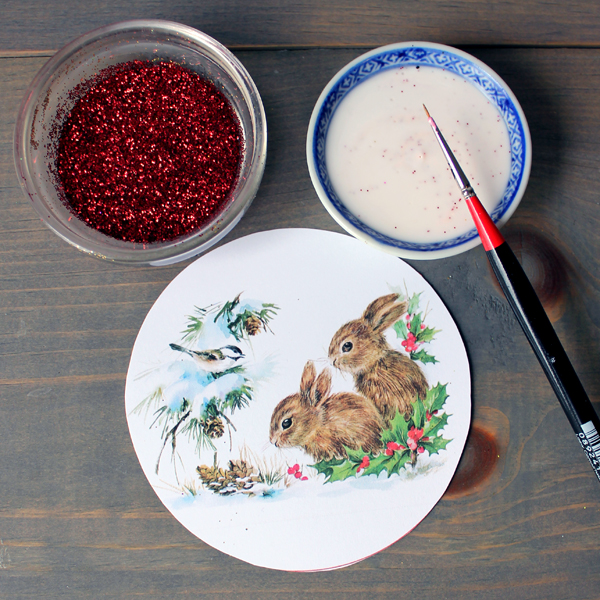
Step 1: Cut out your image…take your time with it. If you happen to have a punch the right size…by all means use it.
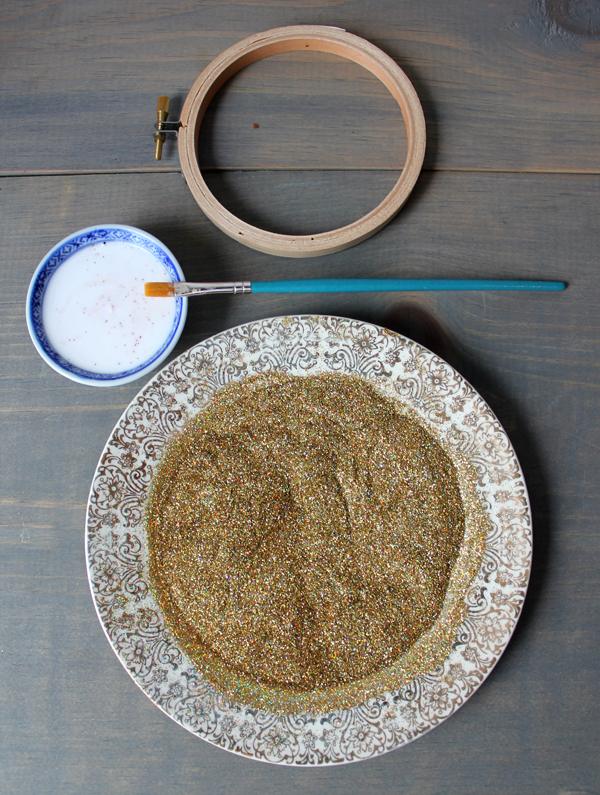
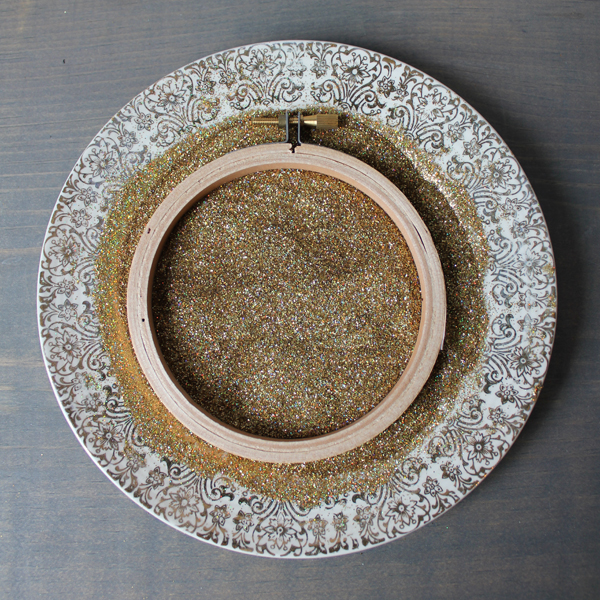
Step 2: You are going to want to glitter all sides. It is so easy…do the inner circle first…simply coat with glue and sprinkle the glitter on it…
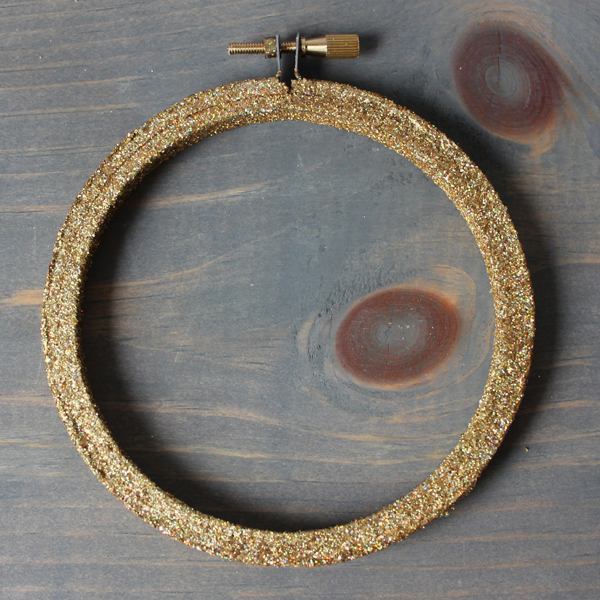
Step 3: Then cover the whole front ring with glue and put the ring face down and viola…all covered. Then apply on the edges and roll! Allow the ring to dry…
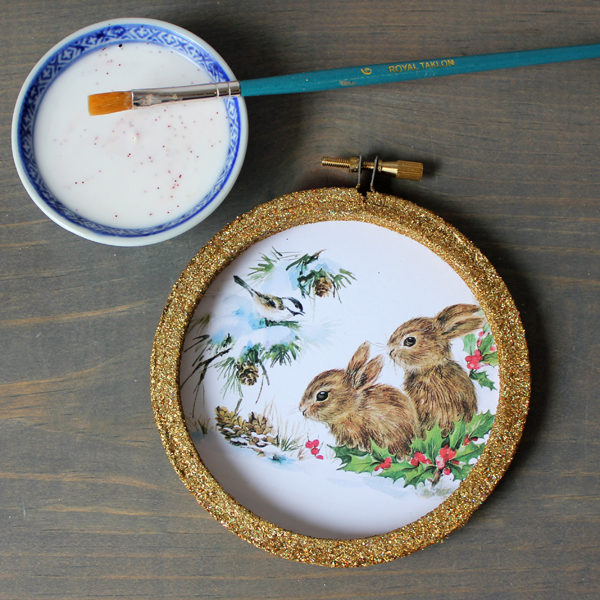
Step 4: Once the ring is dry…water down some craft glue and lightly dab your brush in it and lightly brush over the glitter. Allow to dry. This will help prevent the glitter from shedding.
Step 5: Now it is time to paint with glitter…pick the areas that you want to glitter and apply your craft glue…then sprinkle with glitter and removed excess…repeat with different colors until you achieve the effect you are looking for.
Step 6: Now paint the back ring with glue and place over the circle…press firmly and allow to dry.
Step 7: Pick out your favorite ribbon…make a ribbon hanger and a pretty bow with a center embellishment and attach to the top! There you have it!
You are going to have tons of fun with this one and I know you won’t stop at just one!
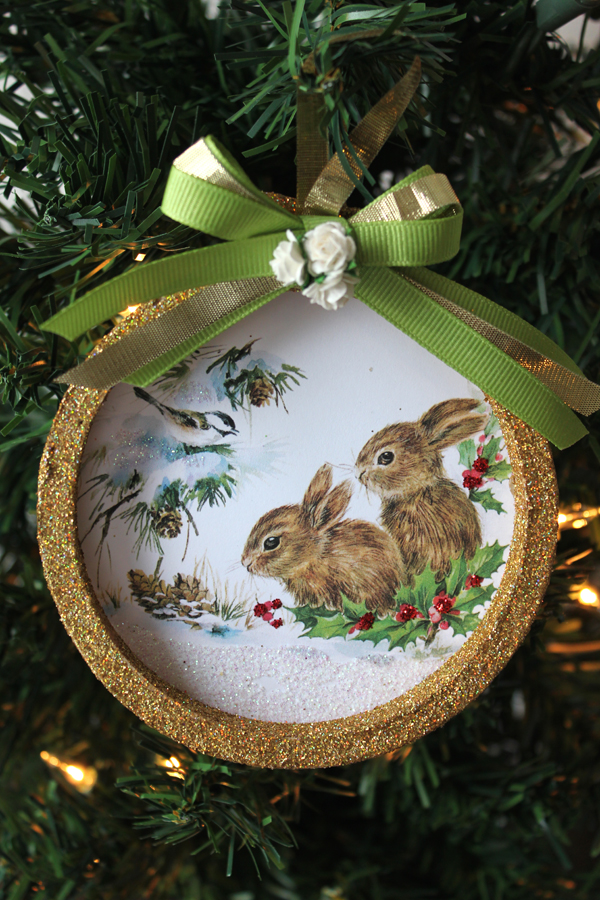
All that is left to do now is to hang on the tree.
I hope you enjoyed this DIY Embroidery Hoop Ornaments. You might also like this Baby’s First Christmas Ornament DIY Tutorial HERE.
Well my friends…I will see you again in just a little bit with another quick and easy DIY for you…till then…have fun and enjoy! If you have time…drop by and see me over at The Cottage Market…I am always over there!
Hugs,
Andrea


Poly says
Wonderful!!!! Thank you for sharing. Happy Christmas 🙂
Karen Watson says
Thank you Poly! Merry Christmas! 🎄
Mary McNeill says
The only embroidery rings I can buy in this area are about 8″ and made of plastic. Ugh. Embroidery is not so popular any more. I started doing embroidering when I was about 8 yrs. old. My grandmother drew a plate, knife and fork on a tea towel and showed me how to do a plain stitch. I’m 77 now and still loving it.
Karen Watson says
Hi Mary, Embroidery is making a come back actually! How lovely that your grandmother taught you this charming art!
Sherri Parks says
I save the prettier Xmas cards I receive and have been looking for ideas to use them, I think I found it! Some of the special ones I may gift to the original giver as tribute. Thanks!!
graphicsfairy says
What a lovely idea Sherri!! Thanks for sharing 🙂