Mixed Media Art Tags
Hello, Graphics Fairy friends! I’m Diana from Dreams Factory and I’m really happy to be here once again, creating a lovely DIY project with you. Today we are making some amazing Mixed Media Art Tags and I’m sharing my revolutionary technique on how to print on acrylic paint backgrounds!
This is quite a special project, you guys and I almost cannot contain my excitement! Why?
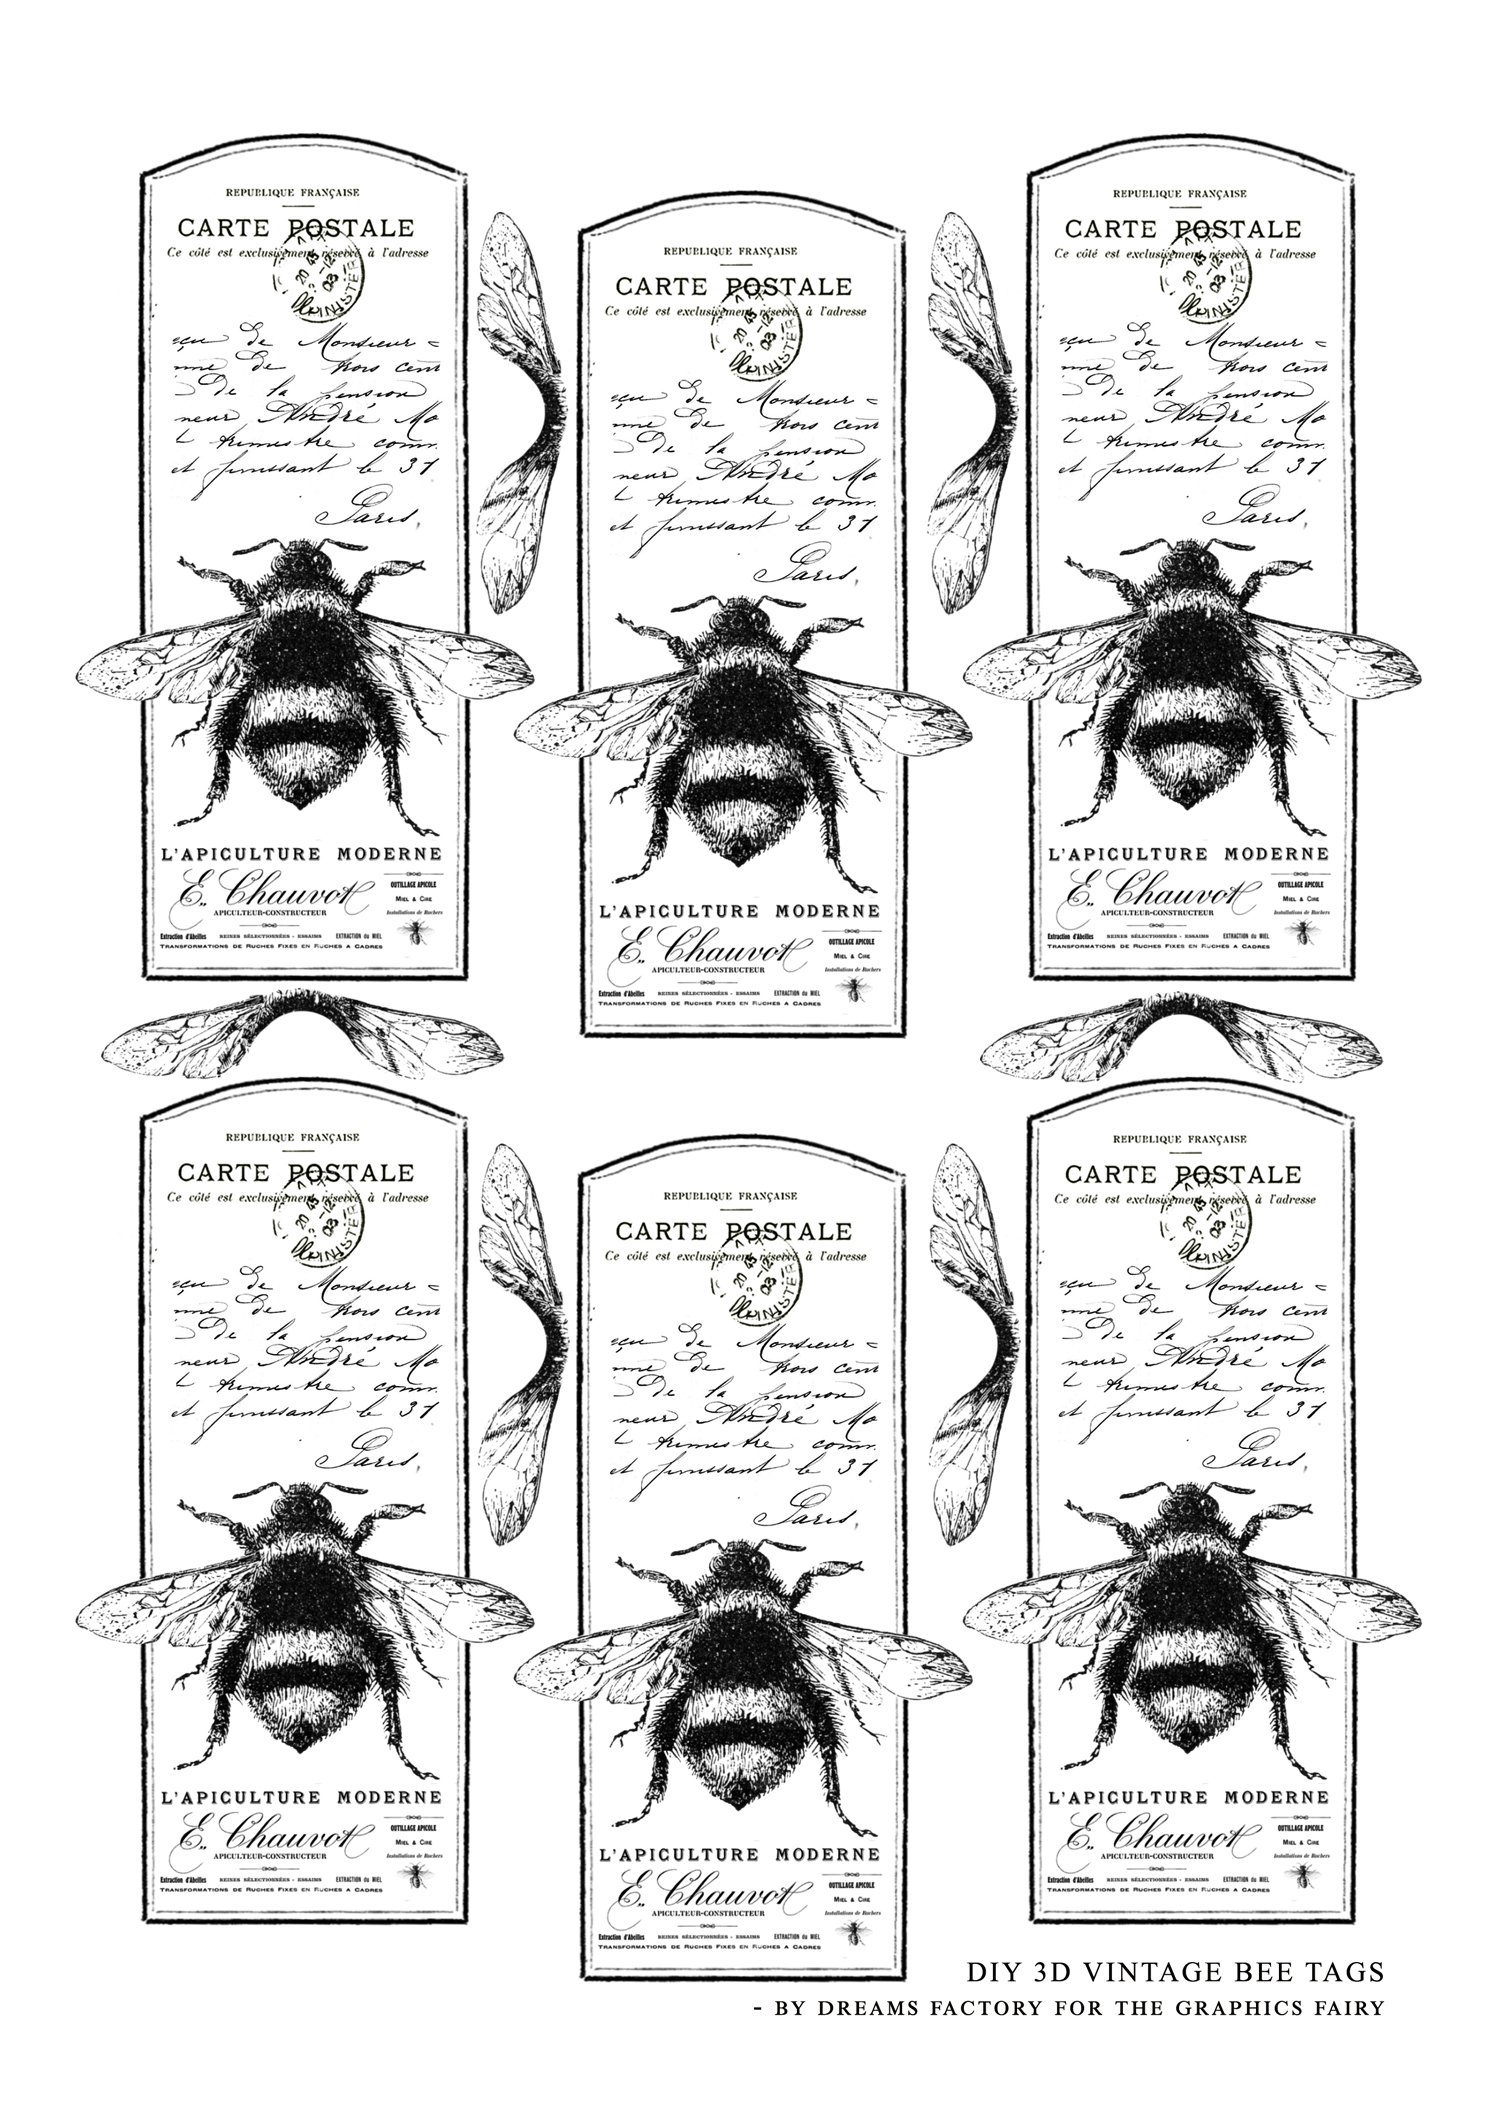
- Because it includes this gorgeous free printable with this beautiful bumblebee and a little bit of French flair that I created just for you.
- Because it involves some super fun experiments with acrylic paint – I will be showing you how to create acrylic paint backgrounds using different color blends and multiple ways to add texture and interest using craft supplies but also everyday items from your home.
- Because it involves my revolutionary technique – I haven’t seen it anywhere else so let it BEE mine – how to print on acrylic paint backgrounds! This will open up so many new opportunities in your creative adventures and will give you so much room for further experimenting. You will be able to use any of your favorite images from The Graphics Fairy, you can even add your preferred additional text or wording, the sky is the limit!
Free Printable Mixed Media Art Tags
—-> Click HERE to Download the Full Size Printable PDF <—-
My revolutionary technique – how to print on acrylic paint backgrounds
Before we jump right in, let me tell you about my revolutionary technique – how to print on acrylic paint backgrounds. The idea itself is quite easy at a first glance, you just paint on paper using acrylic paint and then feed the painted paper through your printer to print your preferred images. But there are a few things you need to keep in mind for this to be a complete success and not a total failure!
- You need a laserjet printer for this technique, this will only work with a laserjet printer! If you don’t have a laserjet printer, I guess now it would be a great time to buy one! I usually give you the suggestion of printing at a copy center when a laserjet printable is involved, but for this occasion I’m pretty sure no one will be willing to feed your acrylic paint background through their expensive machines. As an alternative, you could ask them to make a colored copy of your painted acrylic background first and then print the bee tags on that copy. I know it won’t be exactly the same thing, because you will loose some of the handmade feel of your creation, but it’s just an idea that might work if you are left with no other choices.
- You can have fun and experiment with your acrylic painted backgrounds, but you’ll need to keep the final painted surface quite flat. You’ll have to be careful not to add too much paint in one place. You can use stencils and so many other things to create texture but try to keep in mind that you need to create texture with a more visual than tactile feel. For example, don’t use raised stencils with texture paste or plaster and use them with a thin layer of acrylic paint instead. Use a palette knife to add some more interest to your work, but again, only use a thin layer of acrylic paint. Try to keep your surface as even as possible so you won’t have any problems when feeding your paper through your printer.
- You can use regular paper or cardstock paper, for any other type of paper you’ll have to check your GSM (gram per square meter) printer’s settings – the heavier the paper the higher the GSM number. Acrylic paint will create a layer on your paper and might alter your GSM, so start with a lighter paper so you can build up from there.
- Make sure you leave some unpainted white space on top and on the bottom of your paper, this will help when feeding it through your printer. I’m suggesting leaving this white space on both ends because this way you’ll have more options if you want to maybe rotate the page over and feed it the other way.
- Your painted acrylic background needs to be completely dry before feeding it through your printer! This step is really important too, make sure your acrylic background is completely dry before printing on it to avoid any unwanted paper jams. You can let it air dry or use your heat gun tool (or your hairdryer) to speed things up.
- Your acrylic painted background will warp and bend after drying, if you feel it is a little bit too wavy, just put it between the pages of a large book and let it sit there until it flattens. Again, this will help to avoid any paper jams when feeding it through your printer.
Most of these are things that you actually need to keep in mind before printing. If you take all these into consideration, printing will be easy BEEsy!
As for the backgrounds, please don’t be afraid of making mistakes, they are usually just the perfect opportunities of learning new things. I know sometimes an ‘undo’ button would be so great in real life and not only on our computers. Been there, wanting that! But I guess this is the beautiful thing with making something unique, you create something that represents you in that particular moment in time, with everything that is involved.
OK, let’s do this!
Mixed Media Art Tags Supplies:
- regular or cardstock paper ( I used cardstock)
- scissors
- laserjet printer
- paper tape
- acrylic paint
- gold acrylic paint – you can use metallic gold, copper, bronze or brass
- brushes
- water bottle
- a blending sponge (or a regular sponge)
- a plastic sheet or another non absorbent material to protect your working area
- Mod Podge and a small brush or any other paper glue (for attaching the 3D wings afterwards)
- paper towels
- baby wipes
- your favorite stencils
- other materials to create unique shapes and textures – bubble wrap, leaves, mesh bags, skewers or toothpicks, hexagon jar or any other jars or glasses to create round or other shapes
Painting the backgrounds with acrylic paint & creating texture
To create some beautiful acrylic paint backgrounds you need to try and see this whole process as something fun! Clear your mind and try not to overthink every single step or every single paint stroke! Just imagine you’re an abstract painter right now and just go with the flow and enjoy the ride! Now I’m actually just saying that to myself, I too need to do that more often!
Another thing to keep in mind is to try not to overcrowd your backgrounds, especially if using them for this project. Remember that we need to print the beautiful tags on top and we want our design to be visible.
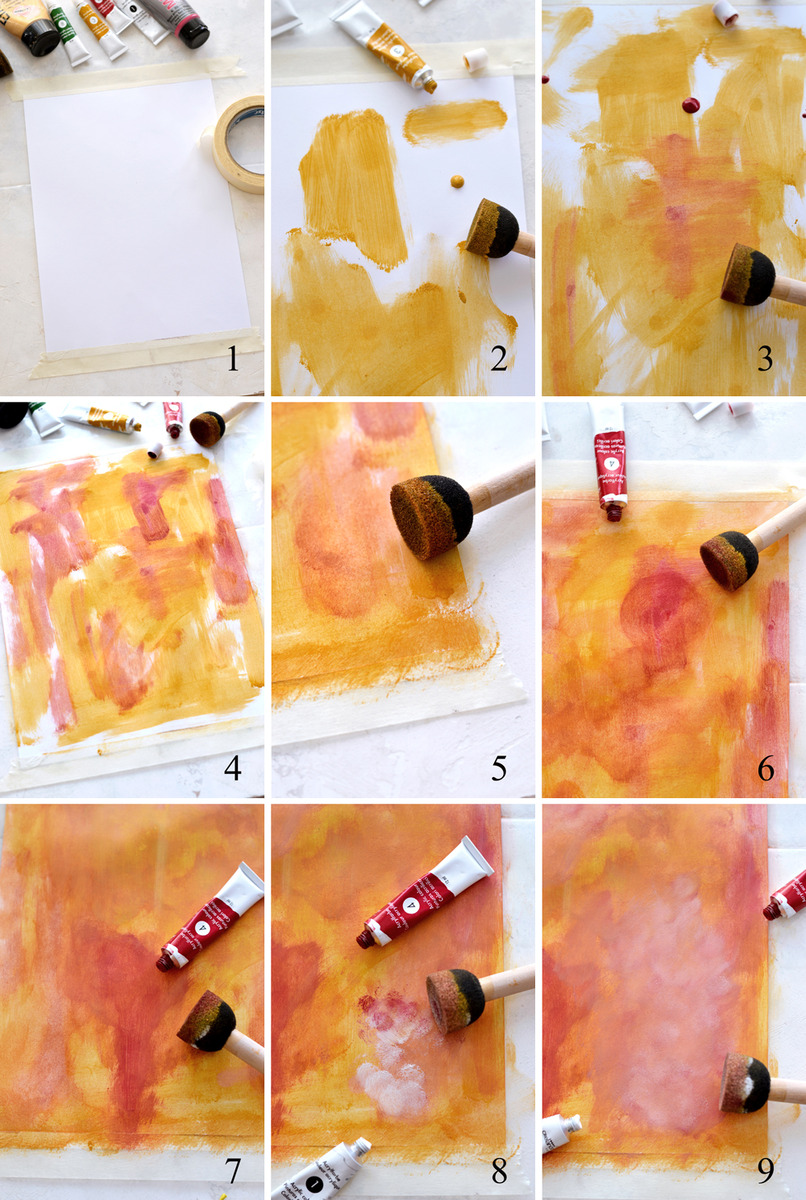
1. Start by gathering your supplies and laying a piece of plastic sheet on your table, to protect your surface. Use paper tape to secure the cardstock paper on your working surface, this will hold the paper in place but will also create the two unpainted areas that I talked about earlier (on top and bottom), the ones that will help you feed the paper through your printer afterwards.
2. I decided to use a beautiful orangey ochre and some magenta acrylic paint for the first background. You can use as many colors as you want, but I would suggest starting with two colors first and go from there. Add dots of paint here and there directly on your paper, then make left & right, up and down strokes with your sponge. Leave some white spaces and remember you’re an abstract painter right now, your color strokes don’t have to be perfect! You can also use a paint brush or a brayer if you have one – I don’t, but I want one, it would work great for these backgrounds!
3-4. Add dots of your second color paint on the white spaces and do the same left and right, up & down moves with your sponge.
5. Now make circular round moves with your sponge to blend the colors together, without adding any more paint. I insisted on the areas where there were visible lines from applying the paint earlier. This will create a beautiful blending effect that will give a more cohesive look to your bakground.
6. Use the same circular motion to add some more paint here and there and maybe create some lovely rounded shapes.
7. You can even create other irregular abstract visually appealing paint strokes with one of the 2 contrasting colors to add more interest.
8-9. Add a little bit of white acrylic paint and one of the two colors you used directly on your sponge, to create a pastel version of that color and this time dab your sponge on your paper. Dab, dab, dab until the paints are completely blended.
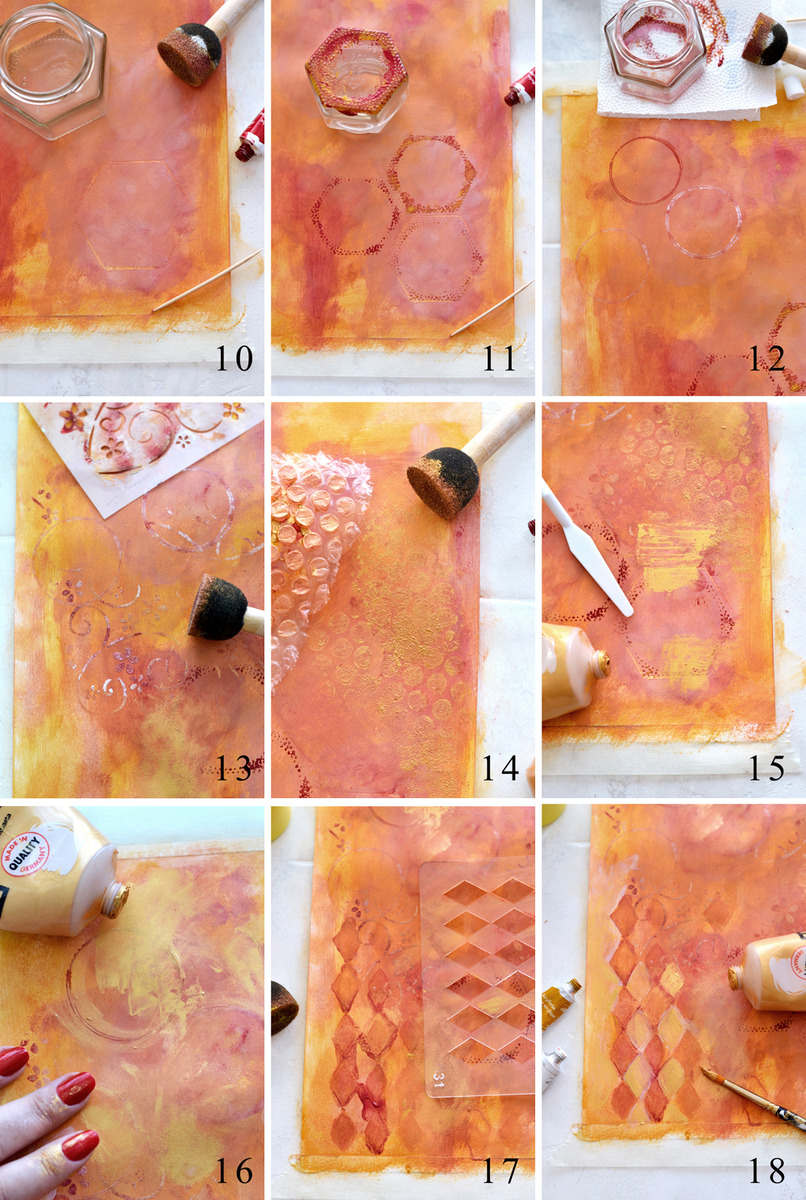
10. While the paint is still wet, place a hexagonal jar on your paper and use a toothpick to trace it’s shape on the paint. A hexagon shaped jar would work great for this bee theme, but you can use anything you have around.
11-12. You can even dab some paint on your jar and use it to make interesting hexagon or round paint shapes.
13. Your favorite stencils can be used with one of the paints (or with a mix of them, you choose) – I used a chic stencil with flowers and a few other whimsical details.
14. Another fun way to add texture and interest? Good old bubble wrap! You can use bubble wrap to create a honeycomb like design on your background – that again would work just perfect with our bee theme here. At this point I started adding the gold acrylic paint, I believe gold (or any other metallic paint) can add a new dimension to your work.
15. Remember how I said that you need to think like an abstract painting artist for this project? Gold can also be used with your palette knife to add some metallic details here and there. Just remember not to add too much of a raised layer, we need to keep our final surface relatively flat.
16. You can also involve your fingers in the whole creative process, adding details or blending some gold paint here and there might be a good idea! Your manicure might not think this way though.
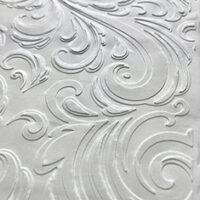
17-18. If using a raised stencil, try to keep in mind that you need to keep things as flat as possible. I used a little bit of paint diluted with water with my diamond shaped raised stencil and as you can see, things didn’t look too good. Where are the ‘undo’ buttons when you need them? But this isn’t even a mistake, so let’s just call it a small slip. If this (or anything similar) happens to you, you only have two choices – cover the slip with paint or try to correct it with more paint. I managed to do the latter and I was really happy with how it looked.
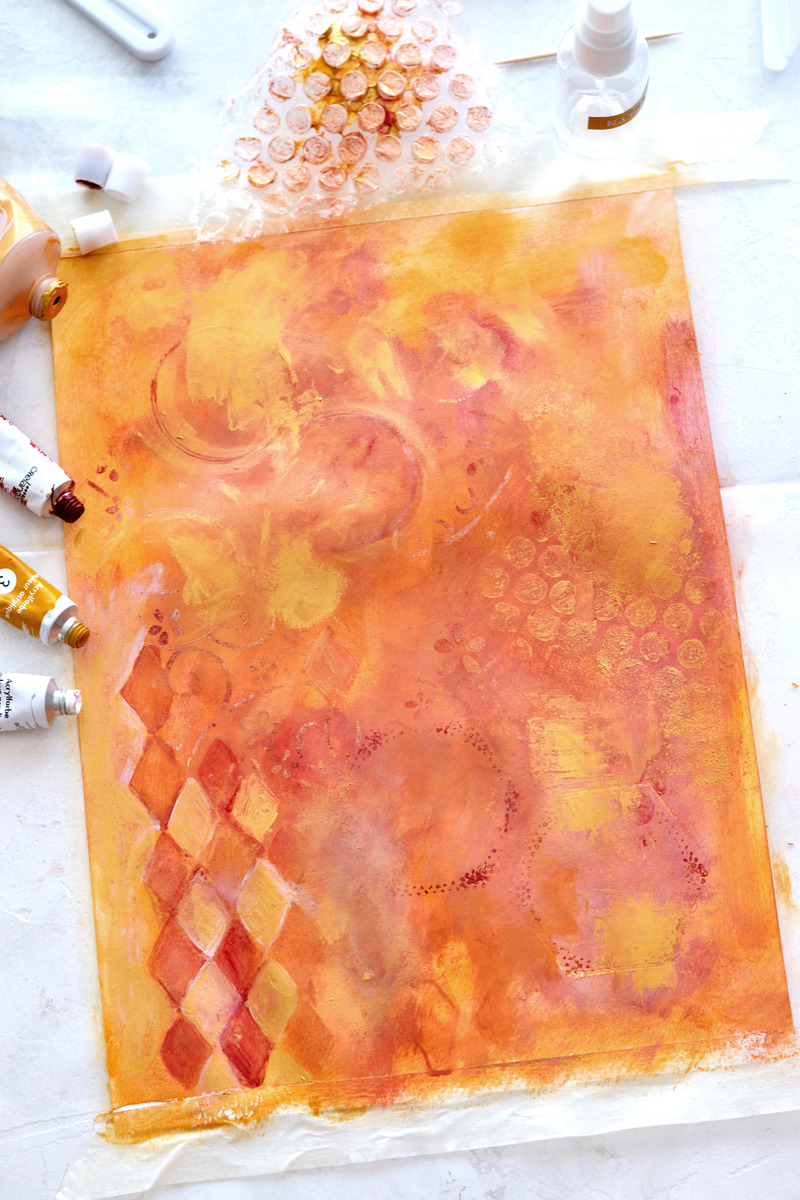
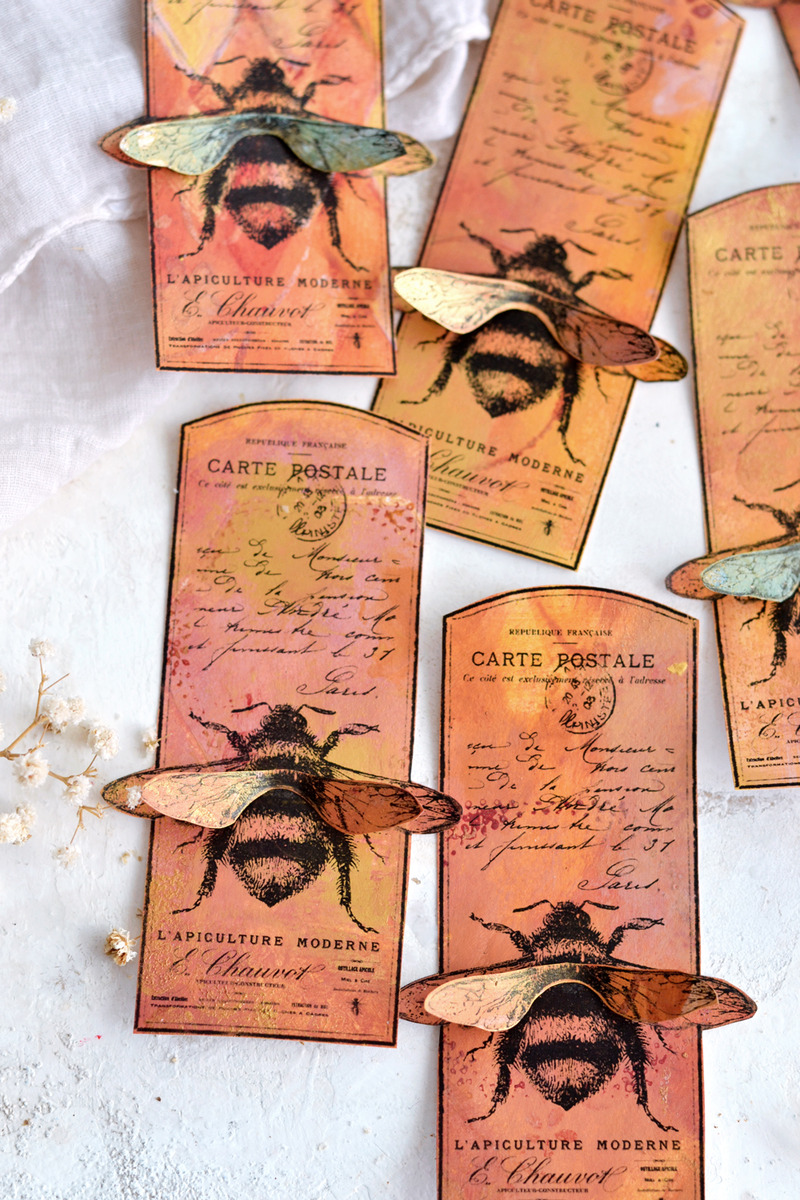
And here is the final ochre-magenta acrylic painted background, isn’t it a beauty?
I initially wanted to only make the ochre-magenta background but I got bored while the paint was drying so I decided to try my hands on another one!
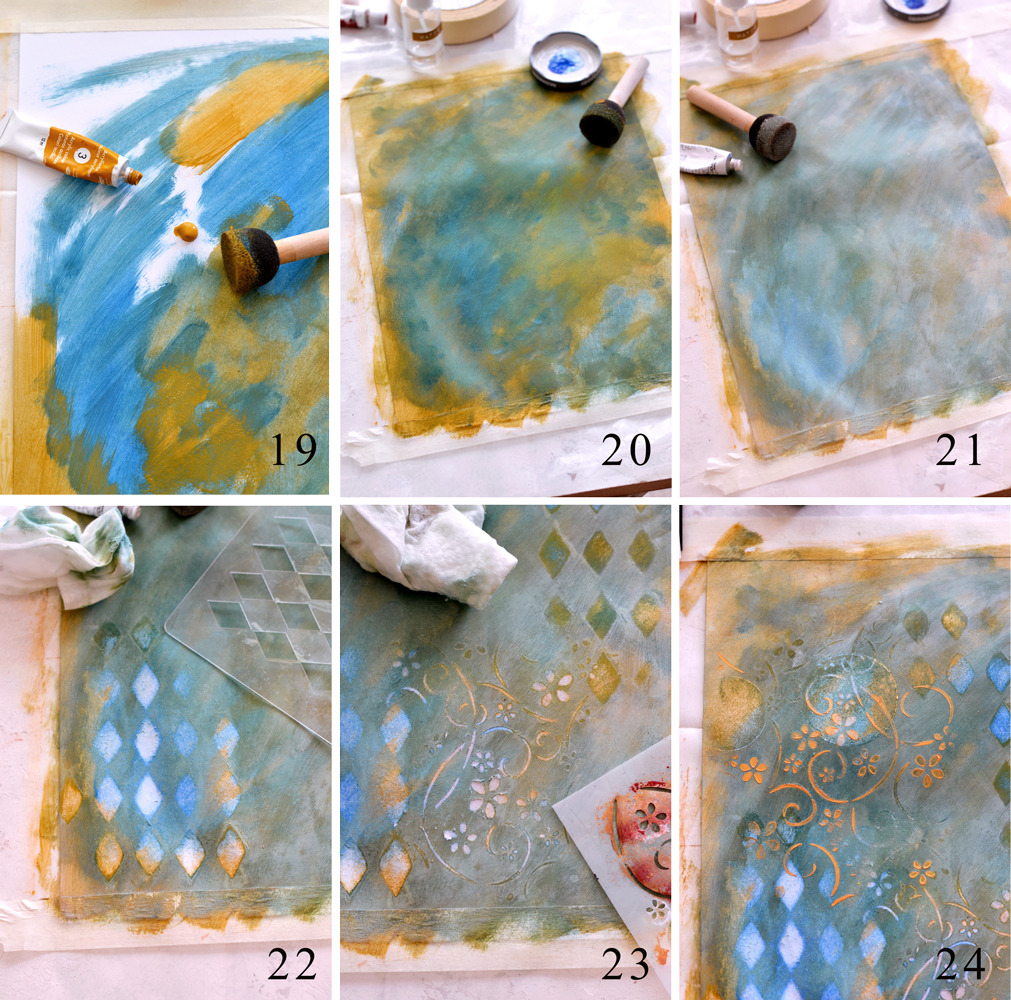
19. I used ochre again, but this time I combined it with a lovely blue.
20. I blended the colors as before but at this point I was sure the colors would be too strong for printing something on top afterwards.
21. So I decided to add a thin layer of white acrylic paint all over it, hoping that the white would tone down the initial colors. At this new point I was pretty sure I ruined it and wished again I had that ‘undo’ button in real life!
22. Then it came to me! Why not use baby wipes with stencils, that brilliant idea I’ve seen somewhere, at some point in time! And so I did! I placed the diamond shaped stencil on top of the background (the paint was still fairly wet) and I used a wet wipe to take some of the paint off. WOW! I was really amazed, the wet wipe beautifully revealed some of the layers, creating some stunning effects!
23. I really loved this wiping off technique so I used it with my other stencils too.
24. Then I added some gold details with my stencils and my fingers here and there and that was it!
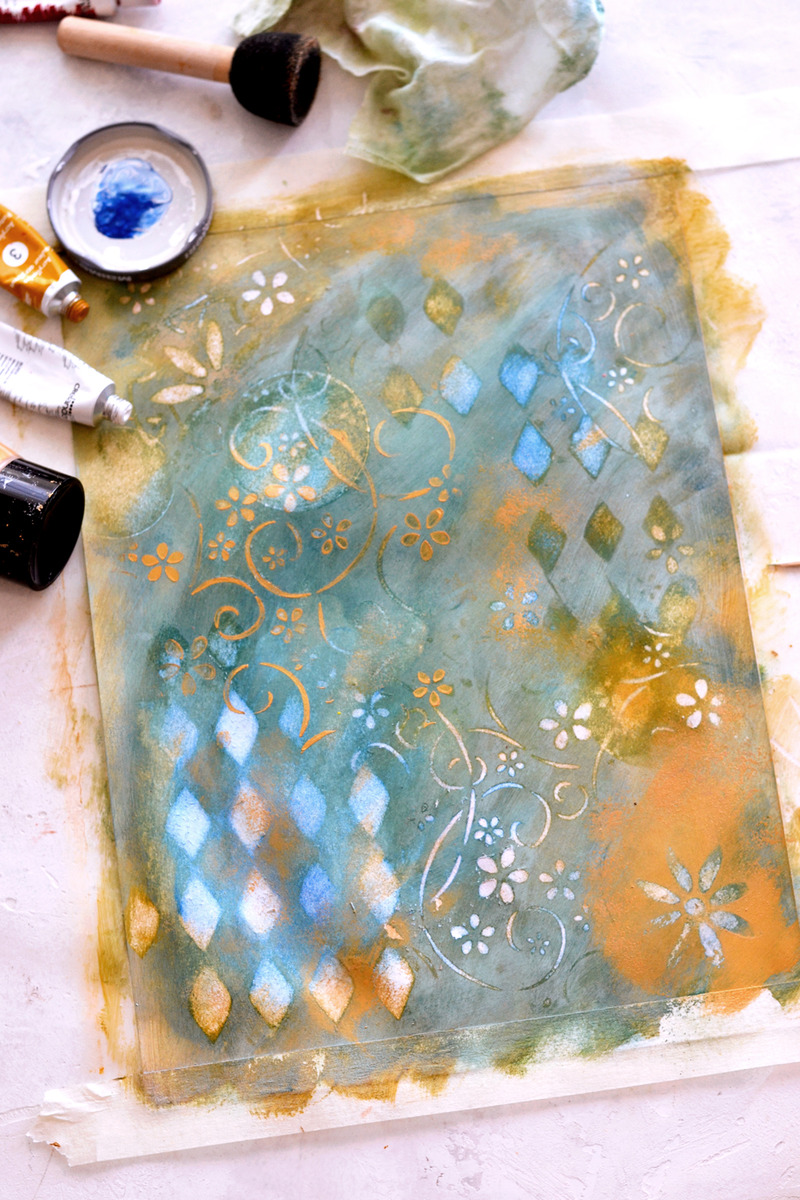
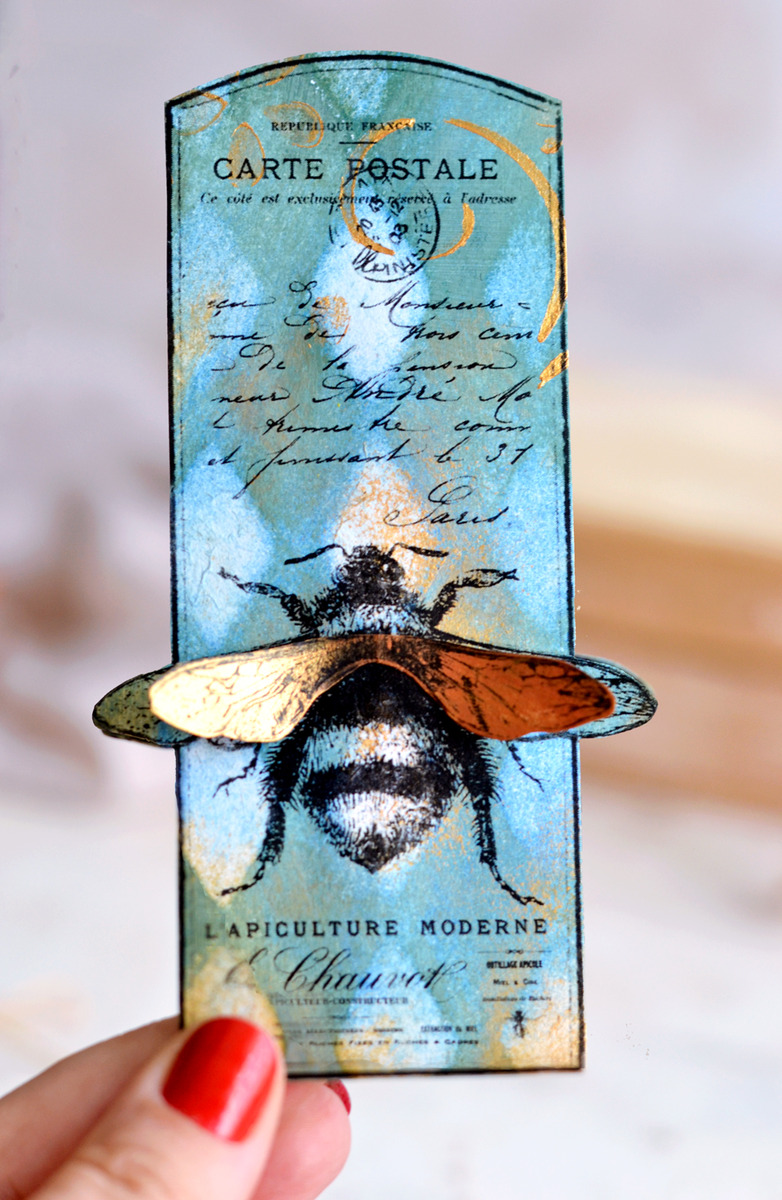
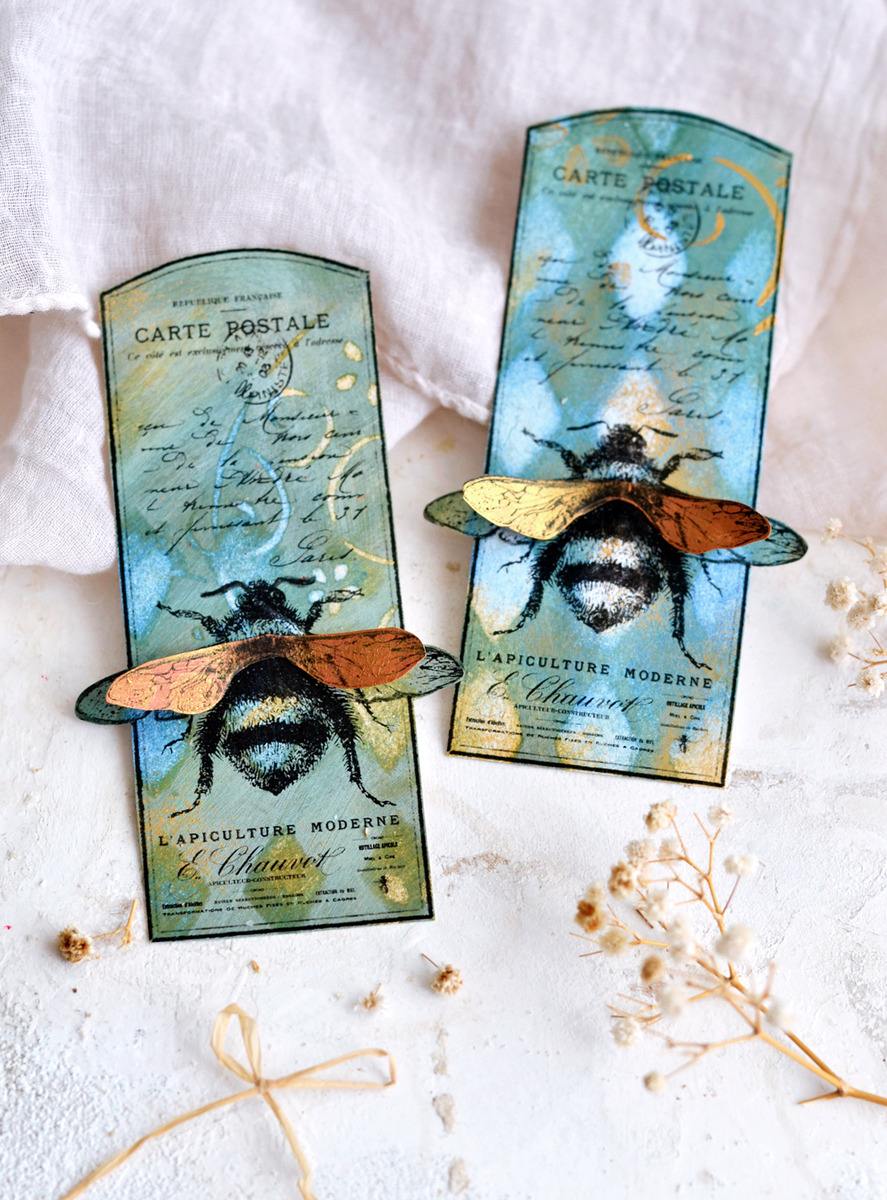
Here is the final result, I really loved this (almost failed) background too!
NOTE: Wait until your backgrounds are completely dried before carefully removing the paper tape from the top and the bottom.
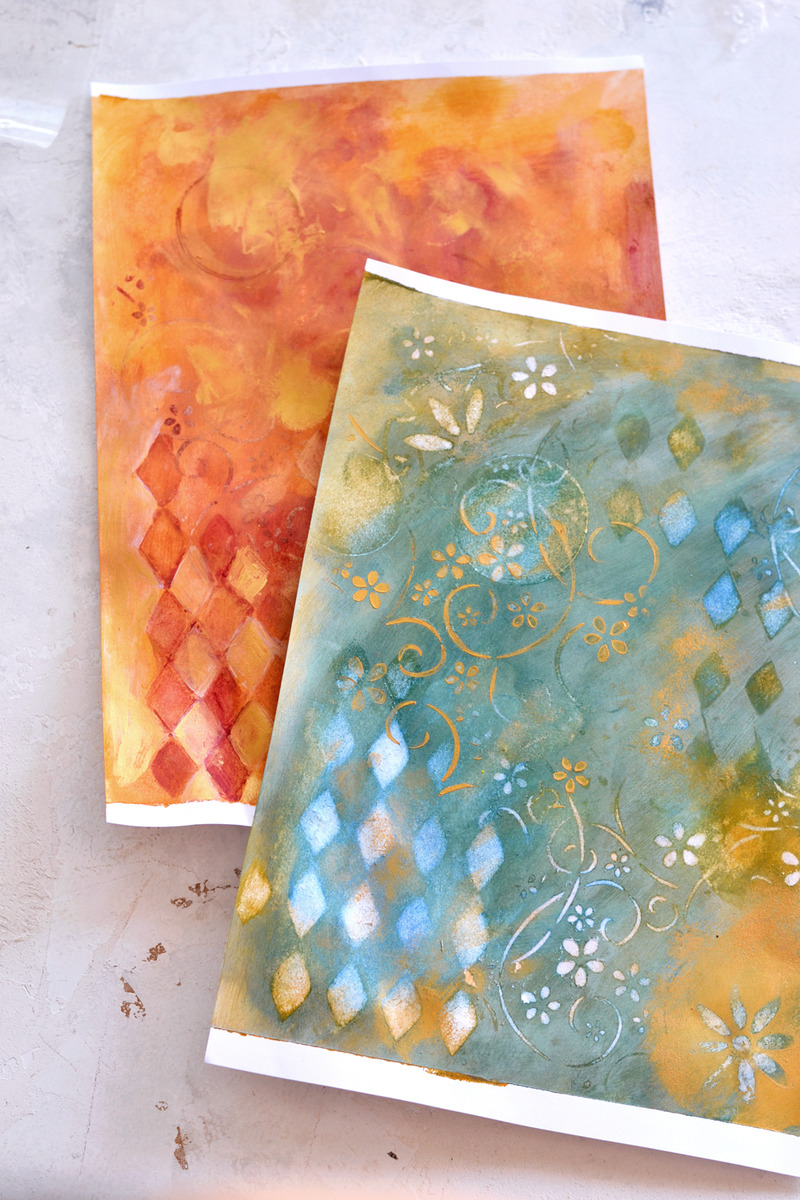
This is how my two charming acrylic paint backgrounds looked after drying, it is really amazing seeing all the elements coming together as a whole. Your own creation! It’s quite a beautiful feeling! At this point you can sandwich your painted backgrounds between the pages of the book if they are too warped.
Print over acrylic paint backgrounds
25. I actually couldn’t wait any longer so I just used my laserjet printer to print the bee tags on top! I had no problems while doing that, everything went through smoothly, just like a regular piece of paper. My revolutionary technique of printing on acrylic paint background worked like a charm! Phew!
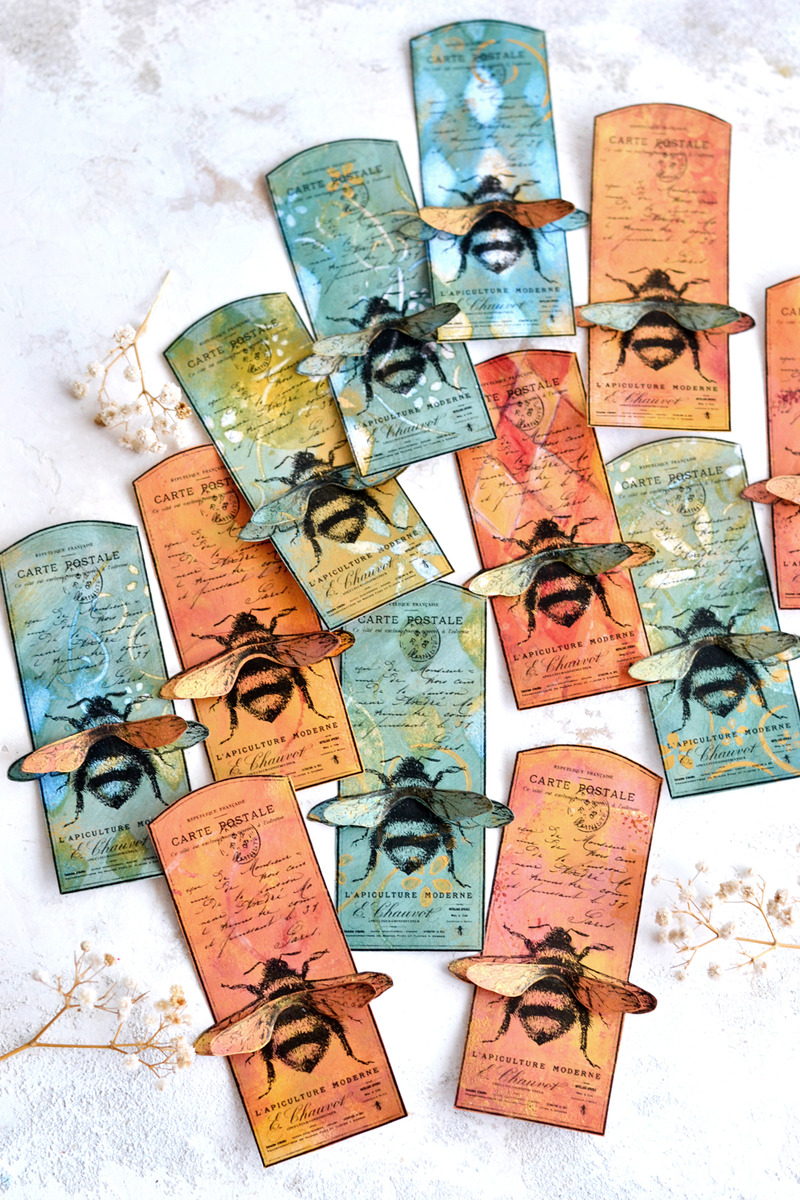
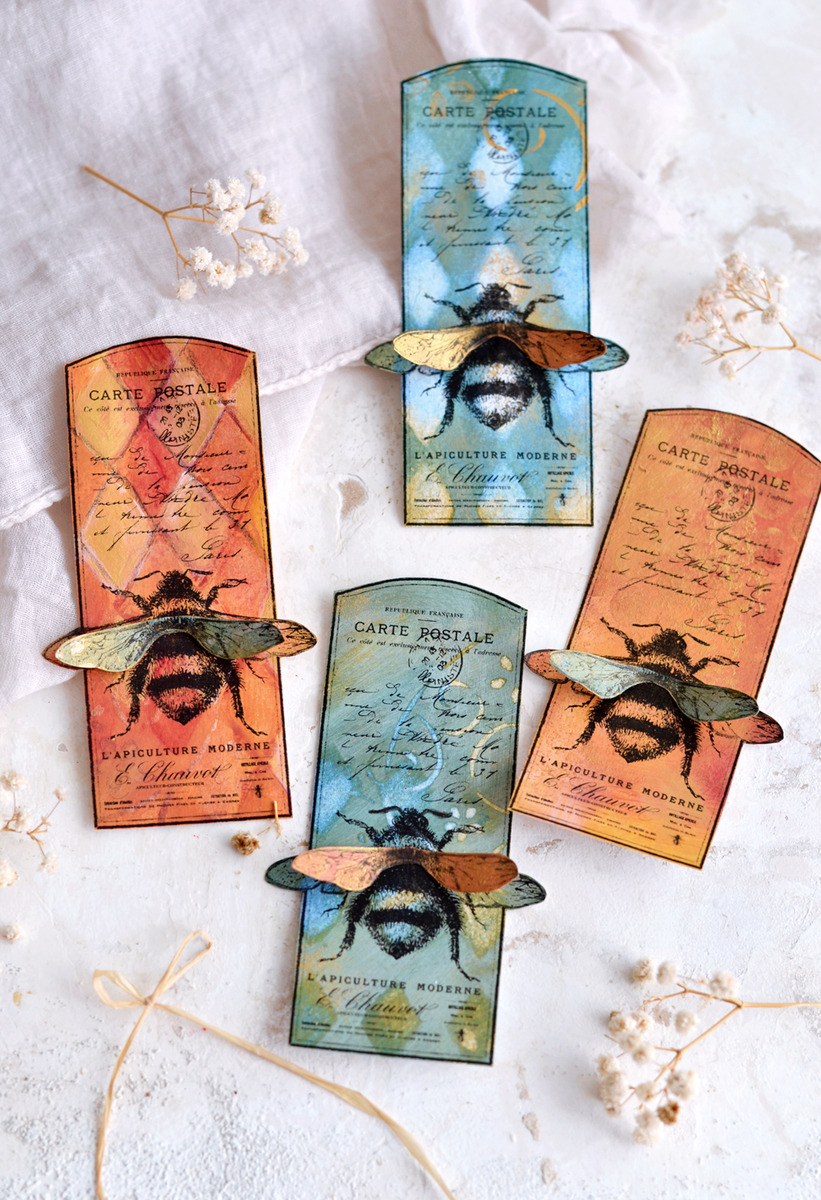
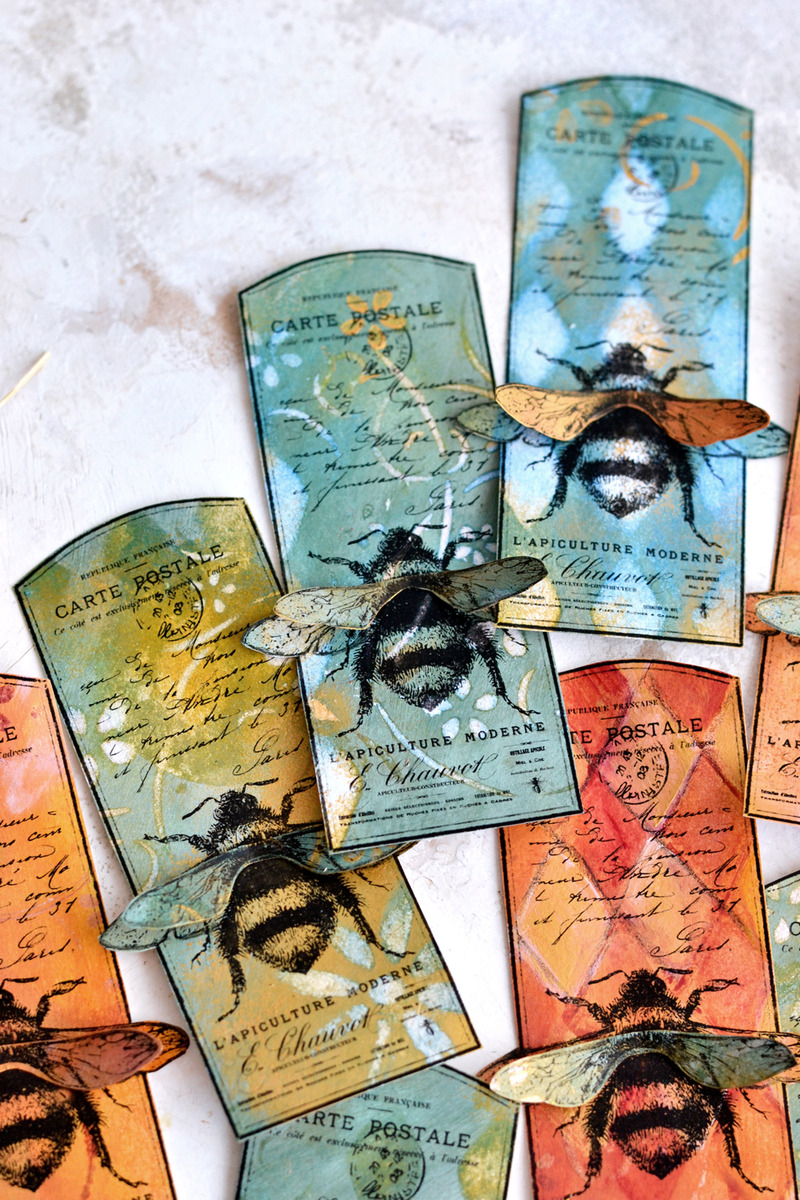
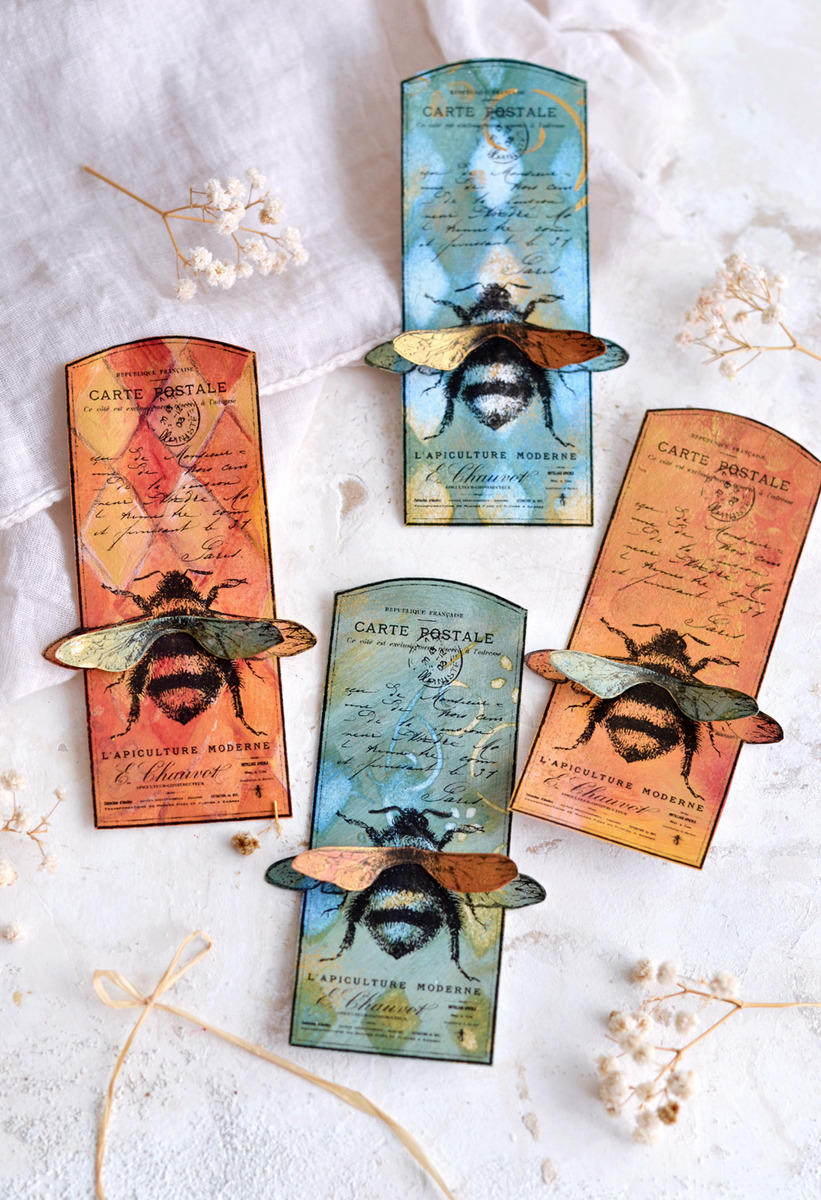
I was over the moon (and back) in love with these beauties! Each and every Mixed Media Art Tags had a truly unique and BEE-utiful design!
The final details
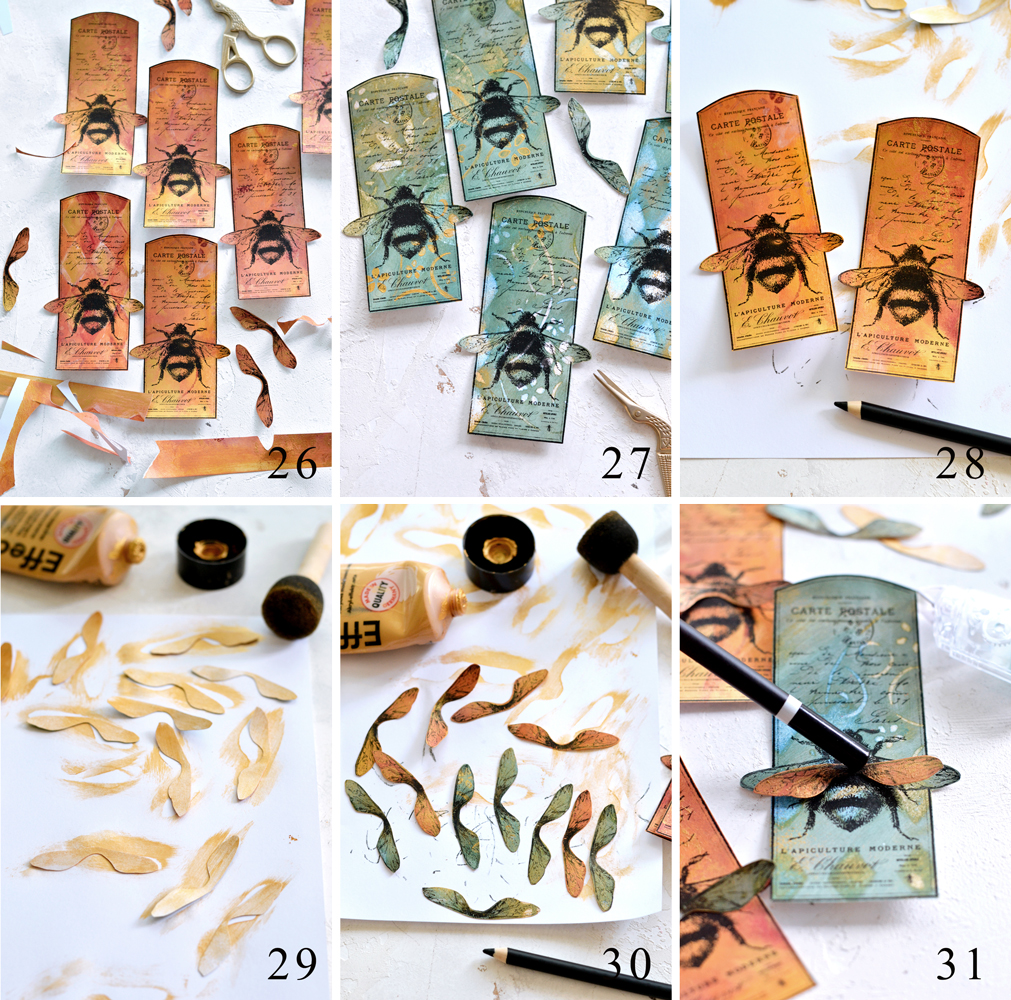
26-27. Moving forward, I cut all the tags and the additional bee wings using small scissors.
28. To better highlight the wing details on the tags I placed them on some scrap paper and used a black pencil to color their edges.
29-30. Then I thought about using some more of that chic metallic gold on the additional wings so I used my sponge to add just a sheer layer of paint on the back and on the front of the wings.
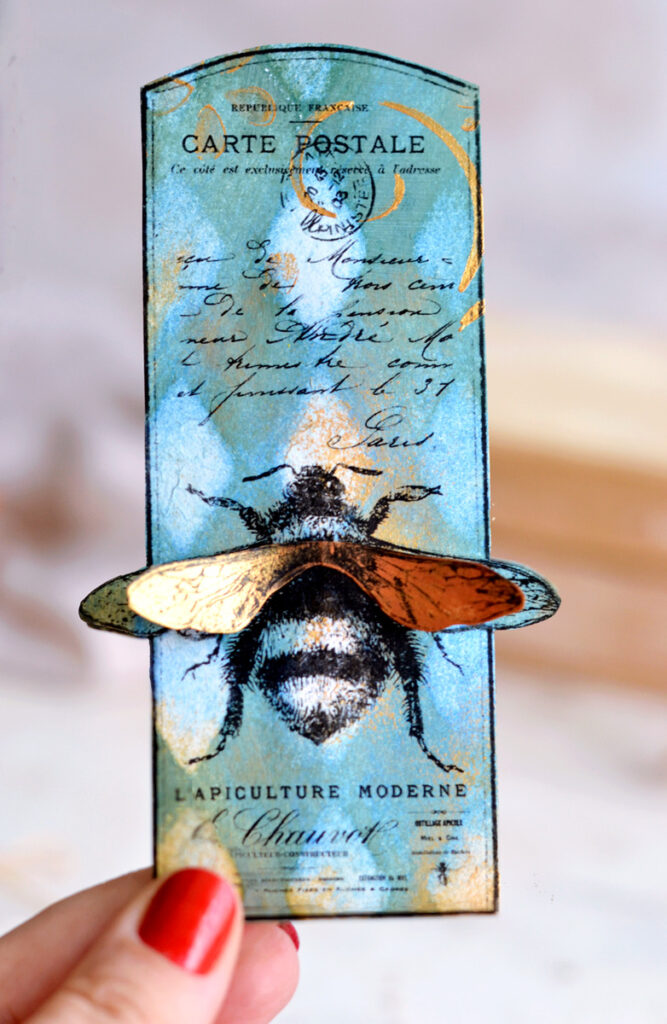
31. I bent upwards the additional wings and then I attached them on top of the bee tags using a small dab of Mod Podge. I only added Mod Podge in the middle of the wings to create the 3D effect and I used a pencil to hold the wings for a few seconds in place.
And that’s a (BEE) wrap!
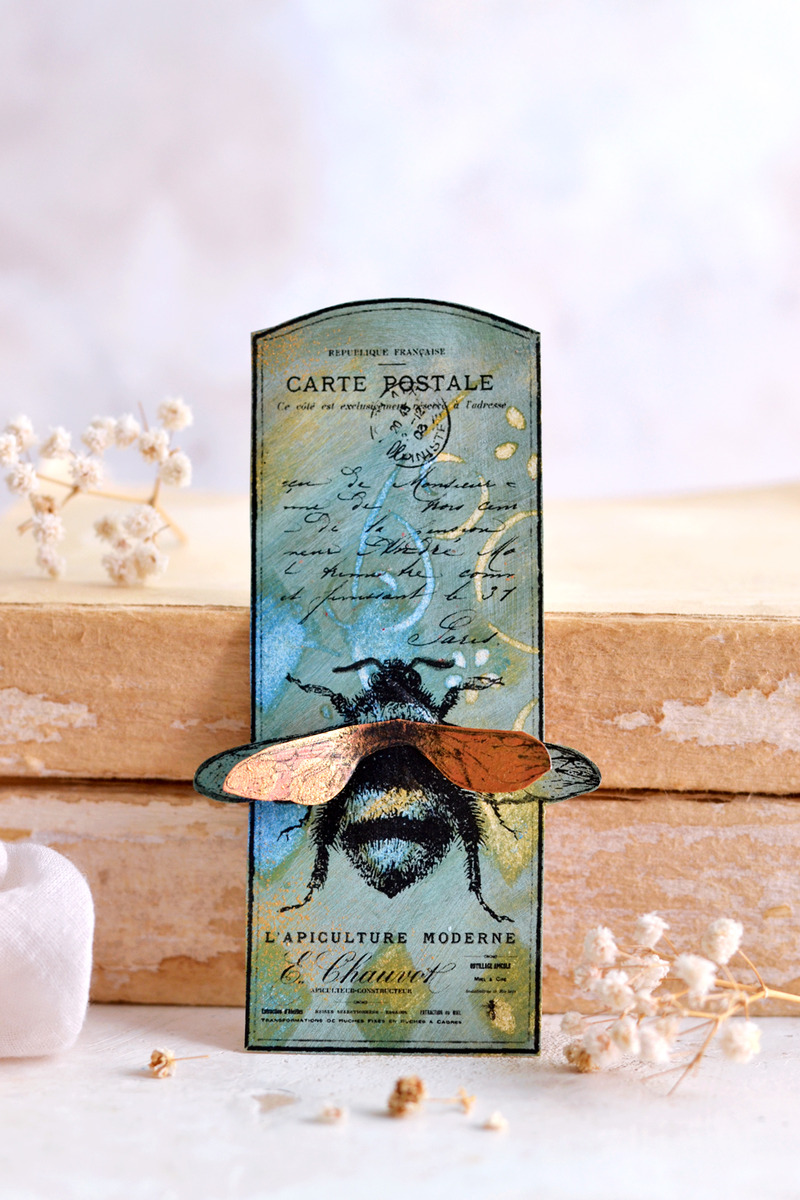
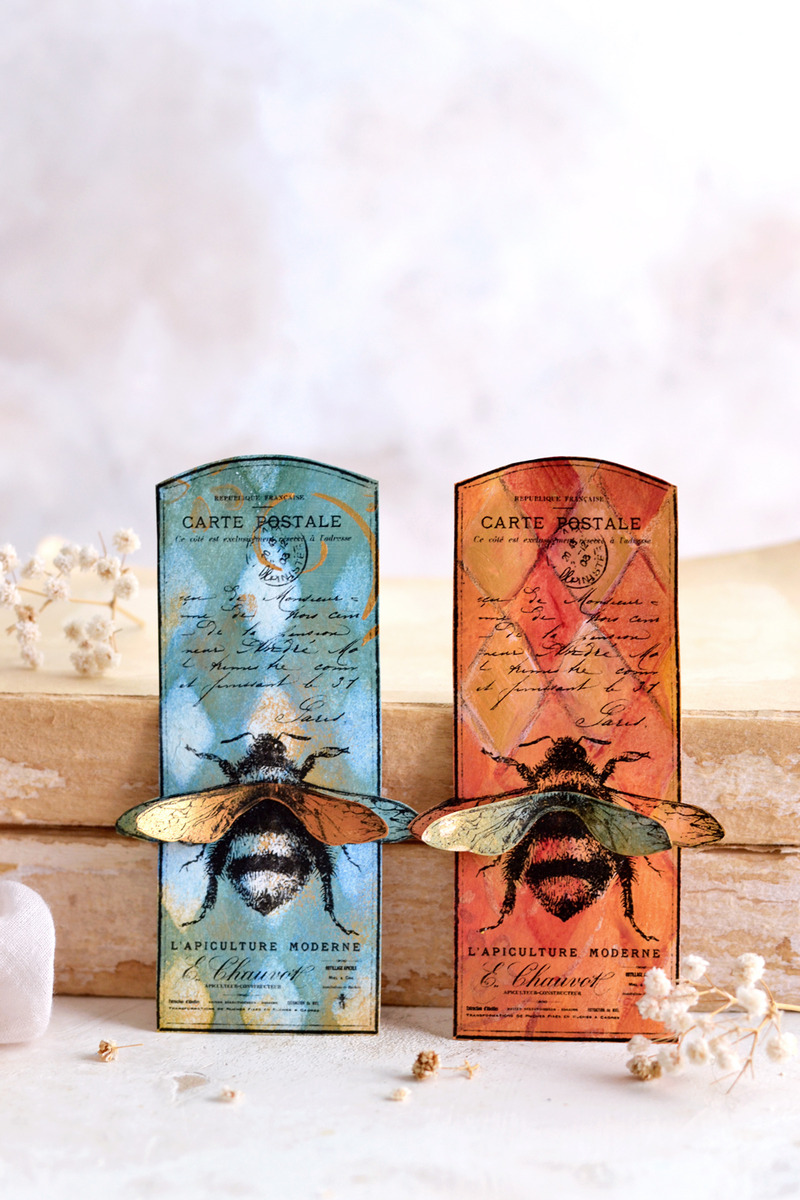
Your new stinging cute Mixed Media Art Tags are ready! You guys, can you believe how BEE-utiful are all the details on these tags? The gold metallic paint adds so much character, don’t you think?
I adore the subtle blended look of the ochre-magenta tags, but also the textured and dynamic look of the ochre-blue tags. You can use the corresponding additional wings with the corresponding colored background or choose to mix and match to create more interest. I actually loved the mix and match more, I’m really curious which one of the two is your favorite.
What I really love about my revolutionary technique of printing on acrylic paint backgrounds is the chance it gives you to be surprised. It’s important to allow ourselves to be surprised sometimes, don’t you think? I just love the idea of creating these backgrounds with acrylic paint first without actually having the printed images in mind and without knowing where each of the printed image will ‘land’.
This way you can have so much fun with your backgrounds, you can choose your favorite colors, you can use all the tools you want, you can go in the direction you want, you can simply follow your vision! Take my ideas as suggestions or starting points and create something that represents you! These types of experiments will give you such an amazing feeling of freedom!
Of course you can create the acrylic paint backgrounds and use my revolutionary technique to print any other images or wording on top. Smaller or larger printed designs, there are endless possibilities here!
Make with these stunning DIY 3D Vintage Bee Tags first and allow yourself to be surprised!
Use the Mixed Media Art Tags to embellish chic gifts, turn them into bookmarks and let them accompany you in your reading adventures, use them as tags to beautifully decorate objects around your home, add them to your art journals … they are quite easy to love! You might also like the French Chalkboard Tags HERE.
Have fun creating,
Diana / Dreams Factory



TV says
gel plate monoprints?
Karen Watson says
Yes! You could use your gelli plate as well. Great idea!
Rk says
Gorgeous tags! Recently, I was in the market for a new printer and almost bought the $300ish laser printer. But it didn’t have cop/scan features which we need a few times a year. So I ended up with the all in one Epson WF7710 instead. It has durabrite water proof ink cartridges. I used to have epson xp420 per Karen’s recommendation and loved it. Of course I wish I had the laser printer but it is what it is… I may scan/copy painted background to print on. Anyway, thanks for the wonderful images and inspiration!
Karen Watson says
Rupa, Great tip about scanning the painted background! Thanks for suggesting that. 😊
Grace Ng says
Thank you for this tutorial, I can’t wait to get started!
Karen Watson says
Have fun making these cute tags Grace!
Teresita Maldonado says
I have an all-in-one inkjet printer with a scanner. I scan or copy painted papers, print them, then use the printed paper to print overlays, like the bee printable in this project. If you really like the painted paper you can print multiples.
graphicsfairy says
Thanks so much for sharing Teresita, that sounds amazing!
tilly says
that’s what I do too
Bluangel says
Gorgeous! Beautiful background papers! I’d love to try these but too scared to run acrylic painted papers through my laser printer.
graphicsfairy says
Thanks so much, so glad you enjoyed them!
tilly says
maybe take them to local library or a copy shop
Liz Cerce says
OMG ! These Bee Tags are sooo darn ADORABLE ! I’m a beekeeper so I really appreciate them ! Thanks so much for sharing with us.
graphicsfairy says
Oh yea Liz! So glad you like them!