DIY Rose Collage Tutorial
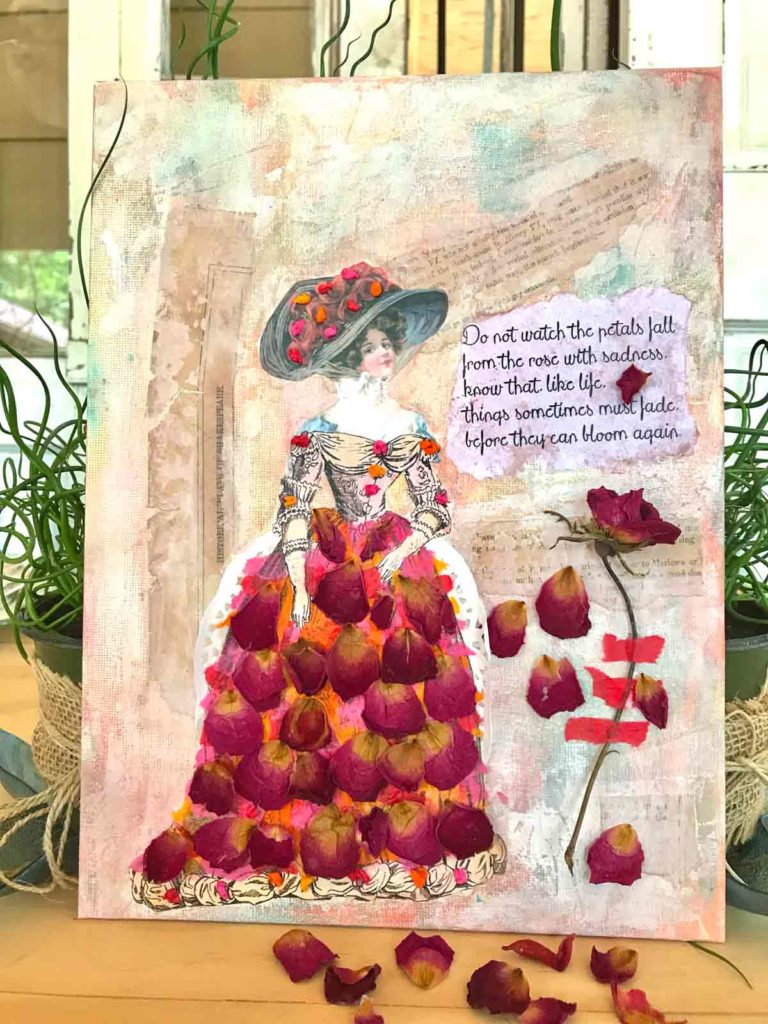
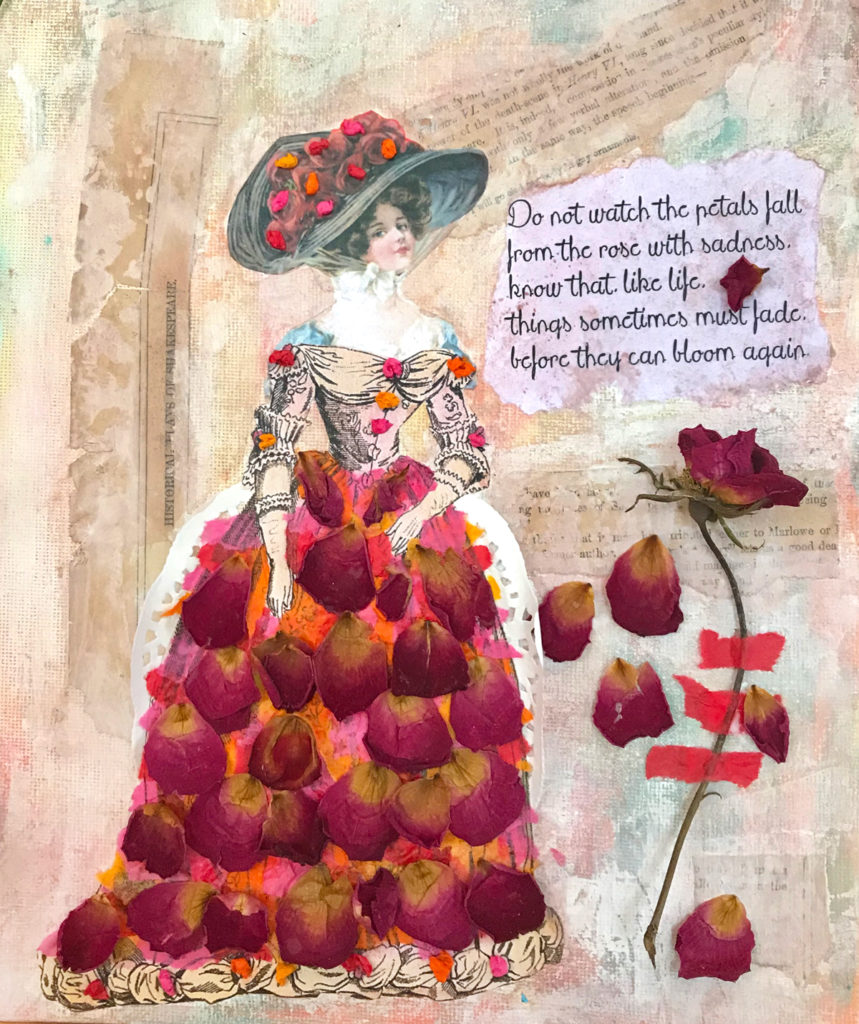
Hello, my artful mixed media friends. It’s Rebecca AKA Cre8tiva here with A Rose is a Rose Mixed Media Collage Tutorial! Today I am sharing a tutorial of my fantasy Mixed Media Collage designed with real rose petals.
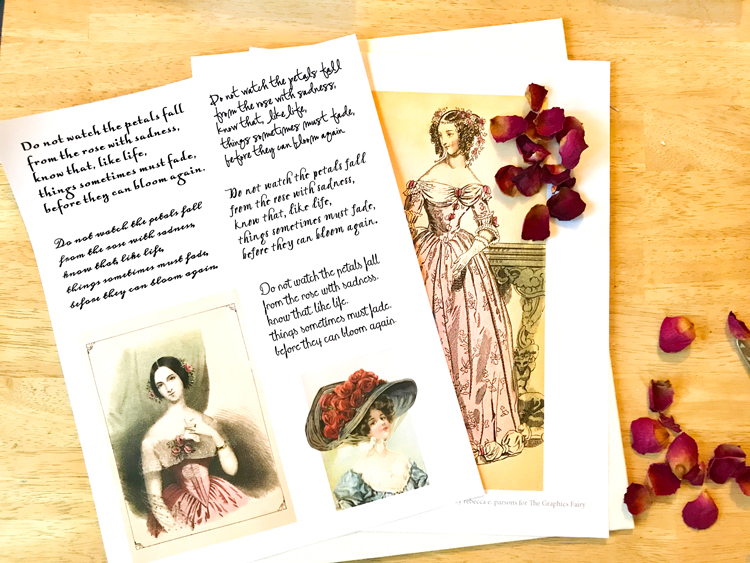
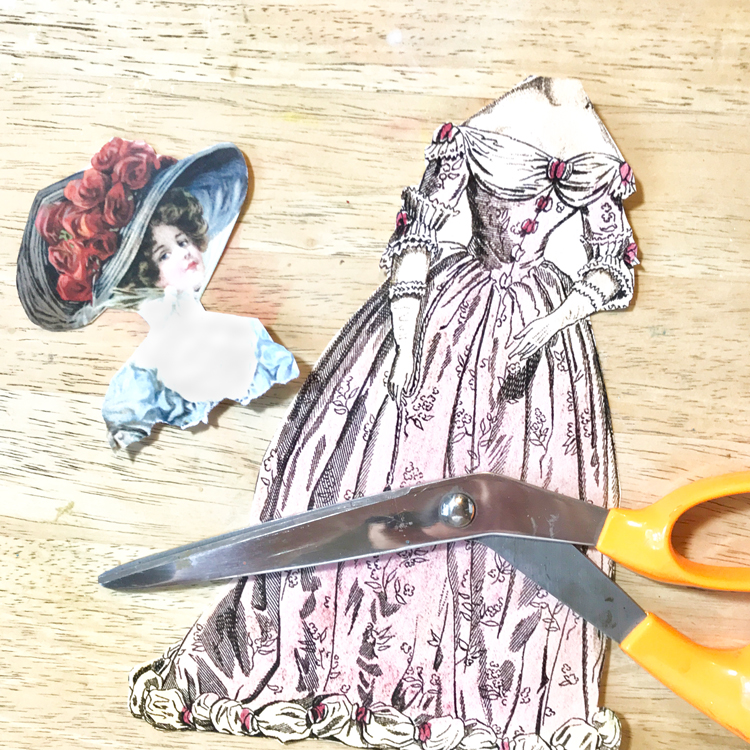
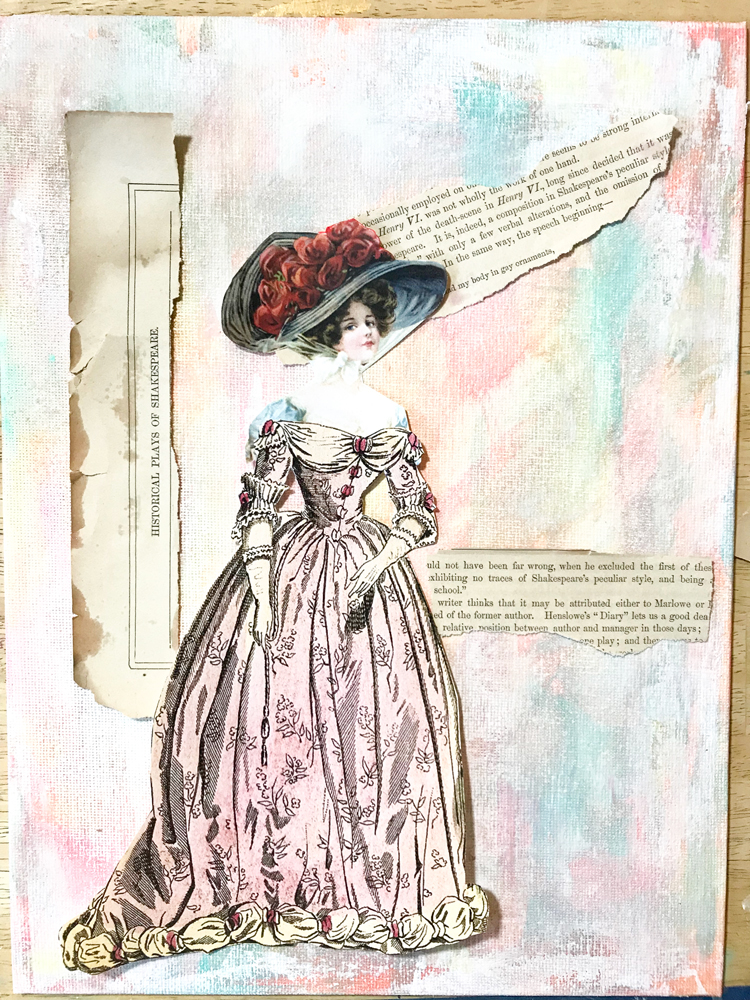
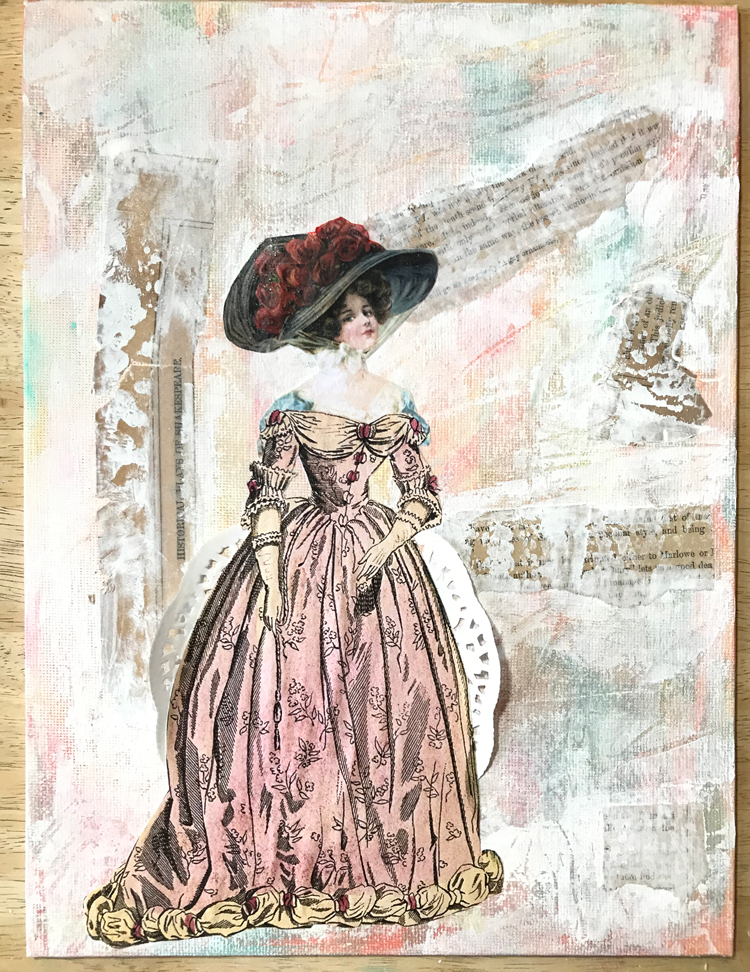
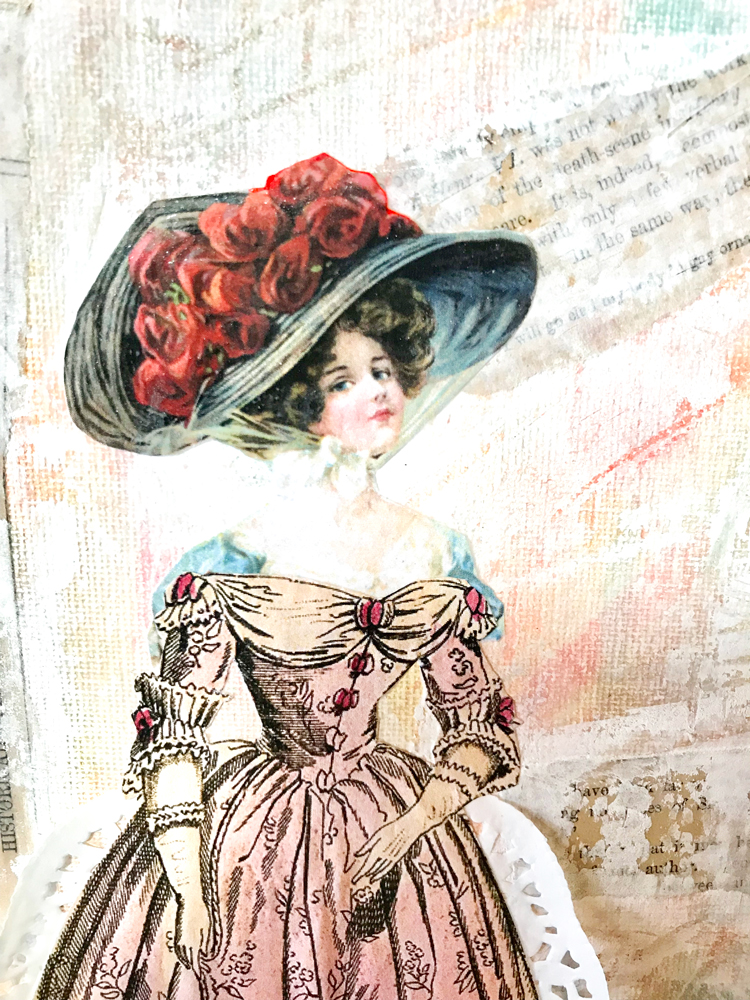
My husband brings me tiny roses from my neighbor’s garden (with permission) a couple of times each week. They last a few days and the petals begin to fall. This week, the little pile of drying petals gave me inspiration to create an artful dress from collaged rose petals. Of course, I turned to The Graphics Fairy for just the right dress to play with. I wanted a BIG skirt and I found it in this Antique Paris Evening Dress image… and I paired it with this Lady with Roses Hat Image * (see NOTE in the next paragraph) that I altered.
I also created a PDF printable for you of the images in just the right size, so you don’t need to fuss with getting them exact. *PLEASE NOTE: In the amazing Victorian Hat Lady image that Karen shared on TGF, the sides of the hat are cropped. For my artwork, I drew and painted edges on the hat. My altered version of the image is included in the PDF. There is one extra rose woman image included with the PDF you want to mix it up a little. Click on the image below to download it or use this link rose petals collage
A Rose is a Rose Mixed Media Collage Tutorial!
*This post contains affiliate links for your convenience
Time to play. This one is so much fun and just makes me happy to create. It uses just a few materials you might have on hand. If not, here is the materials list:
Printable Collage Sheet
9X12″ Canvas Board
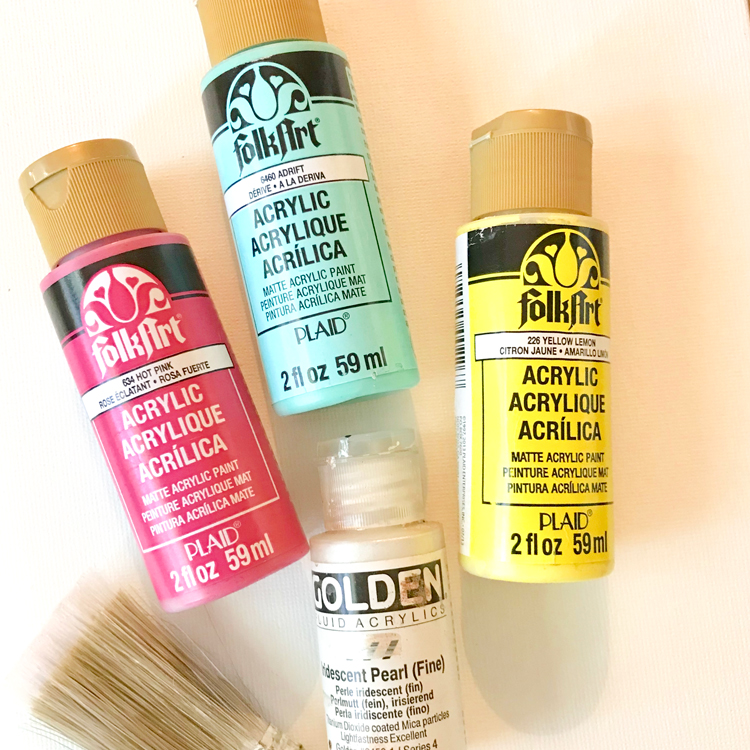
Folk Art Acrylics in Hot Pink, Adrift, Yellow Lemon
Golden Iridescent Pearl (fine)
Artist brushes
Water Container
Scissors
Craft Knife
Folk Art Coastal Texture Paint in Sand Dollar
Old Credit Card or Room Key to spread Texture Paint
Old book page
Gel Medium (regular and heavy)
Round Paper Doily
Tissue Paper in red, pink, orange, yellow
Elmer’s Extra Strong Glue in pointed tip bottle
Bent nose pliers (optional)
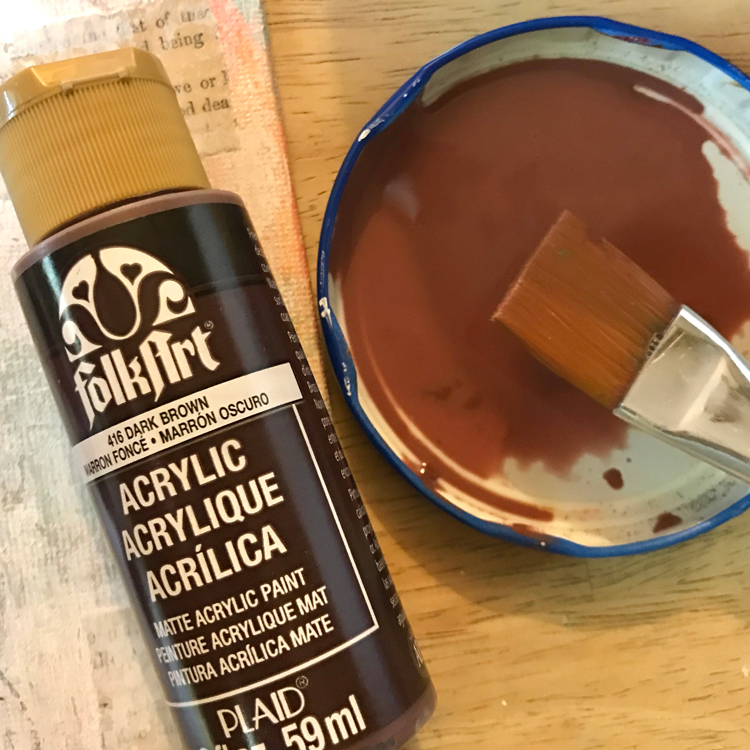
Folk Art Dark Brown Acrylic mixed with water at a 4:1 ratio, more water than paint
Step-by-Step Follow Along Tutorial
Step 1 – Creating the Background. The background will begin with three colors.
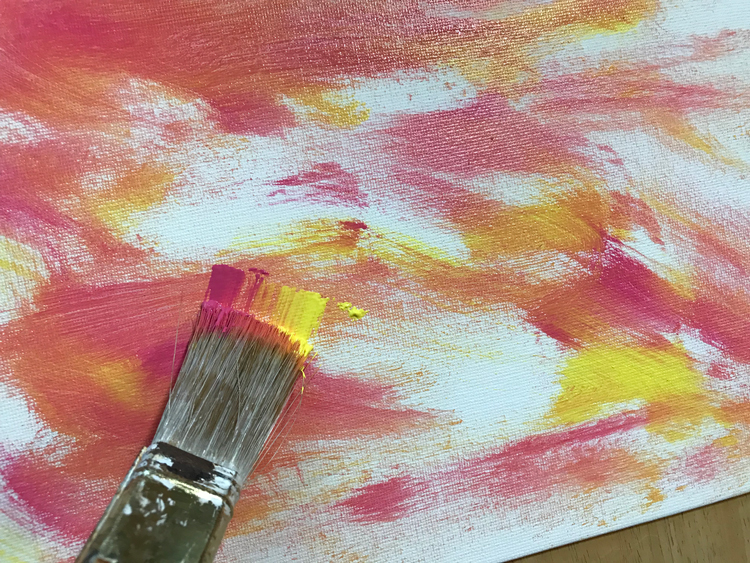
Double load a large brush (I used a 2″) by dipping one edge in pink paint and the other in yellow as shown below. This creates three colors – the pink, the yellow, and a blend of the two. Swipe it across the canvas in random strokes. Leave some areas white. Just have fun with it.
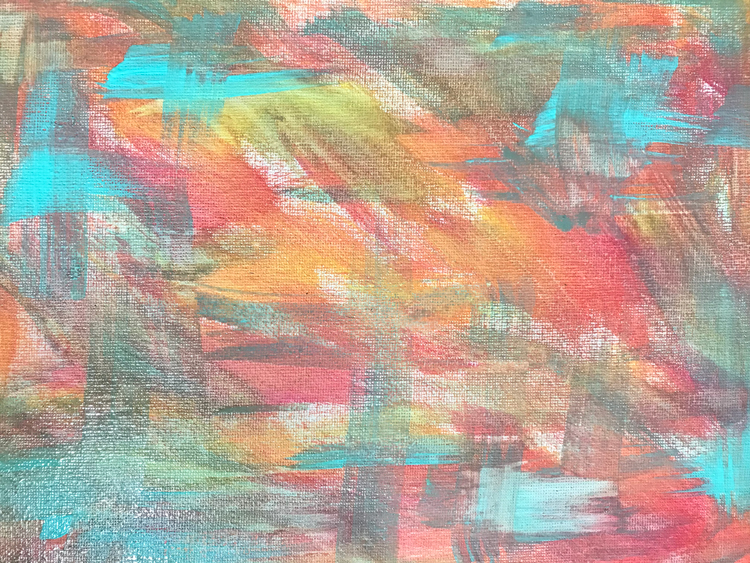
 Rinse your brush and add some of the blue in random areas. It will be covered, so don’t focus too much on the pattern.
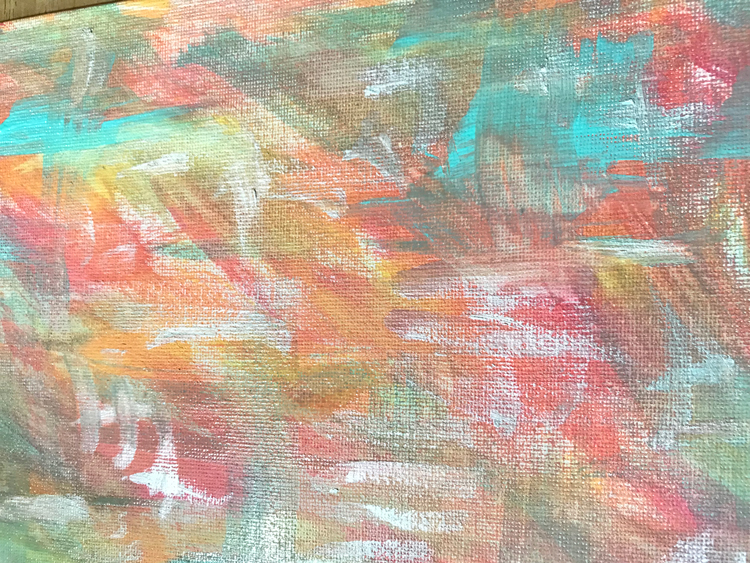
 Rinse your brush and add some of the Pearl in just a few spots.
 Let it dry for a few minutes while you cut out your images.
Step 2 – Cutting Images. Trim around the outside dress carefully with scissors. Do the same with the woman in the hat. Notice that I tore the bottom of this image unevenly. I think this allows images to blend better in collage work.
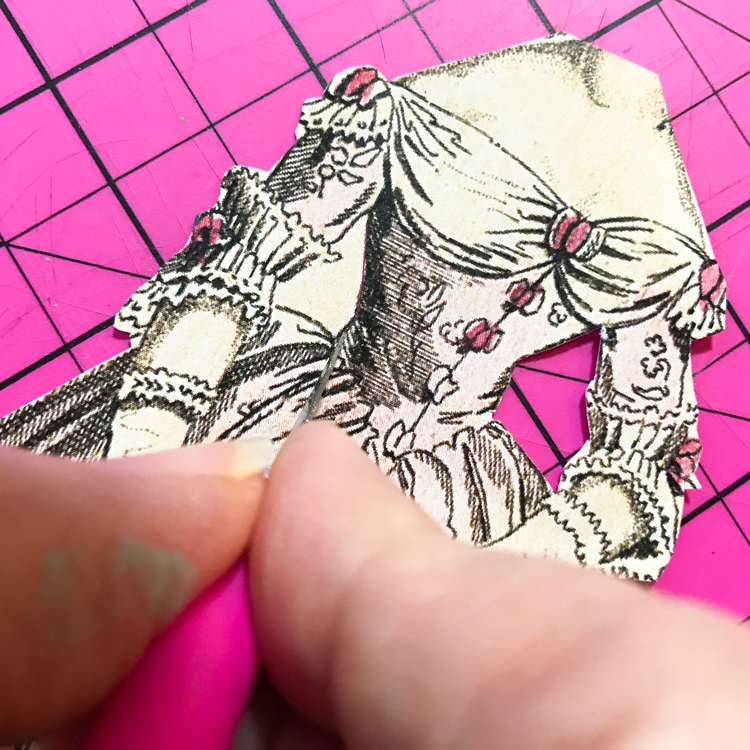
Remove all the interior pieces with a craft knife.
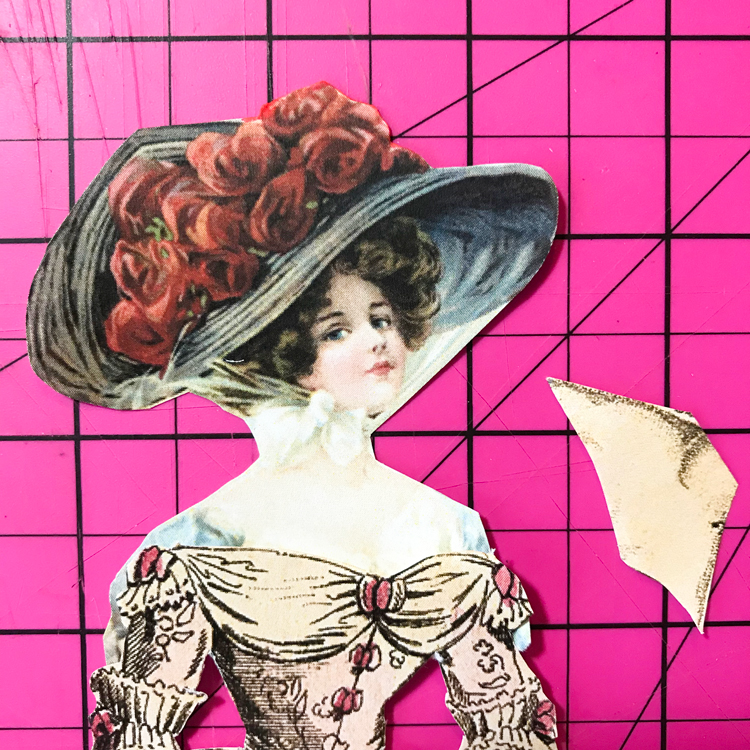
Then carefully cut around the top of the dress bodice.
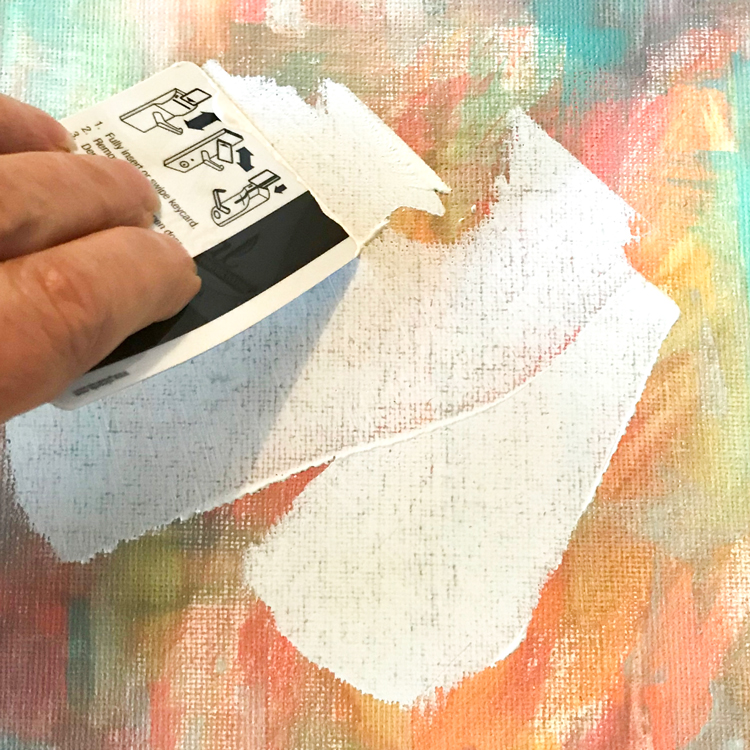
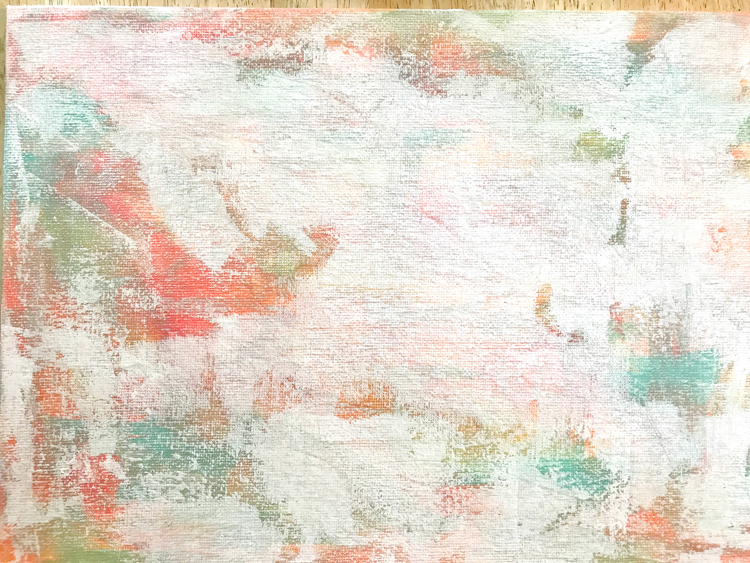
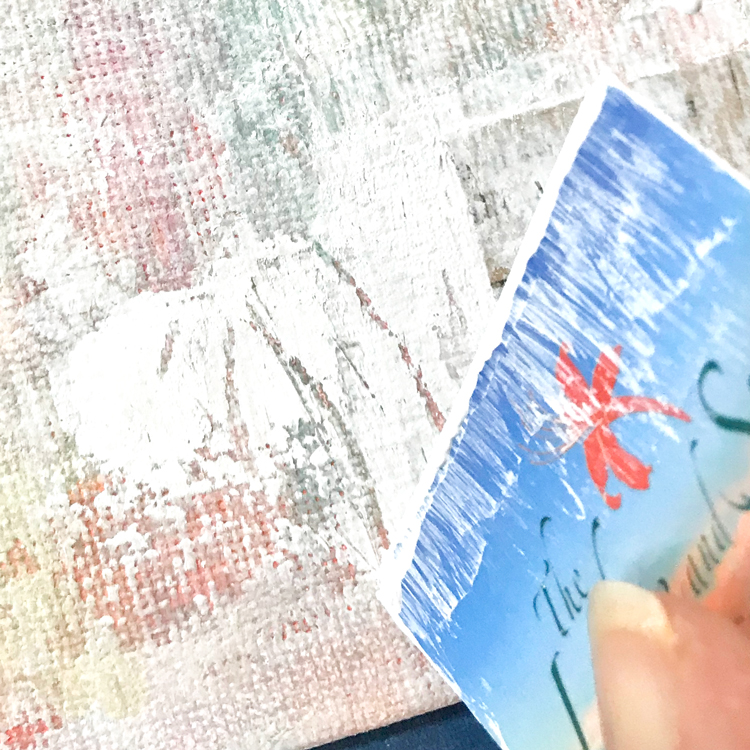
Step 3 – Adding Texture. We are using Coastal Texture Paint by Folk Art. This stuff is crazy fun. It comes in several colors as well.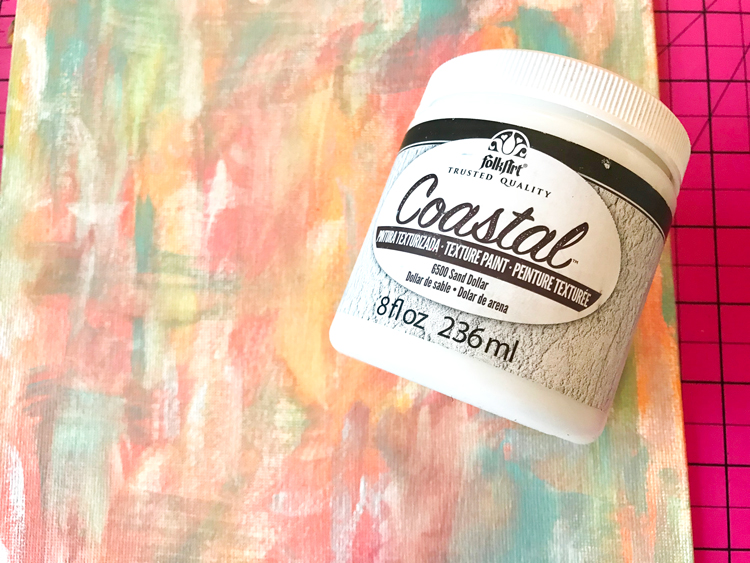 Dip the credit card short edge in the Coastal Texture Paint. Drag it over the canvas in several areas with medium pressure. I like to push it into the canvas with the card laying almost flat as you see below. Then I bring the card almost perpendicular to the surface and drag back over the texture paint to remove some, leaving what is called a skim coat.
You can see how much of the background I covered below.
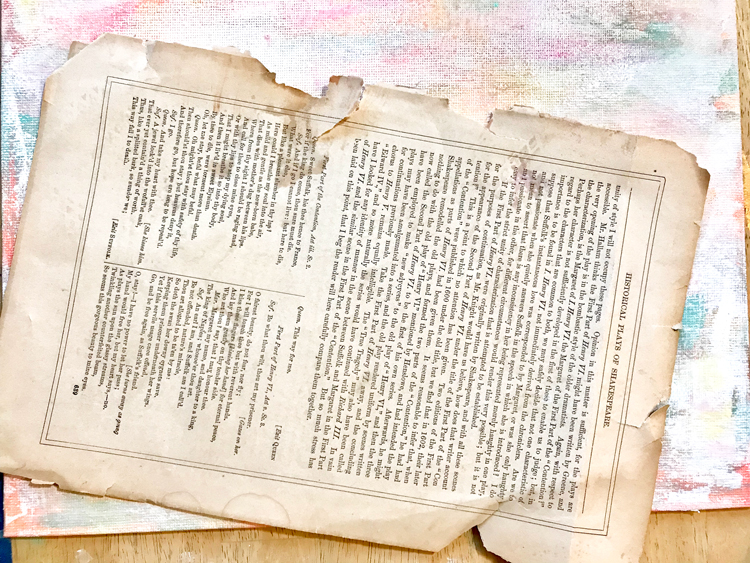
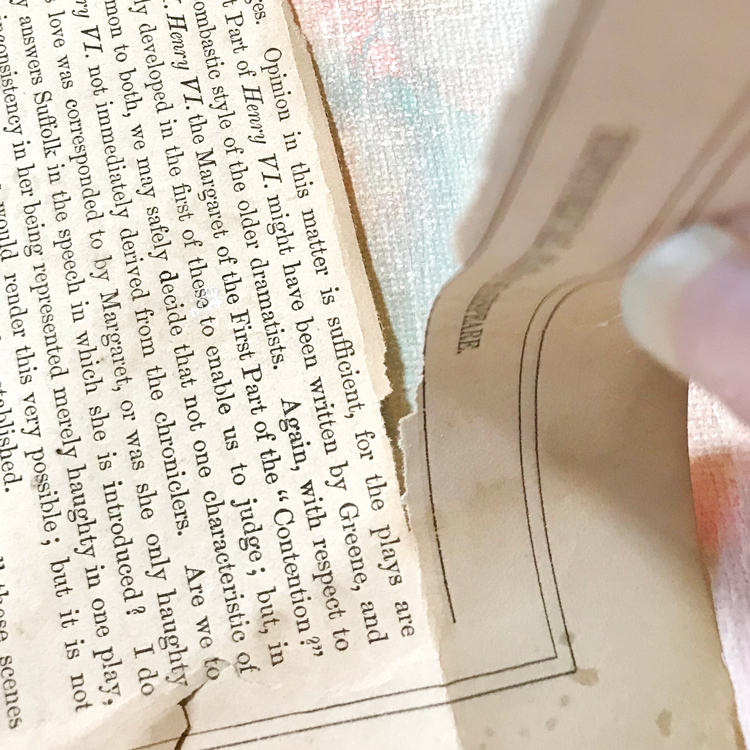
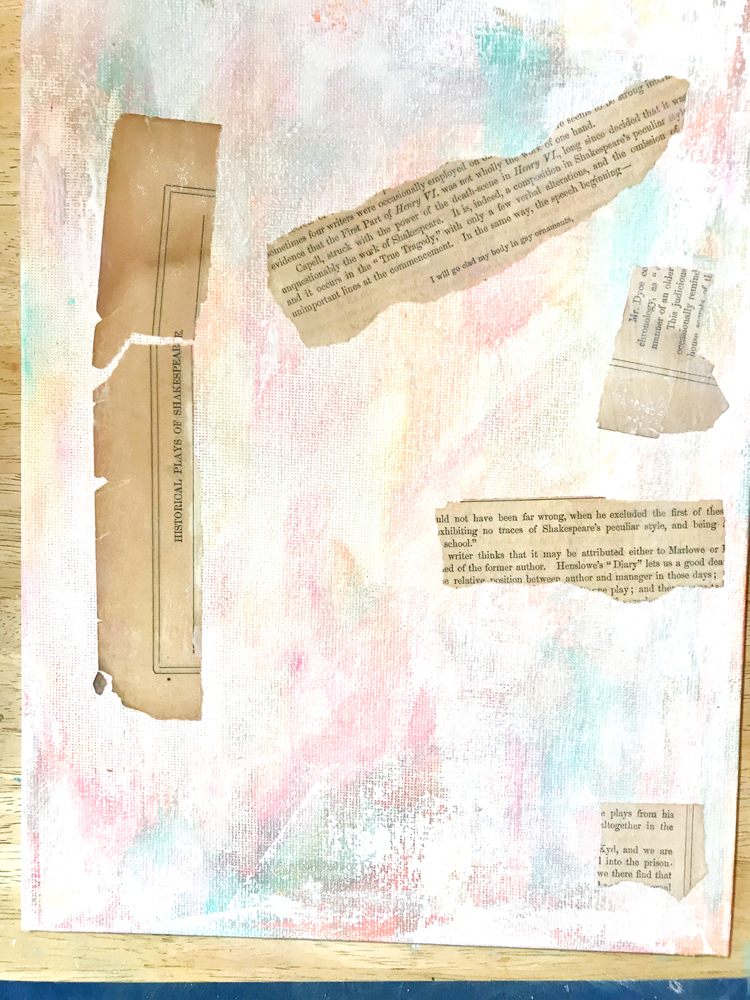
Step 4 – Adding Ephemera. I love to incorporate old book pages in my collage work. I like words on the art because it adds interest and movement. You can also highlight words and phrases if you like.
Tear out some phrases, text blocks, or just random words. To do this I pull the paper back toward myself after I crease it.
Step 5 – Composition. I lay out the major elements on the canvas to create a good composition. I am always thinking about the Rule of Thirds at this stage. I also like to use odd numbers of components.
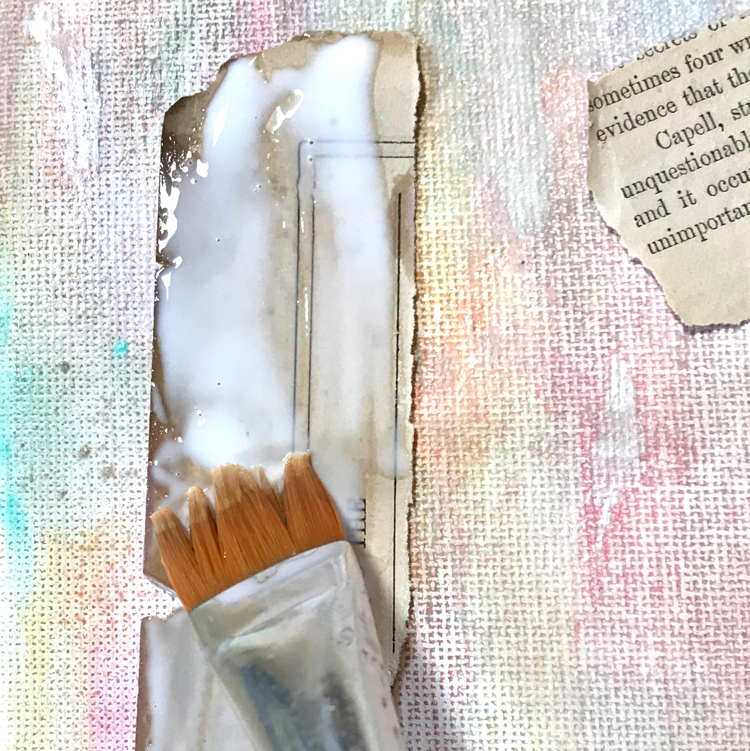
Step 6 – Attach the Ephemera. I attach the ephemera with gel medium.
The paper may tear while doing this step if it is fragile, but I don’t mind. It gives more texture and dimension. Allow to dry.
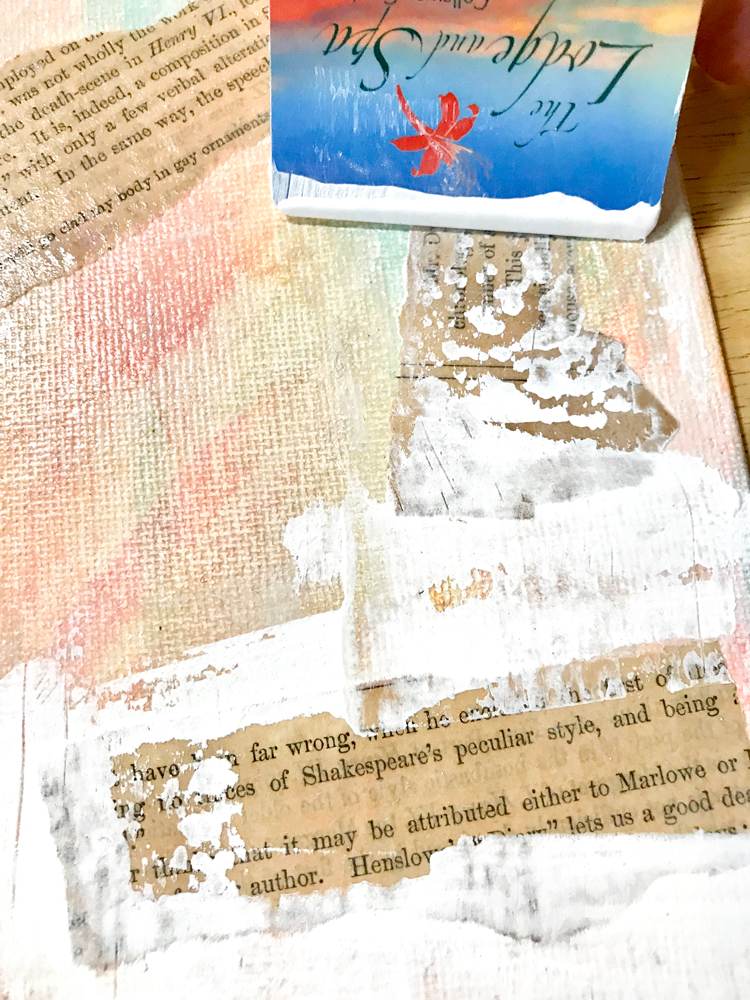
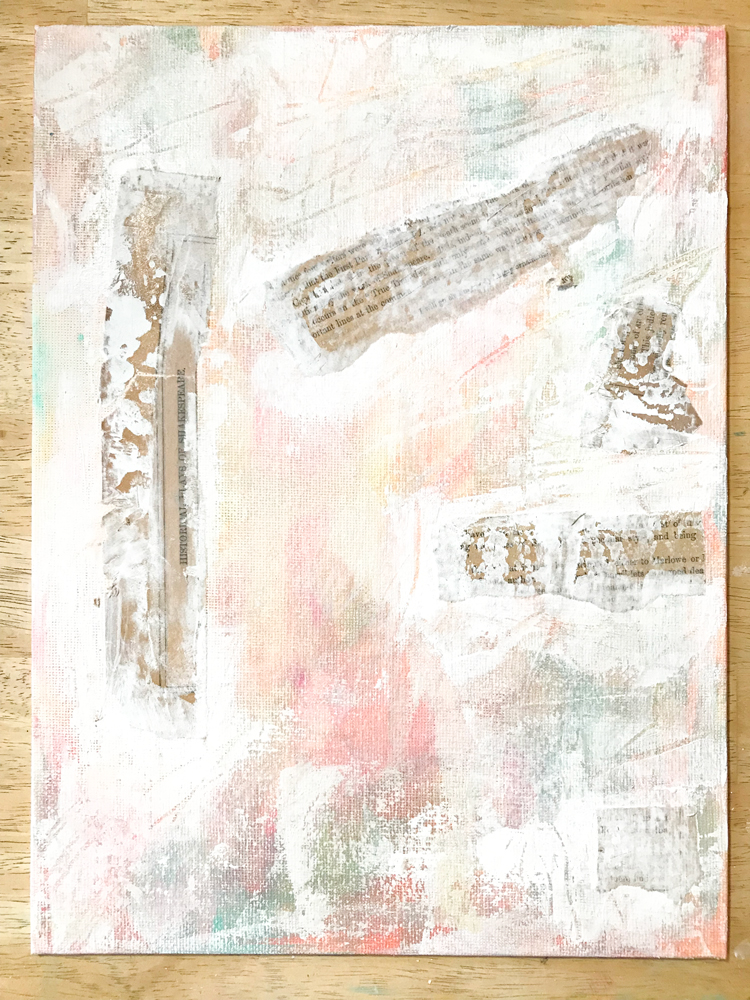
Step 7 – Embed the Ephemera. Using more Texture Paint, cover the edges of the torn page and some of the words if you like. I use more product this time to ensure that the edges are embedded.
I like to turn the card on edge and create scratches in the texture paint for more movement. Let dry.
Here is what it looks like at this stage.
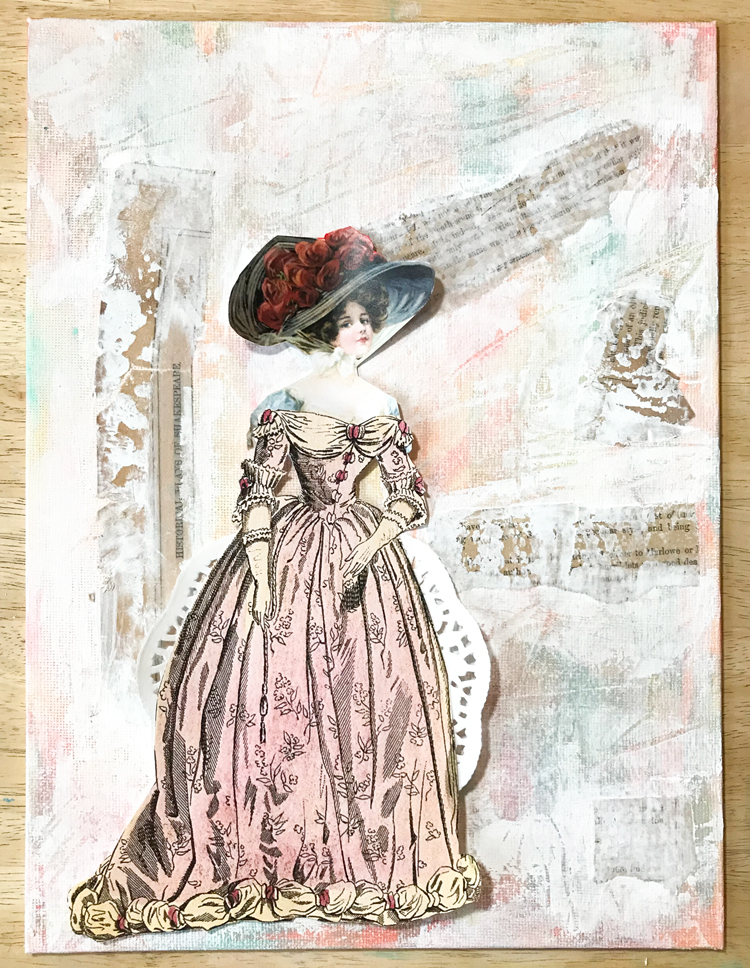
Step 8 – Adding the Focal Point. The woman is the focal point of this collage. So I position her very carefully. I move her around until I am satisfied.
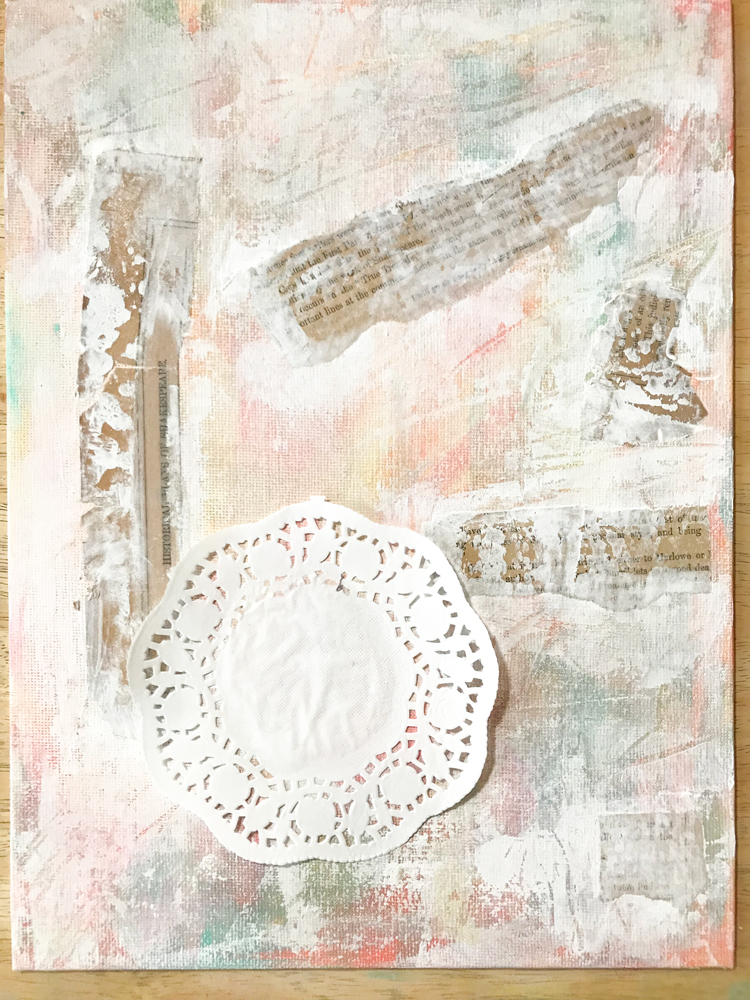
I thought I needed something more, so I added a small round doily behind her skirt. I only attached the center area, leaving the edges free to hug the skirt. This is totally optional.
Then I glued the dress in place with gel medium, leaving the top unattached as I positioned the woman in the hat behind the dress.
Once I was completely satisfied, I attached the top of the dress over the woman with gel medium. Let dry.
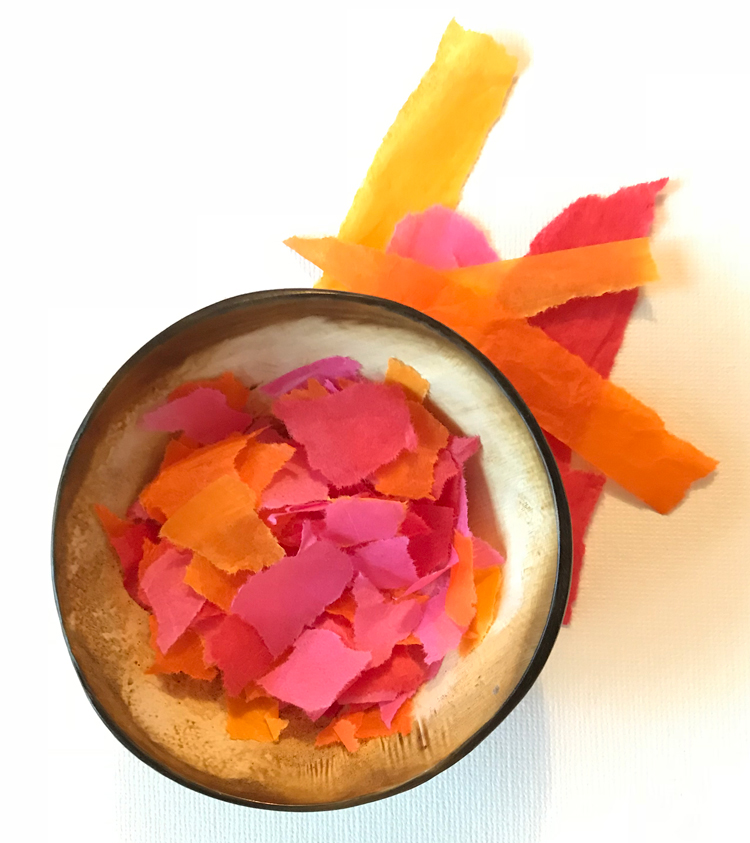
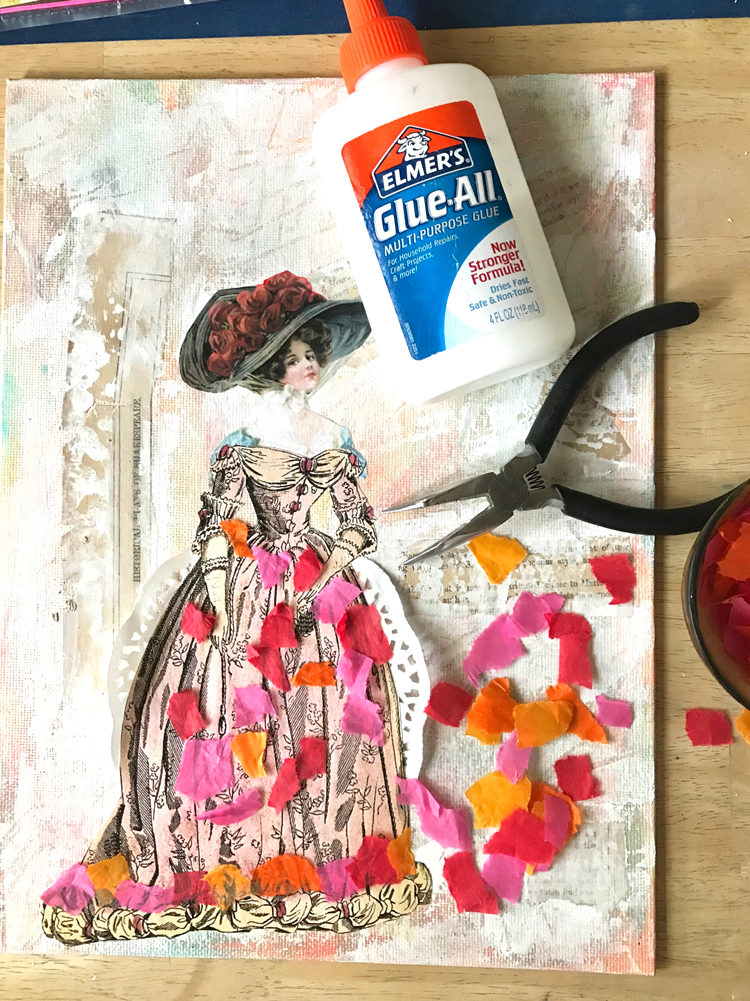
Step 9 – Adding Tissue Paper. While the art is drying, tear the colored tissue paper into tiny pieces about 1/2″. You don’t need very much tissue paper. I used approximately a 4″X2″ strip of each color.
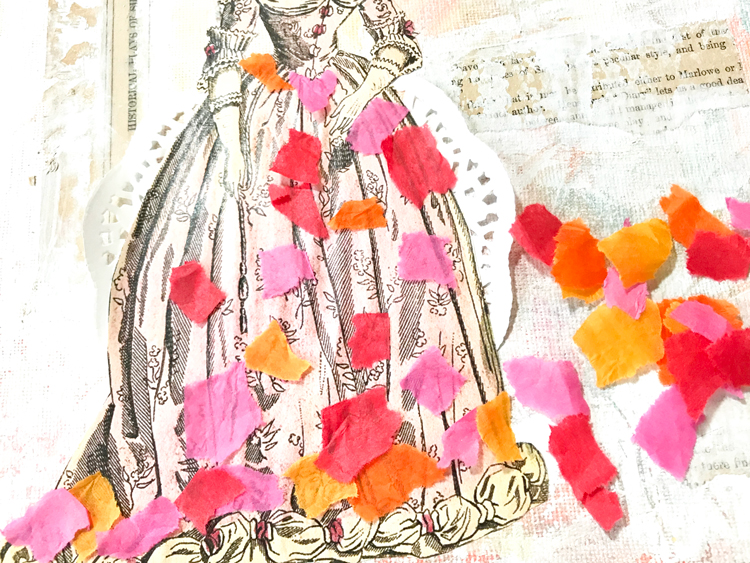
Then position the bits of tissue randomly over the skirt, ensuring that the size is appropriate.
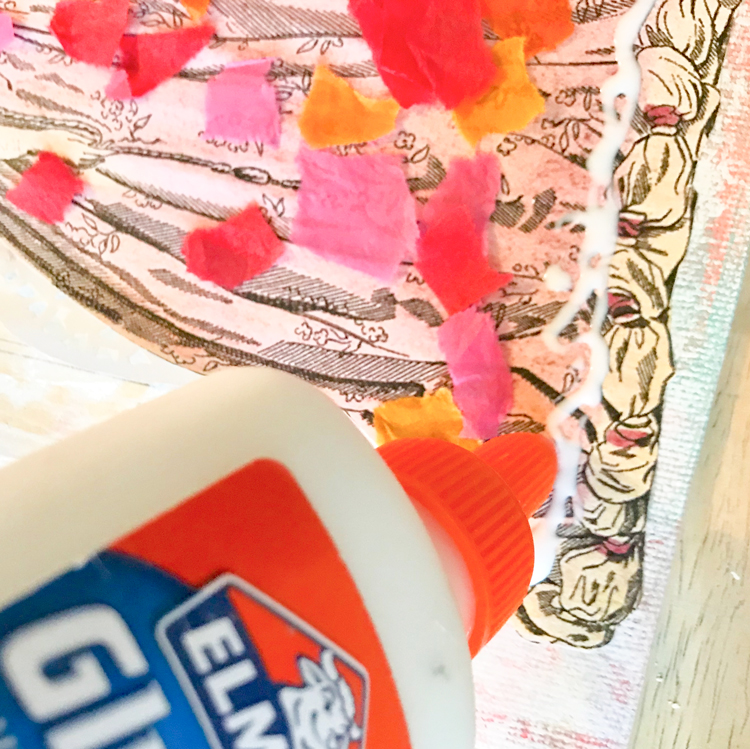
I attach it with Elmer’s glue because I like the control of the pointed top. You can use gel medium if you prefer.
I use my bent nose pliers to pick up the tissue pieces. If you get glue on your hand, it can be tricky to manipulate the pieces. 🙂
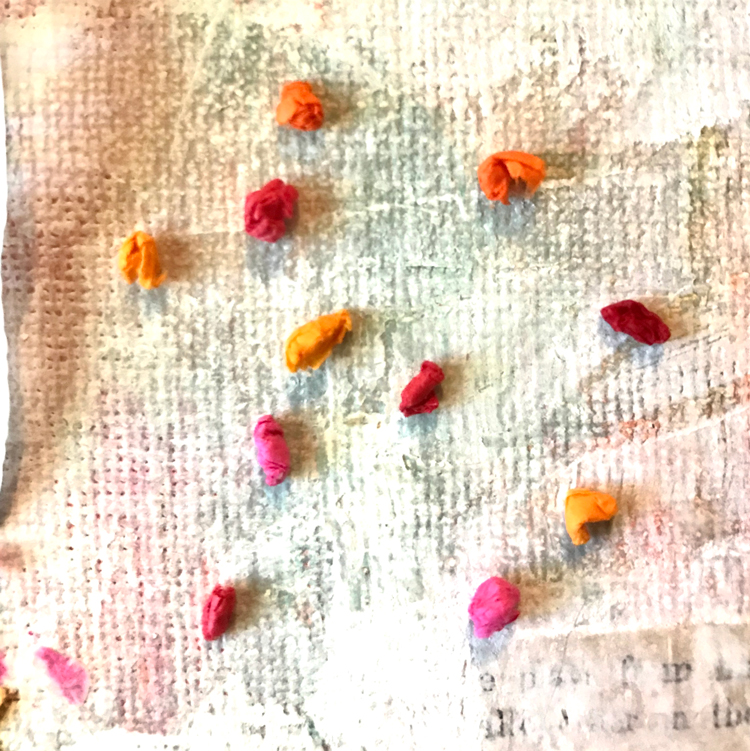
I also roll pieces of the tissue into tiny balls that resemble a rose bud.
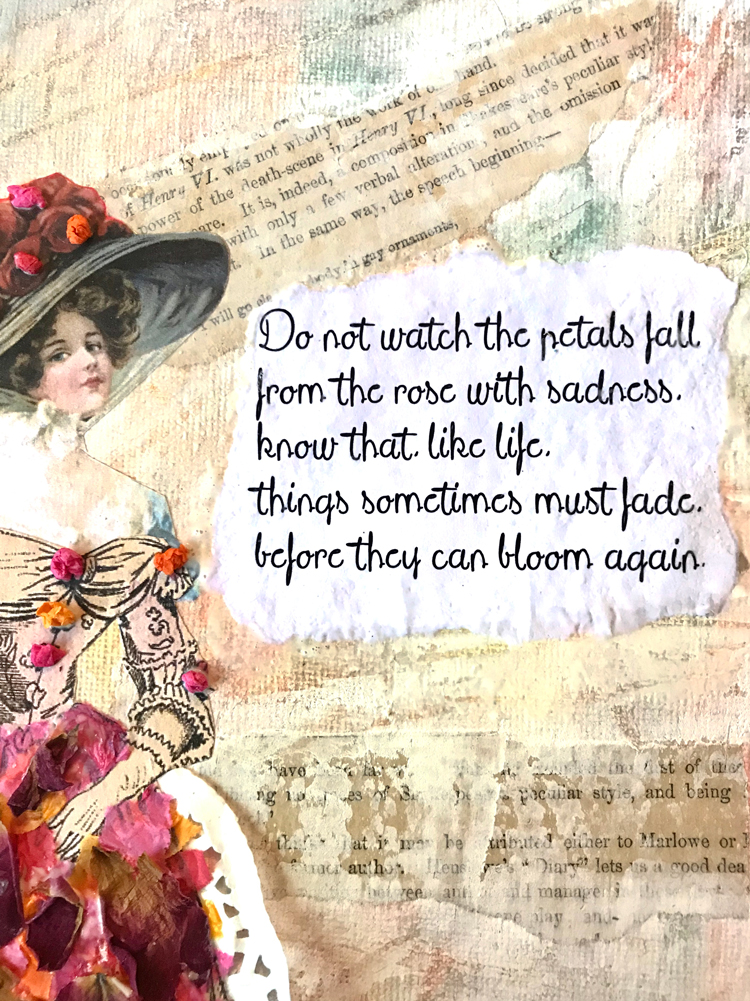
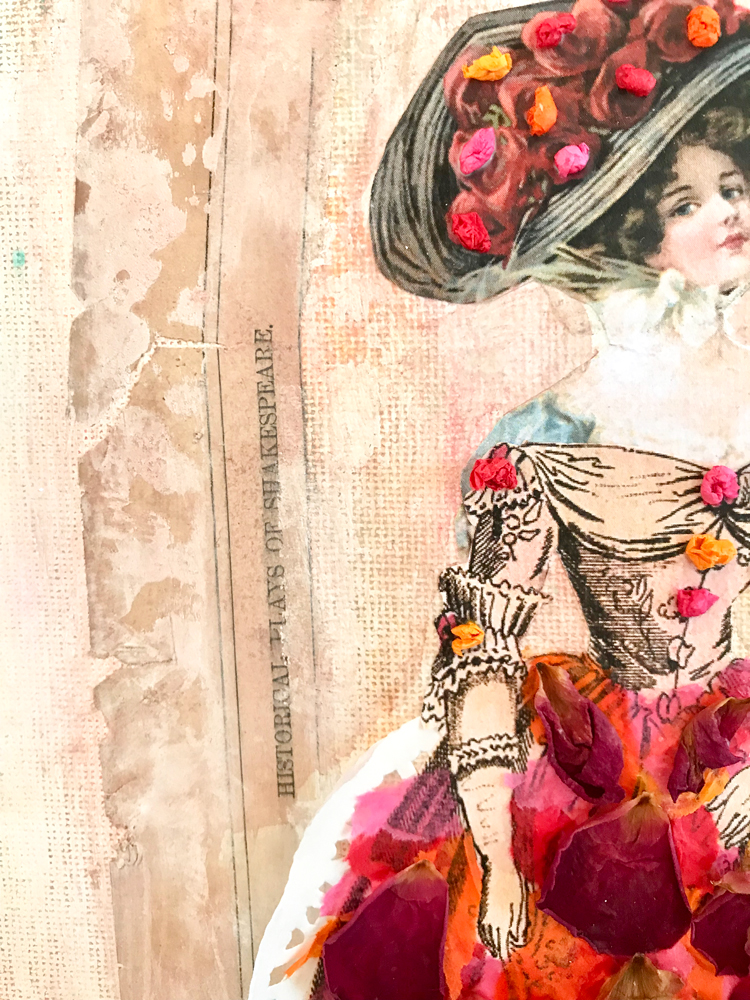
I attach those along the bottom of the skirt and other random areas of the dress and hat with the glue. The dress looks like this when the tissue is finished. You actually could stop here, if you like. It is beautiful just like this.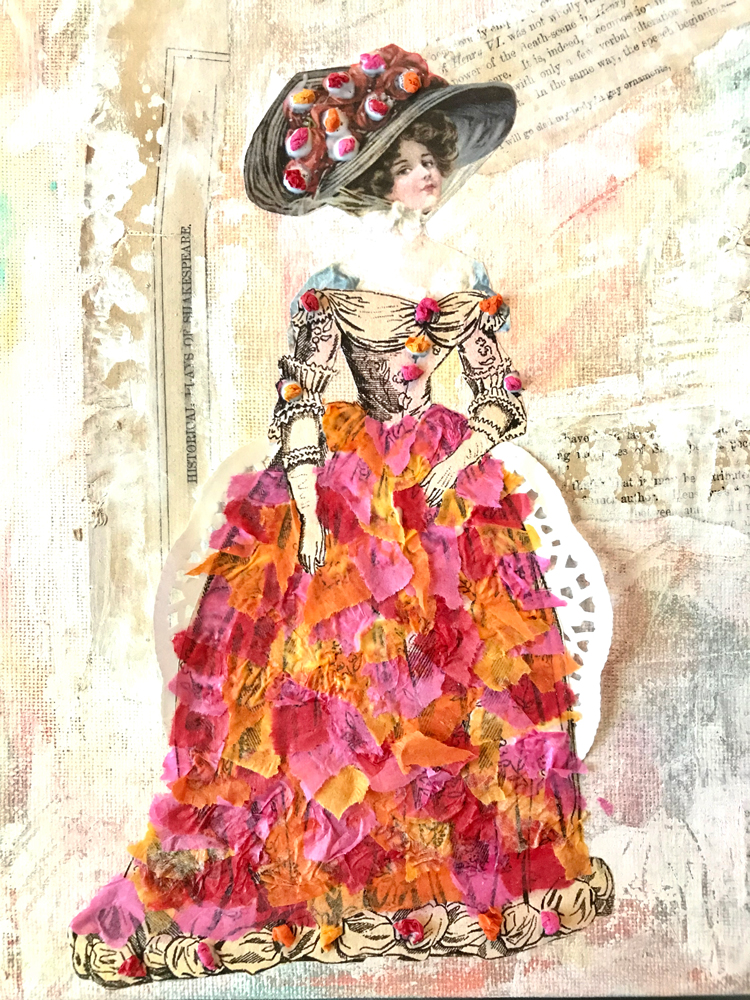
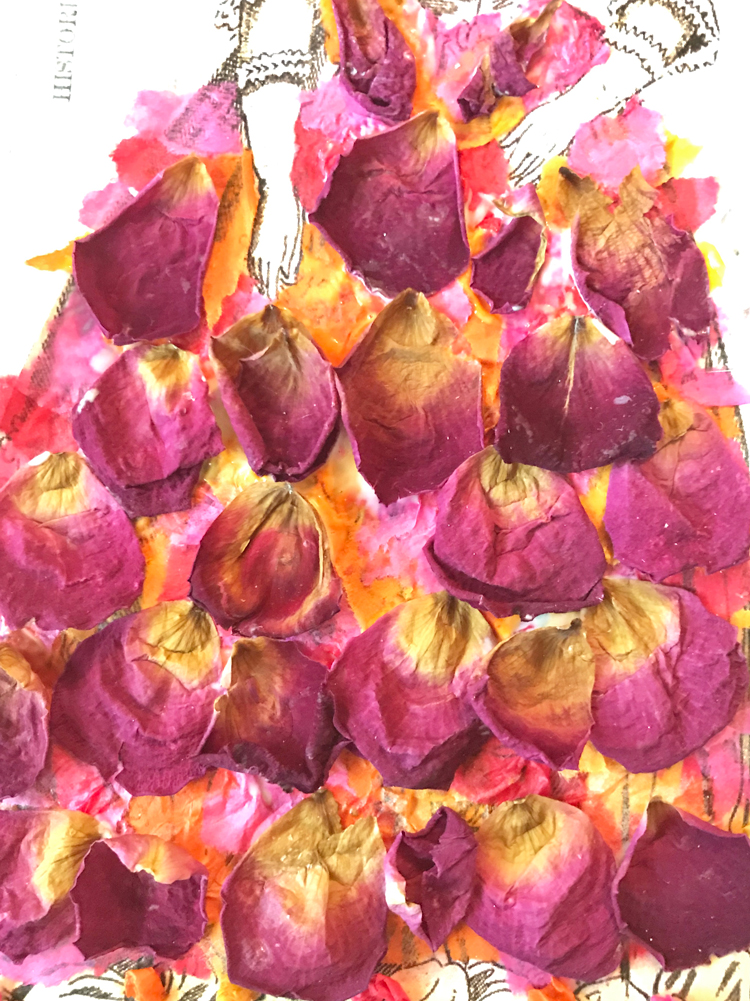
Step 10 – Adding Rose Petals. I attach rose petals randomly over the dress with gel medium. I love, love how this looks. Such Mixed Media fun!
Step 11 – Finishing. I attached the rose story with gel medium as you see below and allowed it to dry.
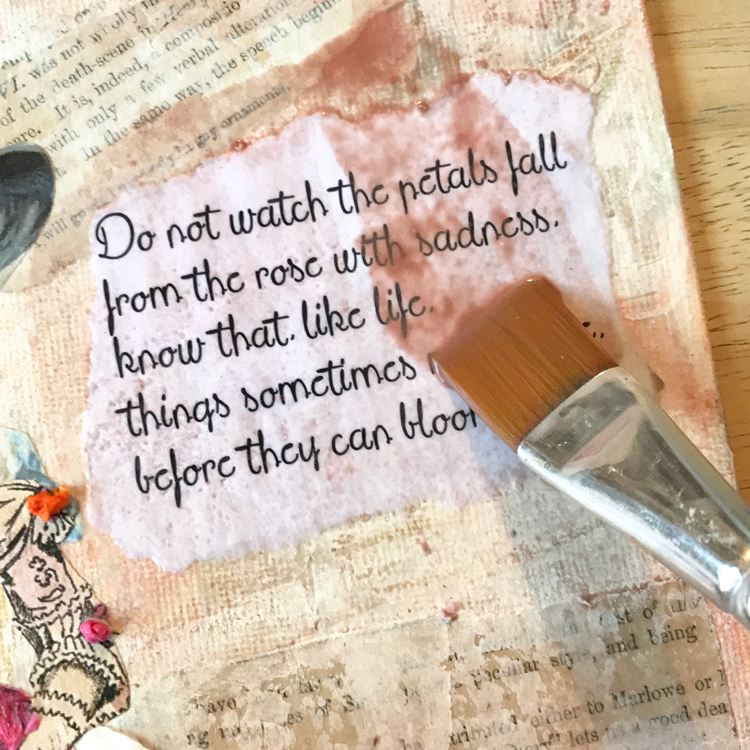
I wanted the background to look faded and aged, so I made a wash of Dark Brown acrylic at a 4:1 ratio of water to paint. It is very diluted as you can see below.
I brushed it carefully over the background avoiding the dress and woman.
While it was still wet, I wiped it back with a soft cloth in a few places to give some variation of color. When satisfied I allowed it to dry.
I attached a dried rose stem along the right side with heavy gel medium. I often like to add a 3 Dimensional element to my collage work, but it is optional. I also added three strips of pink tissue over the stem with gel for accent. I added some rose petals randomly under the rose like they are falling.
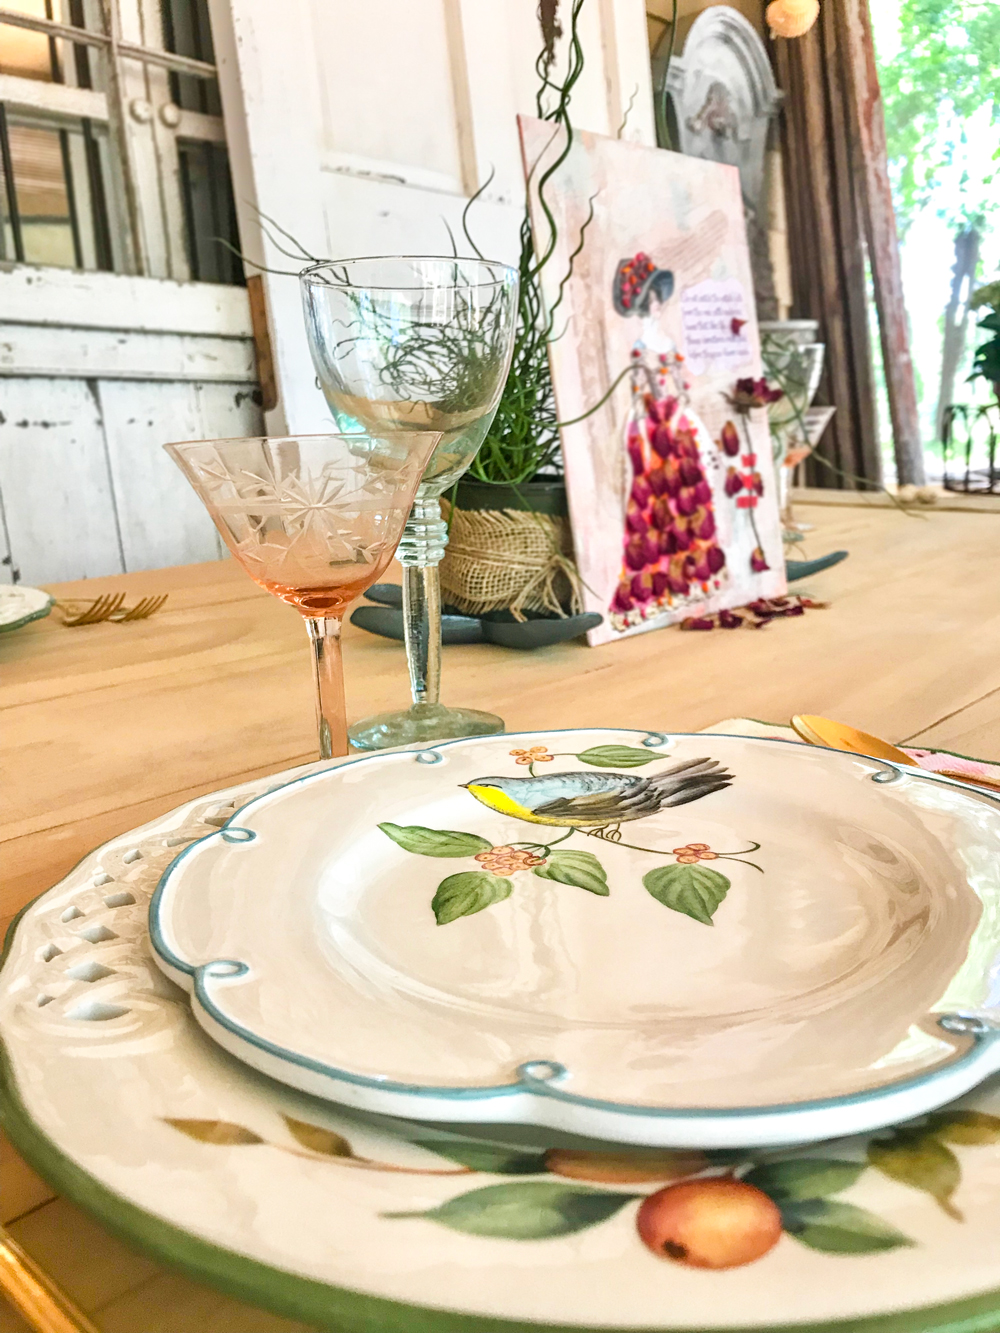
I used this as a centerpiece of my weekend luncheon. It was so full of Spring. I often use pieces of my art as table decor, invitations, etc. I find The Graphics Fairy’s images are perfect for party and table decor.
I hope you enjoyed this Mixed Media Collage Tutorial! I also teach Photoshop Elements tutorials over on The Graphics Fairy Premium Membership site. You can find even more of my art, DIYs, and whimsical shenanigans on Cre8tive Compass Magazine, Cre8tiva (just launched), and loads of my digital art on Instagram.
May joy be with you all,




Daphne says
Very pretty! I’ve used twigs in some of my art but never thought to use real flower petals. Awesome!
graphicsfairy says
Thanks so much Daphne 🙂
Caroline Brand says
What a wonderful journey you have taken us on!! Gorgeous layers & texture, particularly the rolled up tissue paper & petals. Isn’t your husband a romantic? I really enjoyed your post & step-by-step. Tyfs. Caroline????
graphicsfairy says
Thanks so much Caroline!!
CarolG says
When I went to get the hat image, the edges of the hat are cut off.
graphicsfairy says
Hi Carole, Rebecca, the creator of this project created a separate PDF where she drew in the edges. She edited the post to make that more clear…thanks to you 🙂 It says this, “I paired it with this Lady with Roses Hat Image * I also created a PDF printable for you of the images in just the right size, so you don’t need to fuss with getting them exact. *PLEASE NOTE: In the amazing Victorian Hat Lady image that Karen shared on TGF, the sides of the hat are cropped. For my artwork, I drew and painted edges on the hat. My altered version of the image is included in the PDF.” If you revisit the post you can access it now. Thanks so much!
Randi says
Clever, beautiful, thought provoking, interesting, useful, fun, instructional, very well done!
Rebecca E. Parsons says
Randi…WOW thank you. As an artist, I am always second guessing my tutorials. You have made my day! XOX