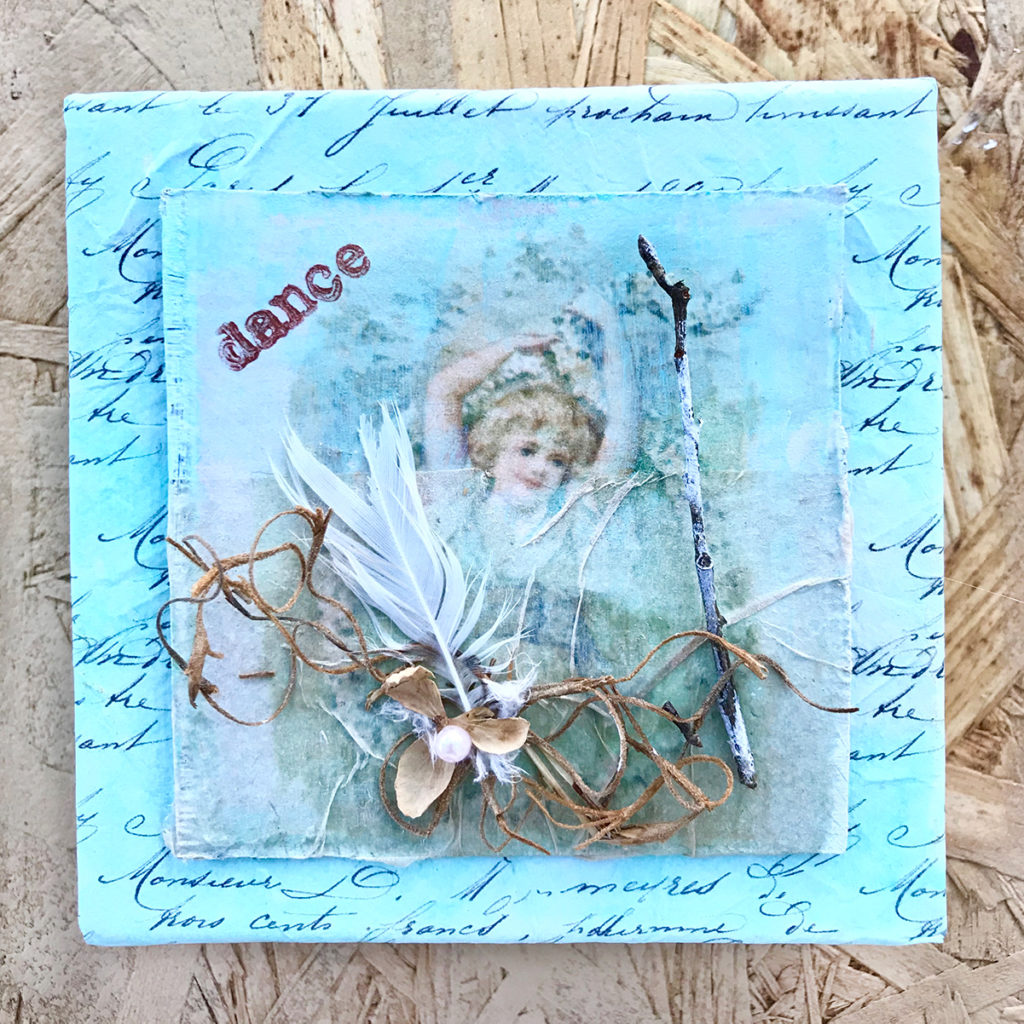
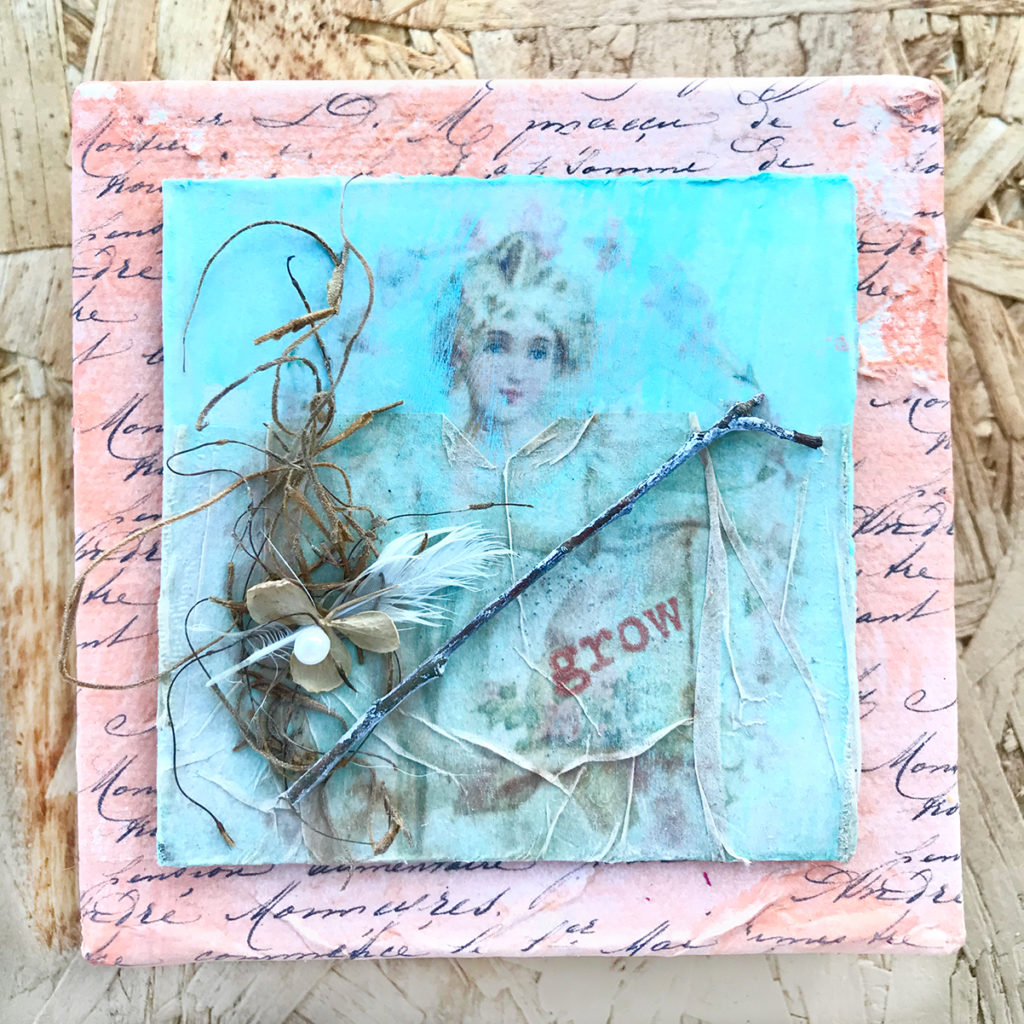
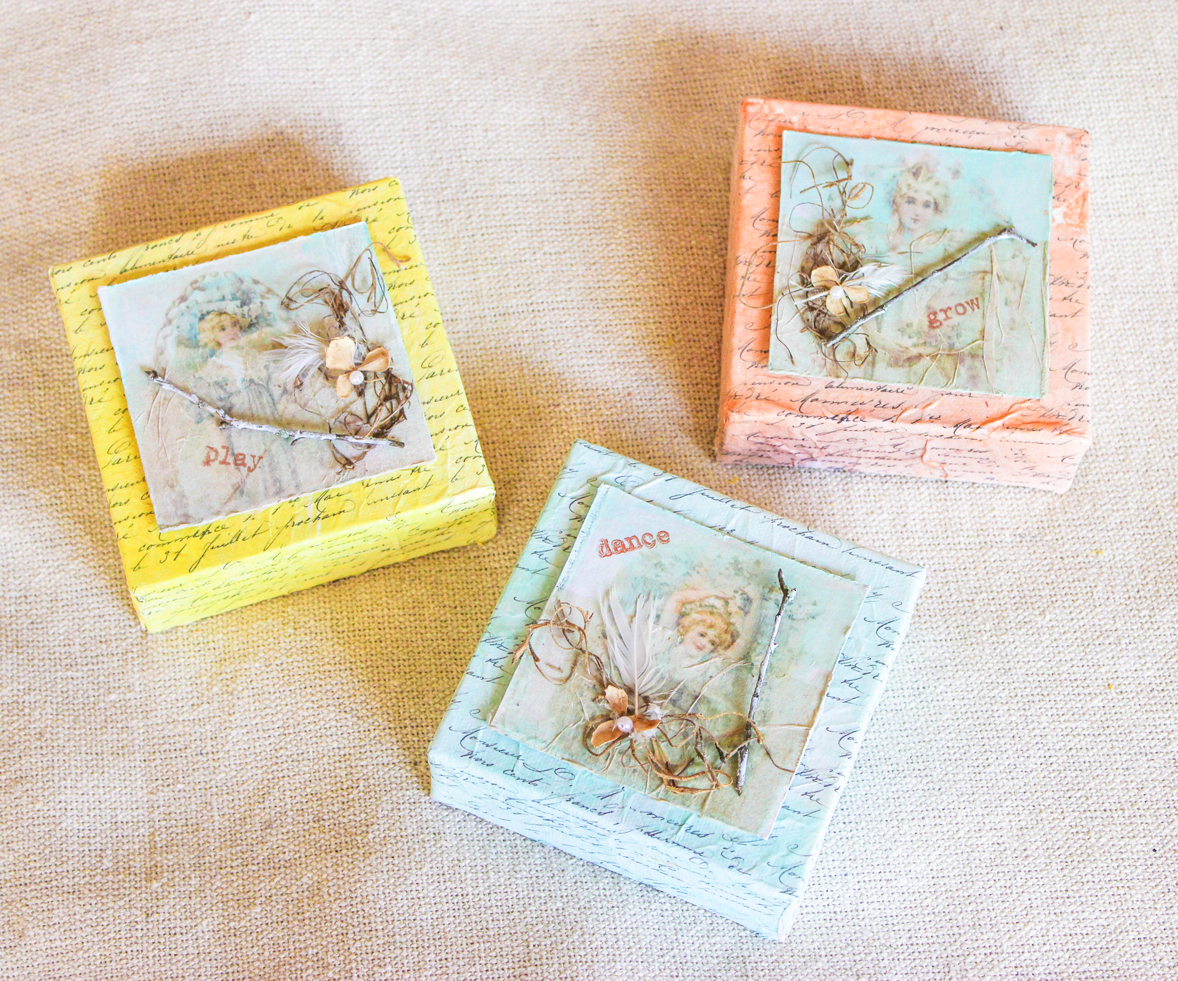
Hello, my artful mixed media friends. It’s Rebecca AKA Cre8tiva here with a French Spring Mixed Media Tiles Tutorial! Recently, one of my artist friends shared some delightful tiles on Instagram, and I fell instantly in love with the idea of creating them. These tiny artworks are so much fun to make and, at times, stretch your skillset. WOWzers…I enjoyed creating these. Come jump into my creative sandbox and create some French Spring Mixed Media Tiles with me.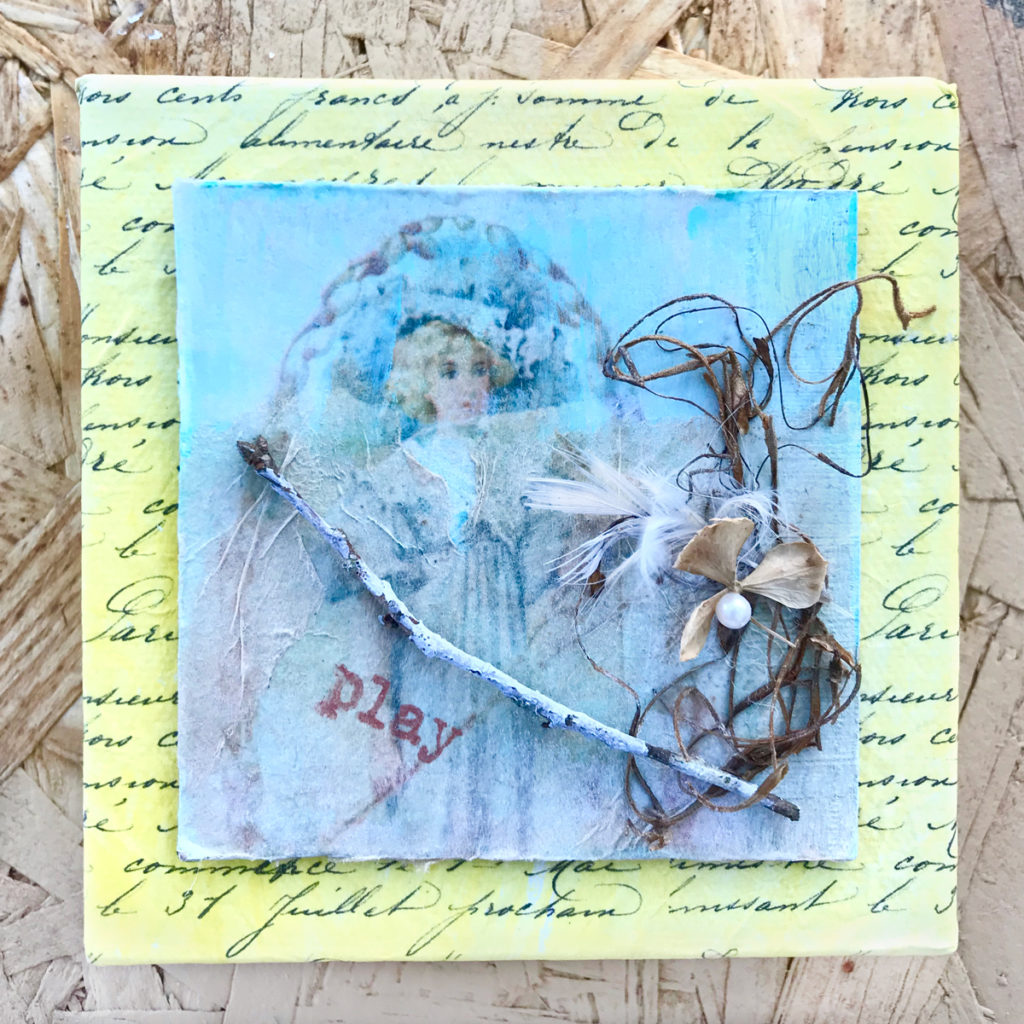
Here are the elements I used from The Graphics Fairy collection:
French Handwriting Transfer Printable
Beautiful Vintage Spring Flower Girl
Other Supplies
*This post contains affiliate links for your convenience
My French Handwriting printable for you to download and print
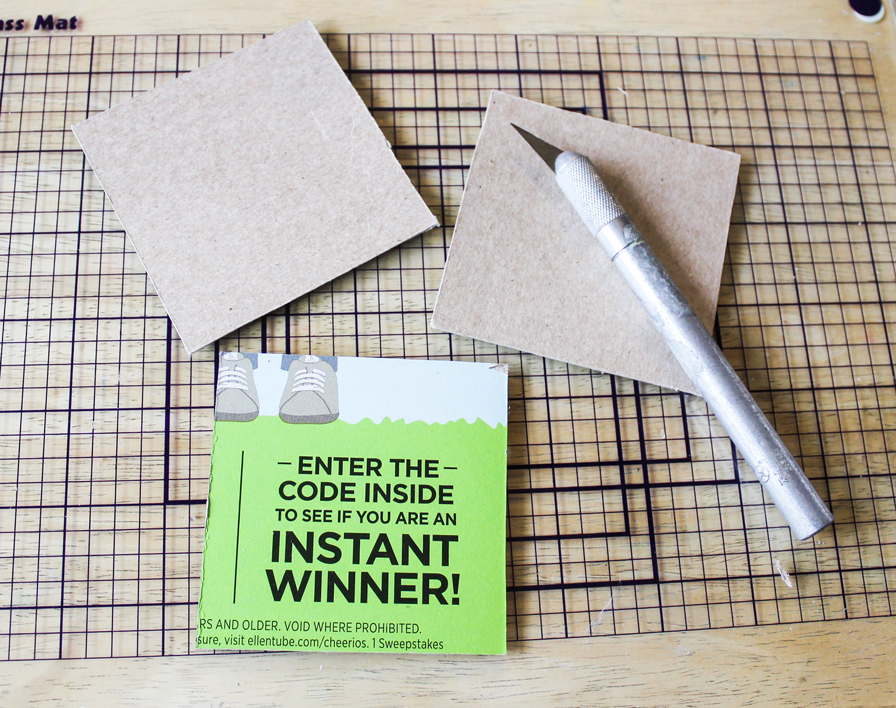
Chip board (I cut mine from a cereal box)
Golden White Gesso
Hair Spray or Artist Fixative
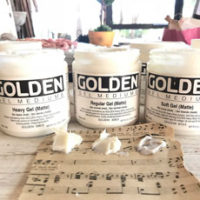
Golden Regular Gel Matte Medium
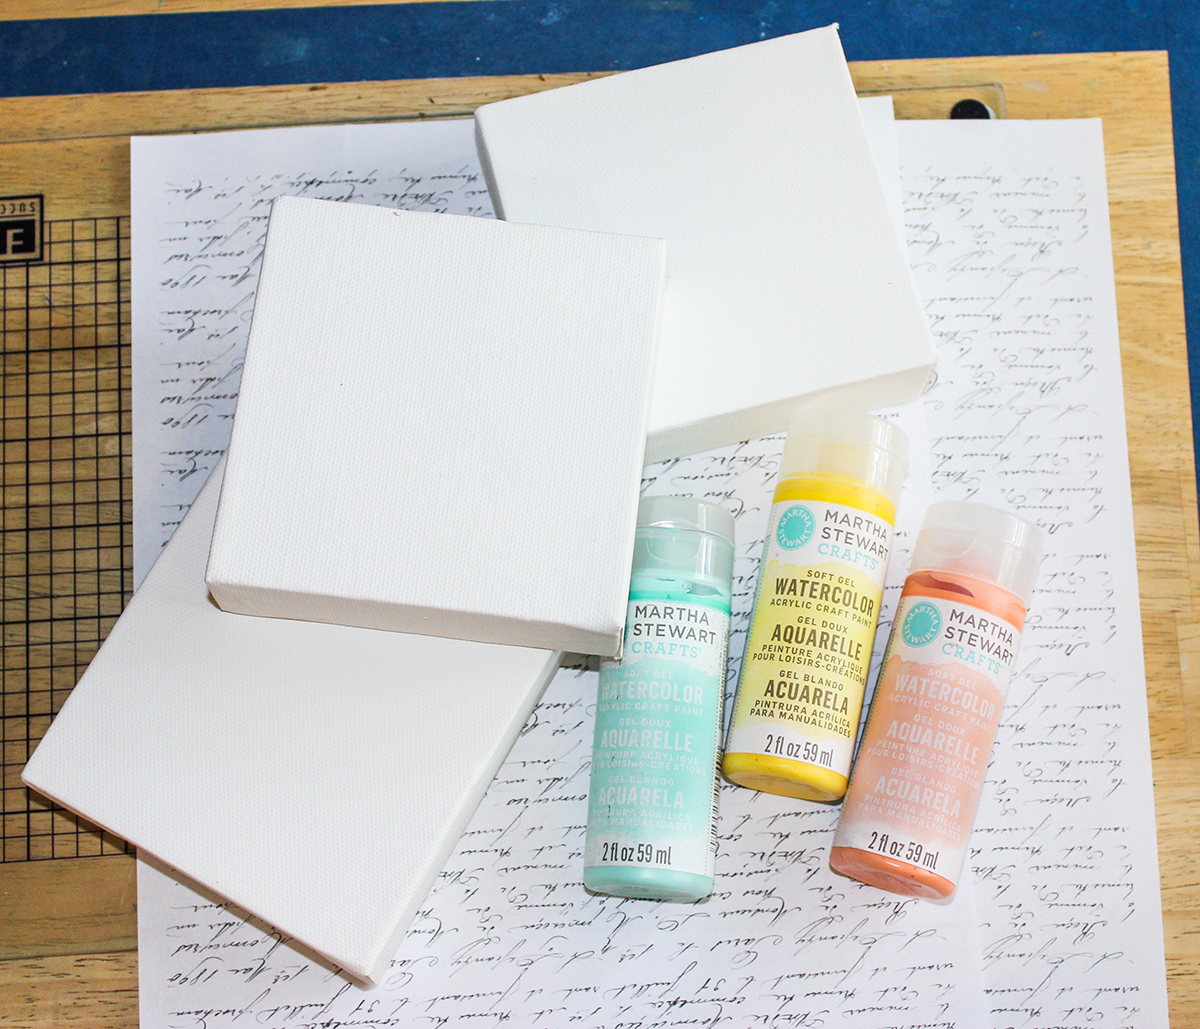
Martha Stewart Crafts Soft Gel Watercolor Acrylic Paint – Beach Glass, Wild Salmon, Yellow Jacket
Old teabags dried and empty of tea
Nature items from my yard – twigs, feathers, moss, dried hydrangea flowers
Pearl beads – whatever size works for your art
White Acrylic Paint
Unmounted Words Rubber Stamps similar to mine – Out of Print Impression Obsession Express Yourself
Stamp Pad – Brilliance Cosmic Copper
3 – 4″ square mini canvas pack
Scrapbook Adhesives 3L This 3D Foam Spots
Scissors
Artist brushes
Optional: Craft knife, metal ruler
French Spring Mixed Media Tiles Tutorial!
Step 1: Cut cereal box into three 3″ squares using whatever method works for you. I used a craft knife and metal ruler.
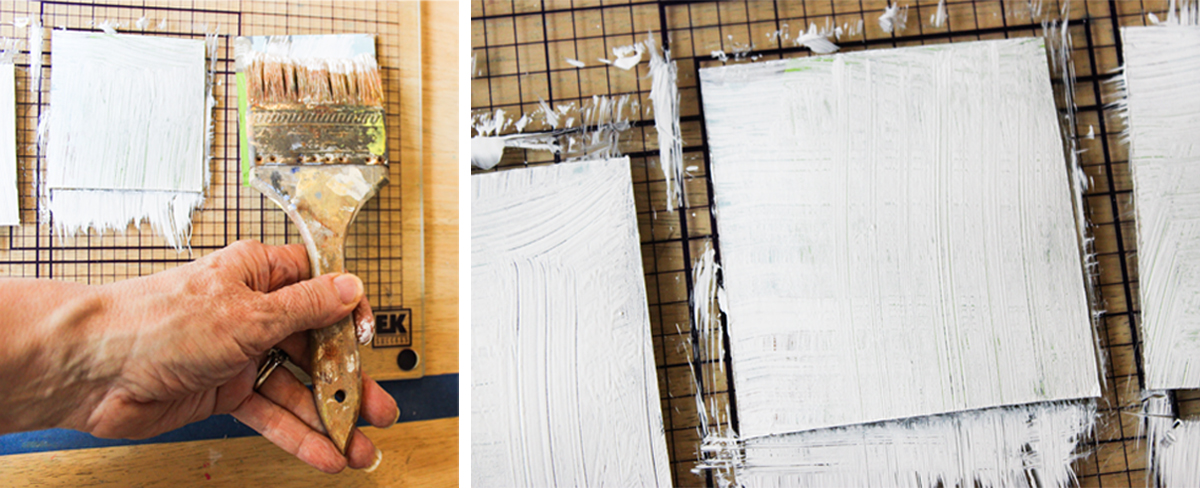
Step 2: Gesso the tile and let dry. I allowed my brush marks to show in order to add texture.
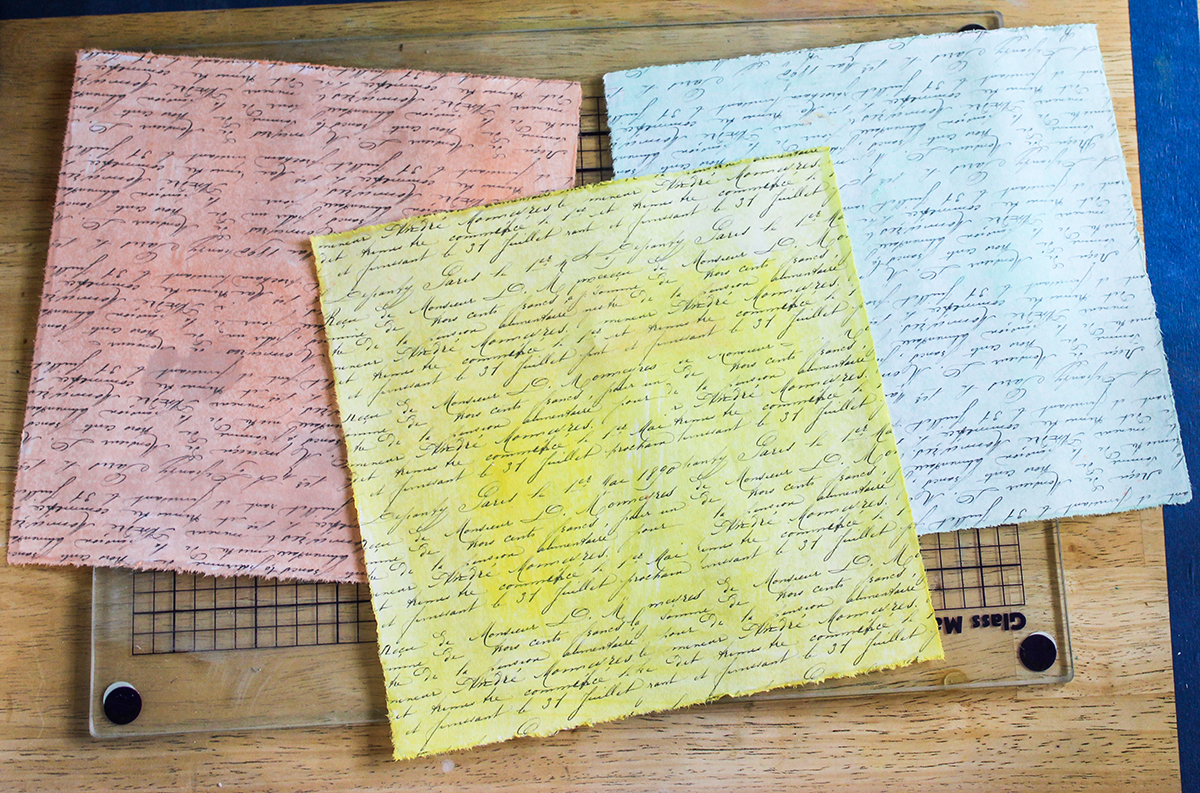
Step 3: Print the three Spring Flower Girl images and the French Handwriting. I created a little printable of the French Handwriting so you didn’t have to reinvent the wheel. I printed three copies of the handwriting to wrap the canvas.
My French Handwriting printable
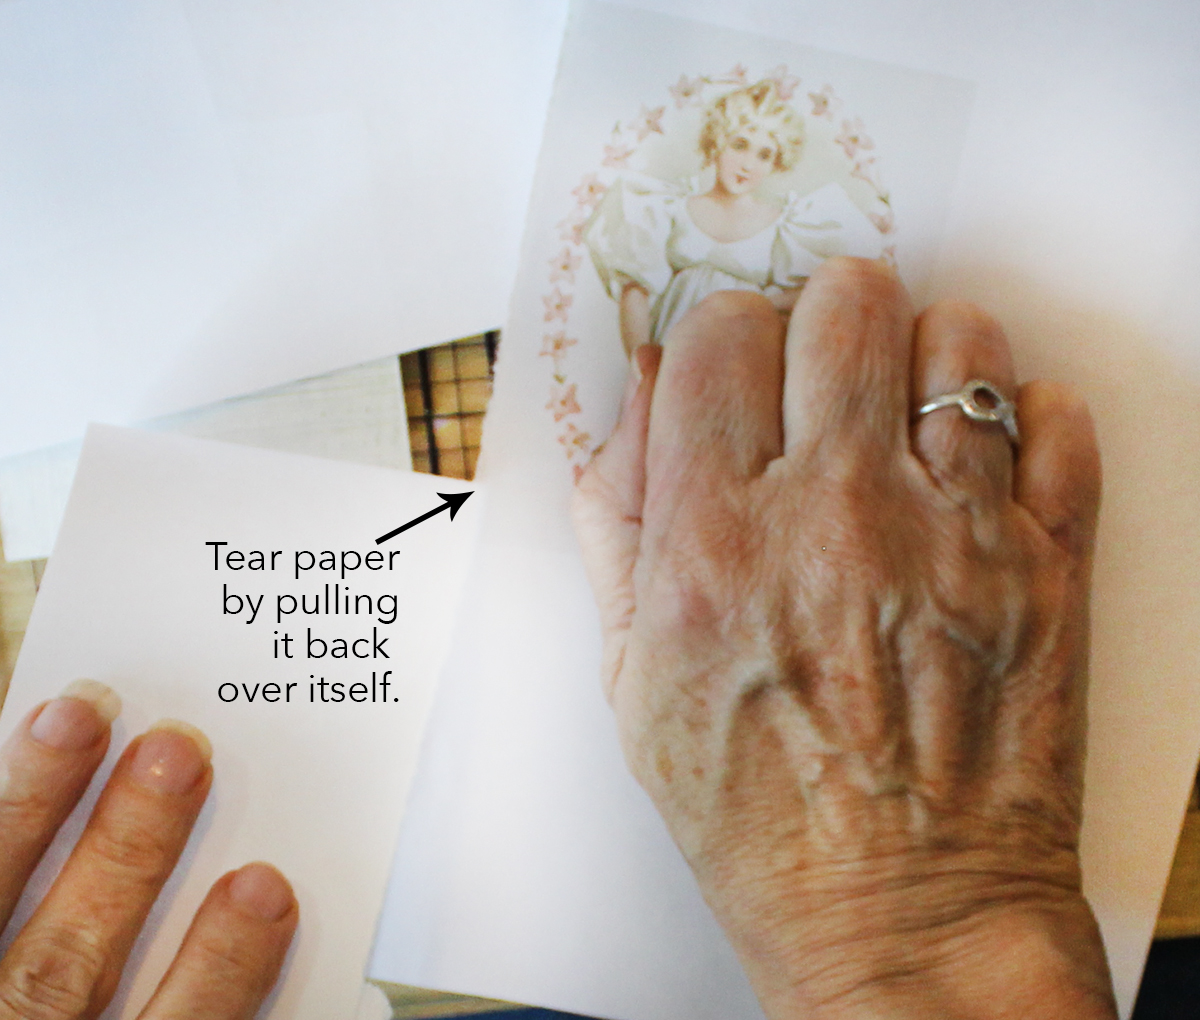
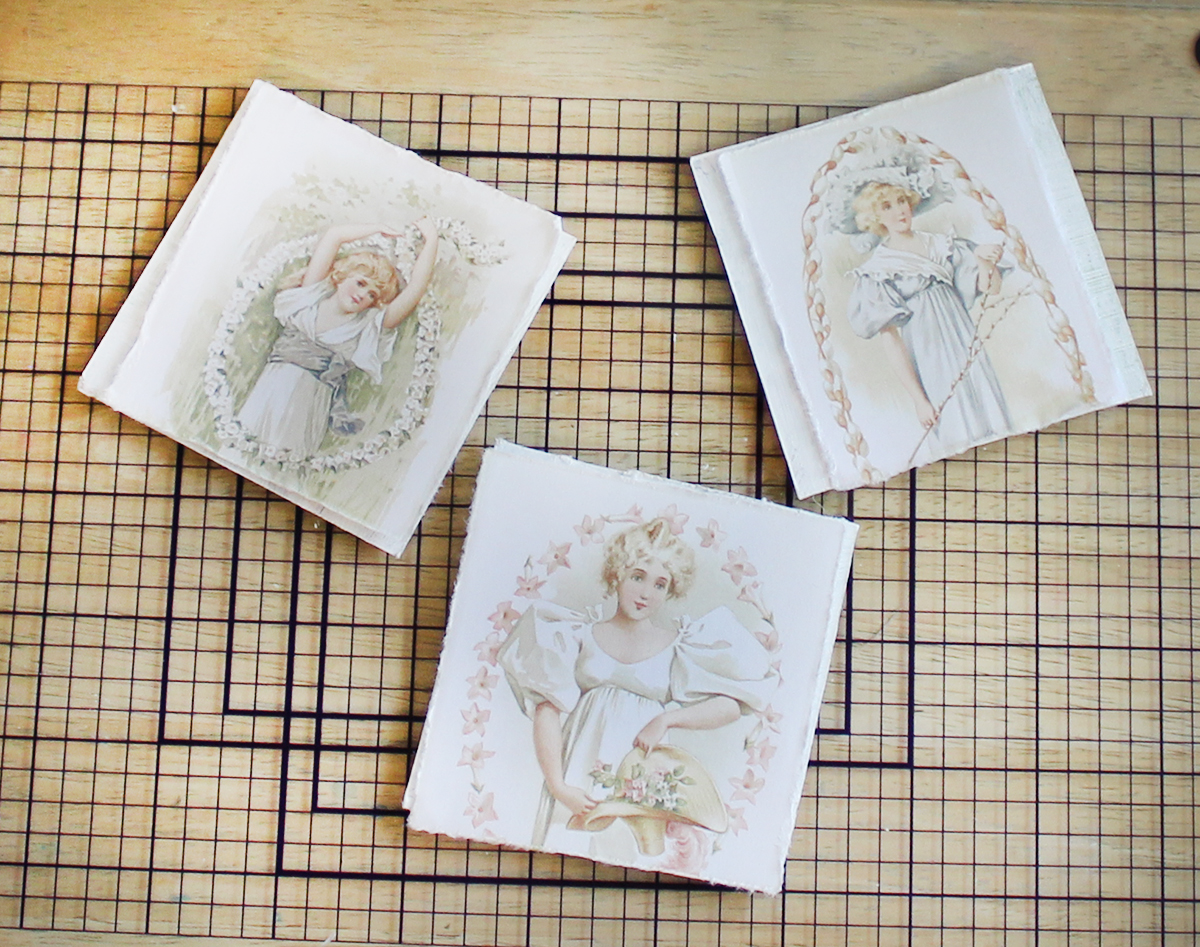
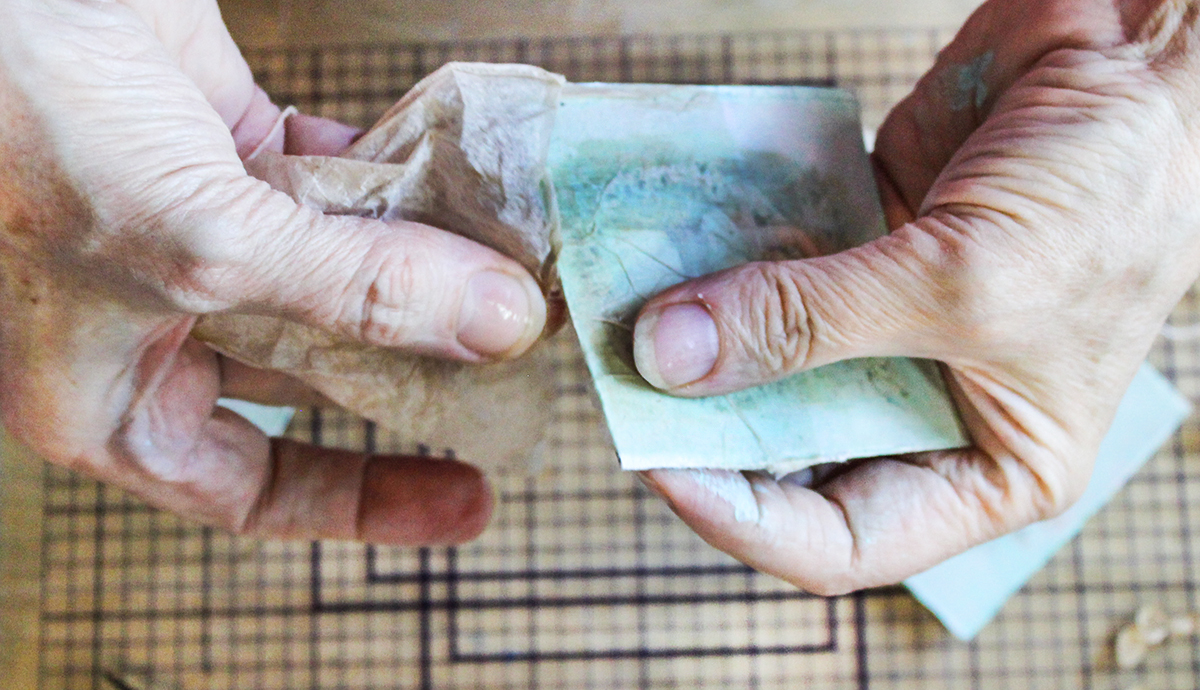
Step 4: Tear around the Flower Girl images so they fit the chipboard. I like to tear mine, but feel free to cut. HINT: Fold along the tear line in both directions (front of paper and back.) Then wet along the tear line. You can use a damp sponge or lick it! 🙂 Then peel the paper back over itself toward you while holding the image down. It gives a beautiful deckled edge that works well in collage.
They did not exactly fit the chipboard and that is just fine. We will be filling it with other elements.
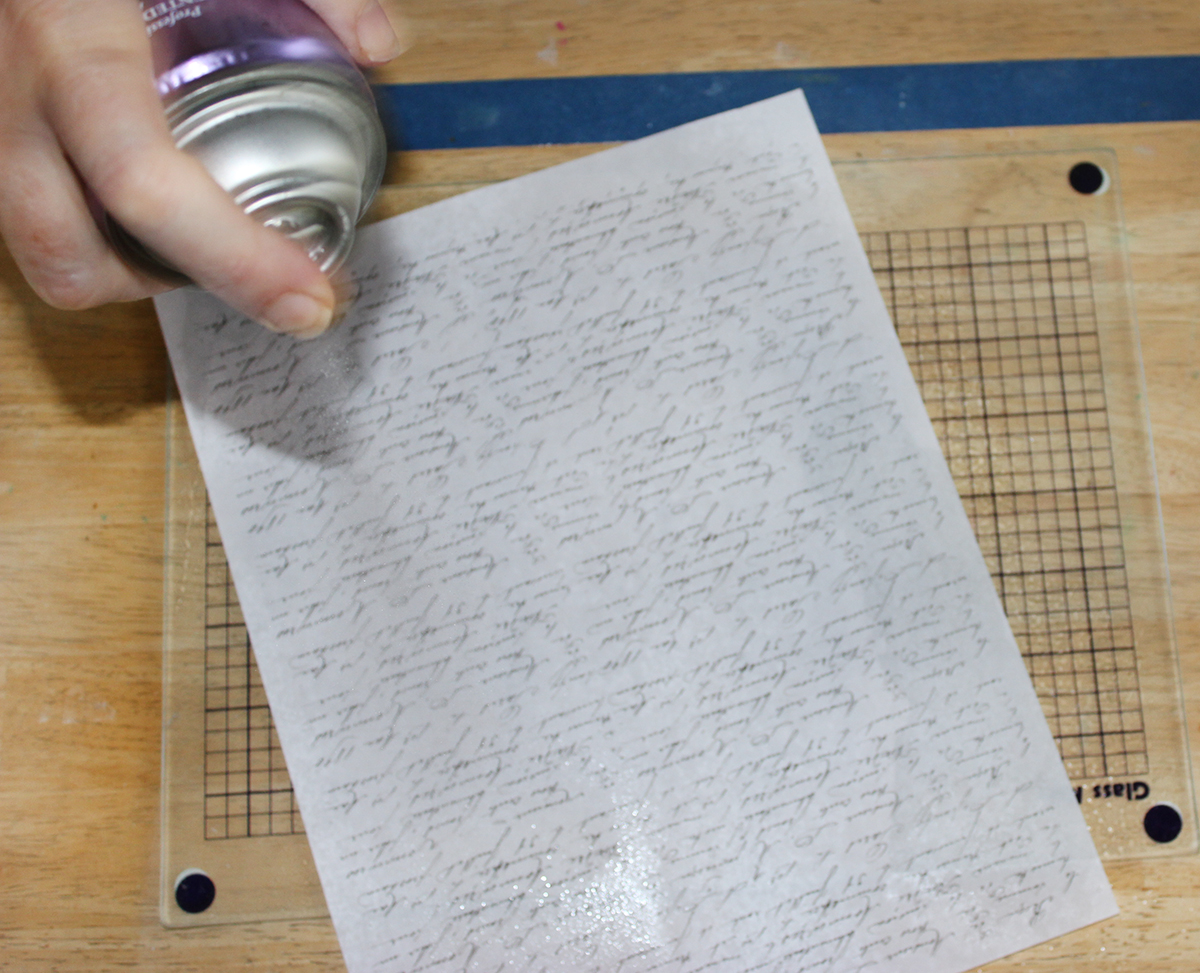
Step 5: Spray the images with hair spray or fixative. Do this outside or in a well ventilated area. Allow to dry.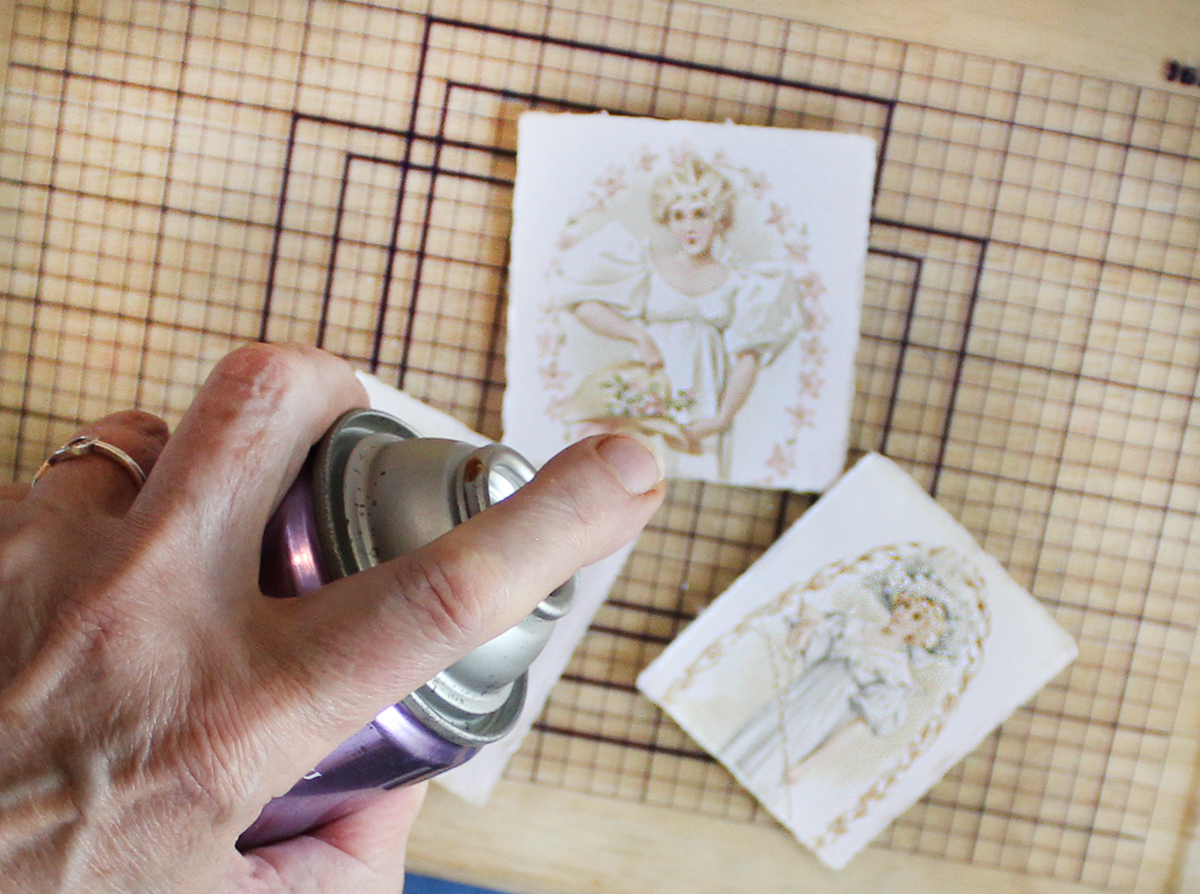
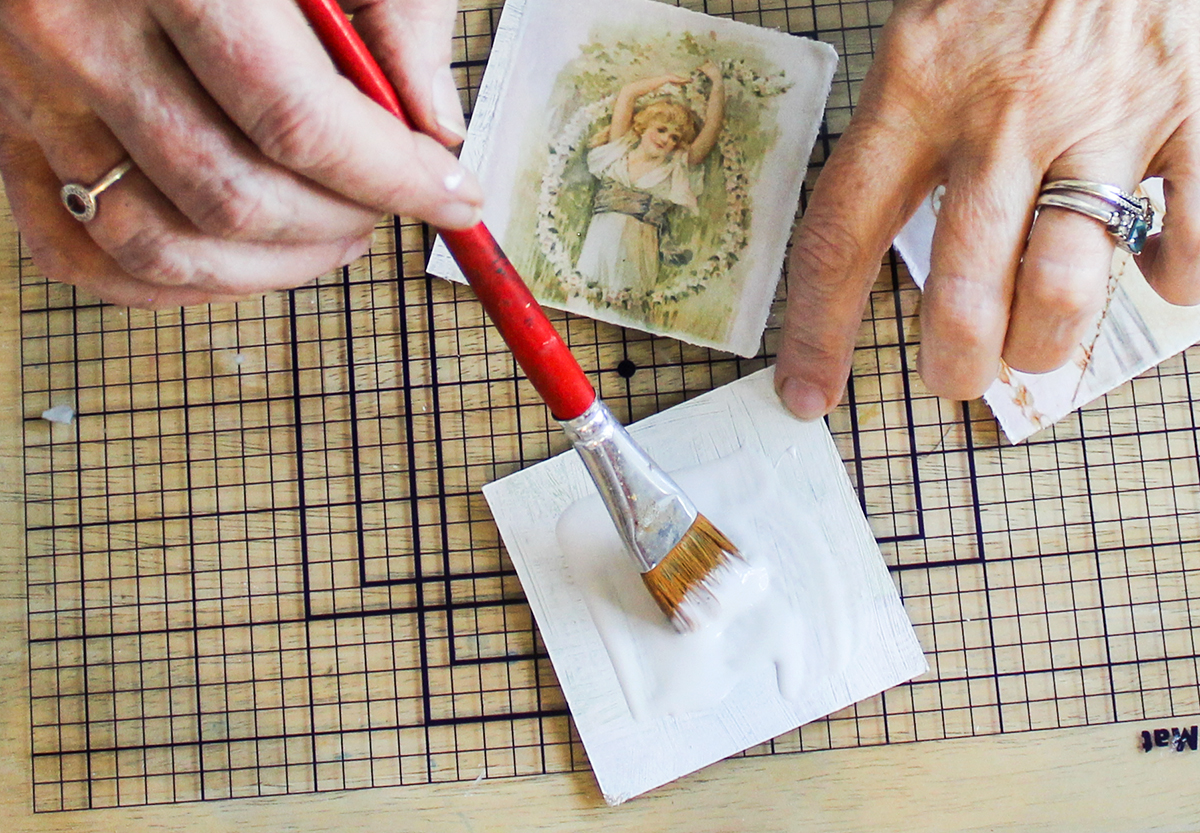
Step 6: Adhere the Flower Girl images to the gesso side of the chip board with gel medium. Brush a coat on the front also. Let dry.
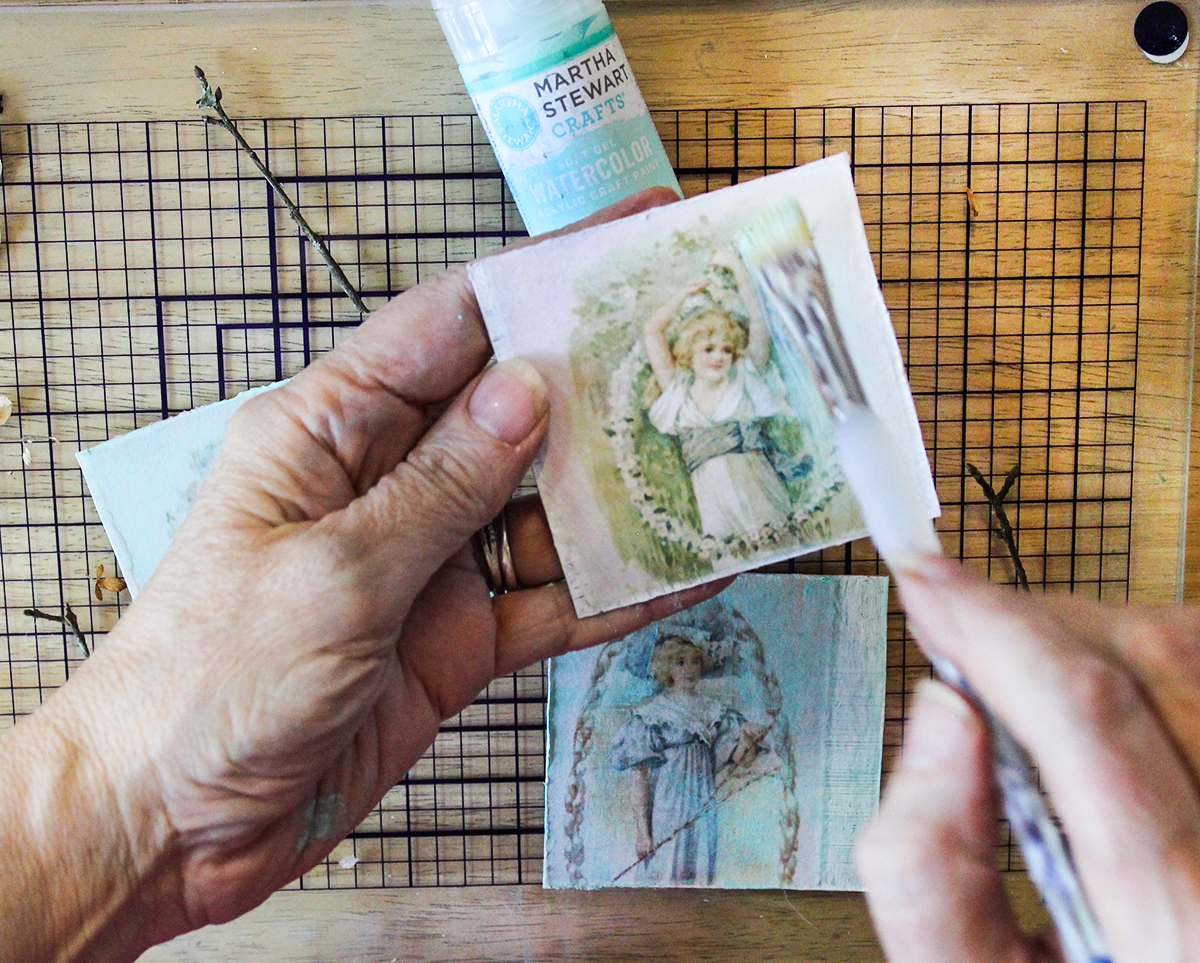
Step 7: Paint a light coat of Sea Glass watercolor diluted with brush dipped in water over the entire image and gesso, except the face. Let dry.
Step 8: Adhere the tea bag to the bottom 2/3rds (approximately) of the design with gel medium. I placed mine under the face, but feel free to play with them. I love using teabags in my art. I allowed the tea bags to wrinkle and crinkle. Yummy texture! When dry, I tear (trim) any excess.
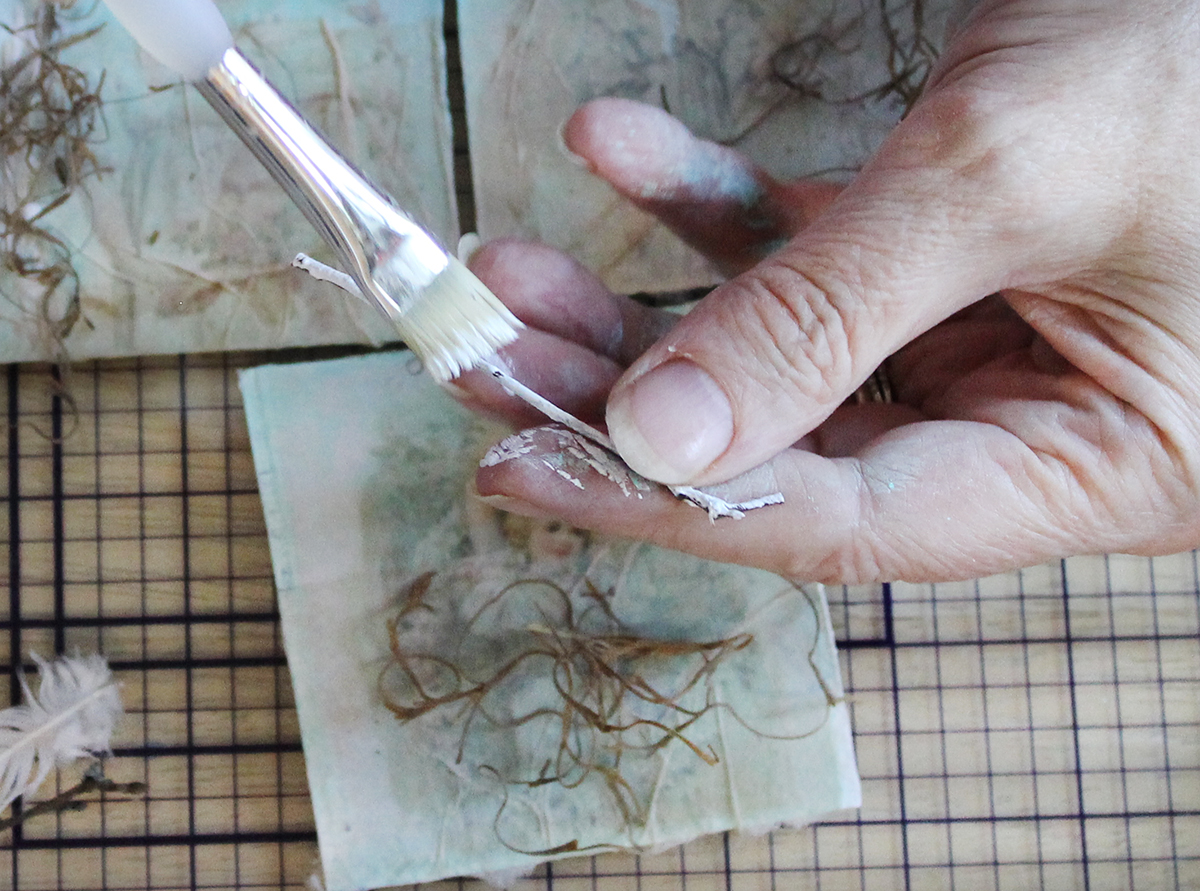
Step 9: Dry brush white acrylic on the twigs in random areas. Wipe it back off if it gets too white.
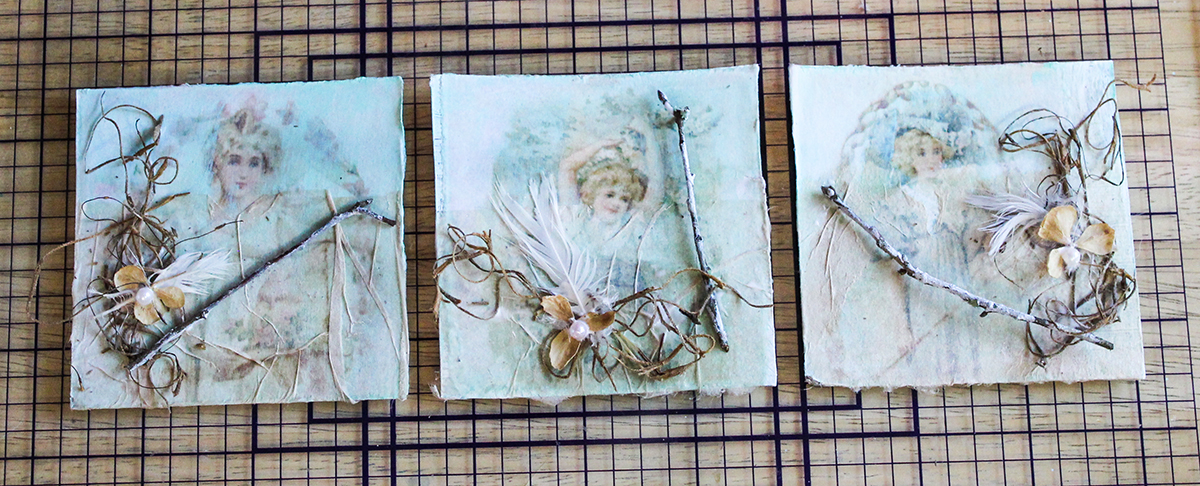
Step 10: Play with your natural elements until you find a pleasing arrangement. Then attach with Tacky Glue. I placed the tiny pearls on the hydrangea petals, but you can place them later.
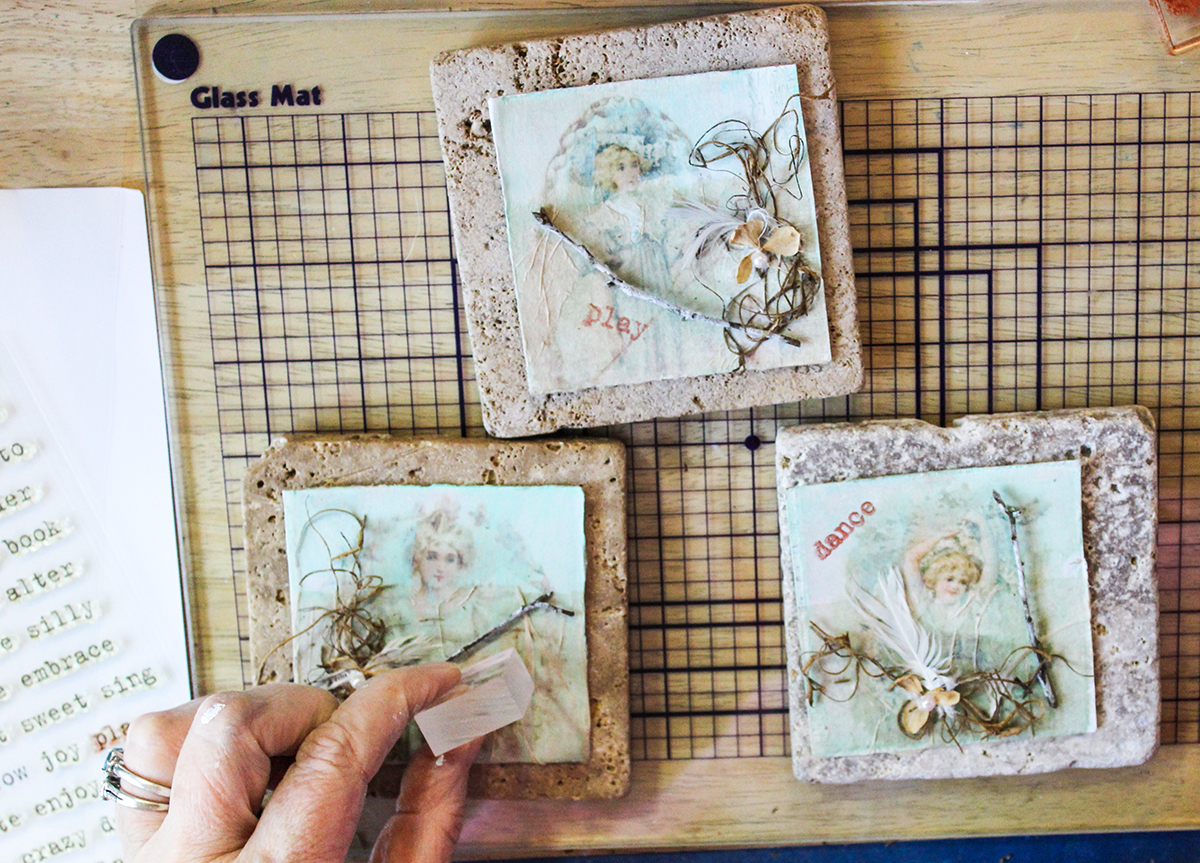
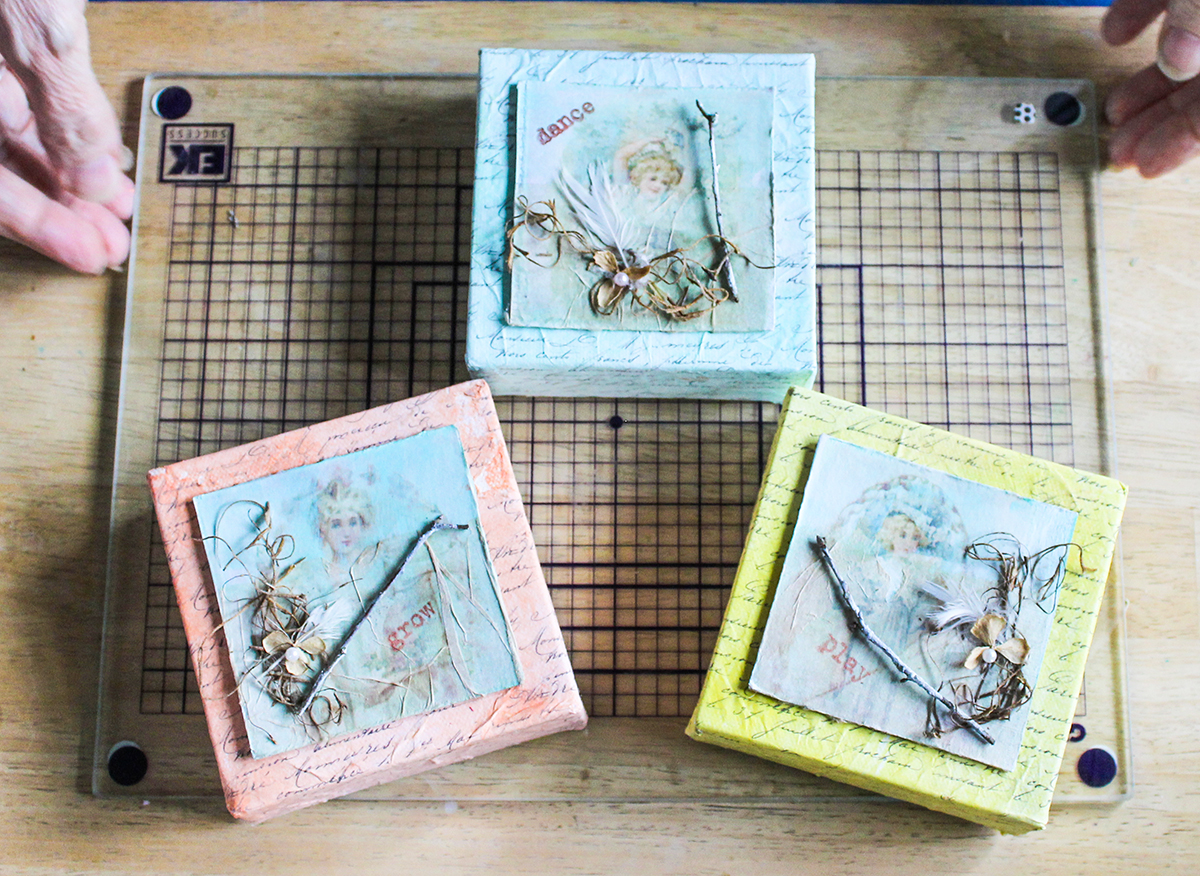
Step 11: Stamp words that you feel match the feeling of your artwork. I selected grow, dance, and play.
Step 12: Now let’s tackle the canvas. Mine has fairly deep sides, but any canvas will do.
Make sure you have sealed the handwriting with hairspray or fixative.
Place one canvas in the middle of the handwriting, then wrap it around the edges and trim to fit. I tear mine. This is fussy work, so measure twice and cut once. 😉 You don’t want to come up short on the sides!!
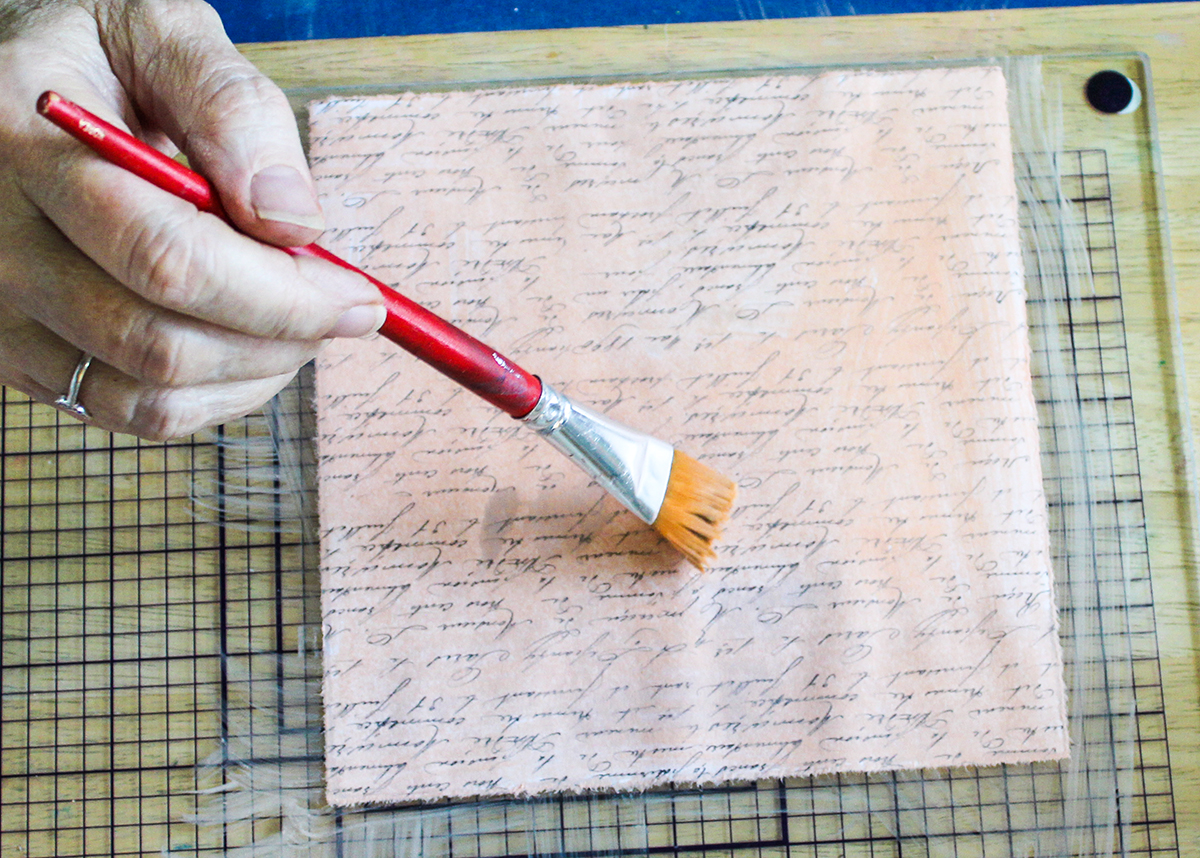
Step 13: Paint one of the handwriting papers with blue, one with salmon, and one with yellow.
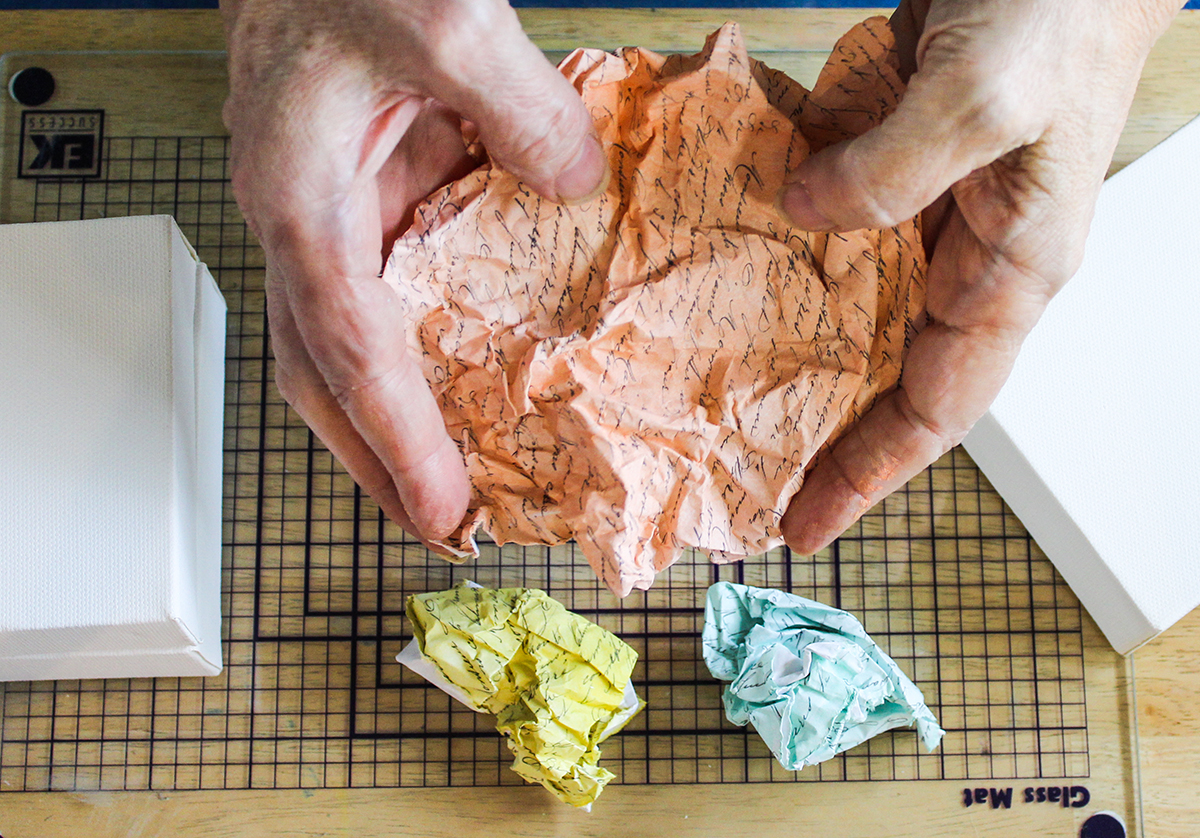
While damp crumple the painted papers in your hand. This gives a lovely added texture to the paper. Then spread them flat. Allow to dry.
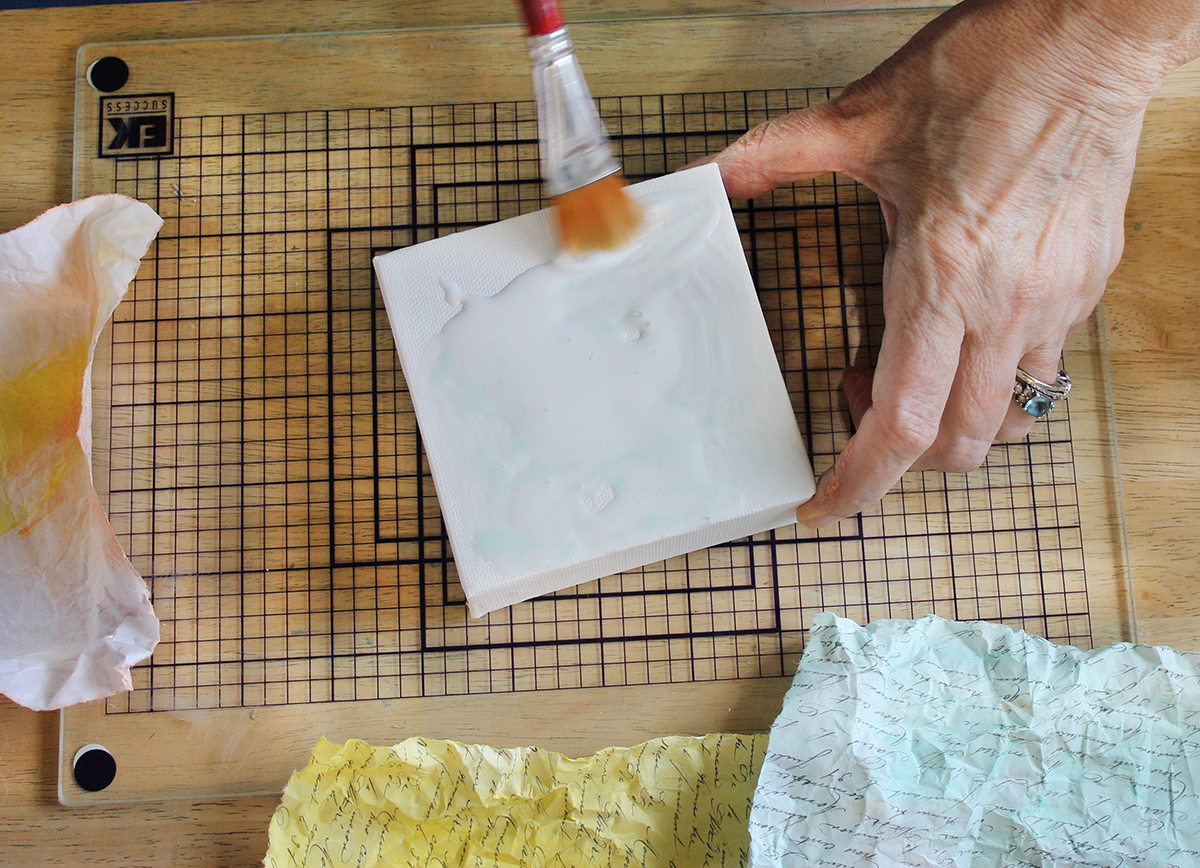
Step 14: Position the handwriting image squarely, folding over the sides to make sure it is centered. Crease the edges. Spread gel medium on the top of the canvas ONLY! Position the handwriting image squarely to ensure it is centered. It will move for a few minutes. Be careful as the paper is fragile. Do not put gel on the top yet. Just smooth it down with a damp artist brush for now.
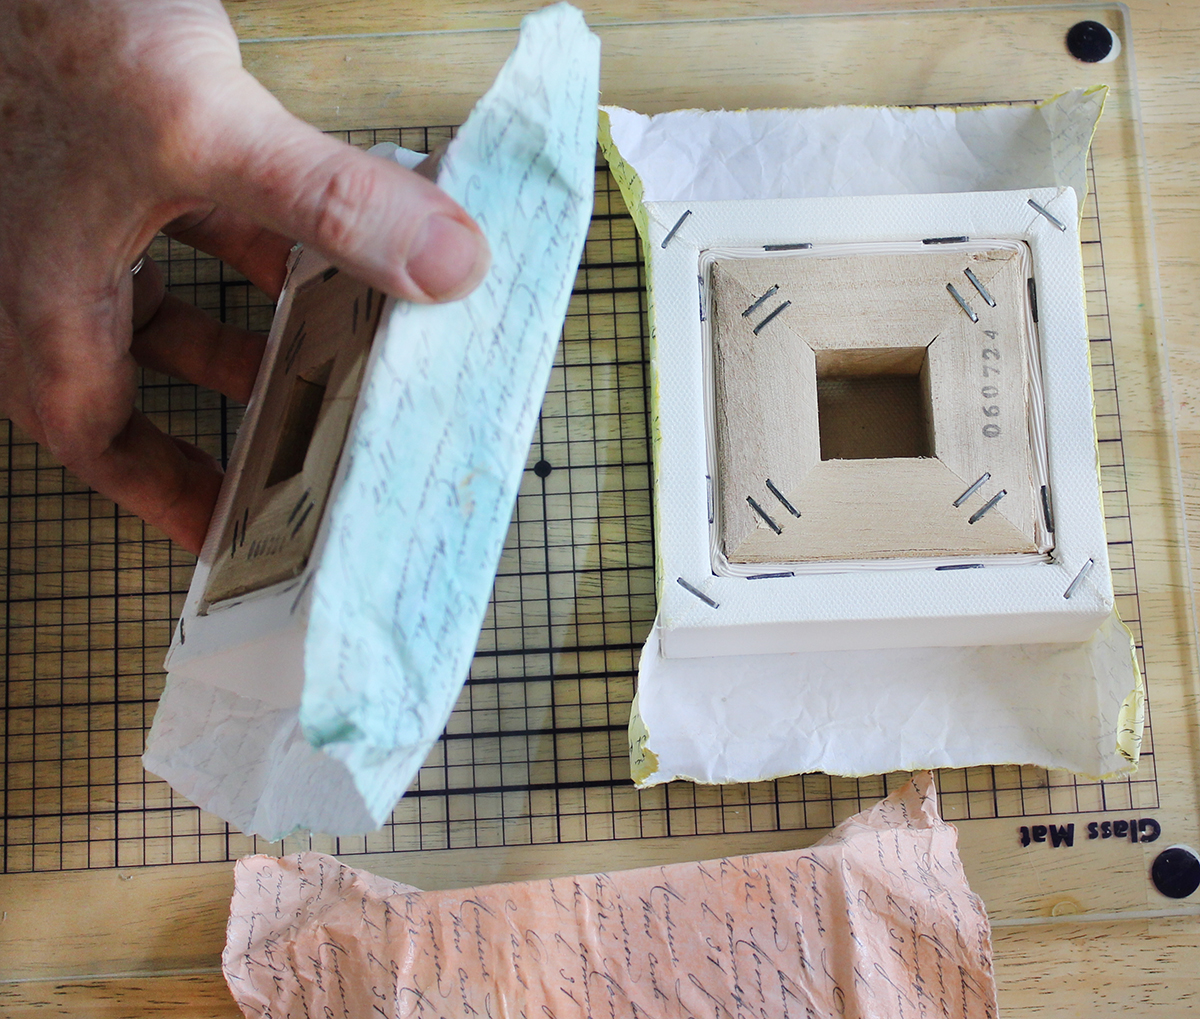
Step 15: Gluing the sides takes time. Be patient. Fold opposing edges down and crease gently. It can tear if too wet, so be careful. Spread gel medium on one side of the canvas with your fingers. Fold and press the edge of the image in place. Do not put gel on the outside. Repeat on the opposite side. Let dry while elevated off the surface. I used an old paintbrush and scissors under mine.
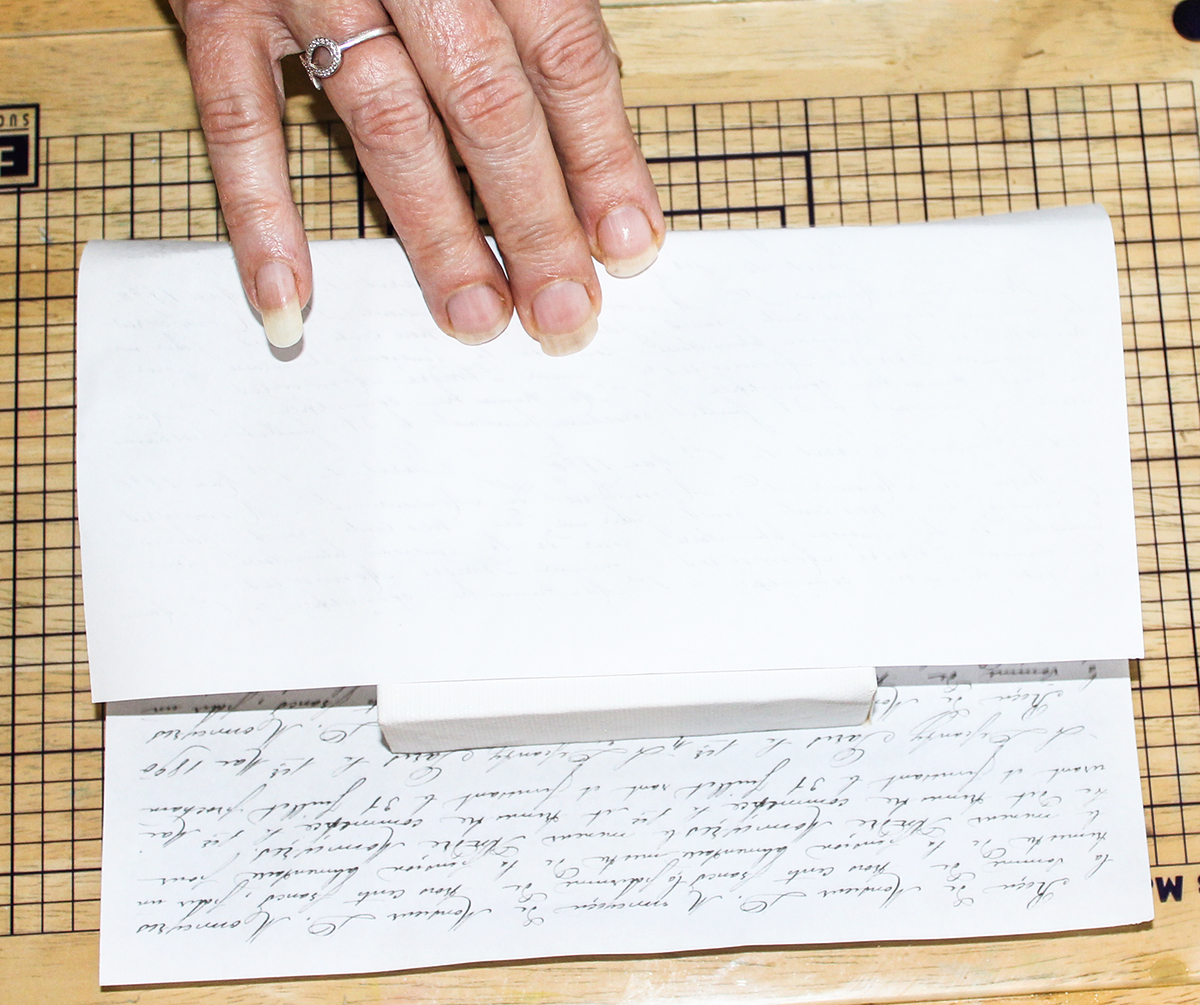
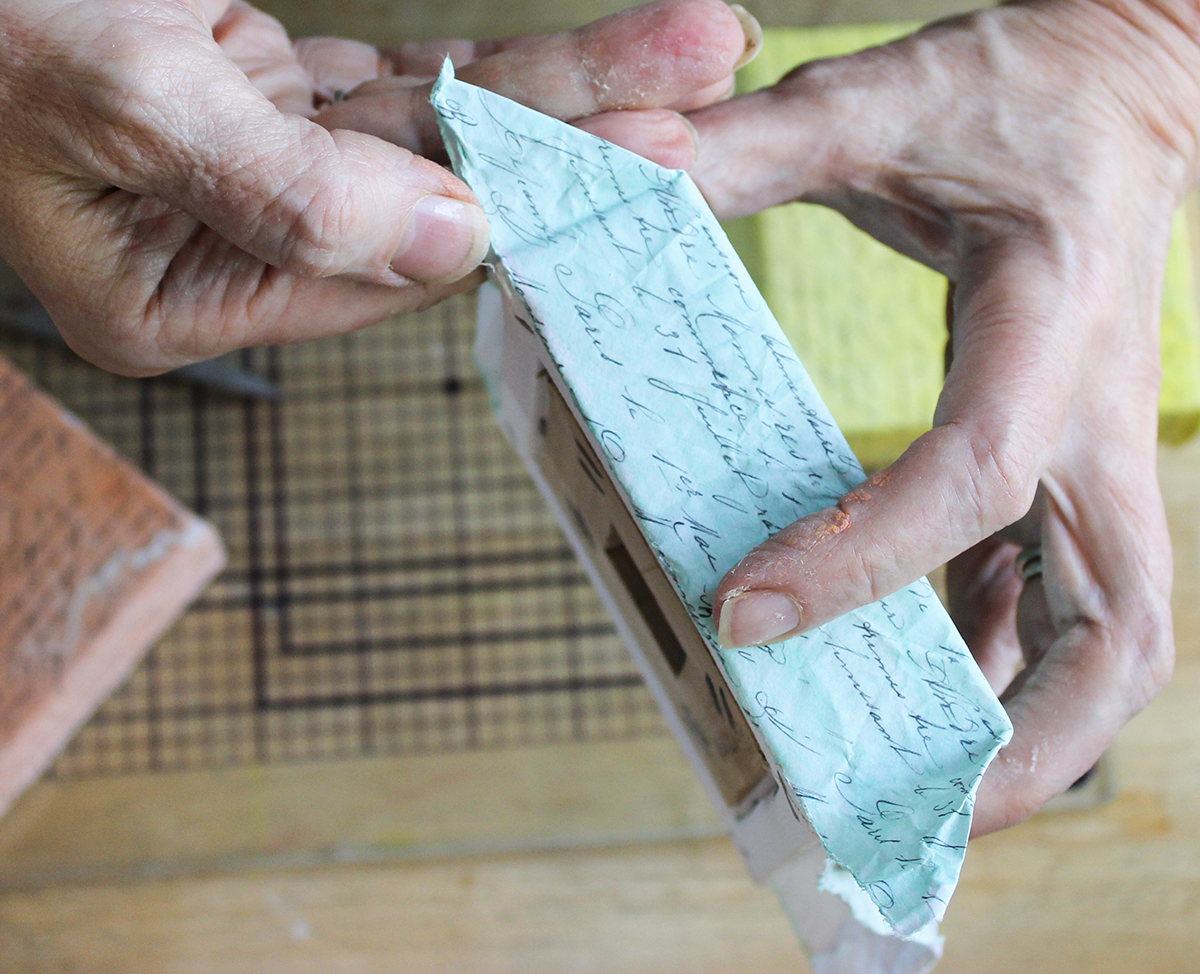
Step 16: The other two sides are fussy business and we must trim the corners in a mitered fashion. Do them one at a time and allow to dry each time. Trust me!! Fold one side down over the canvas. Bring the edge where the glued side meets the unglued together to form a triangle as in photo below.
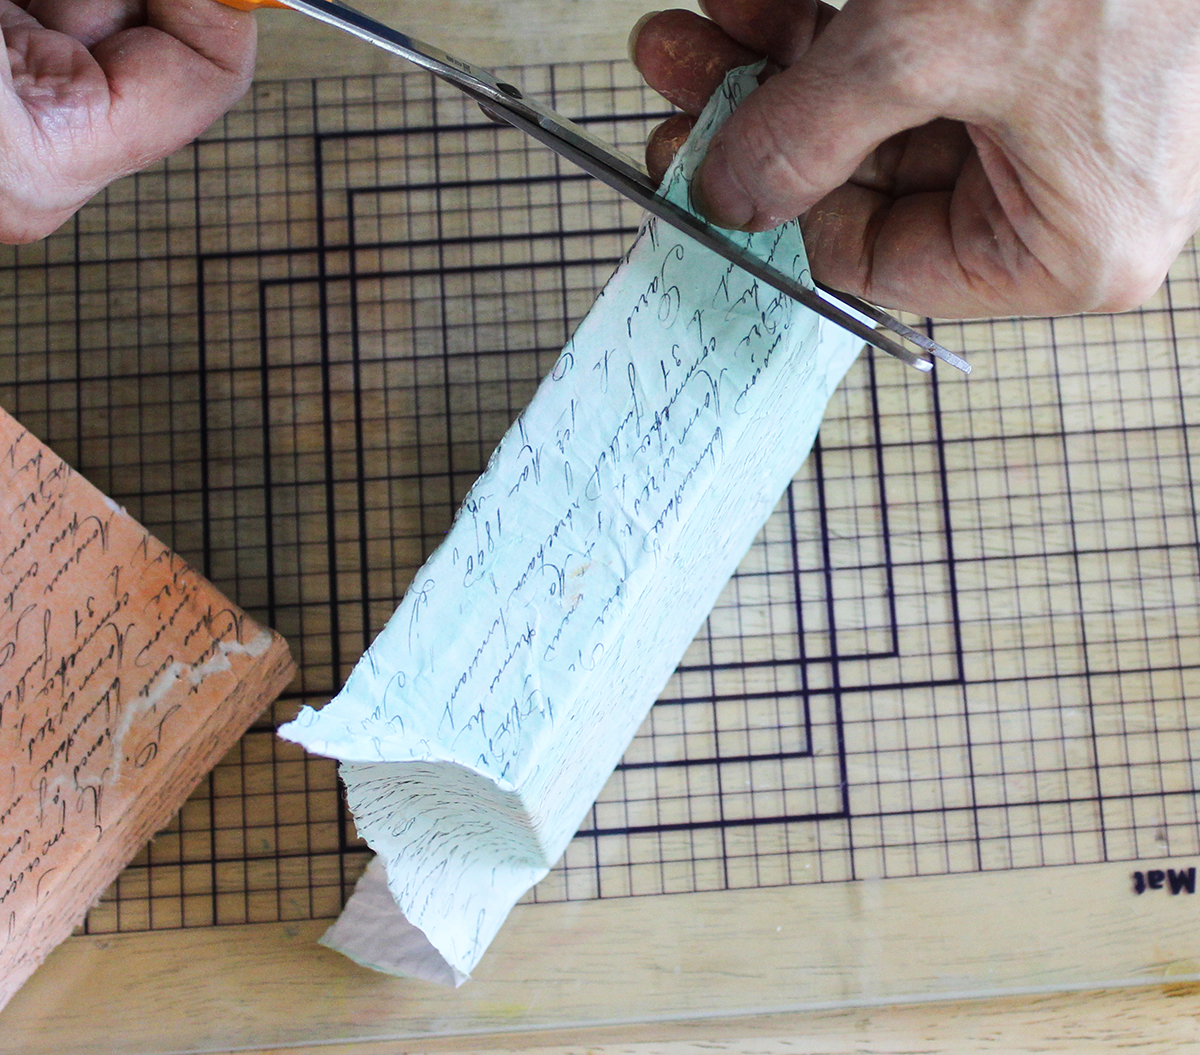
Trim the triangle off with scissors as close to the corner as possible as in the photos below.
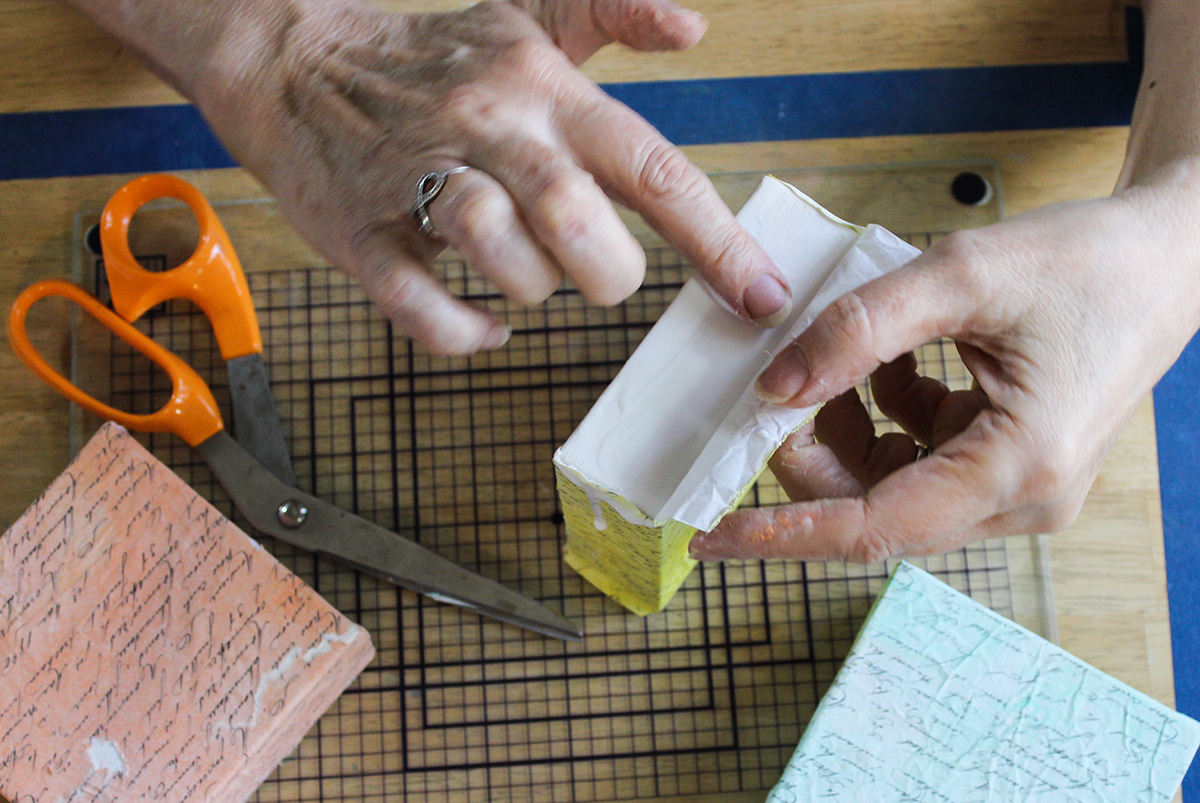
Then adhere with gel medium folding any excess corner paper over to get a smooth edge. I do this part with my finger. Let dry and repeat on last side.
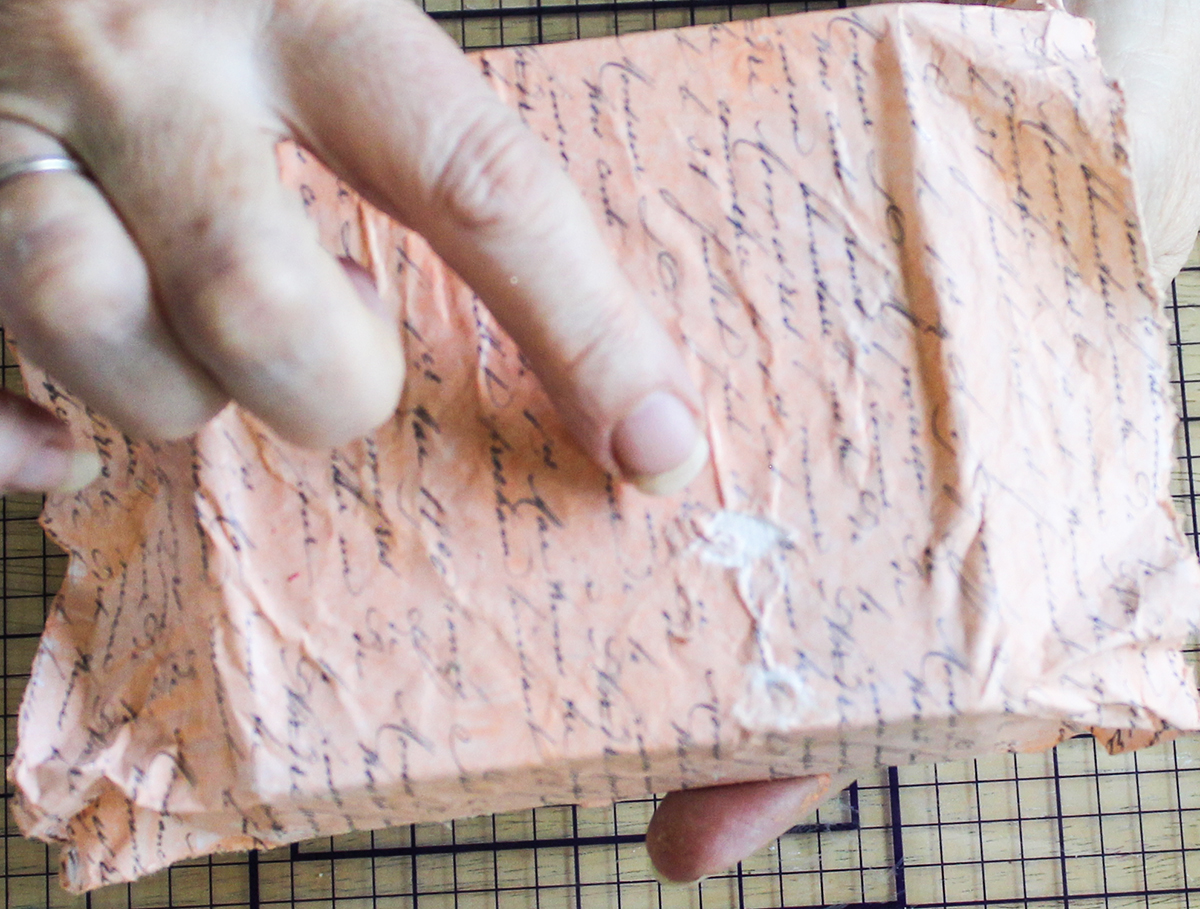
Step 17: OOPS!!! As you can see, I had some issues with the salmon paper. RUSHING IT! It tore in a few spots. Once dry, I tapped a little of the salmon watercolor into the voids. It looks fine and gives some added texture, RIGHT?
Step 18: Once dry and attached, spread a thin layer of gel medium over the entire surface and let dry.
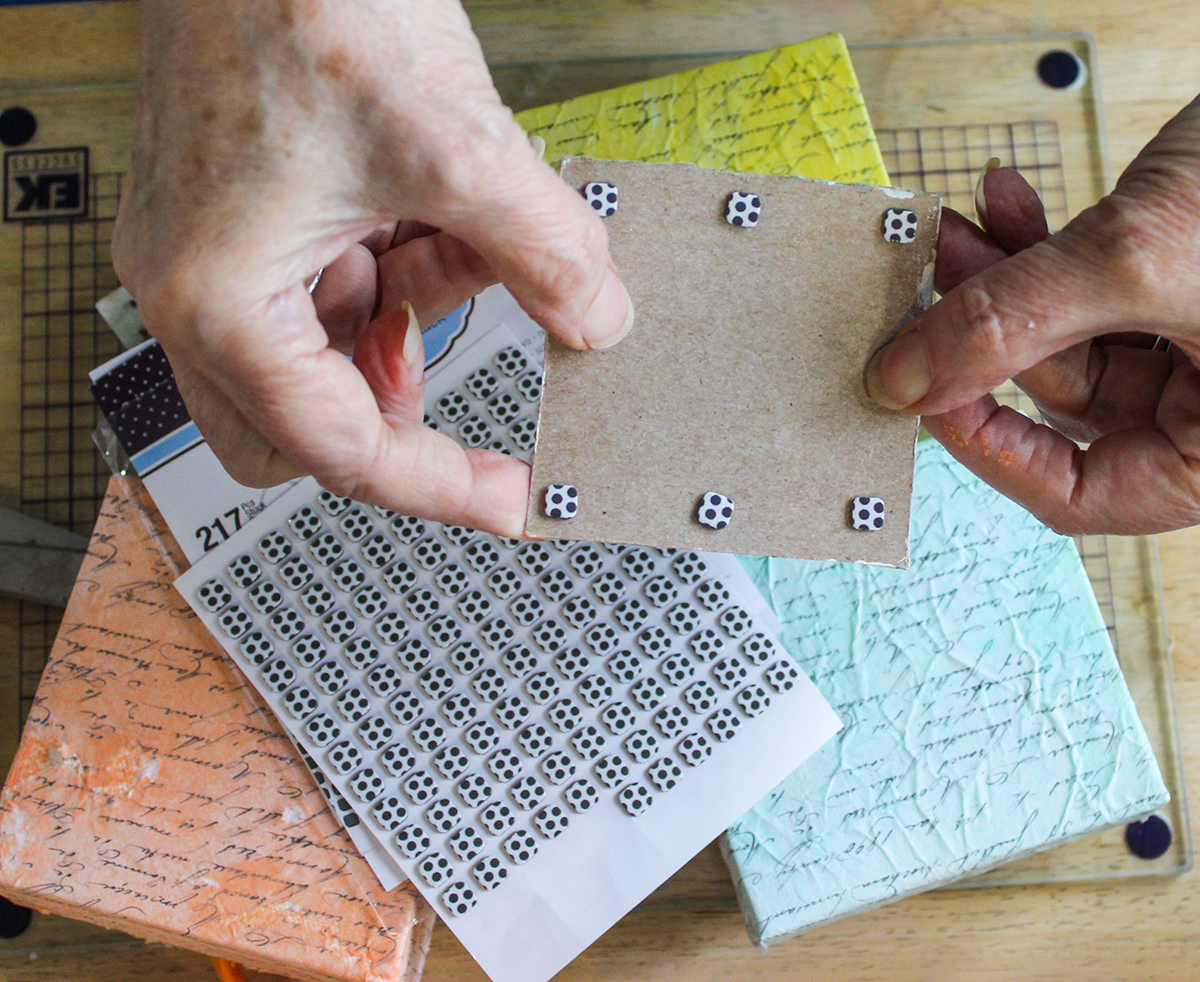
Step 19: Attach 8 tiny foam glue squares around the edges of the art images. I want it to be elevated off the surface to give some depth. Attach to the handwriting covered canvas.
After the handwritten canvas is dry, attach the tiles to the canvas, centering them. I love these tiny artworks.
There are a lot of steps, but it does not really take that much time to create once you get going. I hope you loved playing with these images in this French Spring Mixed Media Tiles Tutorial!
I also teach Photoshop Elements tutorials over on The Graphics Fairy Premium Membership site. I did a few little digital paintings of the images while I was waiting for things to dry. I love using digital and standard art techniques in my work. I am known for these photographic artworks.
You can find even more of my art, DIYs, and whimsical shenanigans on Cre8tive Compass Magazine, Cre8tiva (just launched), and loads of my digital art on Instagram.
May joy be with you all,


Martha says
Thanks for the tutorial. This looks like fun!
Rebecca E. Parsons says
Thank you Hilda. That made my day!! 🙂
Rebecca E. Parsons says
I hope it is fun for you Martha!!
hilda foley says
You are blessed with so much talent and ingenuity!!
thank you,
hilda
graphicsfairy says
Thank you Hilda, you are so sweet 🙂
Rebecca E. Parsons says
Thank you Hilda. That made my day!! 🙂
Rebecca E. Parsons says
Oh Sandi…I can’t wait to see what you create!!! Have bunches of fun!!
Daphne says
Great tutorial and so versatile! Thanks!
Daphne says
Ooops! The first two image links in the tutorial go to the same picture. I found the Spring Flower girl, but you might want to update the link. Thanks again!
graphicsfairy says
Thanks for letting us know Daphne, we are on it!!
graphicsfairy says
Thanks so much Daphne 🙂
María says
Es u trabajo muy bonito. Gracias por compartirlo. Saludos.
graphicsfairy says
muchas gracias Maria 🙂
Sandi says
I love these and can’t wait to try it
graphicsfairy says
Great, have fun Sandi 🙂