Mother’s Day Project
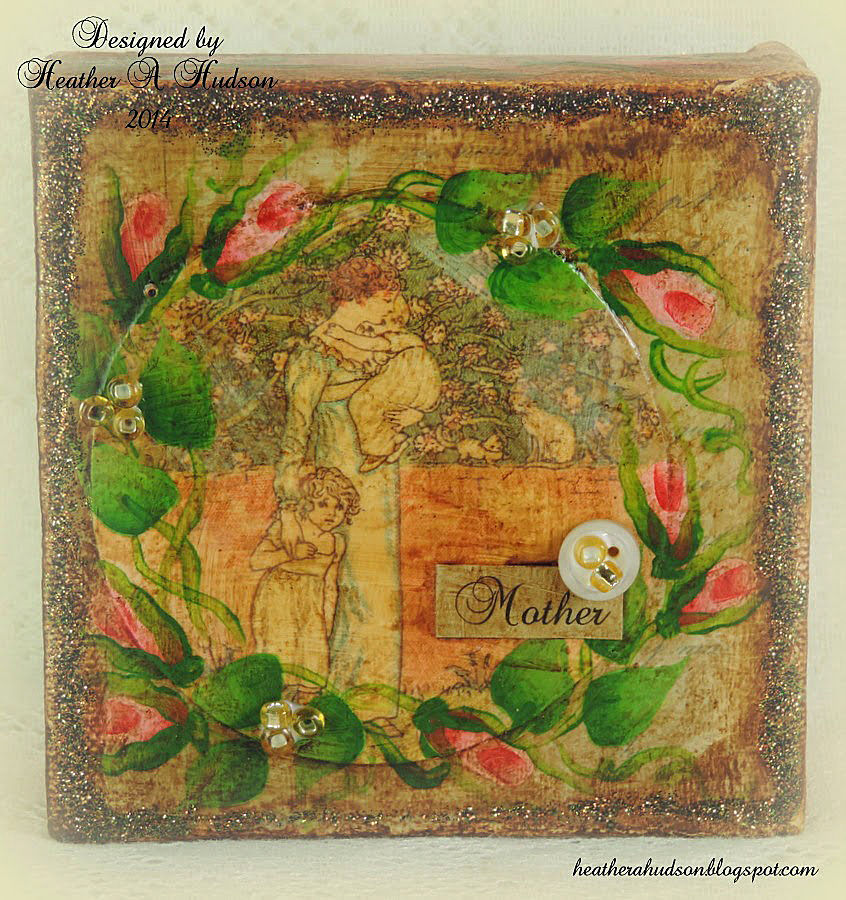
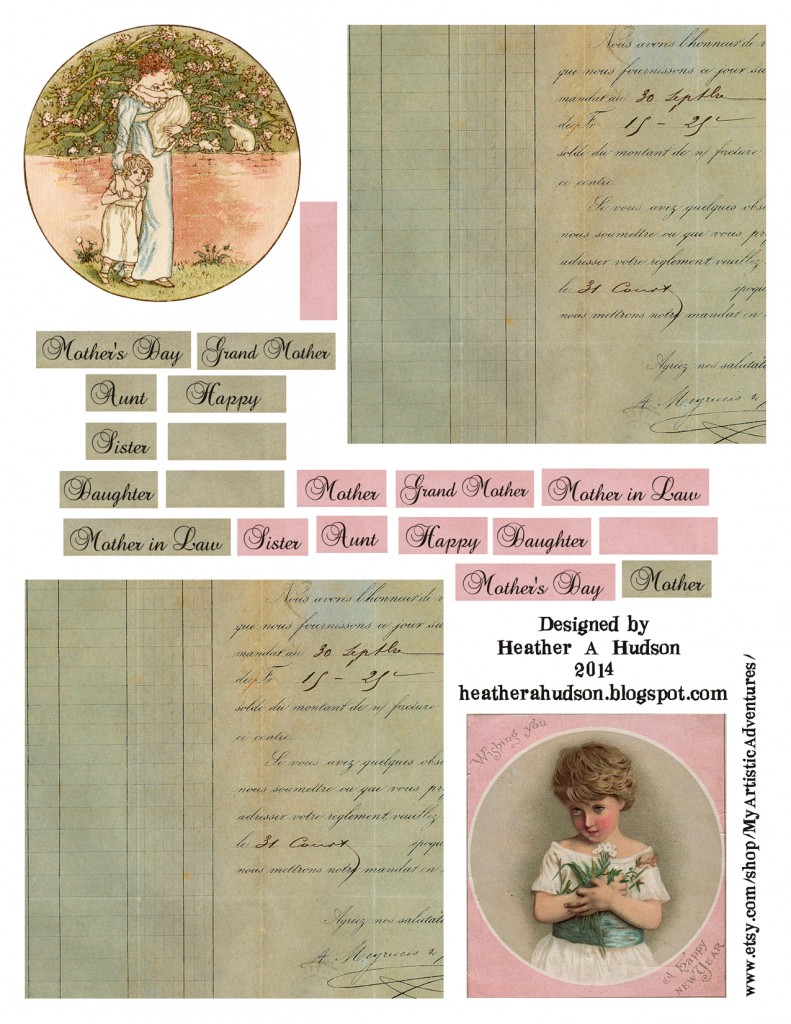
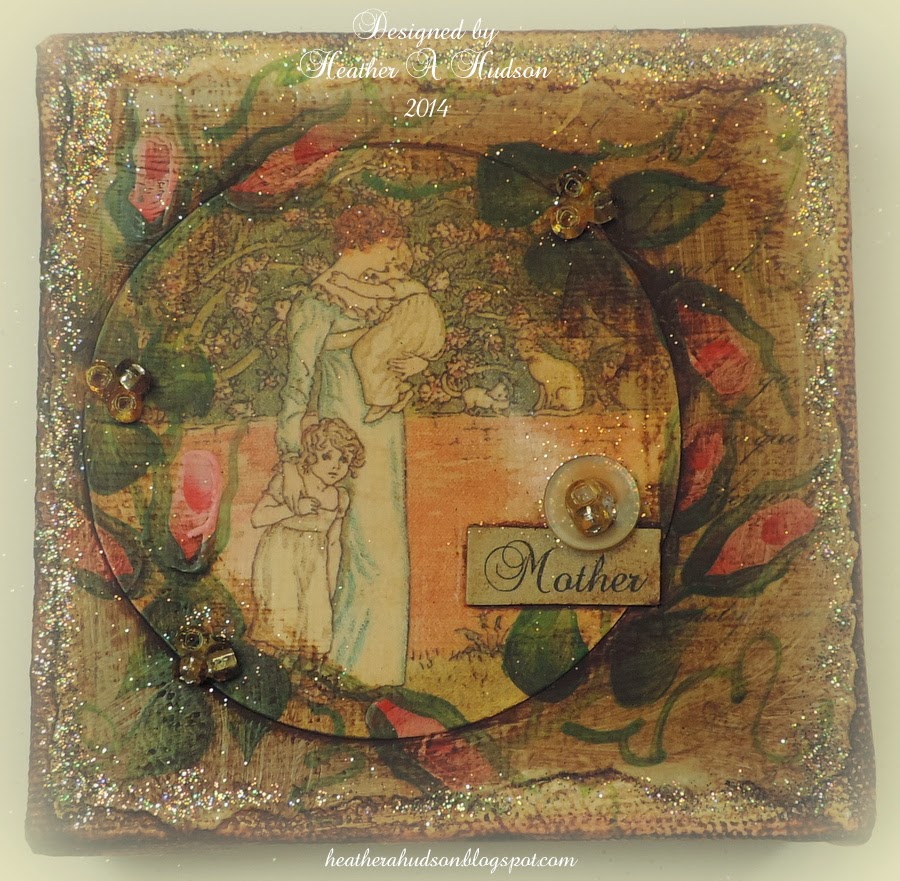
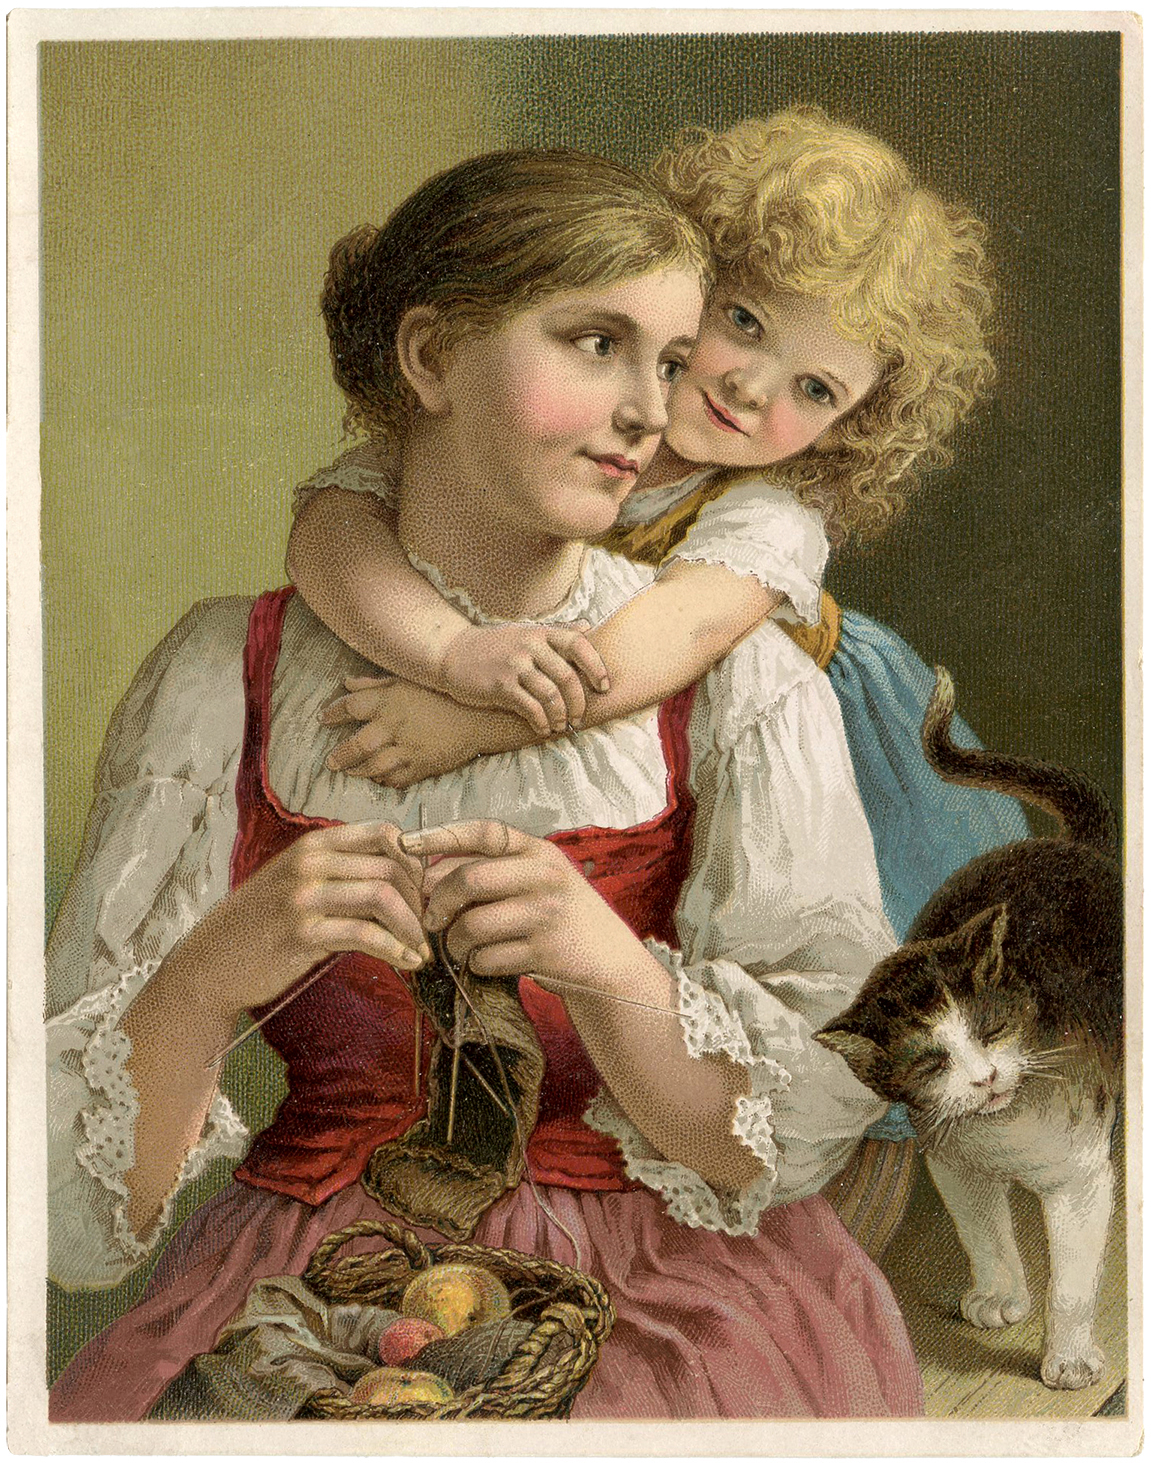
Today I would like to share with you a wonderful Mother’s day Canvas by Heather A Hudson, created using some images found here at the Graphics Fairy! Heather used the Vintage Mother’s Day Illustration, the Victorian Clip art Beautiful Child, and Amazing French Ephemera to create the collage sheet below. Heather created a full tutorial for this project, that compliments the Handmade Mother’s Day Card Tutorial that she created last week, using the same Printable Collage Sheet. You can see Heather’s Mother’s Day Card tutorial HERE.
Finished Piece
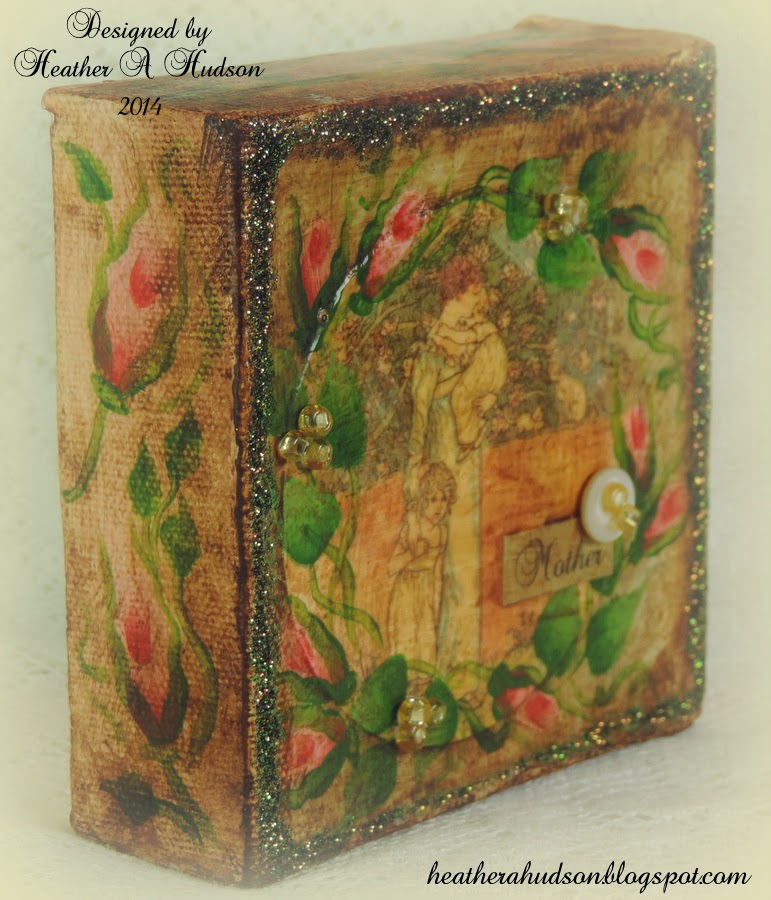
Side View
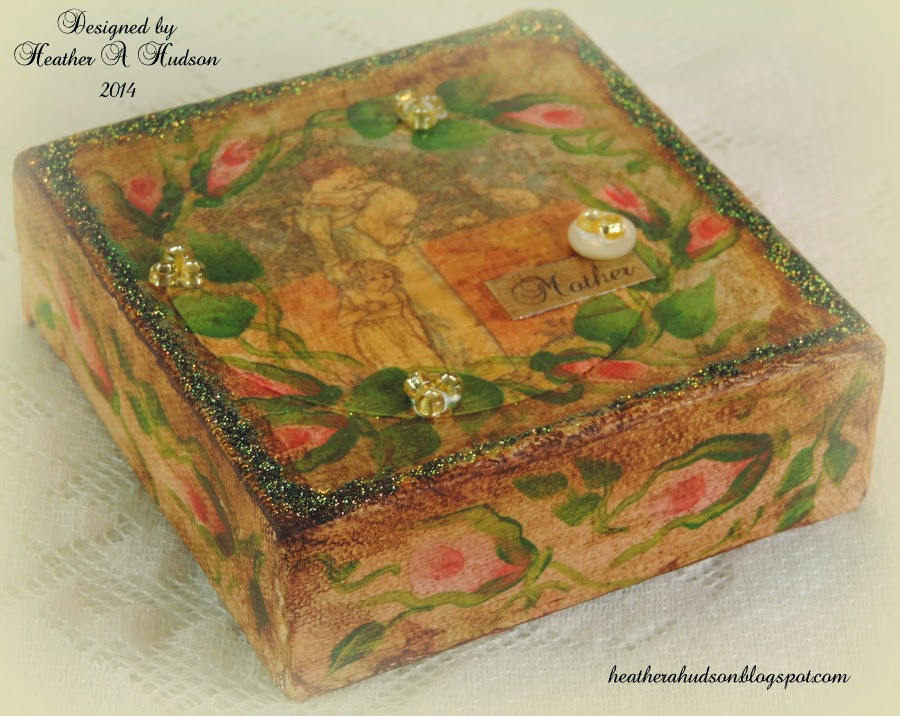
Alternate View
Supplies:
Folk Art Paints (Classic Green, Baby Pink, Lipstick, Vintage White, Old Ivy and Burnt Umber)
Old paint brush
large 3/4 inch brush
#8 flat brush
Script liner brush
Antique Matte Mod Podge
4 by 4 Gallery wrapped canvas
paper plate & paper towels
Dries Clear glue
seed beads
vintage button
glitter
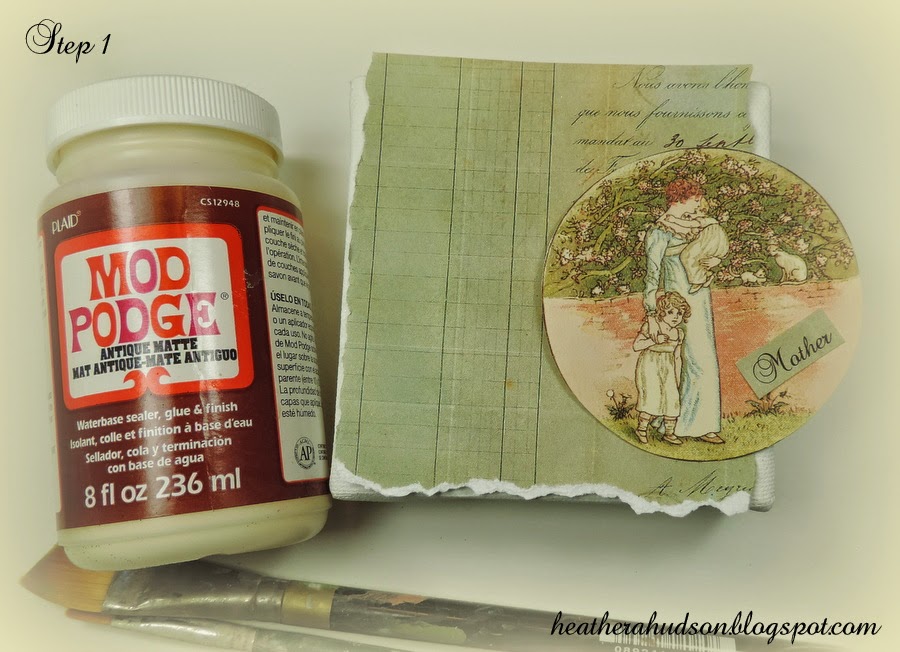
Step 1) Cut out images from the collage sheet. Tear the background paper so that it is a bit smaller than the canvas.
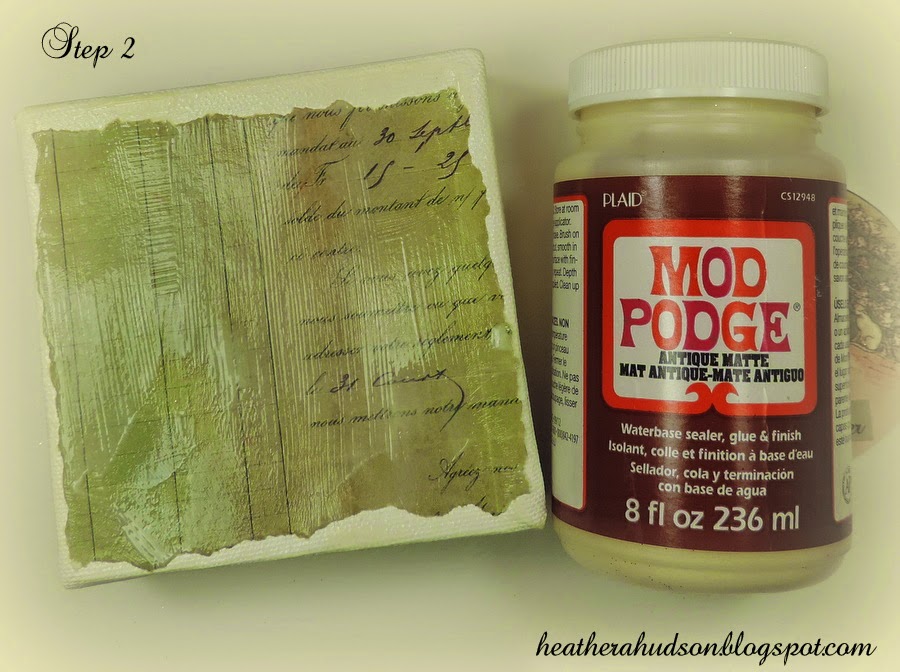
Step 2) Antique Matte Modge Podge was applied to the canvas, while wet the background image was added, then covered with more Mod Podge. Let this dry.
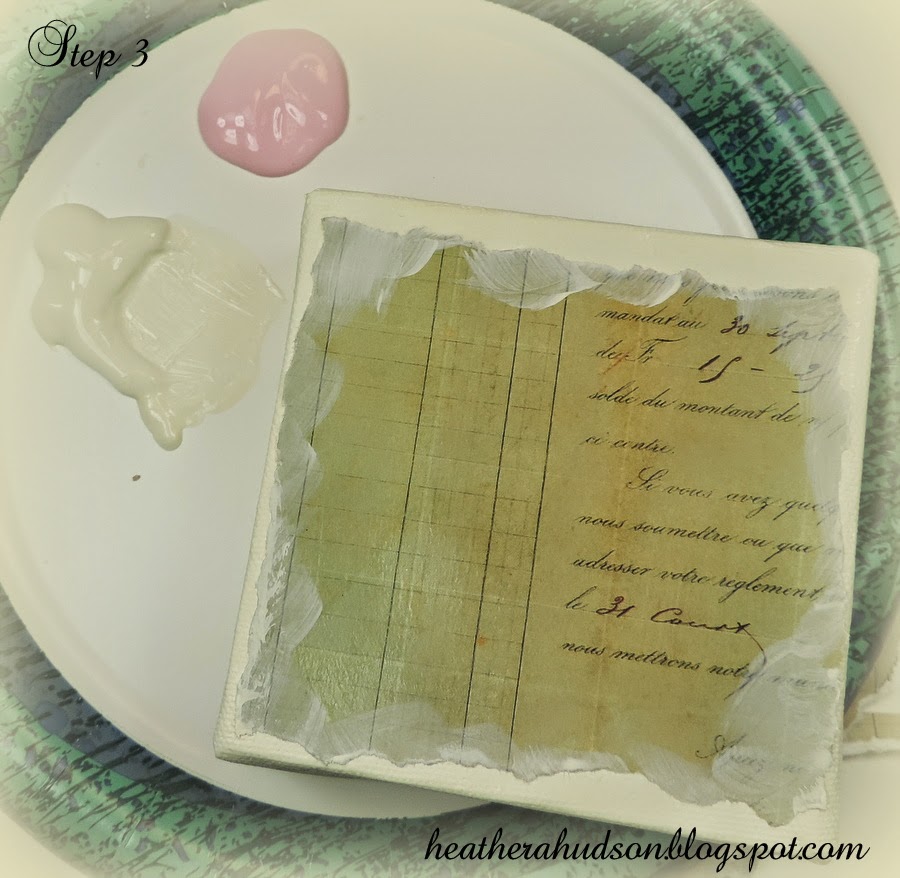
Step 3) Paint the sides and the edges around the background image with the Vintage White paint. Please refer to photo.
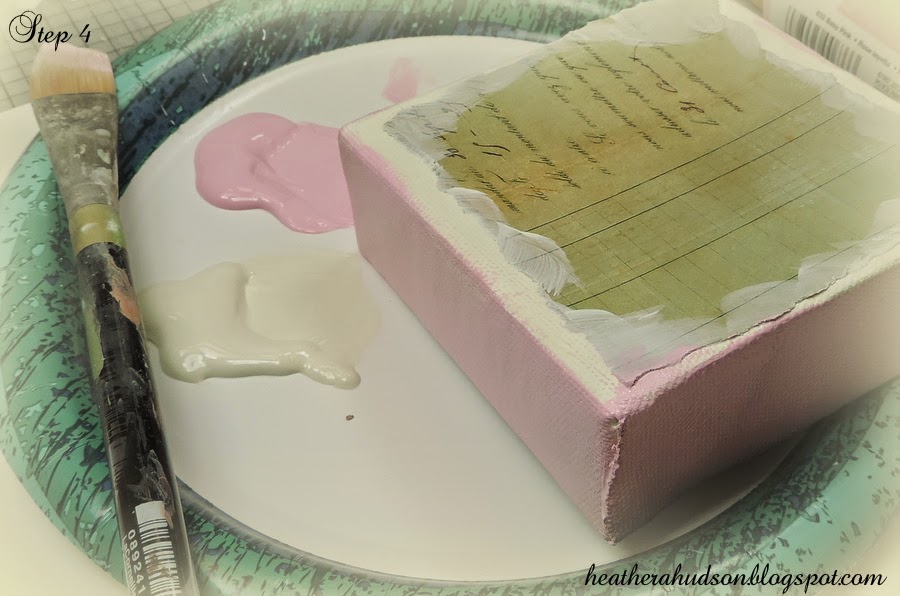
Step 4) Paint the sides with Baby Pink paint.
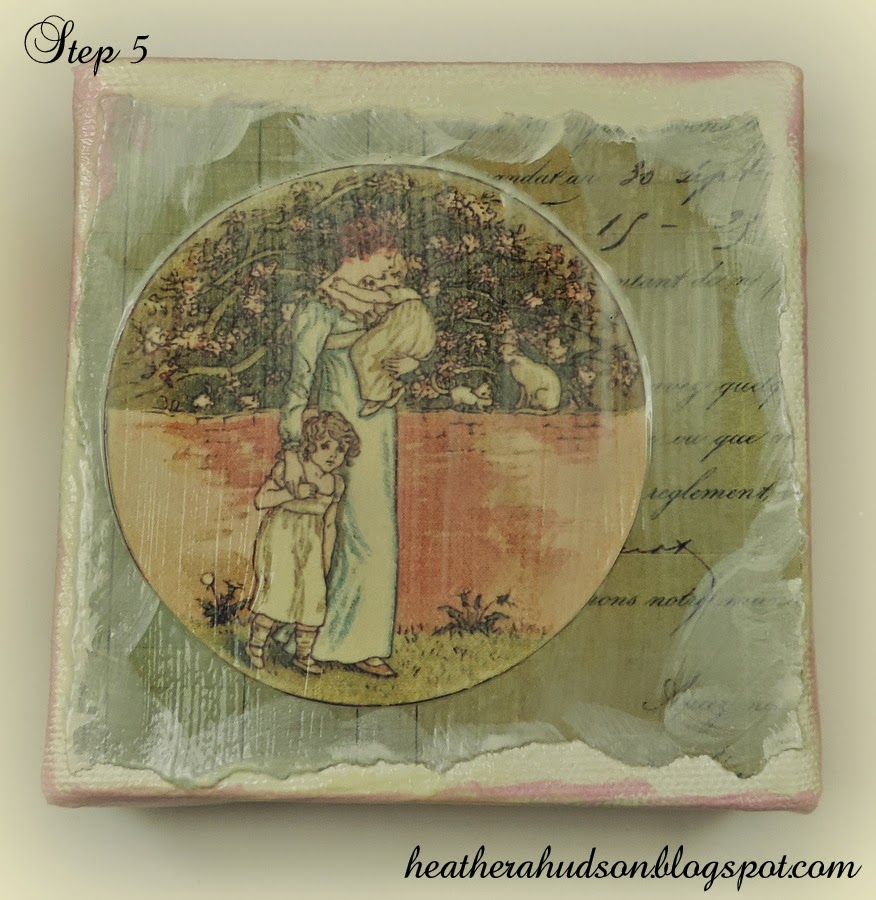
Step 5) Once the paint has dried, then apply another coat of Mod Podge to the whole canvas (we will be painting on the rose buds, and if you goof, it is easier to wipe off).
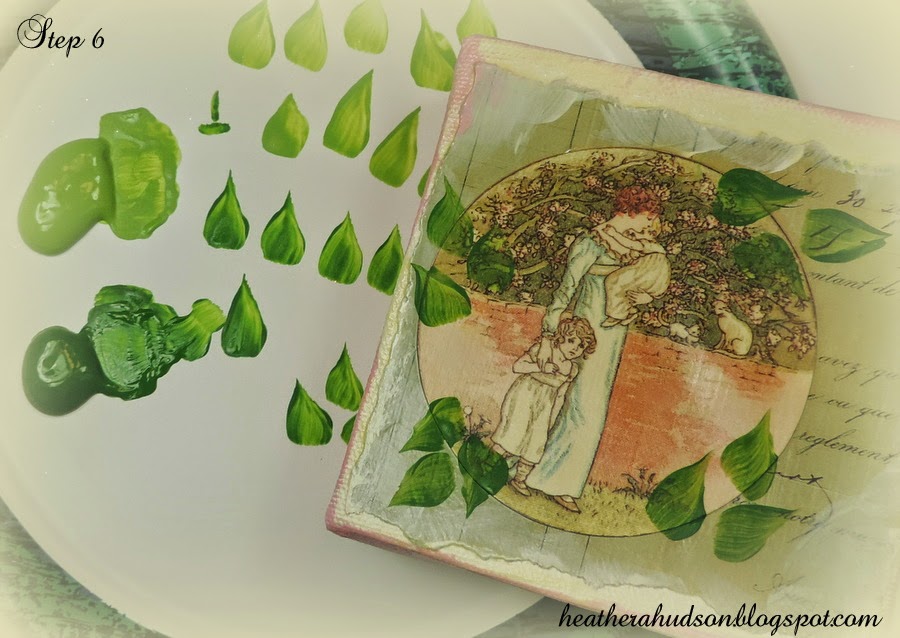
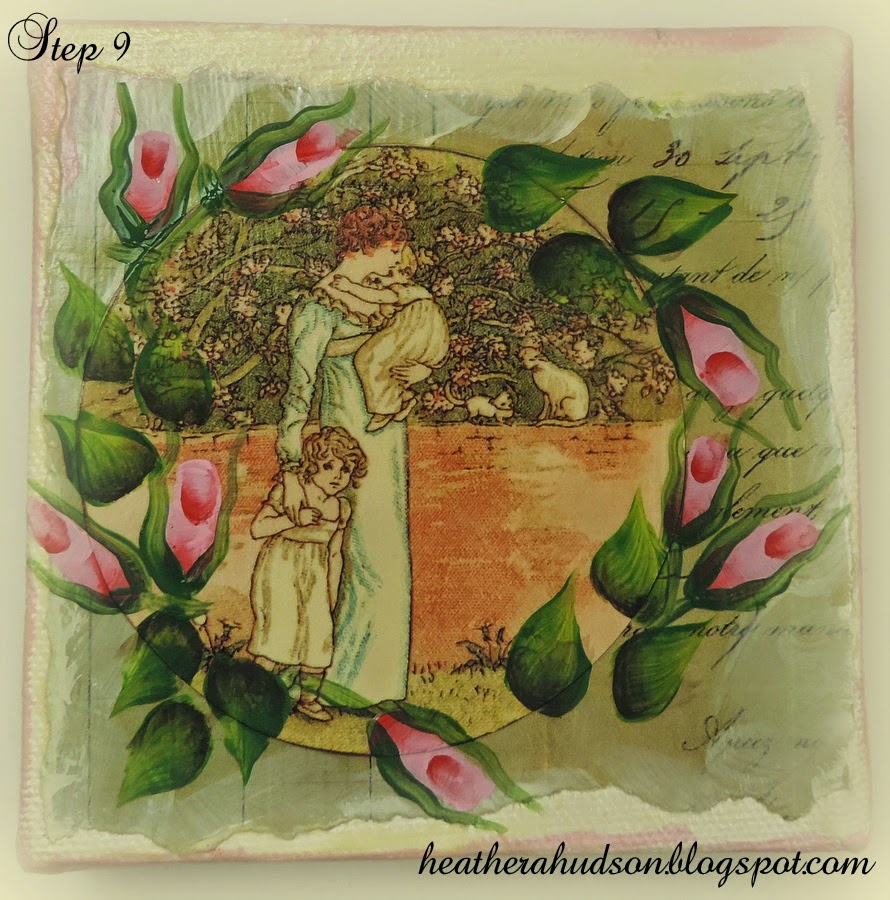
Step 6) Using your flat brush and the Classic Green paint, apply leaves to your canvas. If you have never painted leaves, that is okay because Heather has done a YouTube tutorial on this canvas which we have a link to at the end of this post.
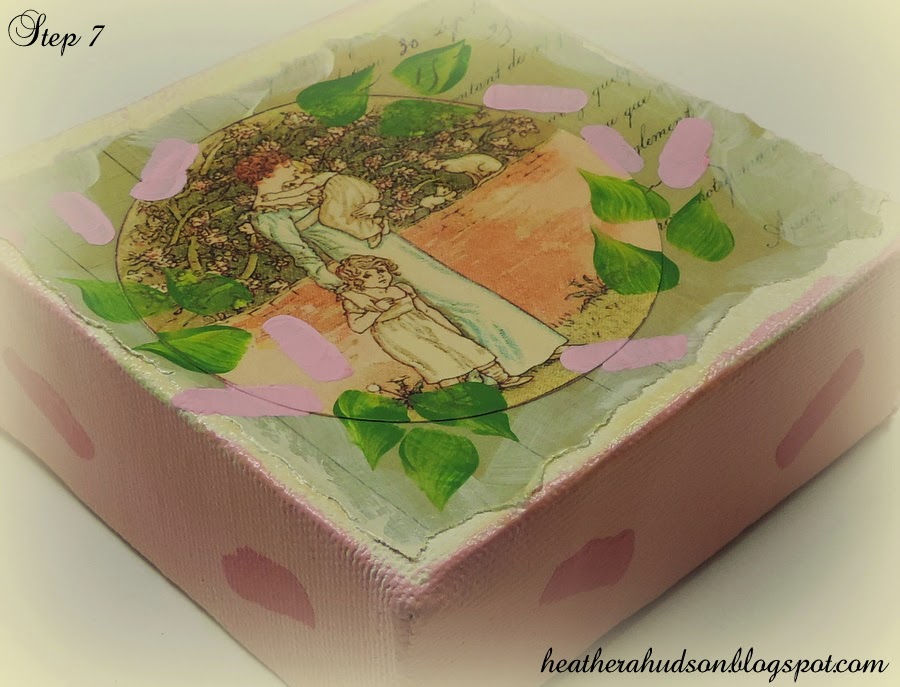
Step 7) Once the leaves are dry, add the rose buds using your #8 flat brush and Baby Pink paint. For the rose buds on the side, use a brush mix of Lipstick Red & Baby Pink. This way the rose buds on the side will stand apart from the pink background.
Heather shows how to do this in her video as well.
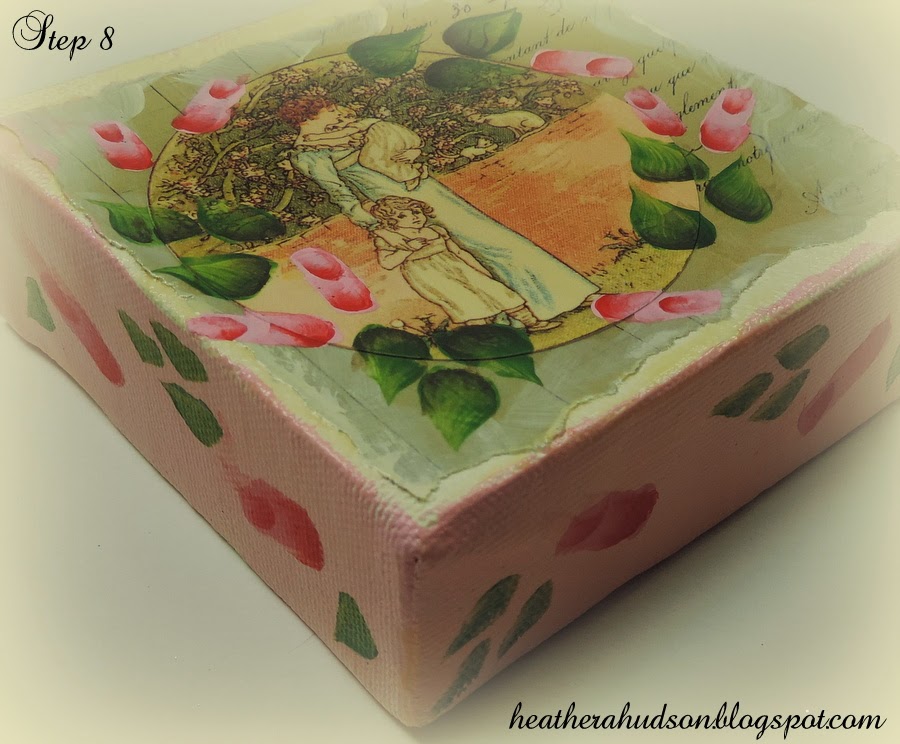
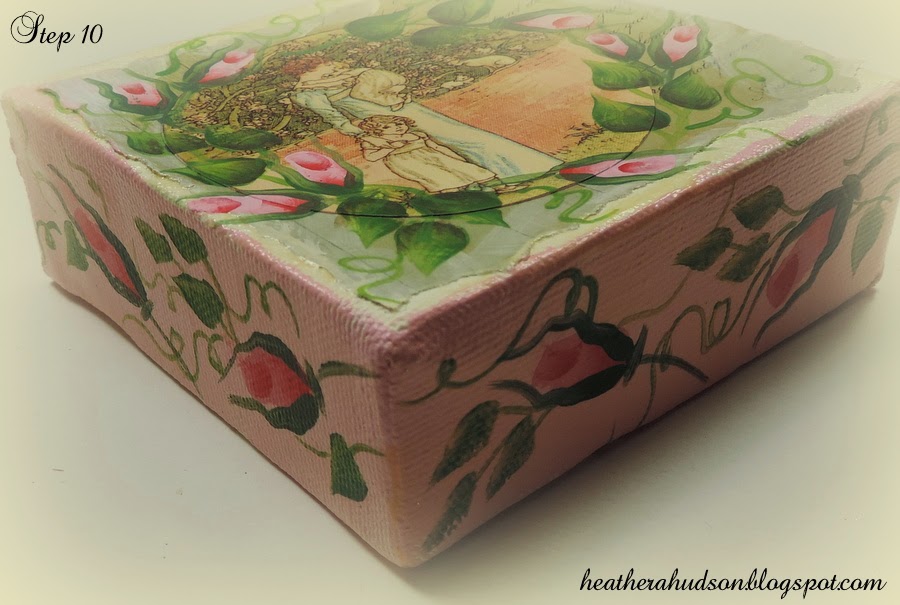
Step 8) Leaves are added to the sides of the canvas. Shading is added to the leaves using Old Ivy. The rose buds are shaded with Lipstick Red.
Step 9) Greenery is added to the rosebuds and leaves. No worries this is all covered in Heather’s Video. Let dry.
Step 10) Add greenery to the sides too. Let dry.
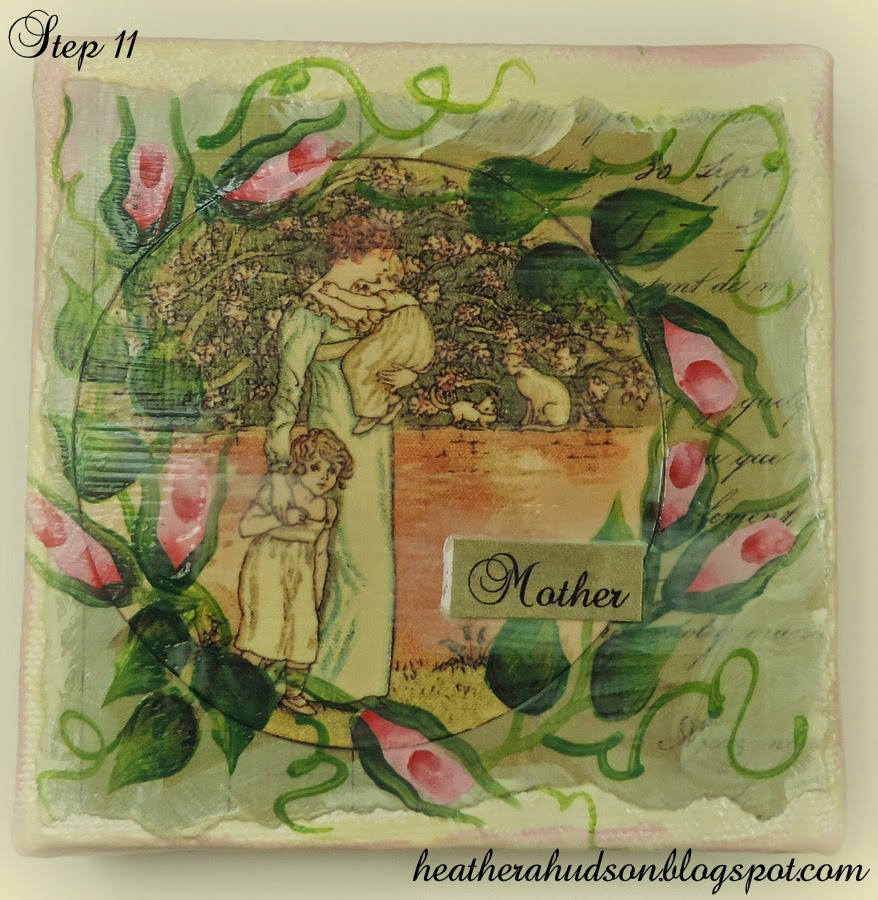
Step 11) Once all paint is dry, add Mod Podge to the back of sentiment, then place sentiment on canvas and cover the whole piece with Mod Podge. Let dry.
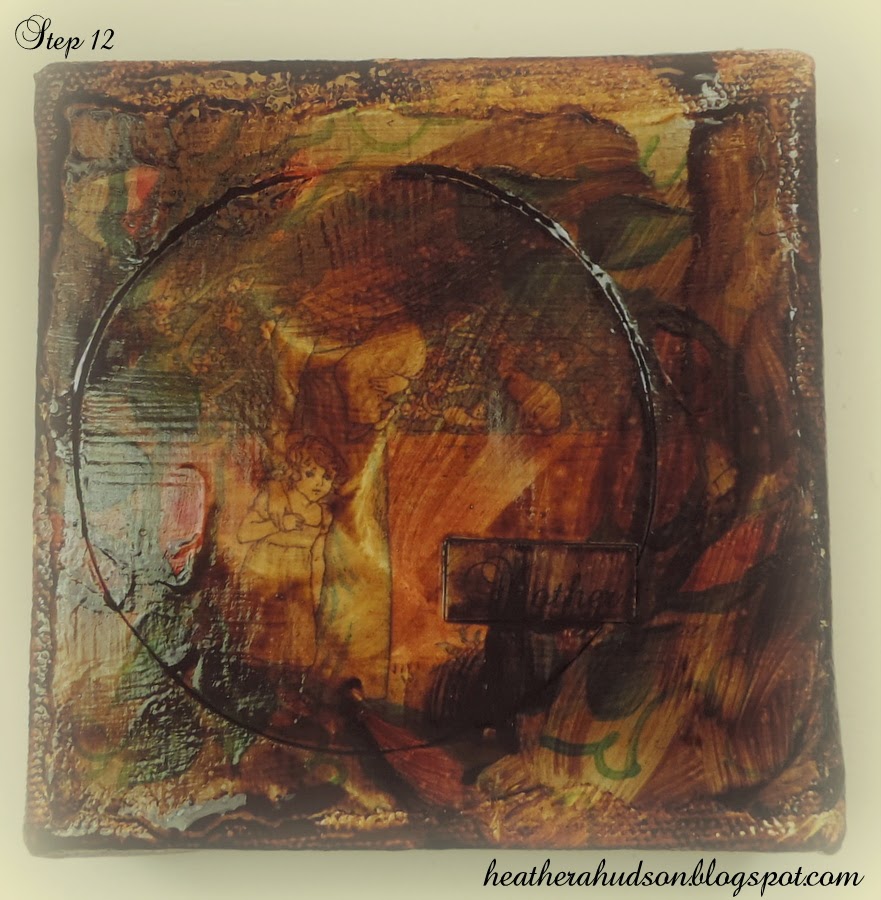
Step 12) Once the Mod Podge has dried, Using the large brush apply a generous amount of Burnt Umber paint (watered down a bit) to your canvas front. Let it sit for a couple moments, then wipe off with a dry paper towel. If it is darker than you wish, wipe down with a wet paper towel and start over.
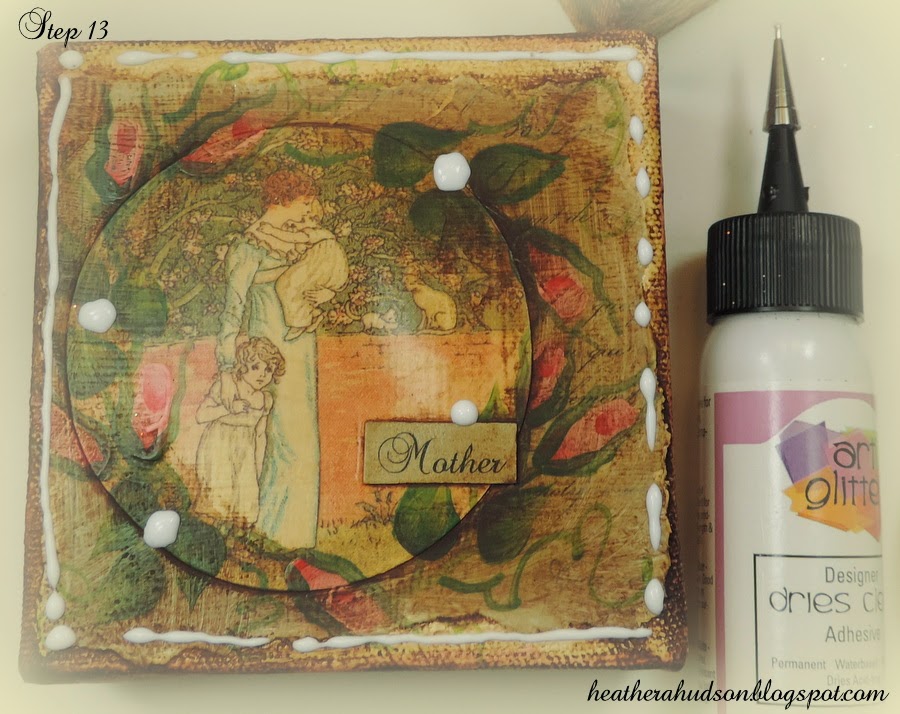
Step 13) Next apply some puddles of dry clear glue to the areas between the leaf cluster, and a puddle at the top of the sentiment. Apply glue around the front edge of piece as well.
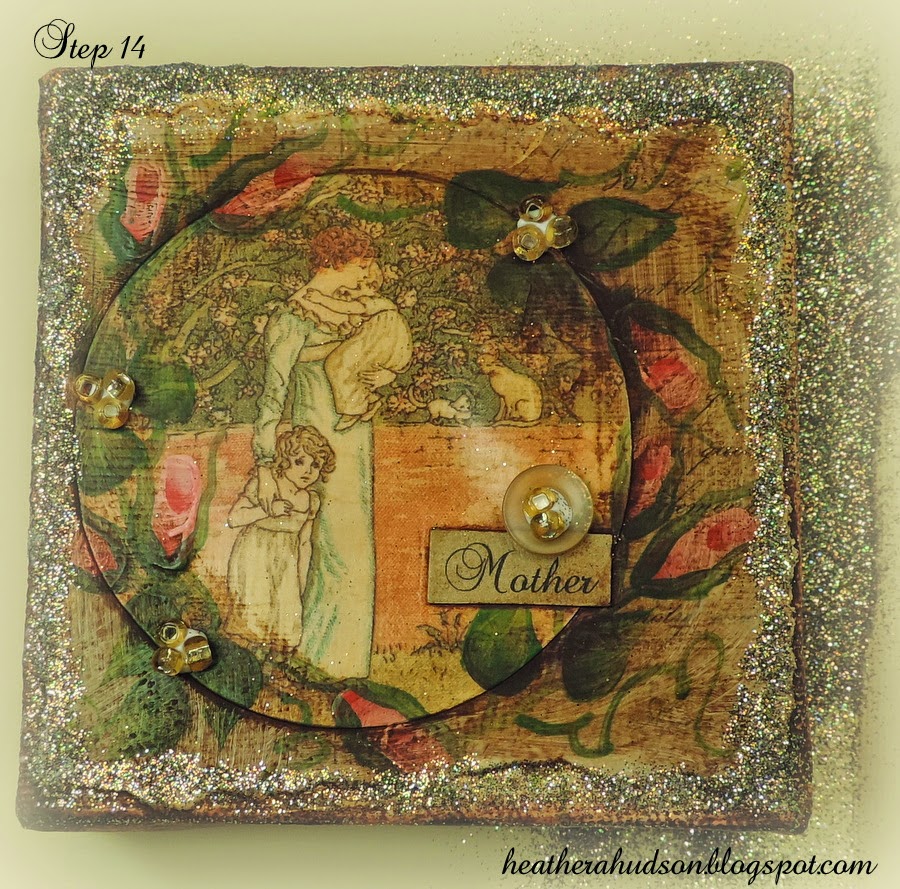
Step 14) Place 2-3 seed beads in the puddles of glue in the leaf clusters. Add the vintage button to the top of the text box, add more glue to the center of the button and add two seed beads. Use an old brush to spread the glue that is left around the edges so that you don’t have a straight line of glue. Apply glitter. Let dry. Once the glue has dried, brush off any excess glitter and you are finished!!
You can find the Video Tutorial HERE. Feel free to visit Heather’s Blog HERE, and be sure to check out her Etsy Shop too!
Thanks so much for sharing this wonderful Tutorial with all of us Heather!! *************************************************************************************************************************
