Paper Bag Flower Cards
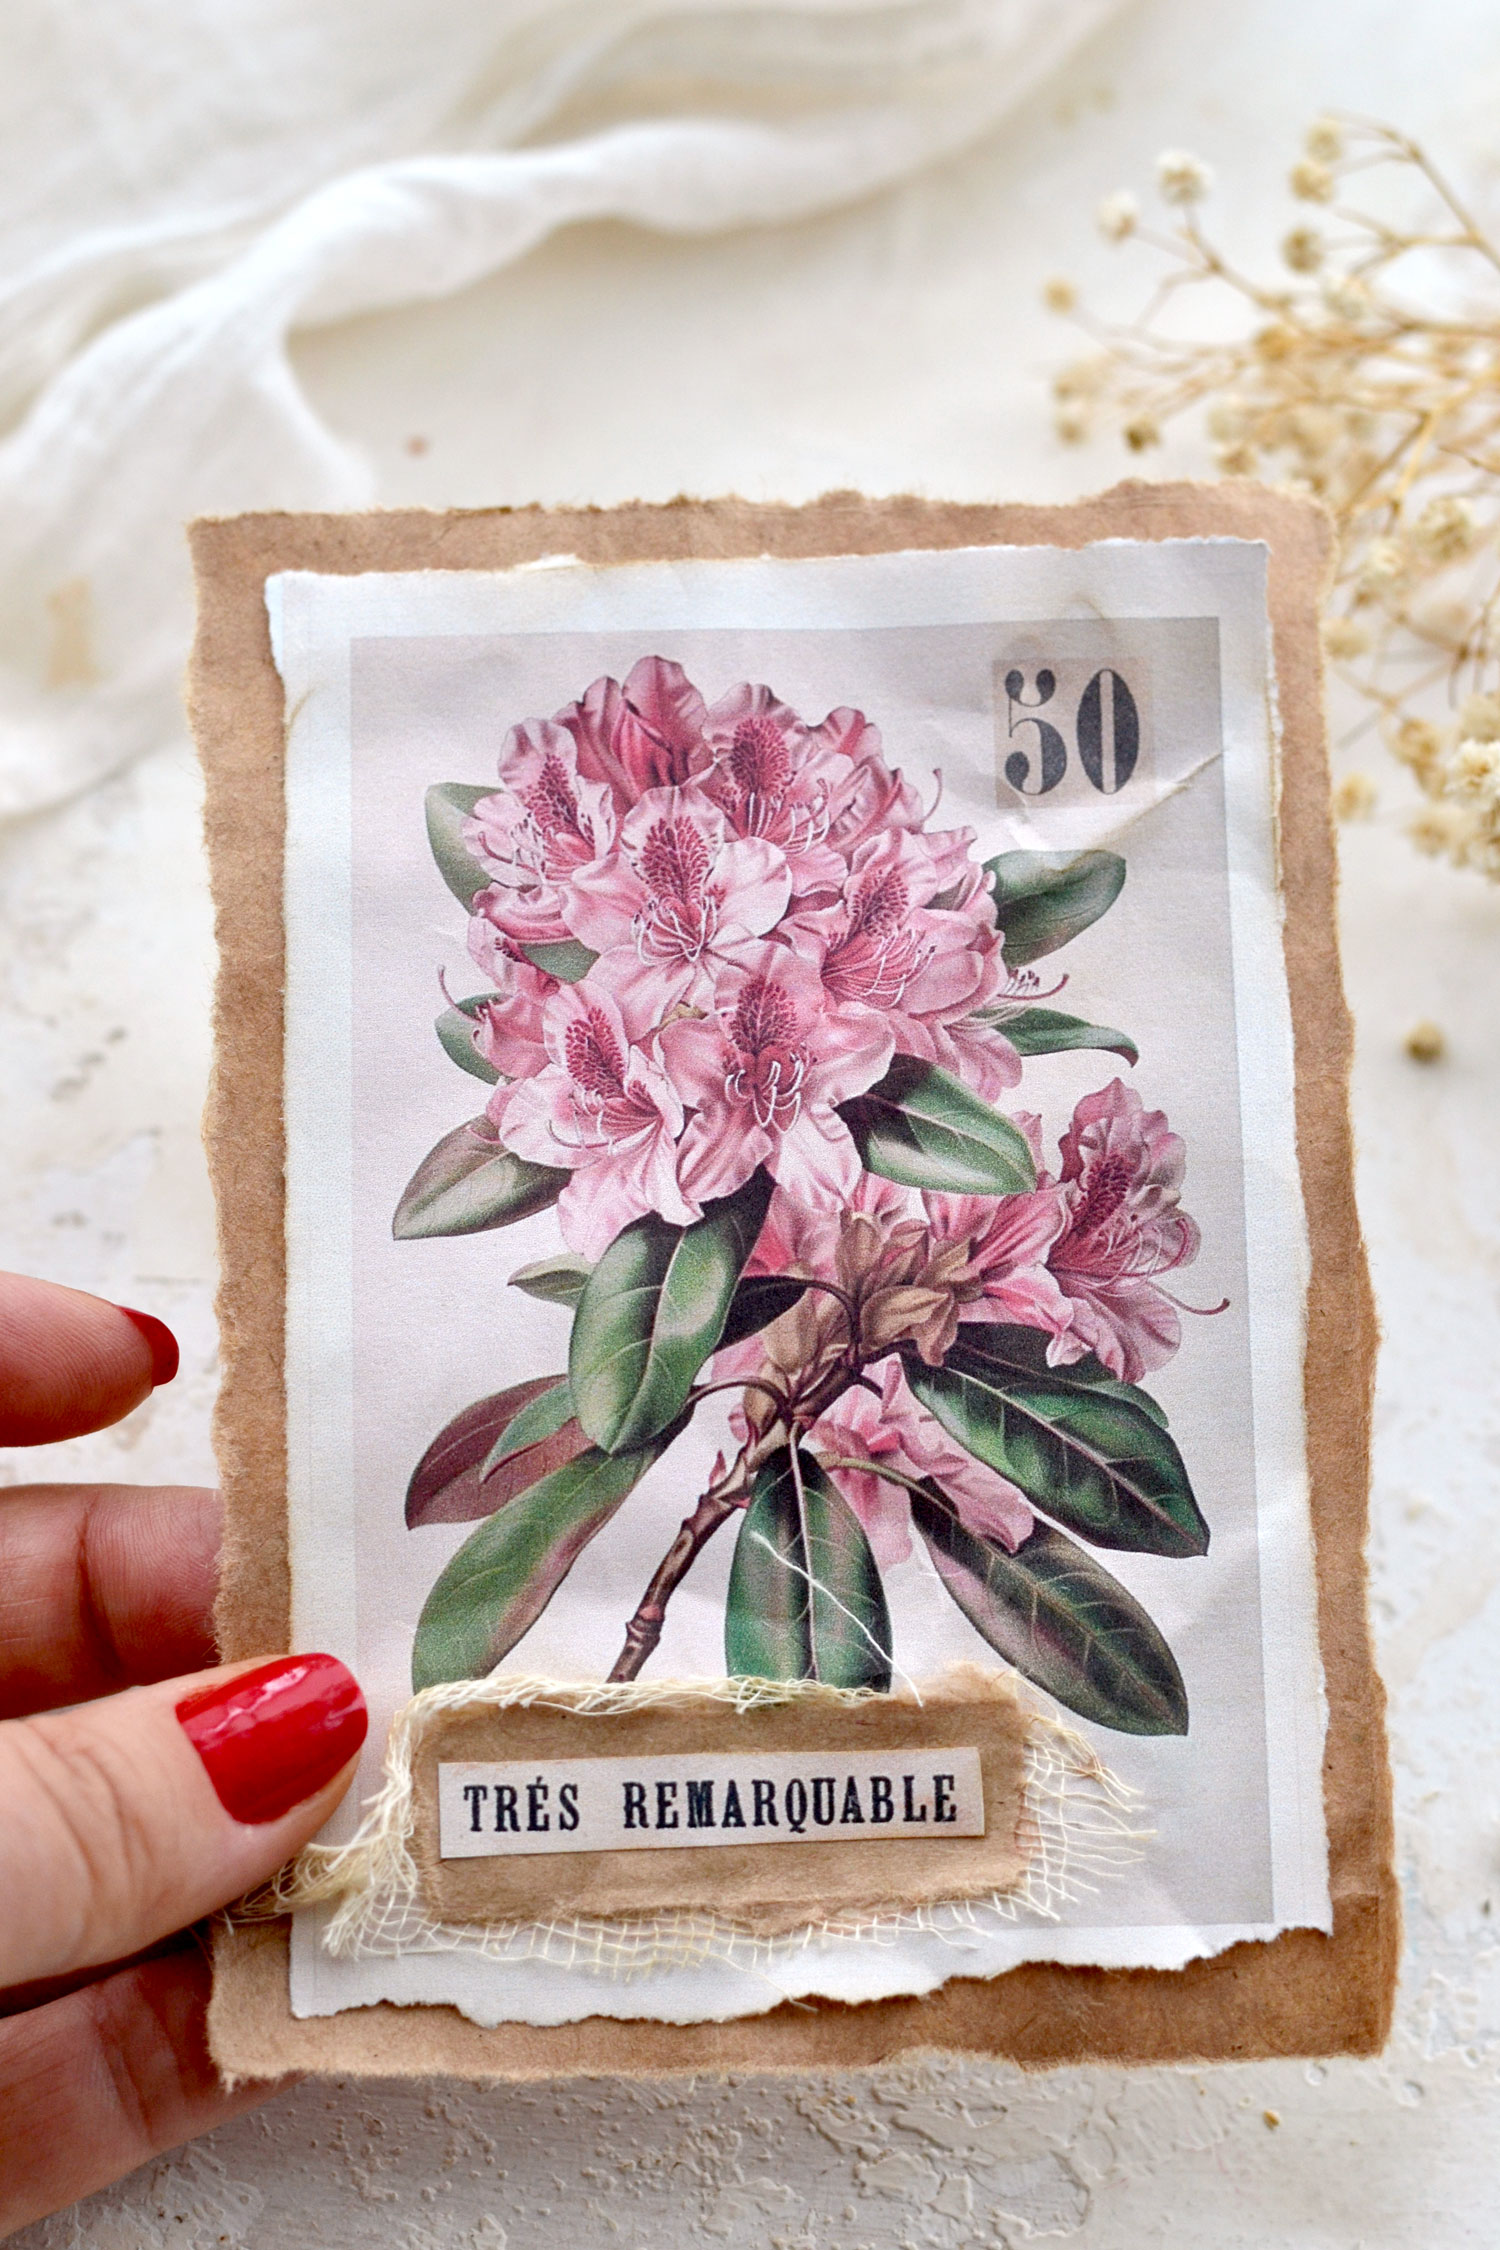
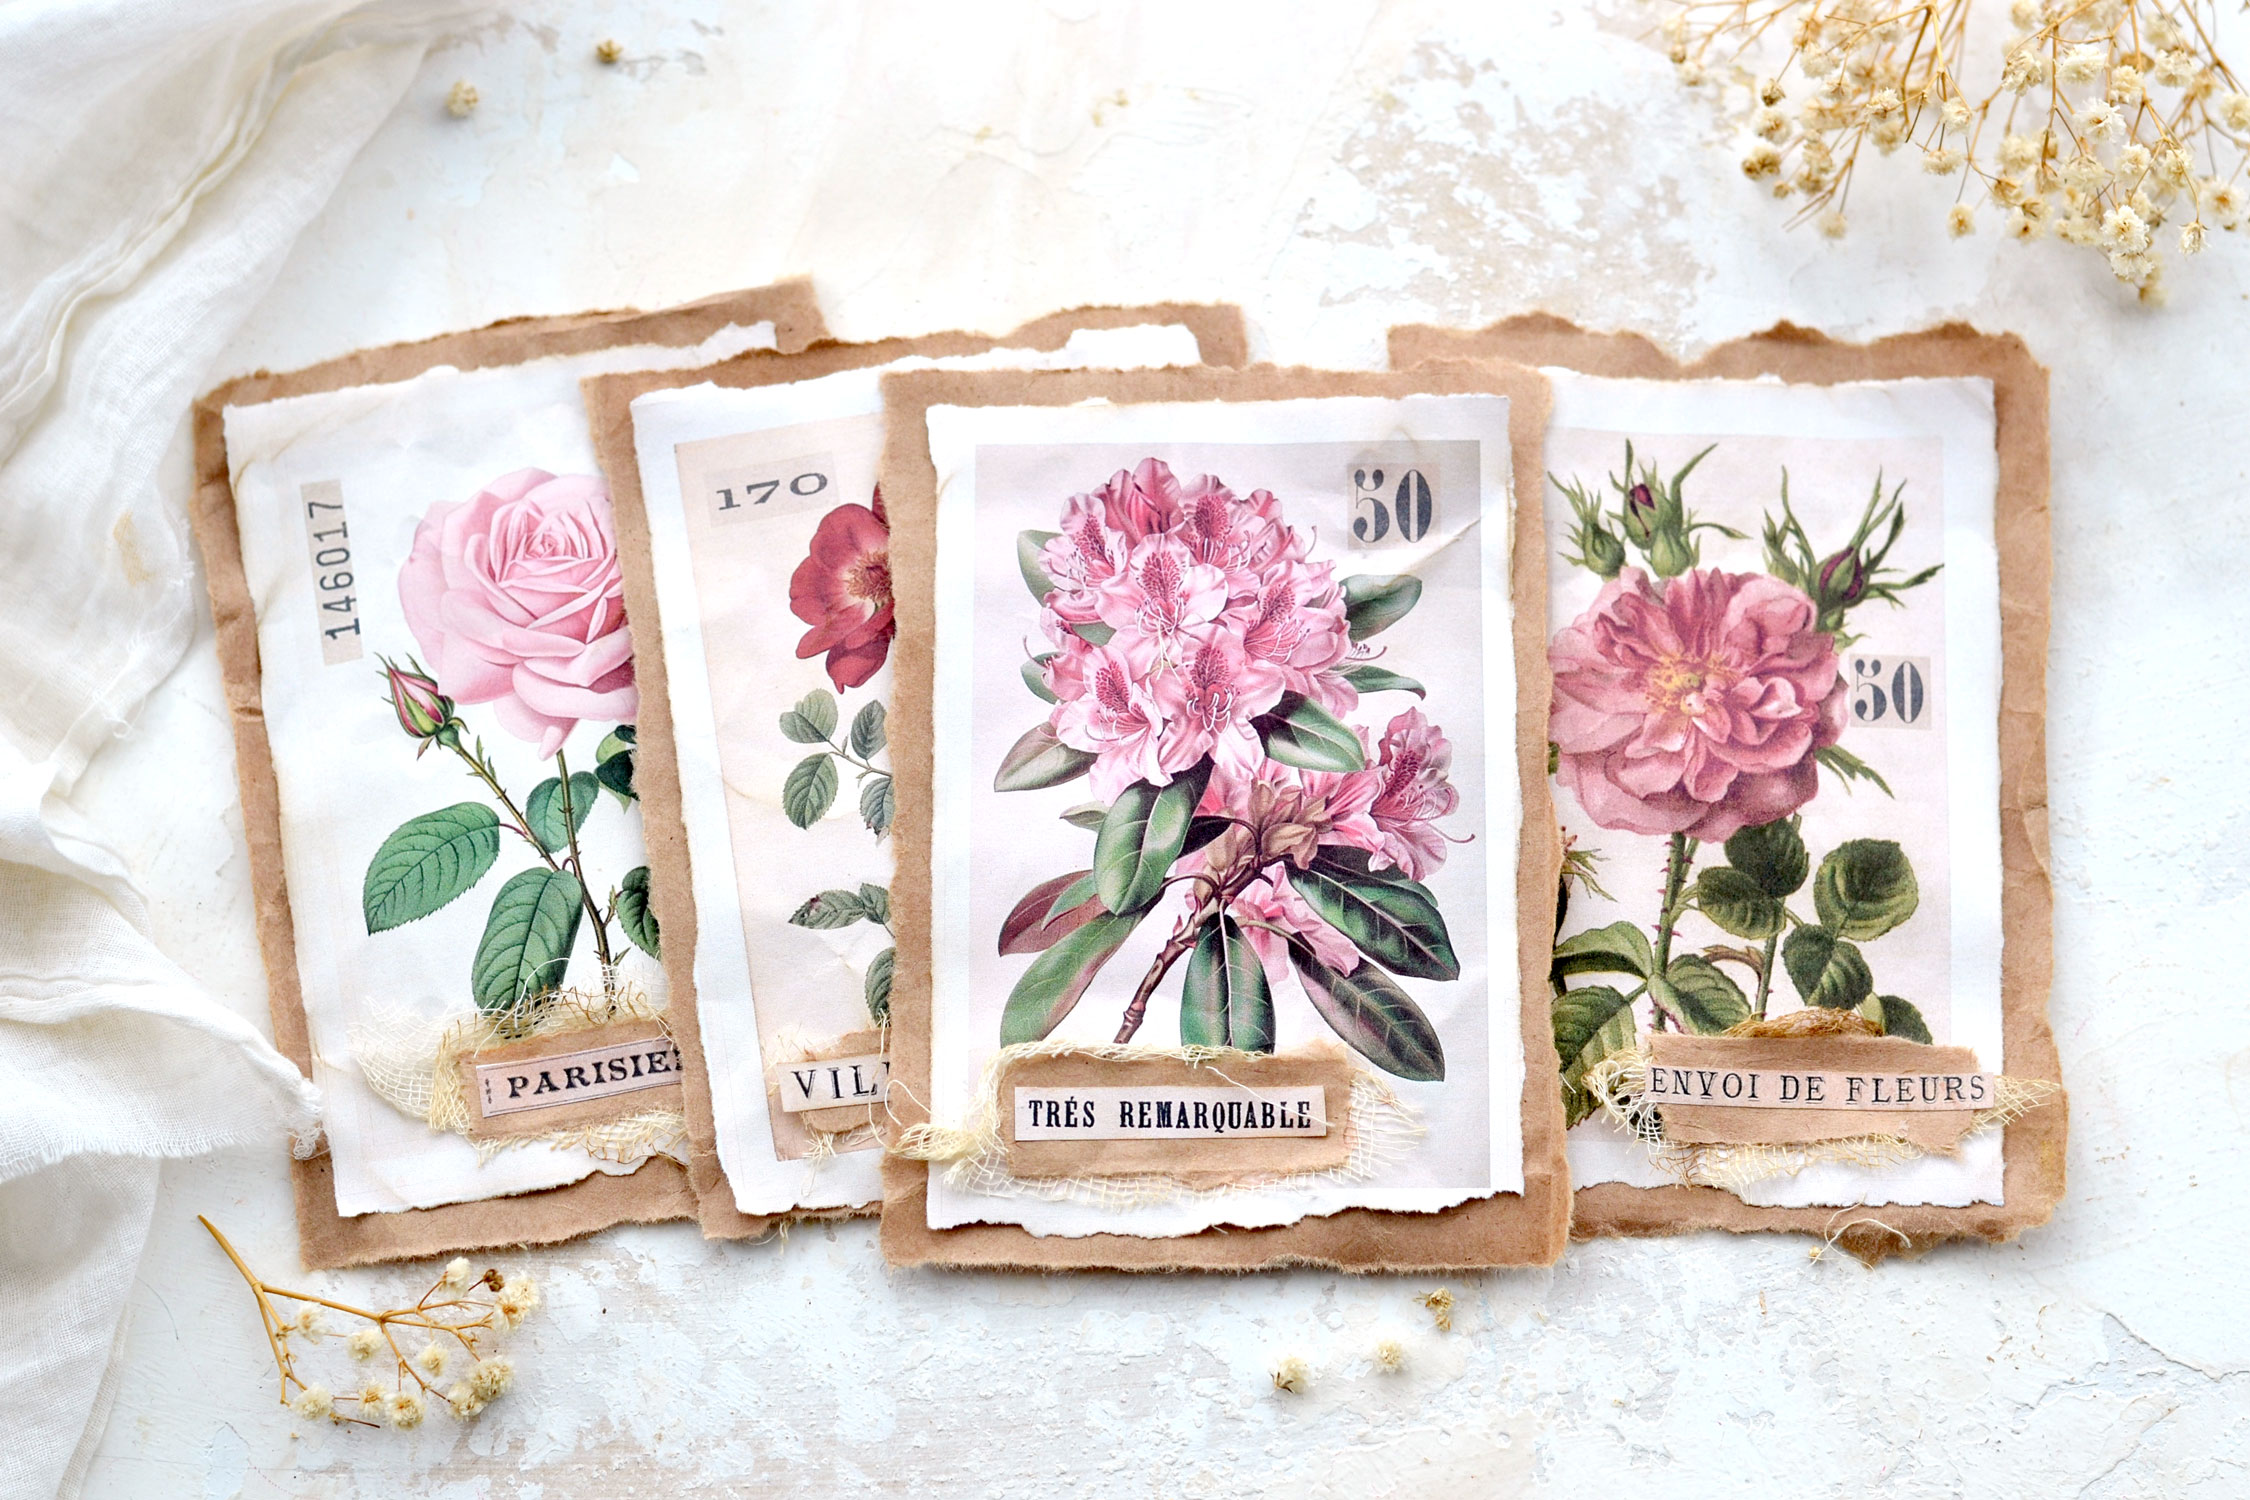
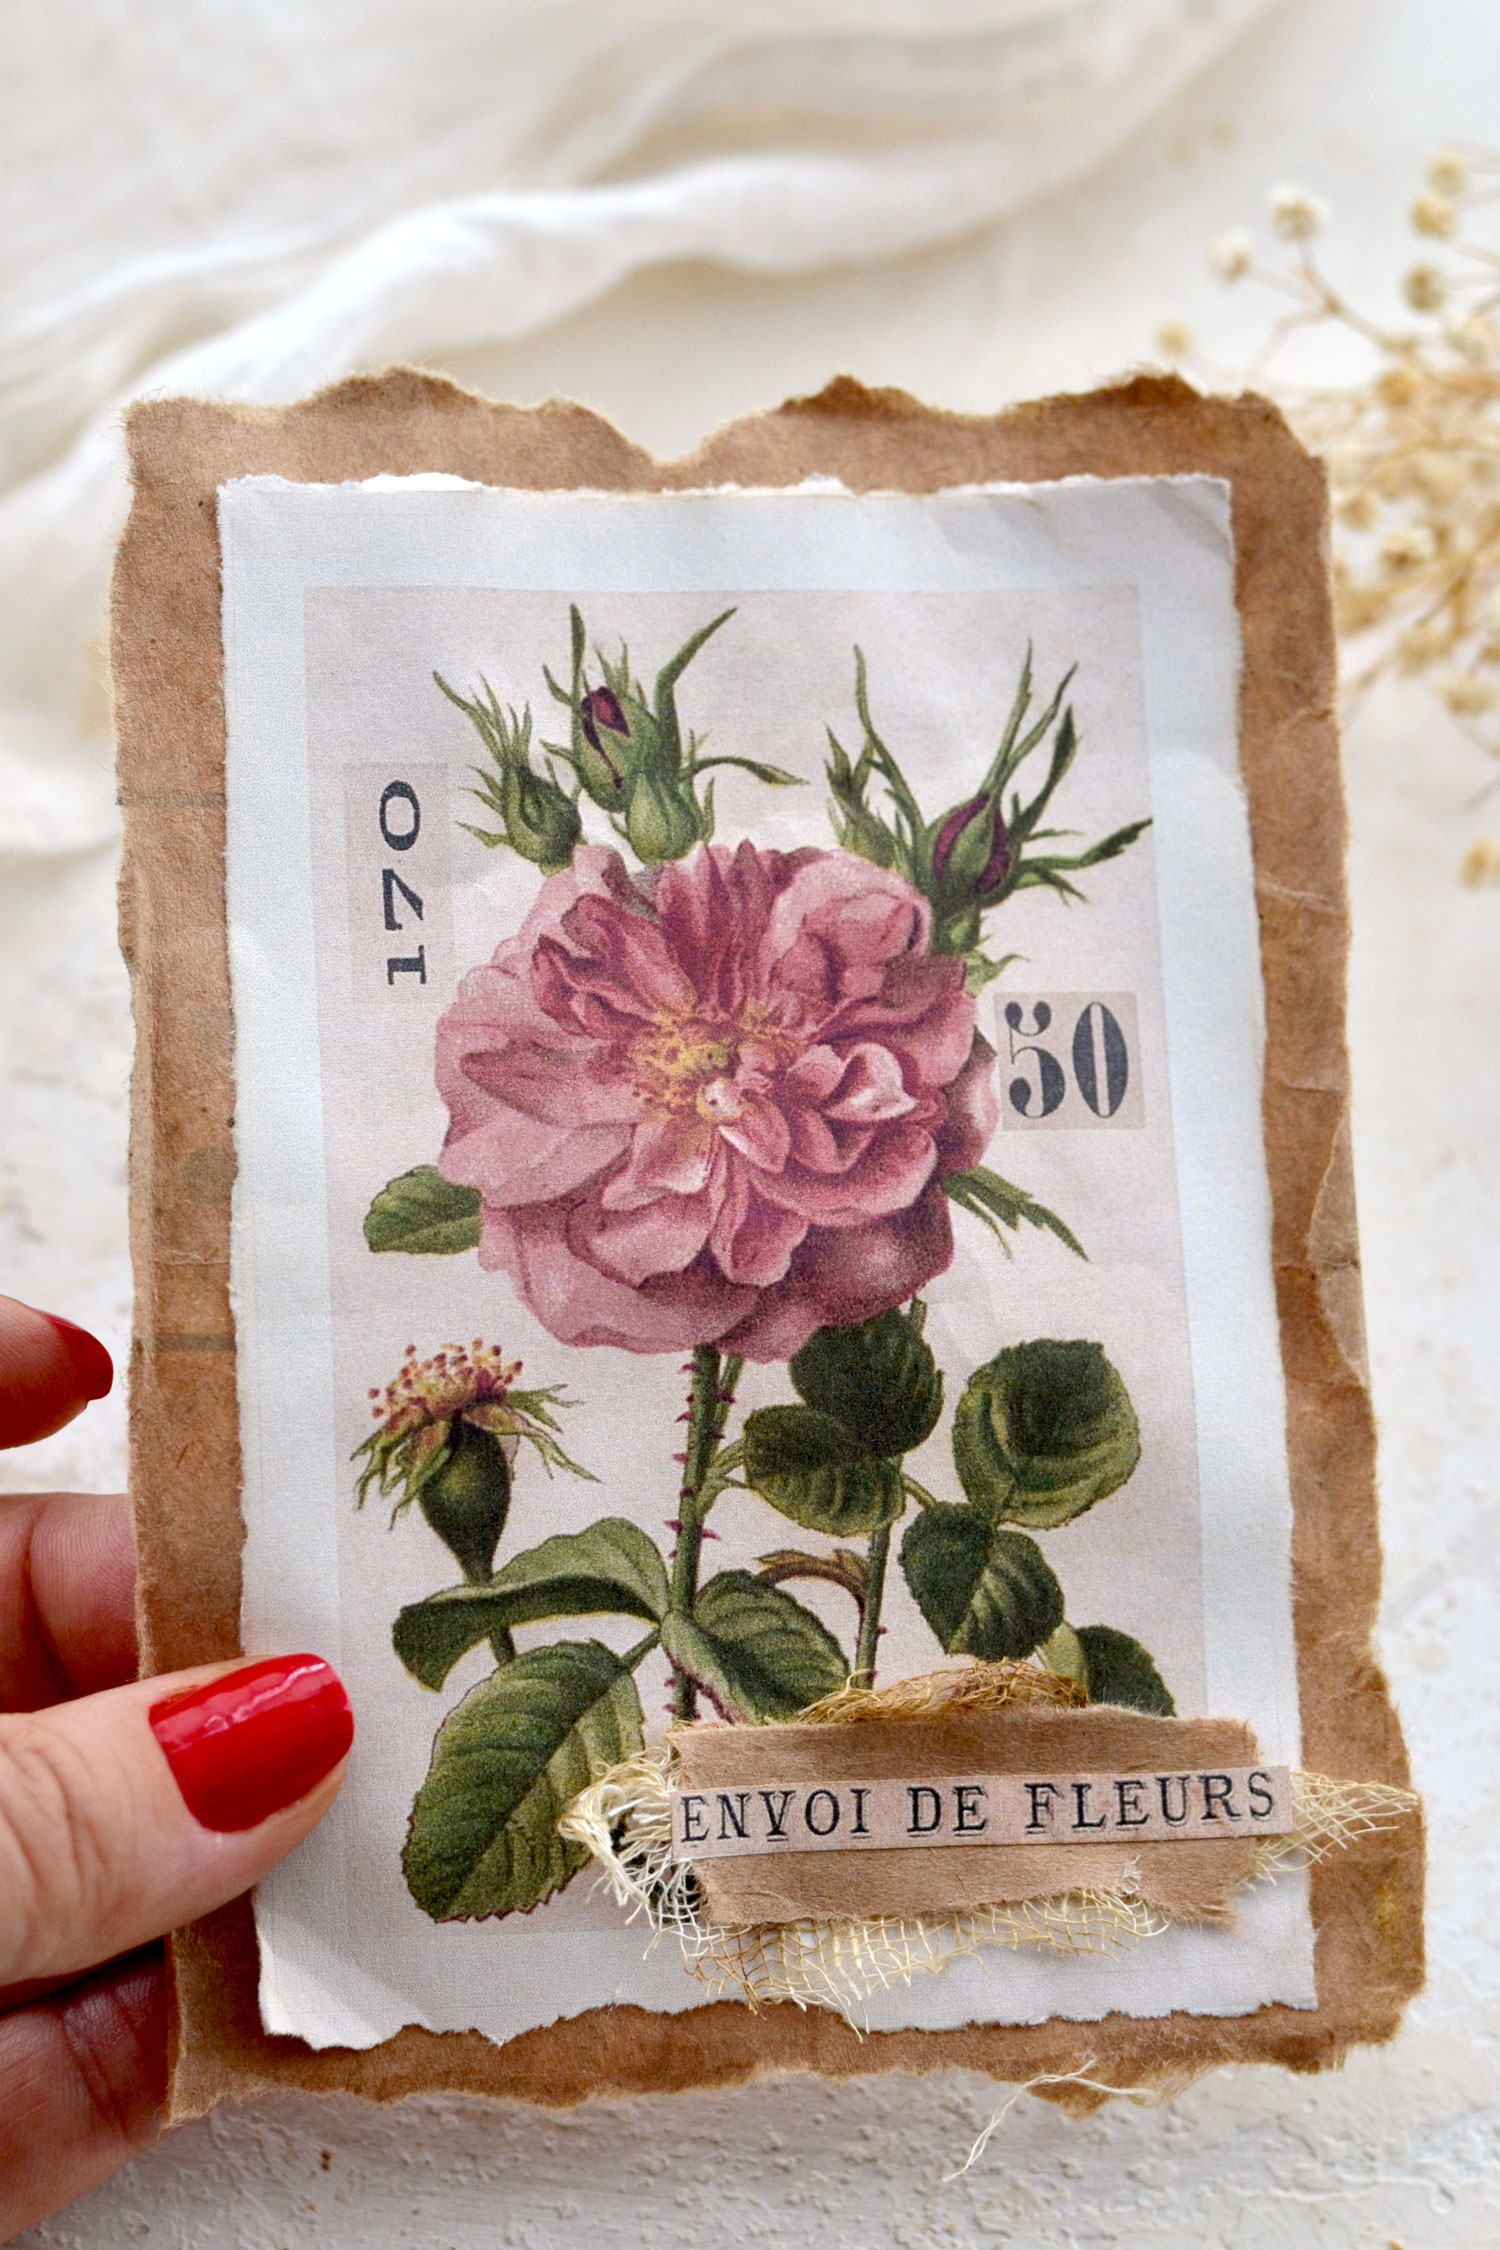
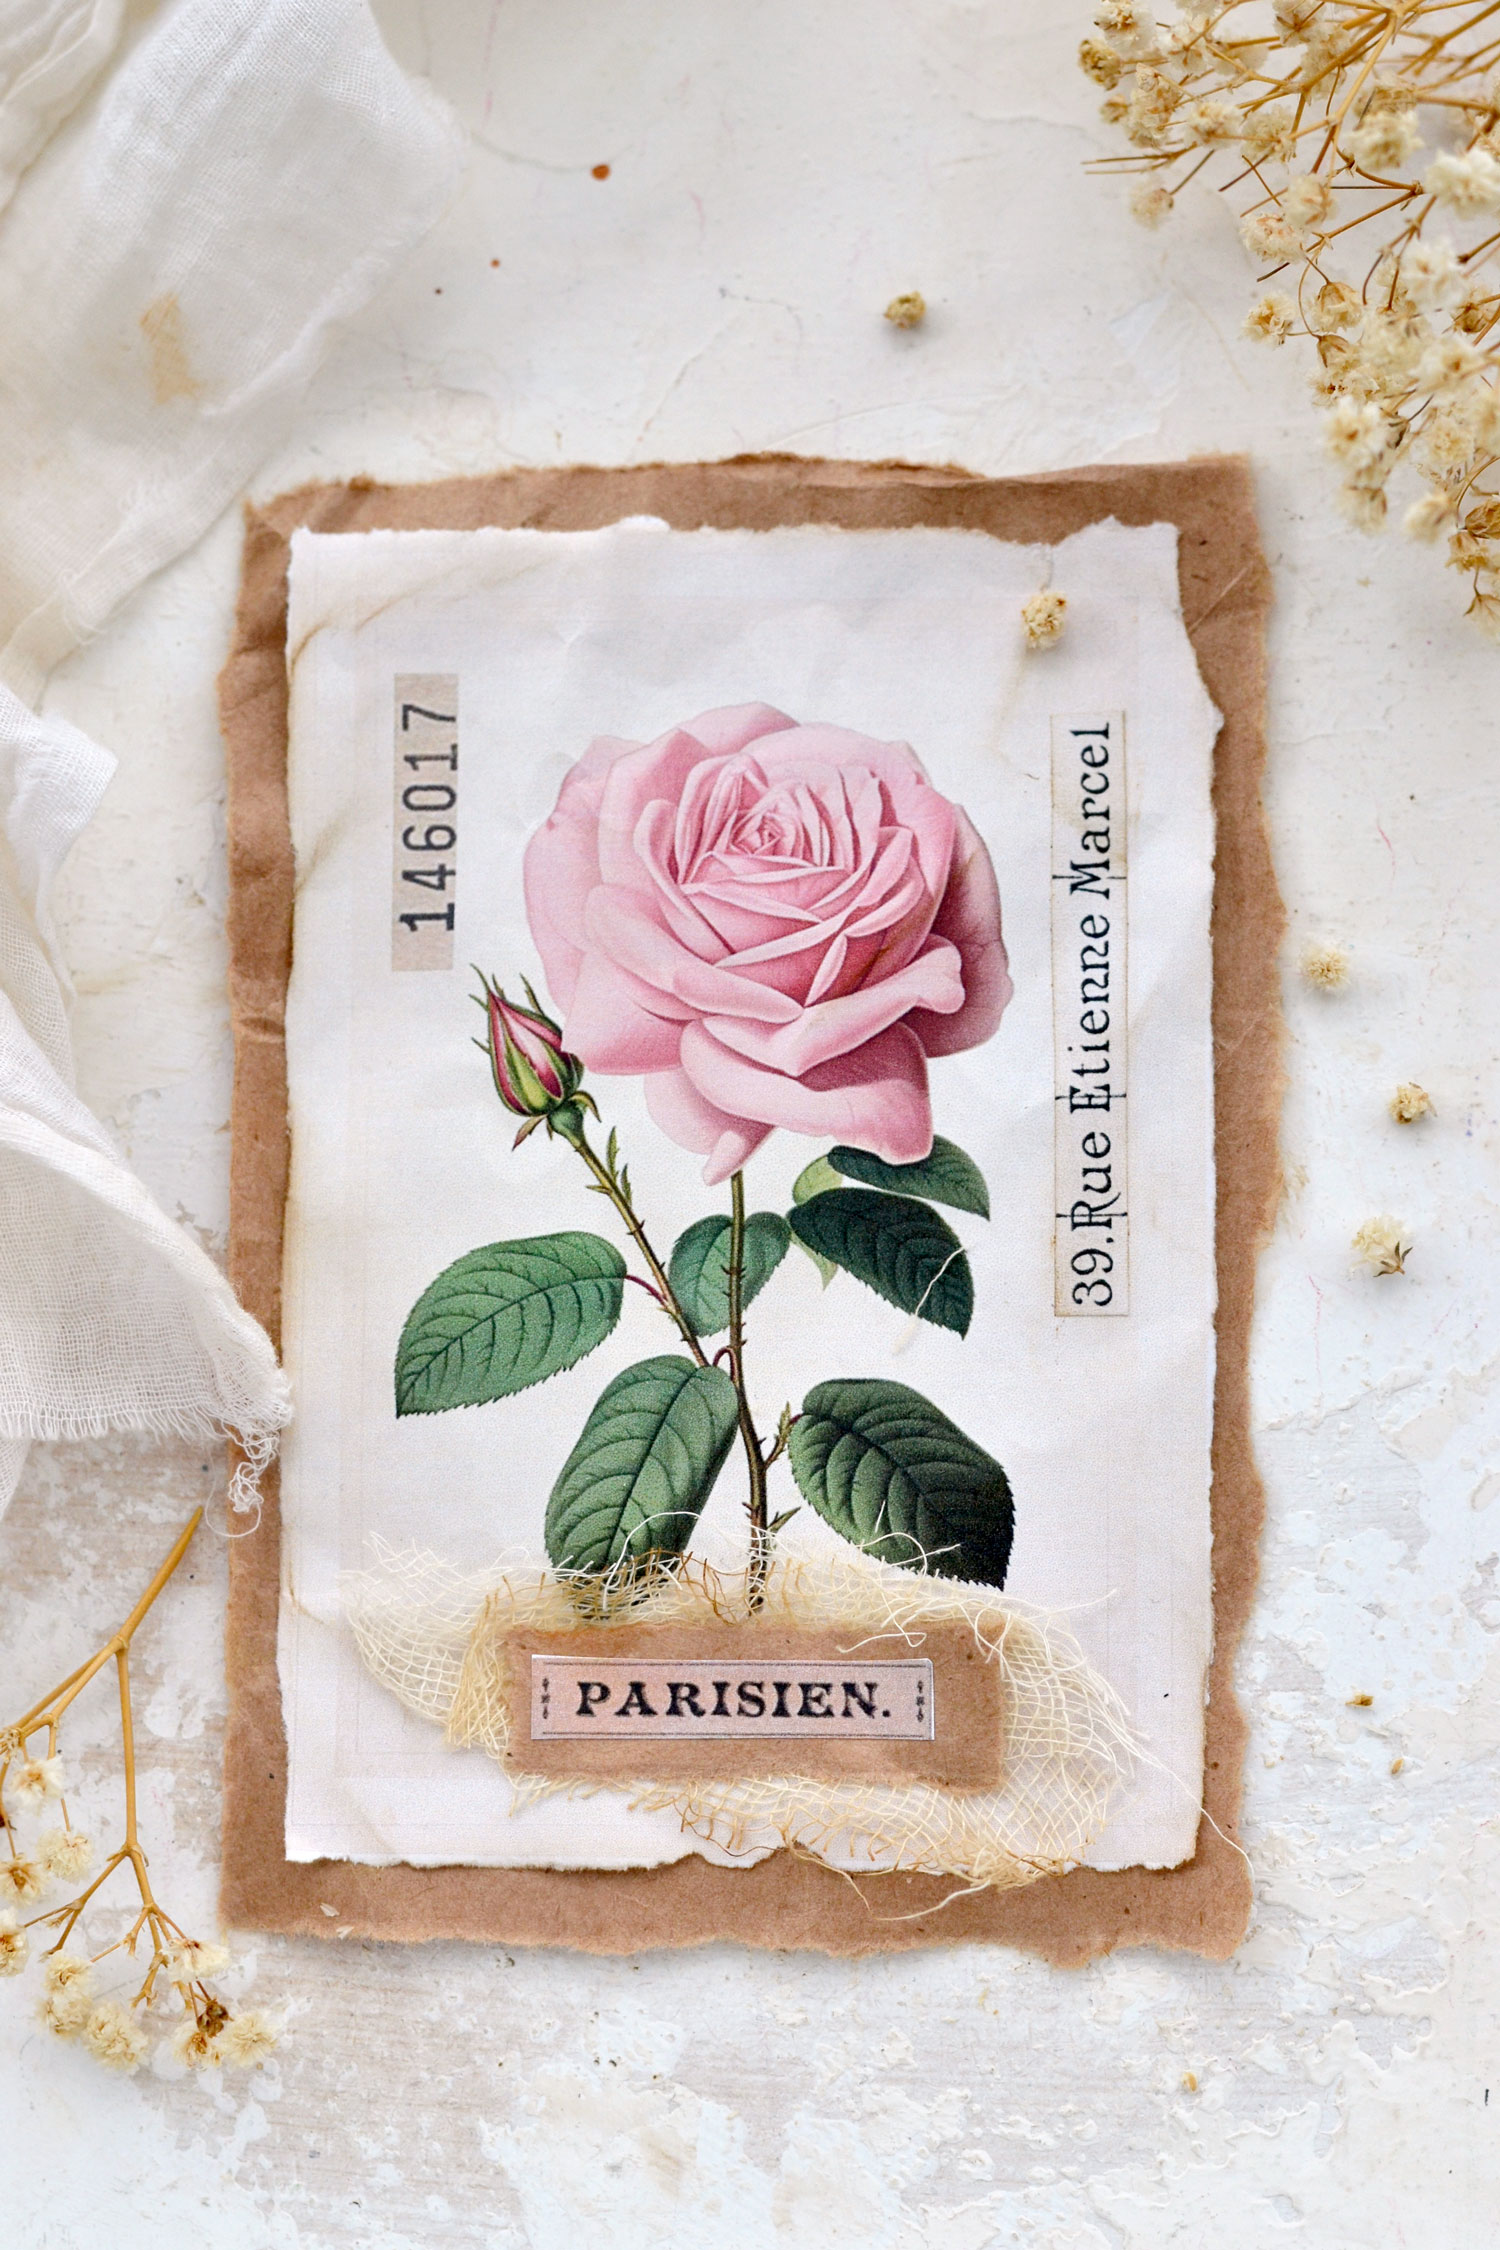
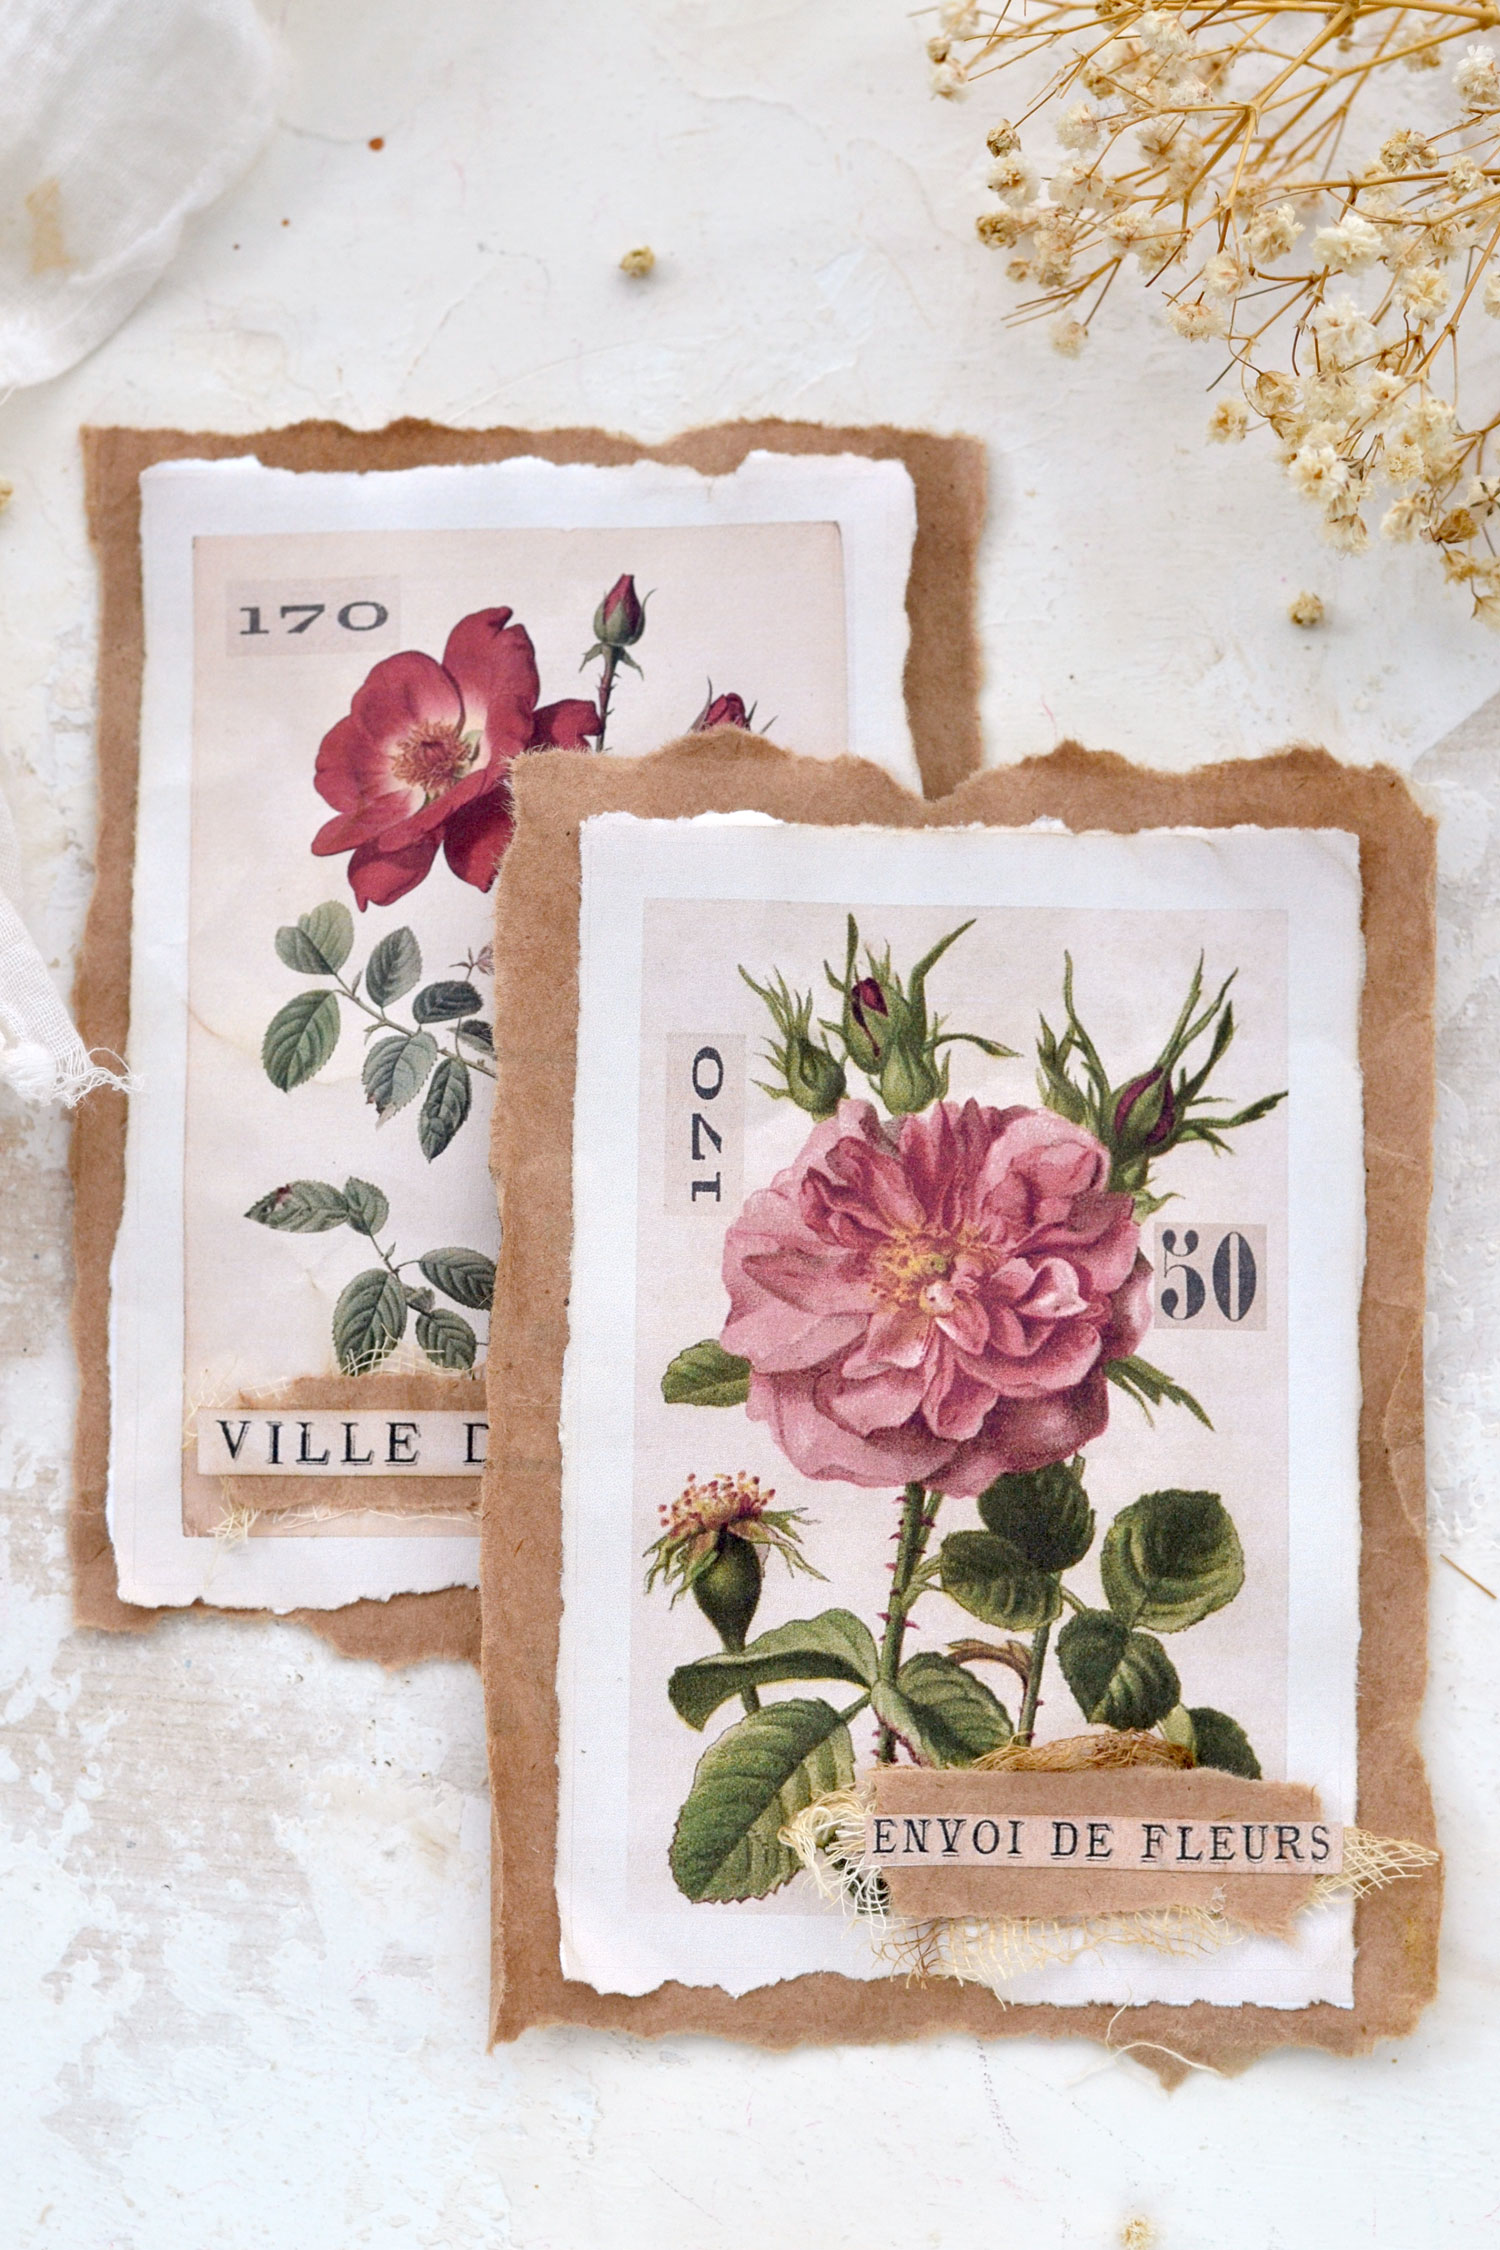
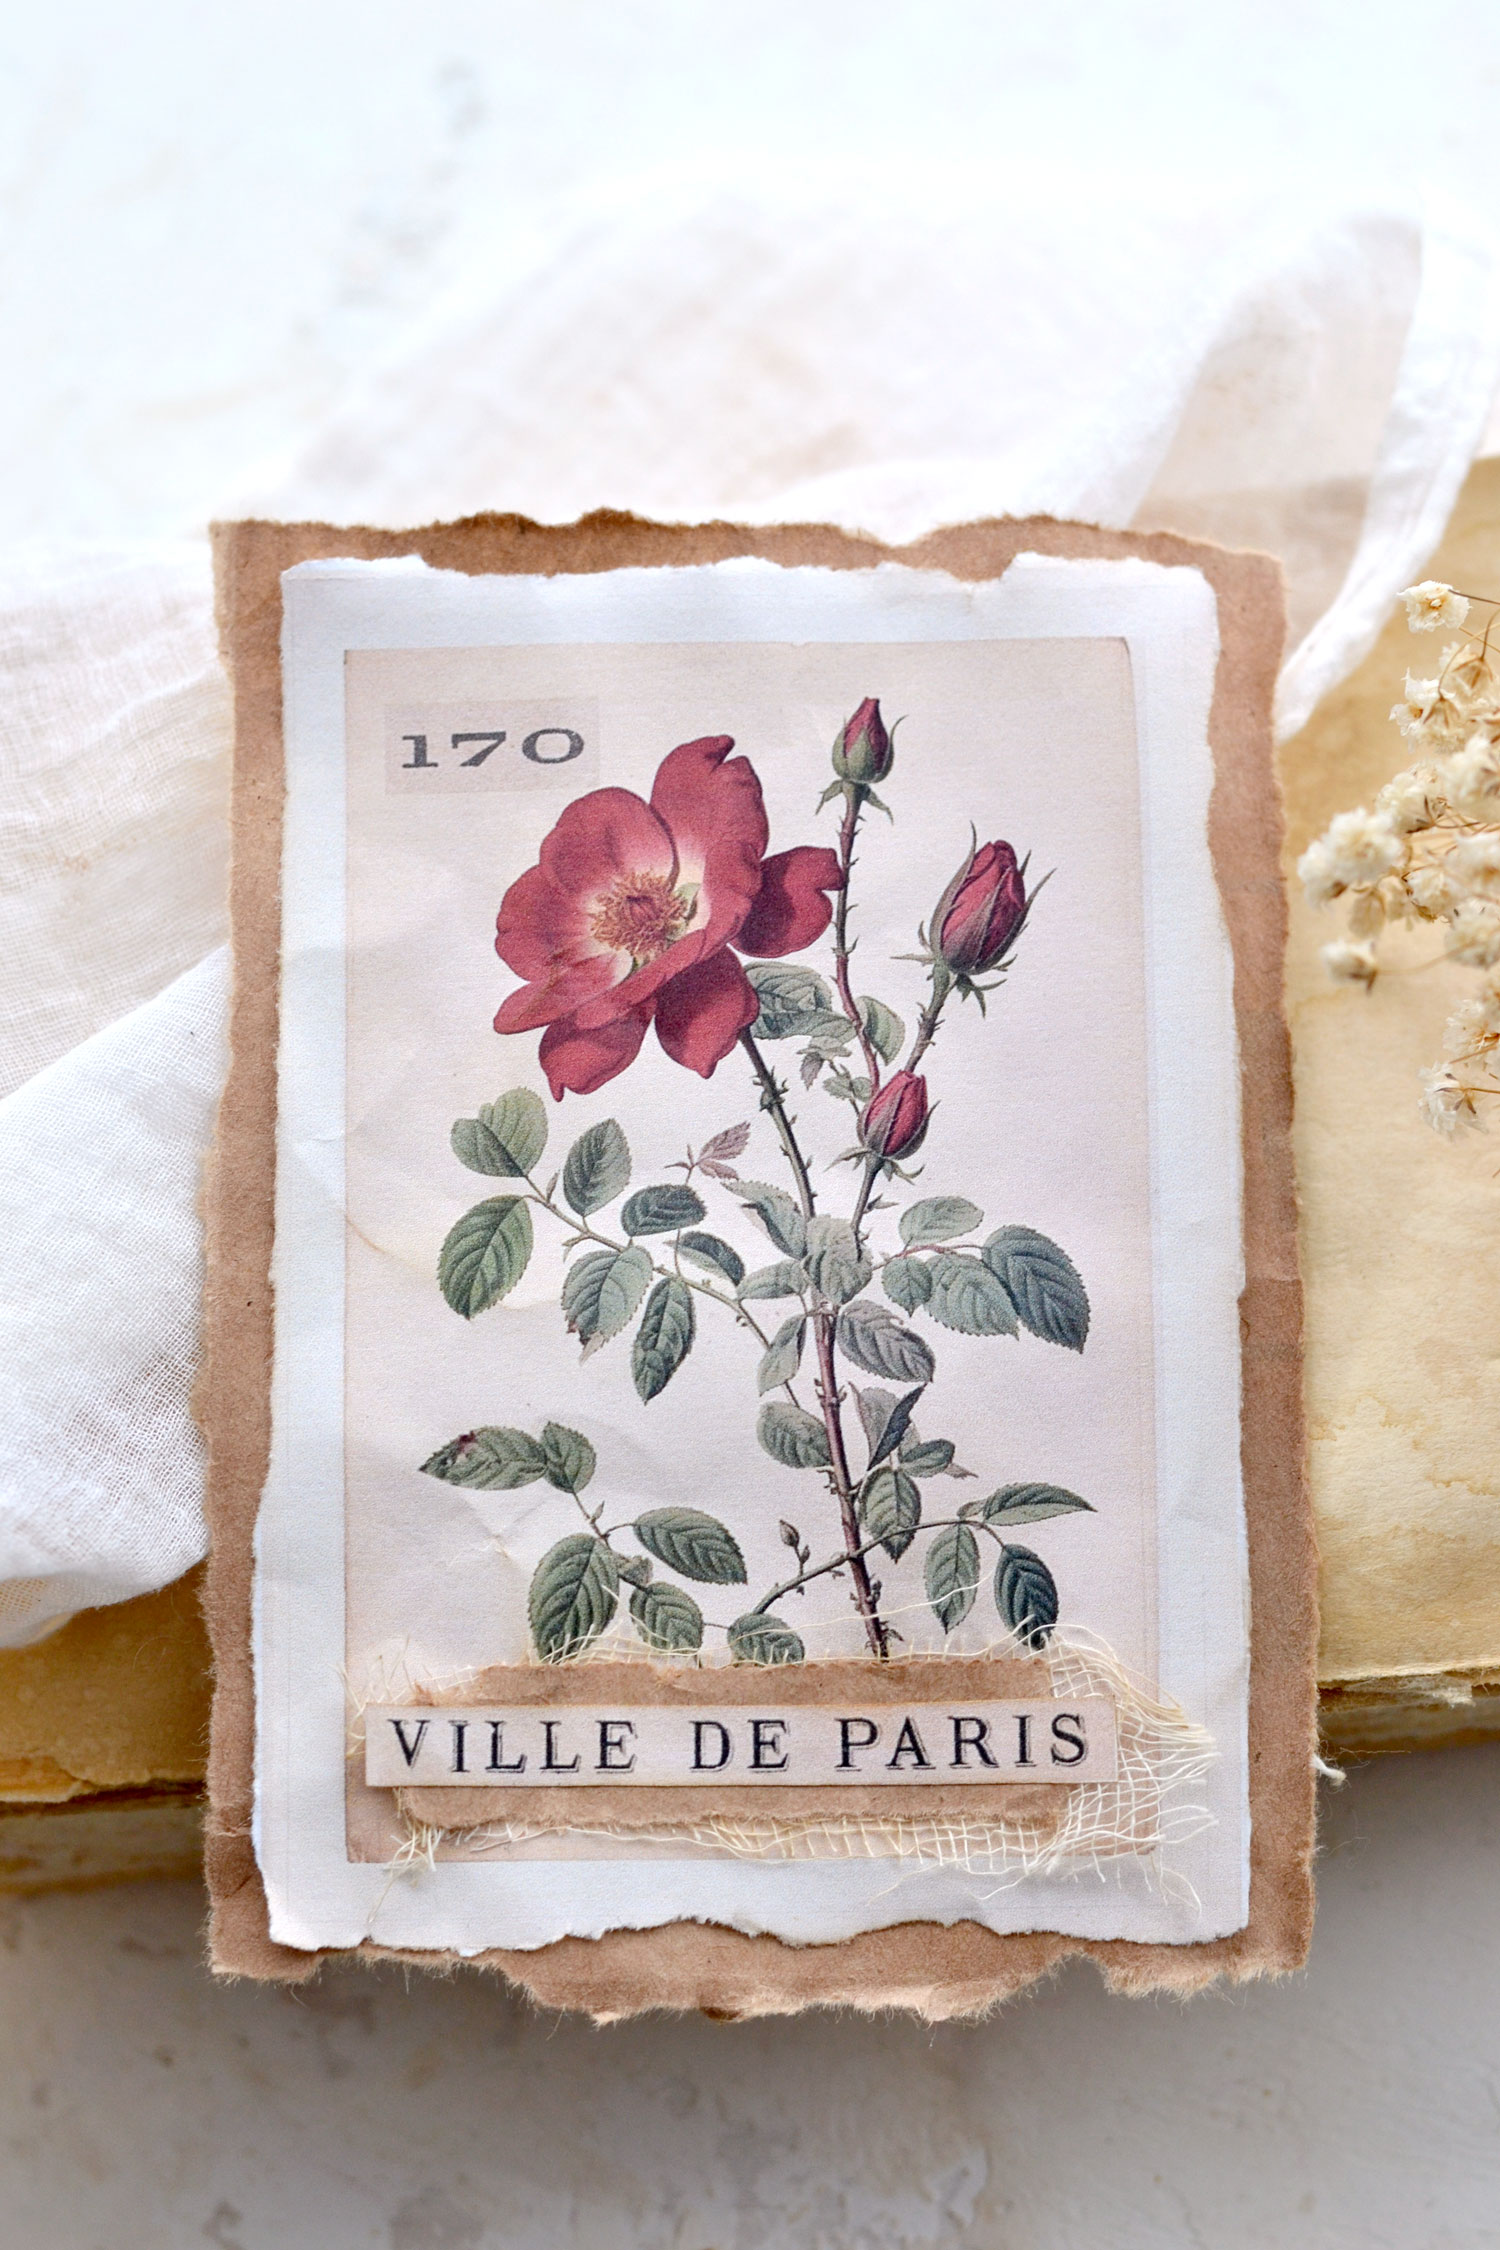
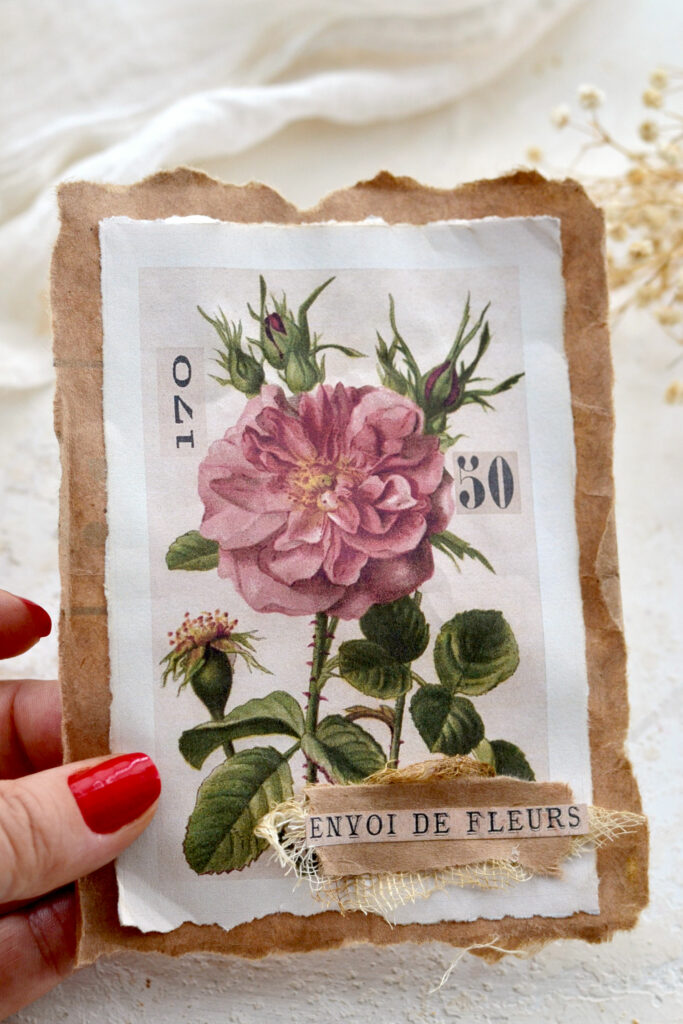
Hello Graphics Fairy friends! I’m Diana from Dreams Factory and I’m happy to be here again to share another DIY project with you! Today I will show you how to make these gorgeous Brown bag French flower cards with a lovely vintage vibe! The project itself is really easy, you’ll need to cut or tear the paper, depending on your preferences and how you envision your final cards to look. Then you’ll need to perform a few magical distressing techniques, prepare the brown paper backing, and simply glue everything in place. You can use a few scrap pieces of brown paper to further embellish the French cutouts afterward and why not, even use some gauze to create more interest and make the cards look even more beautiful.
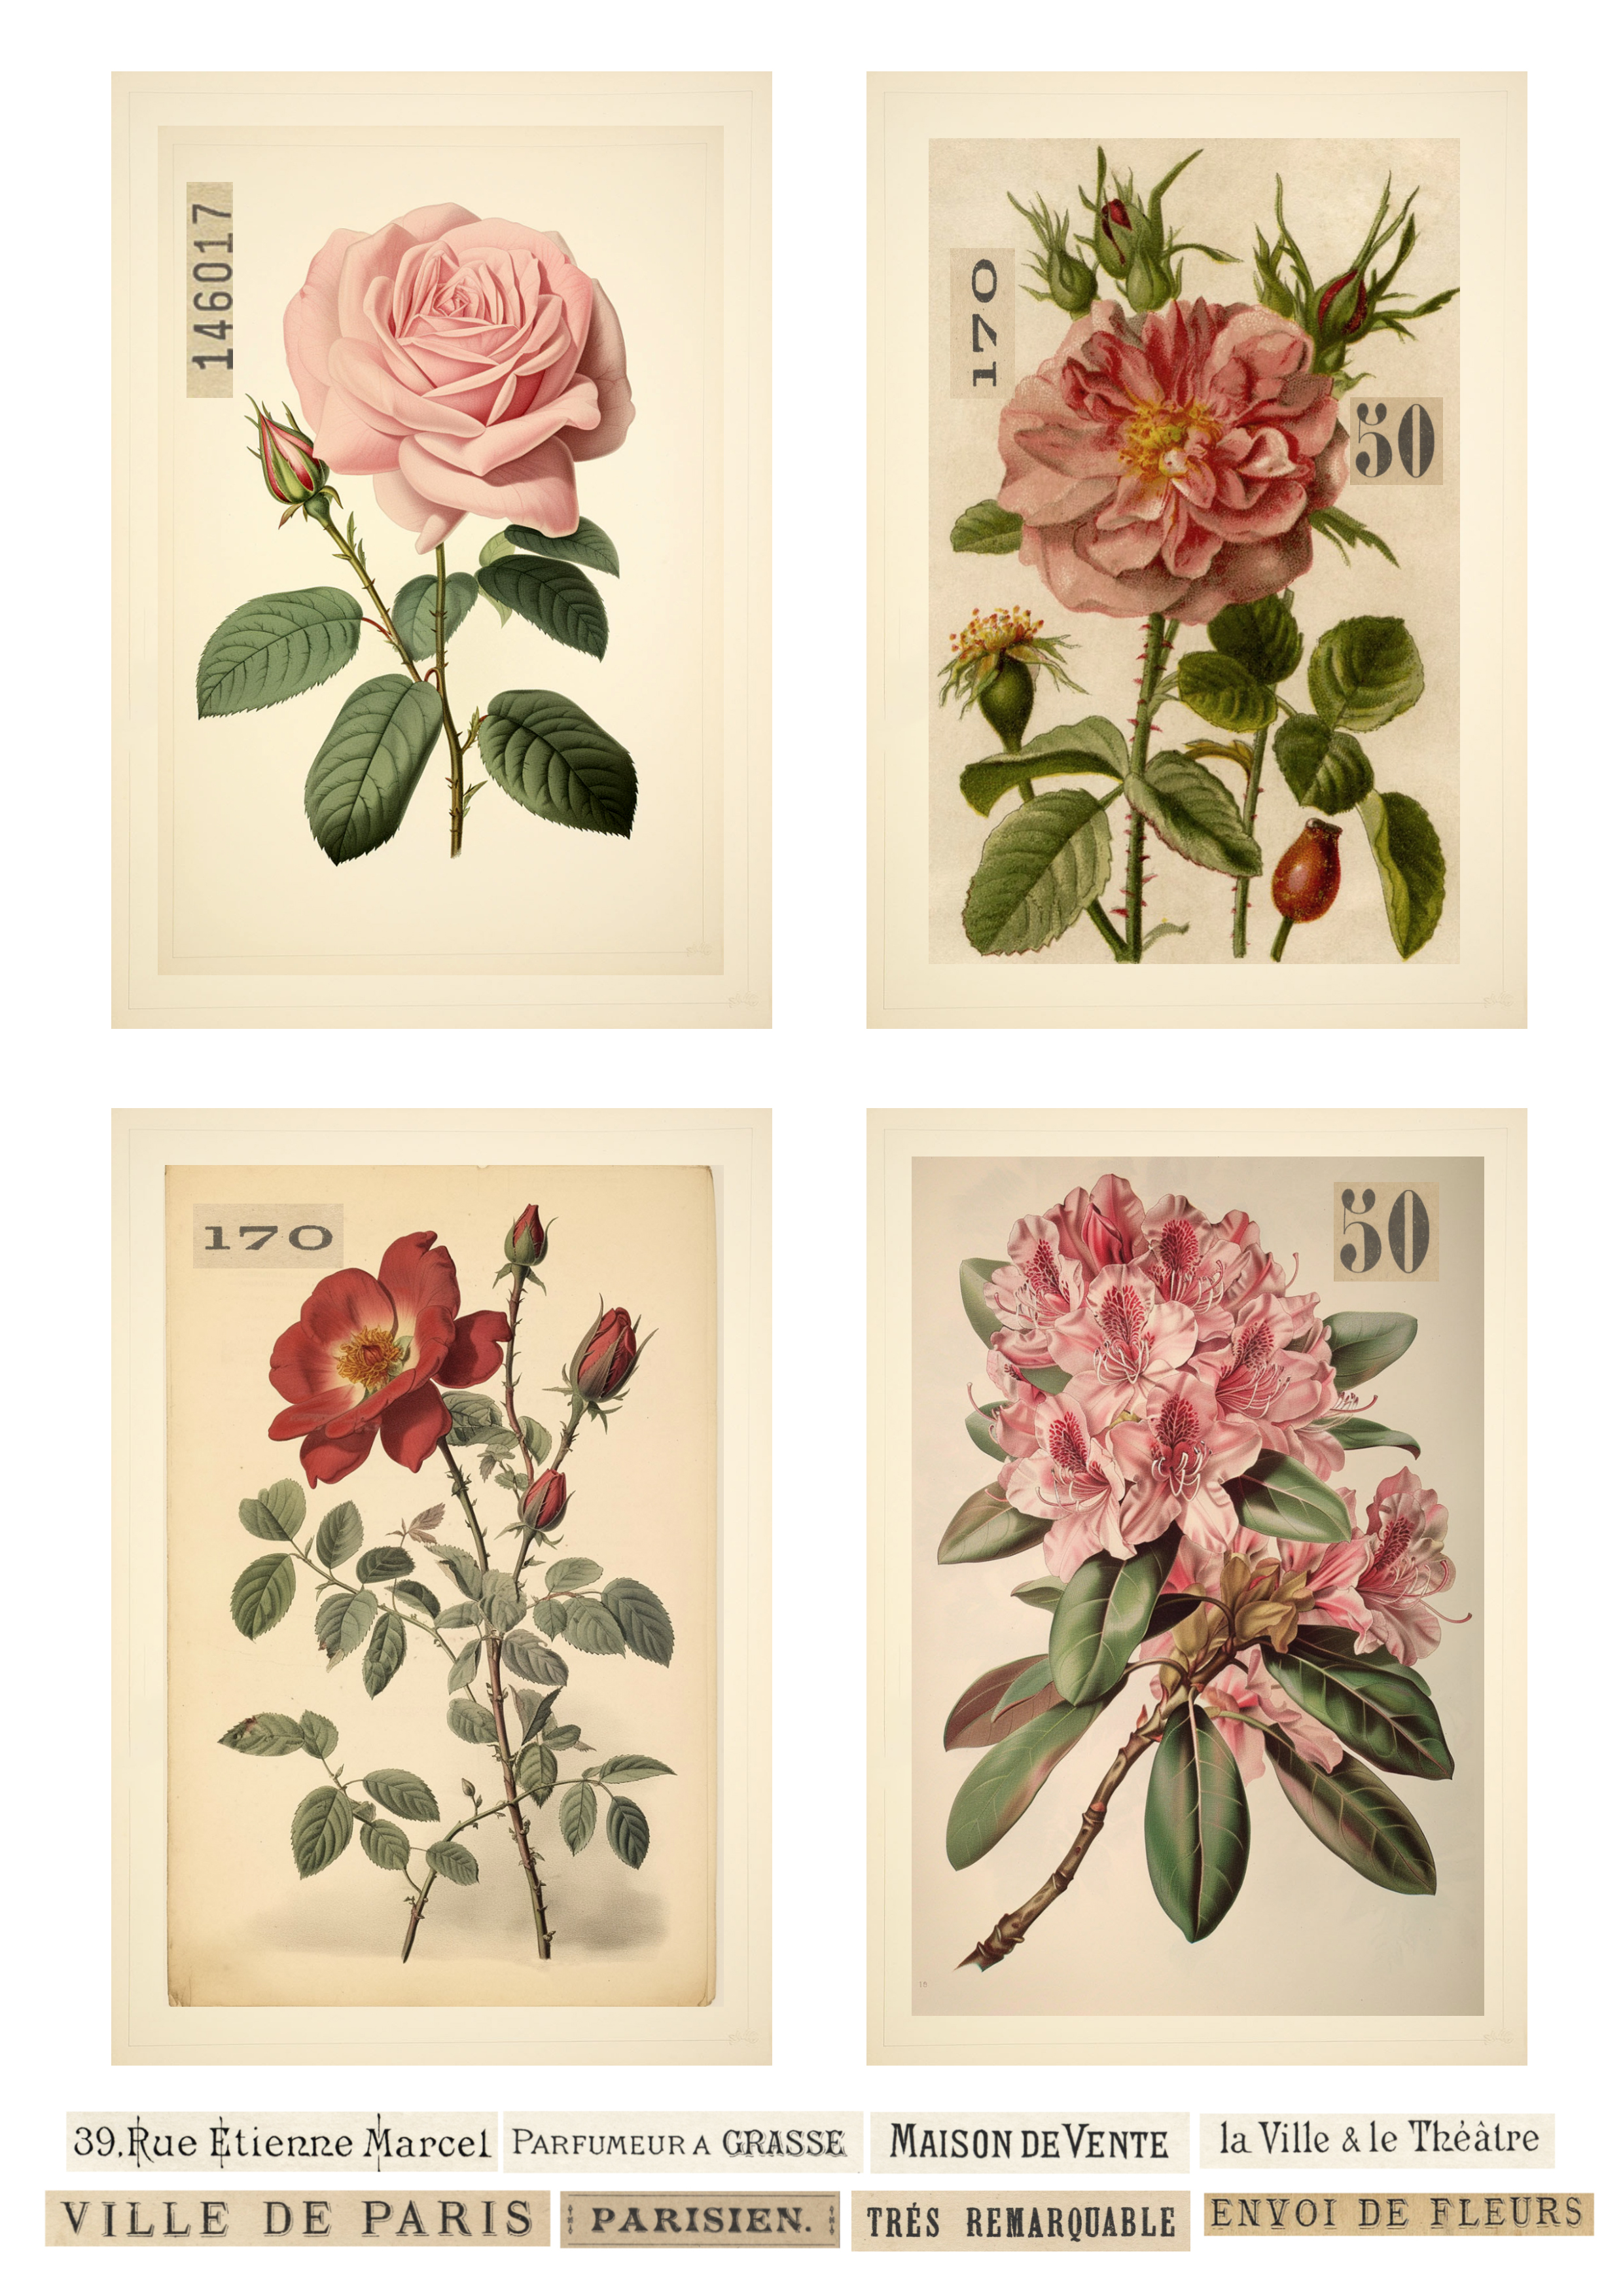
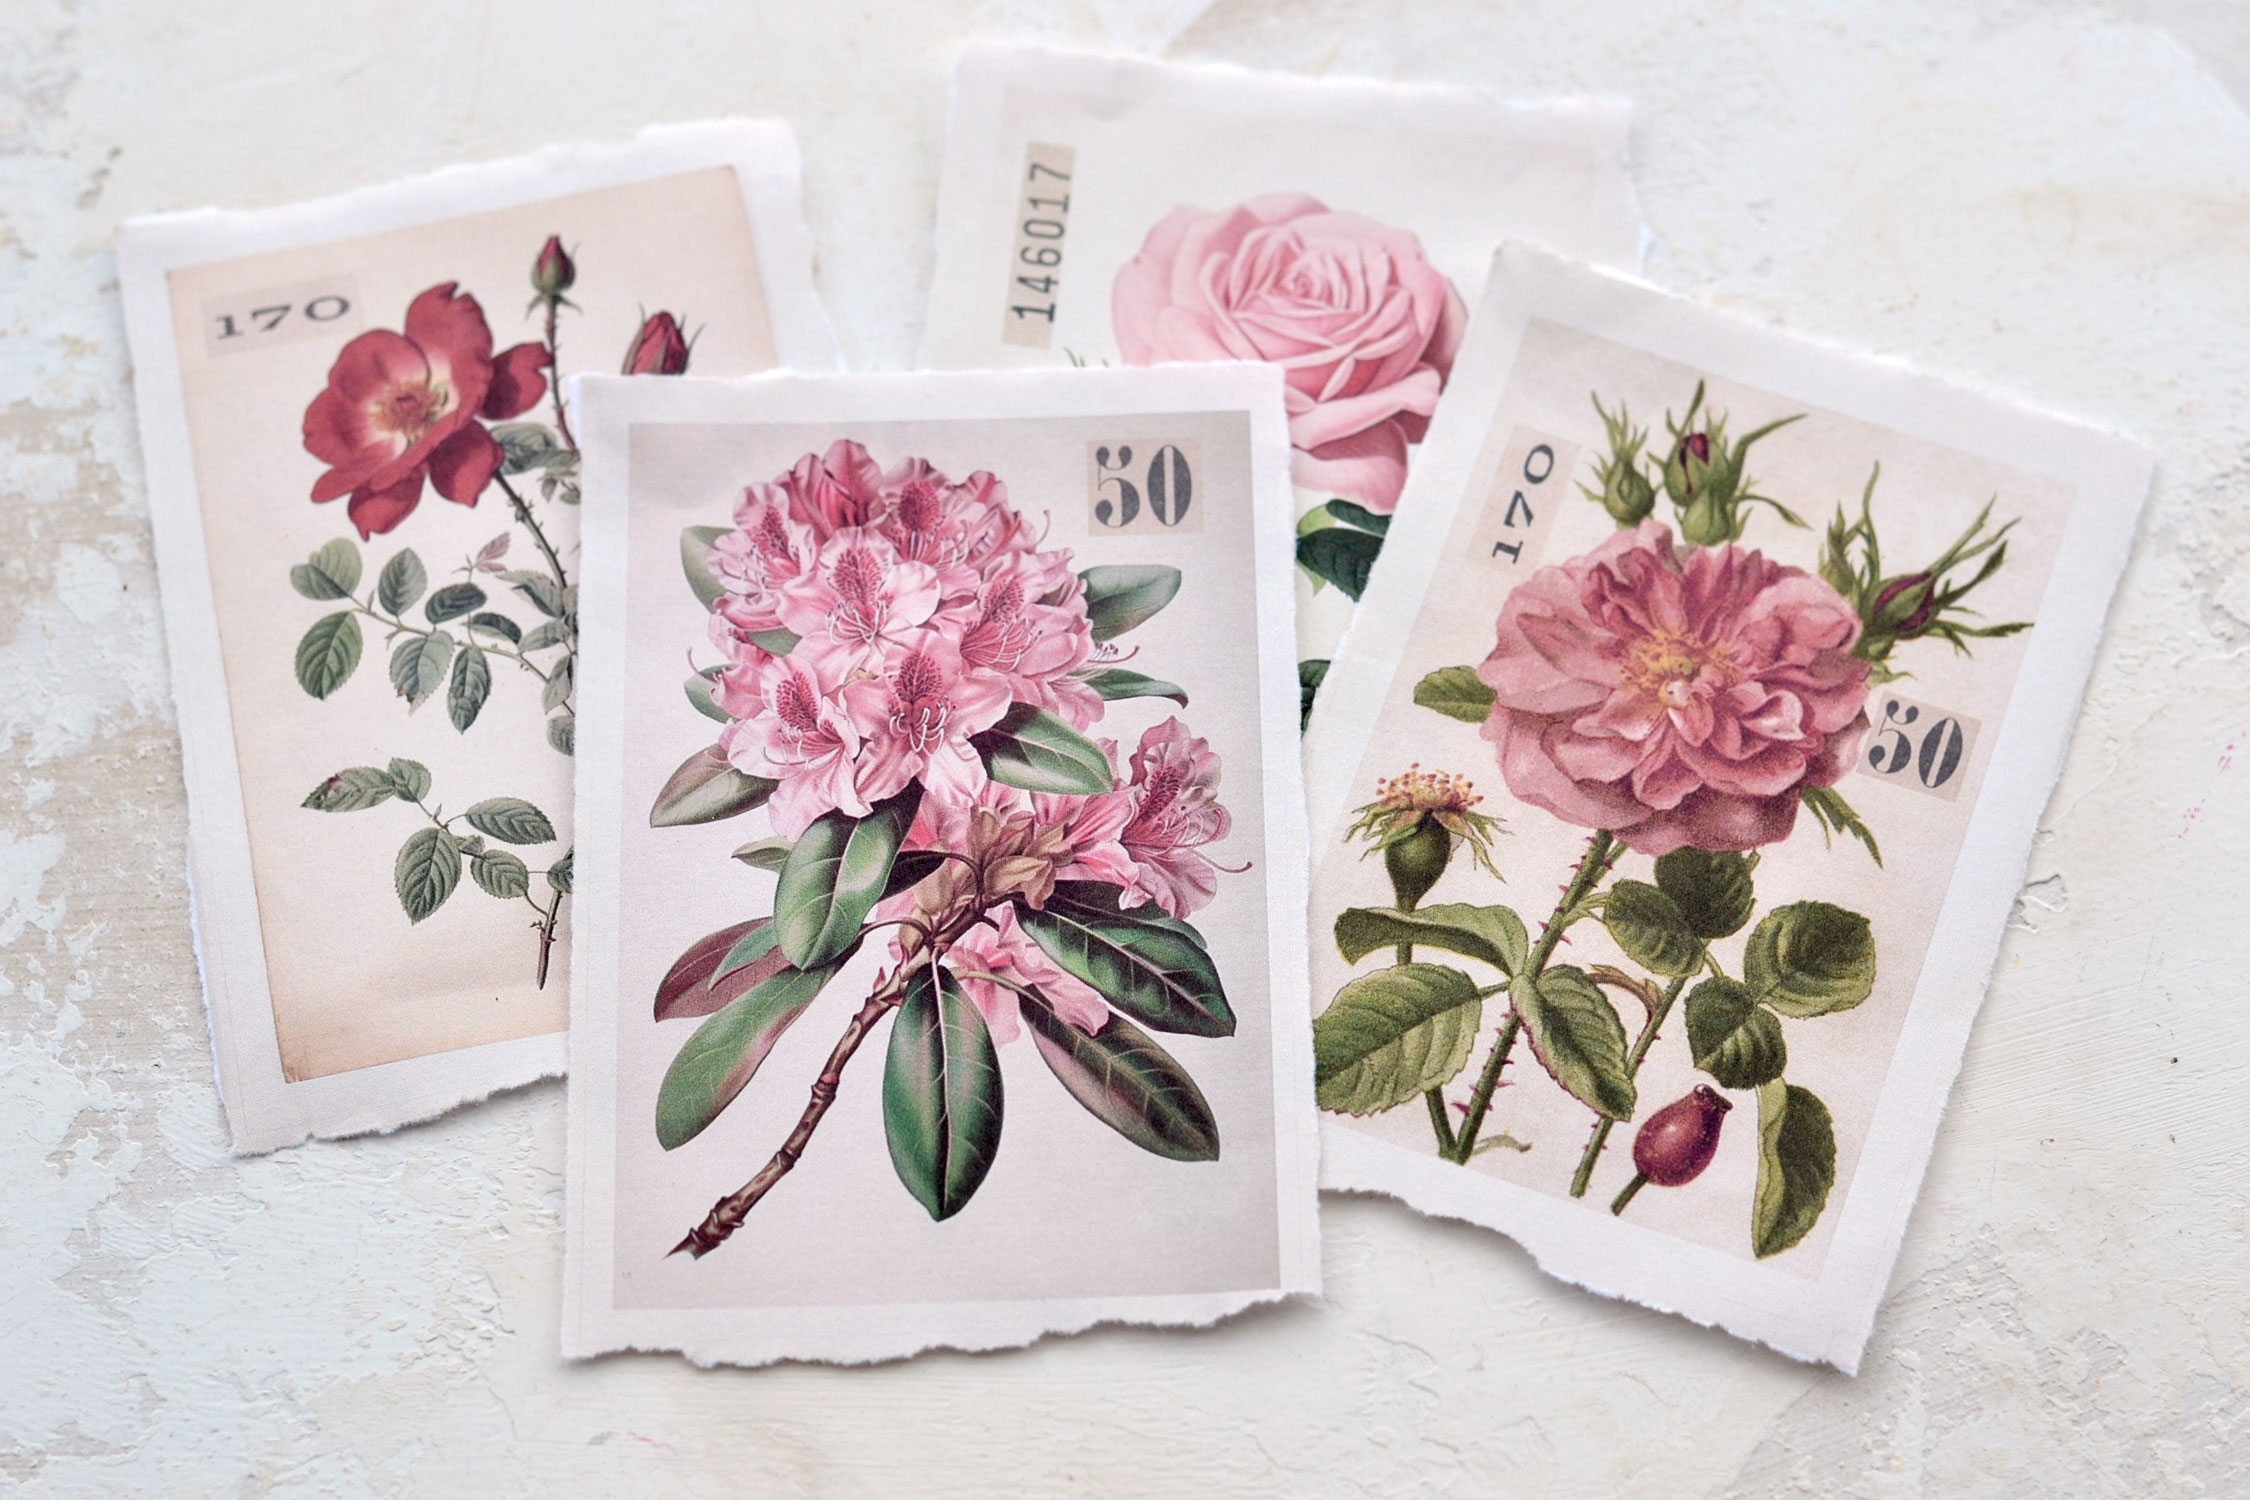
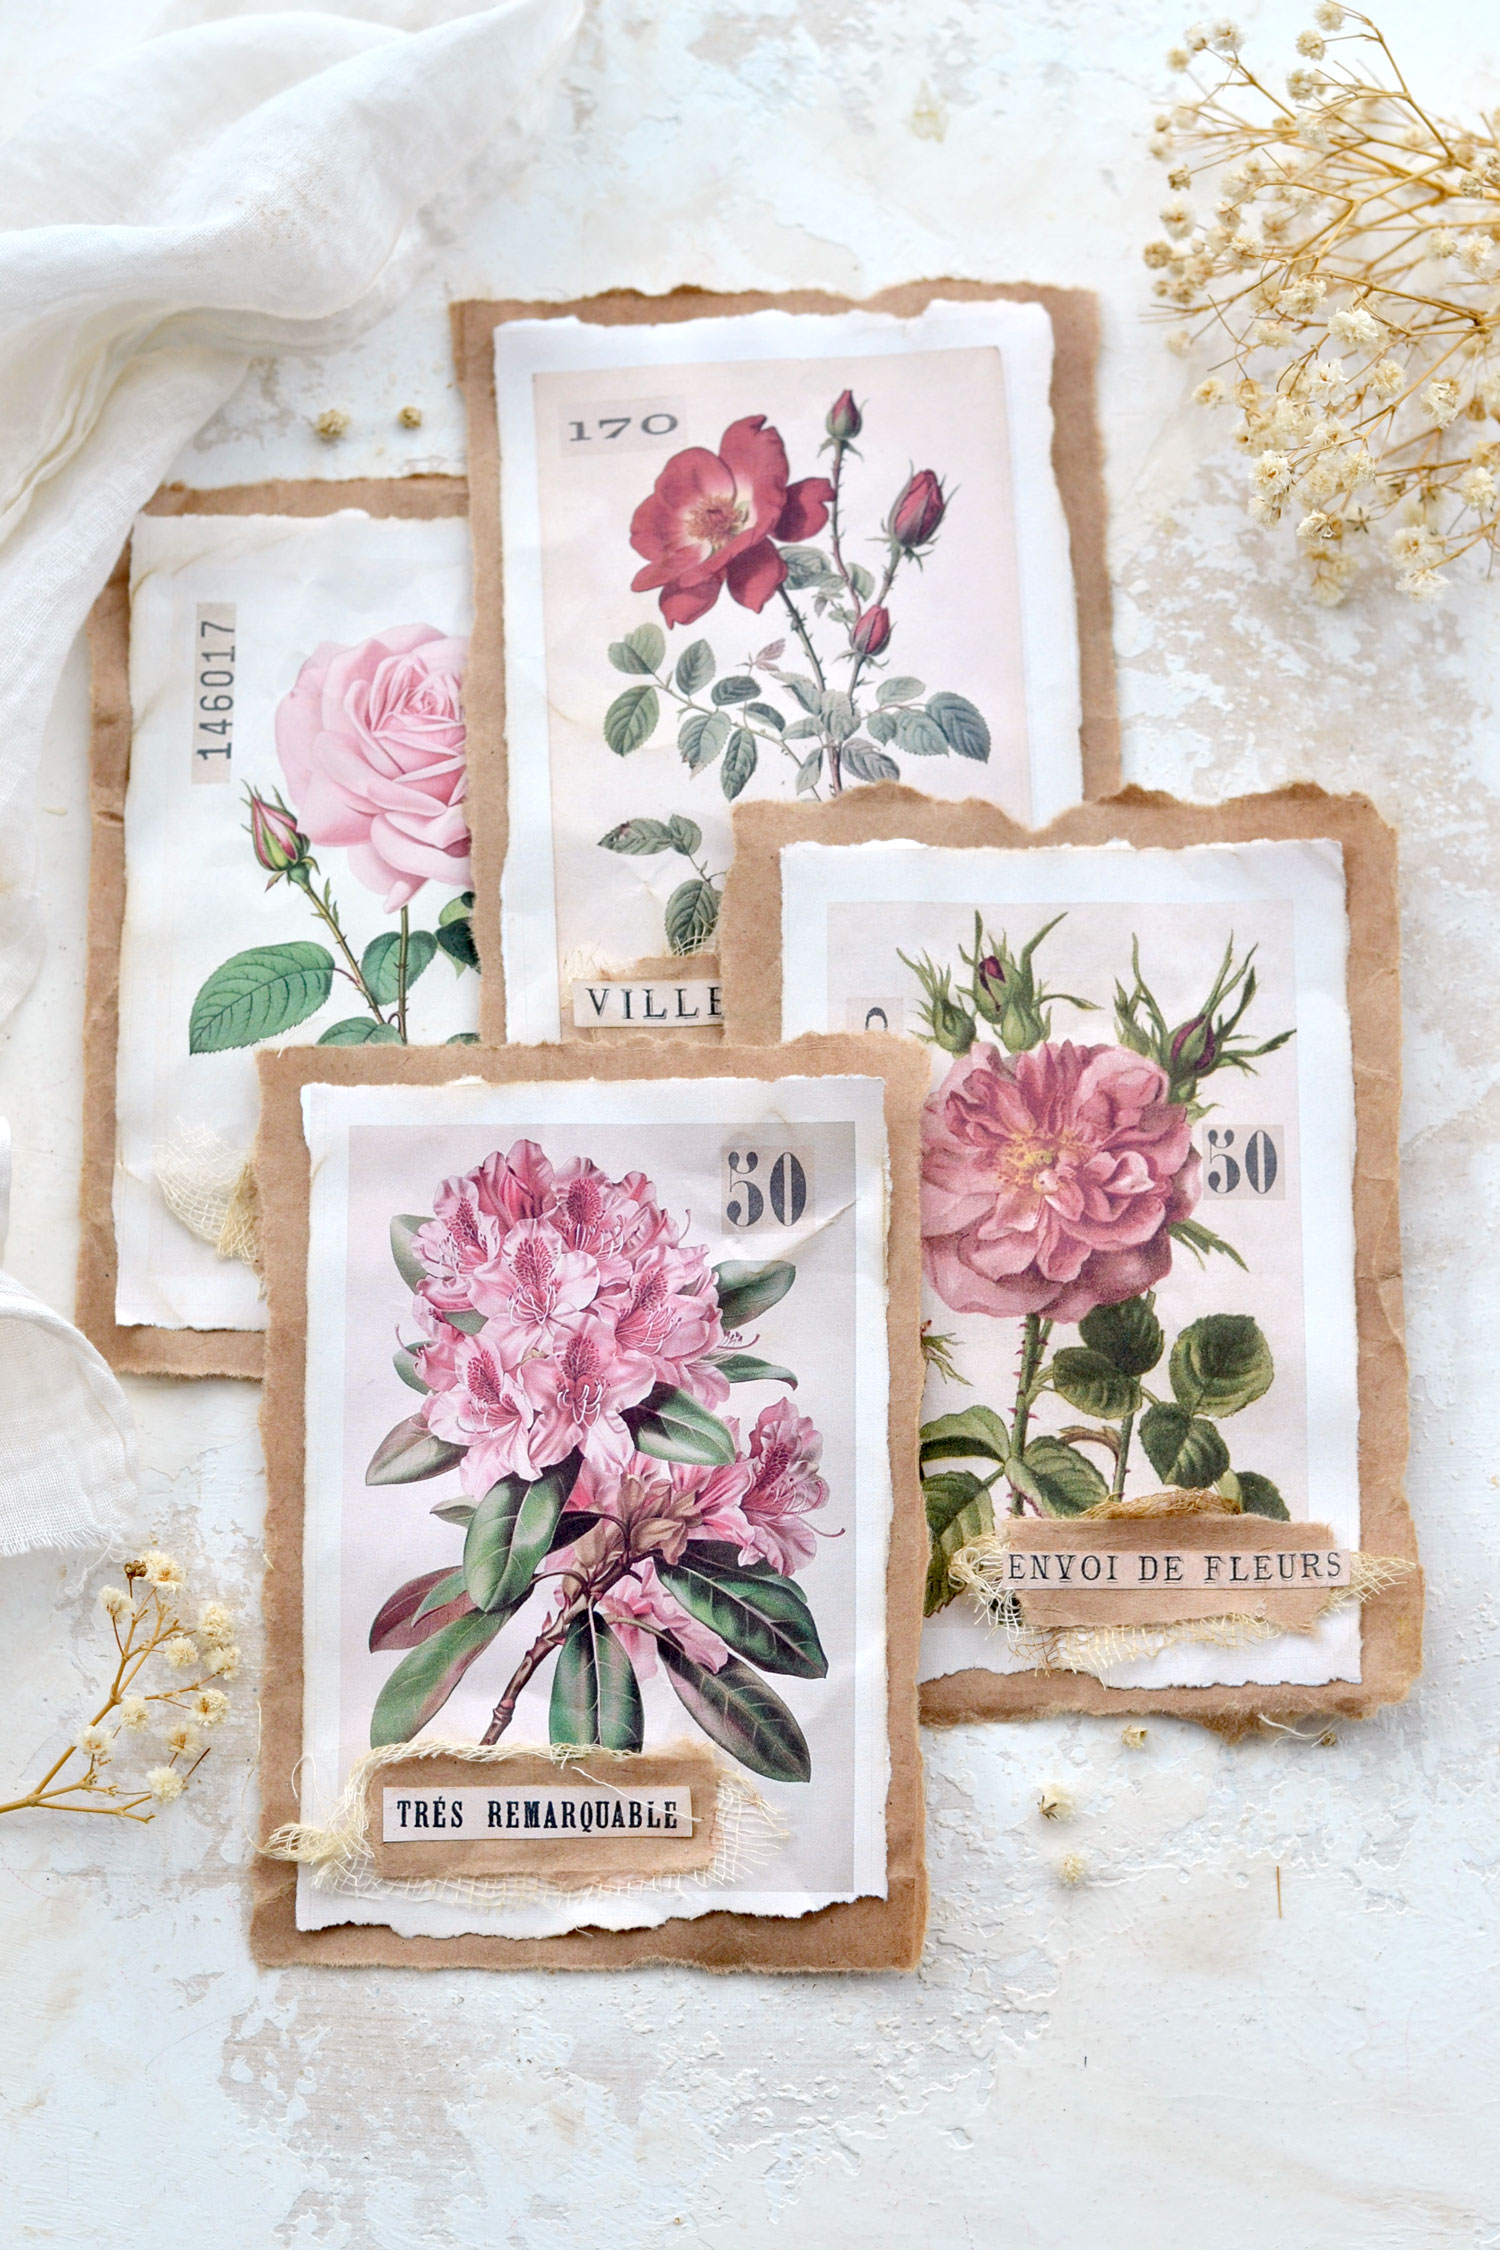
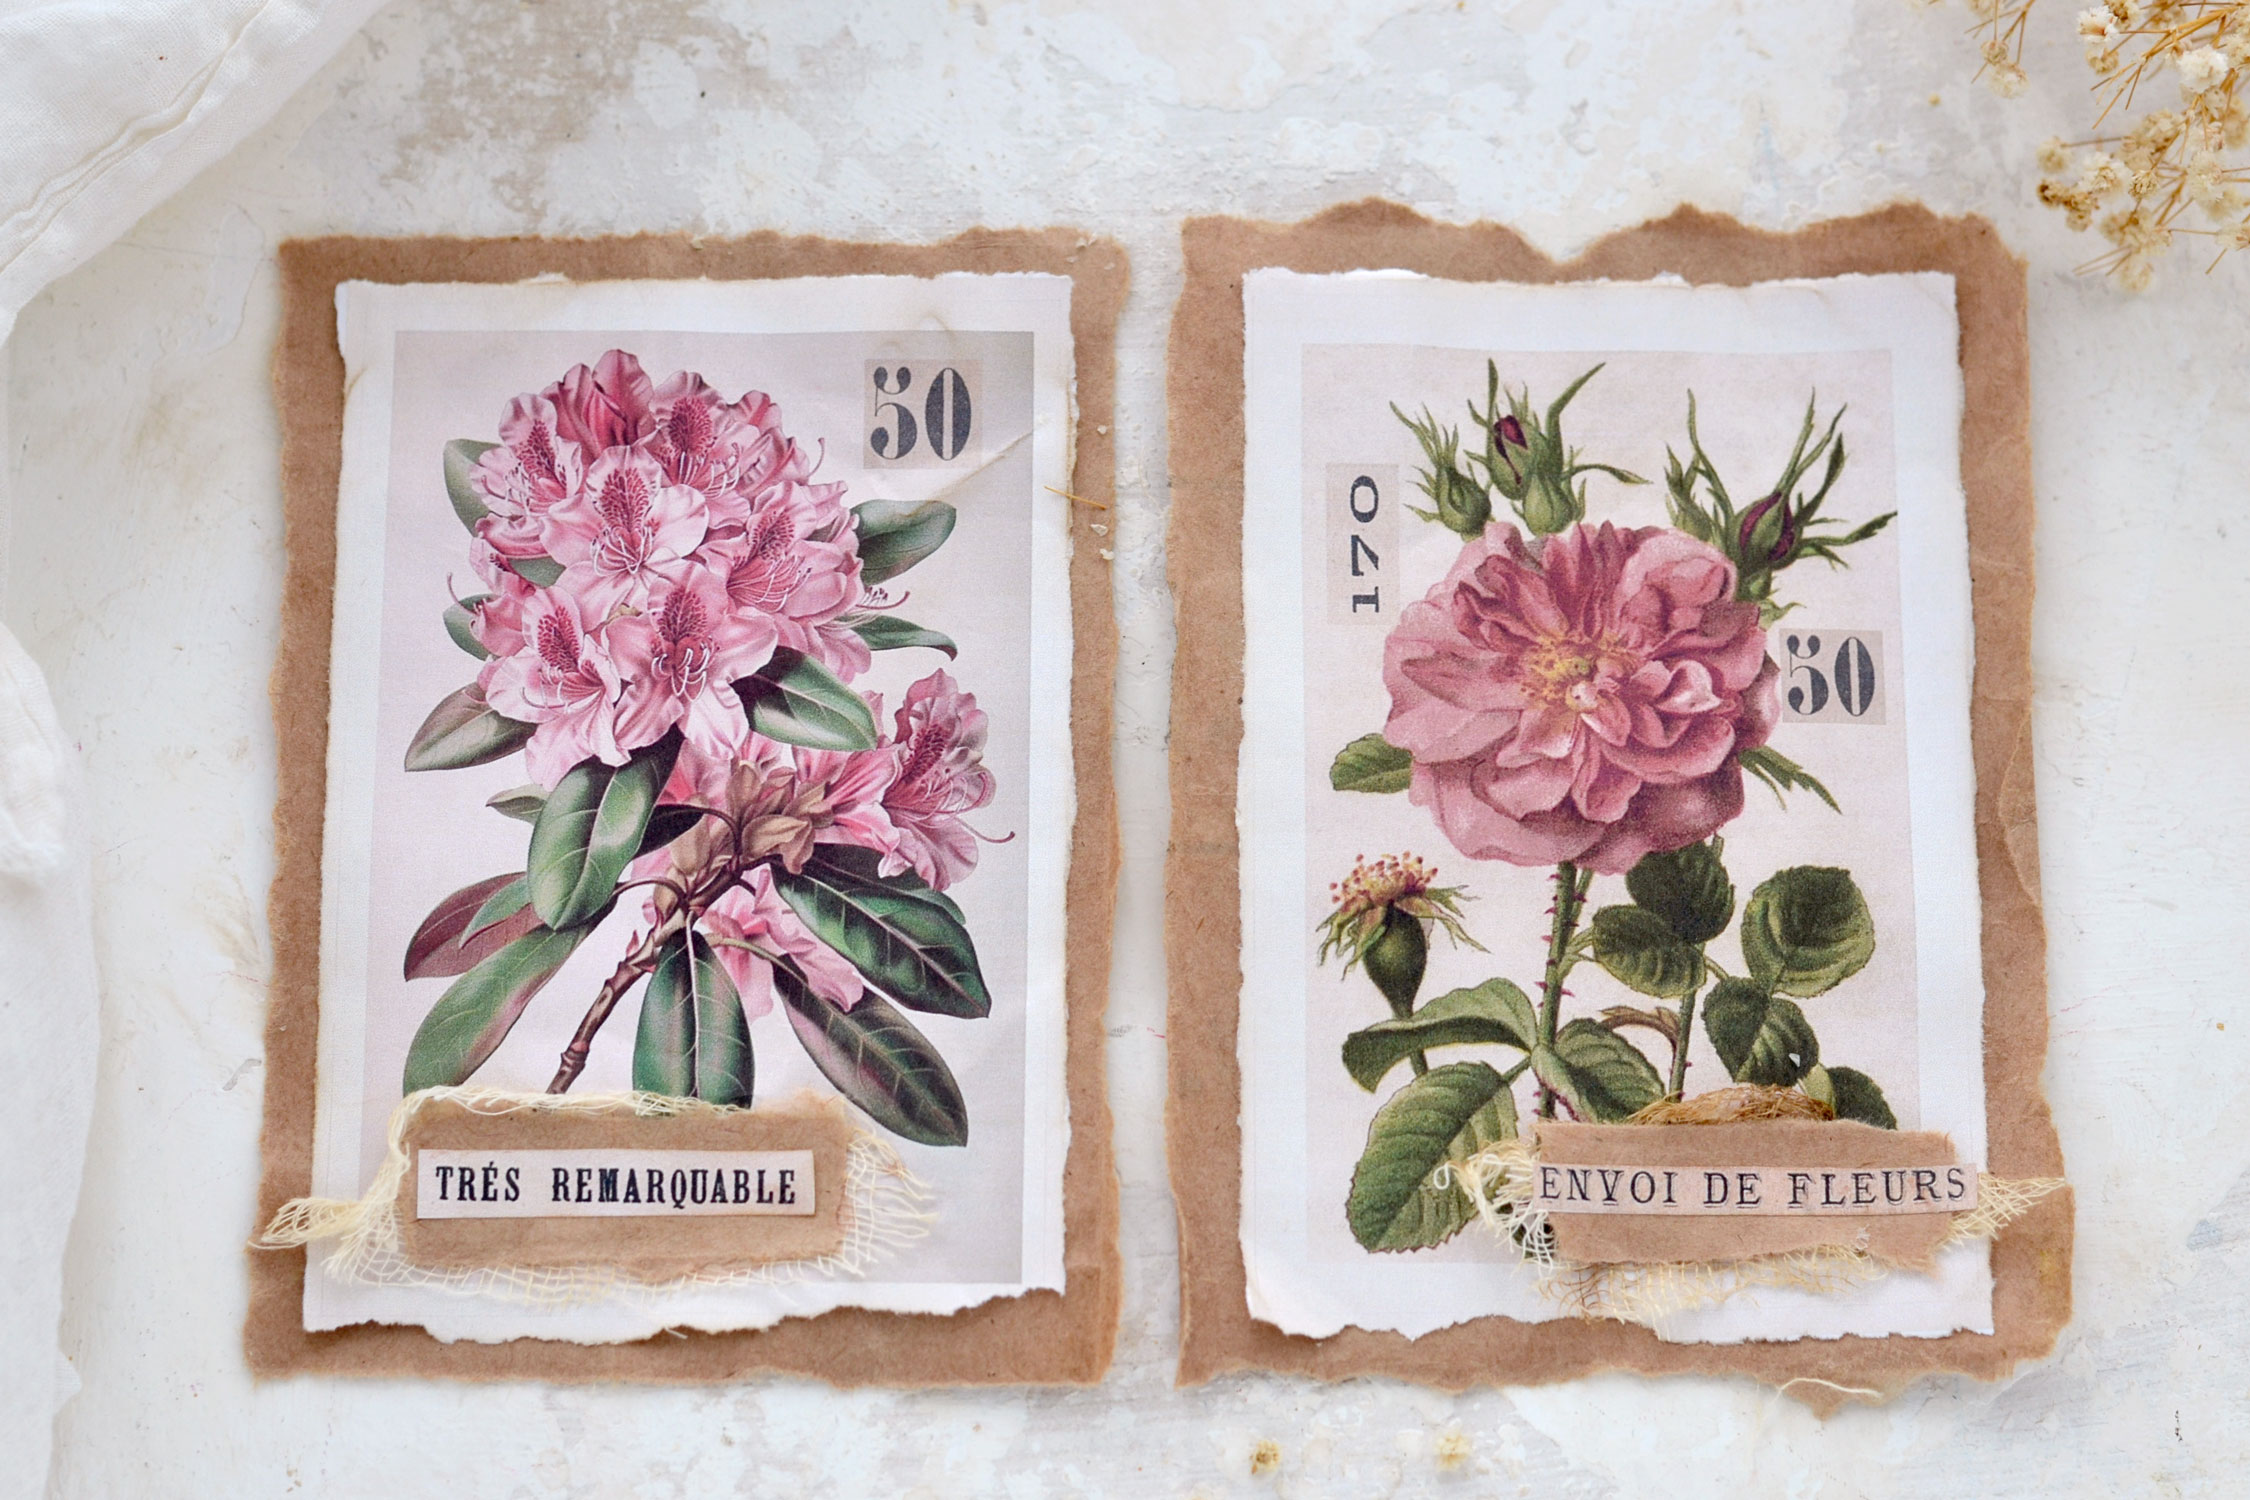
I hand-picked all these lovely flower images from the vast digital garden that we have here at The Graphics Fairy. One image is more beautiful than the other, I’m sure you will love them all, just as I did! I chose a pastel pink rose, a wild pink rose, a red rose and a pink rhododendron image, I thought they all looked simply stunning together!
I added small frames to all the flower images to add more dimension and make the design more intriguing. I also included a few French ephemera cutouts that you can use on your cards, I think they will add that touch of whimsy that will make our cards even more adorable. You can save the printable on your computer and print it as many times as you want!
Free Printable:
—-> Click HERE to Download the Full Size Printable PDF <—-
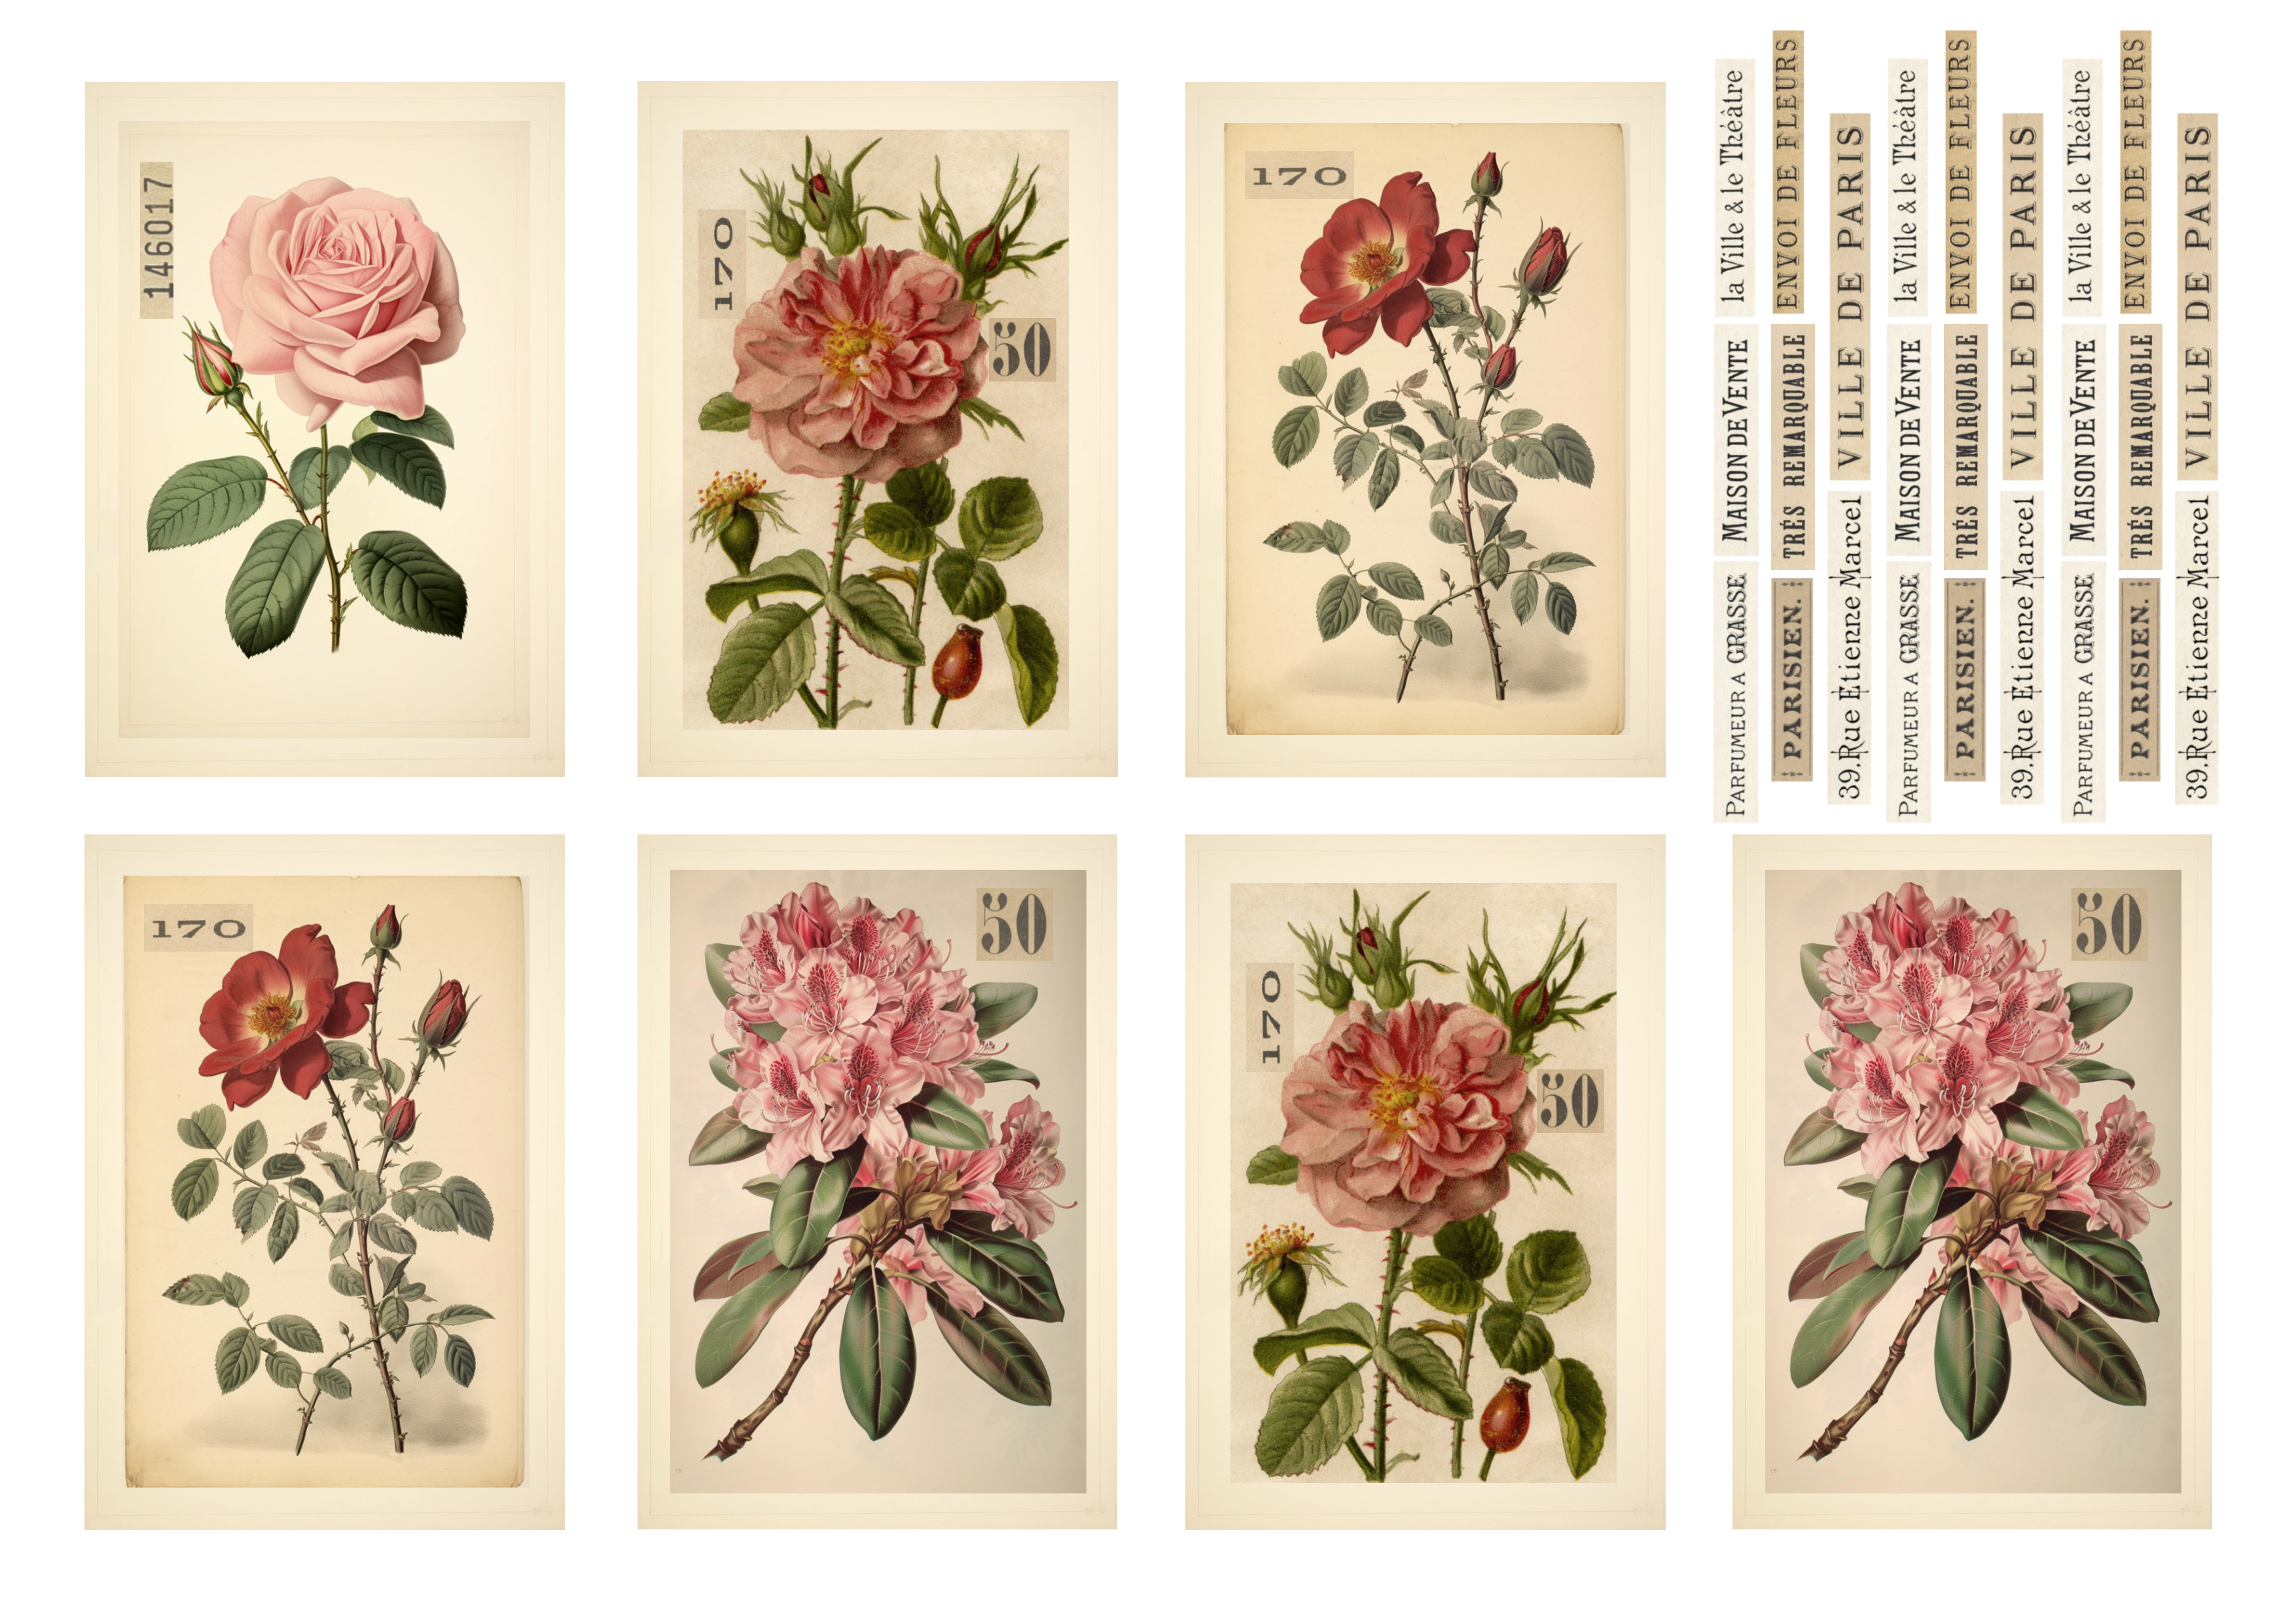
I envisioned these lovely flower cards to be quite large, but after photographing the project I thought it would be fun to also share a smaller version of these beauties. So here it is, you can find it below, just save this one on your computer too, and print it as many times as you want!
—-> Click HERE to Download the Full Size Printable PDF <—-
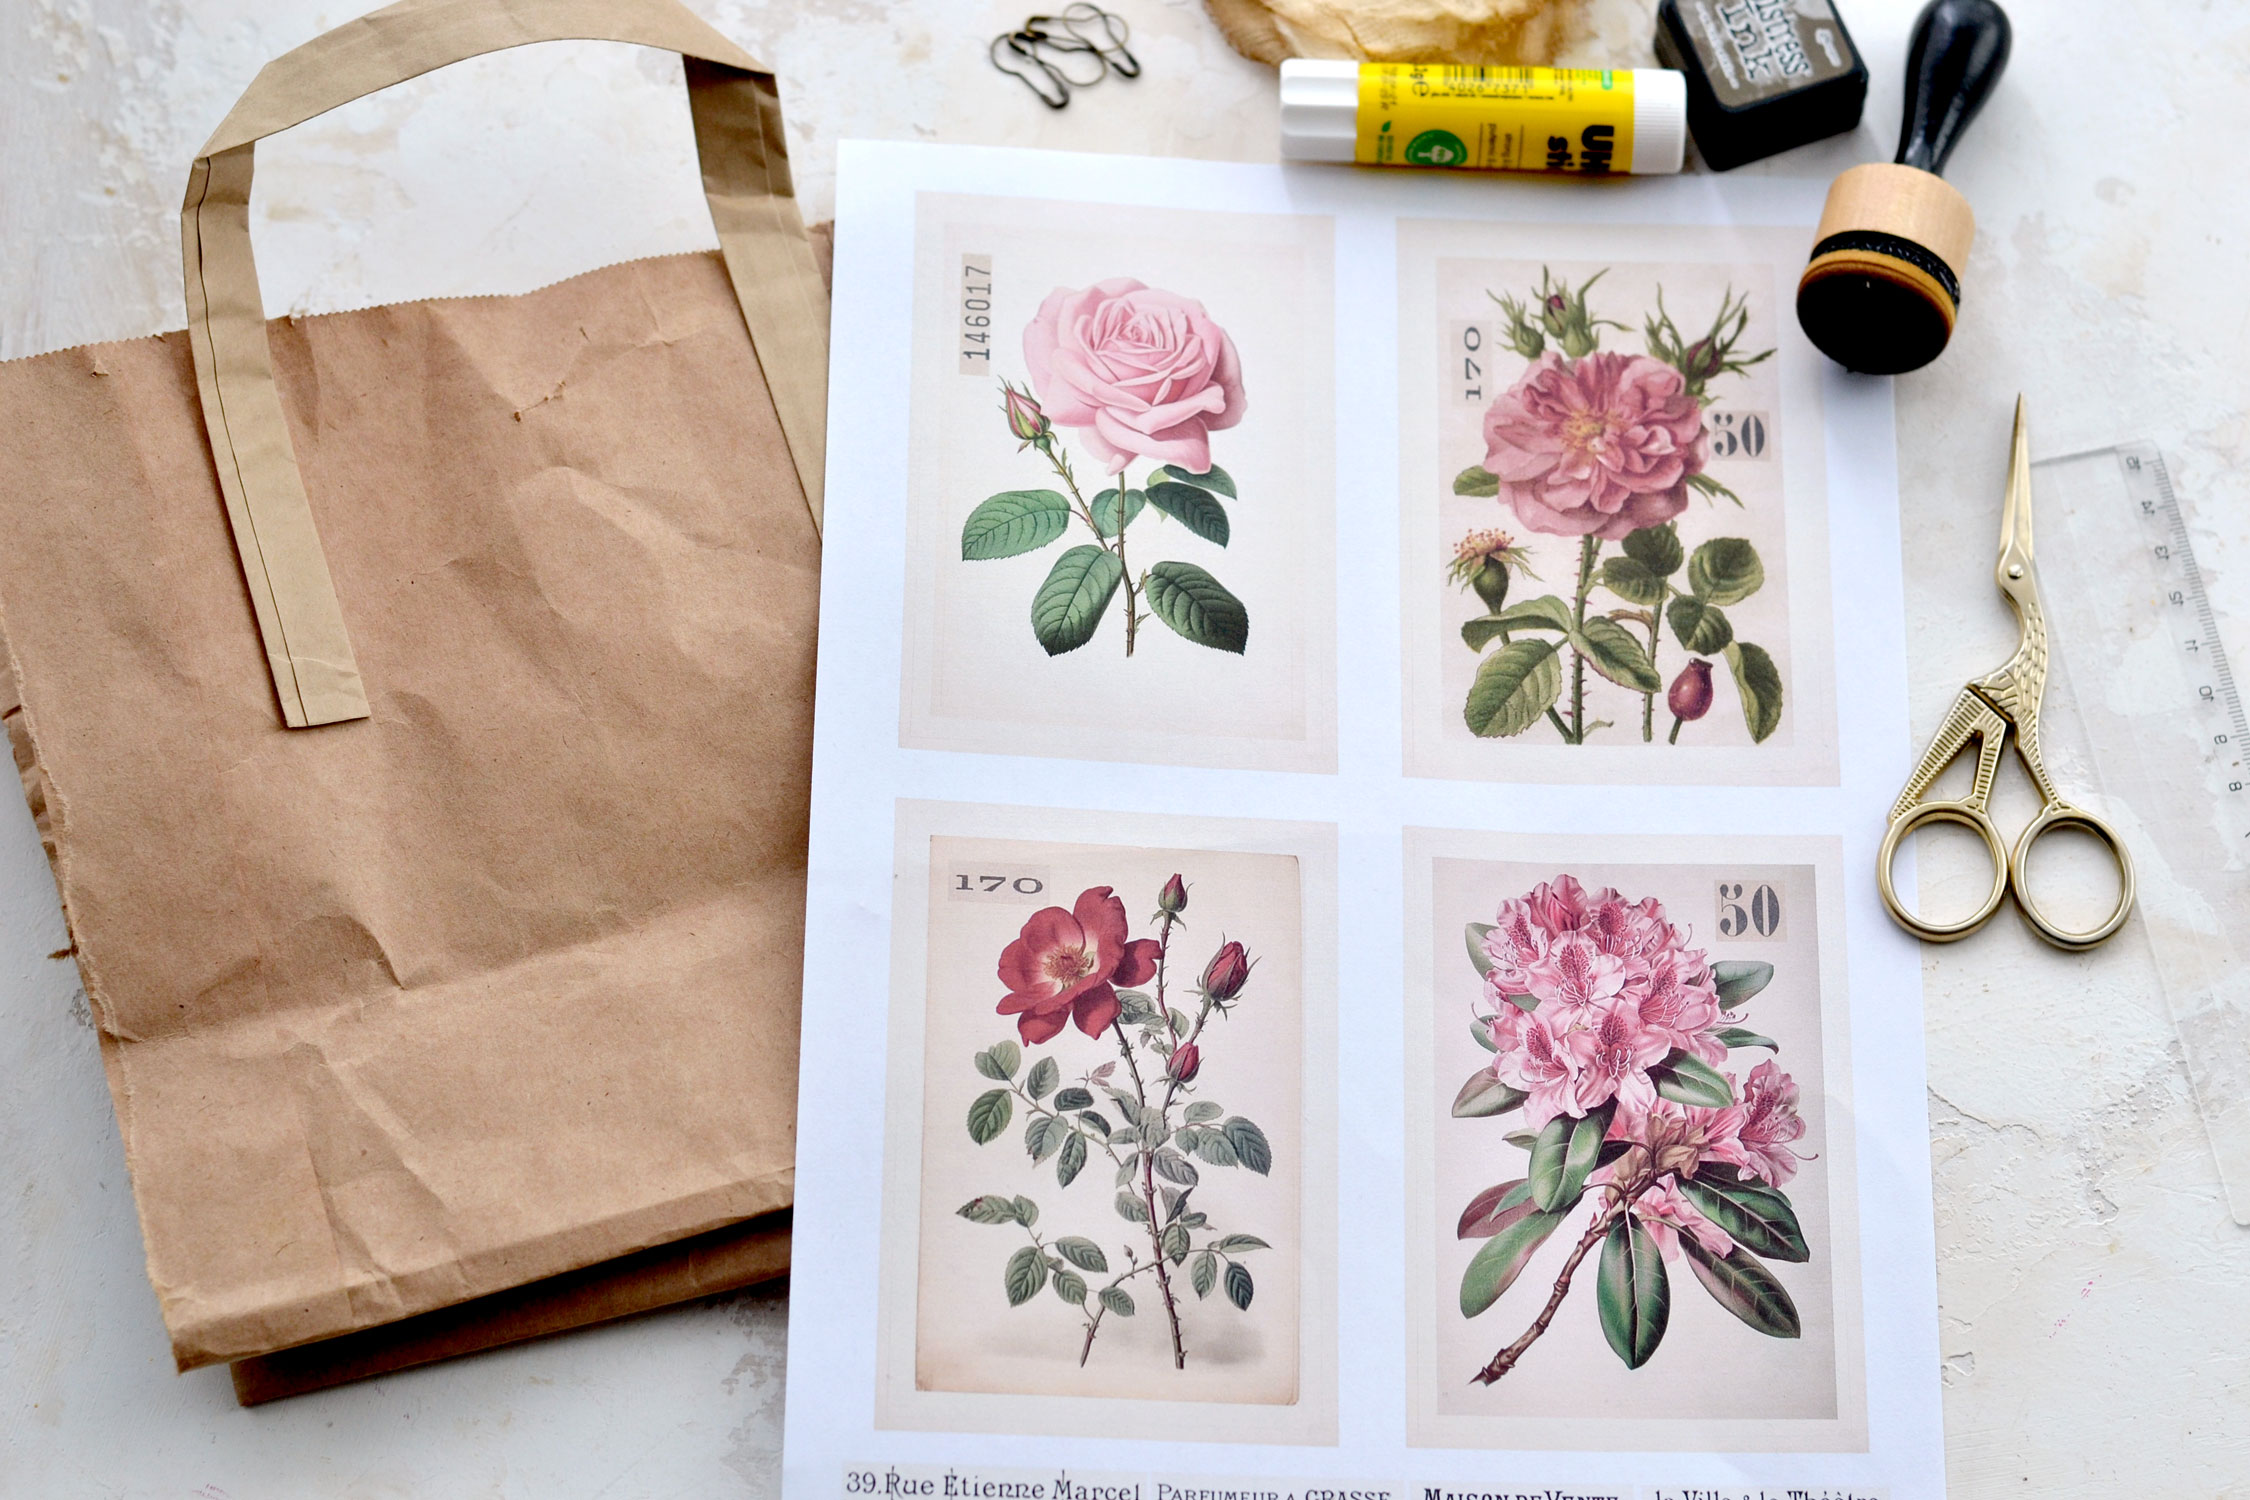
Supply List for Paper Bag Flower Cards:
- white cardstock paper or regular paper
- home printer
- brown paper bags
- scissors
- mini distress inks
- blending tool with foams
- paper glue
- scrap pieces of gauze or cheesecloth
- plastic sheet (to protect your working surface)
Tutorial:
Print your printable on cardstock or regular paper. I went with regular paper because I thought it would be easier to tear and age the paper afterward, but you can choose the paper according to your preferences.
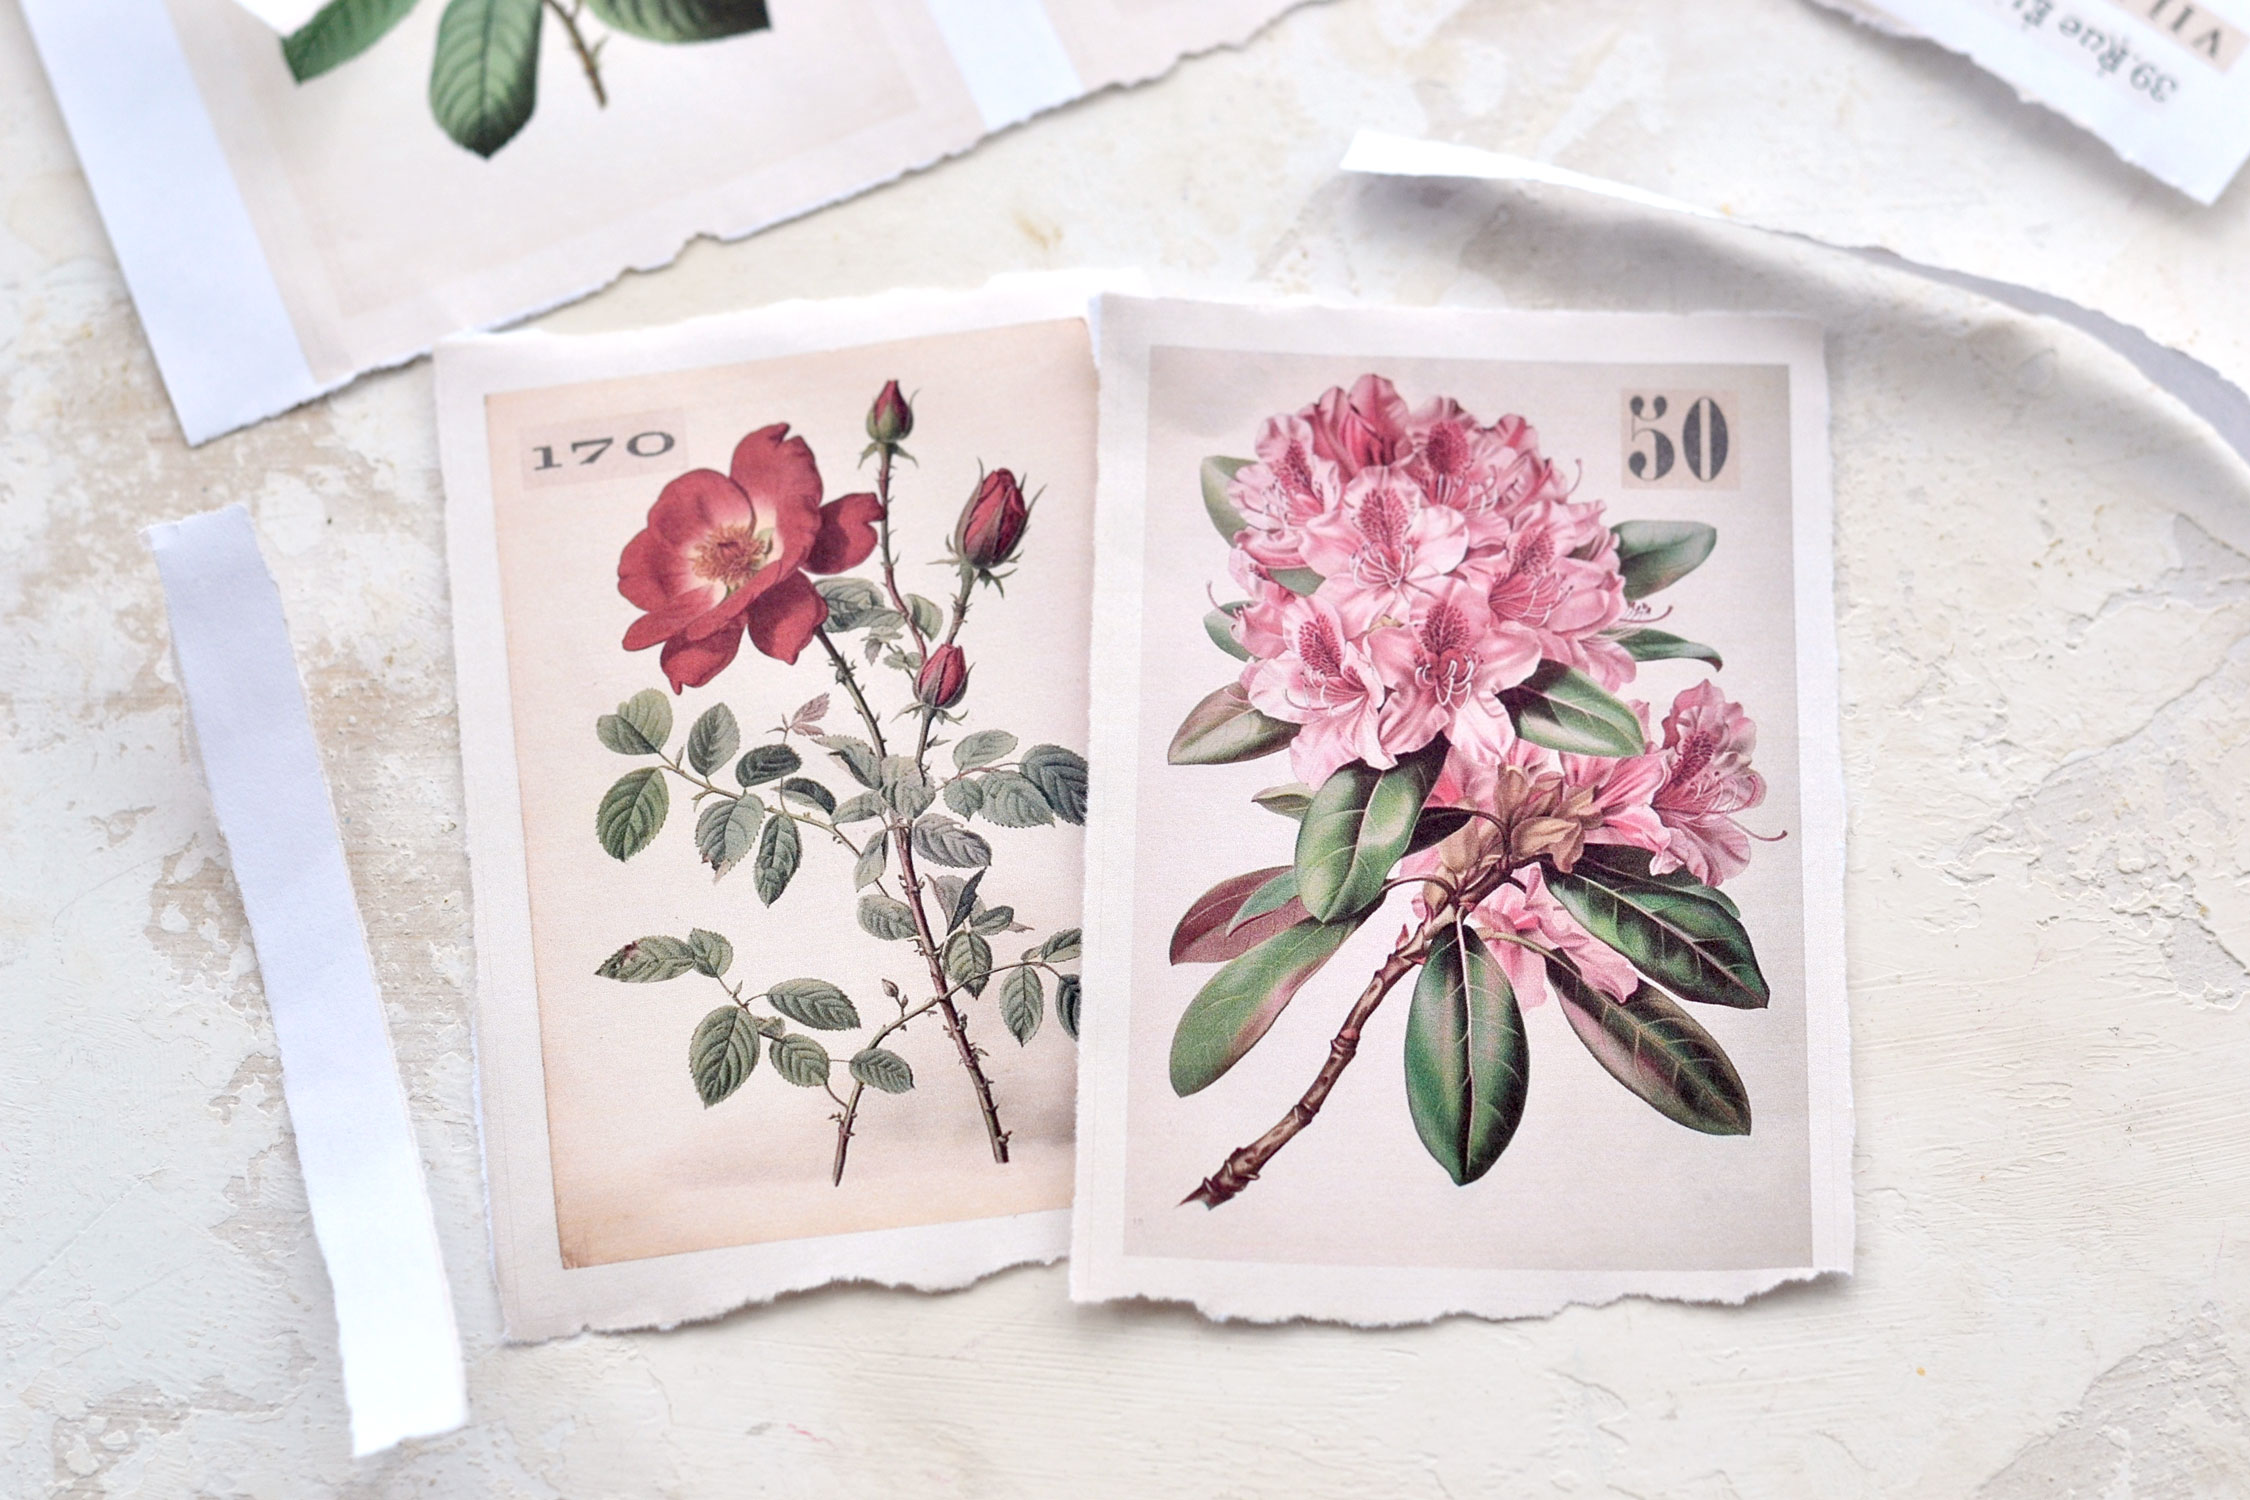
The first thing you need to do after printing the printable is to decide whether you want to cut or tear the cards. You can use our scissors to cut them if you want to create a more put-together, sharper look. I envisioned these to have more of a deckled look, so I’ve decided to tear them instead of cutting them. Fold the paper using the frames around the flowers as guidance, then simply tear the paper. I noticed that if you fold the paper and only lightly press with your fingers you will be able to get more irregular tears.
I loved this not-so-perfect look, so I lightly folded the paper and tore all the cards all this way.
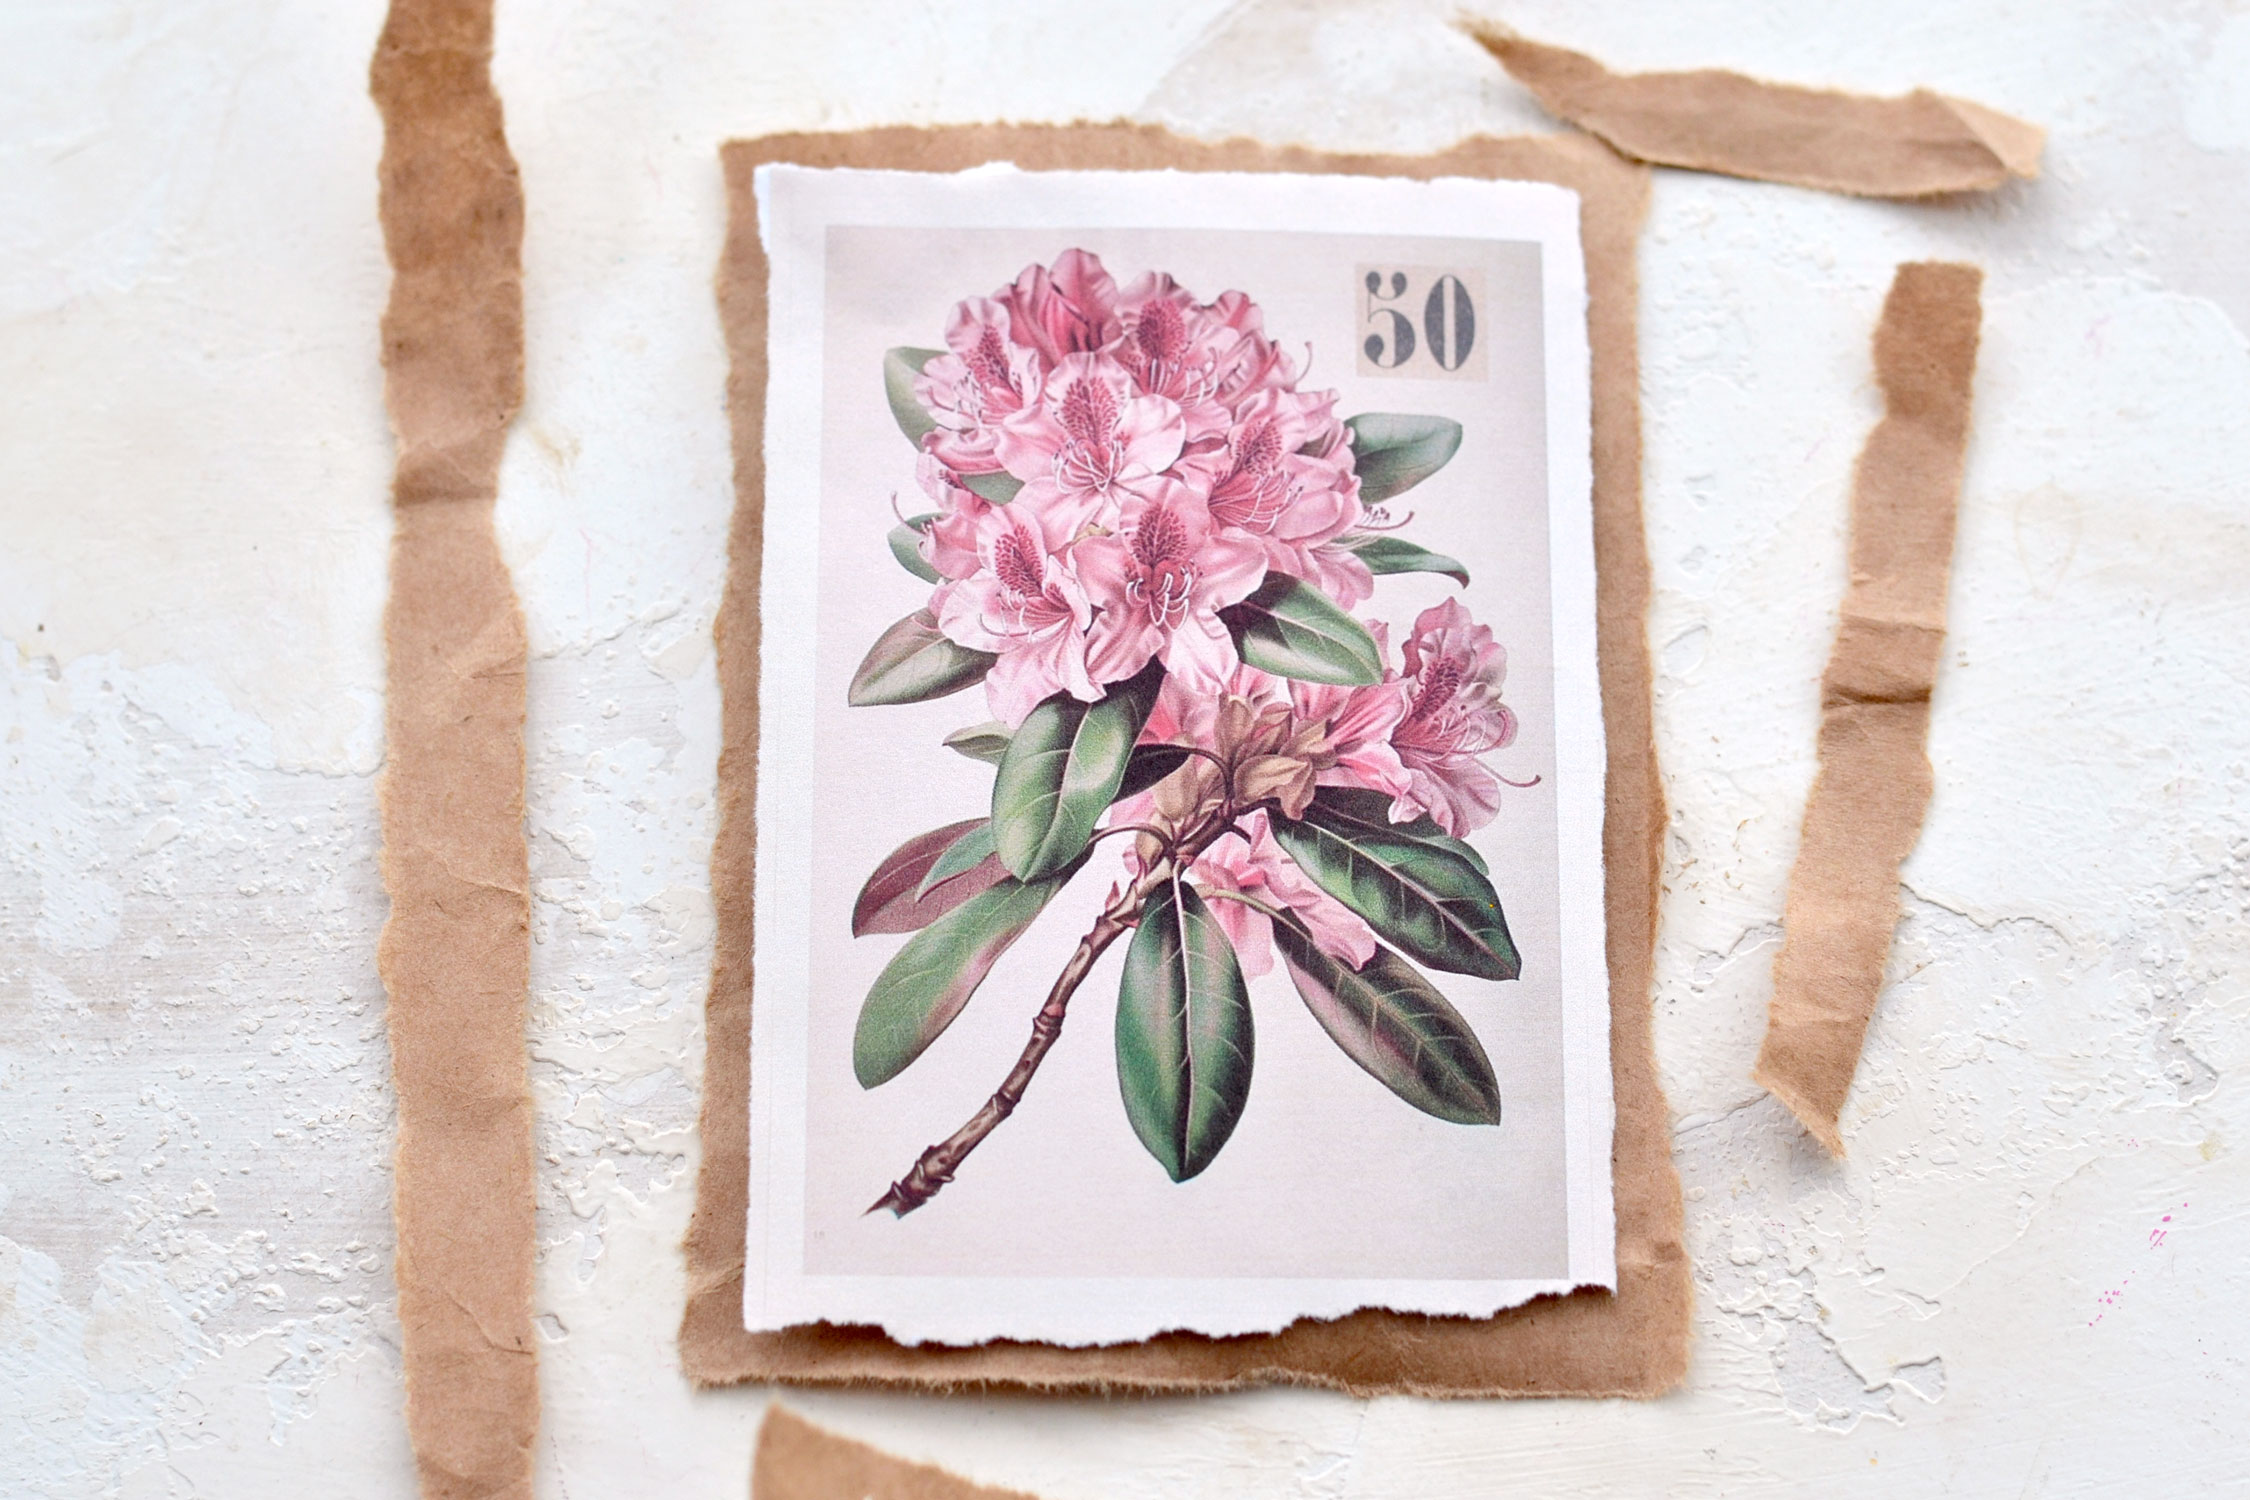
You can then move on to tearing the brown paper following the same technique. Simply place a flower card on top of a larger piece of brown paper and fold the brown paper while also leaving a little bit of a border on the edges., then tear the brown paper.
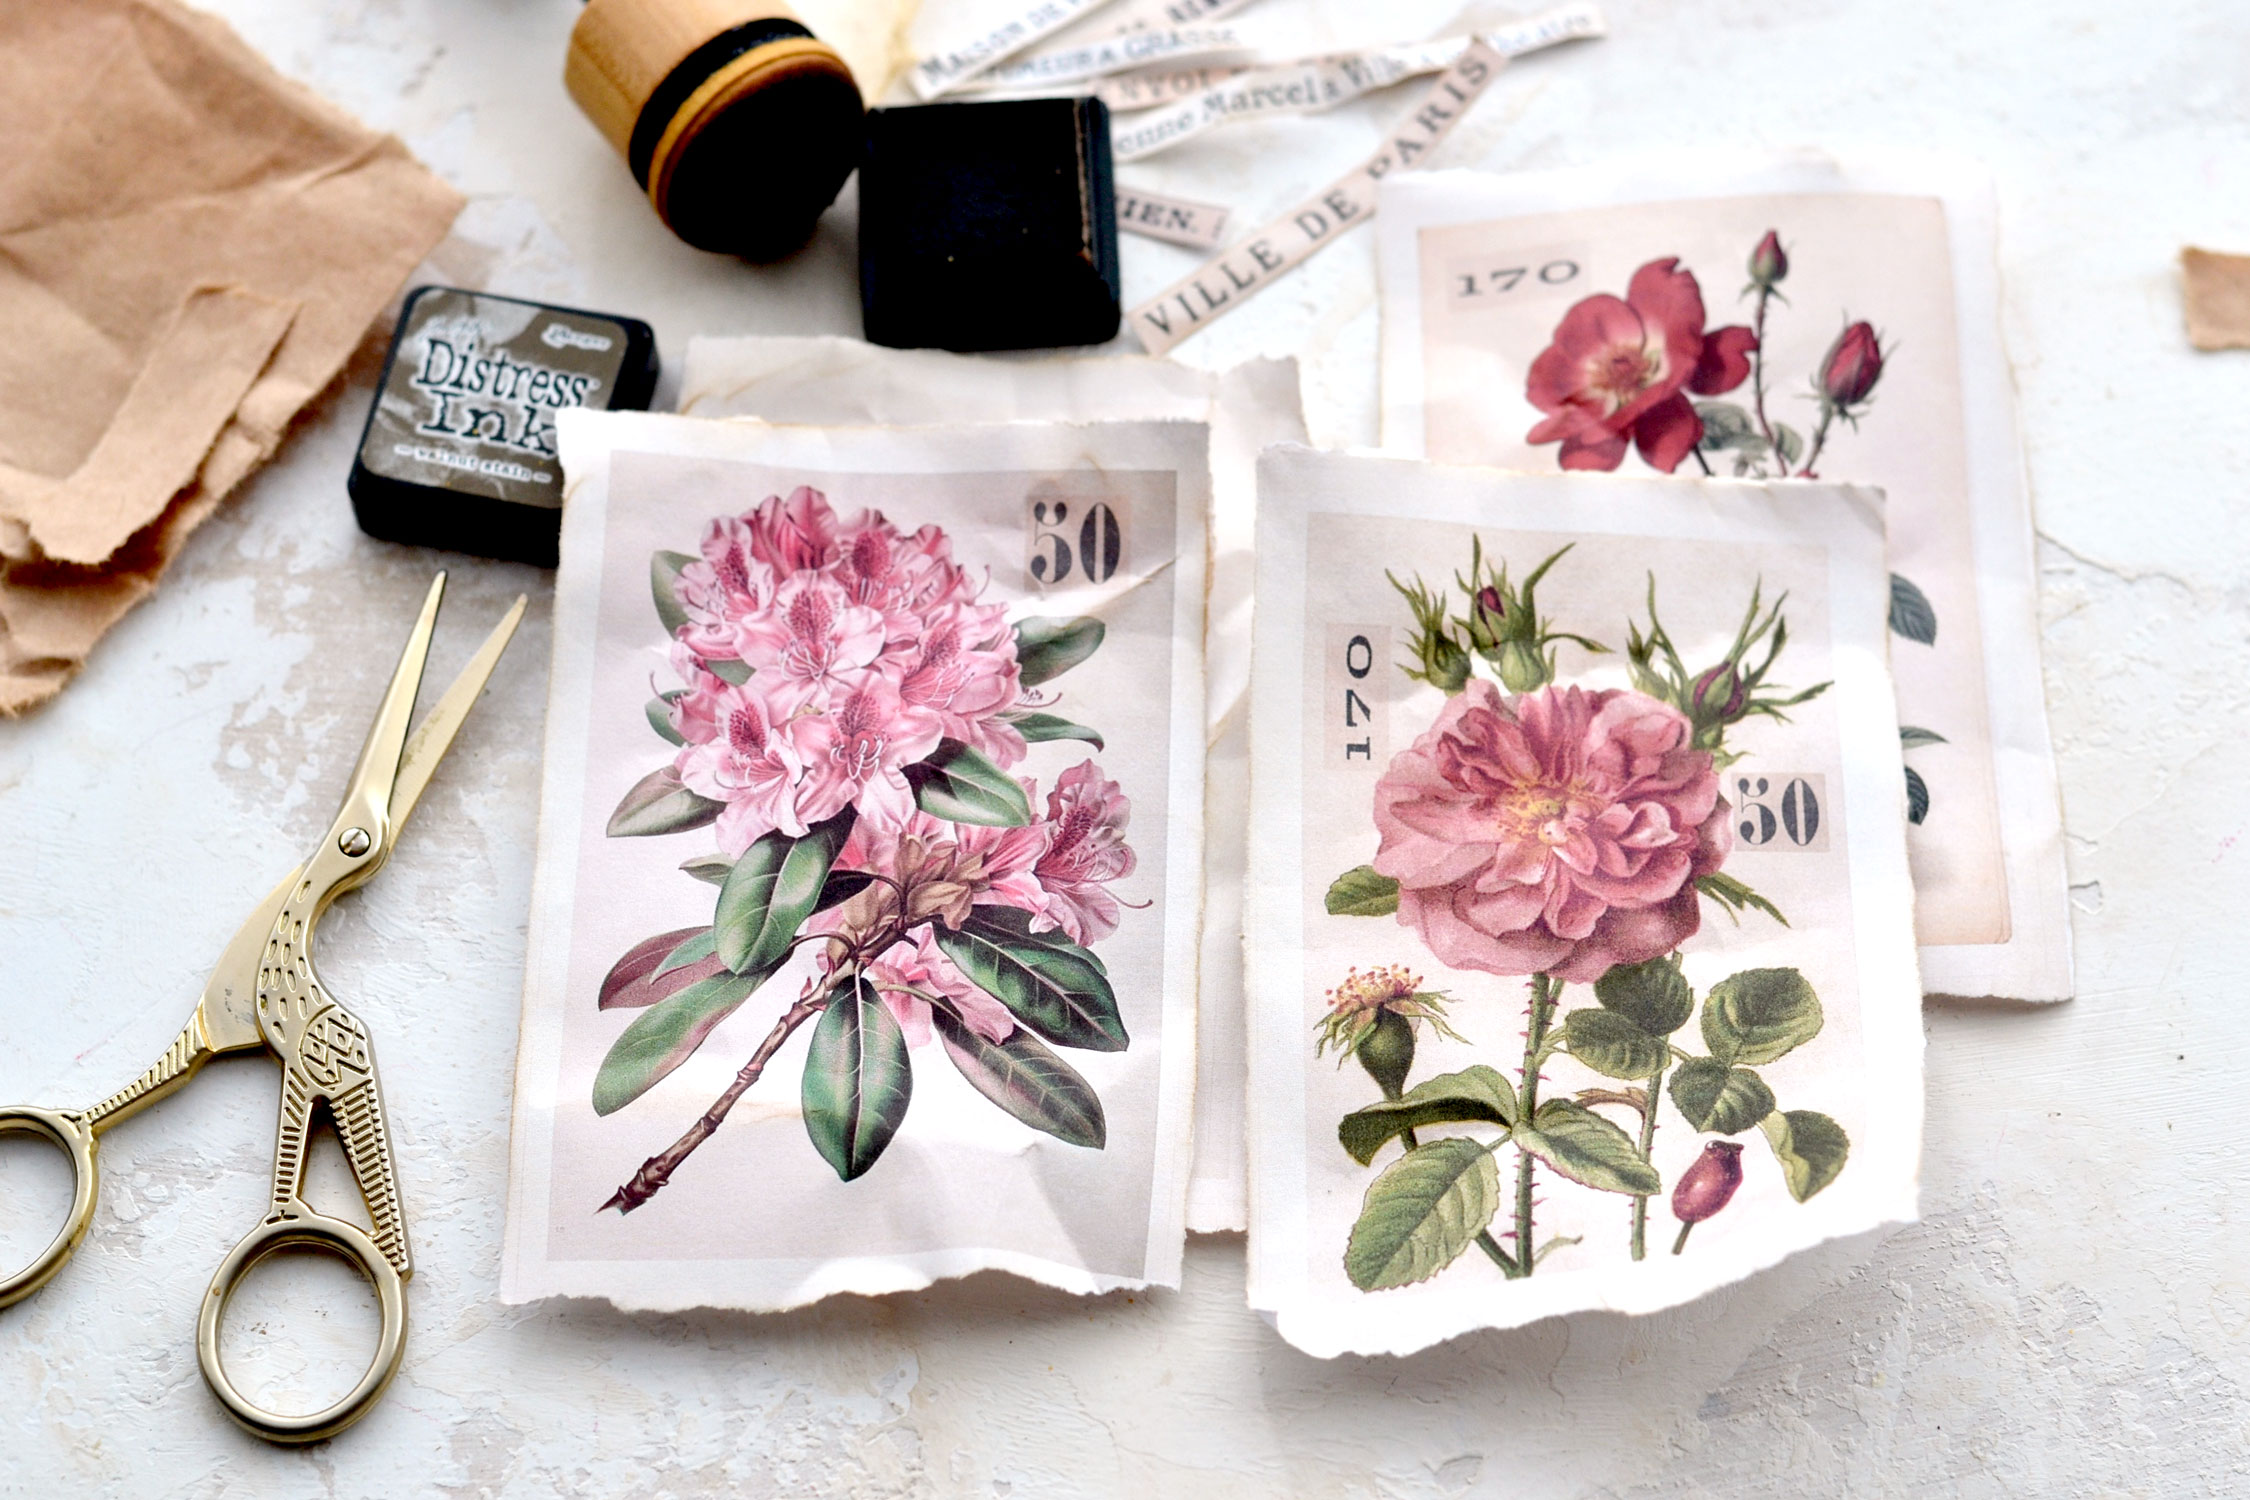
Use distress ink to lightly distress the flower cards on the edges. If you want to give them even more of a vintage vibe, apply more pressure while using the blending tool and let the paper bend on its own to create more wrinkles. You can even fold and then unfold the paper on the edges here and there to create more interest, the idea is to make the paper look more worn and aged.
Don’t forget to use your scissors to cut the French ephemera cutouts and also distress them at this stage.
Use paper glue to adhere each card to the brown paper backing
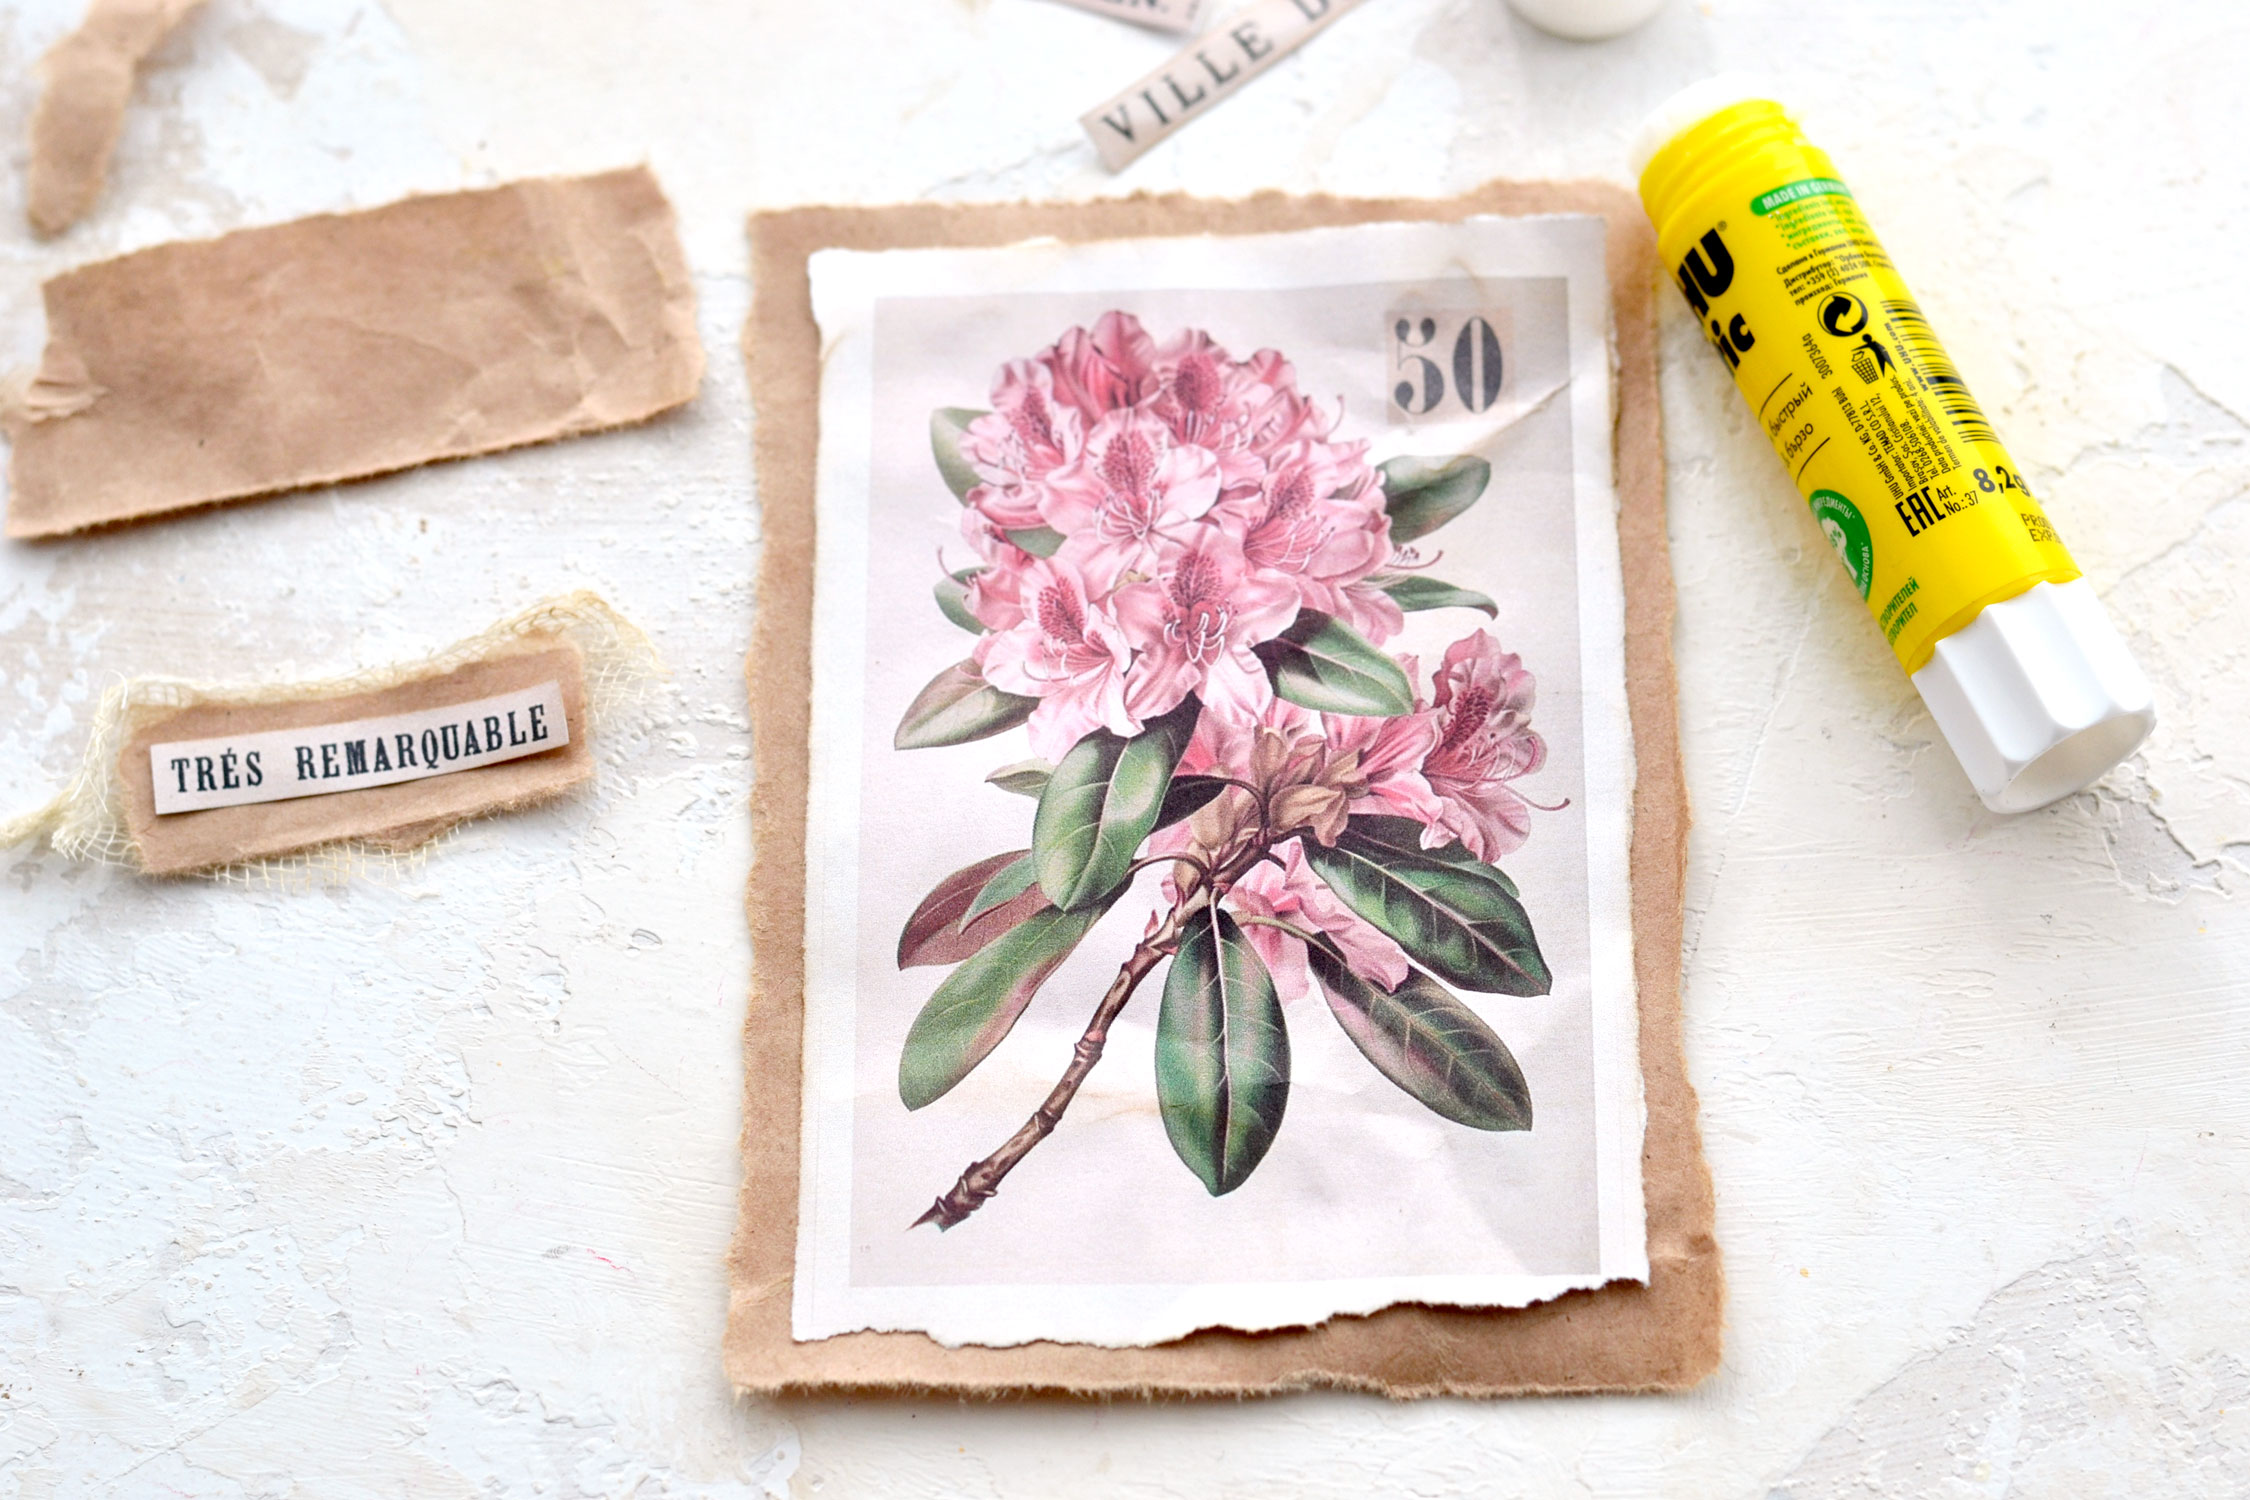
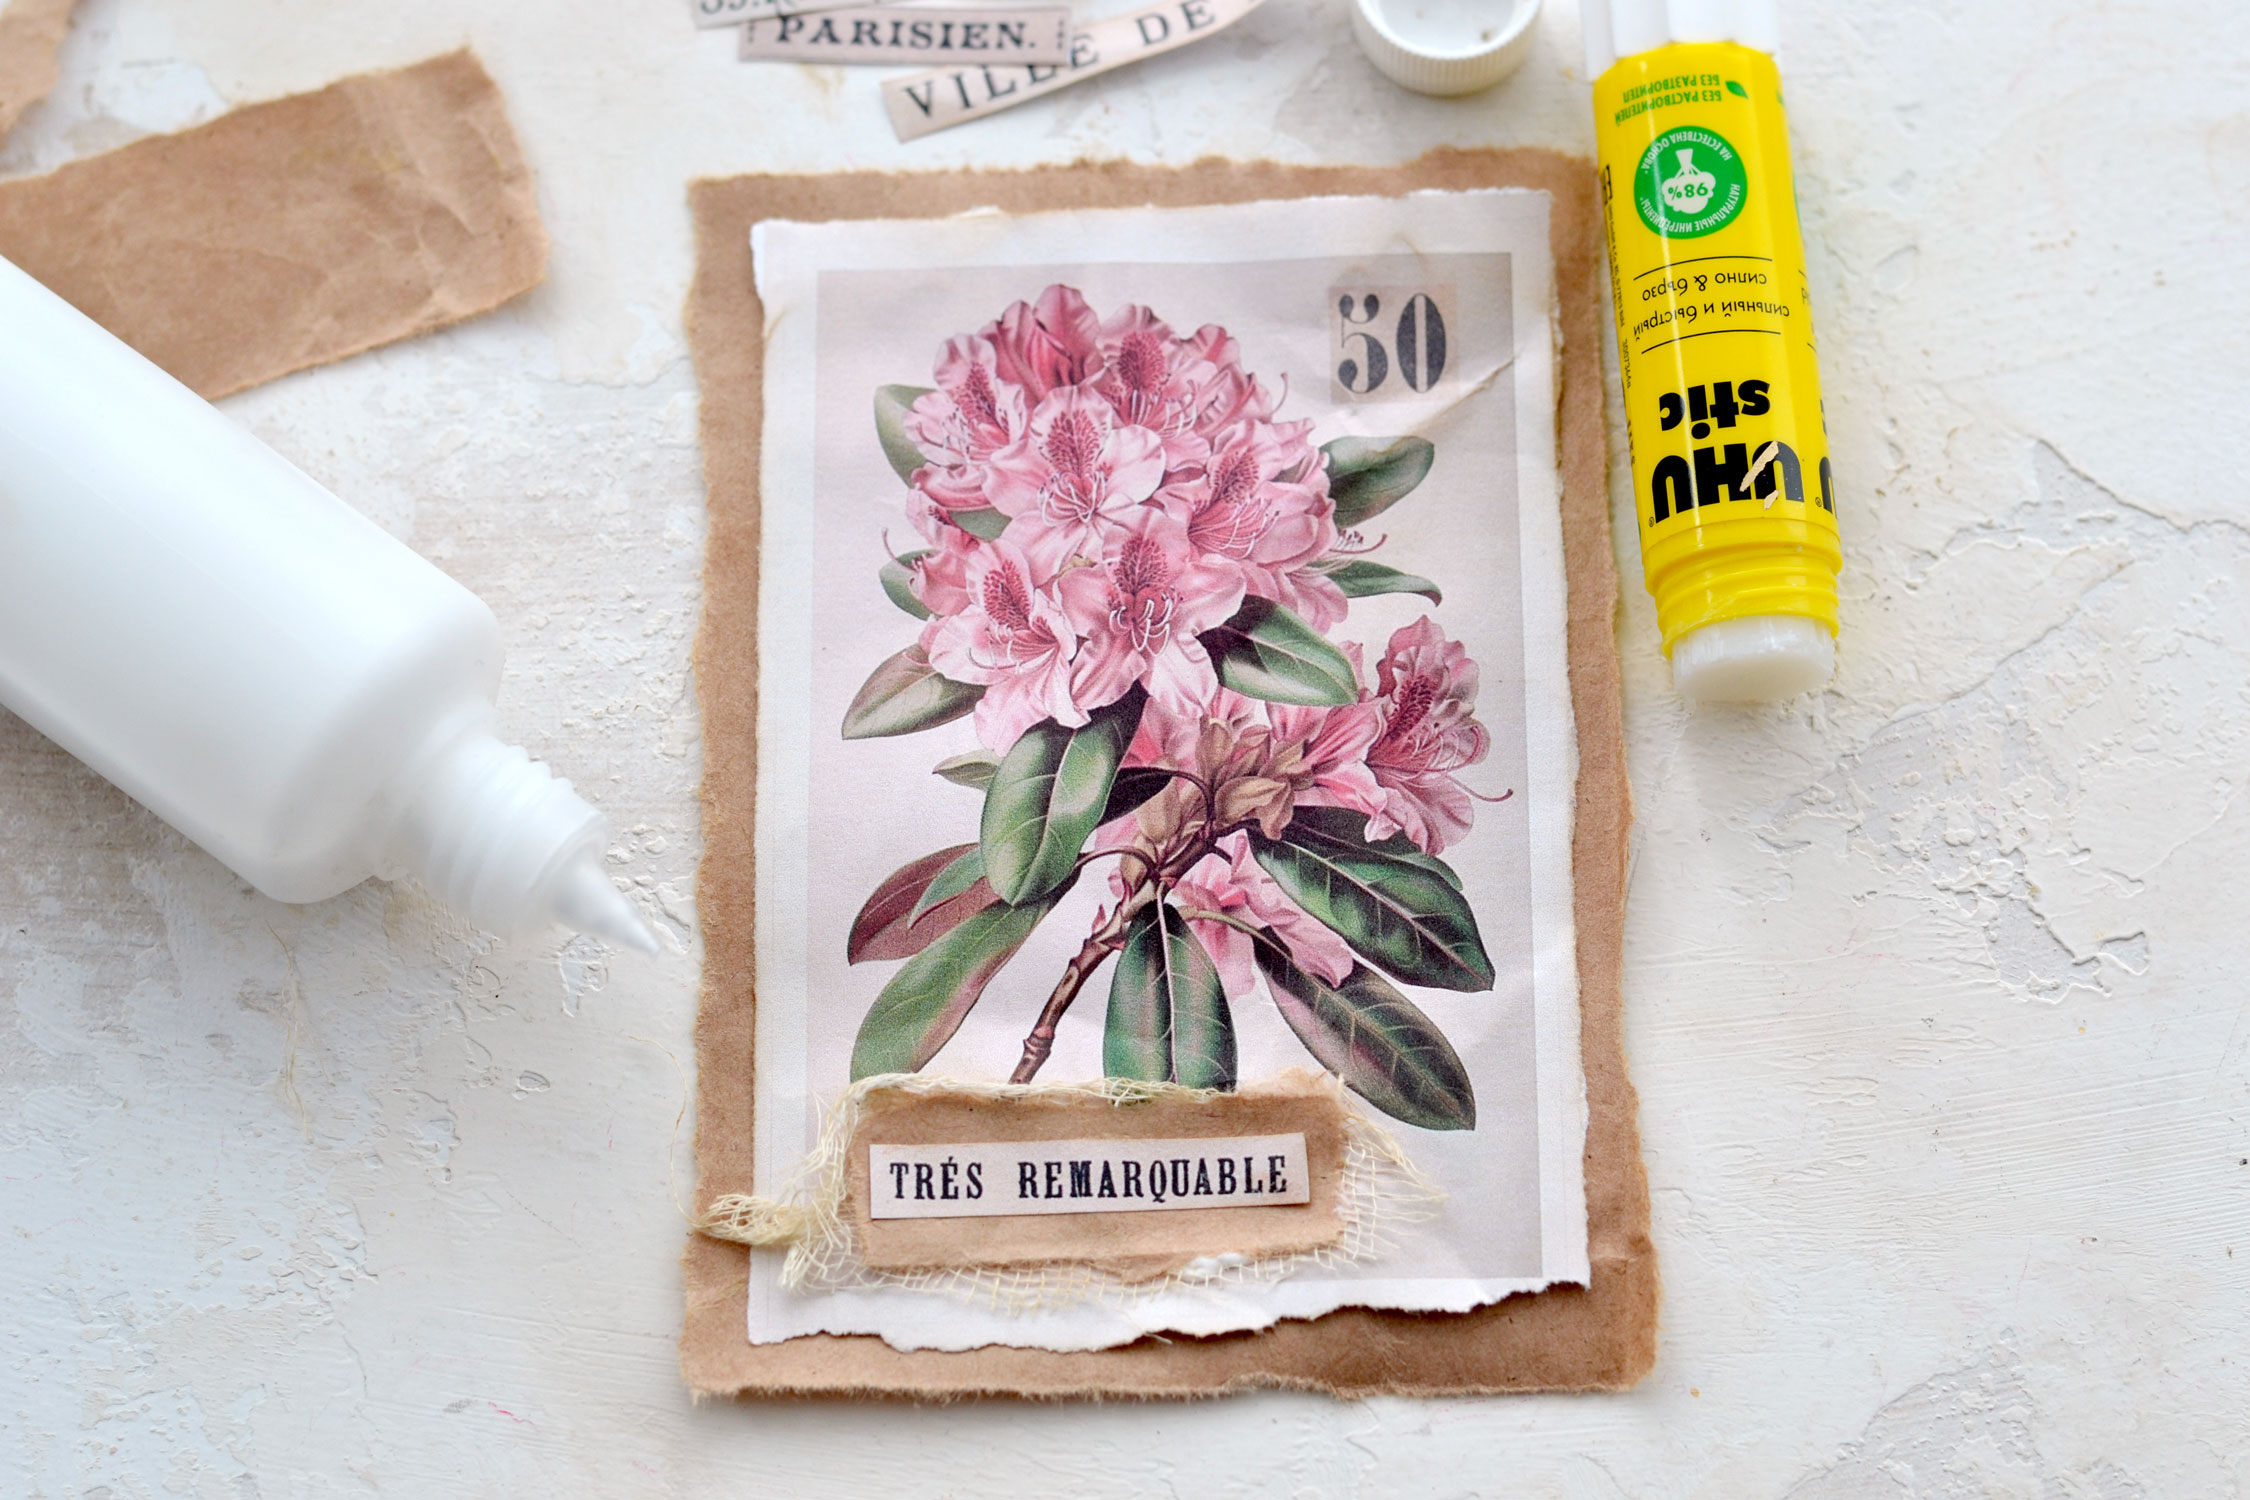
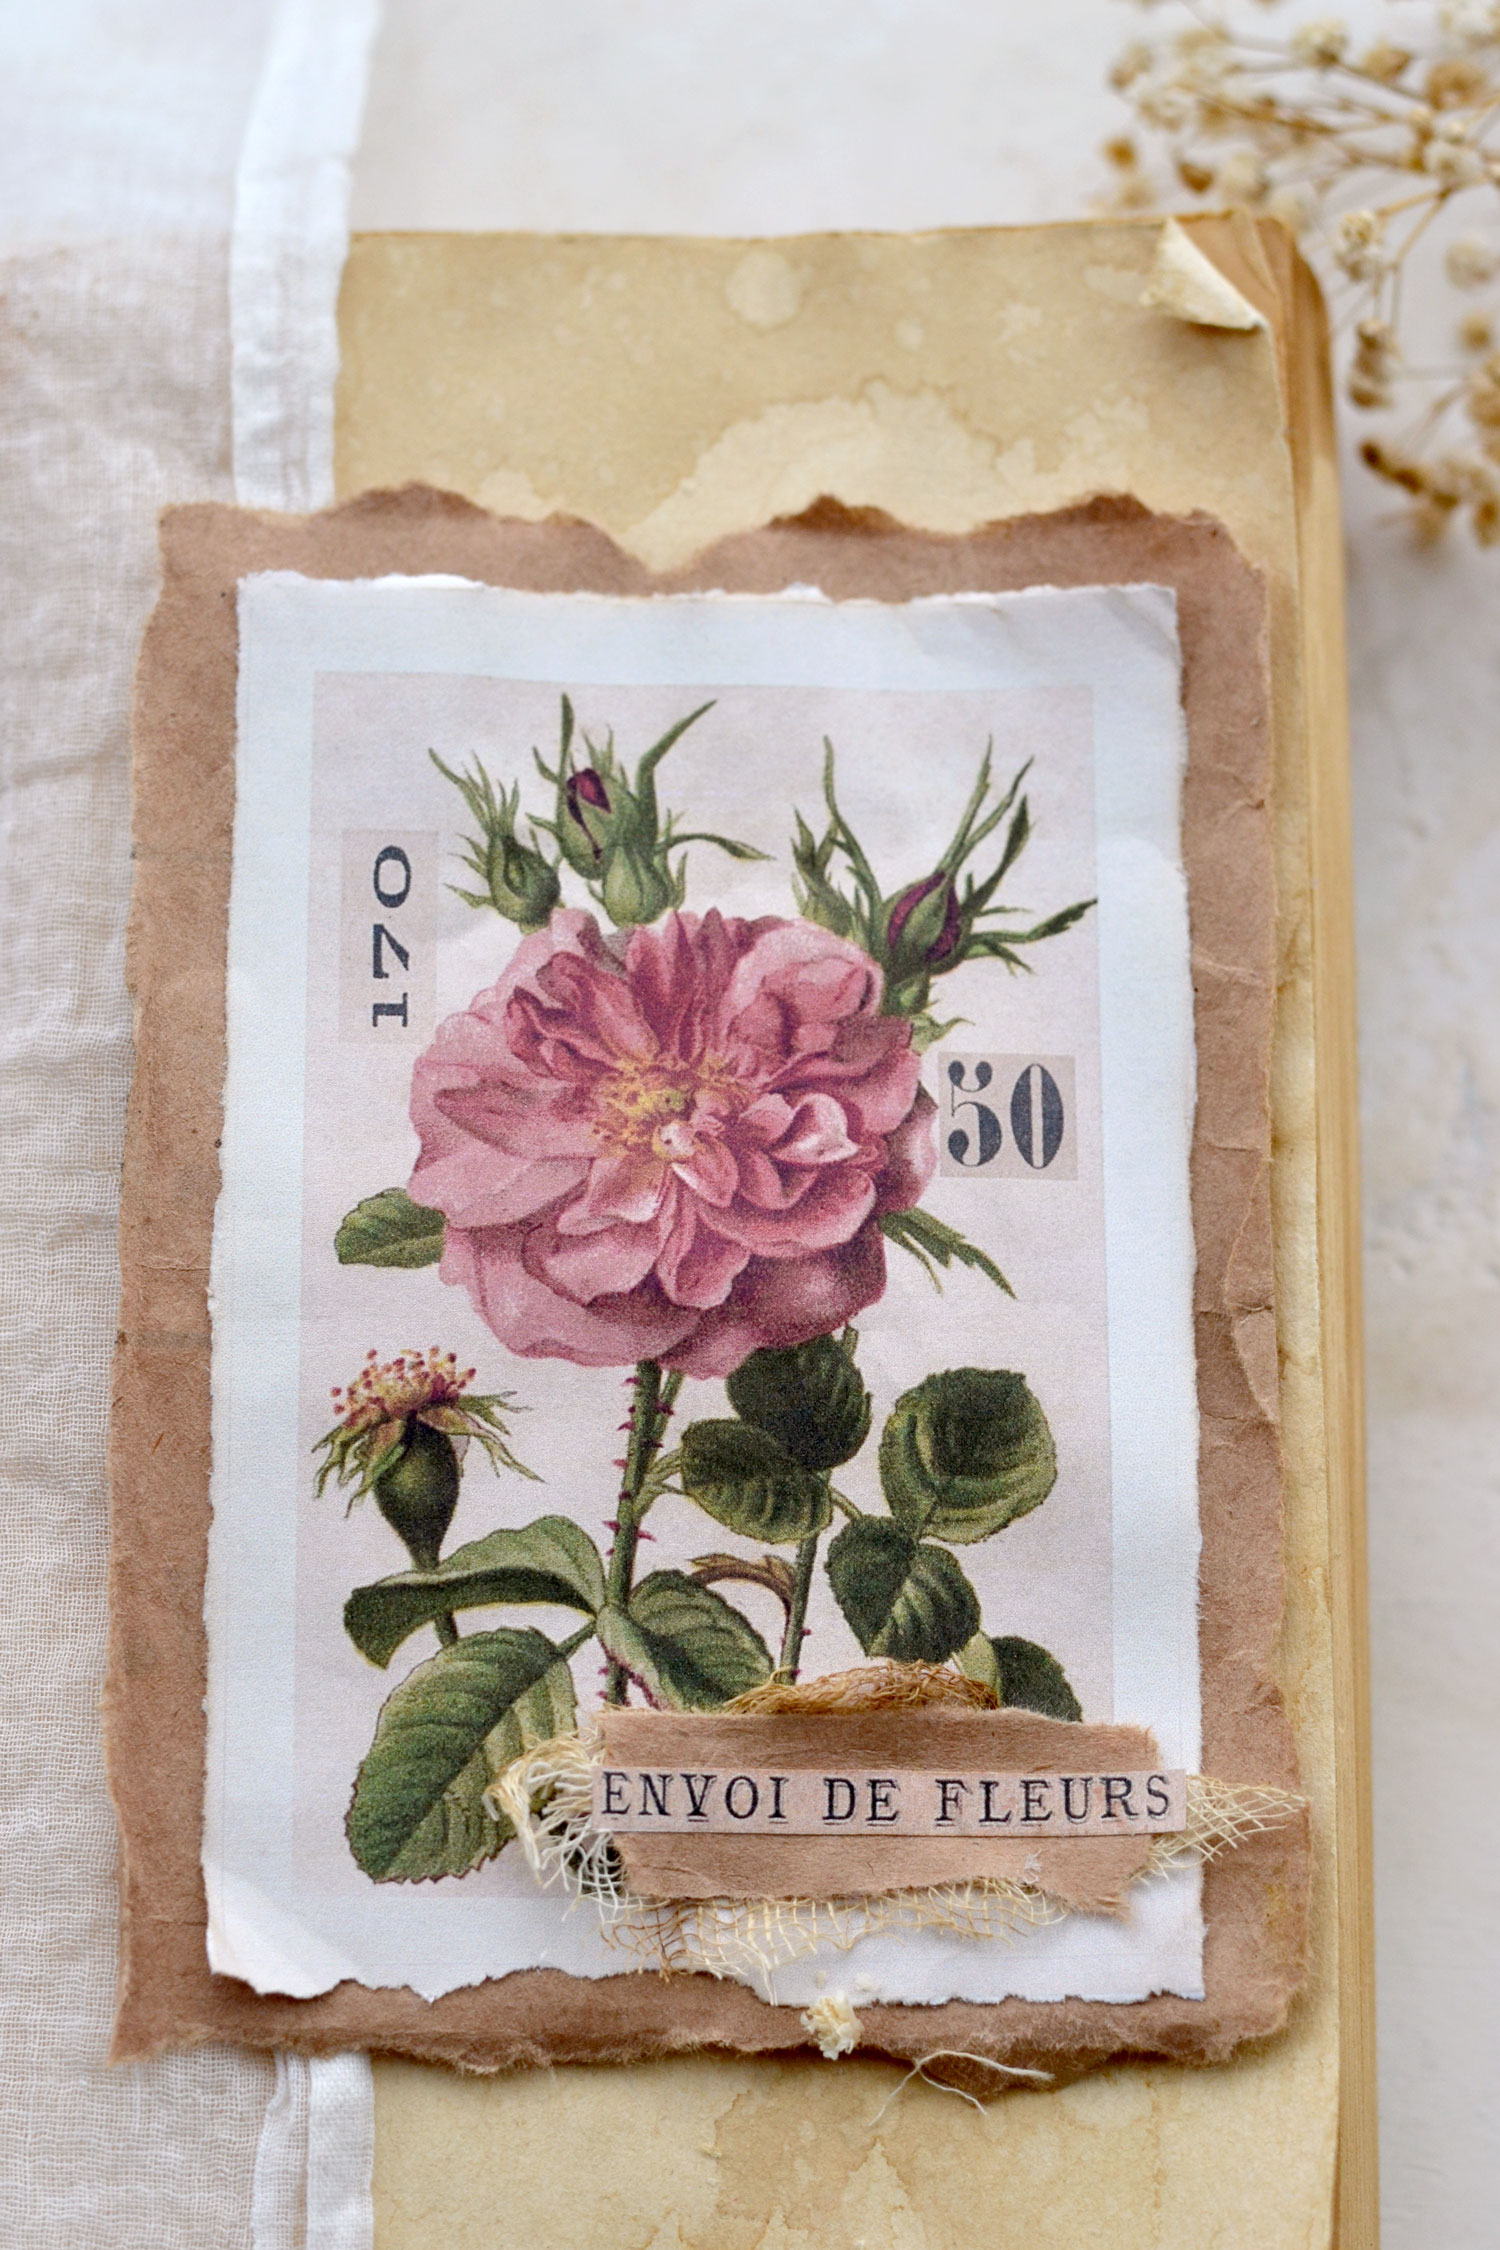
As for the French cutouts, you can use them as they are or you can further embellish them to your liking. I decided to use scrap pieces of brown paper and some gauze to add more dimension to our cards. I used a glue stick to adhere paper on paper and a little bit of craft glue to adhere the gauze and the small embellishments on top.
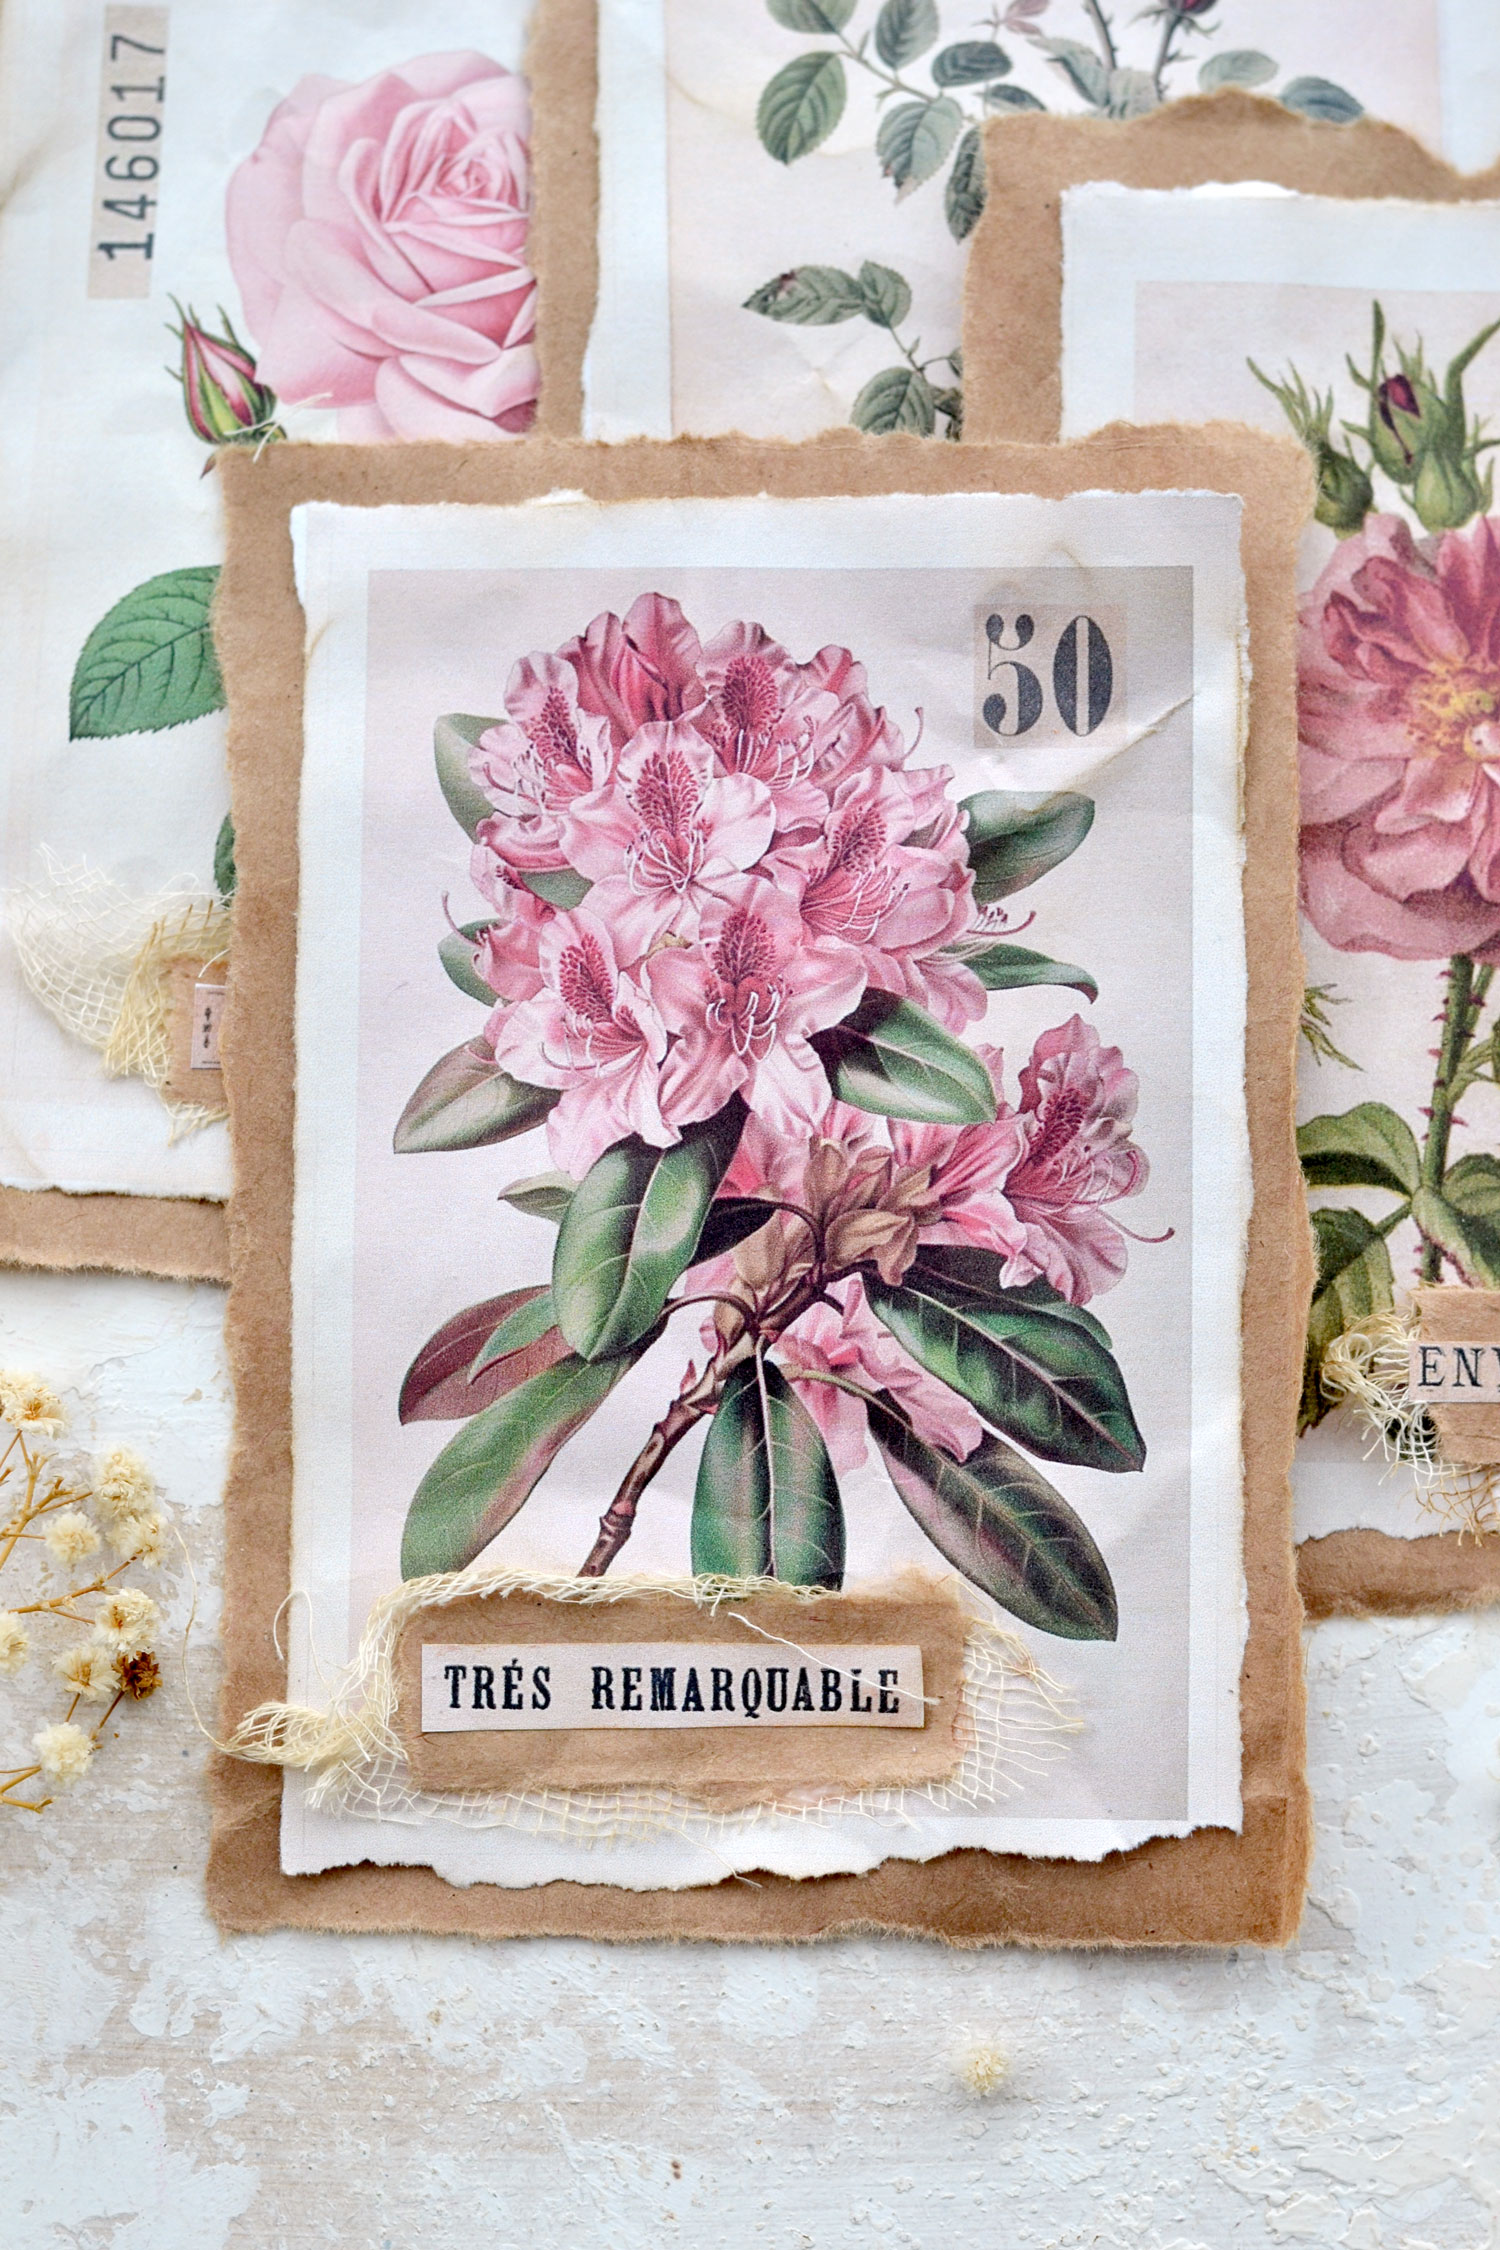
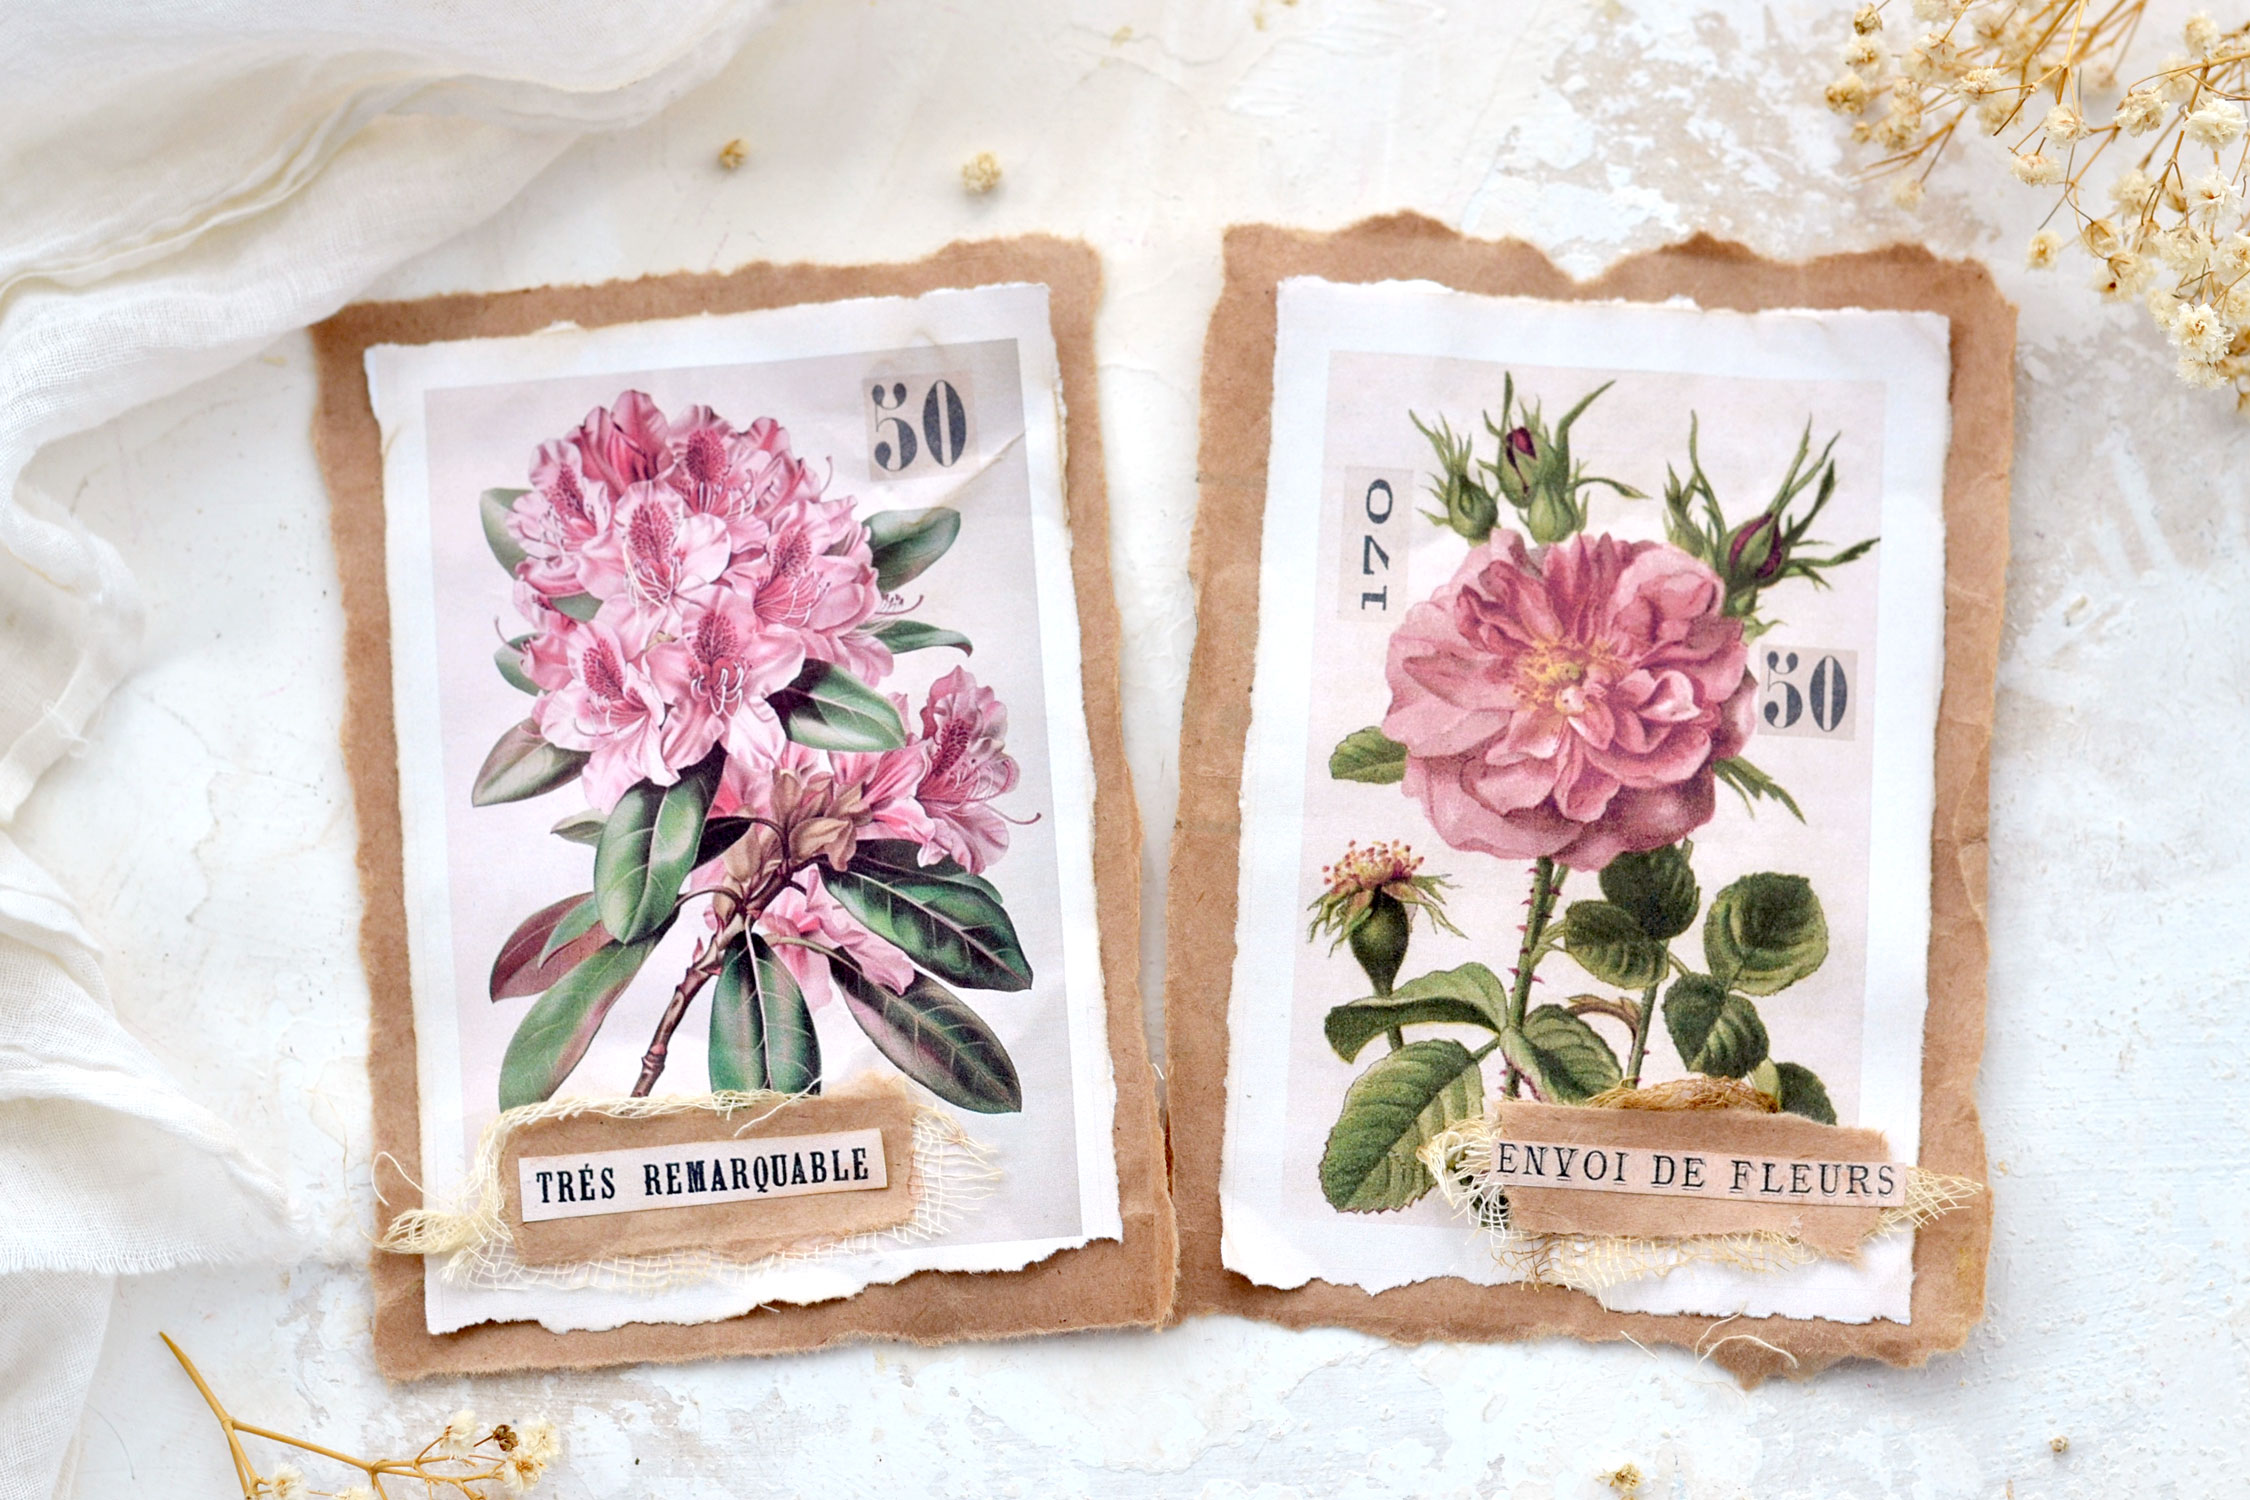
Your gorgeous brown paper French flower cards are now ready to be admired!
I love how beautiful all these turned out!
But what impressed me the most was the fact that each piece is truly unique!
If you use this tearing technique you will be able to imprint a unique factor on all your cards, you will love how charming each piece will be!
Our filled-with-character brown paper bags will perfectly beautify your junk journal pages! I feel like you could use them inside no matter if you are going for a specific floral or botanical theme or a more general one. As a tip, you could leave the top unglued while assembling the cards and create a secret pocket for stashing all sorts of goodies inside!
You could also just glue them on your junk journal covers to give them a whole new level of chicness!
If you look closely you will see that I didn’t make the gauze-brown paper-French ephemera embellishments on top too perfect. It’s OK to have some edges hanging outside while keeping others shorter, this small imperfection will add even more character to the cards, making the final pieces even more whimsical and visually intriguing. It’s all about the small details!
The cards can also be used as mini signs in your home, you can arrange them with vintage books and other small decorative items to create super chic vignettes. You could even create a decorative sign with an old (or new) horizontal frame or just a painted piece of scrap wood. You could use two or three cards to make the sign, just pick your favorite and arrange them inside the frame or glue them on top of the wood.
The cards can also be turned into gift tags, they will make the perfect accompaniment for all sorts of creative presents that you will make for your friends and family. You can keep the French theme if you want, but you could also just replace the French cutouts with sentiments or other wishes, depending on the occasion.
I hope you will love this project and decide to give it a try! As a final note for choosing the brown paper to create the cards, you can use any scrap pieces of brown paper from your stash. Yes, some of that brown paper that you’ve been saving for a while can be now recycled and given a new, absolutely gorgeous life! I used an old grocery bag that had an almost handmade paper feel to it and was not too dark in color. Oh, and it had a little bit of that paper swish that you usually find in baking paper that I really liked!
 You might also like my French Script Triple Pocket Tags HERE.
Happy crafting,
Diana / Dreams Factory



Karen Bright says
This looks really lovely!! I adore the French botanical designs that you have. I have a big stash of brown paper bags and I was really looking for a project just like this!! Thanks so much.
Karen Watson says
That’s great that you already have your supplies Karen! Happy creating!
Maxine D says
Thank you so much for these gorgeous designs – I can see some fun coming up this weekend….
Blessings
Maxine
Karen Watson says
Have fun making these pretty cards Maxine!