Paper Craft Techniques – Paper Tearing
Hey y’all – Rebecca here to share some of my favorite Paper Craft Techniques – Paper Tearing with you. We will take a deep dive into some paper activities and learn how to add more life to your crafting. I use these 4 Techniques in my Mixed Media art, Junk Journals, and Collage projects. At the bottom of the post you will find a collage that I created using only these techniques and The Graphics Fairy Images.
Something More
At times, I look at my paper works and think, “It needs something more.” I am pretty sure we have all been there. The techniques I will be sharing are the result of years looking for… ‘something more!’ I cannot wait to share them with you so you can uplevel your paper crafting or take it in new directions. I hope the series inspires you to discover your very own ‘something more!’ Let’s get started…
Supplies:
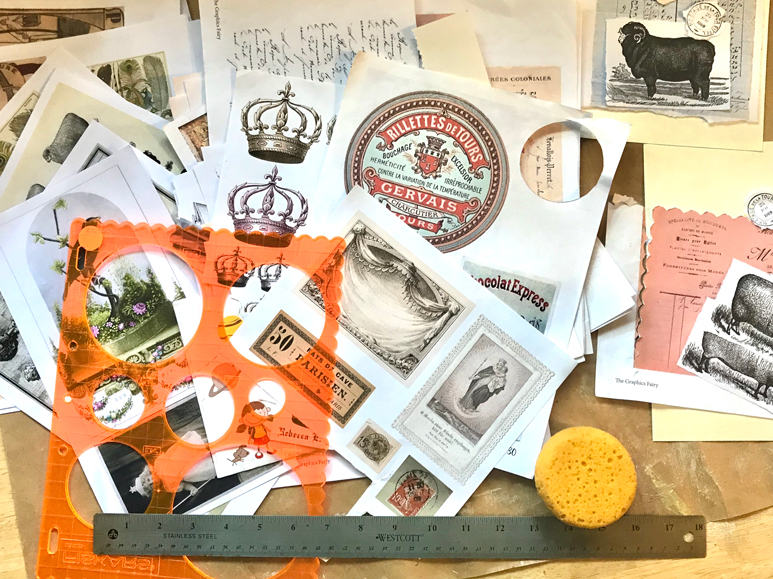
You will need just a few supplies for these techniques. Your hands, a bit of water, and some paper is really all you need. We will be using some new tools as well as our stash of The Graphics Fairy images. That is the upside to this series…we will be using our stashes! You can also use Junk Mail, Wrapping Paper, Construction Paper or Tissue paper. YAY!
TGF images on plain white paper (Mine are laser printed, InkJet printers OK)
Watercolor Paper or Mixed Media Paper (for backgrounds)
Metal Ruler
Small bowl of water
Small Sponge
Tear Guide Rulers
How to Tear Paper (4 Techniques):
Below are the four Paper Craft Techniques – Paper Tearing that I use most to tear paper printed with TGF images. If you follow my Mixed Media and Junk Journal adventures, you know that I prefer to tear my images rather than cut them. I have eye-hand coordination issues with scissors. TEE HEE! I love the soft edges that tearing produces along with the aged, rustic look that enhances my artwork. I will sprinkle tips and tricks throughout. Here we go:
1) Simple Torn Edge Paper:
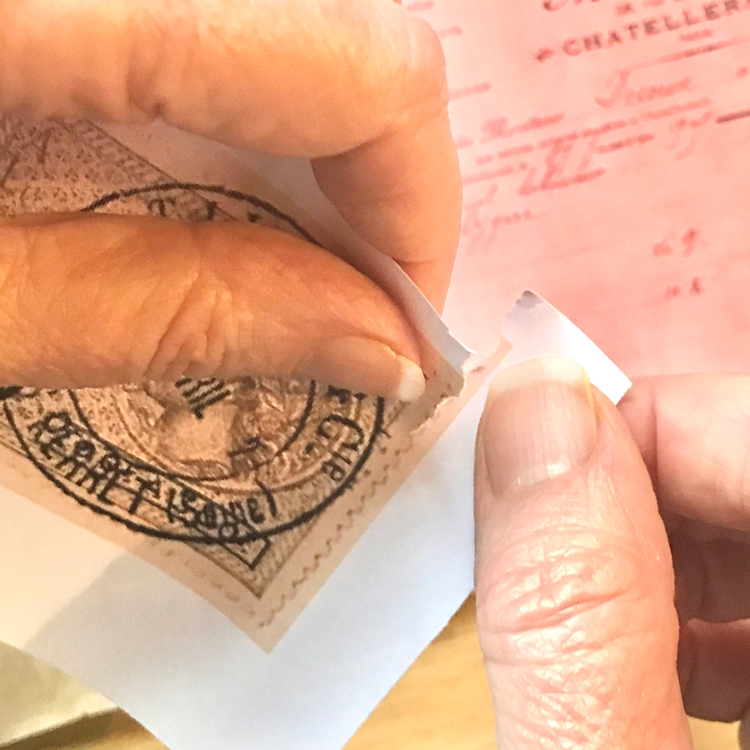
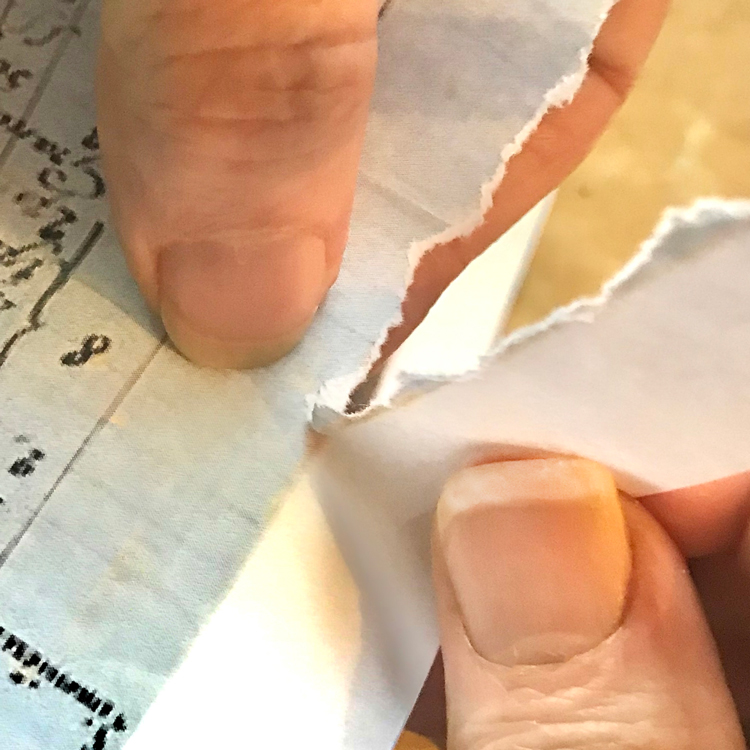
This tear keeps the image at the edges of the paper. To create a simple torn edge, hold the paper with the image side up and tear the paper away from you. TIP: Keep your thumbs close together as you tear. This works on many types of paper, but especially well on small pieces of paper.
2) Rugged Torn Edge Paper:
This tear reveals the underlying paper color at the edges. To create a rugged torn edge, hold the paper with the image side up and pull the paper toward you. TIP: For more interest, you can stop and start as you tear. This works best on small pieces of paper.
3) Ruler Torn Edge Paper:
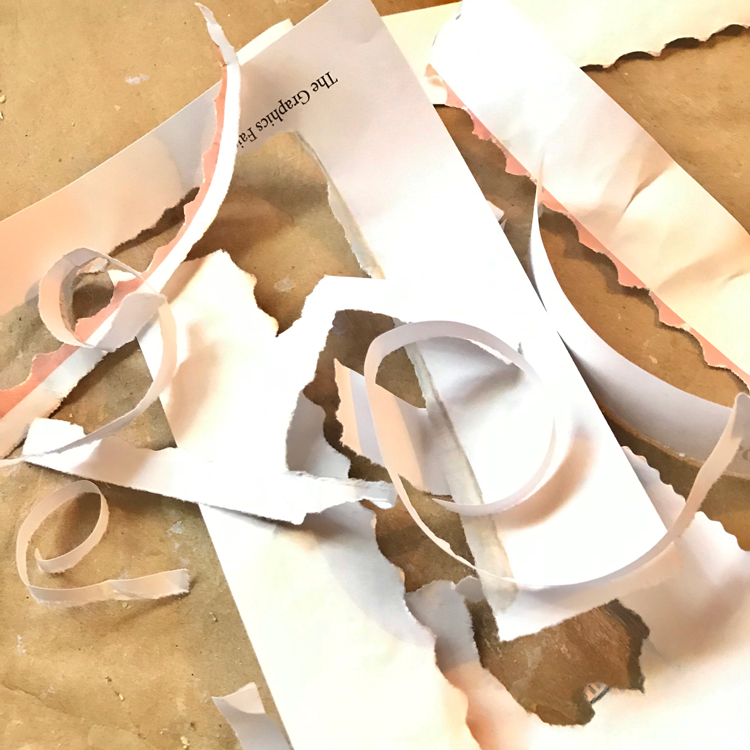
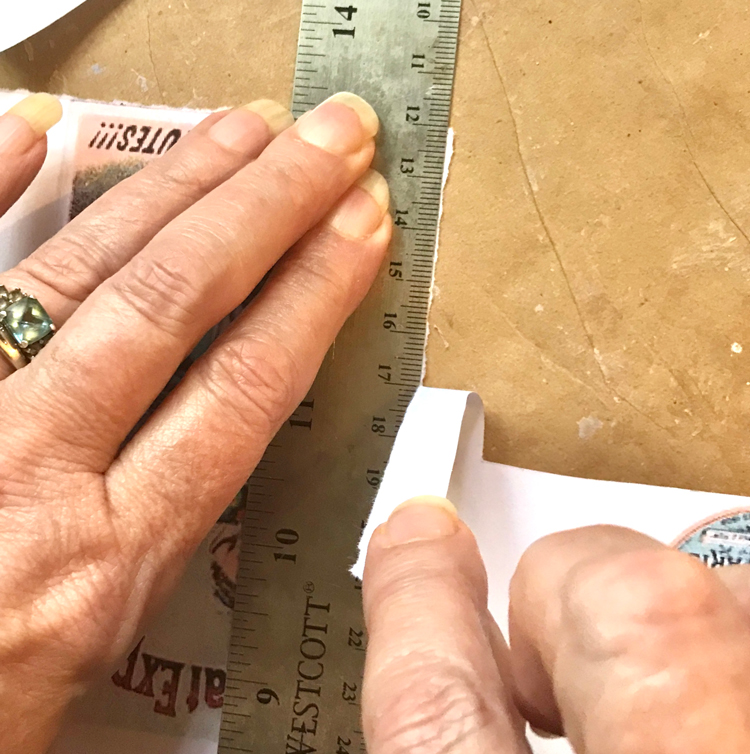
This tear produces smooth and straight edges with a little texture. Fold the paper with the image out. Run a slightly damp sponge (not too much water please) along the edge. Fold the edge in the opposite direction (the back of the paper will be out) and repeat the sponge along the edge. To create this torn edge, place the paper with the image side up on your table. Place a metal ruler along the wet tear line. Hold it firmly in place with one hand, and tear the paper up toward you with the other hand. TIP: Try to tear in one motion without stopping. It takes a few tries to get the feel of how much pressure to use. This works really well on large pieces of paper.
4) Tear Guide Torn Edge Paper:
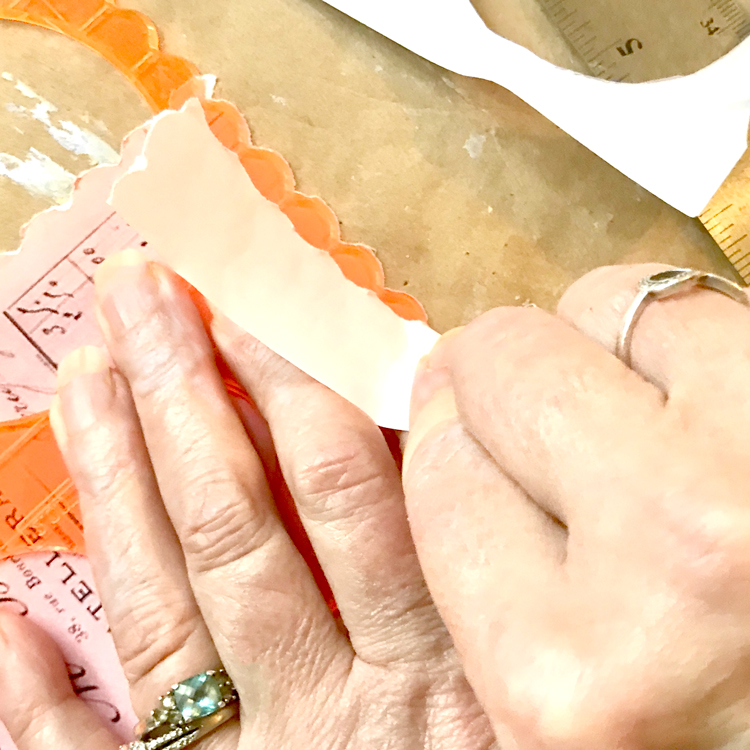
This tear creates super fancy torn edges, it’s another fun way to achieve this technique. Many designs are available in hard plastic to use as guides. There are even kits that come with a water brush to make them easier to tear. To create these, lay the fancy edge tool on your paper and position it as you like. TIP: Tear along the edge…carefully and slowly, pulling the paper back over the guide as you go. You should pull fairly hard. Your hand will move down the paper as you work. It is not a one pull and done technique. This works well on any size paper that is smaller than your guide. It also works well on heavier weight papers.
Collage Using Tearing Techniques:
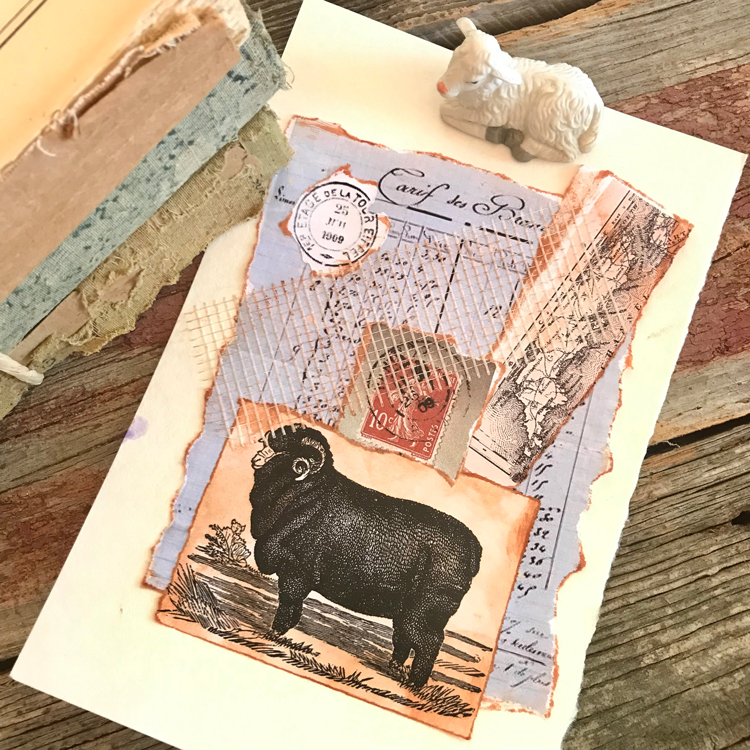
Below is the Collage that I created using the Paper Tearing Techniques above. It is the focal point of my Spring mantle. Can you see which technique I used in the close up photo?
I hope you have fun tearing your TGF images to create more and different textures and interest. Paper Craft Techniques – Paper Tearing is just the first step in this series! I will be back next month with another technique tutorial. We have another torn edge tutorial by Diana on TGF called How to Make a Perfect Torn Paper Edge if you want a different technique.
I also create Photoshop Elements tutorials and craft videos over on The Graphics Fairy Premium Membership site. You can find even more of my art, DIYs, and whimsical shenanigans on RebeccaEParsons.com !


Sandi-Artsy Craftery Studio says
Thanks, TGF! I like the tips that @CMT shared too! It made me think about all of the other random things that can be used as tear guides.
Have a nice day,
Sandi/Artsy Craftery Studio
graphicsfairy says
Thanks Sandi 🙂
Wanda Mae says
I’m looking forward to more tips!
graphicsfairy says
Me too Wanda 🙂
Judy Samson says
Thanks for the tearing tips, I really enjoyed it.
graphicsfairy says
Thanks Judy, so glad you enjoyed them 🙂
cmt says
I love the look of a torn edge on paper. Sometimes I wet the paper with a small, wet brush and tear with my fingers. Sometimes I want a little more control. I’ve saved some serrated metal strips from empty wax paper boxes, or aluminum foil boxes, and used that for a guide. It gives a little more texture than a ruler, but less than finger tearing. Sometimes I use metal snips (or old scissors) to cut a repeating pattern in the metal strip for a more random look. Looking forward to more of your posts.
graphicsfairy says
Thanks for the tip, what a great idea!