Vintage Book Page Wreath
This post is about how to make a Vintage Book Page Wreath … the Easy Way!! This was originally written by Gina Luker, from the Shabby Creek Cottage, I think it’s still a great project so I’ve dusted it off and am putting it back out for those of you that haven’t seen it yet. Now I will let Gina take over in her own words …. Book Page Wreaths, oh how I love them! There’s something about using a book that is past it’s prime and giving it whole new life. And, they’re just beautiful to look at. Sigh. Yep, I love a good book page wreath. Have you been intimidated to make one because they seem to complicated? Well, then I have the perfect one for you to try. It is quick, easy & ruffly, too! You are going to love this quicker and easier process for making one of these paper craft beauties for your home. Let’s get started shall we?
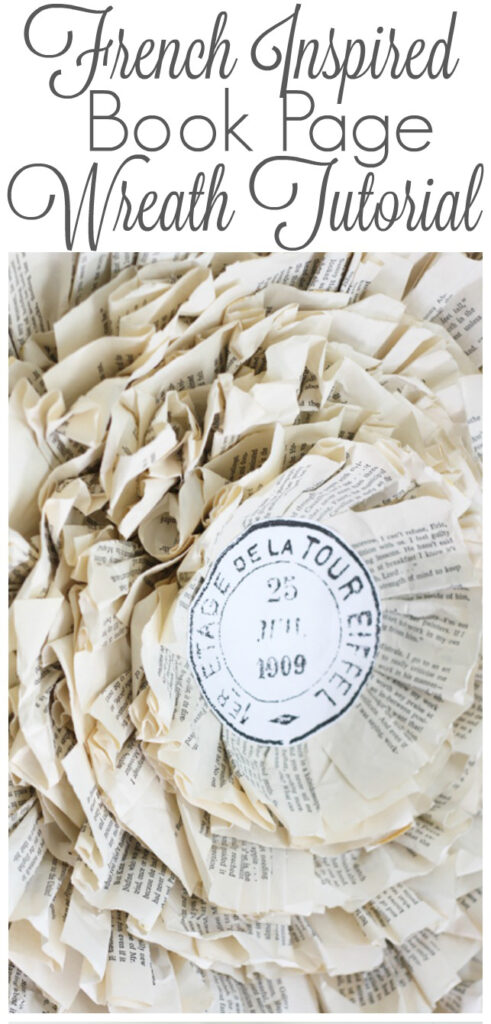 Vintage Book Page Wreath Supplies
Some book page garland (you can learn how to make it with my book page garland tutorial)
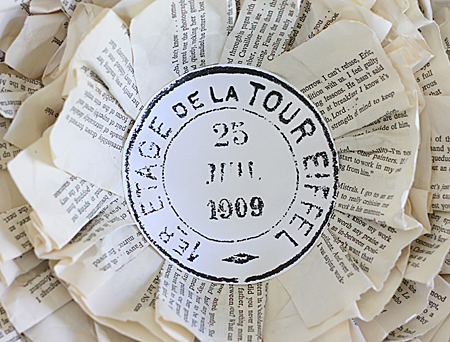
Paris Postmark printed on cardstock image found HERE (make sure you scroll down that page to find it)
Scissors
A cardboard circle (cake circles work great!)
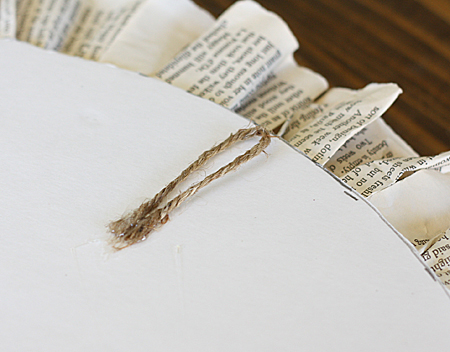
6 inches (or so) of twine or thin ribbon
Hot glue gun & sticks
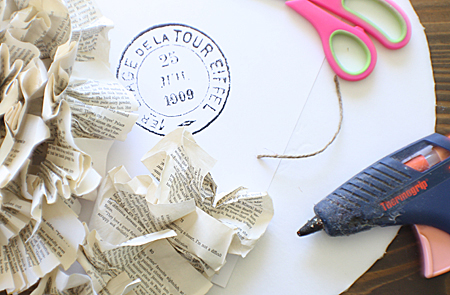
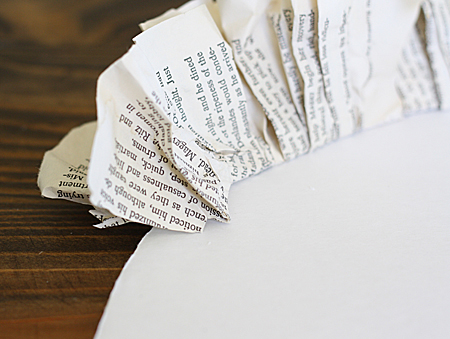
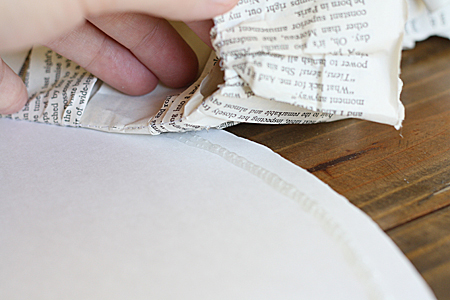
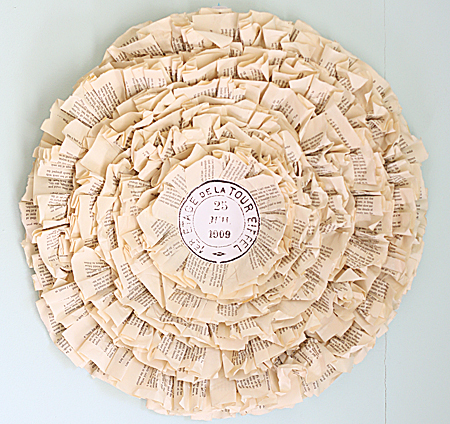
Step 1: Let’s get started! Start on the outer edge of the cardboard circle and start gluing down your book page garland. I put down 5 or 6 inches of hot glue, then press the garland into it. I fold the garland in half, so the seam goes towards the center of the wreath, giving me two layers of ruffled paper.
Step 2: Spiral inwards, gluing as you go, until you’re almost to the center, but leave room for the postmark.
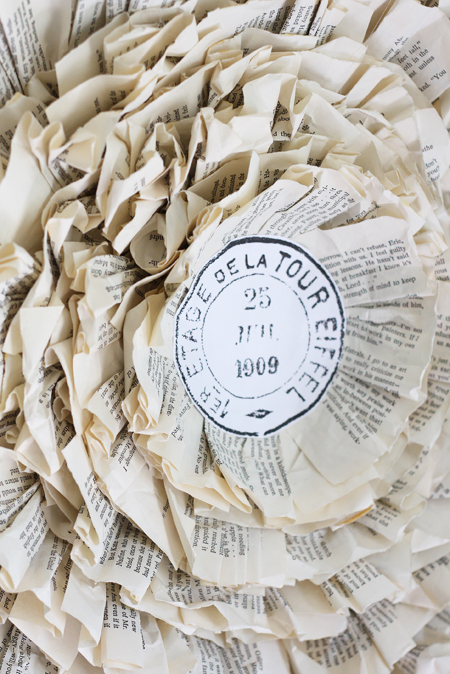
Step 3: Cut out the postmark, then hot glue it down right in the center of the wreath, kind of like the middle of a big book page flower. The card stock will give it a little more backbone to hold up to the book pages, much better than regular paper.
Step 4: Find where you want the hanger to be, then fold your twine in half to create a loop and hot glue it down. Make sure you have it so that the wreath will hang upright. And you’re finished!
They look hard, but it’s so, so easy! You can make it, including the garland, in about half an hour – sooooo much faster than the rolled paper method.
I hope you enjoyed learning how to make this DIY Vintage Book Page Wreath. If you like Book Page Crafts you might also like the Book Page Rosettes from HERE.
See ya next time with another project, but in the mean time, I’d love for you to visit me on my blog at The Shabby Creek Cottage.
Gina


Kimberly S says
I love this wreath! I sew book pages all the time to make things but I’ve never thought of sewing the entire page; I usually rip the pages in thirds or halves. Thanks for sharing.
Karen Watson says
You’re welcome Kimberly, I’m so glad you enjoyed Gina’s tutorial. I thought it was quite clever too! 😊
Angela Swanson says
Gina, What a creative wreath. I love french inspired decor. Very unique and lovely.
ANTONELLA MANFREDI says
Hello dear, are Antonella and Your follower – I went to invite You to my first giveaway (I would say the inaugural! … My blog has been online for three months but I never “officially” the thing).
I’ll be waiting
By Antonella lepassionidiantonella.blogspot.com
Paula Gale says
this is great Gina – I have saved a couple of books that I got from a charity shop especially for doing projects with – and this seems to be the perfect one to try it with… you could maybe do one and decorate it with the odd heart or two for Valentines.
Thanks for the inspiration
Paula x x x
Vanessa says
This is lovely Gina!
Pendra says
Beautiful and you make it look so easy…gotta try it! Thanks Gina!
Hugs,
Pendra
Naturel View says
I like that!! ..I will like to do with french books!!
Thanks Gina!
Sheila says
I love it. I am doing that this week. Too easy.
SheilaG @ Plum Doodles says
Wow, how pretty!
Anne says
Beautiful Gina!
xx
Anne