Printable Christmas Bookmarks
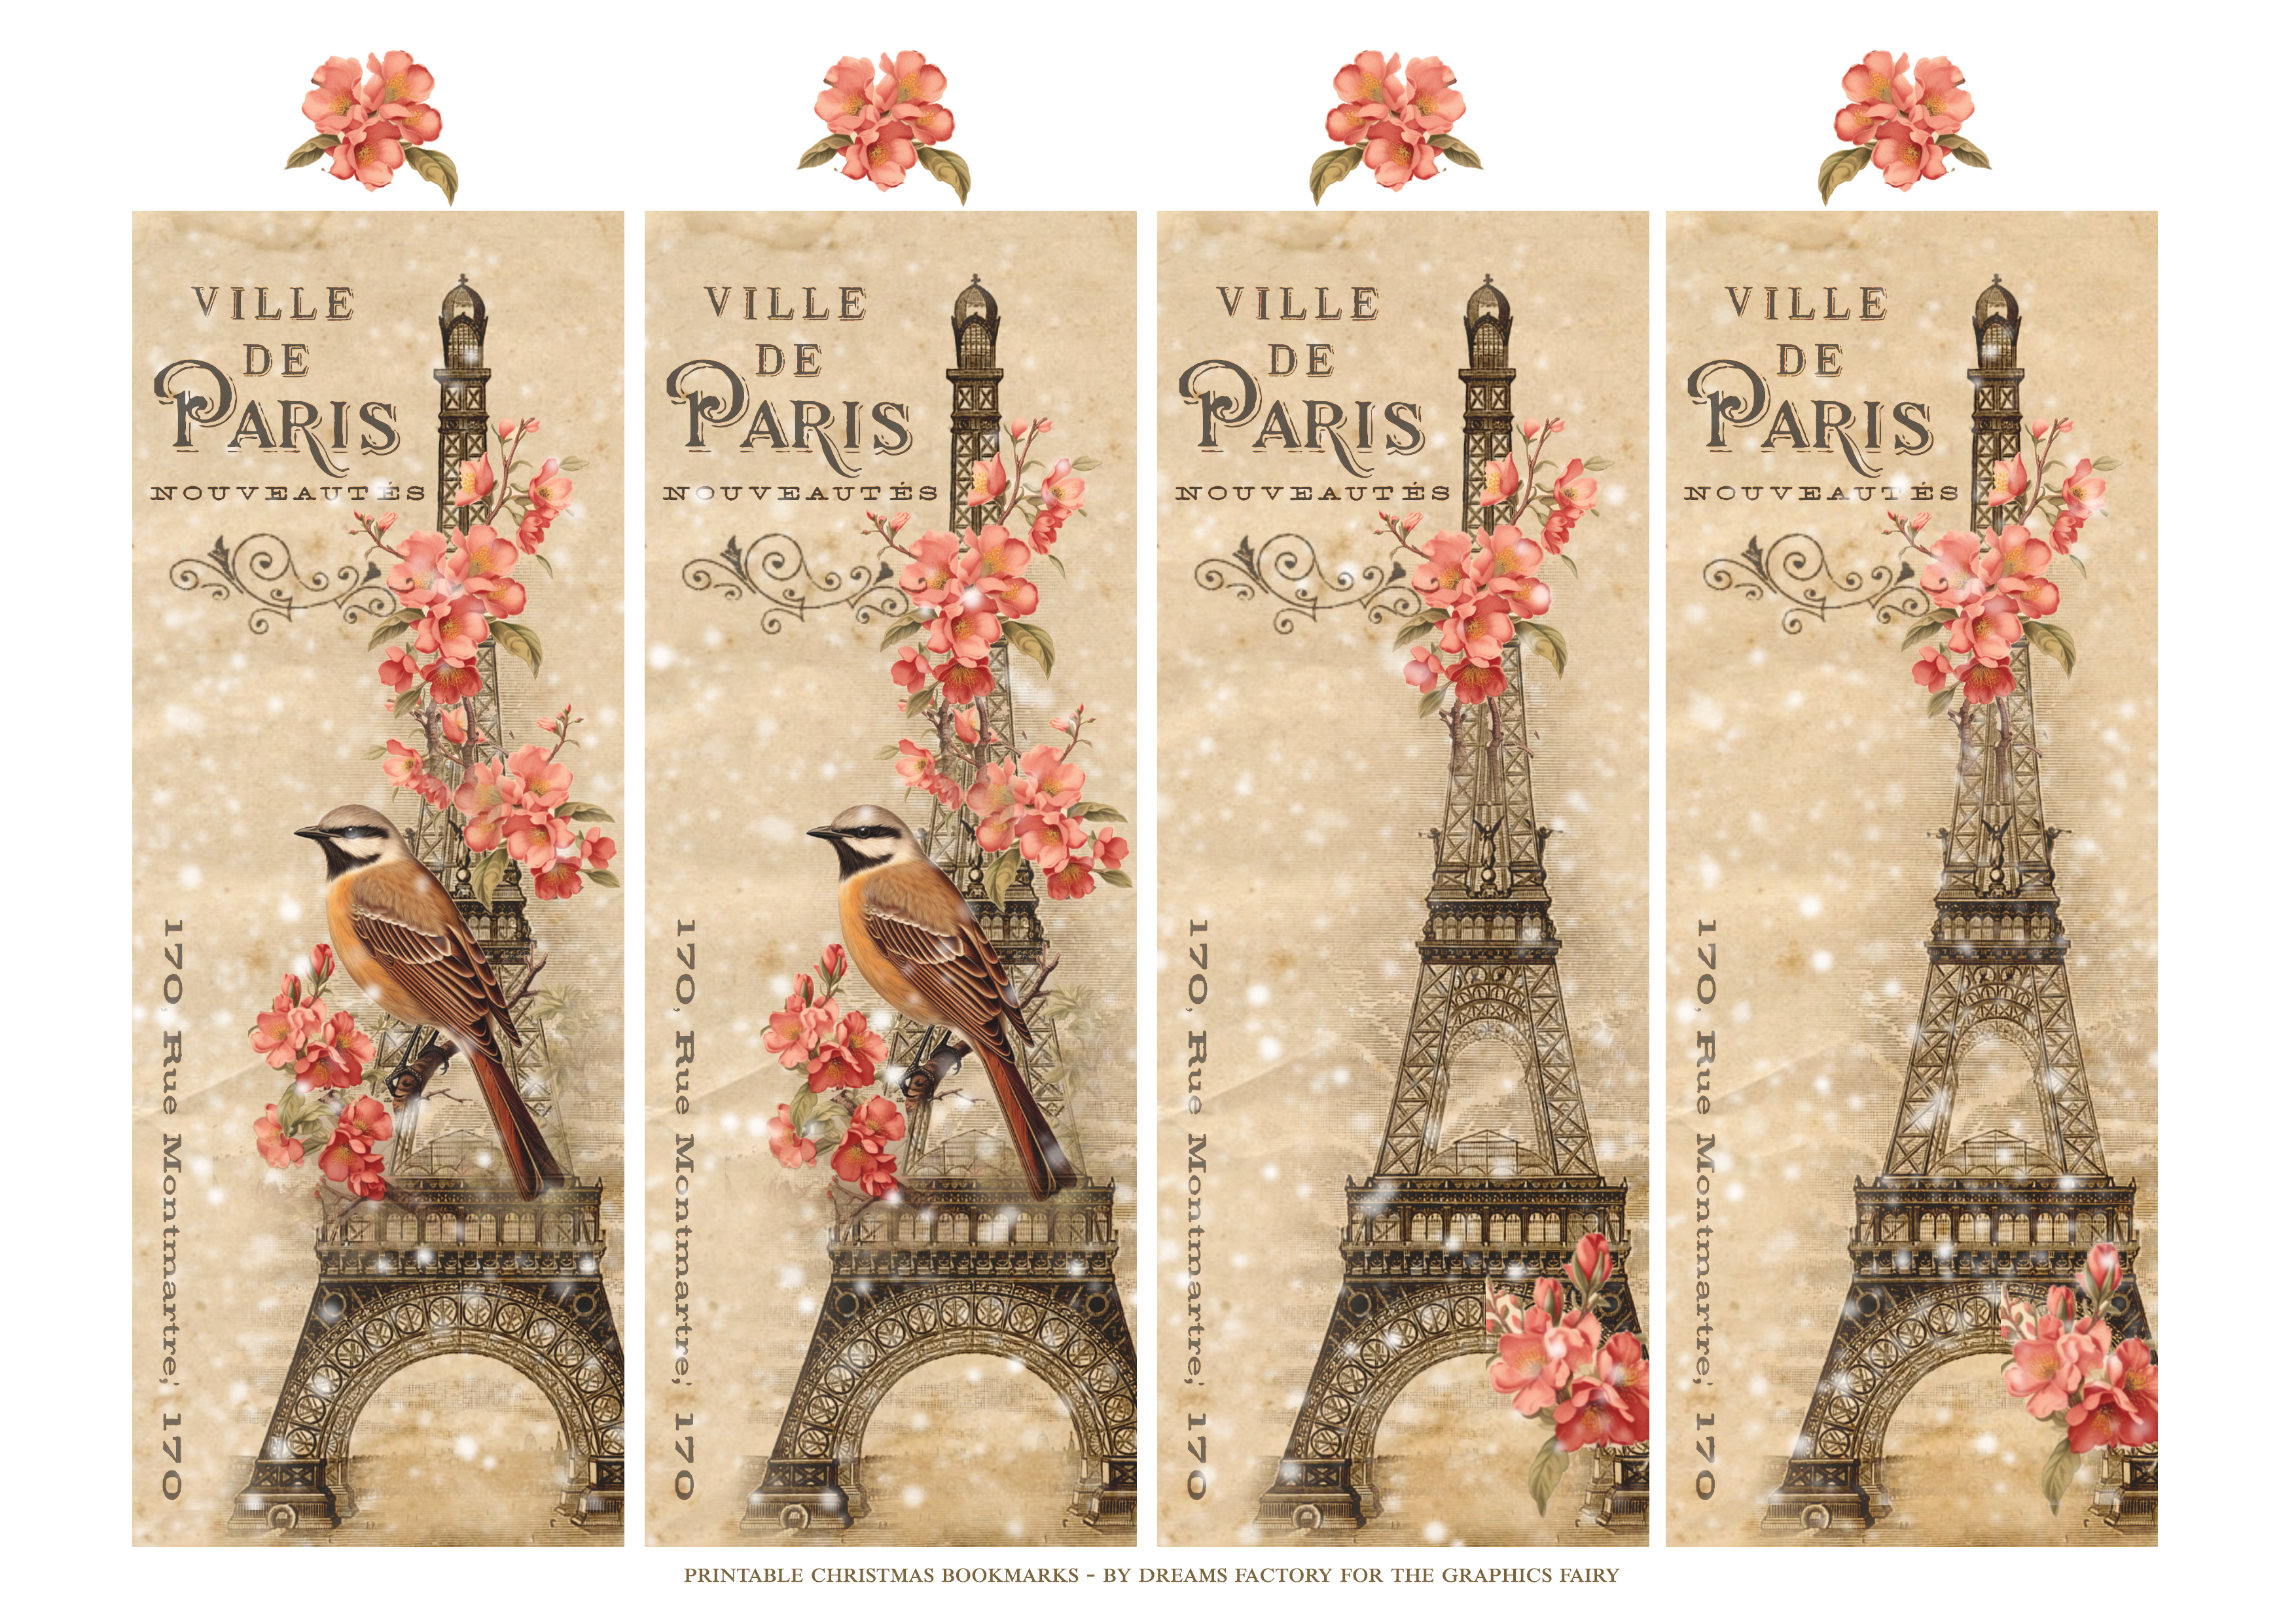
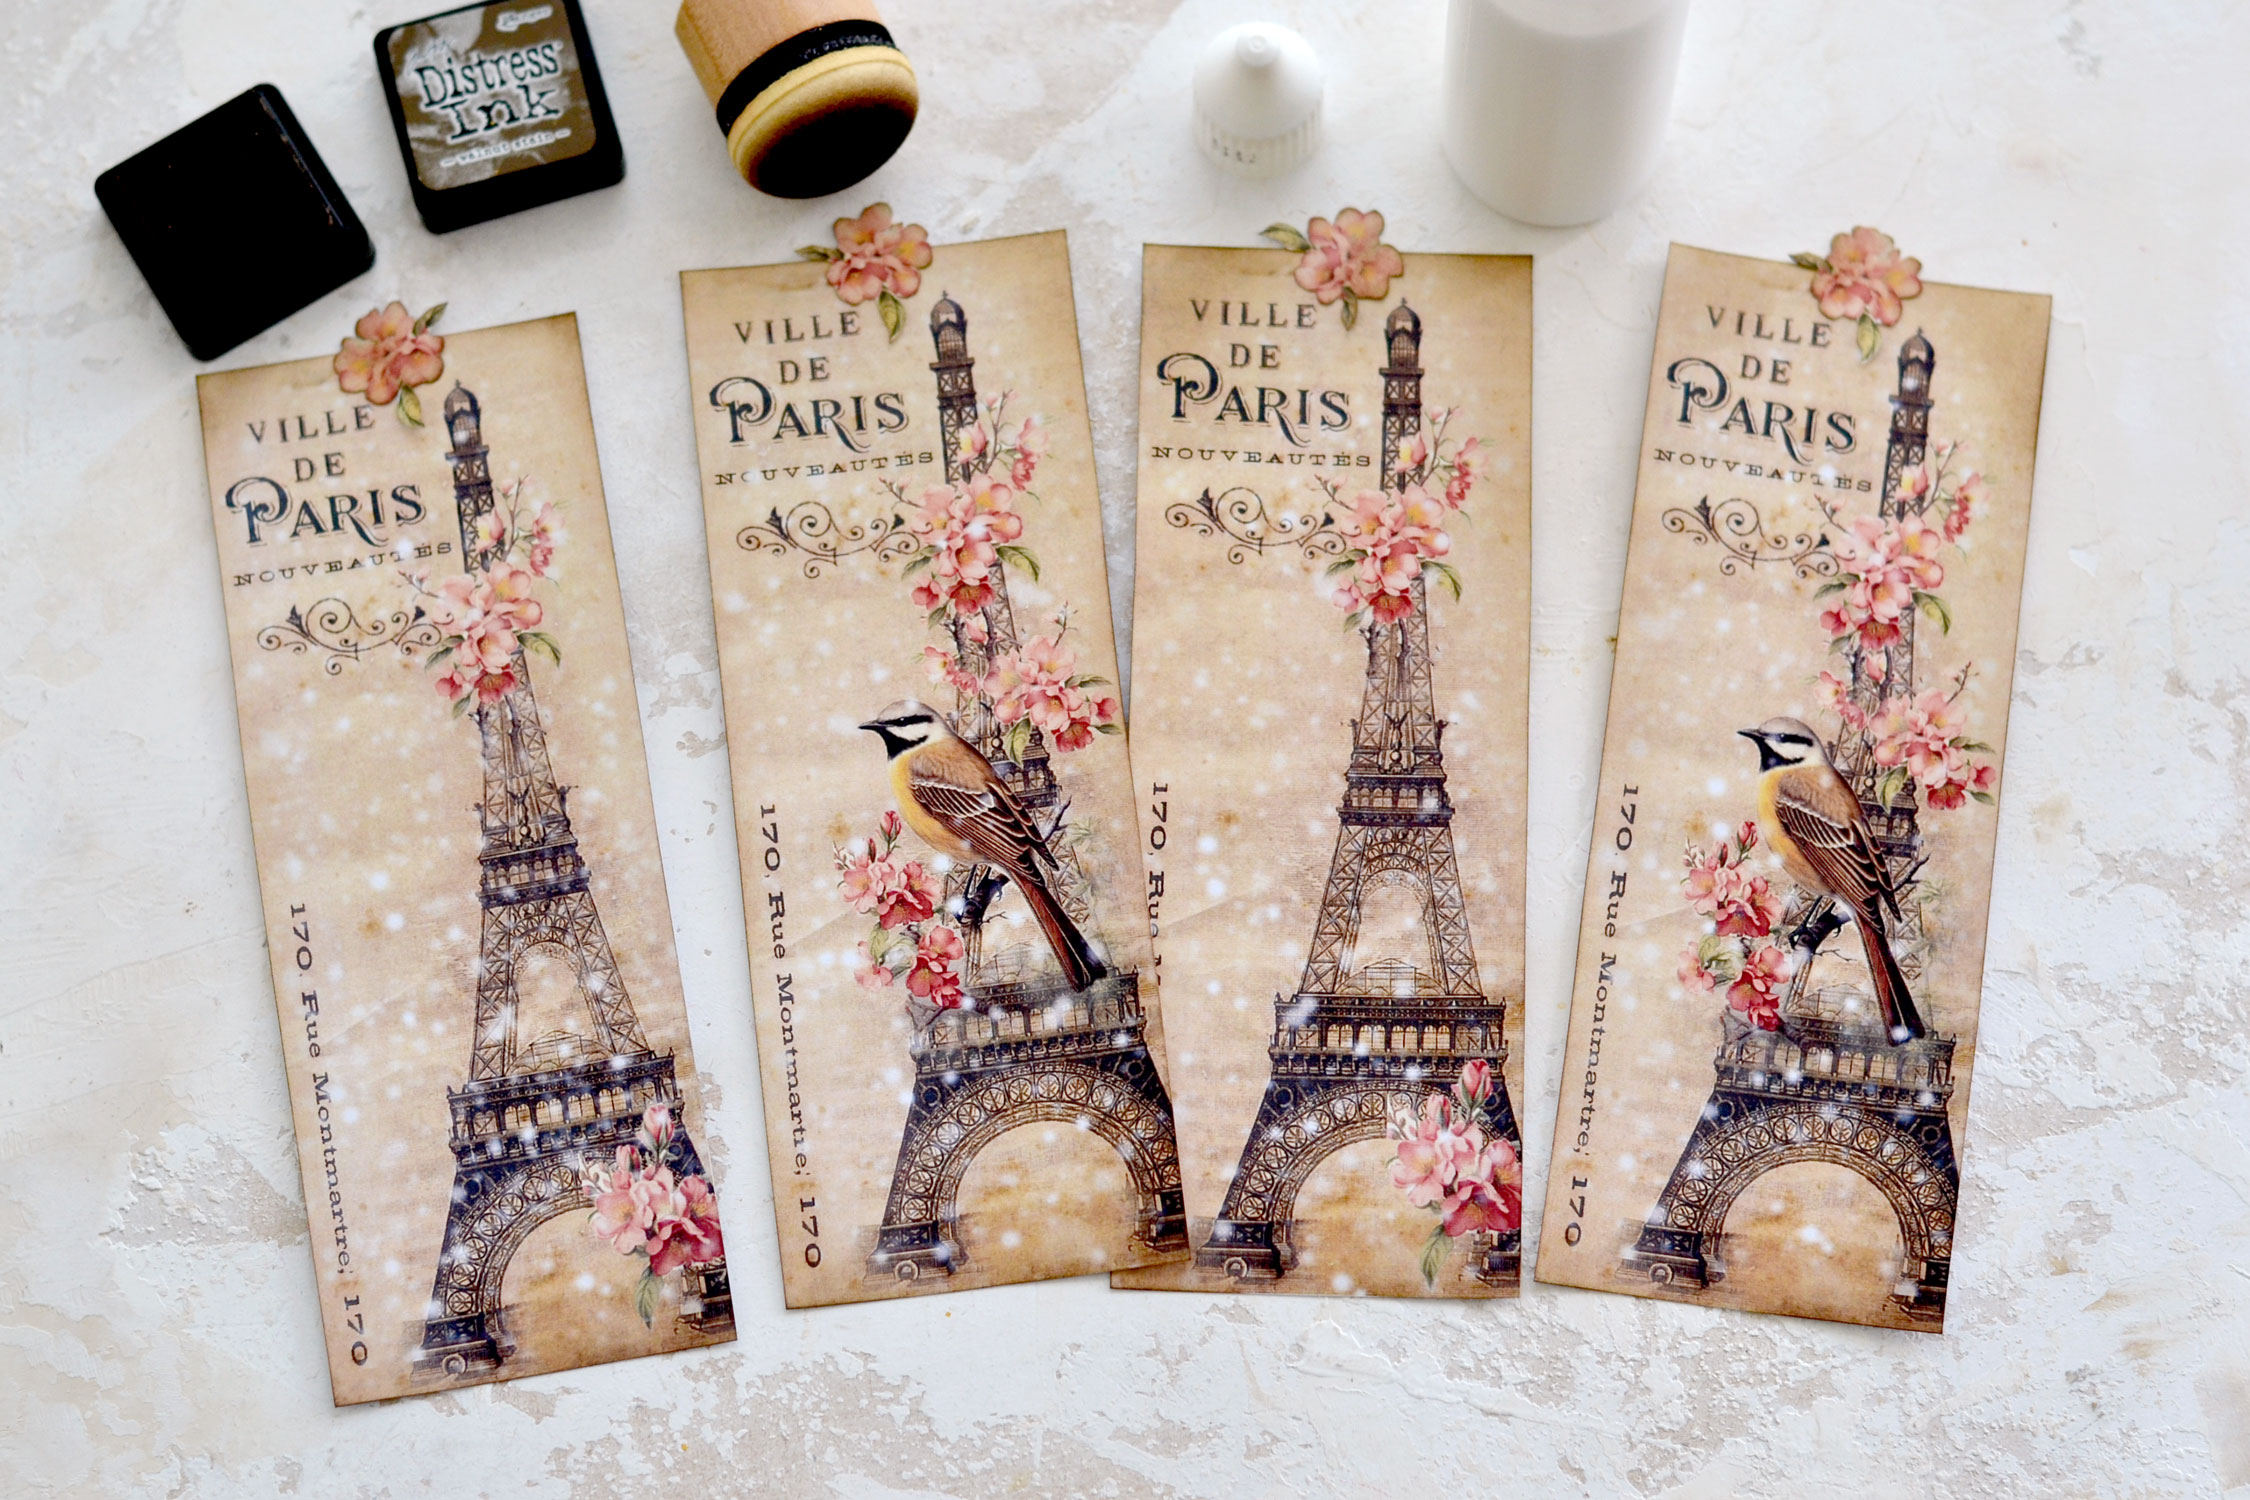
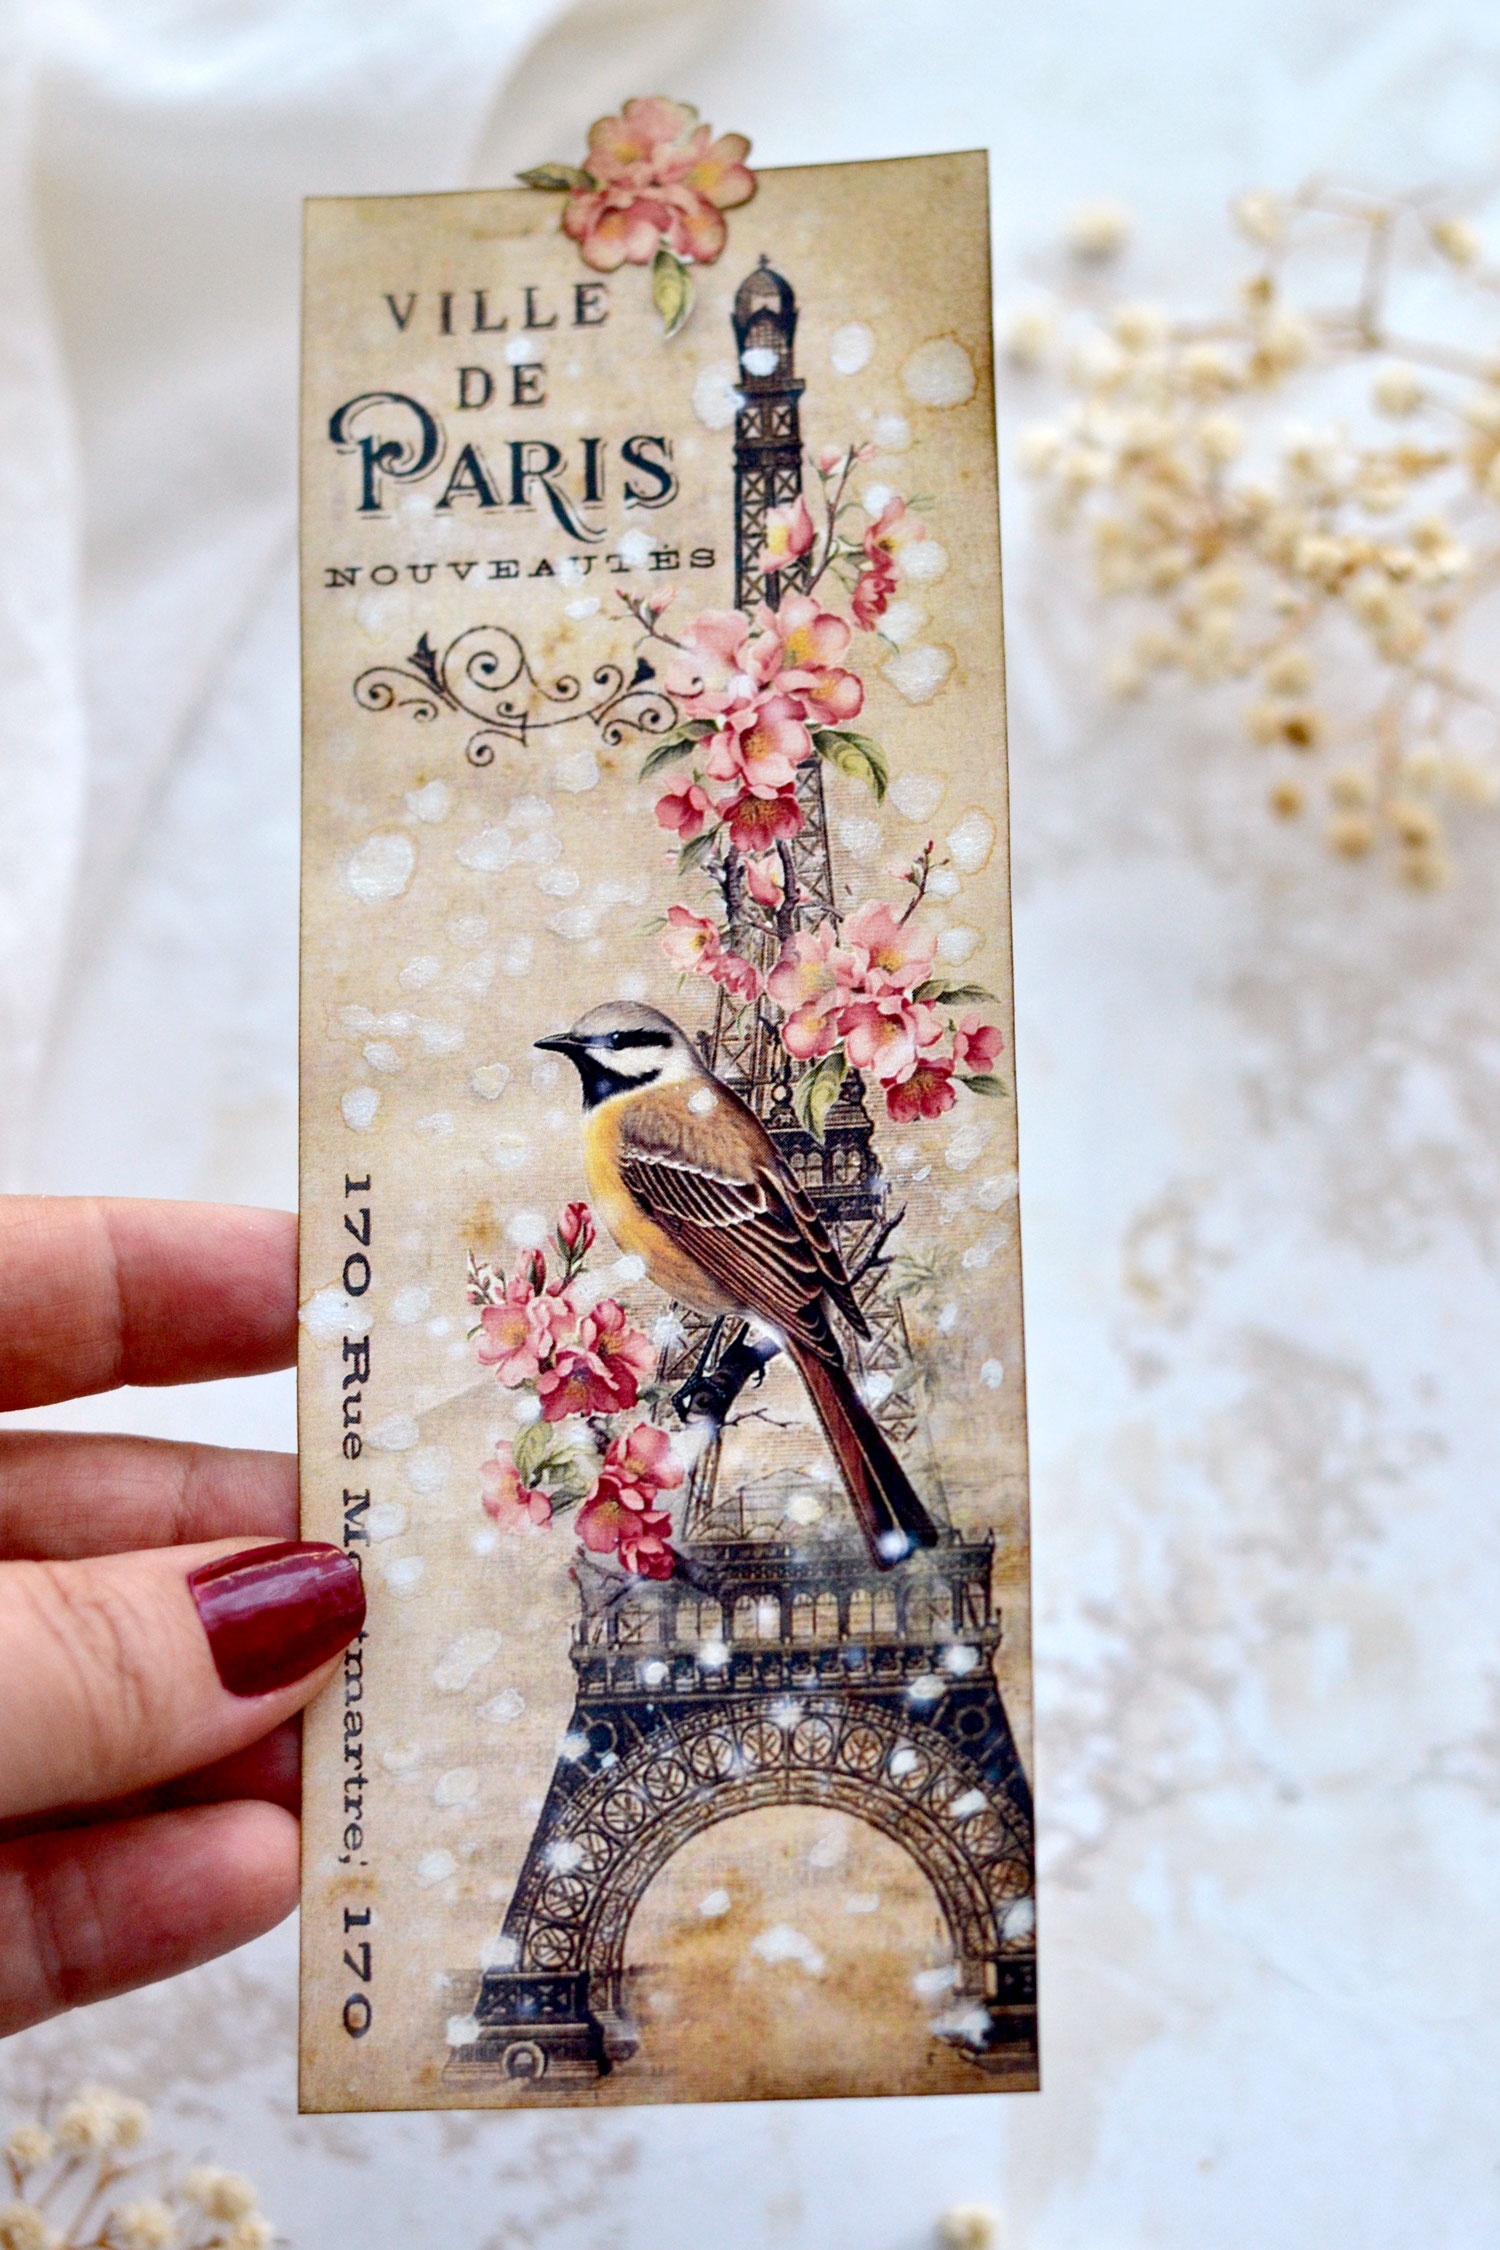
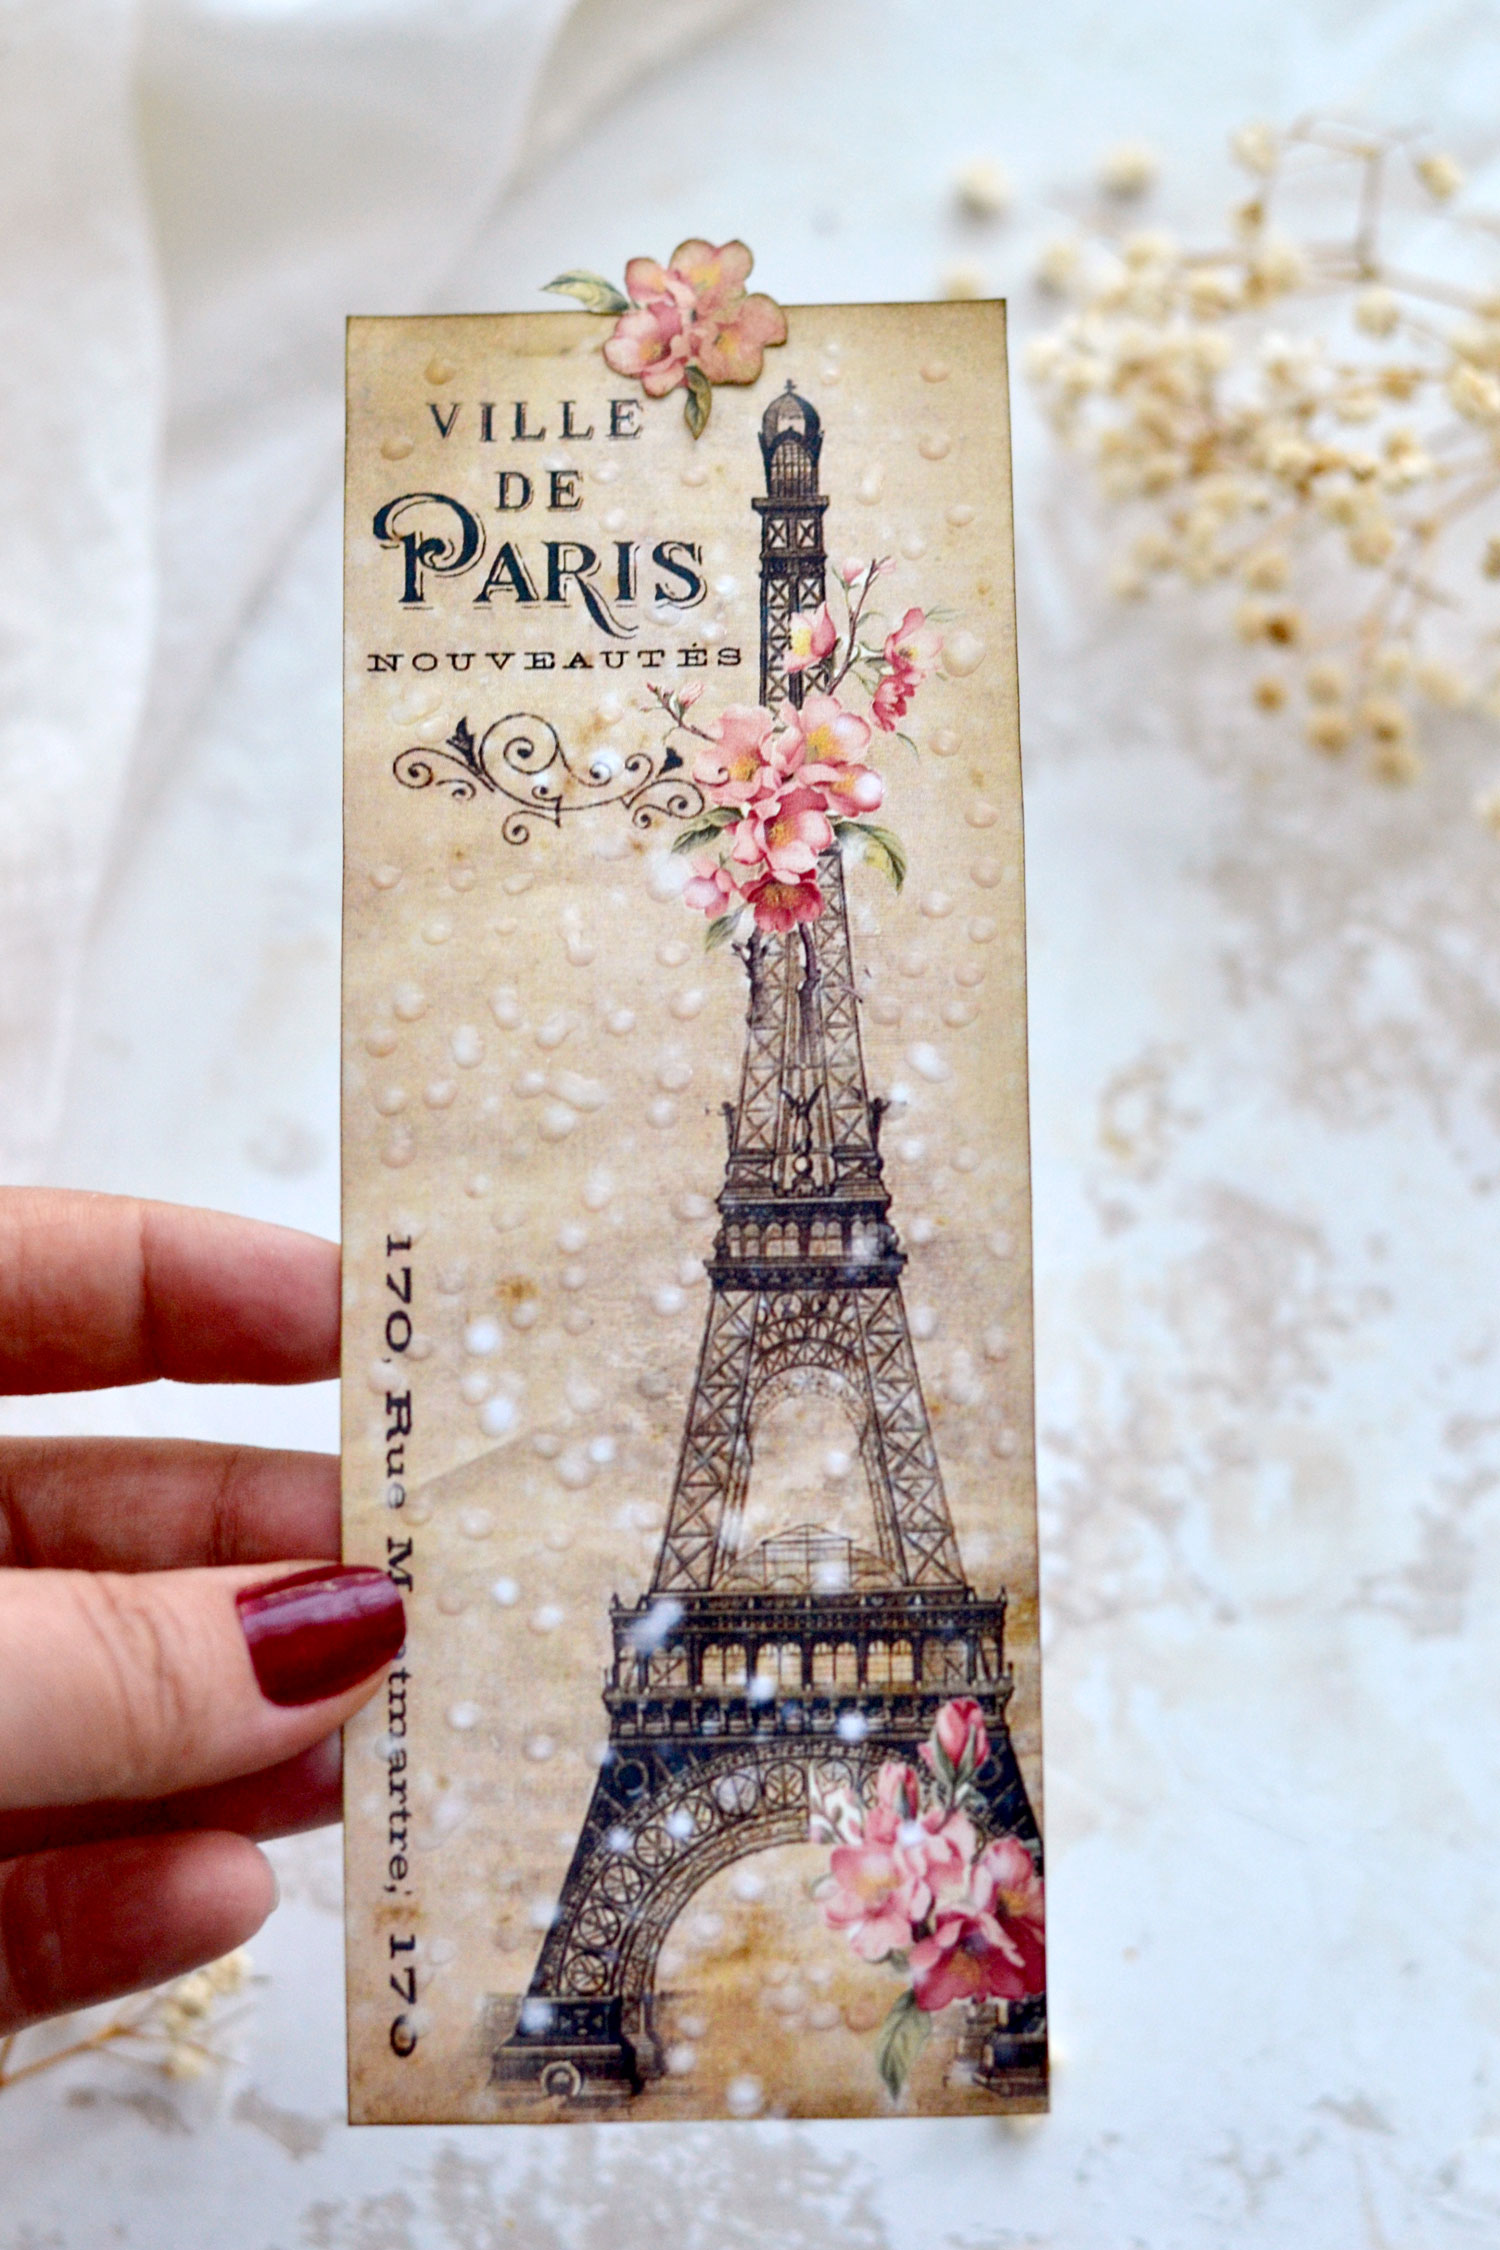
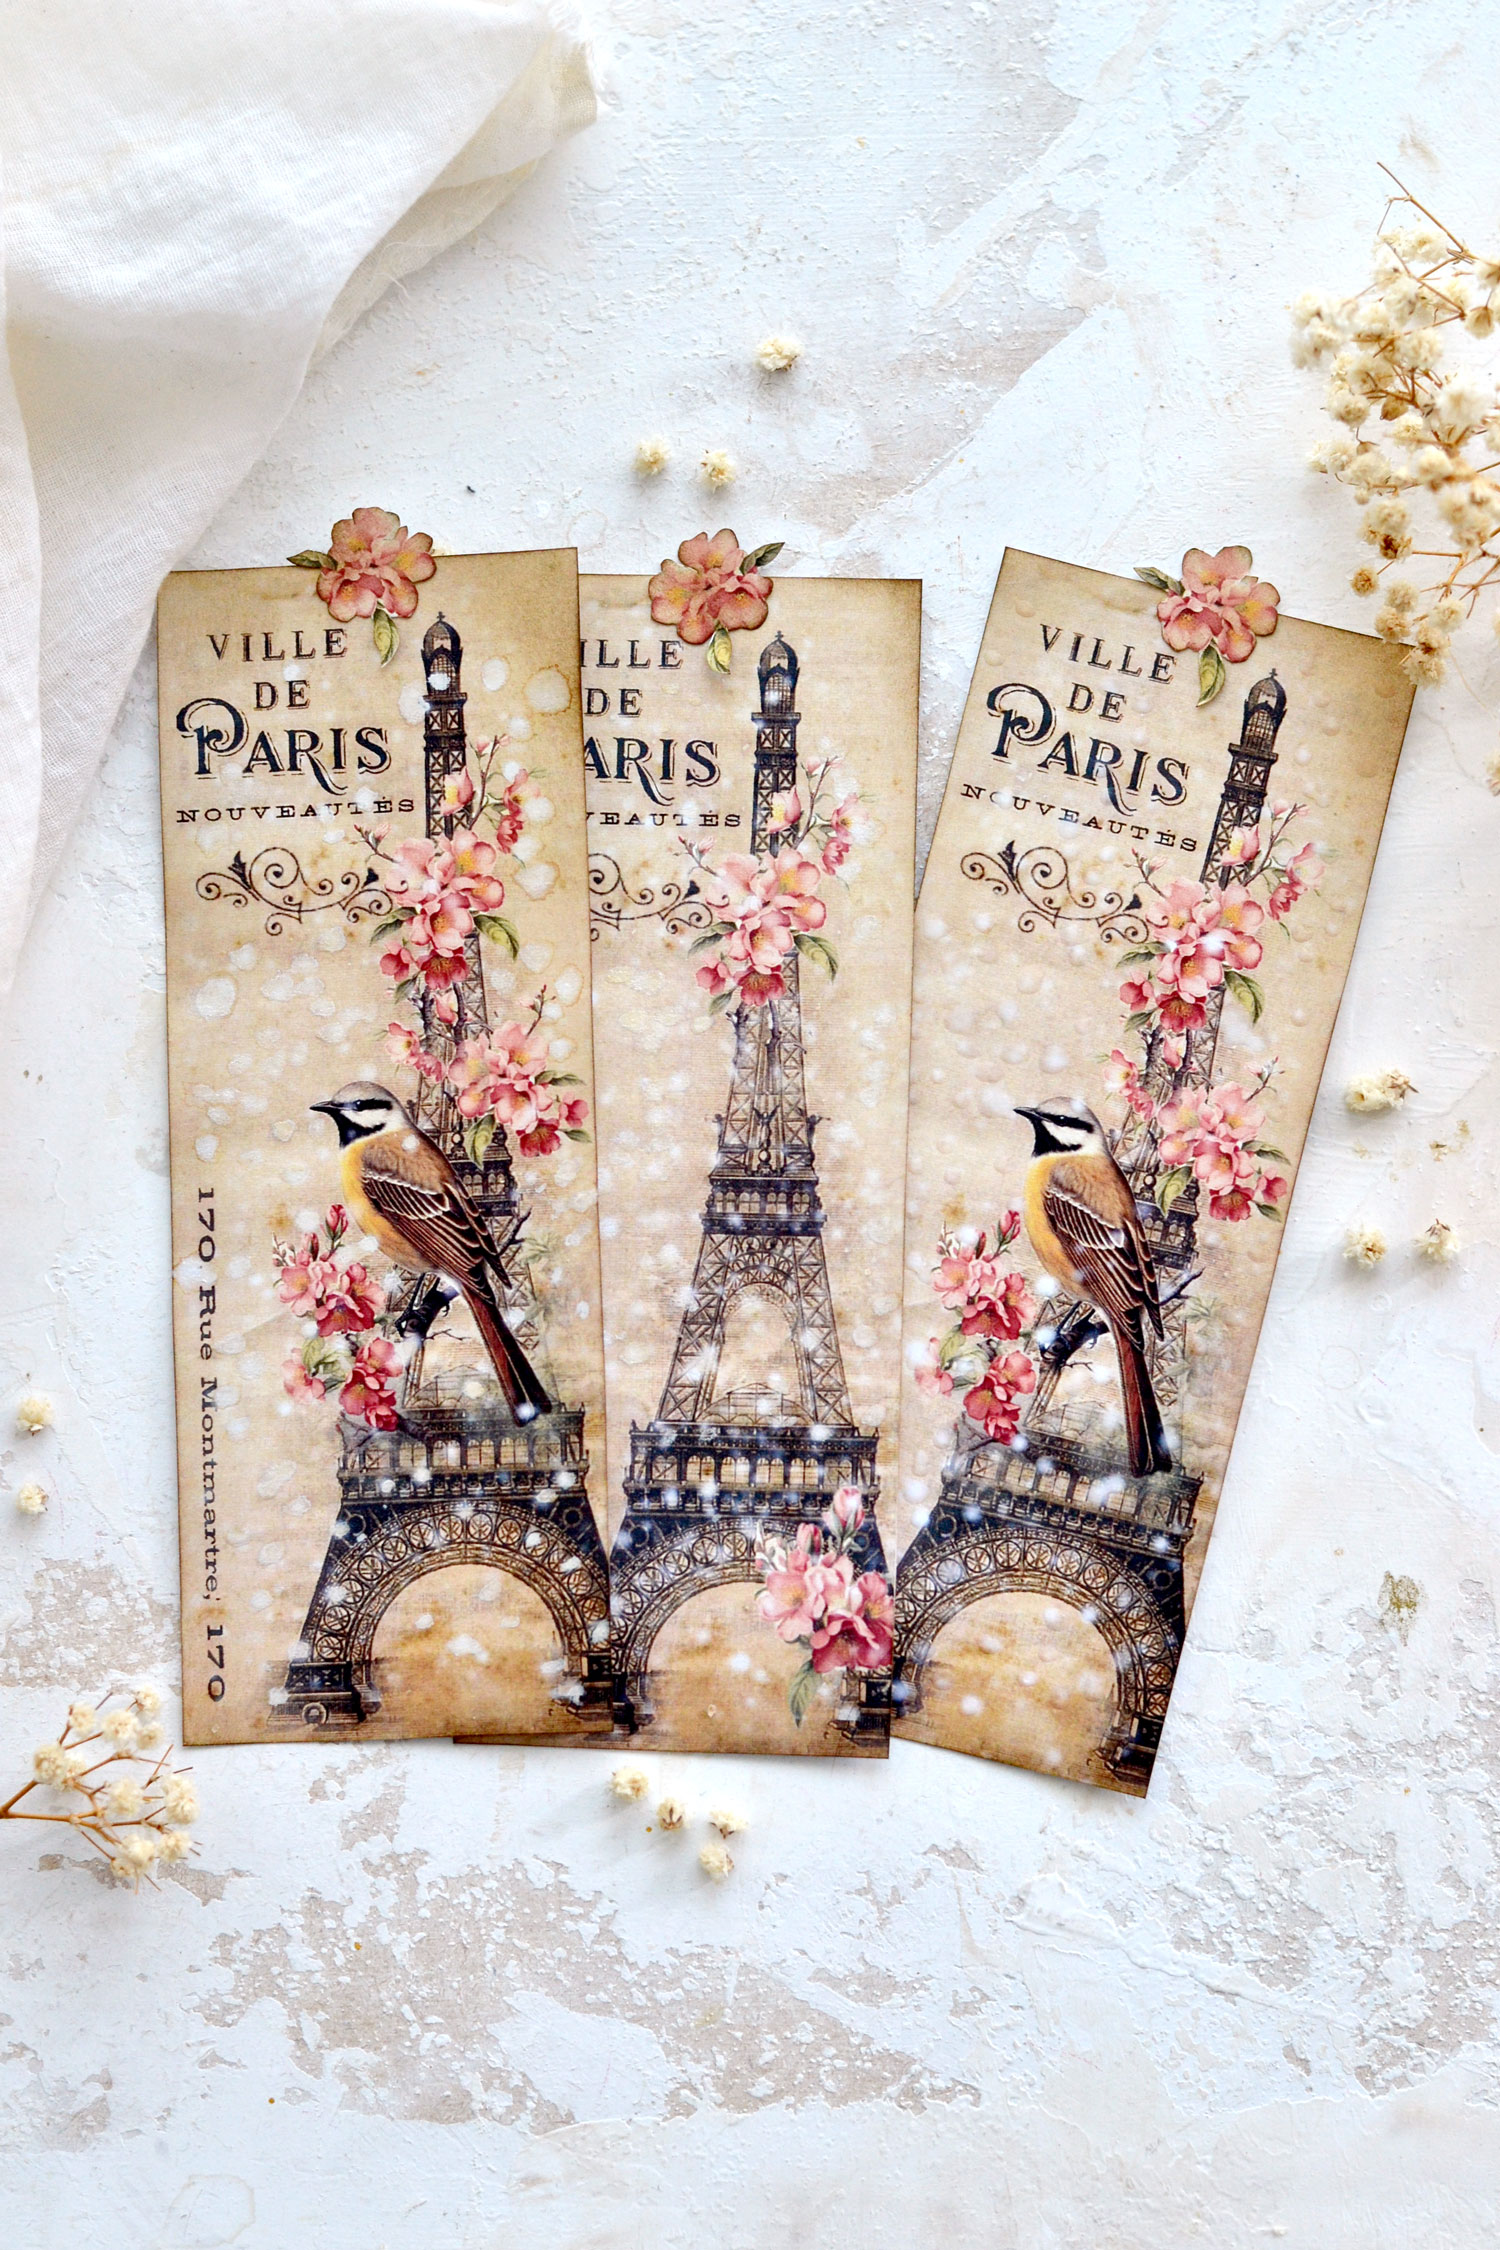
Hello Graphics Fairy friends! I’m Diana from Dreams Factory and I’m happy to be here again to share another DIY project with you! Today I will show you how to make these absolutely gorgeous Printable Eiffel Tower Christmas Bookmarks. They are not your typical red and green Christmas bookmarks, but ones that have more of a romantic feel, with a perfect front view over the Eiffel Tower in a dreamy Paris in winter.
The bookmarks are really charming on their own and don’t need too many embellishments, but I will show you 2 quick methods to highlight the snow and create more interest. We will be using white glue and pearlescent watercolors and you will see that each method has its own charm! You can also use a little bit of distress ink on the edges to give them more of a vintage vibe.
I’m sharing the free printable for this project as an early Christmas gift so you can make these beauties in no time!
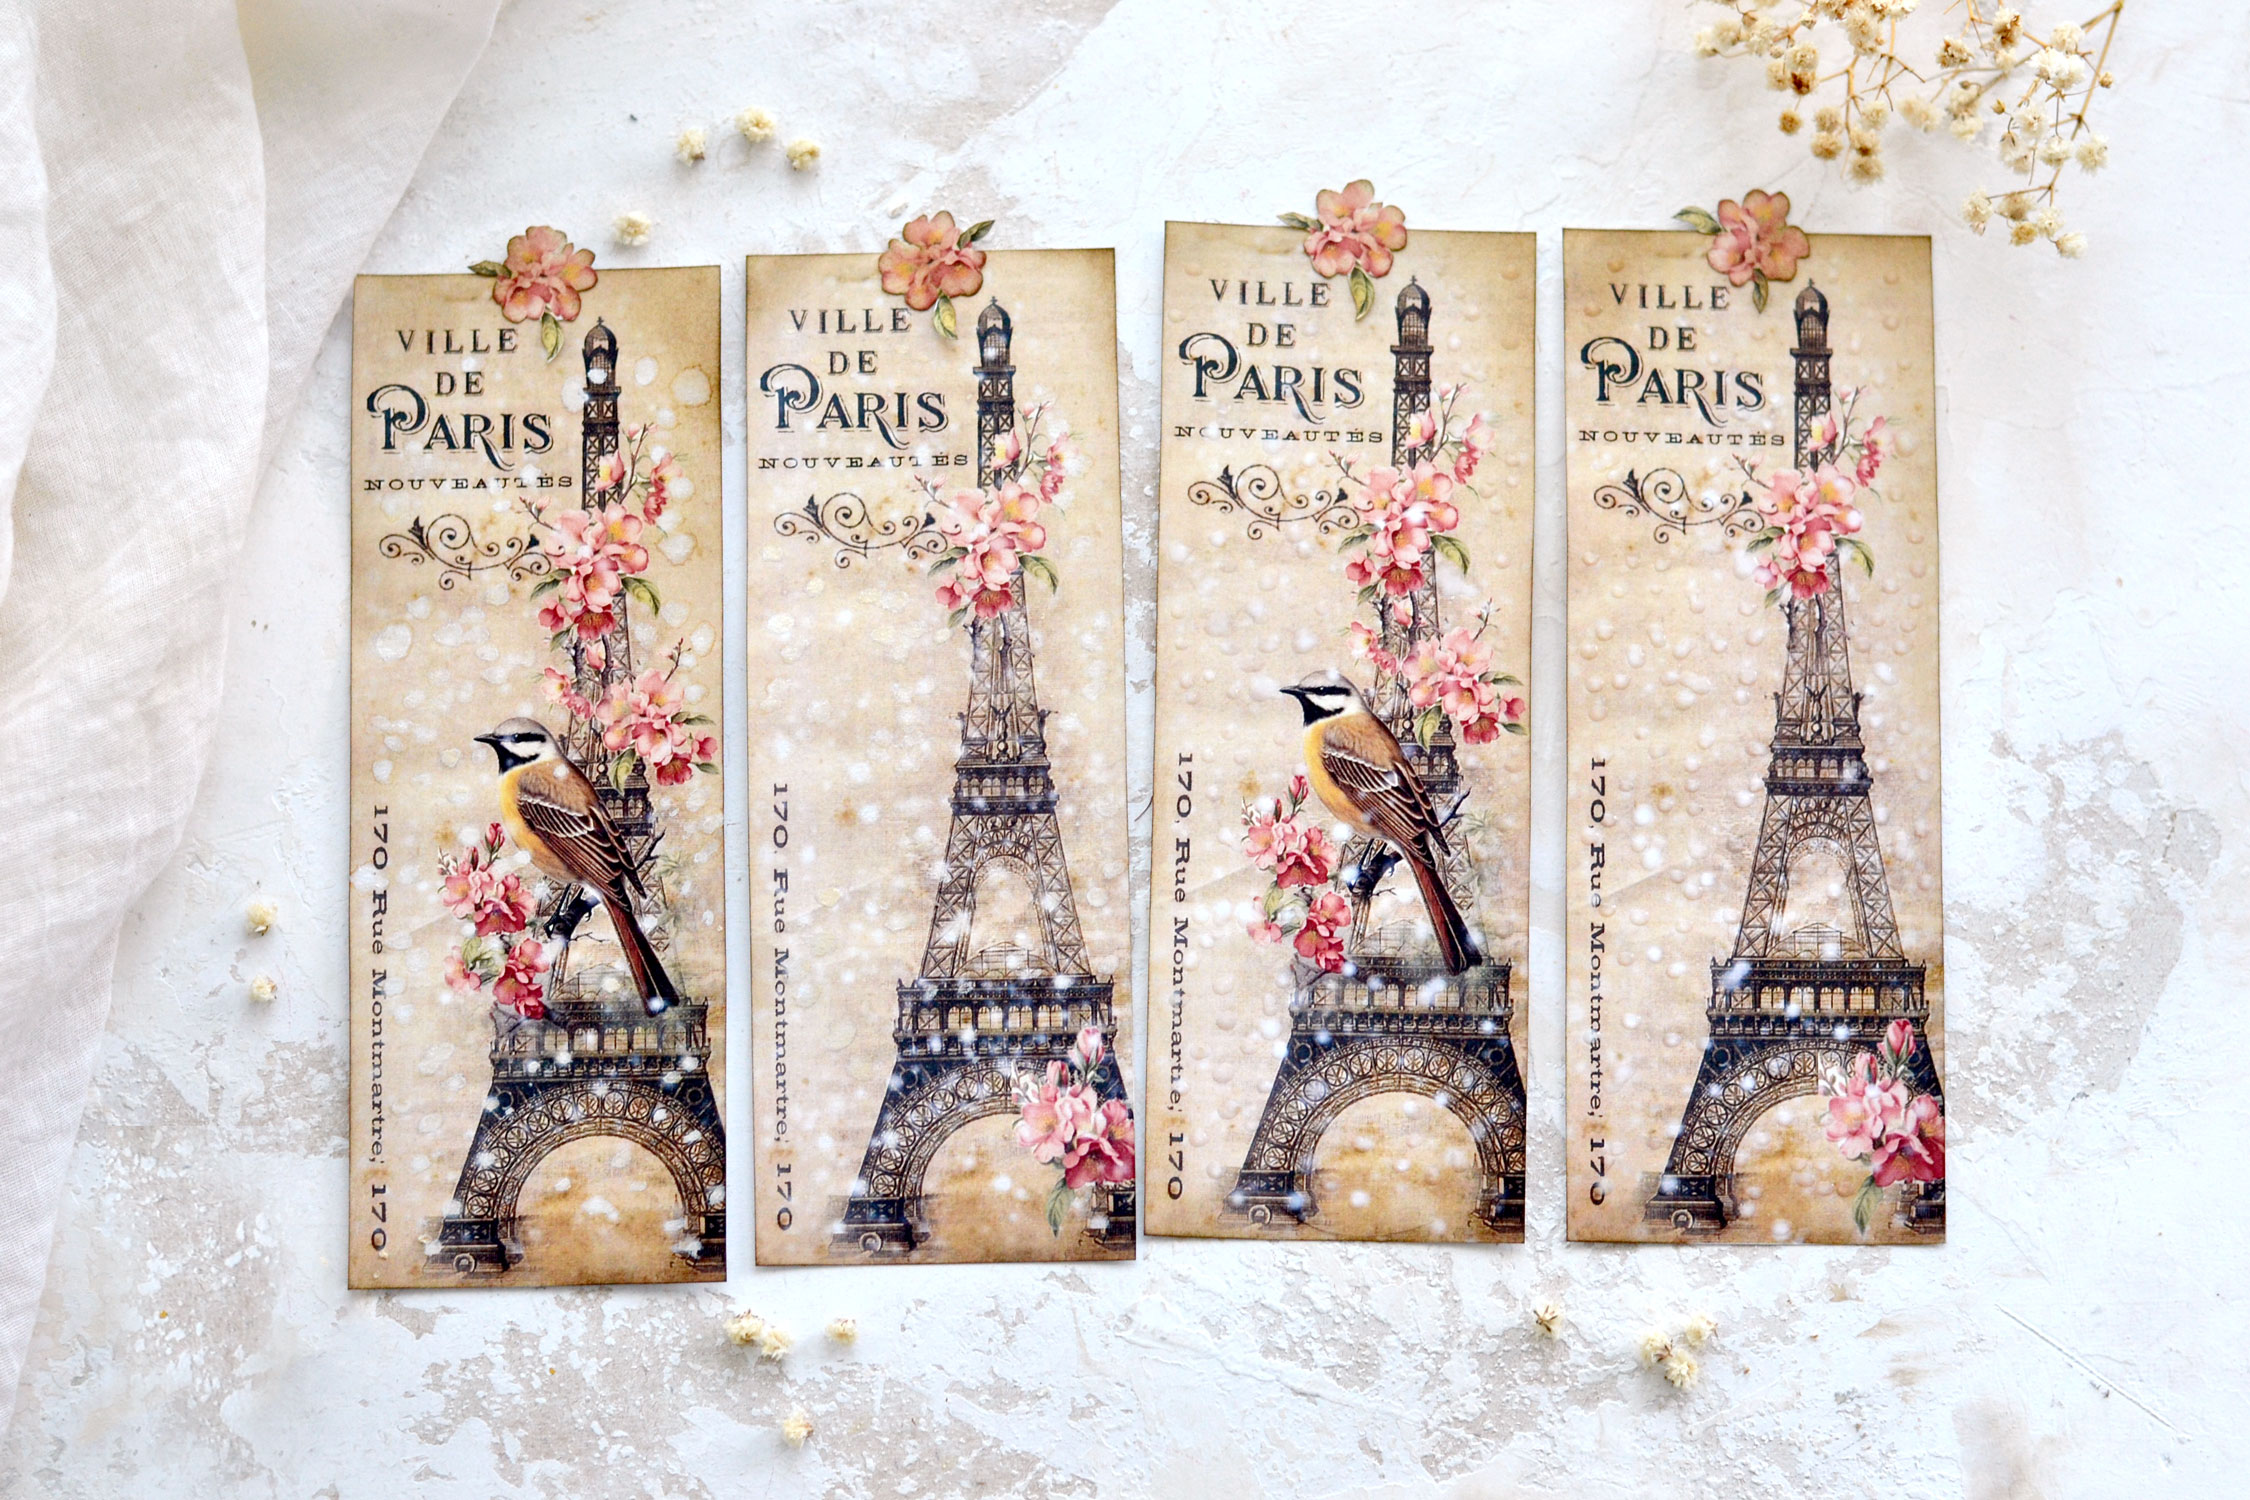
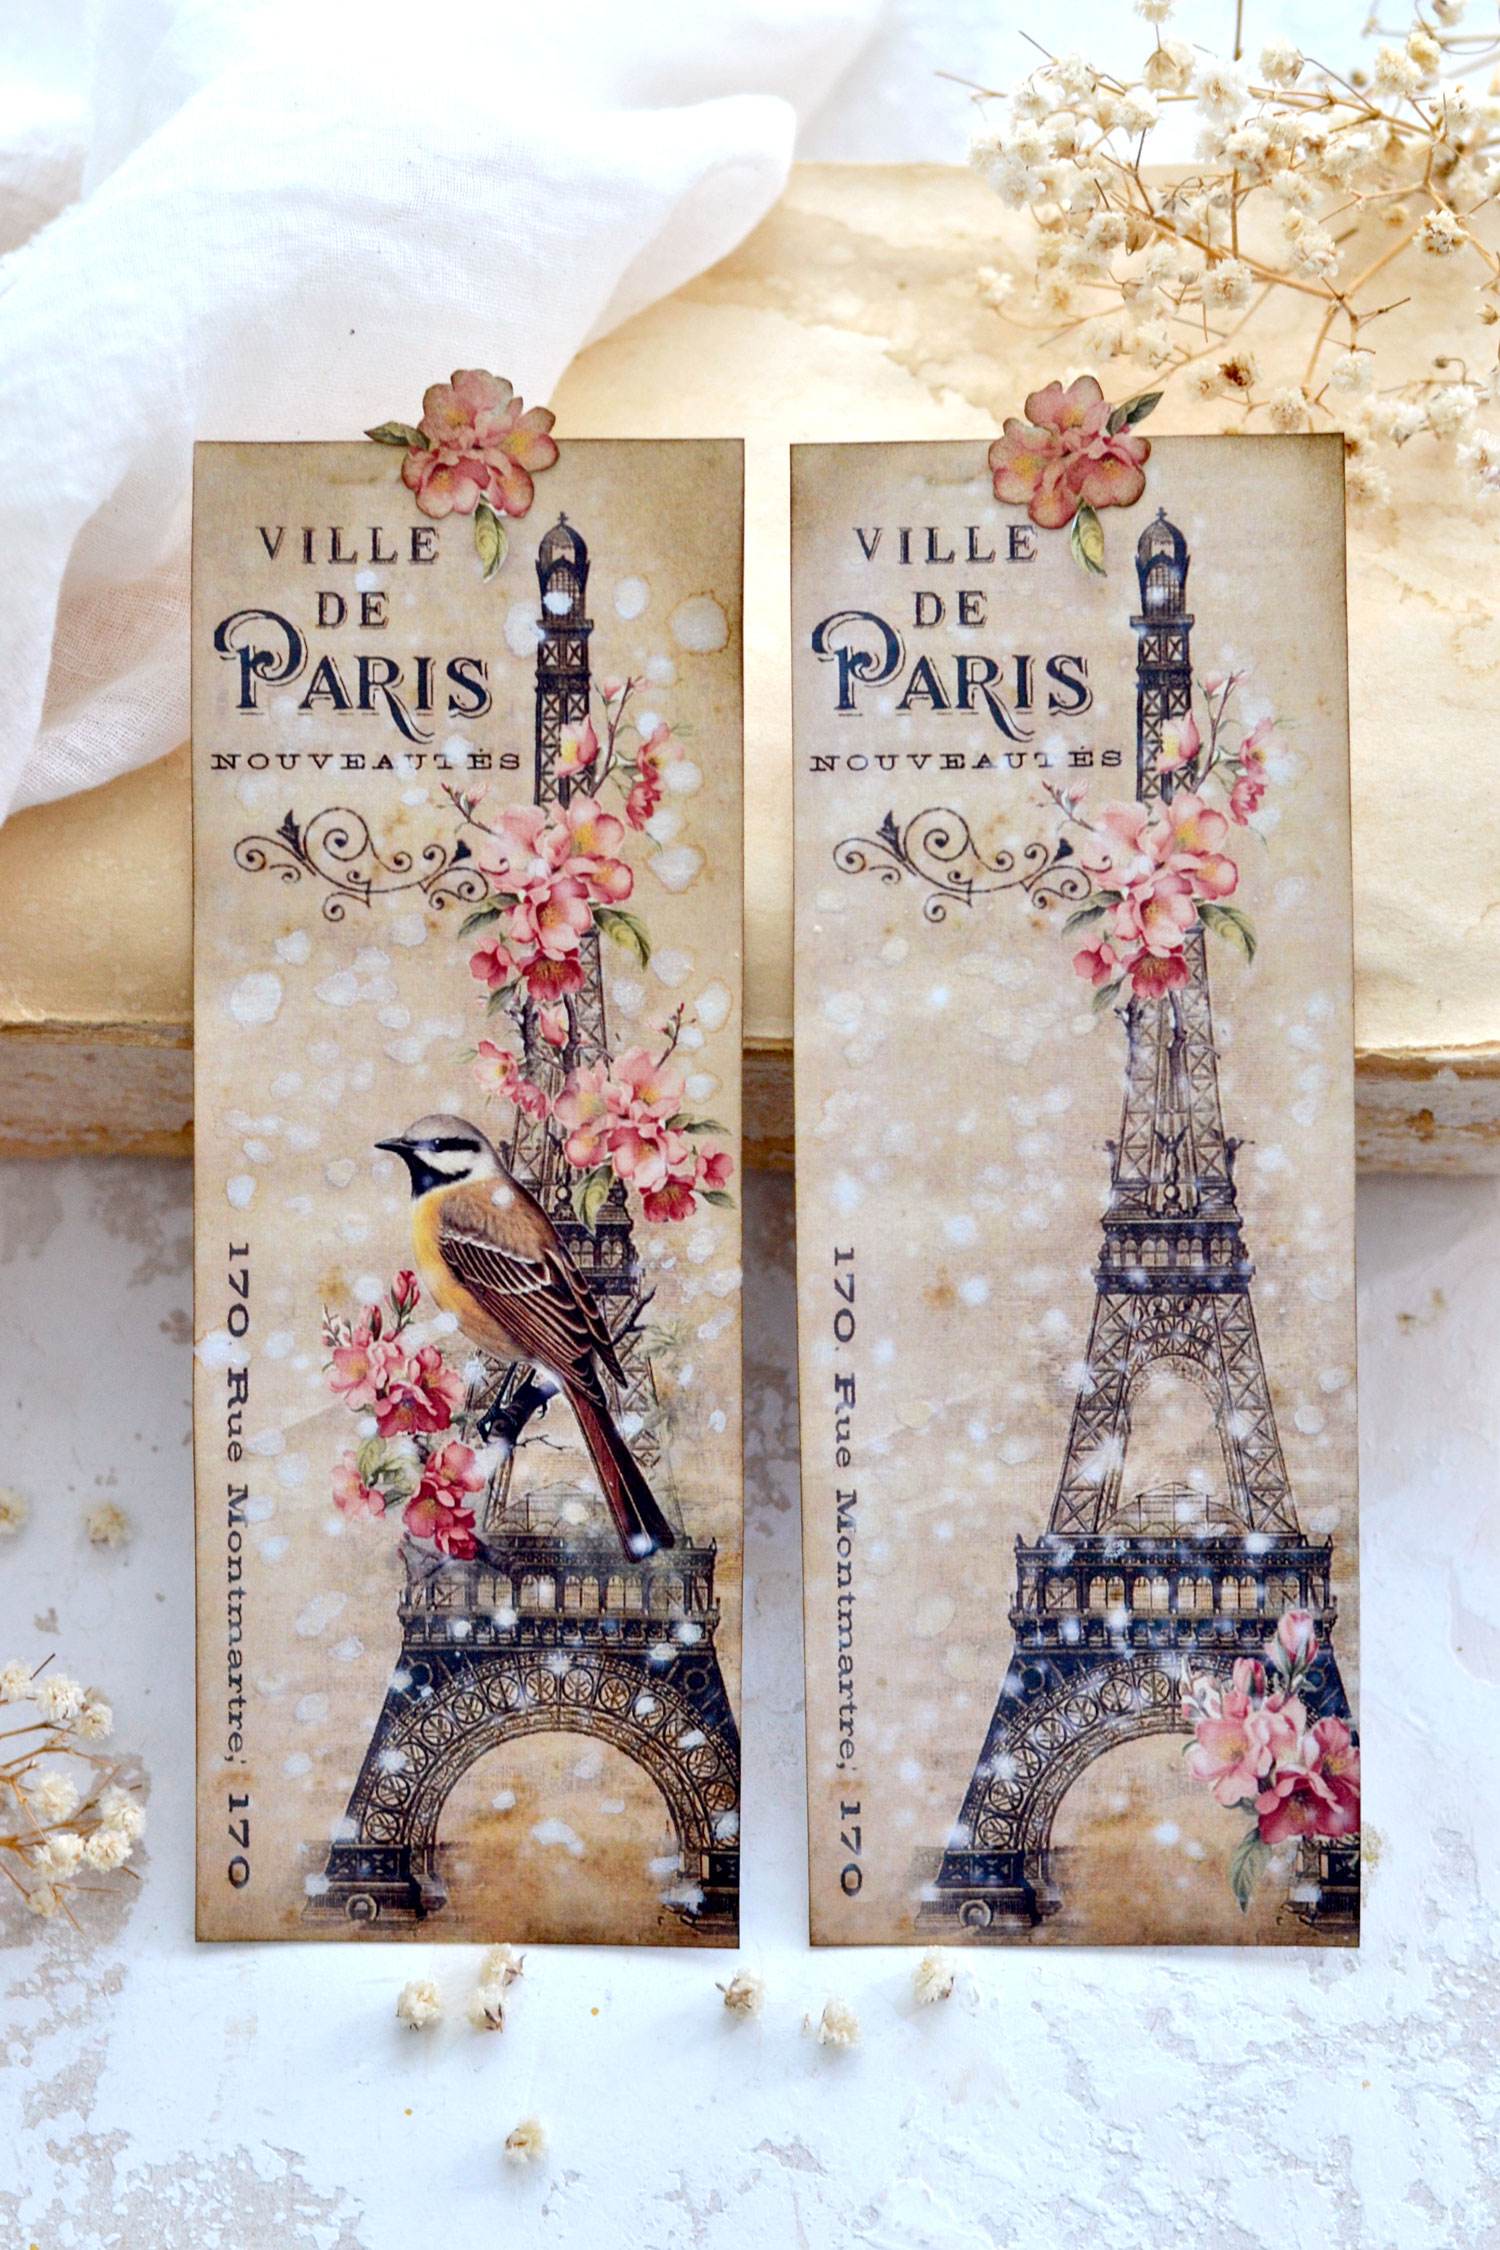
You will need to save the bookmarks on your computer, then you can print them as many times as you want! I used French ephemera cutouts to design the bookmarks, a vintage Eiffel Tower image and some gorgeous pink flowers. I included a lovely bird on two of the bookmarks and left two of them with just the Eiffel Tower and the flowers, so you can further decorate these last two as you want. And lastly, I ‘sprinkled’ some delicate digital snow that just adds even more charm while also giving them a lovely wintery vibe. I also included a few separate pink flowers that you can glue on top.
FREE PRINTABLE
—-> Click HERE to Download the Full Size Printable PDF (1) <—-
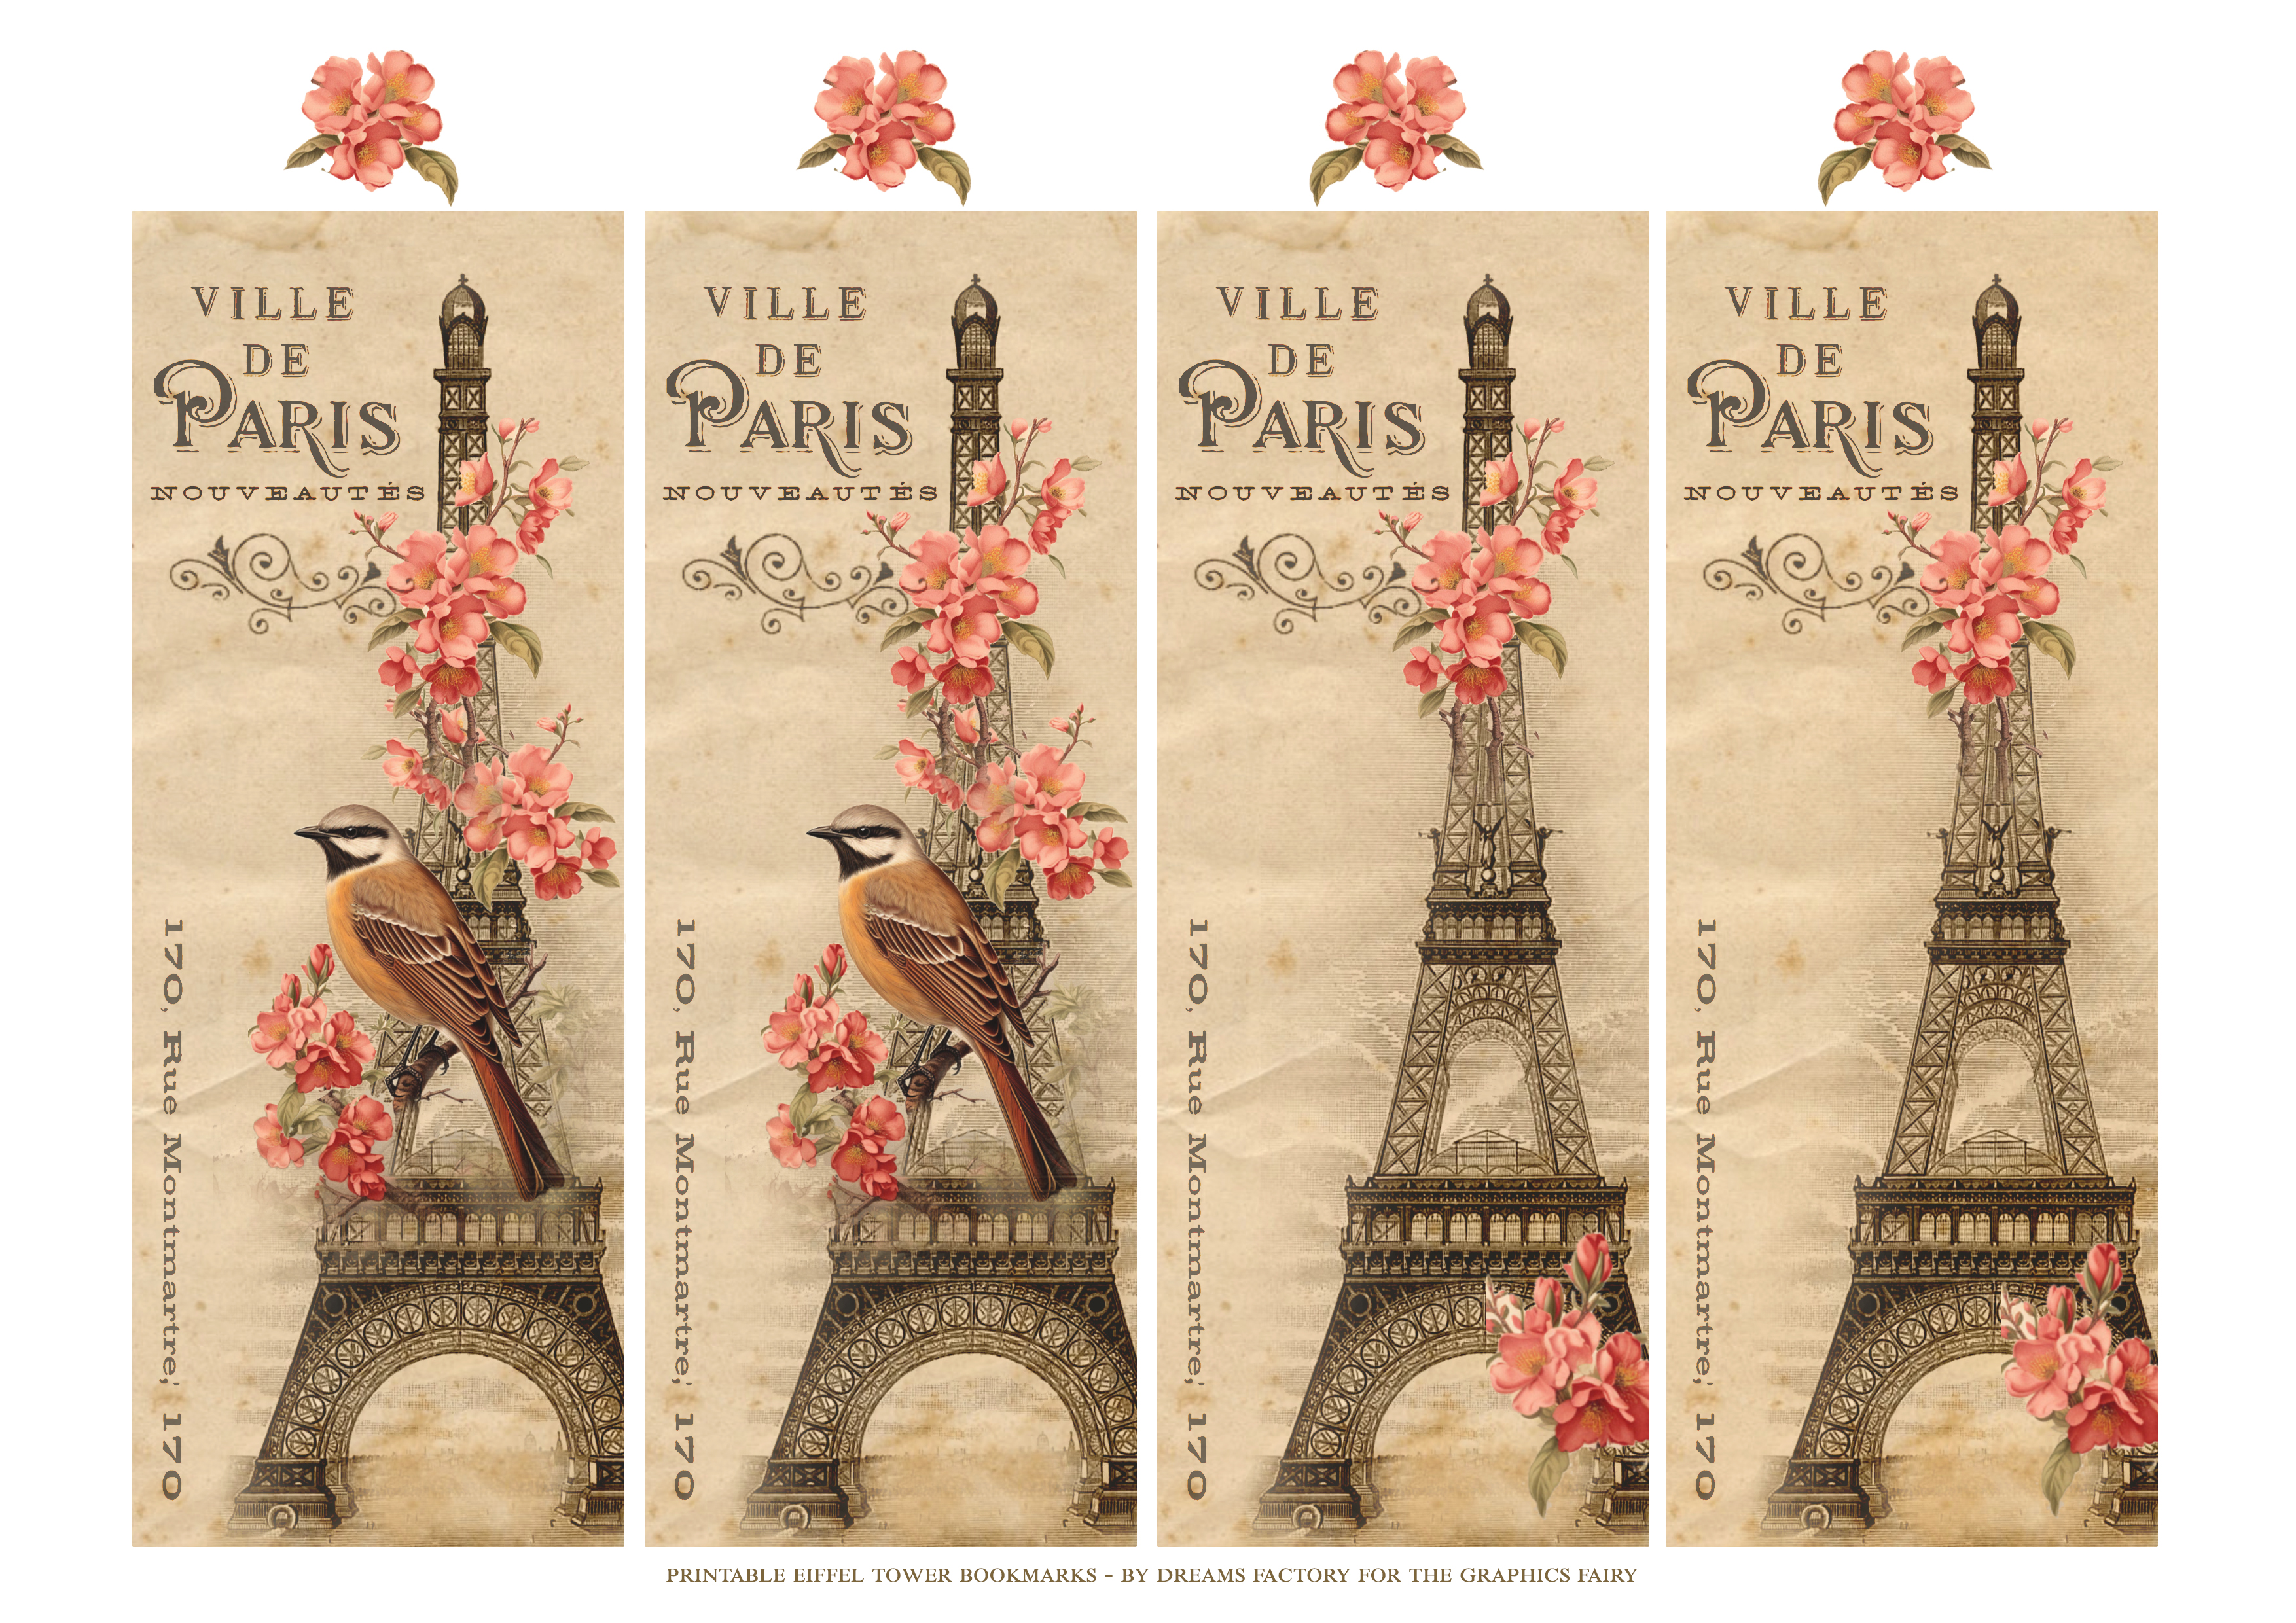
And speaking of early Christmas gifts, I’m also sharing a bonus version of the printable but without any snow! I really love how this design turned out so I thought it would be fun to also share this more general version that you can basically use all year long!
—-> Click HERE to Download the Full Size Printable PDF (2) <—-
Printable Christmas Bookmarks Supply List:
- white cardstock paper
- home printer
- scissors
- mini distress inks
- blending tool with foams
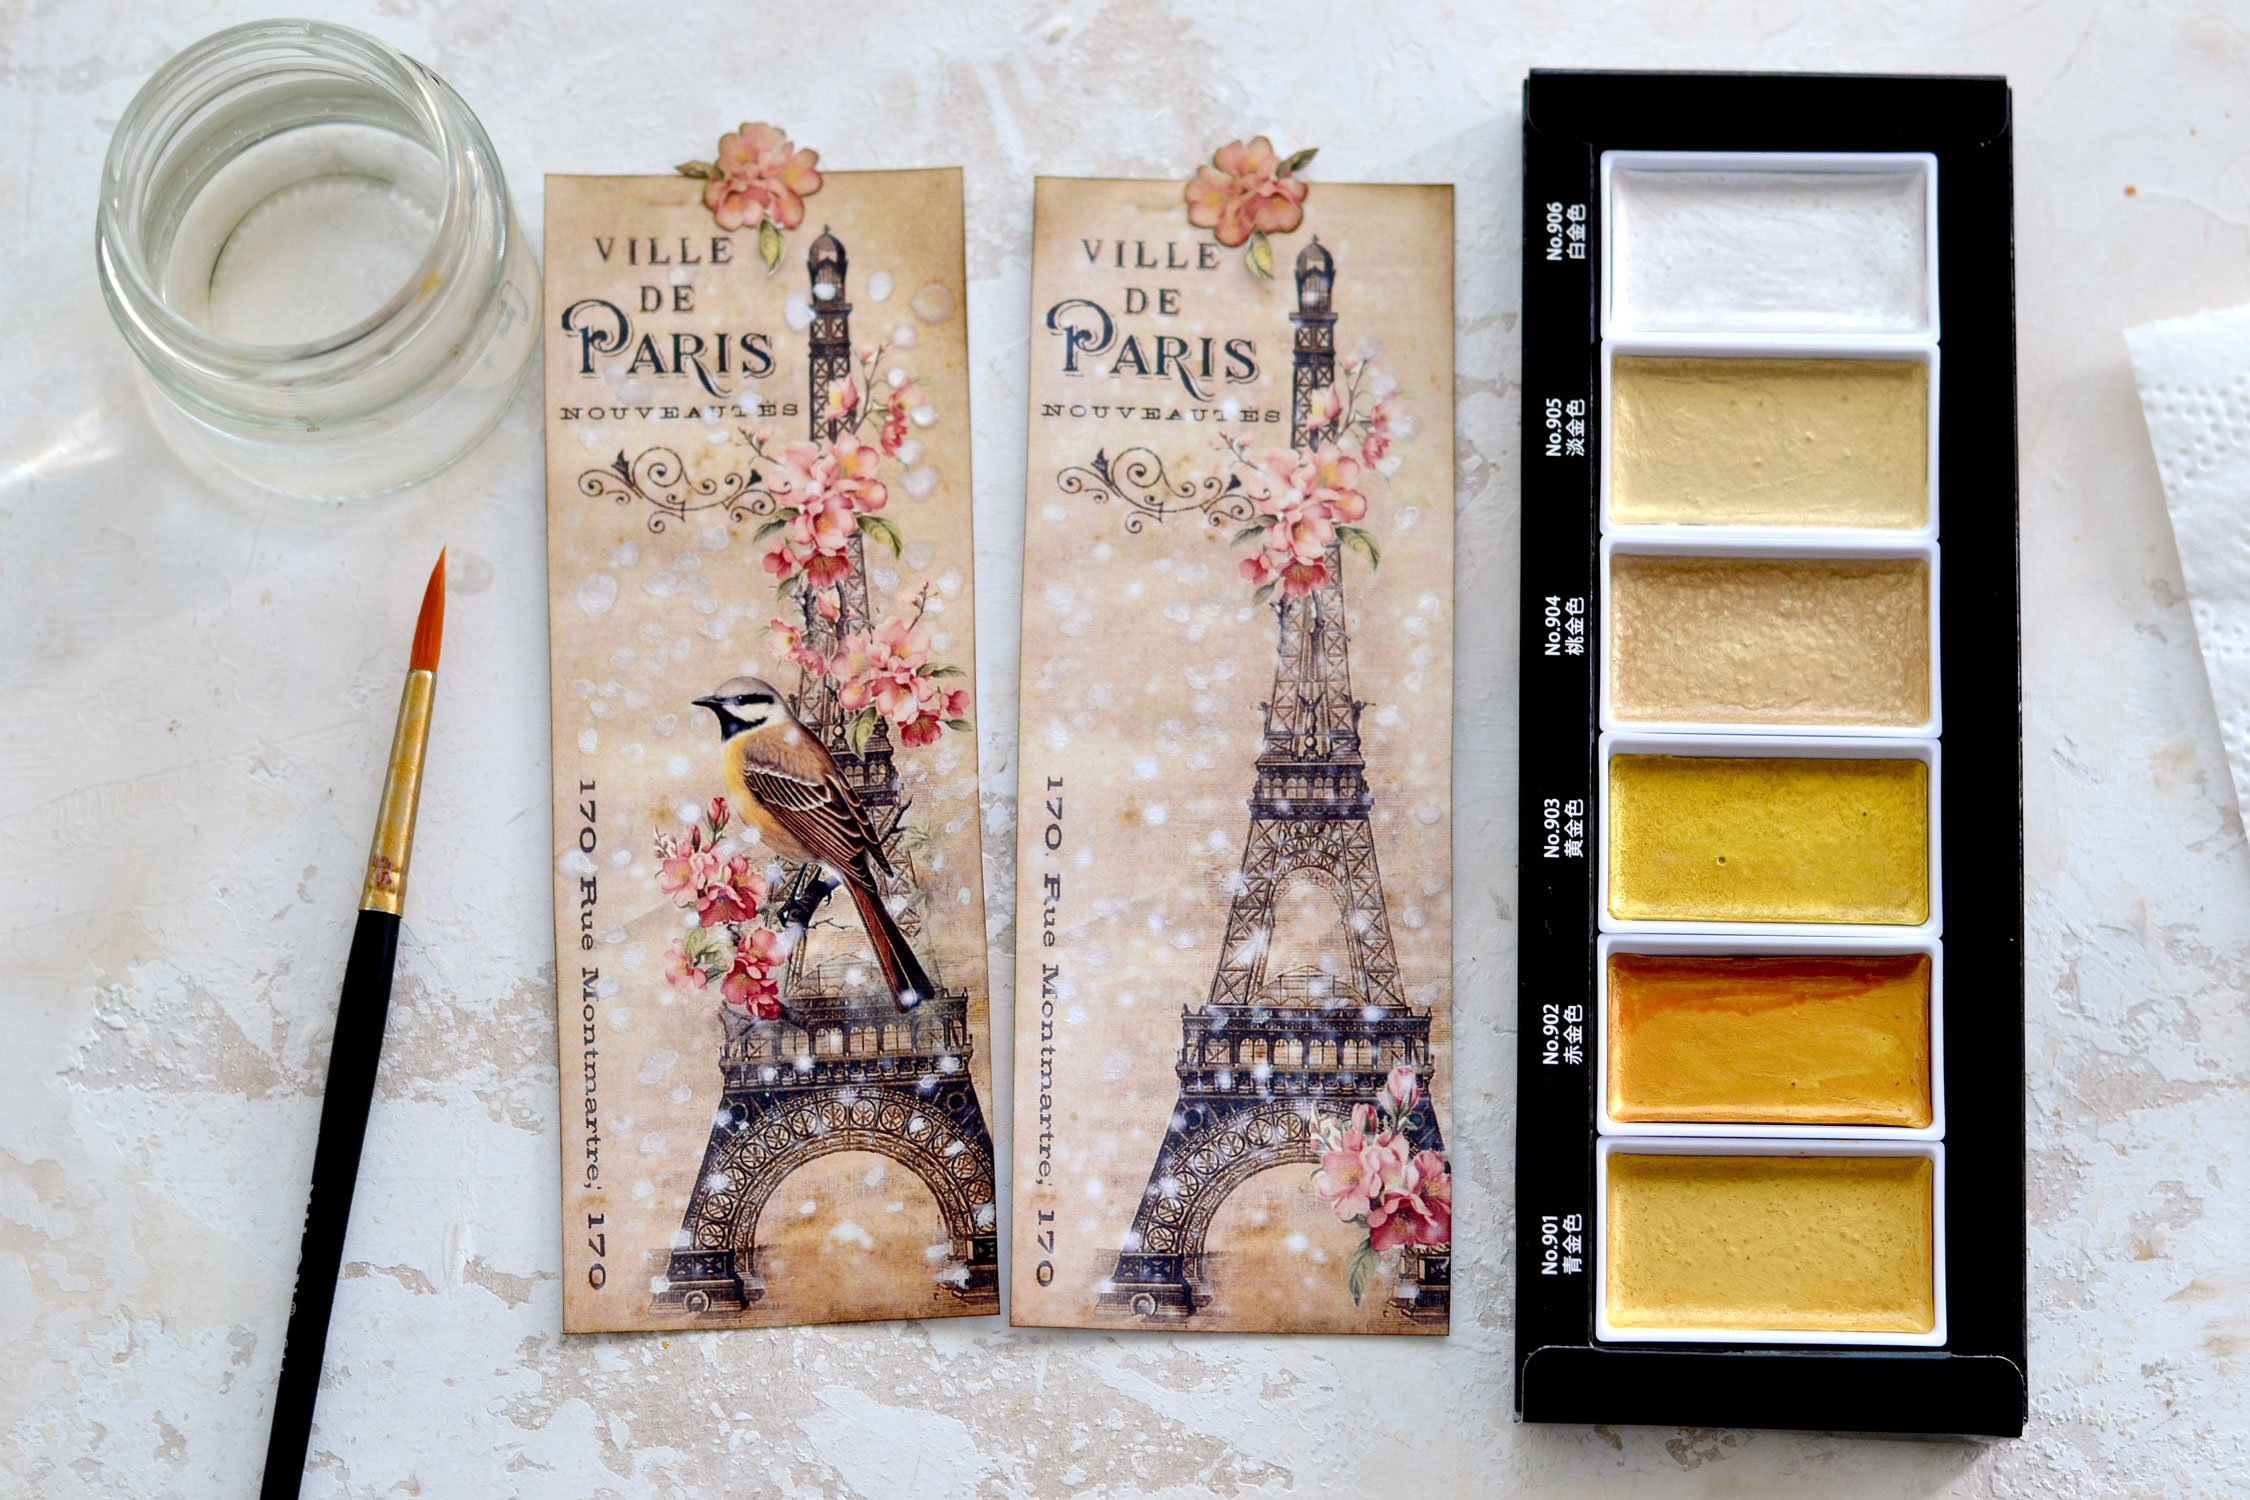
- pearlescent watercolors – I used the Kuretake Gansai Tambi Starry Colors
- craft glue with a fine-tip applicator
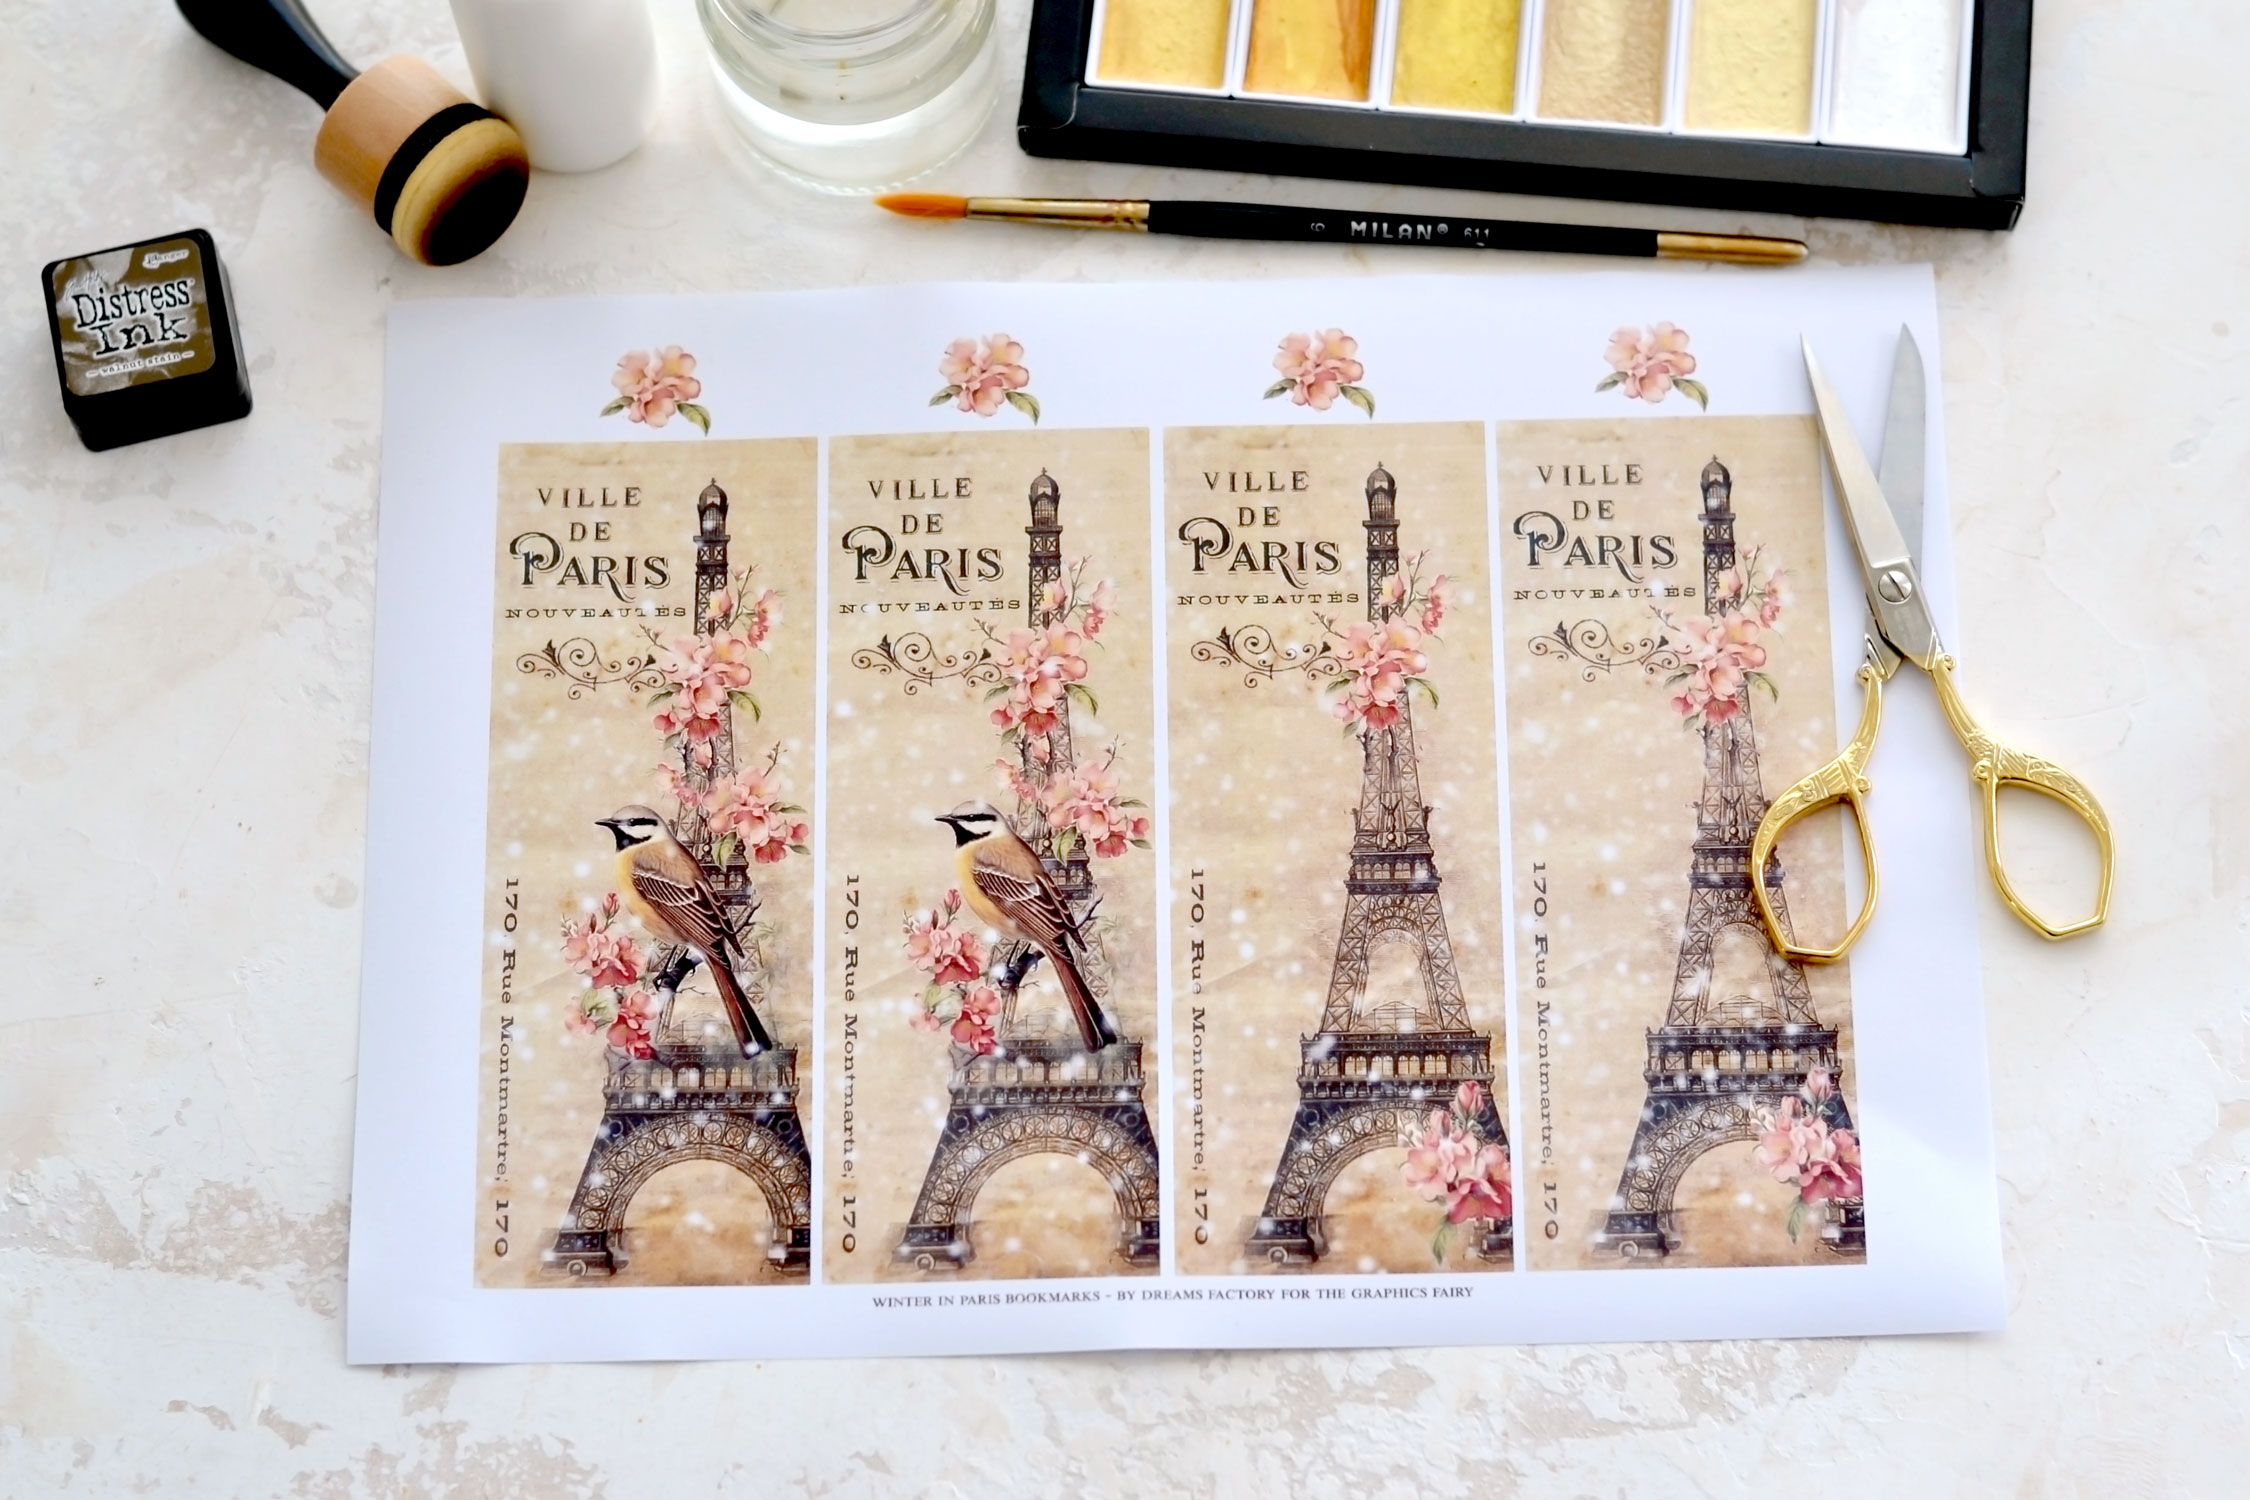
Start by cutting the bookmarks and the small flower embellishments using your scissors.
Use distress ink to distress the edges of the bookmarks trying to create a lovely vintage vignette effect on the corners. The level of distressing is all up to your own preferences!
Don’t forget to also distress the small pink flower embellishments, then use a little bit of glue to adhere them to your bookmarks. I added them on the top area of each bookmark, but if you prefer you can glue them somewhere else (maybe on top of the other flowers) to create a small raised effect and add some dimension. You can also skip adding the additional flowers altogether if you prefer it that way, especially if you are planning on adding some ribbons or lace instead.
Moving on to highlighting the snow! I’m showing you 2 ways to do this using craft glue and iridescent watercolors, but I’m sure there are other ways of getting creative while mimicking some snow! I’m thinking texture paste, white acrylic paint (or gouaches), dimensional glue, glitter or even some mica powder, just let me know if you experiment with any of these additional ideas!
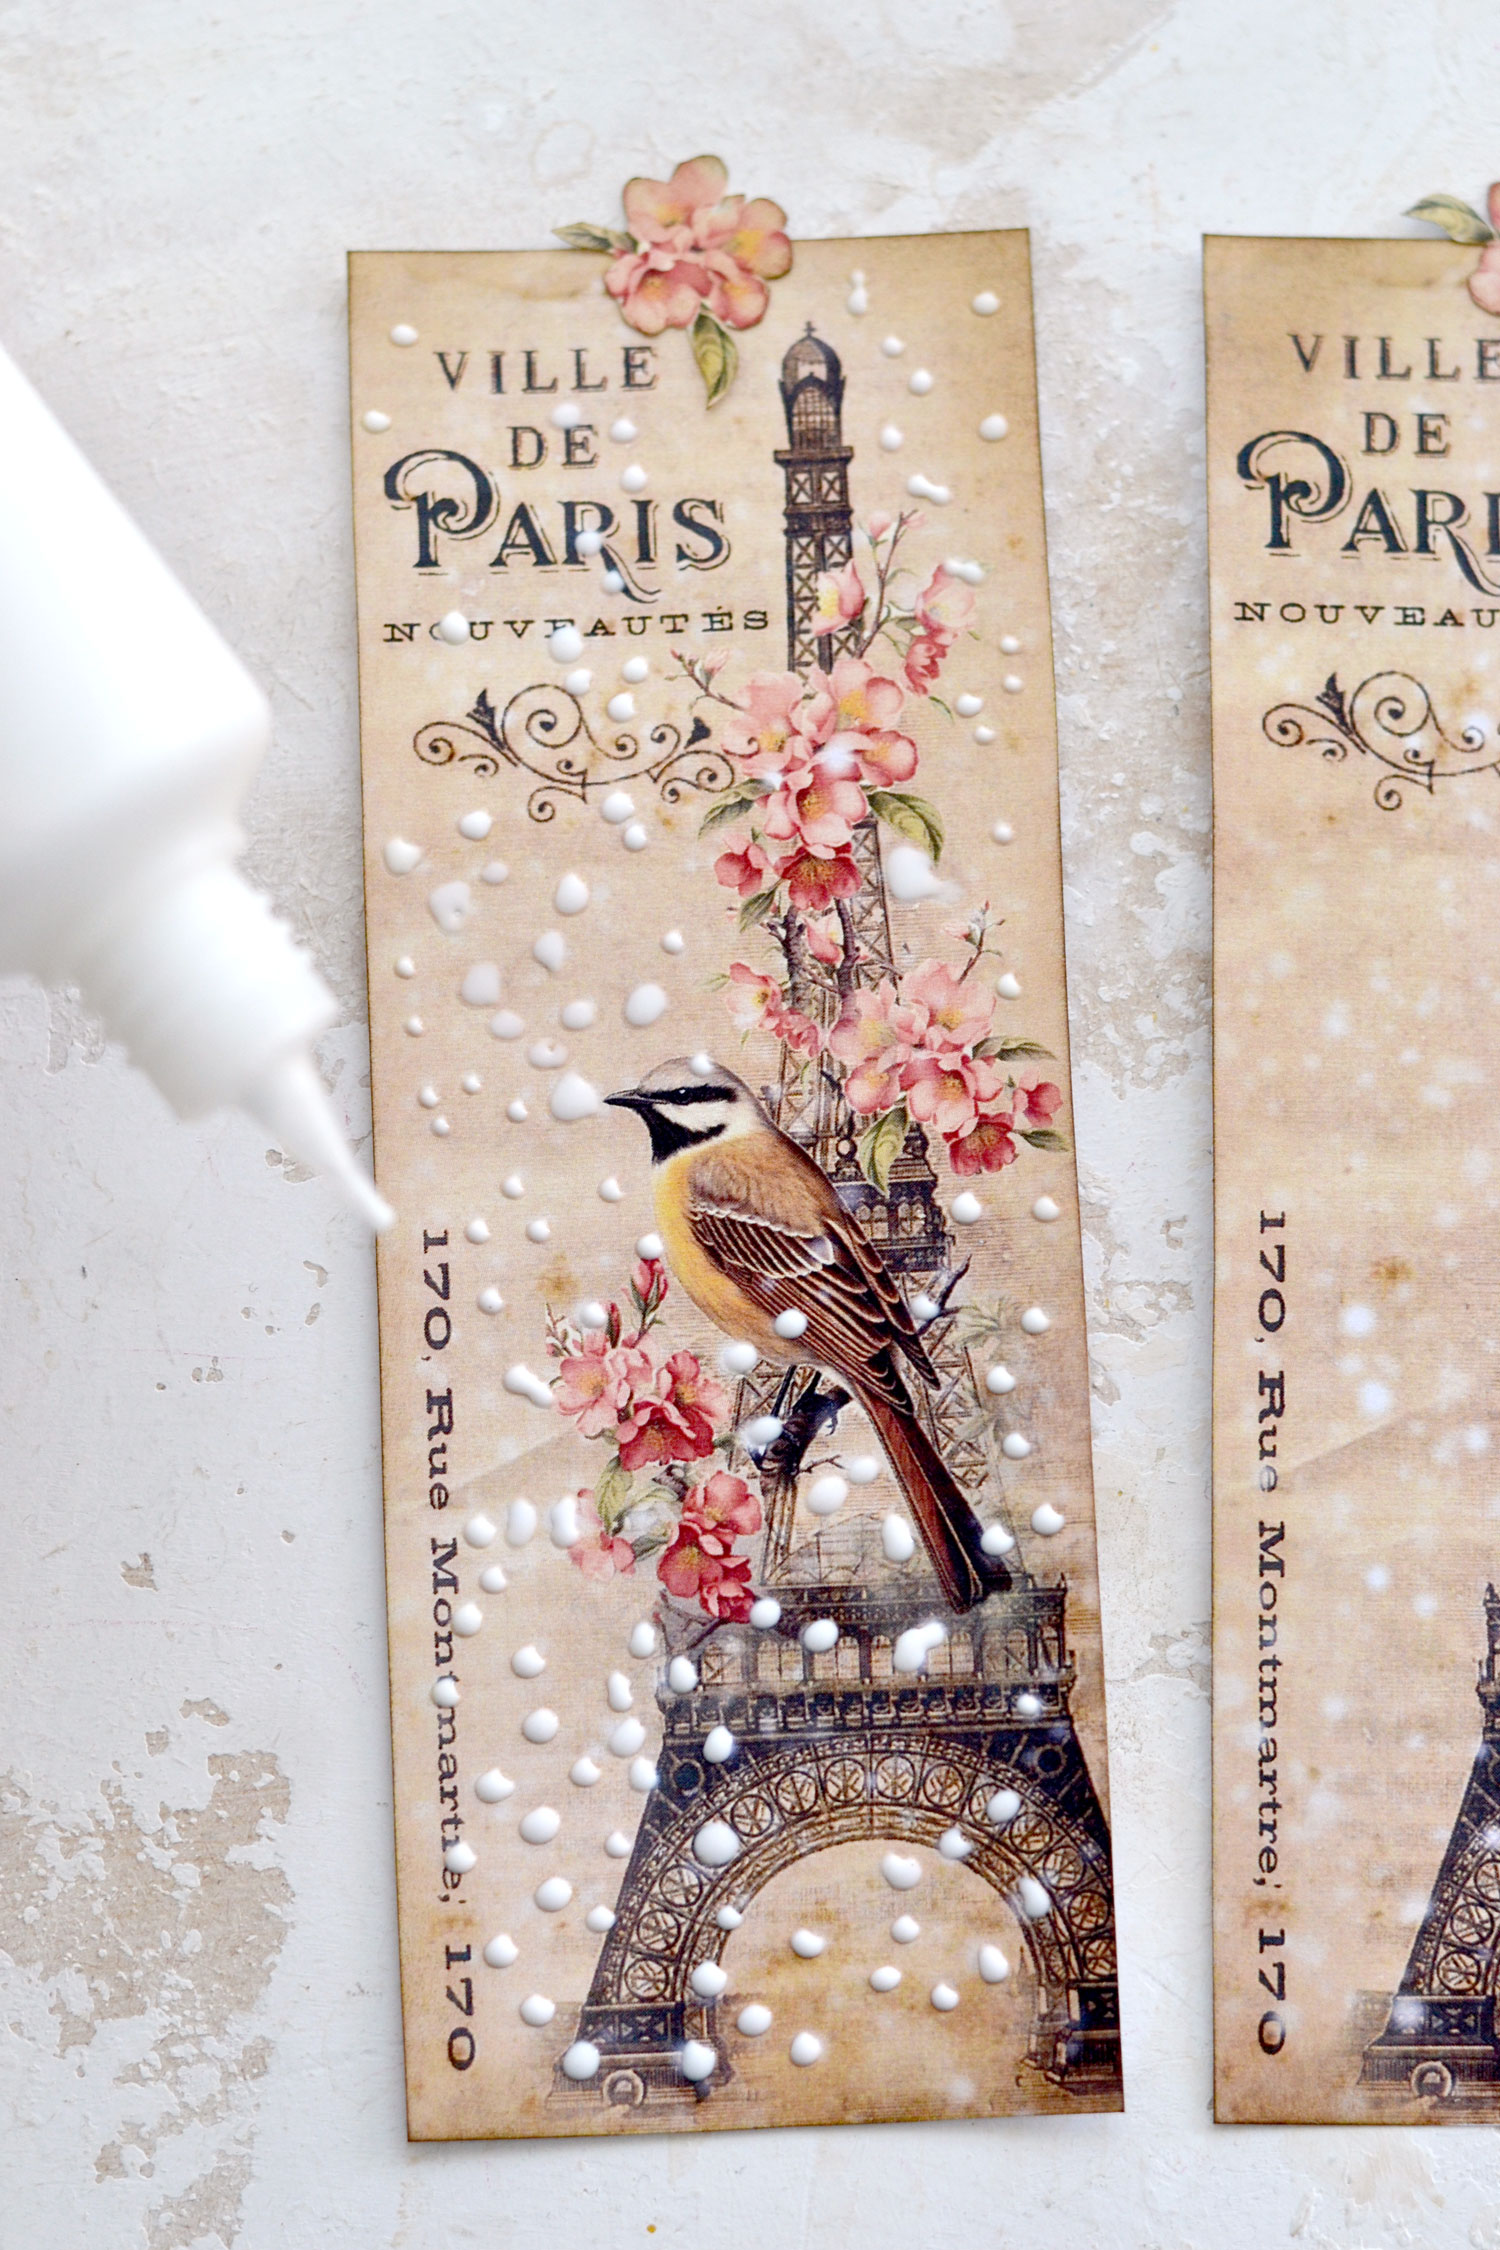
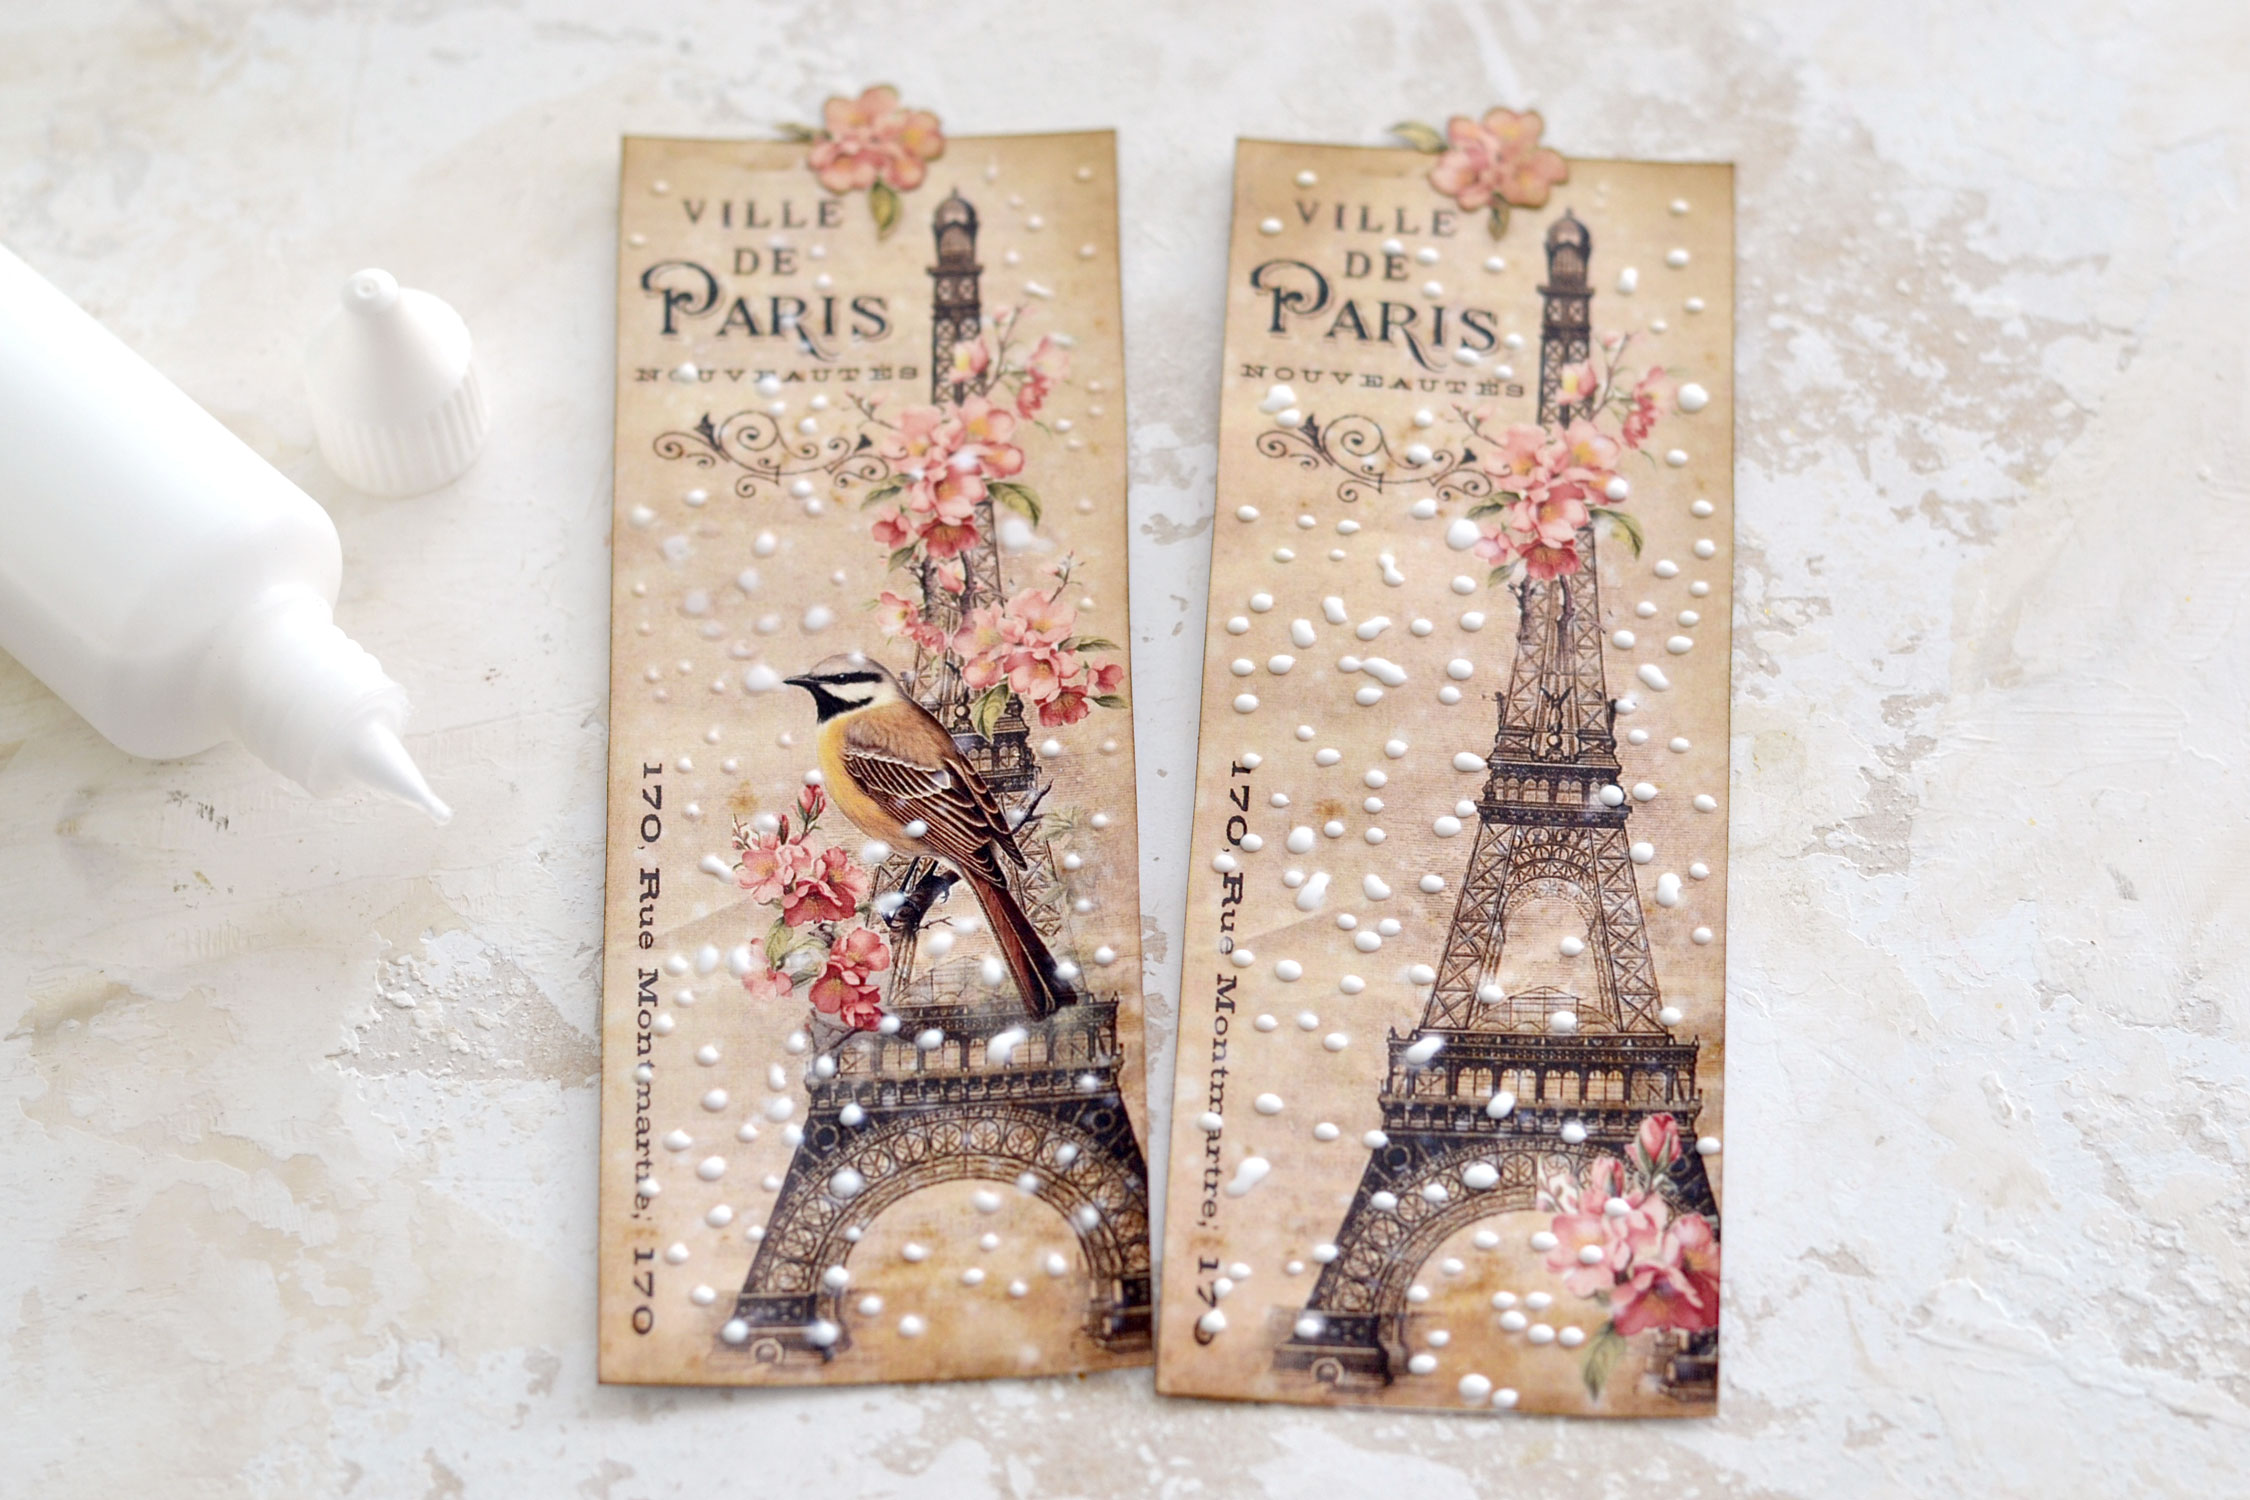
Let’s start with the craft glue! My first method is to use a fine-tip applicator to add small dots of glue on top of the snow that is already included in the design. Try to make the glue ‘snowflakes’ as irregular as you can to give them a perfectly imperfect feel, just like they are in nature. You can use the snow that is already on the bookmarks as guidance, but you can also add some more in other places if you want!
Because white glue dries clear, this method will give a more faded visual effect with an added tactile feel. It’s like a nice, totally unexpected surprise because you can actually feel the faux snowflakes while holding the bookmarks in your hand or touching them with your fingers. If you want to make the snowflakes more visible, you can mix a little bit of white acrylic paint into the glue prior to painting them with your fine-tip applicator bottle. If you don’t have a special bottle like this, you can also use a small brush or even a pencil to create the dots.
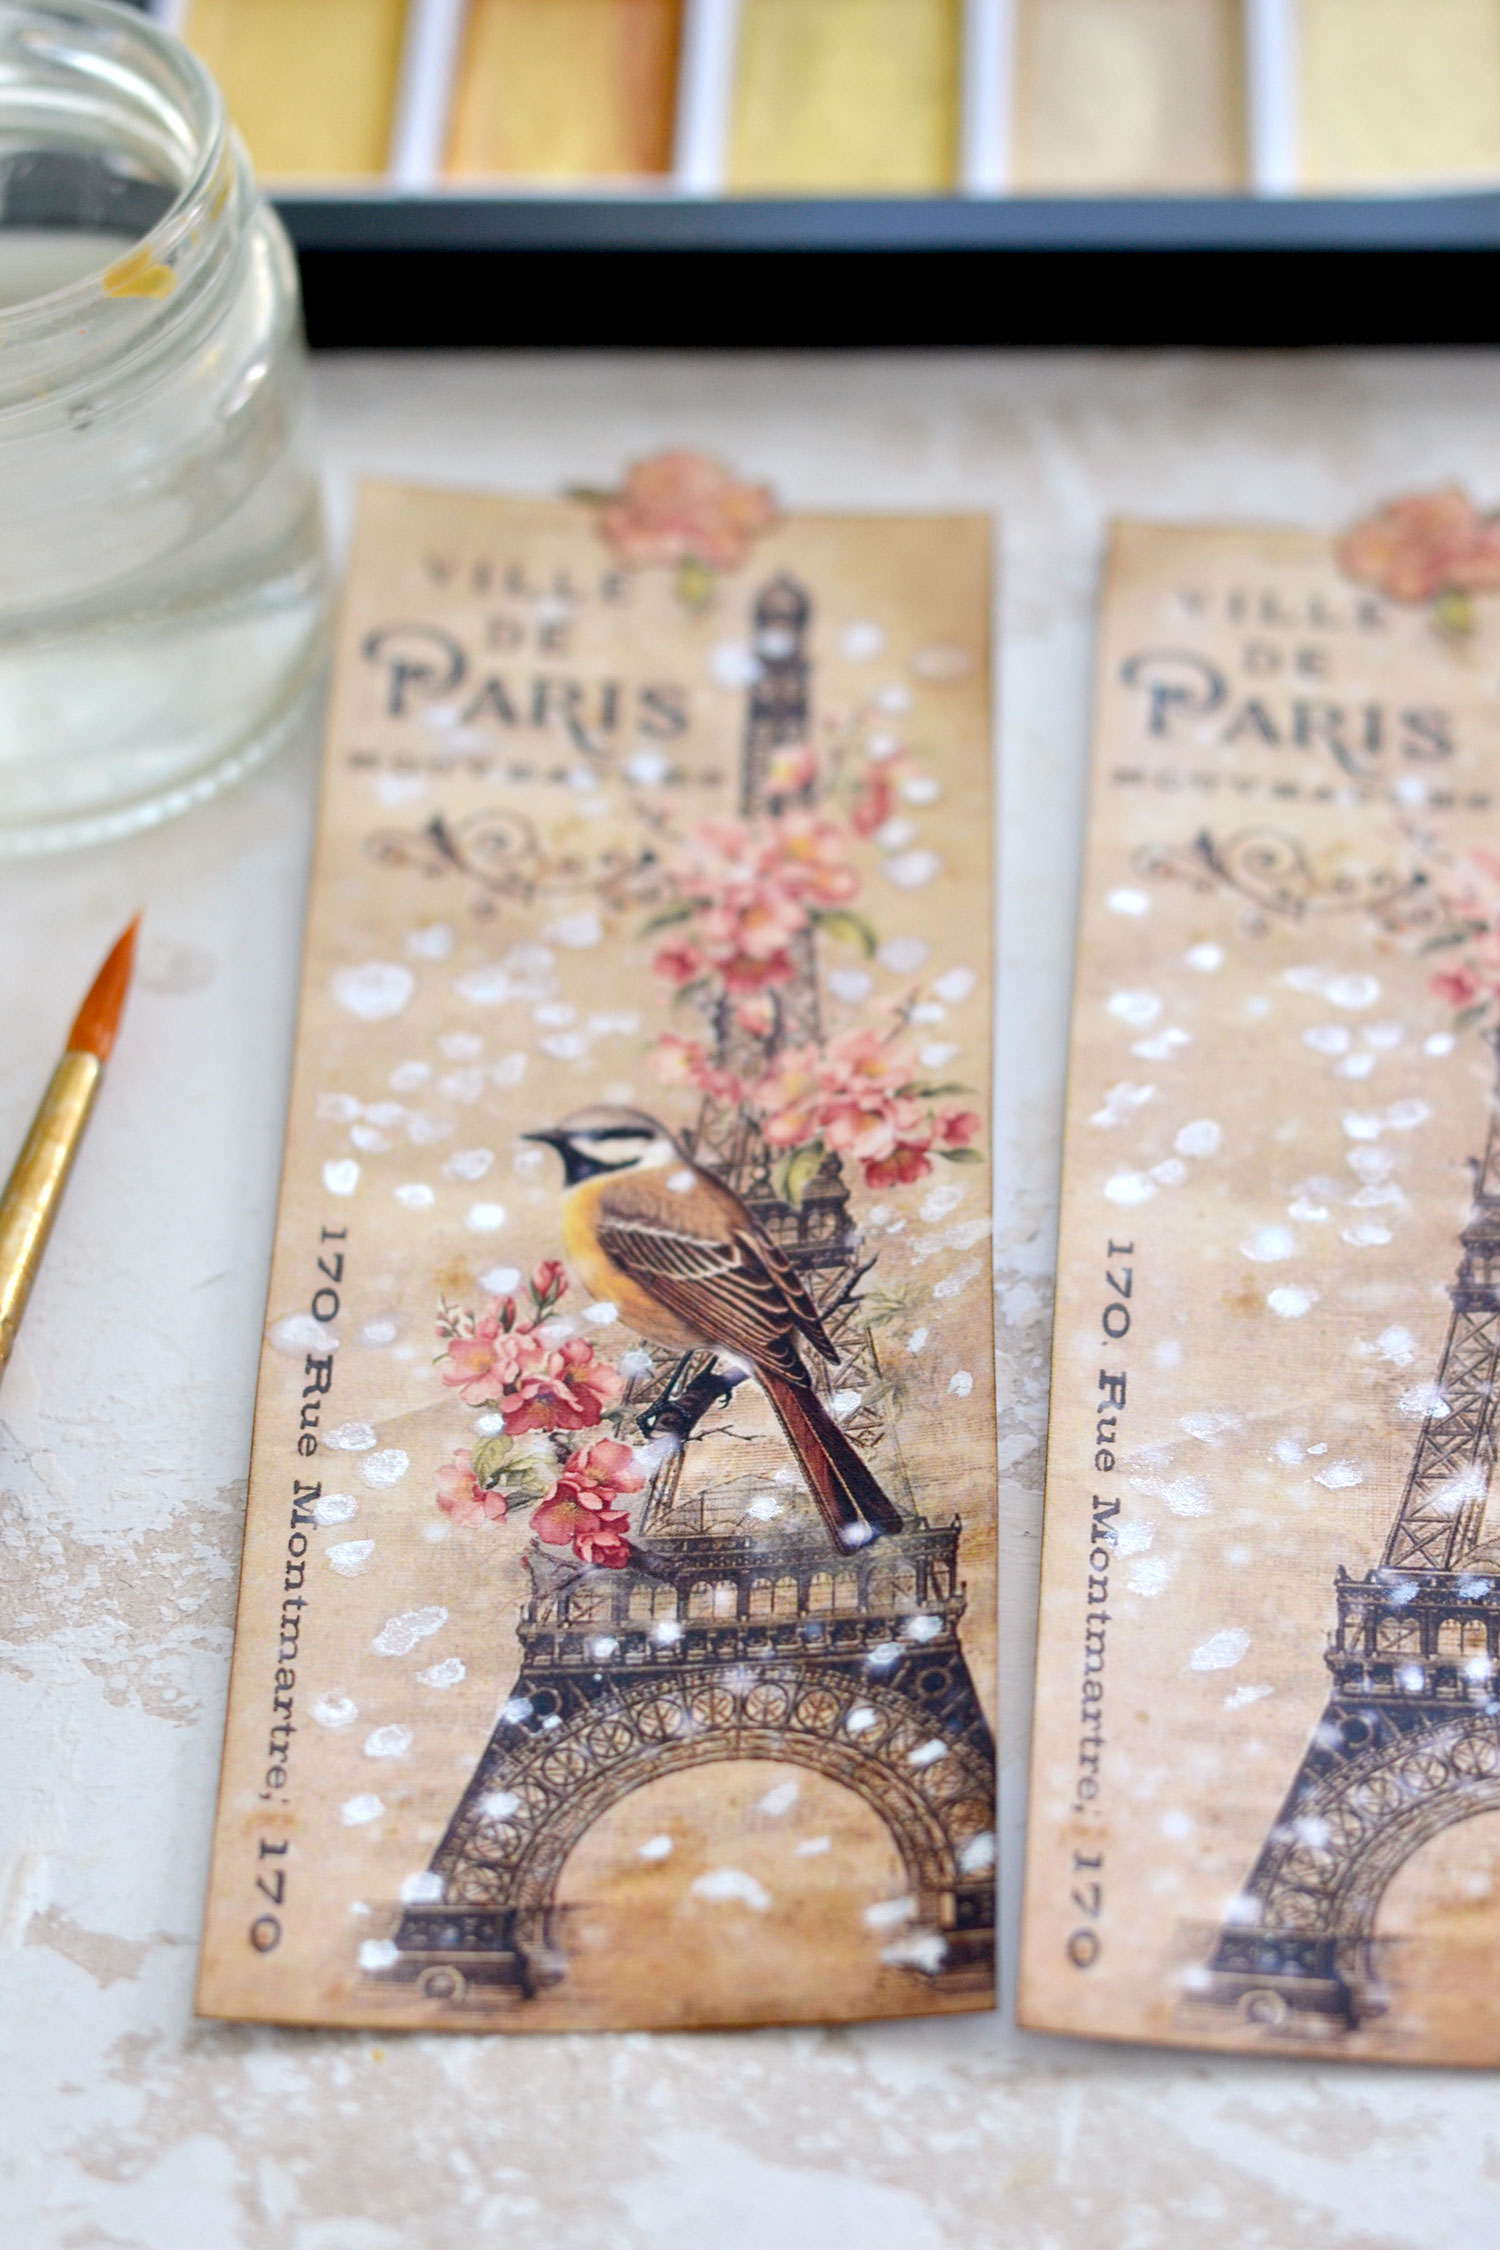
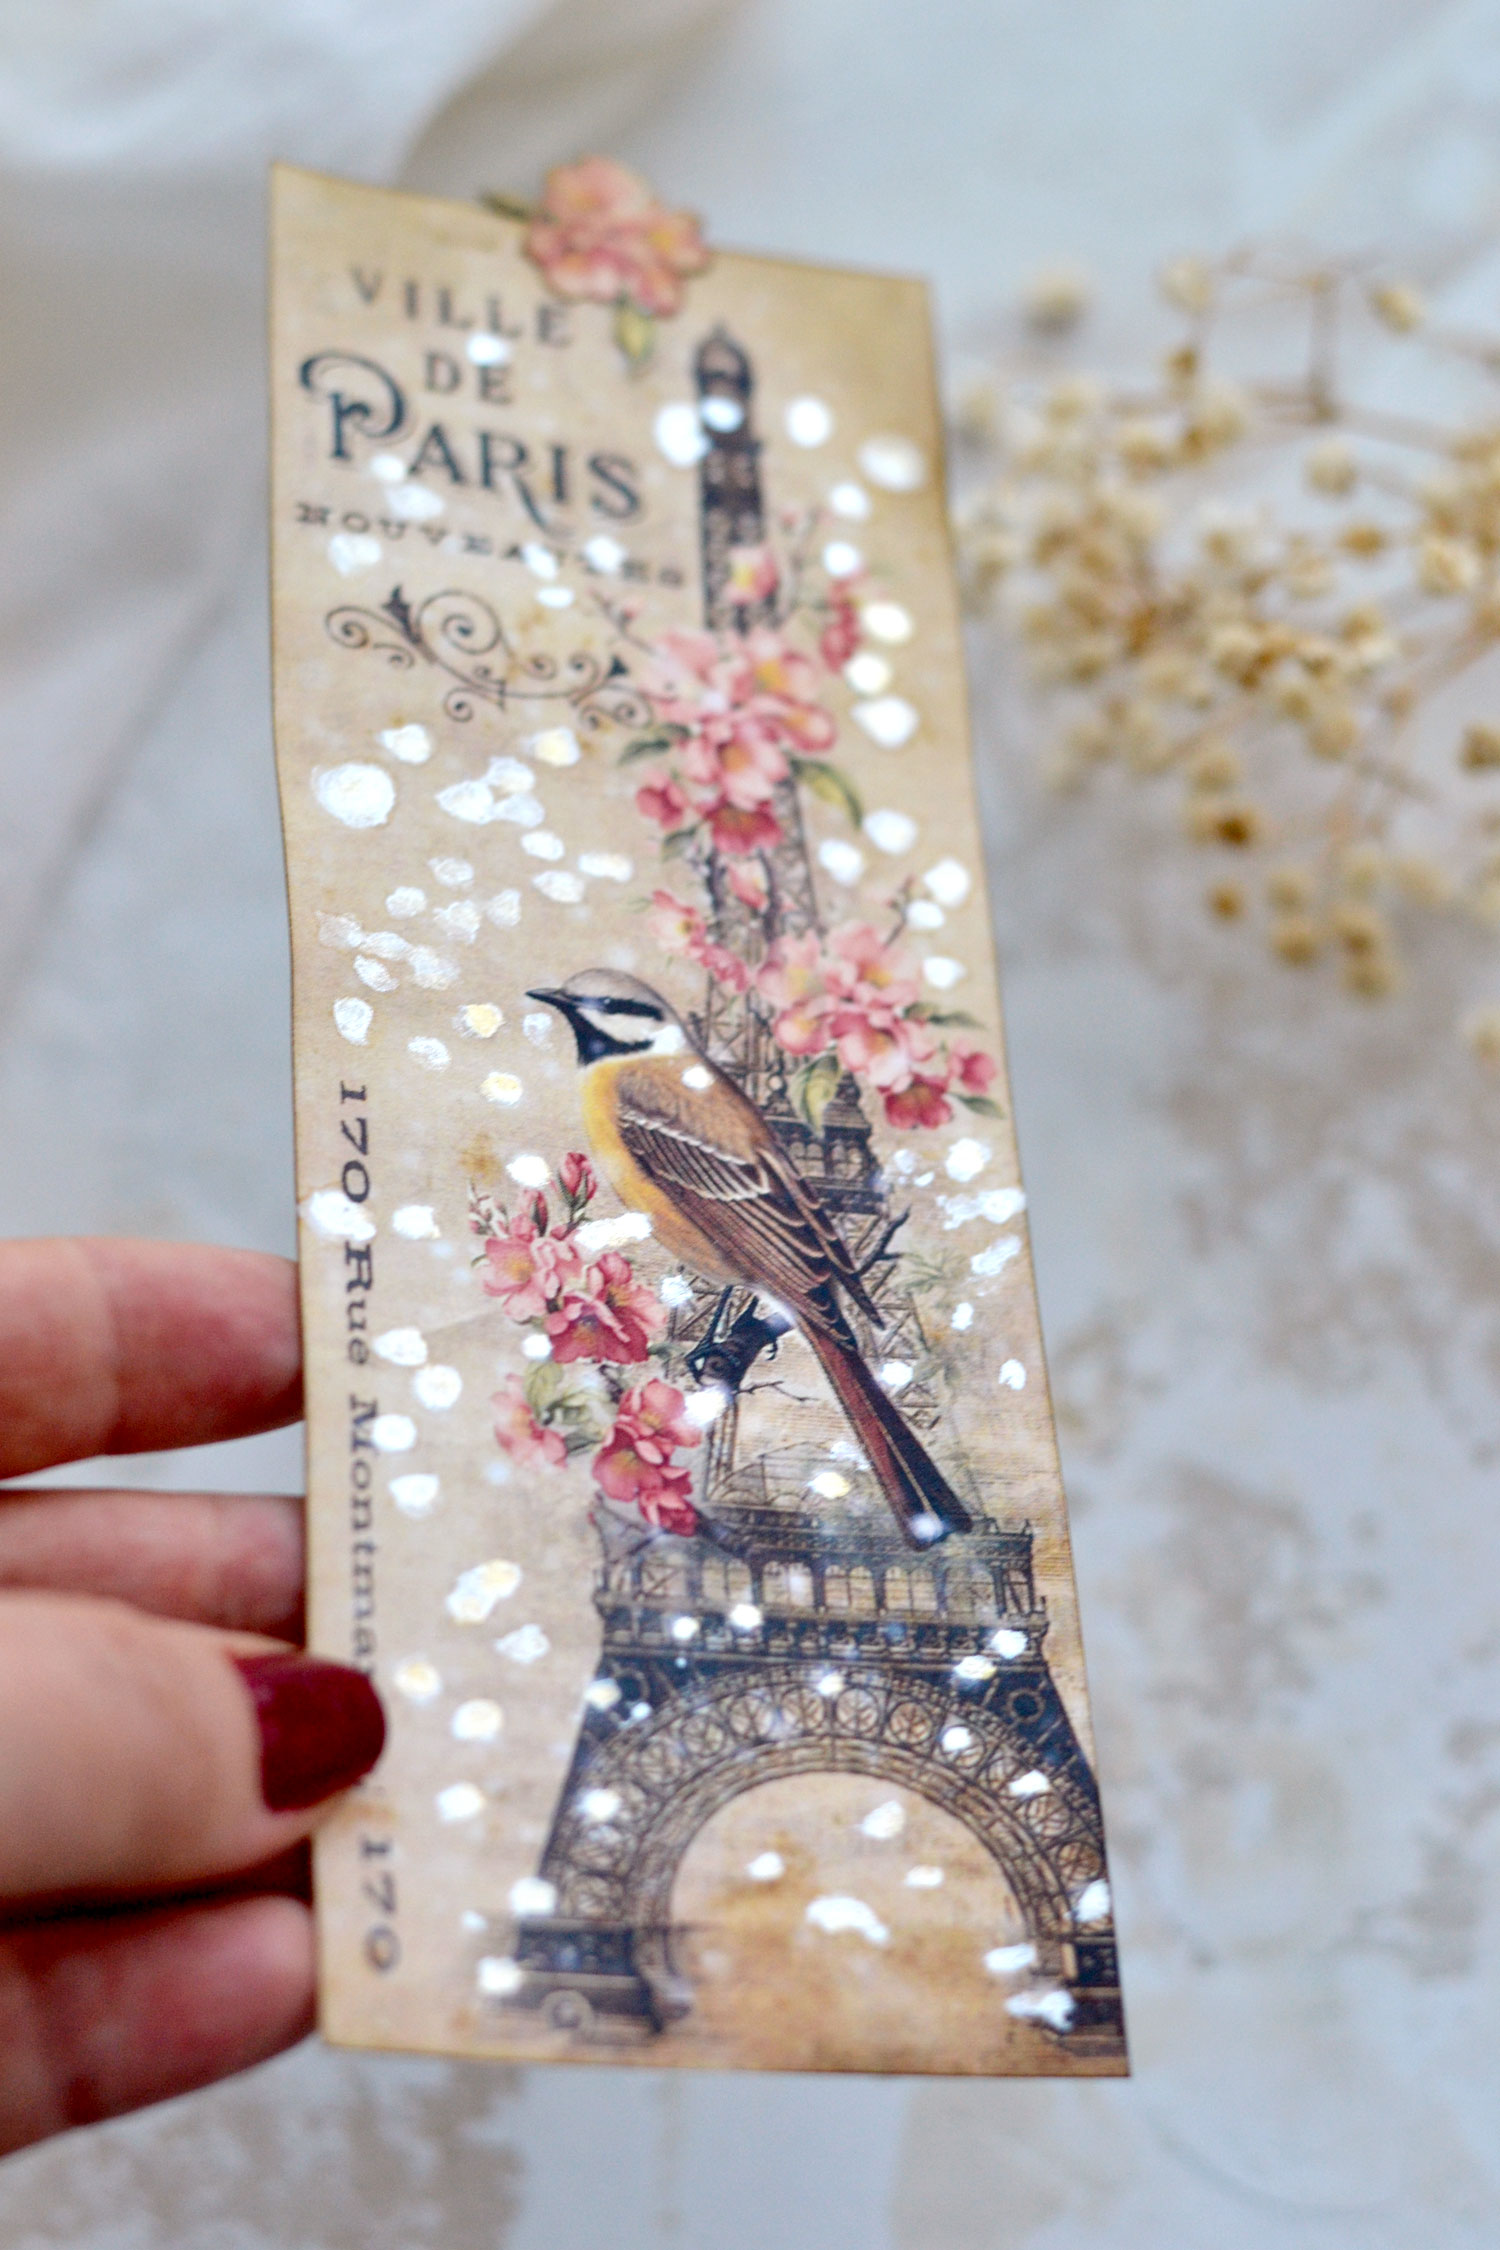
Moving on to the second method of highlighting the snow, this time using pearlescent watercolors! This will create a more watery effect on our snowflakes while giving them an absolutely gorgeous pearlescent glow with just a touch of gold! I only used the top two colors from my pearlescent watercolors – the White Gold (mainly) and the Light Gold (here and there) – because I wanted to keep the whiteness of the snow.
I used a spray bottle to wake up my beautiful watercolors first.
I used a small brush to pick up the paint and some more water from a jar, and then I moved on to actually painting all over the snowflakes. After the paint had a chance to dry just a little bit, I went in again with some more water – I just used my brush to pick up some clean water and placed small droplets all over the paint. This will give the paint and the small droplets of water the chance to soak into the paper while drying and creating unexpected, irregular watercolor-y effects.
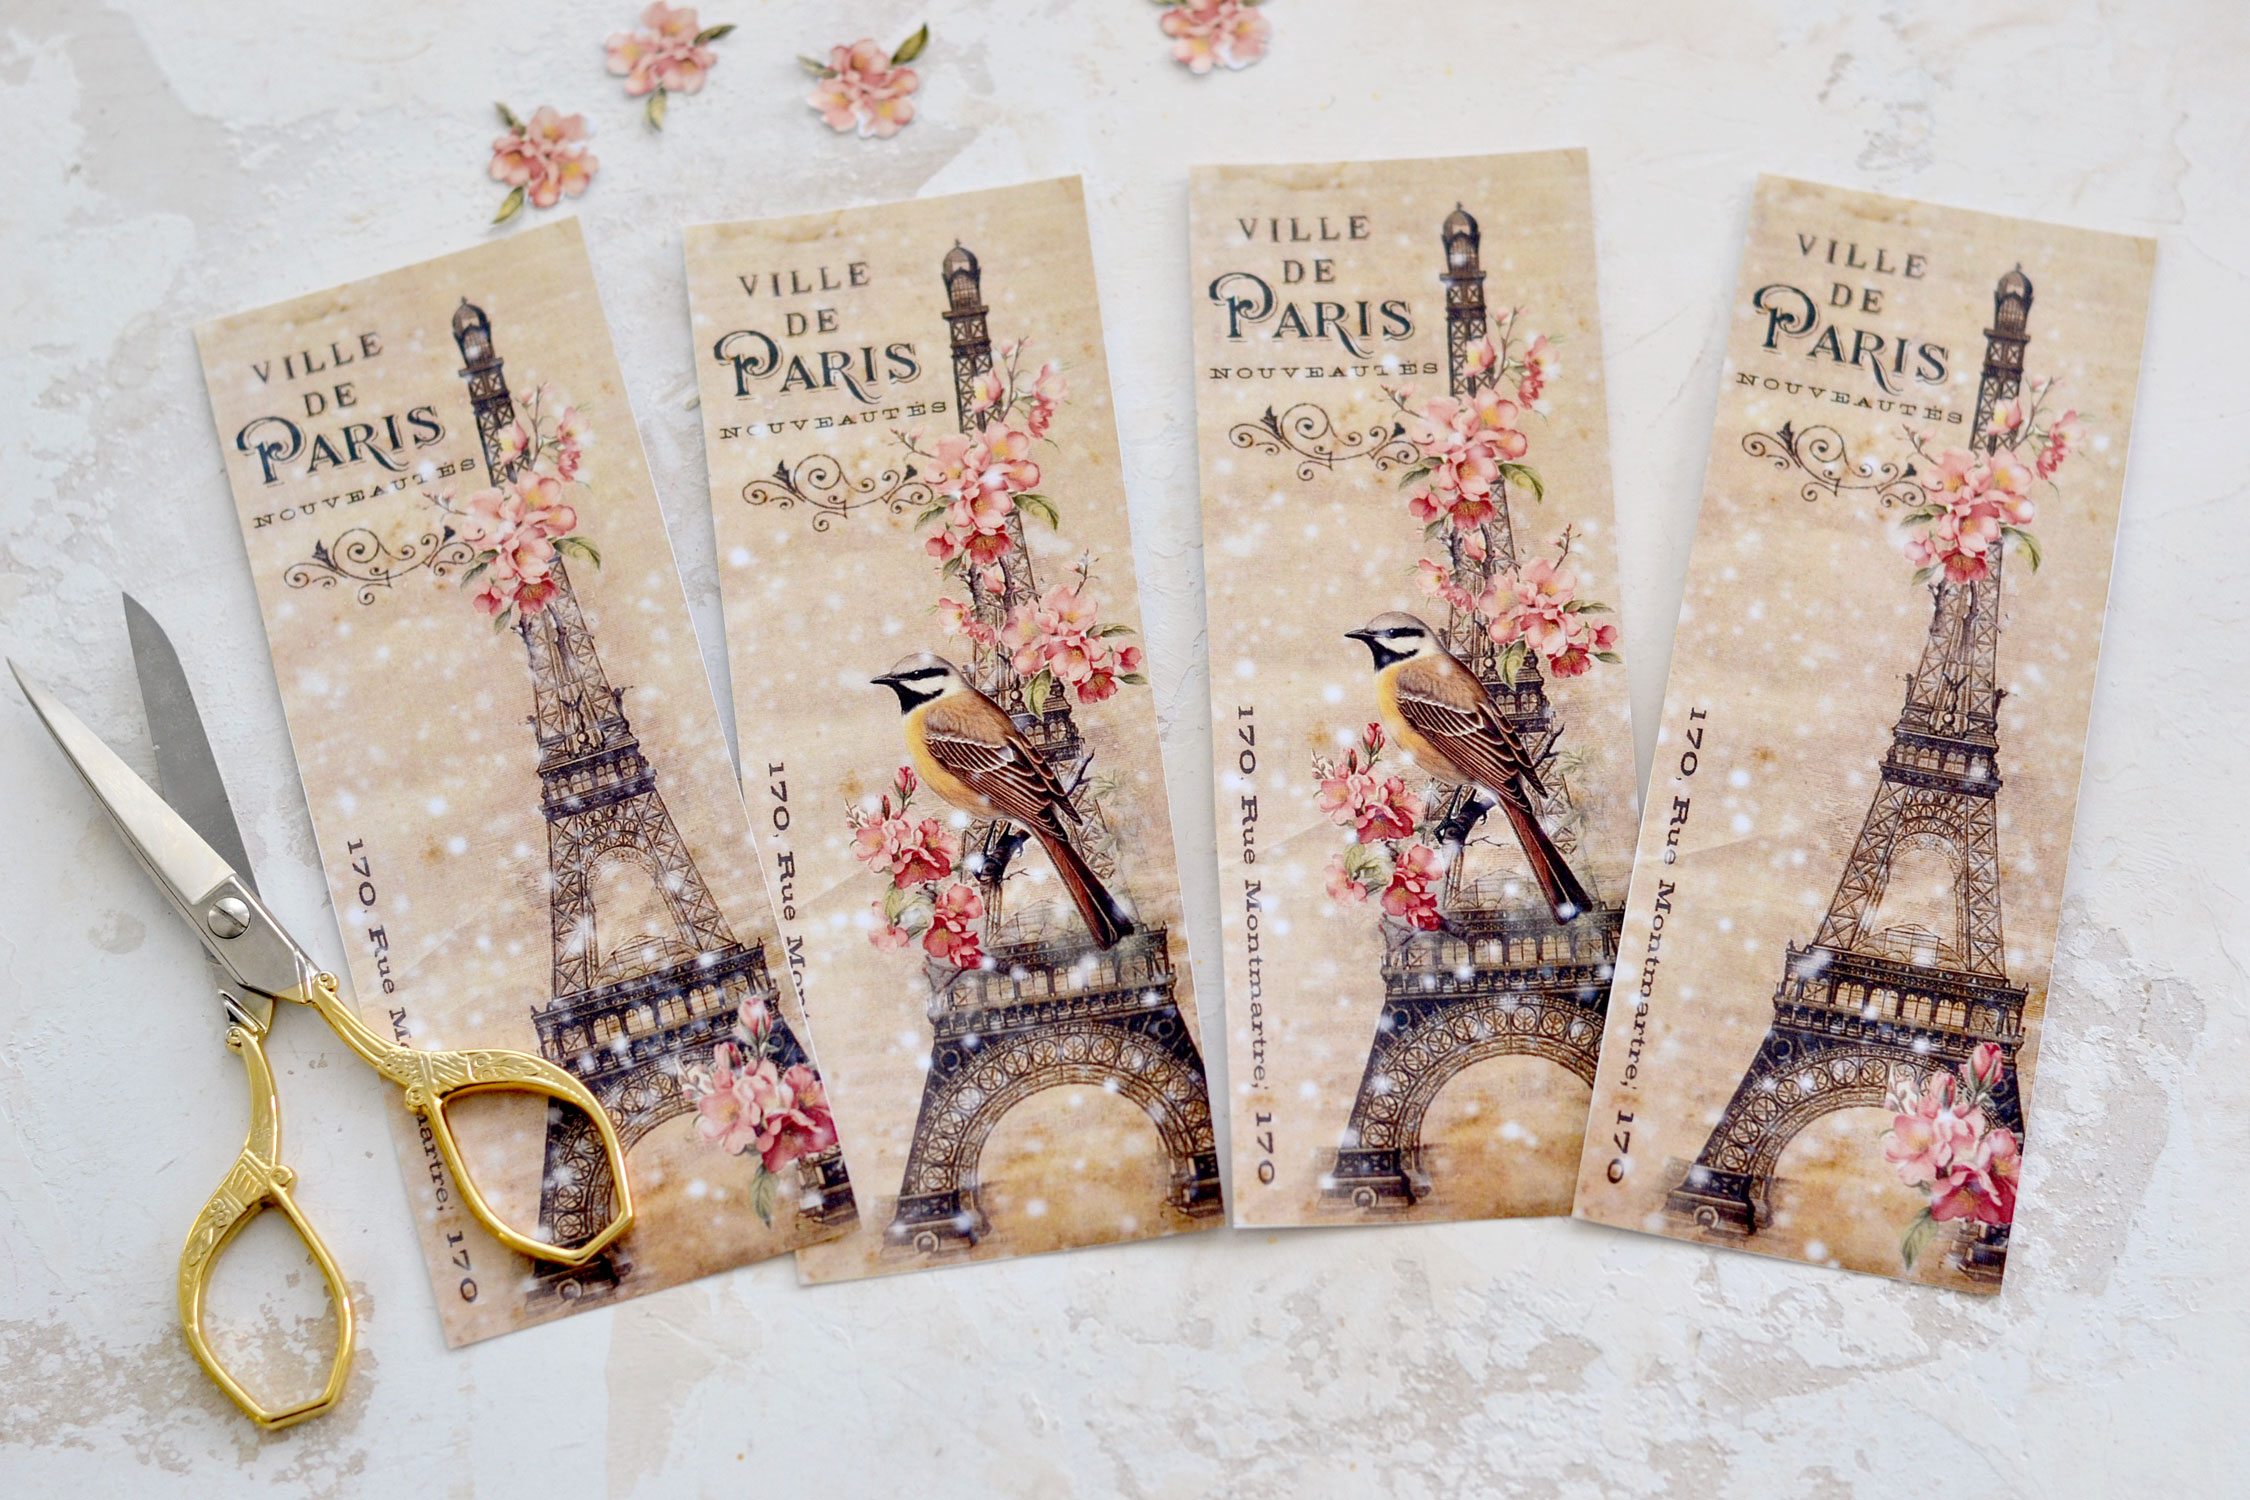
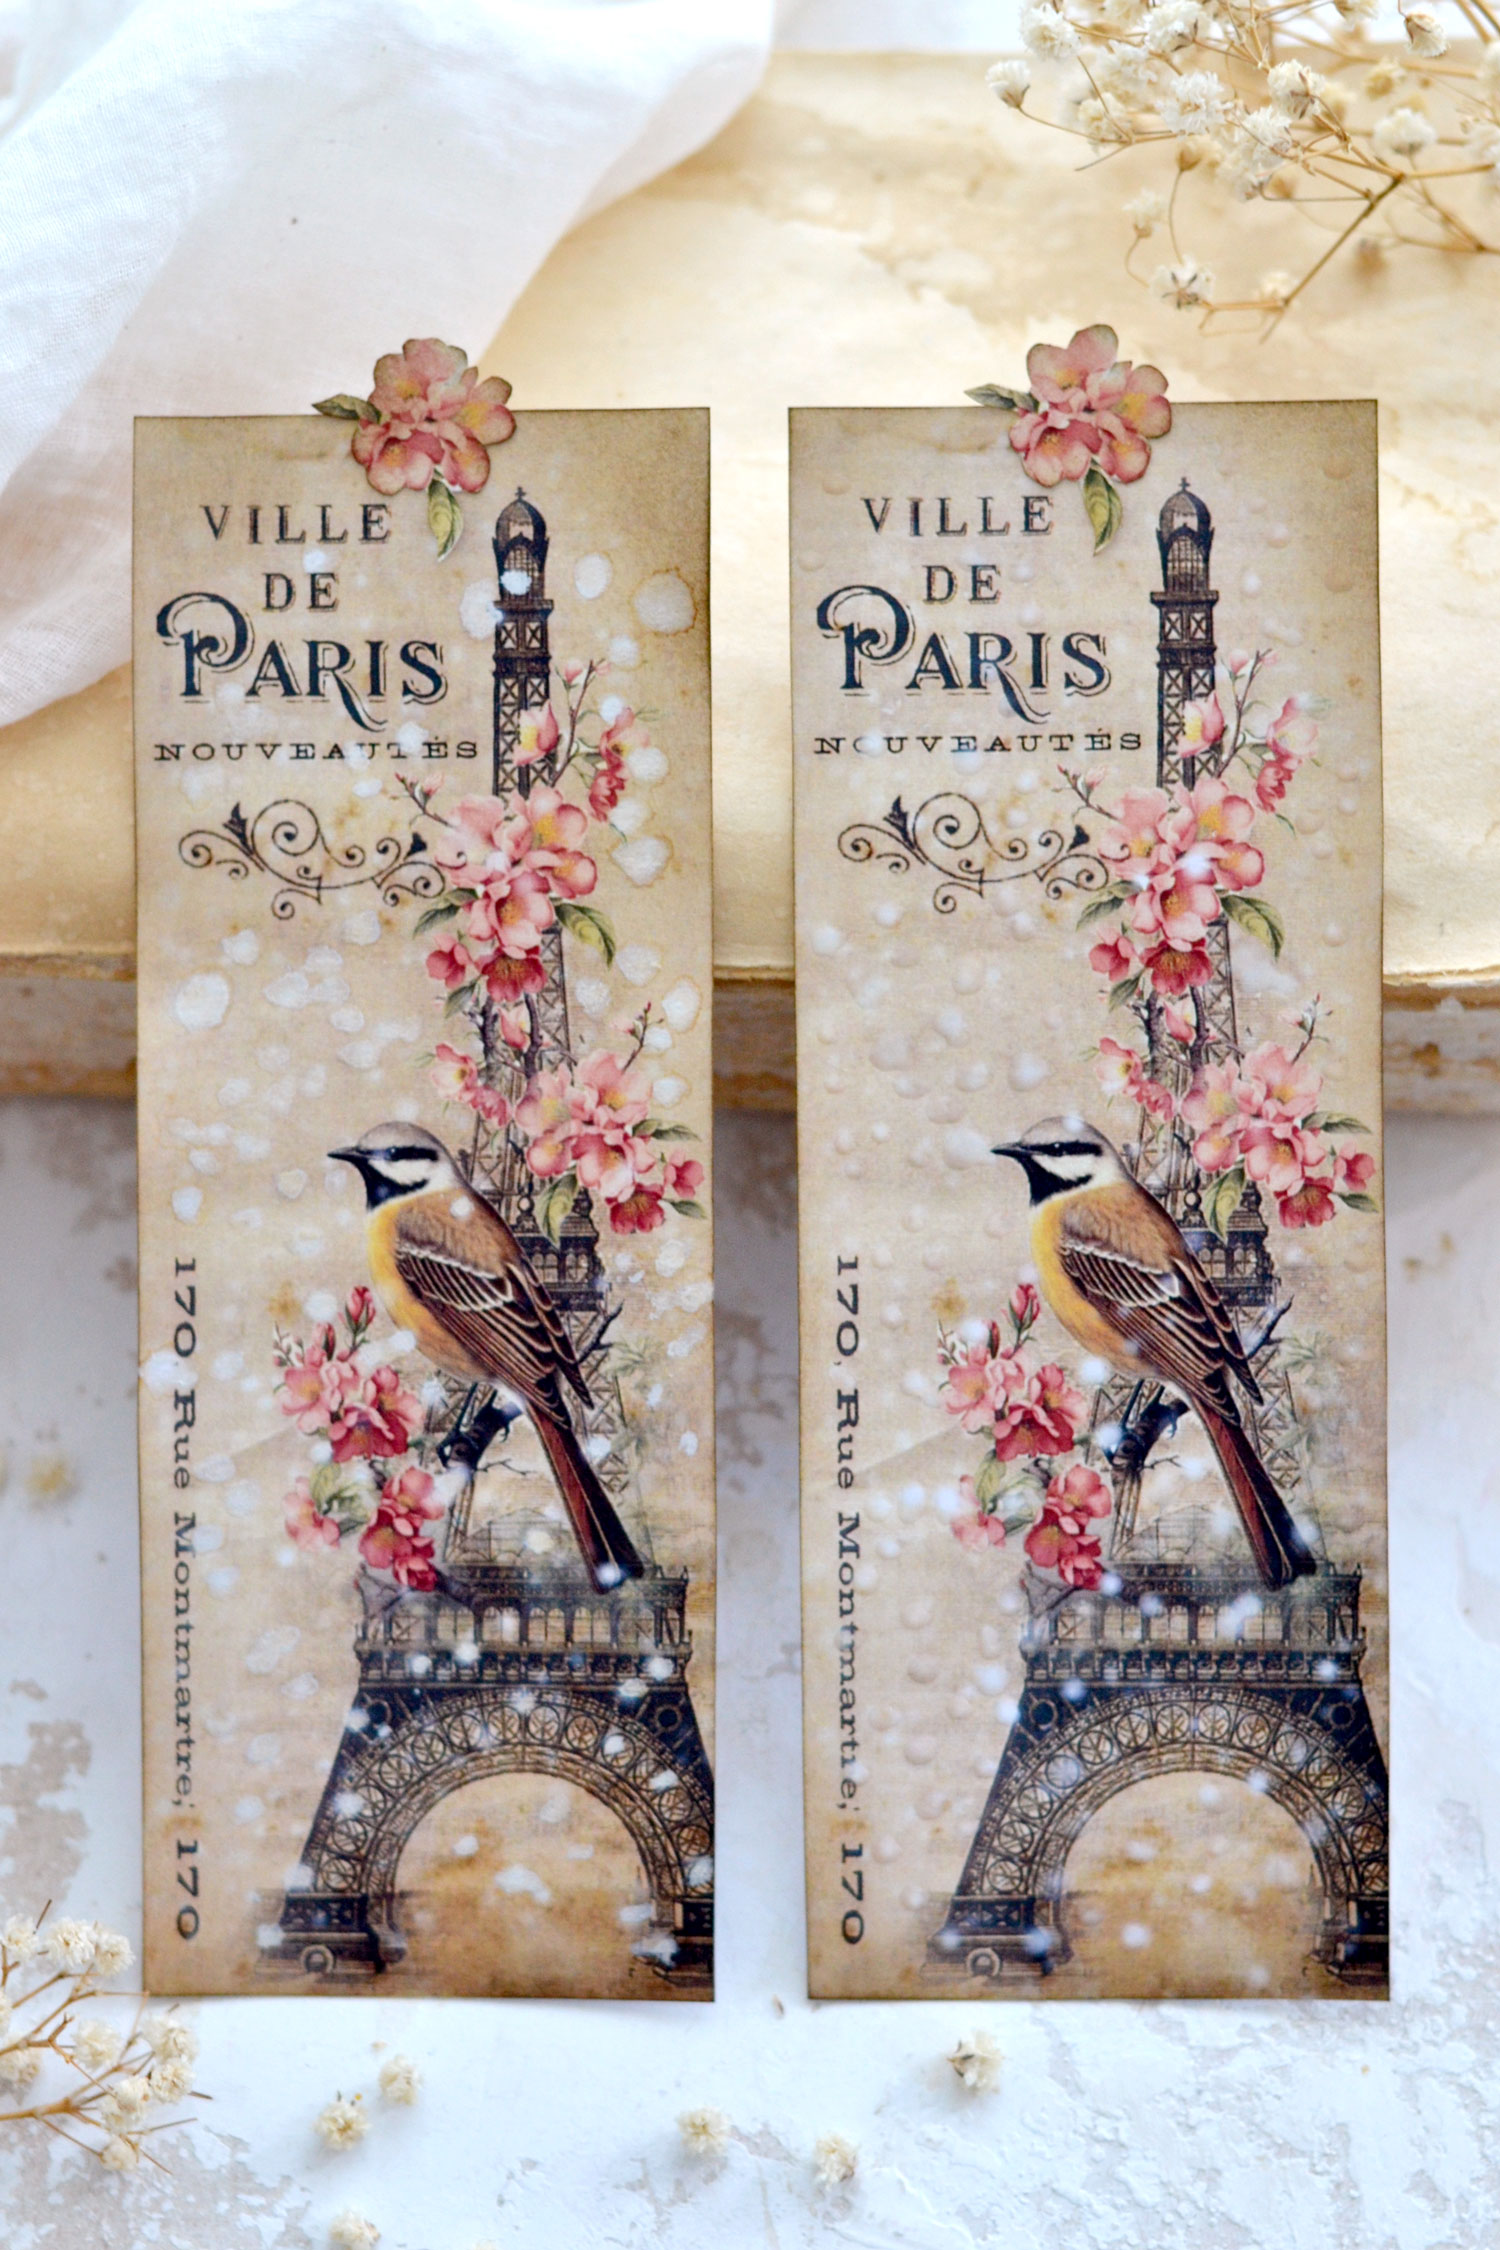
Let the bookmarks dry completely before actually using them, you can see below a side-by-side comparison of the 2 methods that I used to highlight the snow. We have our pearlescent watercolor-y effect on the left and the raised glue effect on the right.
If you look really close you will see that each design has its own snowflake pattern, making each and every one of these bookmarks truly unique!
I would say that both of these two methods have their own charm, but if I had to pick a favorite, I think I would go with the painted ones! I love the watercolor-y feel this type of paint usually brings to a scene, but even more on our project today where we tried to mimic the appearance of snow.
Not to mention the absolutely gorgeous pearlescent effect, that just brings everything to a whole new level of chicness!
The truth is it’s actually quite hard to pick just one favorite, this raised glue snow effect is really beautiful too! As you can see, I added more glue snowflakes than the original design had, which turned completely clear after drying and managed to add even more interest and dimension to our small piece of art.
You can let the Eiffel Tower Christmas bookmarks accompany you in all your winter readings, but of course, you can also include these beauties in all sorts of other seasonal projects. They will make the perfect handmade gift for the holidays – you can easily gift them with beautifully wrapped books or just use them to embellish other Christmas presents. If you want, you can add ribbon or lace so you can easily turn these into Christmas tags or lovely embellishments for junk journals that have a wintery or Christmasy theme.
Dreaming of a wintery Paris with a front view over the Eiffel Tower has never been easier, so I hope you will love these non-traditional Christmas bookmarks that have more of a romantic feel and decide to give this project a try! You might also like these Printable Stained Glass Window Bookmarks HERE.
Happy crafting,
Diana / Dreams Factory


Kathy Peck says
Thank you so much for these beautiful bookmarks.
Kathy
Karen Watson says
Have fun making these Kathy!
Debbie Harper says
Thank you so much for the Eiffel Tower bookmarks. They are so pretty. Can’t wait to make some.
Karen Watson says
You’re welcome Debbie! Have fun making this pretty project.
Cheri L Casper says
Will there be a 2025 CD case calendar?
Karen Watson says
Hi Cheri, Yes! It’s in the works.
Denise Soloko says
Beautiful bookmarks and I love the idea of making the snow more visible with glue.
Thank you so much for all of your posts with great ideas!
Karen Watson says
Thanks for your sweet comment about Diana’s lovely project! I hope you get to make these.
Maxine Diffey says
Thank you for these beautiful bookmarks, and how to enhance them – I really appreciate your gifts
Blessings
Maxine
Karen Watson says
I’m glad you enjoyed Diana’s lovely project Maxine!