Printable Songbird Bookmarks
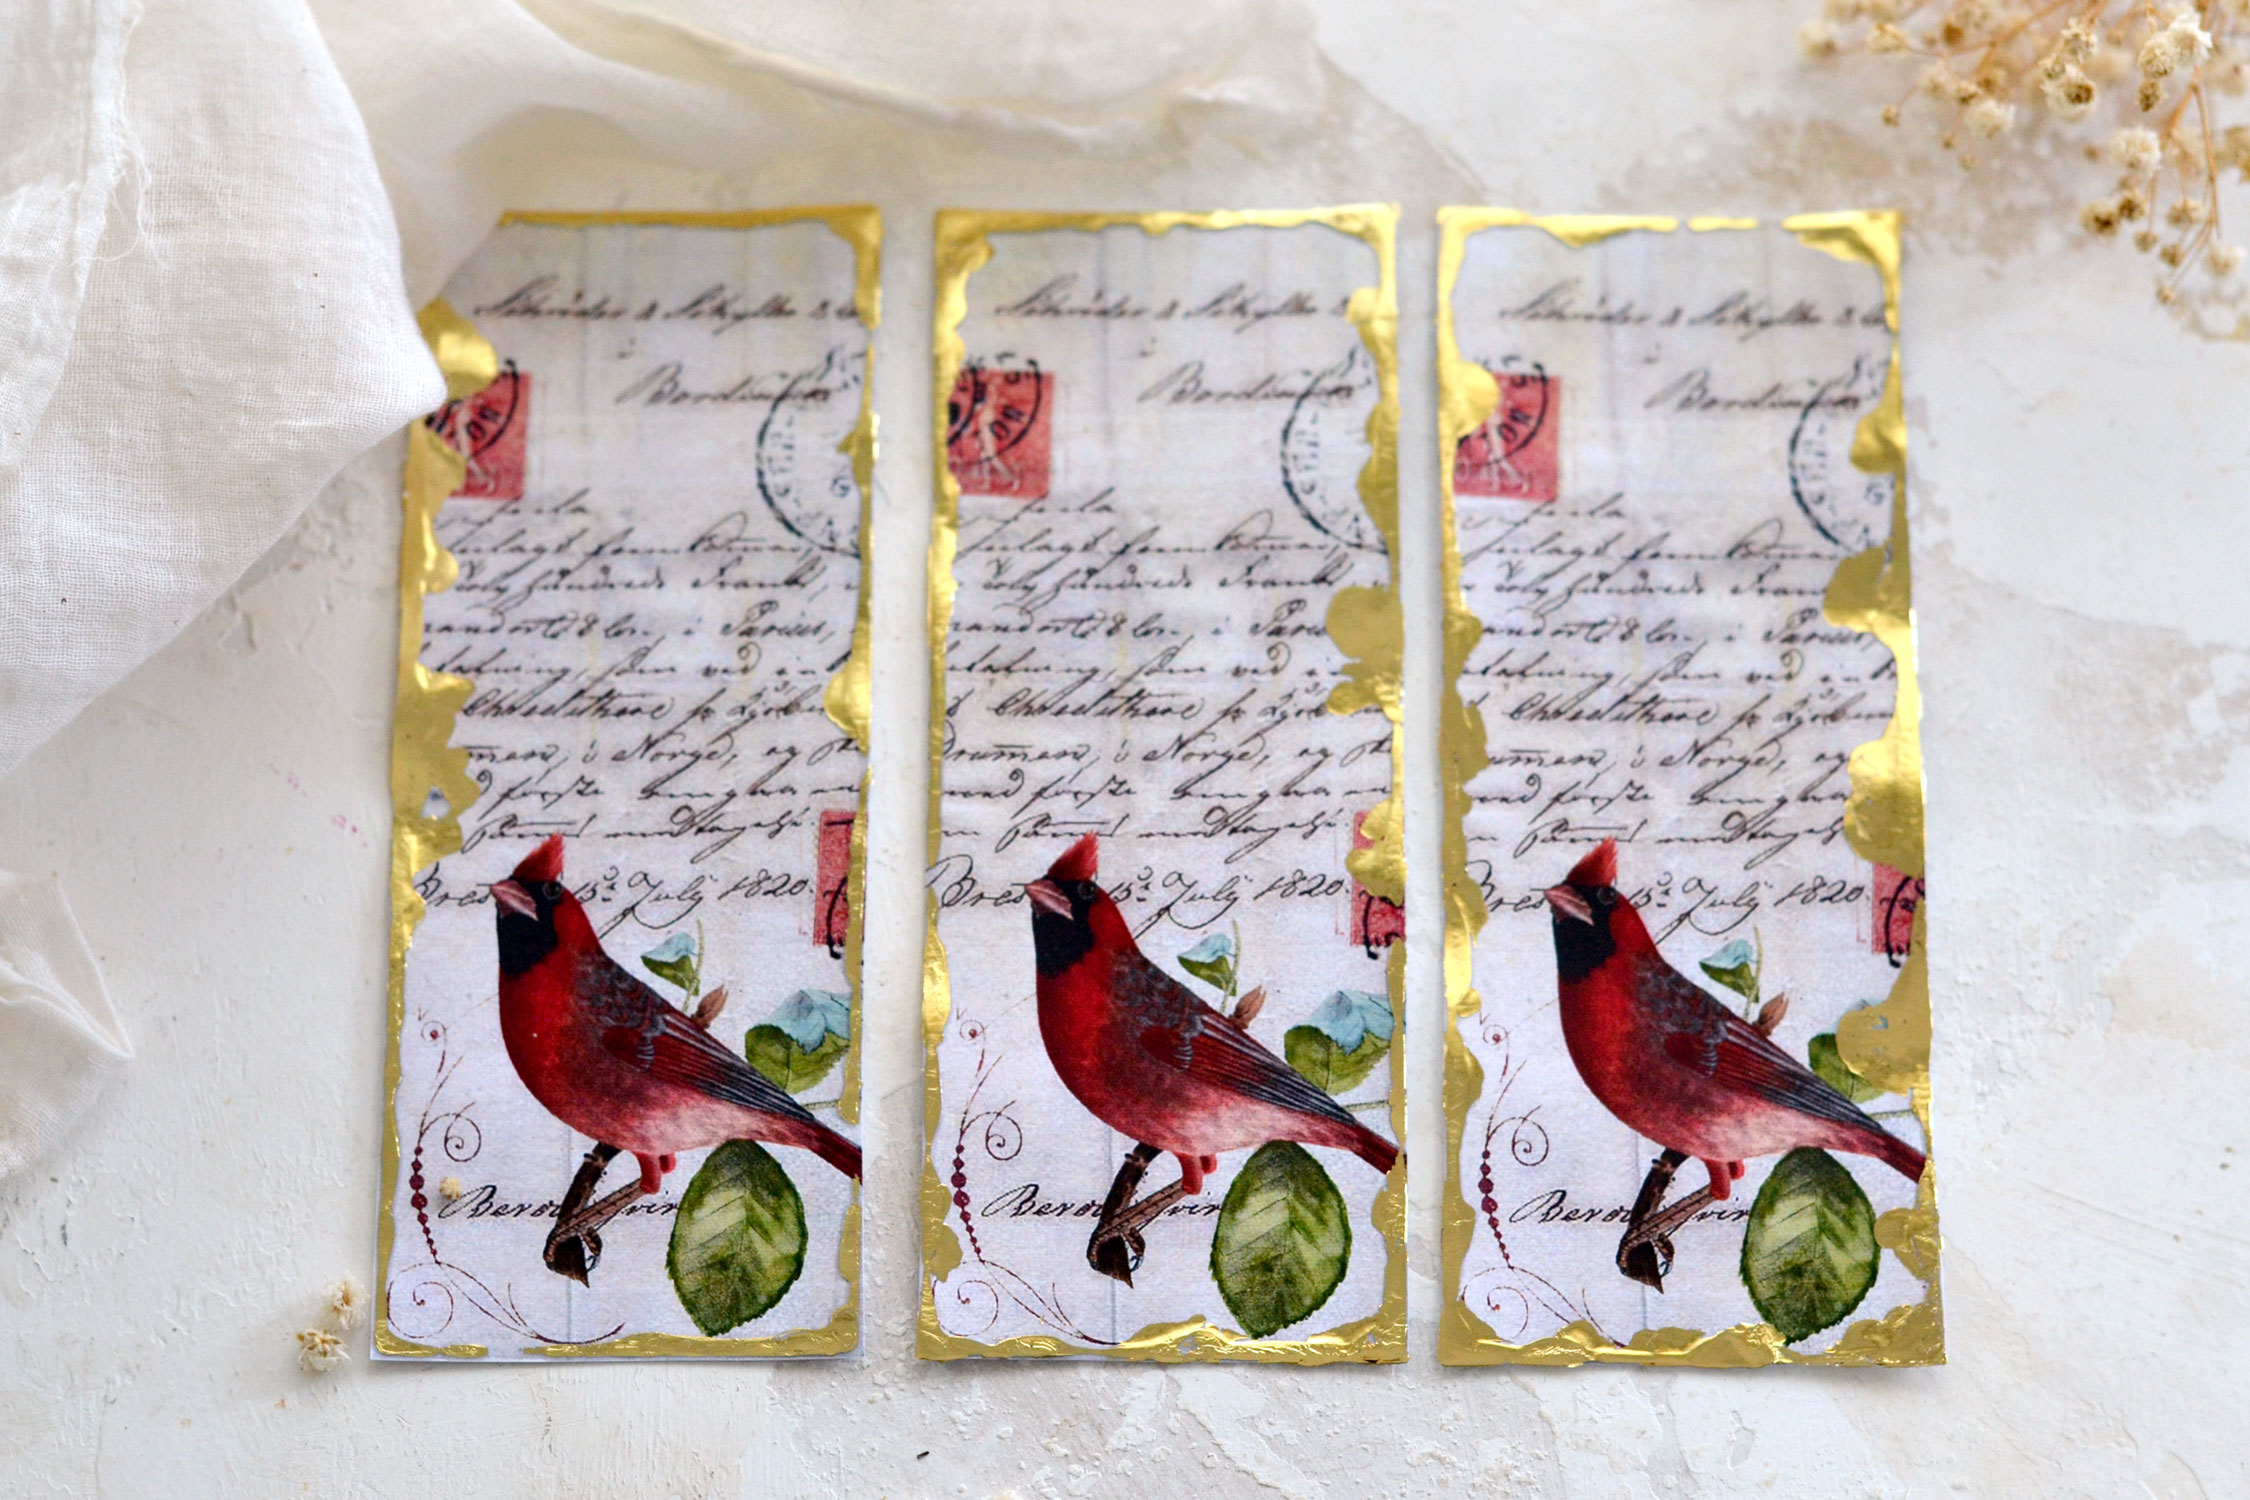
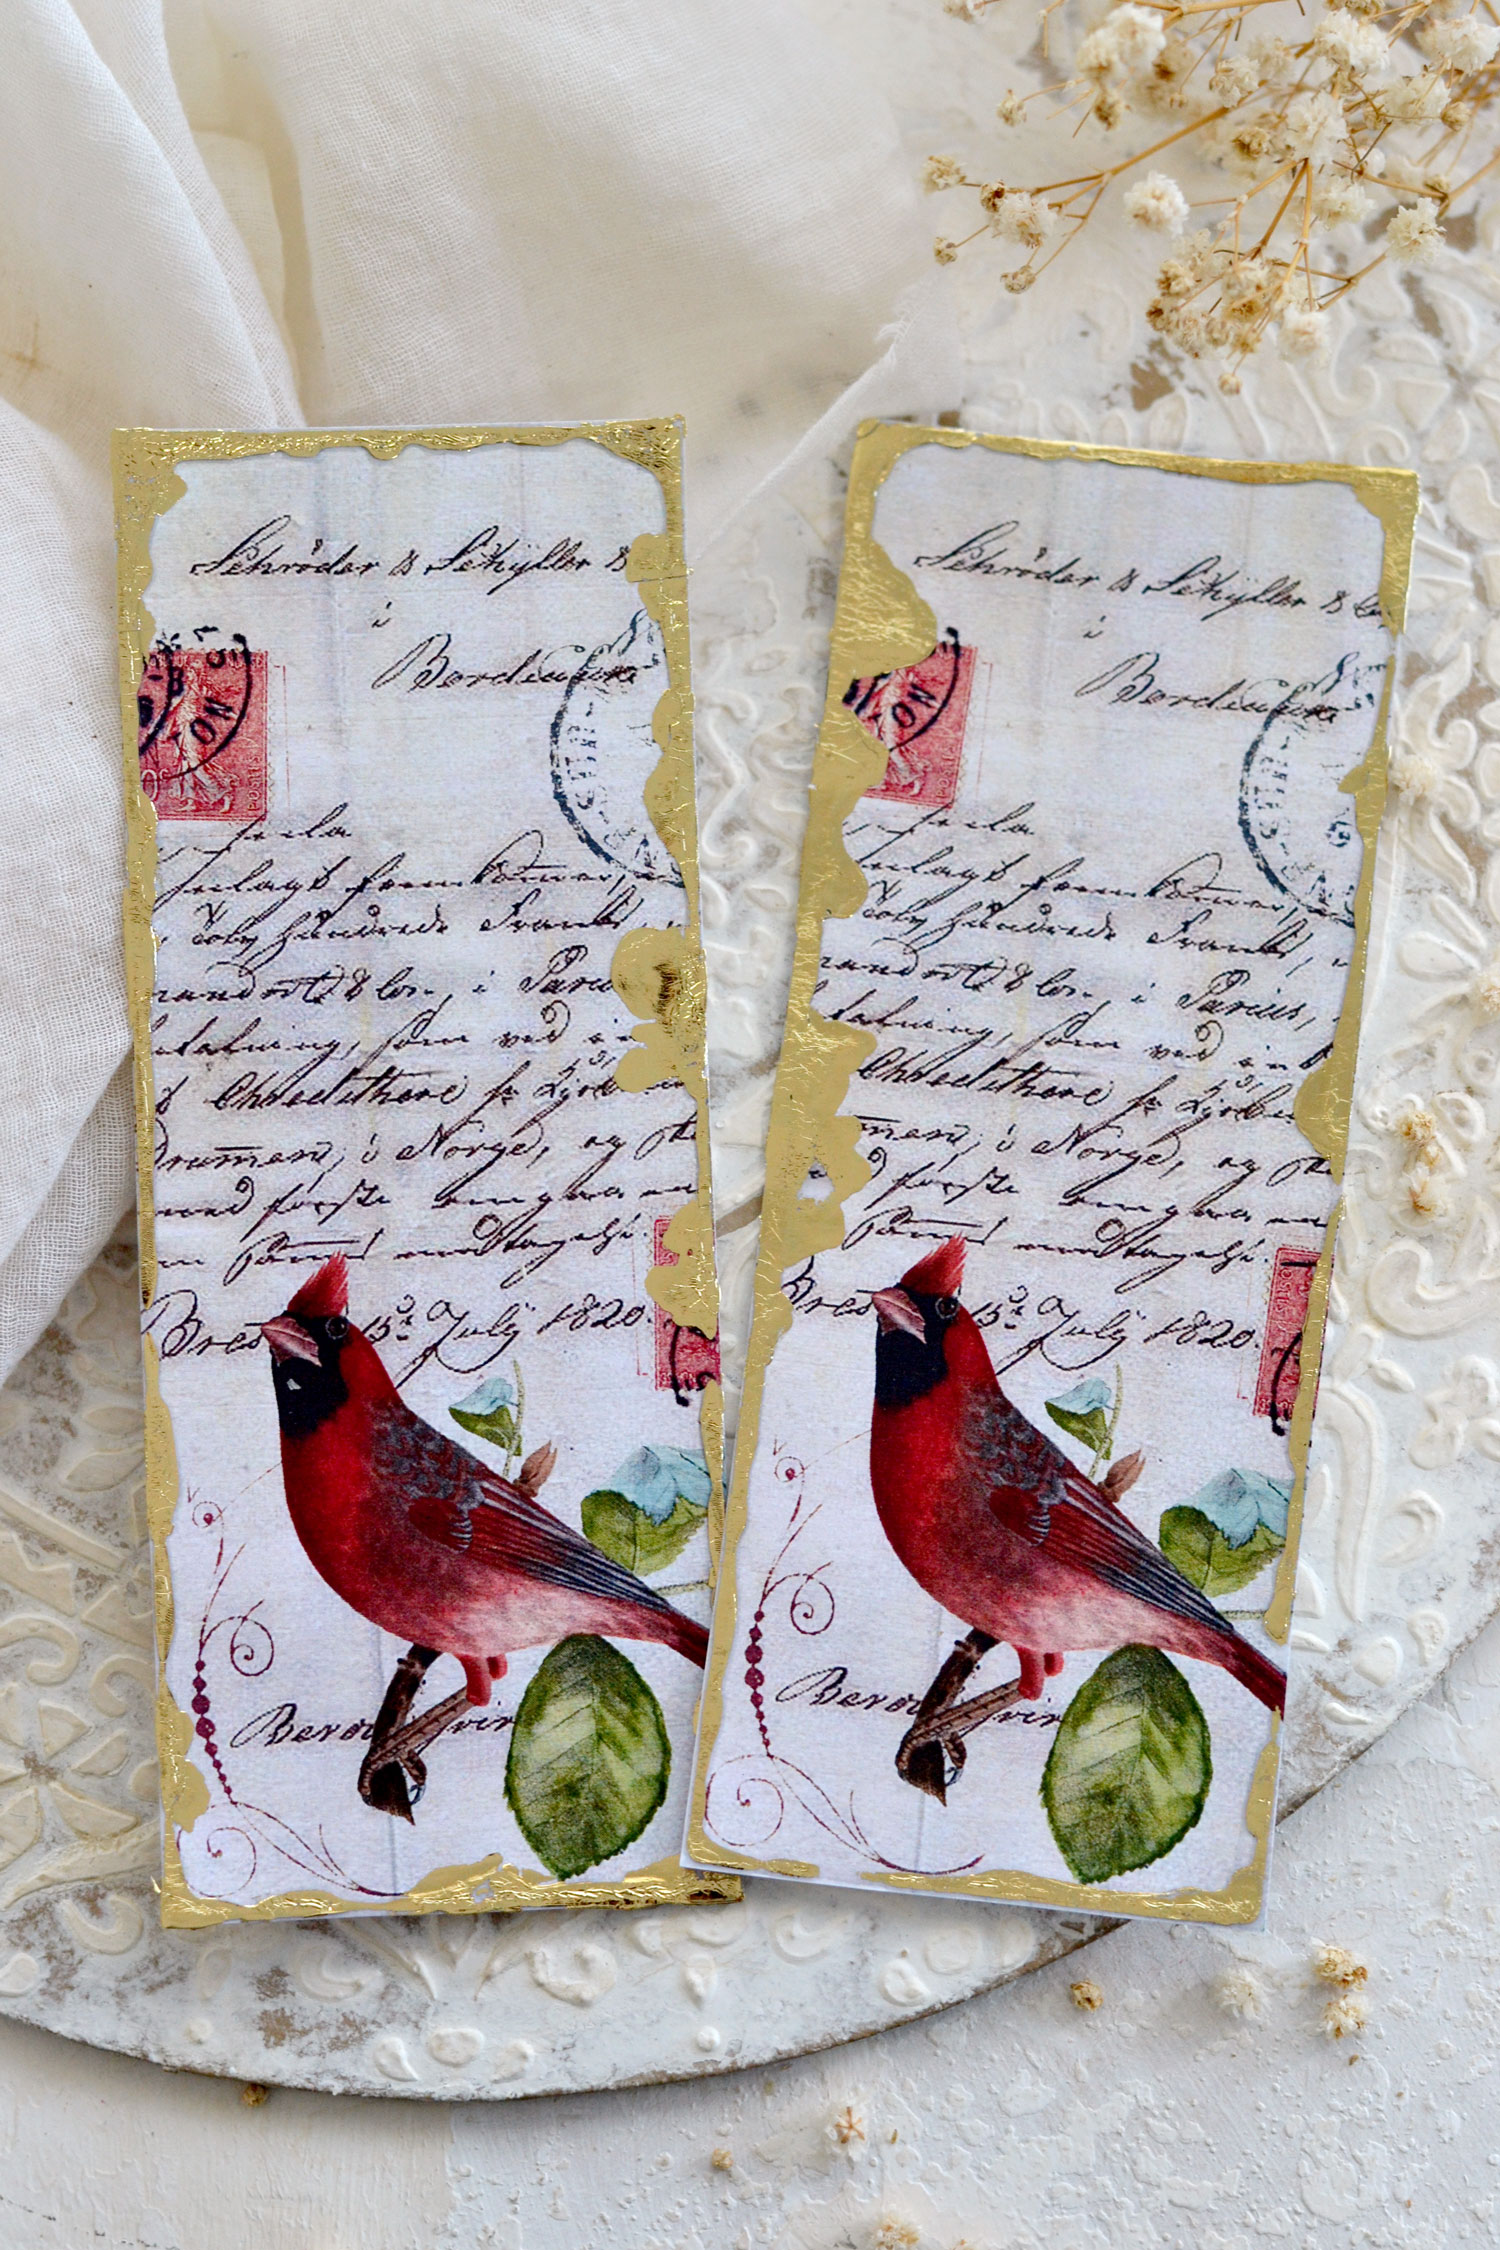
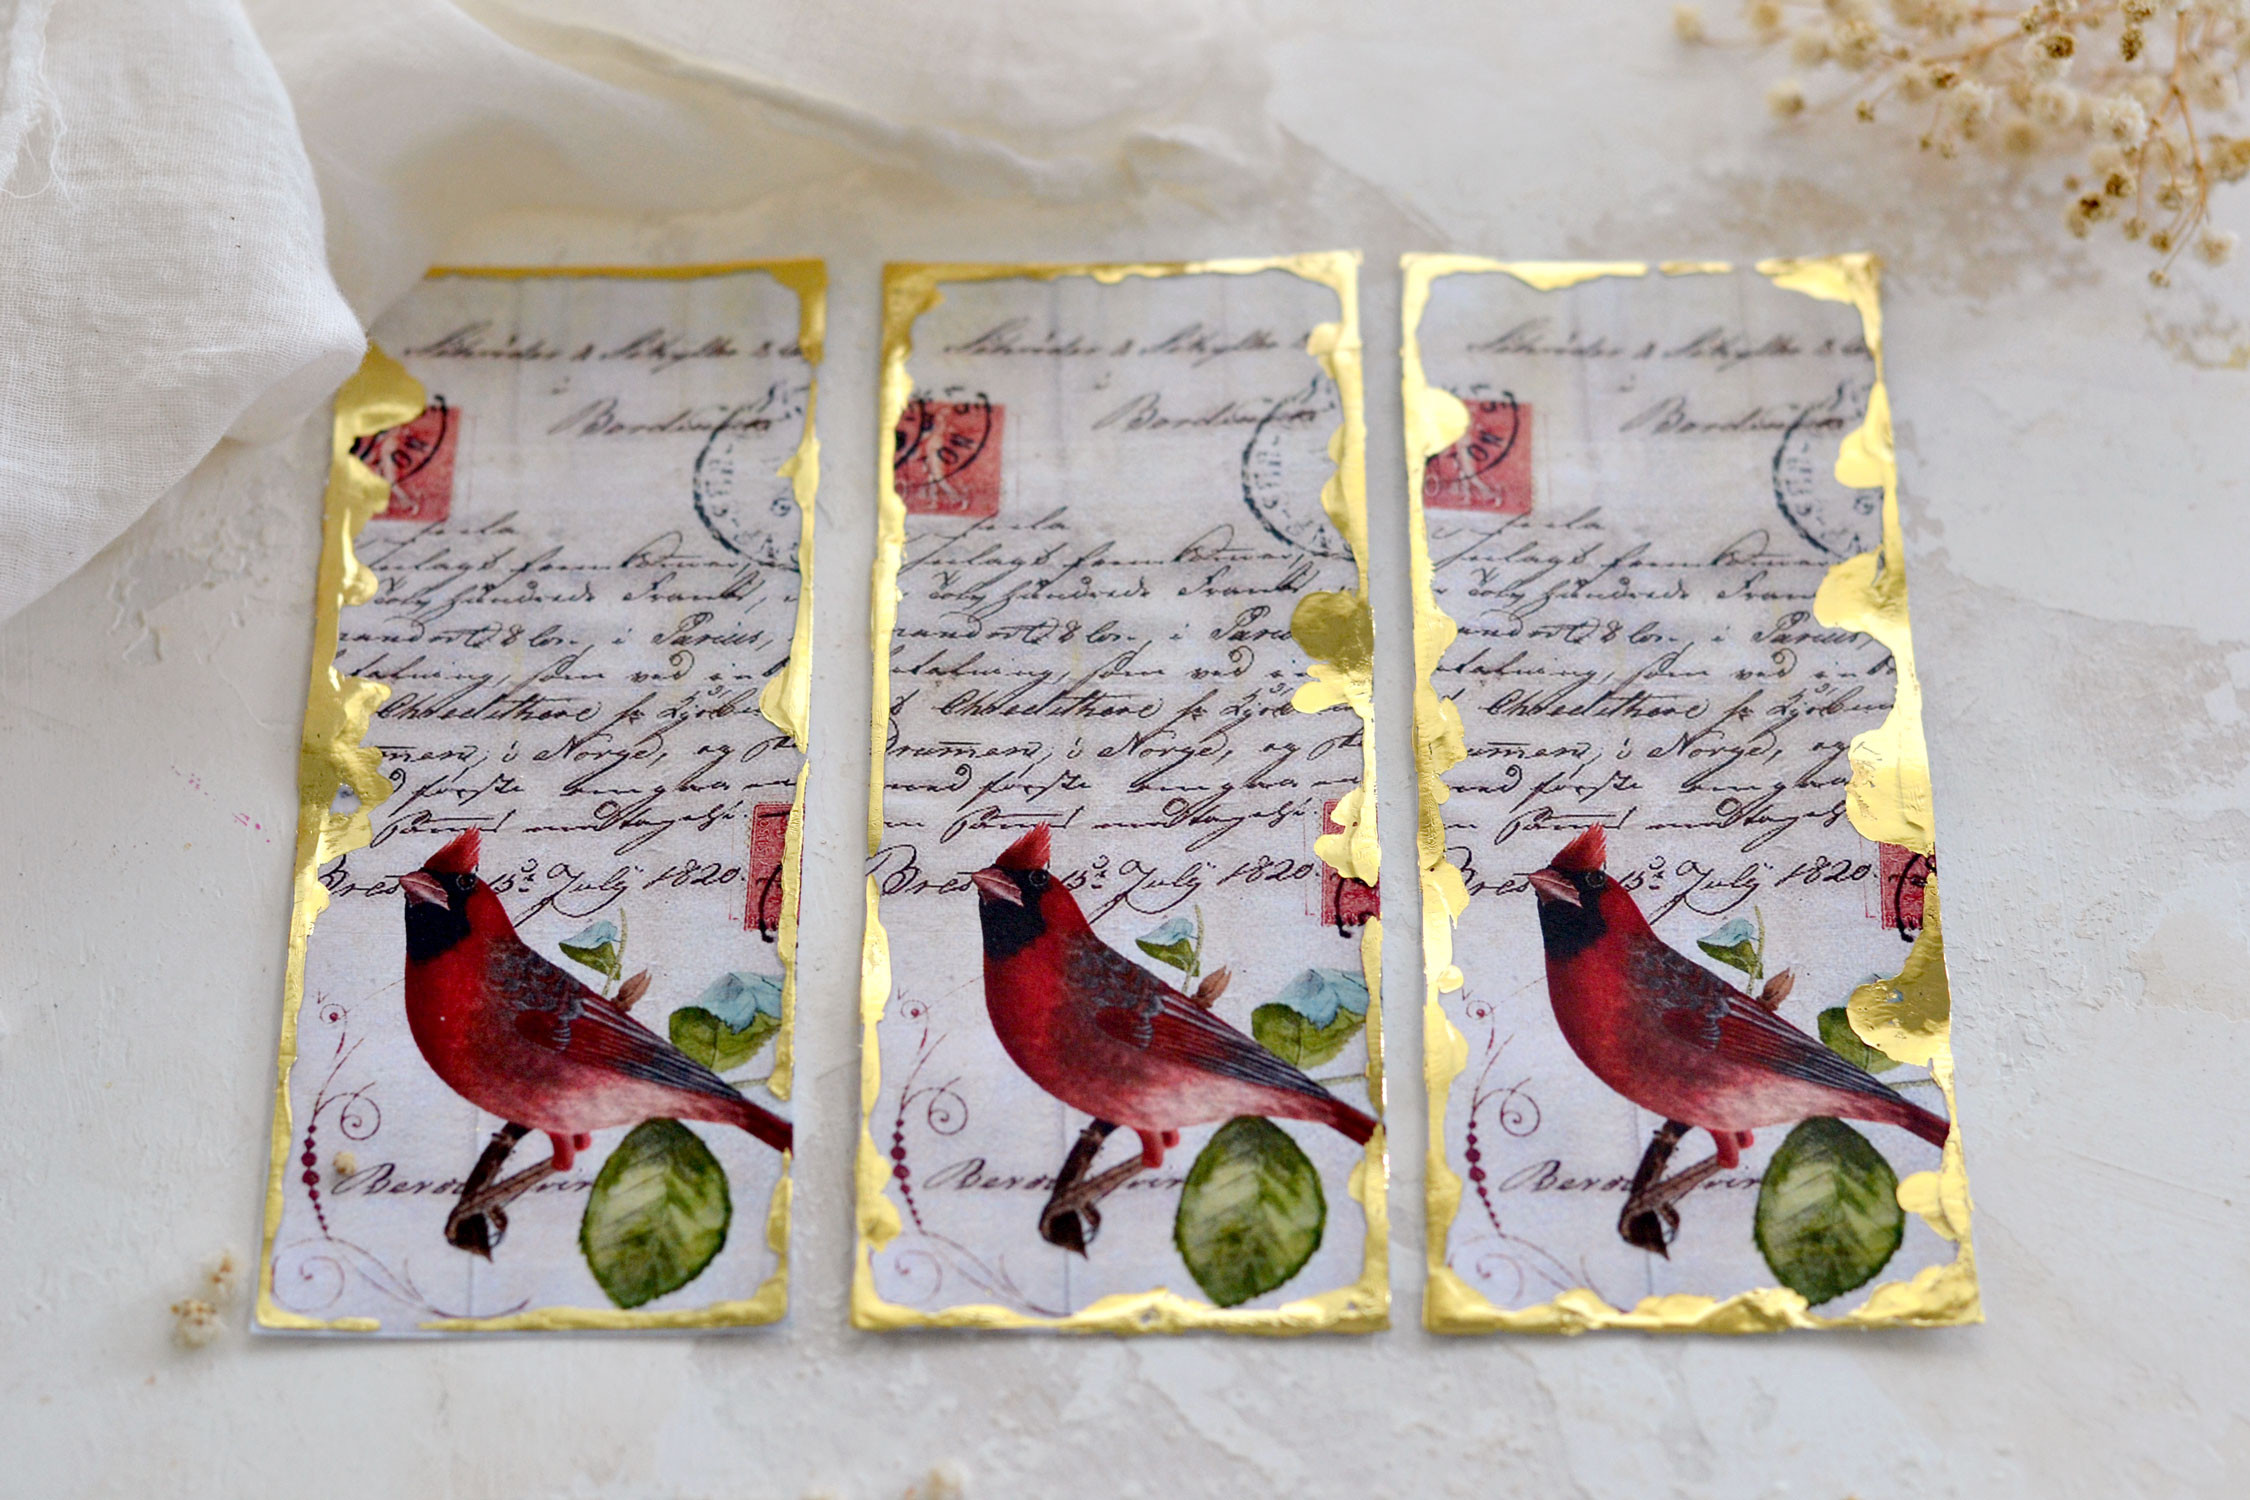
Hello Graphics Fairy friends! I’m Diana from Dreams Factory and I’m really happy to be here to share another DIY project with you! Today I will show you how to make these gorgeous Printable Songbird Bookmarks! These are special because you get to decide if you want to just print and use them in 5 minutes or invest a little bit more time so you can further embellish them as you want. I went with gold foil today because it is one of my favorite ways of adding gold touches to my projects and I created some perfectly imperfect gilded edges.
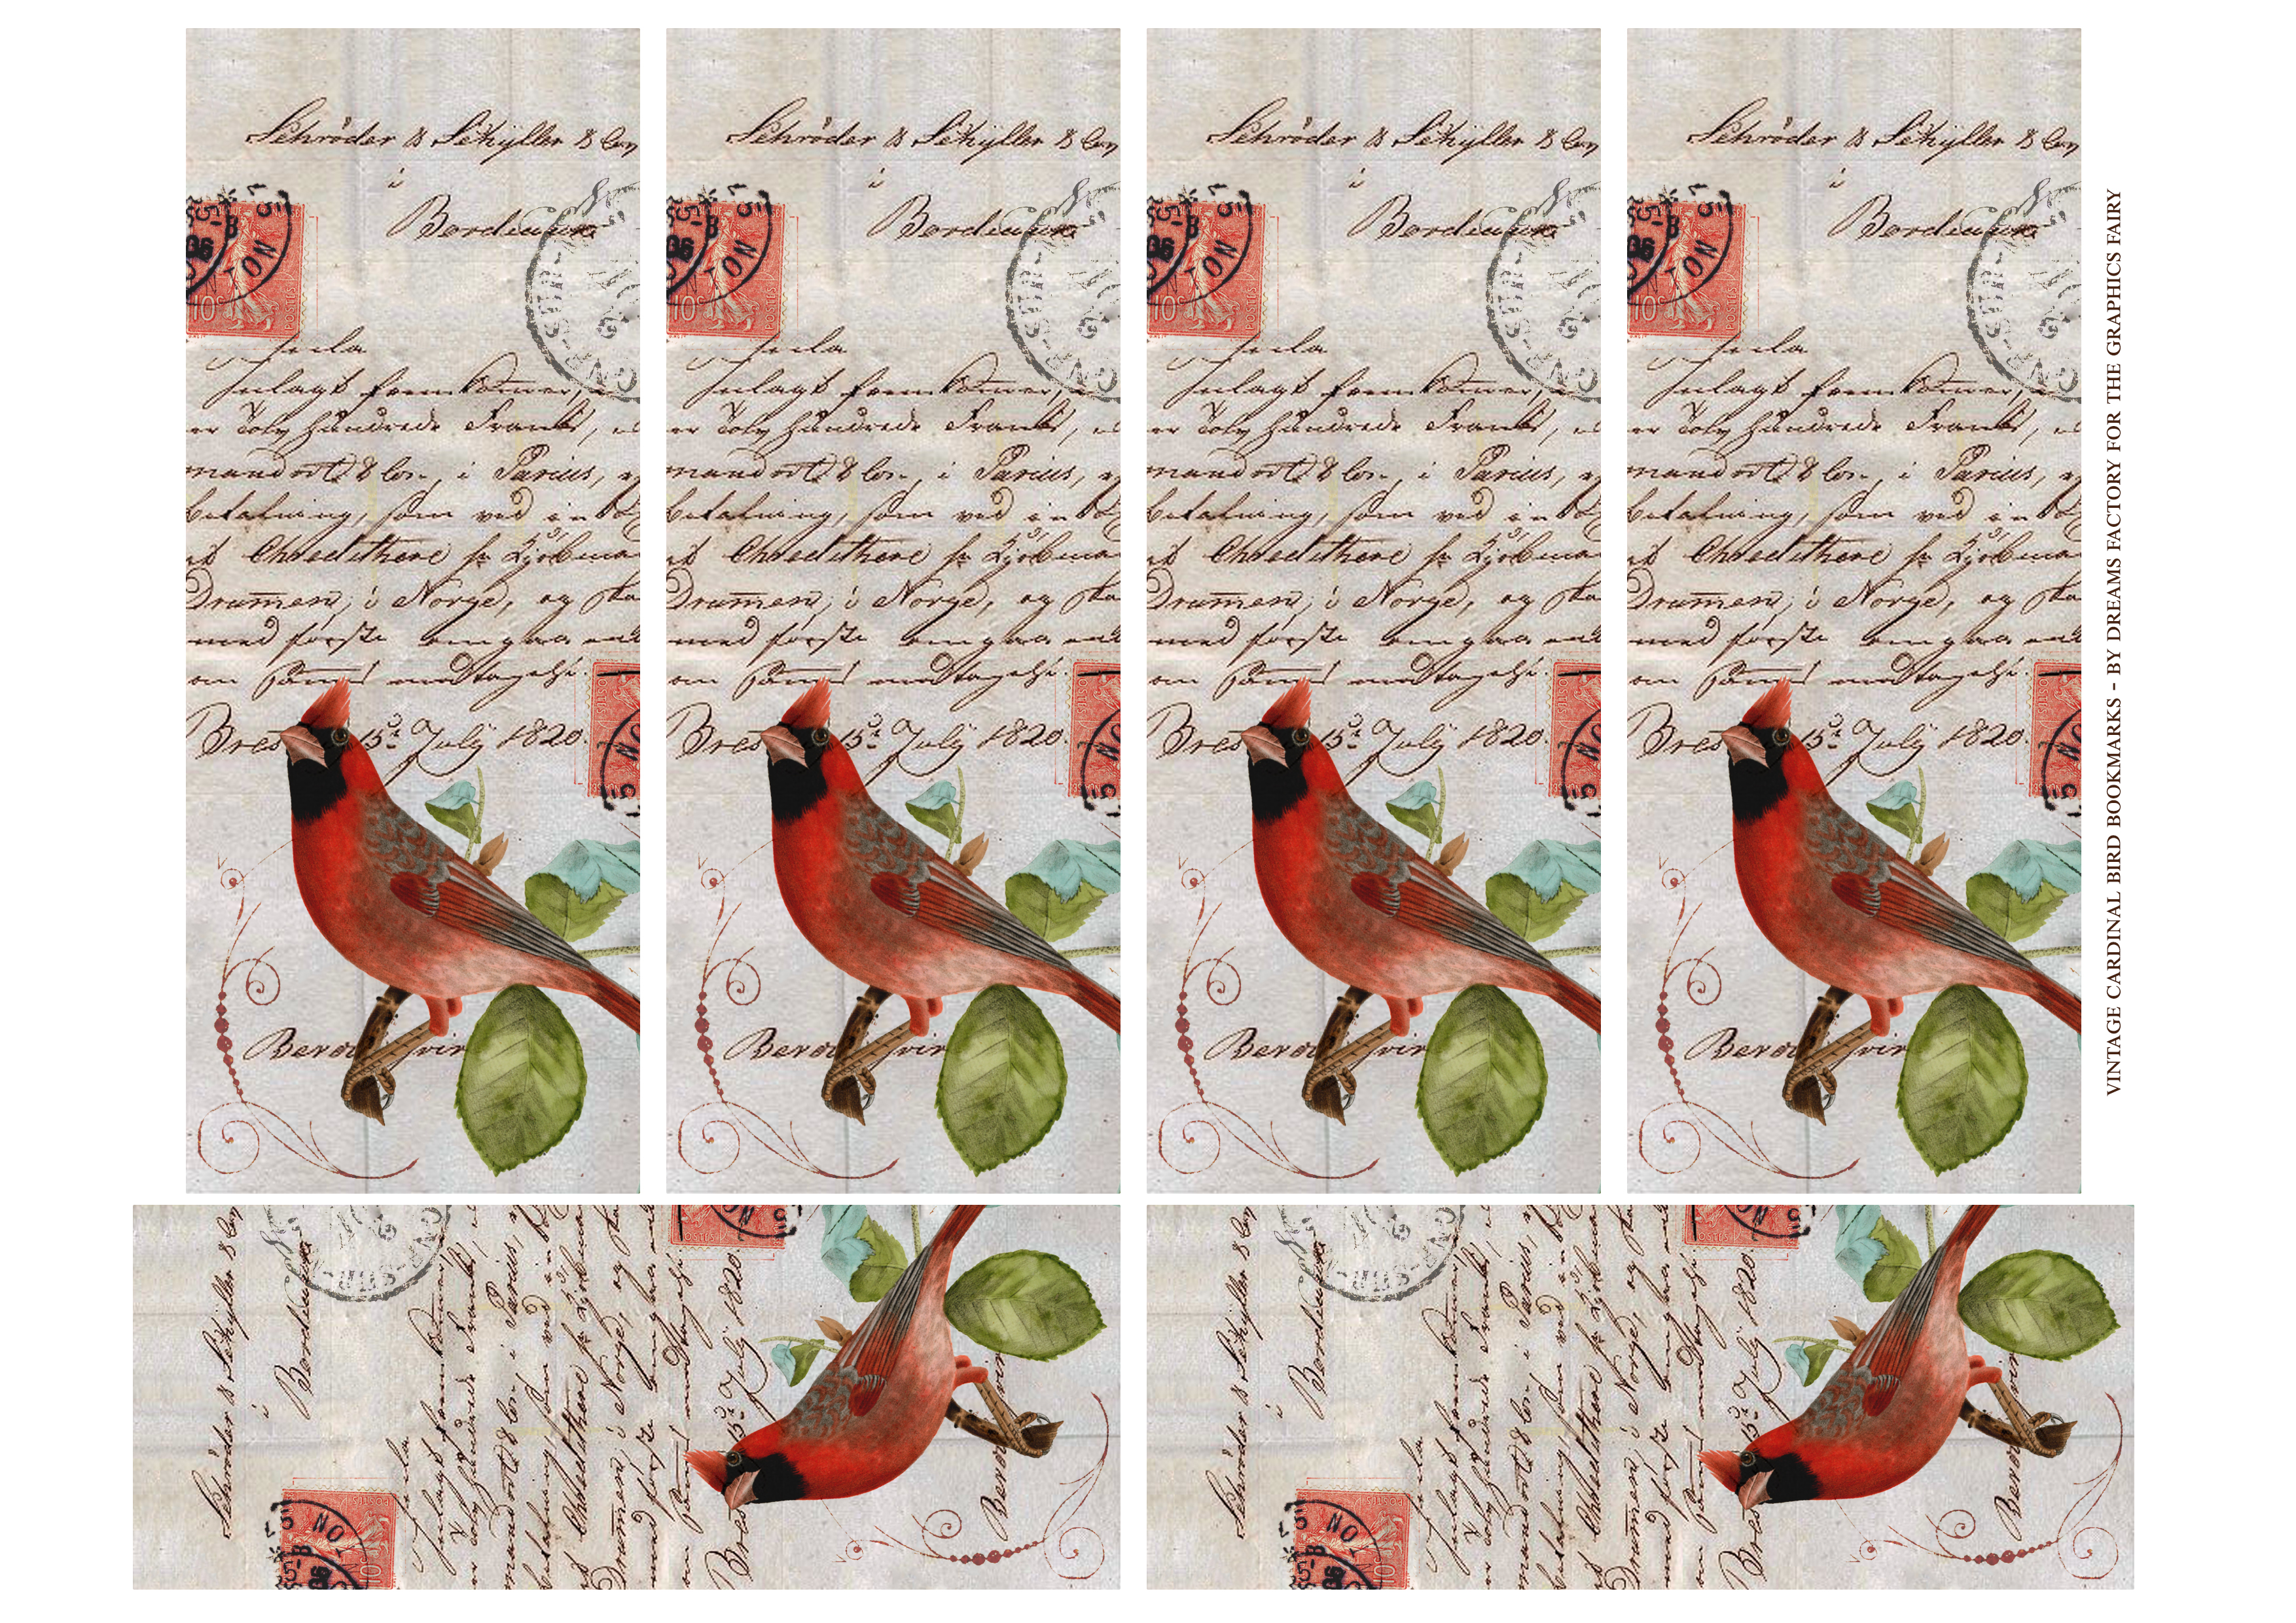
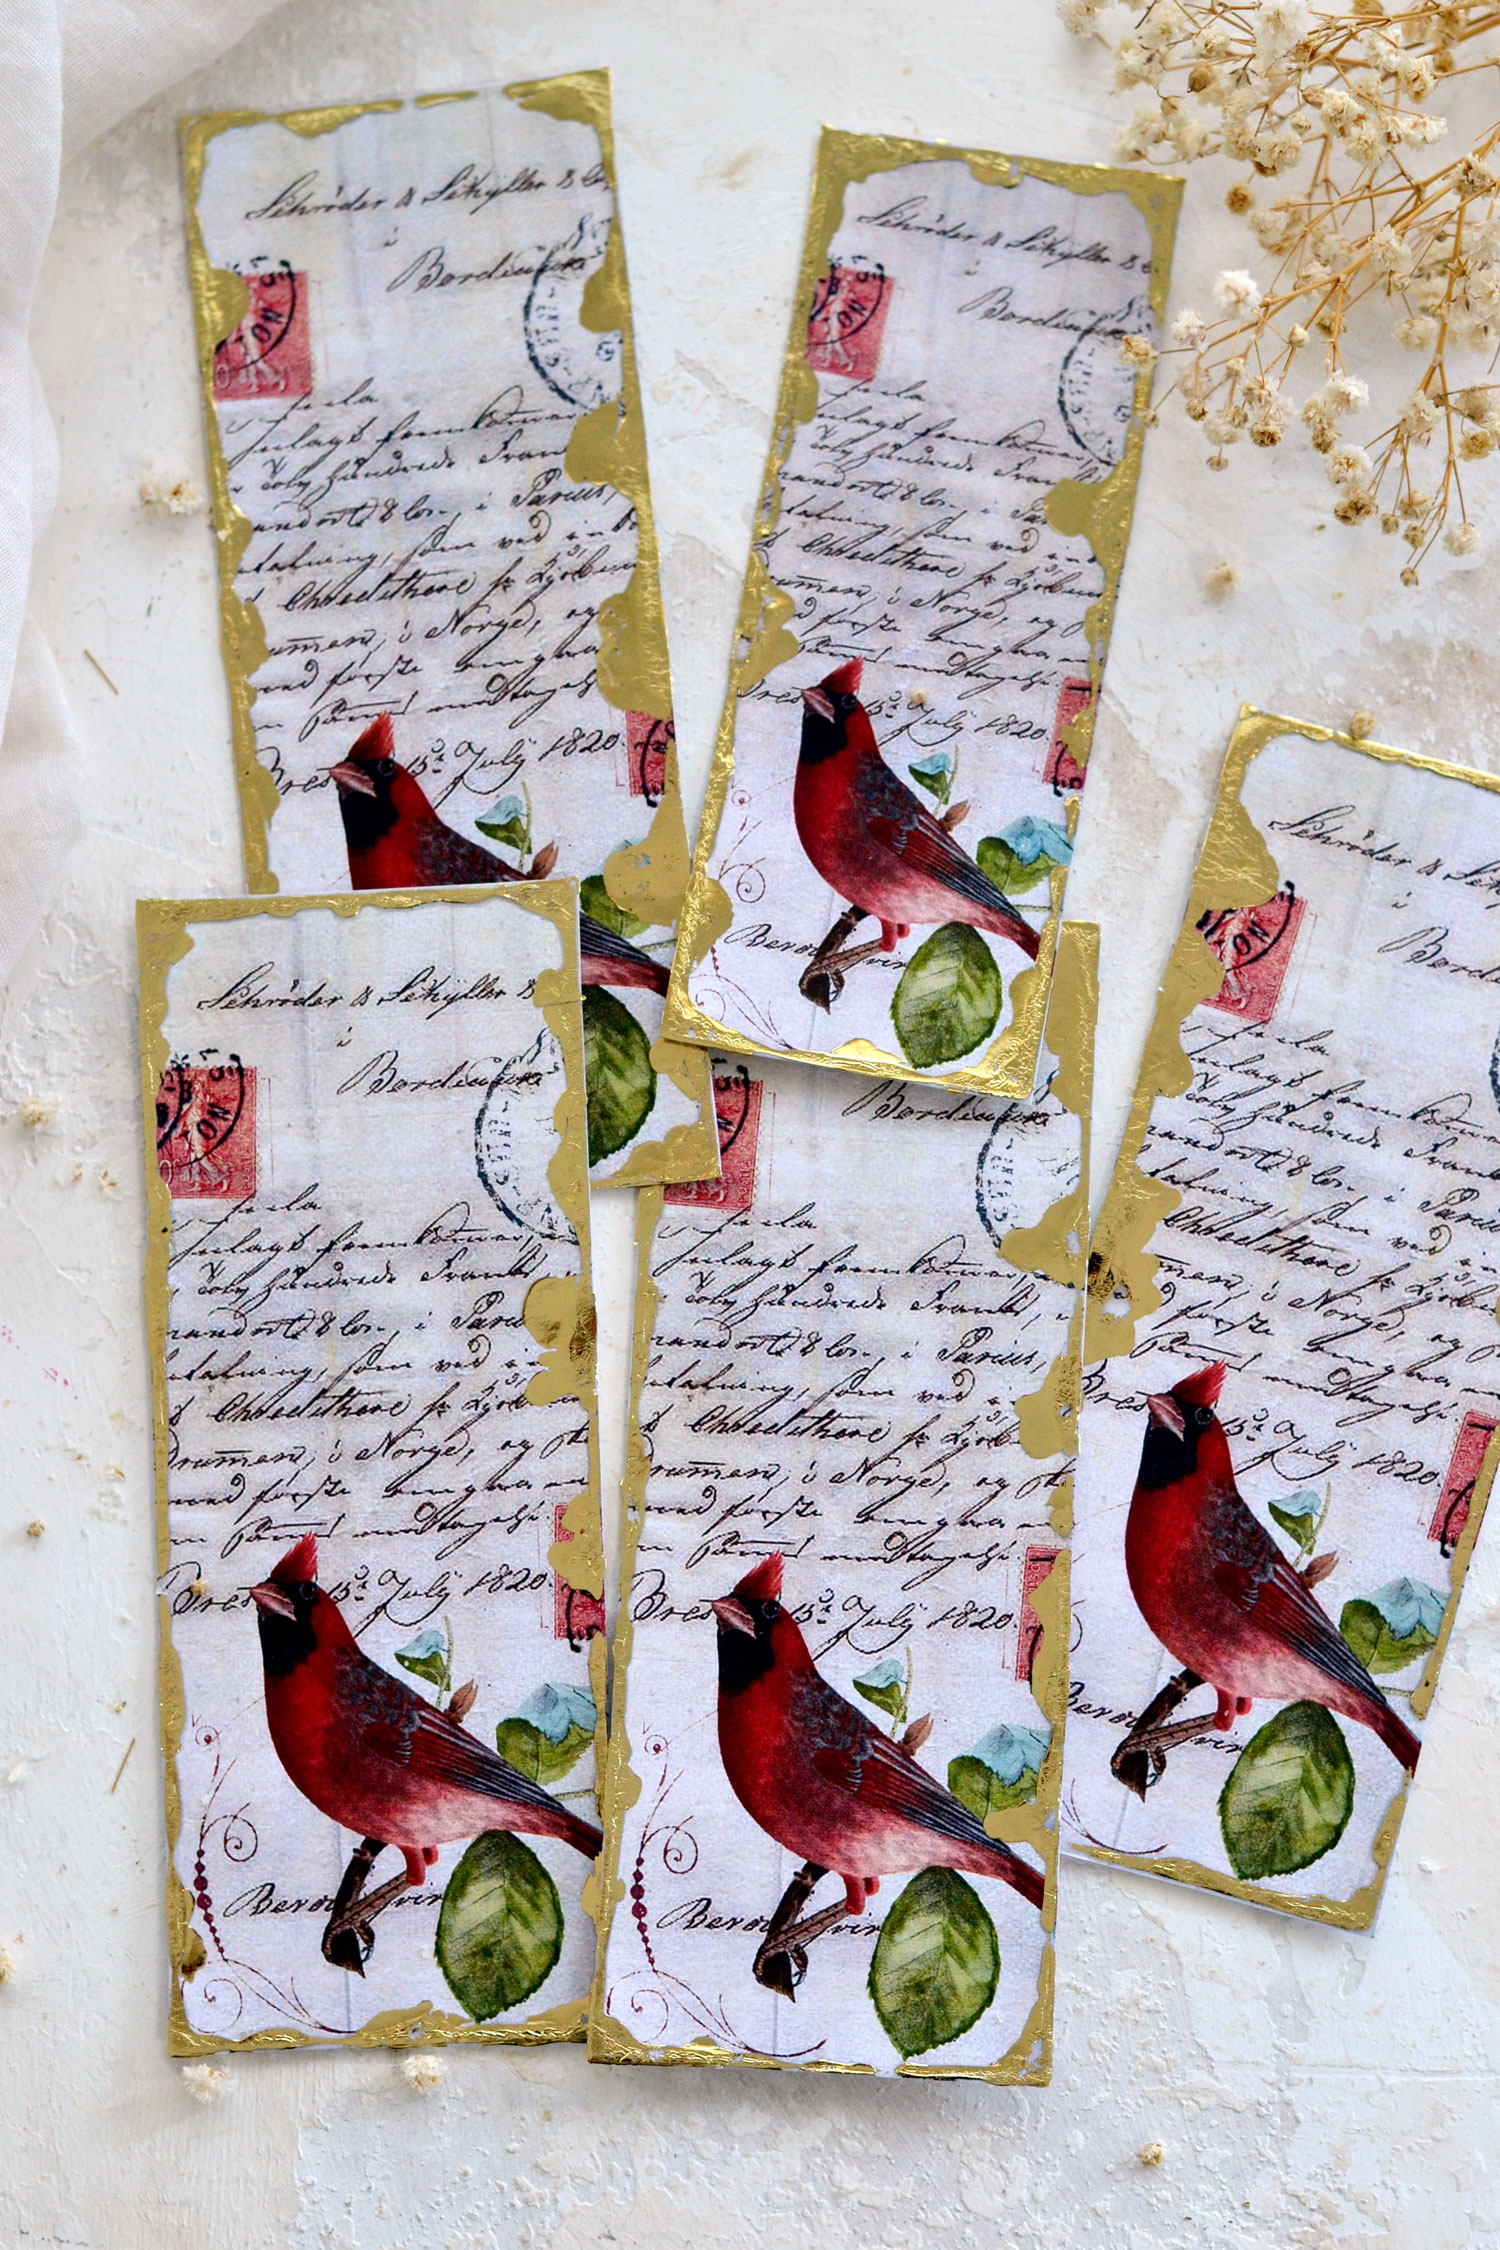
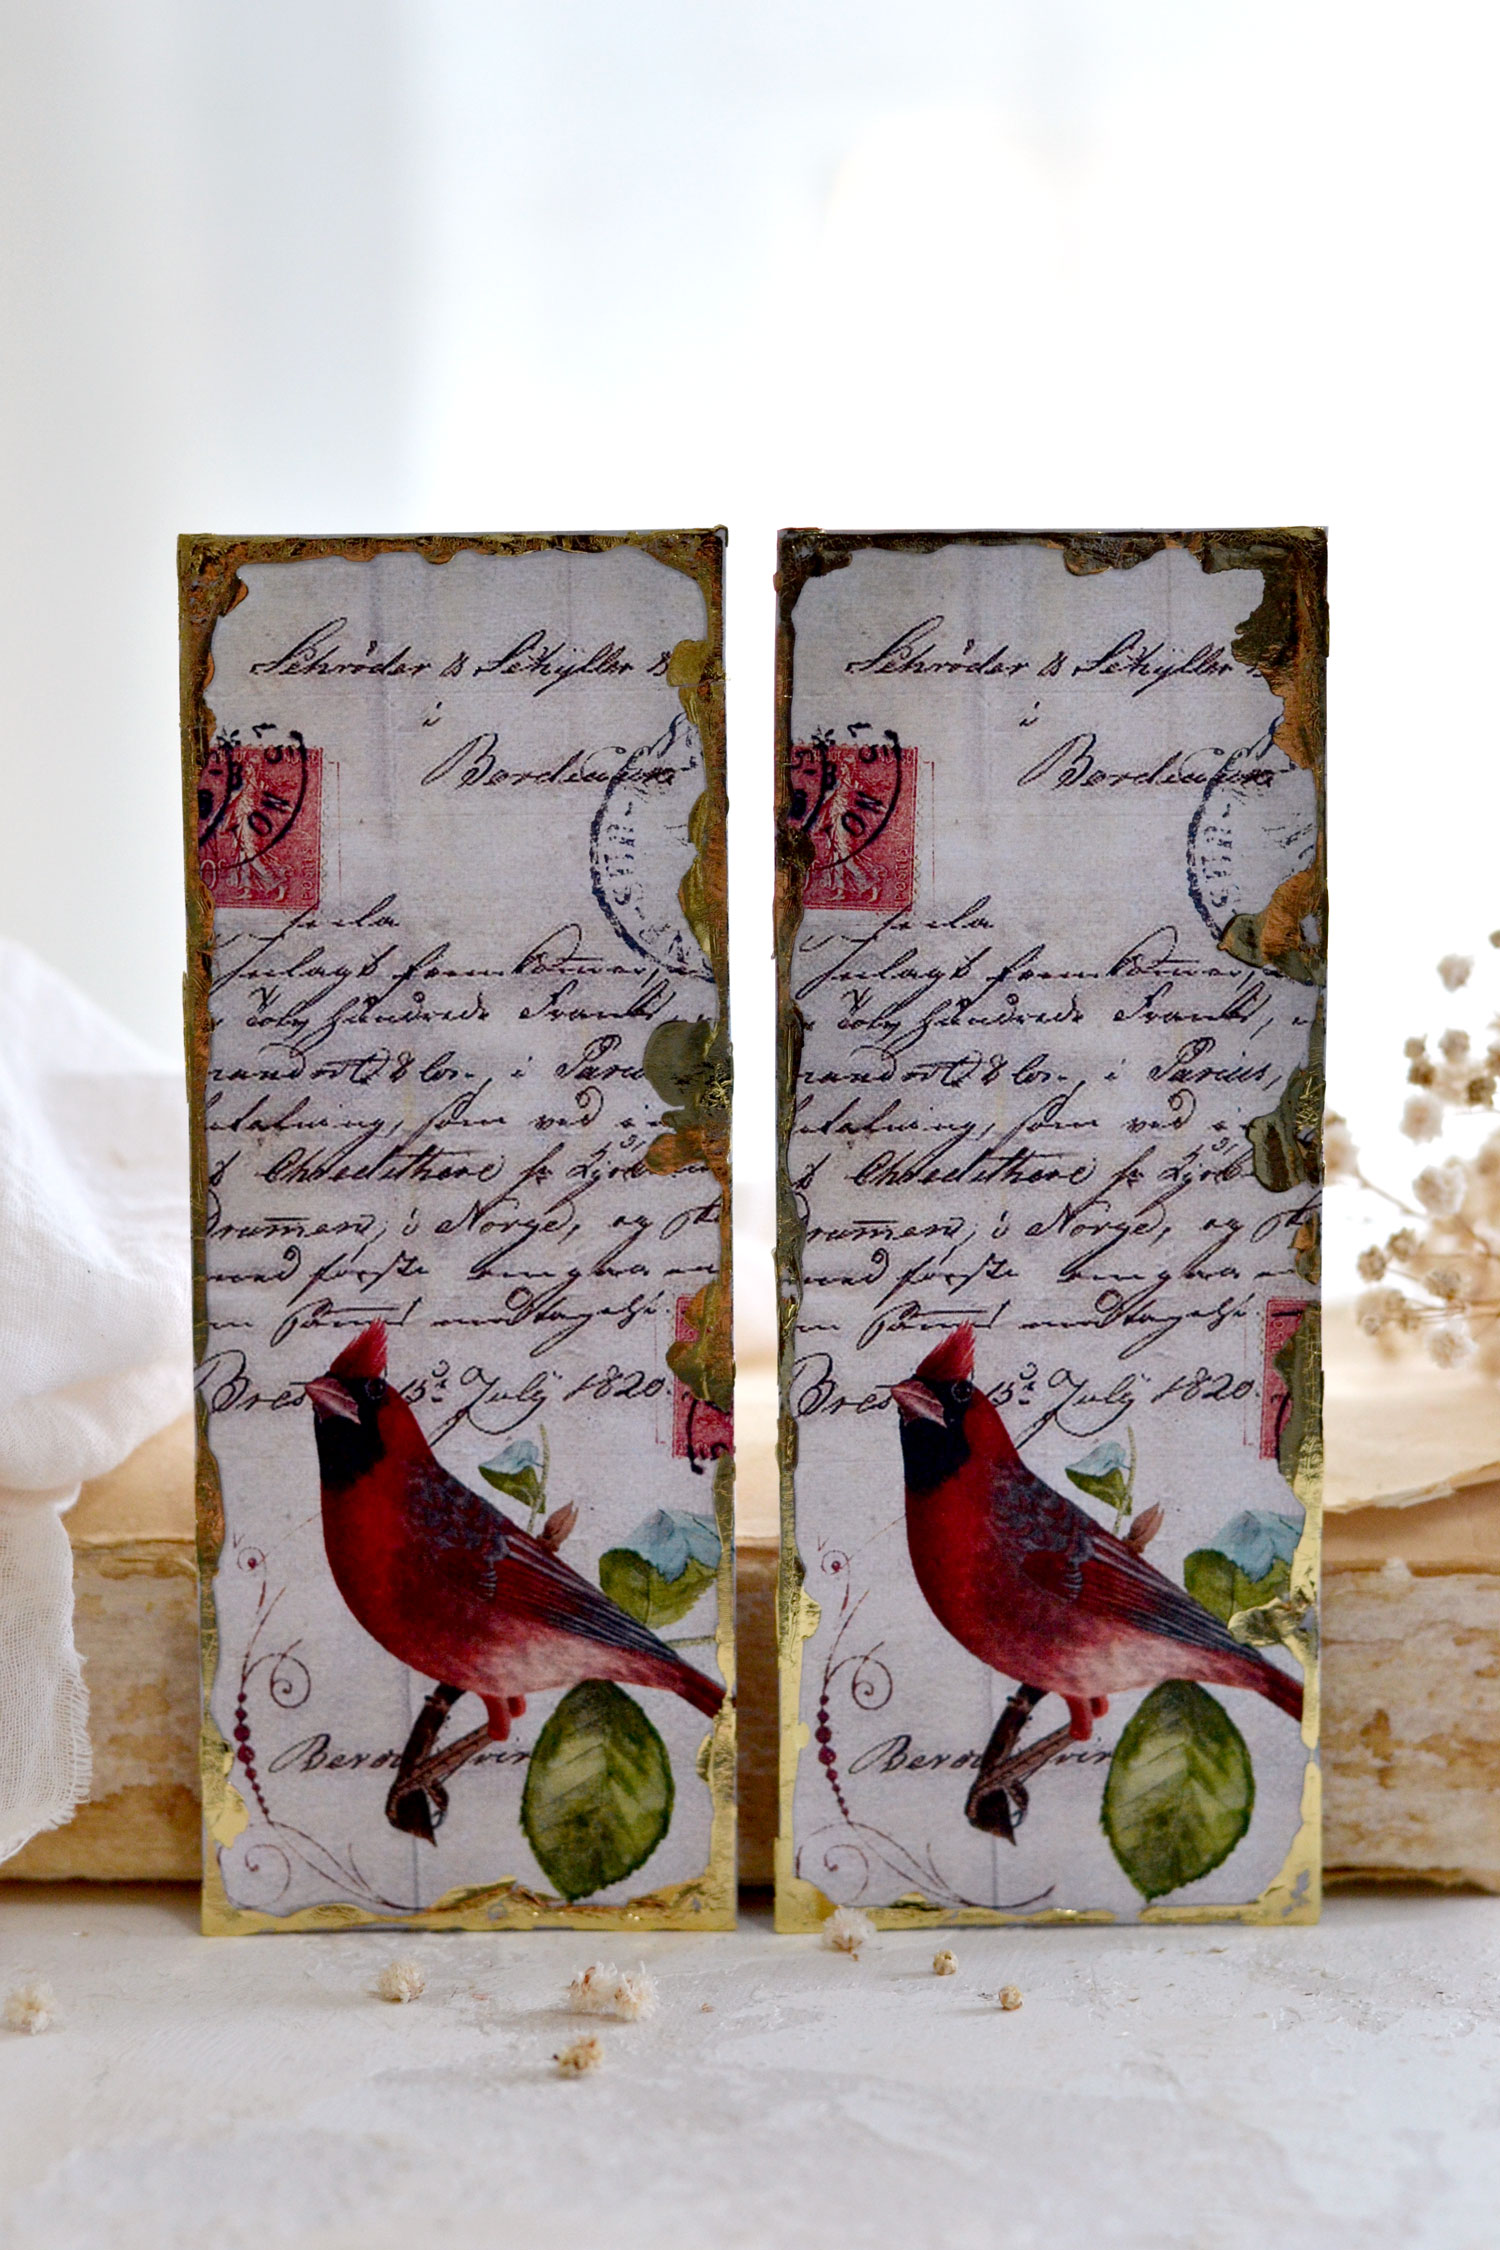
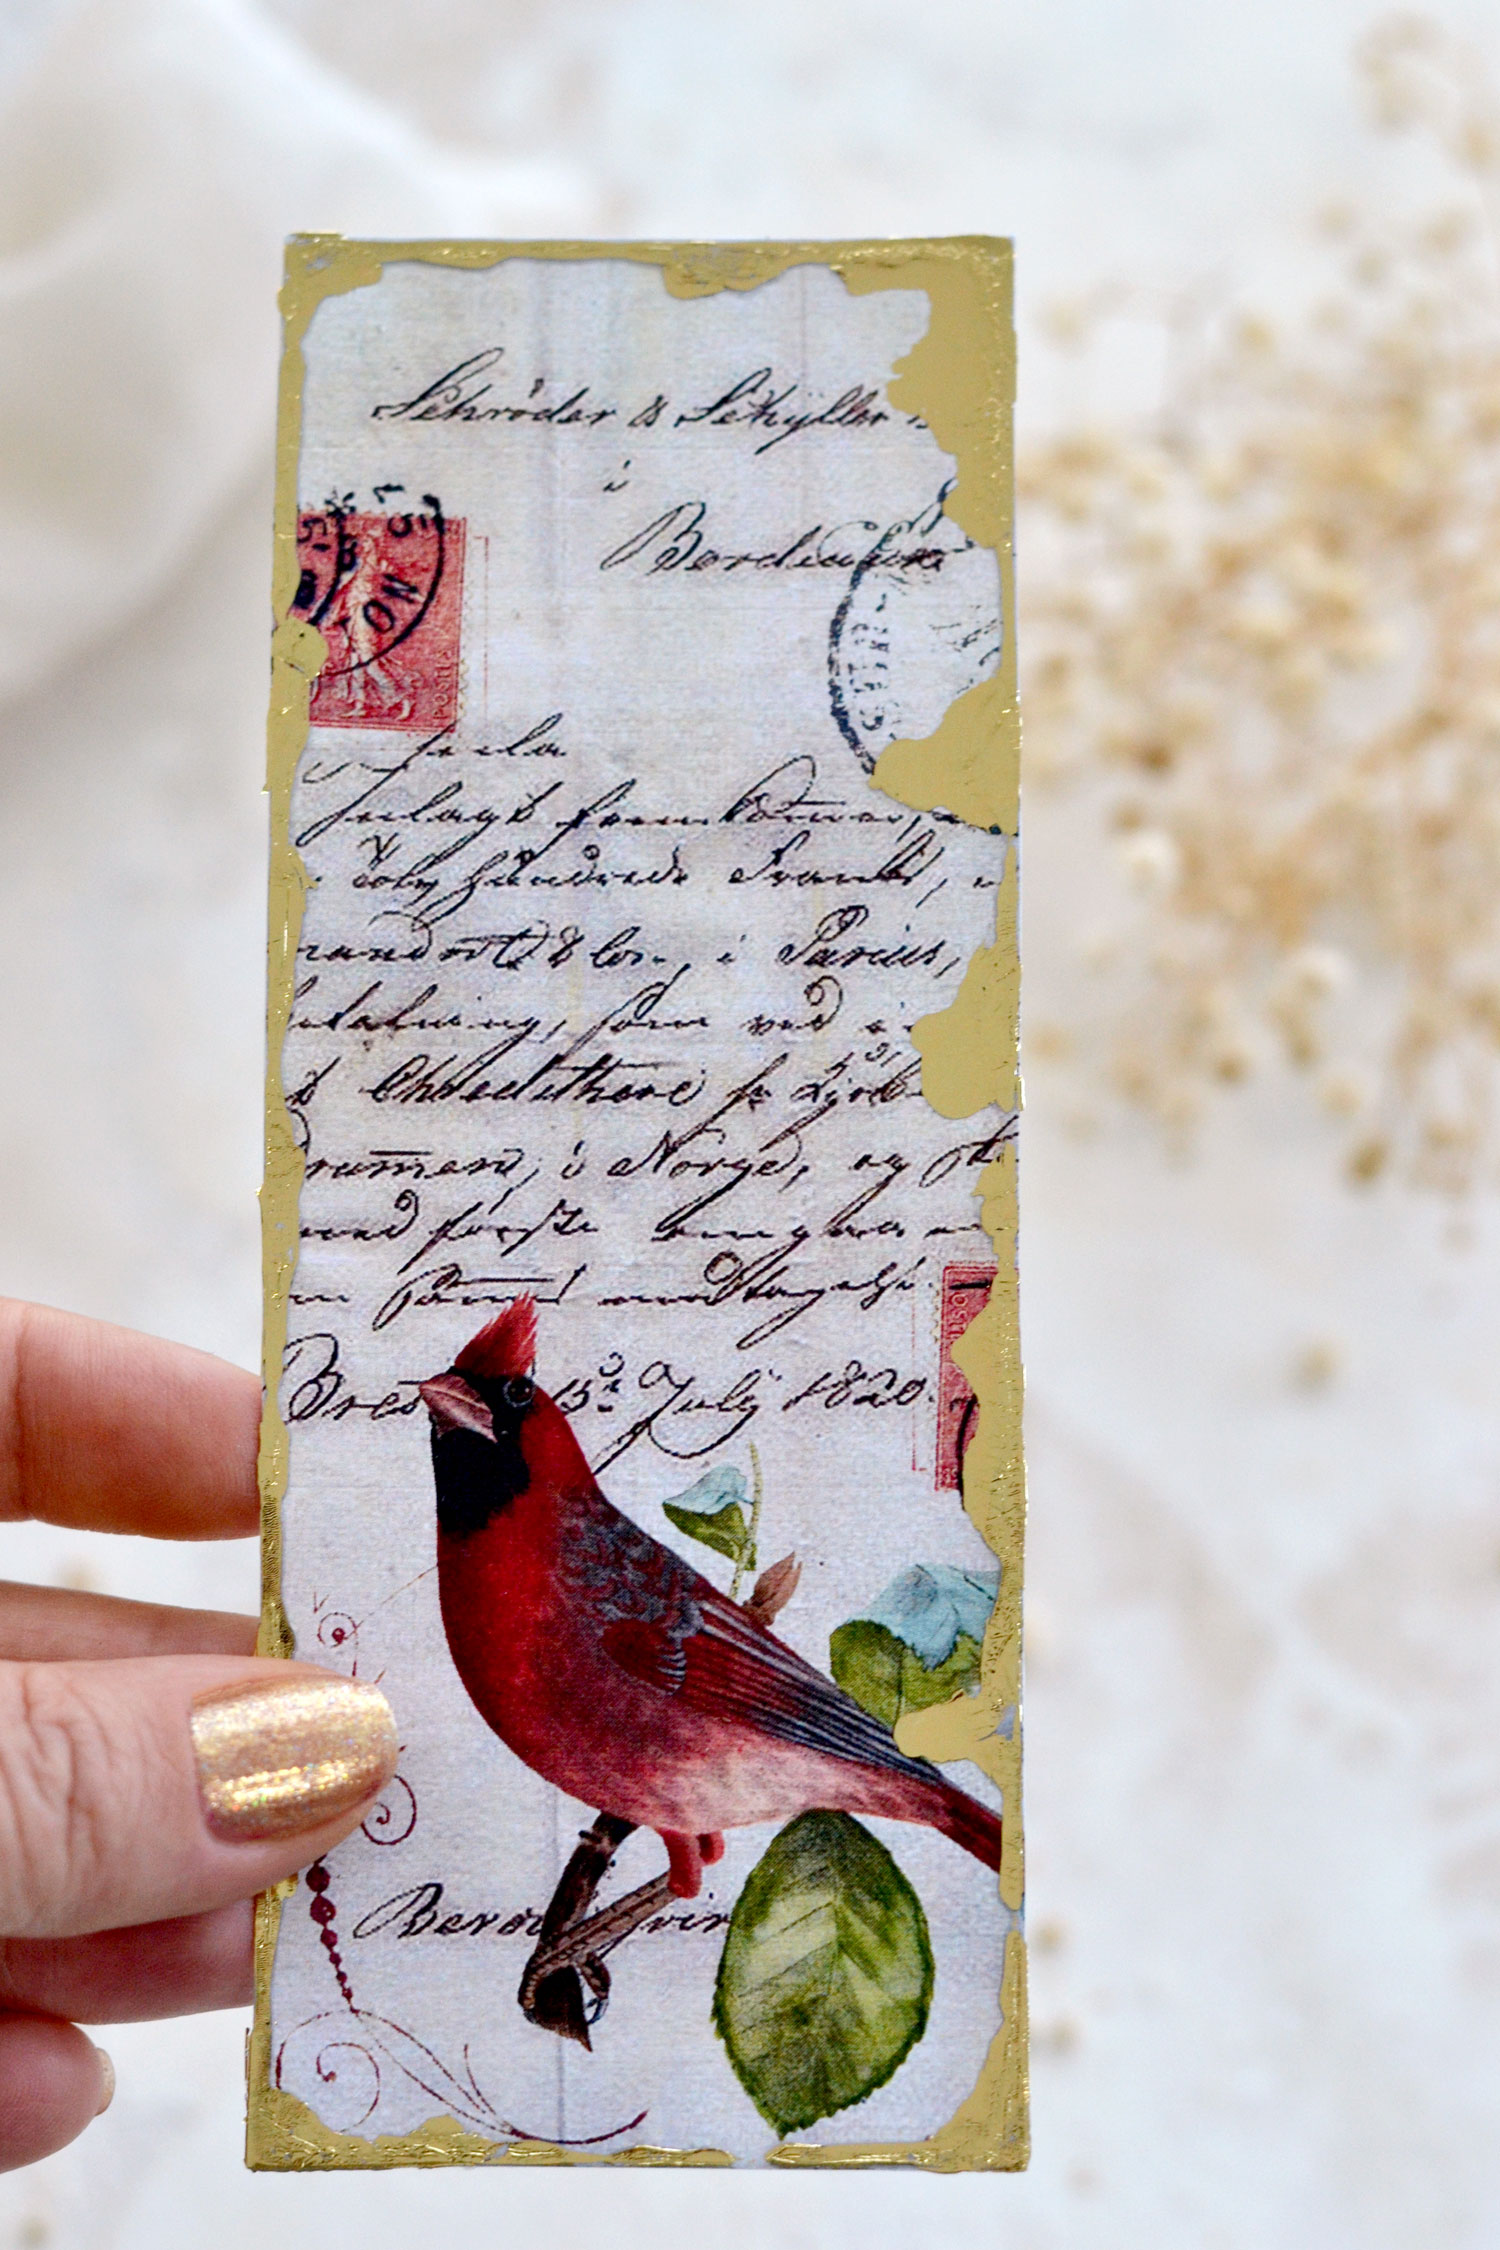
The star of our bookmarks is this stunning red cardinal bird image with green leaves from a circa 1840s Natural History Book. It has small details that are sheerly delicate and a charming watercolor-y vibe that will instantly make you fall in love with it! I’ve included this image in other Christmas projects in the past, but I felt like it deserves to be the leading star on a dedicated printable, so I created these lovely bookmarks that have more of a universal feel and can be used all year long!
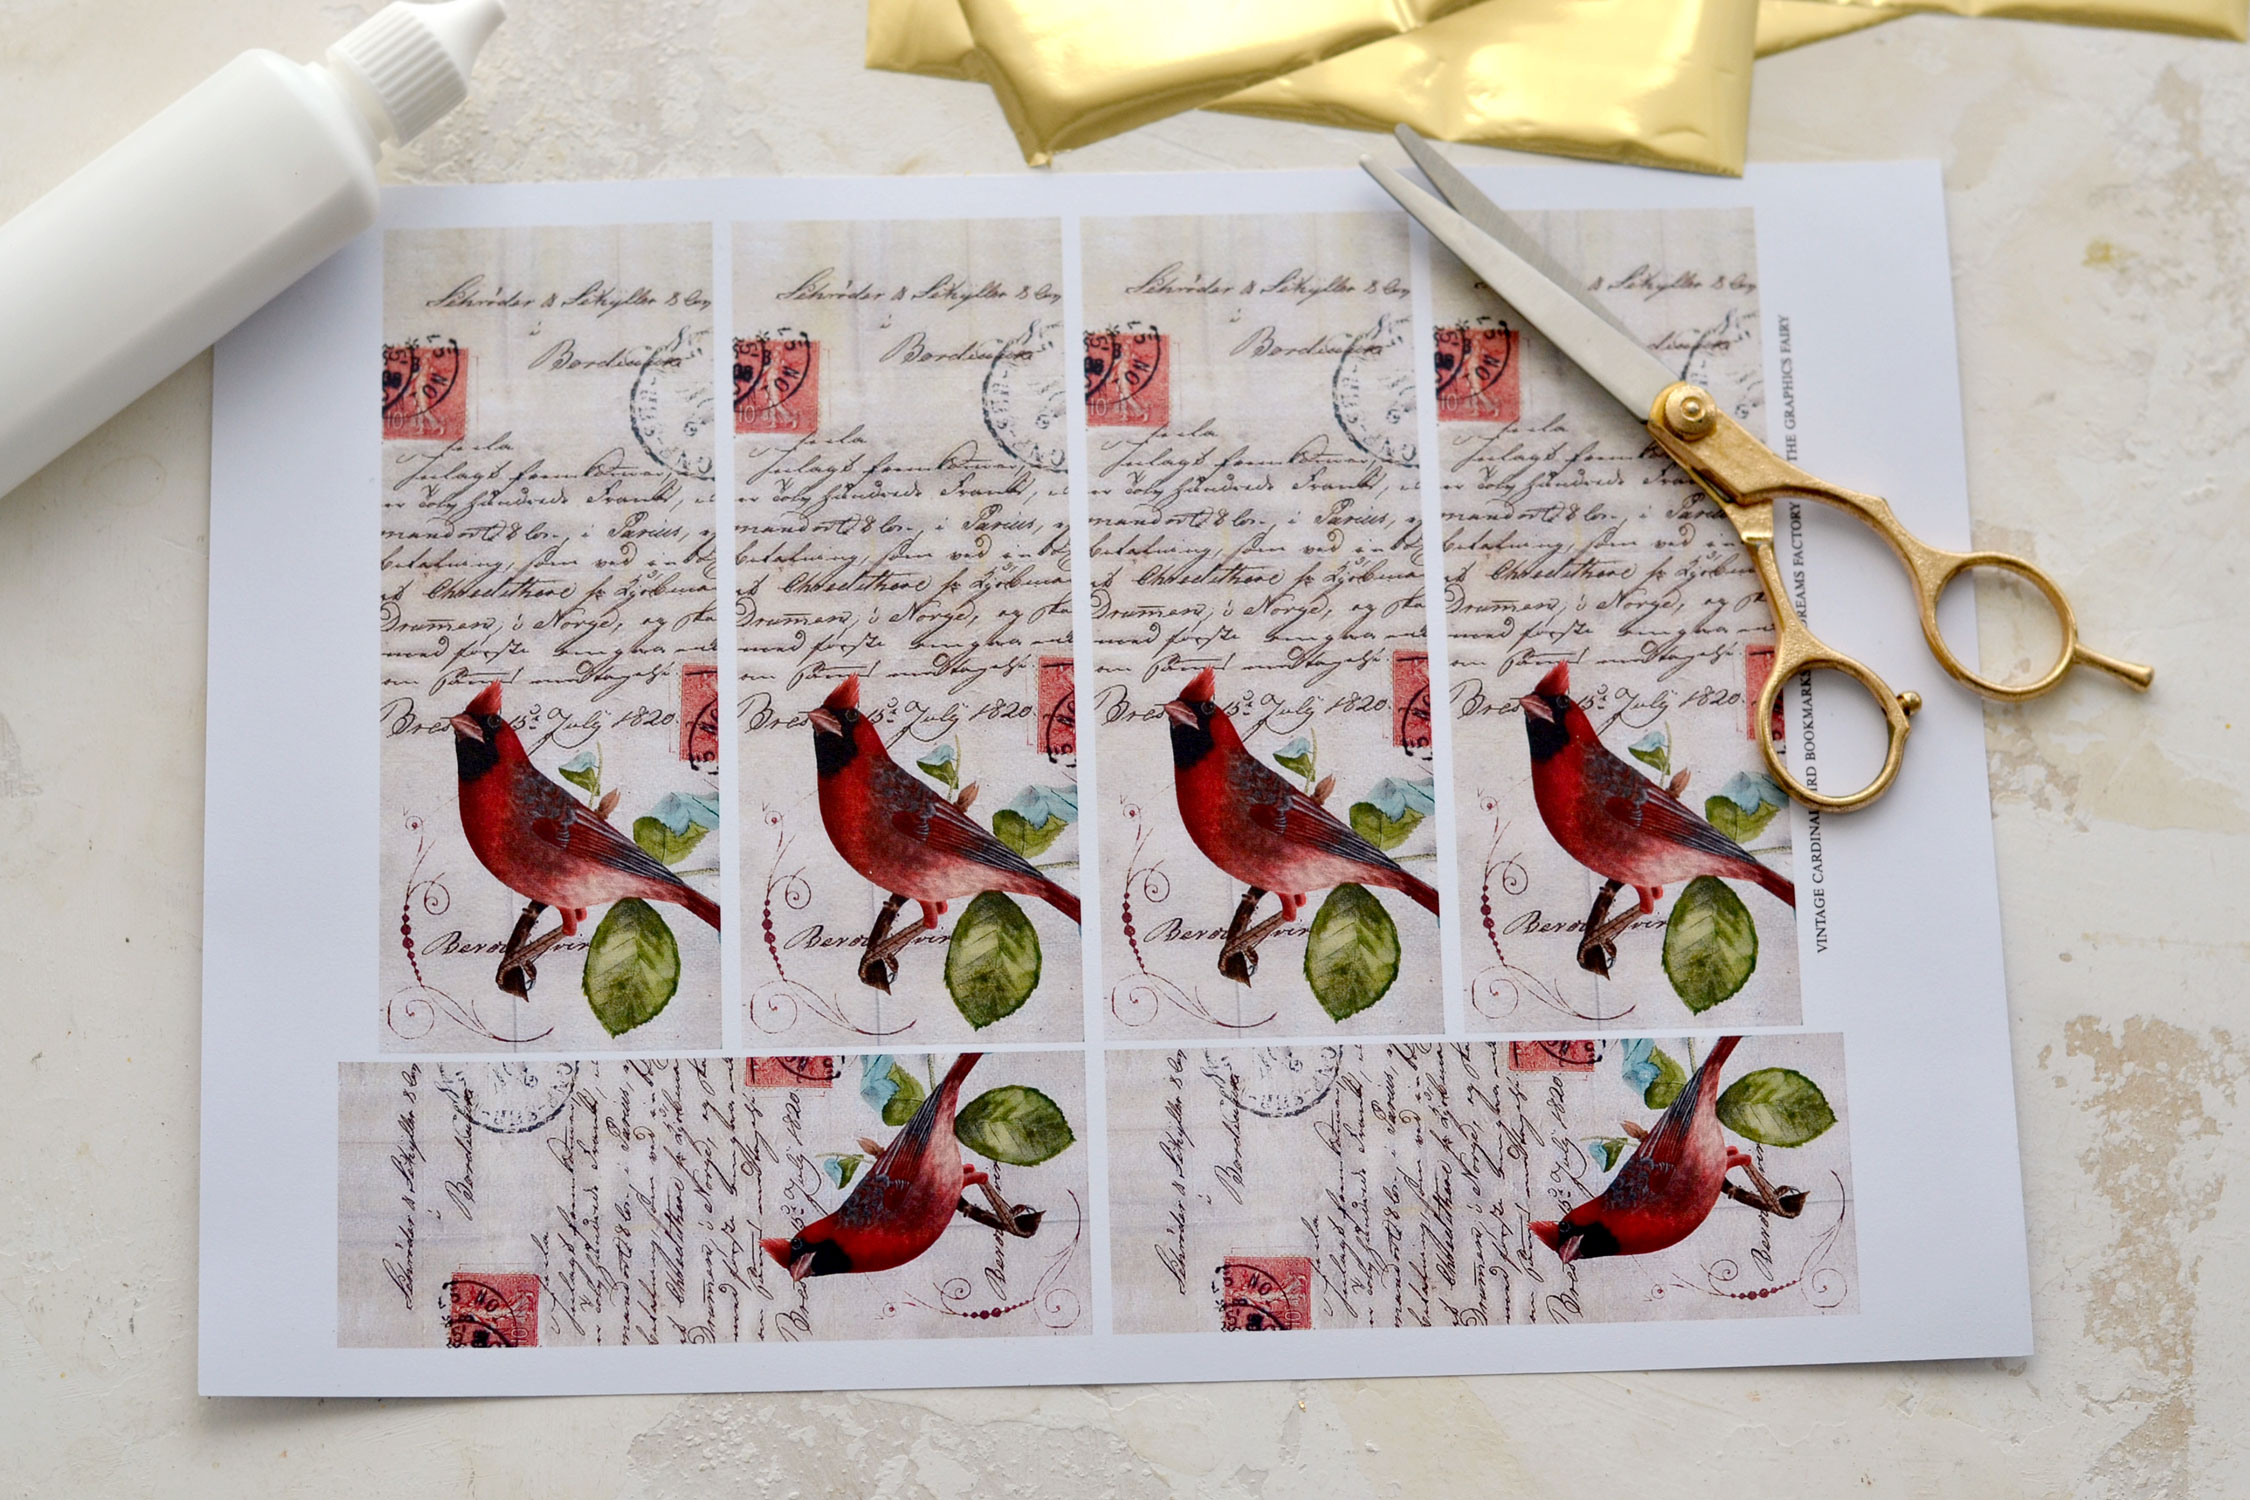
I used a French ephemera handwritten image with a lovely vintage background to design the base for our bookmarks. I also added a lovely decorative element and a few red stamps that perfectly complement our beautiful cardinal bird image. You will find a total of six bookmarks on the printable (four larger and two smaller), just save it on your computer and print it as many times as you want!
Free Printable Songbird Bookmarks:
—-> Click HERE to Download the Full Size Printable PDF <—-
Supply List:
- white cardstock paper
- home printer
- scissors
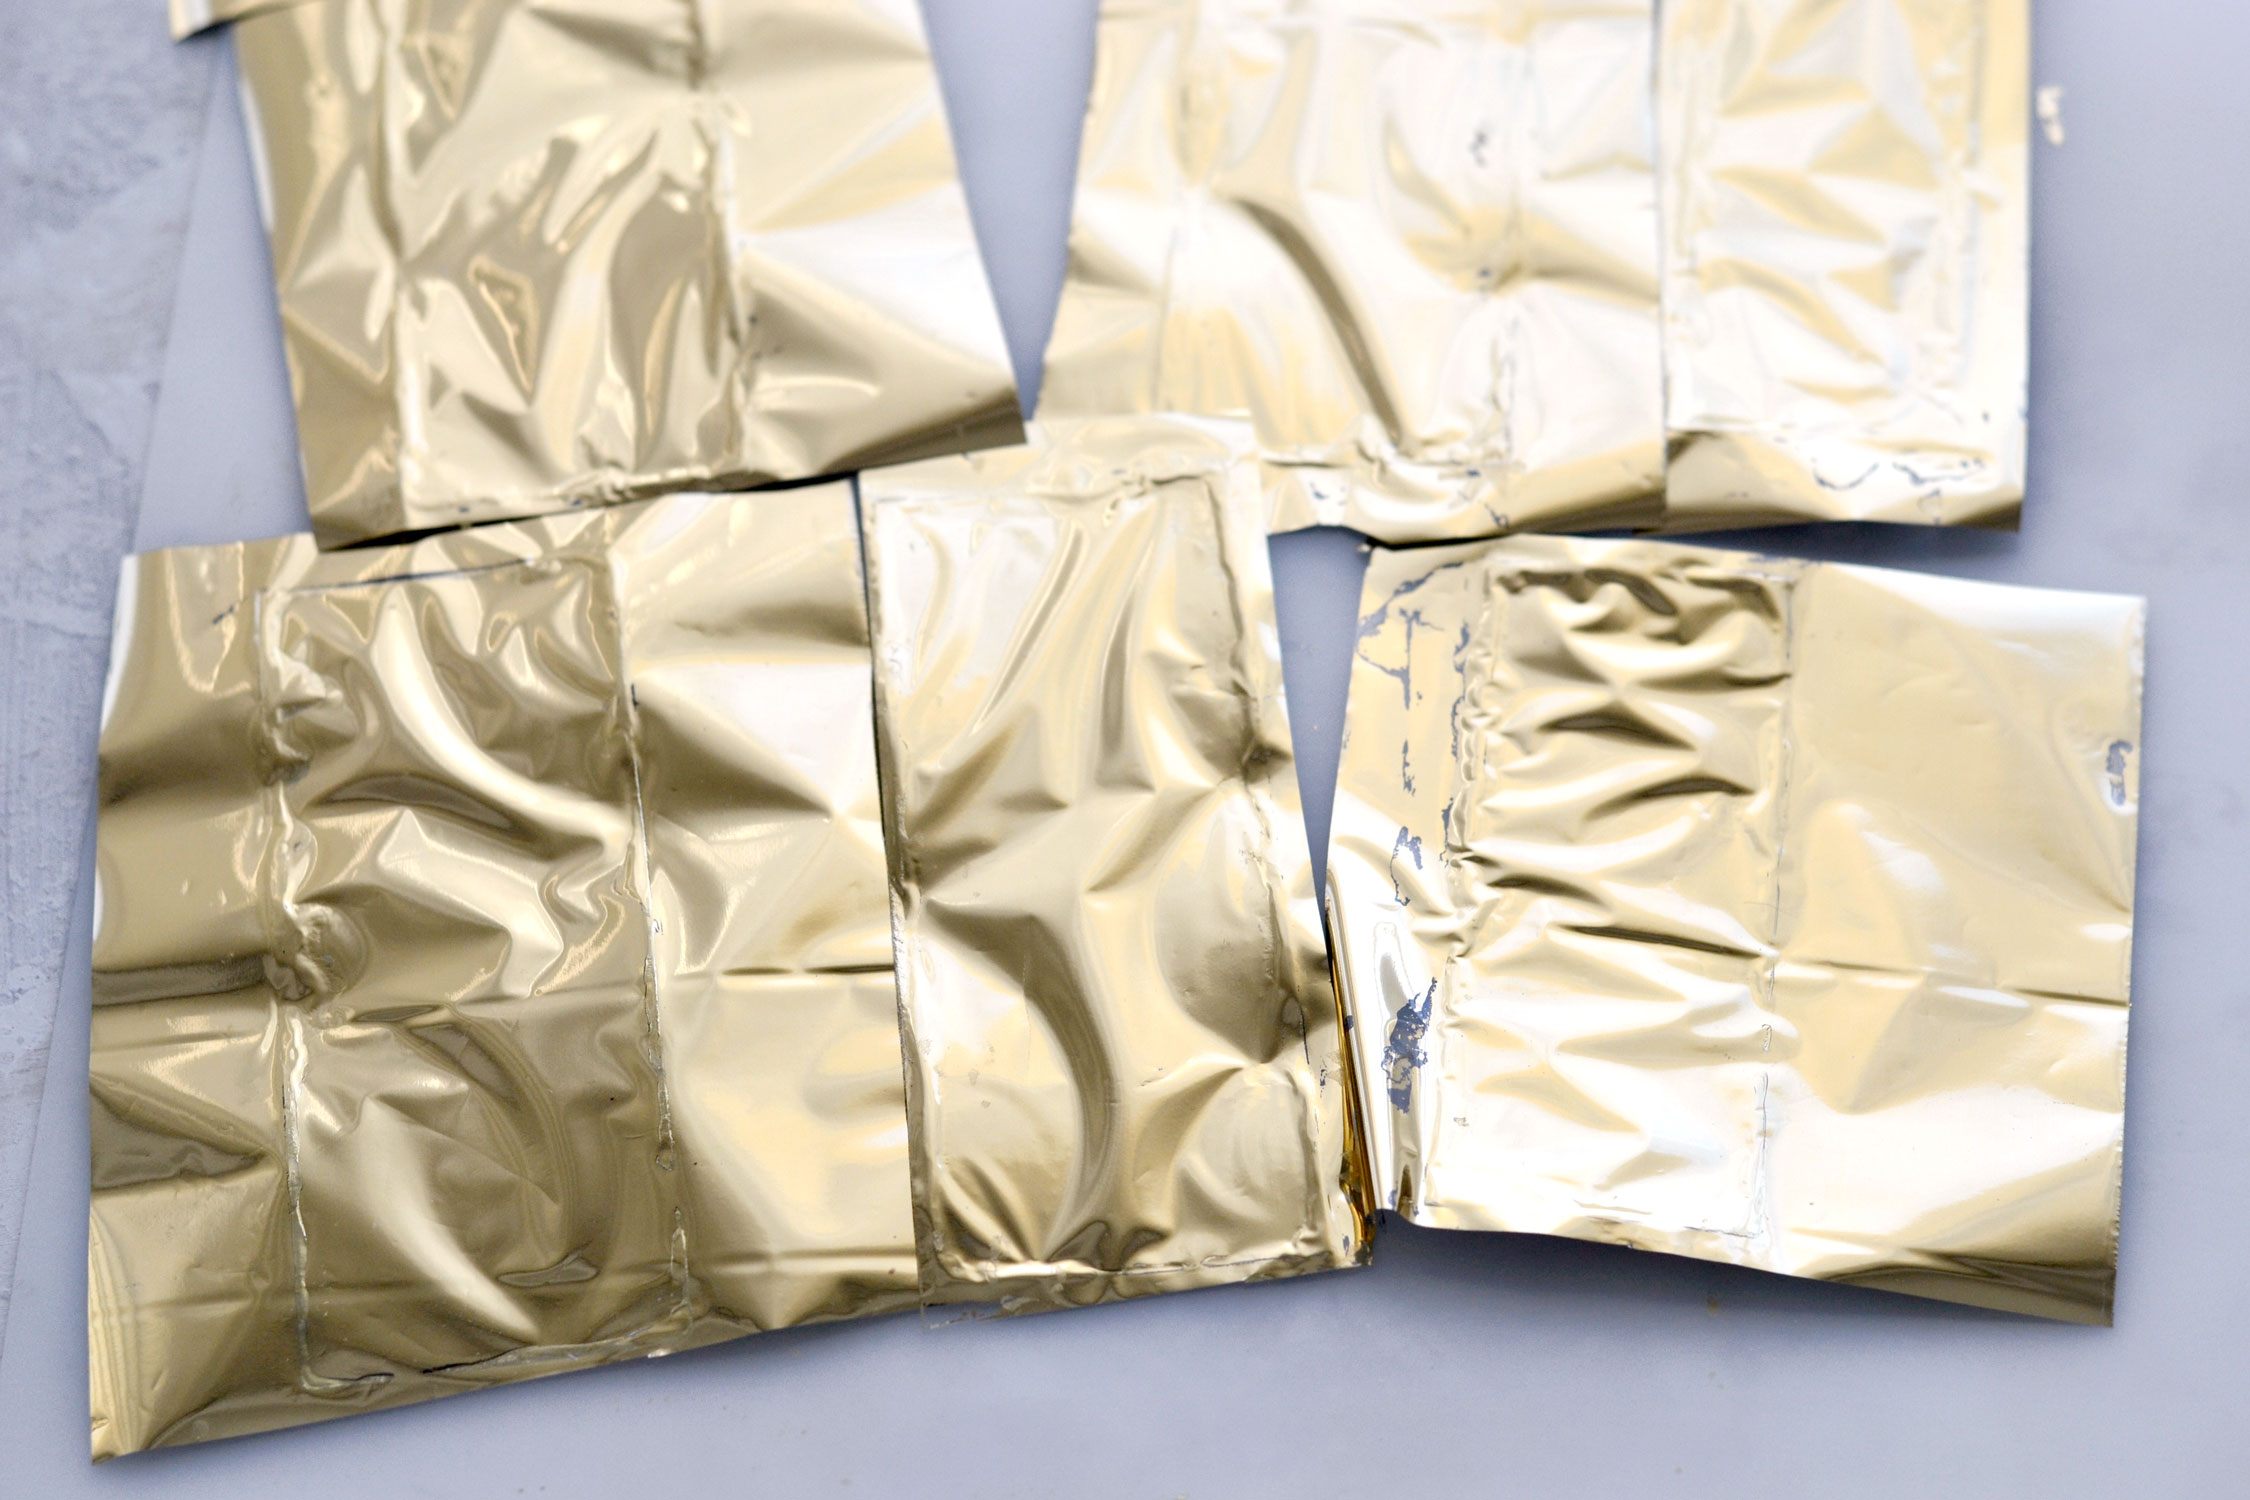
- gold foil
- a small brush or a fine-tip applicator
- Mod Podge or gold foil glue
- a plastic sheet or a non-absorbent surface (to protect your working area)
Step by Step Instructions:
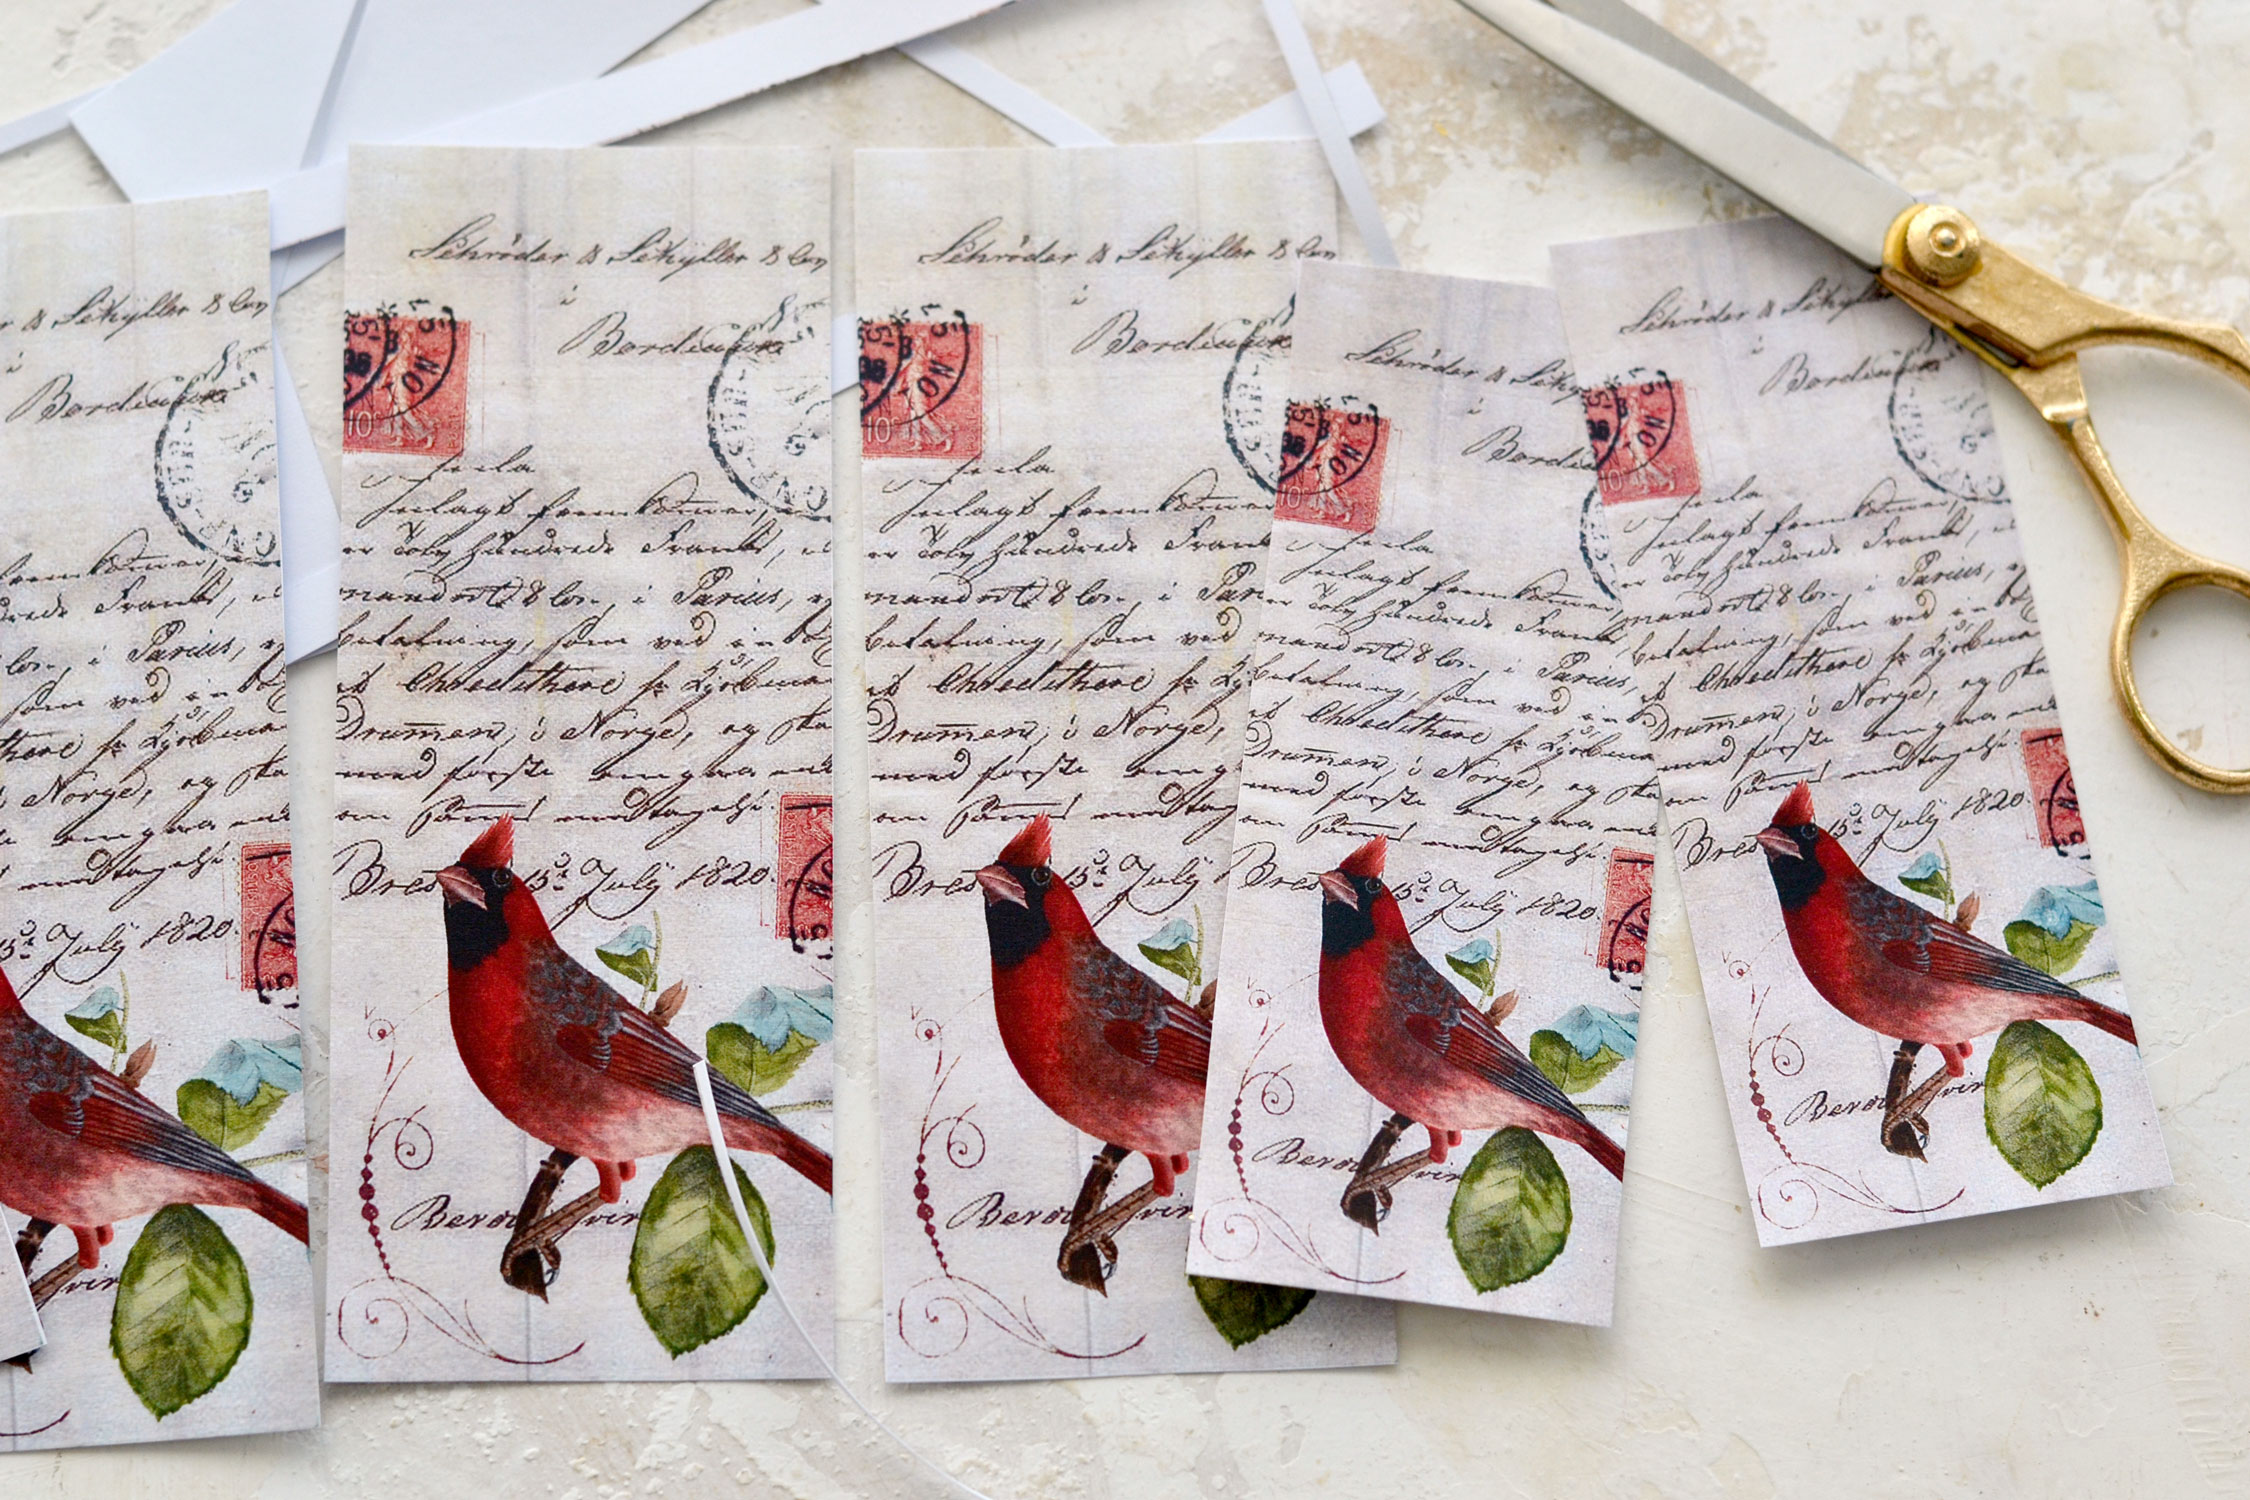
Start by cutting the bookmarks using your scissors.
If you want to keep things simple, you can use a little bit of distress ink around the edges and you are good to go! This way, these beauties can be ready in 5 minutes!
If you want to try to create a perfectly imperfect gilded effect around the edges, here is how to do it.
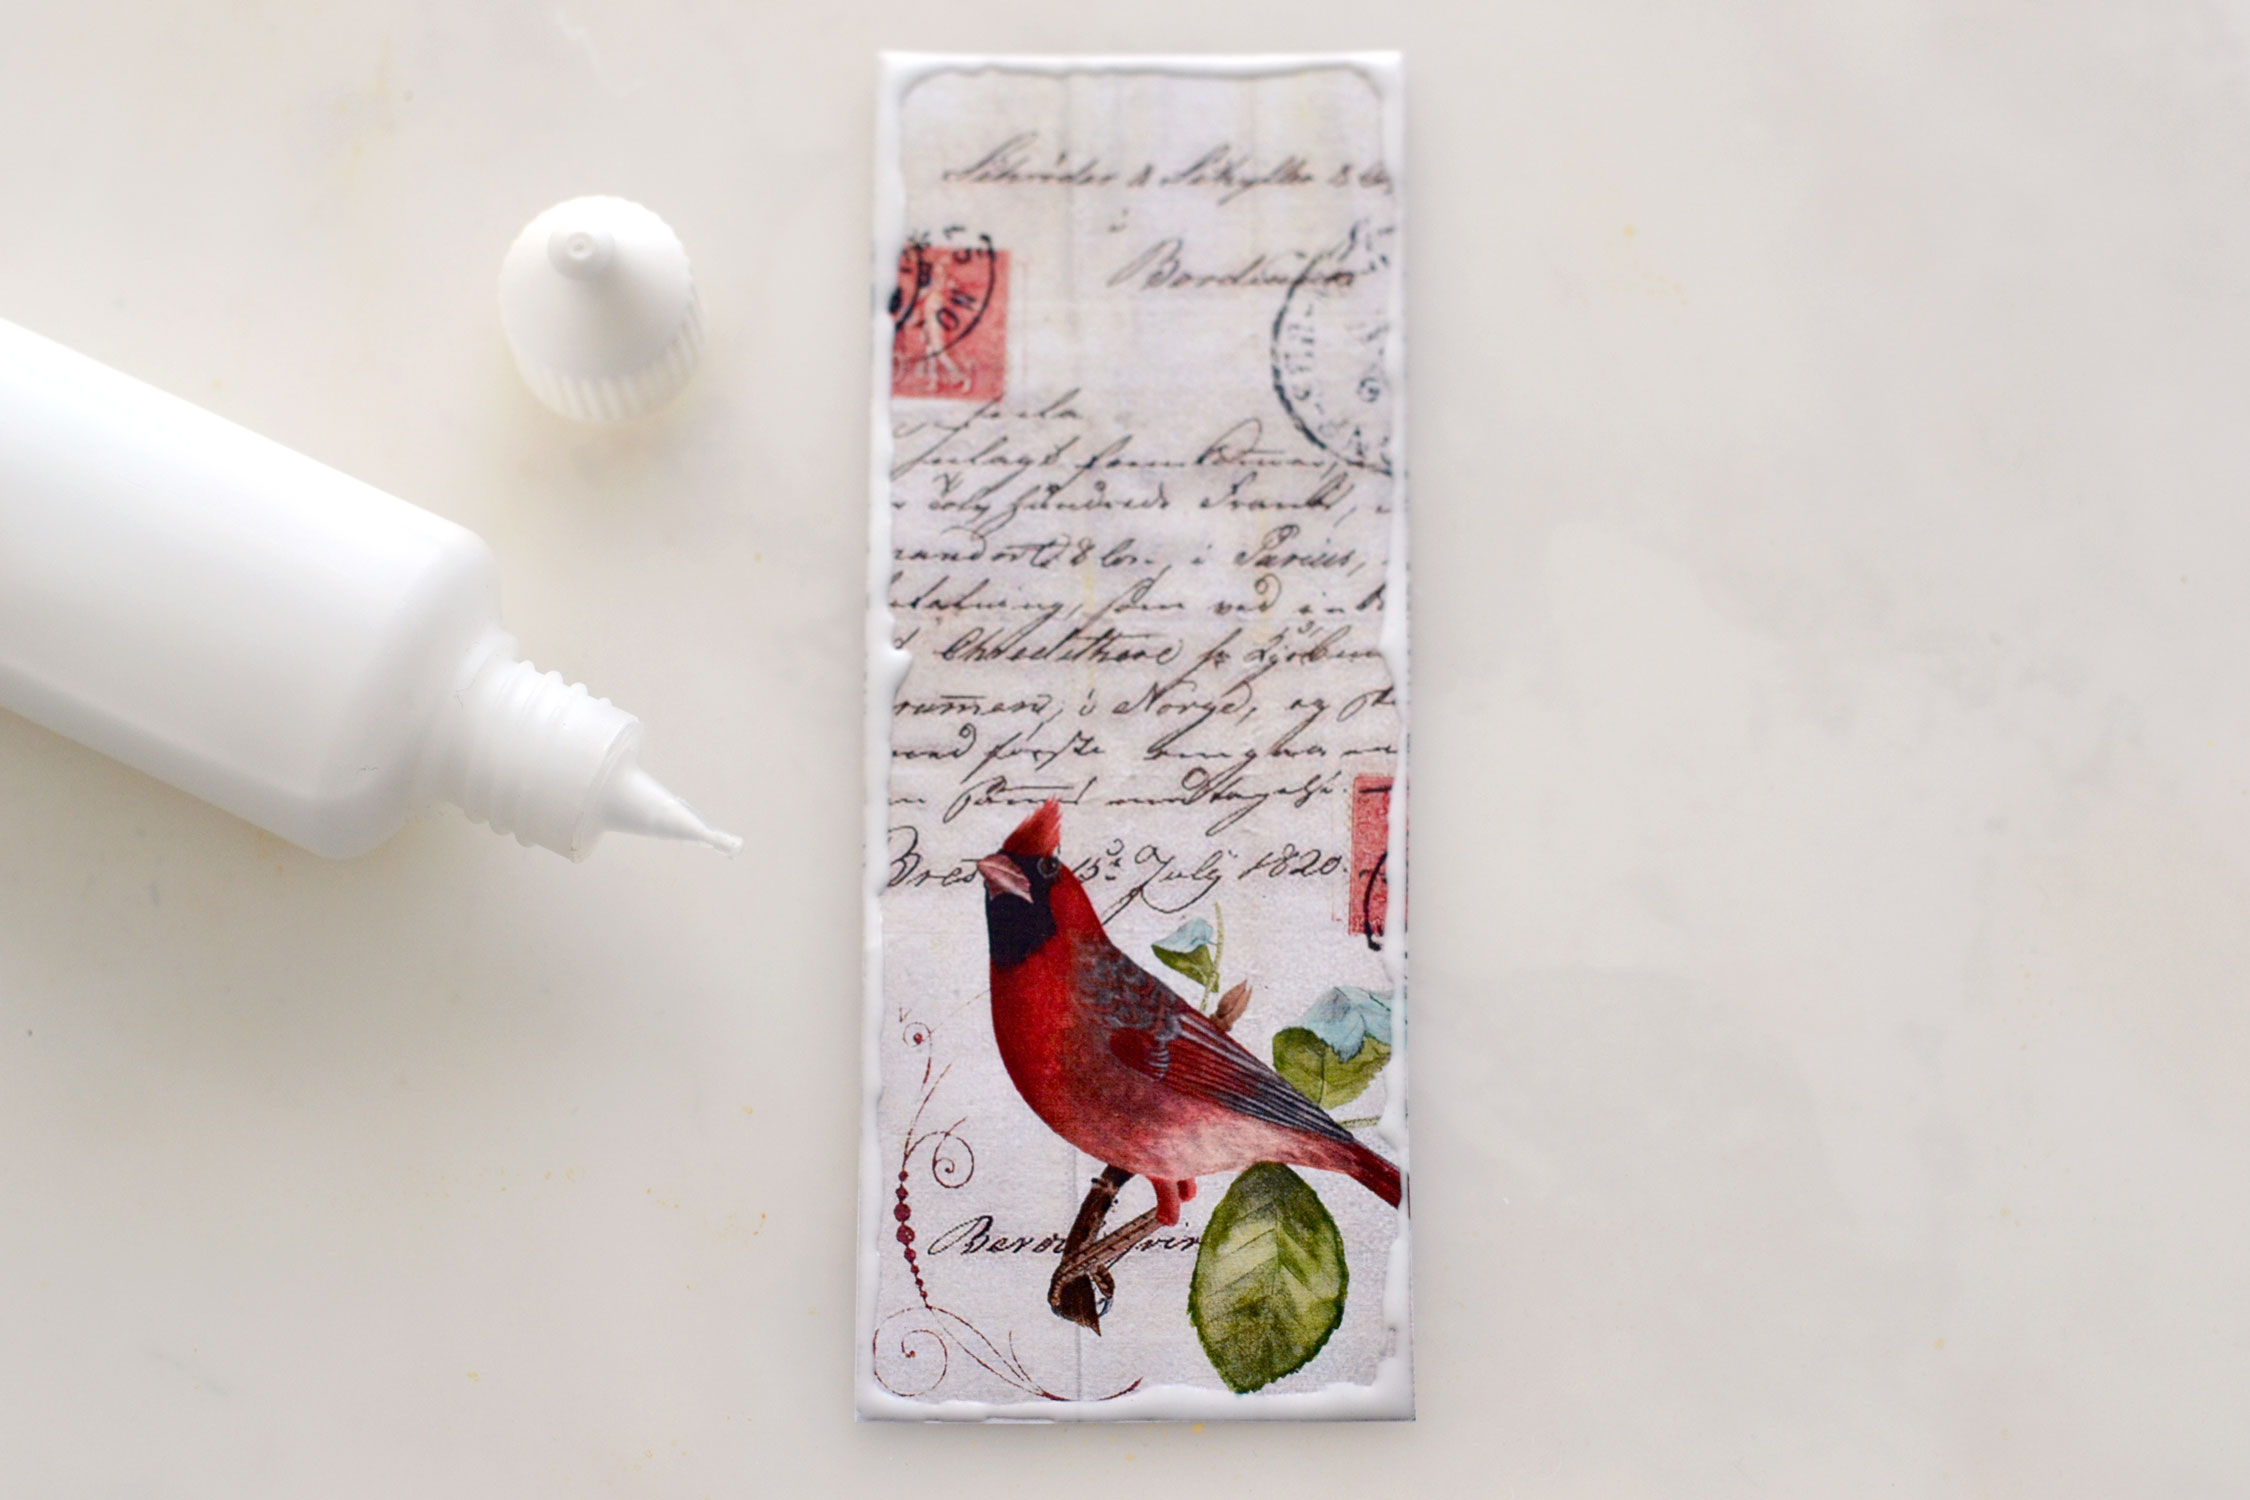
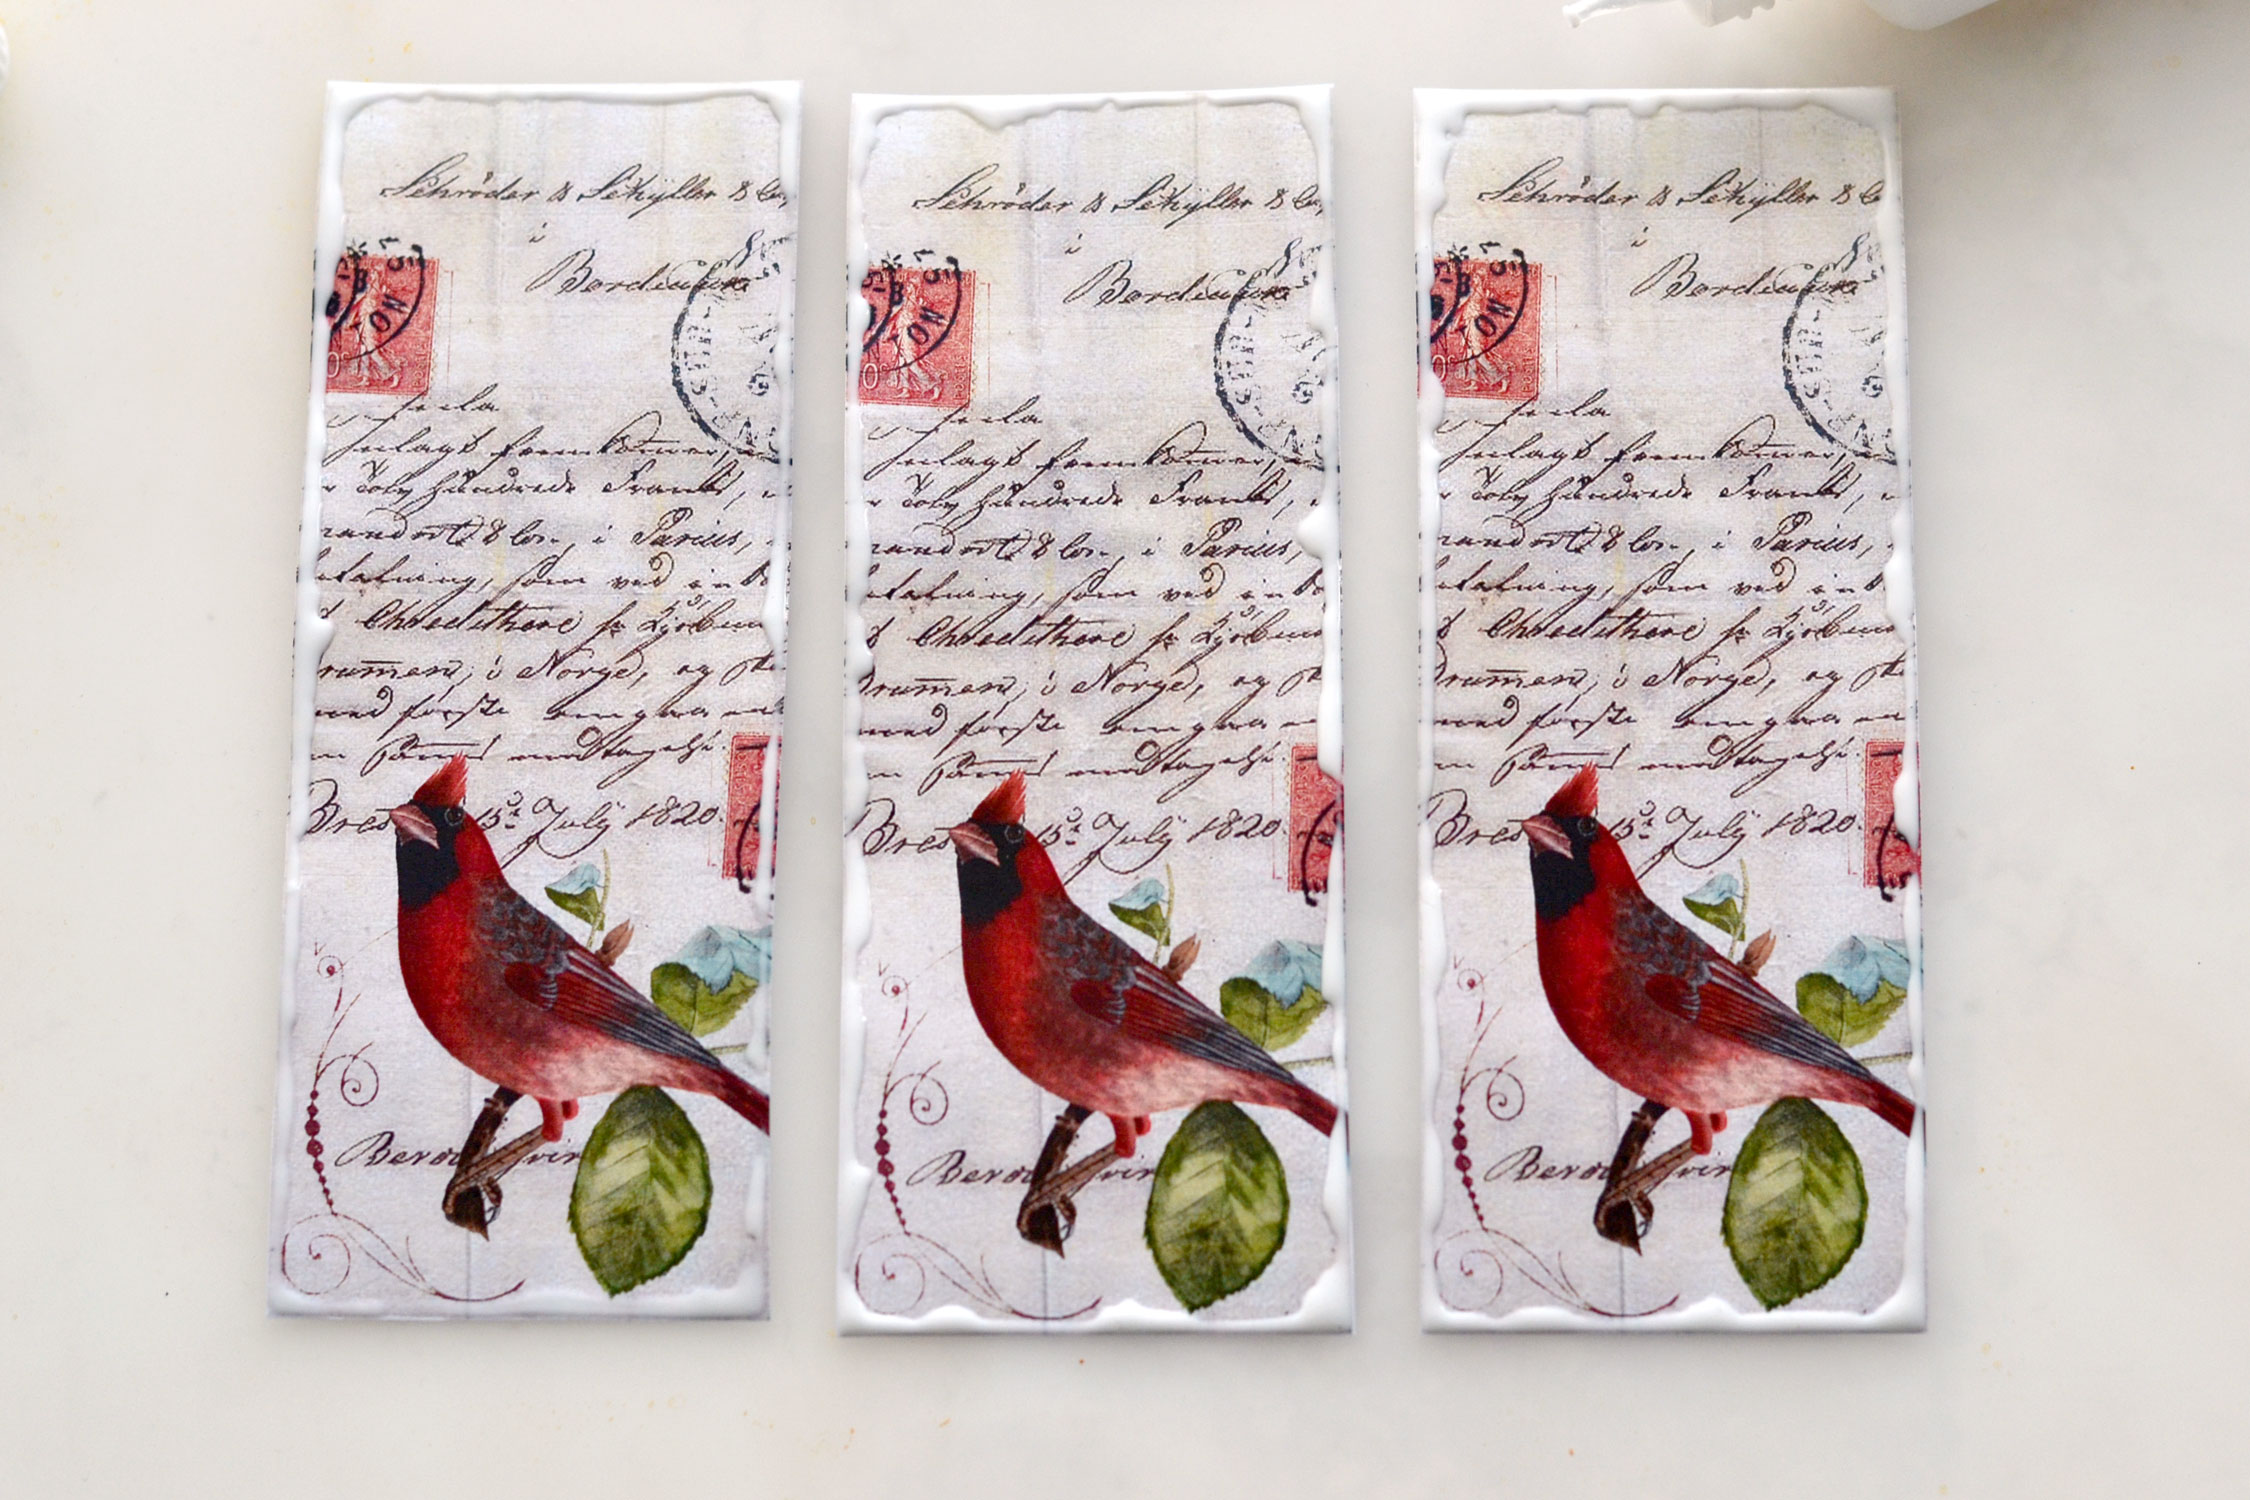
Place a plastic sheet or a non-absorbent material on your table to protect your working area, then use a fine-tip applicator or a small brush to liberally apply the glue around the edges. Try to add the glue as even as you can in terms of thickness, the glue needs to dry at the same time.
If you are using gold foil glue, which is a special glue that stays tacky after drying, you will need to leave it to dry completely before adding the foil.
If you are using Mod Podge, you will need to let it sit for a few minutes until it starts to dry and becomes a little bit transparent. There’s a fine line between the glue being too wet and being too dry, so keep an eye on it. Don’t let it dry completely, because it won’t have the power to adhere to the gold foil. It would be best to do a few tests before so you can get accustomed to the glue and the foil, this way you’ll be able to see how they work together.
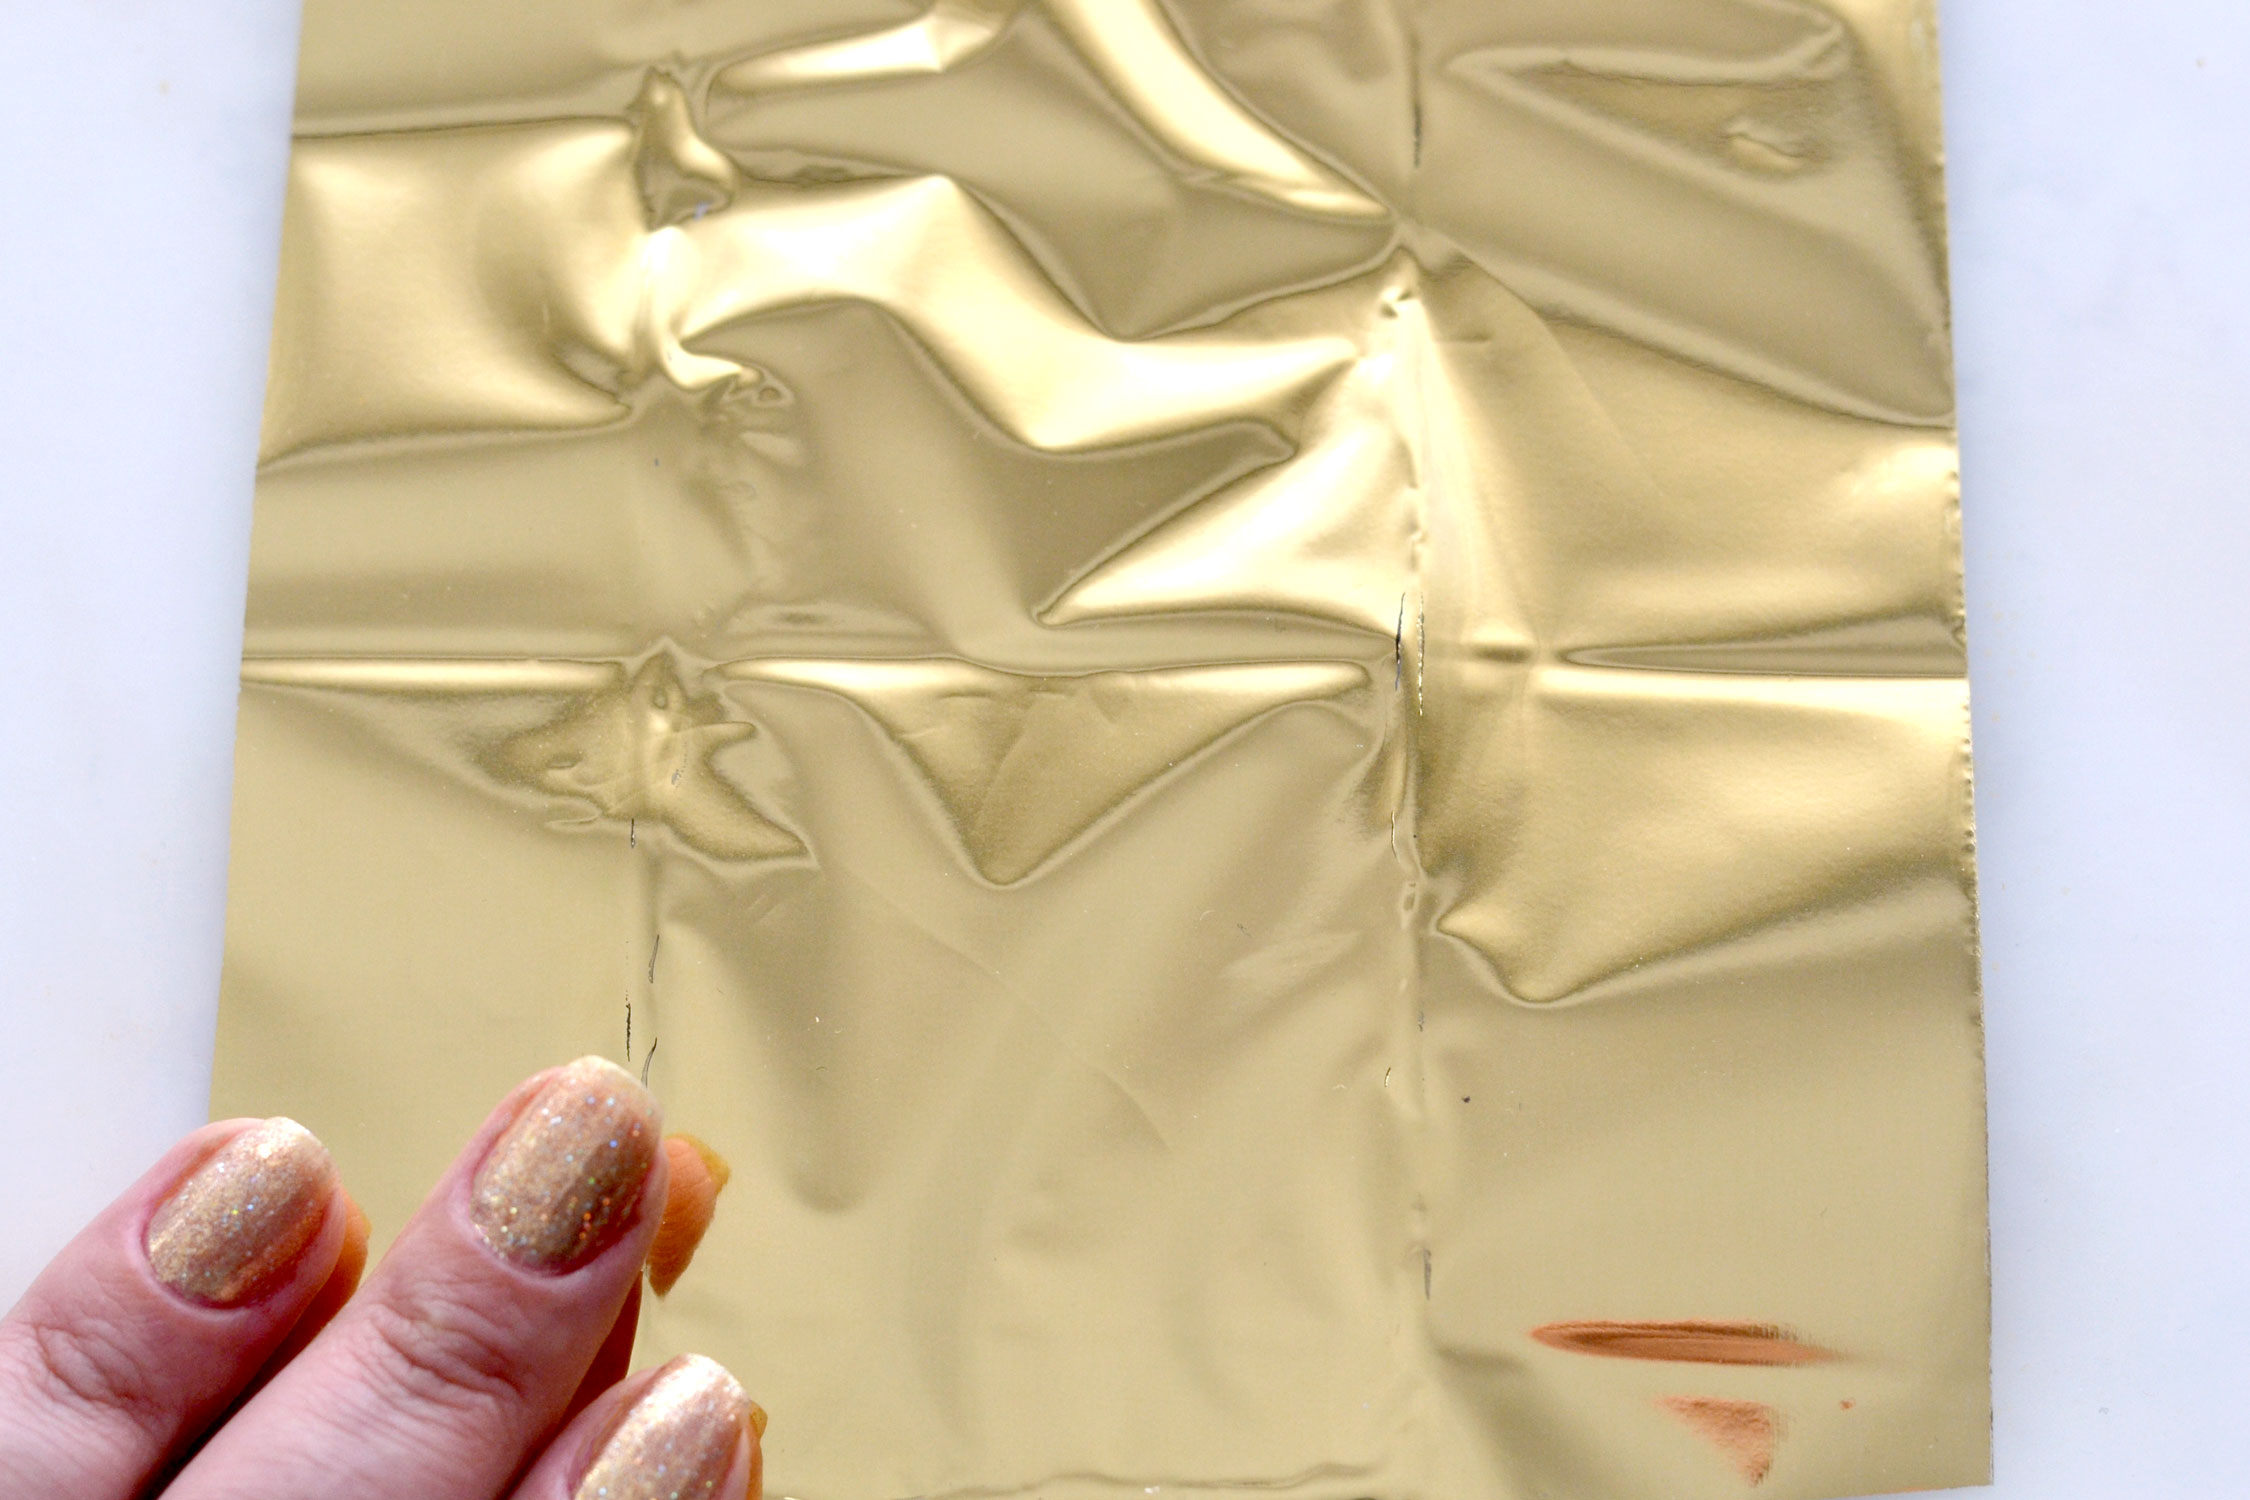
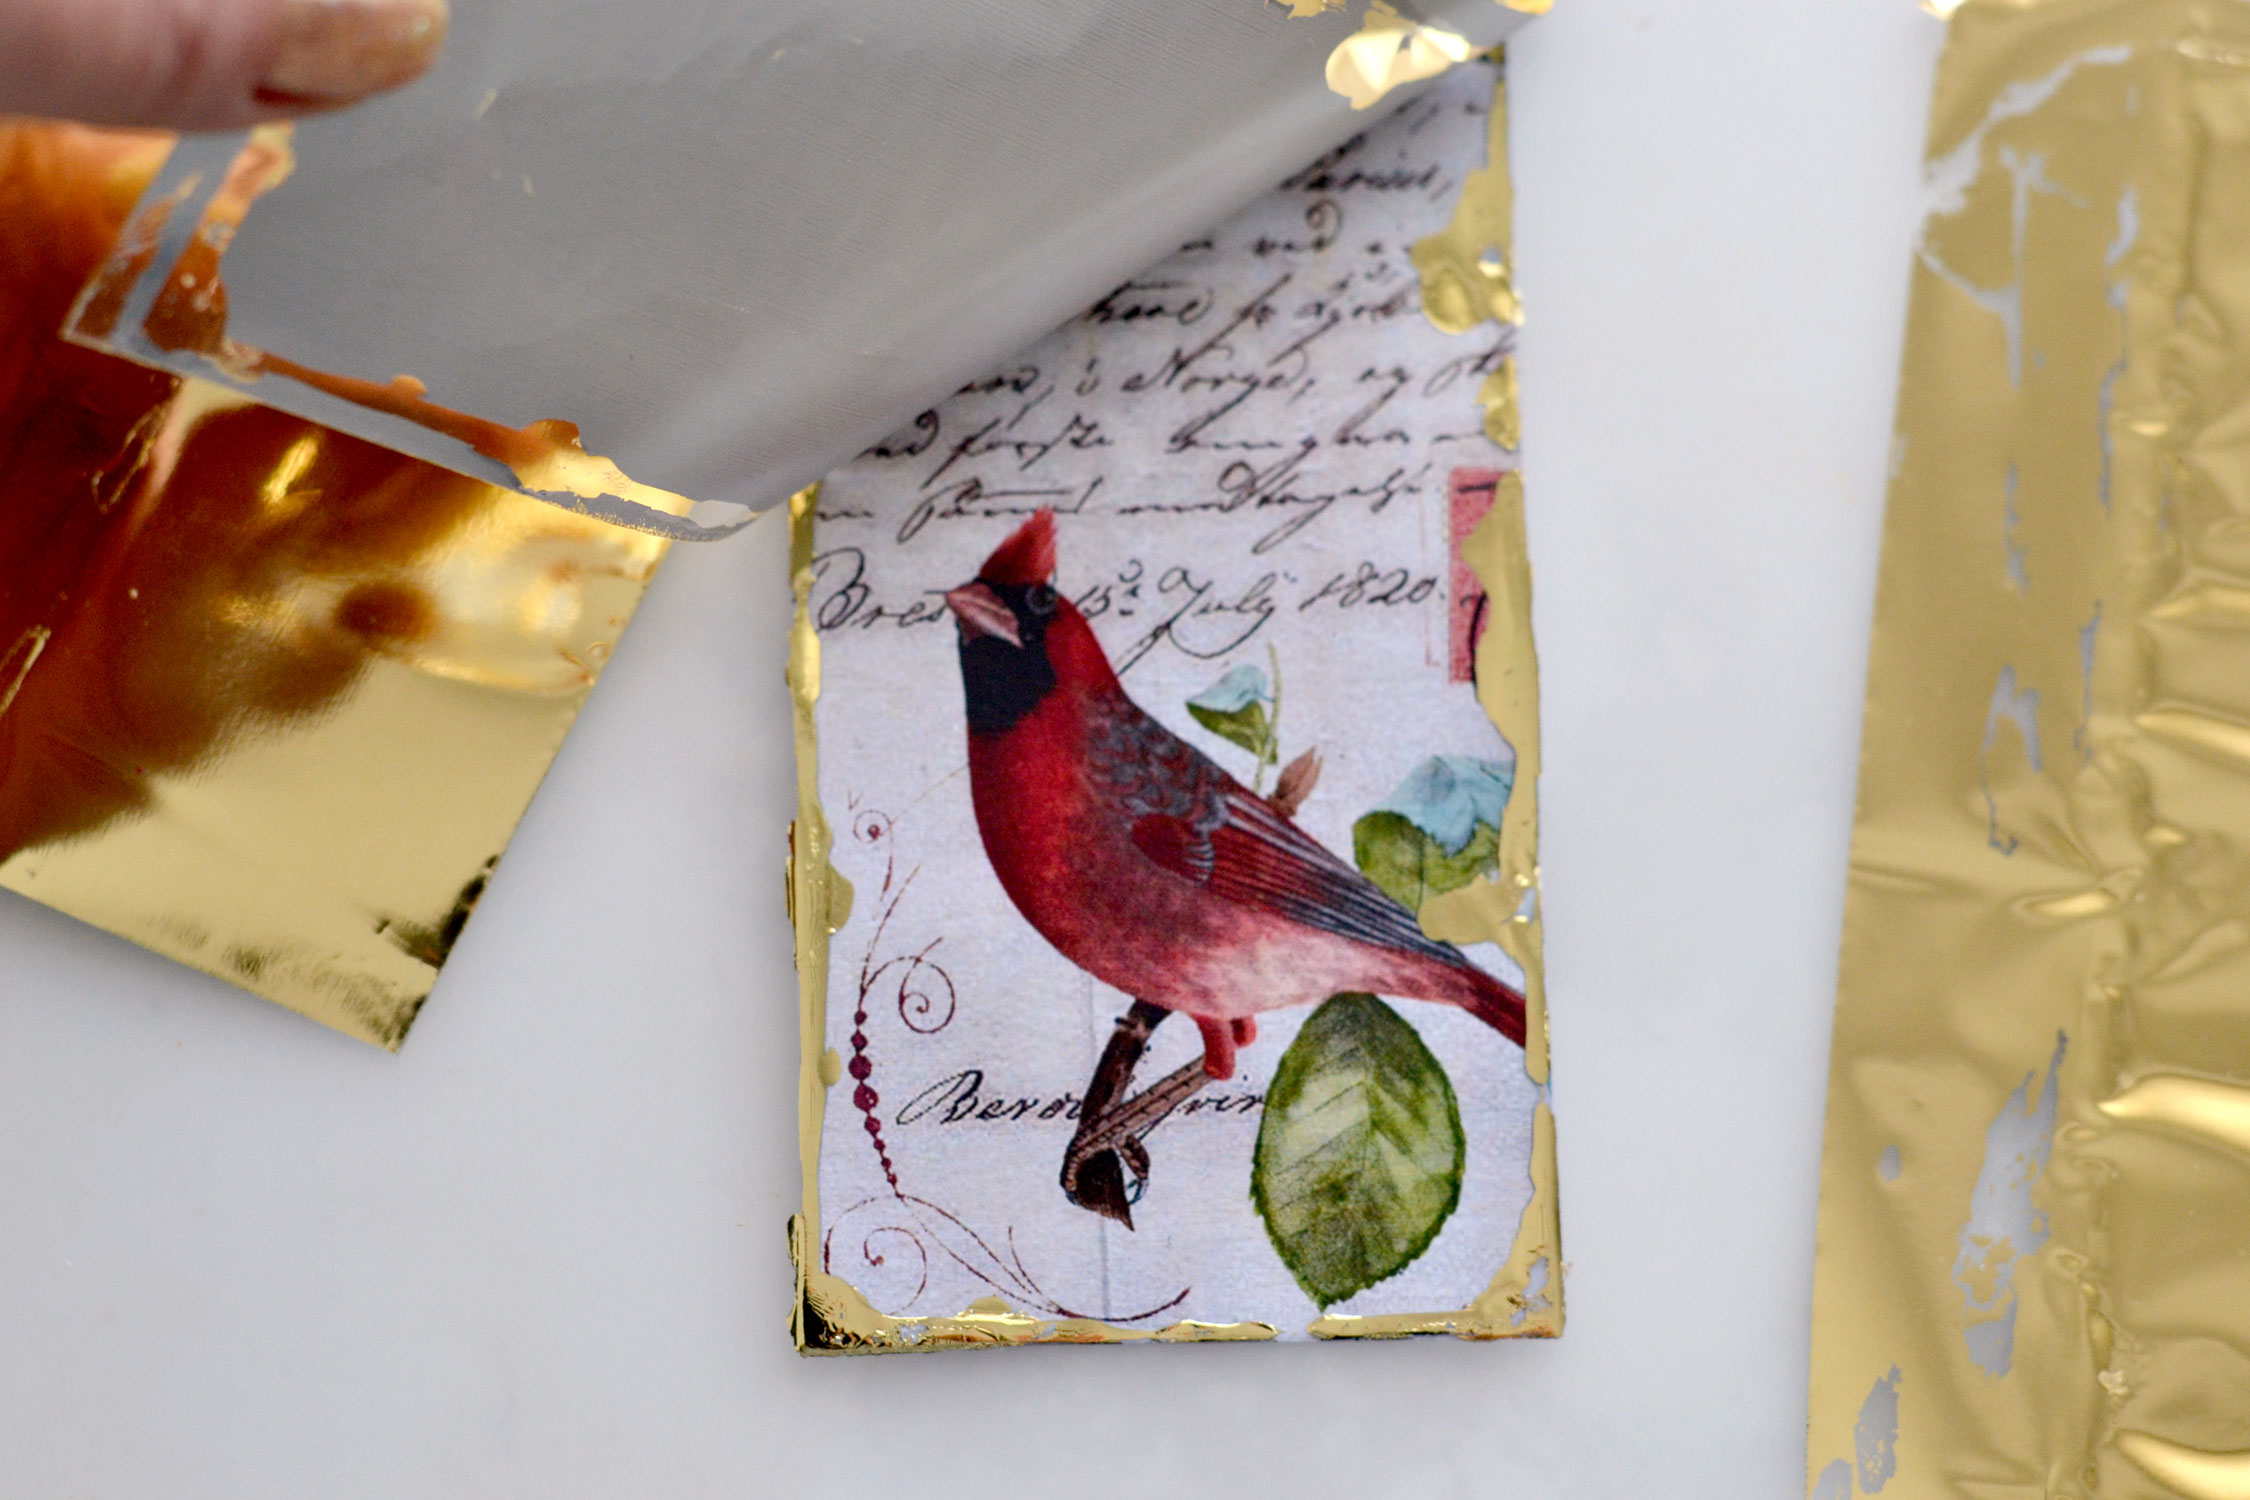
Apply the gold foil on top and use your index finger to gradually apply a little bit of pressure around the edges. Don’t use your nails, we don’t want to get scratch marks, we just need to give the foil the chance to adhere to the glue.
If you are using gold foil glue, you can press the foil around the edges and then just lift it off!
If you are using Mod Podge, it would be best to leave the foil on top until the glue dries completely.
And then, you can finally lift the foil off to reveal your beautifully gilded edges!
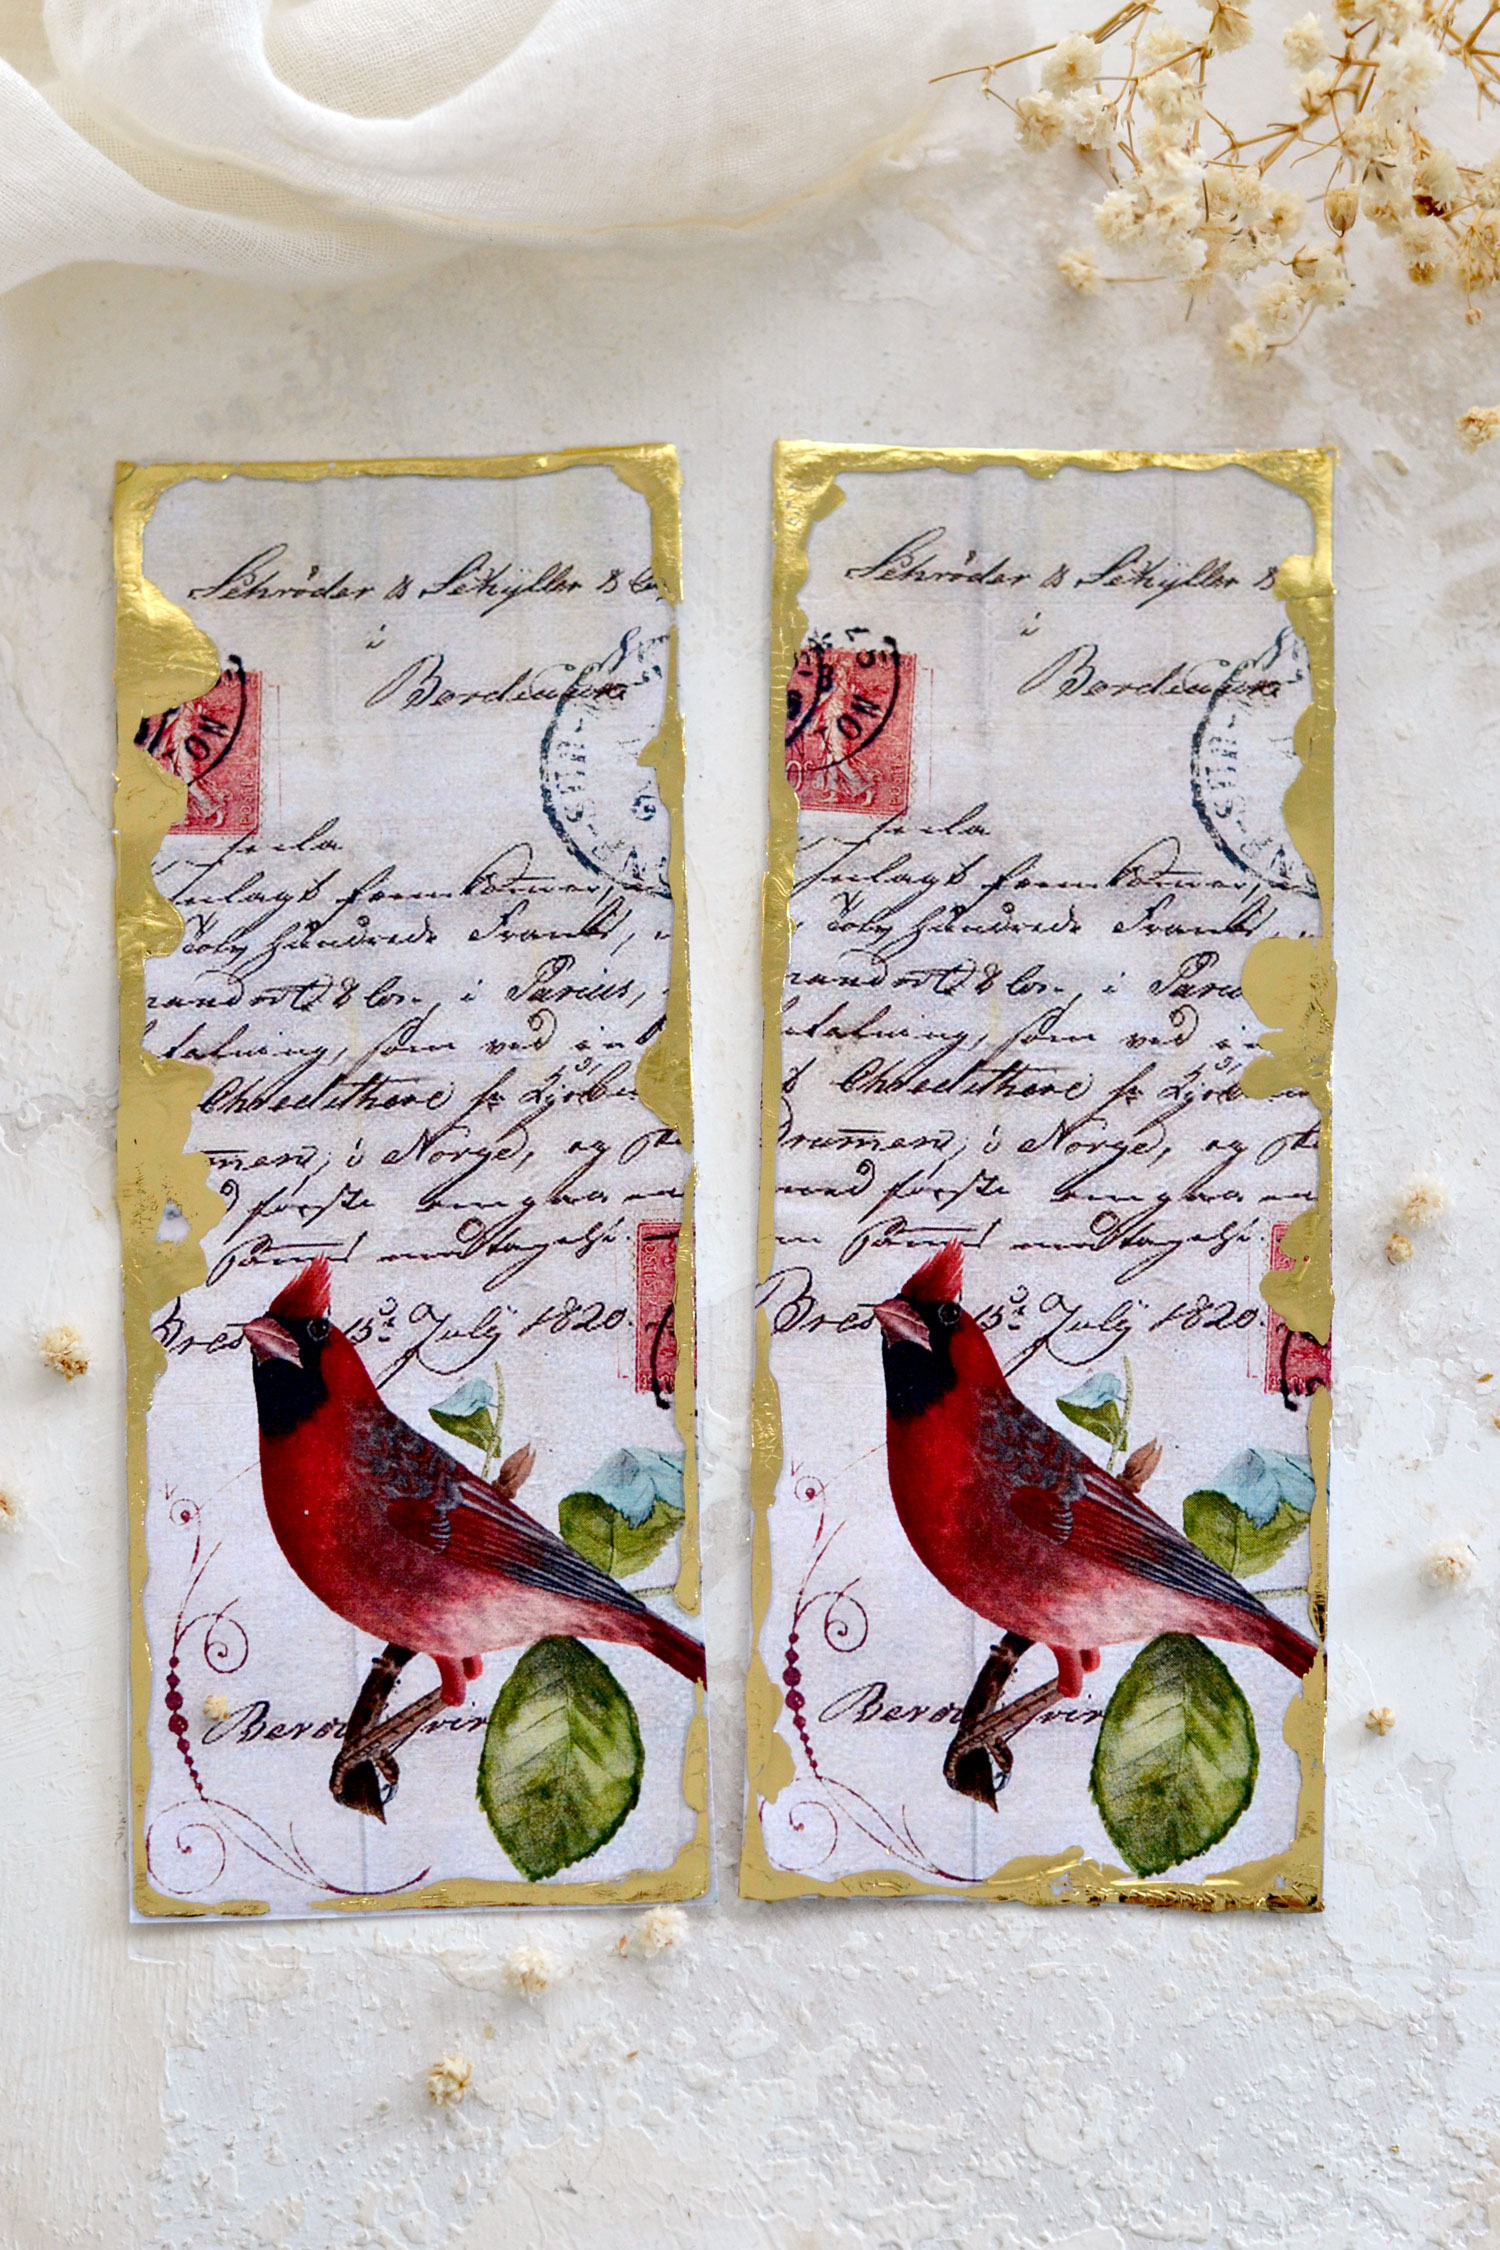
As you can see, this will create a perfectly imperfect gilded effect around the edges, which is great because it enhances the vintage look of our bookmarks.
And even though there will be some areas here and there where the glue dried a little bit too quickly and the gold foil didn’t have the chance to adhere, each final piece will be truly beautiful and unique!
The great thing about gold foil is that it creates truly amazing highlights, depending on the lighting, so if you tilt your bookmarks or admire them from a different angle, you will get completely different effects!
If you don’t have gold foil, you can use gold acrylic paint, gold watercolors, gold markers, gold glitter or even some gold nail polish to create a similar gilded effect on the edges! Just experiment with what you have around to create something that you truly love!
These gorgeous red cardinal bird bookmarks can be kept close by as precious companions to use when reading your favorite books. They can also be gifted to friends and family members who are avid readers, they will surely appreciate your lovely gesture.
And if you want to further experiment with these beauties, you can punch some holes and easily turn them into tags, some coffee-stained crinkle ribbon will look amazing with these!
You might also love this project: DIY Gold French Rose Tags where I share more about gold foil and how it is different from gold leaf! And our DIY Christmas Eiffel Tower Bookmarks HERE.
Happy crafting,
Diana | Dreams Factory





Christine Duffy says
Another beautiful make and love the foiling technique. Thank you so much for bringing lovely to our day.
Karen says
Happy crafting! 🙂
Maxine Diffey says
thank you so much for these gorgeous printables – I love them
Christmas blessings
Maxine
Karen Watson says
Thank you Maxine! Merry Christmas!
fd says
These are beautiful! And we have learned a new way, now, to make gilt edges. Very striking. Thank you!
Karen Watson says
I’m glad you enjoyed Diana’s lovely bookmark project!