Printable Tickets
Hello Graphics Fairy friends! I’m Diana from Dreams Factory and I’m happy to be here again to share another DIY project with you. Today I will show you how to make these super chic Vintage Style Printable Tickets with Birds and Flowers! It’s a sweet little project that is fun to make using only a few supplies and with guaranteed amazing results. I used distress ink and a little bit of gold to finish the tickets, which will bring even more chicness to these little gems.
I used my trusted tool to make that perforated edge vintage tickets (and postage stamps) usually have. It’s a fairly inexpensive, very helpful tool from my beauty stash that completely changes the final appearance of the tickets, creating more interest and adding more charm. It’s the same tool that I usually use to cut my vintage postage stamps, if you haven’t had the chance to use it by now, I highly recommend that you try it. If you haven’t guessed it already, the special tool that I’m talking about is … a pair of thinning sheers!
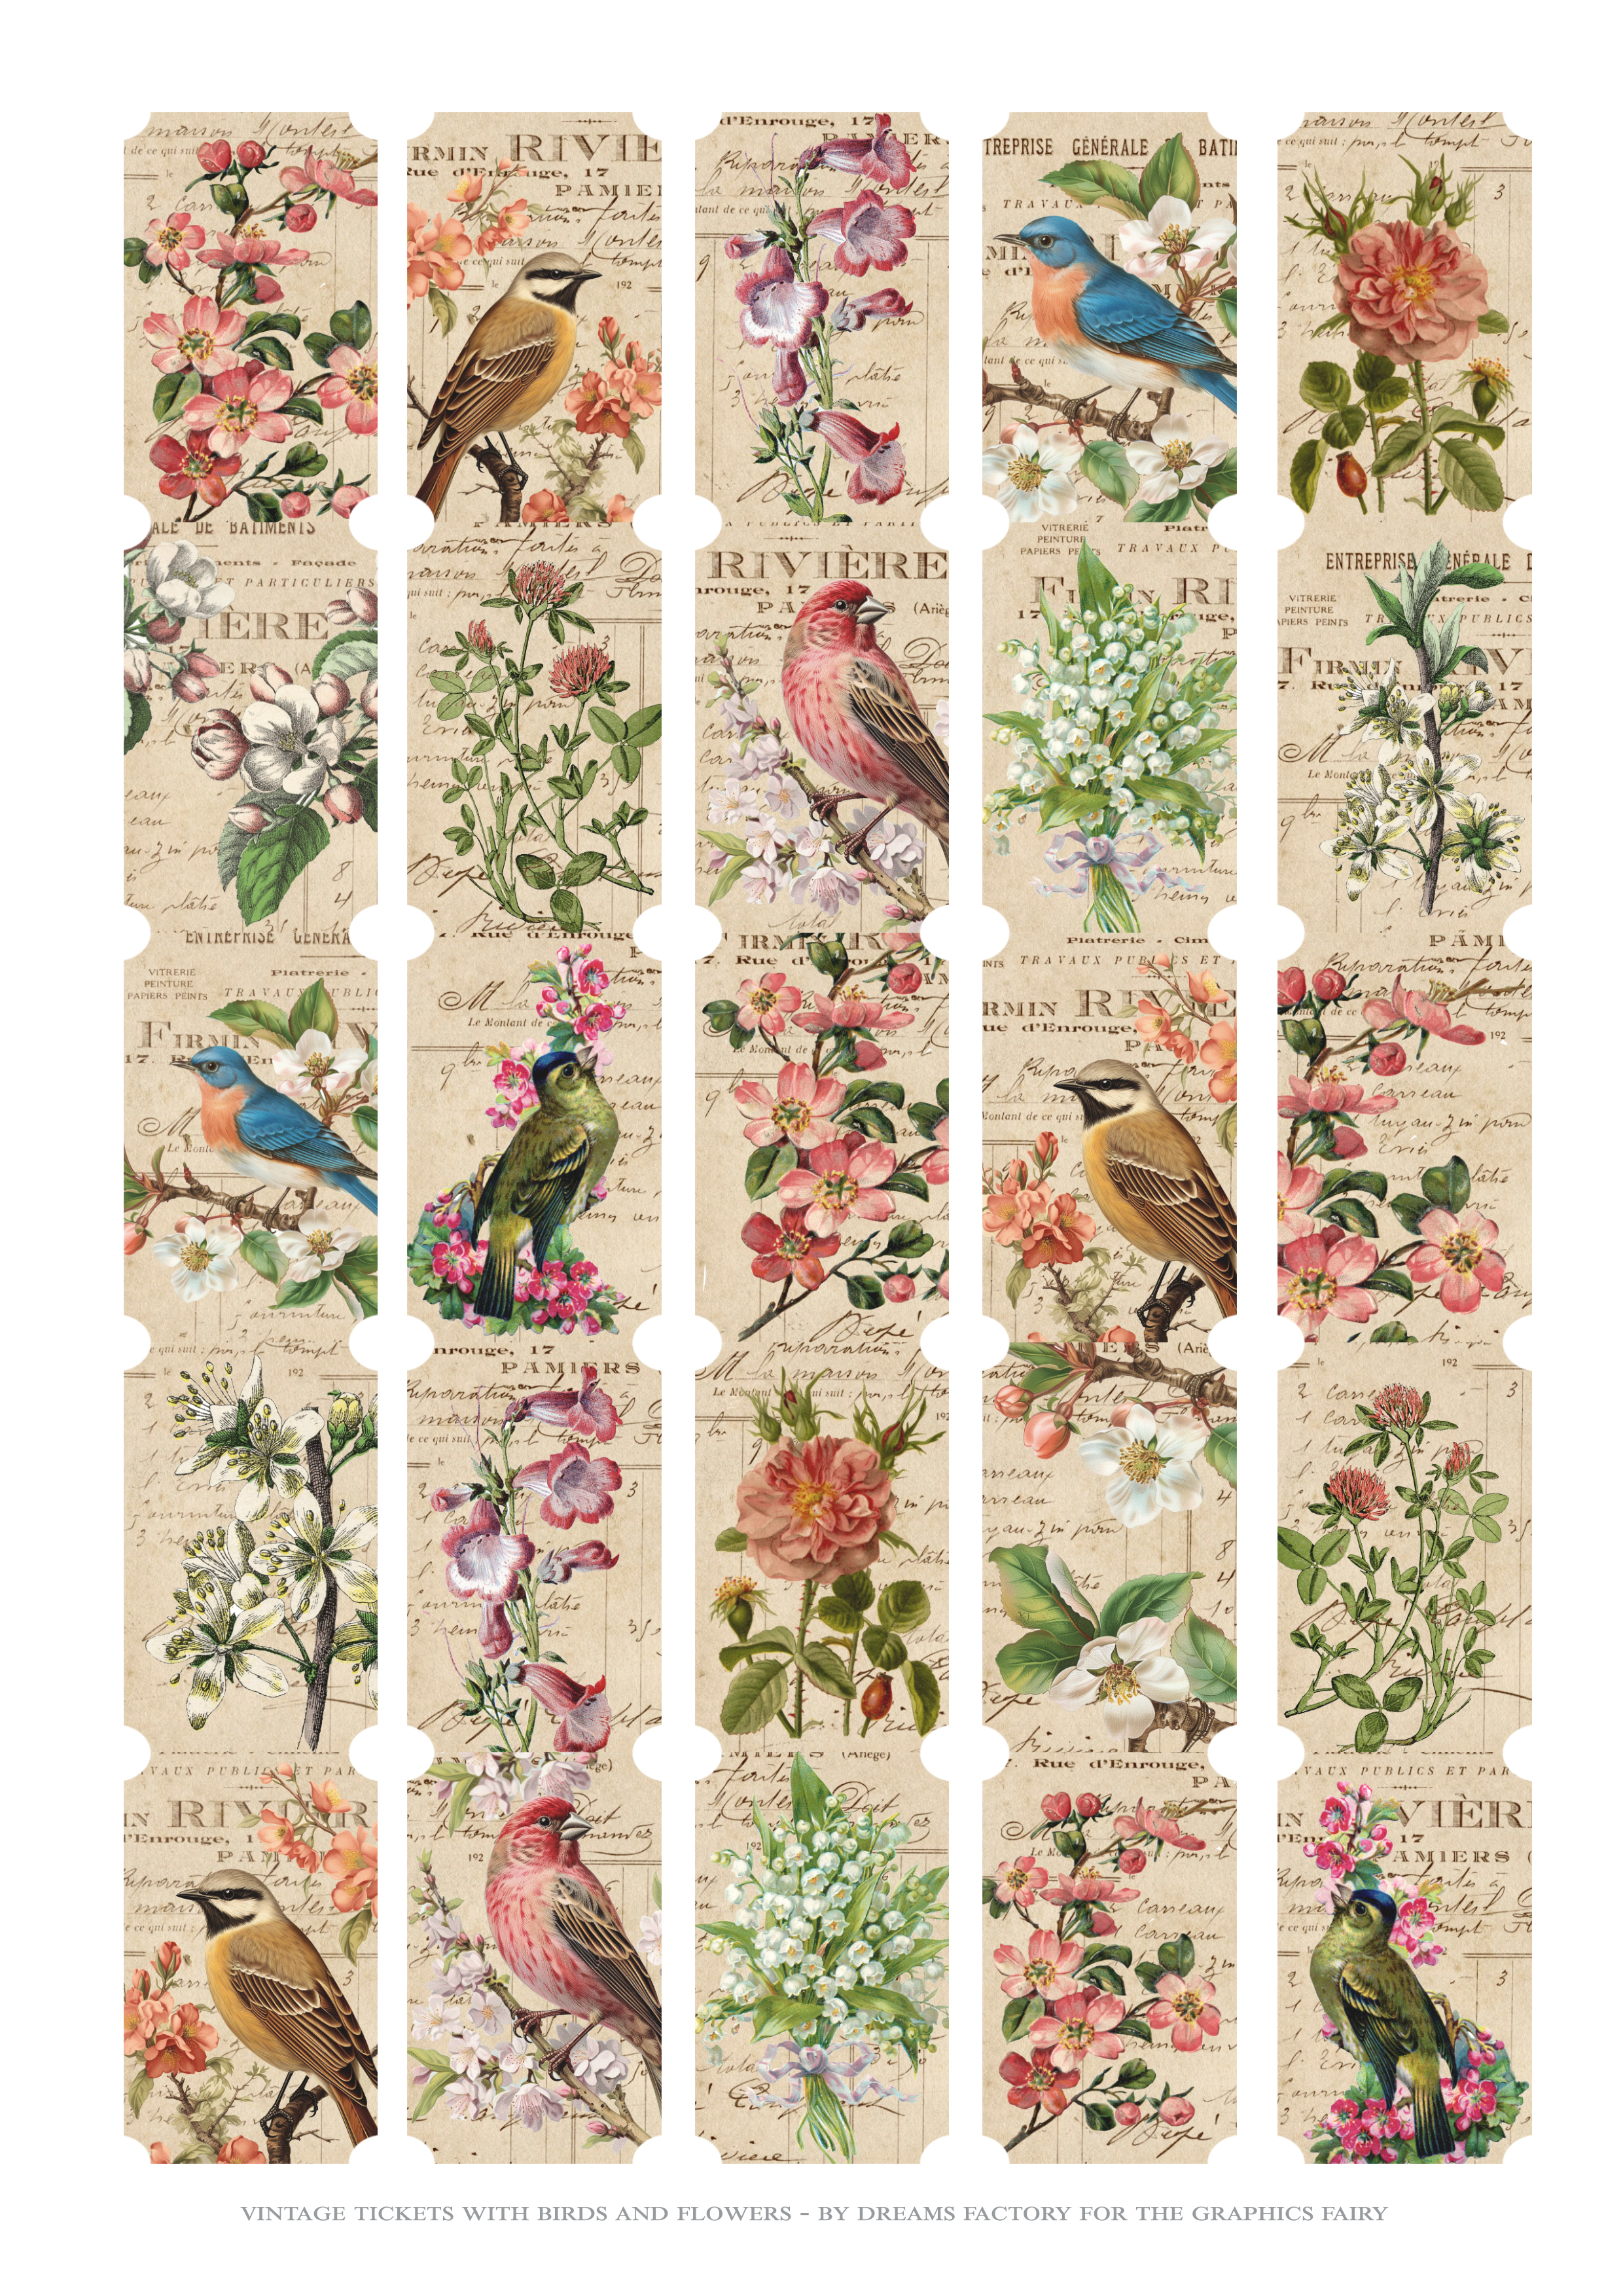
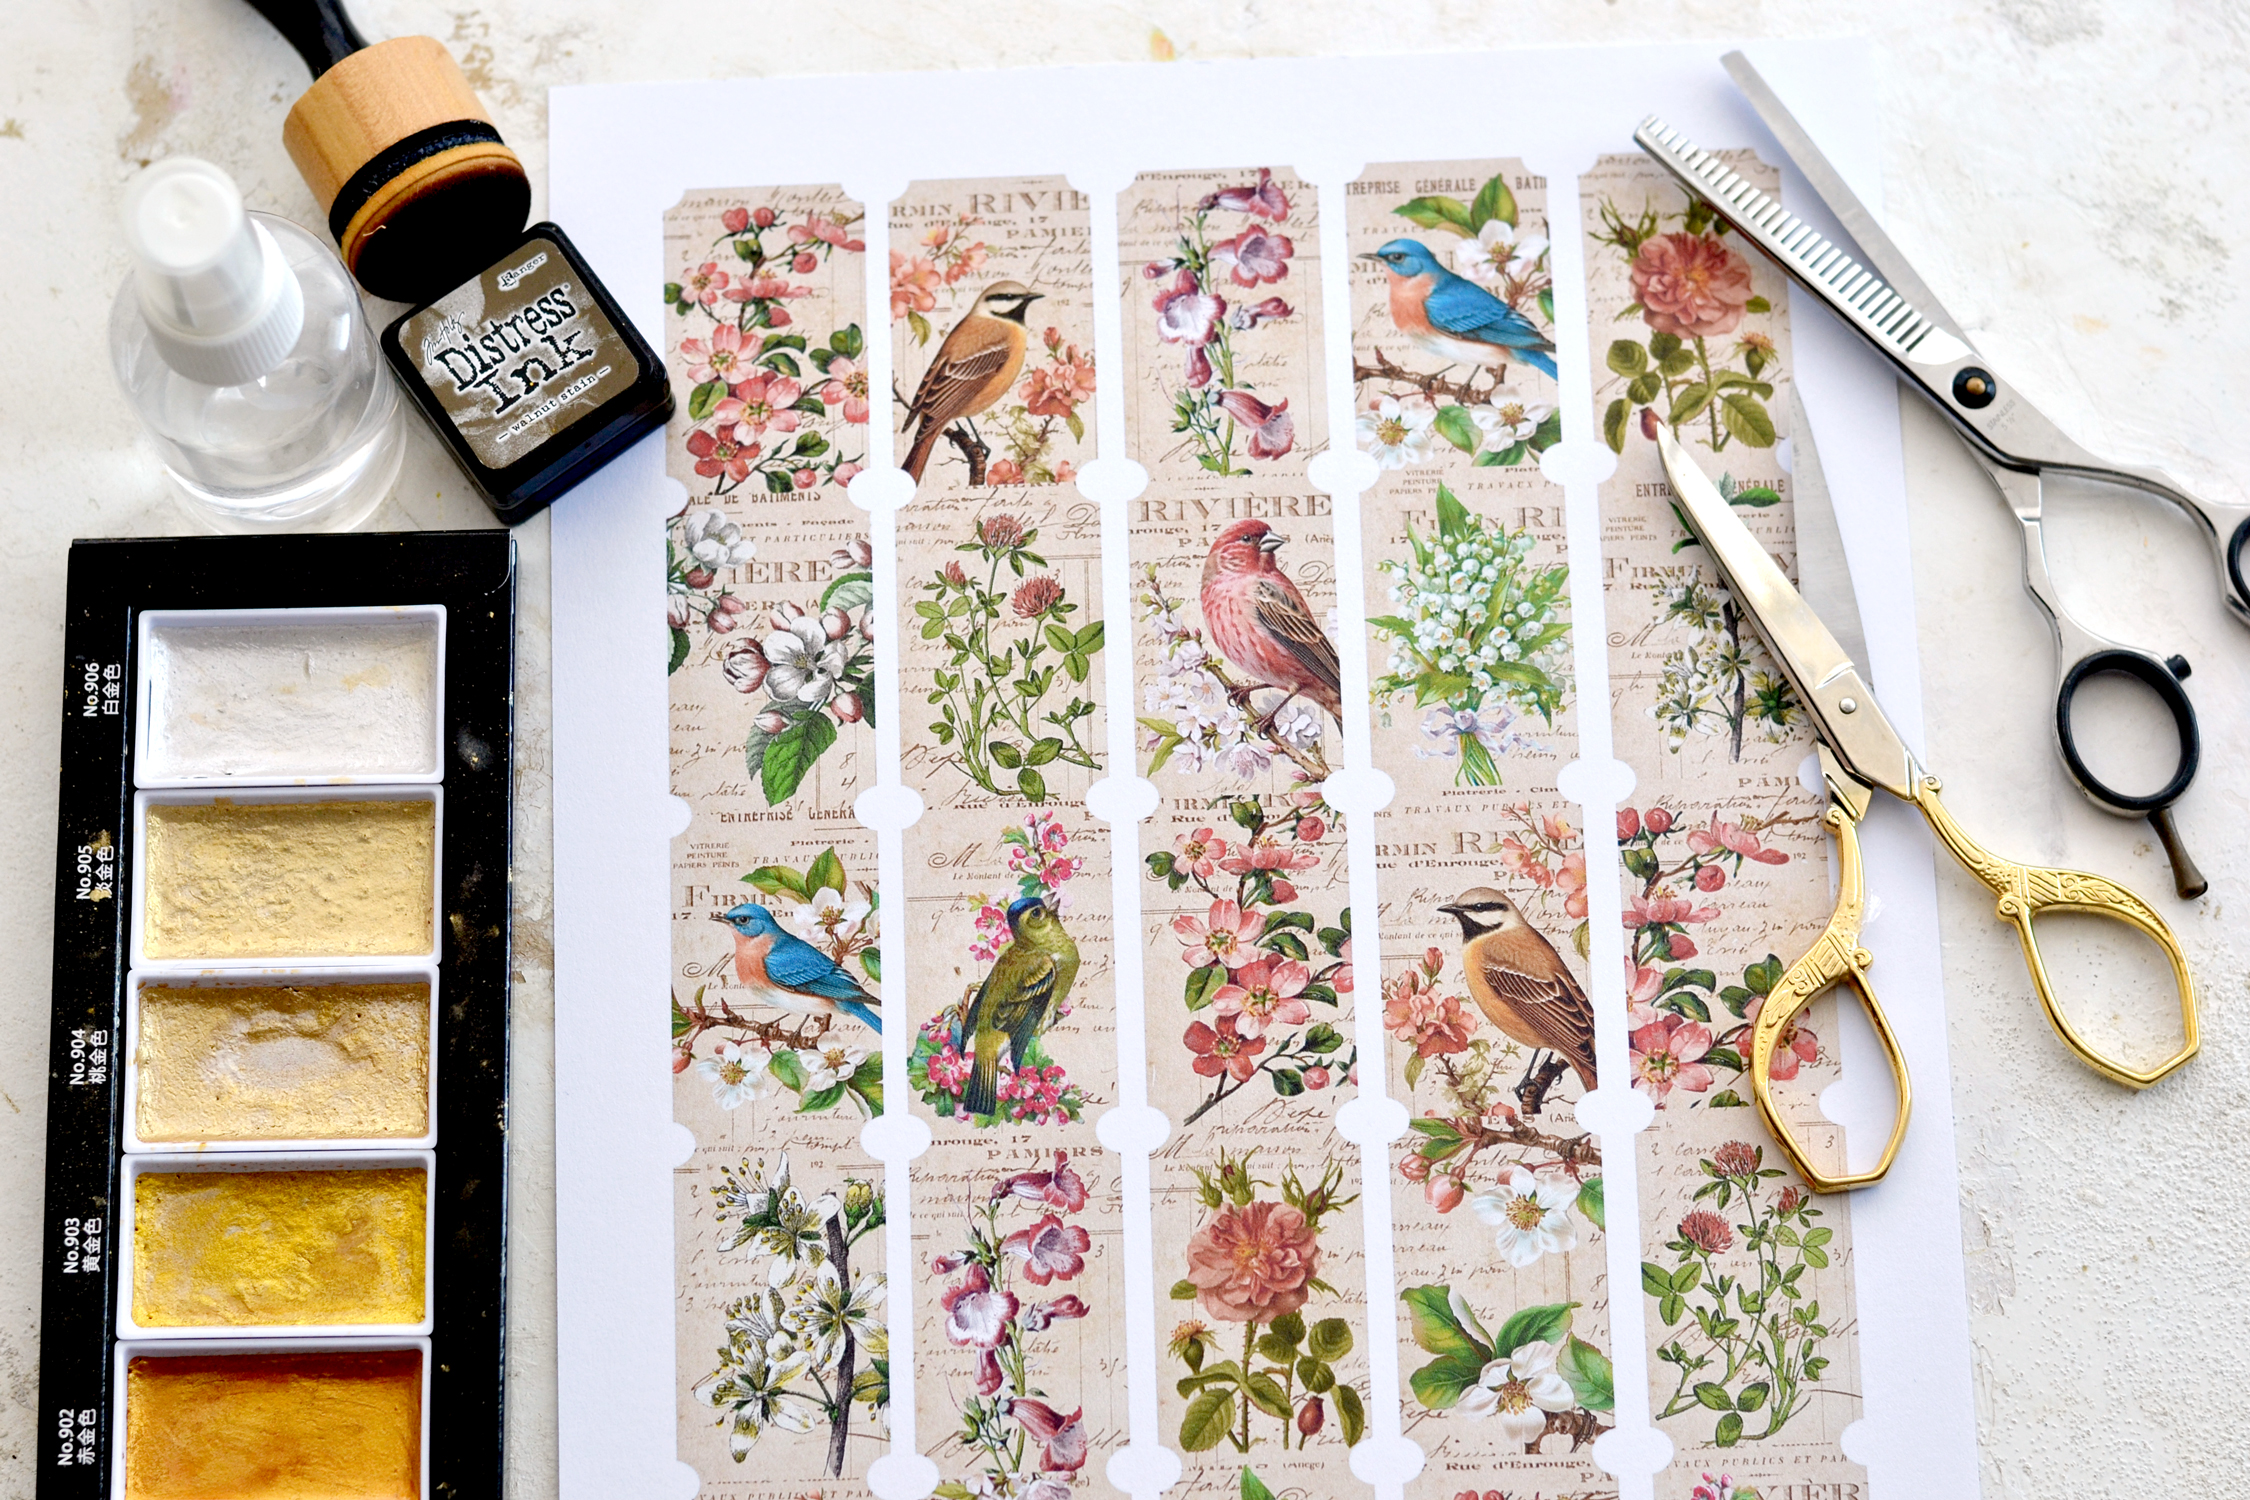
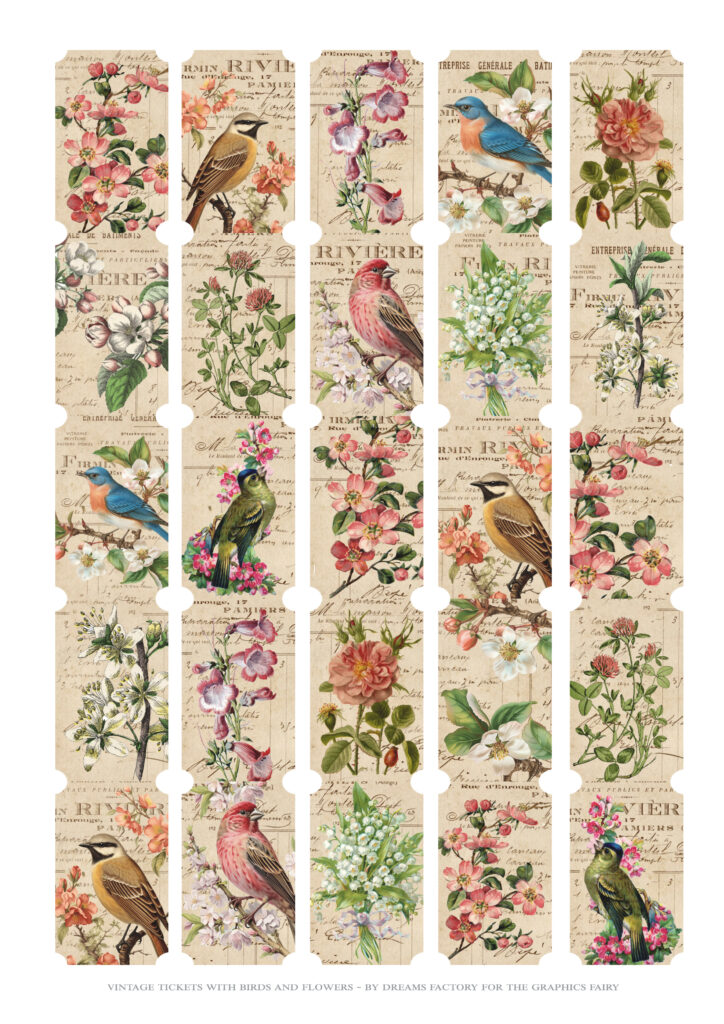
Here is the free printable that I created for this project, just save it on our computer and print it as many times as you want! I included some of the most beautiful bird and flower images from The Graphics Fairy with white, pink and some blue colors. My idea was to create tickets that are more on the neutral side so you can adapt them to your needs and easily integrate them into your projects.
Free Printable Tickets:
Supplies:
- white cardstock paper
- home printer
- scissors
- thinning sheers
- mini distress inks
- blending tool with foams
- gold watercolors – I used my favorite Kuretake Gansai Tambi Starry Colors
- small brush (or just use your fingers)
- spray bottle with water
- small bowl or a plate
Full Step by Step Tutorial:
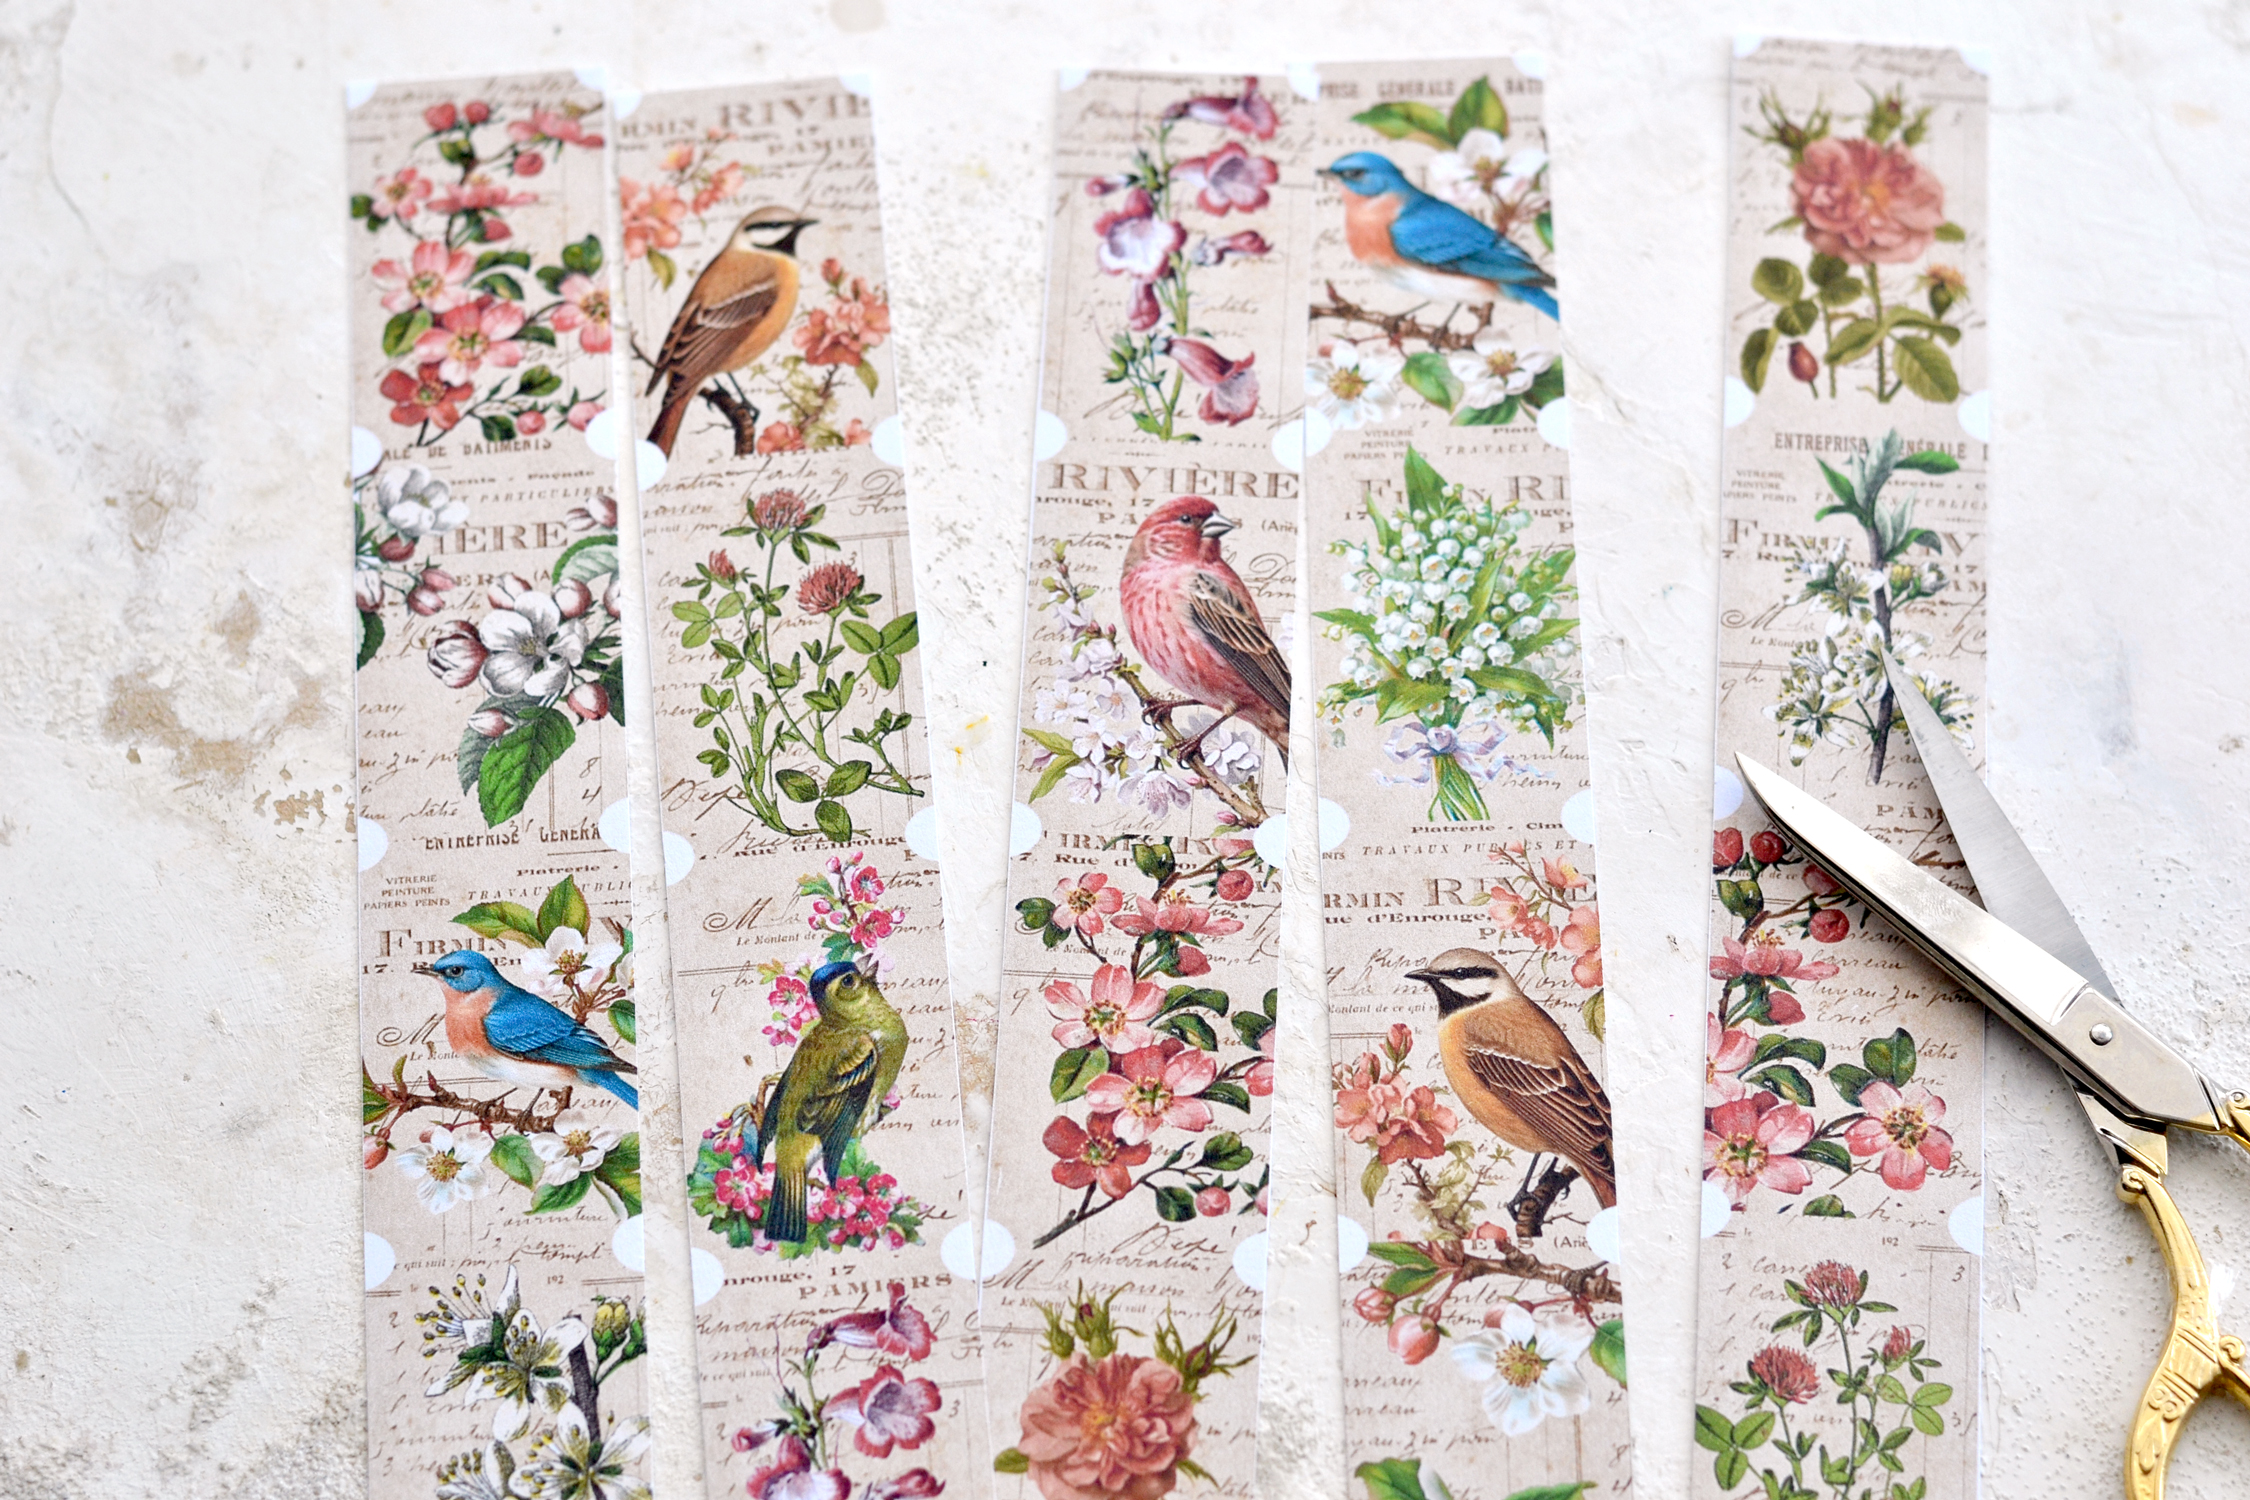
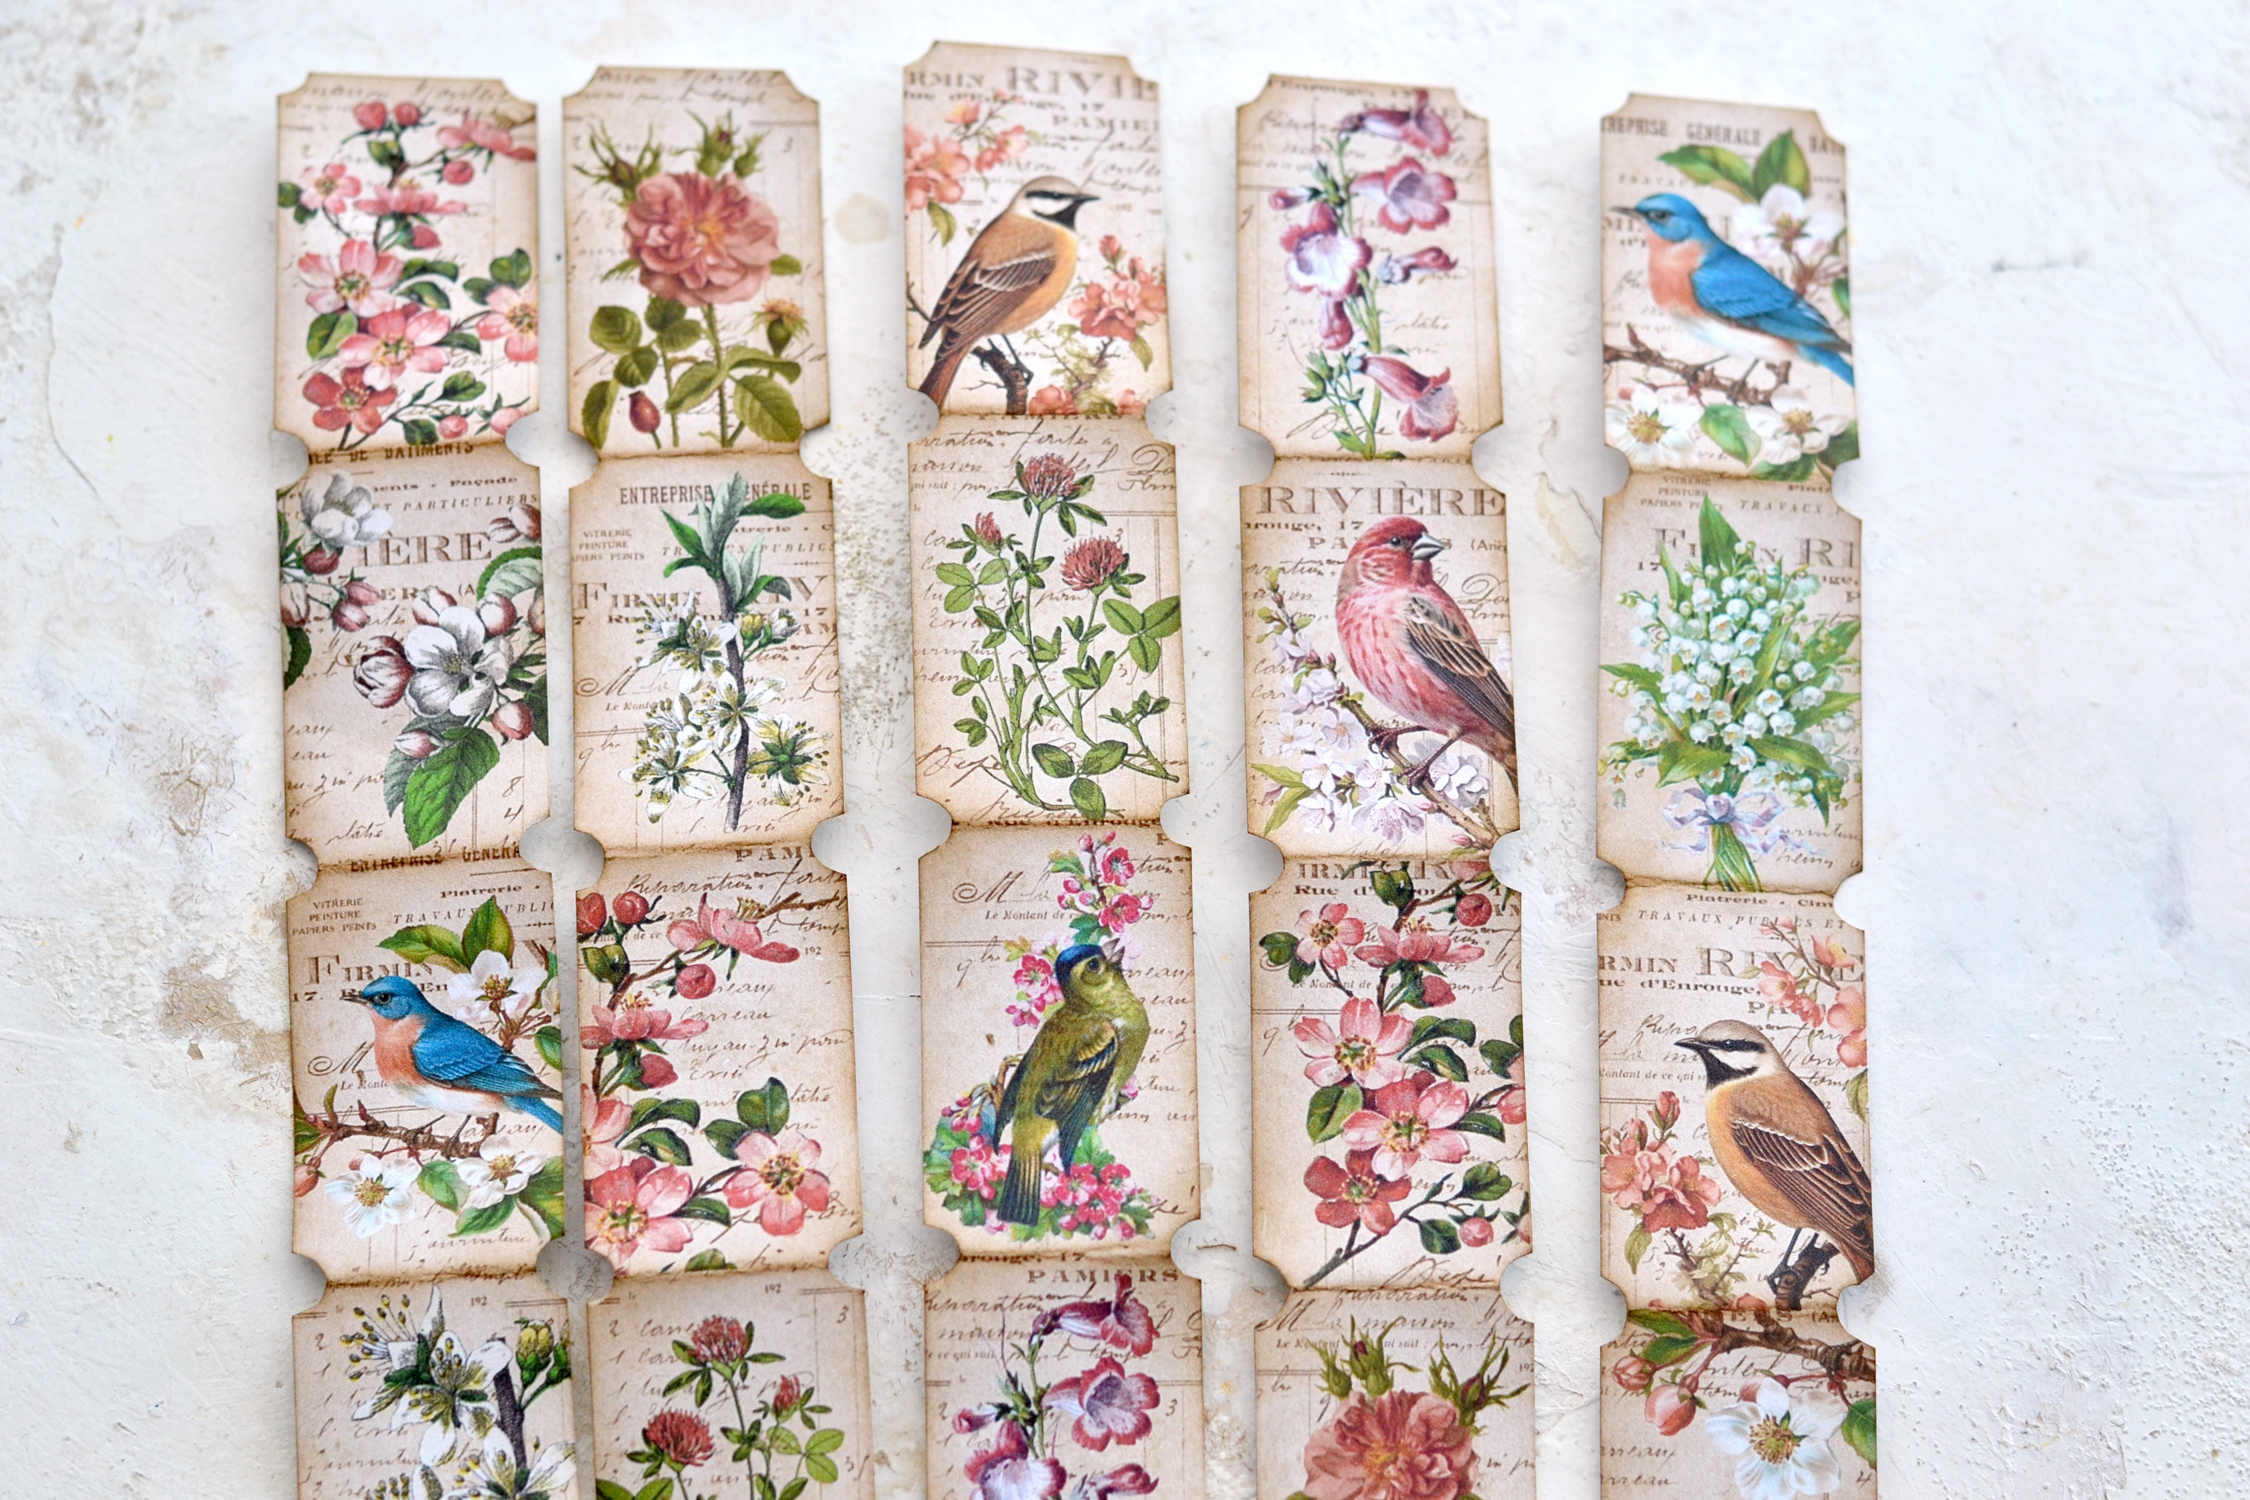
Start by printing your tickets and use your scissors to cut them into long, vertical strips.
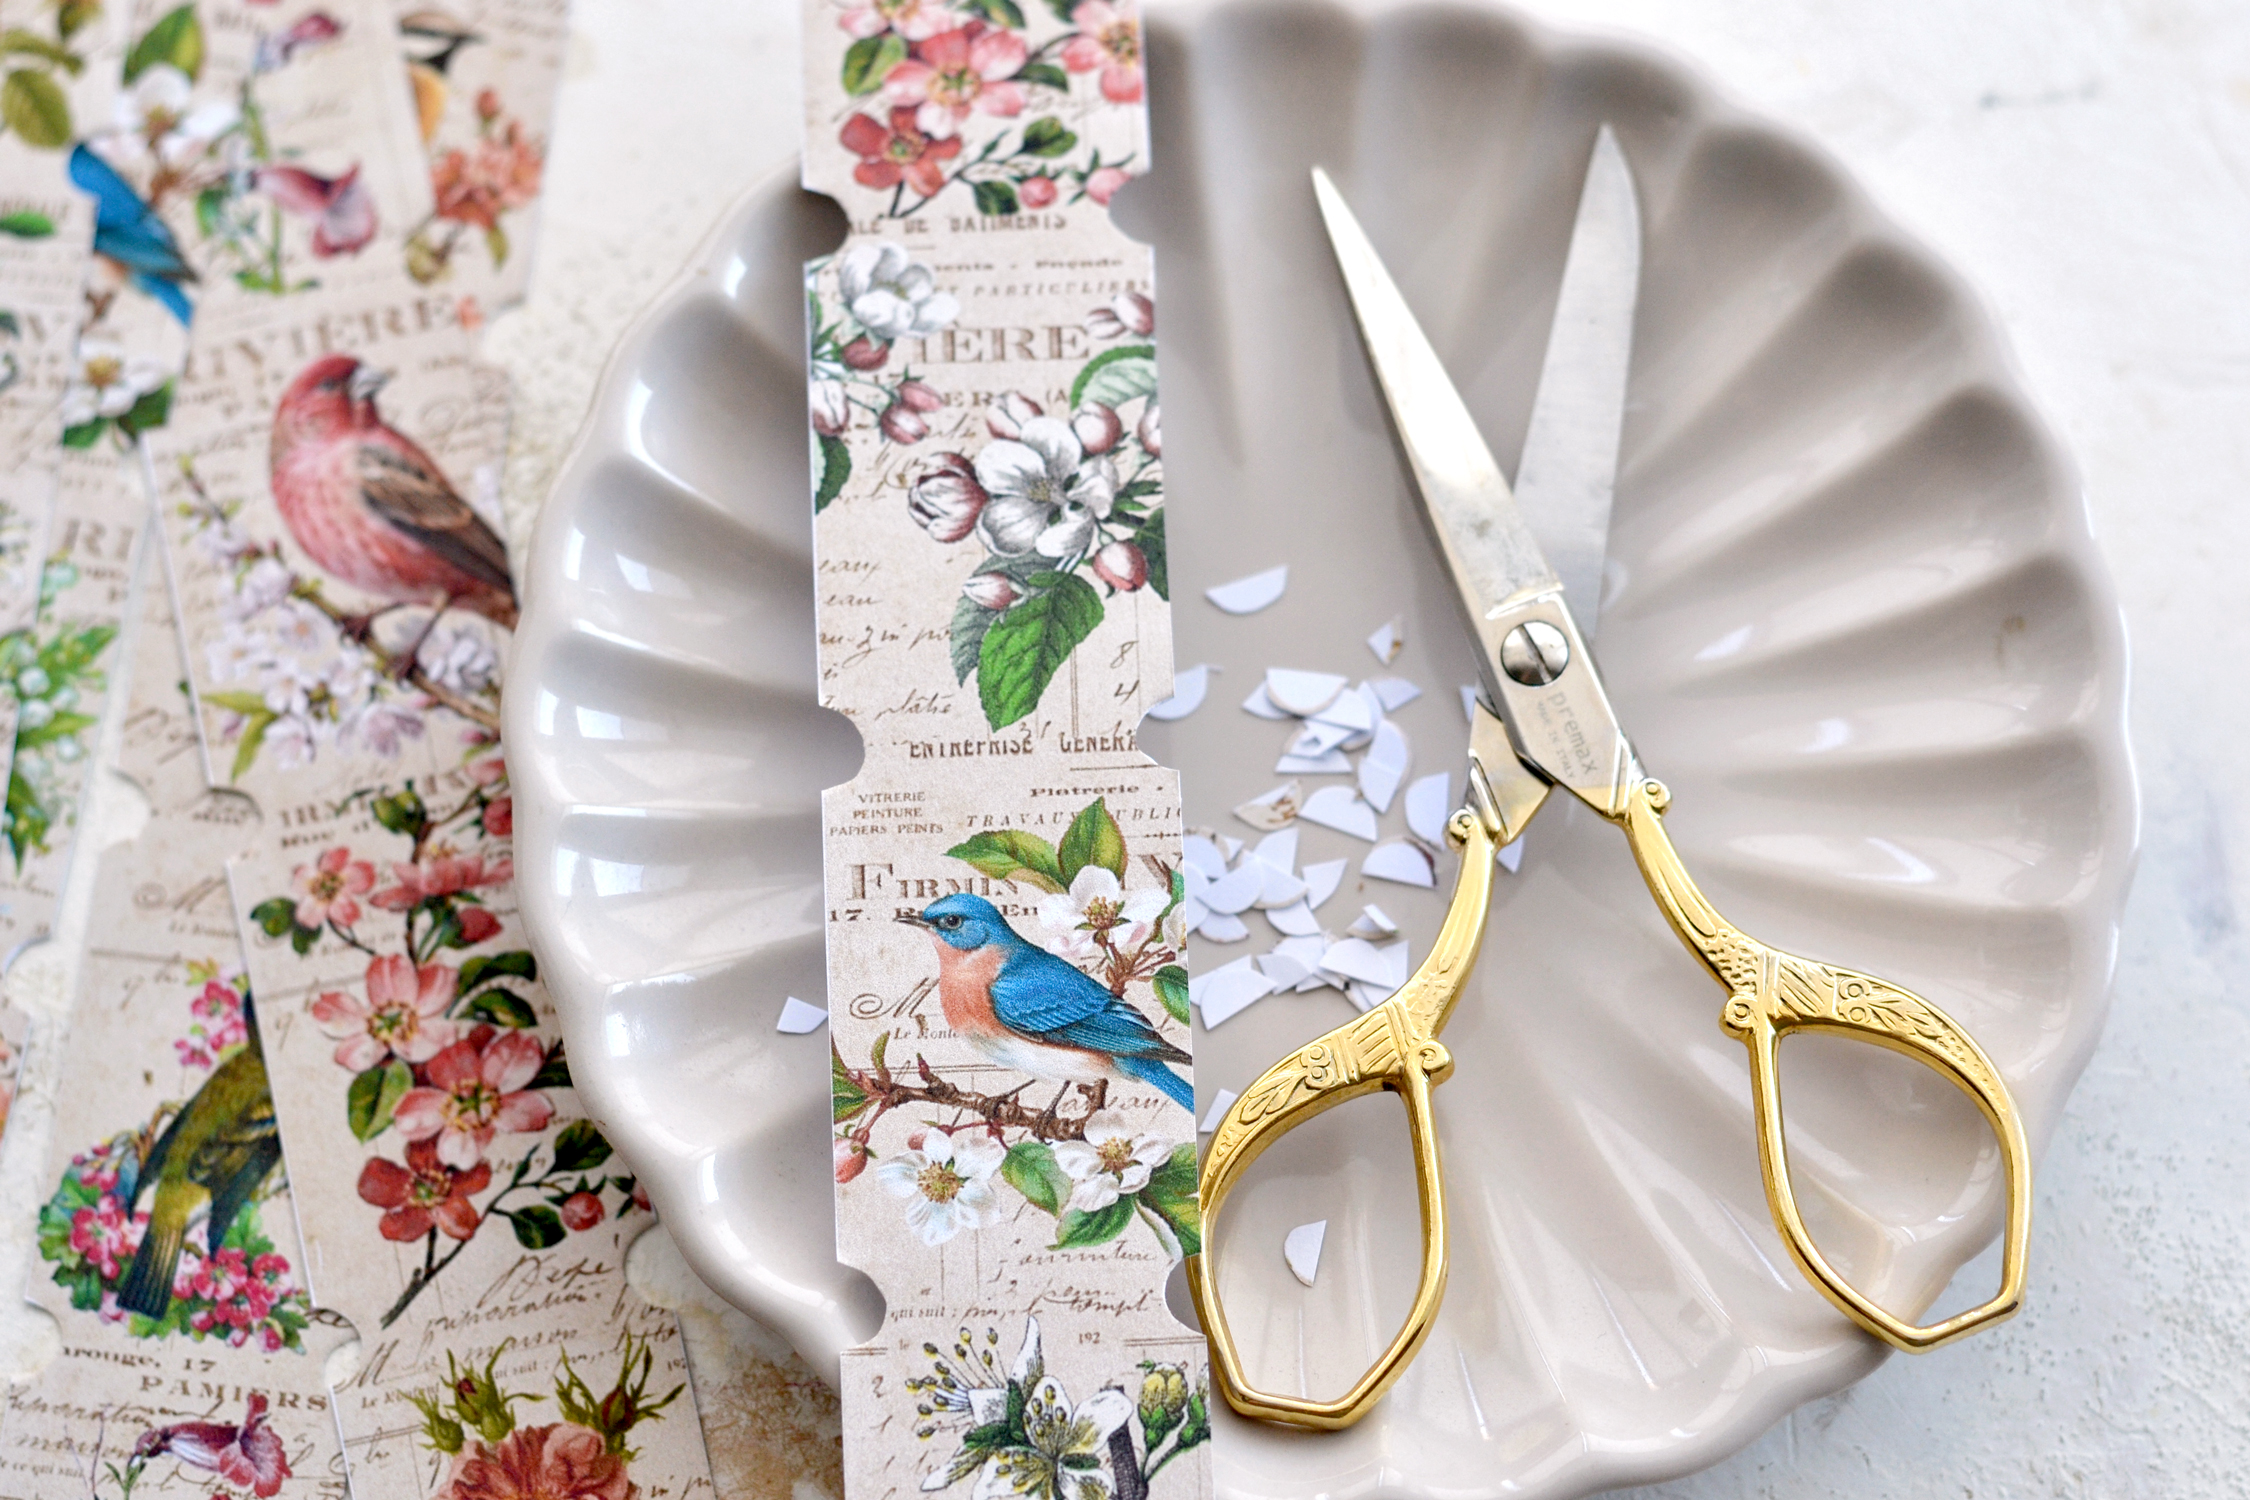
Use your scissors to cut the excess white semicircles from the left and right sides of your vertical strips. It would be helpful to use a small bowl or a plate when performing this operation, trust me, it would be so much easier to clean all these small scrap pieces of paper afterward. You could also use a small circle punch if you have one around.
P.S. If you feel like the semicircles that I added on the sides are too small, just follow their original shape, and cut them bigger! Adapt these beauties to your preferences!
You could also fold two tickets and cut them together if you prefer, just make sure you check both sides after cutting them so there is no white paper left. Then unfold them and move on to the next two tickets and so on.
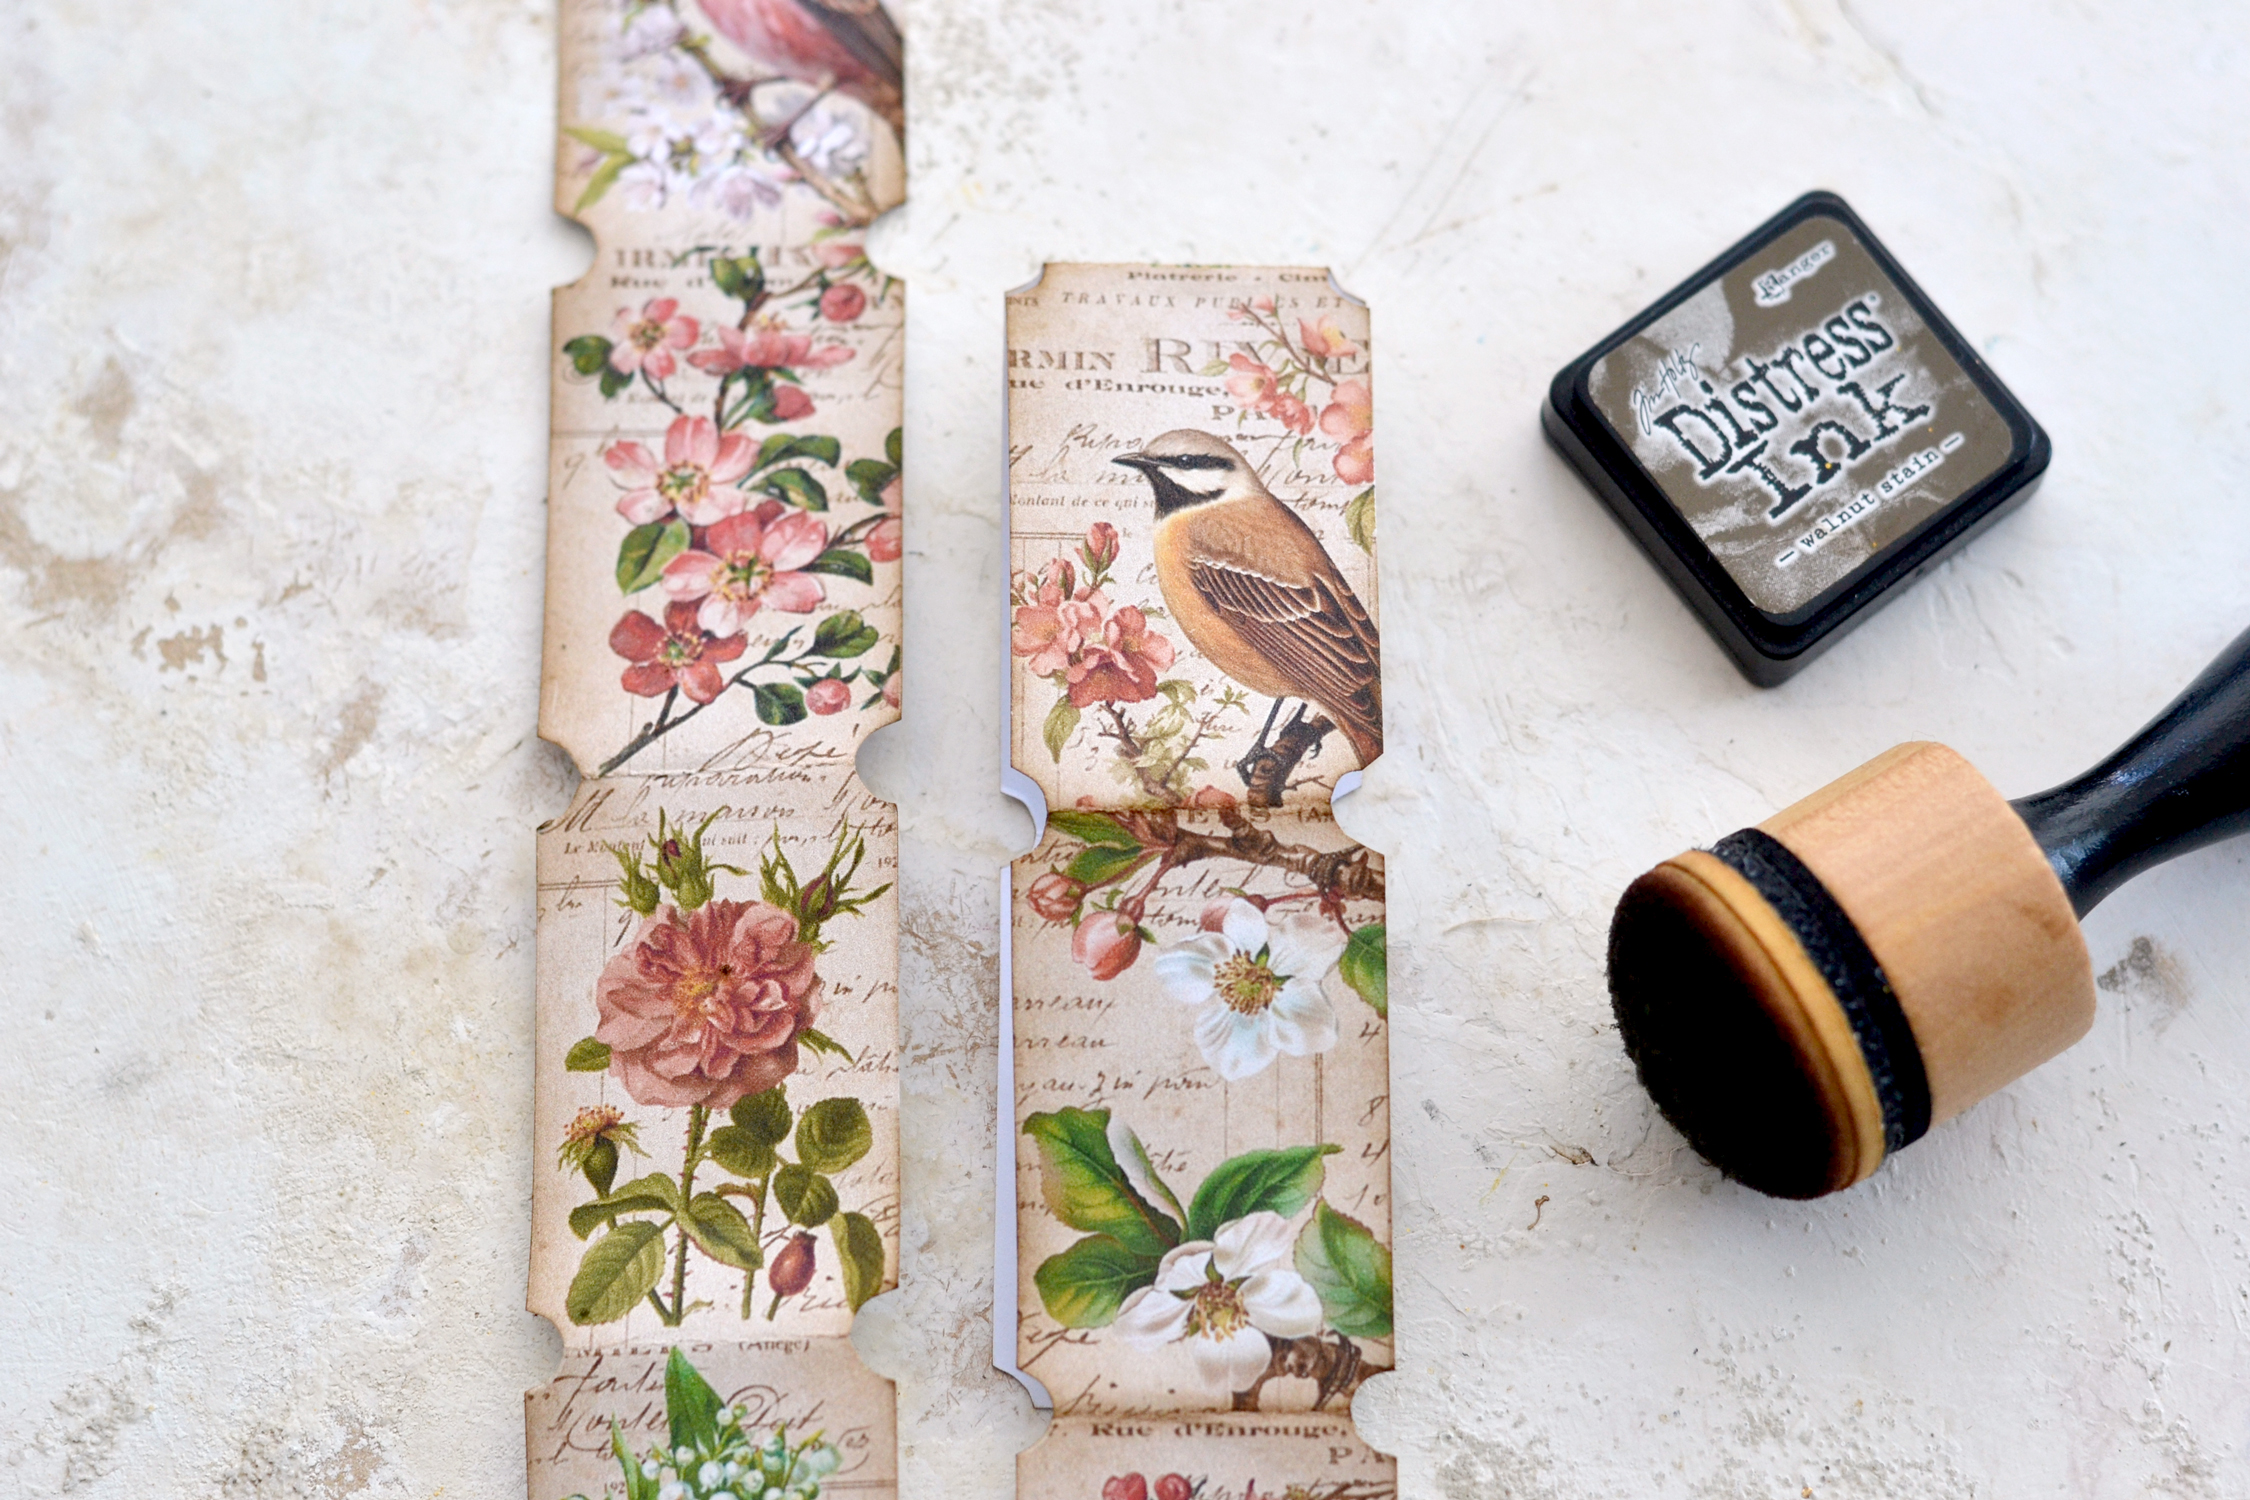
When it comes to further distressing the tickets, use your favorite brown distress ink to give them even more of a vintage vibe. I usually love using the Walnut Stain distress ink from Ranger, but you can use your favorite. And if you want to give these a more colorful final appearance, you can even use colored distress inks.
You can decide to distress their edges as long vertical strips or folded in pairs, just like before. If you fold them, you will be able to better distress the folded section that basically holds two tickets, so keep that in mind when choosing your preferred method.
I’ve decided to fold, distress and then unfold them so I don’t have to worry about distressing them afterward.
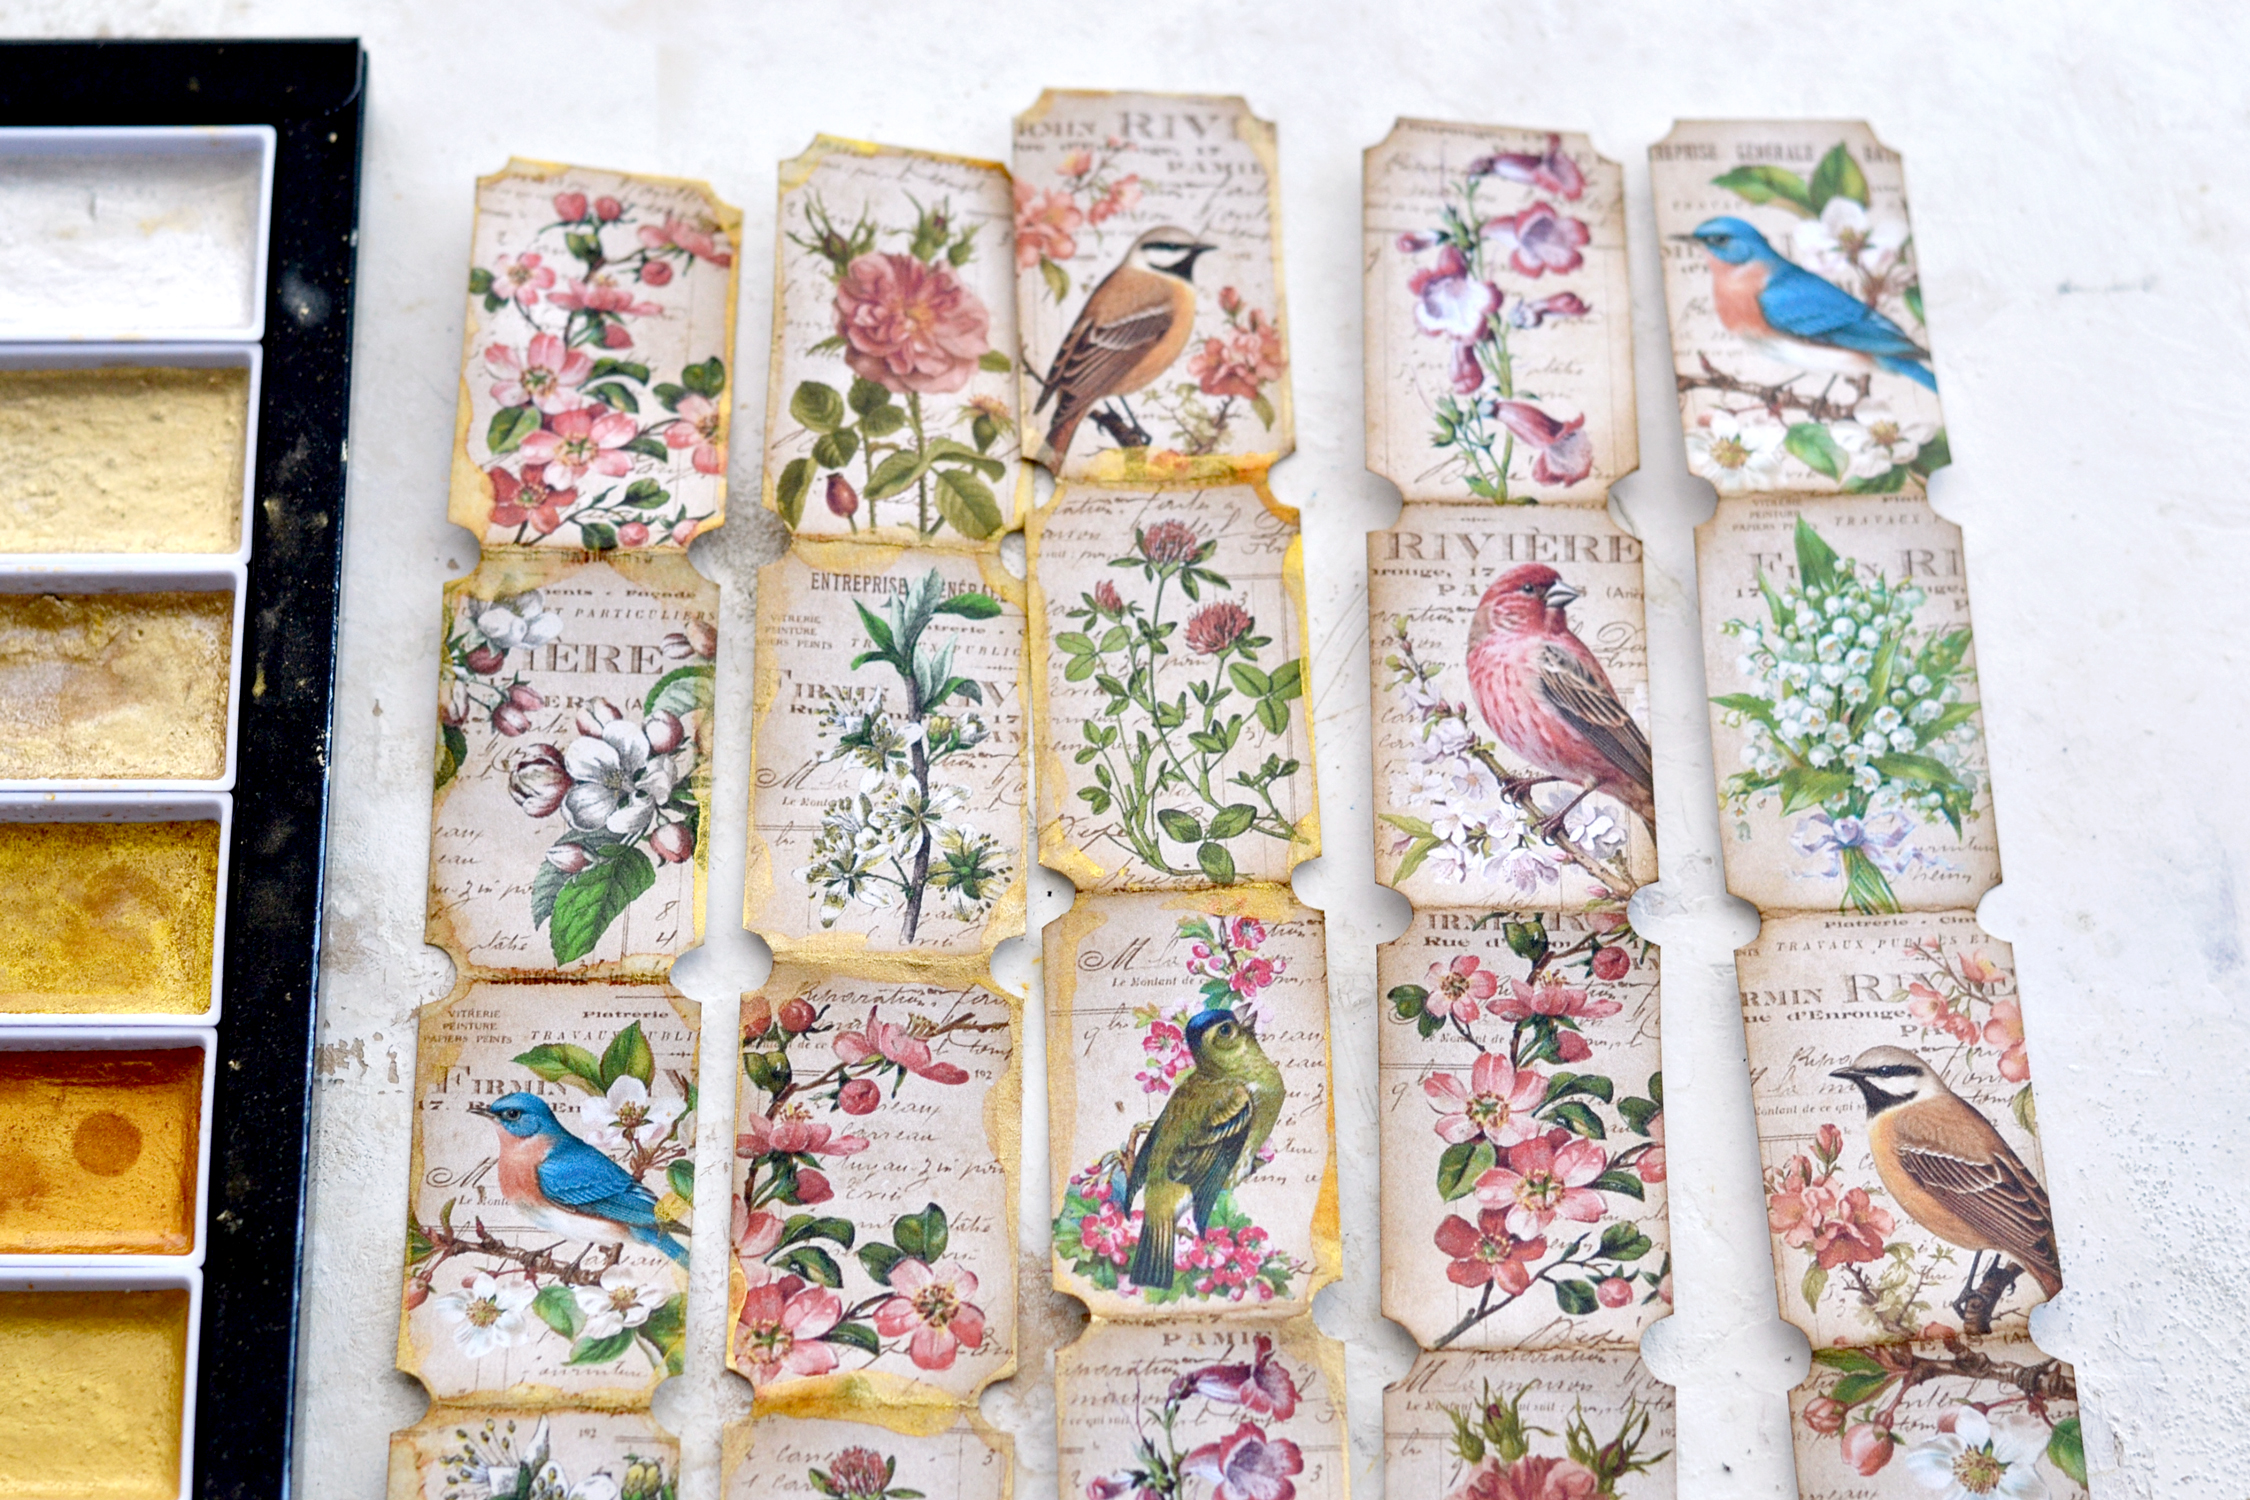
I have a distress-with-ink-and-add-some-gold-touches phase right now so I’m adding this combo to almost all my paper projects. It’s the winning combo for me at this point, I feel these two work perfectly together! If you prefer to skip the gold, you can, but if you want to try it, just use some gold watercolors and a small brush to add some gold to the edges. I usually like to use a small spray bottle filled with water to wake up my watercolors first, this way they are quickly saturated and ready to be used! I used my index finger to paint the edges, I love that you can create a more perfectly imperfect gilded edge this way.
You can keep the tickets as they are and only cut them when you need them or you can move on to cutting them now.
I prefer using thinning sheers, but if you don’t have any and still want to try this project, you can just tear them! Use the fold that we created earlier on while distressing them as guidance and let the paper do its thing while tearing to create a loved deckled effect.
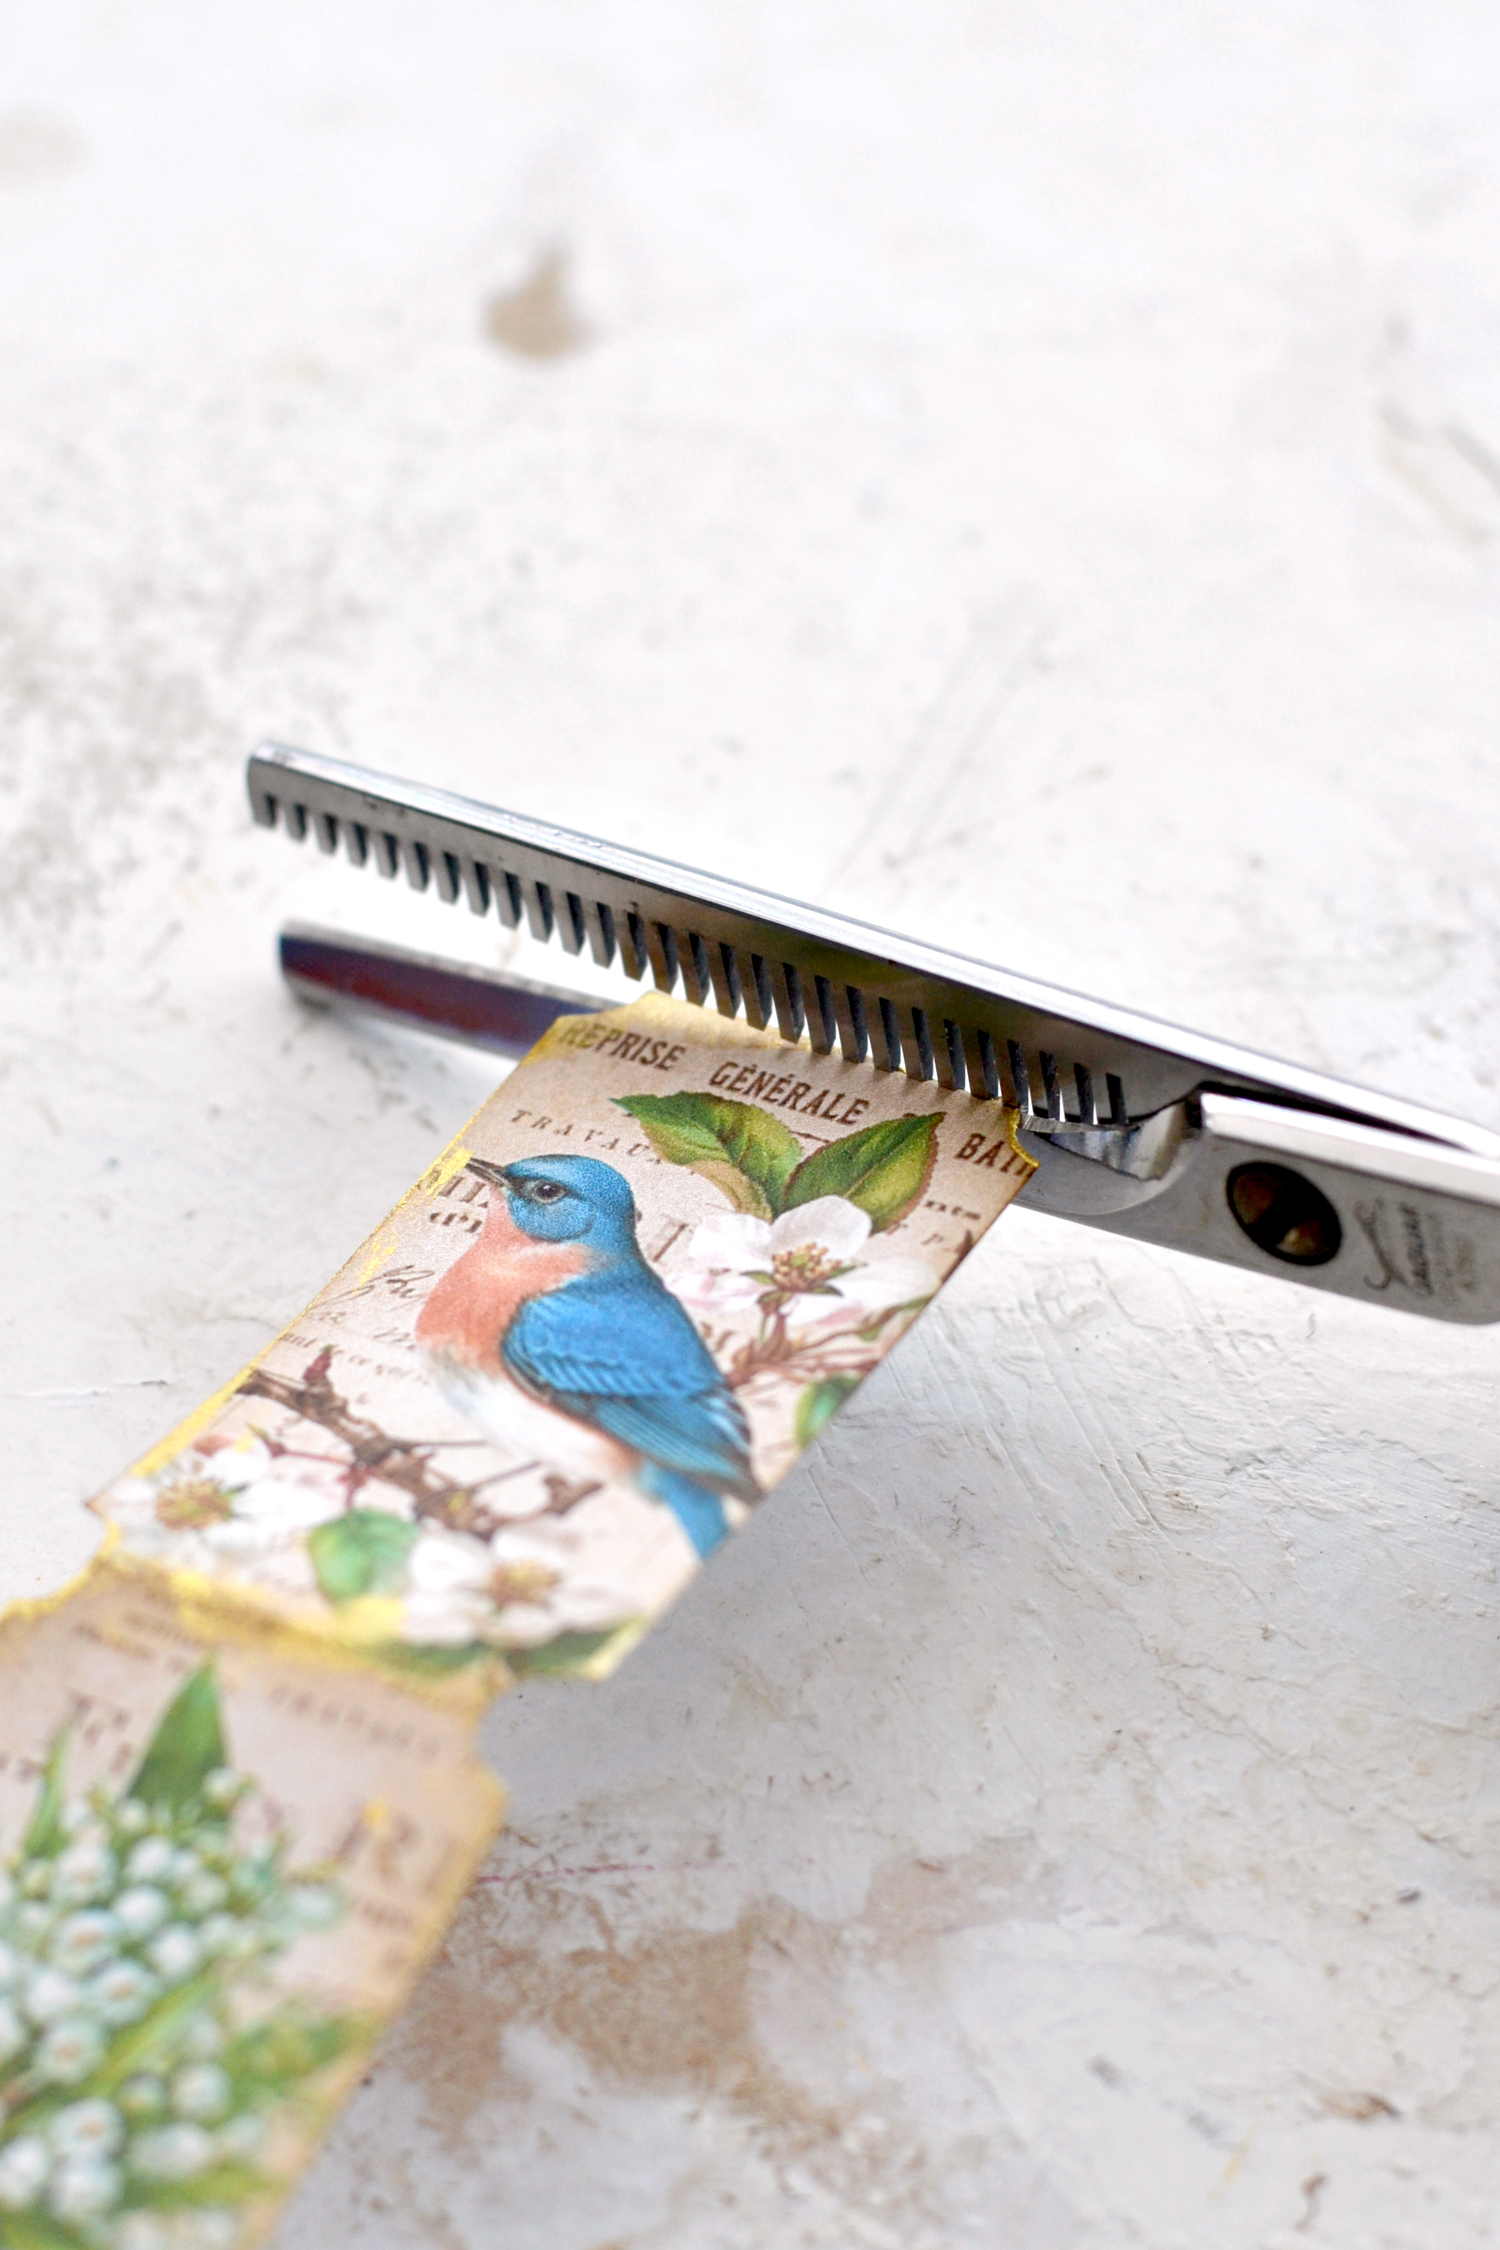
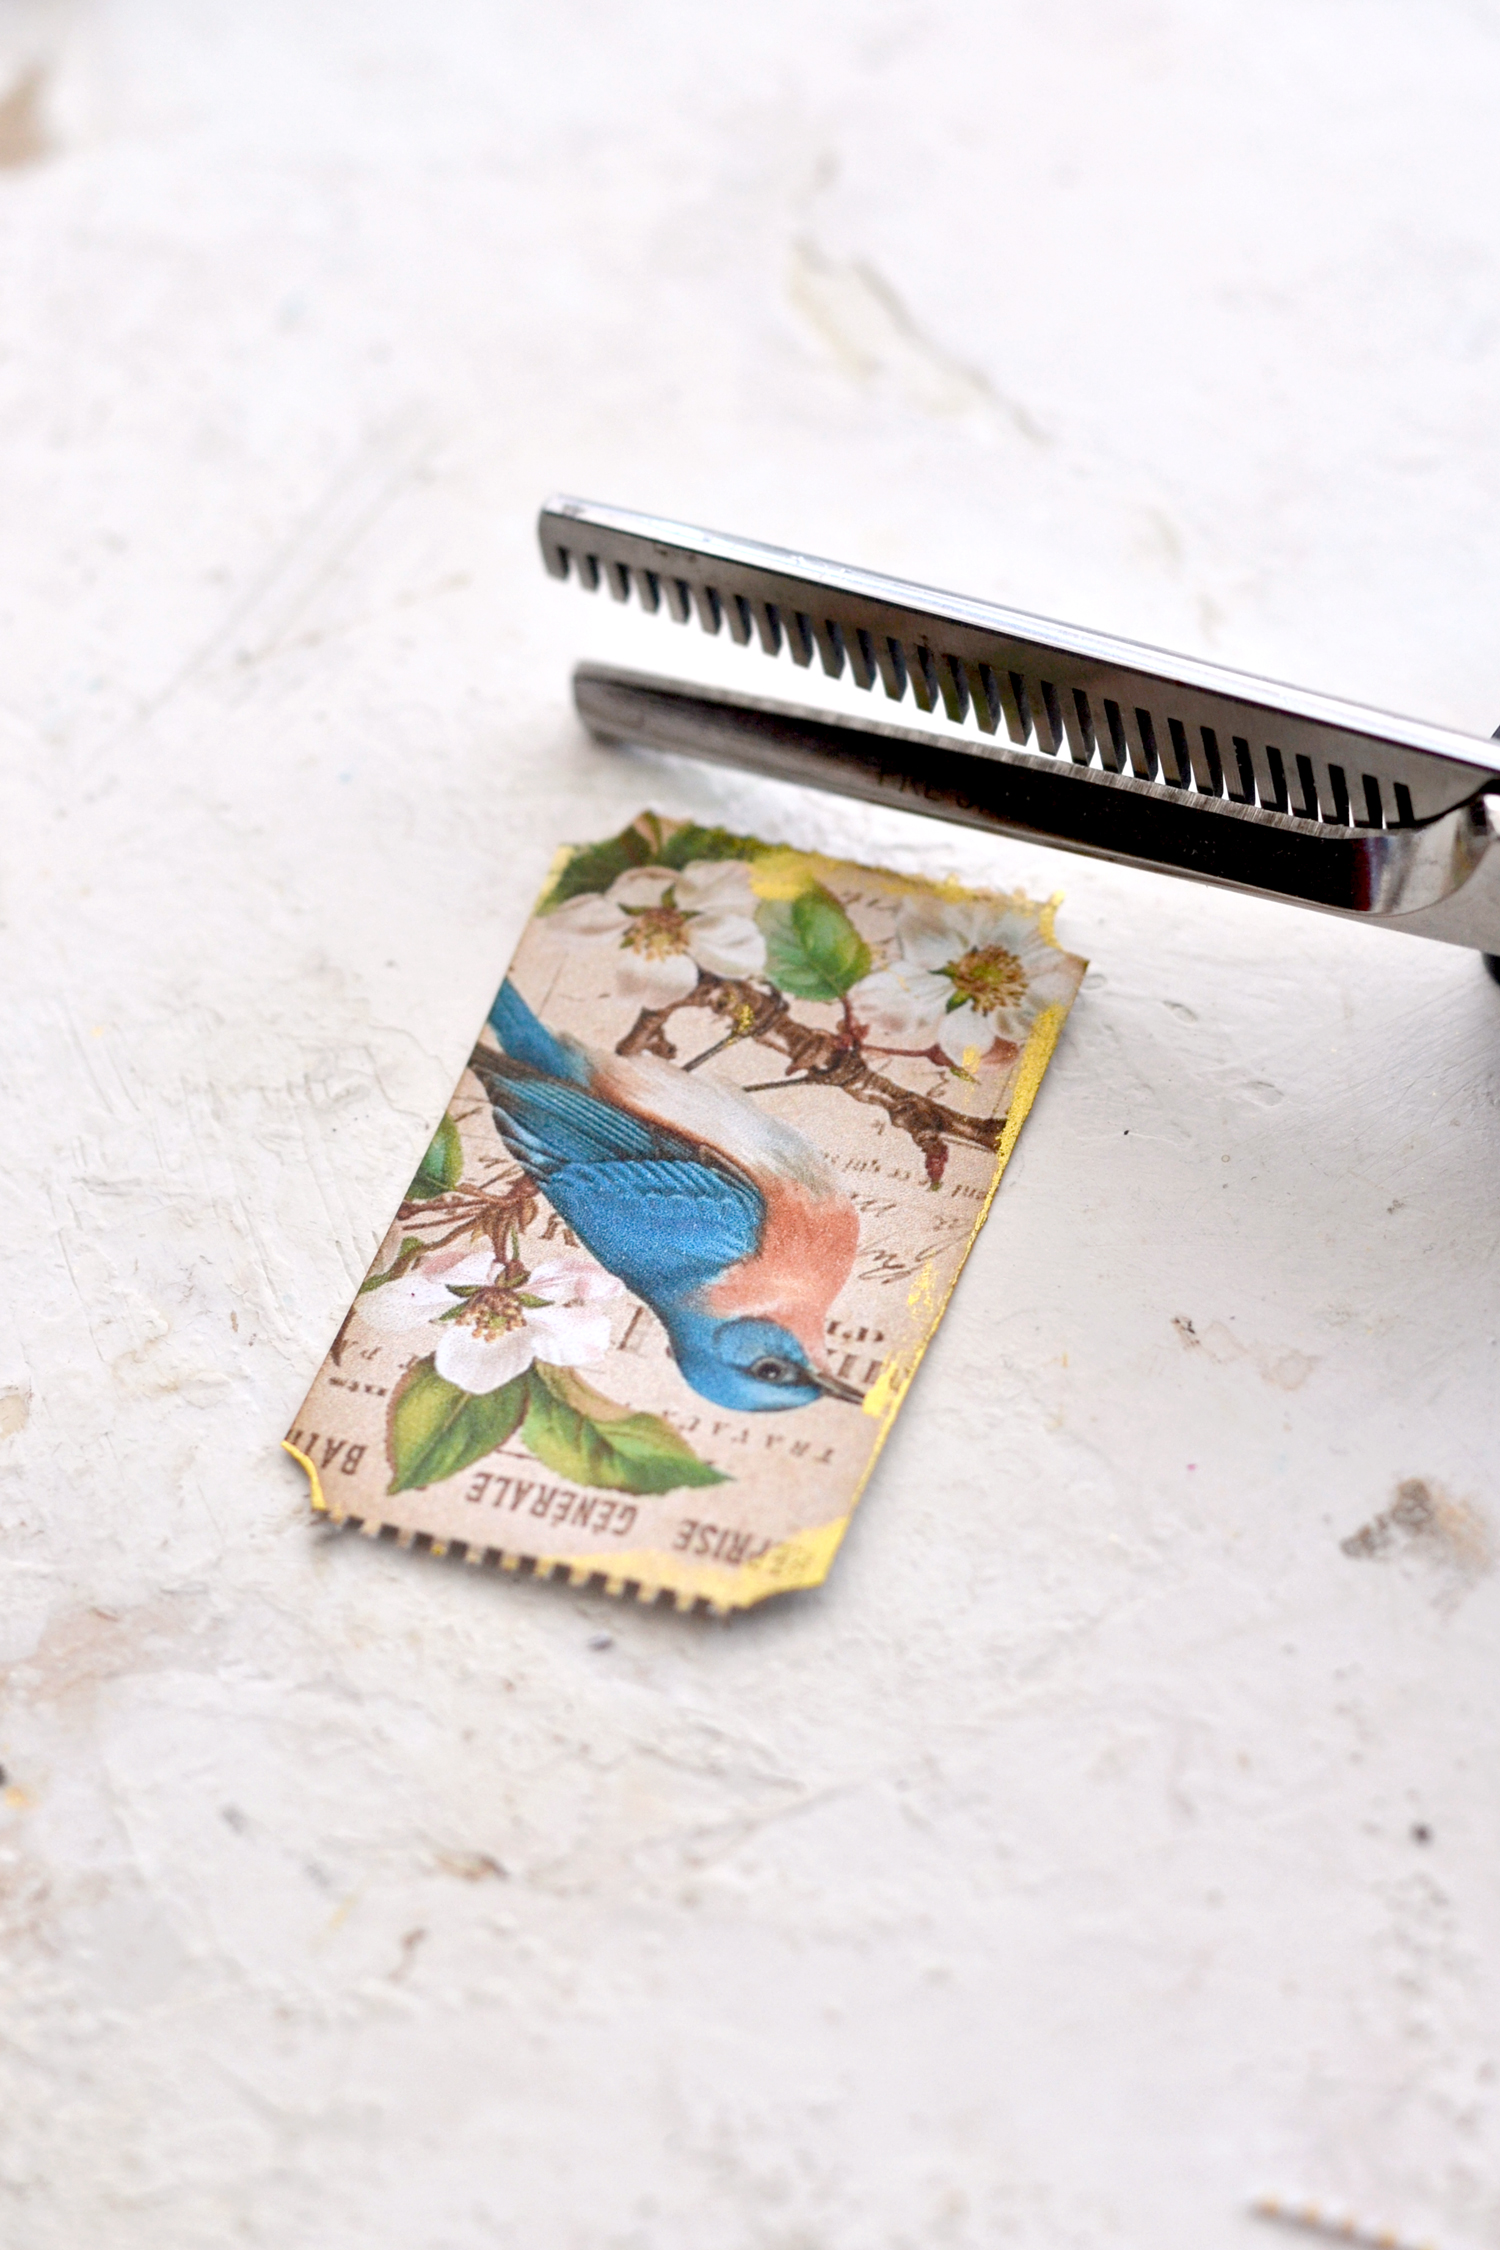
If you choose to take the thinning sheers route, make sure you always keep the serrated blade on the right of your ticket to create a more visible effect. You’ll also need to rotate the tickets clockwise in your hand after cutting an edge – the ticket should always be on the left side of your scissors (for right-handed people). This might sound a little bit strange since the tickets are deisgned together, but once you start cutting, you will see that you will get a different effect for the ticket that is placed on the left side of your scissors and the one on the right.
So after cutting one edge, you can either rotate the ticket to create a similar cut on the opposite side, or cut and then use your thinning sheers one more time to create the same effect.
I hope this makes sense, but you will see what I’m talking about once you actually start cutting your tickets.
P.S. If you are new to this cutting technique I would suggest trying this on a scrap piece of paper first to make a few tests.
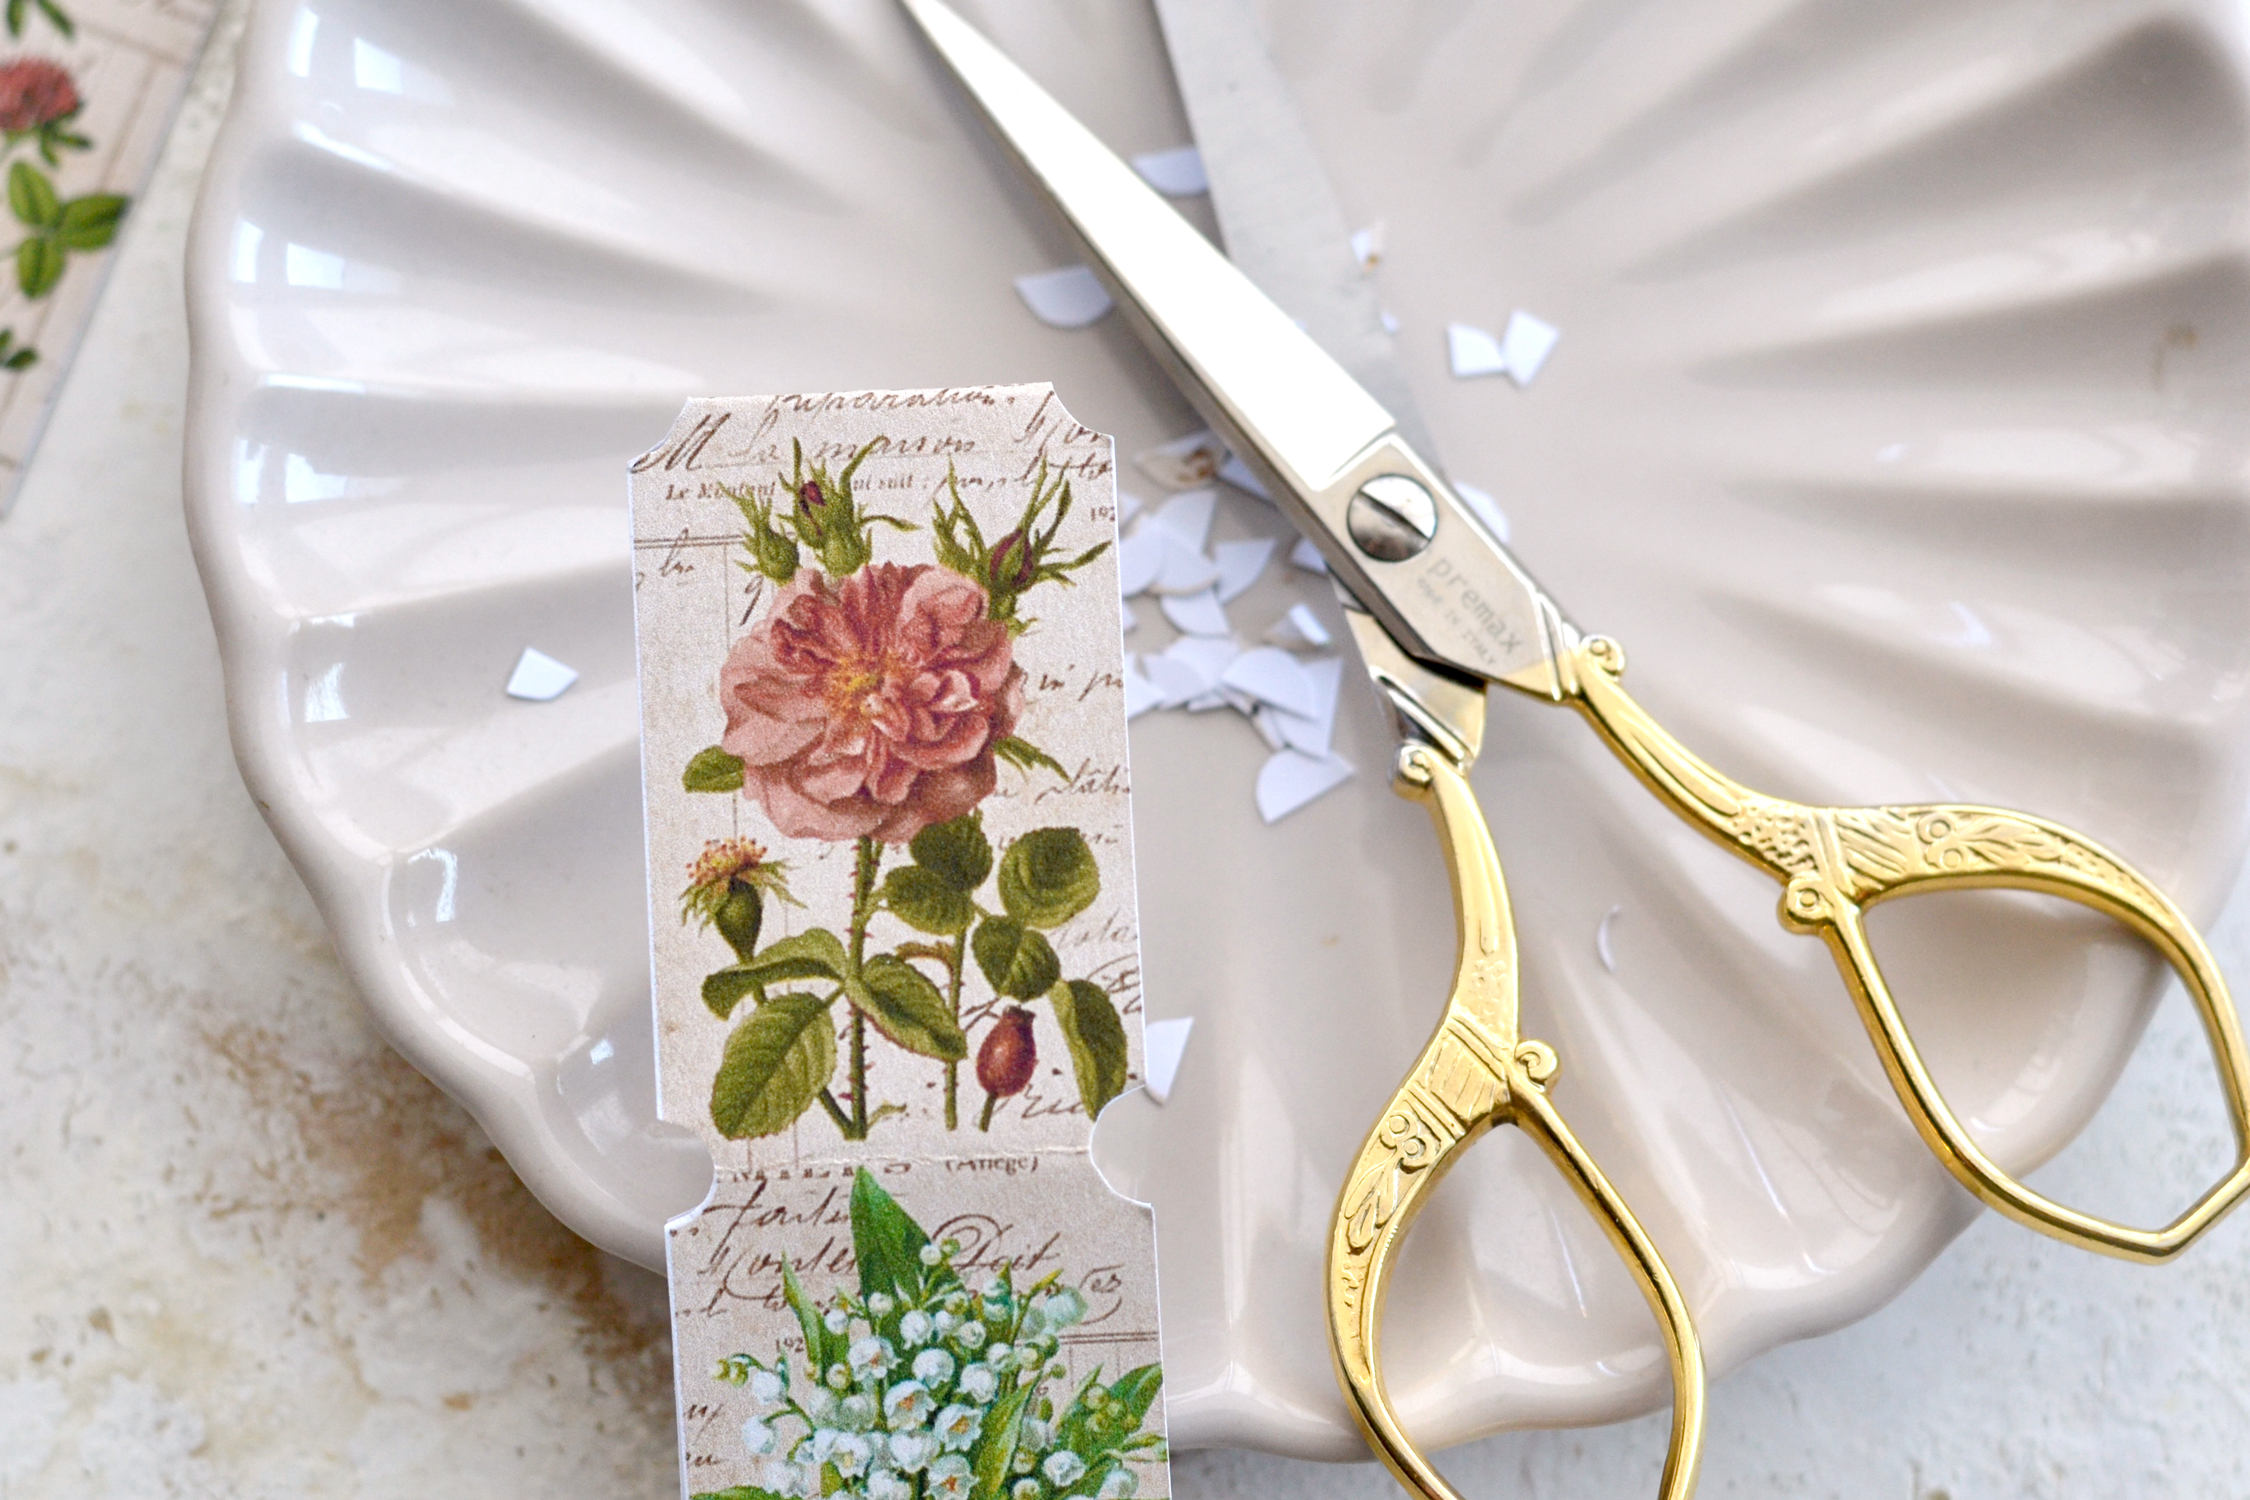
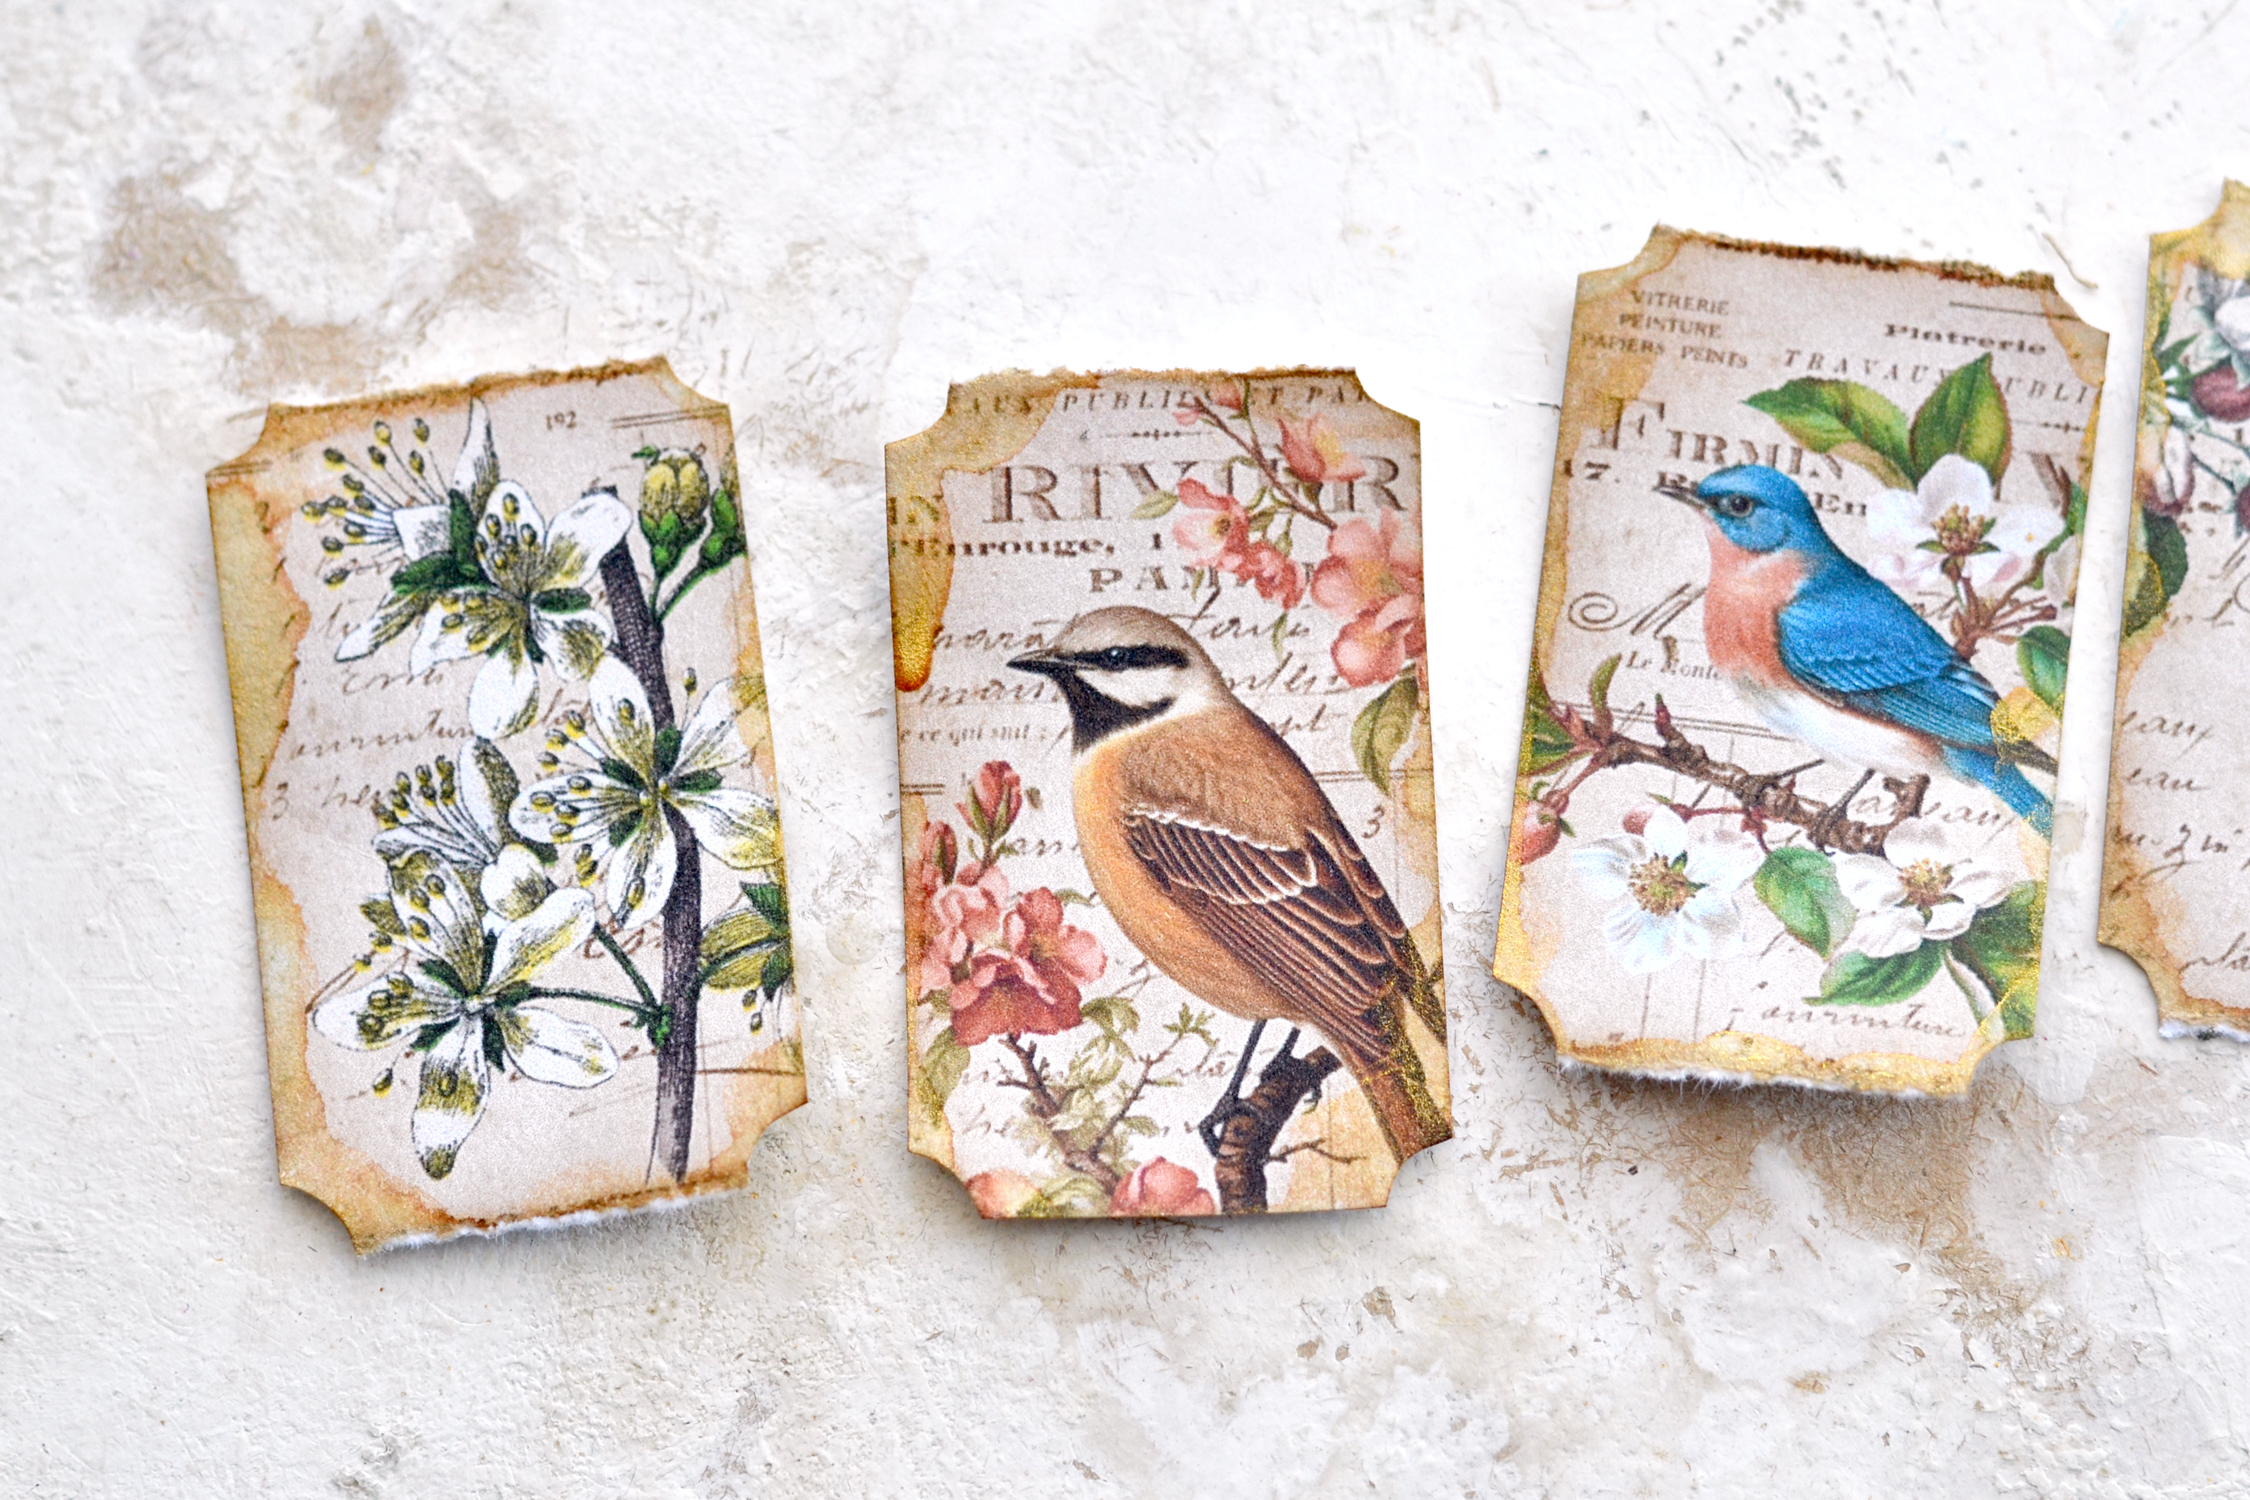
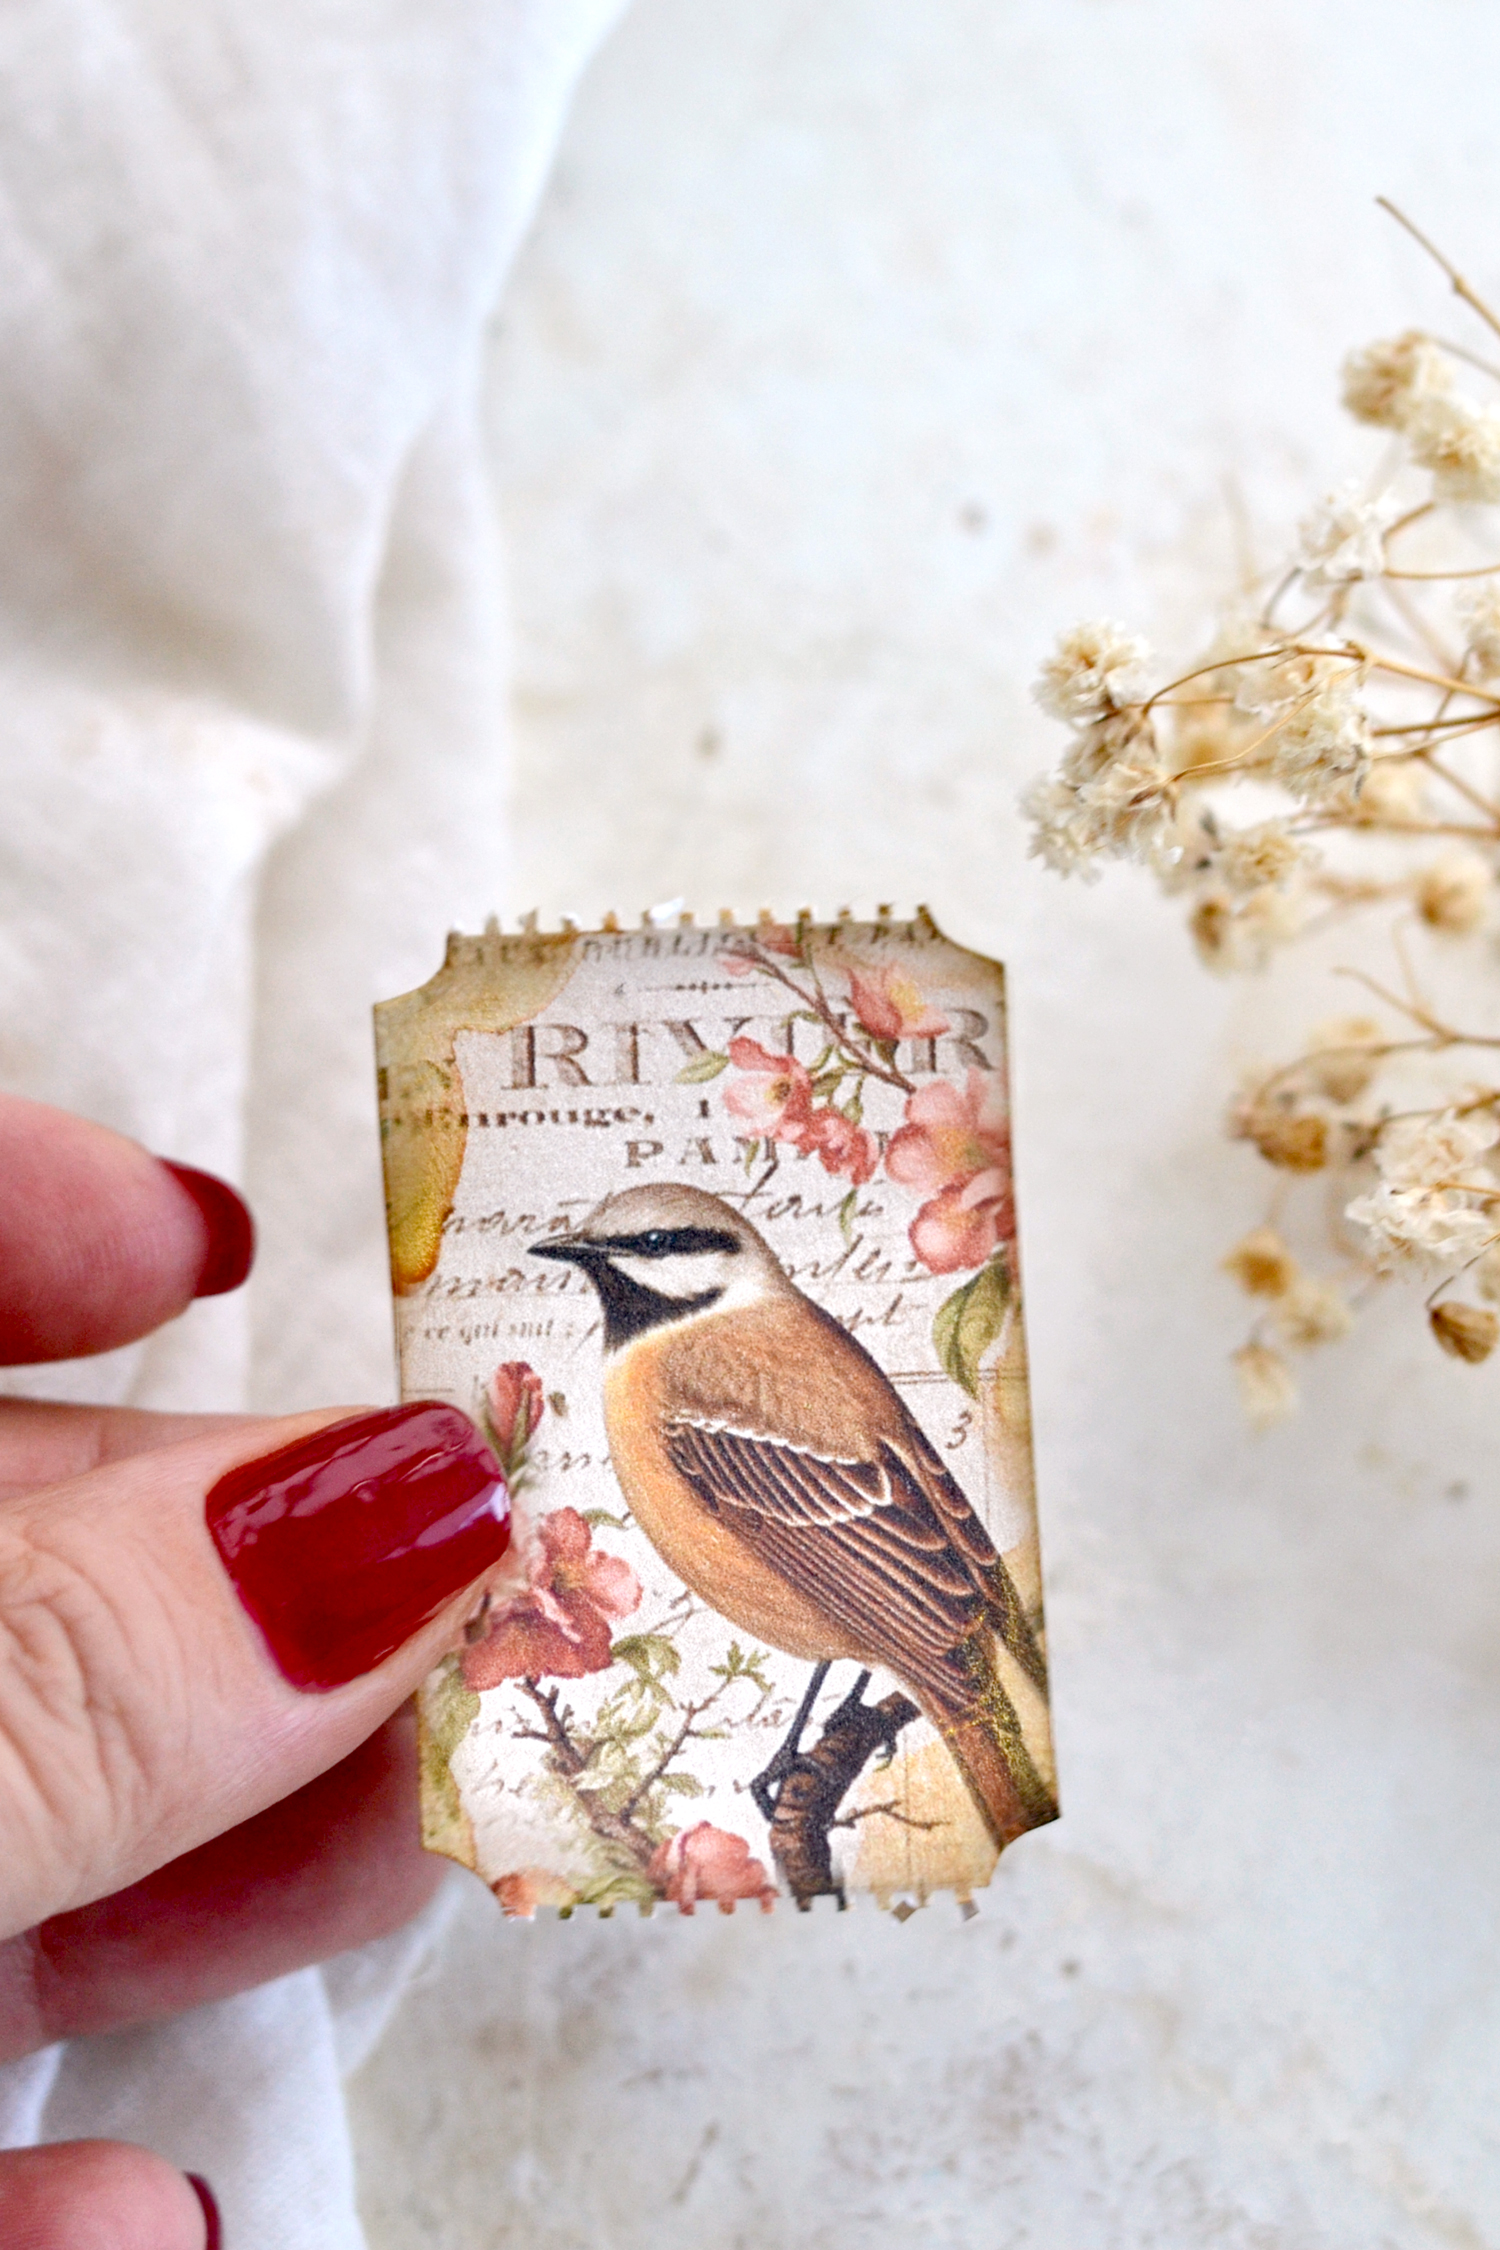
You can find below a more detailed image of how different the thinning sheer cuts can be. I created the perforated edge on the left while holding the ticket on the left side of my scissors and the one on the right while holding the paper on the right side of my scissors. You can clearly see the difference between these two, the one on the left is more accentuated and visible.
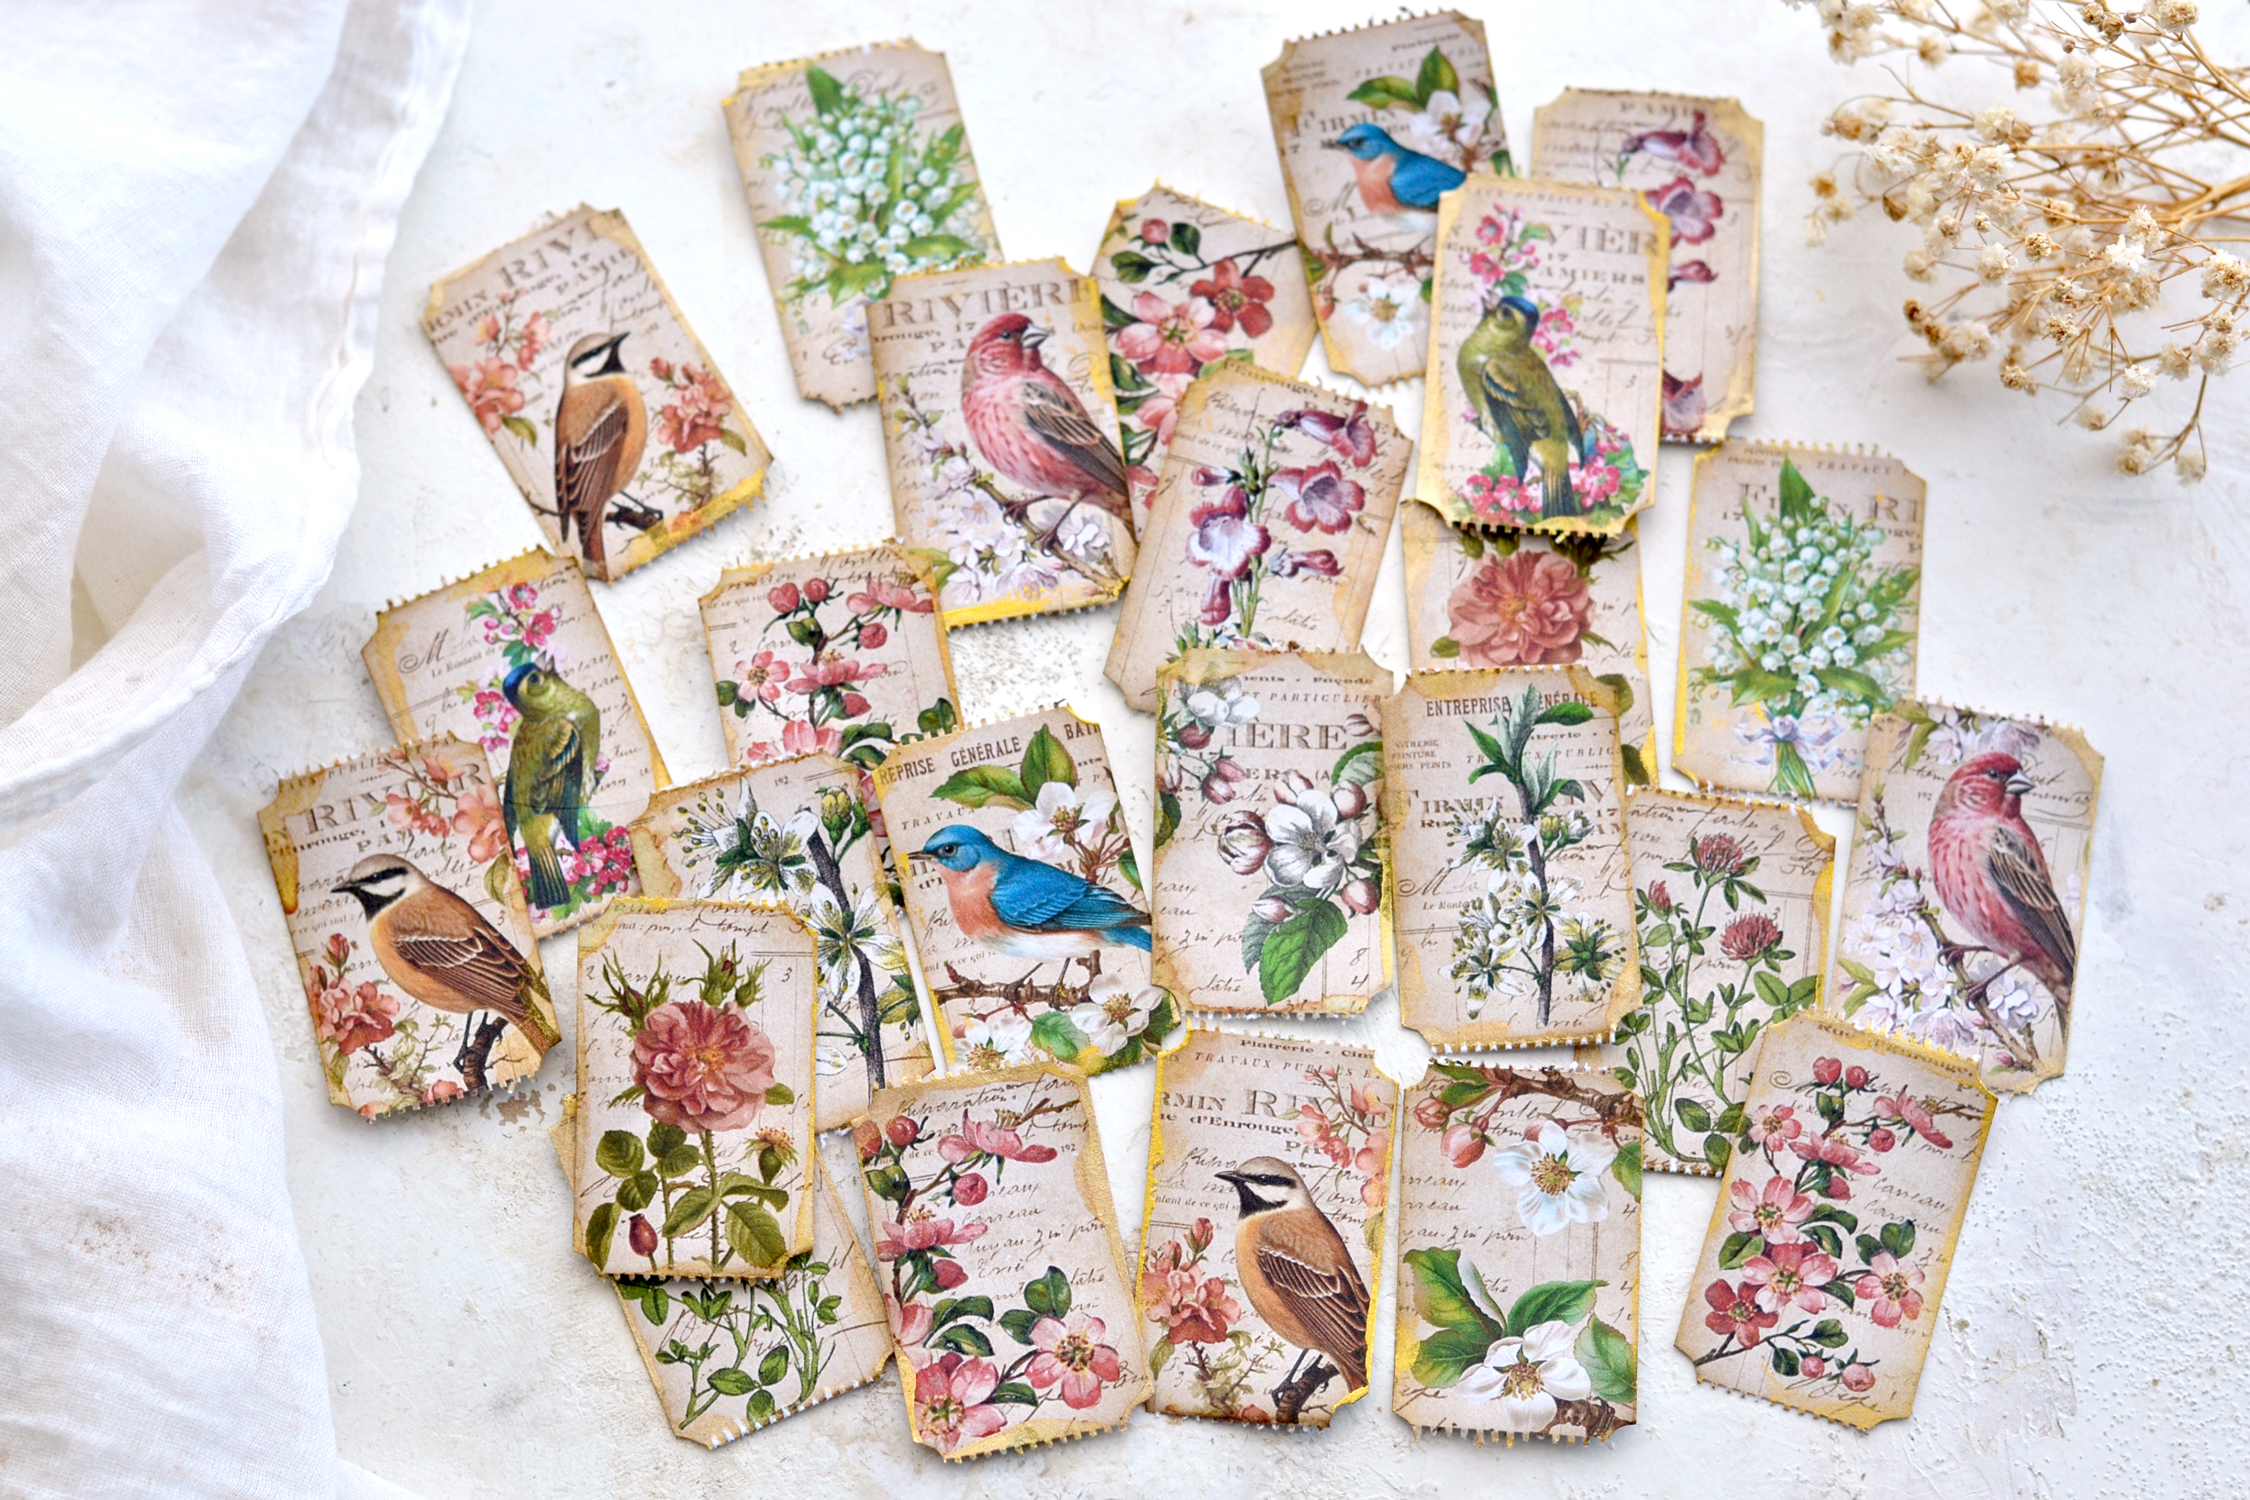
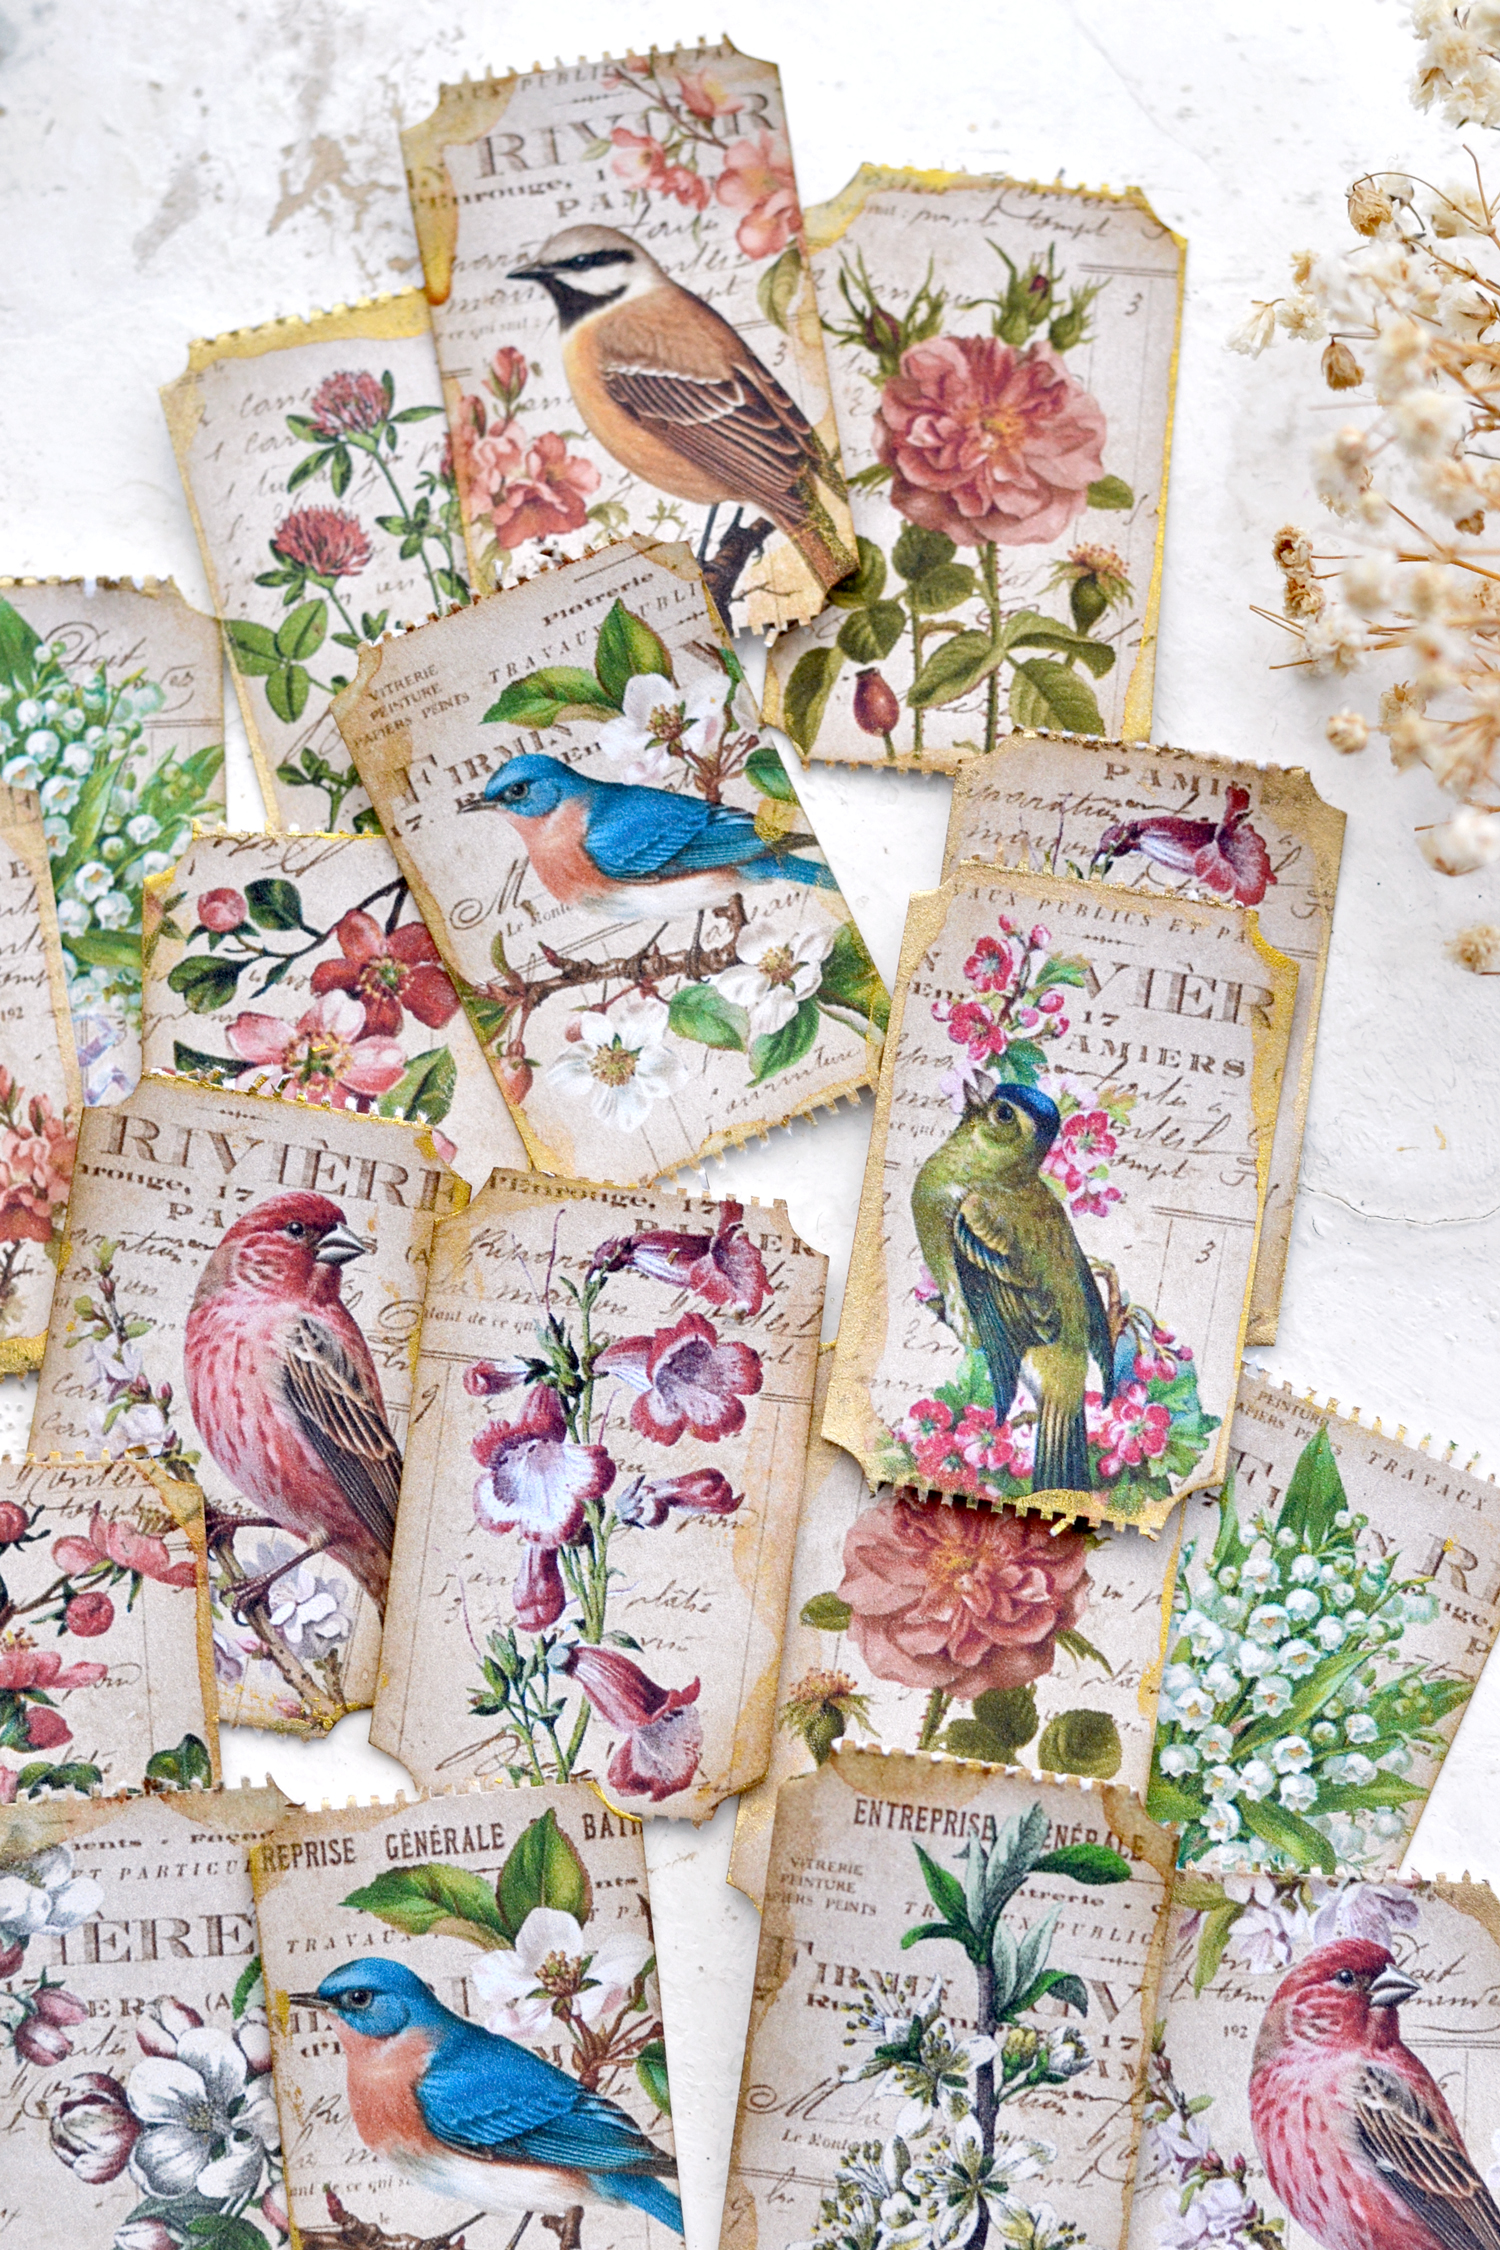
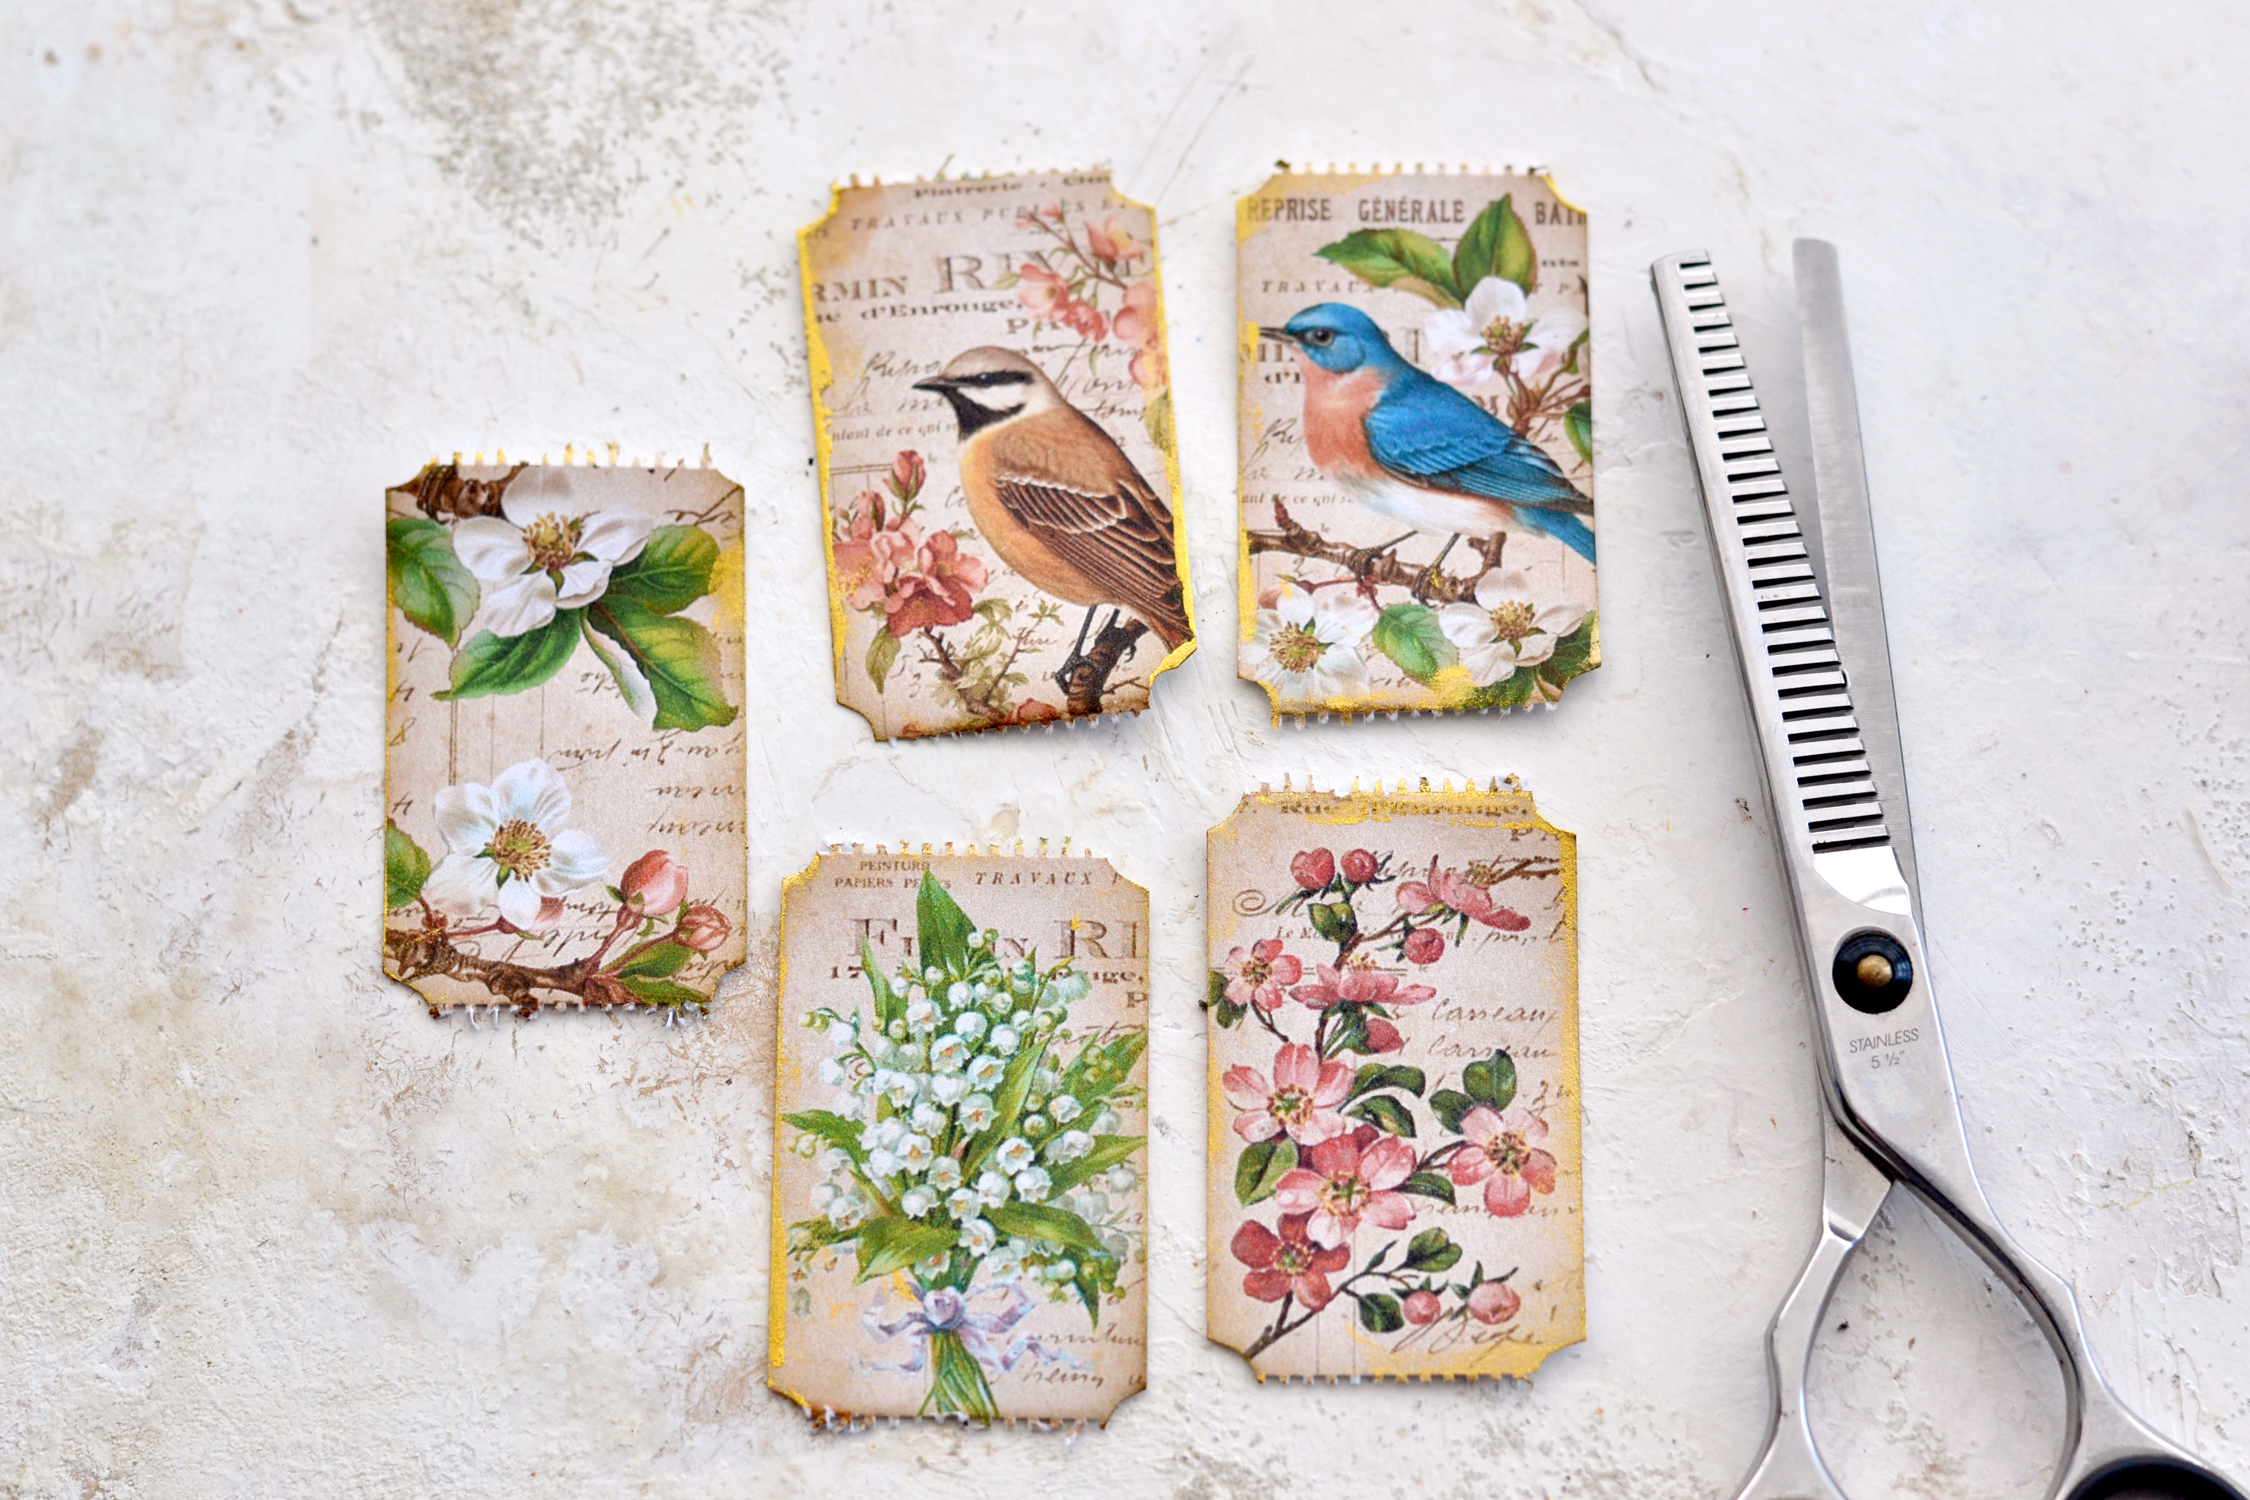
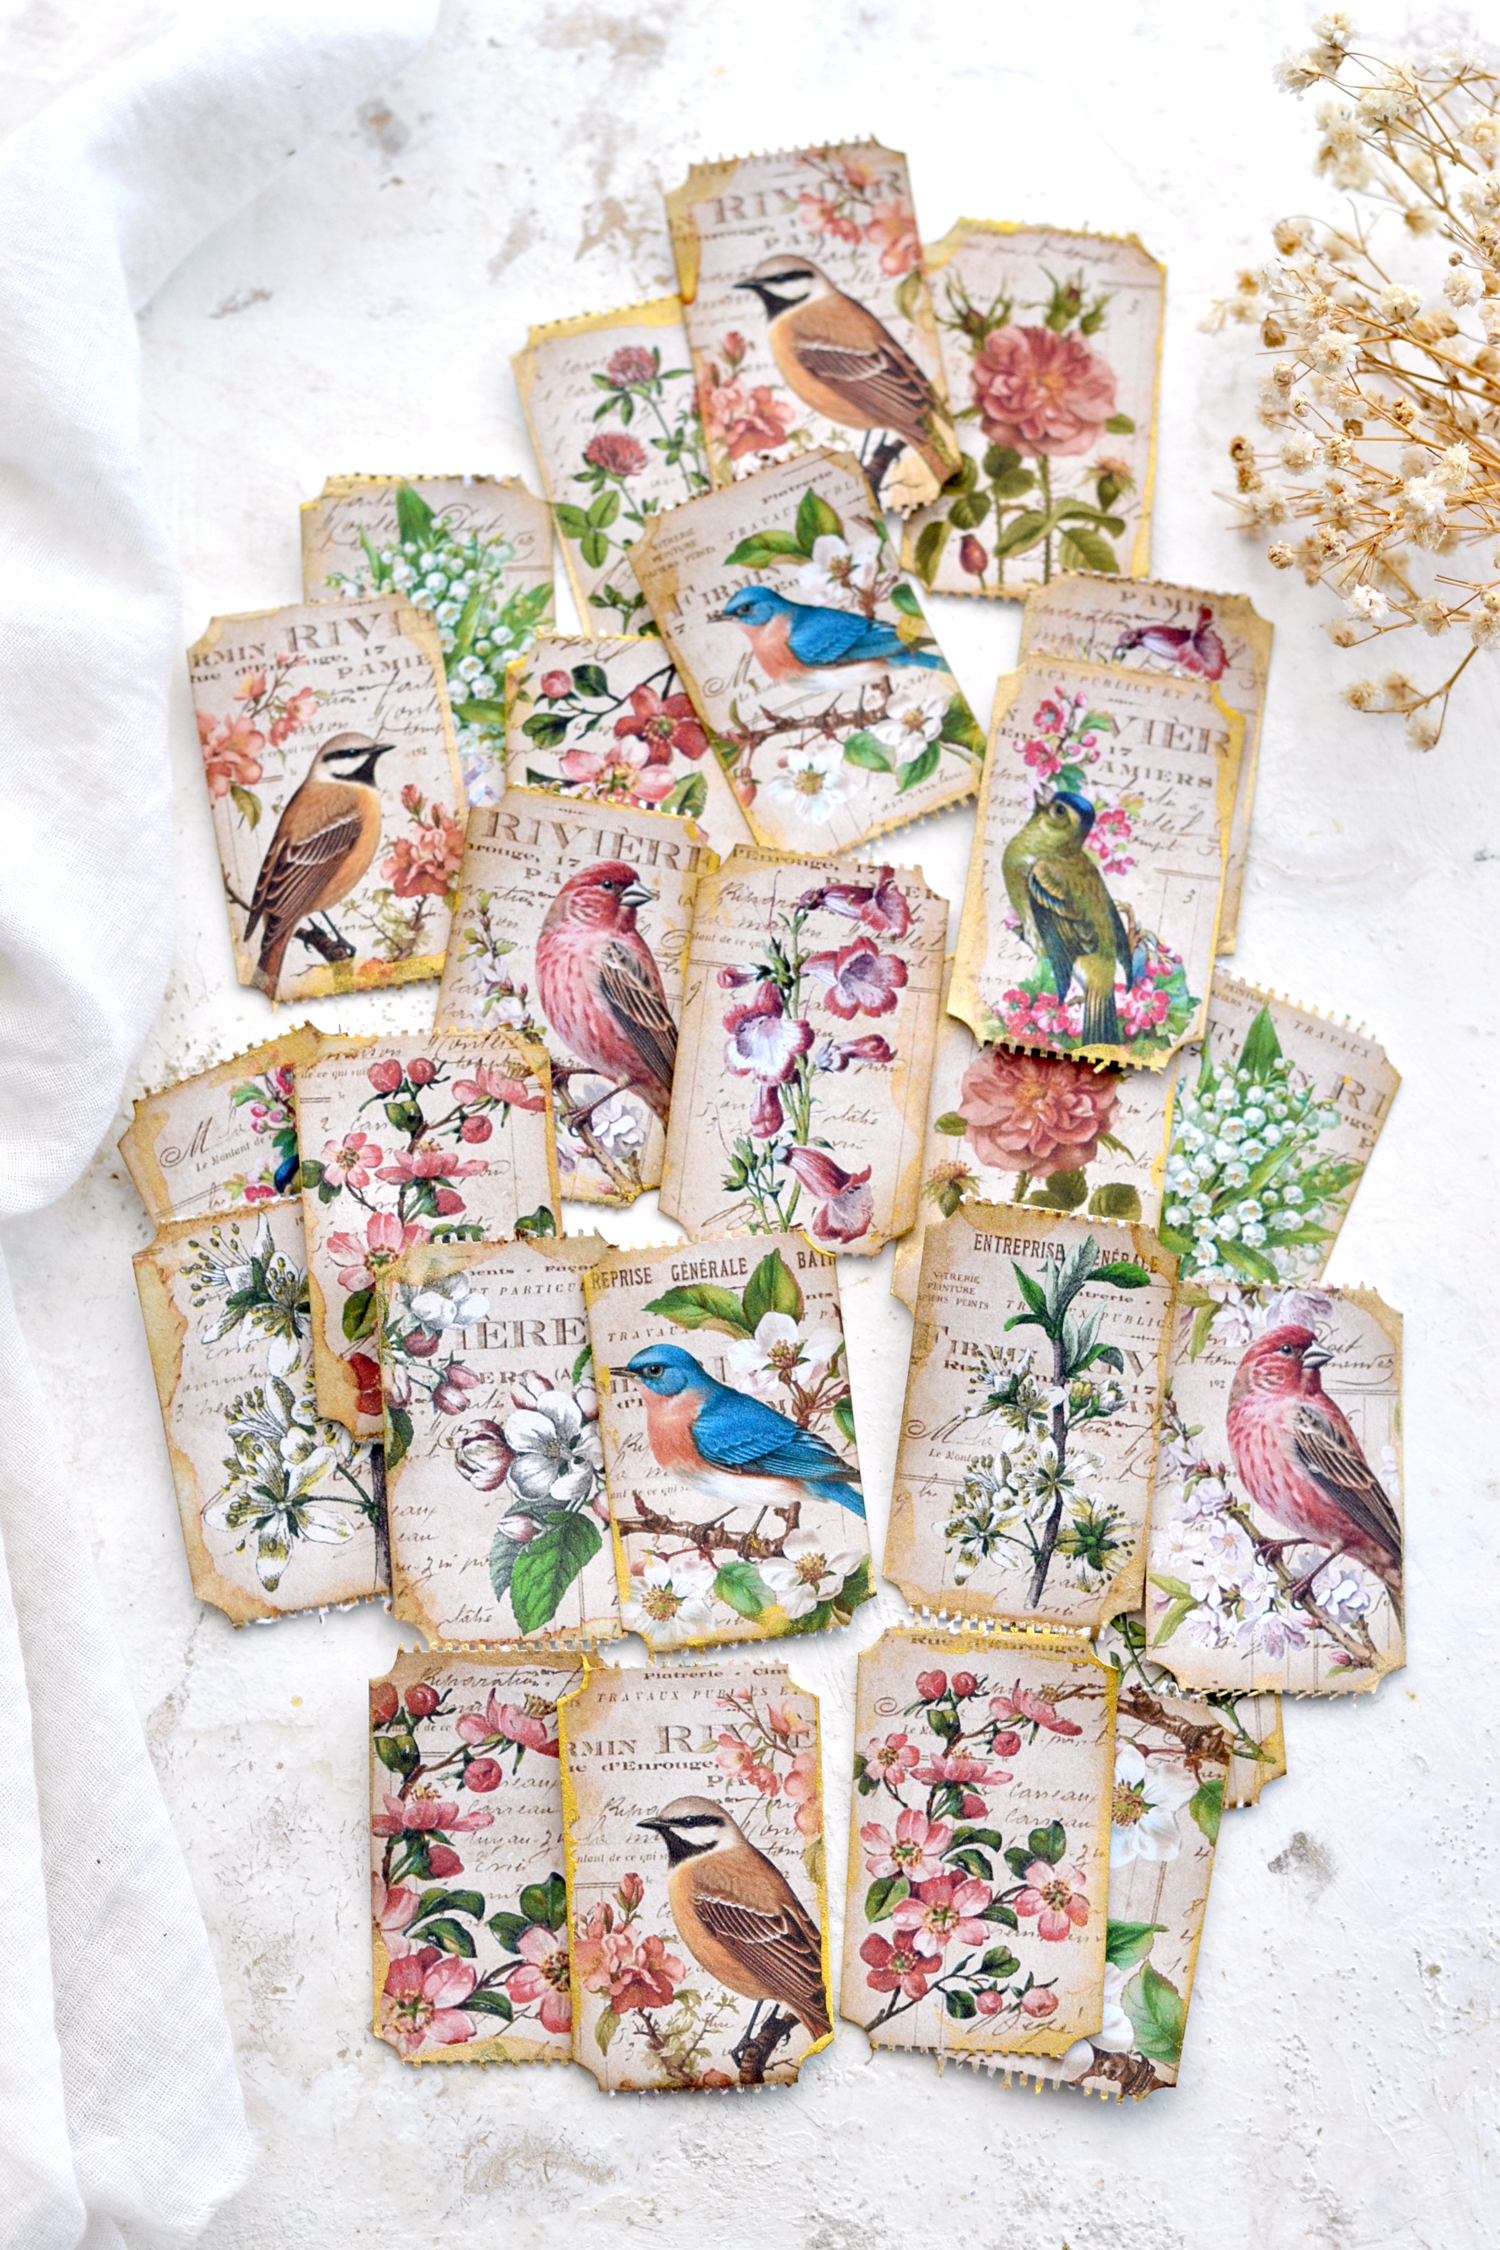
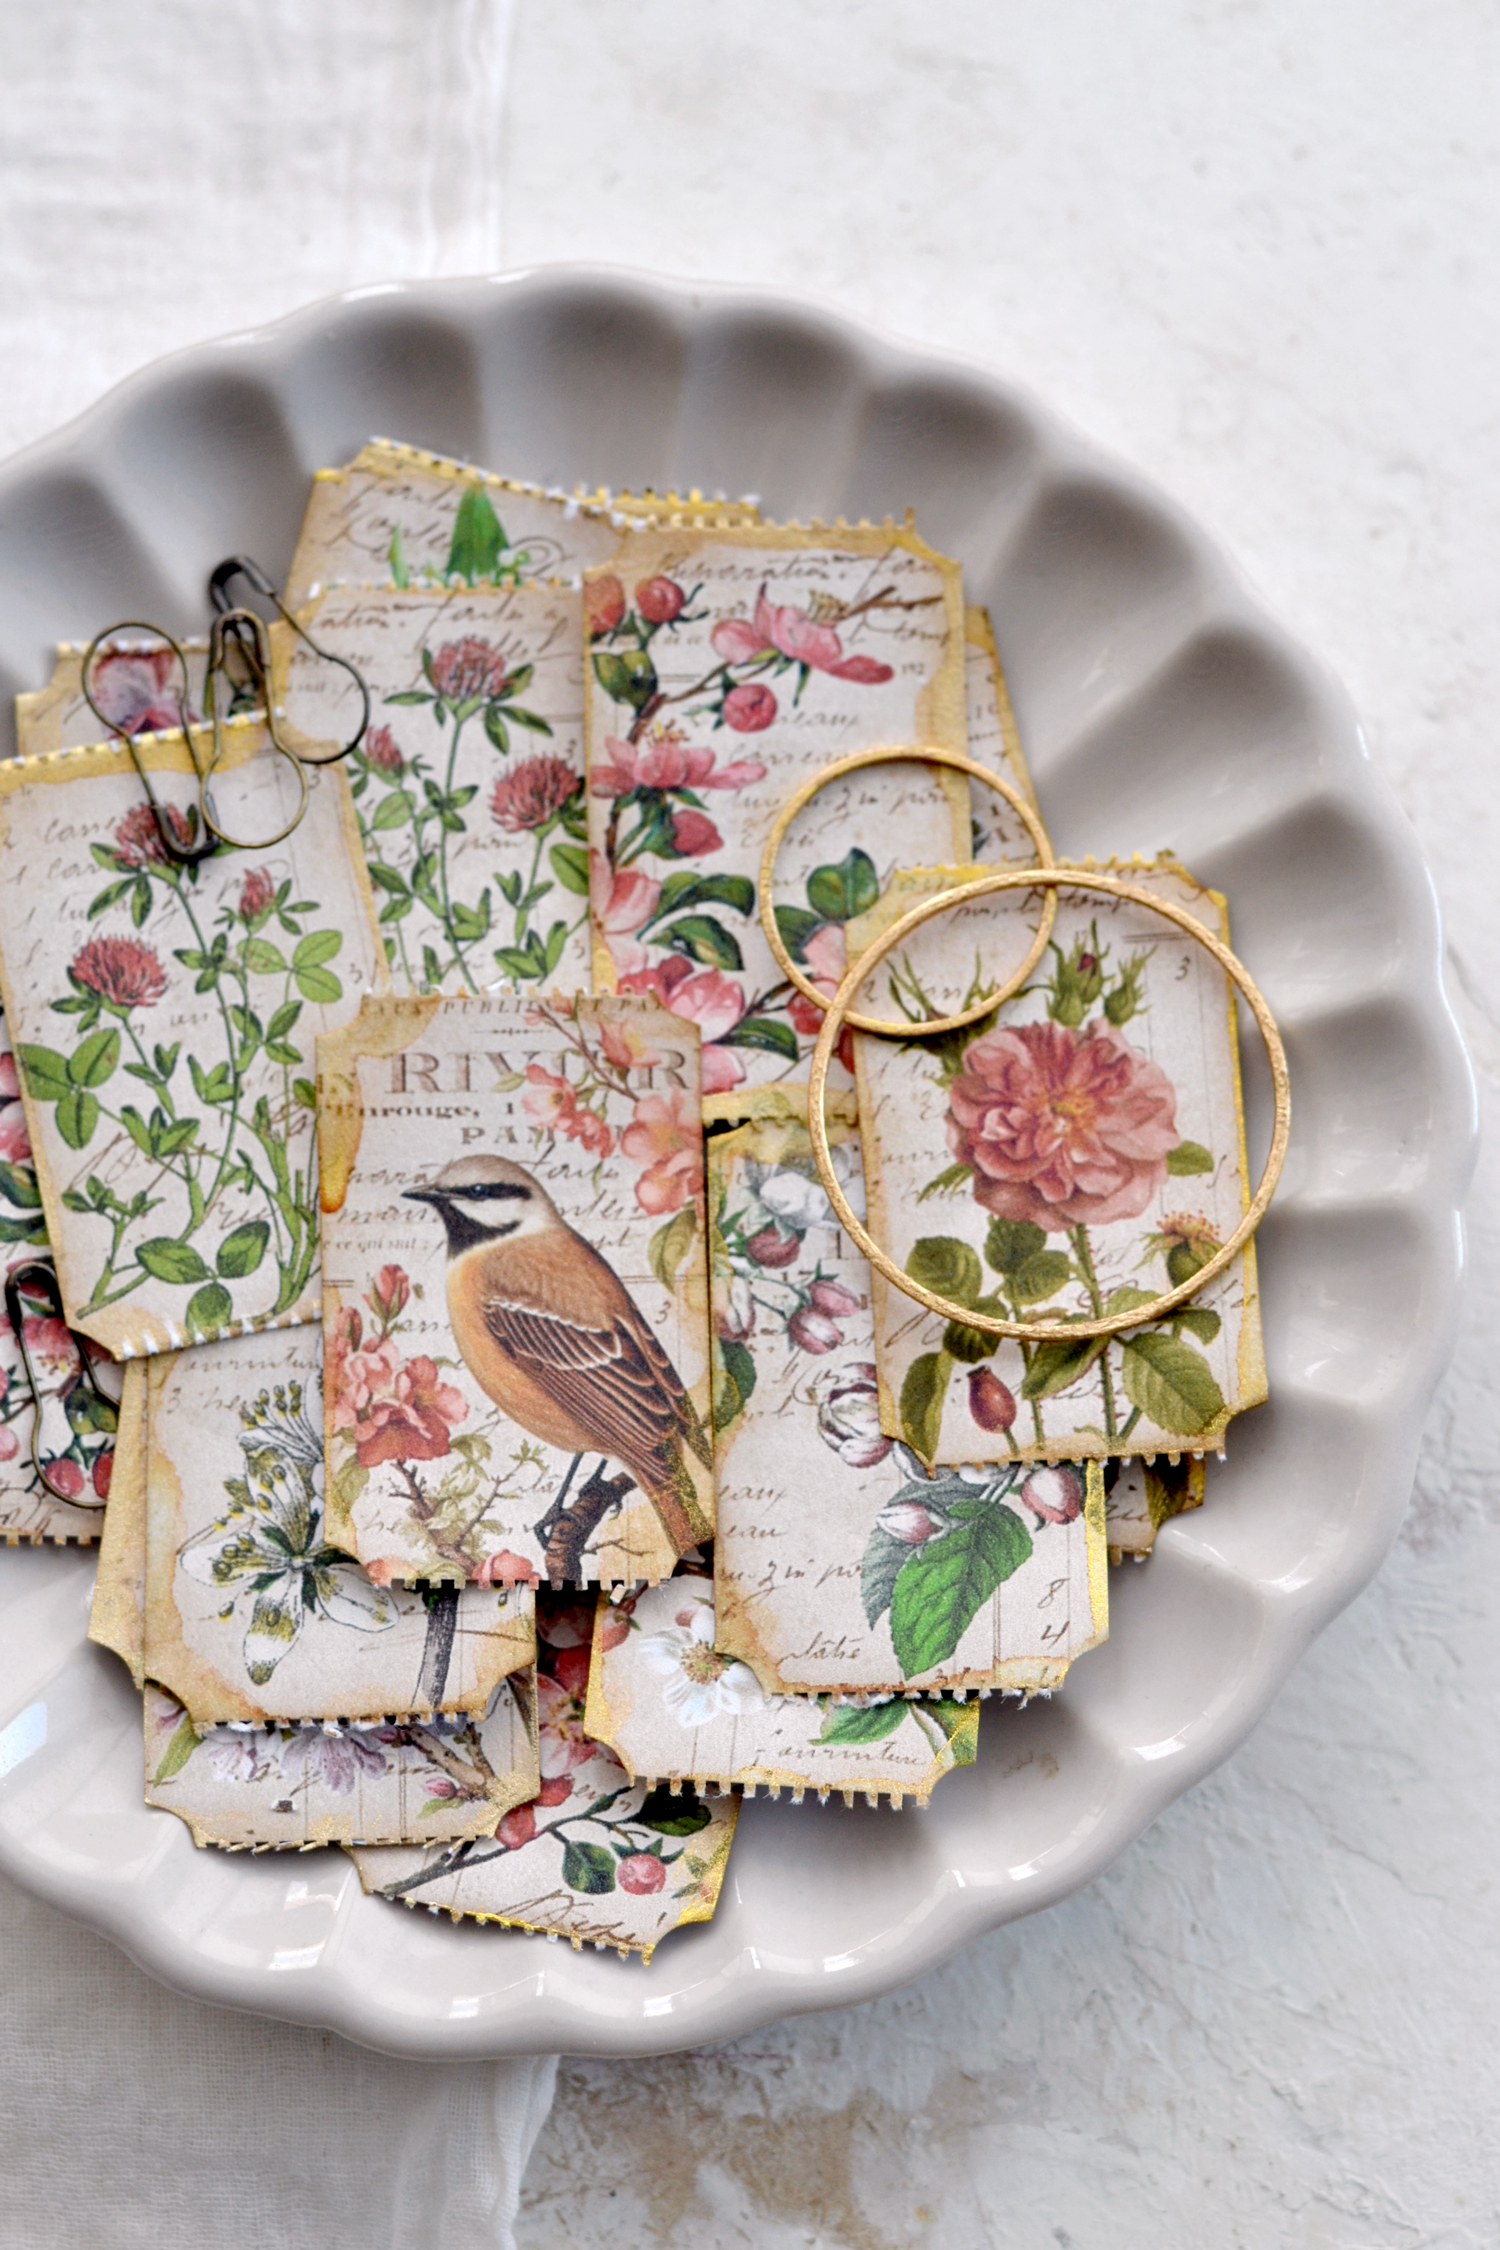
This is how my vintage tickets turned out, as you can see you get perfectly imperfect edges that have so much charm and character! I love them!
I ended up making two cuts on one of the edges, just to make sure they all have that lovely perforated finish.
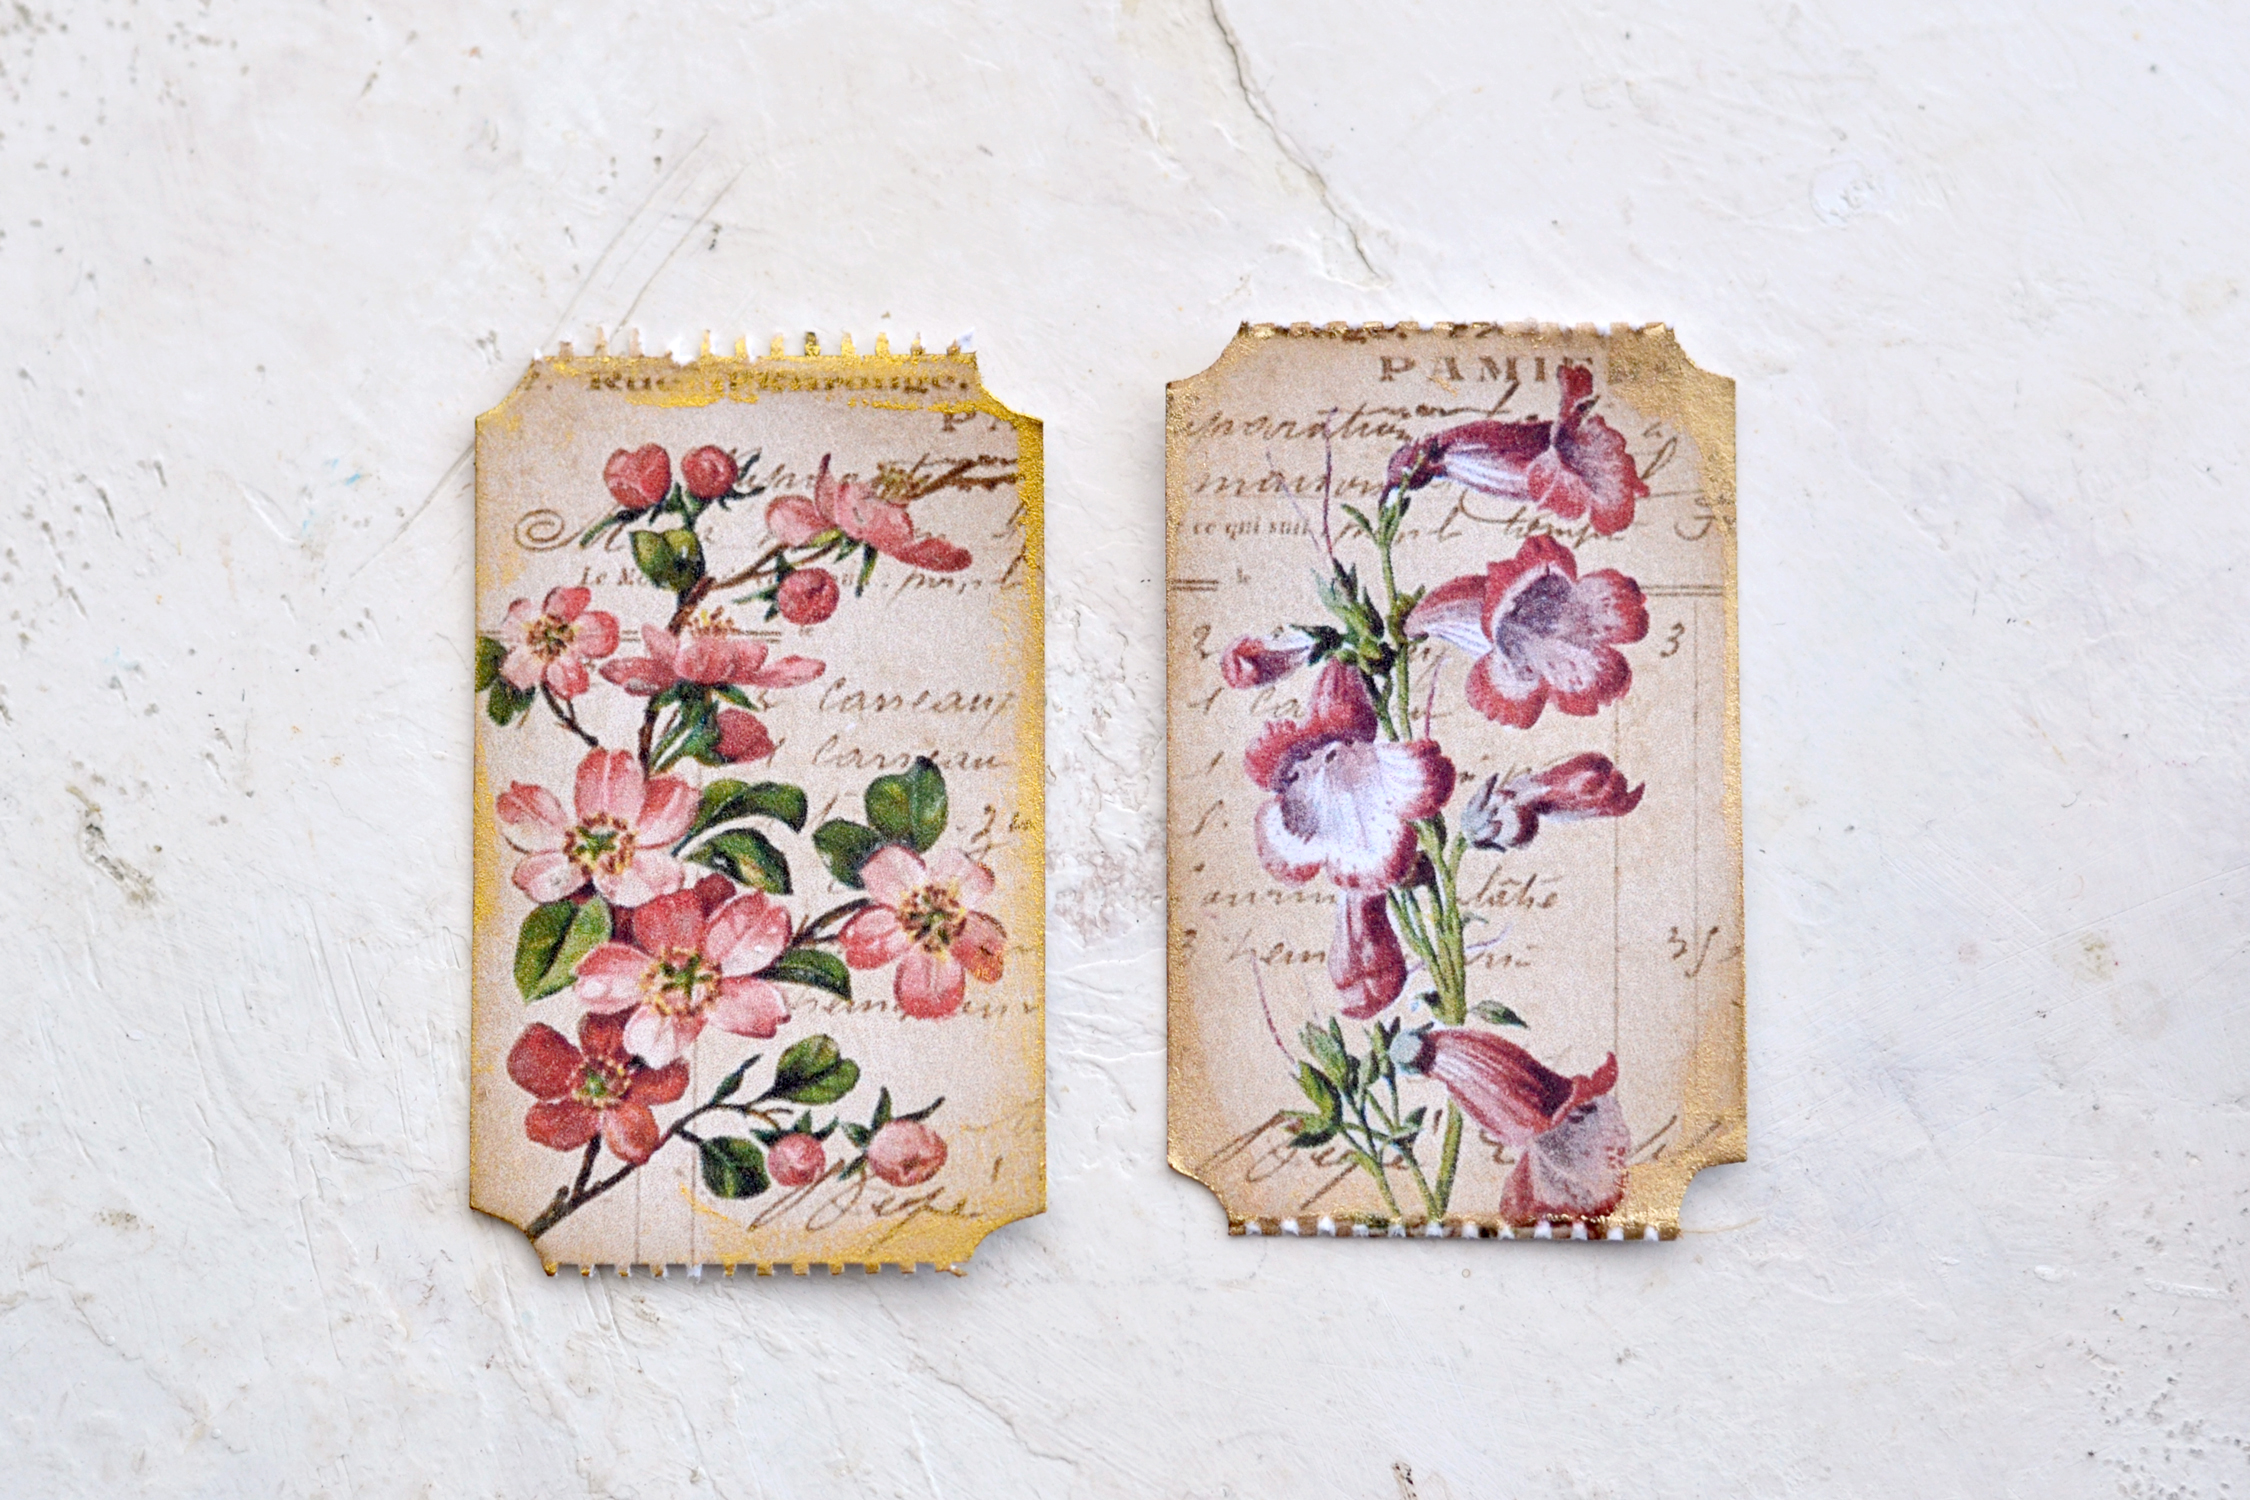
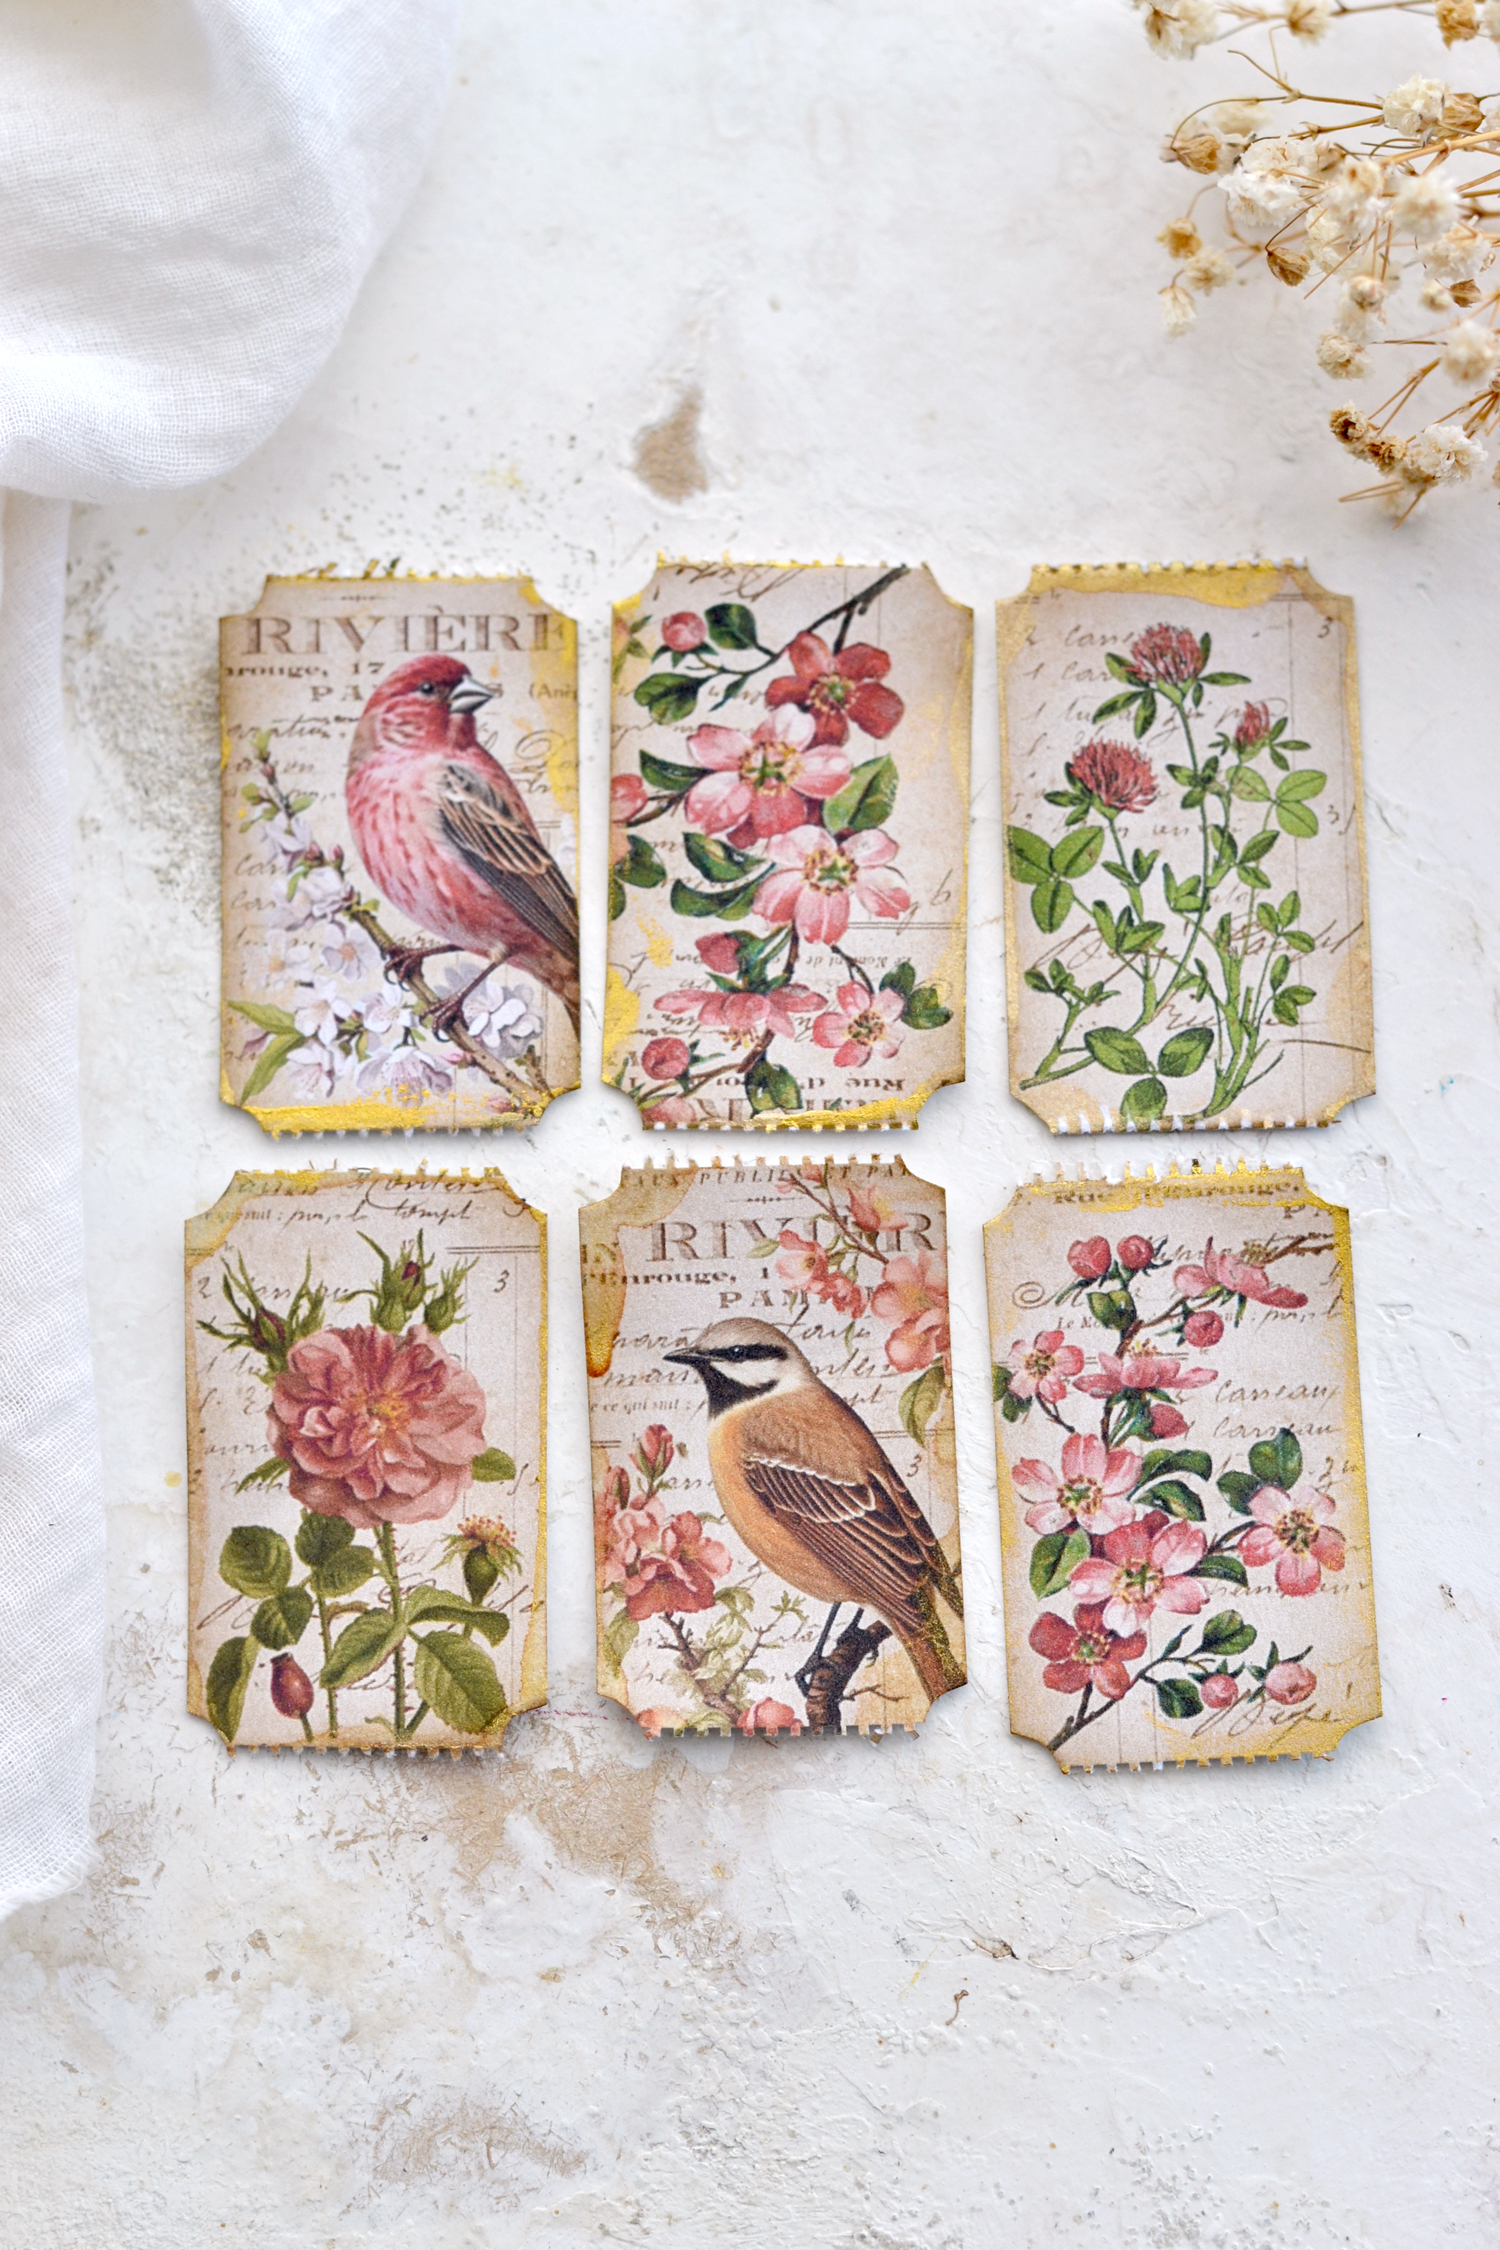
You can mix and match things as you want, this batch with pink tickets looks really beautiful together, don’t you think?
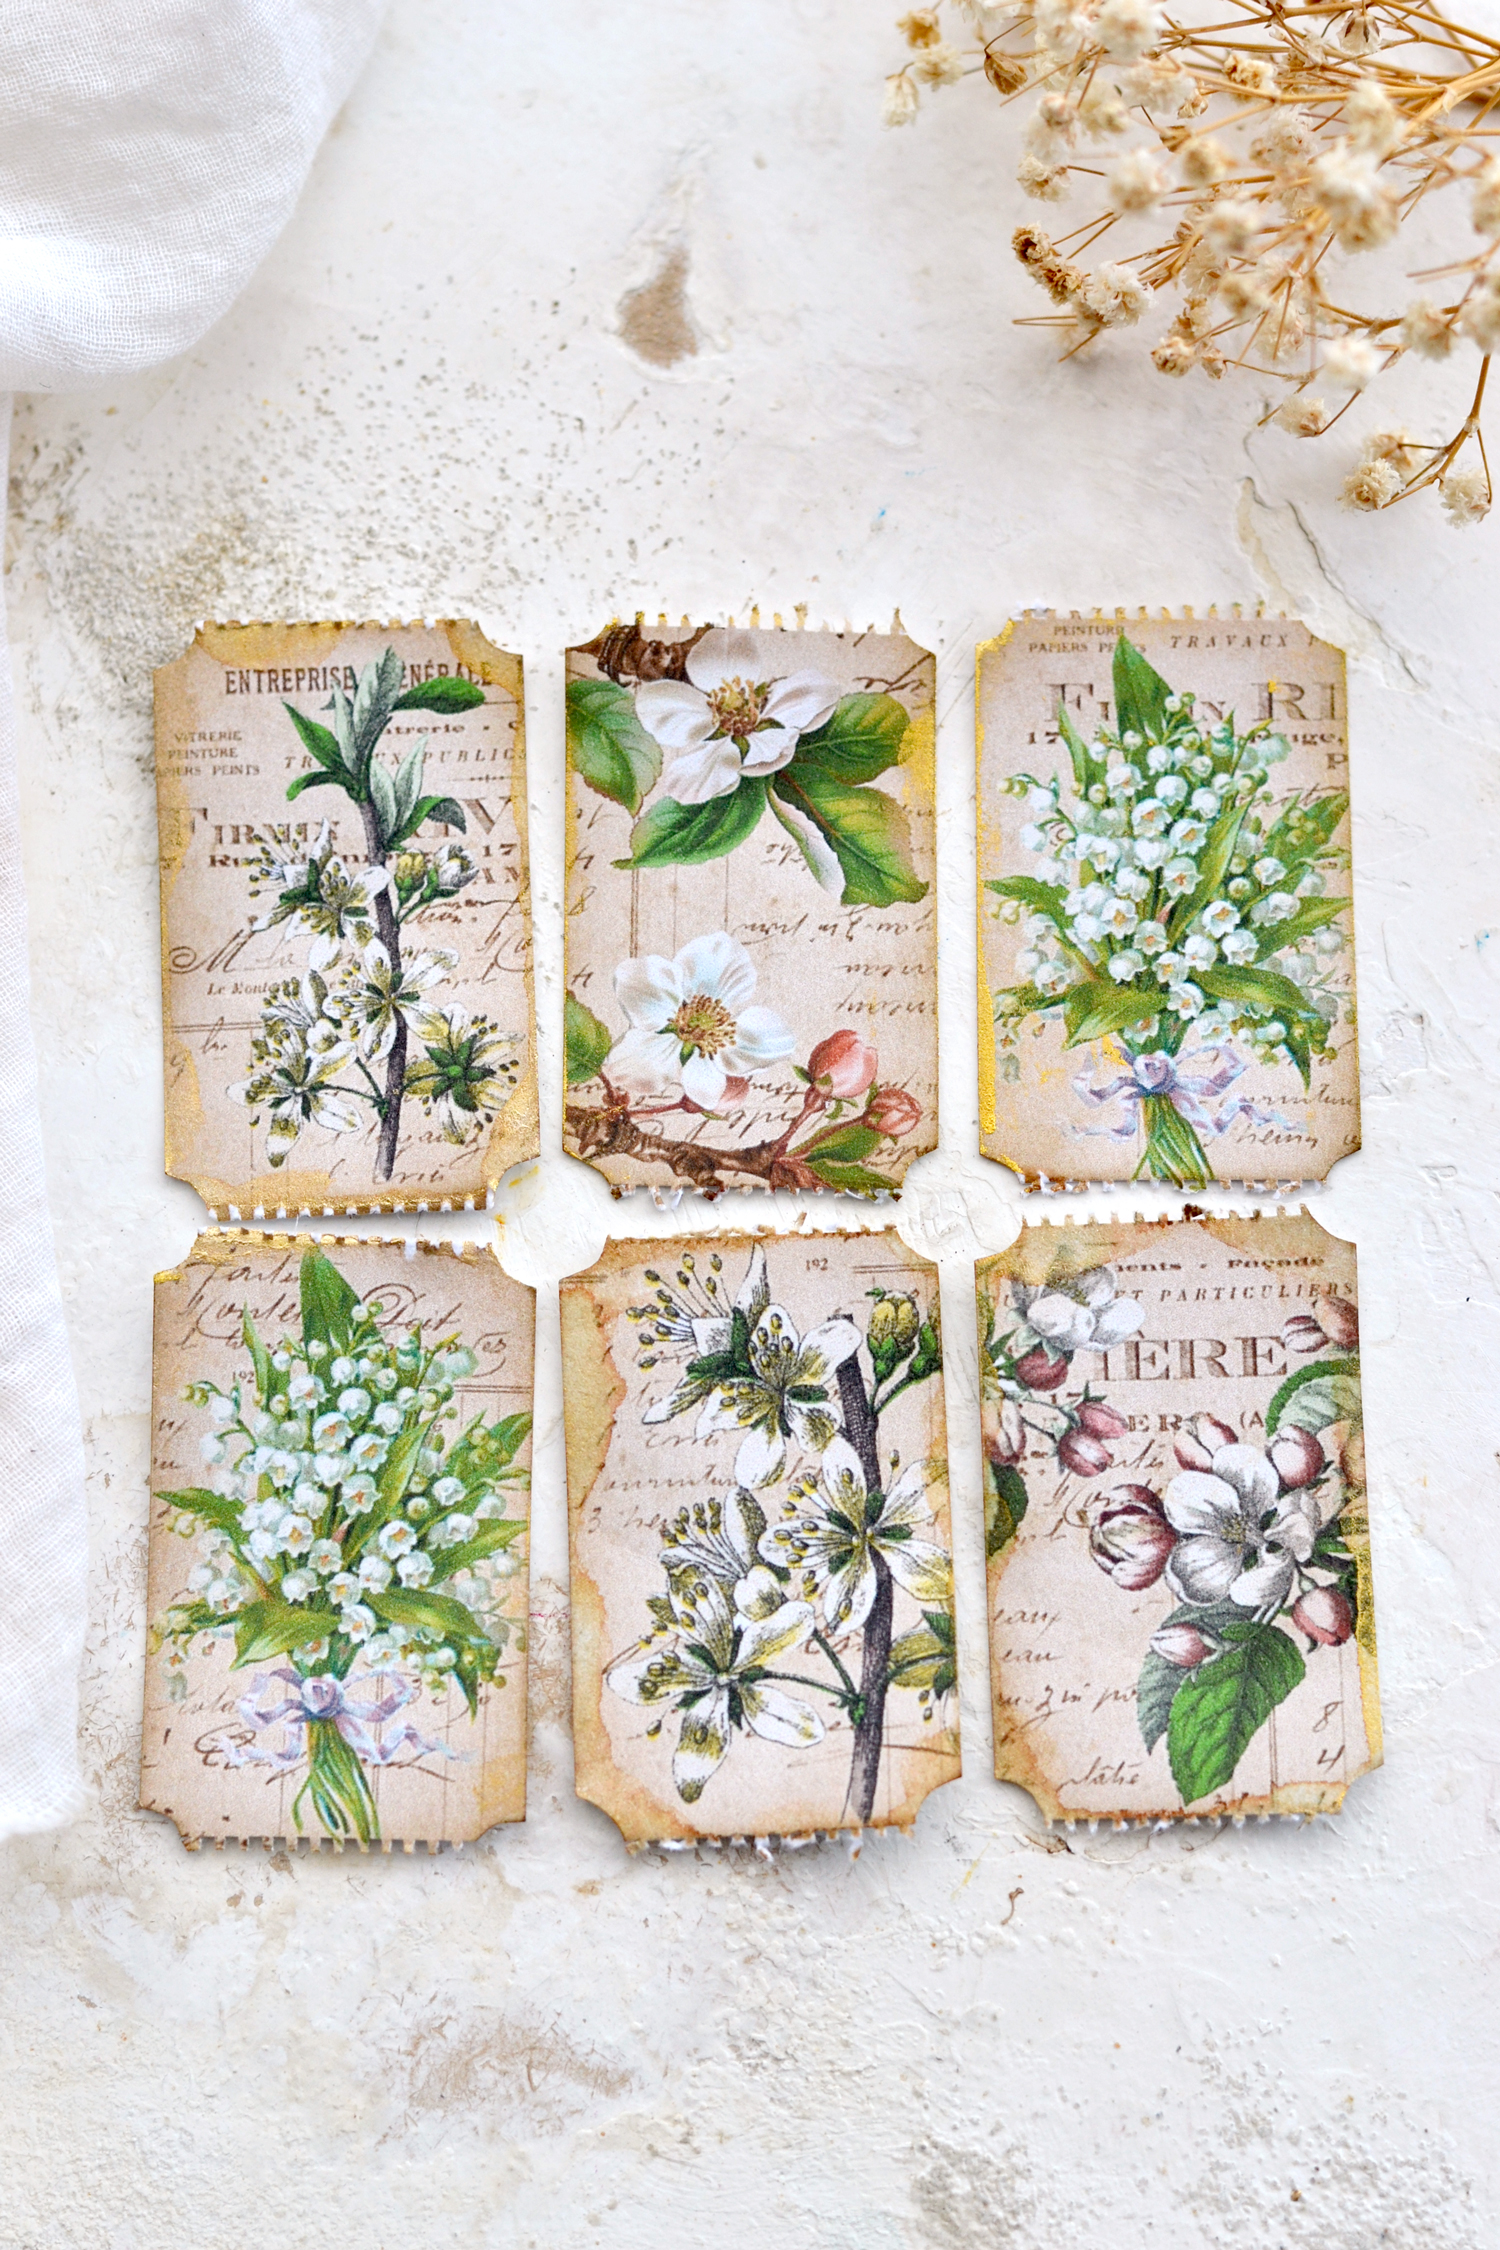
Or you can choose these white and green tickets, which are pretty universal and work with everything, no matter the color scheme you are choosing for your project!
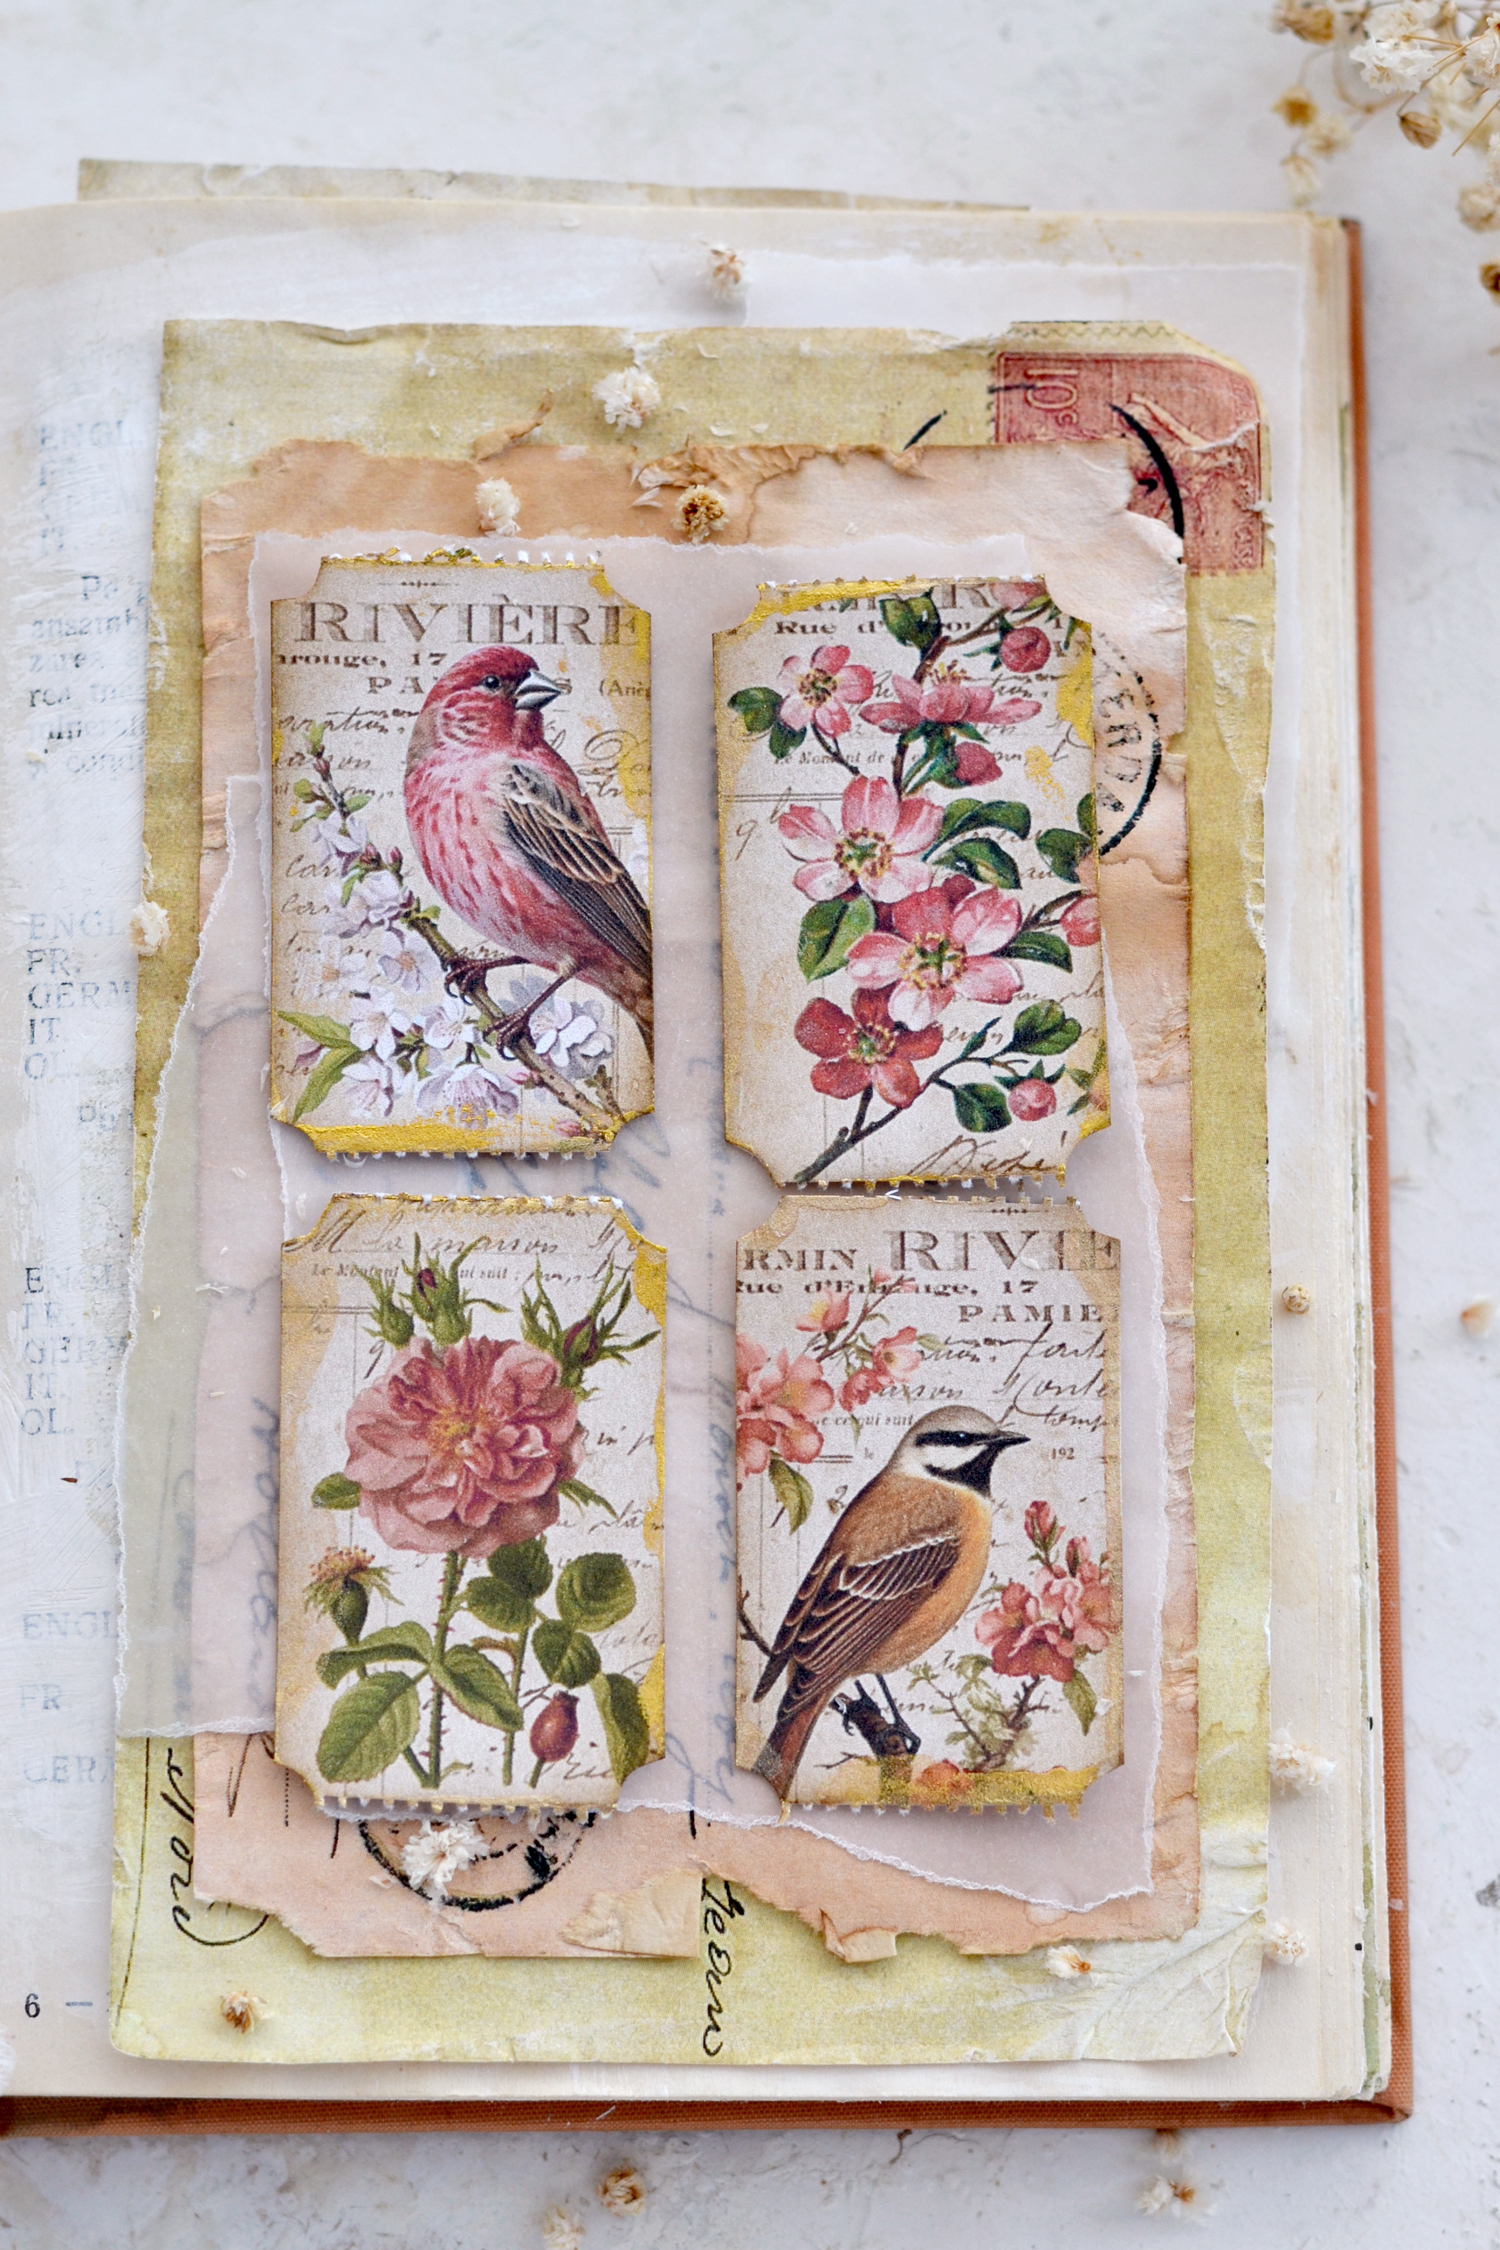
I’m sure you won’t have any problems including these tickets in so many of your creative projects, there are so many ways of using them!
I need to find a small recycled box to keep these beauties until they are ready to be used, but for now, I’m just admiring them on this adorable ceramic plate on my desk!
Our mini vintage tickets with birds and flowers are truly beautiful and have so much charm, not to mention they are so easy to make, so I’m really hoping you will give this project a try!
You might also like my Printable Fall Faux Postage Stamps HERE.
Happy crafting,
Diana | by Dreams Factory


rkramadh says
Wow!! I don’t know how I missed this post earlier. Ever since getting the premium membership, I don’t visit the free site as much. When I got the friday newsletter with Dianna’s gratitude journal link, I visited here and at the bottom, it showed me this. I absolutely love these tickets as I just made a bunch of faux tickets using green file hangers cut into ticket strips and gluing text stamped acetate on each stub. I am definitely printing this bird tickets, just beautiful!! Thank you for the endless printables, and inspiration!!
Karen Watson says
Yay! So glad you dug through to find these pretties Rupa. Enjoy!
Colleen says
Thank you ,they are delightful
Karen Watson says
You’re welcome Colleen. Enjoy!