How to Use Simon Hurley Stamping Foam
Happy Day my delightsome paper crafters. It’s Rebecca, aka Cre8tiva. Boy…do I have something special to share with you today – a wondrous Mixed Media tool and technique tutorial: How to Use Simon Hurley Stamping Foam! This tool is pretty much a game changer I believe. It enables you to quickly create a stamp from almost any textured surface in your home. Be warned: You will be looking at everything through a stamping texture lens when we are finished. This fun technique is great for your Junk Journals, Mixed Media Collage, Handmade Cards, and so much more!!
What is Simon Hurley Stamping Foam?
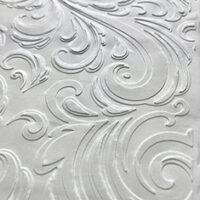
Have you ever had something you wished you could create a stamp of, but didn’t know how? This tool is the answer to your wishes! The Simon Hurley foam comes in a 3″ x 4.25″ rectangle, four to a package. It is a dense, durable material which is heated and pressed into a textured surface. As the name suggests, the foam molds itself around the texture, creating a custom stamp. There are some older versions of the foam, which is blue in my photos. They are a great alternative to traditional rubber stamps because they can be reheated and remolded over and over again. You can stamp them with acrylic paints, inks, and glazes for a multitude of effects.
Materials
Moldable Stamping Foam by Simon Hurley (there are some older products as well)
Heat Gun
Stamping Ink, Acrylics
Acrylic Glaze Medium or Liquid by Golden or Liquitex
Paper – I prefer Watercolor paper
How to Use Moldable Stamping Foam – Step-by-Step Directions
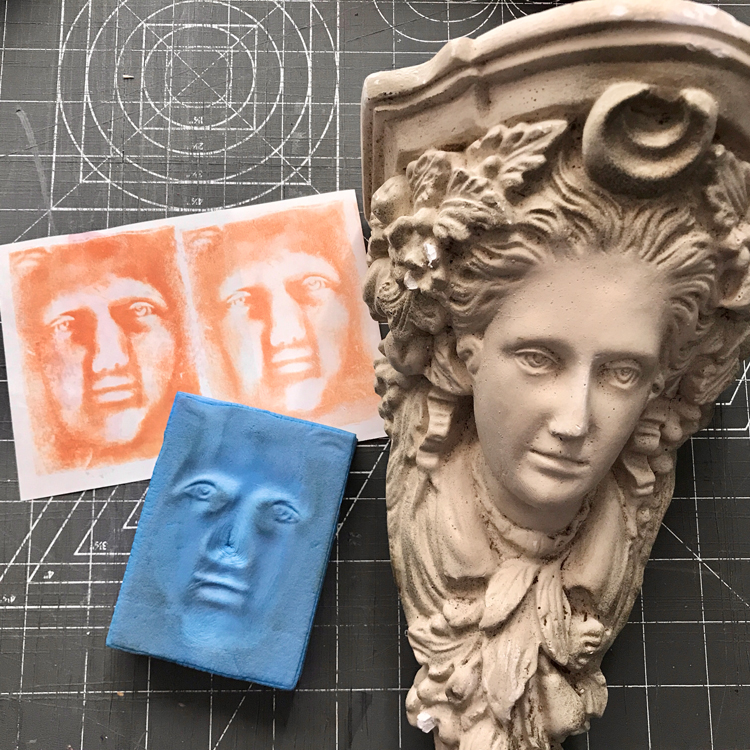
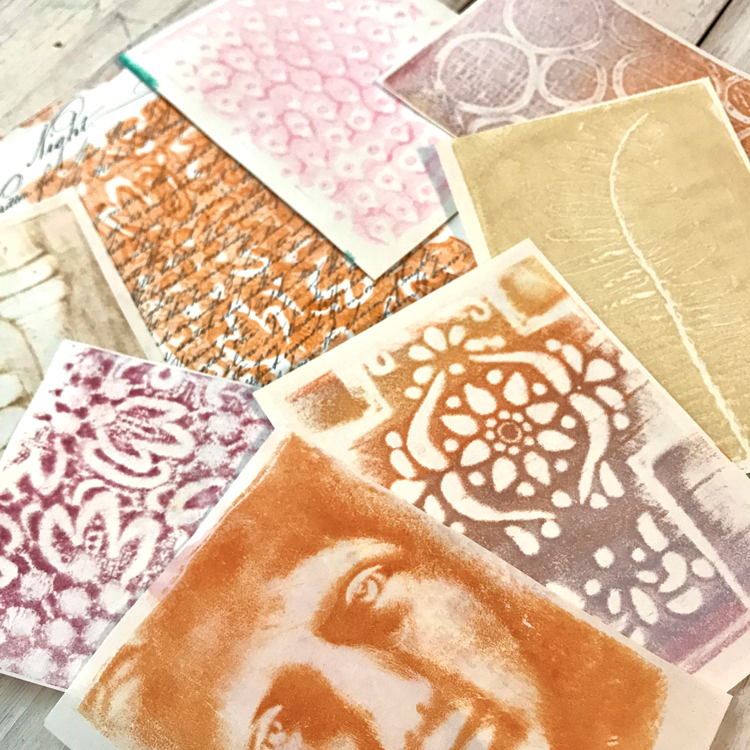
Step 1 – Select a Textured Surface: This might be the most fun part. Almost anything with a texture can be used with the moldable stamping foam. I have had success with fabrics, sweaters, rattan, wicker, kitchen gadgets, placemats, carved wood, picture frames, and much more. If you can get the foam pressed into it, you can create a fun stamp! My favorite ever molded stamp is made from a wall sconce with a face carved into it. I always wanted to make a stamp of this and didn’t know how! You can see that stamp and ghost print below.
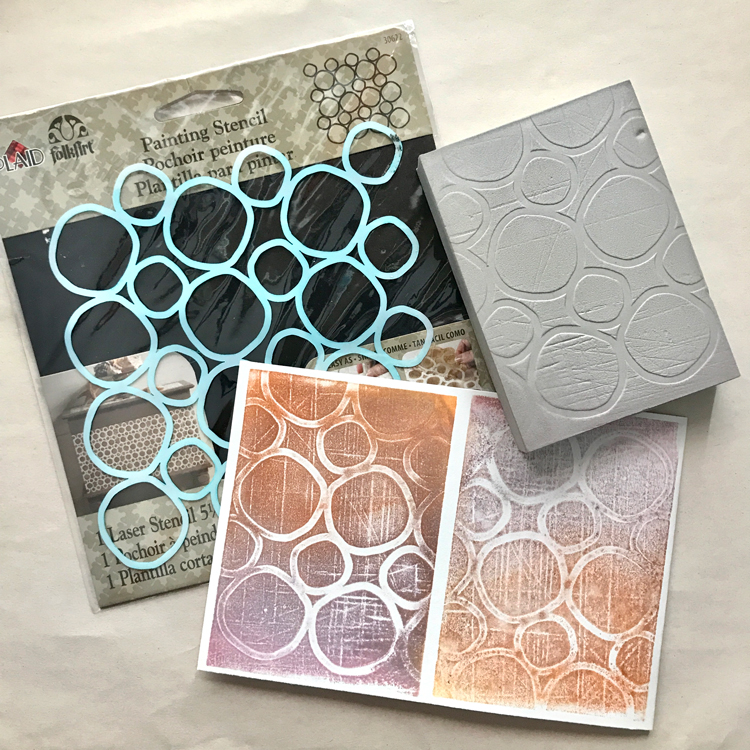
You can also make stamps with stencils and other rubber stamps. Keep in mind that it will give you a reverse image. That can be a big help if you have a stamp you want facing the opposite direction. Sadly, you cannot use words with this tool as they will be backwards! See a stamp created with a stencil below. The straight texture lines formed by chance when it was pressed into the stencil laying on my old cutting pad. Neat, huh?
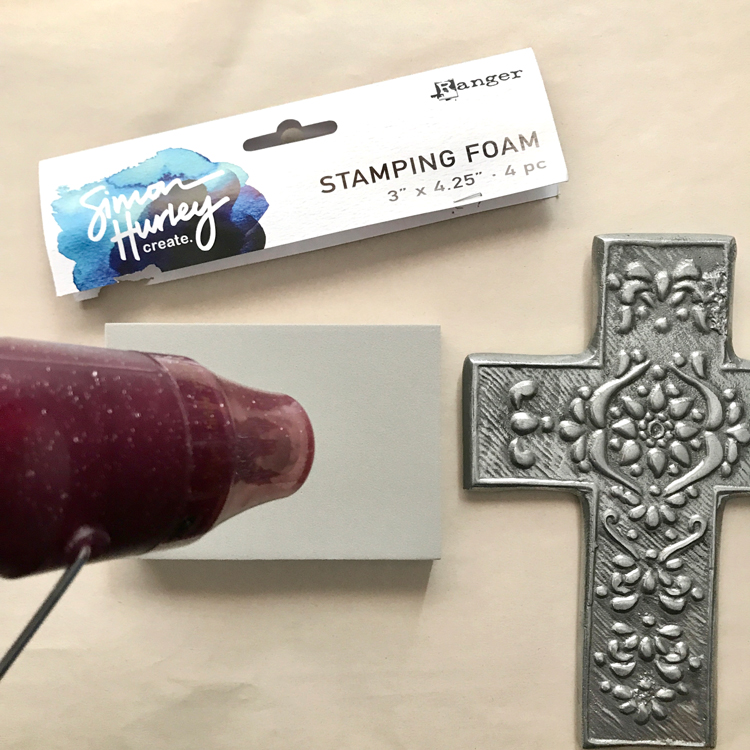
Step 1 – Heat foam with Heat Tool: Place the foam flat on your table. Hold a heat tool about an inch from the surface and move it over the foam for about 15-20 seconds. TIP: Keep the heat gun moving the entire time.
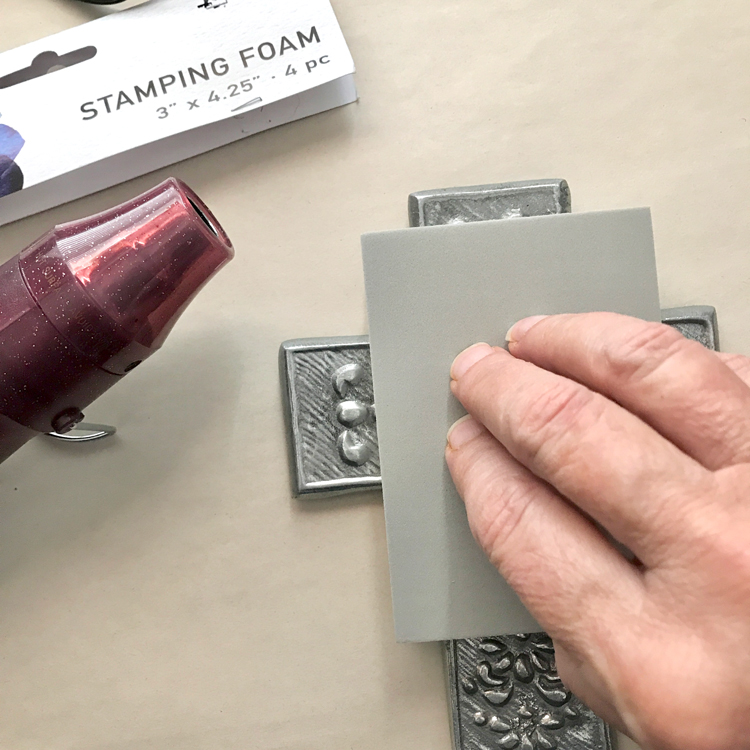
Step 2 – Press Foam into Textured Surface: Place your textured surface on your work table as flat as it can be. Quickly press the heated side of the foam rectangle into the textured surface. Hold it firmly in place for 5-10 seconds. TIP: Do not rock it or move it while it is molding itself to the surface. Remove it and check out your beautiful stamp! YAY!
Step 3 – Remove Texture from Foam: Heat the foam stamp with a heat gun for several seconds to remove the design. Keep it moving over the surface until the foam returns to its original flat appearance.
Stamping Options
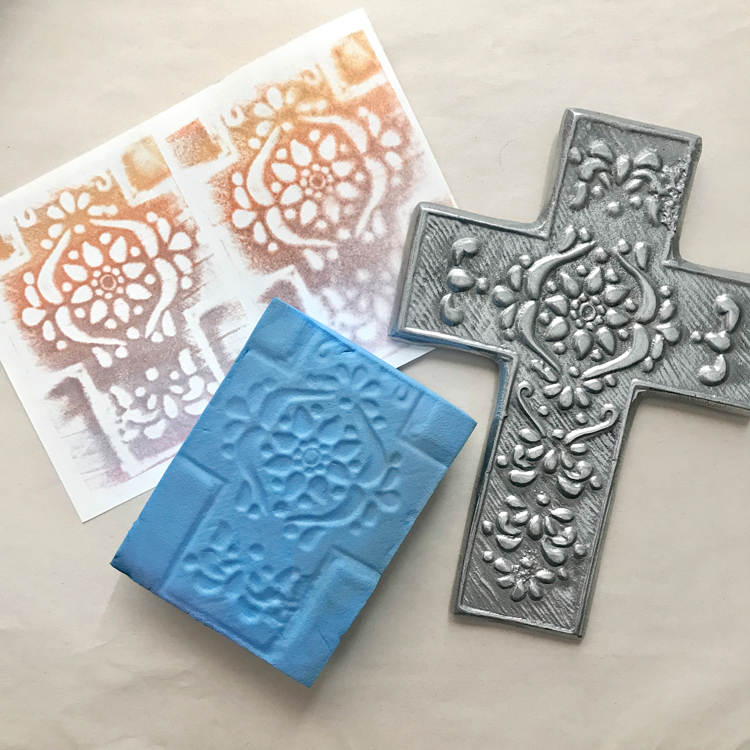
I found that I like to use the dye ink and distress inks pads with my molded foam stamps. They wipe off the foam stamp easily. Some inks and paints will stain the foam. No worries… that is fine. They will still work and remold. I just like to keep my tools as clean as possible! WINK: You can see the stamp and ghost print created with the cross below.
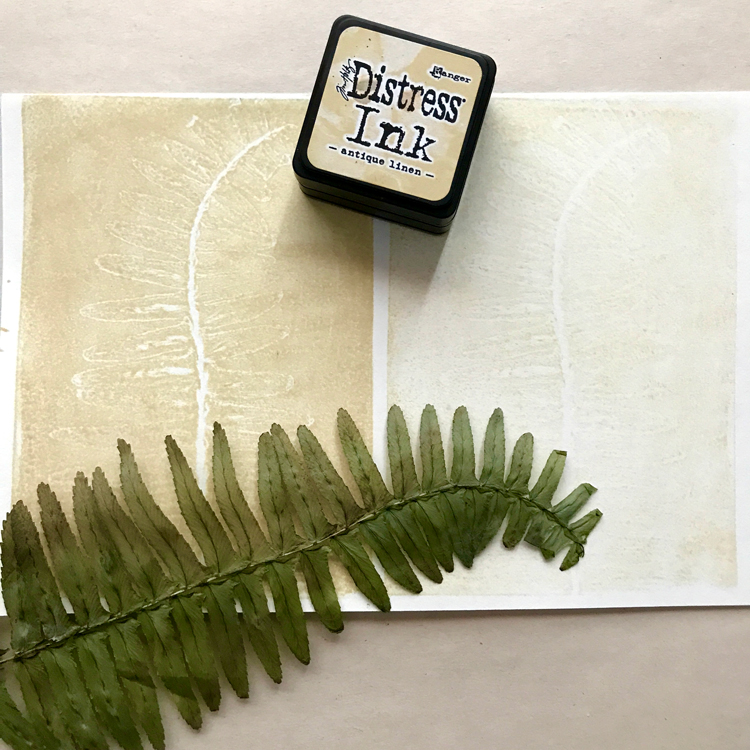
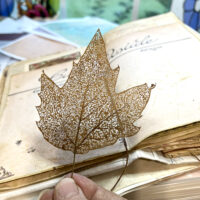
Option 1 – Stamp with Ink: I actually prefer to rub the ink pad over my foam stamp. The edges look really cool when inked. You can of course press the foam stamp into an ink pad if you like. Below left is my first stamp print. Below right is my ghost print. HINT: You can also use tiny dabbers to ink sections of your stamp. (e.g., If you want to make a flower pink and the stem green.) Be creative. I used a dried fern for this stamp. I love utilizing nature in my art!! It created a subtle print and ghost print!
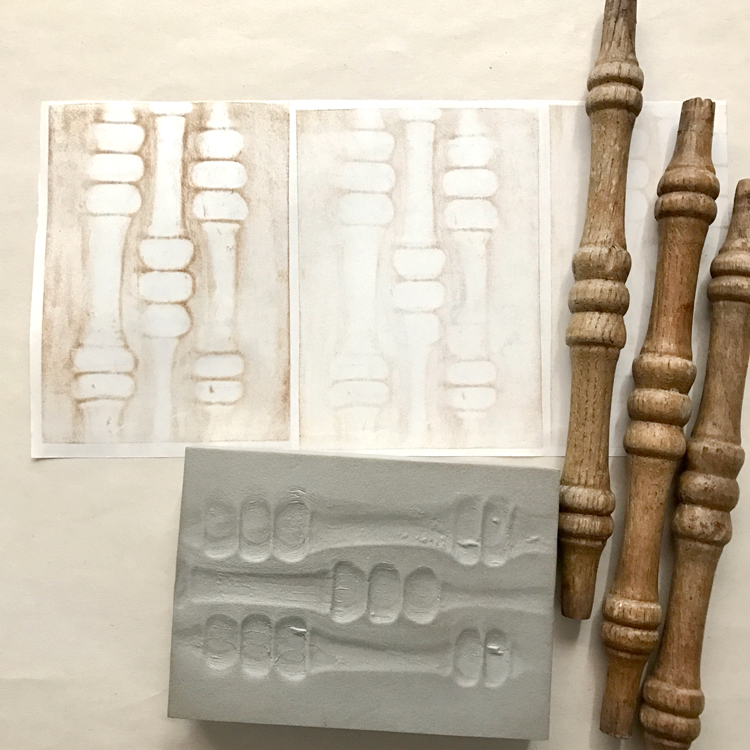
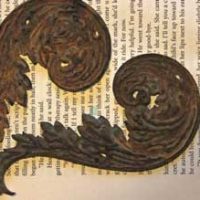
After the first stamp and ghost stamp, I mist a little water on the stamp. I found that I can get a few more prints this way. Some turn out like soaked watercolors. I encourage you to experiment with this process to see what you like best or what works for your artistic style. See my watery misted stamp prints below. I used some old carved wooden pieces for this stamp.
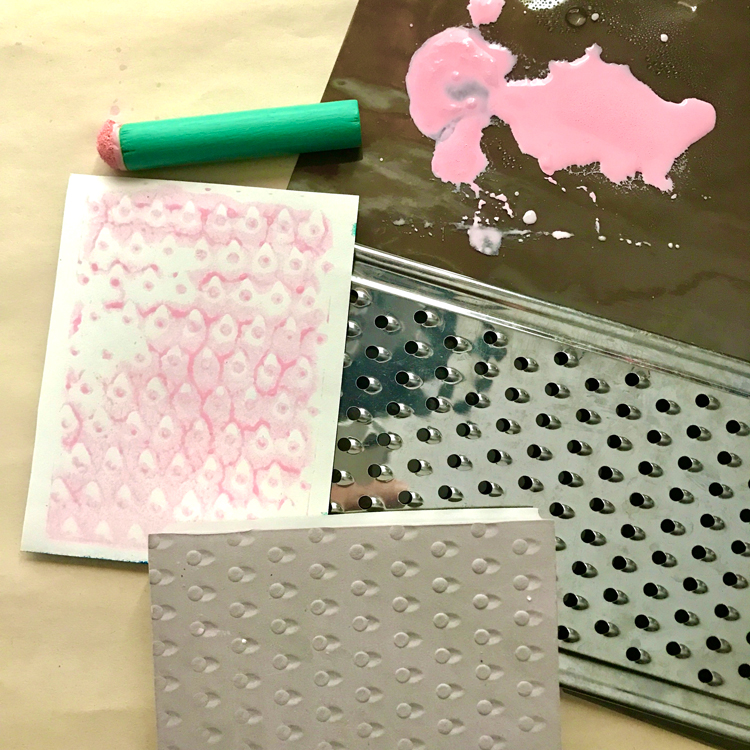
Option 2 – Stamp with Acrylic Paint: I like to make my acrylics watery! I use about half acrylic and half water. Apply with a foam makeup sponge by dabbing it on the stamp. This works with undiluted acrylics as well. You can also roll the acrylic paint, undiluted, on with a brayer. TIP: Work quickly as acrylics dry fast. If you prefer, you can use them full strength out of the bottle. Just make sure to clean the stamp after each print. You don’t want dried paint stuck to the foam stamp! YUK! I used a cheese grater to create this stamp.
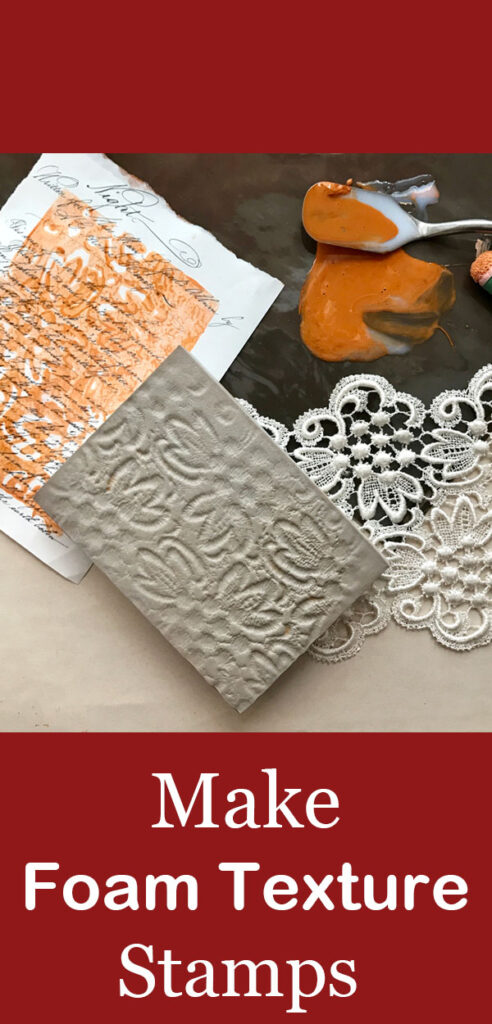
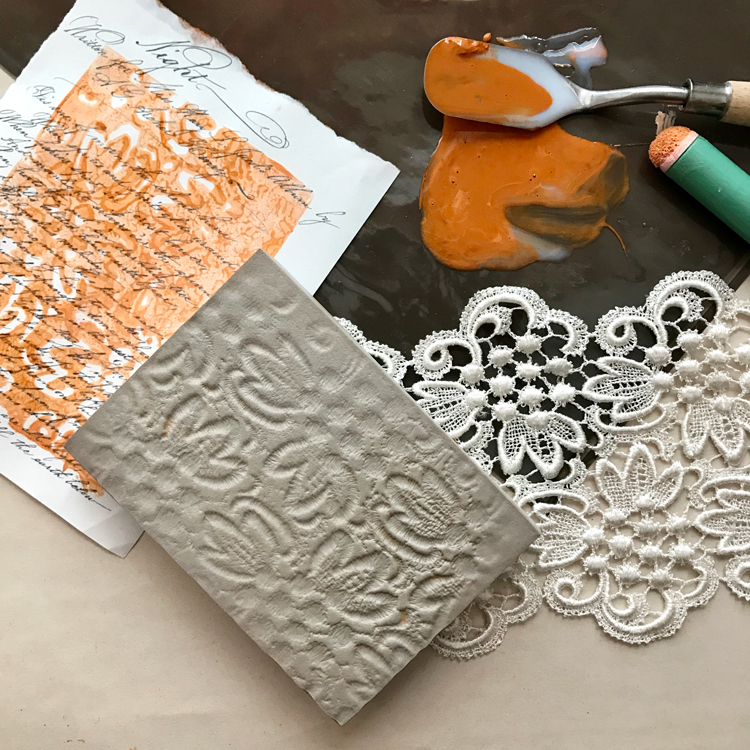
Option 3 – Stamp with Acrylic Glaze: I love the sheerness of prints with glaze and the ability to layer and layer. It gives a sheen that I like as well. Glazing medium makes acrylic paint more transparent. Acrylic glazing medium or glazing liquid is mixed with acrylic paint at a ratio of four parts glaze to one part paint. Make sure you follow the manufacturer’s instructions. Below I stamped with glaze over a TGF script image. WOW!!! The stamp was created with lace. It is a fave texture for me!
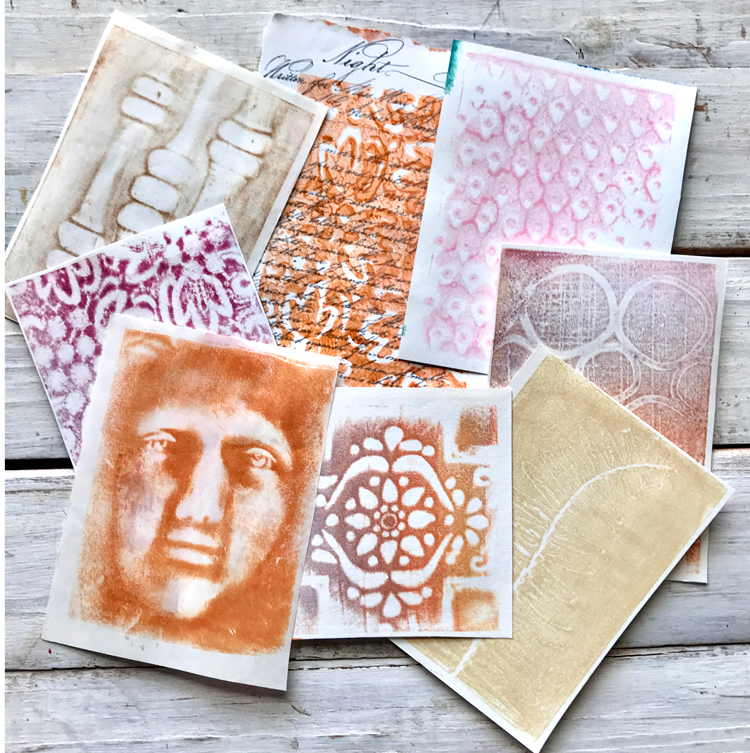
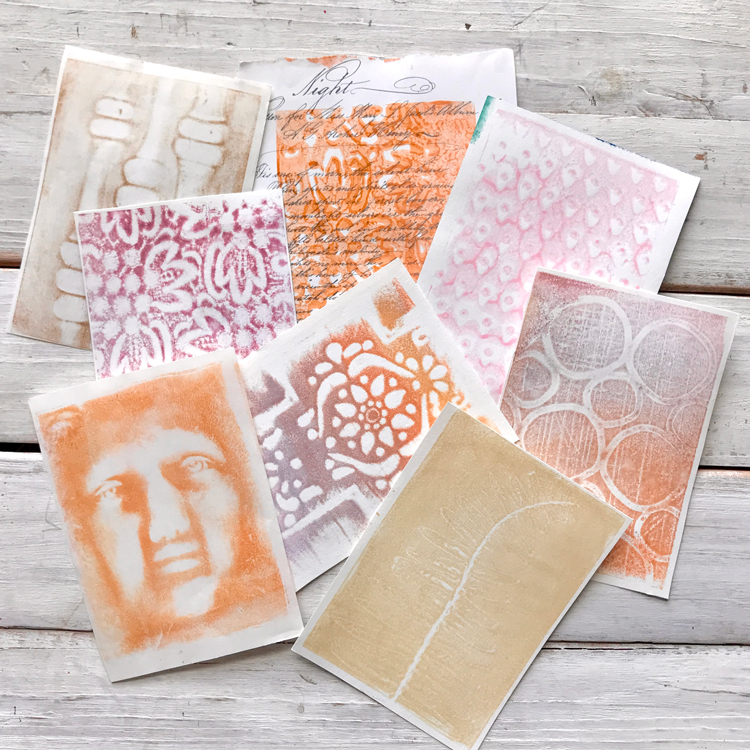
Here are a few more views. You can tell I love this tool!!
I hope that you had fun learning How to Use Simon Hurley Stamping Foam with me!! When I am not exploring with new and old Techniques for Mixed Media in my Graphics Fairy sandbox. I also create Photoshop Elements tutorials and craft project videos over on The Graphics Fairy Premium Membership site. You can find even more of my books, junk journals, mixed media art, classes, and whimsical shenanigans on Rebecca E Parsons Dot Com.



Vannessa Osbourn says
Rebecca using the wall sconce for a face stamp was really thinking! Love how it turned out! Thanks for sharing your ideas!
graphicsfairy says
Thanks Vanessa, so glad you enjoyed it!!
Rebecca E. Parsons says
Oh Vannessa, I have wanted to make Stamps of that face for a long time!!! I also found other faces on statues to duplicate!! I am obsessed!! Enjoy creating with the foam! REP