How to Decoupage on Glass
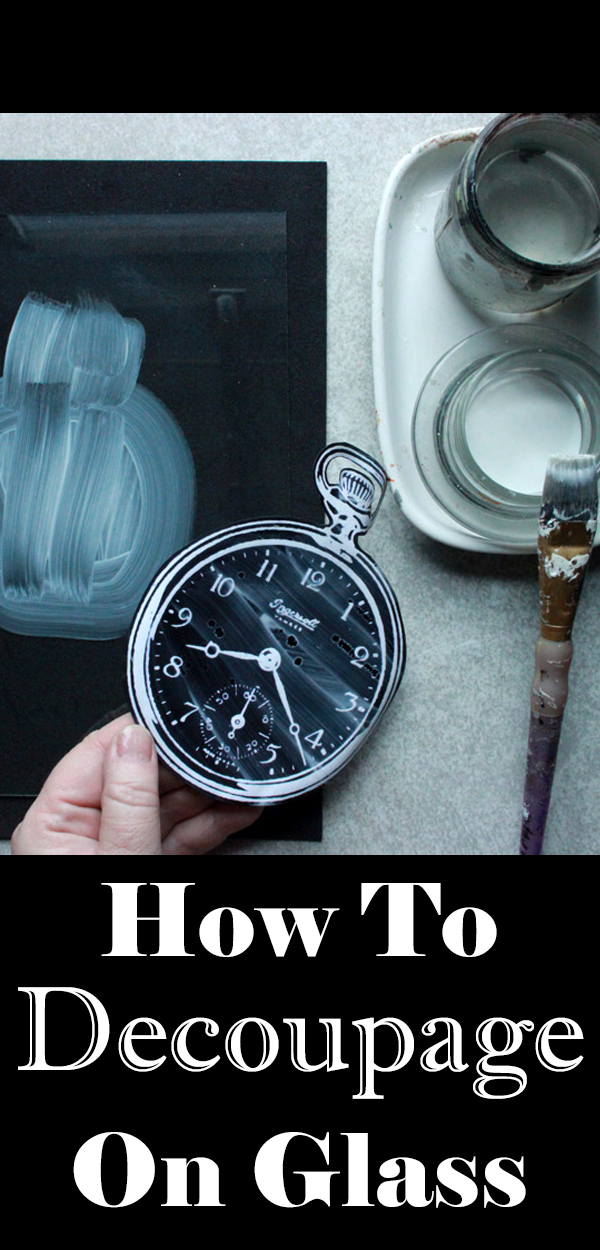
Hello Graphics Fairy Community – Heather from Thicketworks here to show you How to Decoupage on Glass! This is a perfect last minute gift project that is quick and easy, but has big impact. I will walk you through this simple craft technique and share my tips and tricks along the way.
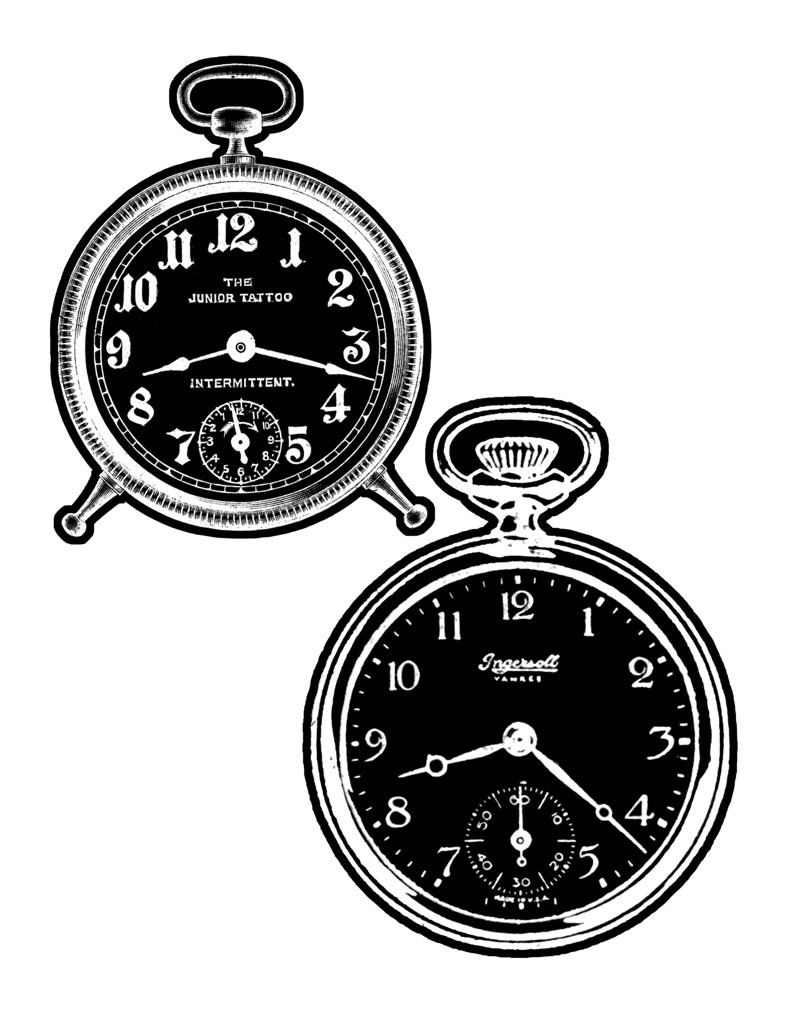
This is a great way to showcase your favorite Graphics Fairy images! The starting point for this project was two of my favorites: Black and White Pocket Watches and Cute Small Alarm Clock.
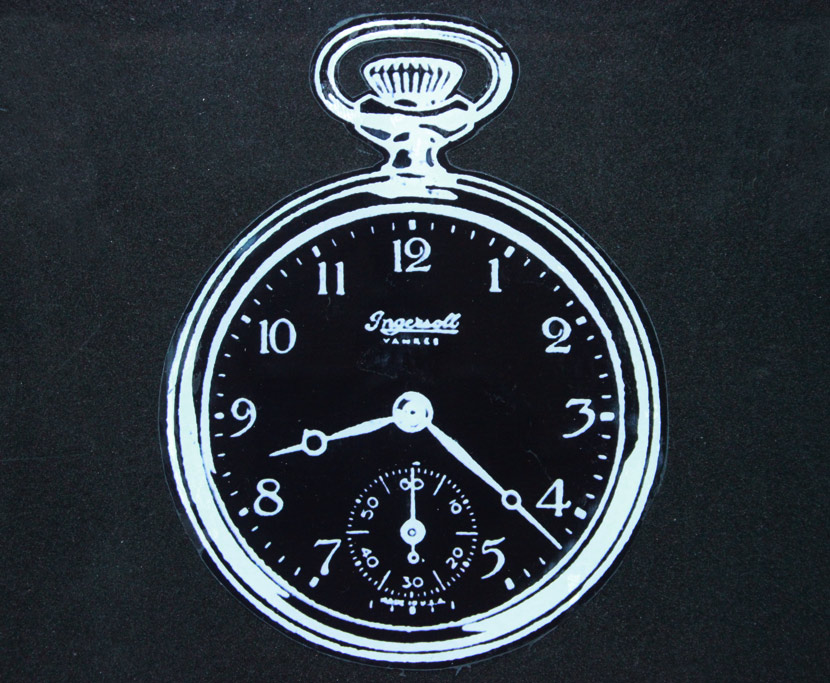
These strong graphics are a perfect match for this technique. I’ve resized the images and given them a bold black outline to make fussy cutting a breeze. Grab your full-sized PDF by clicking this image:
Free Printable How to Decoupage on Glass:
How to Decoupage on Glass Supplies:
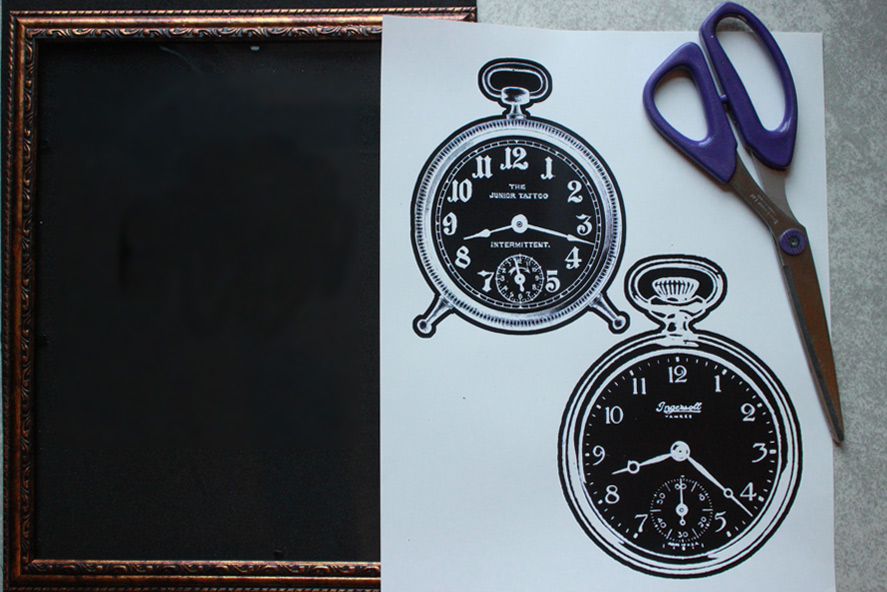
- A print out of the graphics on ordinary computer paper
- Scissors
- 8” x 10” Frames – I got mine at the Dollar Store
- A sheet of fun foam or similar as a padded work surface
- A sheet of old cardboard large enough to support the glass from the frame
- Mod Podge
- A rag
- An artists brush
- A container of water
- A Bondo spreader or similar flexible smoothing tool
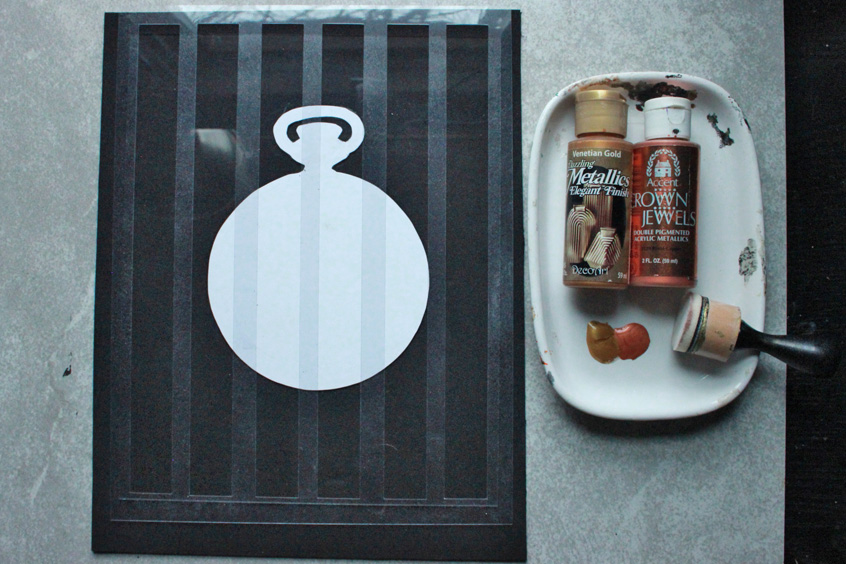
- Two metallic colors of craft paint. I used copper and gold.
- A palette to mix your craft paints on
- A Ranger Mini Blending Tool or similar applicator
- A stencil or painter’s tape
- Rustoleum Ultra Cover 2X spray paint in Flat Black
- Optional: a heat tool
- About an hour, including drying time
Tutorial Directions:
- Remove the glass from the frame. Be careful – cheap frames have cheap glass with sharp edges.
- Clean both sides of the glass thoroughly. Set it on a cushioned surface that you don’t mind getting messy – I love sheets of fun foam for jobs like this.
3. Cut out your graphics, making sure not to leave any white edges.
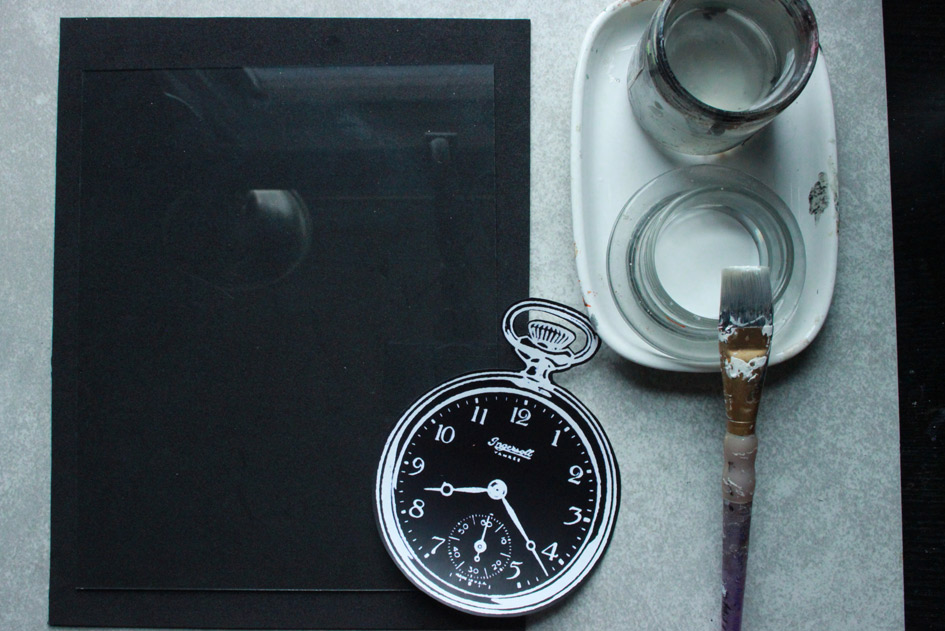
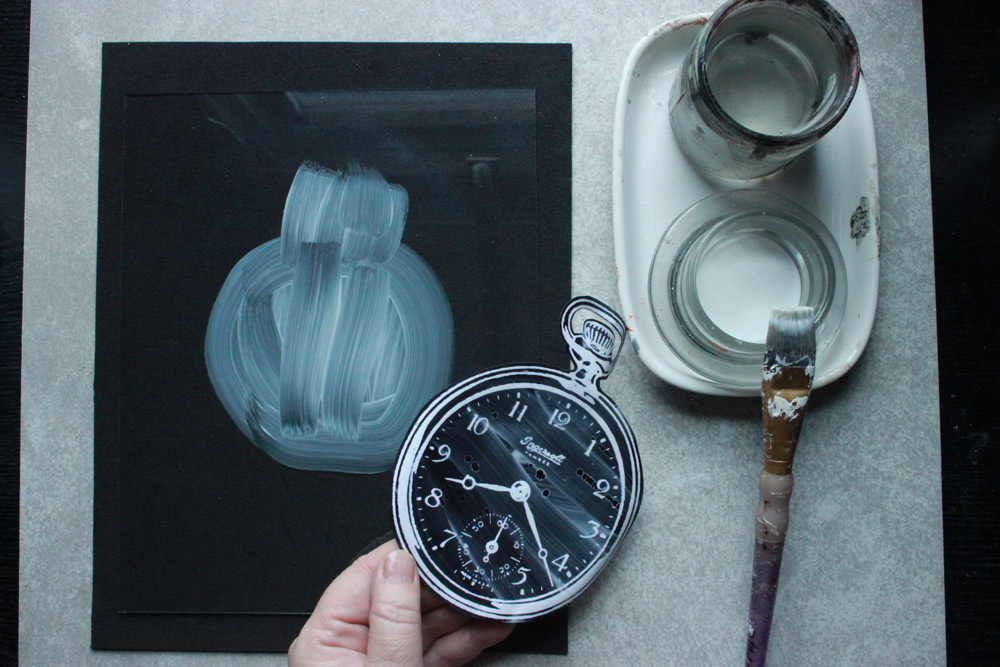
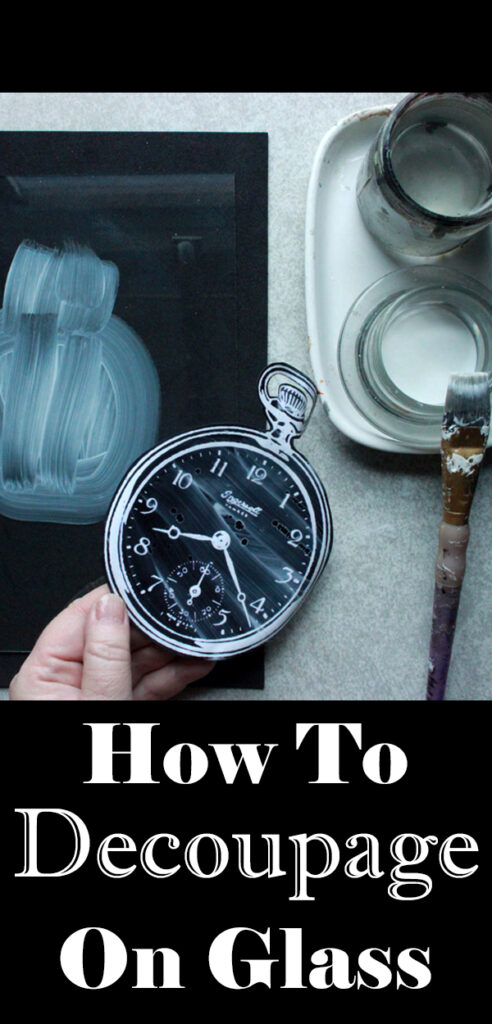
4. Coat the printed side of the image and the area on the glass where you want to place the image:
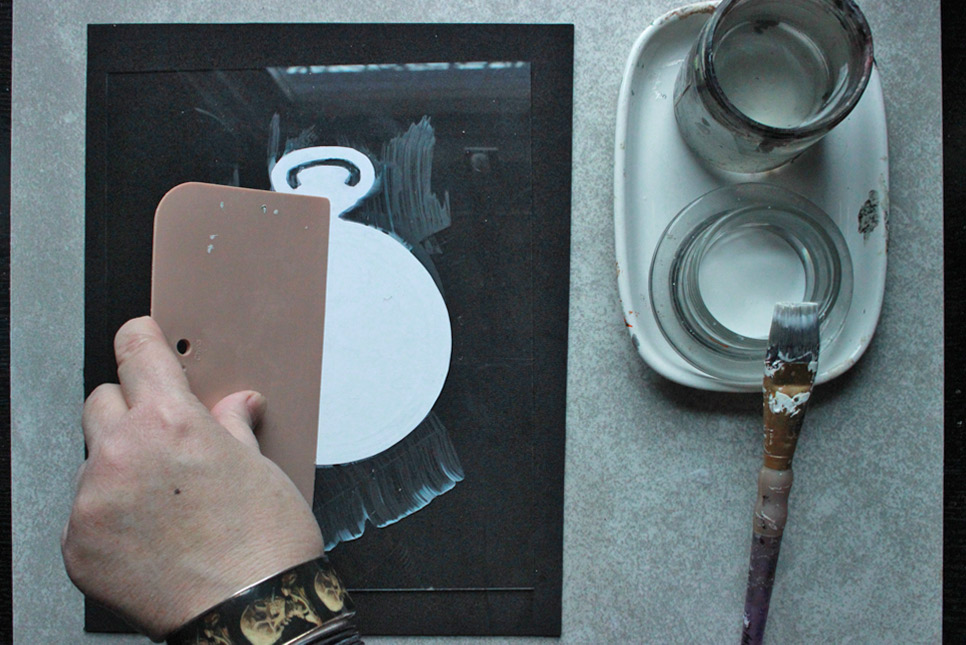
5. Place the graphic face down on the coated surface of the glass. Use your fingers or a tool to smooth the surface against the glass. The goal is to remove any air bubbles or pockets of Mod Podge.
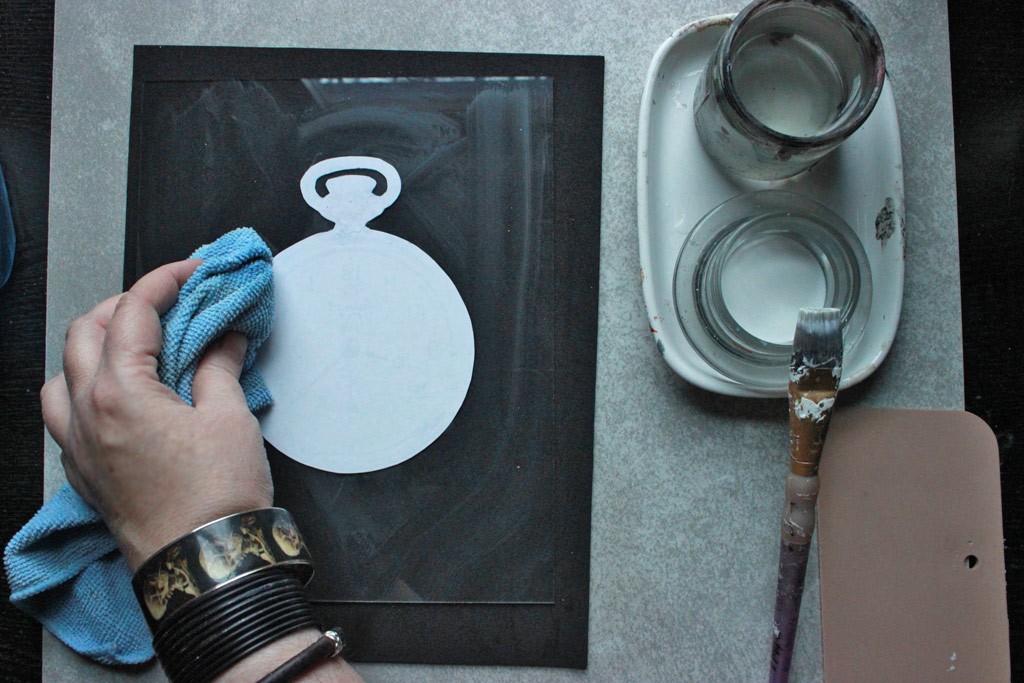
6. Once the image is adhered, remove any haze from the glass with a dampened rag. Make sure to clean the glass carefully for the best results.
The Mod Podge begins to dry very quickly. Here it is after only 10 minutes. Another 5 minutes, and I was ready for the next step.
7. Place a stencil over the glass and the back of the graphic.
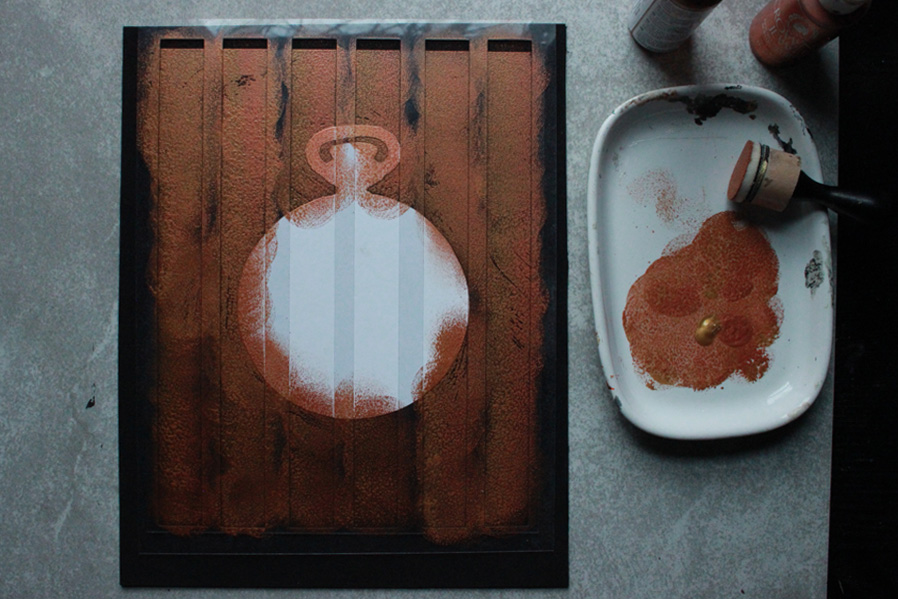
8. For this project I wanted a two-toned metallic look. If you like this color combination, loosely mix gold and copper together, then carefully dabb the paint onto the glass using a smooth foam applicator.
Note: If you want perfectly symmetrical stripes, consider using painters tape rather than a stencil.
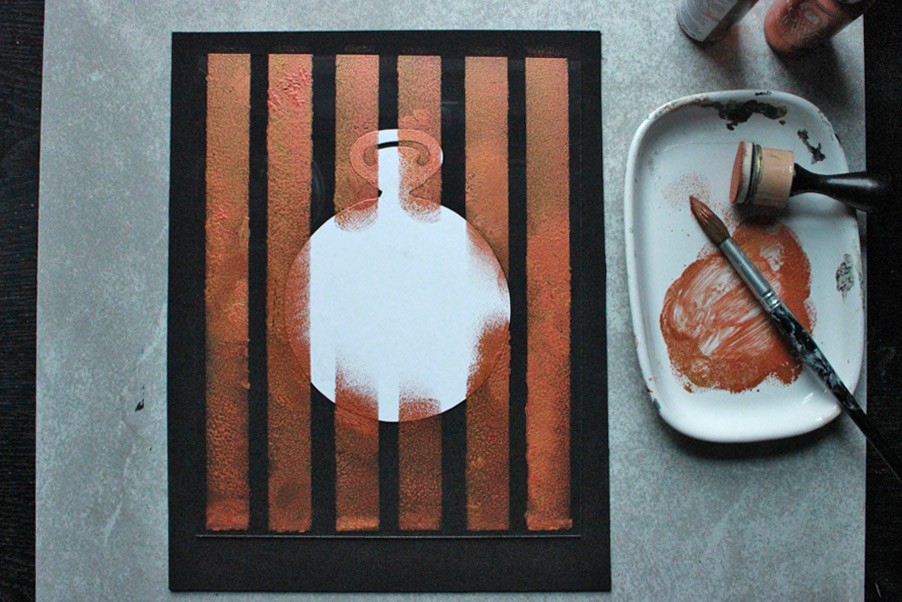
9. Carefully remove the stencil or tape while the paint is still wet.
There’s a slightly ragged look to my stripes – I like this look. If you don’t, just wait till the paint dries completely and use a sharp craft knife to neaten the edges.
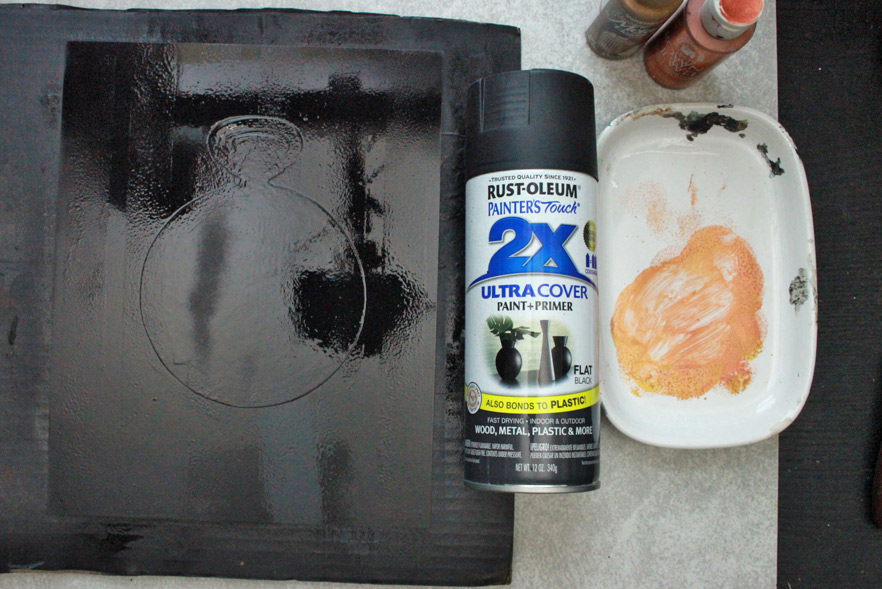
10. You can speed the drying time with a heat tool. When the metallic paint is thoroughly dry, carefully place your glass onto a piece of cardboard, take it outside and give it a quick shot of Rustoleum 2X.
Love this stuff. It dries very quickly.
11. As soon as the spray paint has dried, you can pop the glass into your frame, and admire your handiwork!
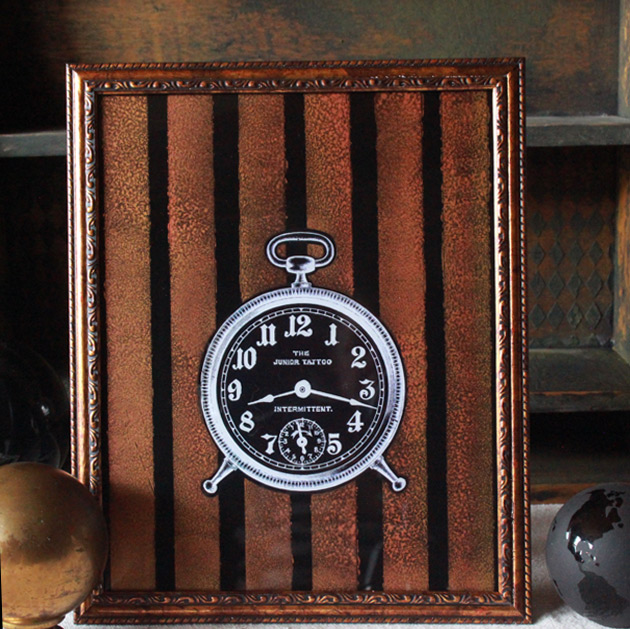
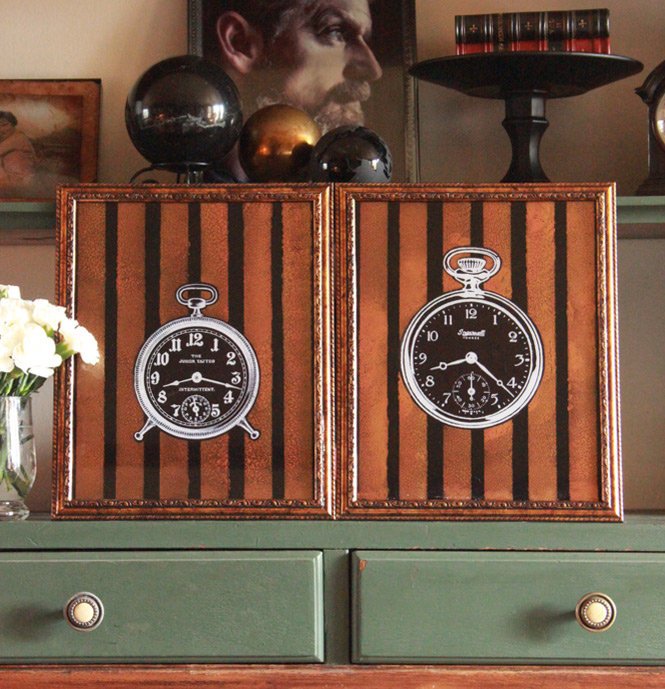
Using bold stripes of metallic color creates a fantastic background for these adorable timepieces:
And that’s it! Hope you find this how to decoupage on glass tutorial useful, and thank you for joining me today.
You may also like this post about Decoupage Glue HERE.
Stop by Thicketworks to discover more ways to turn inexpensive items into pieces you’ll be proud of!
Take Care,
Heather



rkramadh says
Beautiful yet simple project. I presume the black parts showing through the stenciled area is the frame backing itself? Without it, the glass should show through I think…..? Just making sure I am not missing any steps…thanks.
Heather Tracy says
Hello, rkramadh! The black parts are actually a layer of Rustoleum 2X spray paint, which coats the entire back of the glass, once the decoupage and metallic stripes have been added. This gives the whole piece nice depth, and seals everything very well.
Cathy M T says
Two more cool techniques to try! I love the effect of the paint on the glass. Thanks for the detailed how to. Merry Christmas.
Heather says
Hi Cathy…I love that effect, too. And so EASY to do! Merry Christmas to you and yours. Thanks for taking the time to comment, it’s wonderful to hear from you.
christina webber says
Hi Heather, this looks like a cool project! I love the copper and gold and the images and … LOL! Did you alter the frames or buy them like that?
I’m in the middle of TRYING, or attempting, to make the vintage deer ornaments you posted some time ago. So far (fingers crossed) I haven’t managed to screw anything up 😉 I did forget a crucial color of paint, accidentally buying 2 of the same wrong colors 🙁 Anyway, I really love all of your projects and if I can do it anyone can that’s for sure!
I wish you and yours a Merry Christmas and Happy New Year! Thank you so much for sharing all of your awesome tutorials/projects/
techniques … you know what I mean.
Heather says
Hi Chris! Merry Christmas to you, too!
The frames I picked up from the Dollar Store had a kind of coppery finish to them, which dictated my choice of paint colors – I didn’t do anything at all to the frames. However, it would be a simple thing to paint the frame in the same colors that you use in your stenciling.
It’s such a pleasure to hear from you, Christina! You’ve been so kind over the last few months. Your sweet feedback is so appreciated!
I look forward to creating many more projects to share in 2016. Let’s make splendid messes!
Take care, dear!