Vintage Stickers
Hello, Graphics Fairy friends! I’m Diana from Dreams Factory, sharing another fun DIY project with you for some Vintage Stickers! Today we are bringing a little bit of color into our lives and we are making some quick and easy DIY Spring Stickers! What a better way to celebrate spring than with a pop of color that can instantly lift our mood and make us feel happier? Especially during this time of year, a little bit of color could be all we need!
These DIY Vintage Spring Stickers are highly adaptable and can be integrated in many of your creative projects, it will be so easy to use them when in need.
I’m sure you can remember that this is not our first sticker project. I made and shared with you some black and white vintage stickers -> How to make stickers a while ago. Still love and use those, but I knew I wanted to try a colored variation of the DIY stickers idea someday, so here they are, just waiting for you! 🙂
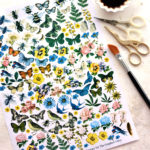
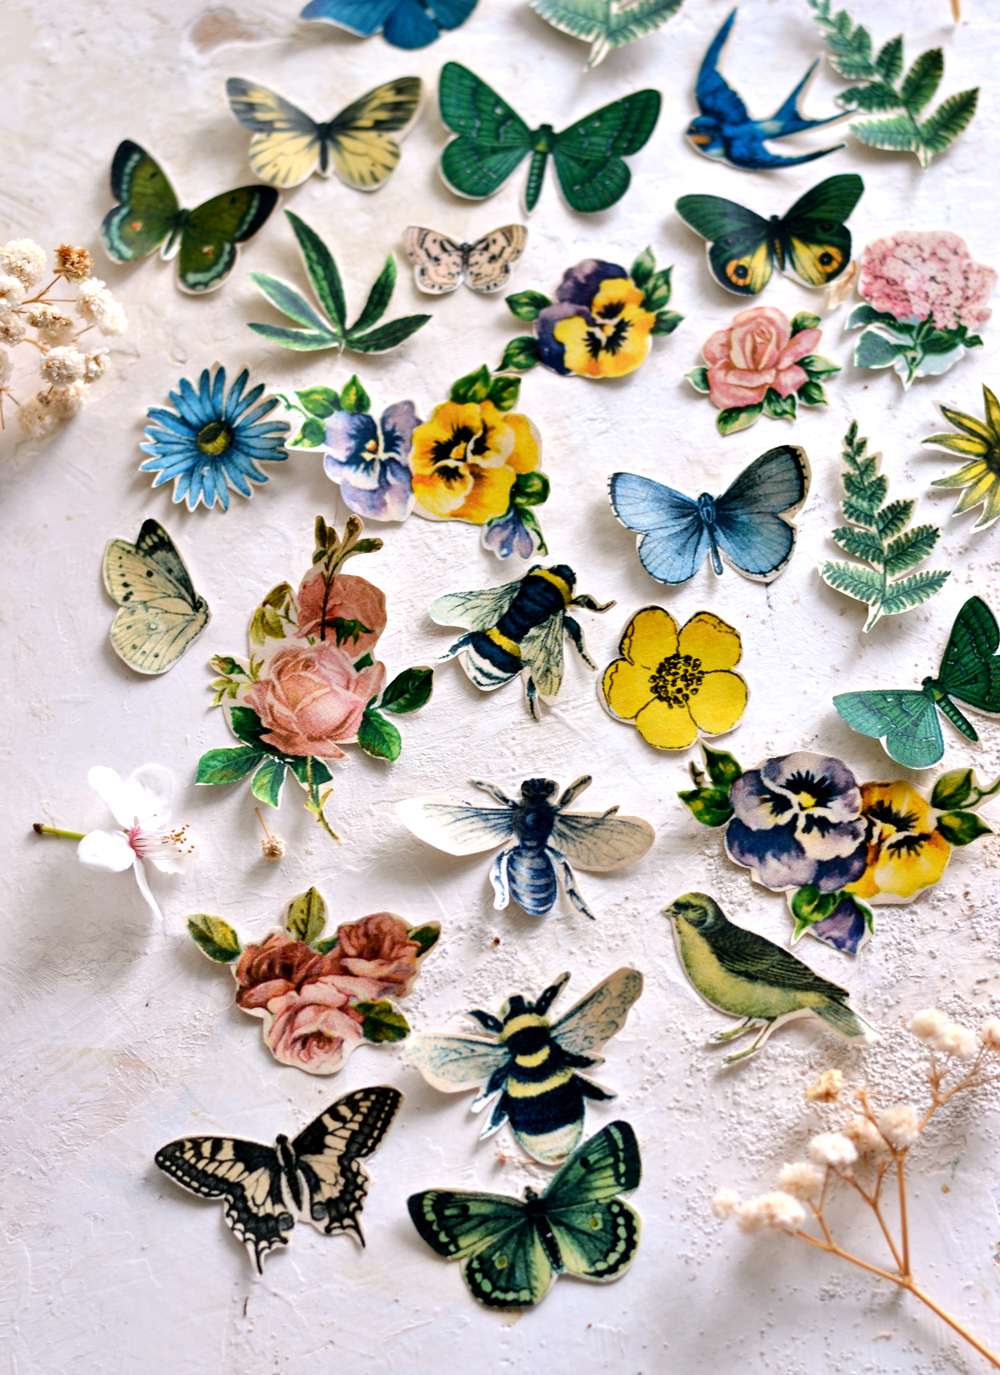
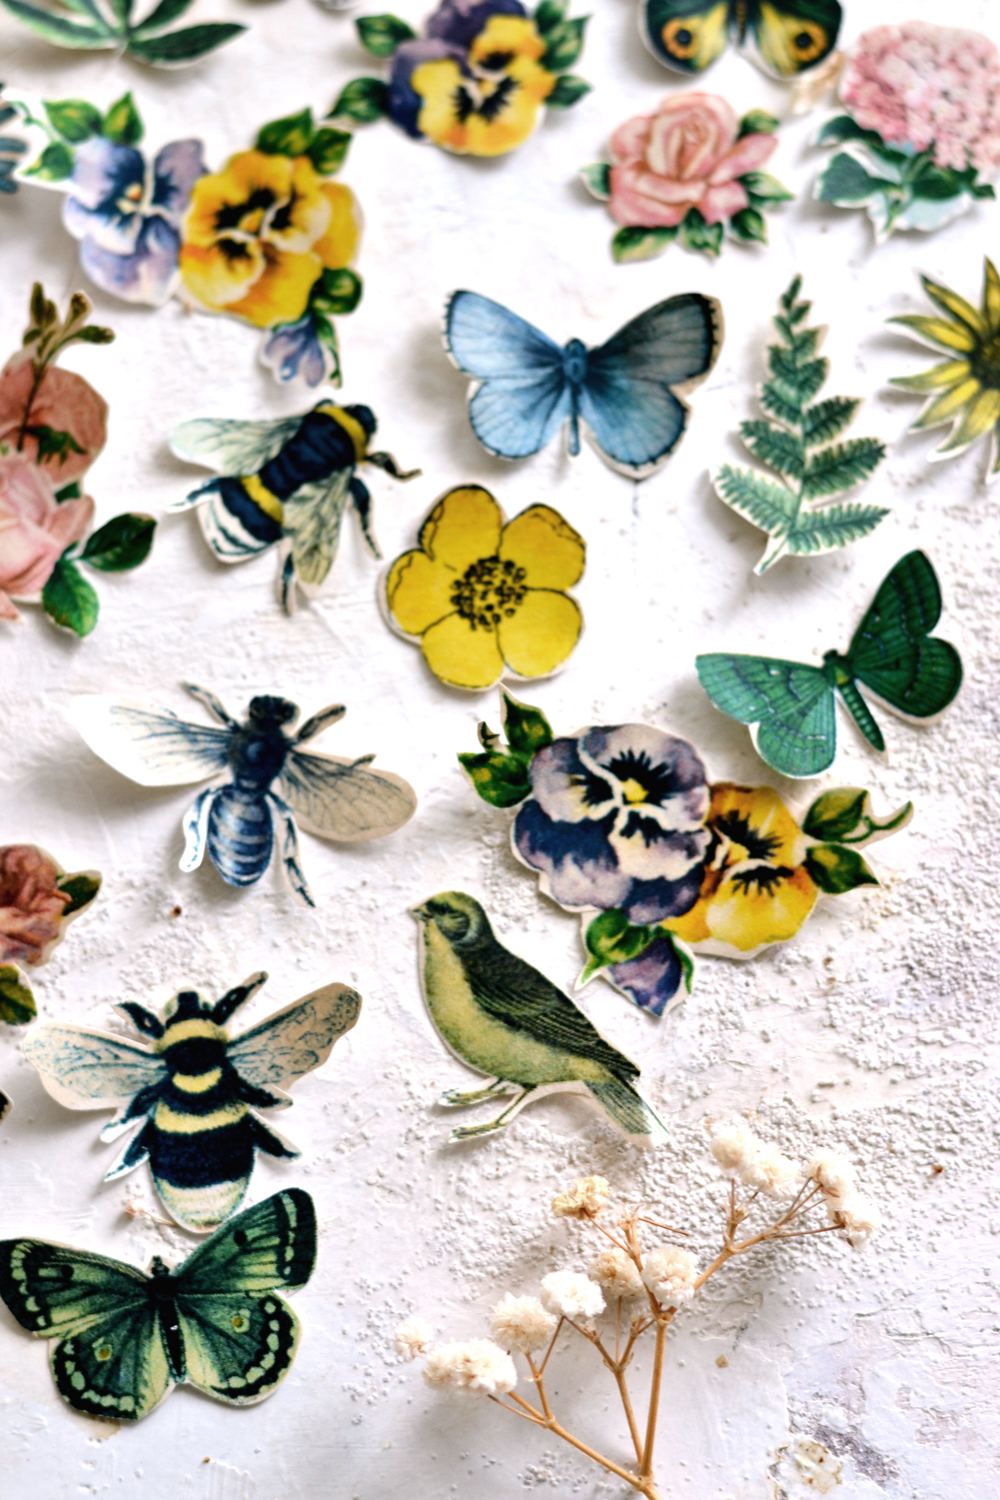
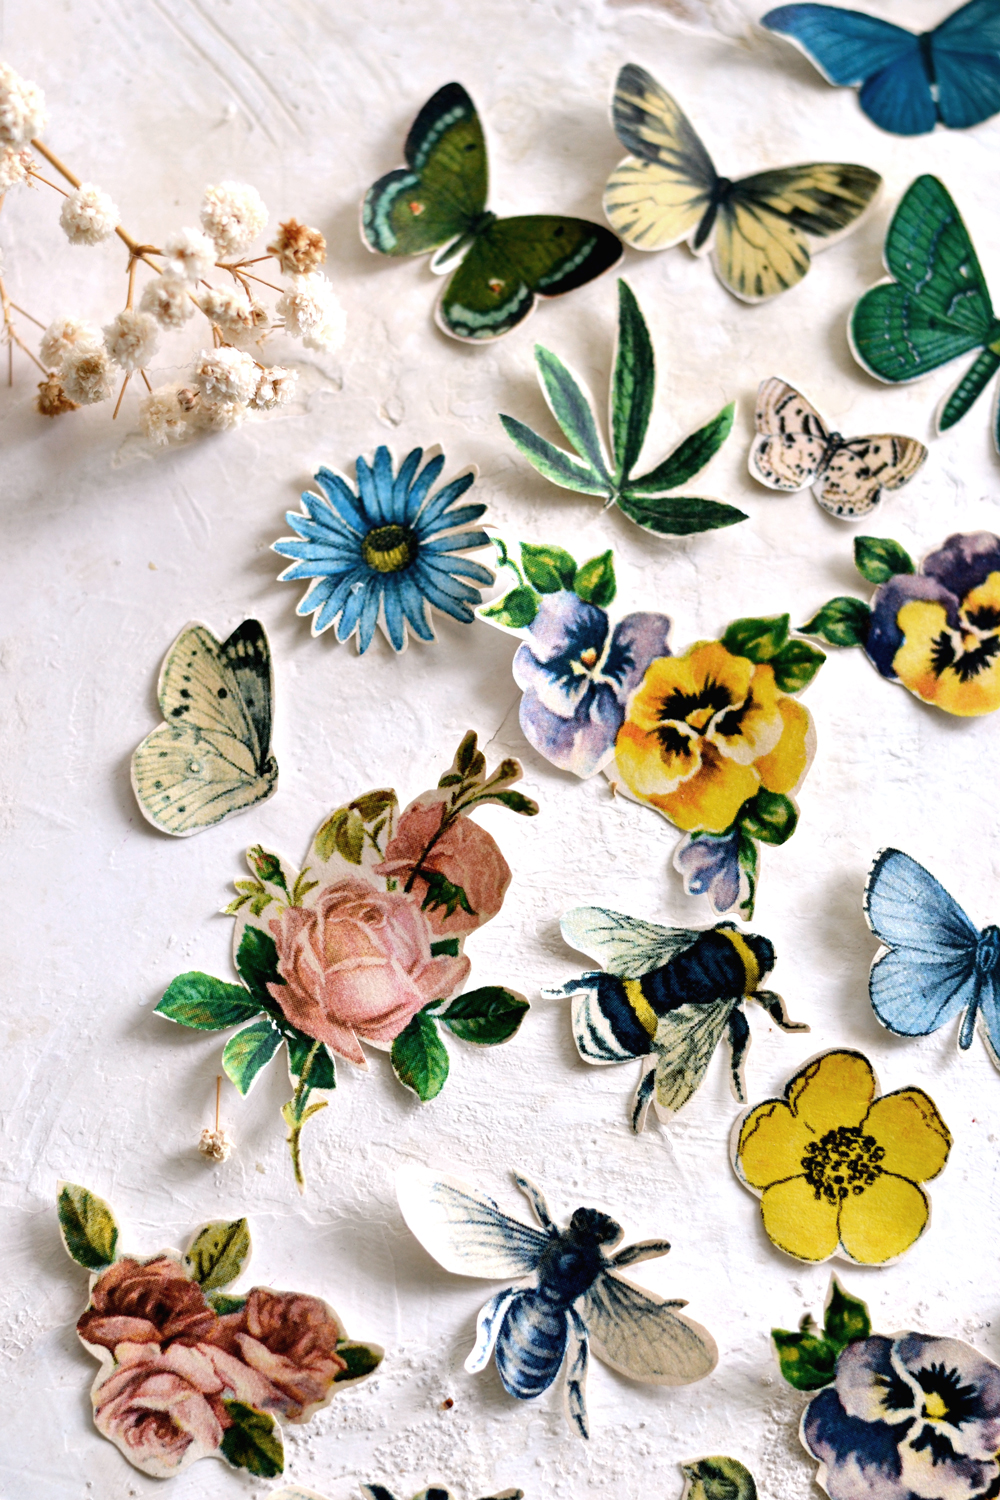
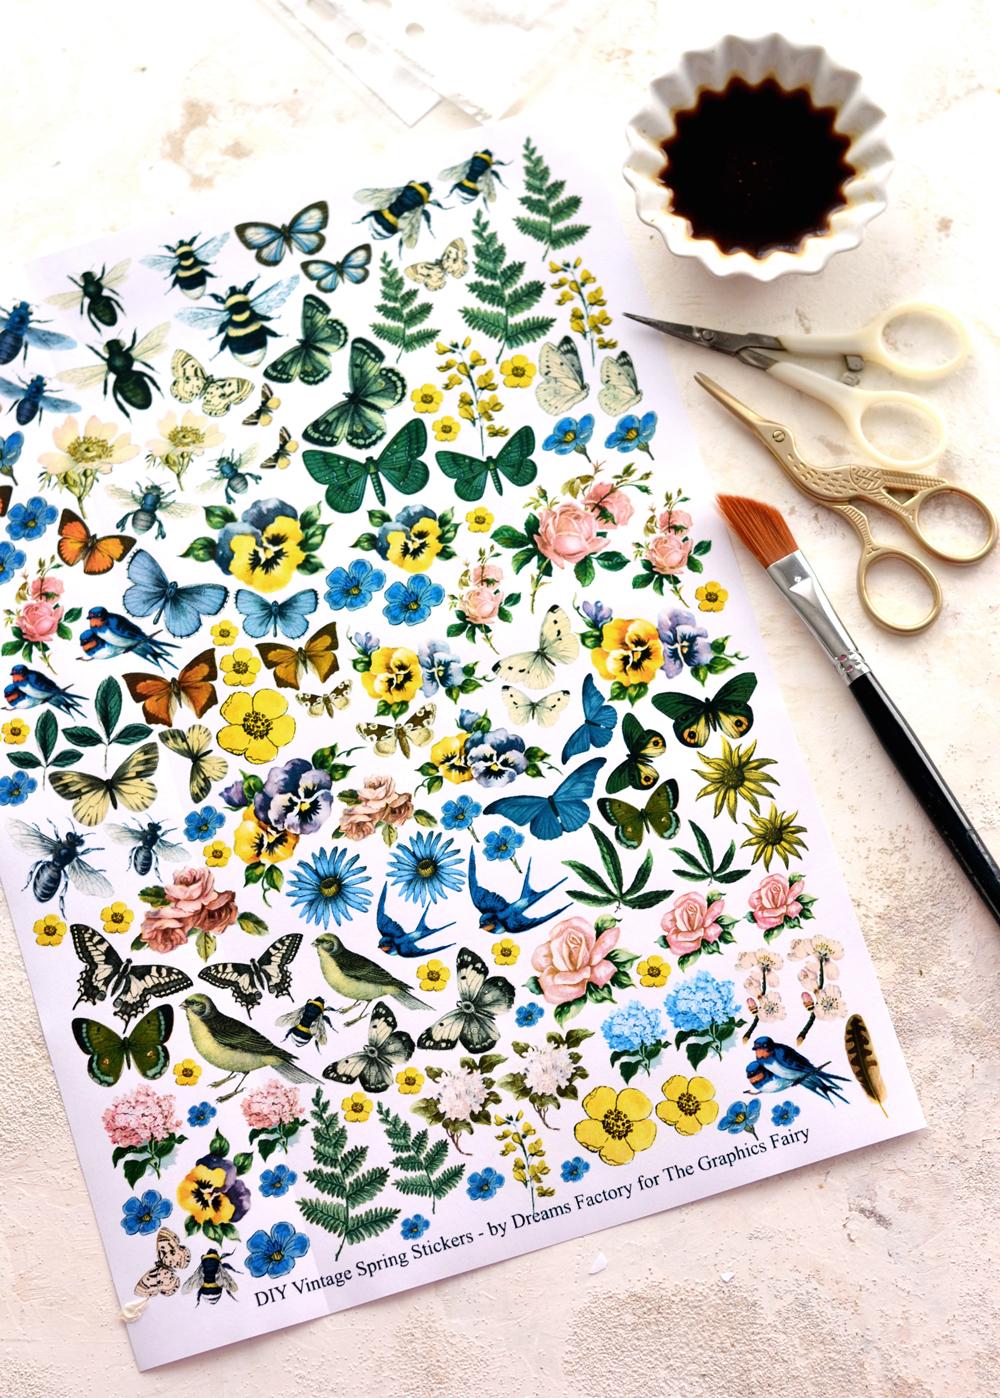
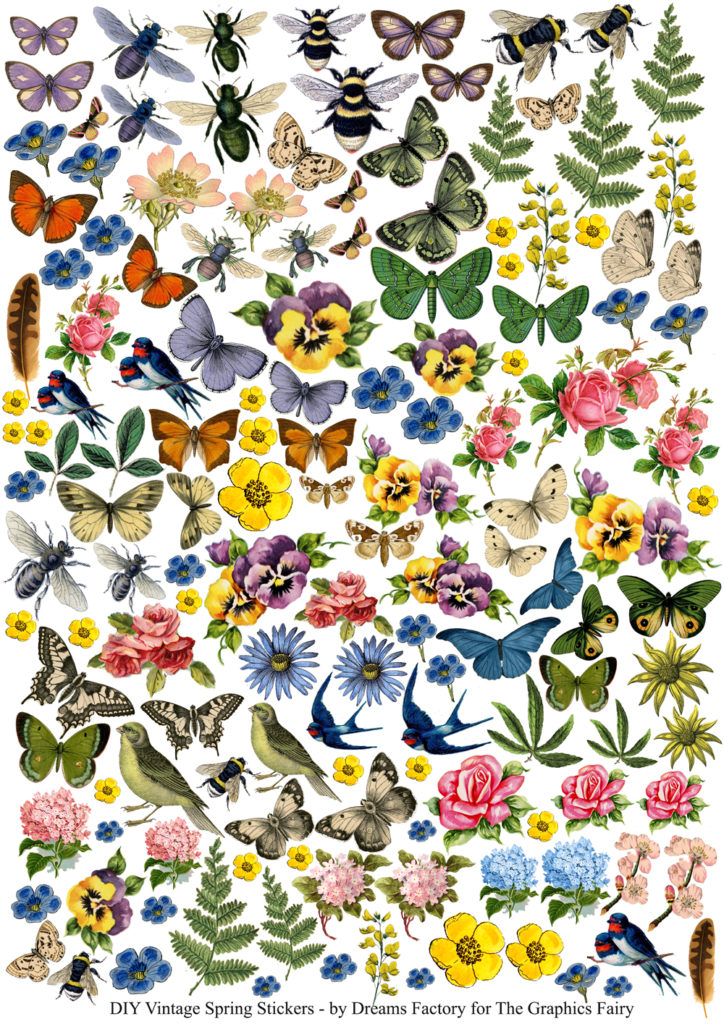
I initially created just one page with all these amazing elements – different types of flowers, ferns, butterflies, moths, birds, bees, all in different variations, but in a smaller size. But after photographing the project and seeing how stunning the images look, I thought it would be nice to have more options, so I created another page, in a slightly bigger size! I’m simply in LOVE with all these stickers, hope you will love them too!
Vintage Sticker Printable
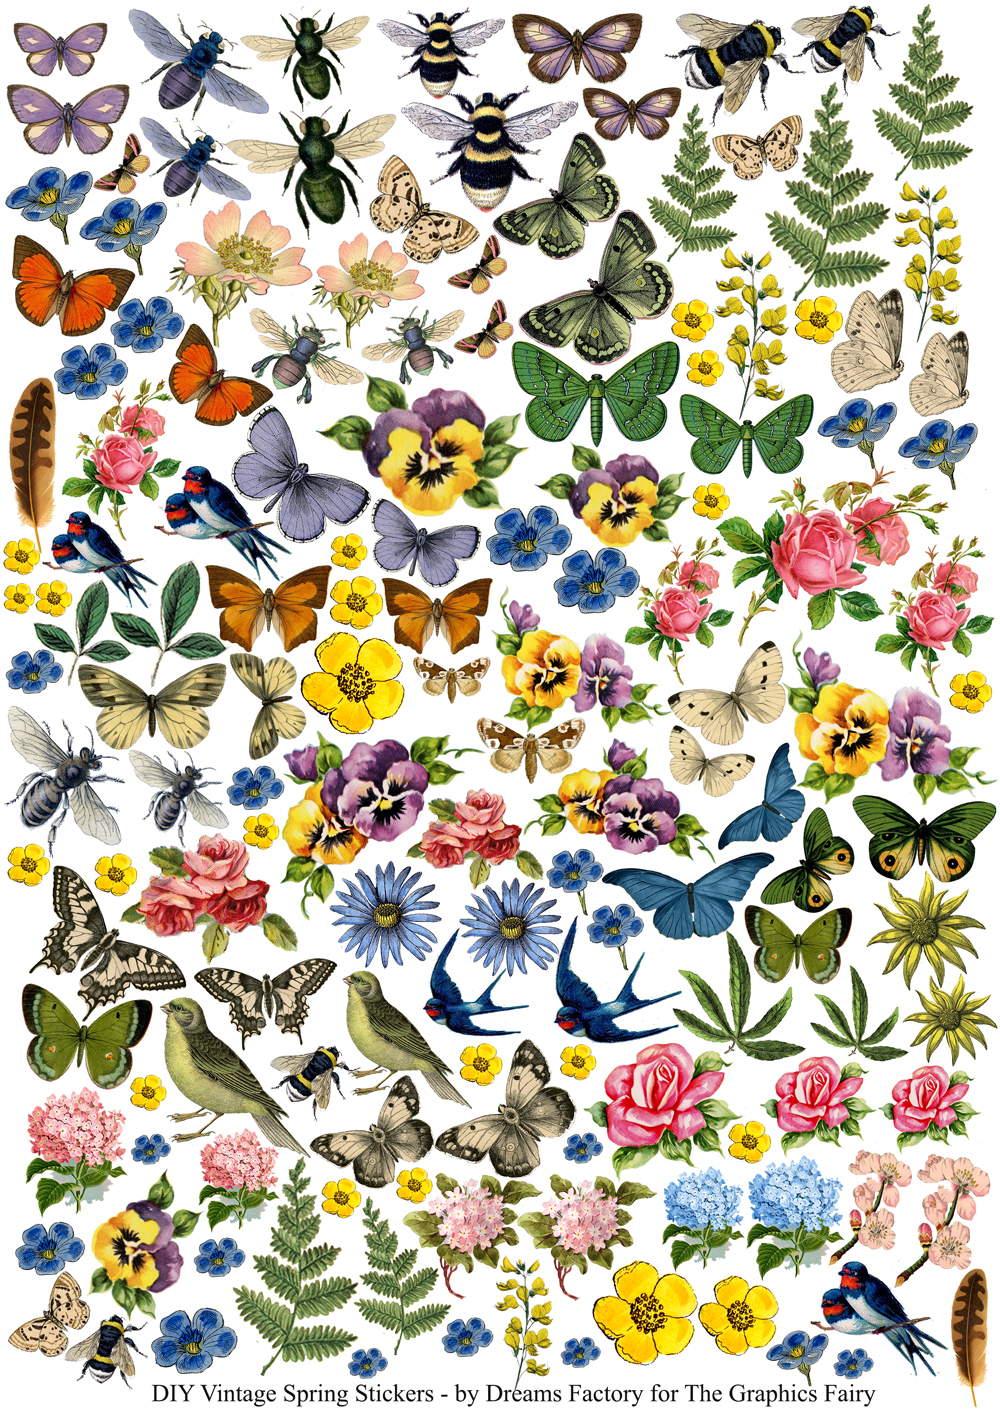 —-> Click HERE to Download the Full Size Free Printable Stickers PDF <—-
This will be the easiest project ever and you will only need white sticker paper to create these lovelies. The images on their own have a beautiful vintage vibe, but if you want to add more charm to them, you can use coffee, tea or even watercolors to lightly or heavily distress them, according to your own liking. So even though you basically just need to print the DIY Vintage Spring Stickers, you will have the possibility of further adapting them to your needs! Love when that happens! 🙂
You could also use clear sticker paper for printing the stickers, staining them won’t be necessary in this case.
Another viable (and much cheaper) option would be to create your own clear stickers using packing tape, like I showed you here on my DIY Clear French Labels project.
And what about waterslide decal paper? That could be another great option, in some cases! If you want to know more about this type of paper, you can check All about waterslide decal paper on my blog and I’ll show you a few examples at the end of this post.
Vintage Stickers SUPPLIES:
- white sticker paper
- clear sticker paper
- ink or laserjet printer (only the laserjet printer,or Karen’s Printer HERE, will work if using coffee to stain the stickers)
- manicure scissors or other small detail scissors
- coffee (optional)
- brushes (optional)
- paper towels (optional)
1. Print the printable on white sticker paper and gather all the other supplies.
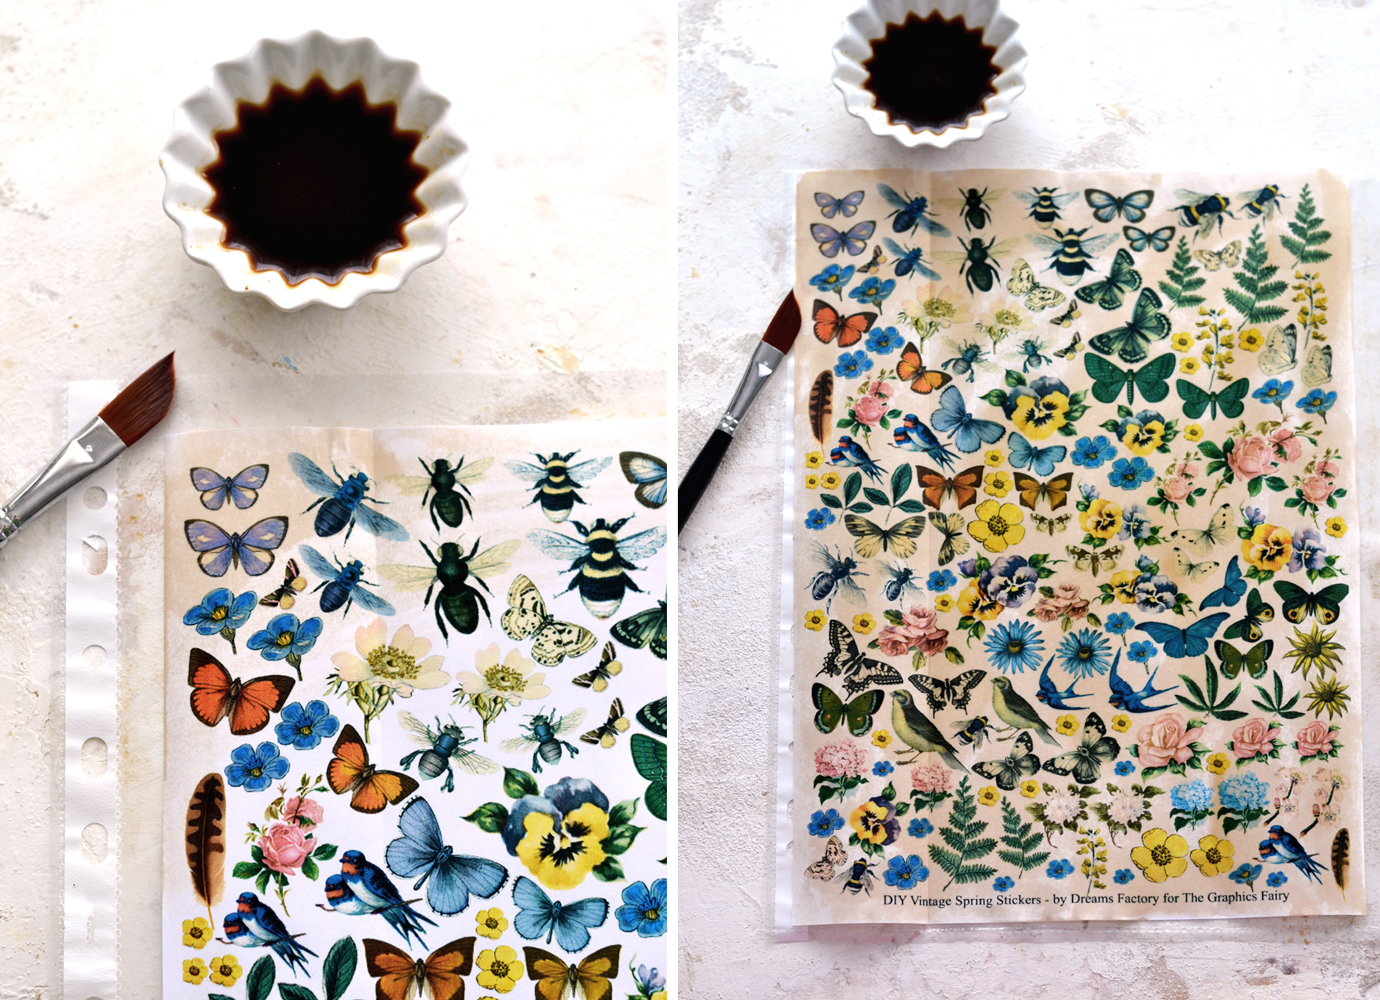
2. Start to gradually brush the coffee “stain’ all over the stickers, you can see the difference between the white paper (on the left) and the coffee stained paper (on the right). This step is optional, but it can be a great way of toning down the brightness of the white paper and giving it a more ”aged” feel.
Let the paper dry completely before moving to the next step. And if the paper curls when drying, put it between the pages of a larger book and press it down, if you have a problem with that! 🙂
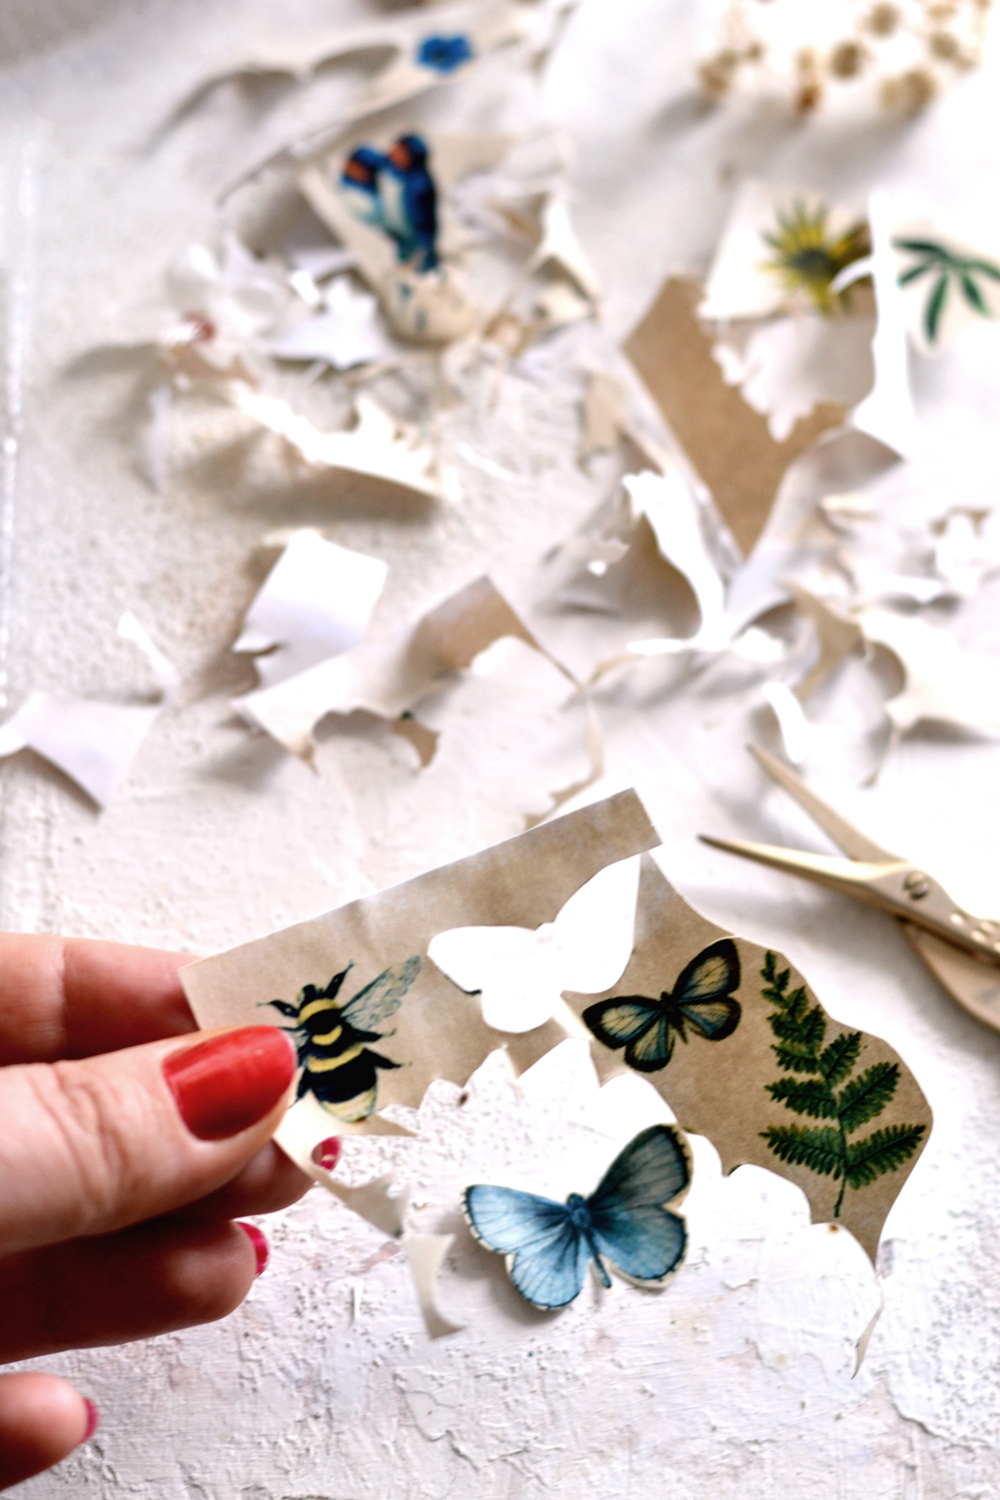
3. Using small scissors to cut these stickers (especially the first page) is a must, you will see that some of them are really small!
You could use a small box ( I used a recycled tin box) to store the Spring Stickers after cutting them, this way you will always know where to find them … when you need them!
And that’s pretty much it, I told you it was easy! 🙂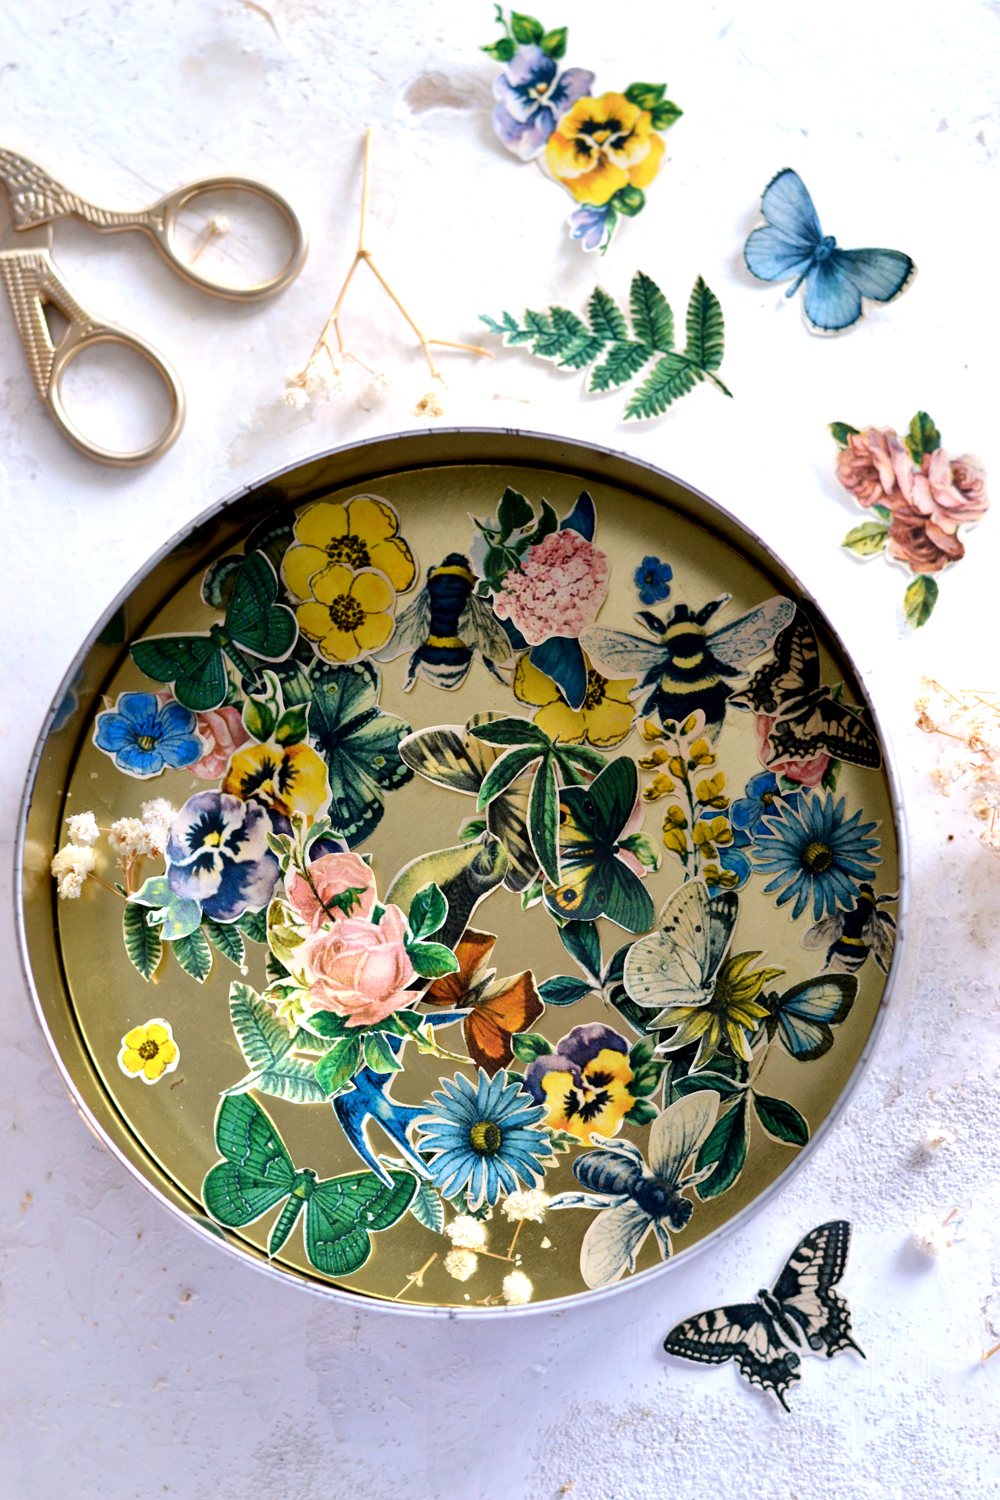
The stickers are really vibrant and realistic, I’m sure they will be a great addition to any of your creative projects!
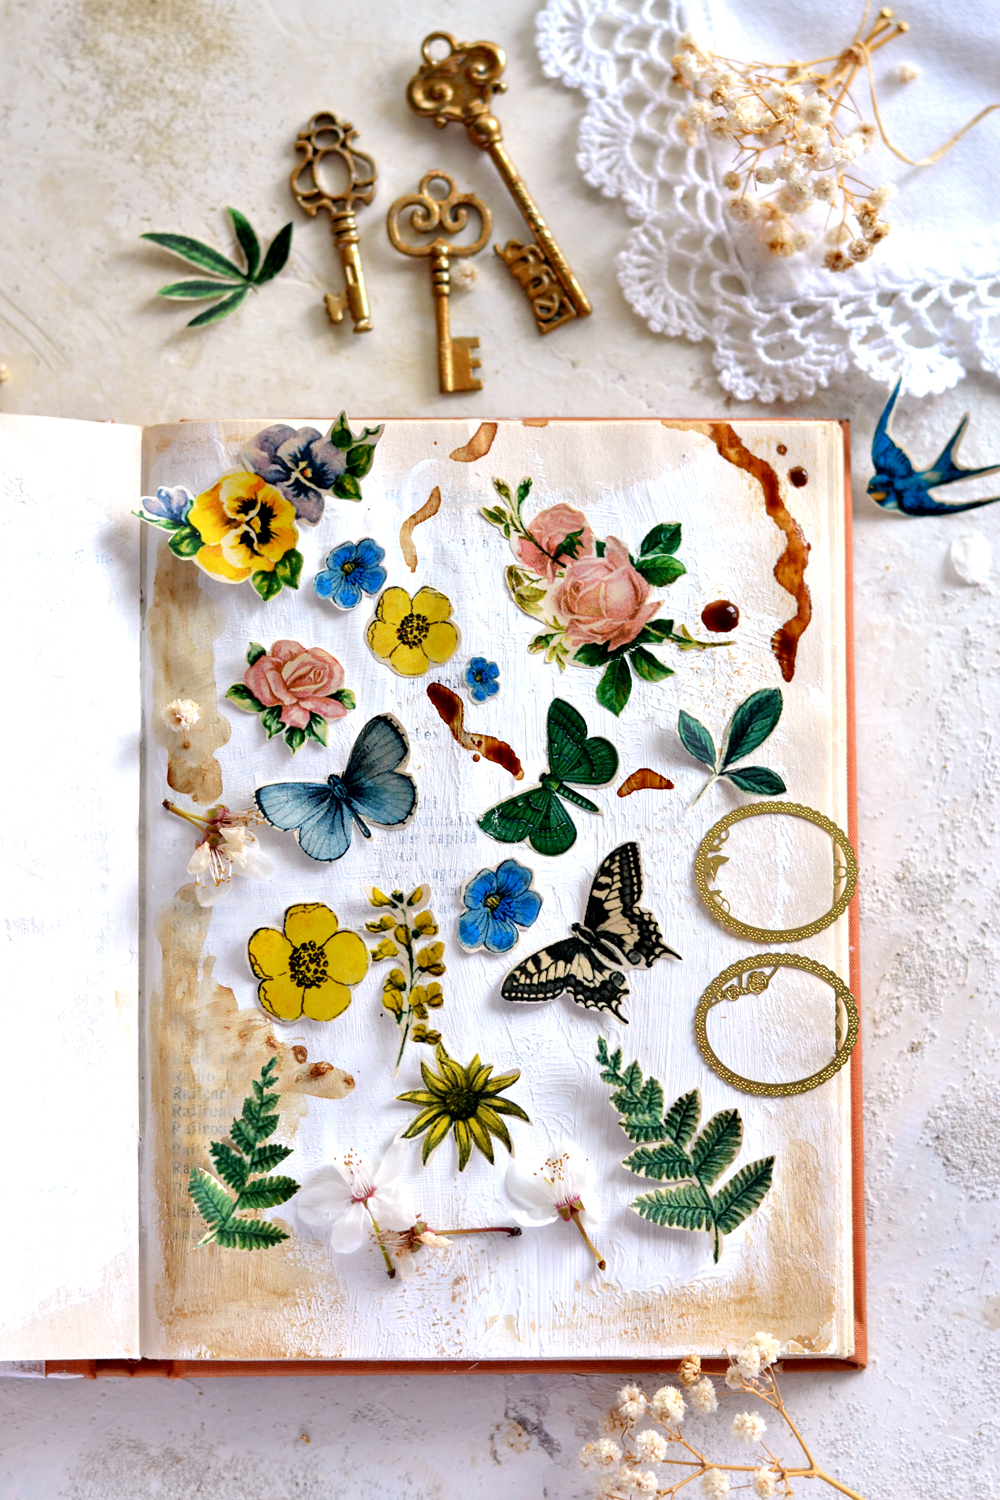
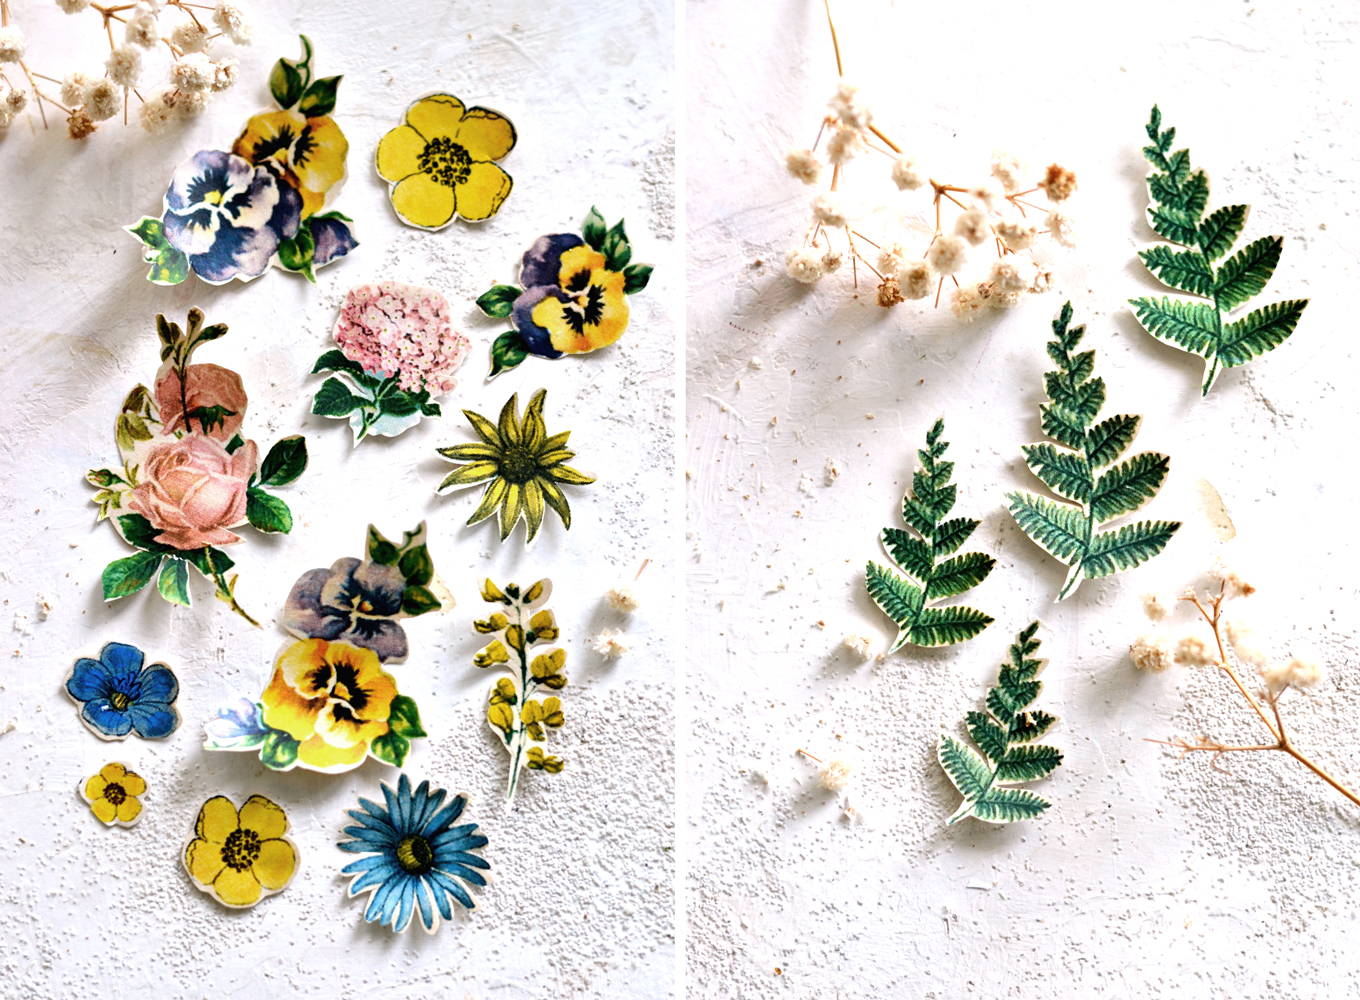
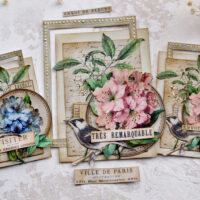
You can use each one on its own or you can group them according to different categories – like I did with the chic flower category on the left. Or according to their size, because they come in different sizes too – like I did with the ferns on the right.
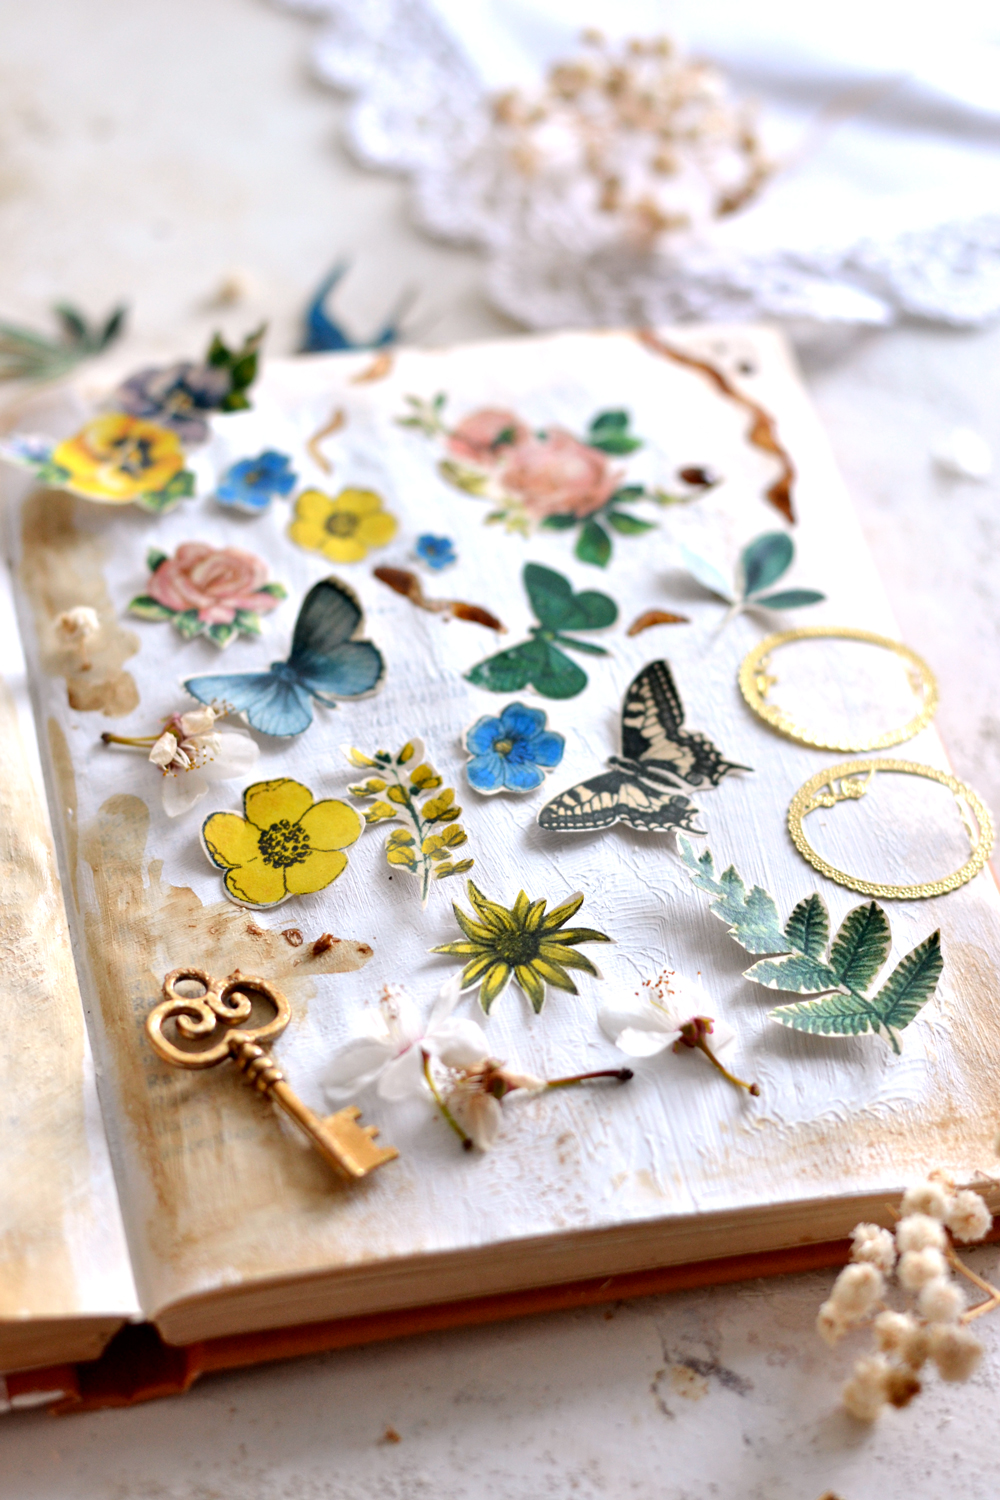
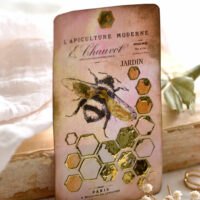
These Vintage Stickers would look amazing on your art journals, junk journals, bullet journals – any type of creative projects you might have in the making.
You can use some gesso and the leftover coffee to stain the pages of your art journal. You can experiment with stamps and gold ink pads (love those), I bet the DIY Vintage Foam Stamps that we created not so long ago would look amazing with the stickers!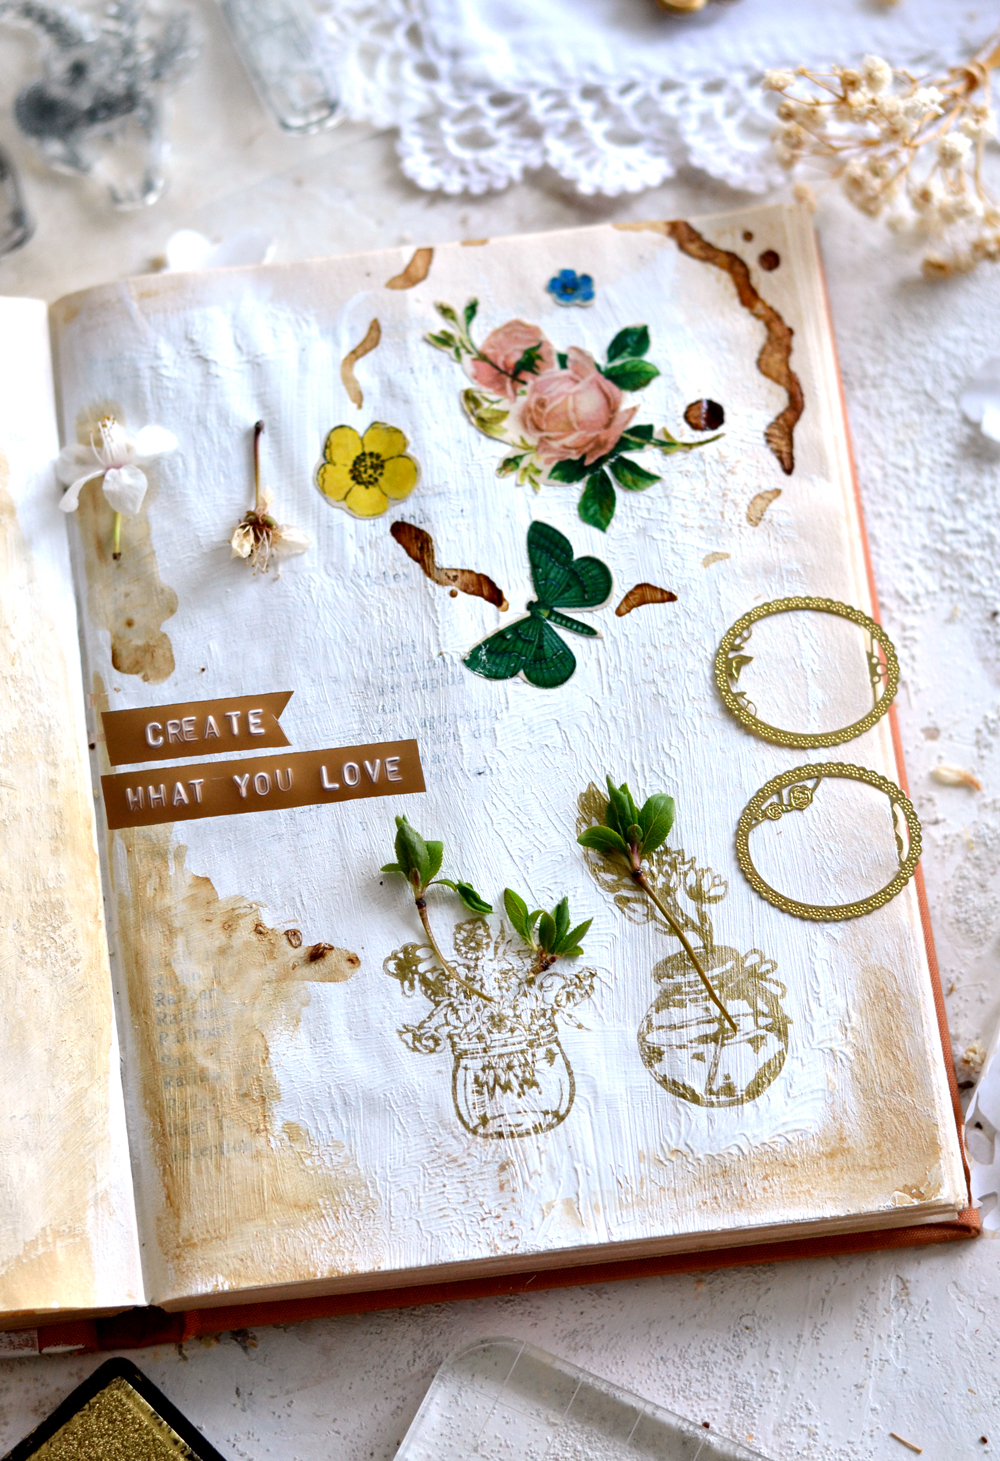
And now, la pièce de résistance – use the DIY Vintage Spring Stickers to decorate Easter eggs! 🙂 With Easter literally just around the corner, you can use these beauties to make the most AH-MAZING Easter eggs ever! 🙂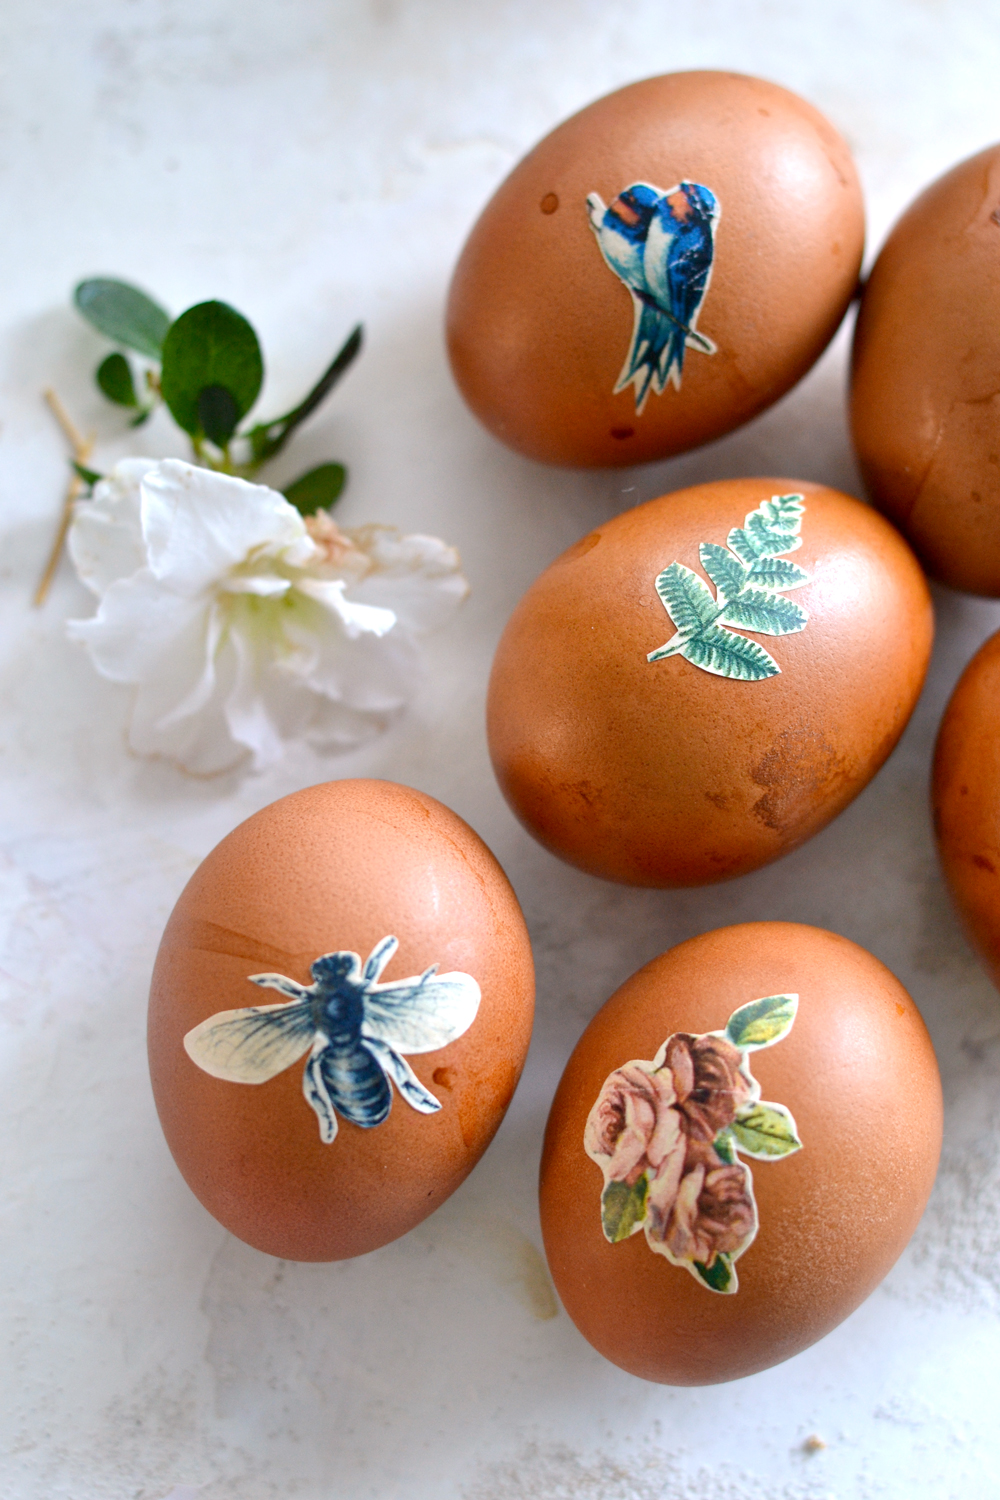
These are actually real Easter eggs that I dyed with coffee to see if I could get a vintage look and I really loved how they turned out. The color is subtle and natural and I added splashes and speckles here and there to complete the whole vintage aged look. The stickers complemented this look really well, they were simply a perfect match! Of course you can use the same technique to make coffee stained wood Easter eggs, but if you want to try this on real eggs, I’ll be sharing my method on my blog – Dreams Factory.
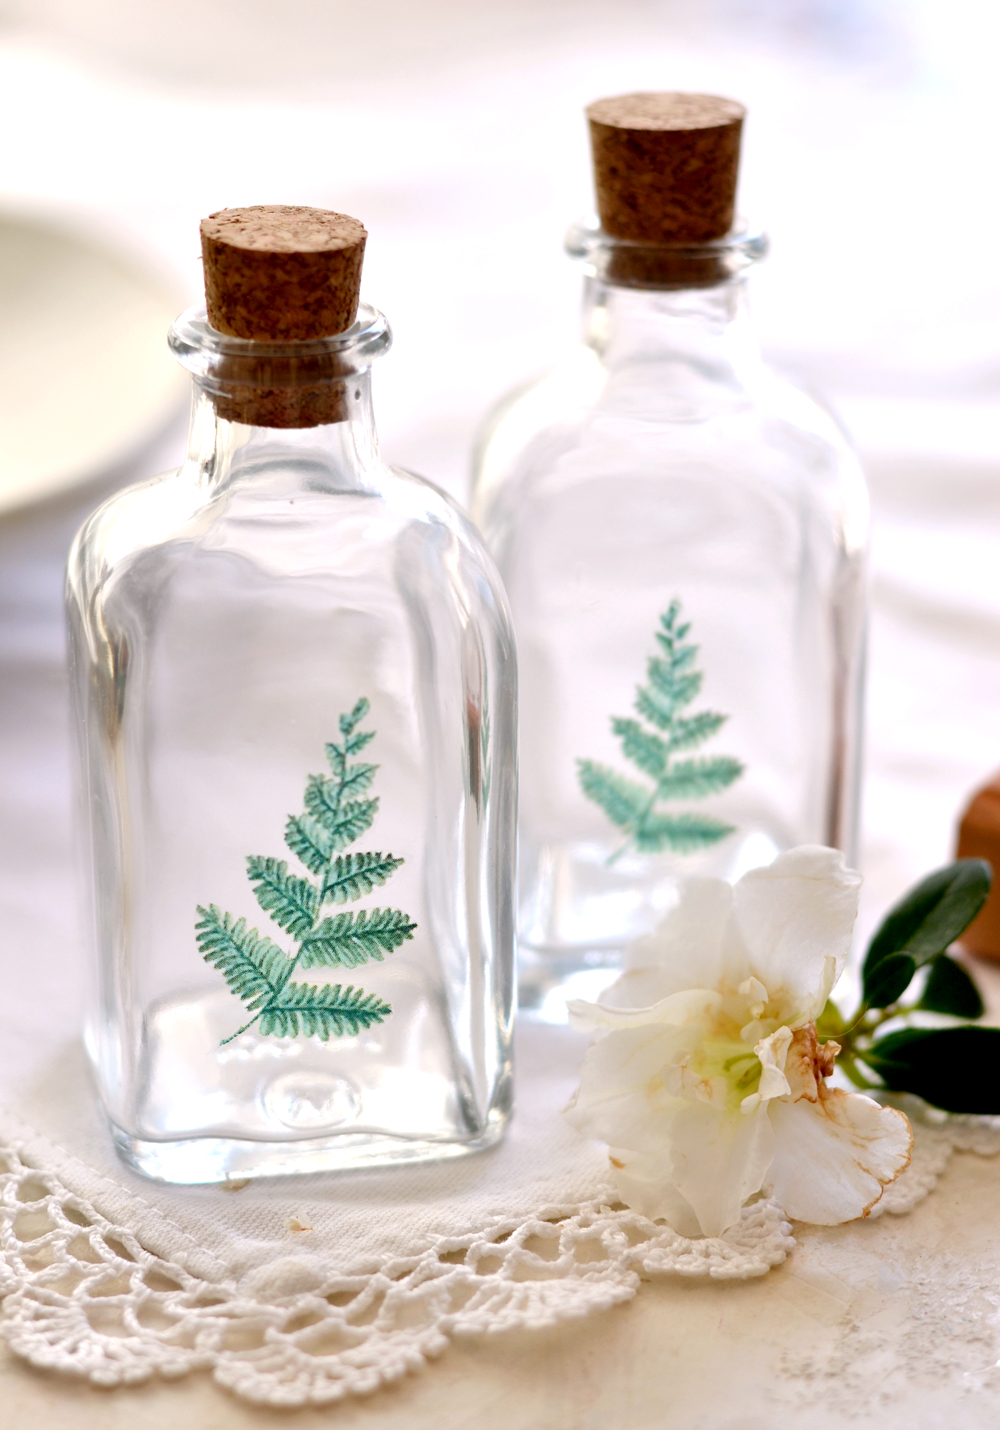
And for a few final ideas, you can use the beautifully colored DIY Vintage Spring Stickers that I shared with you today to also decorate small objects around your home. You can use white or clear sticker paper, but you can also use waterslide decal paper, if you can find it where you live. Decal paper is transparent so the colors won’t be so vibrant as they would be on white sticker paper. But it could give a new dimension to your home decor, creating an almost stained glass ethereal feel.
Have fun creating your own DIY Vintage Stickers! 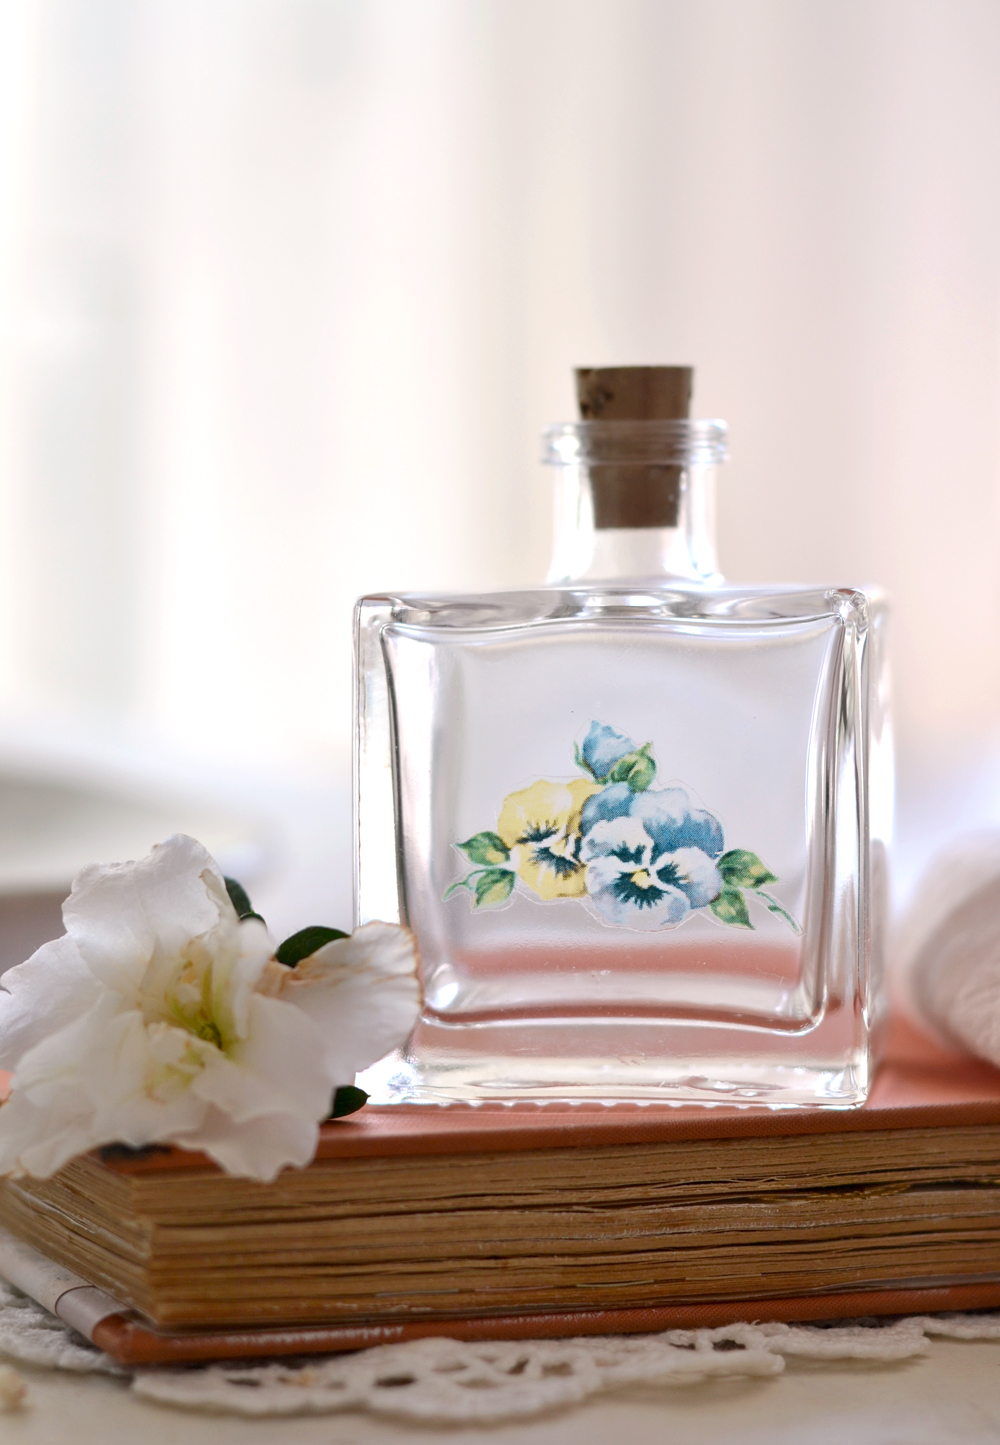
Happy crafting,
Diana / Dreams Factory


Kimberly S says
You always have such great ideas and tutorials! Thanks for sharing the vintage sticker pictures. I also like to go a step further making my own stickers and using packing tape to get rid of all the white background paper so you are left with a clear sticker and no white edges. Again, thanks for sharing!
Karen Watson says
Have fun making your own stickers Kimberly!
Cheri Hins says
Beautiful. Thank you
Karen Watson says
Thanks for your sweet comment Cheri!
Heather Dreith says
What a cheery project! Thank you for the beautiful images. And I love the tip about painting journal pages with gesso and coffee…had never heard that one before!
Karen Watson says
We’re so glad you enjoyed Diana’s project Heather!