My #1 Tip for Working with Transfers
Hi guys! I just wanted to share a quick, but oh so important, tip with you guys today about Transfer Techniques!

I get loads of questions about the various transfer methods on my blog, every day.
The questions are usually something like …. will this work with xyz {insert your favorite brand here} paint? … or with xyz wax? or with xyz printer? Etc. You get the picture right?!
There are about umpteen different brands of paint, waxes, sealers, types of printers, not to mention surface materials, like wood, metal, plastic, and so on… And each one could create a different outcome with your project.
(This post contains affiliate links)
So before you attempt a transfer on that perfectly painted dresser, that you just spent the whole week end painting for your favorite client, try your chosen transfer method out on a scrap piece of wood first. Or on a scrap piece of metal, if your project is metal… or if your project is glass, try it out on a pickle jar from your recycling bin first etc.
You see what I mean?
Then you can get a feel for exactly how that technique works with your favorite products/surfaces. Plus the more you practice, the better the results will be, as you hone your skills with these techniques! Transferring is so much fun to do, but I think you’ll enjoy it even more if you take the pressure off yourself, by playing and experimenting with scrap materials first!
Before you know it you’ll be a Transfer expert! Be careful though, image transfers can be addicting! ![]() You may find that you want to apply Vintage Images onto various objects and surfaces all over your house, like Furniture, Glassware, Canisters, Towels, Pillows, Aprons and so much more. It really is just too fun to personalize your things with your favorite graphics!
You may find that you want to apply Vintage Images onto various objects and surfaces all over your house, like Furniture, Glassware, Canisters, Towels, Pillows, Aprons and so much more. It really is just too fun to personalize your things with your favorite graphics!
I hope you find this tip for working with Transfers helpful!
You can find my favorite Transfer Methods Here.
And lots of Free Transfer Printables Here.
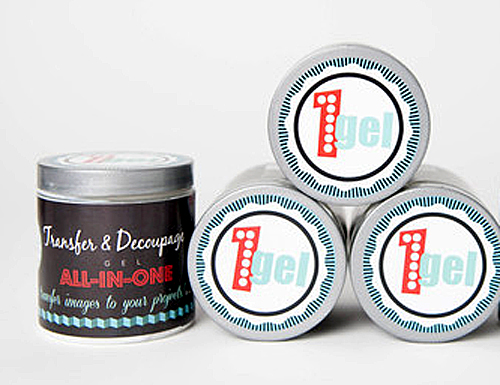
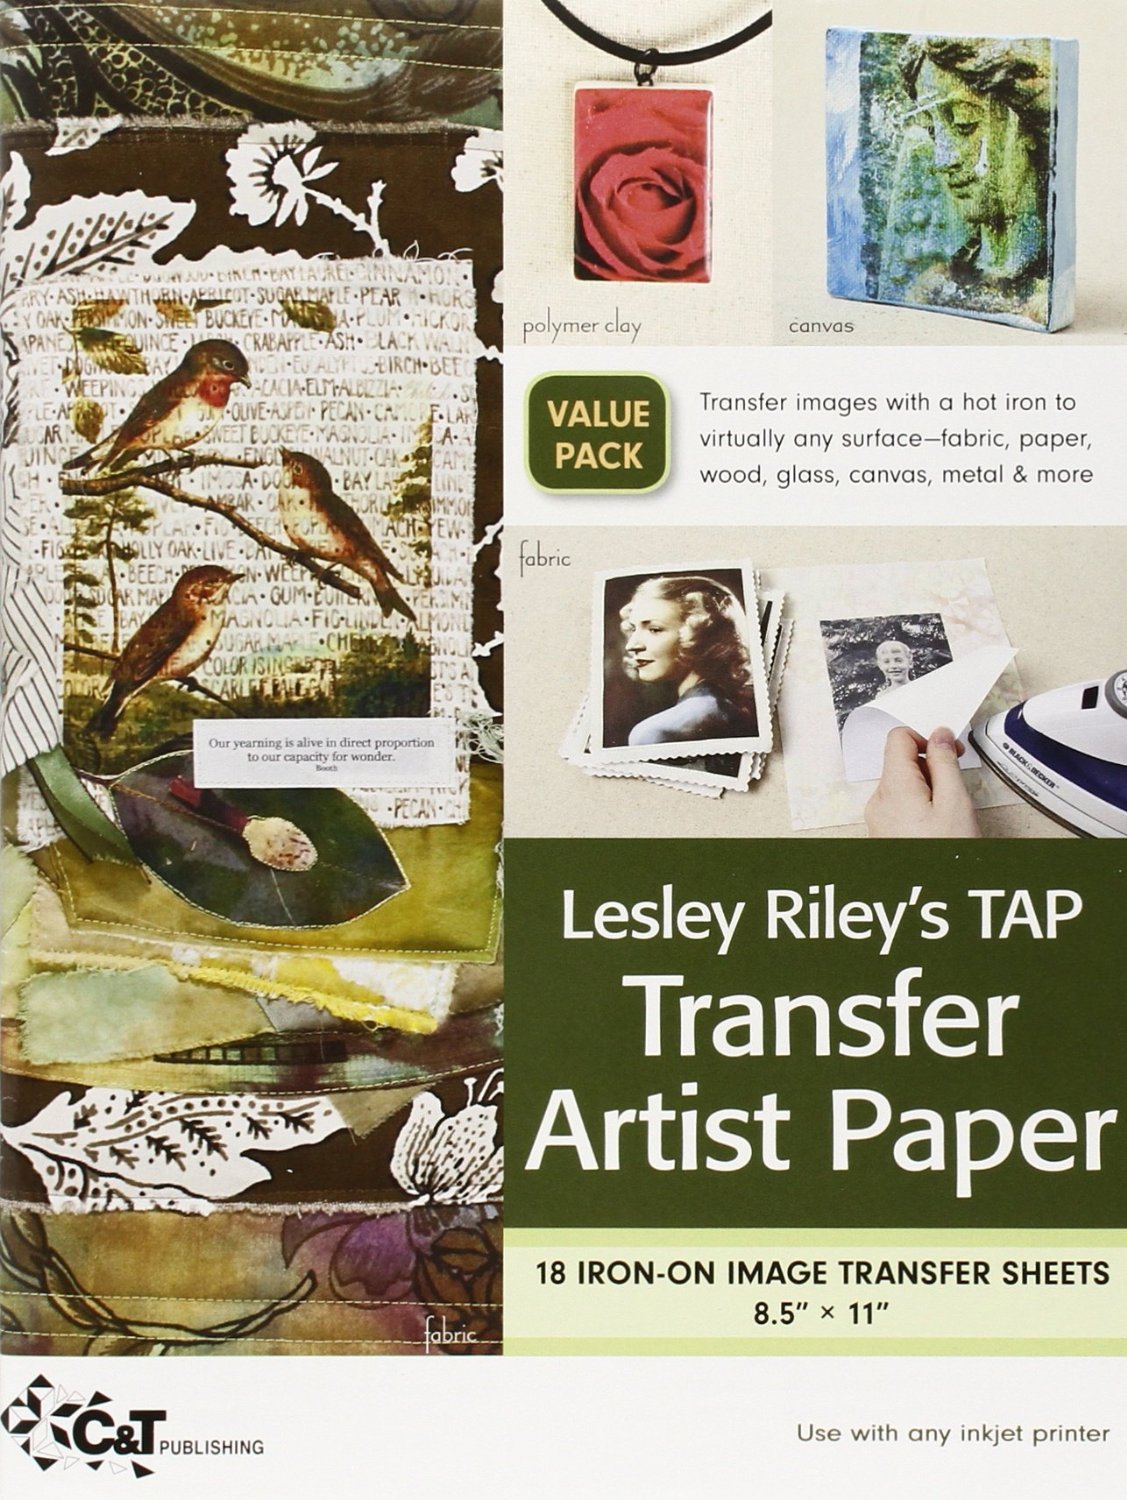
These are a couple of my favorite Transfer Products:
Click HERE for more Info about 1Gel
Click HERE for more info about TAP Iron On Transfer Paper
We have found that these products give the most consistent results!
Welcome, I’m so glad you’re here! Browse around to find thousands of Stock Images that you can use in your projects or designs! I post new Vintage images every day. Need more info about my site? Try my FAQ page.




mike says
hi! i’m having ok results phototransferring to aluminium. i’ve tried poly but it leaves too much of the white paper behind. can u help?
thanks
graphicsfairy says
Which transfer method are you using Mike?
Enc says
Hello and thank you very much for explaining to us all this greatfull information about image transfer. I apologyse for my poor english.
I would like to know if you ever tried to transfer on to corrugated cardboard. This is because I build corrugated cardboard furniture and I wonder if I could transfer on the front of the drawners or on other part of the furniture.
Please, can you tell if you try any time? Just in case, whitch method do you think woulld be better?
Thank you very much in advance.
graphicsfairy says
I haven’t tried it, but I would probably attempt this with toner prints, using a solvent method – like CitraSolv. Good luck – it sounds fascinating!
grammy says
I thought I saw somewhere you would get a small token fee when we order from Amazon.
Does that apply also to the 1Gel? If so, how do we make sure you get the credit? I do
appreciate your immense helpfulness and want to support your talent, kindness, and
generous sharing.
graphicsfairy says
Hi Grammy, thank you so much for your kindness. I really appreciate your support 🙂
Alta says
Hi Karen thanx for all the nice advice and tips. I am making a fabric paint quilt where tje same image will be used on all the different 6″ x 6″ blocks. what will be the easoest way to transfer it, ahain and again?
I really dont feel like tracing it each and every time.
Thank you
Alta (South Africa)
graphicsfairy says
Hi Alta,
Here is a link to my favorite transfer methods, https://thegraphicsfairy.com/12-easy-image-transfer-methods-for-diy-projects/
You could use the printing on fabric method , but you mentioned painting? If that is the case I do not know a way to not have to trace each square, sorry. Check out these other methods and determine if any could work with what you wish to accomplish. Good luck!
Katrina says
Clarification: I’m looking to add photo to the album cover, which is bookcloth material. Thanks!
graphicsfairy says
Hi Katrina, are you looking to transfer an image of a photo or the actual photo itself?
Katrina says
Hi! I just came across your website and hoped you could help me determine the best method to tranfer a photo to a creative memories photo album. The album is made of bookcloth material.
Thanks in advance!
graphicsfairy says
Hi Katrina,
The Mod Podge method would be a good choice. Here is a link, https://thegraphicsfairy.com/make-silhouette-knobs-with-mod-podge-transfer-medium/
good luck and as I always tell people…practice with a scrap piece first until you get the process down before attempting with your actual project.
Janet Hickman says
Nice ideas will have to try! Thanks
graphicsfairy says
Thanks Janet!
Julia Wine says
I would like to transfer a photo to a clear acrylic block, but cannot find any instructions on how to do it. Do you have any suggestions? If that’s not possible, what about mounting the photo onto the block?
graphicsfairy says
Hi Julia,
I suggest re read the post on top tips for working with transfers. Number 7 and or 9 could both work for your project, as always, practice a few times before you try it on your finished project piece 🙂
pam shaw says
Every time i wet the paper to take it off my ink runs what an i doing wrong
graphicsfairy says
Hi Pam,
I am sorry you are having trouble with your project! Here is a link to my favorite printers for crafting that uses waterproof ink, https://thegraphicsfairy.com/the-best-printers-for-crafting/ Keep in mind, different brands use different ink, so results can vary, you may want to try another method if waterproof ink isn’t an option with your printer. Good luck to you 🙂
Lenore says
Lenore
LittleGothicCottage.WordPress.com
Getting comfortable with a method is key. My preferred method is to have the image printed on clear sheets and use and overhead projector to sketch the graphic. Then go back and paint it. I personally like flaws so when I’m doing something for me it’s more fun than to feel pressured to please someone else. Do for yourself first.Do for others after honing your skill.
graphicsfairy says
Thanks for sharing Lenore!
Tamera Mata says
Do you need special paper in your printer ..what if you don’t have TAP
Karen Watson says
Hi Tamera, Tap is an iron on transfer paper for using with Fabric. For the most part you don’t need special paper when working with transfers, but each transfer method comes with it’s own set of instructions and supplies, just make sure you read the tutorial thoroughly so that you have everything that you need.
Carrie says
all great tips. Thank you for sharing
Karen Watson says
Thanks Carrie!
Gabrielle says
I must say I agree w/ Karen on this !00%. People: the most talented artists don’t make everything perfectly everytime! They try, experiment, get surprises, start over, move on. The written word can convey much information, but it is not the same thing as experience. If you are afraid of making a mistake, either buy a colouring book or get some therapy. If you want to wallow in a new colour, turn ‘wrong’ into ‘brilliant’, roll around with paint in the nude to get a new texture, then you’re ready to be creative (although being that eccentric is not a requirement!) Wax on, wax off. Repeat.
Karen Watson says
Thanks for weighing in Gabrielle!
rkramadh says
Thanks Karen. You had mentioned Omni Gel medium in your post before. I bought that and used it for image transfer to tiles. Does the product mentioned here work for that too? Trying to understand when to use this one and when to use Omni gel….hope you can reply. Thanks.
Karen Watson says
I do like the Omni Gel still too! The difference is that the Omni Gel, is more like a skin that you apply to a surface and is a little more shiny, where as the 1Gel goes right onto the surface. I think the 1Gel is nice for furniture and the Omni Gel is better for smaller projects and accessories. You can find a 1Gel post here https://thegraphicsfairy.com/home-decor-transfer-technique/ I hope that helps!