French Script Triple Pocket Journal Tags
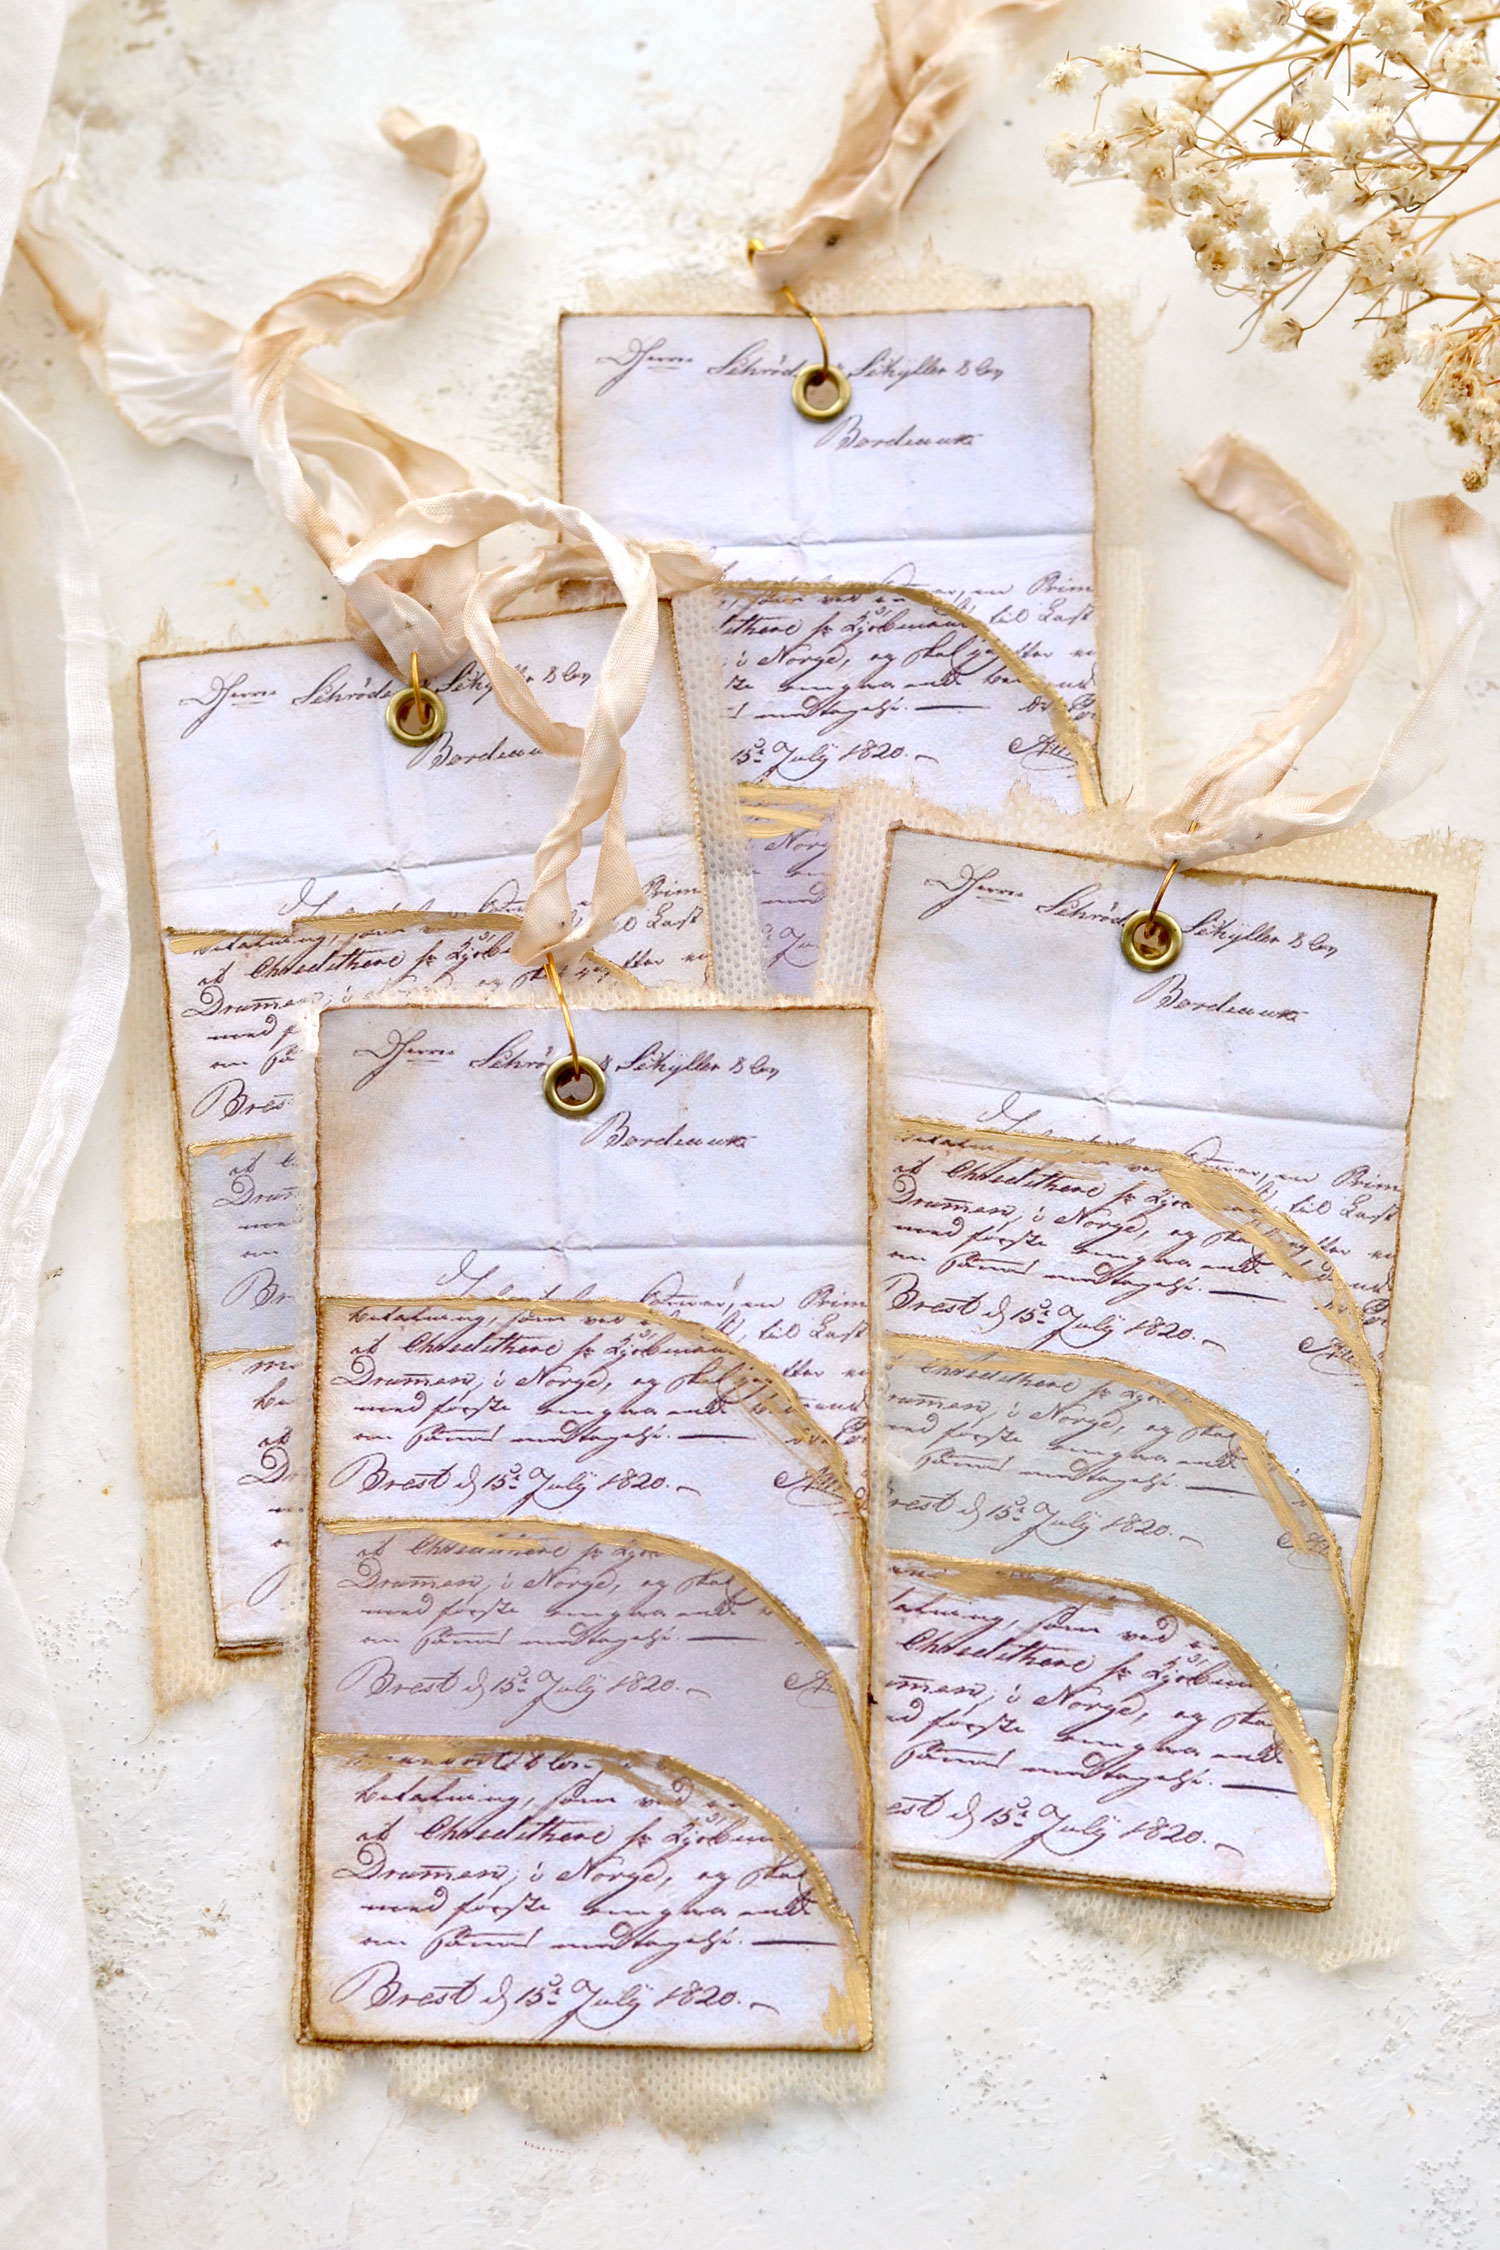
Hello Graphics Fairy friends! I’m Diana from Dreams Factory and I’m happy to be here again to share another DIY project with you! Today I will show you how to make these beautiful French Script Triple Pocket Tags with a lovely vintage vibe, that can be included in all sorts of creative projects. You can use distress ink to give the paper a subtle aged appearance and you can use a little bit of gold to add even more charm to these beauties. A scrap piece of fabric can be added to the back of the tags, adding more dimension and interest.
Our lovely pocket tags are really easy to make, you need to cut or tear all the elements, then simply glue them on top of each other. The final results are really beautiful, the tags can be then filled with all sorts of cutouts and lovely pieces of ephemera that you have around.
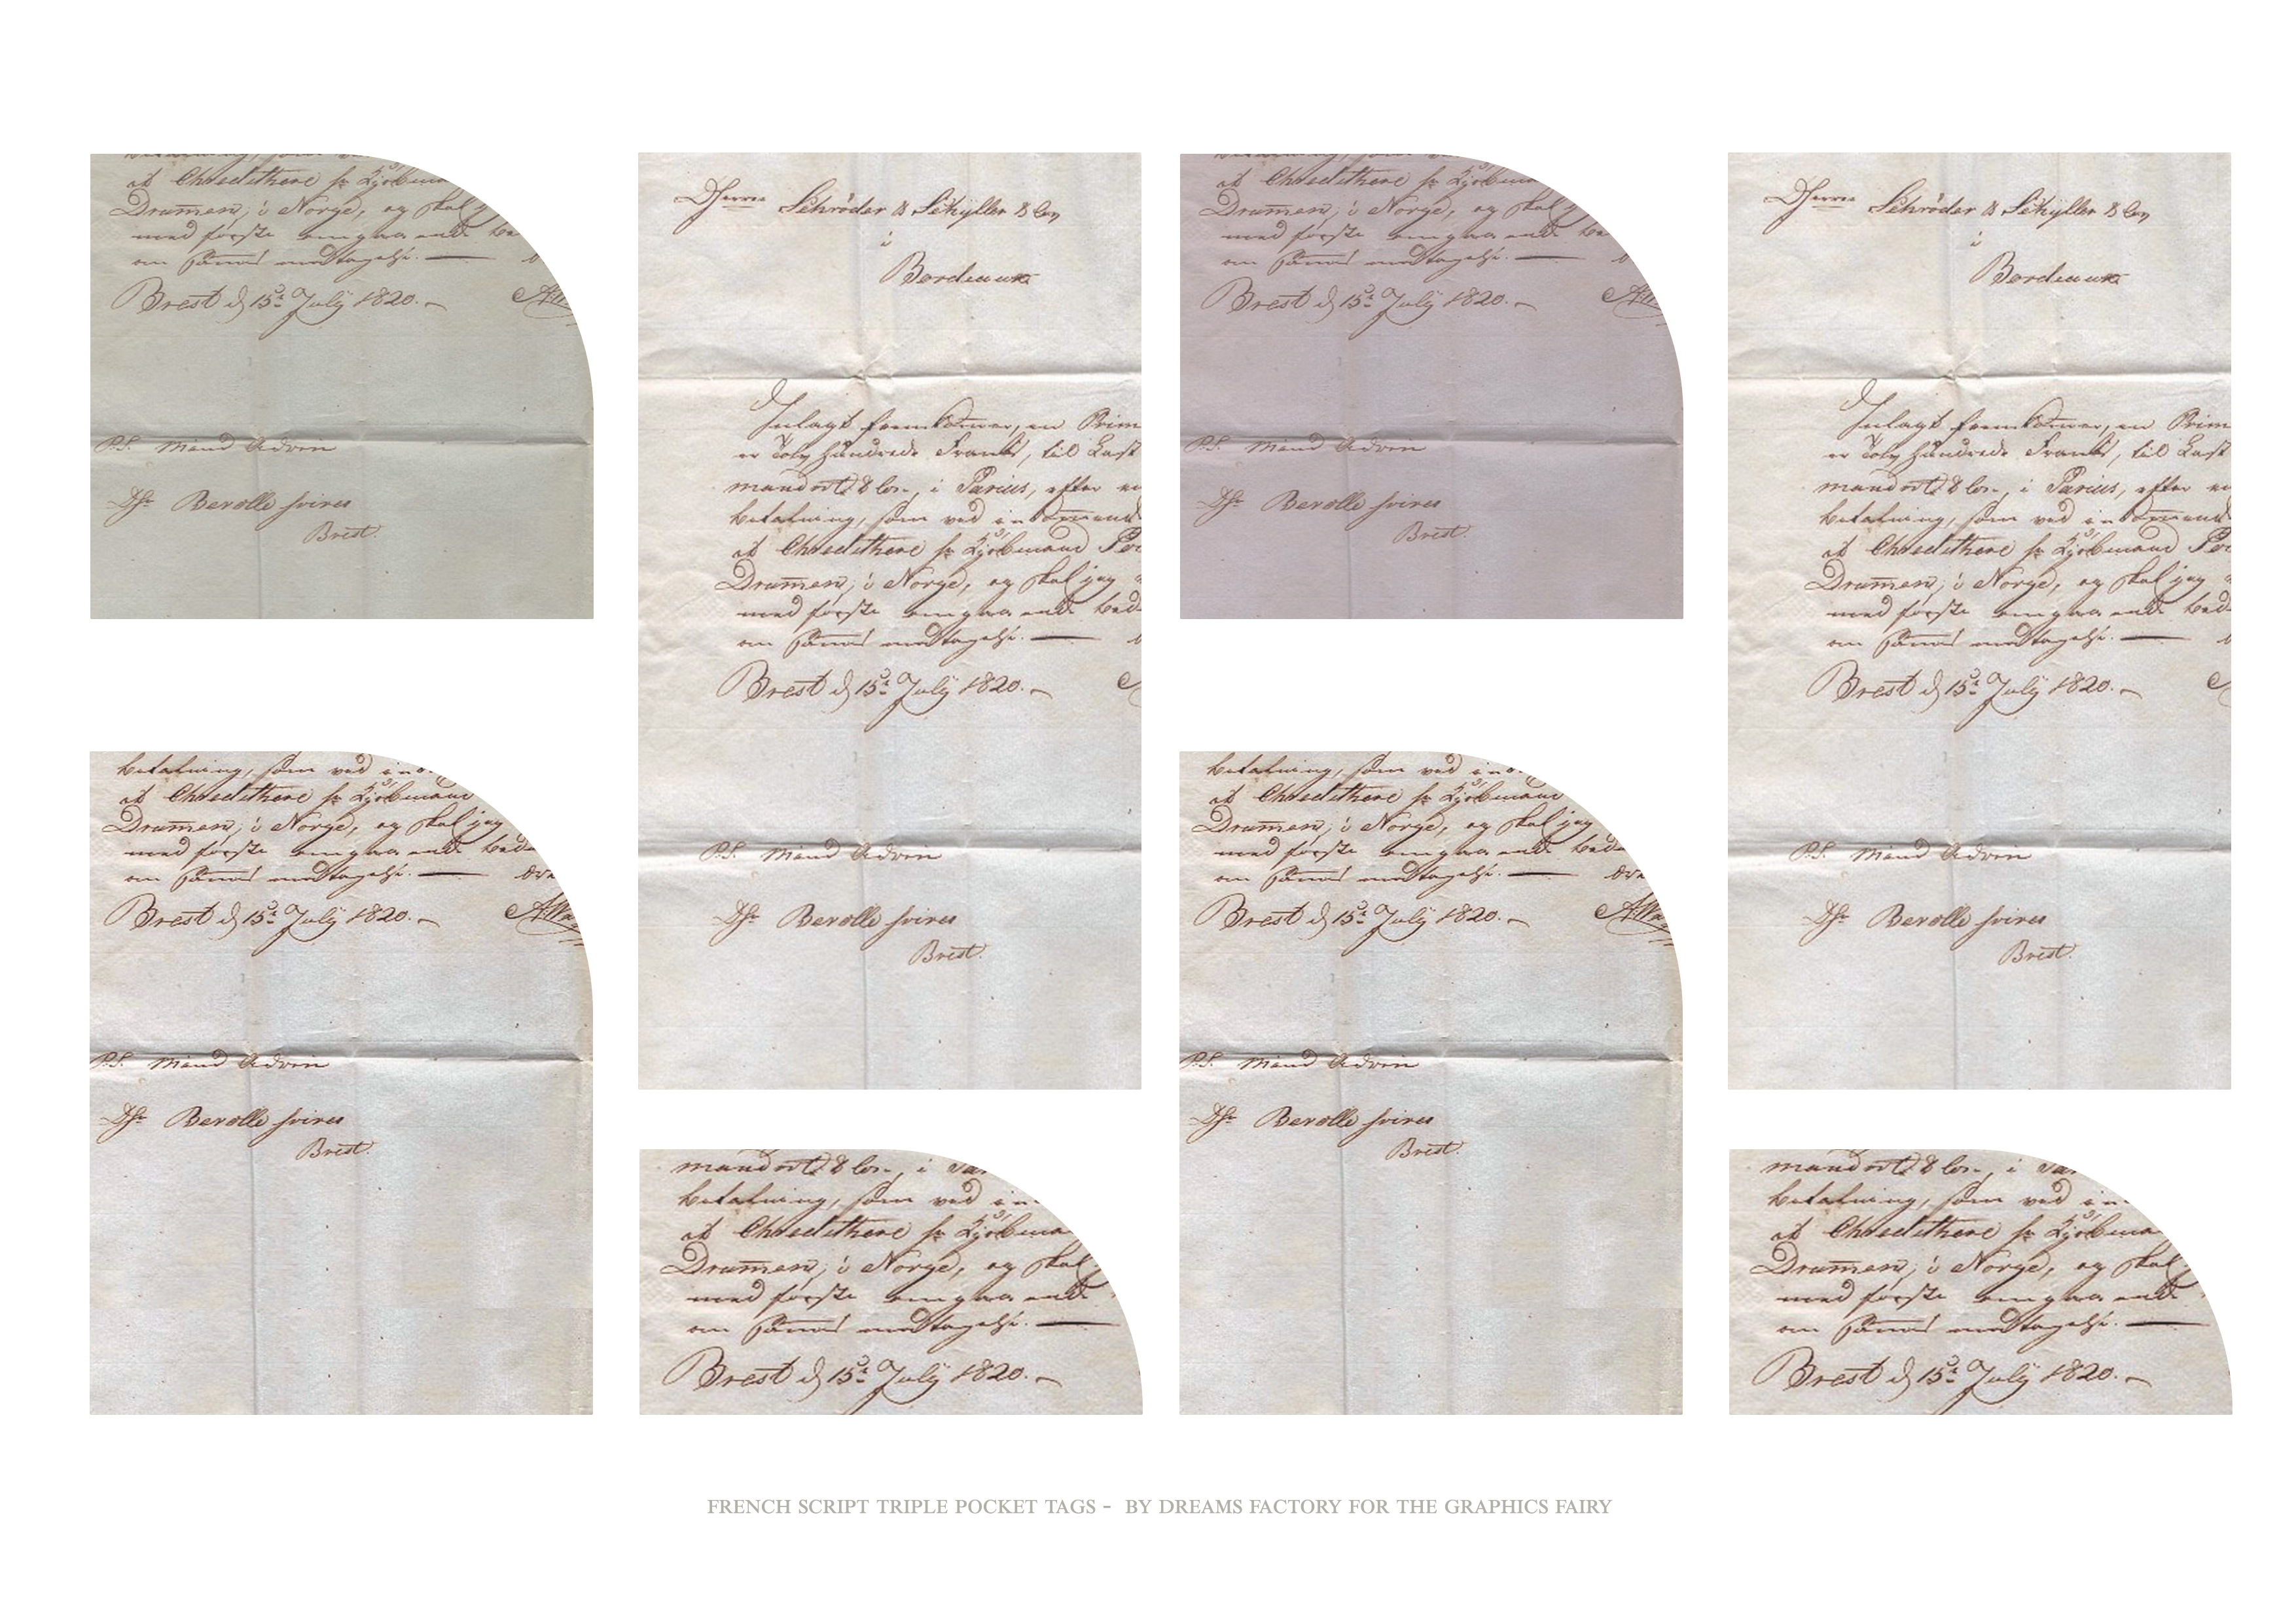
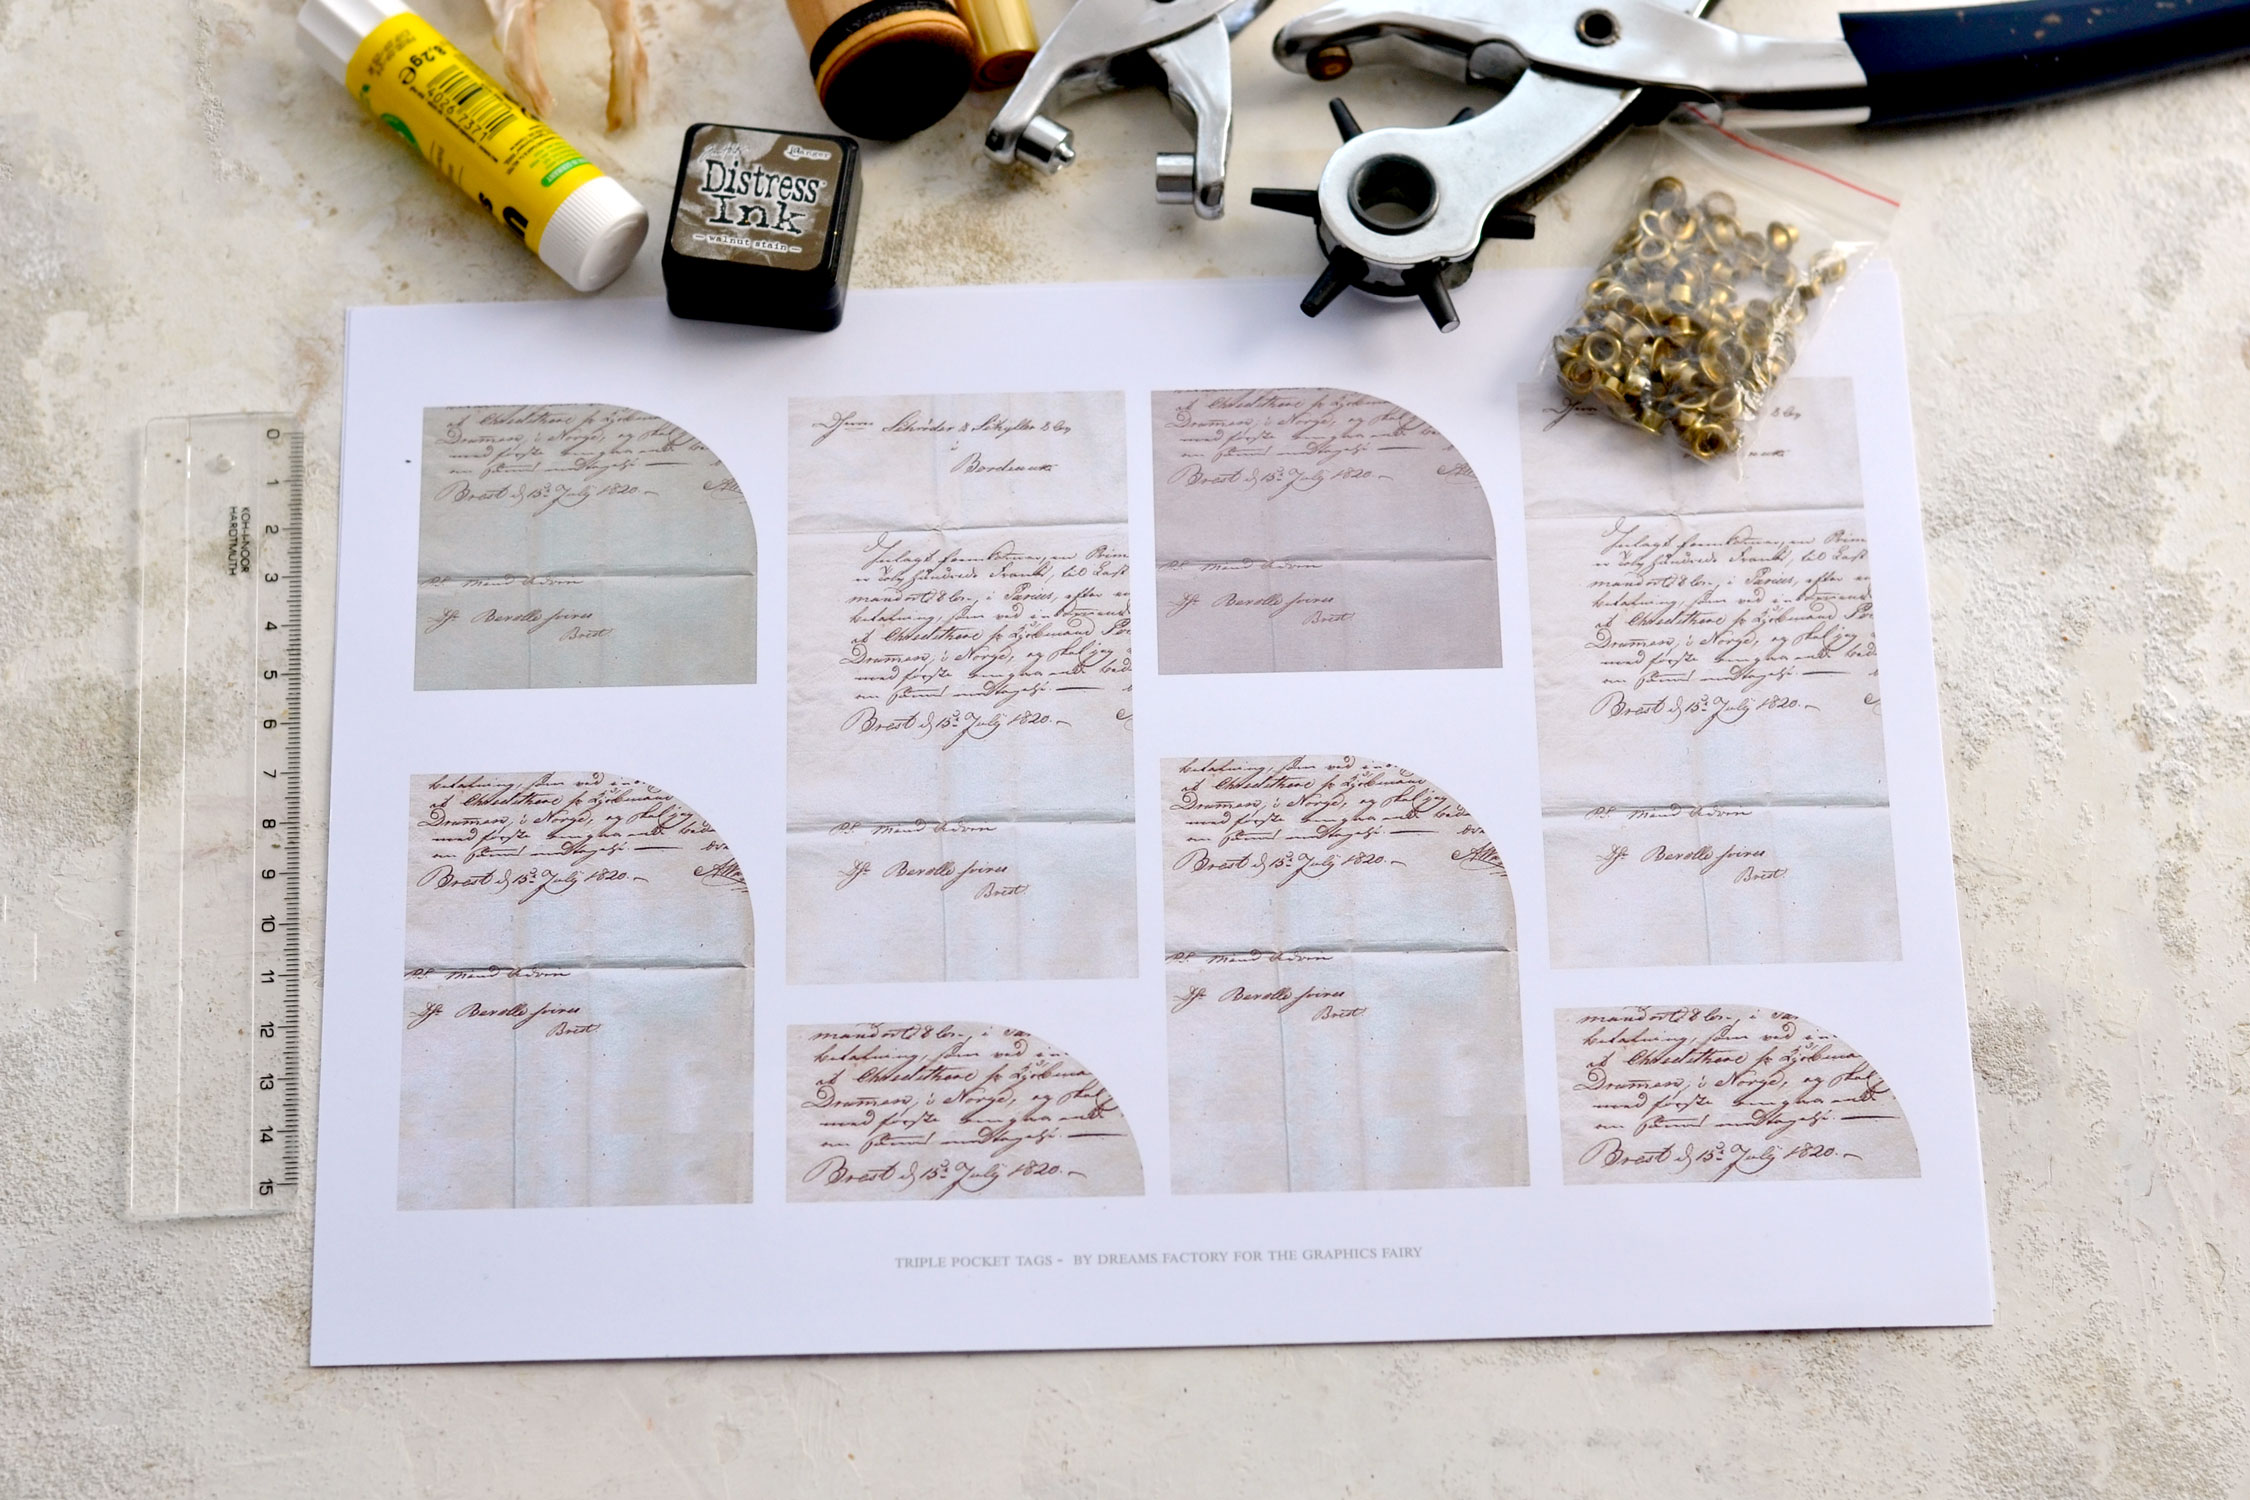
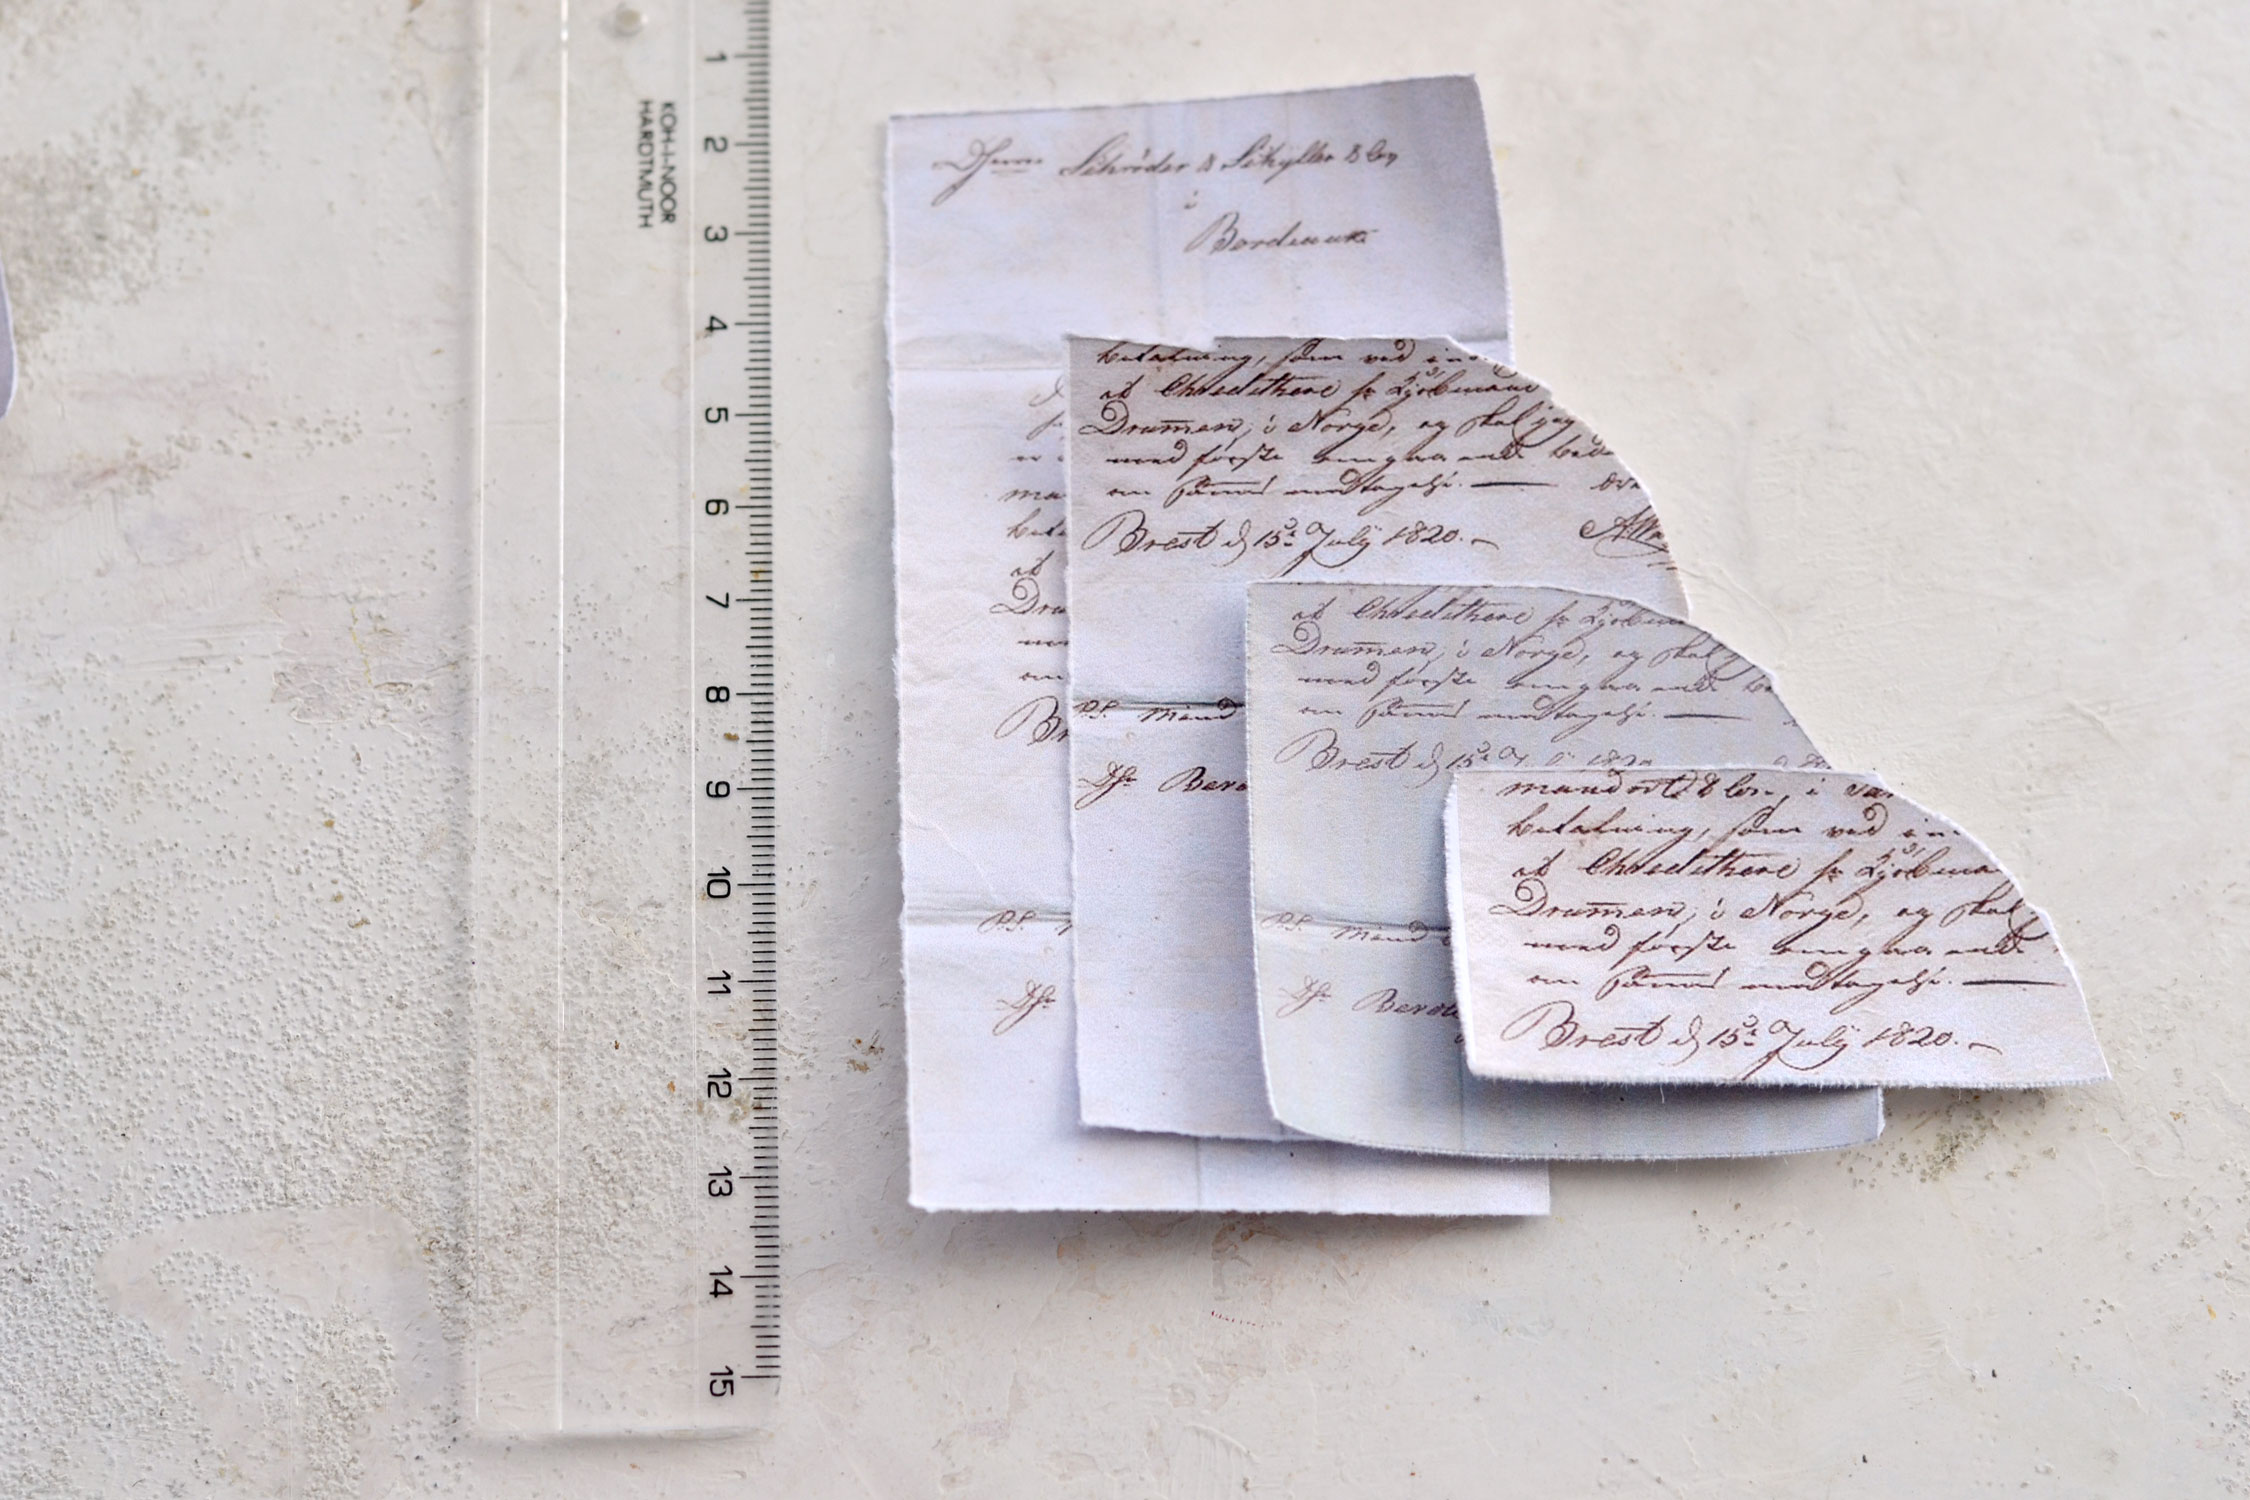
You can find below the printable that I created for this project, you will be able to make two tags from it. Each French script tag has four elements – a rectangular base and three rounded pockets that will be placed on top. I added a touch of purple to one of the pockets and a touch of green to the other, but the colors are subtle enough to still keep more of a universal appearance. You can just save the printable on your computer and print it as many times as you want, to make as many pocket tags as you want!
FREE PRINTABLE:
—-> Click HERE to Download the Full Size Printable PDF <—-
SUPPLY LIST
- white cardstock paper or regular paper
- home printer
- scissors or ruler
- mini distress inks
- blending tool with foams
- gold marker – I used my favorite Decocolor gold marker
- paper punch
- gold eyelets & eyelet pliers
- plastic sheet (to protect your working surface)
- gourd pins and crinkle ribbon
TUTORIAL:
Start by printing your printable on regular paper or cardstock. I used cardstock because I wanted to give the whole assembly a little bit of weight, but you can use regular paper if you prefer.
Now you can decide whether you want to use scissors to cut each element or use a ruler to tear them. I went with the latter because I wanted to create a lovely deckled edge that I thought would add more character to these beauties.
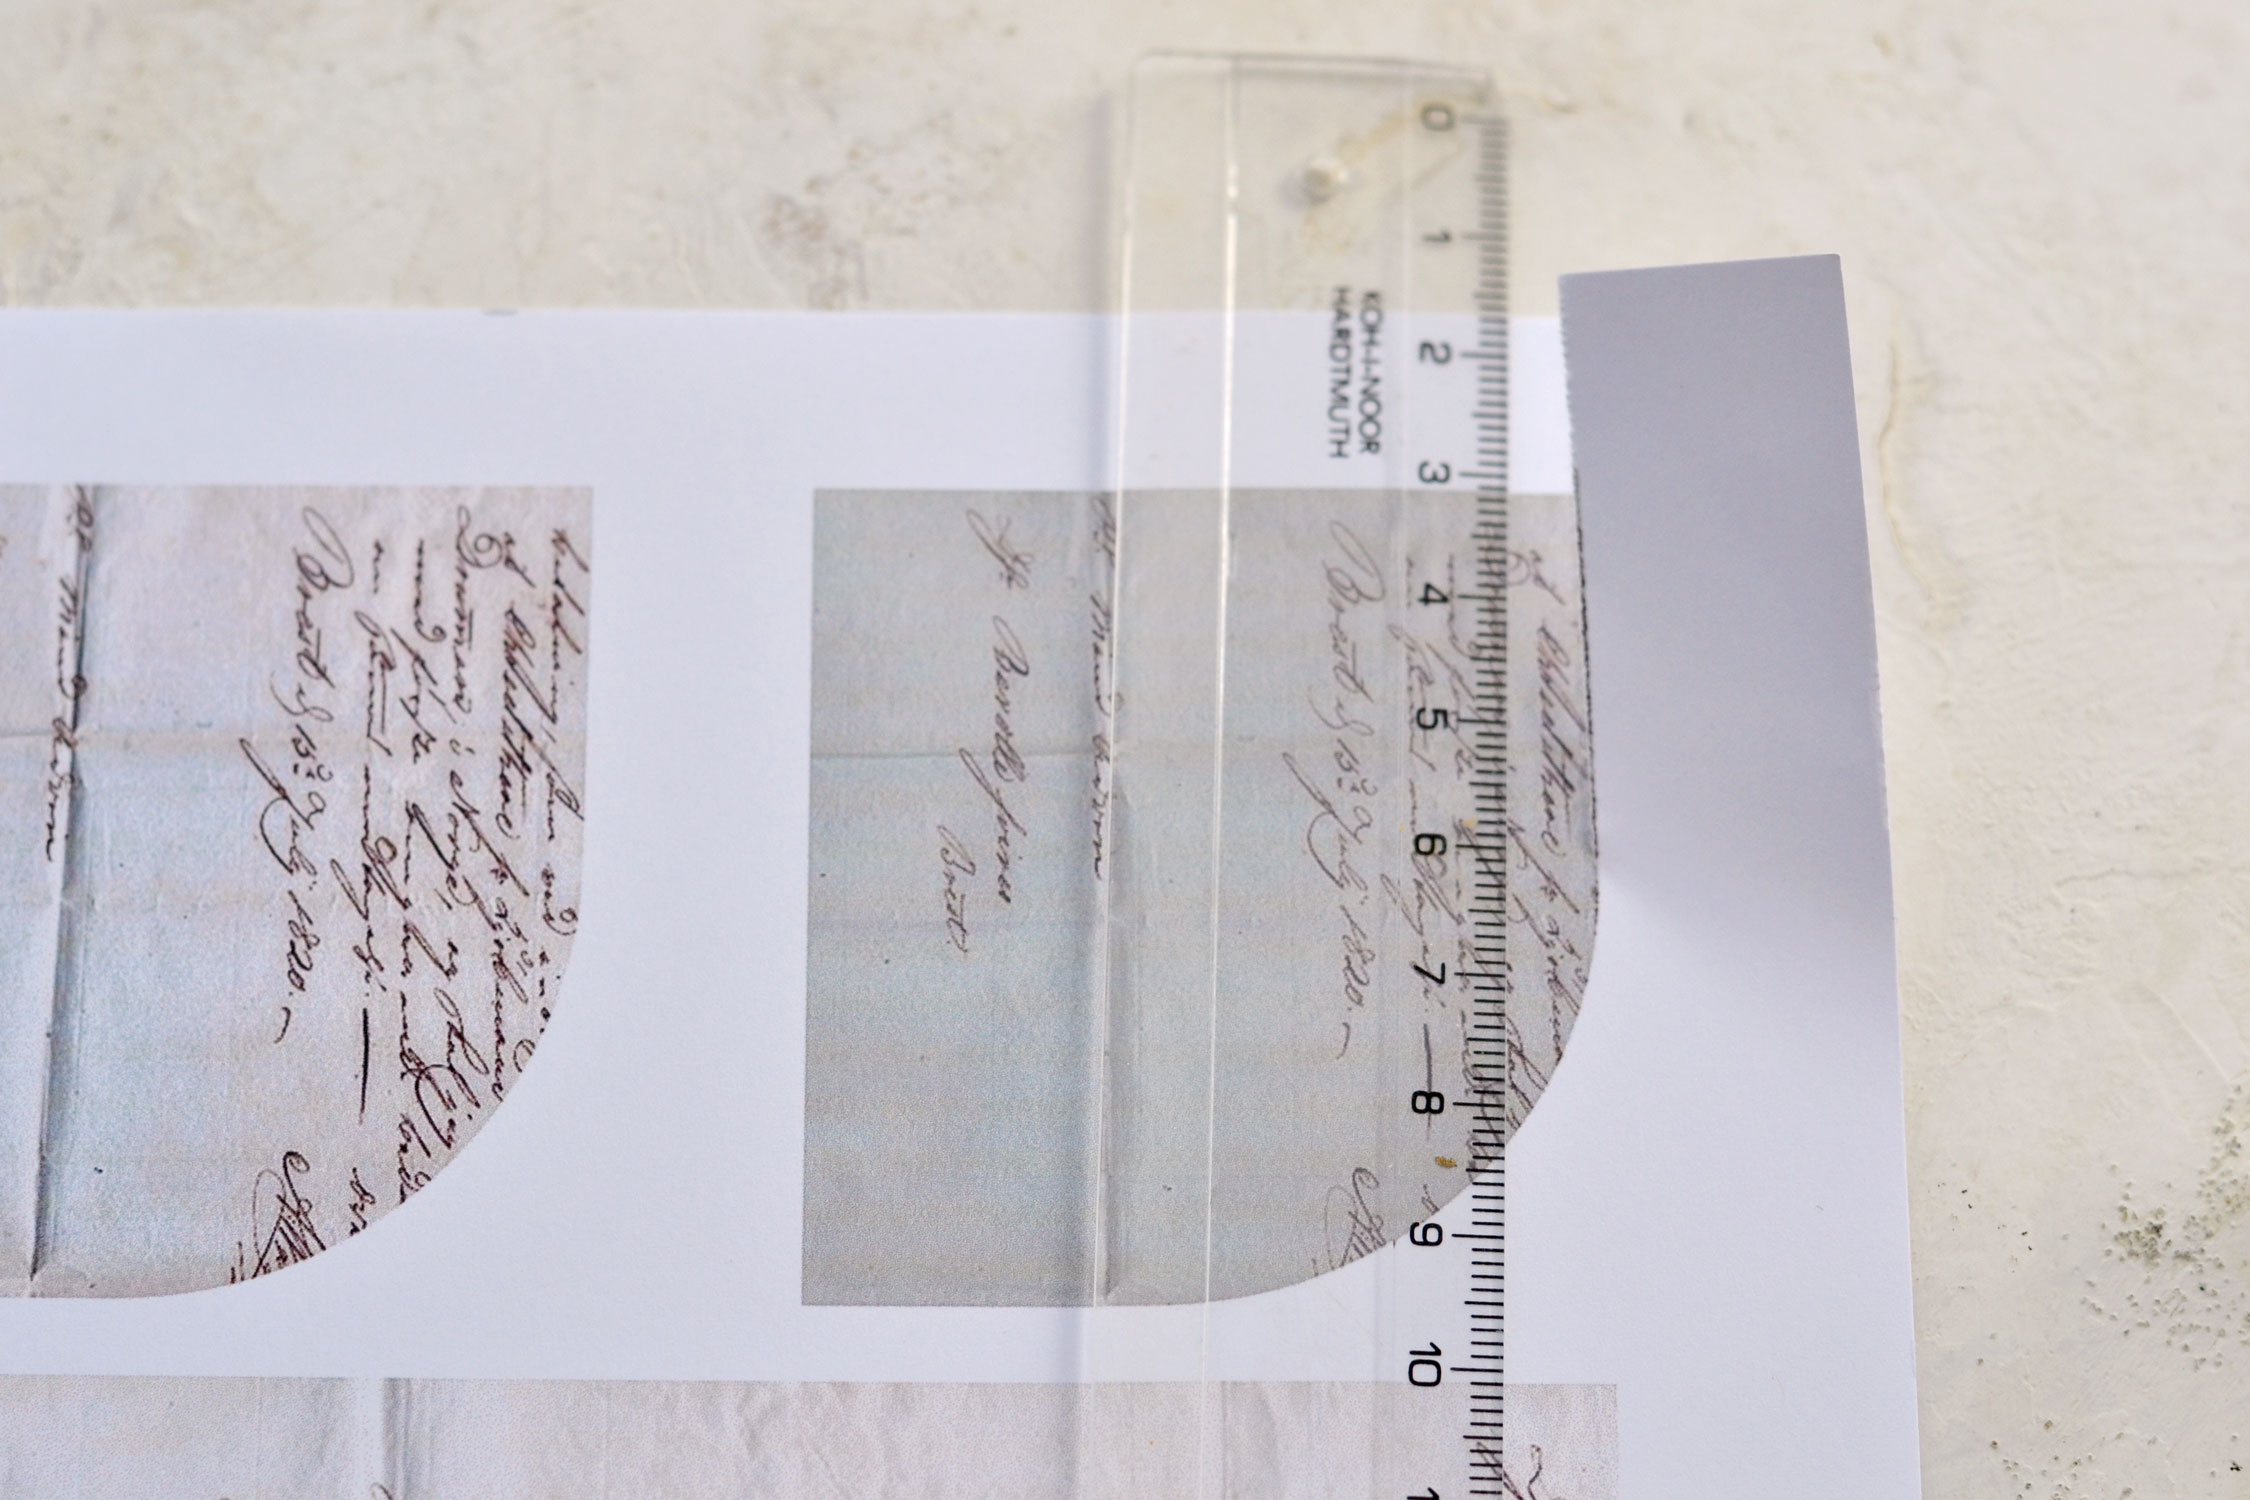
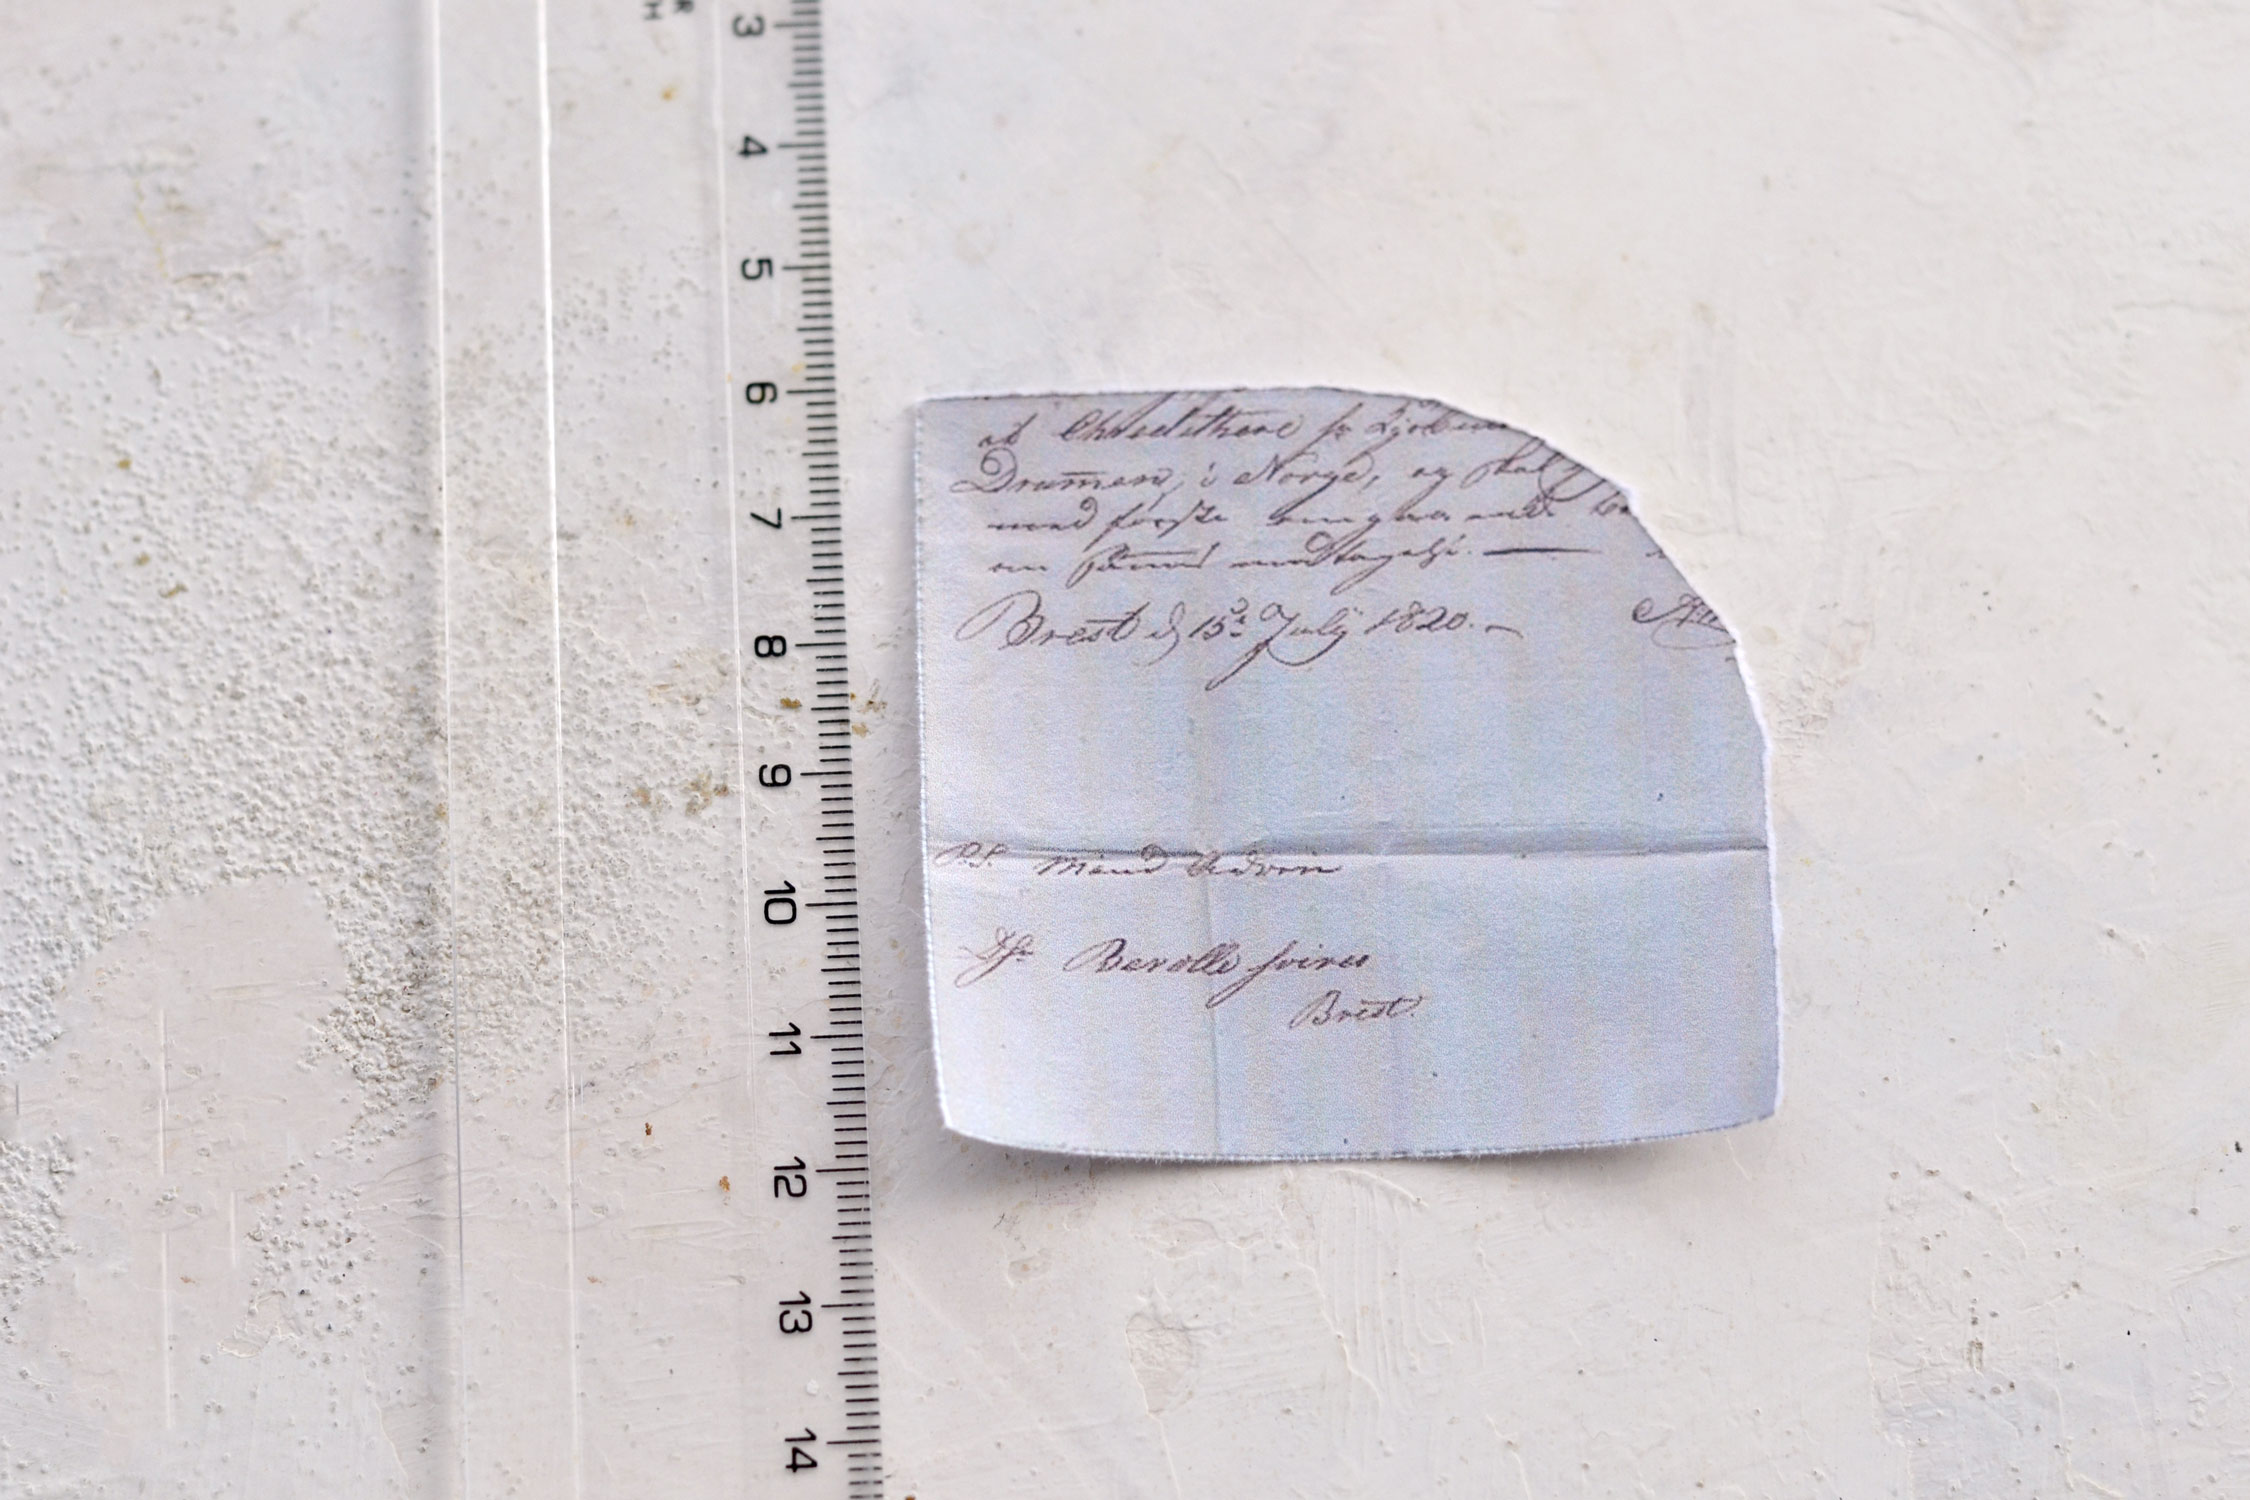
Place a small ruler on the printable and use it as guidance to gradually tear the paper around each element. The ruler you use should be fairly thin, if it’s too thick it will create a more rough edge.
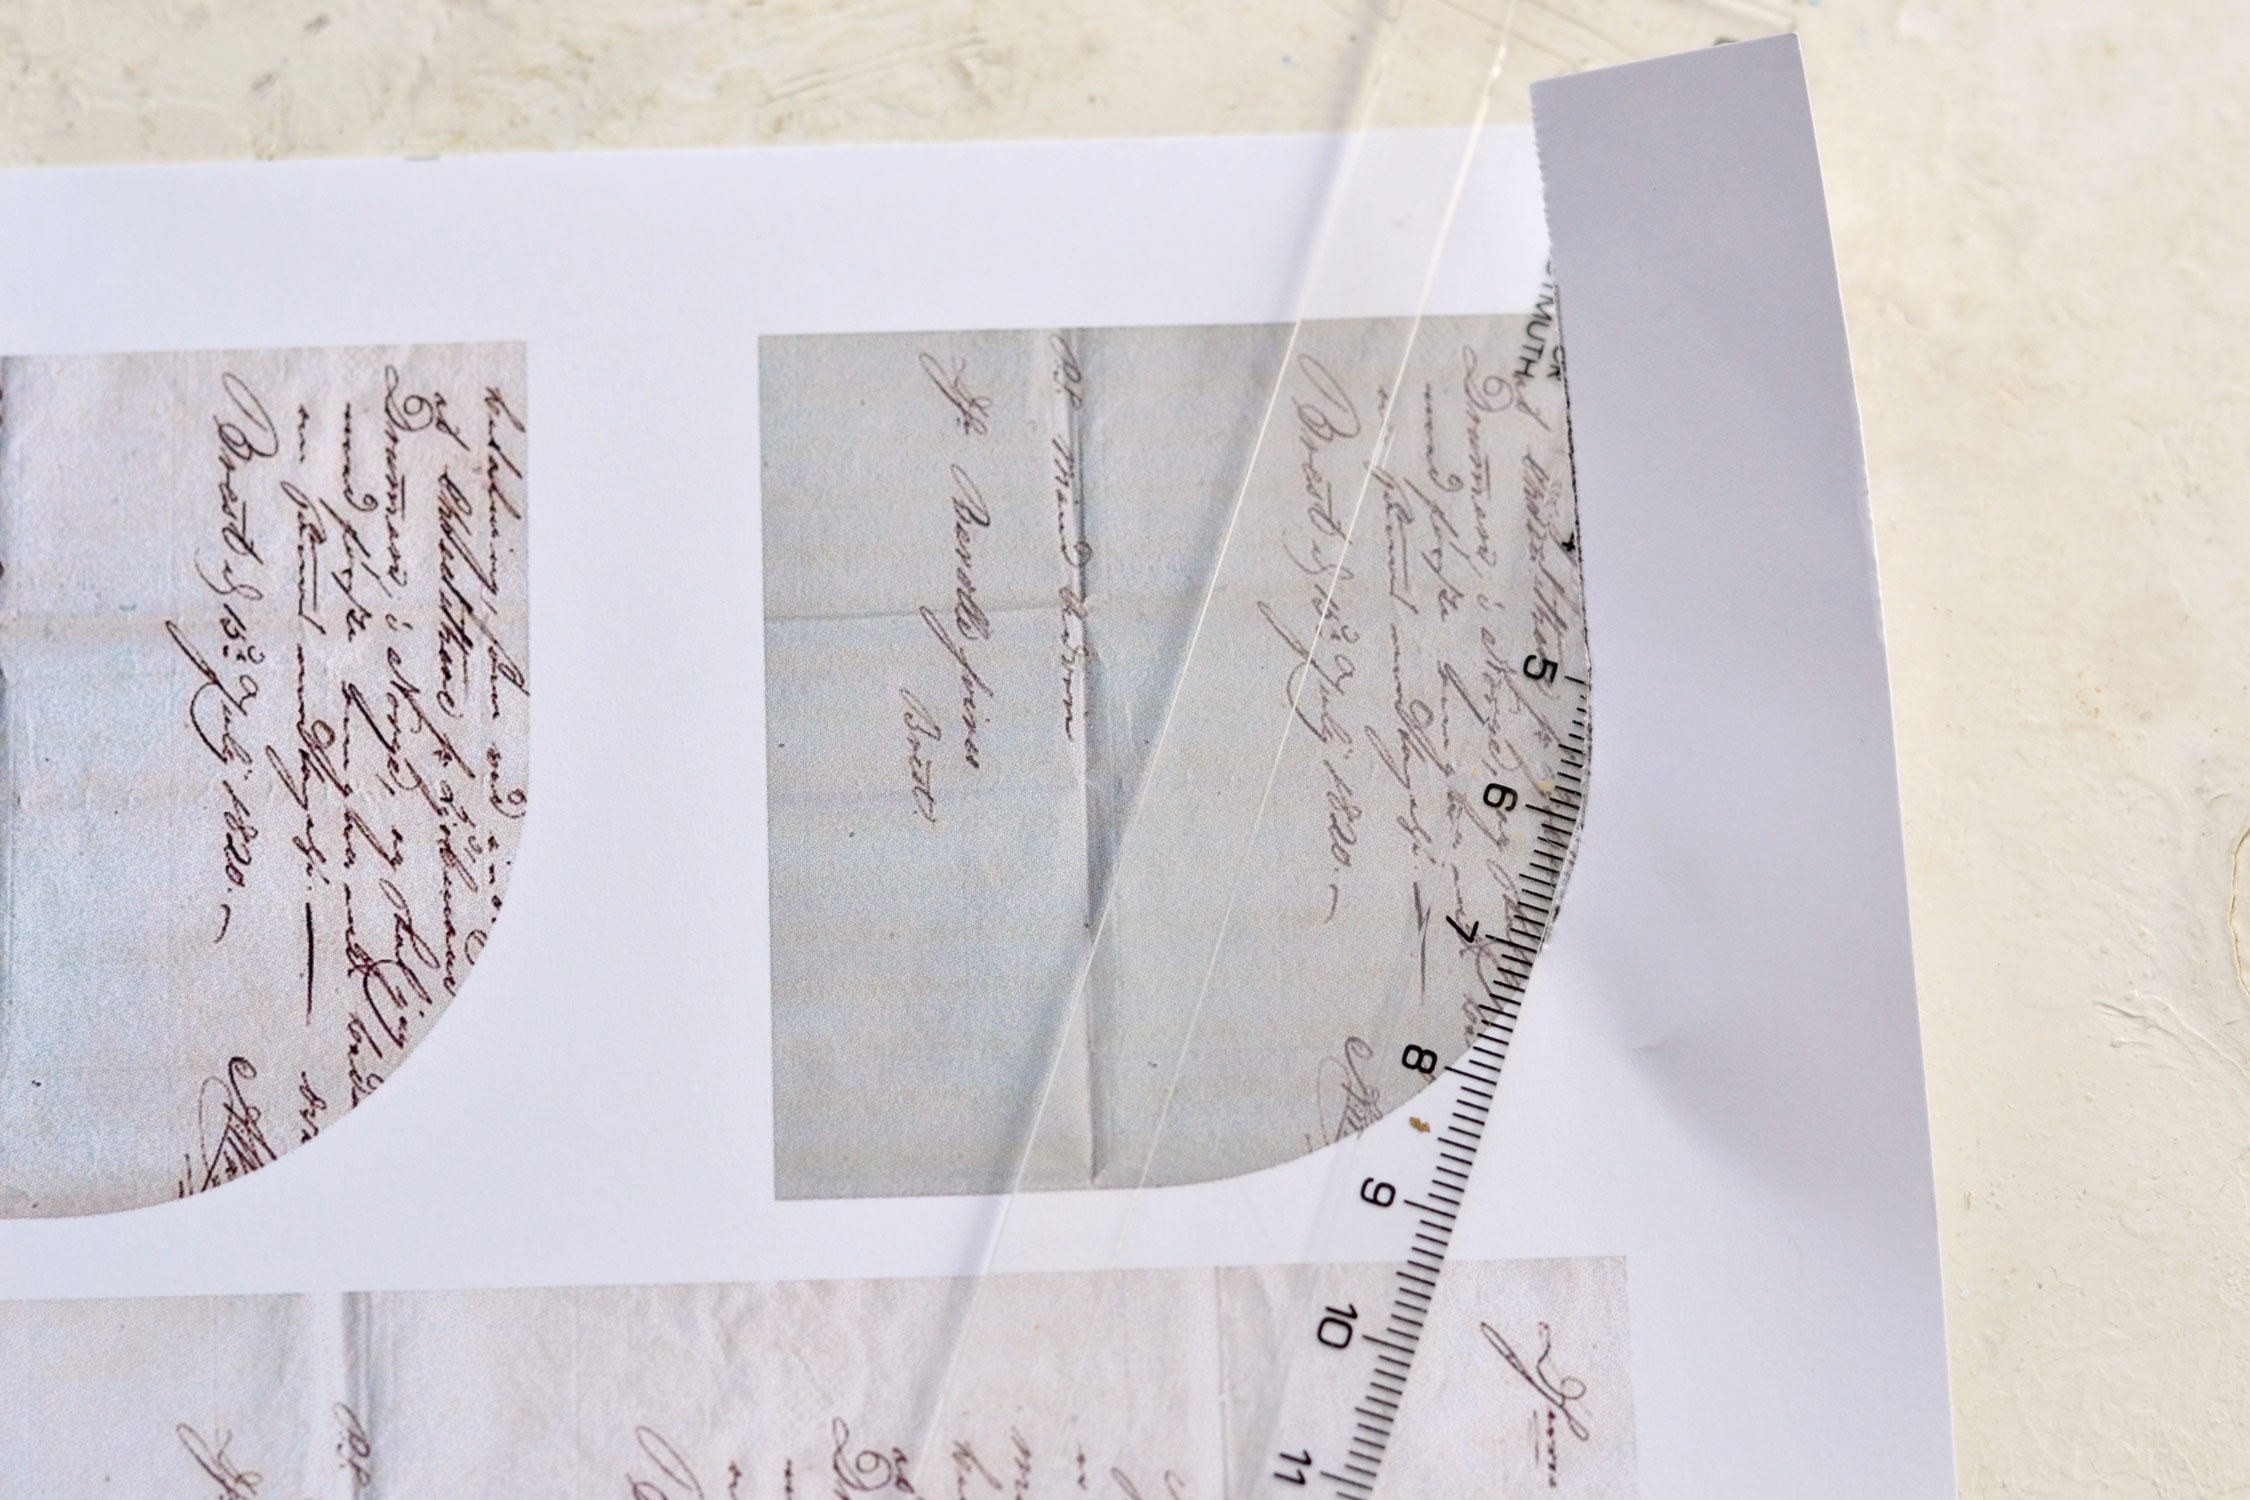
The rounded elements will be a little bit trickier to tear, you’ll need to make small moves and slowly move the ruler around the design.
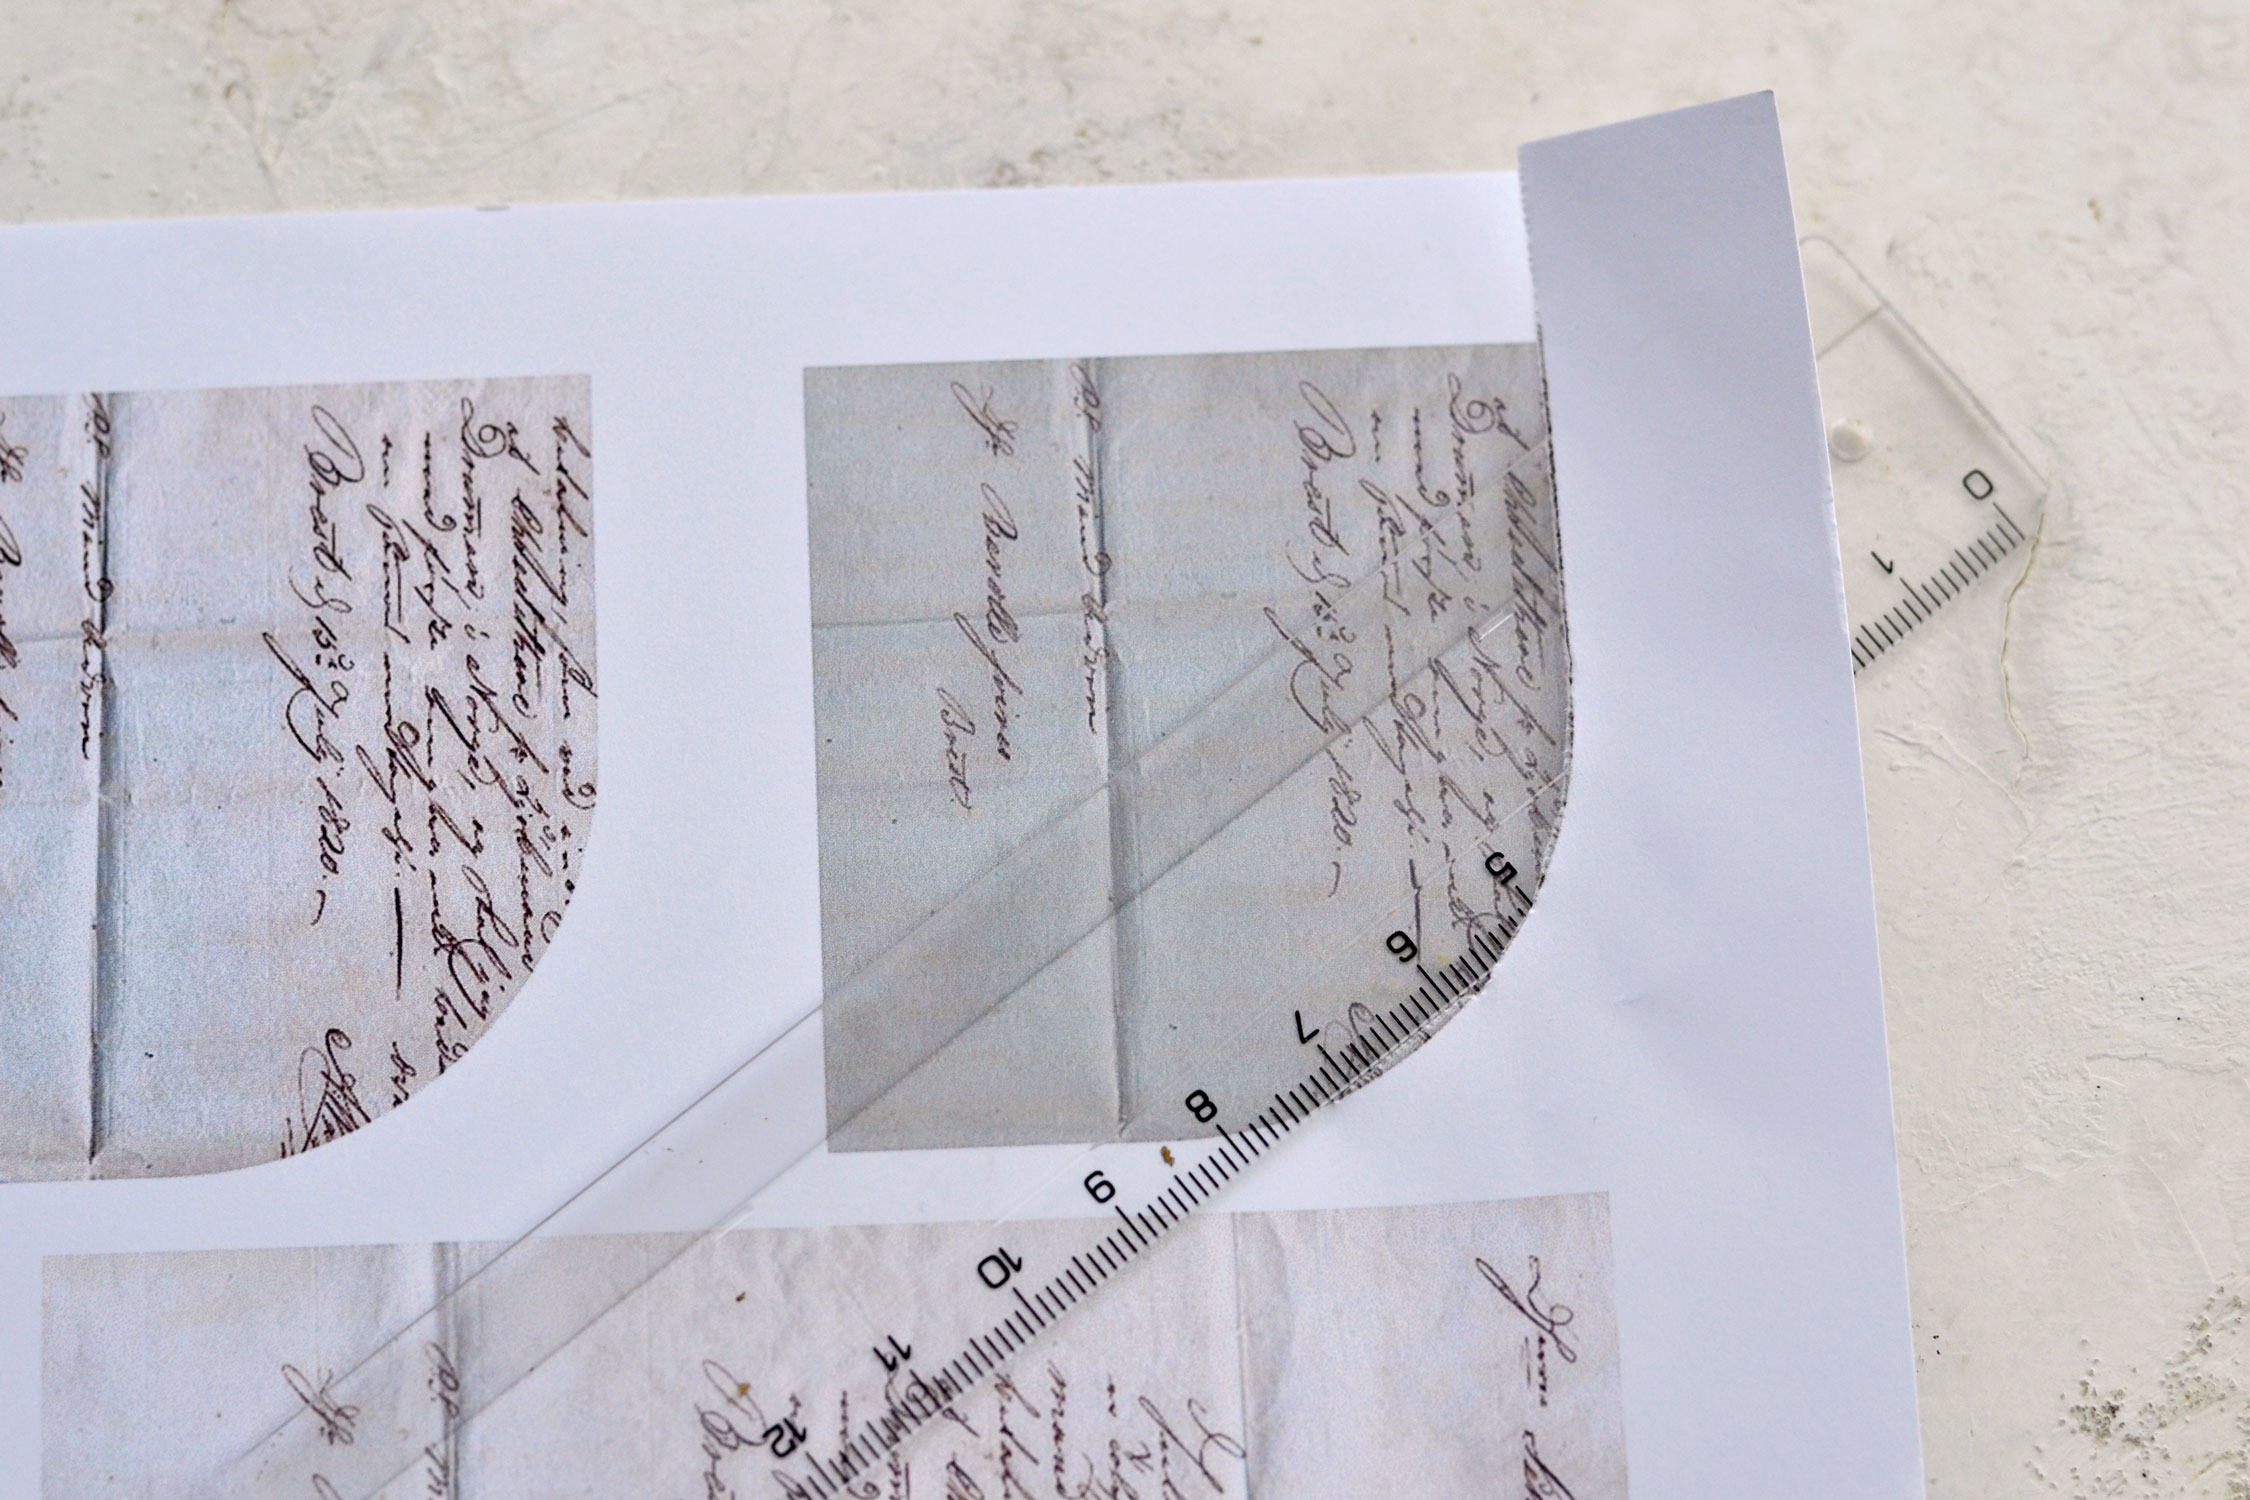
You will need to change the angle of your ruler to be able to perform all the tears, you will see that once you get the hang of it, things will go pretty smoothly. Slowly, but smoothly.
This is how my first torn element looked like. If you feel the edge is a little bit too bumpy you can use some scissors to lightly trim it here and there to remove some of the excess paper.
Proceed to tear all the other elements.
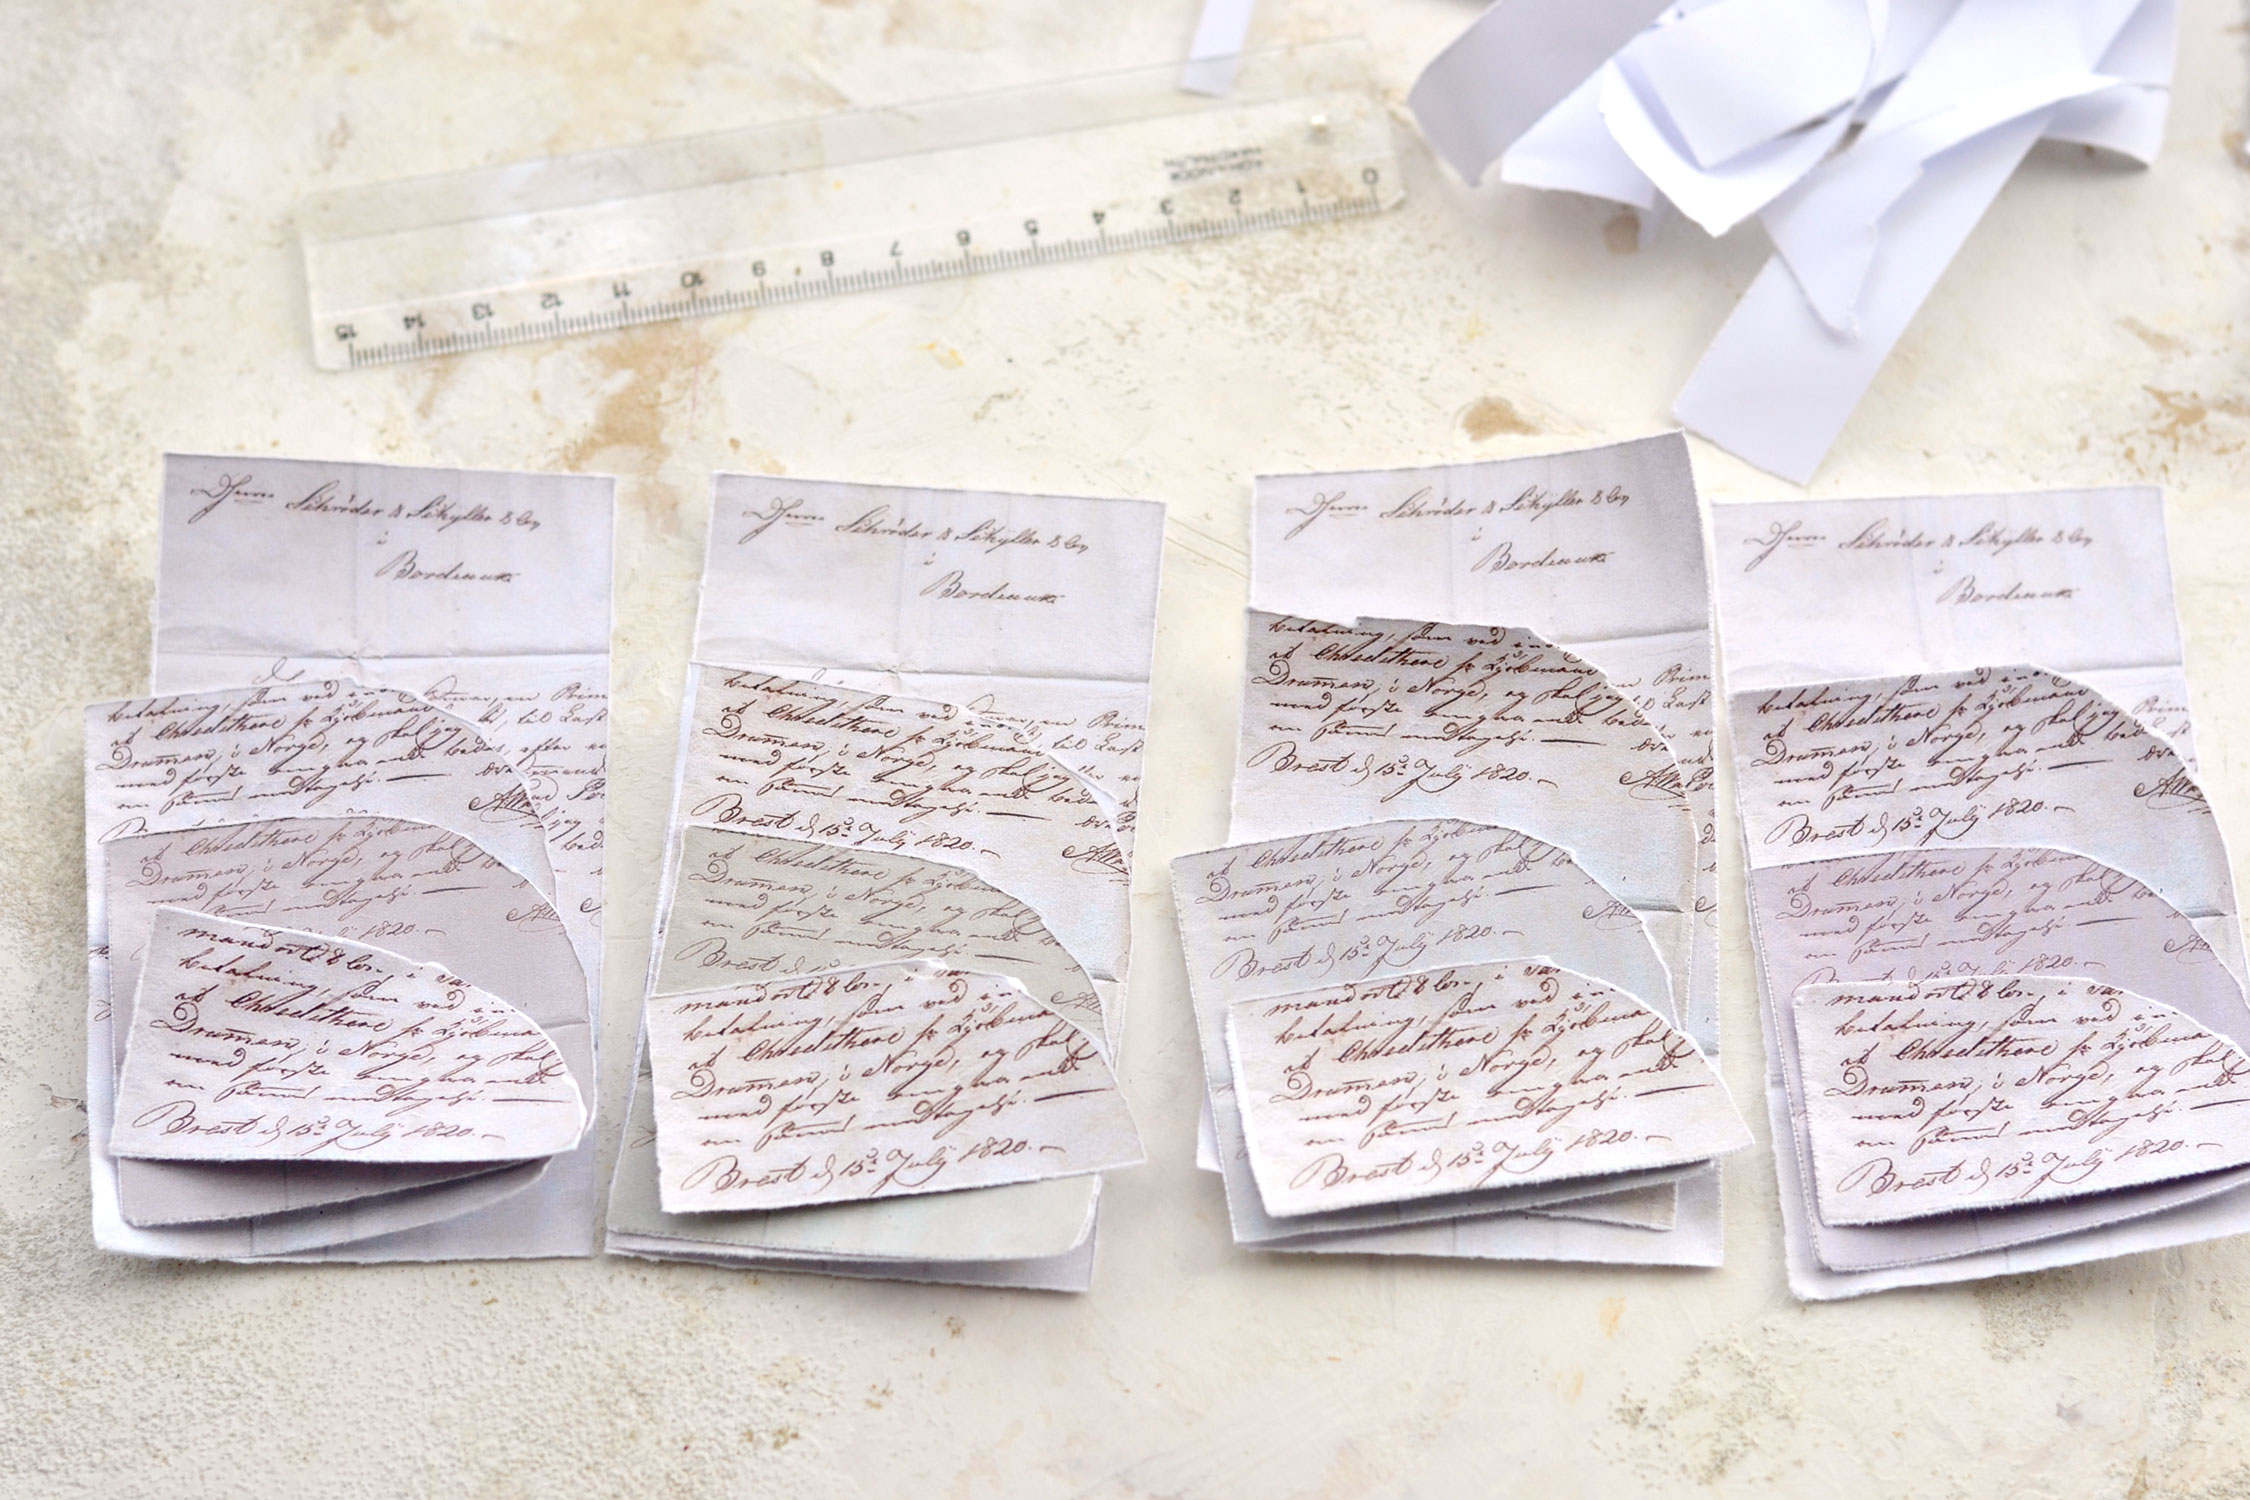
You can stack the elements from each group when you are done, it will be easier to assemble them afterward.
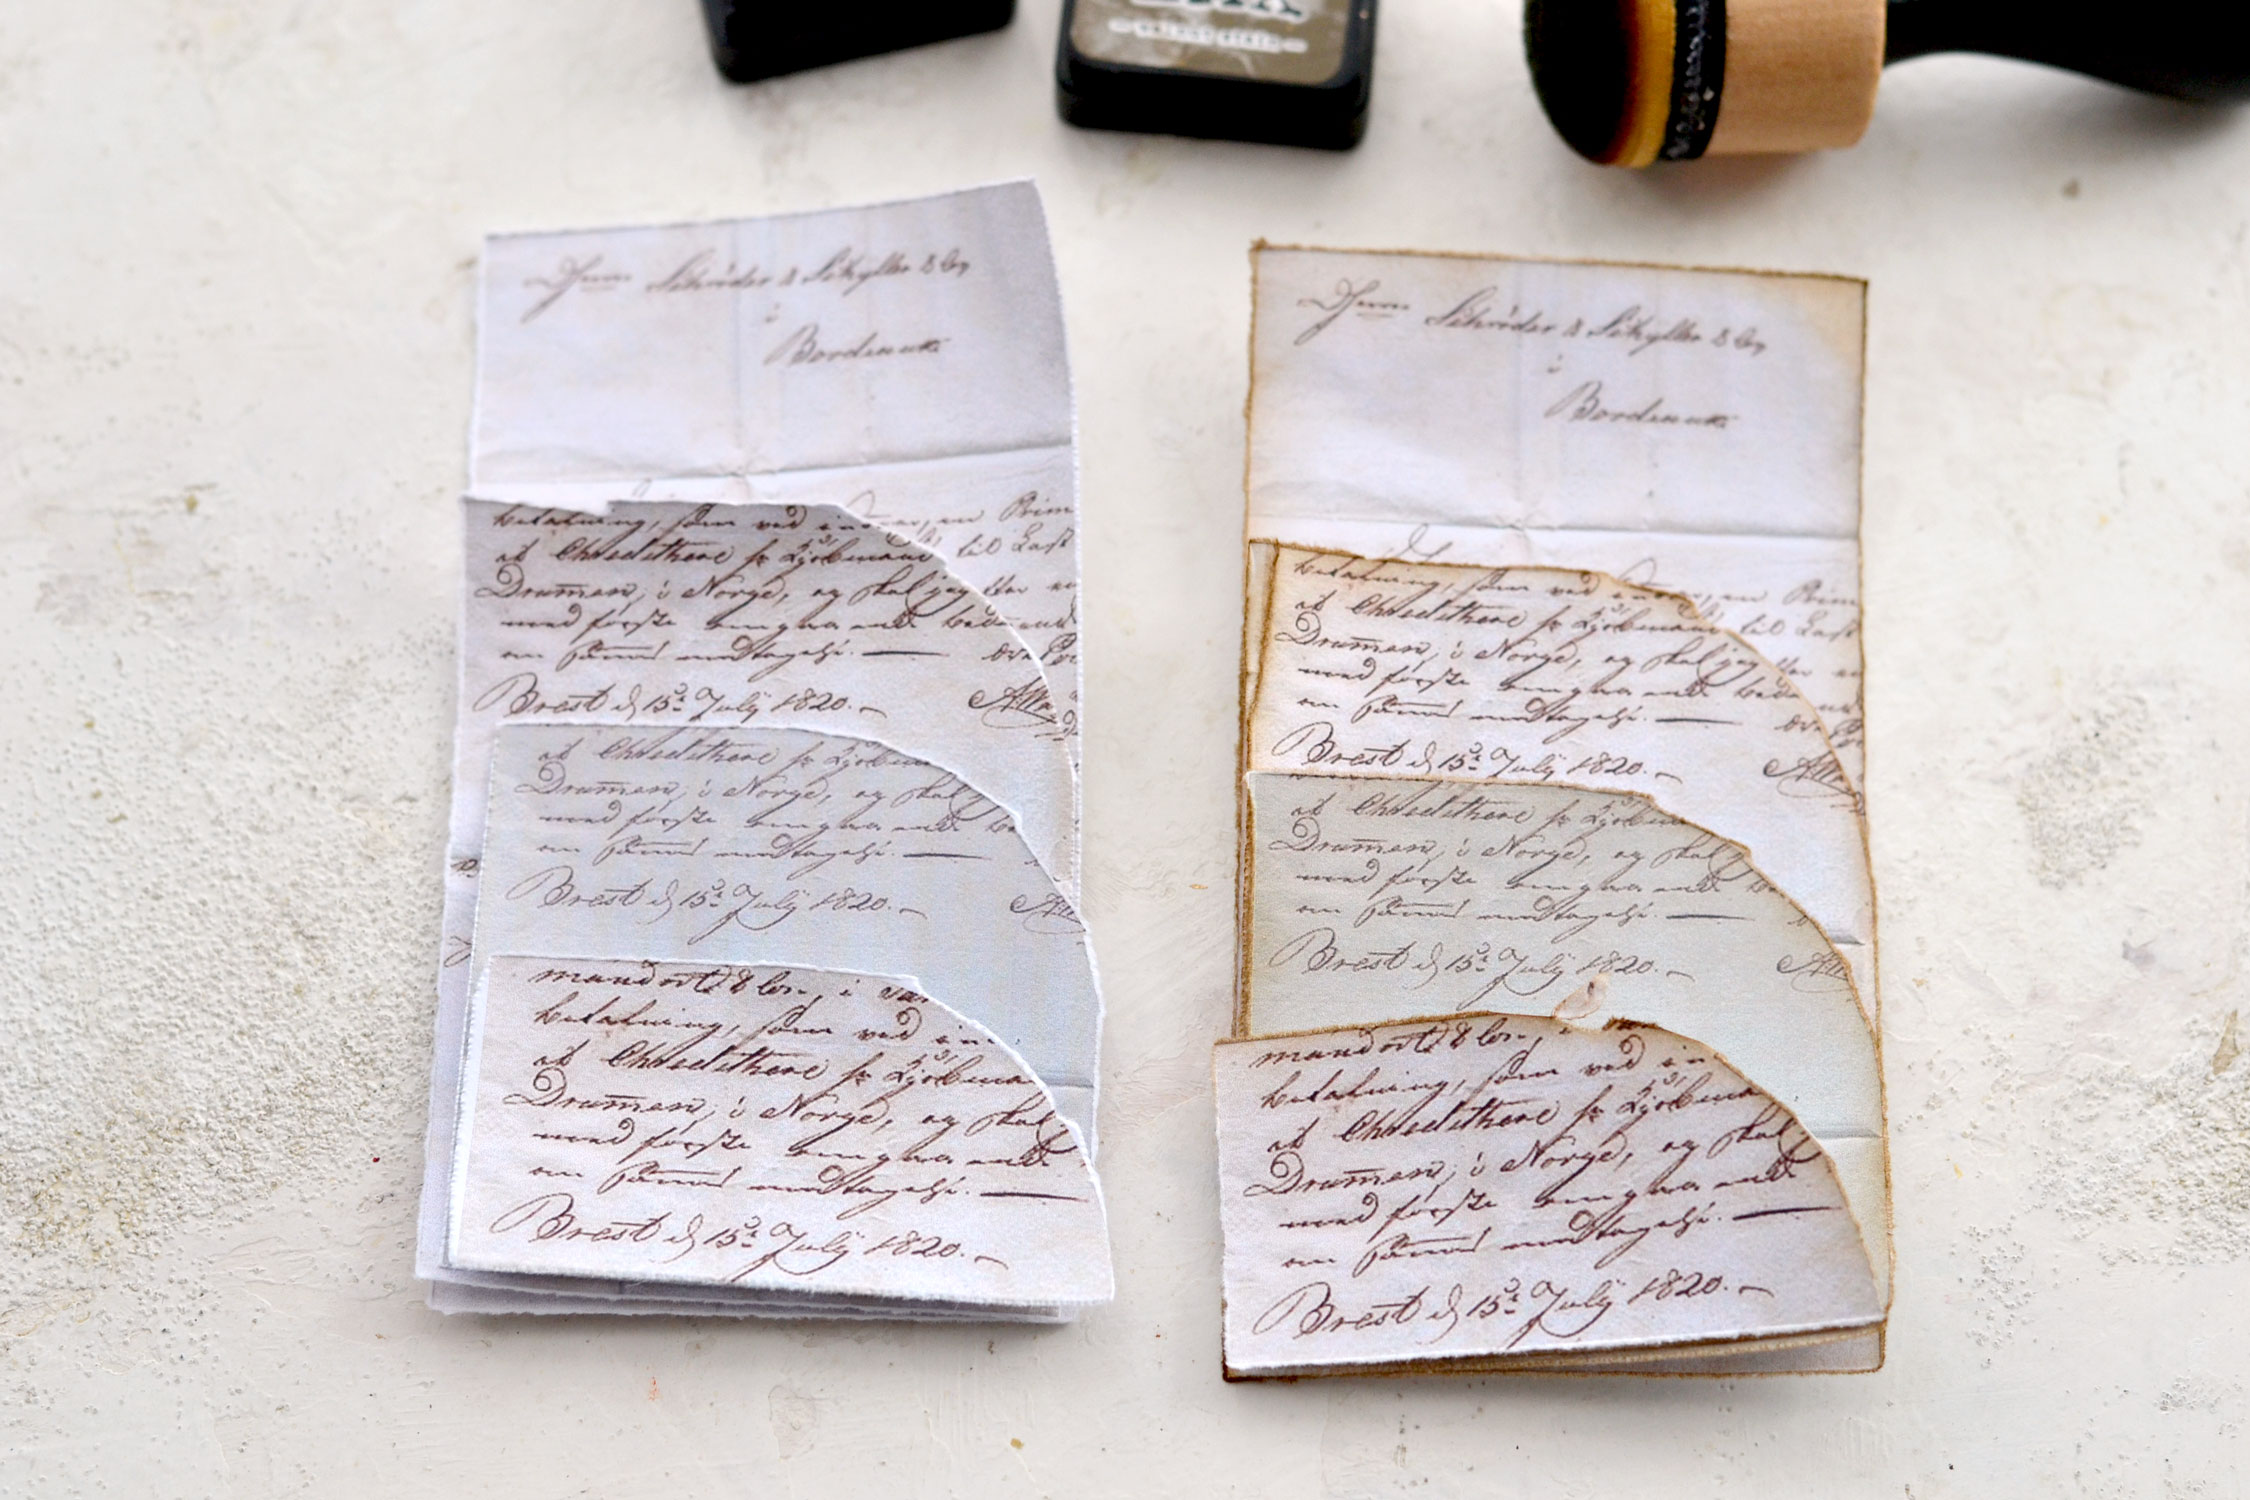
Use distress ink to give the paper a beautiful aged look. Go around the edges of each element, it would be best to distress them now before gluing everything together.
If you want to make these more colorful, you can use colored distress inks instead!
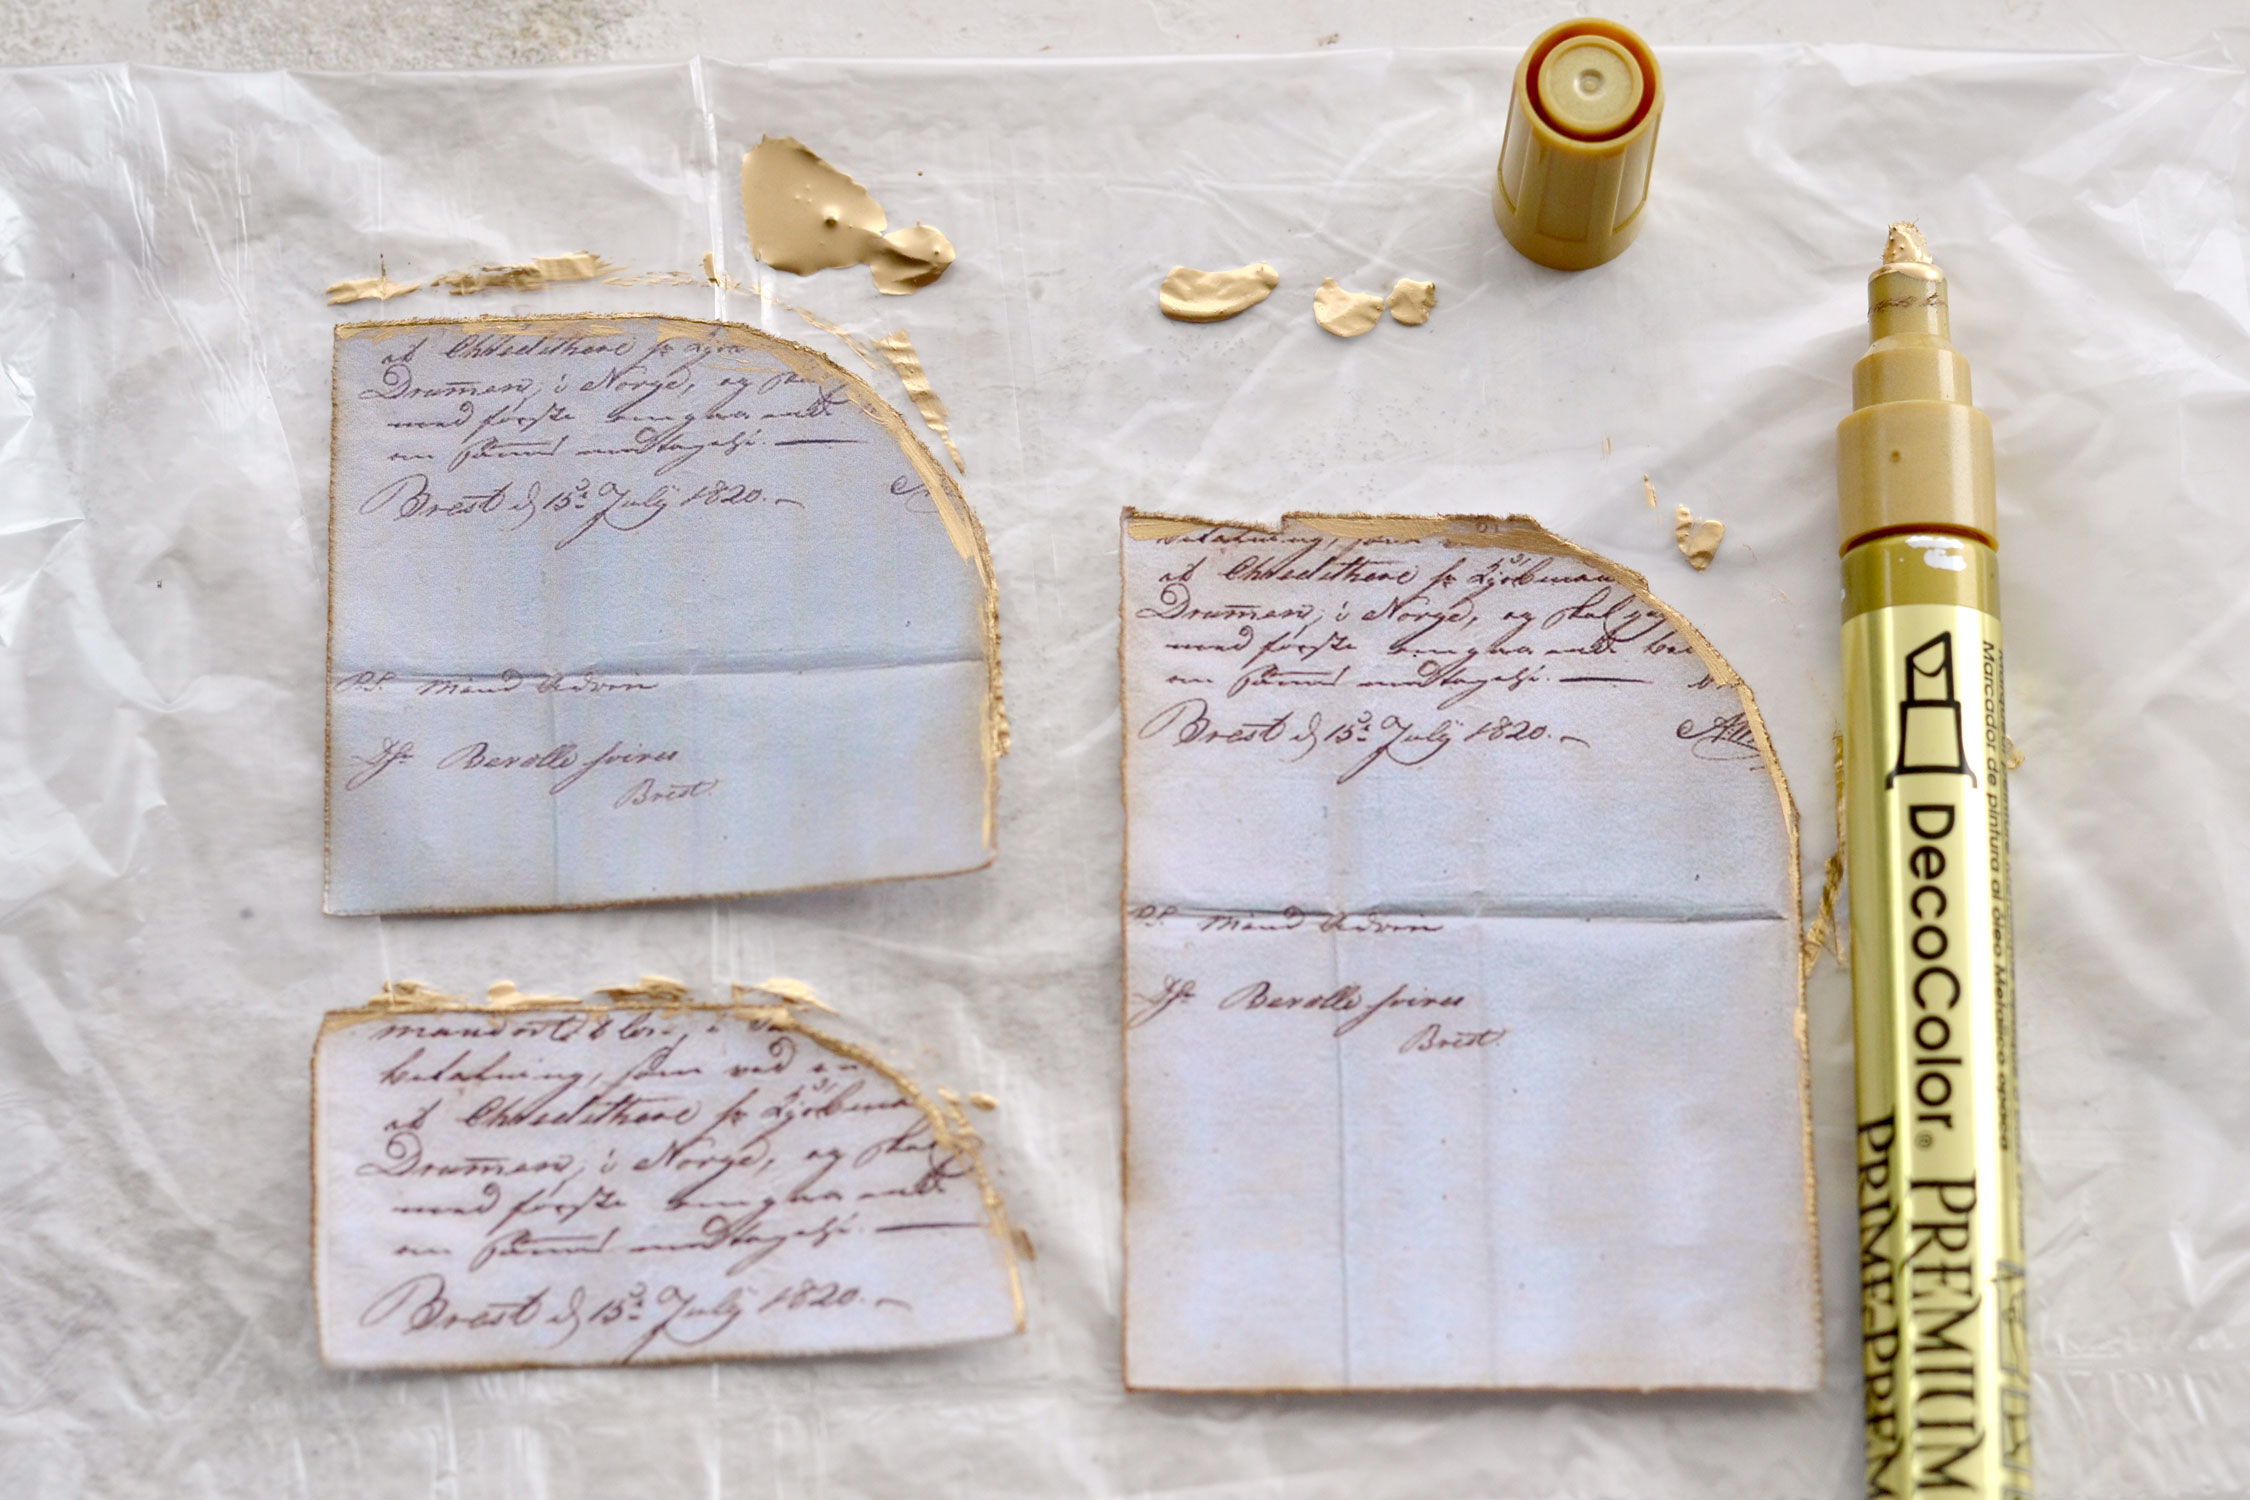
Place a non-absorbent material on your table – I went with a small recycled plastic bag – and use a gold marker to lightly gild the rounded side of each of our rounded elements. It’s really hot outside these days and things tend to dry more quickly than usual, so you might need to press down a few times the tip of your marker on your working surface to release the paint.
You can place the paper on your table while painting the gold on the edges or you can keep it in your hands and rotate it as you paint. I prefer to keep it in my hands because I like to leave the paper to bend on its own while painting, I feel that it creates strokes that have more of an organic feel this way.
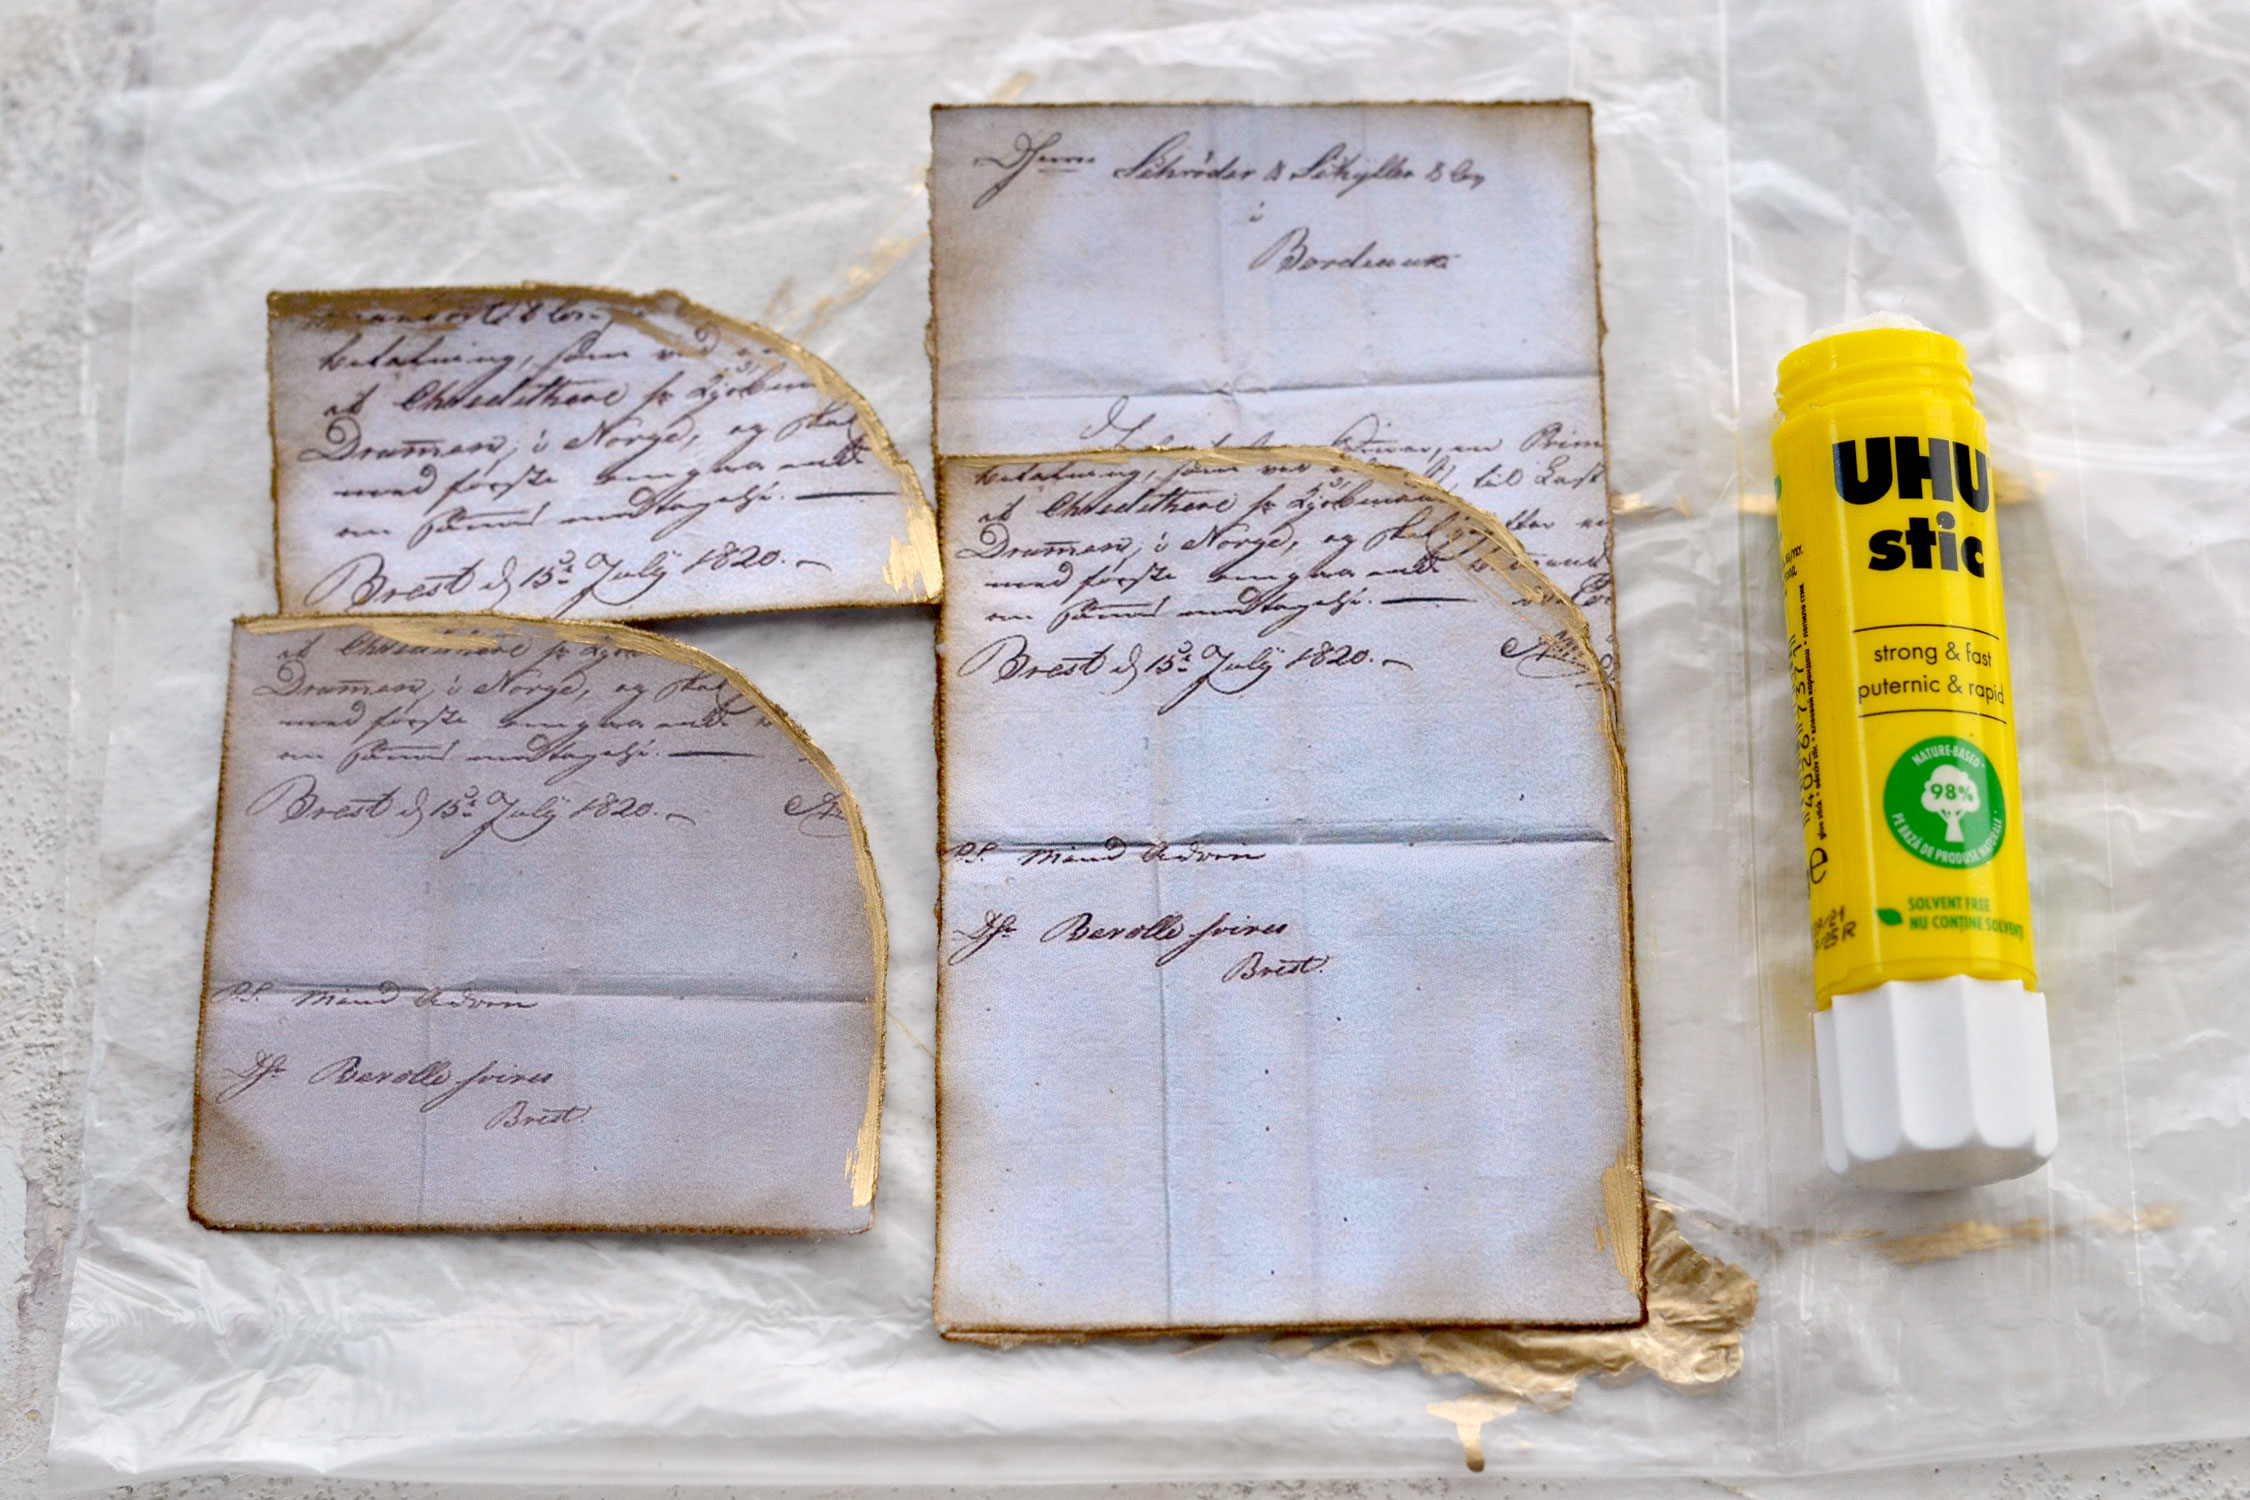
When you are done, fold the plastic bag once so that the gold residues are not touching the paper anymore, then proceed to glue all the elements together. Place the rectangular base on the table, then add glue to the edges of each rounded element and glue them on top. All glue to all edges of the pockets except for the rounded side that needs to remain unglued.
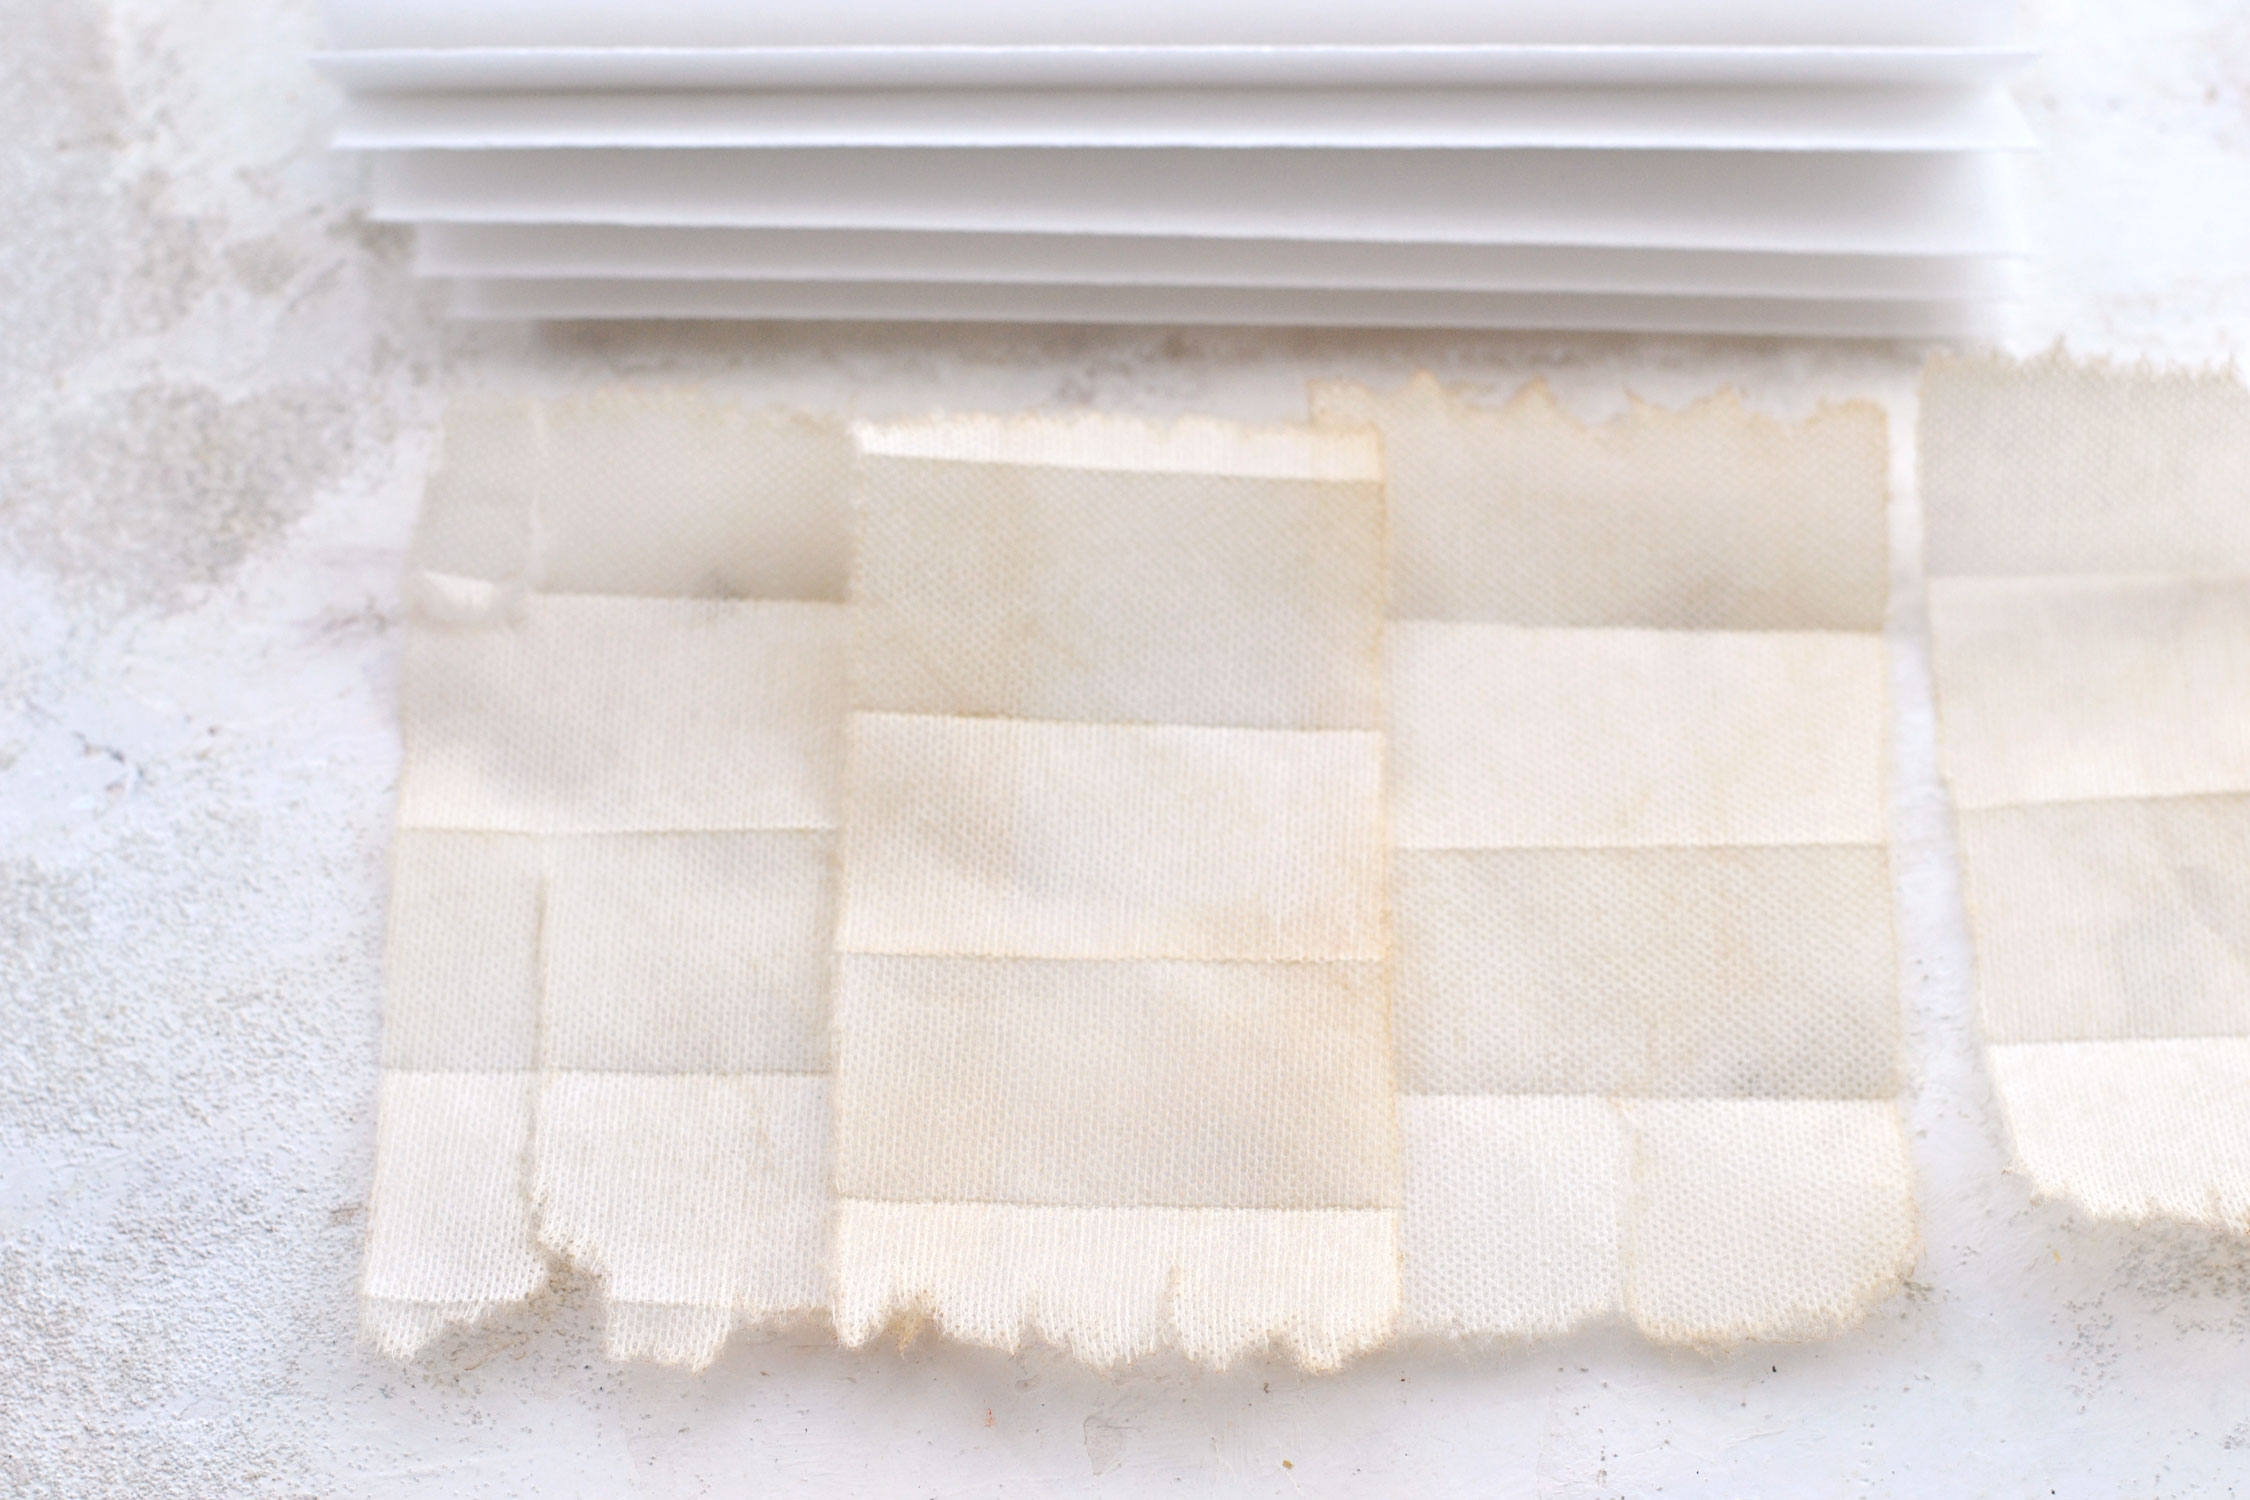
As an optional step, you can use a scrap piece of fabric to glue it on the back of each finished tag. I had a small piece of this inexpensive white pleated Schottis blind from Ikea so I thought why not use it here? I used a pocket tag as guidance to roughly tear the fabric to size. If you are not familiar with these blinds, the material feels like a mix of fabric and paper and can be cut or torn as you wish. I used instant coffee mixed with water and soaked the fabric for a few minutes to give it more of a vintage look. I then let it dry on some paper towels and I glued a piece on the back of each tag!
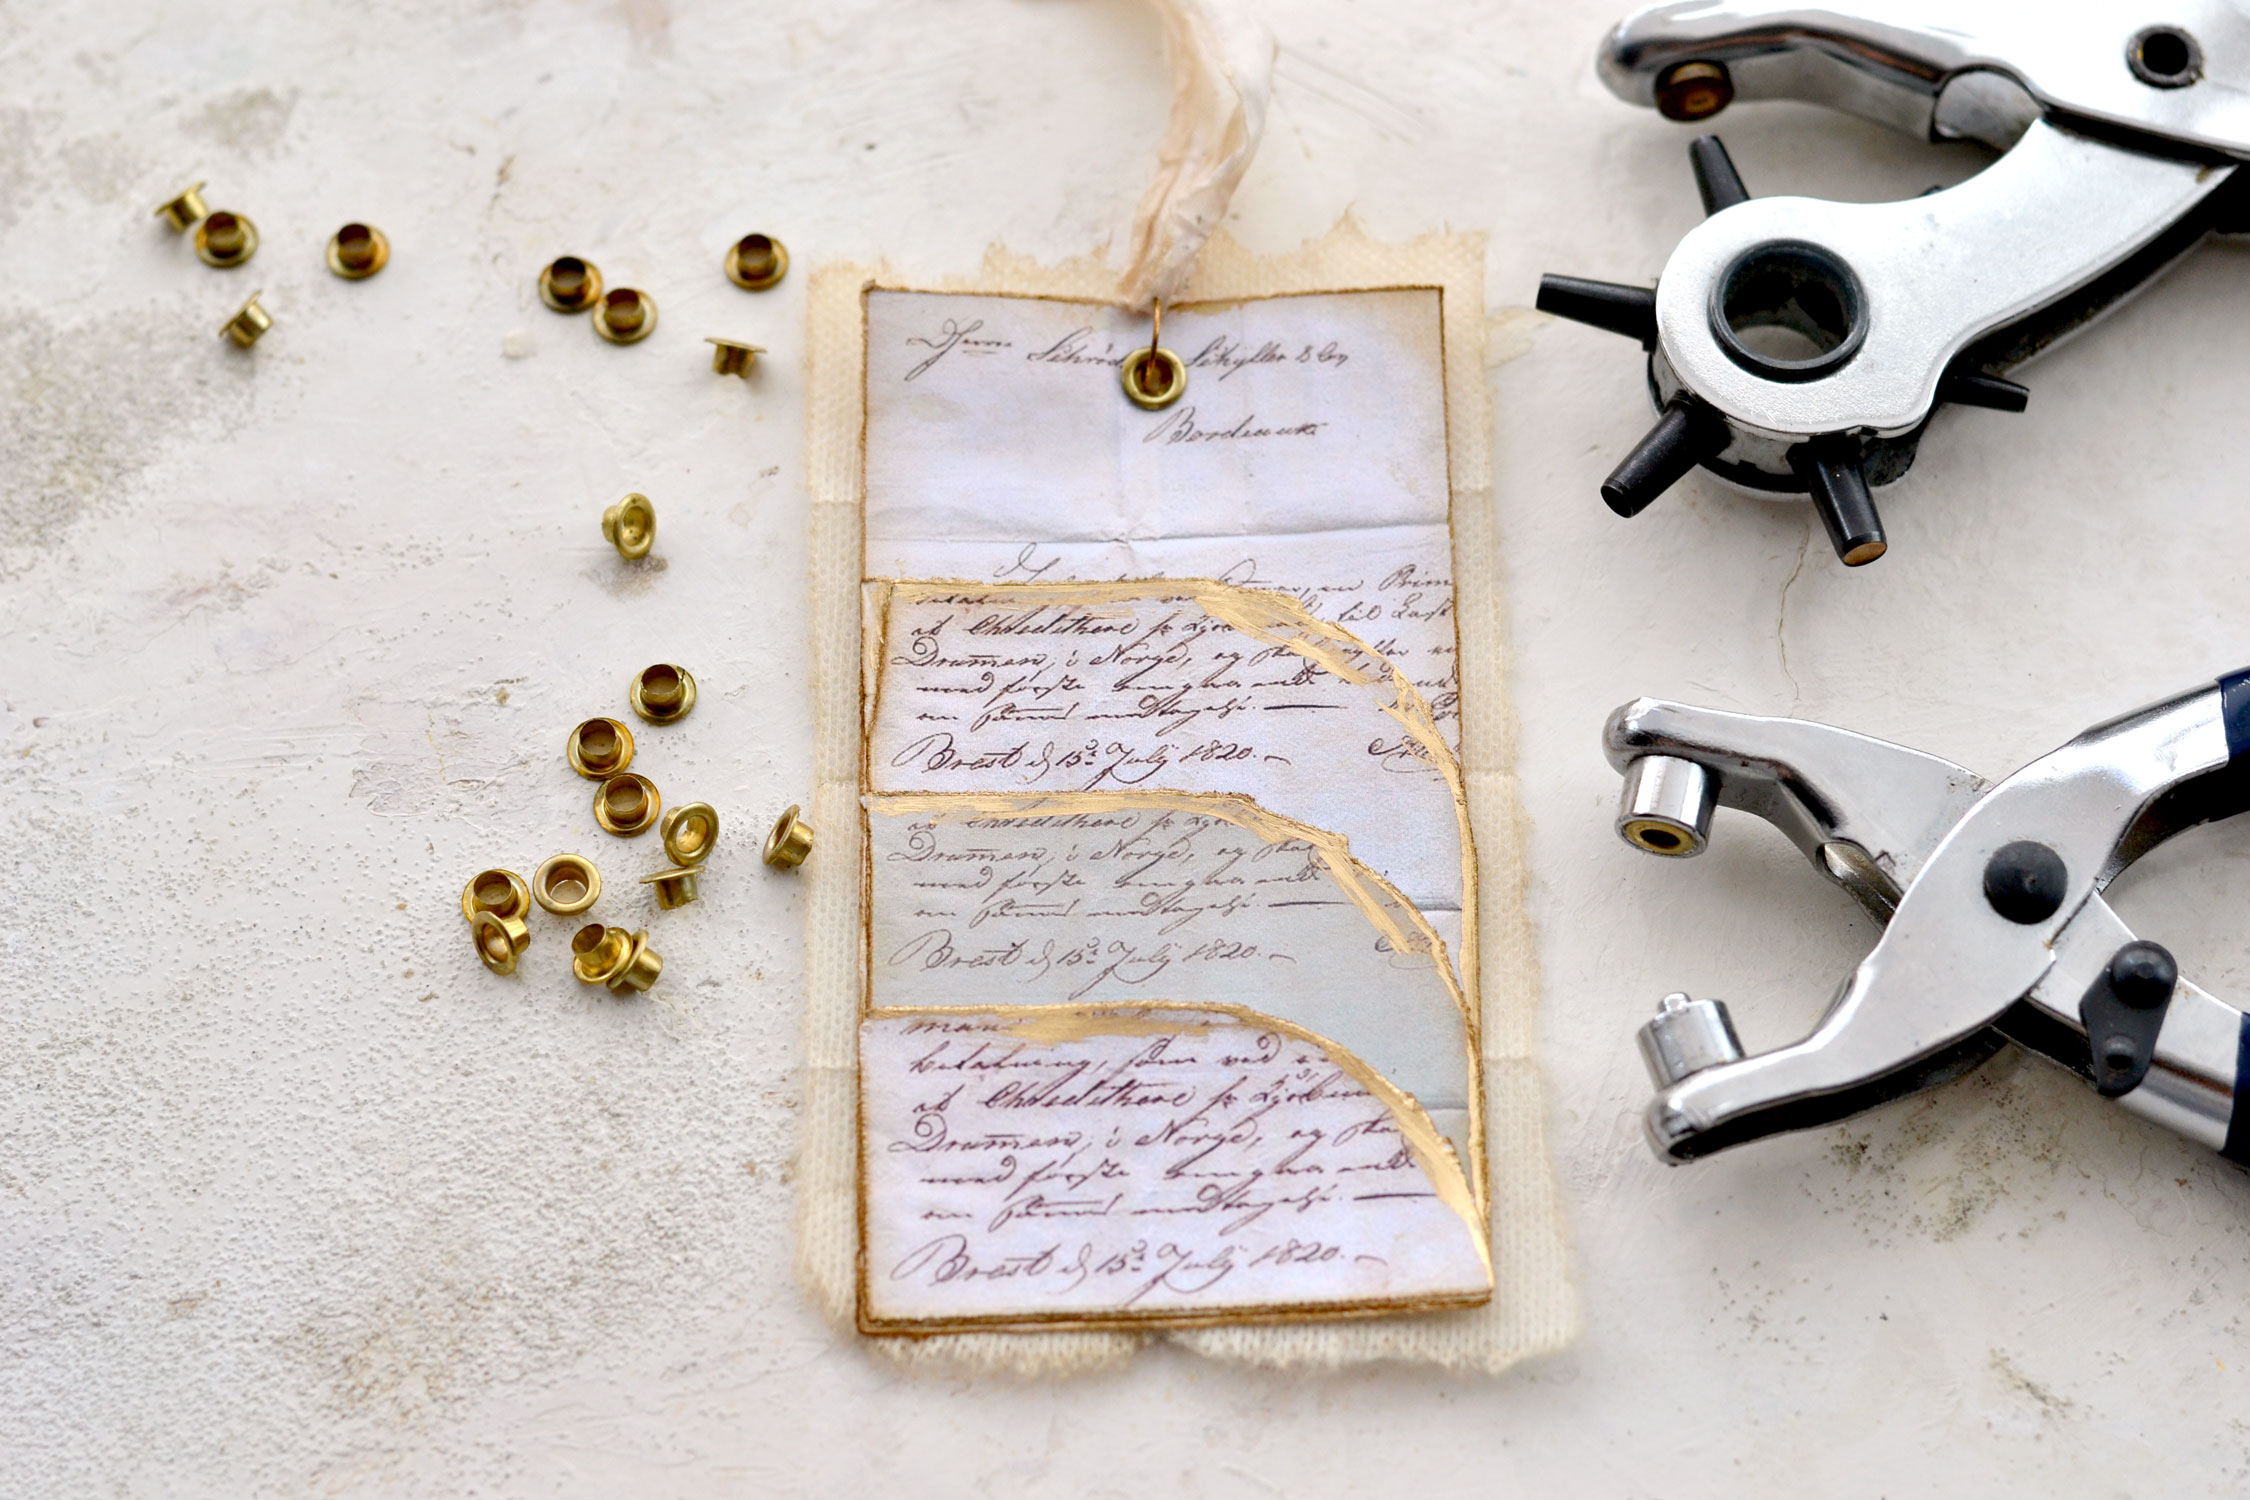
Now you can use a paper punch to make holes and insert some gold eyelets using a plier if you want. Use gourd pins to add some coffee-distressed crinkle ribbons and you are done!
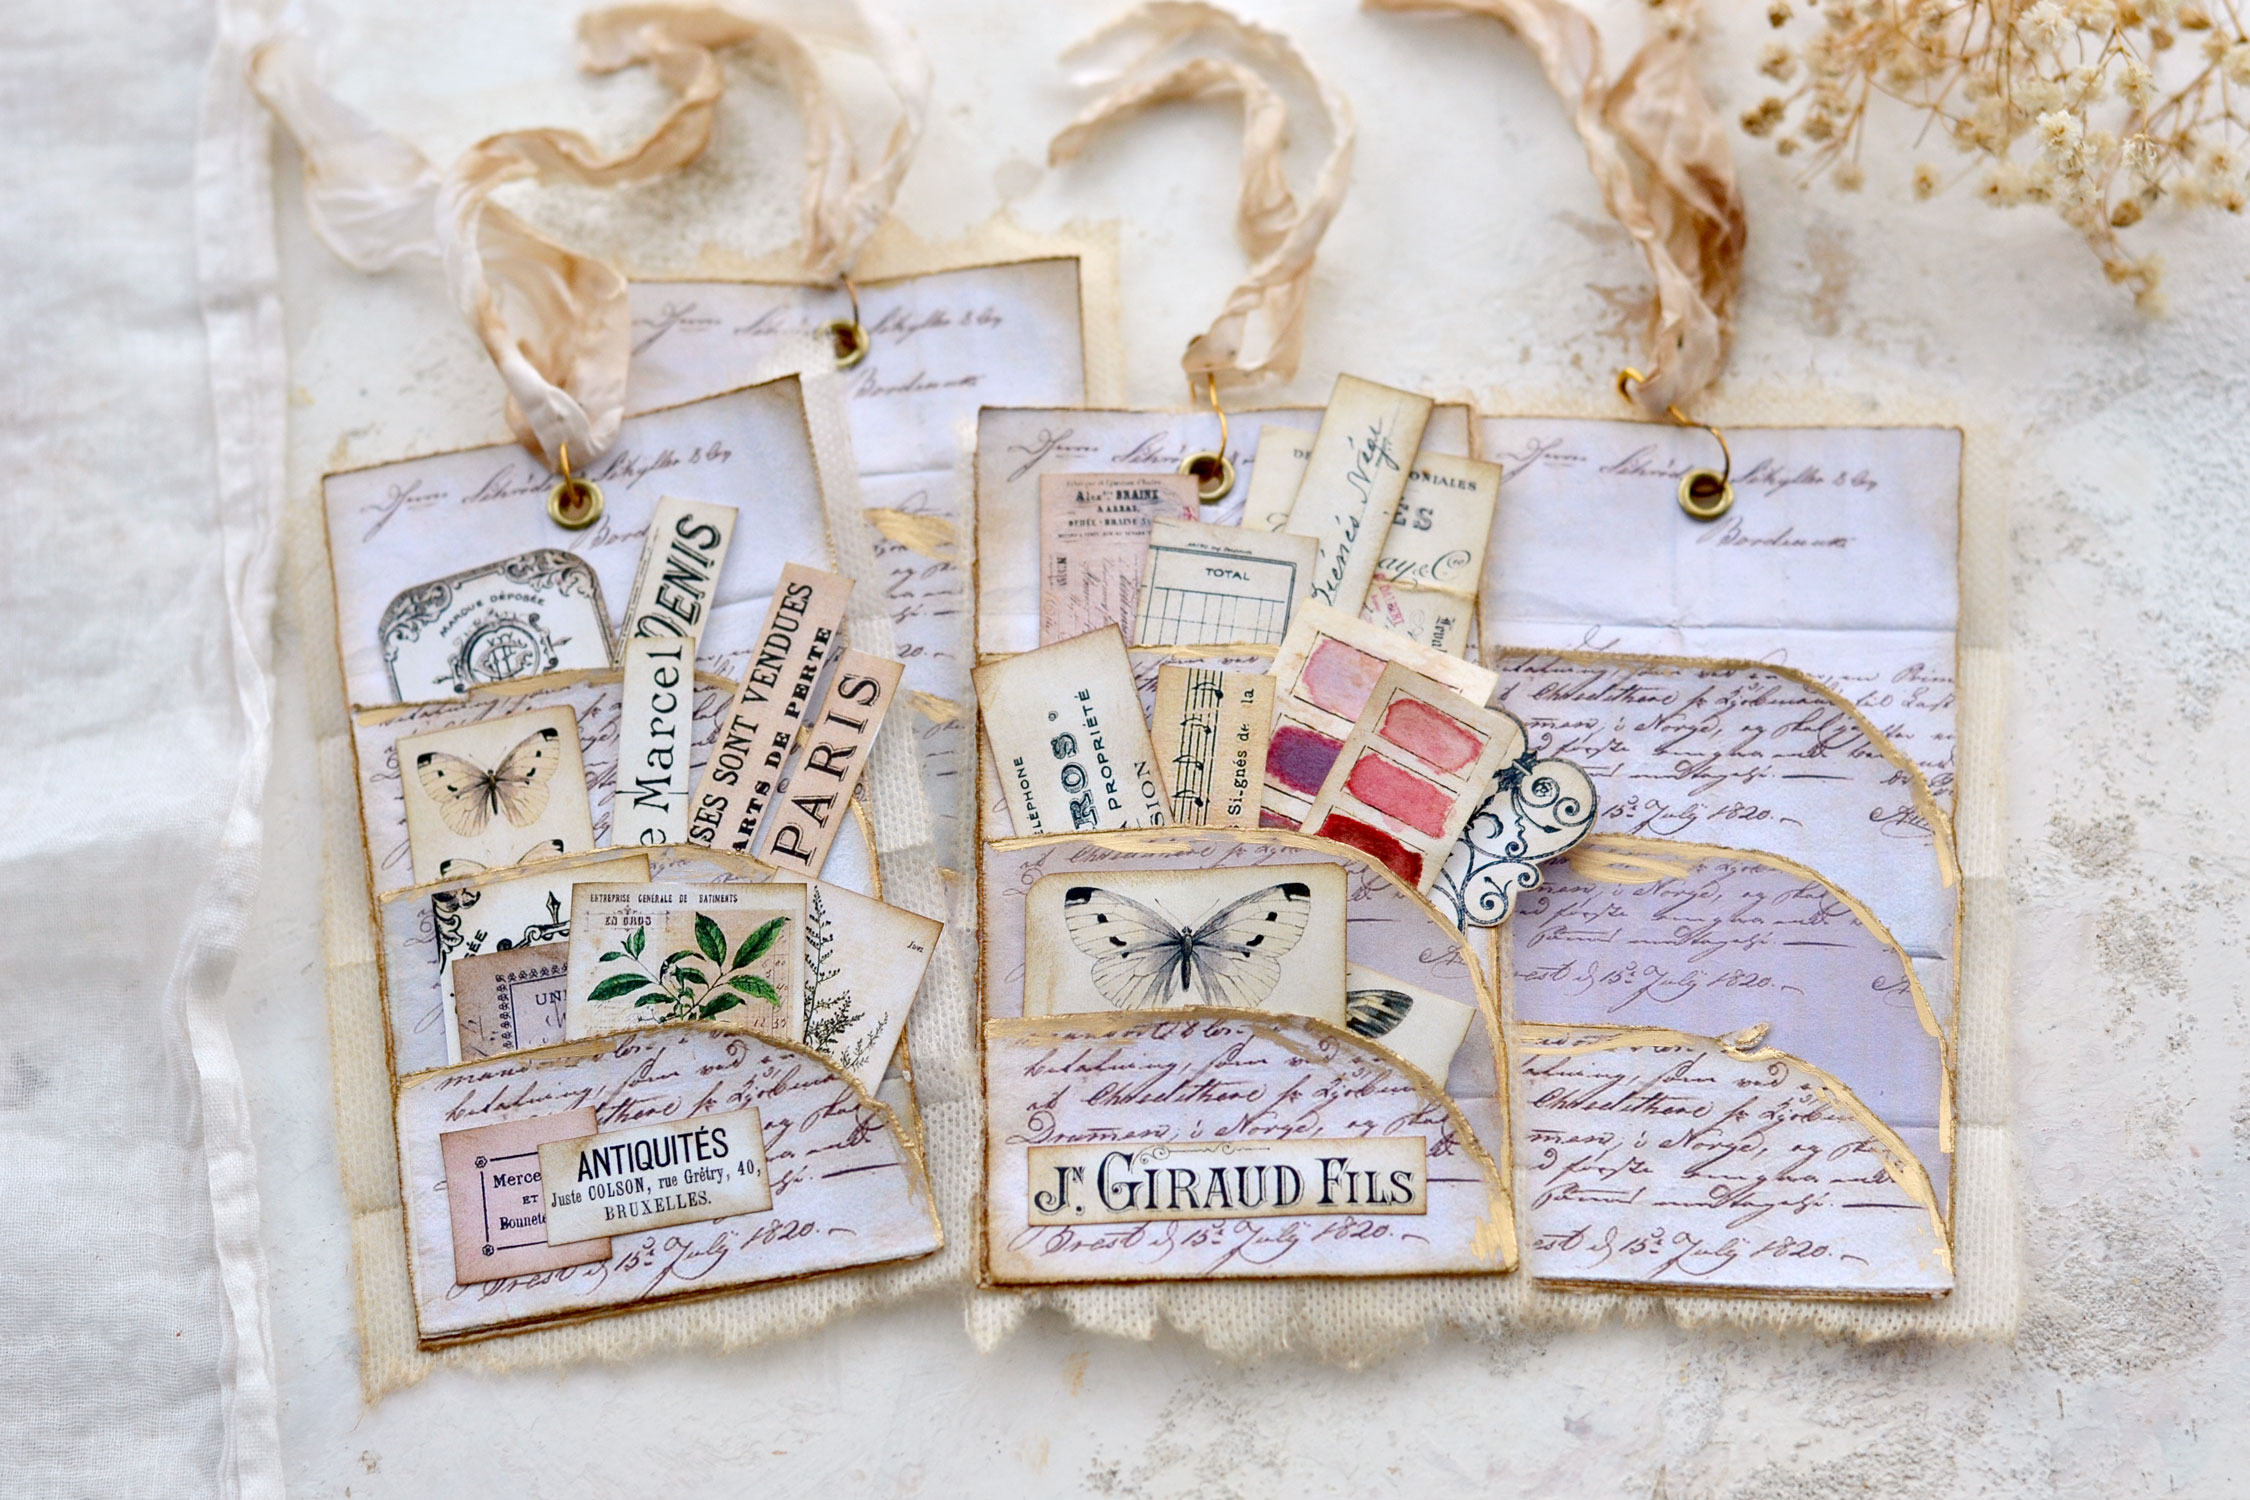
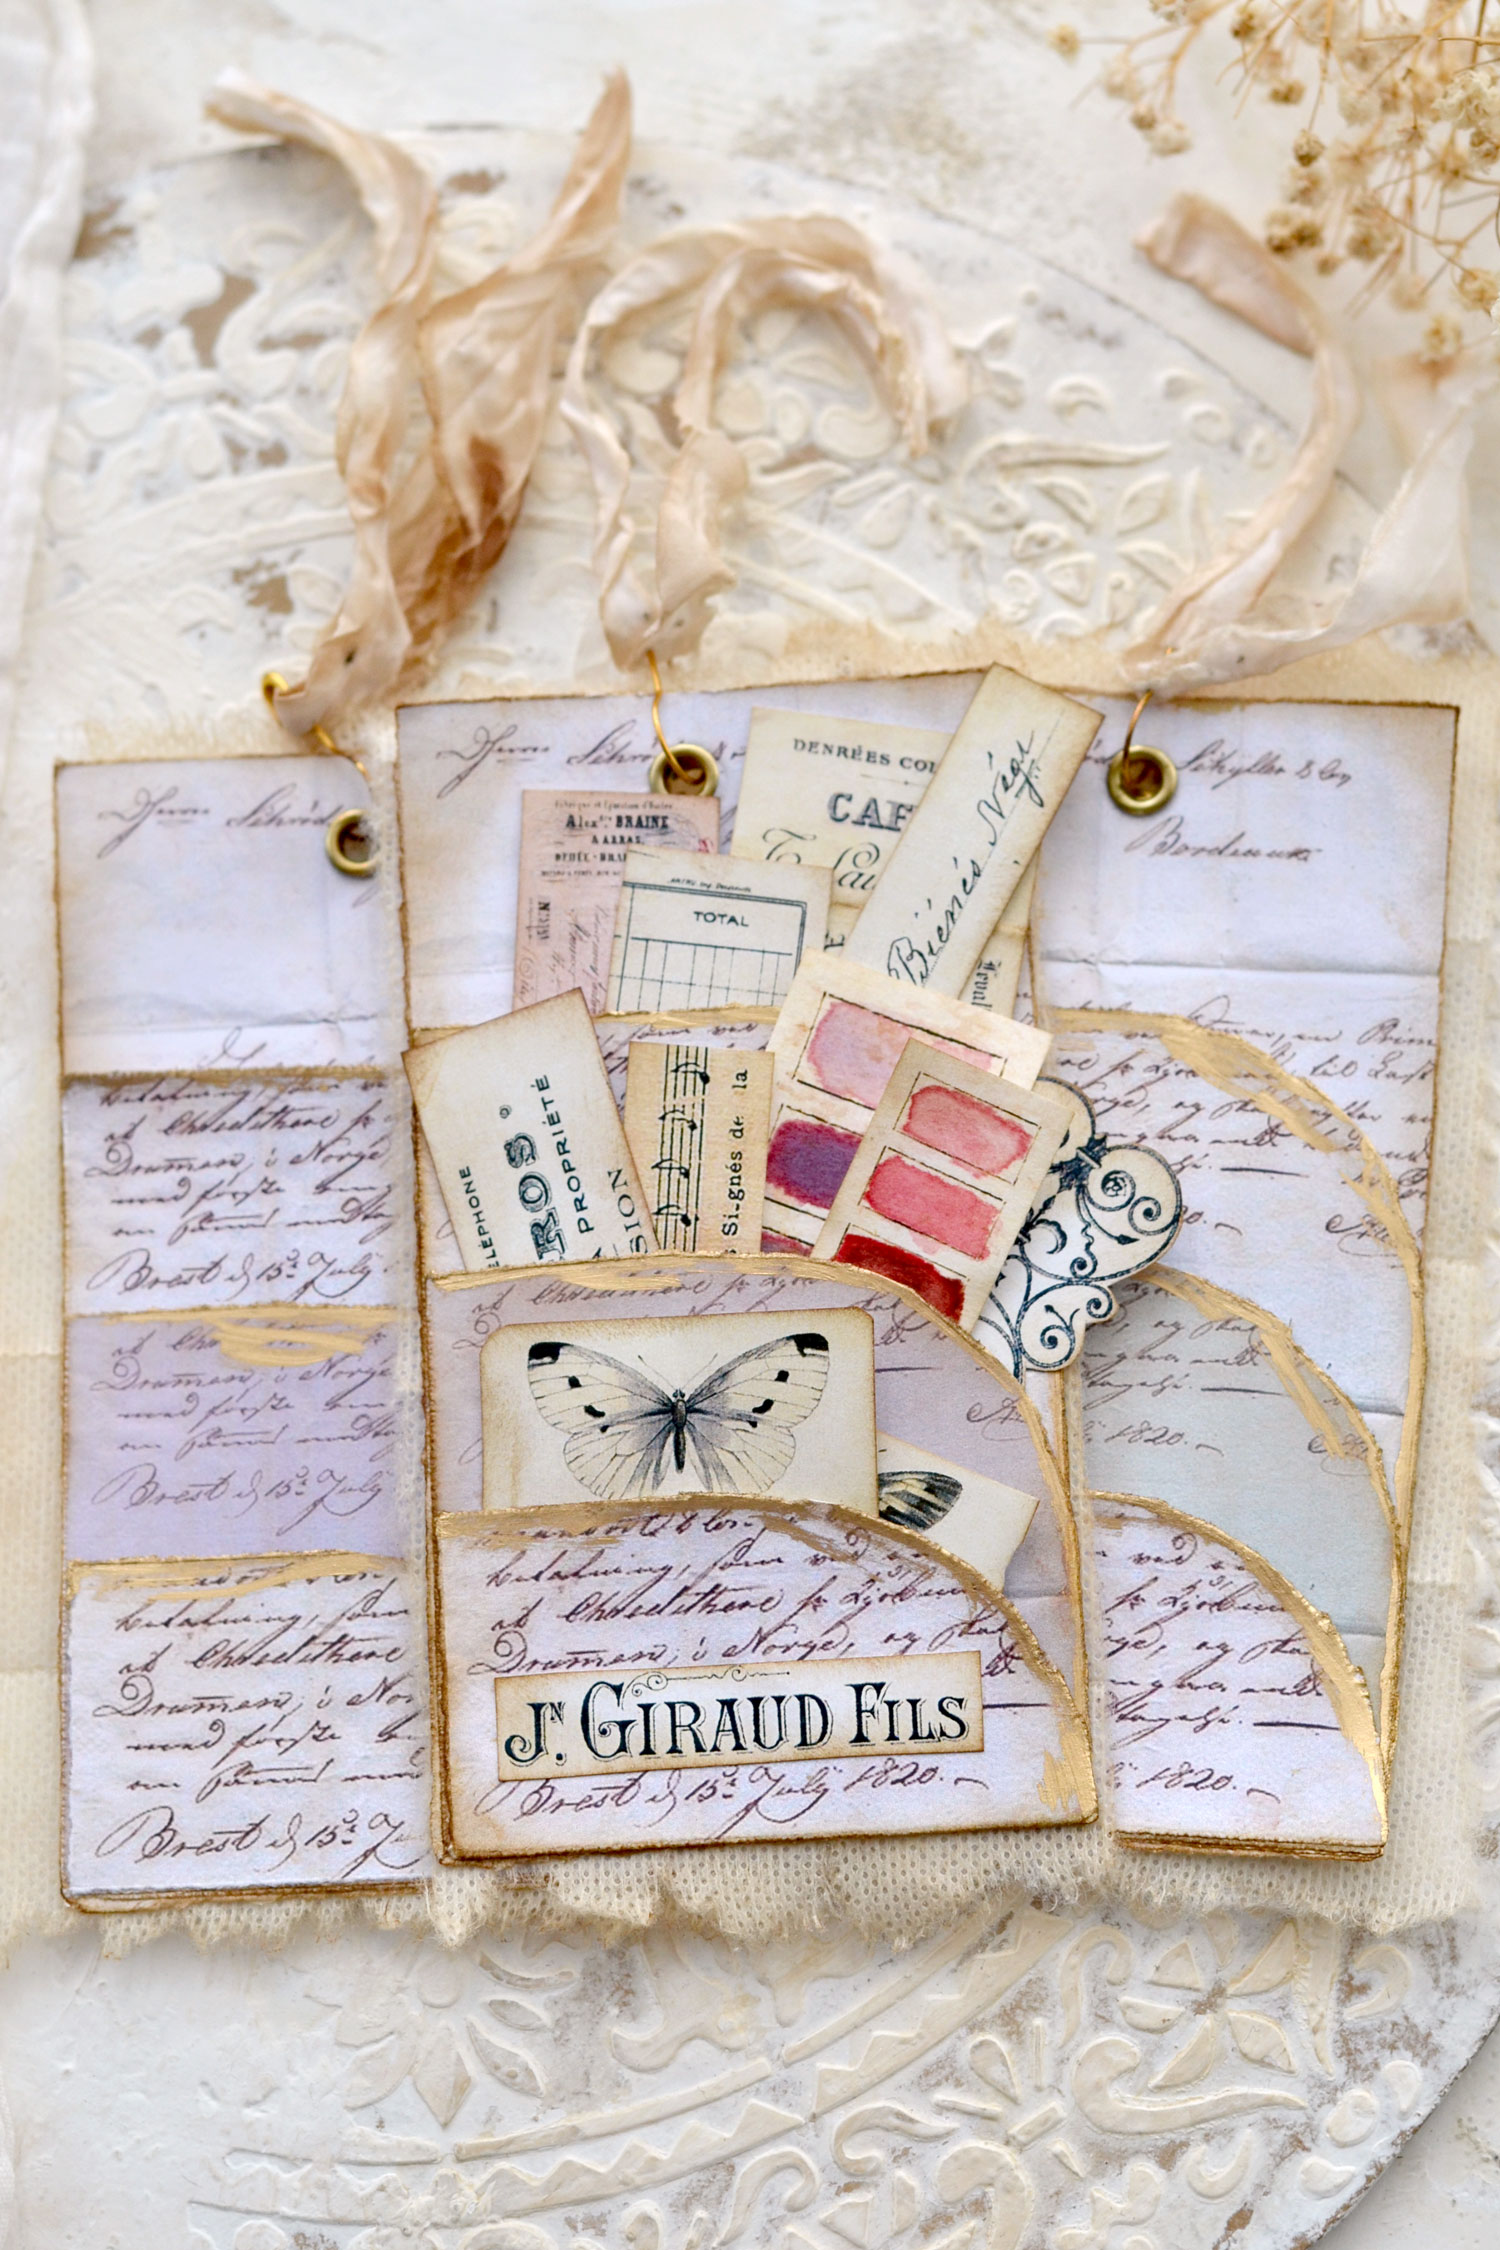
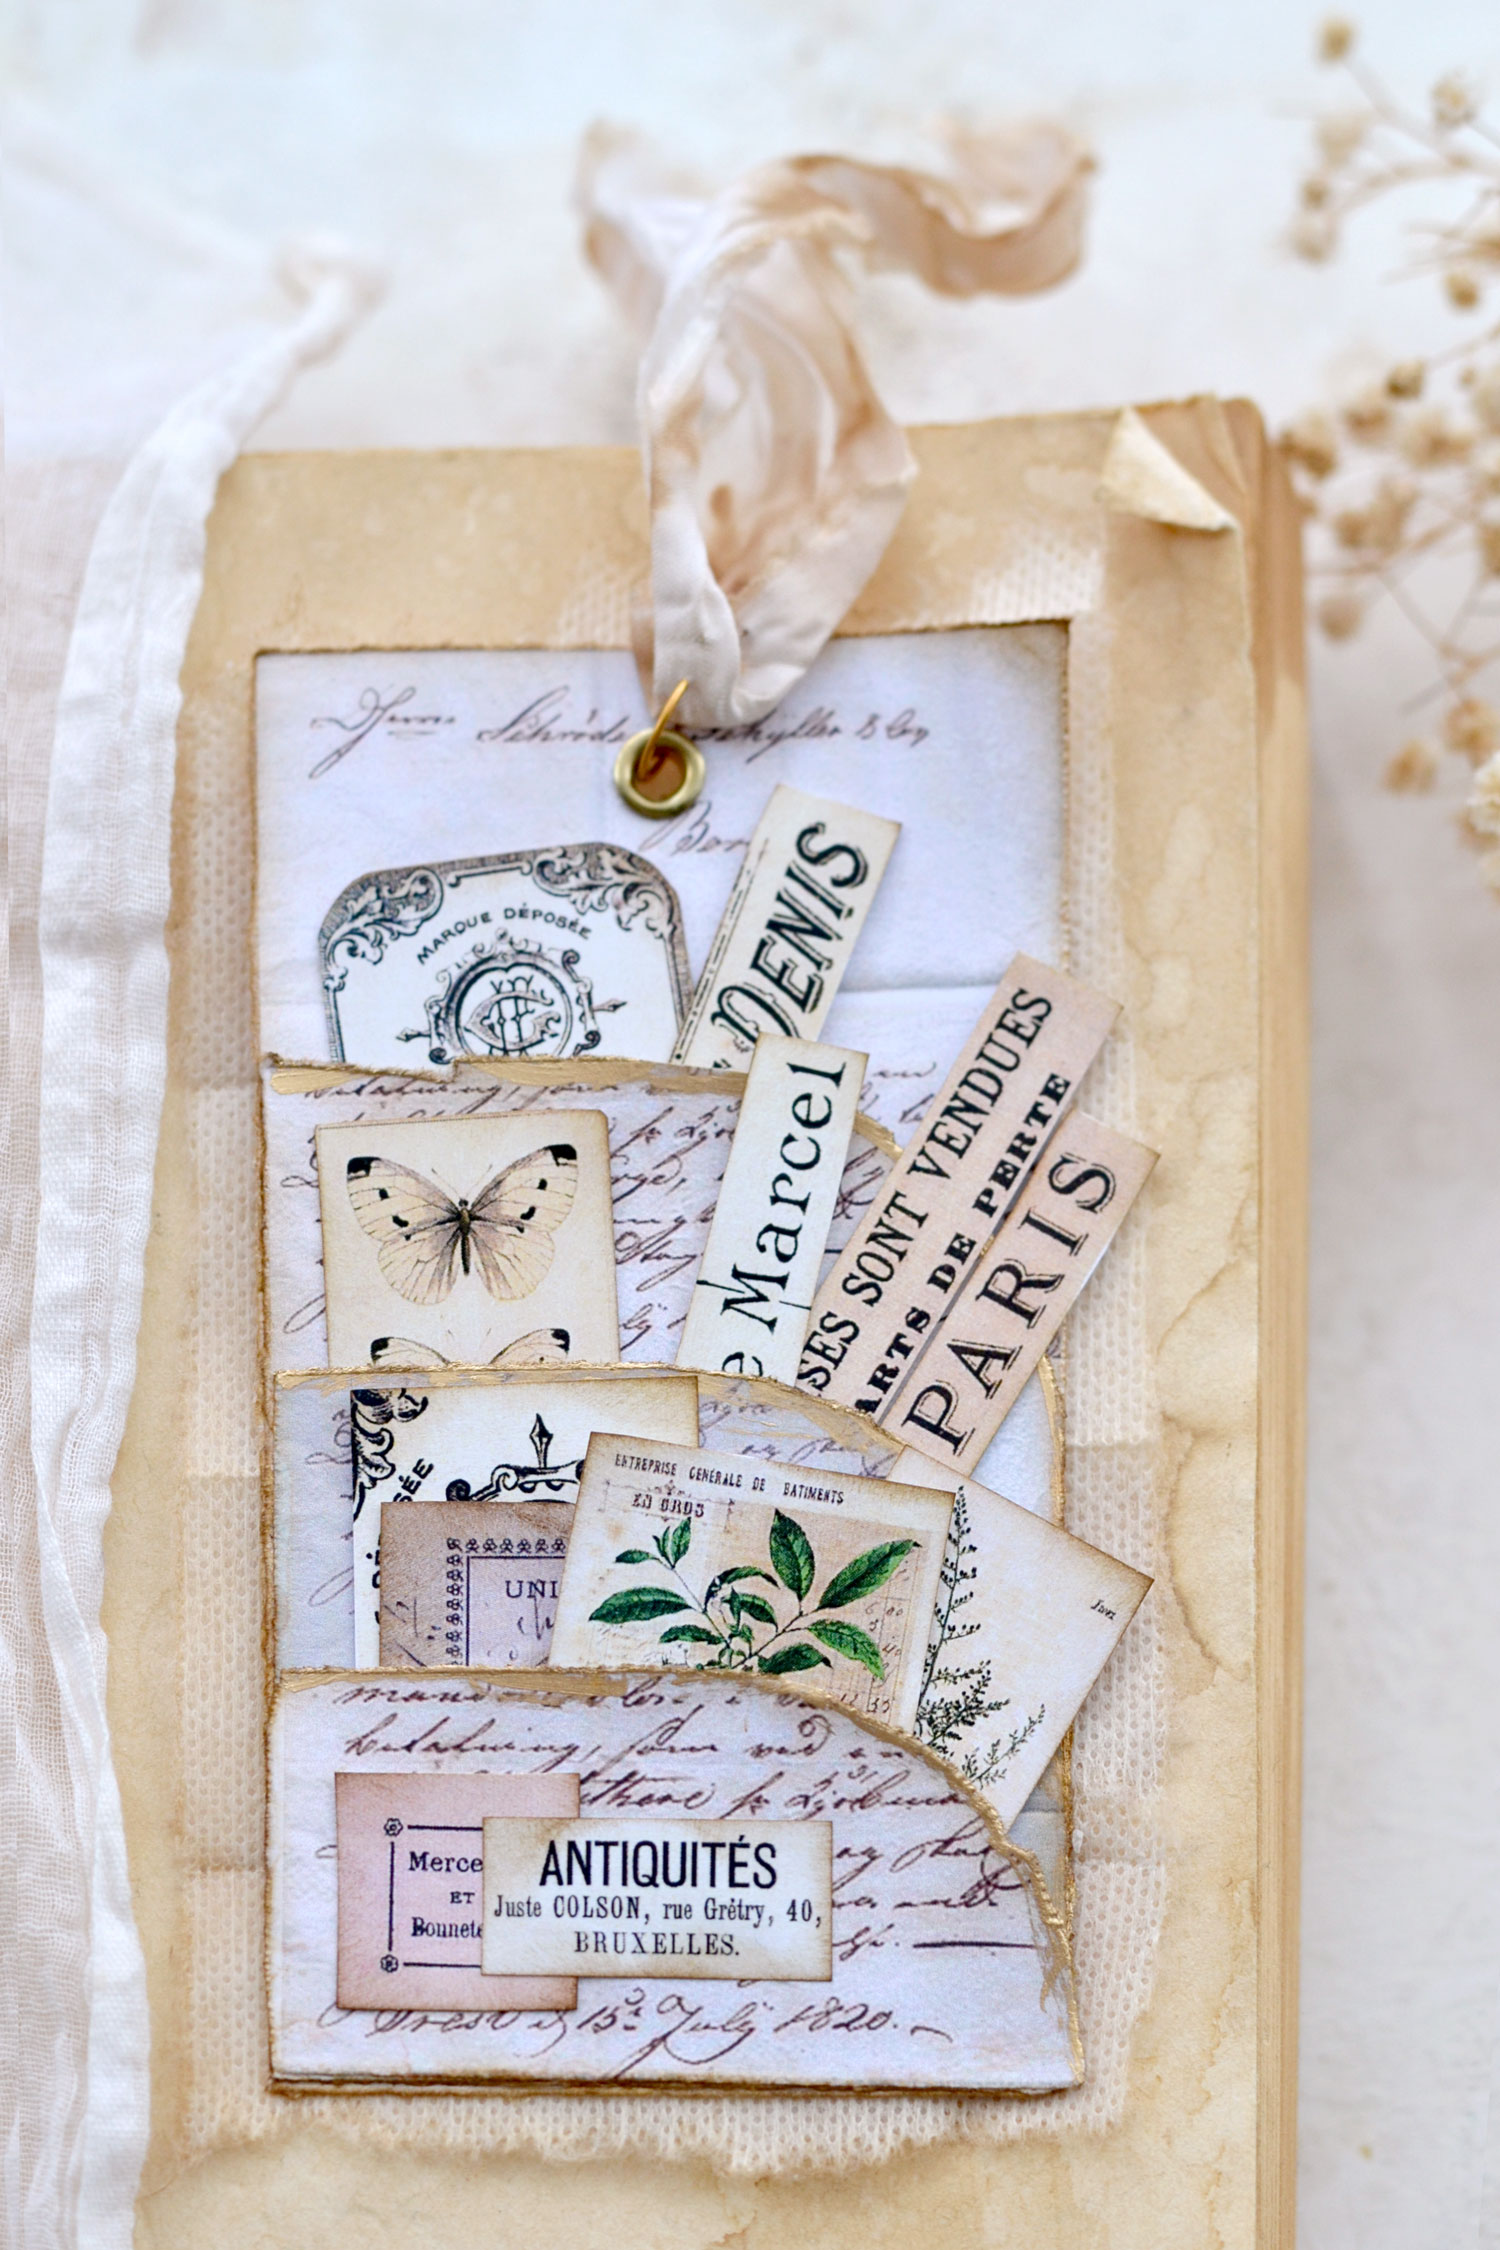
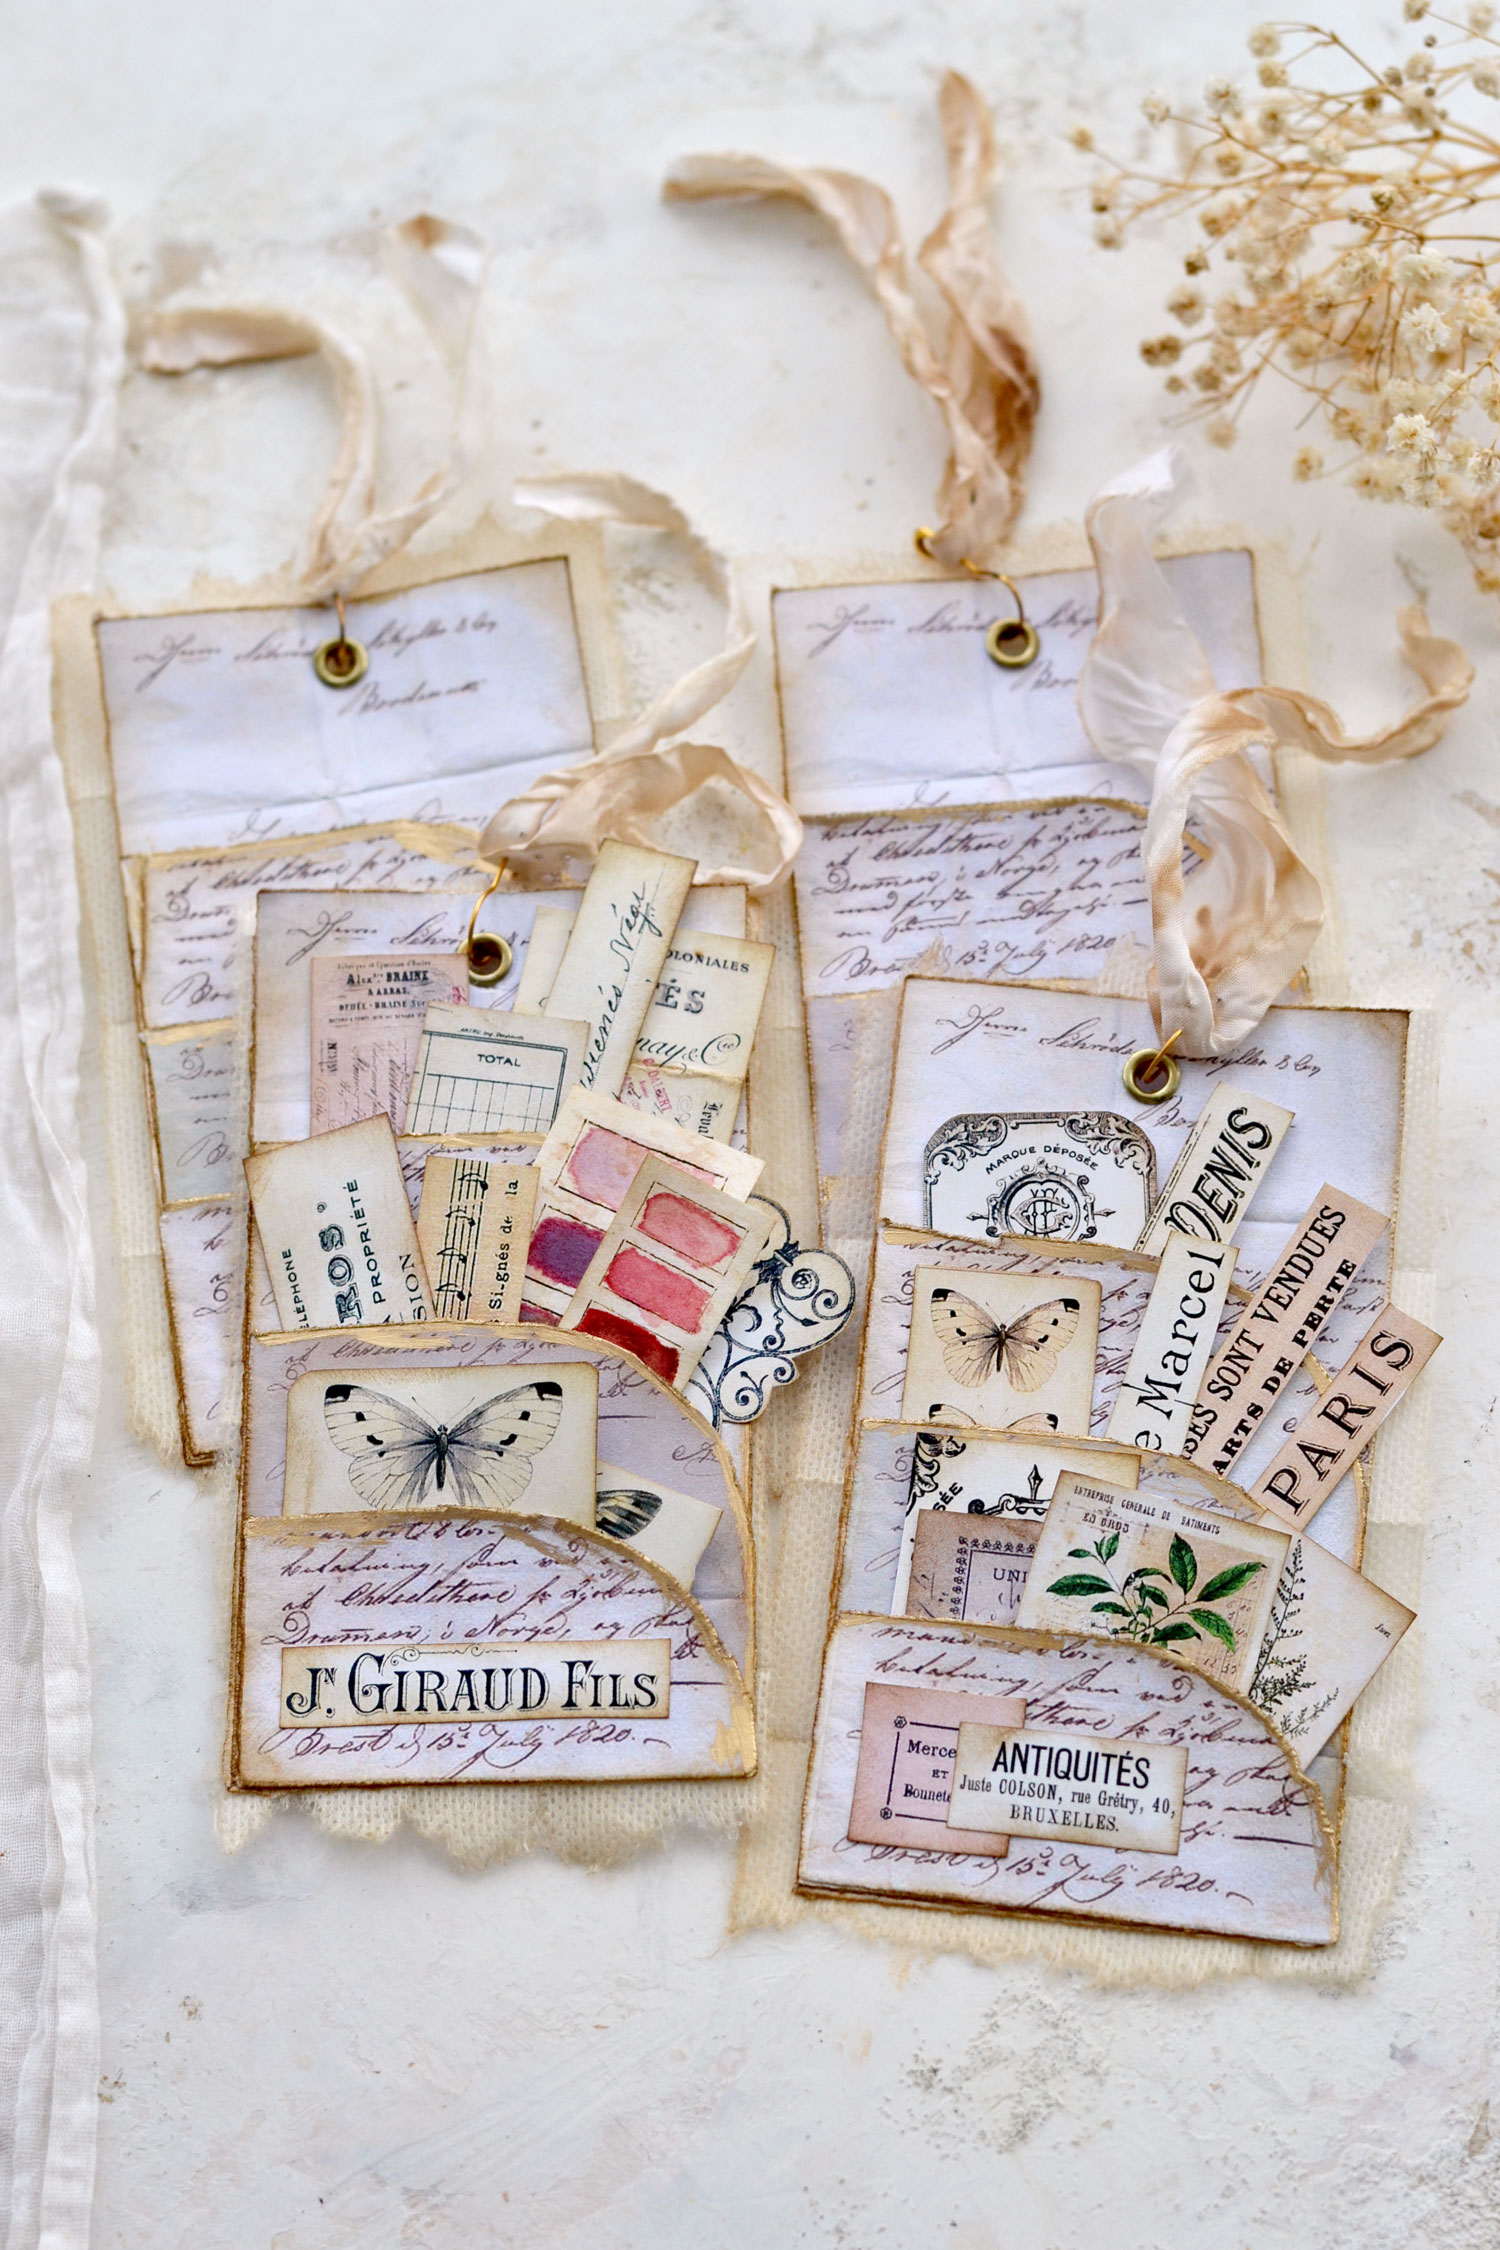
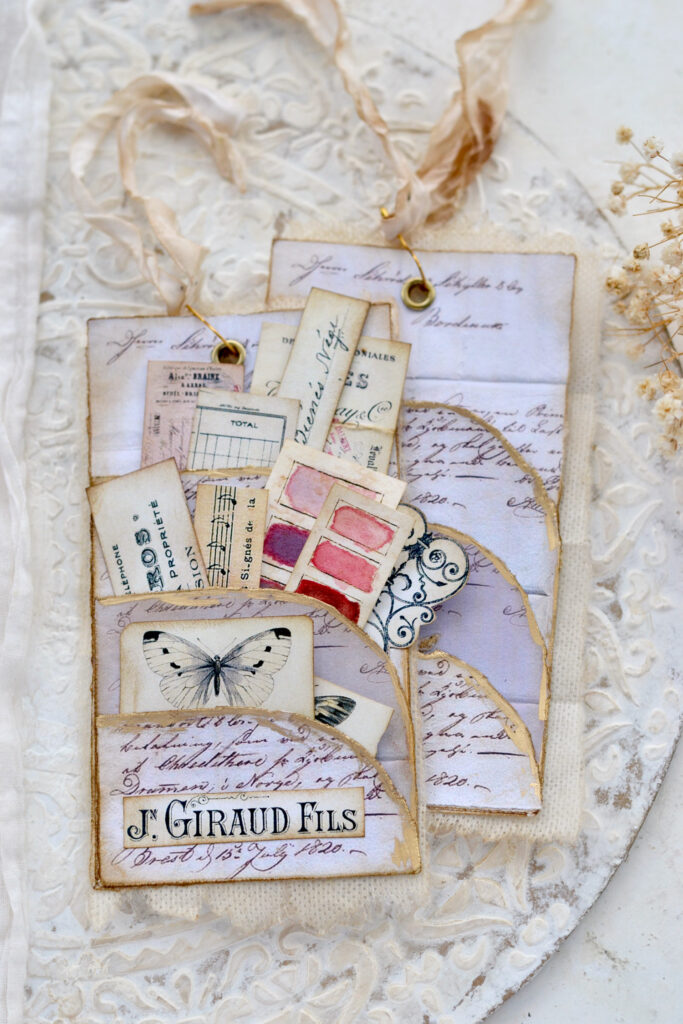
Your super chic French Script Triple Pocket Tags are now ready to be admired!
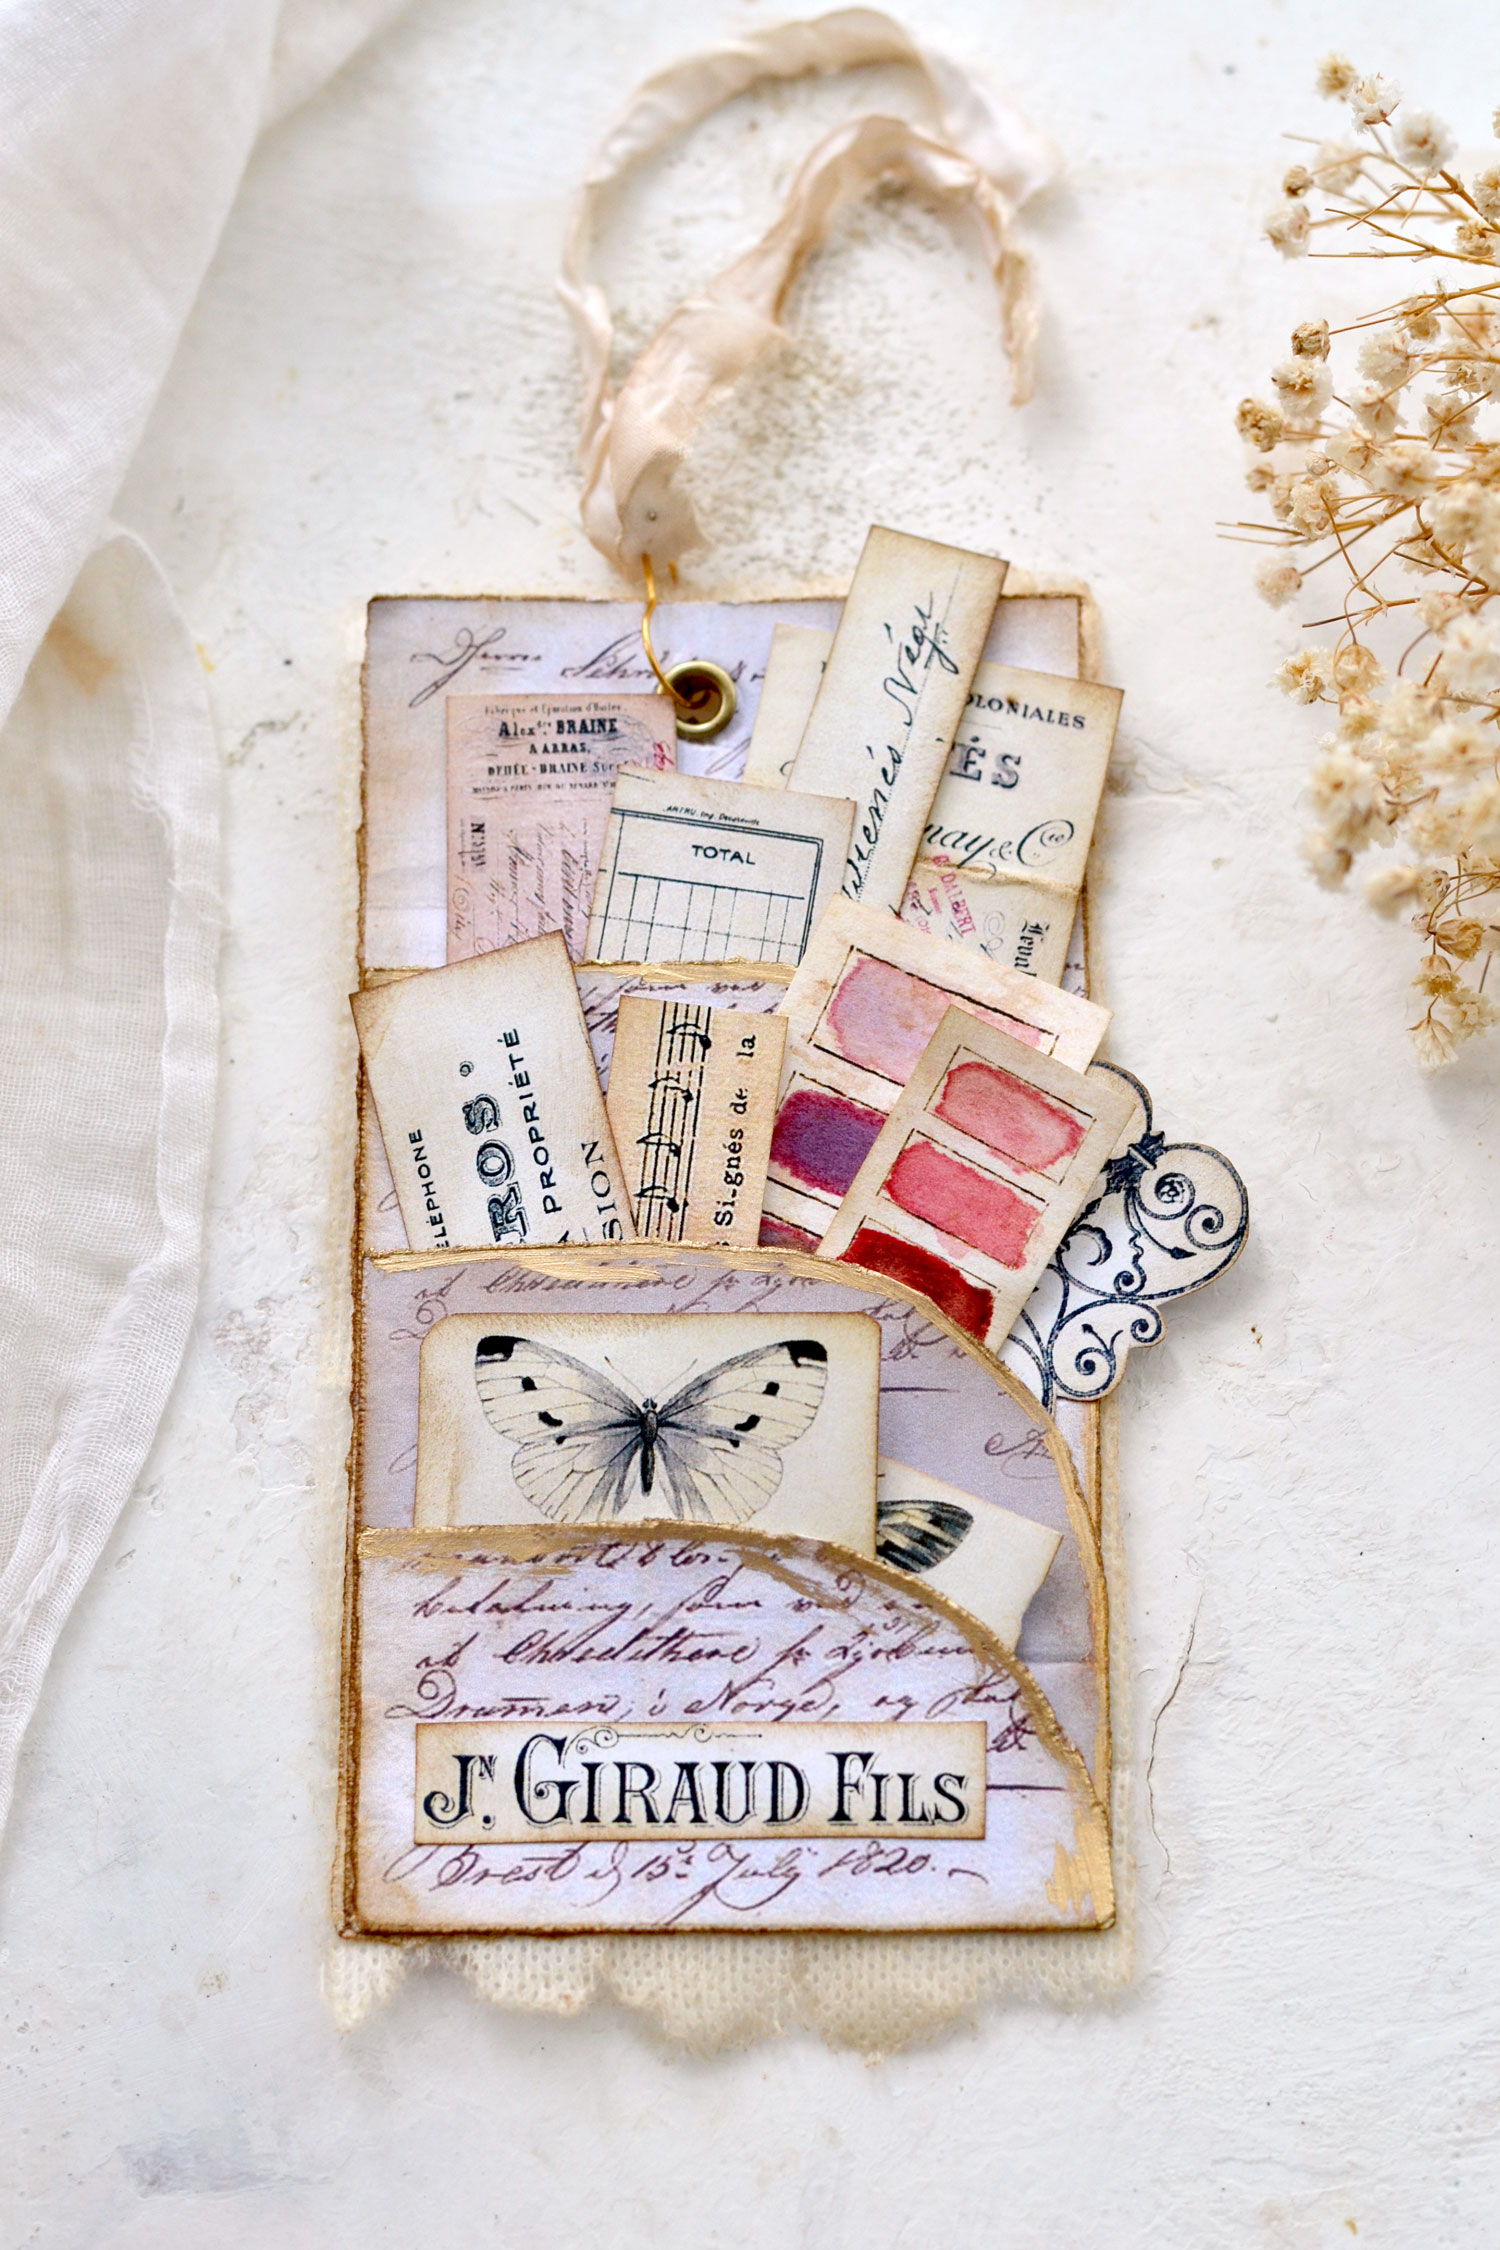
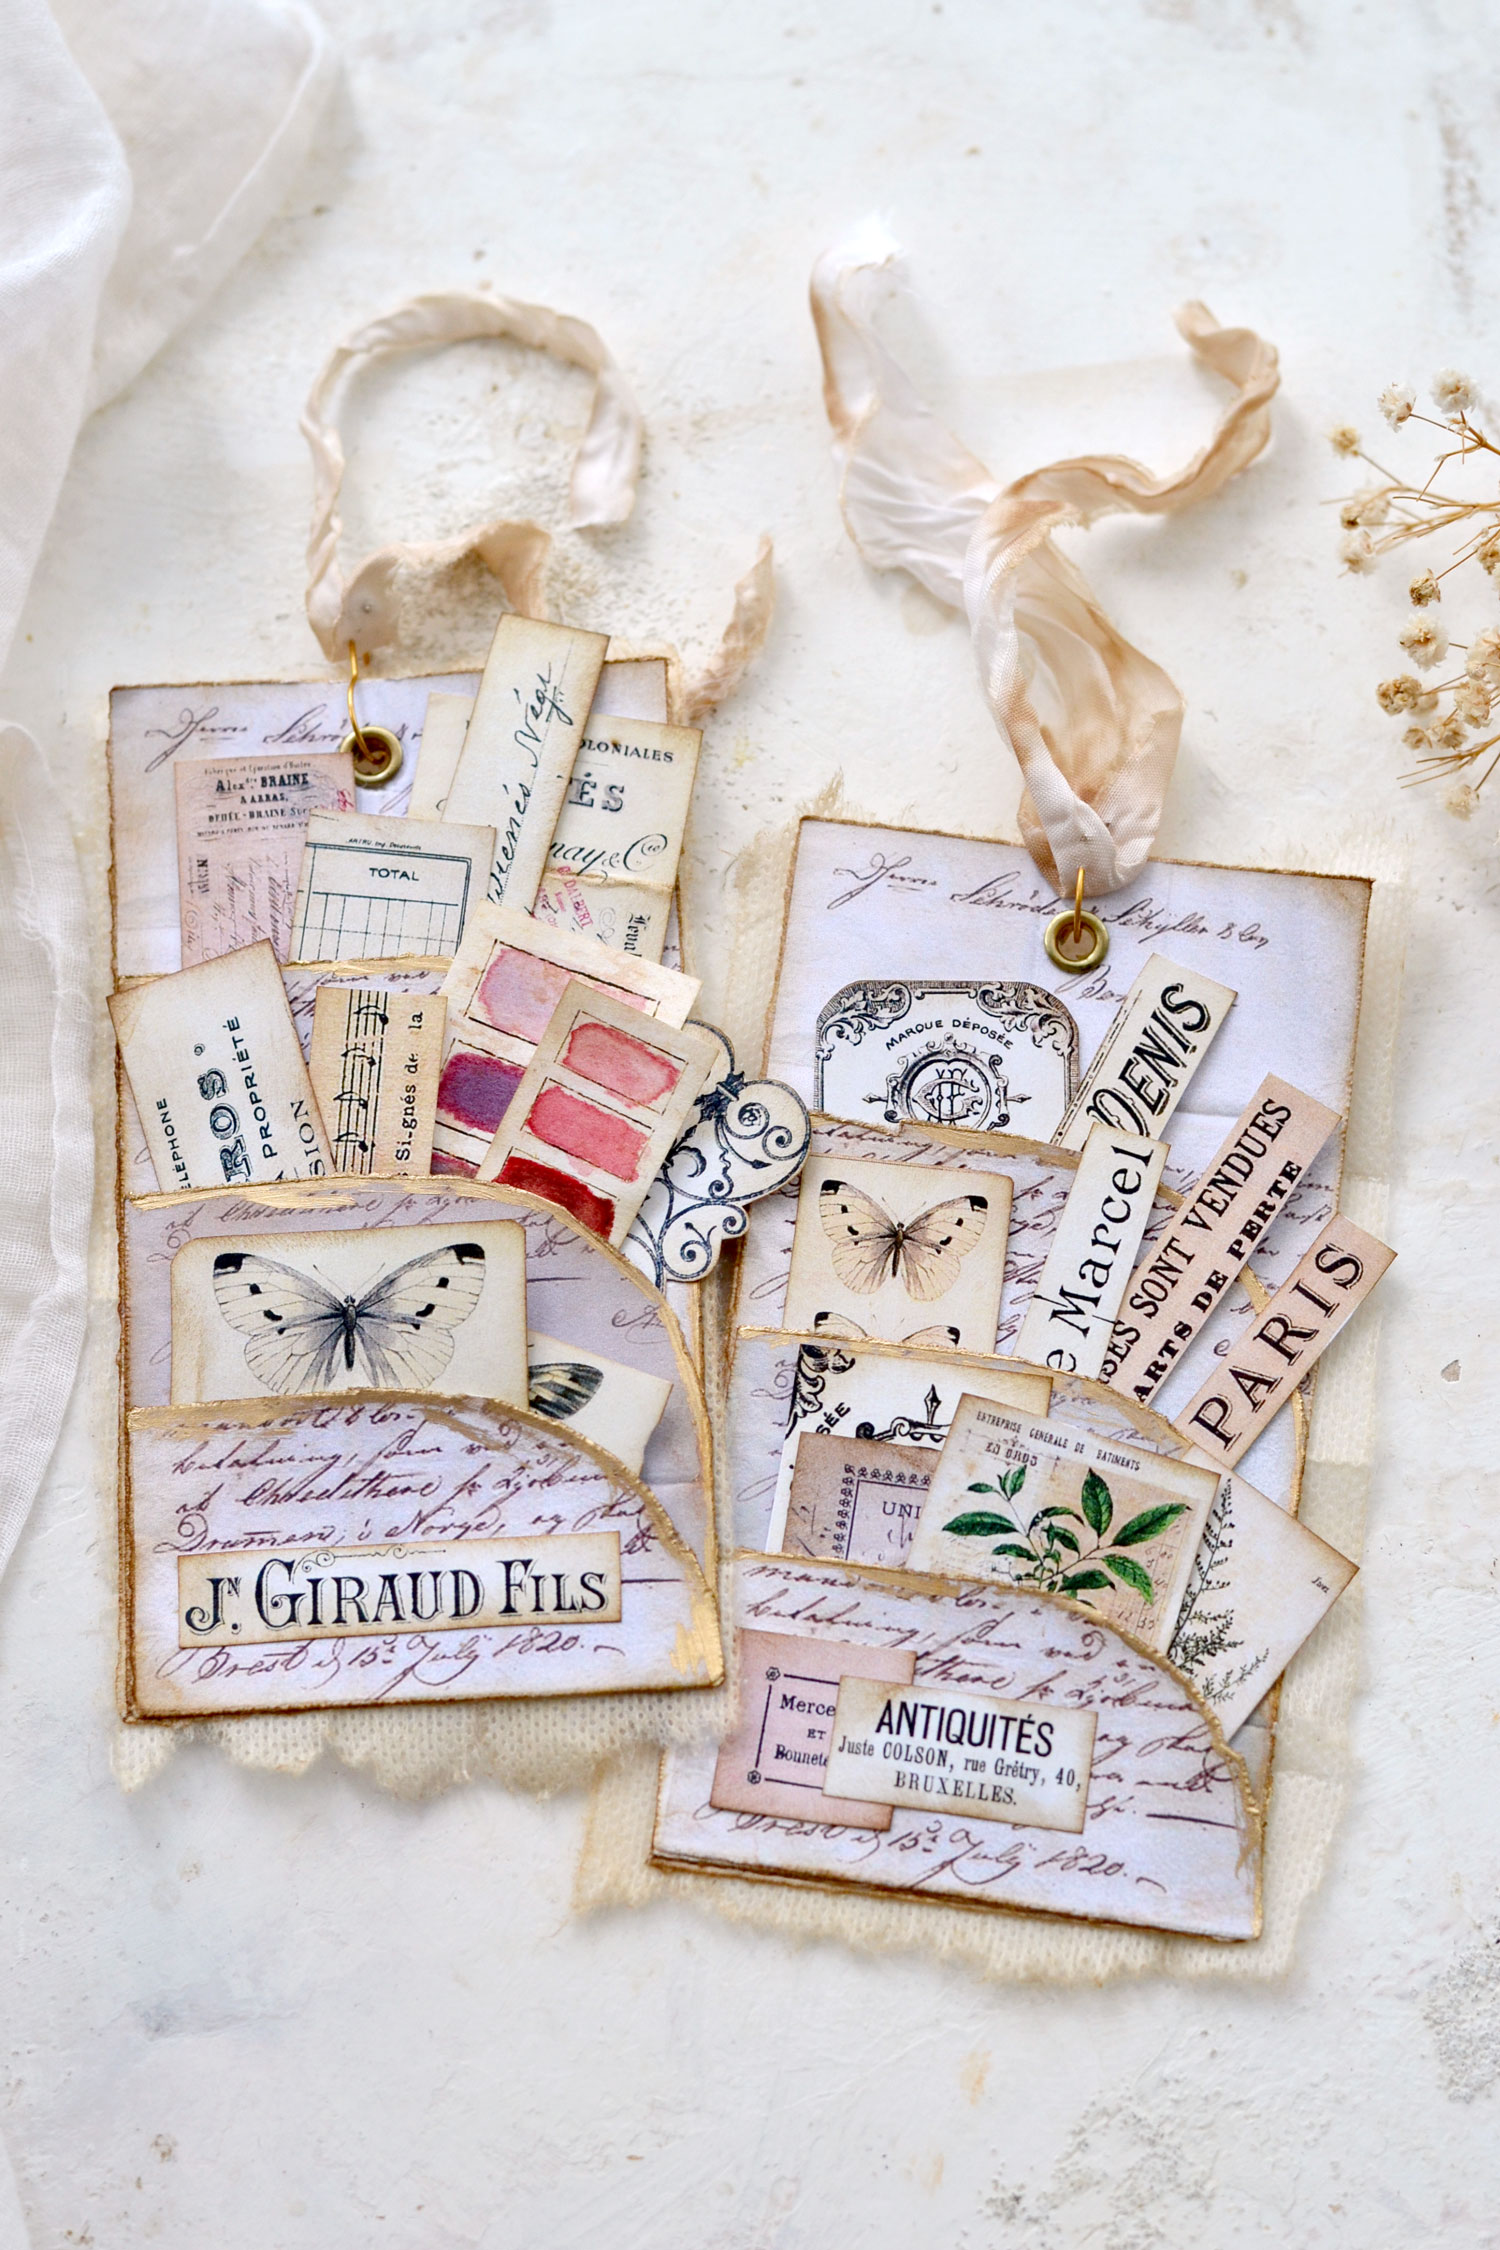
You can use them in your junk journals and fill them with all sorts of beautiful ephemera, sheet music cutouts, sentiments, watercolor swatches, or other small scrap pieces of paper that you’ve been saving for a while.
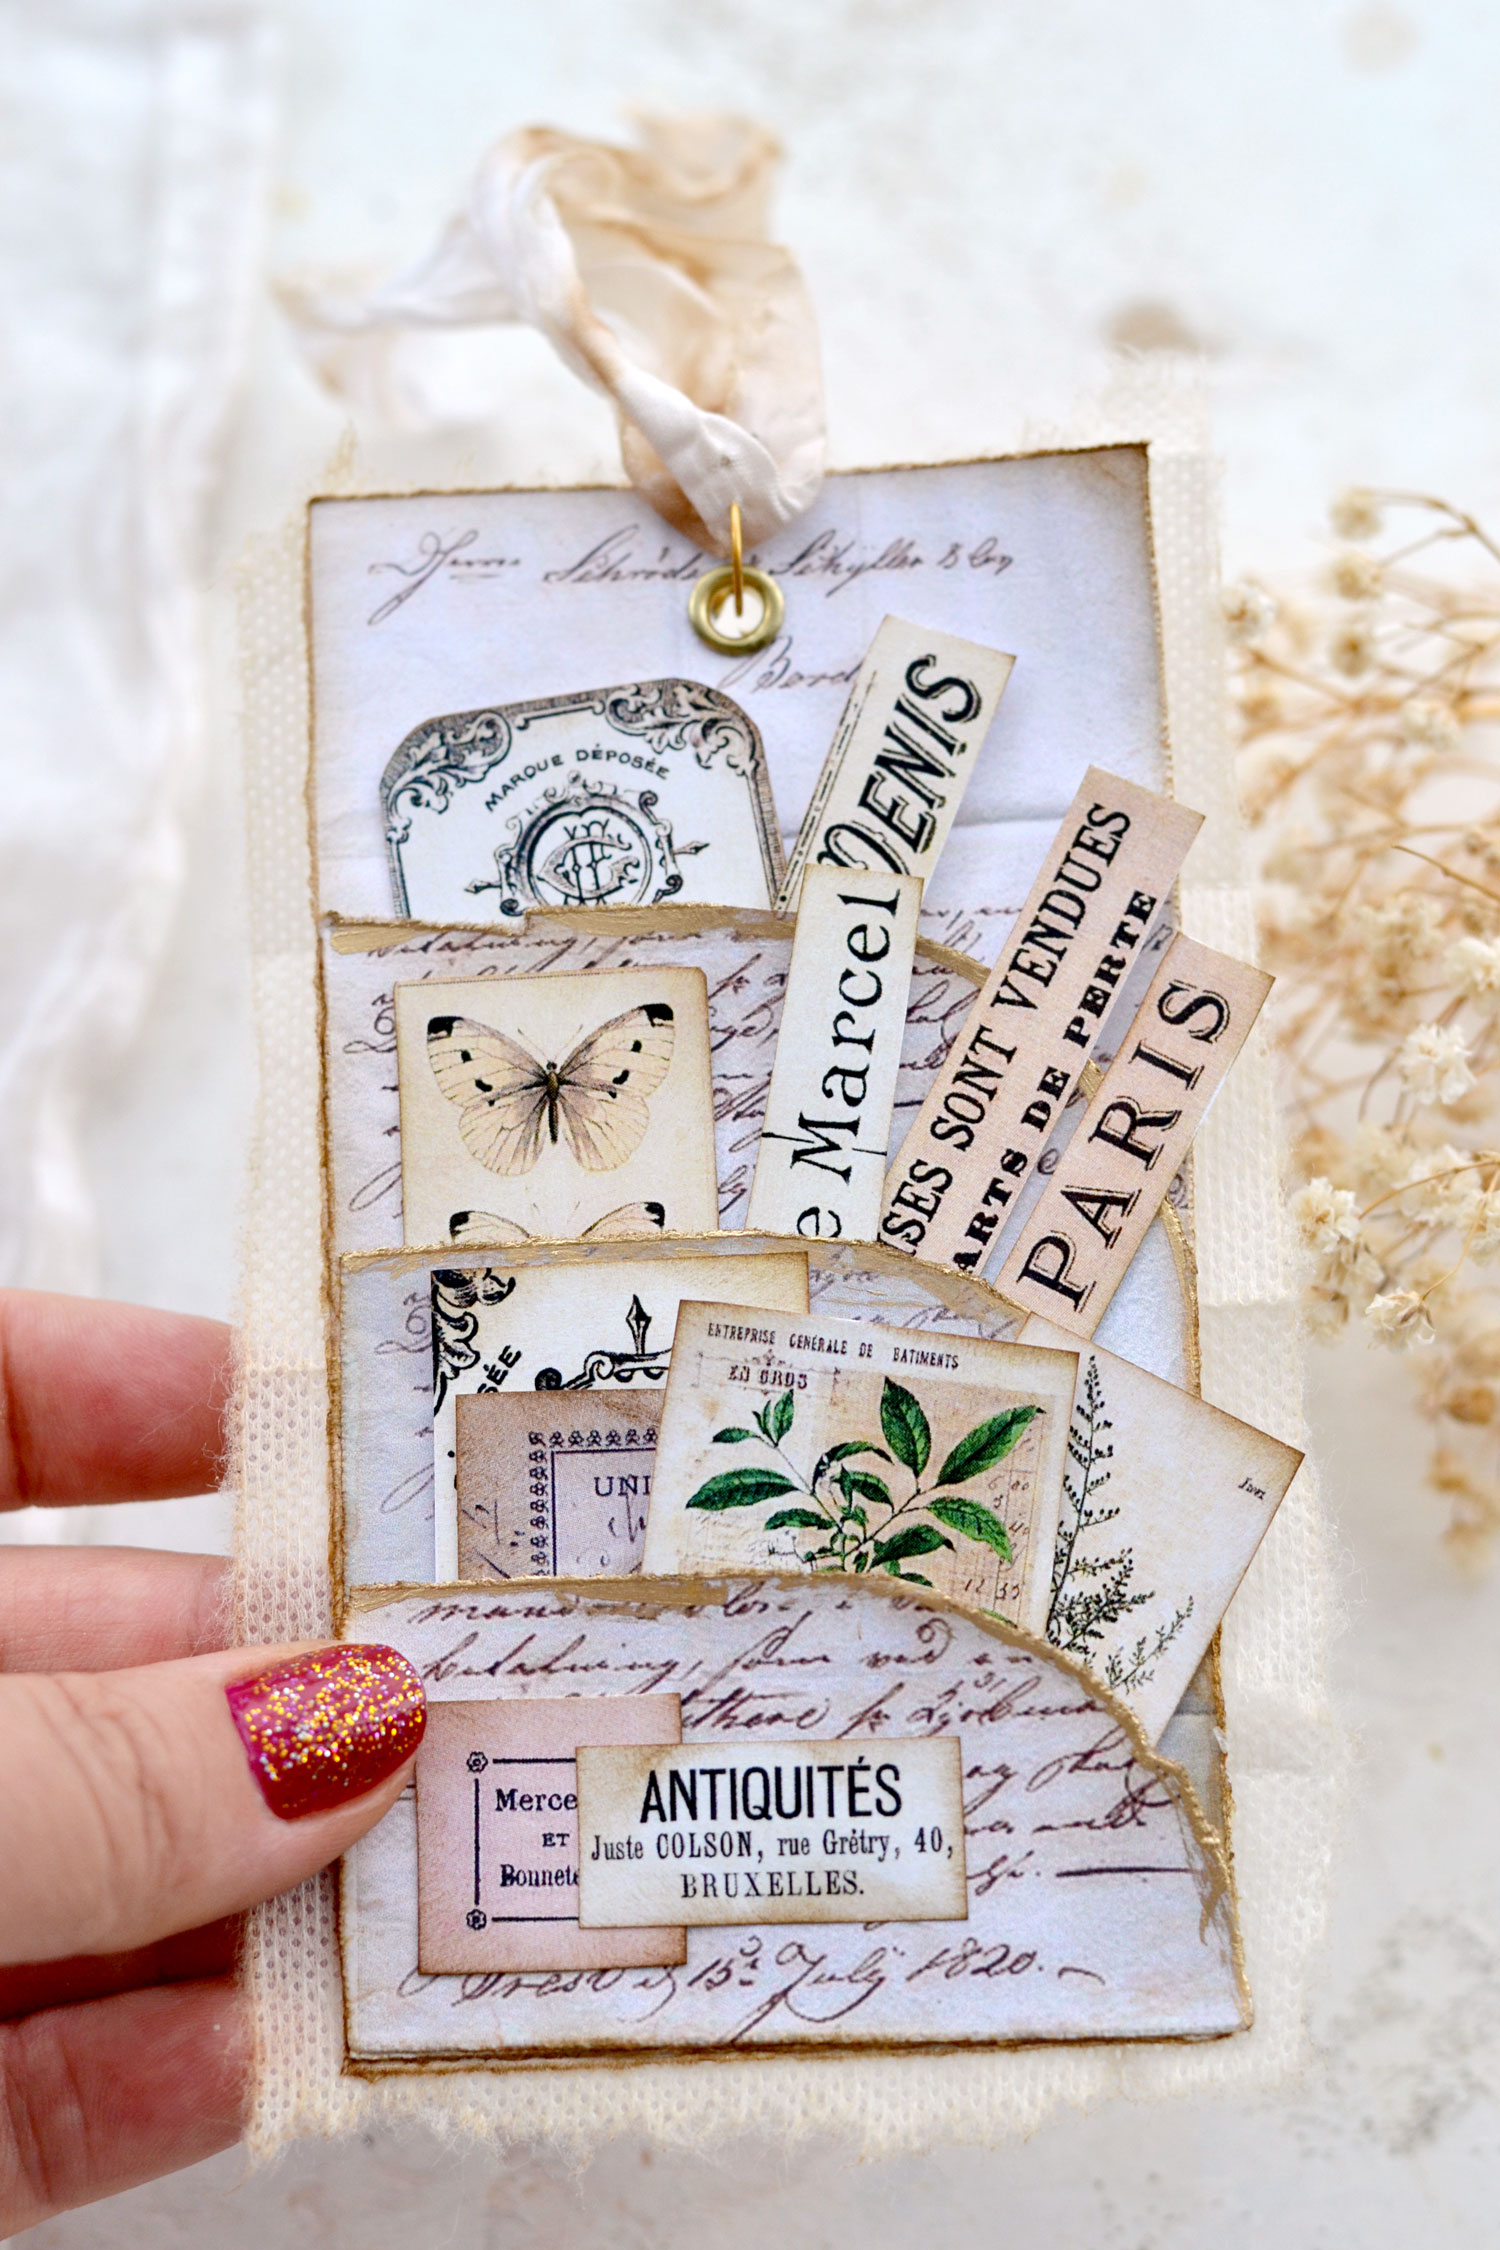
Here I have a mix of all sorts of French ephemera goodies from my other projects, can you believe how beautiful they all look together?
I really love this triple-pocket idea because you can easily see all the elements you are placing inside. I feel this could work to our advantage and make things so much easier when actually looking for a scrap piece of paper to use in our projects.
If you want, you can further decorate the tags according to your preferences. Feel free to glue small pieces of ephemera or even some lace on the lower pocket to make everything look even more beautiful!
I hope you will love this project and decide to give it a try! Make these beautiful triple-pocket tags that have both a functional purpose but also an aesthetic one!
Happy crafting,
Diana / Dreams Factory


Shirley Sipler says
So cute! Ooooh la la! I have to try and make these.
Karen Watson says
So glad you enjoyed these Shirley! Do give them a try!
Heather Taylor says
Absolutely beautiful!
Karen Watson says
Have fun making these pretty pieces Heather!
Karen says
I love this one! You have such great design ideas and the finished product always looks really special. Thanks for this week’s inspiration!
Karen Watson says
So glad you enjoyed Diana’s super pretty project this week Karen. She is always full of creative ideas!!
Diane says
These little pockets are soooo cute. Thank you for sharing your wonderful creations.
Karen Watson says
Have fun making this lovely project Diane!