Valentine Crafts for Adults – Decoupage Paperweight
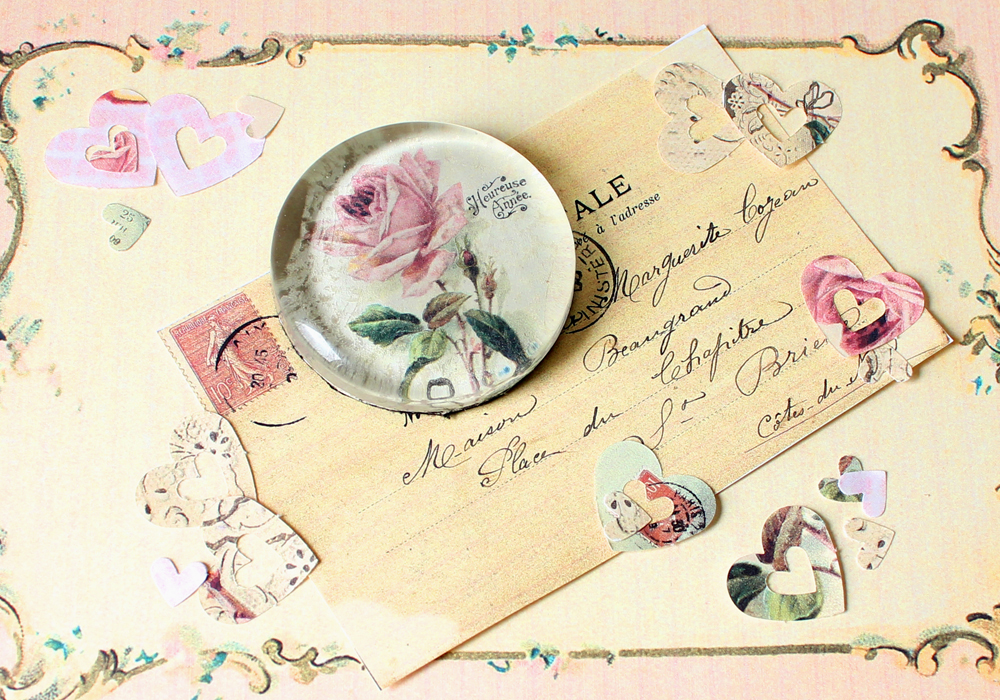
This Tutorial for Valentine Crafts for Adults, was originally created by Andrea from The Cottage Market. It’s another oldie, but goodie, that’s worth sharing again as I absolutely love this idea for making a Decoupage Paperweight! These are easy to make and make such great gifts. You can make a beautiful romantic version like the one that Andrea created in this post, or you can make something more masculine for the man in your life. You could also customize with family photos, or use your kids artwork, if you don’t want to use Vintage Images for your project. I’m sure you will come up with all sorts of ideas for this one. Now I will let Andrea take it away in her words … Valentines Day is right around the corner and if you are looking for a fun new gift for some special people in your life, this project just might be perfect. With the variety of images here on The Graphics Fairy, you are sure to find something that fits everyone!
Valentine Crafts for Adults Supply List
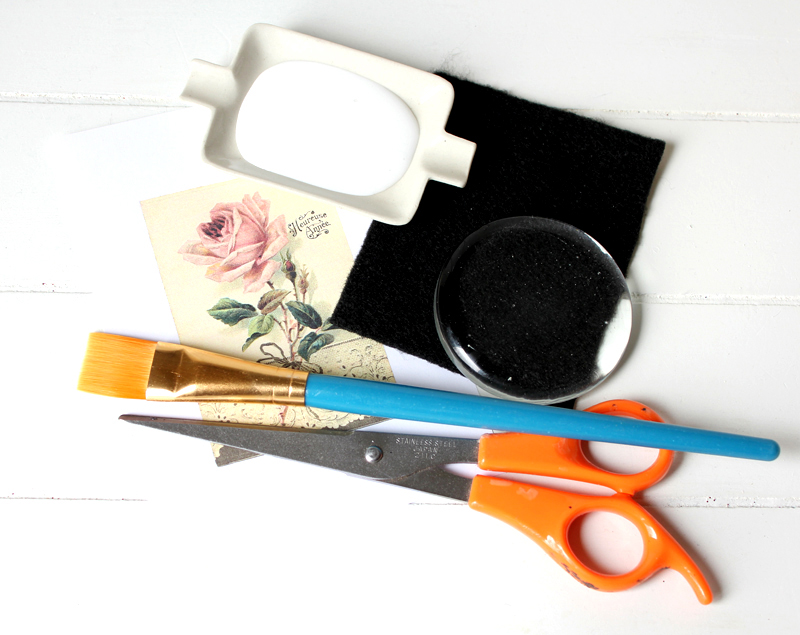
Let’s get started. You will need just a few supplies:
your favorite image (that is going to be the hardest part of this project) and then print it out. (remember to adjust your size appropriately)
a paint brush
scissors
felt
Mod Podge (You can use Gloss or Matte, but Gloss can be nice under glass as it’s glossy!)
glass blank paperweight they come in different shapes, or you can use a heavy piece of glass cut to the size you desire.
That’s it!
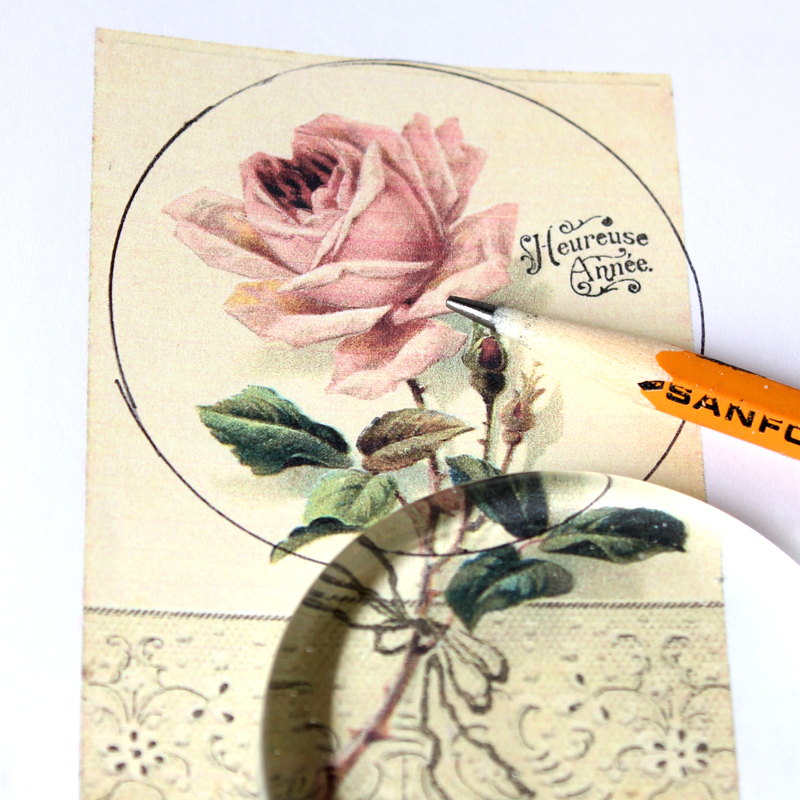
Step 1: Now take your glass piece and place it over the image, I used the French Rose Image, then trace your cutting area. Cut along the inside of the line, you want the image to be slightly smaller than the piece.
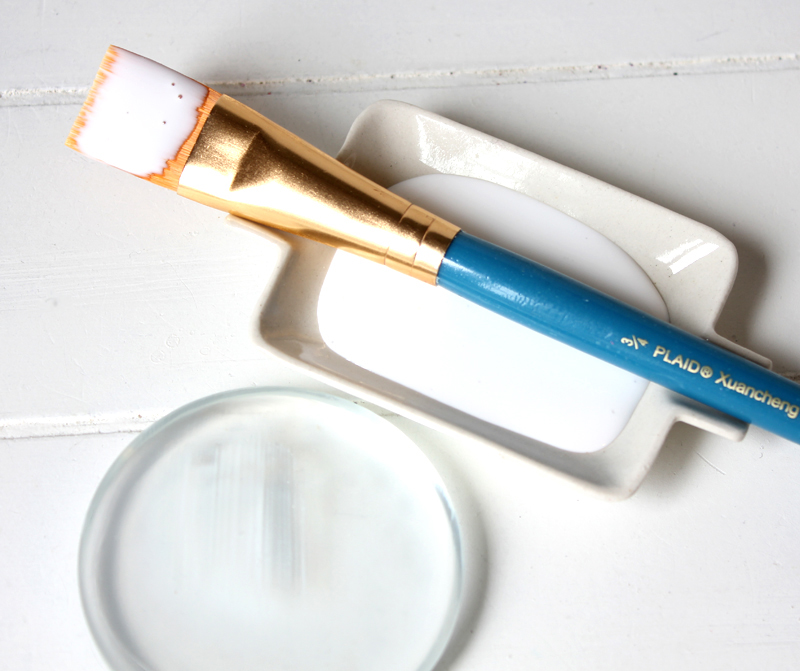
Step 2: Apply a nice coating of Mod Podge to the back of your glass and allow to sit for a minute and then…
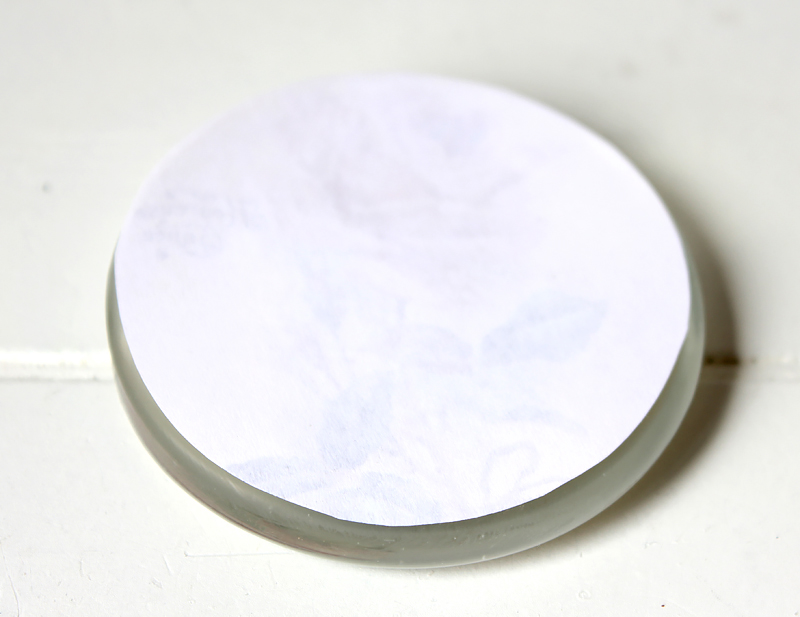
Step 3: Apply your image face down, make sure to press around the edges, you want the entire image to be adhered well. Let dry for about 10 minutes.
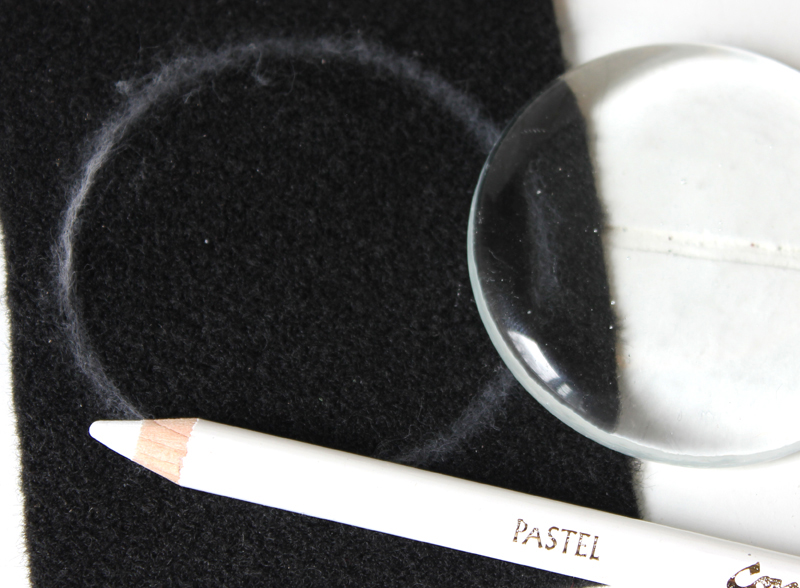
Step 4: While you are waiting for your piece to dry a bit, it is time to cut your backing out of felt or of course you could use cork. Cut it out and…
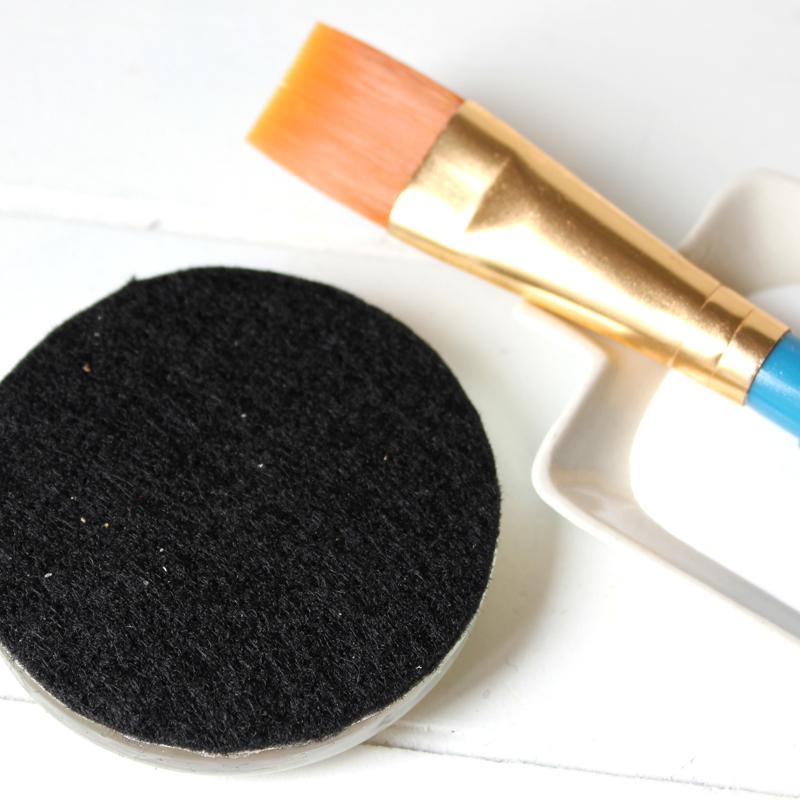
Step 5: Apply a nice layer of Mod Podge to the back of the paperweight and attach the piece of felt, making sure that the entire piece is attached to the paperweight. Turn your piece over and allow to dry at least a few hours and then it is ready to wrap up!
Who wouldn’t want one of these for their desk, studio, kitchen and the list goes on. Perfect for any age and Karen has tons of images that would be perfect for the men in your life too.
I hope you enjoyed this Valentines Crafts for Adults and that you have fun making your own custom Paperweights for family and friends. You might also like this Tutorial for a DIY Valentine Pop Up Card HERE.
For more Holiday ideas, drop in and say hi at the Cottage Market (hugs)
Andrea
The Cottage Market
Hello! Are you new to The Graphics Fairy?
Welcome, I’m so glad you’re here! Browse around to find thousands of Stock Images that you can use in your projects or designs! I post new Vintage images every day, as well as projects and DIY’s too! Need more info about my site? Try my FAQ page.


georgina says
What a Lovely and Beautiful Idea, It’s great , I’m going to try it, just need to find the glass weights!!
Karen Watson says
Thank you Georgina! There is an Amazon link in the post to some glass paperweights, but they didn’t have any round ones. Hopefully you can source one at your local craft supply store. 😊
Anonymous says
I also have gotten my photo weights at the photo weights website. Wonderful selection of sizes and shapes.
I also think if you find old ones or new ones you could re-use them easily.
The photo weight website felt backing for the glass that’s got adhesive on it.
Betsy
Anonymous says
now i am thinking where i can get that glass. i wana do it!
Cynthia says
This is a great idea for Valentine’s Day!
Anonymous says
Does the Mod Podge cause the ink to bleed when you print the artwork on an ink jet printer? I’ll have to give it a try.
I’ve purchased blank paperweights online at http://www.photoweights.com. Just thought I’d share.
Lady Dragoness says
@ Anonymous:
Yes, Modpodge can cause the ink to bleed, but that might be due to the amount of time between printing and using the Modpodge. On my last project, some of the ink bled, and some did not; all pages came from the same printer. Some pages were left to dry over night, while others (which I did not initially know I would need) were used within an hour of printing.
The Cottage Market {Andrea} ♥ says
Hi…so sorry for the delay in answering this! You are so right…make sure your print is nice and dry and it REALLY helps by applying your layer of mod podge onto the glass…that’s the secret!!! ; ) hope that helps! if you have any other questions…just ask aways : ) enjoy!
khess136 says
Lovely and Sweet ~ perfect for the Day of Love!!
xoxo
Angela - My Personal Accent DIY Blog says
Andrea,
This is one of the best valentine’s gift projects I have seen yet and so easy! Thank you for sharing.
Free Pretty Things For You says
This is Perfect! Oh SO Romantic!! LOOOVEE!!
thistlewoodfarm says
What a fun project! Perfect for Valentine’s Day.
blessings,
karianne
Pendra says
Beautiful project I can do with my grandaughters! Thanks!
Debbie says
What a fun Valentine’s project! Thanks for sharing!
Ollina says
lovely Valentine’s Day. Greetings from Polish 🙂
Pollyanna says
It turned out so pretty, and I like the coordinated items as well. Very charming, thanks.
Dawn LL says
Andrea your always so inspirational…love this pretty project. Glad your sharing