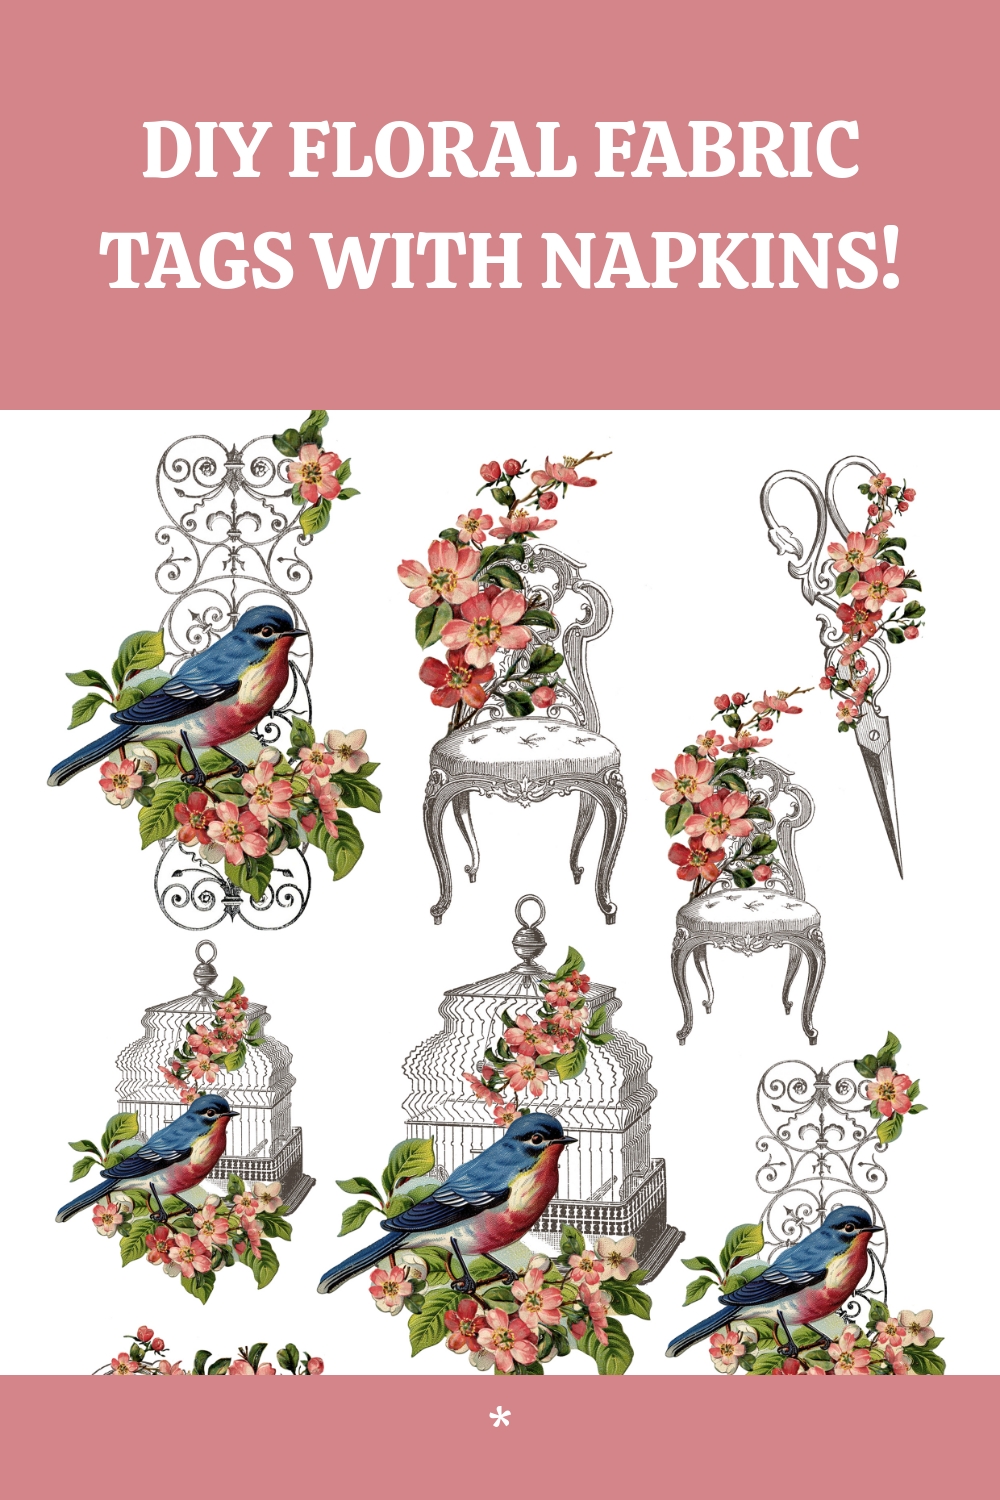
DIY Vintage Floral Fabric Tags
Hello, Graphics Fairy friends! I’m Diana from Dreams Factory and I’m happy to be here again to share another DIY project with you! Today, I will show you how to make these gorgeous DIY Vintage Floral Fabric Tags using an easy image transfer technique with Cling Wrap. Chances are you already have all the supplies you need to make these beauties, so you can start making them right away!
I’m using my go-to cling wrap image transfer technique to make these super chic fabric tags. I love using this technique because it’s relatively easy and the final results, even though not perfect all the time, are simply fabulous.
But as with all vintage projects, these small imperfections add so much character to the final pieces, making our projects special and truly unique.
Free Printable:
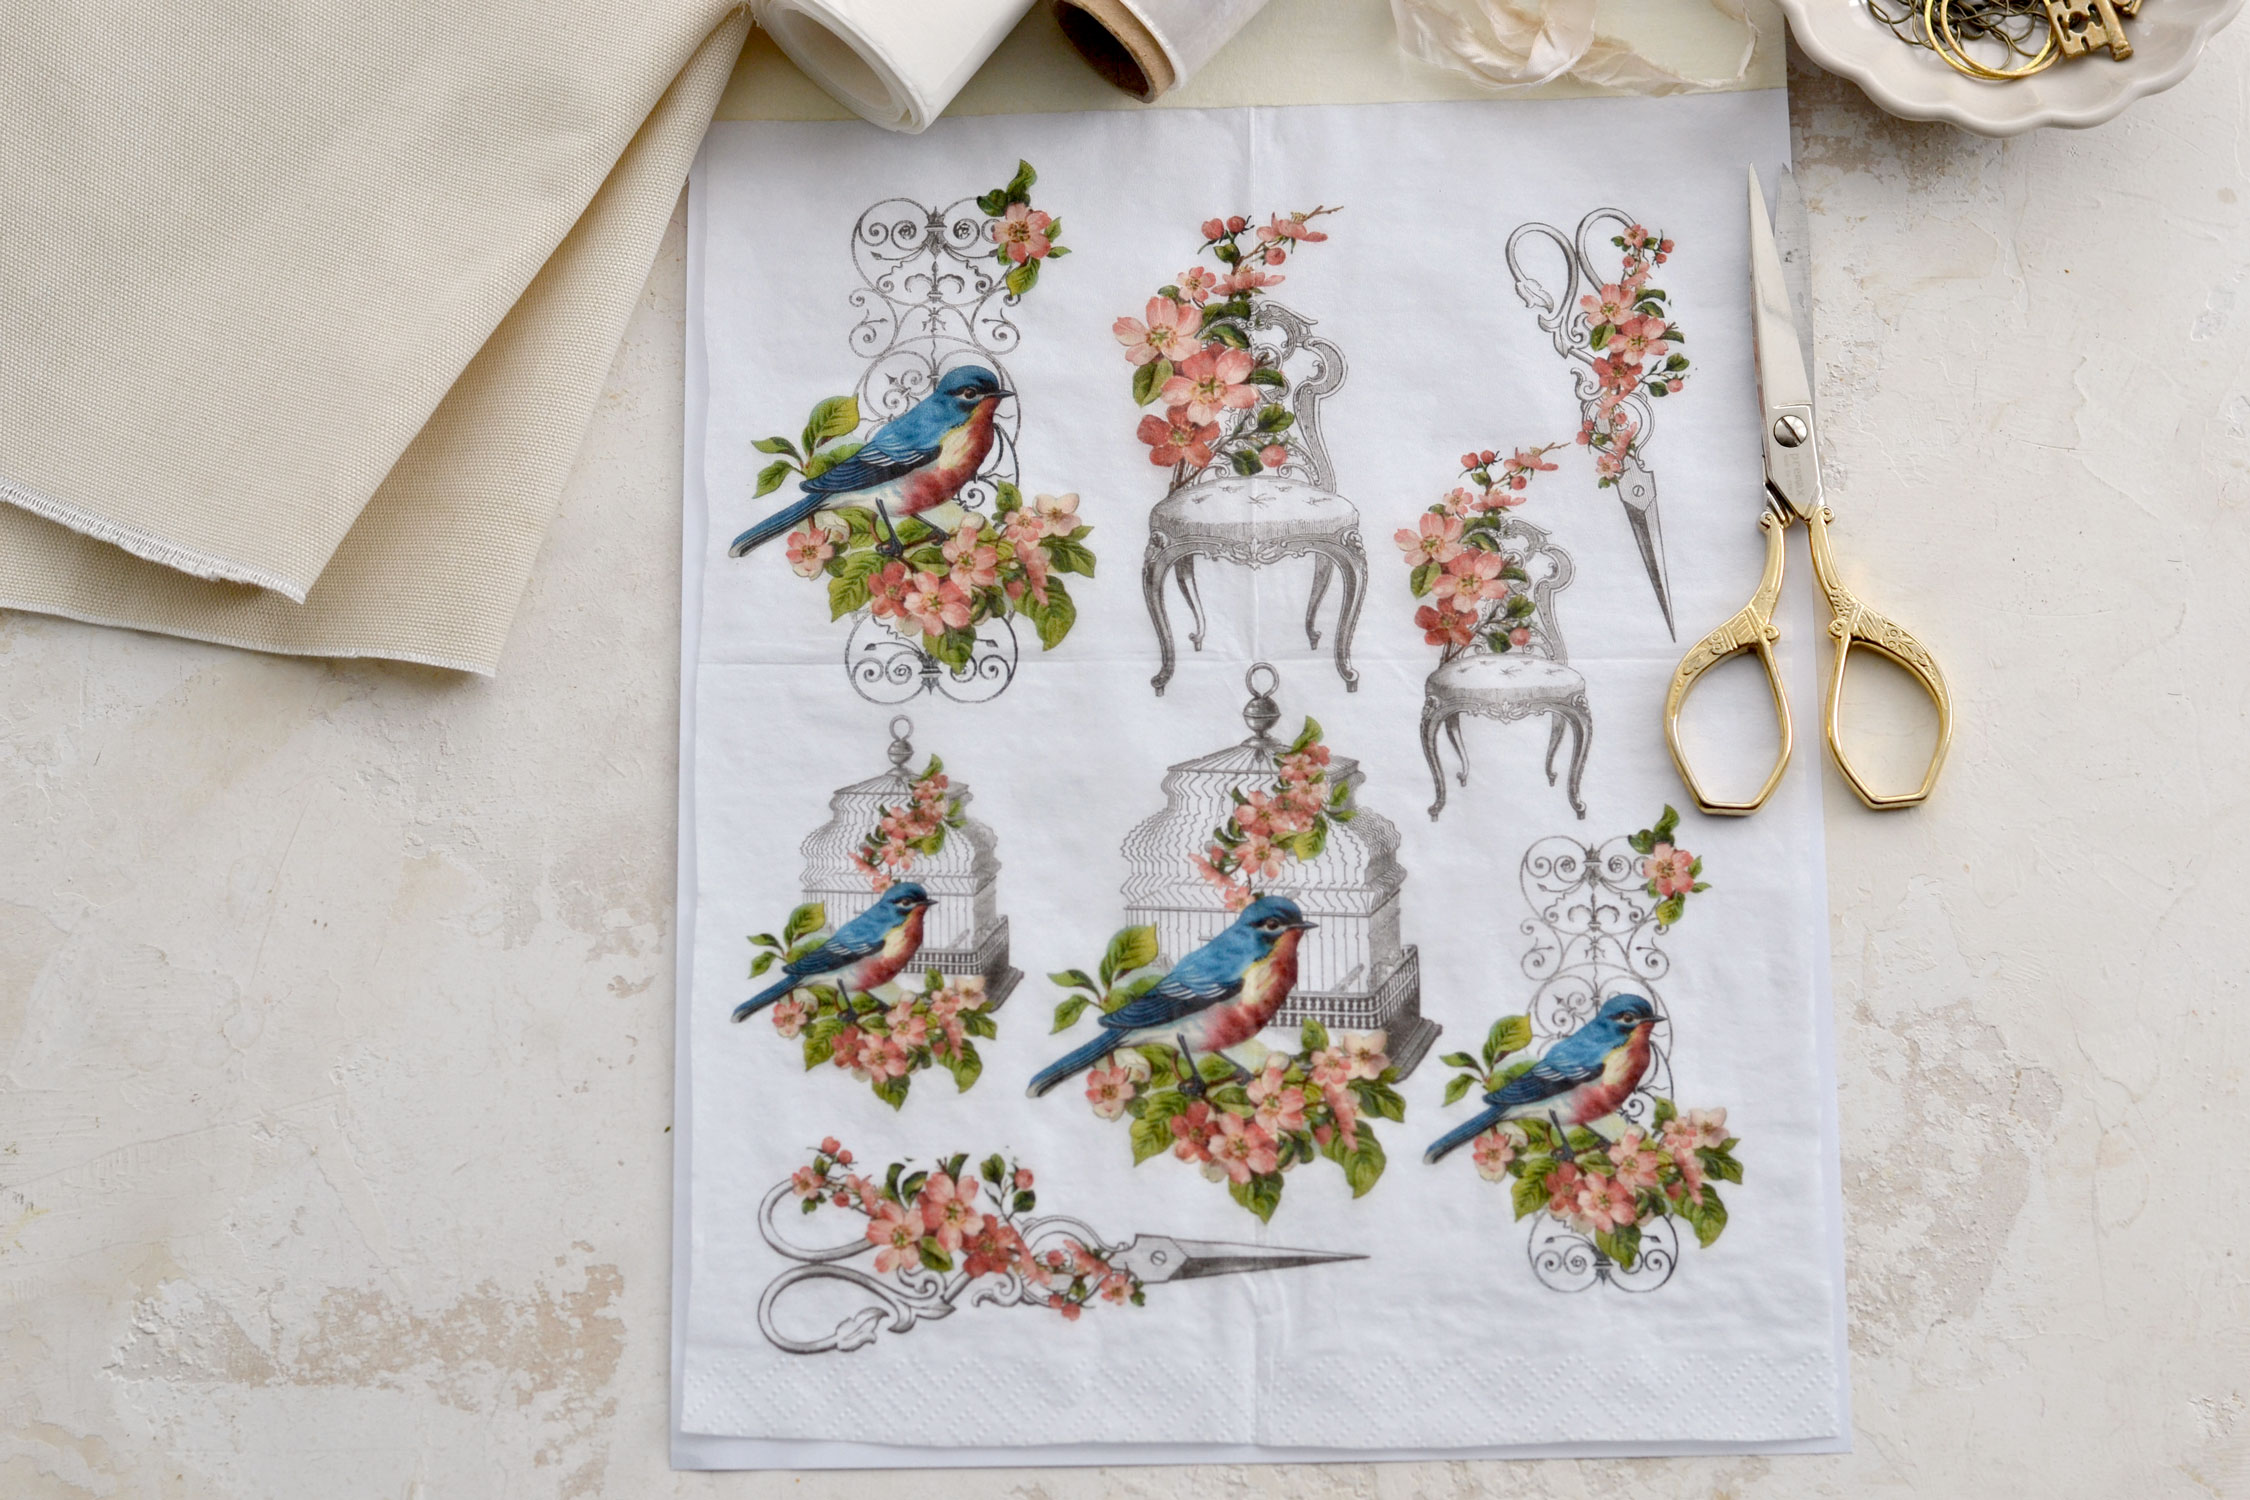
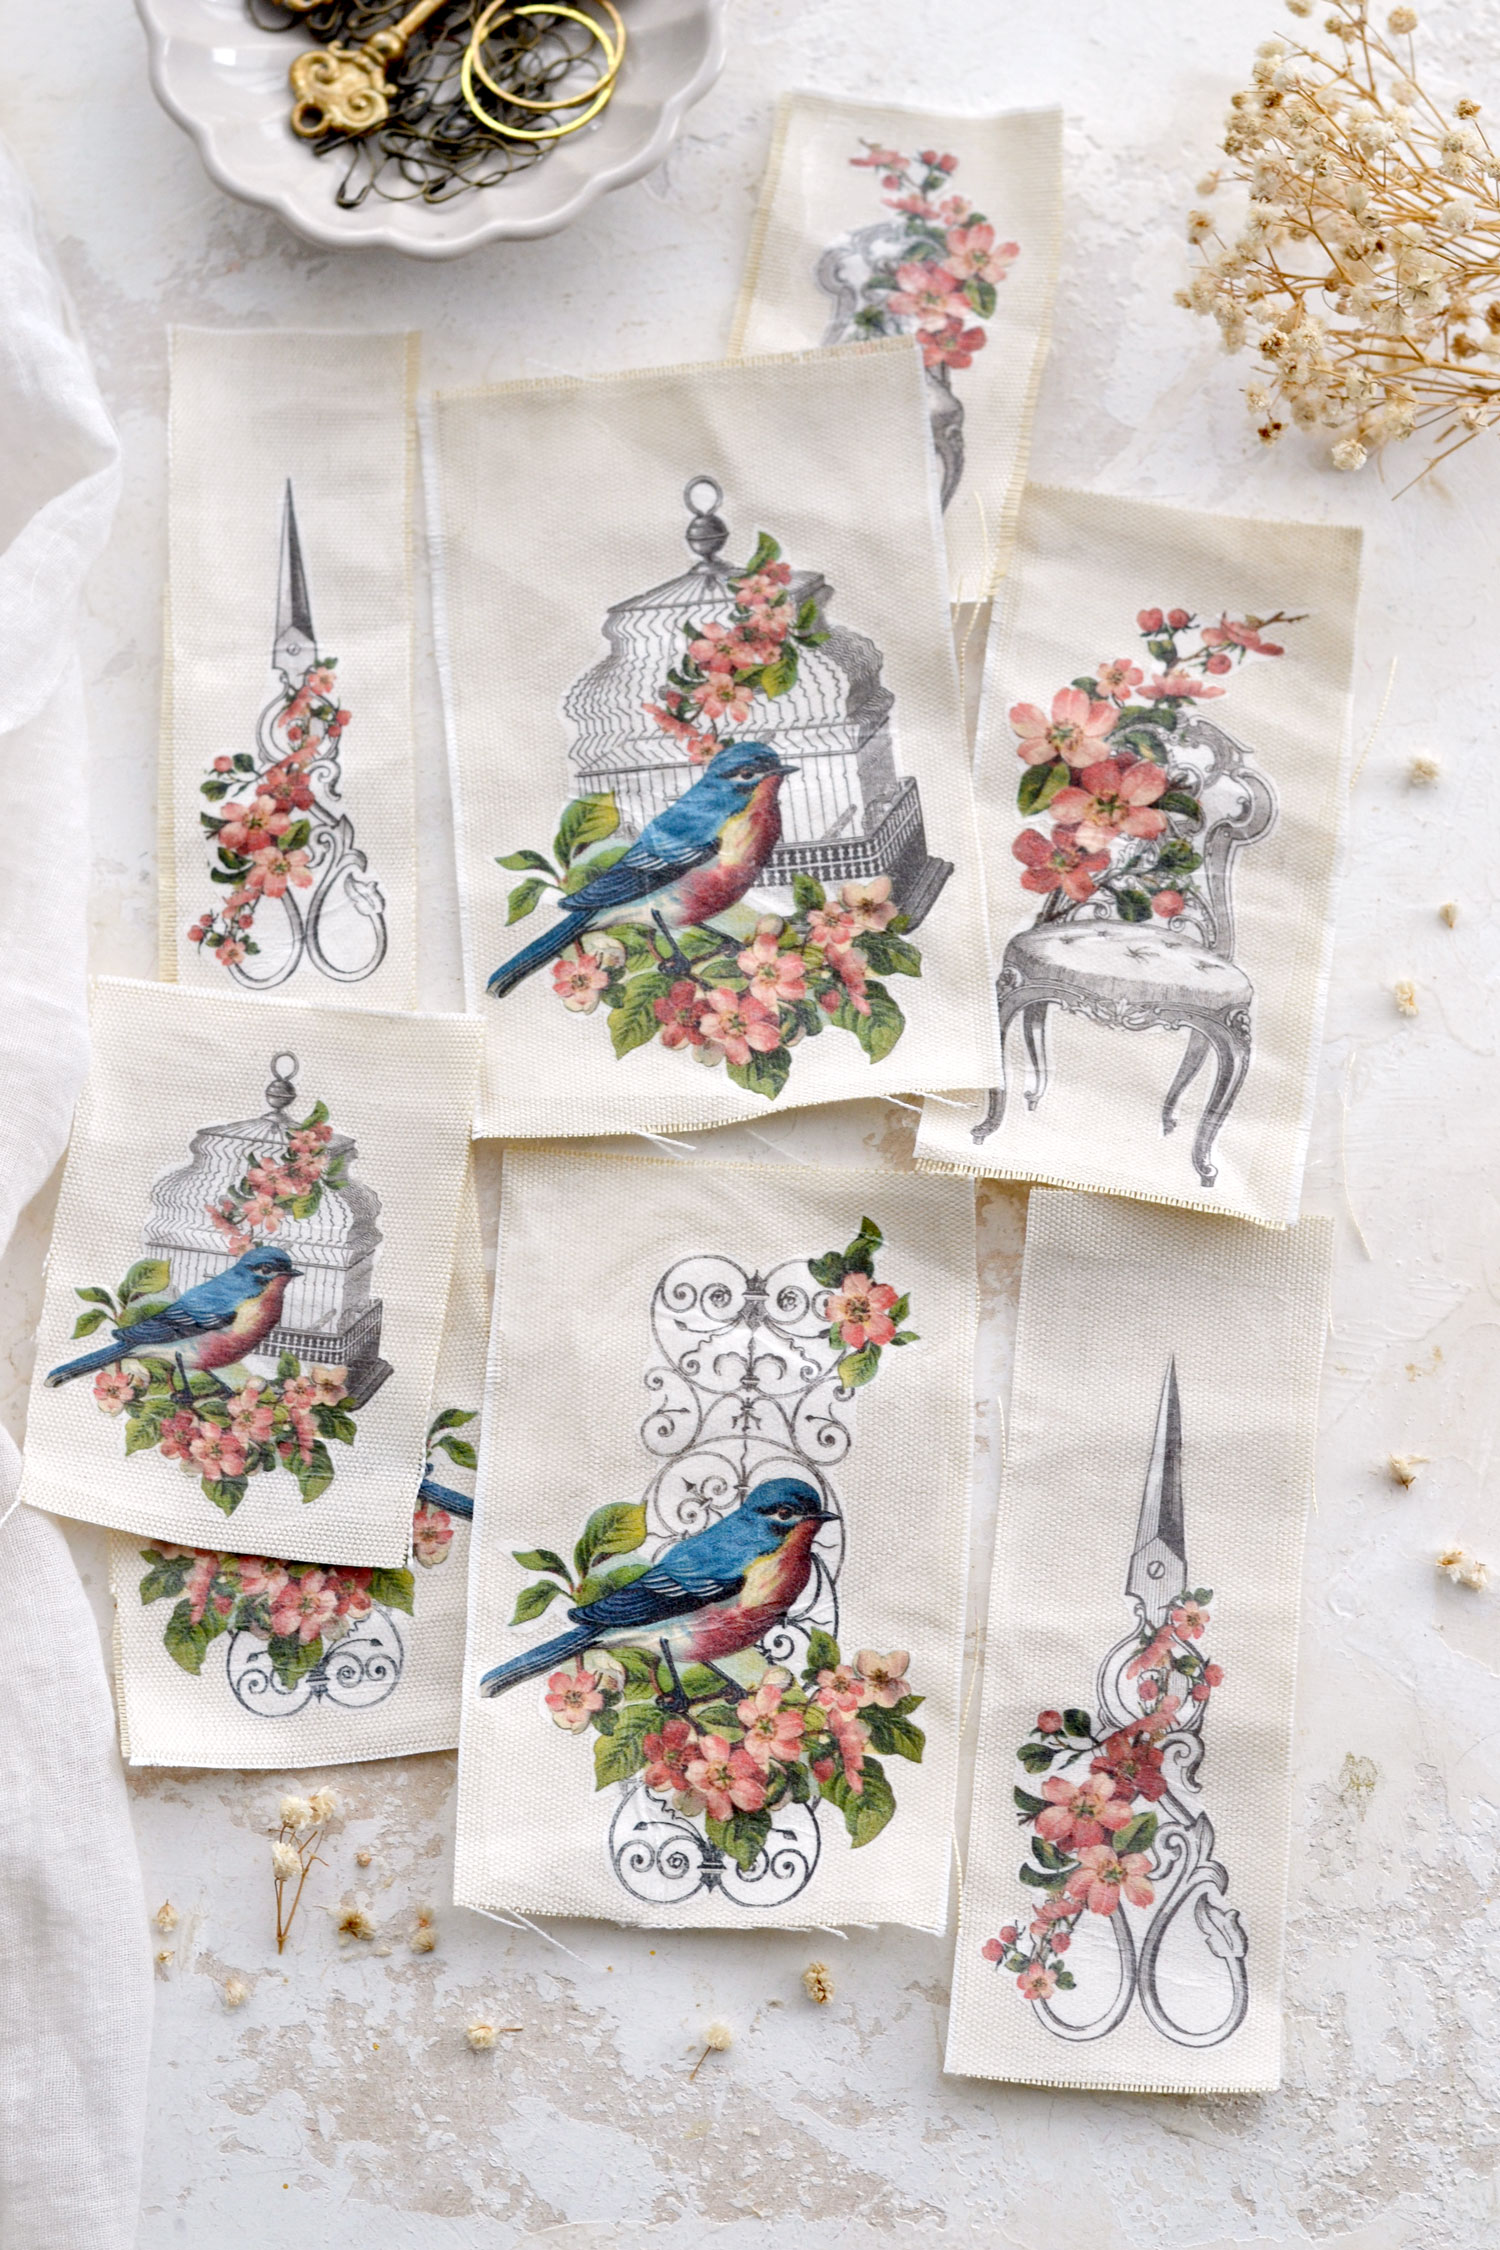
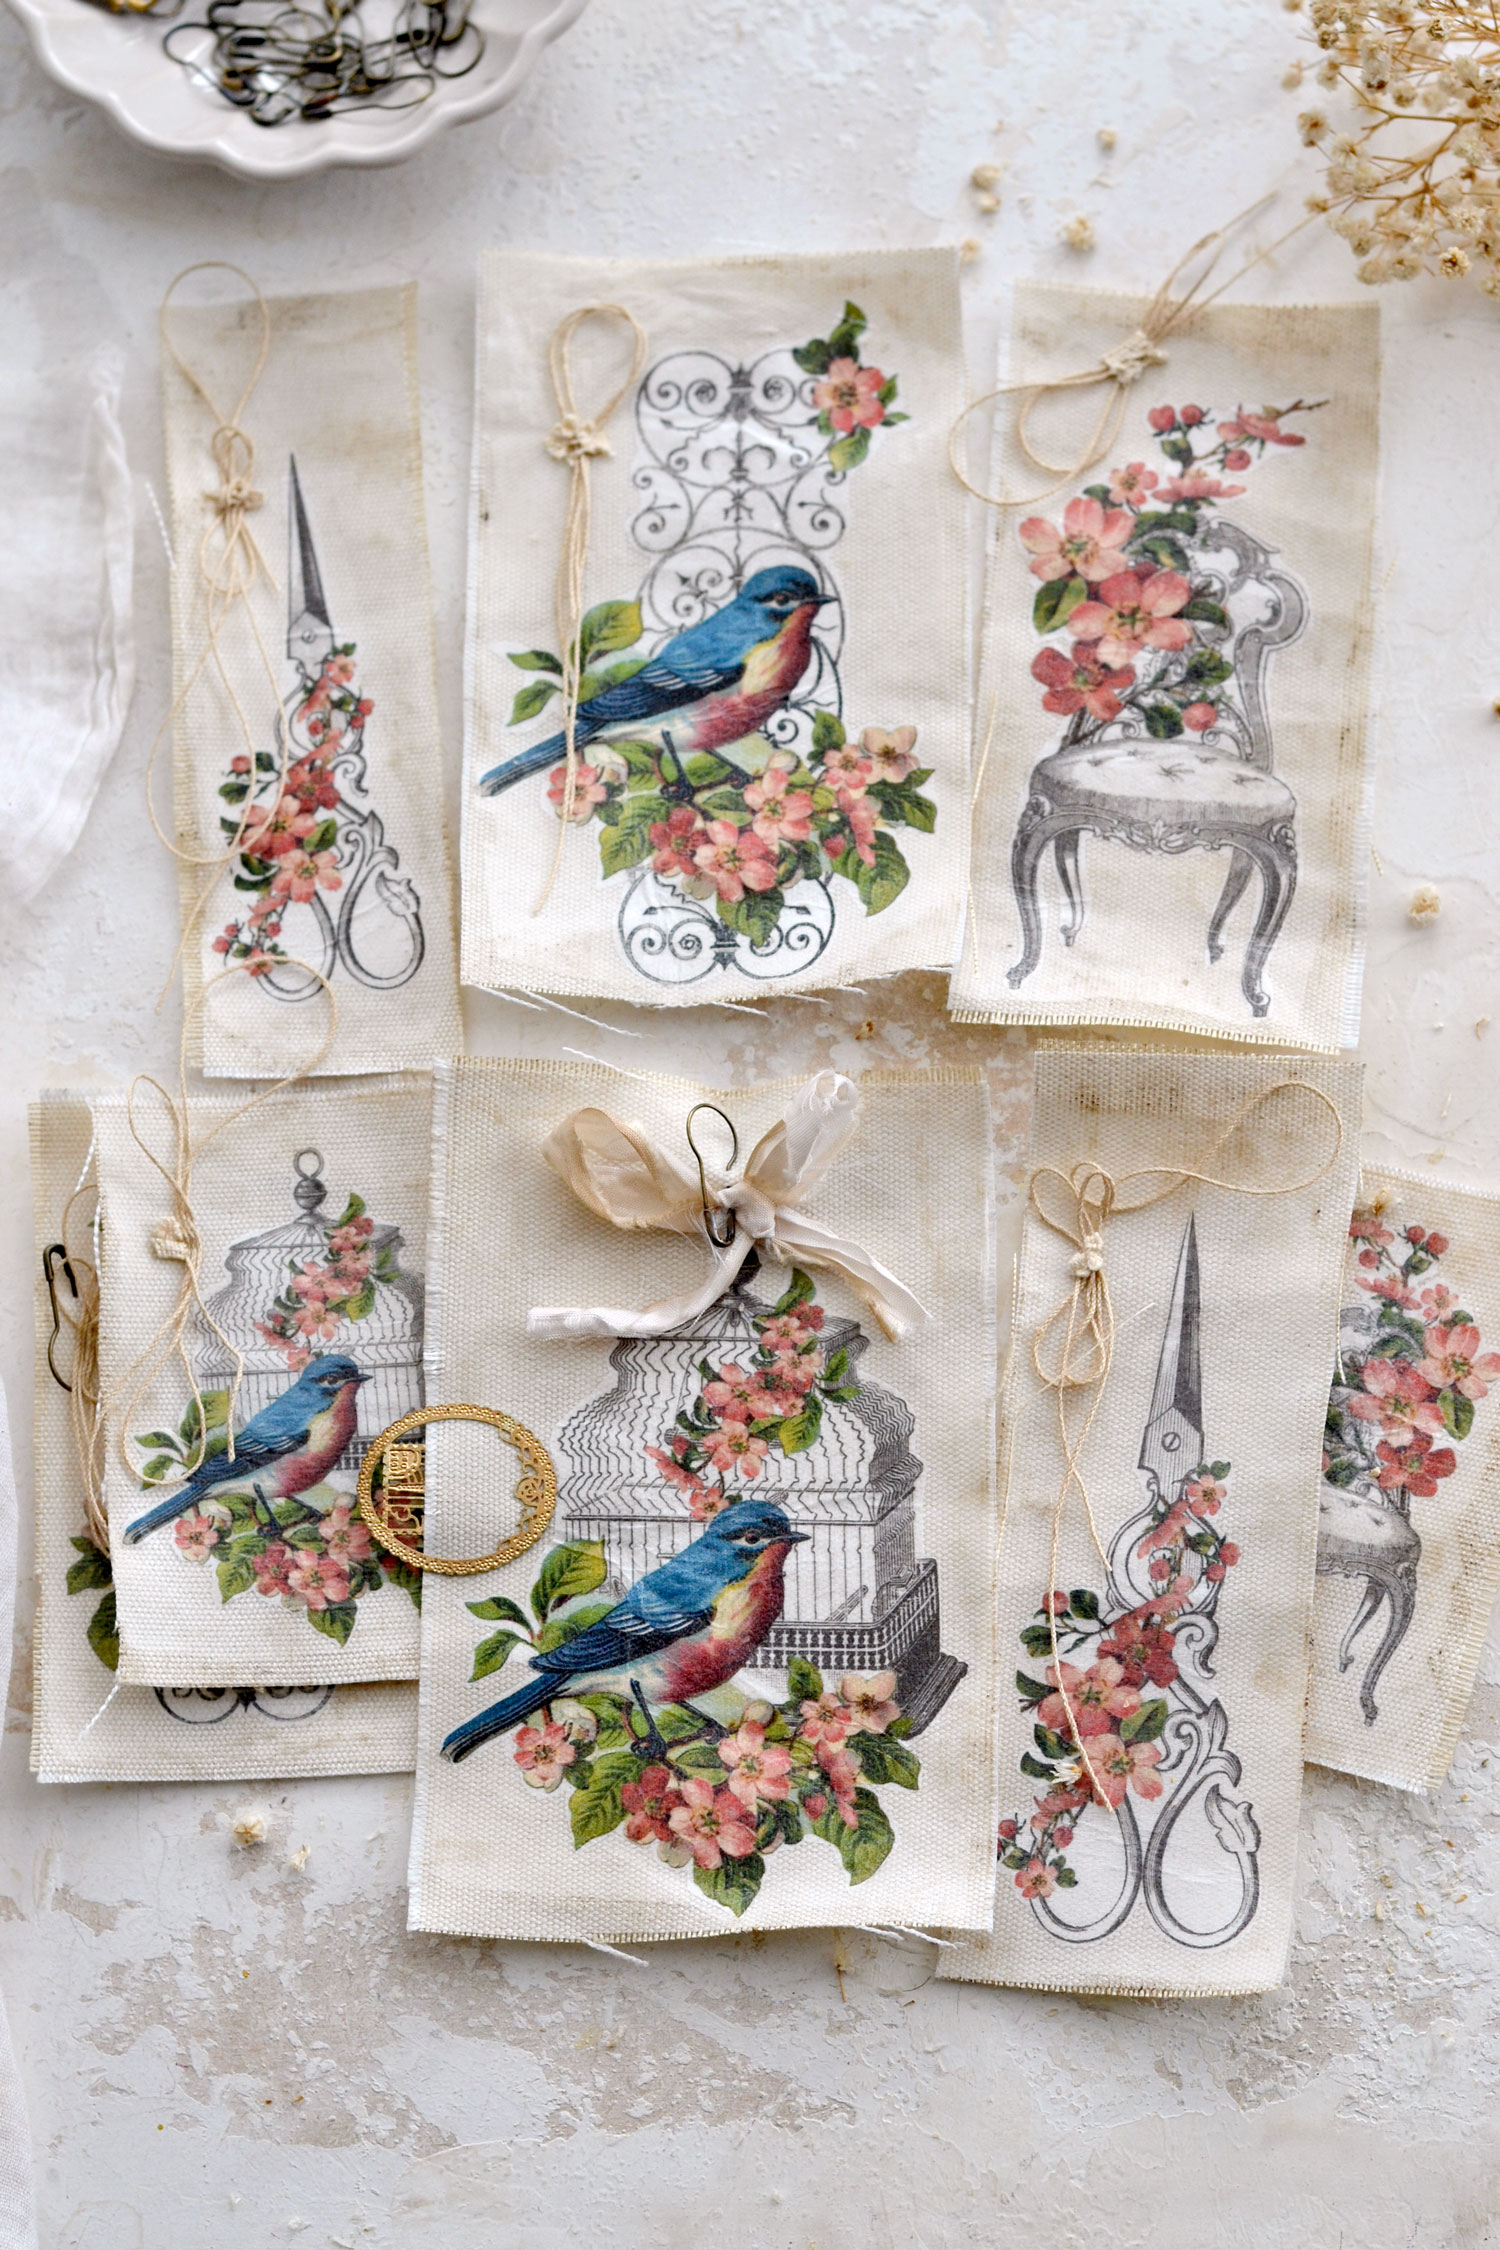
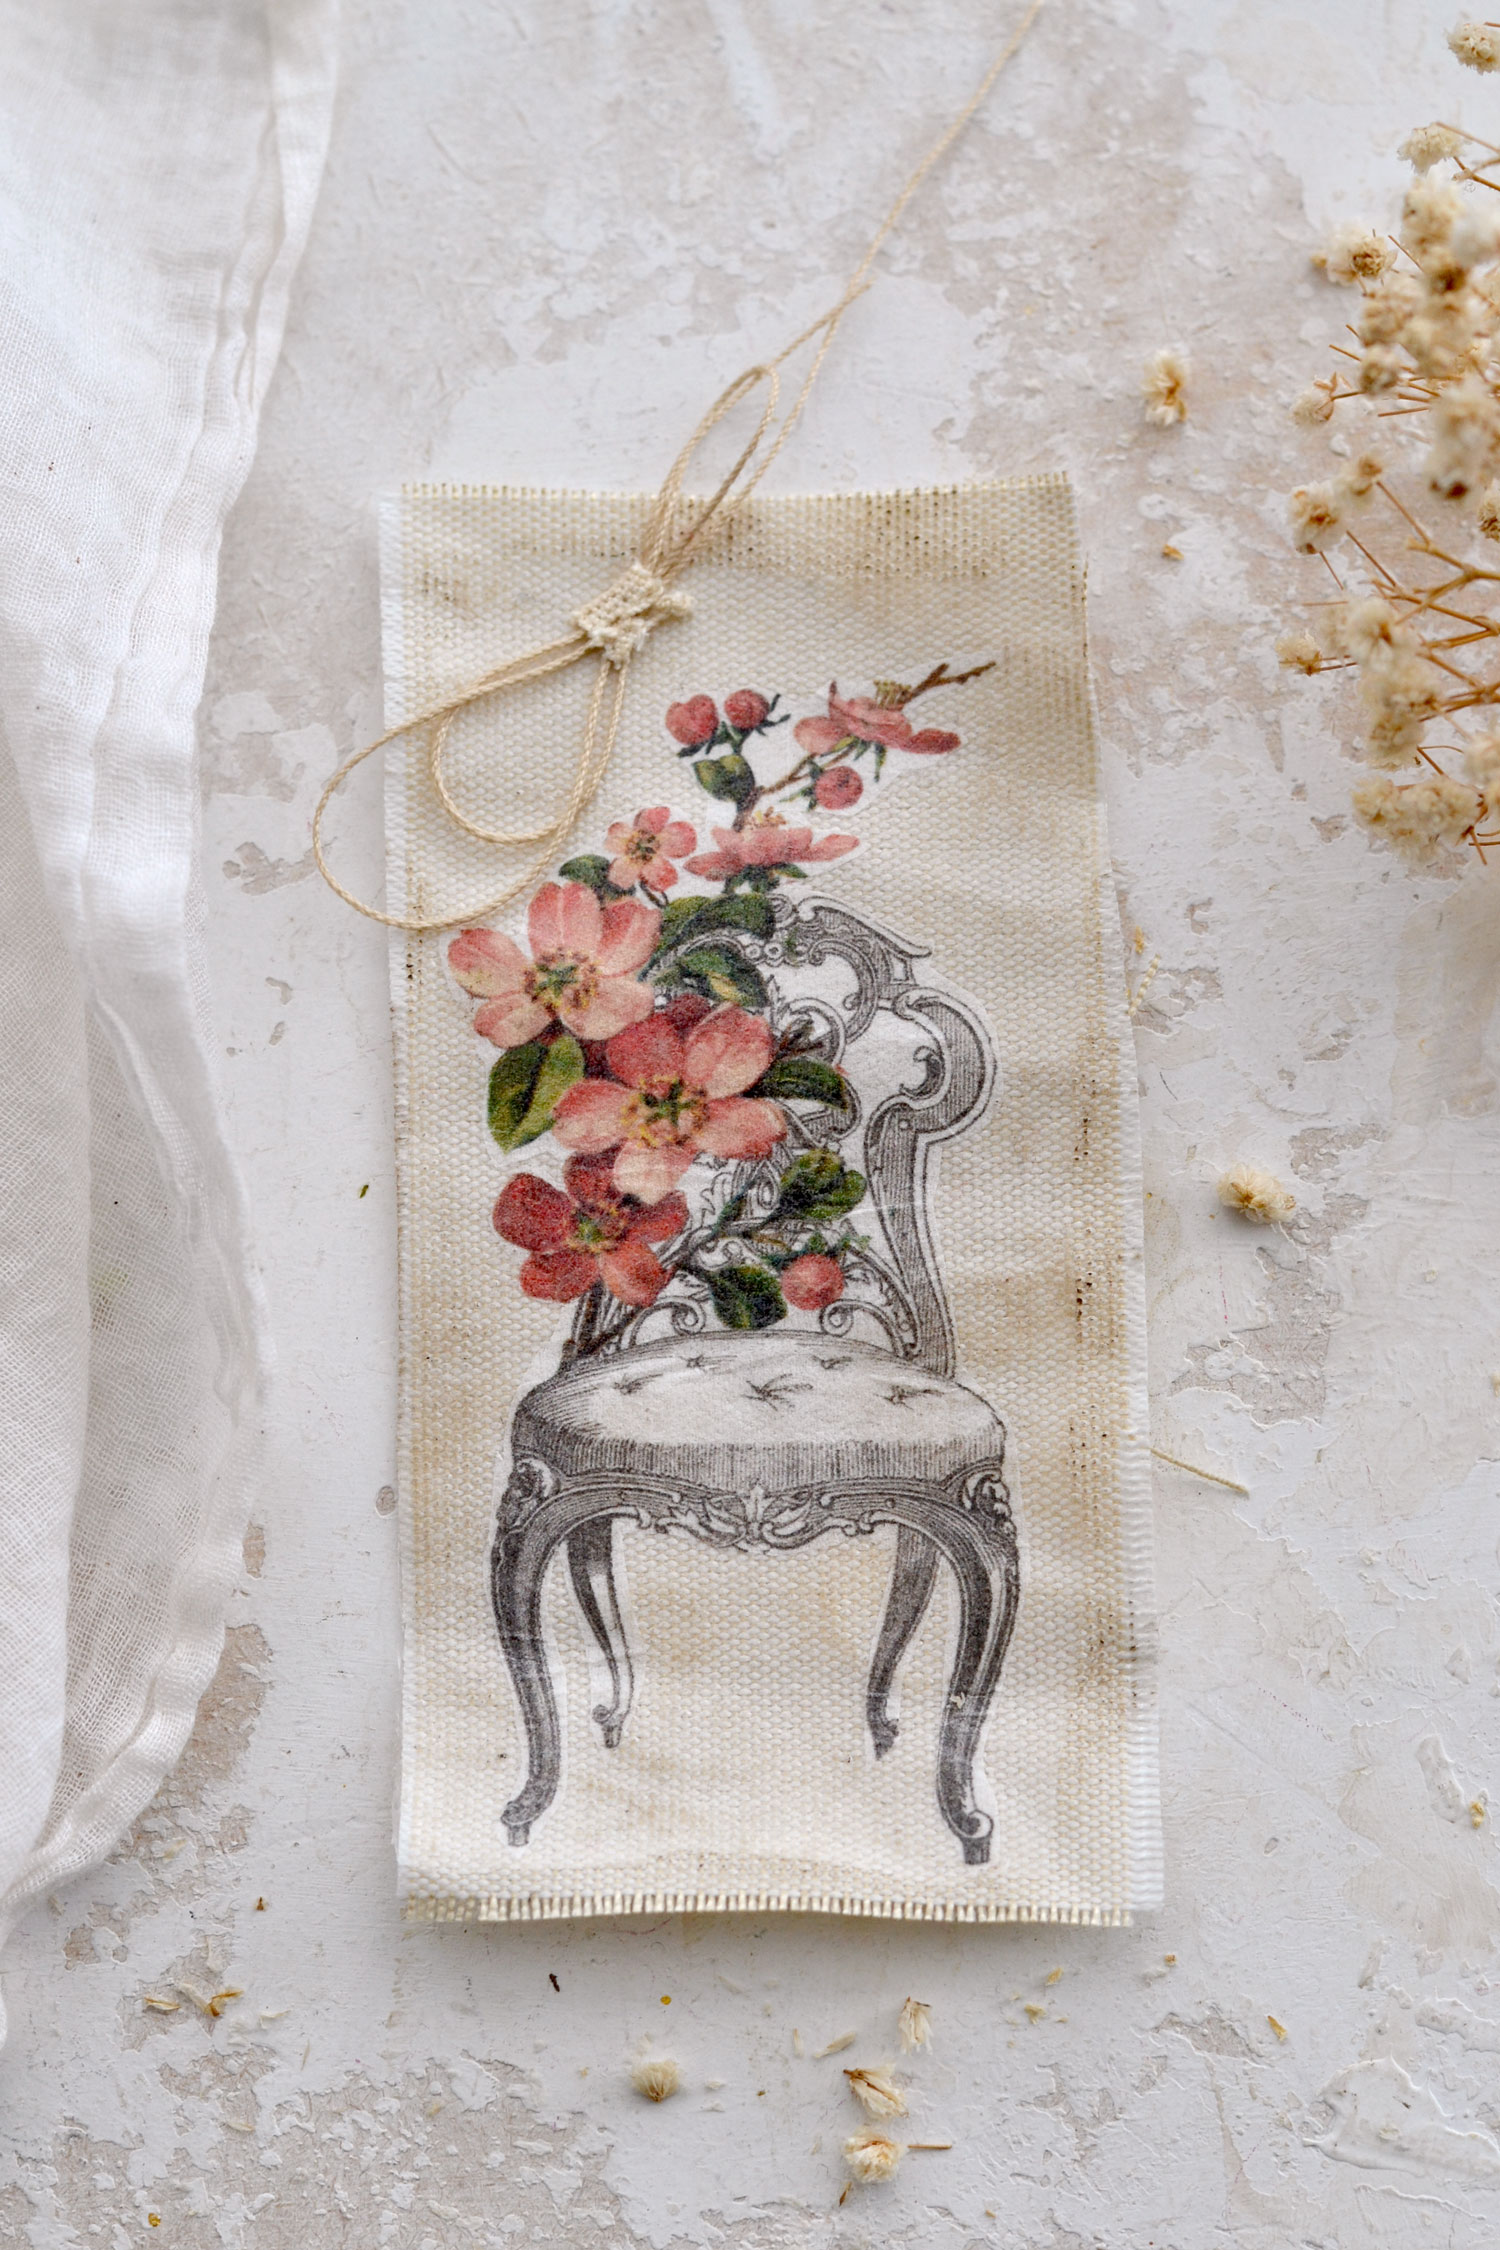
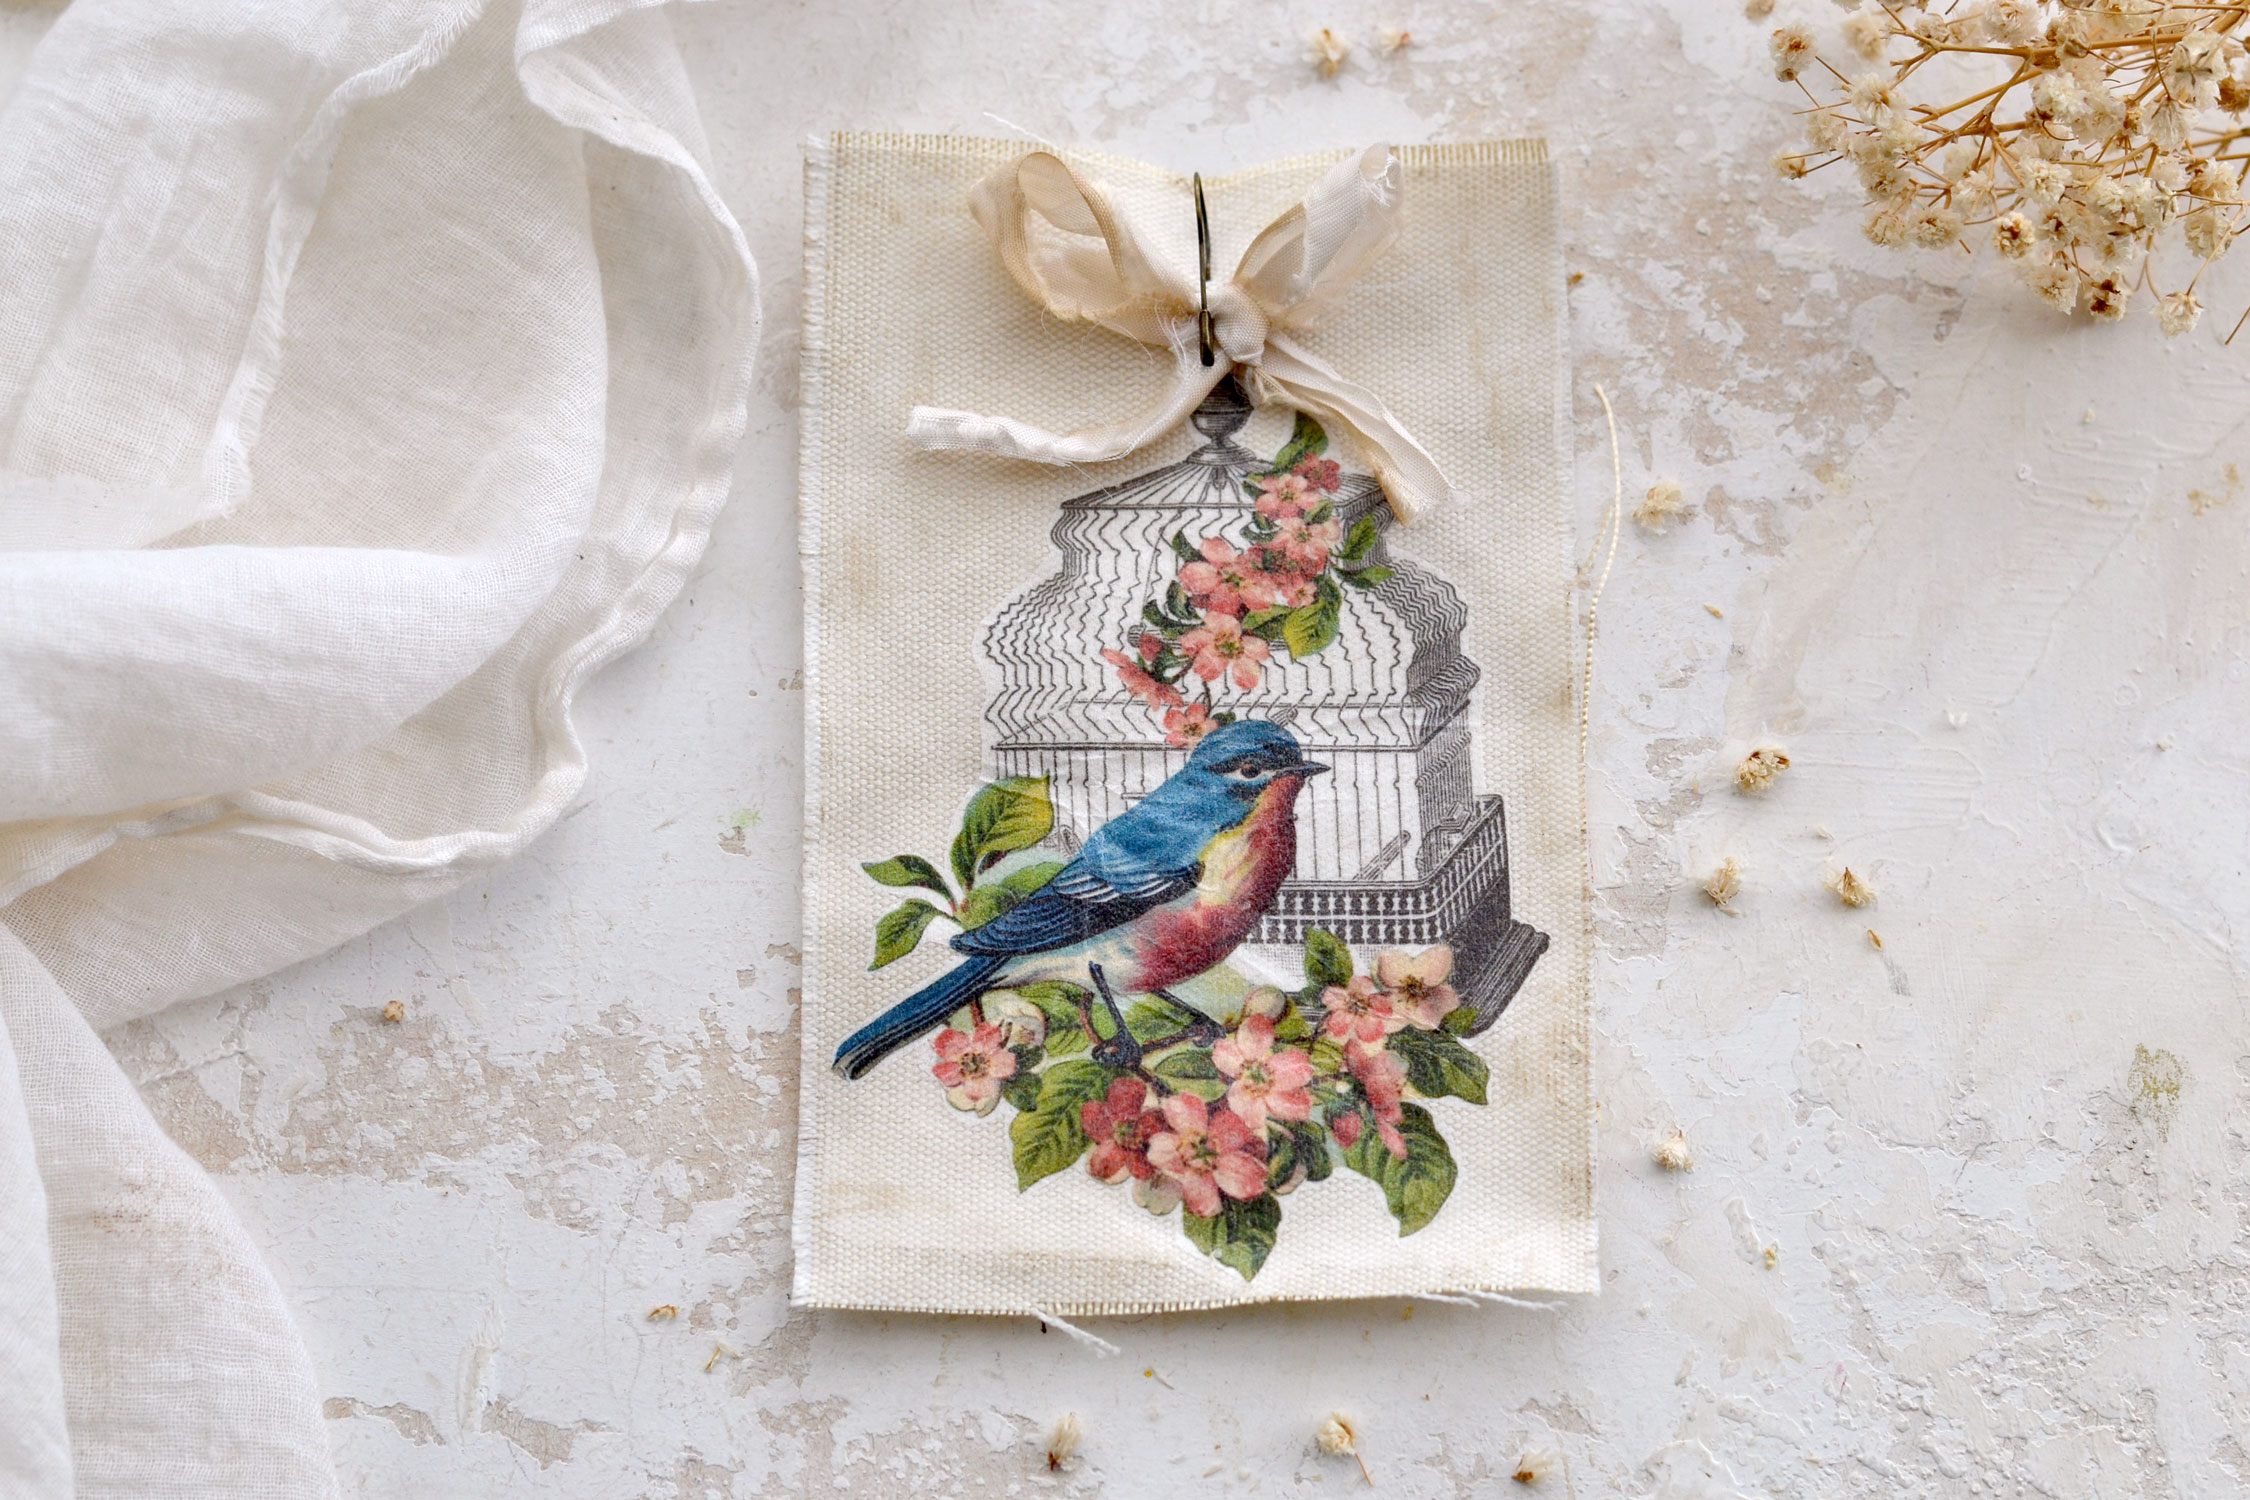
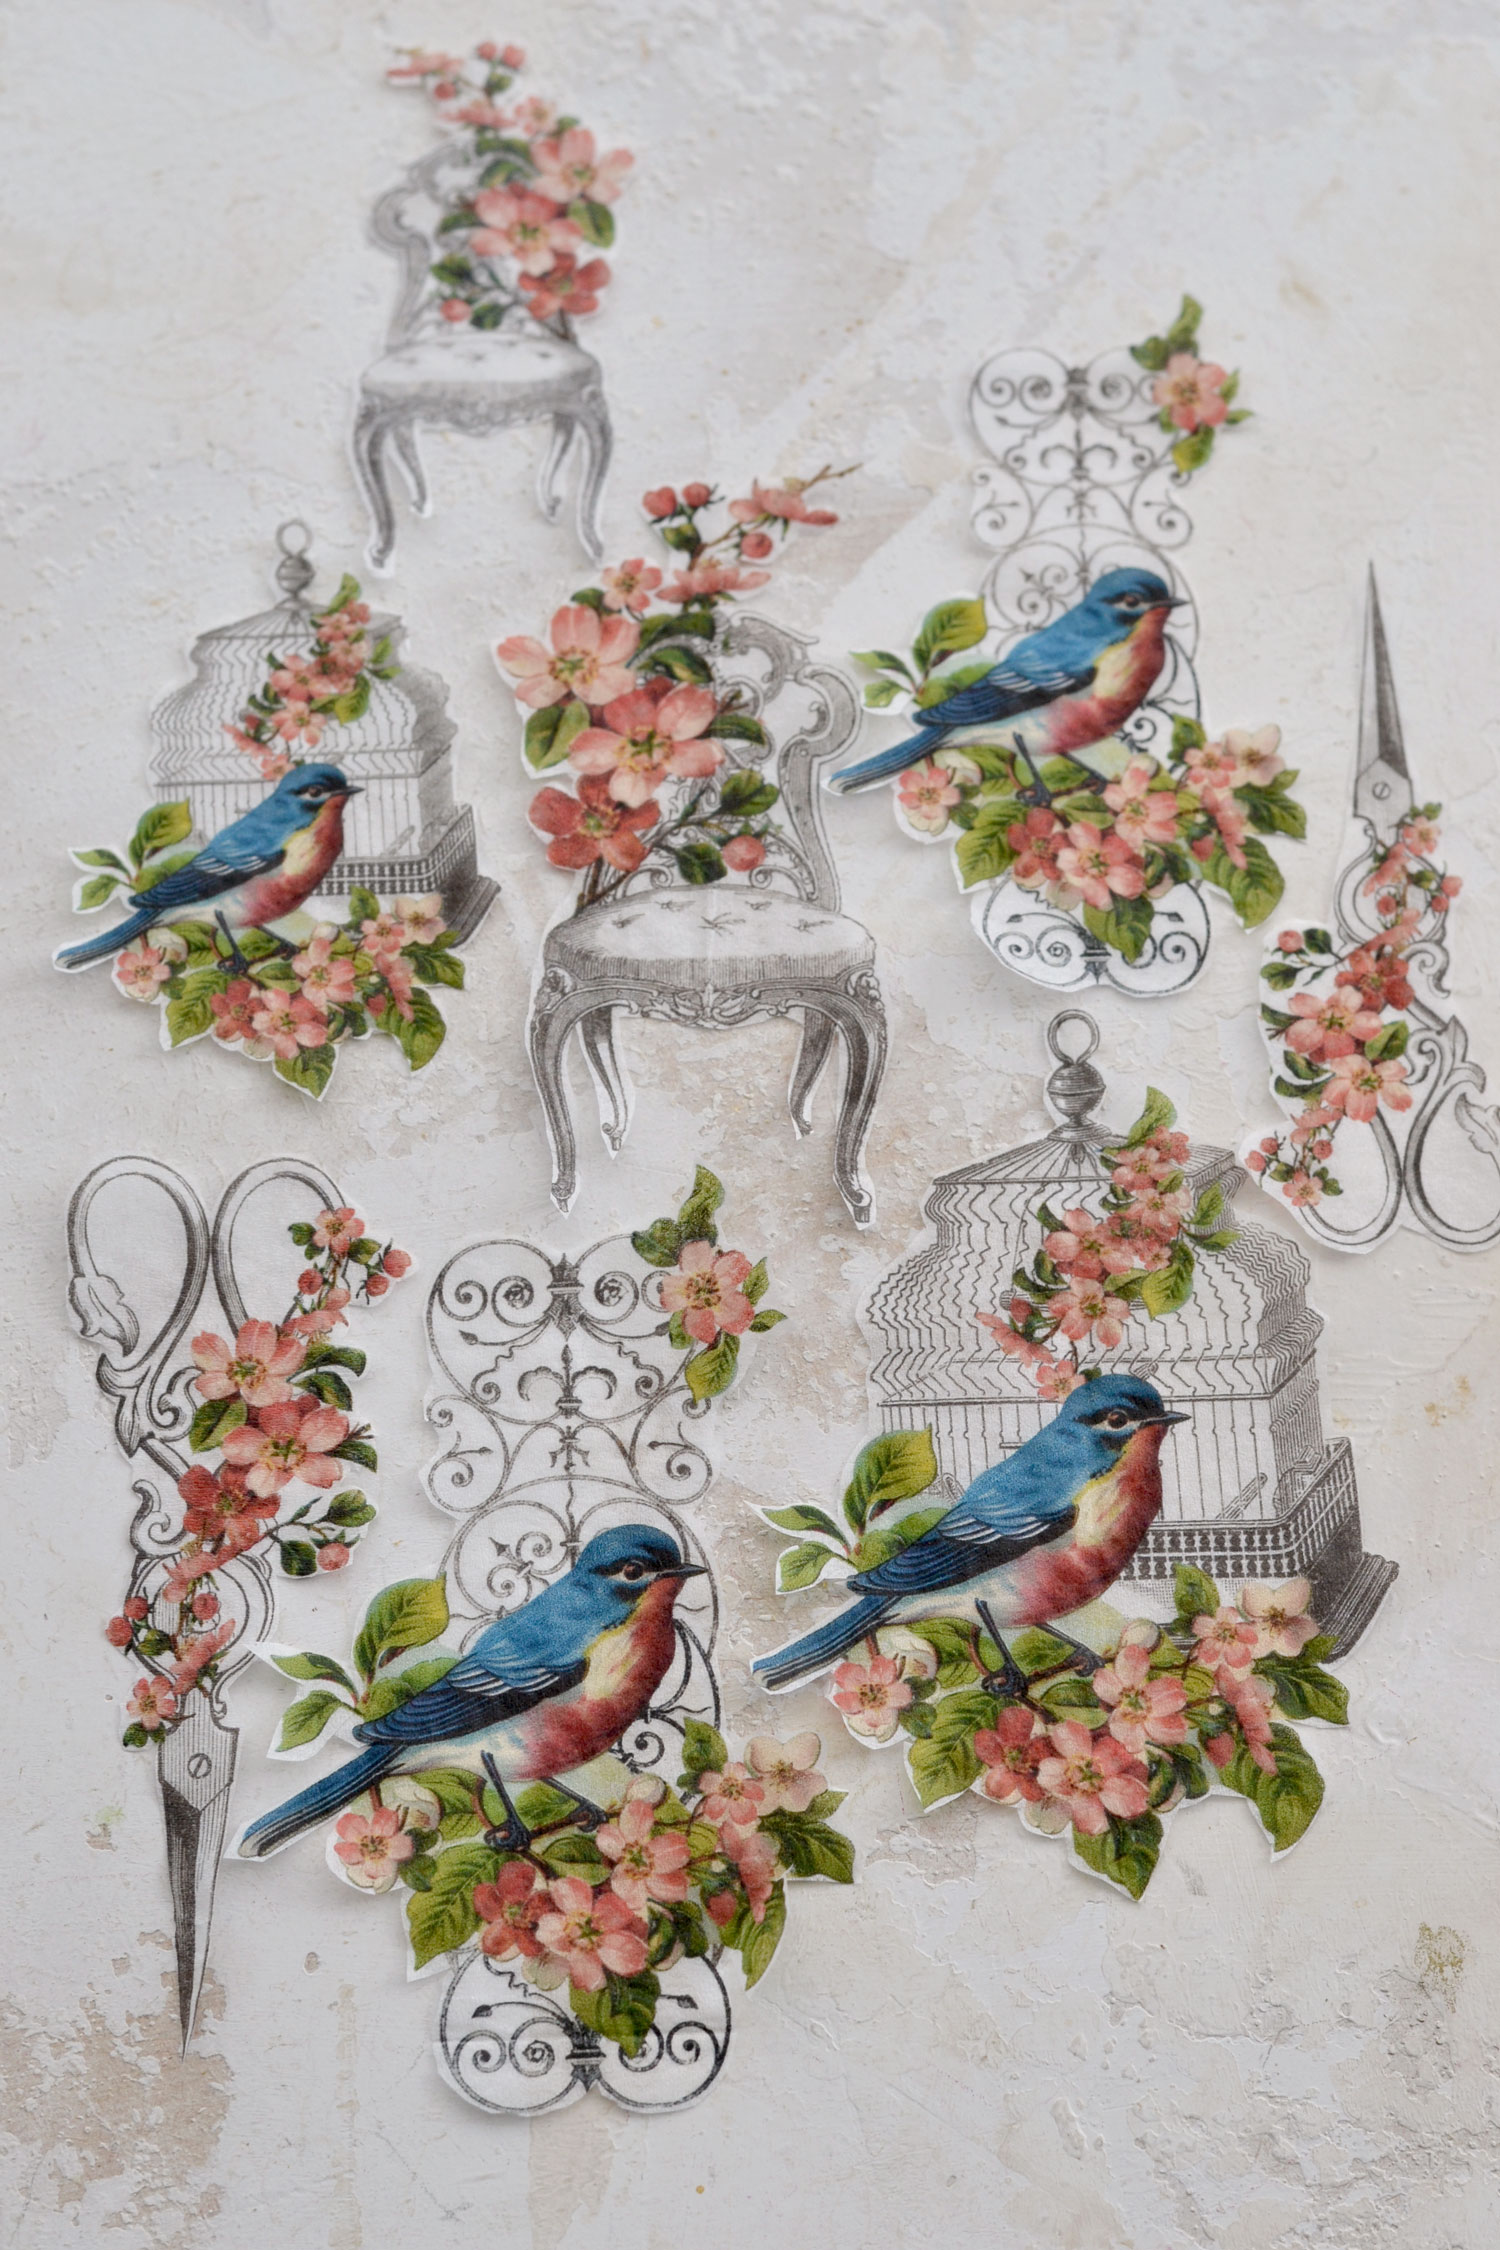
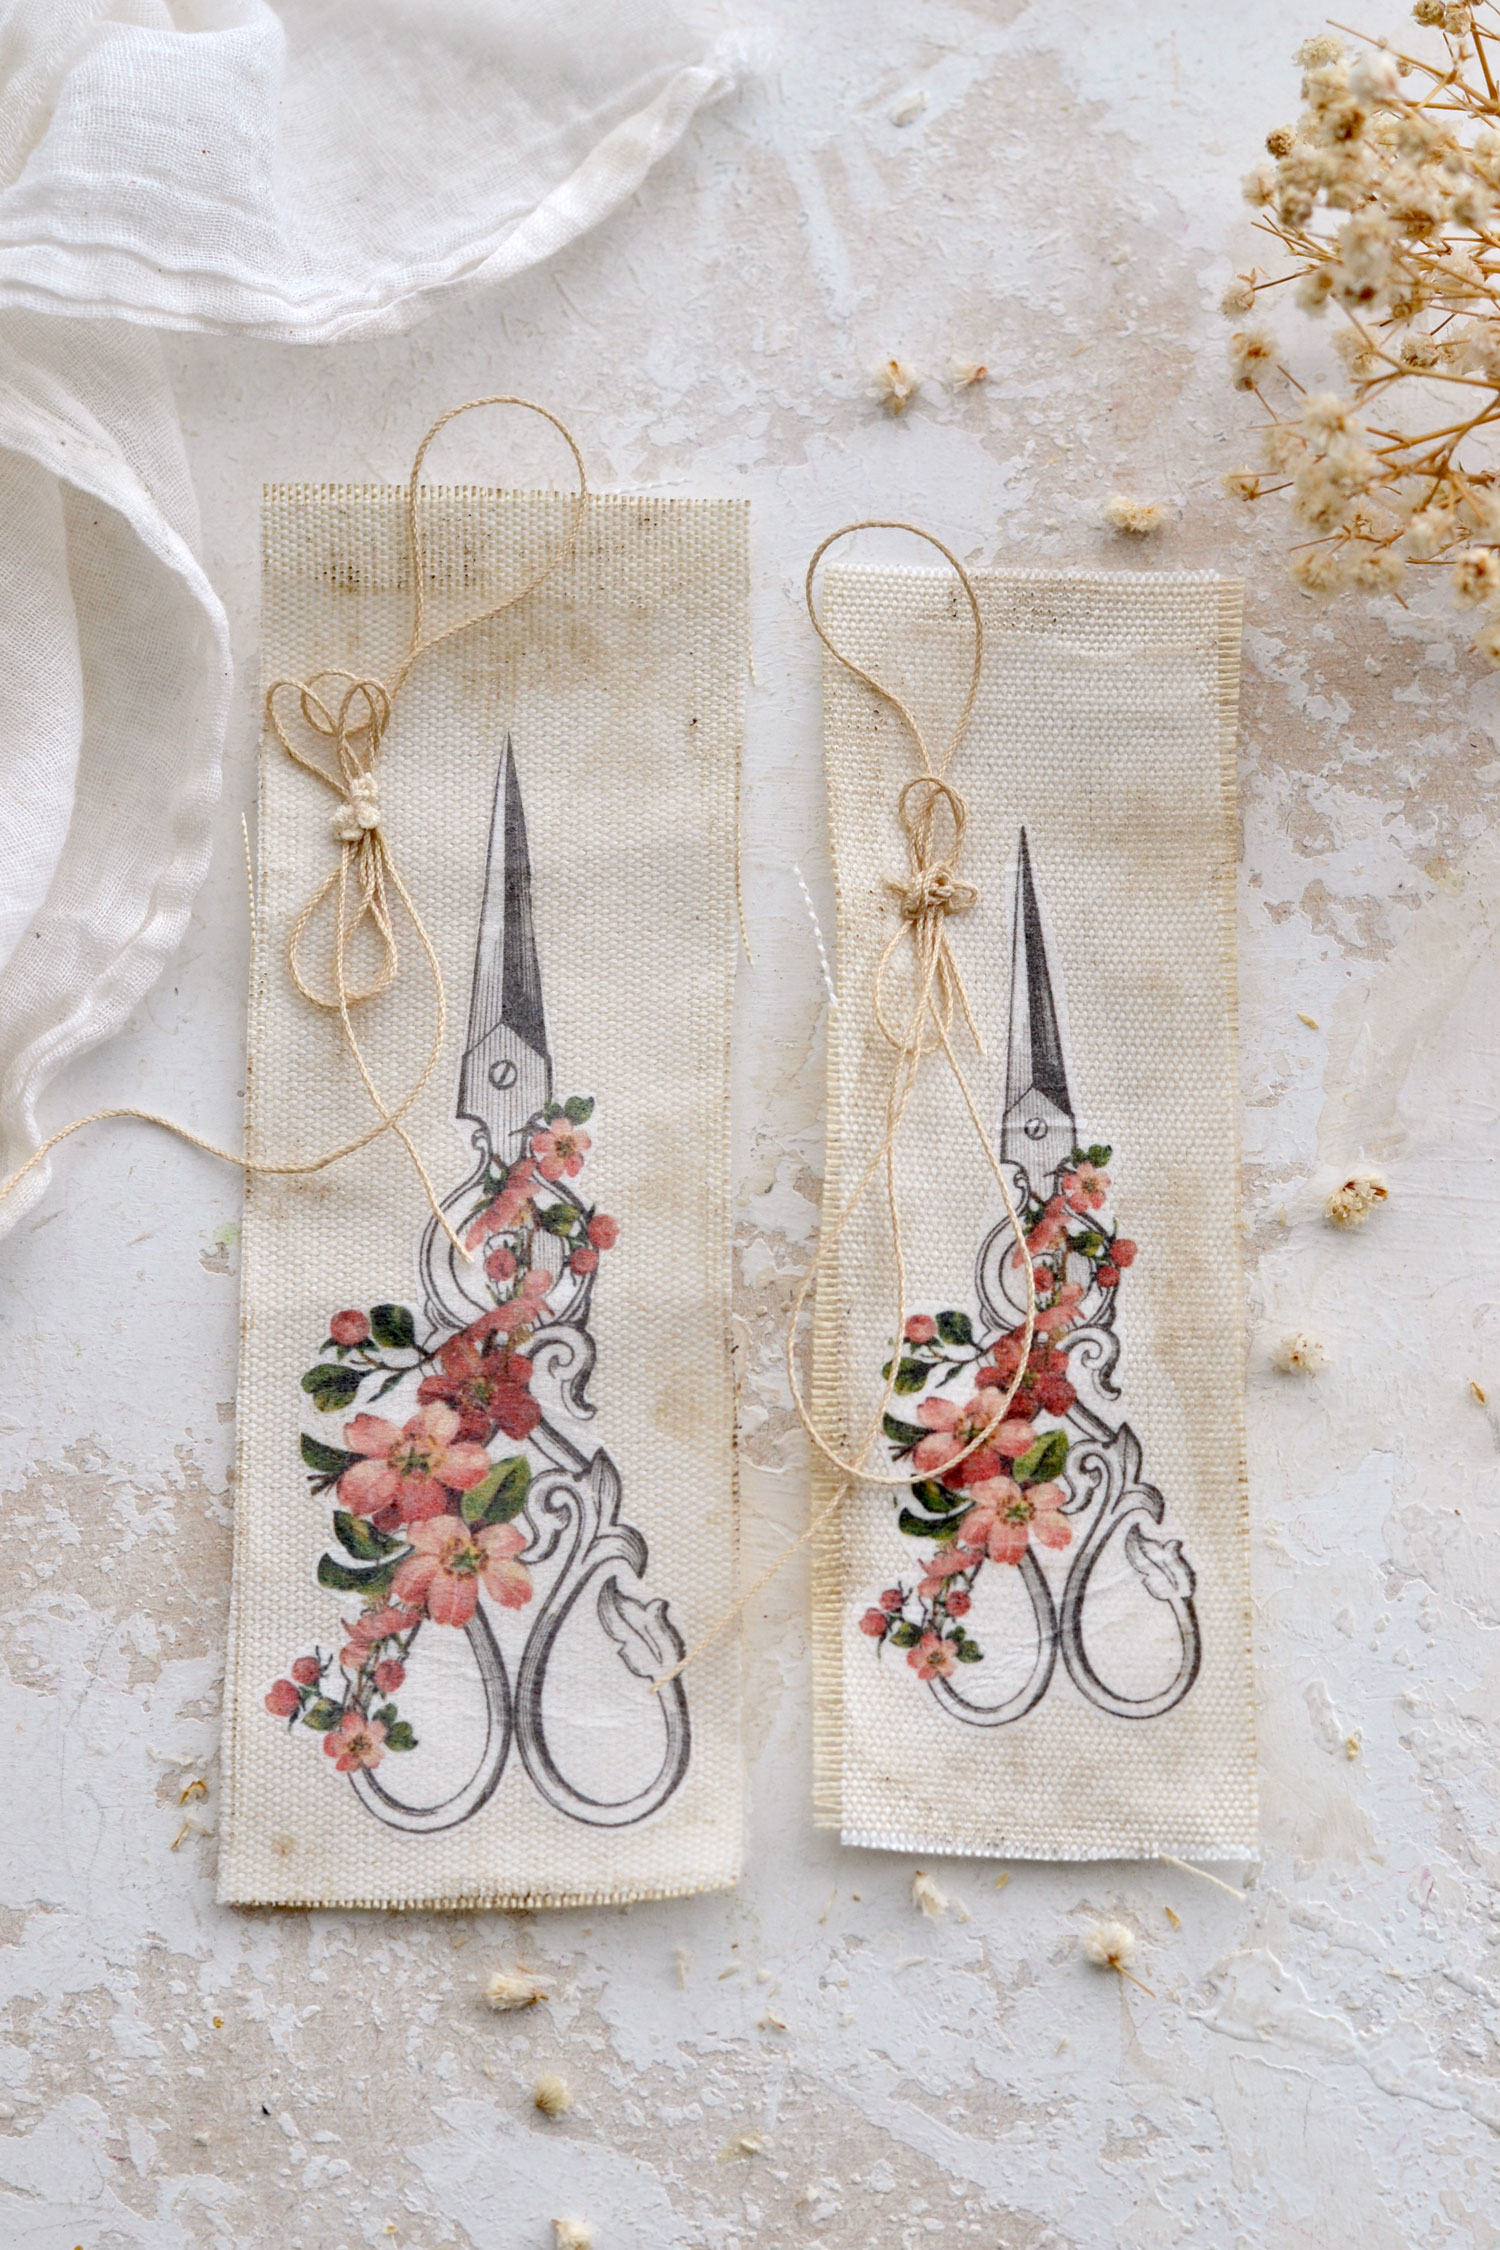
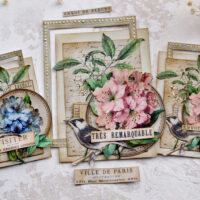
You can find below the free printable that I created for this project. I used a mix of black & white and colored images to make the final design more intriguing. You’ll find black & white scissors, vintage chairs, birdcages and a decorative iron fence. For our pop of color, I chose this gorgeous bluebird image and a few super chic pink flowers. There is a little bit of extra room on top of our printable because we need to use a special paper assembly to print on a napkin. You can download and use the printable to make the tags, but of course, you can also use it for other projects, too!
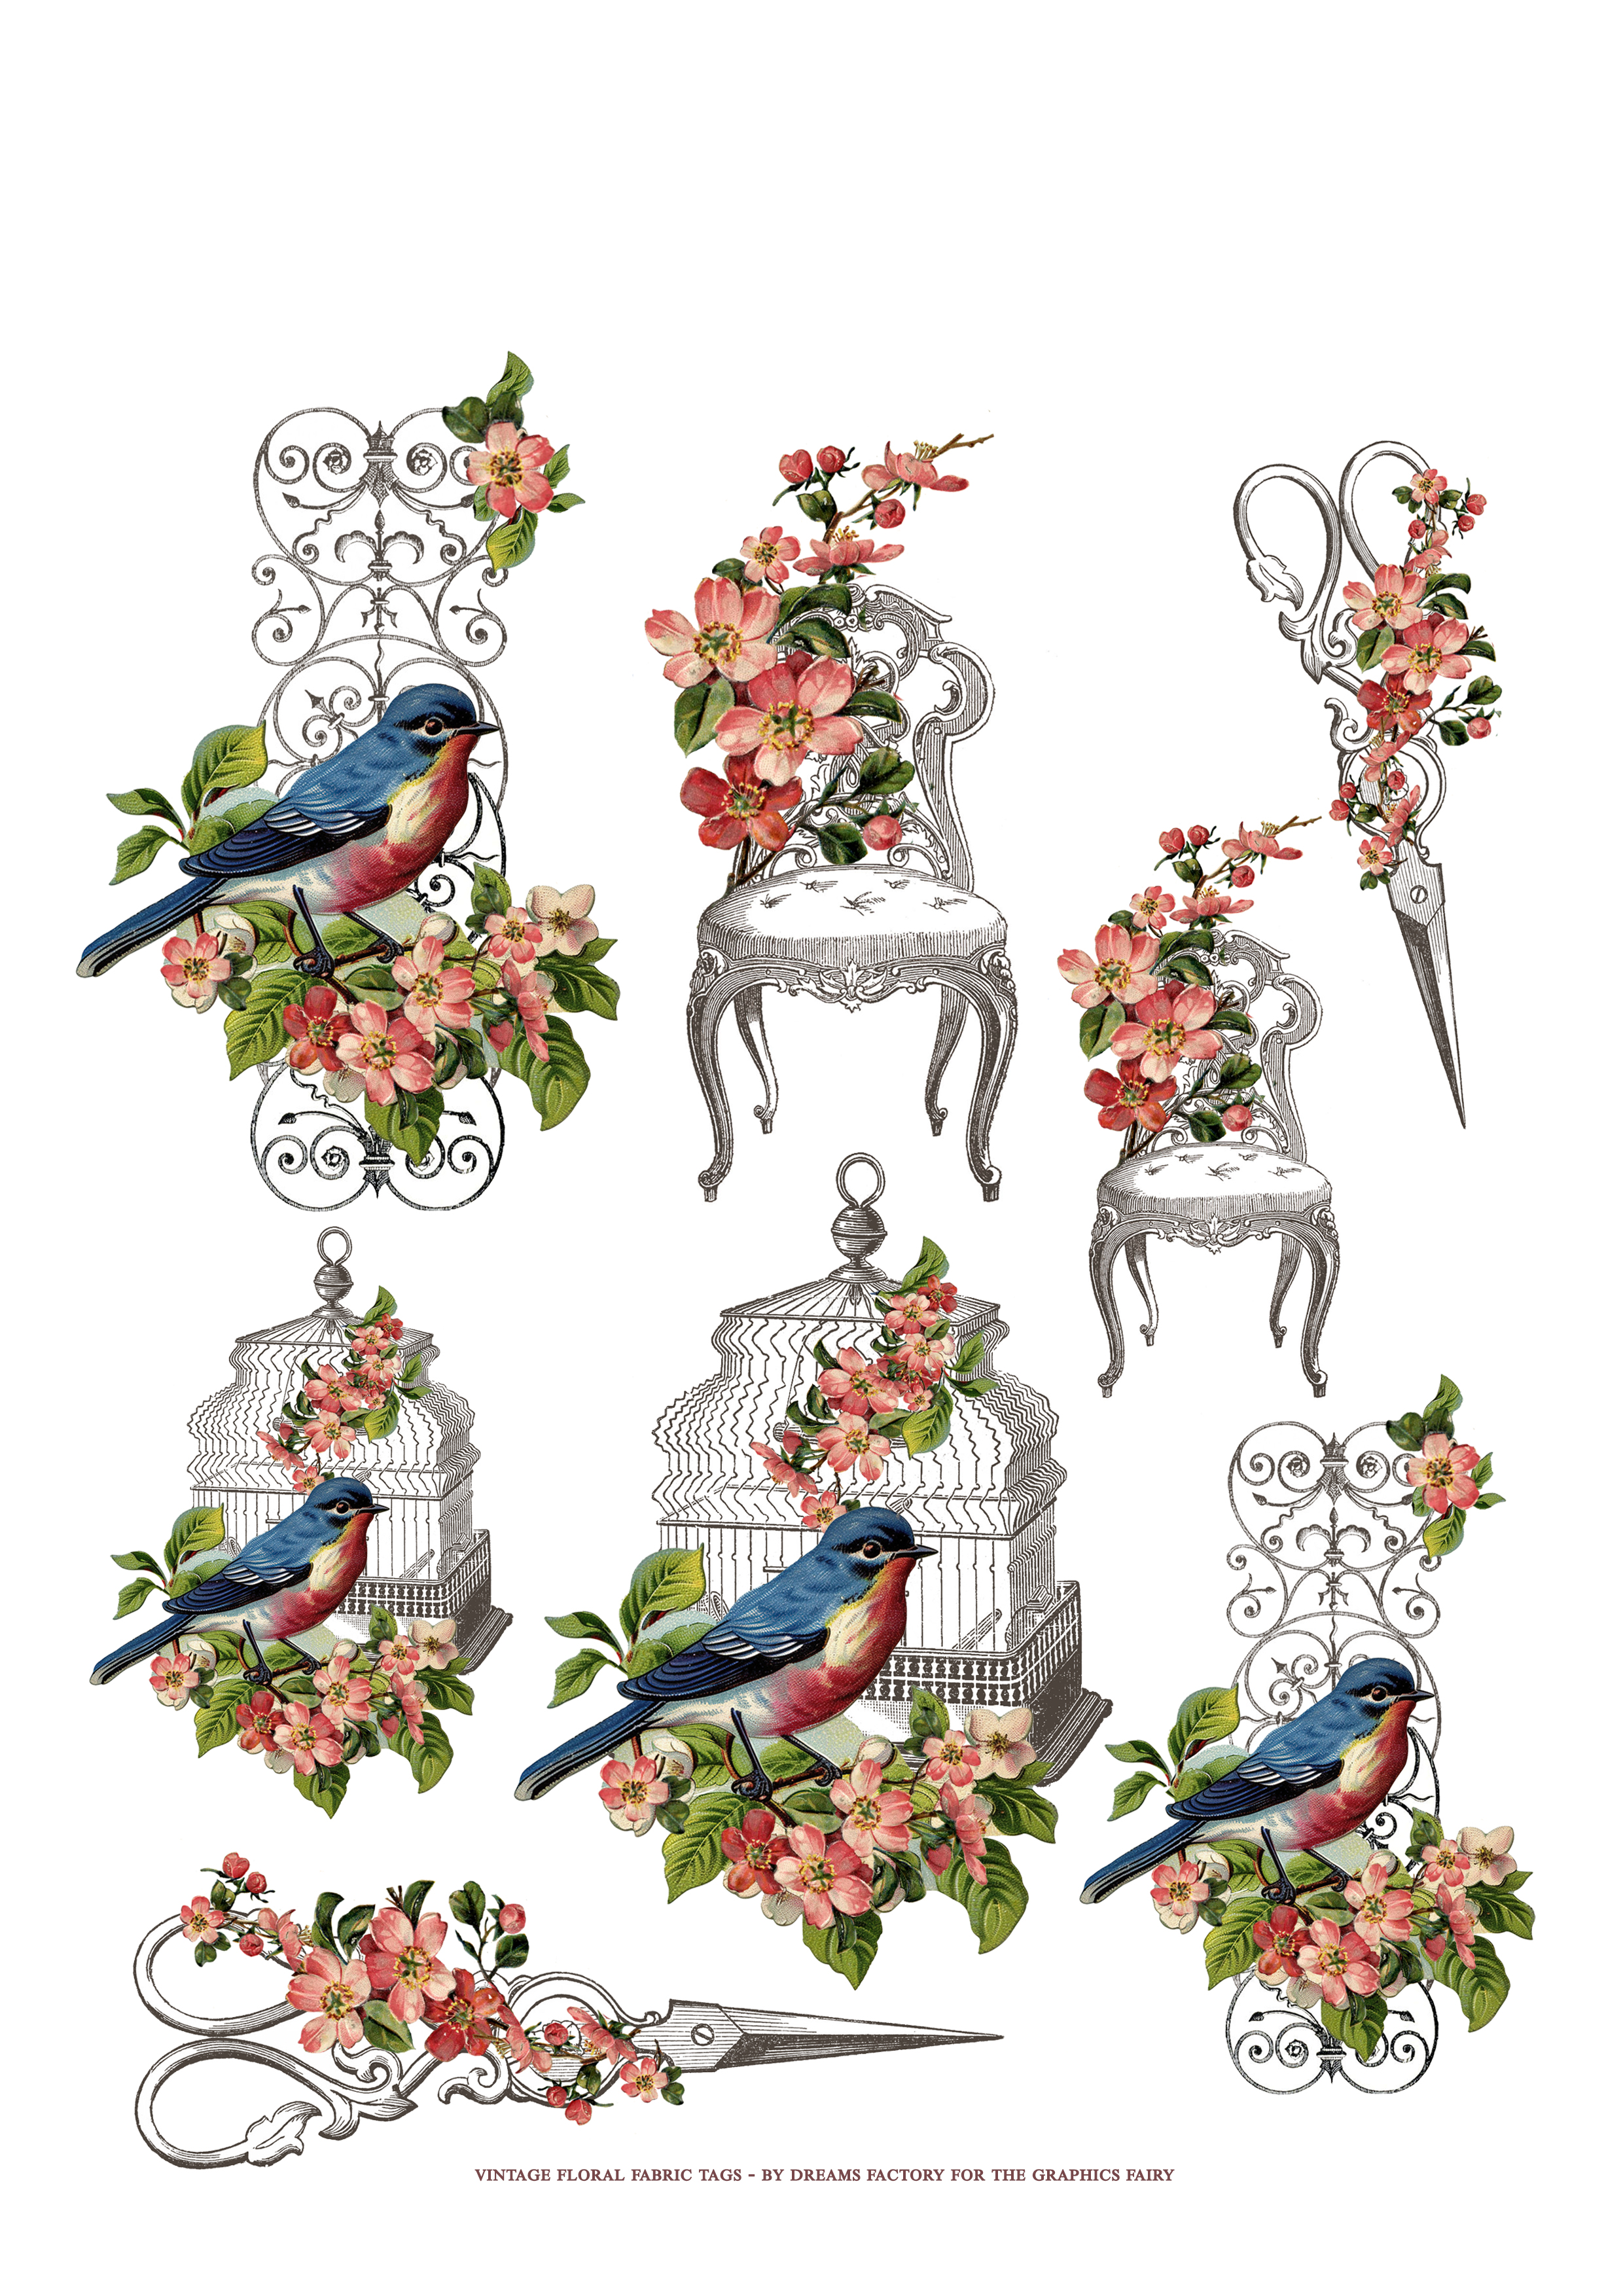
—> Click here to download the full size PDF <—
Supplies:
- cardstock paper, white paper napkin and masking tape (to print the printable)
- home printer – this image transfer works with both a laserjet and an inkjet printer
- scissors
- fabric
- cling wrap (also known as saran wrap or cling film)
- clothes iron
- parchment paper (also known as baking paper)
- scrap pieces of thread, ribbons, glue and small safety pins (to further embellish the tags)
Step by Step Tutorial:
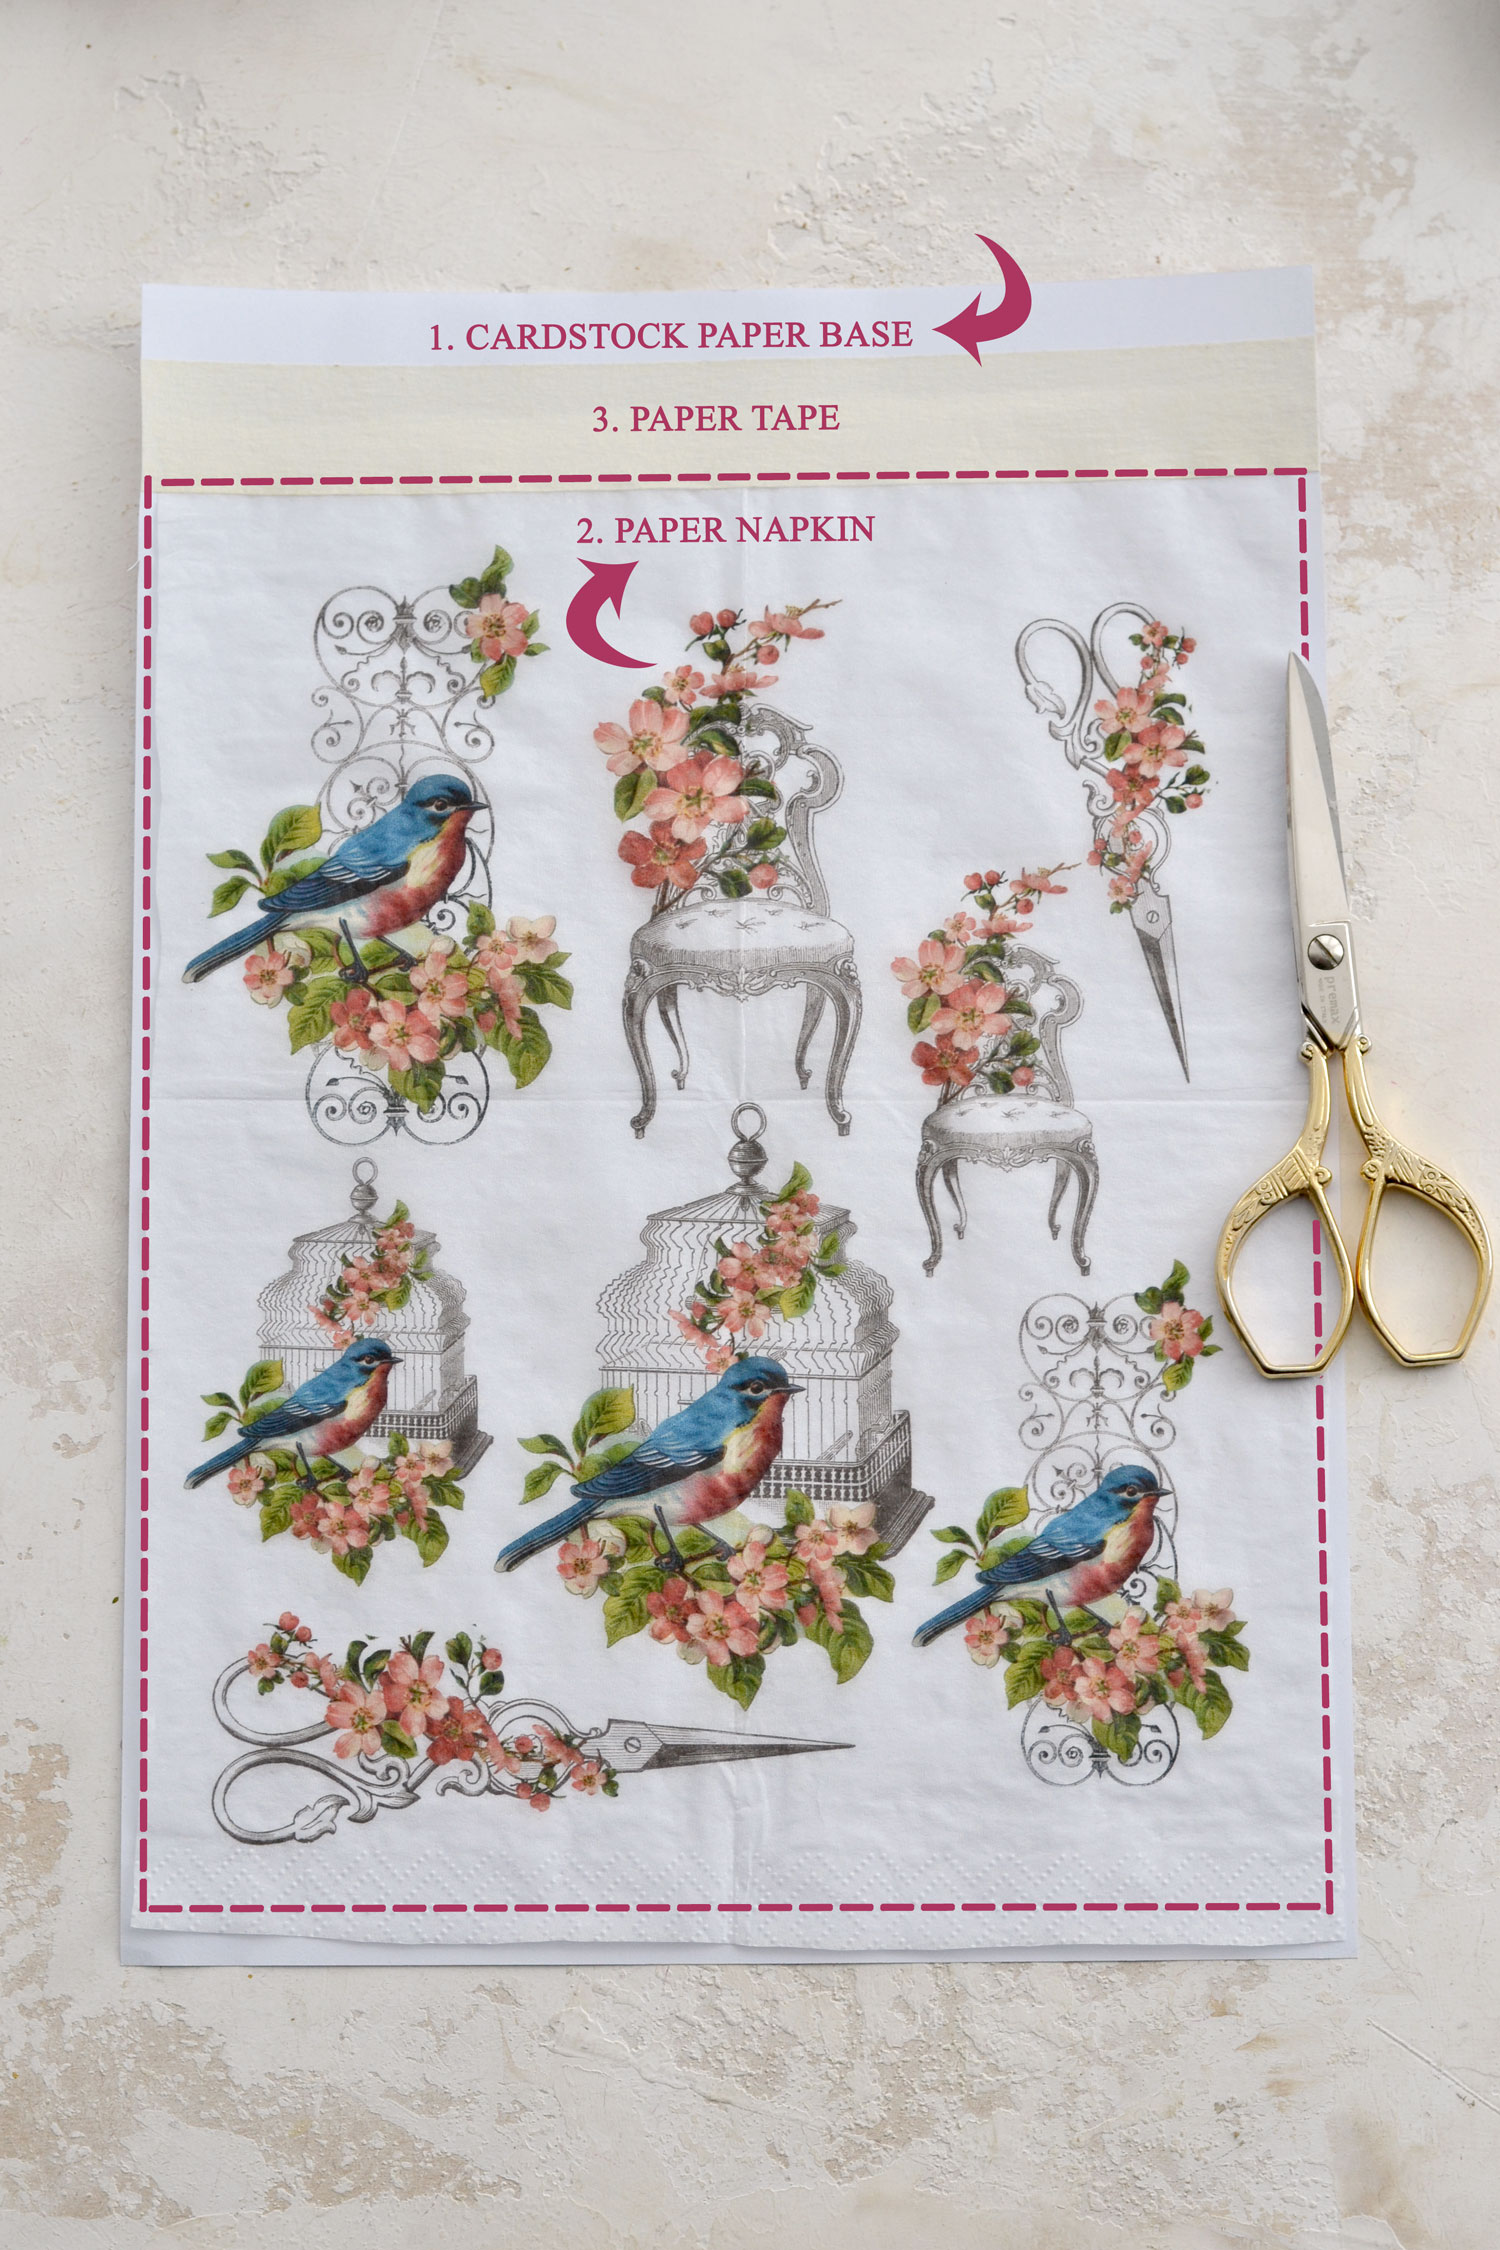
To make things work with this type of image transfer, we need to make that special paper assembly first. I like to use cardstock as the base, a white paper napkin (*see Notes) that is slightly smaller than the cardstock and some masking tape. We’ll use the cardstock as our base and the masking tape to hold the paper napkin, which cannot be fed through our printers on its own. It’s important to leave a little bit of empty space on top of this assembly so there are no jamming issues when you feed it through.
*Notes: Only use ONE of your white paper napkin layers! We need soft table paper napkins, which usually come with two or three layers, so make sure you peel one and use it here.
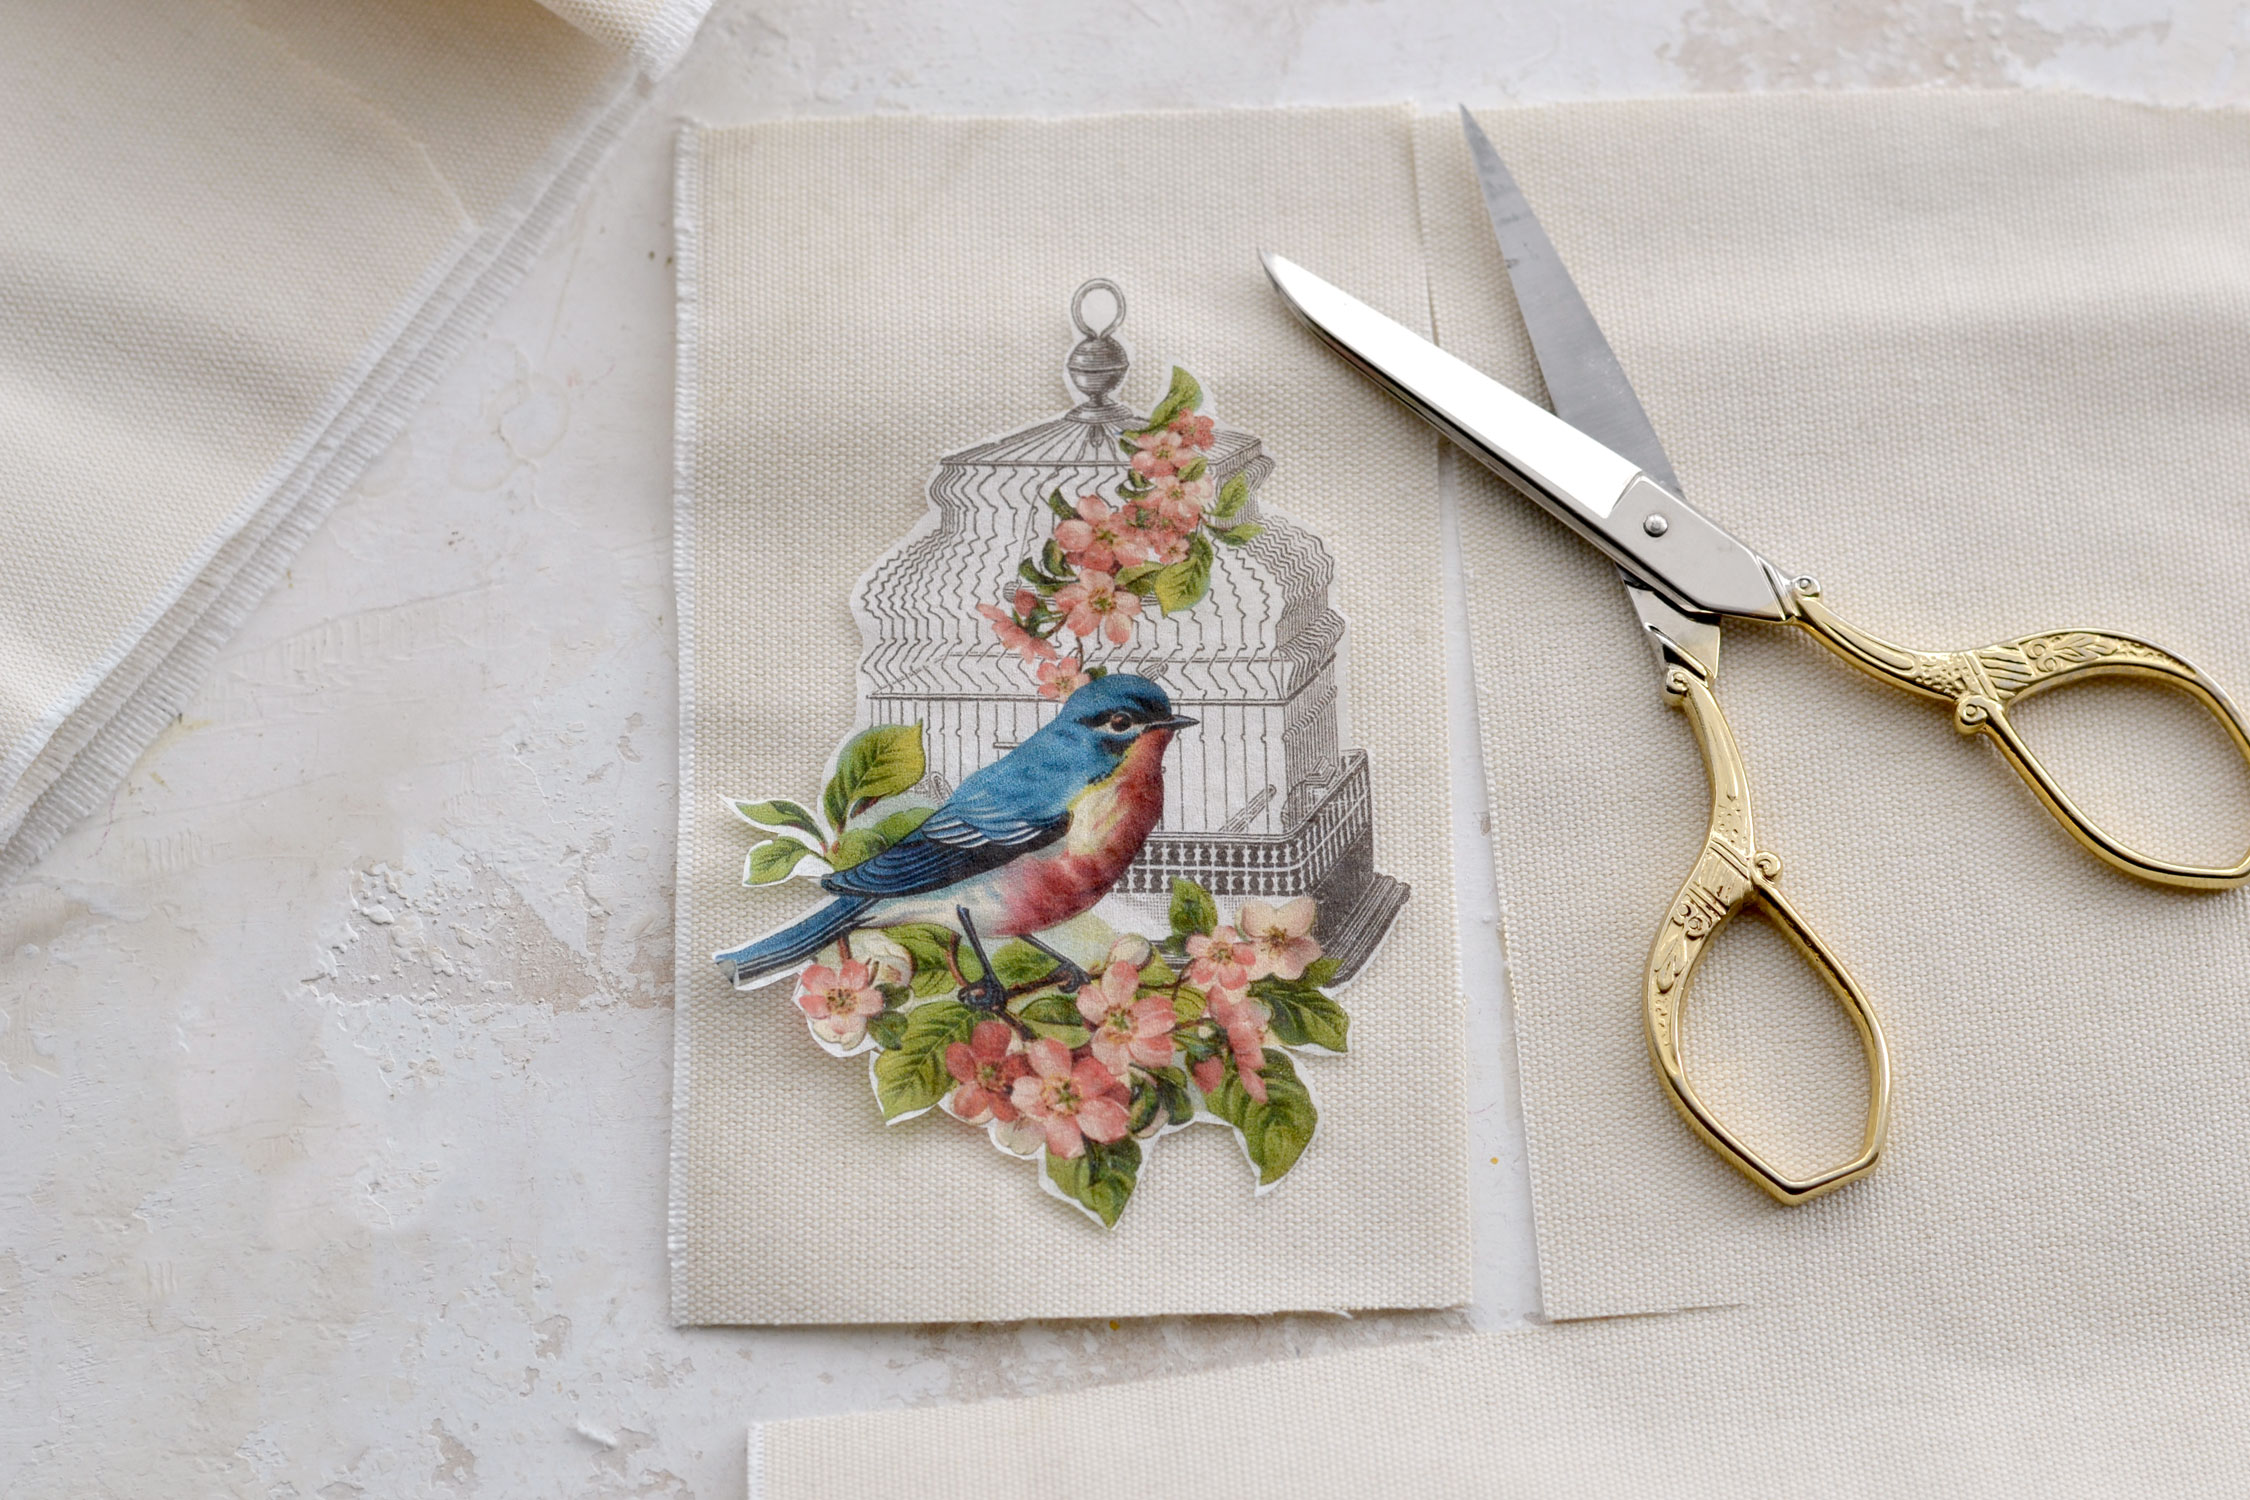
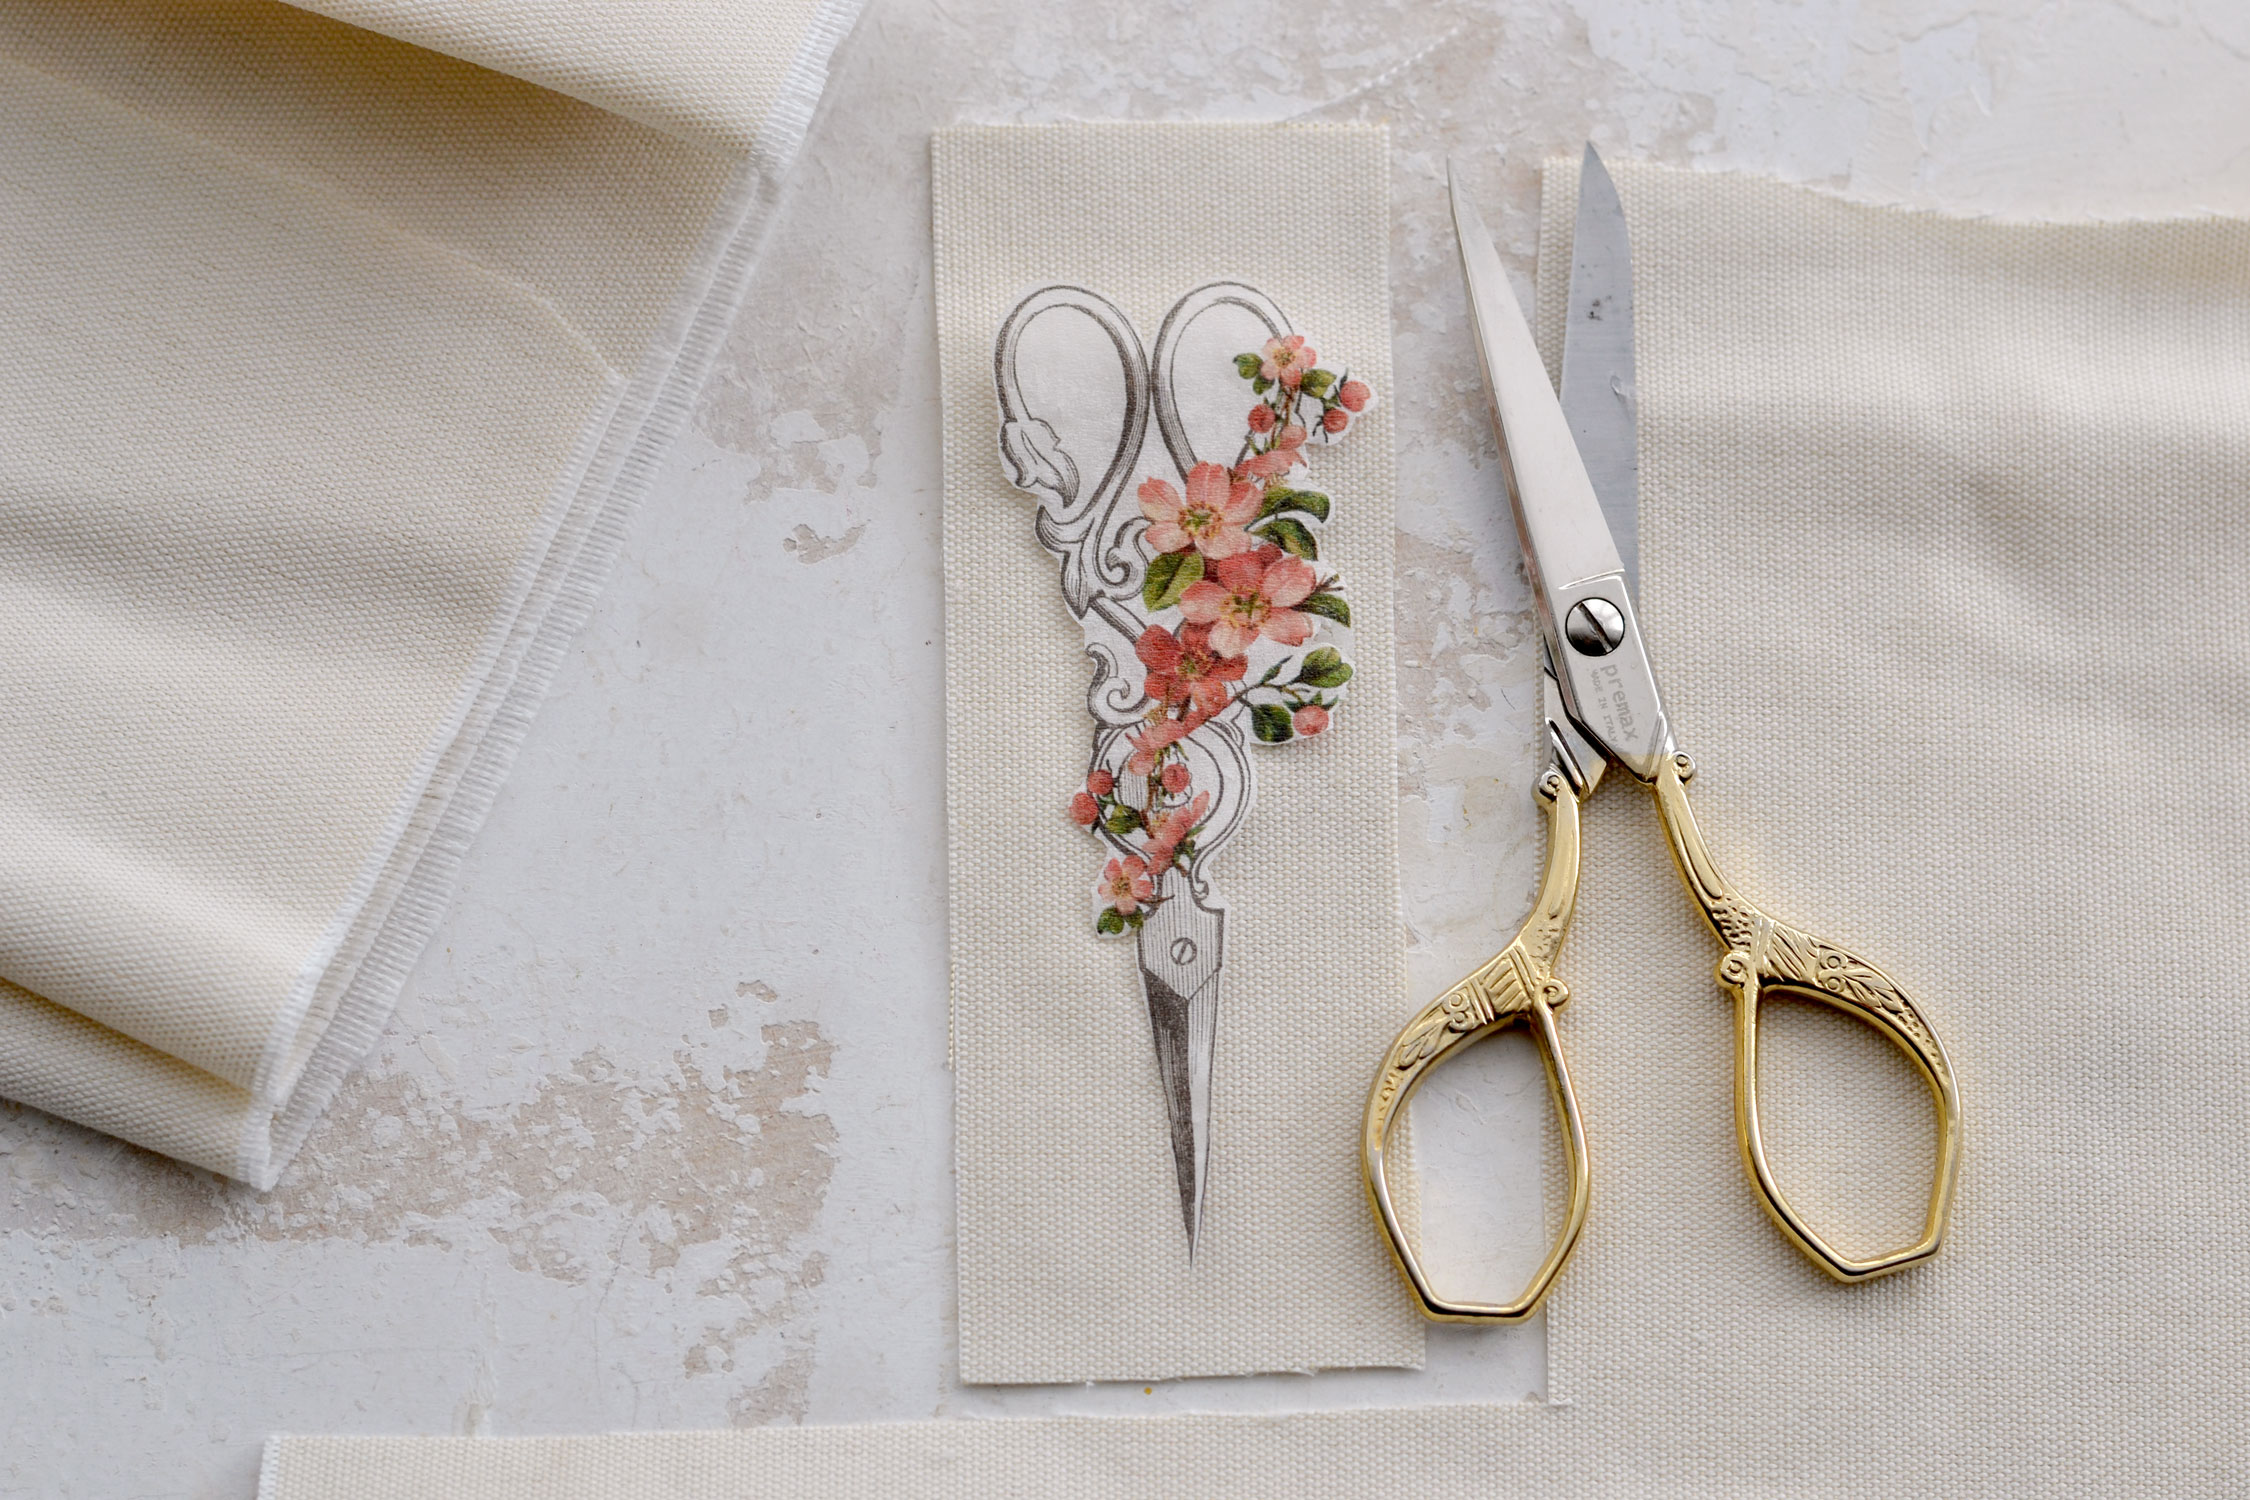
After printing, remove the paper napkin from the cardstock base and use your scissors to roughly cut each image. You can already see how gorgeously sheer they all look!
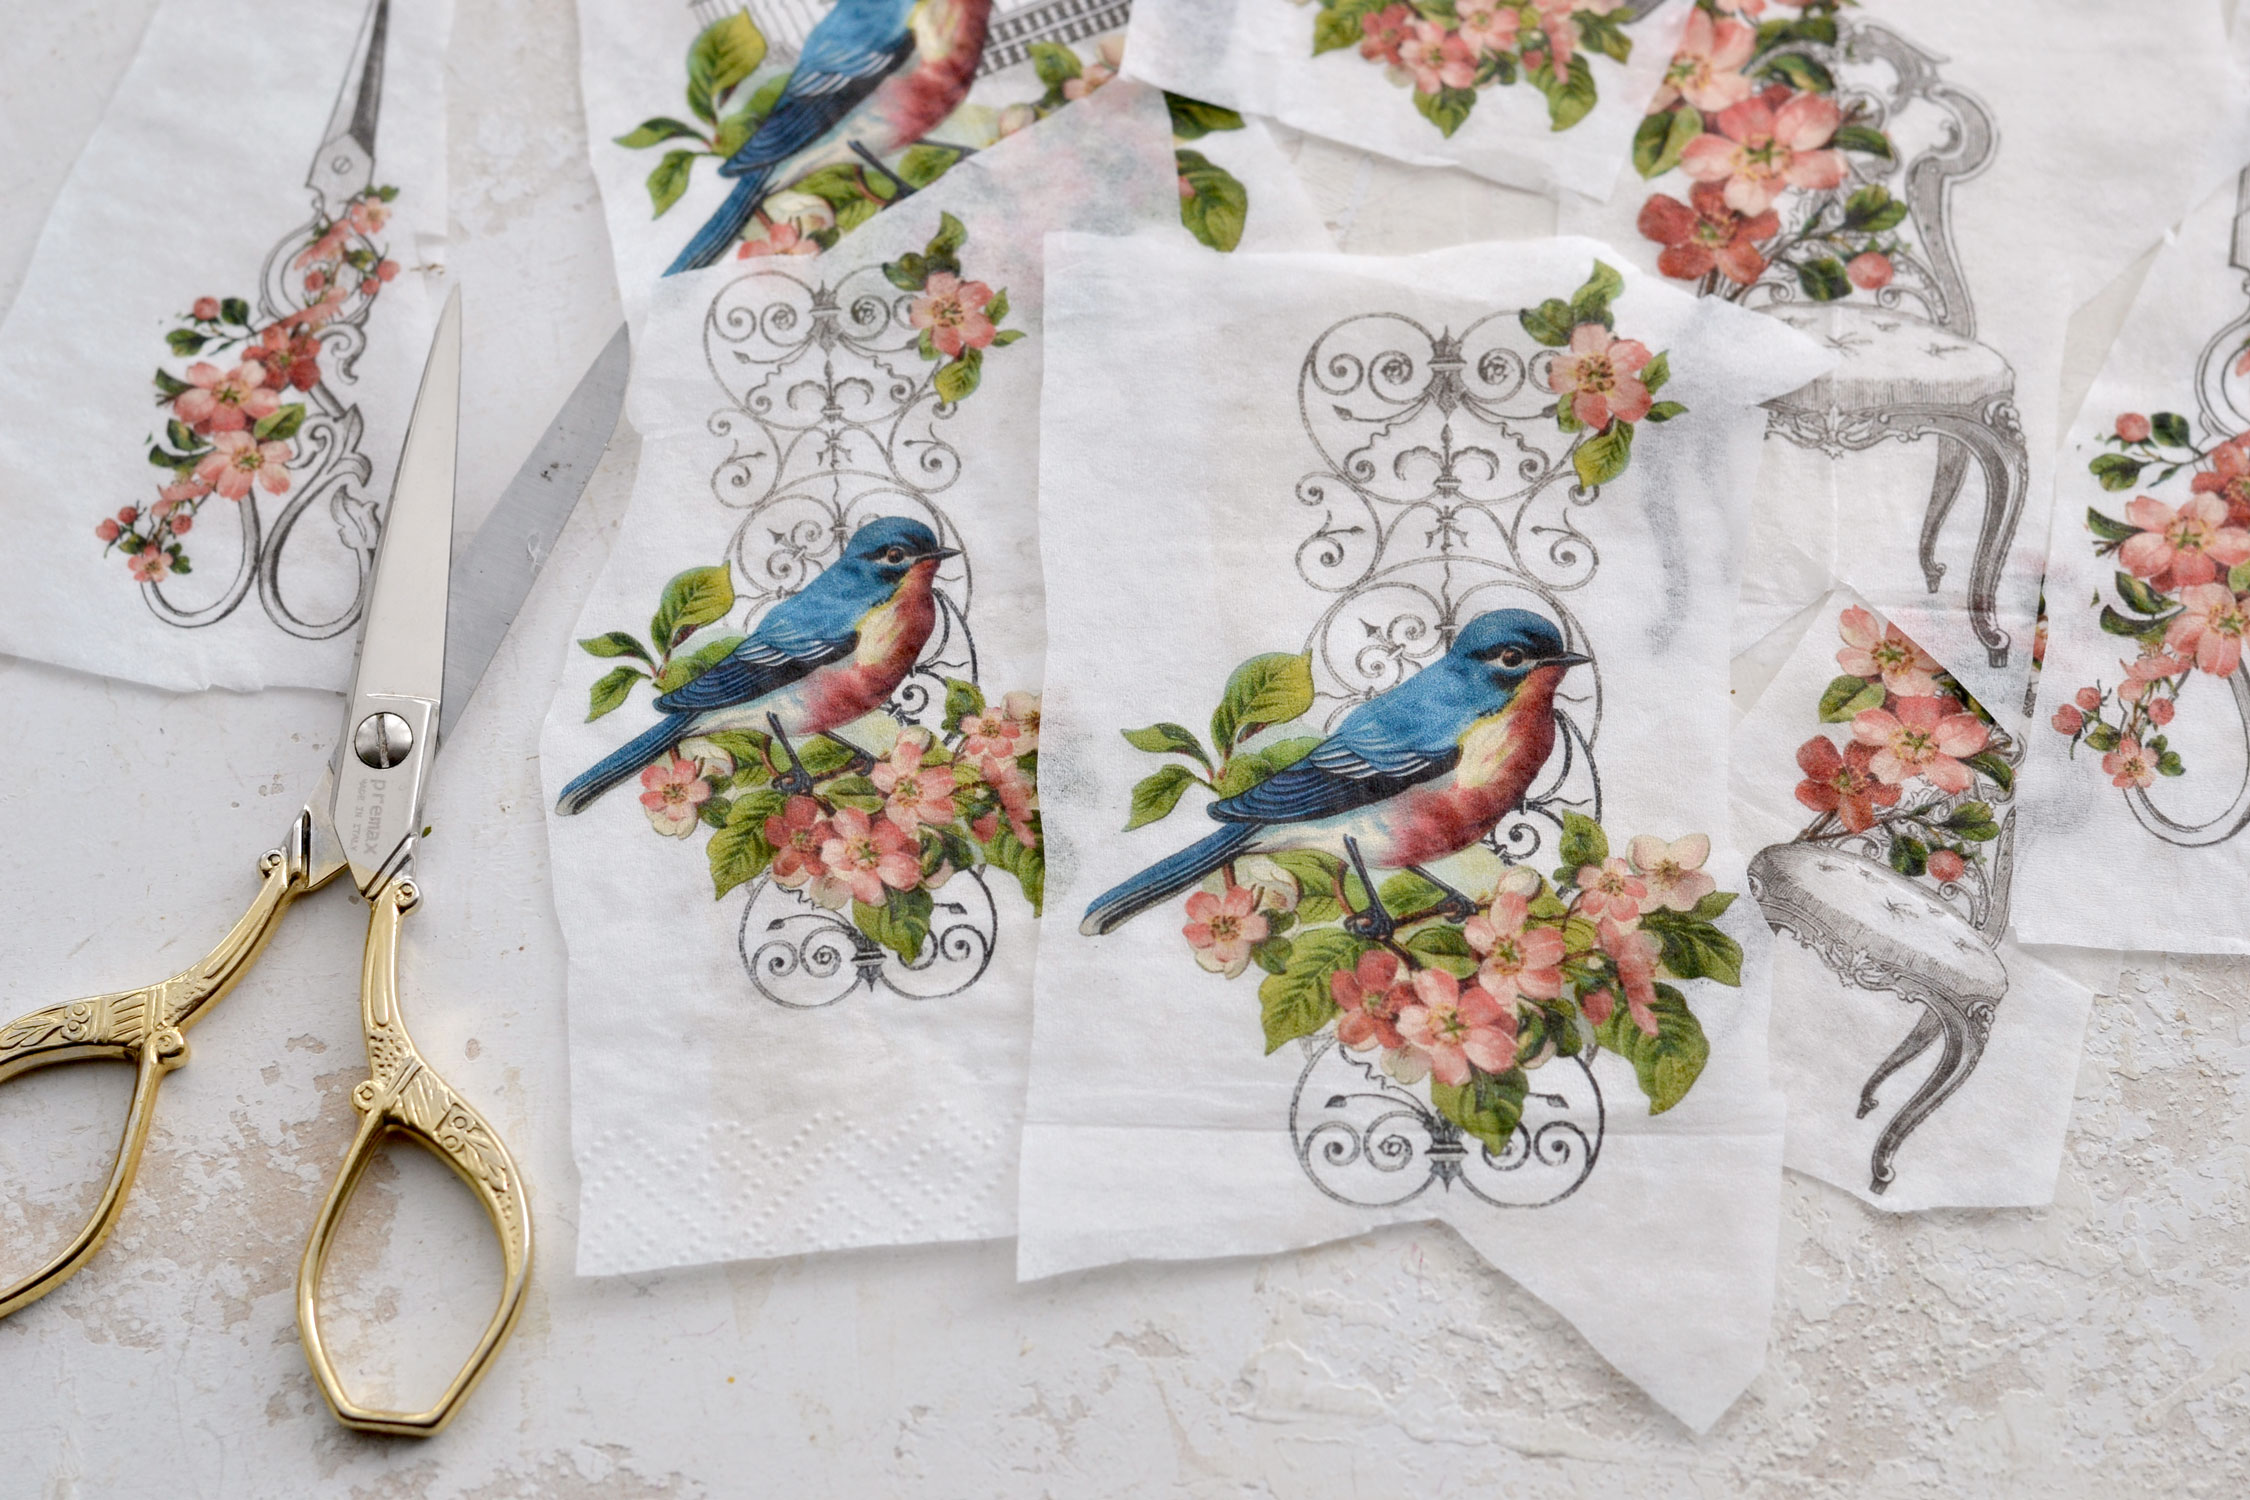
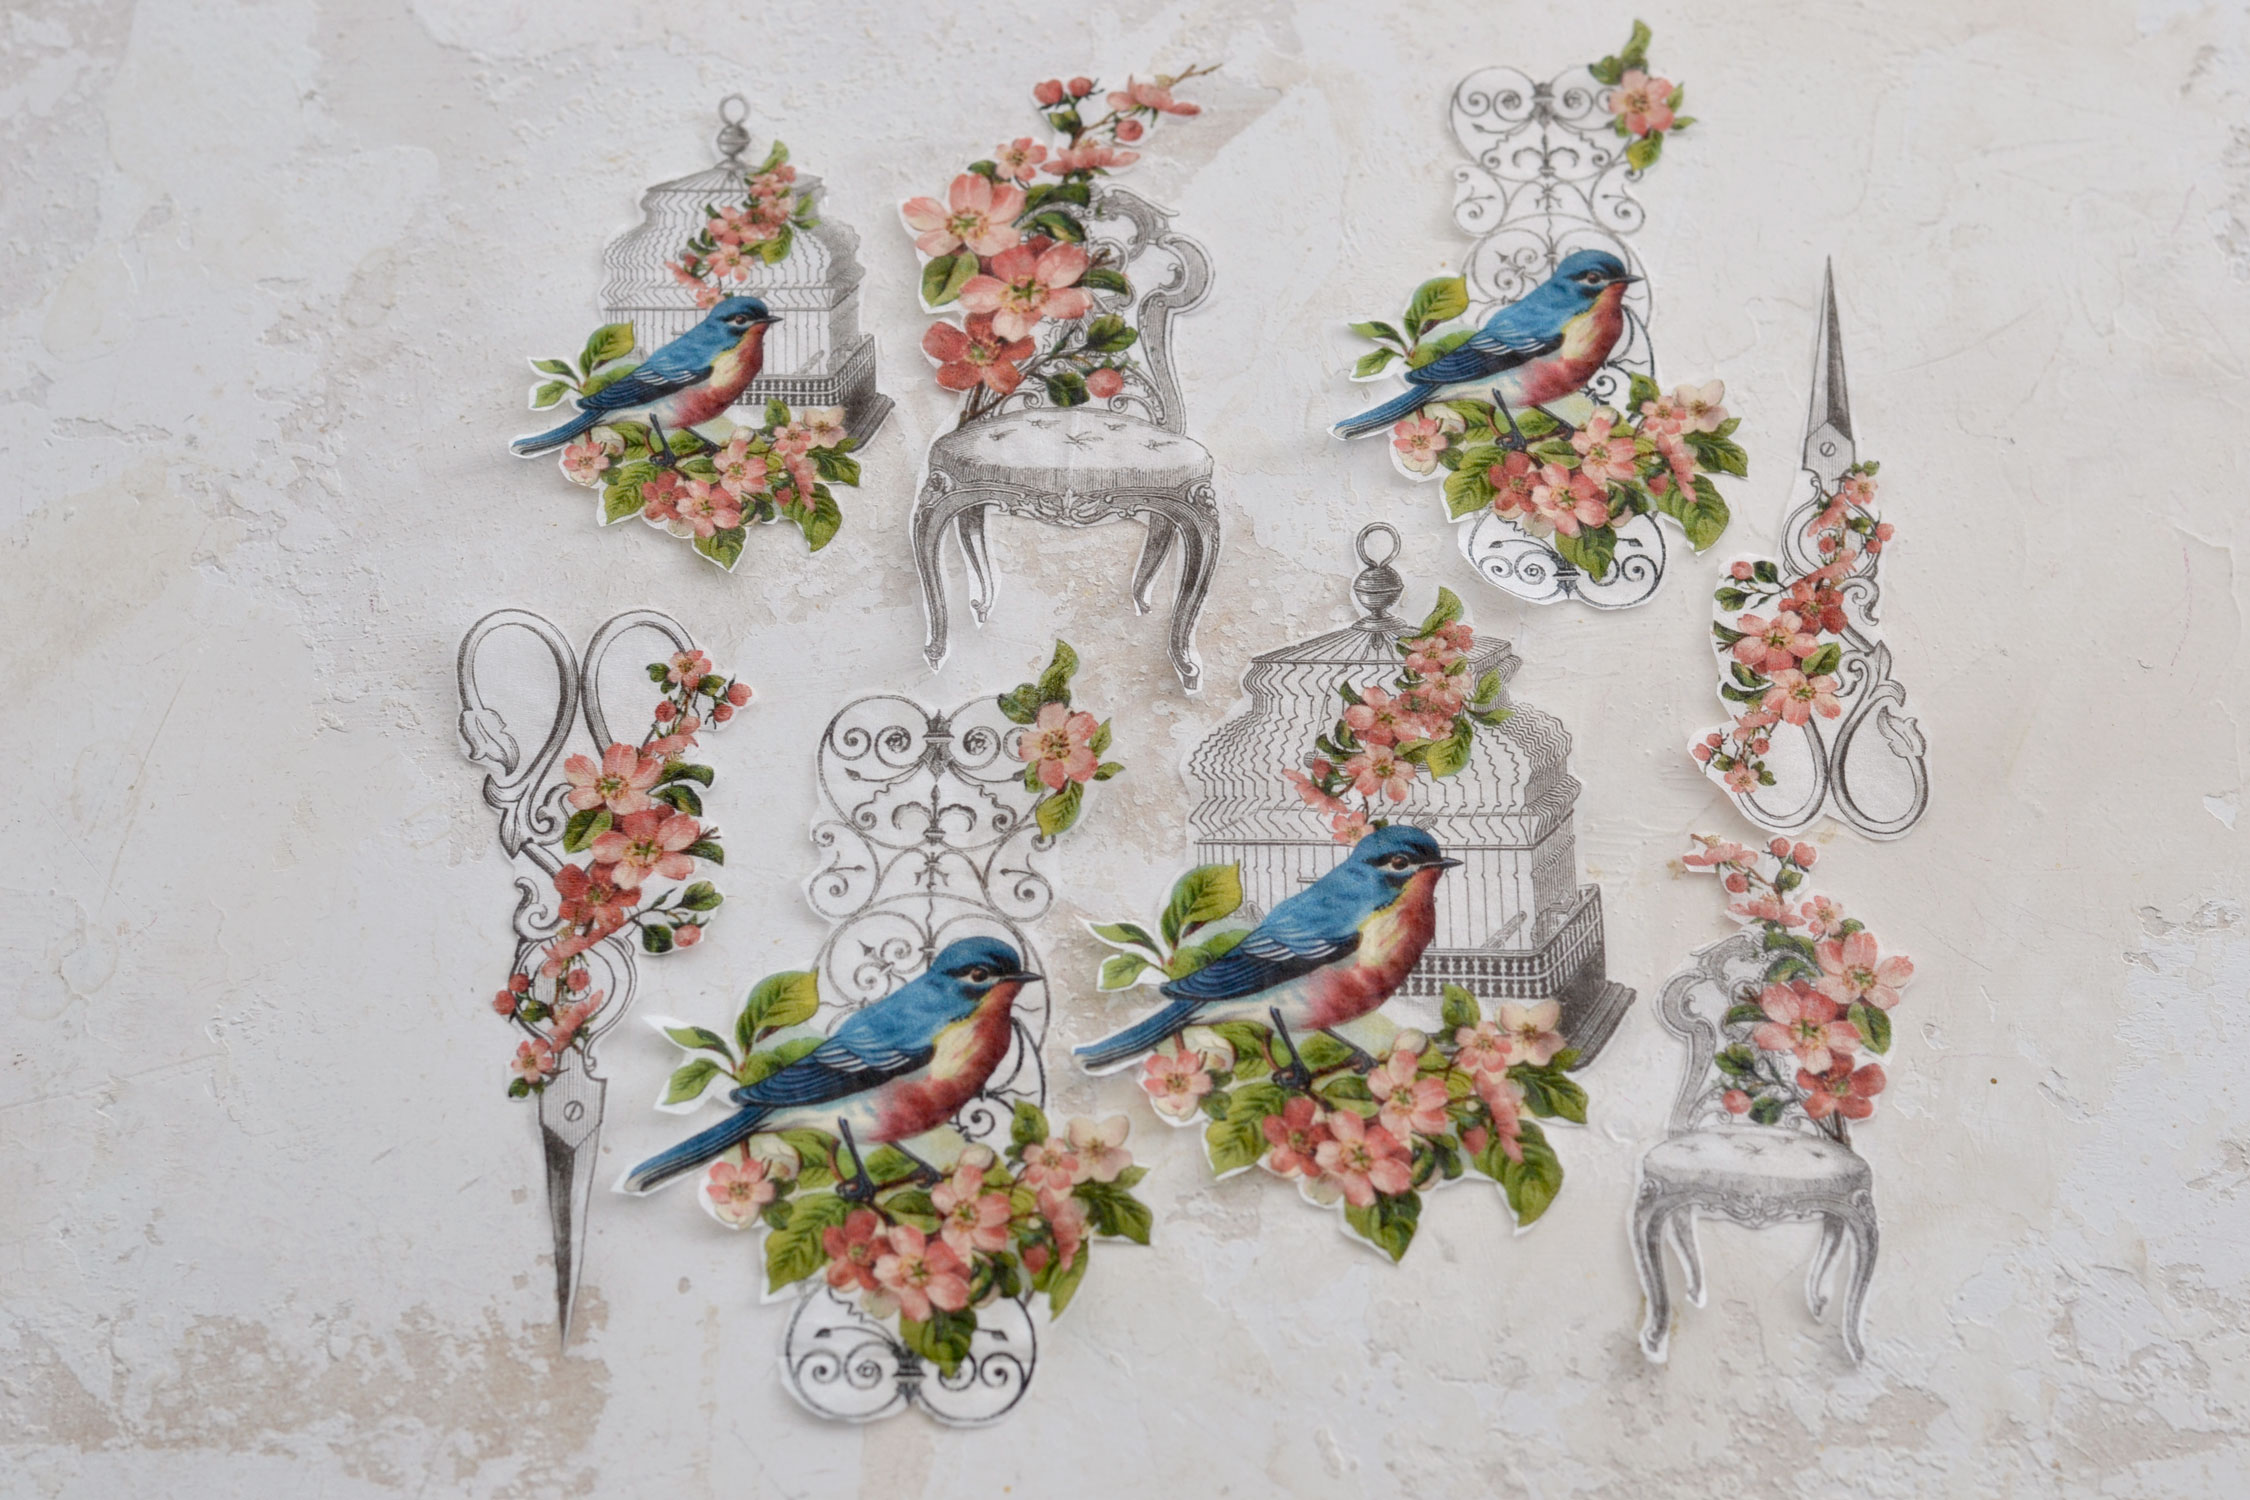
After that, you can proceed to cut each image all around its edges. Try to round your cuts as much as you can, this paper not only looks sheer, but it also feels sheer. It’s quite delicate, so take your time cutting each piece as well as you can. But don’t stress too much about making them perfect, they don’t have to be!
Now it’s time to cut your tags from your preferred fabric! I used something similar to canvas duck, which has a lot of body and a beautiful creamy color. If your fabric is white, you can dye it with coffee to get a similar look. You can even add some stains here and there to make it look more torn and vintage. You could also try an avocado dye if you want to take things in a different direction and give it a lovely pinkish appearance.
I free-cut the fabric tags without measuring them, I just placed an image on top and eyeballed everything.
Proceed to free cut (or measure first and then cut) the next tag. It would be great to leave a little bit of space all around the edges, especially if you want to fray the fabric afterward.
Proceed to cut all the pieces of fabric for your tags. Leave the images on top so you’ll know which one is which afterward.
They already look soooo beautiful, don’t you think?

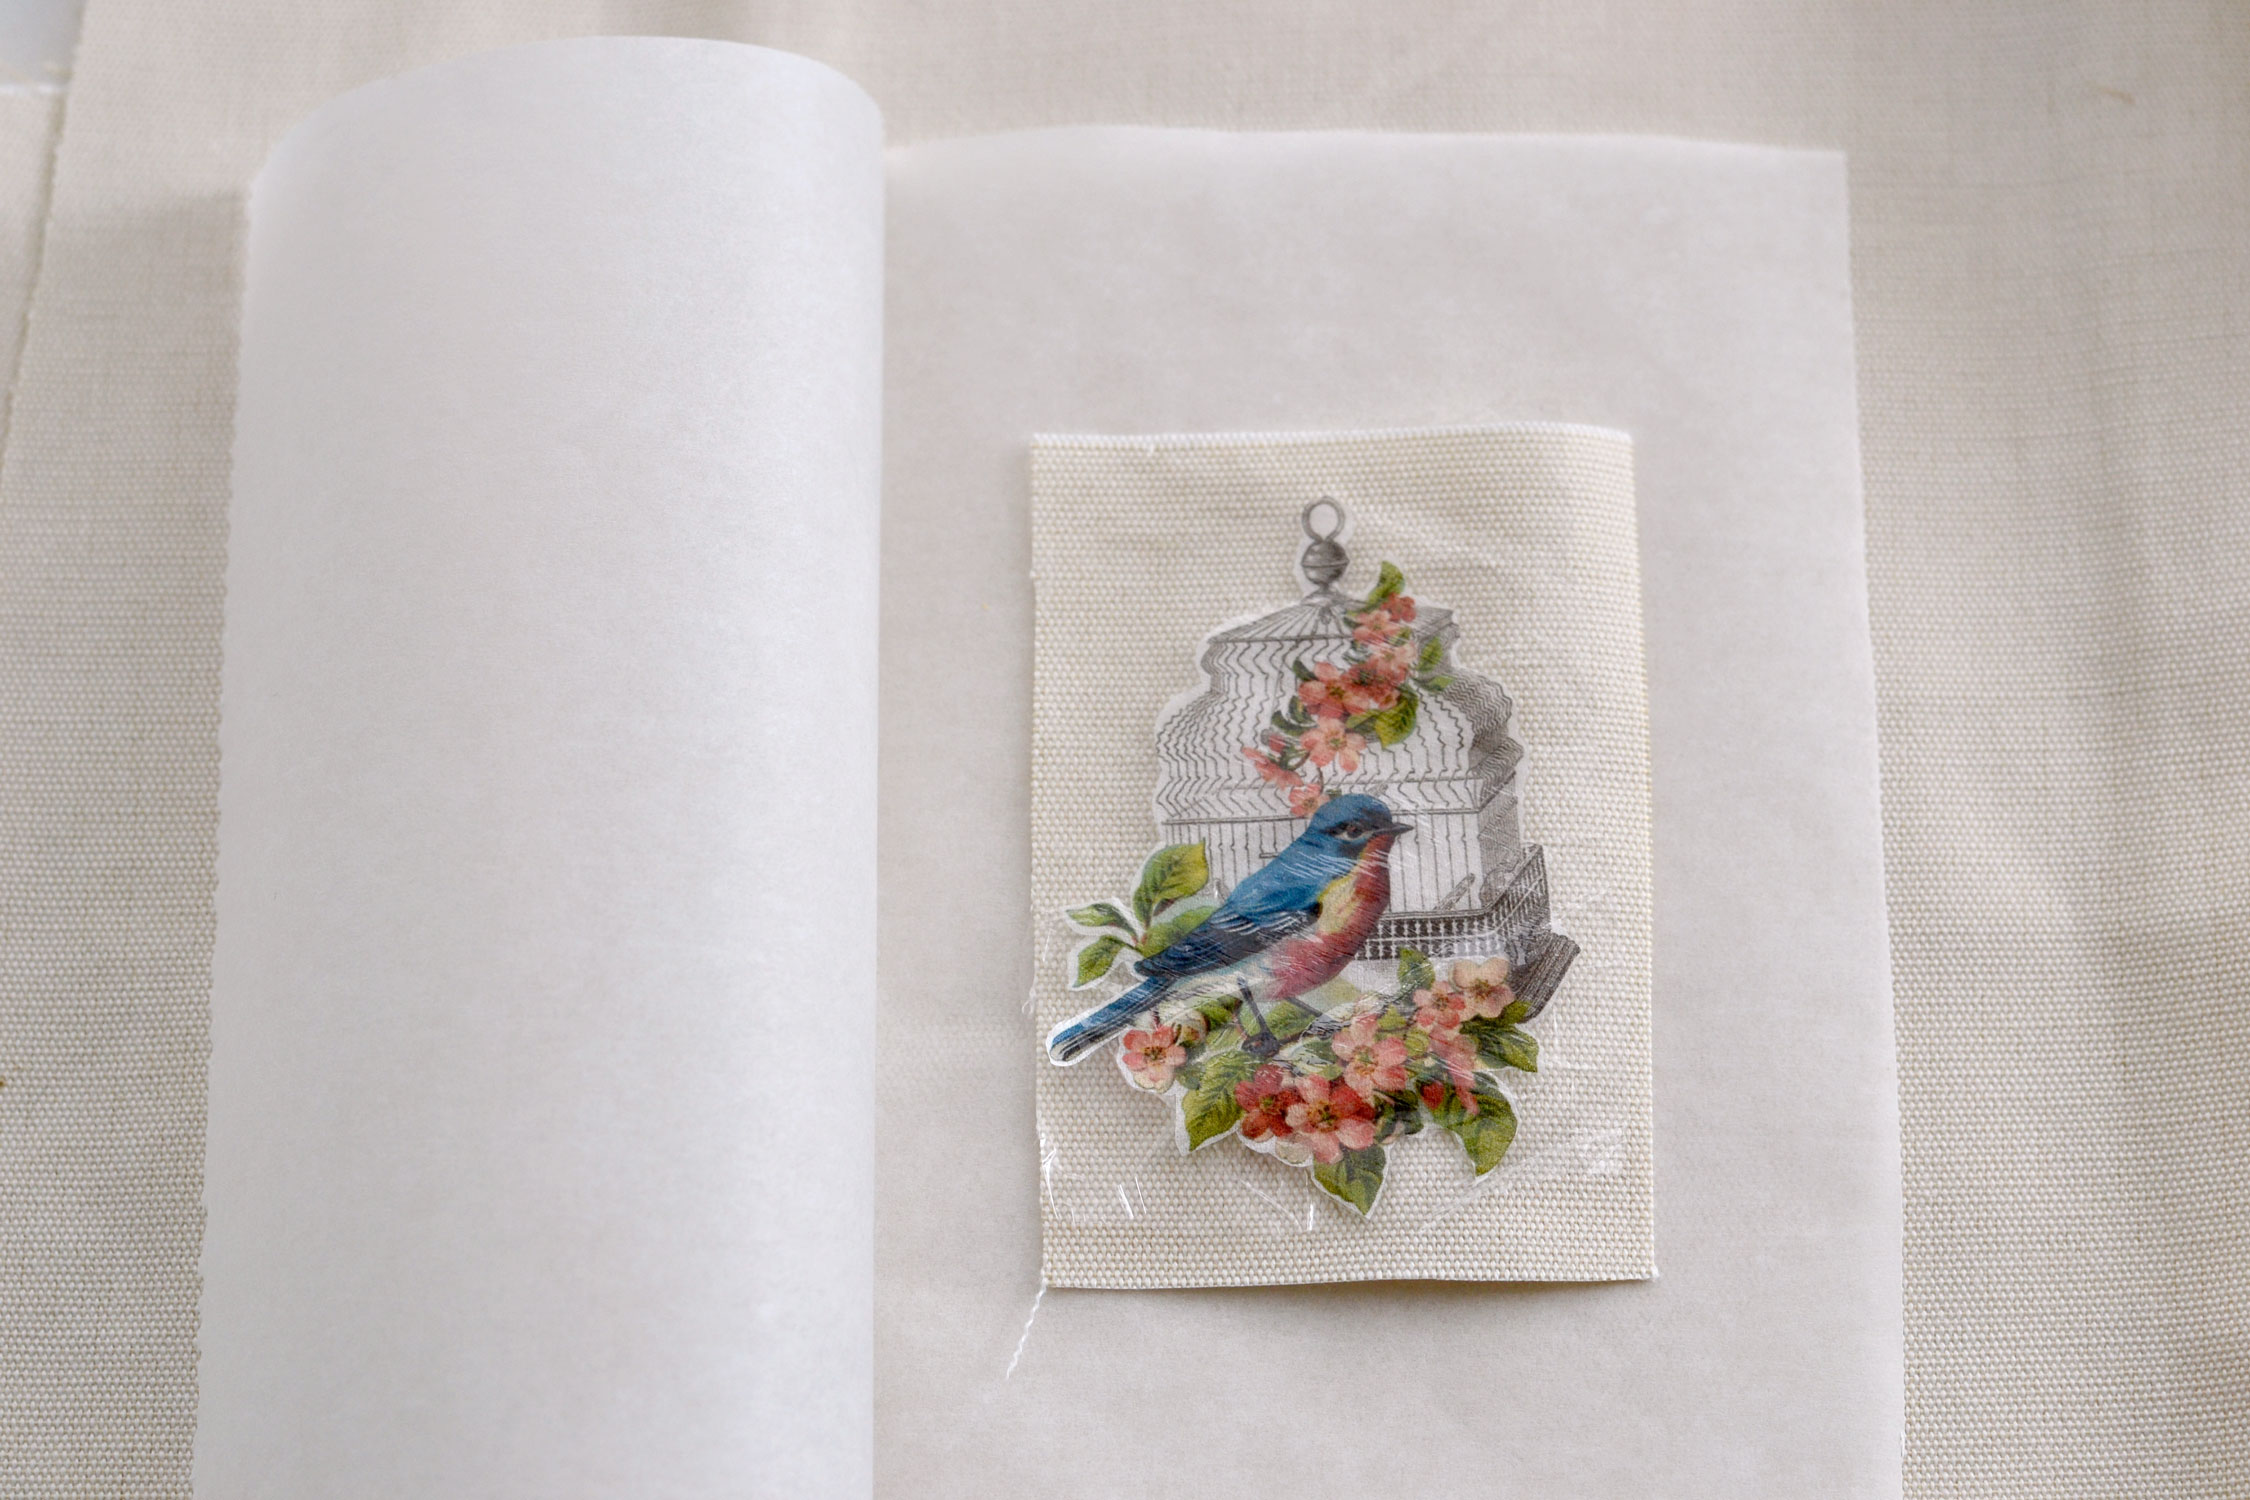
Cut a piece of cling wrap that is at least double the size of your image so you can close it like a book and place the image inside.

Close the cling wrap like a book, as I mentioned before, you basically need to sandwich the image inside the closed cling wrap. This step is not my favorite because, as we all know, cling wrap is not the easiest thing to work with. Try to smooth the cling on top and the one underneath as much as you can, but don’t worry if you have some wrinkles here and there.
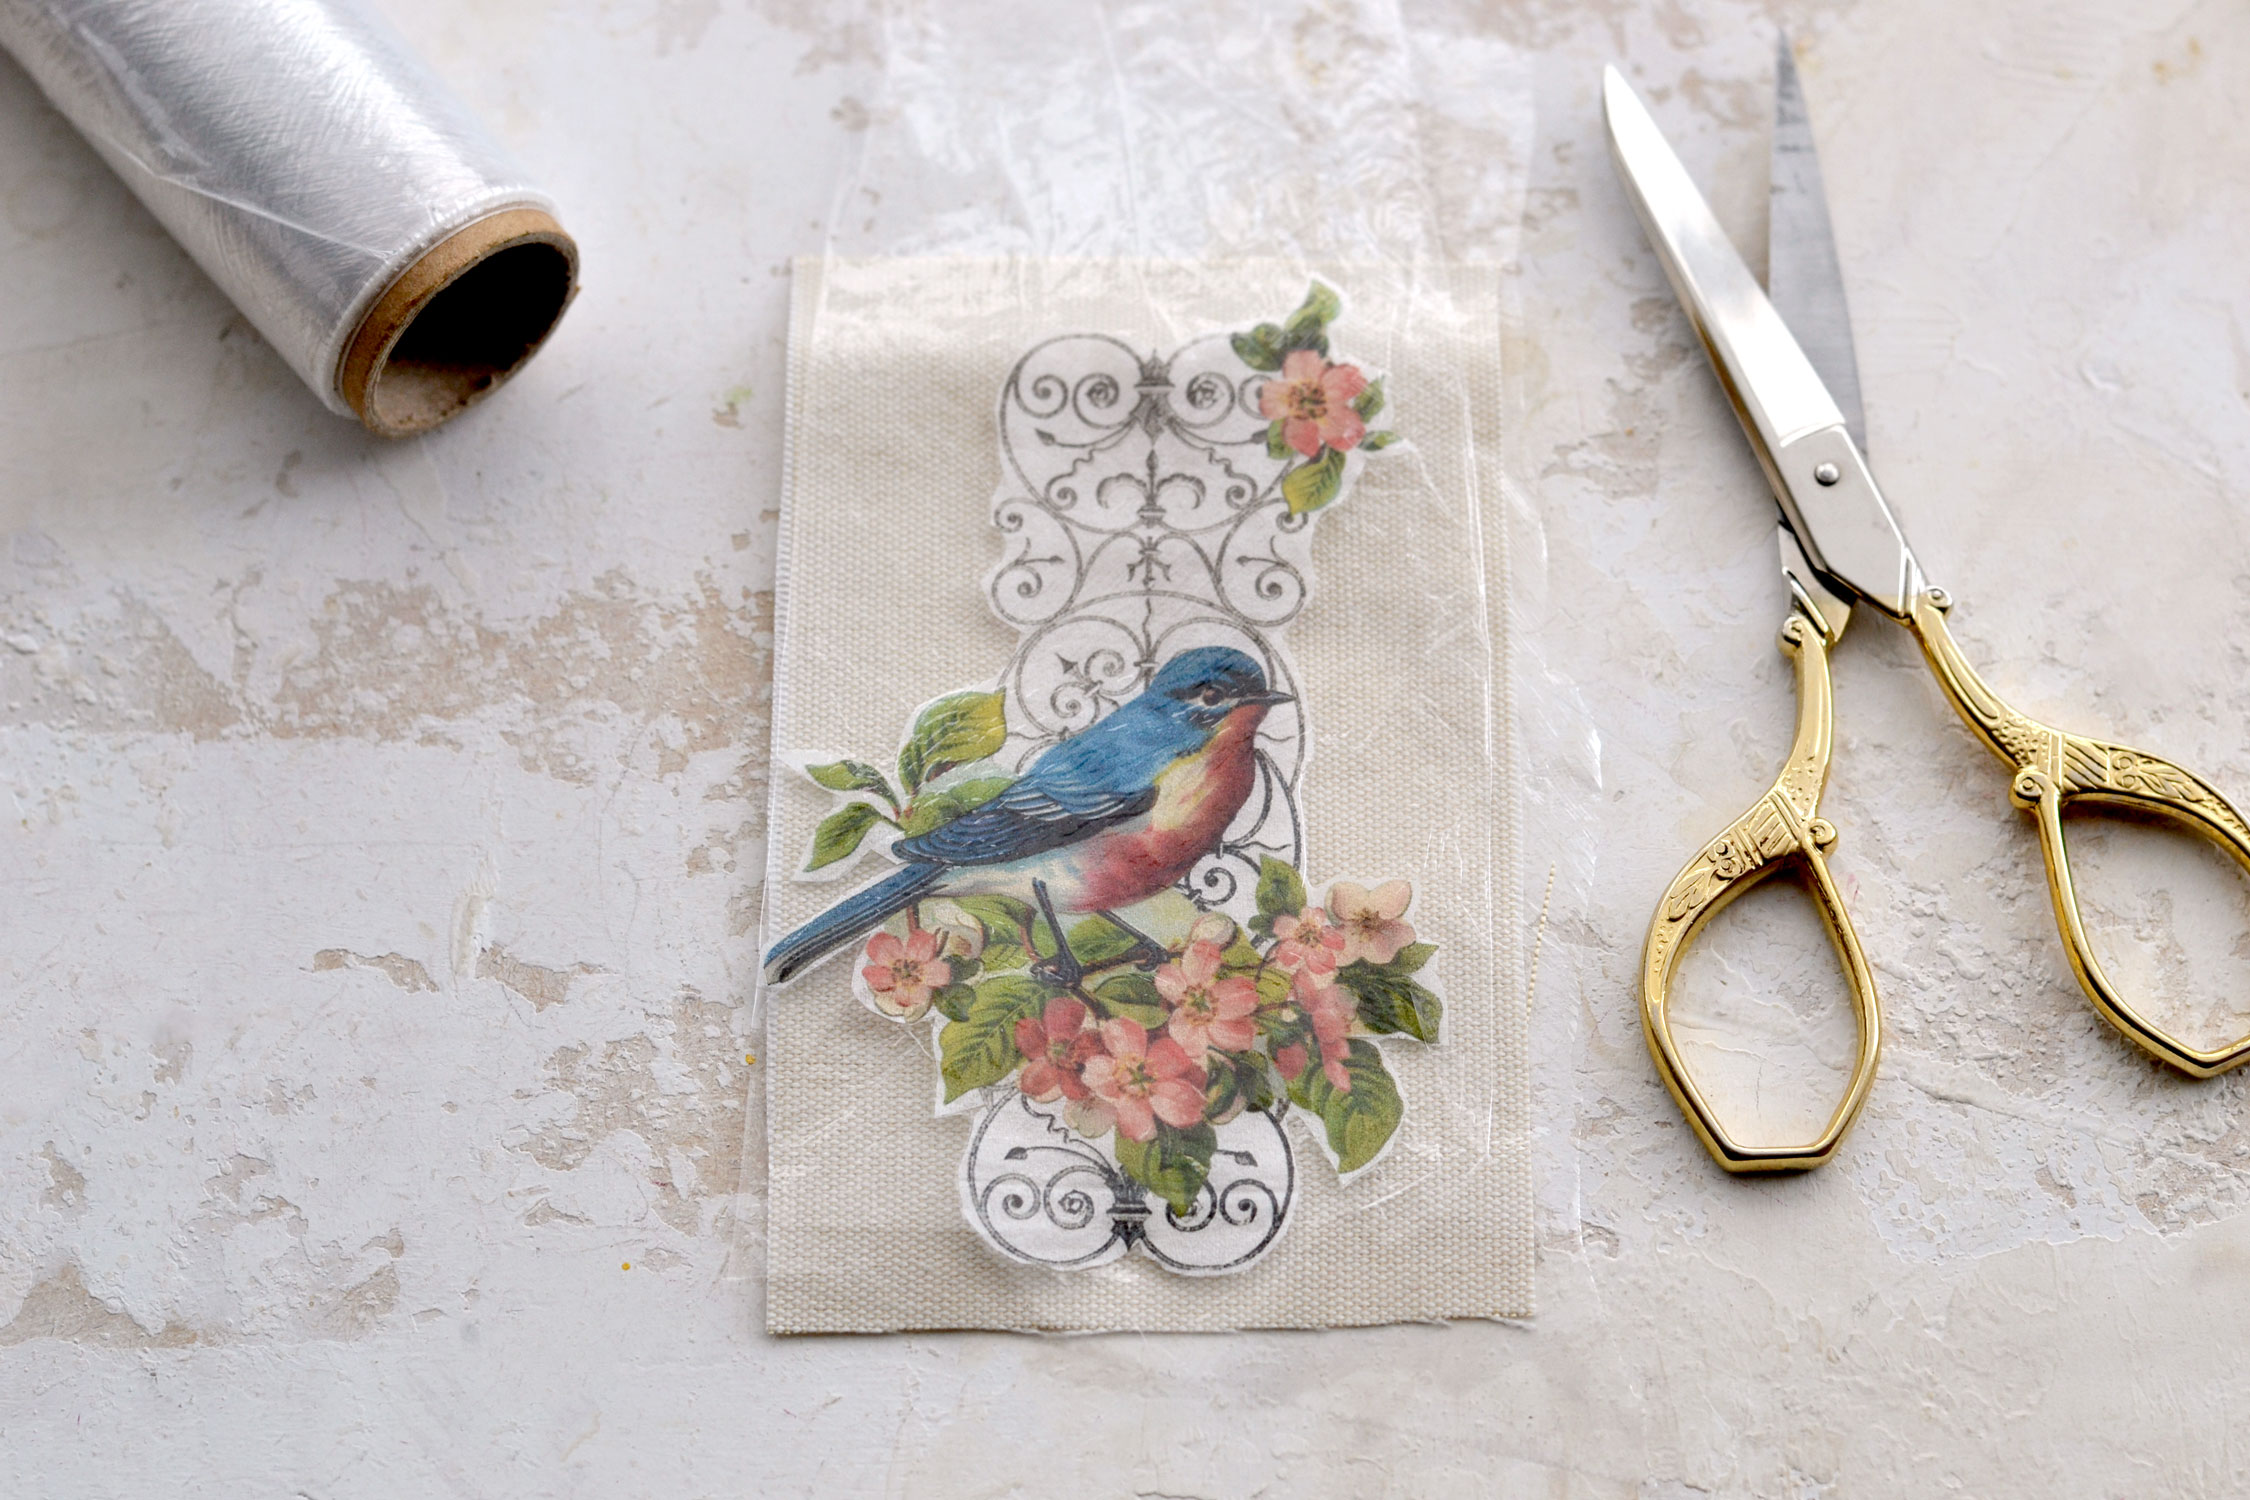
Press with your fingers all over the surface of the cling wrap. You’ll notice that the two overlapping pieces of cling will almost fuse when you remove the air bubbles between the layers.
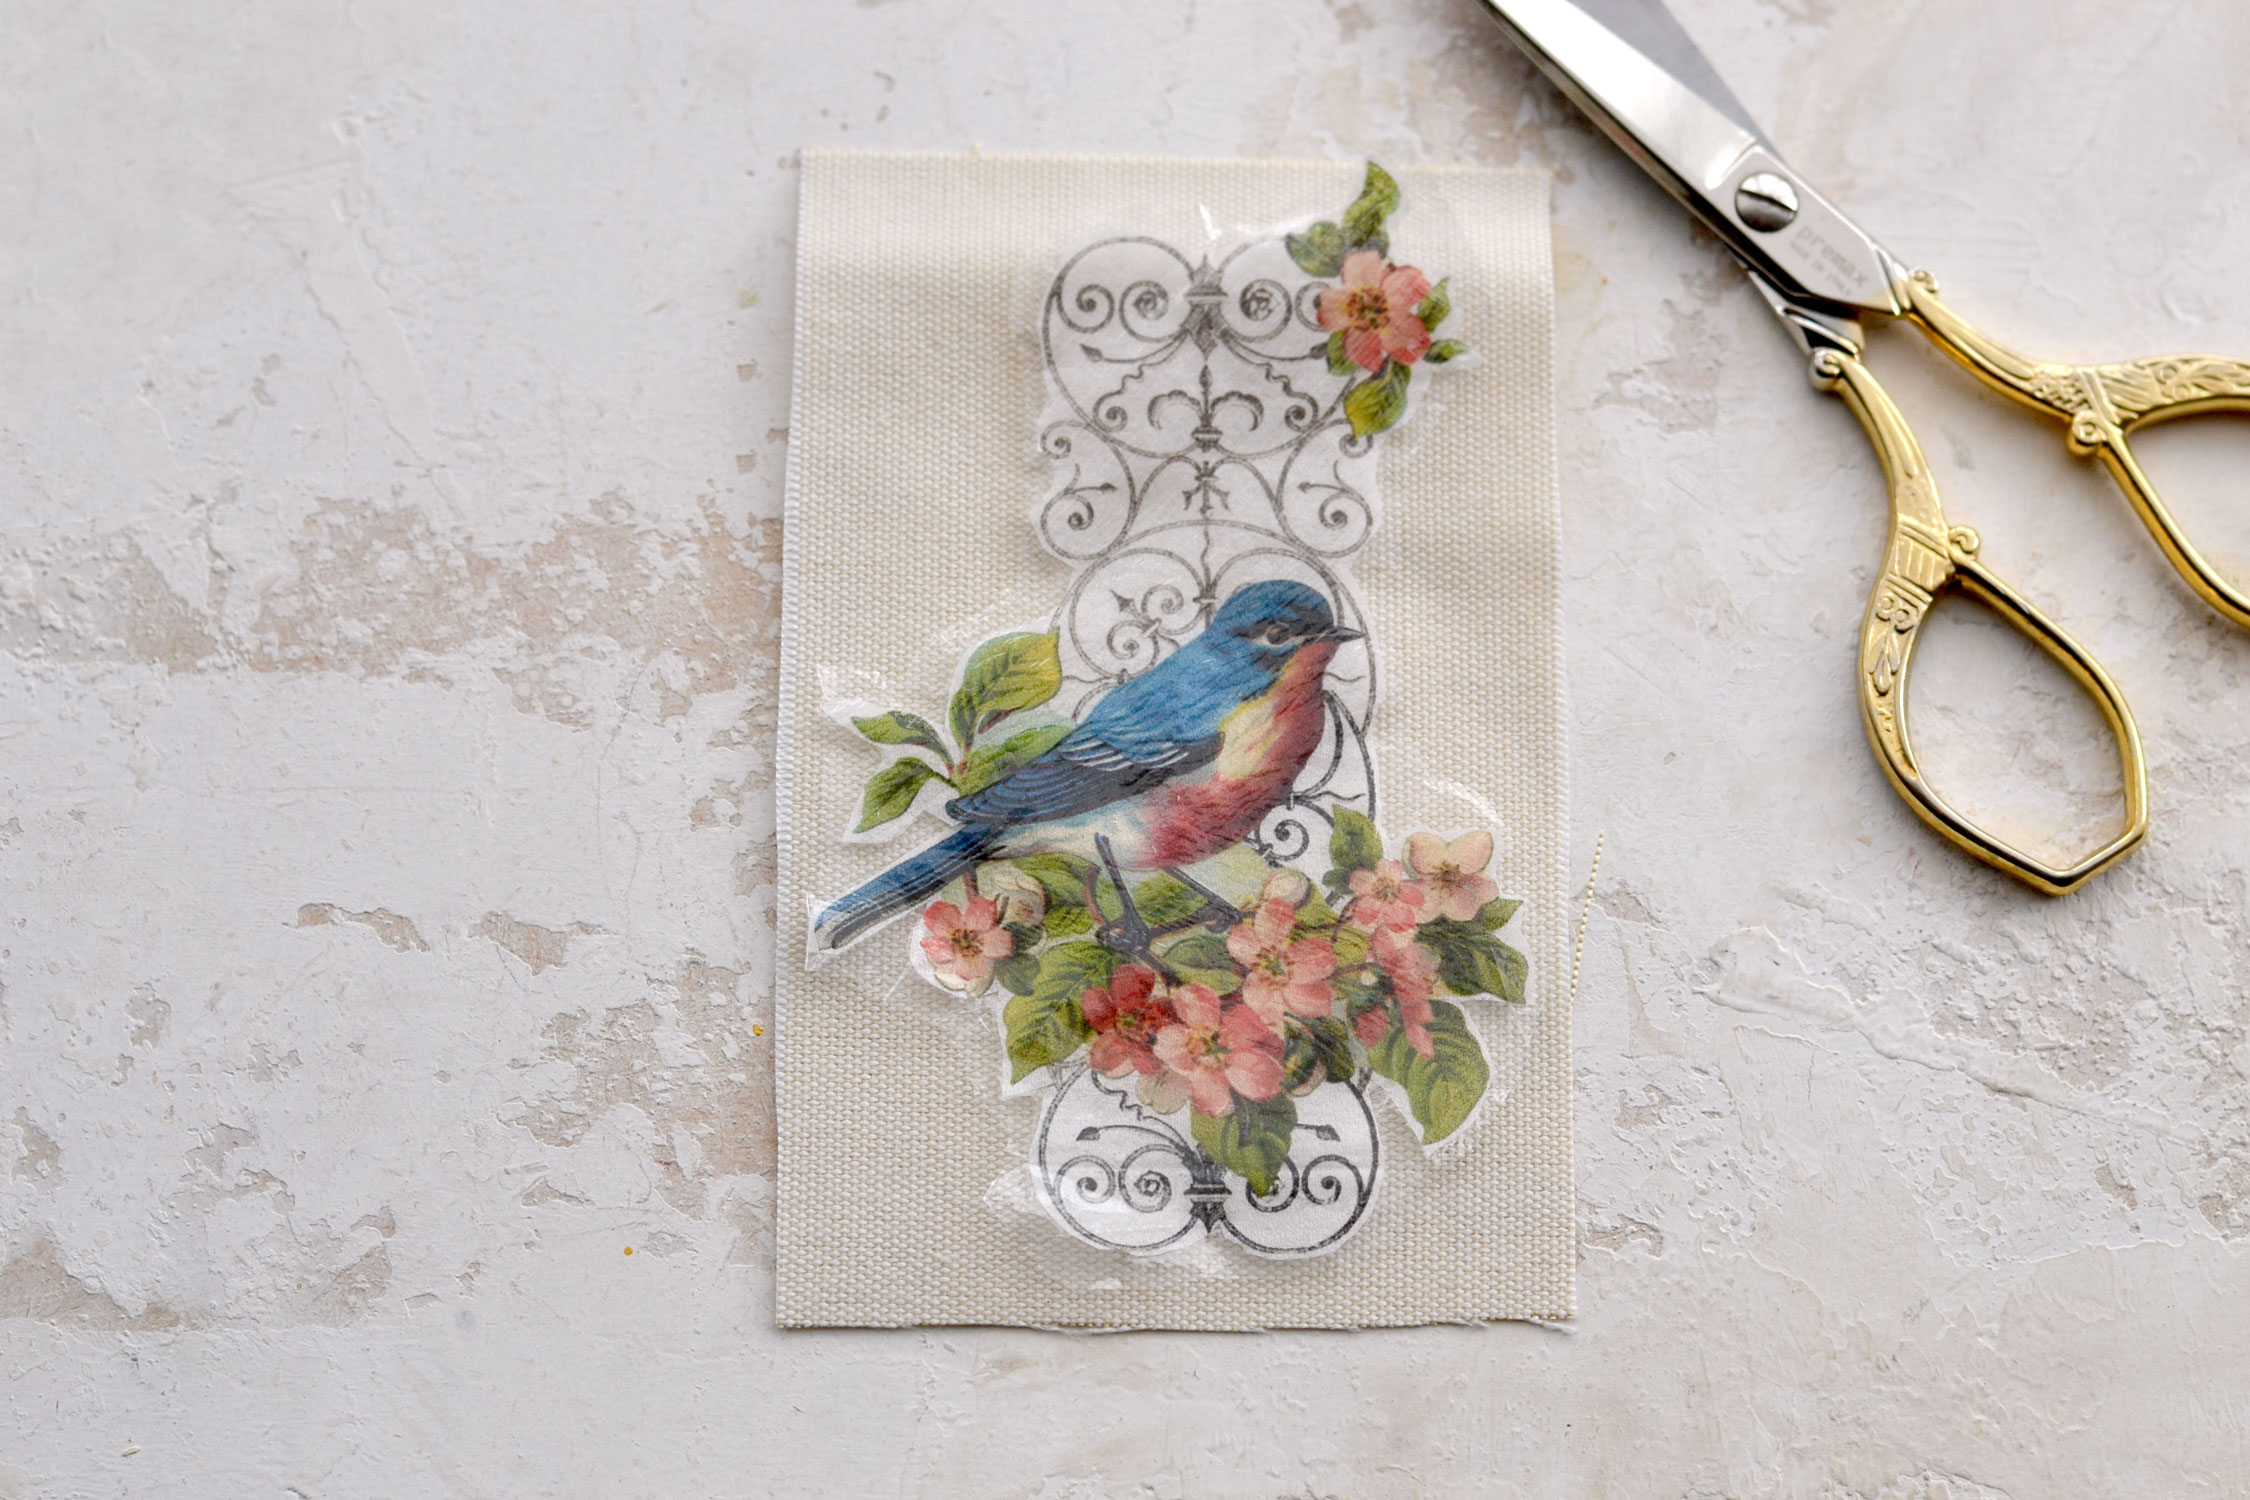
Now, use your scissors to gently cut around the design, just make sure you leave a small space all around the edges. The image inside needs to be completely embedded between the two pieces of cling!
You can also cut the cling wrap following the rectangular shape of your tag, this will work as well. Just make sure the wrap is always smaller than the tag.
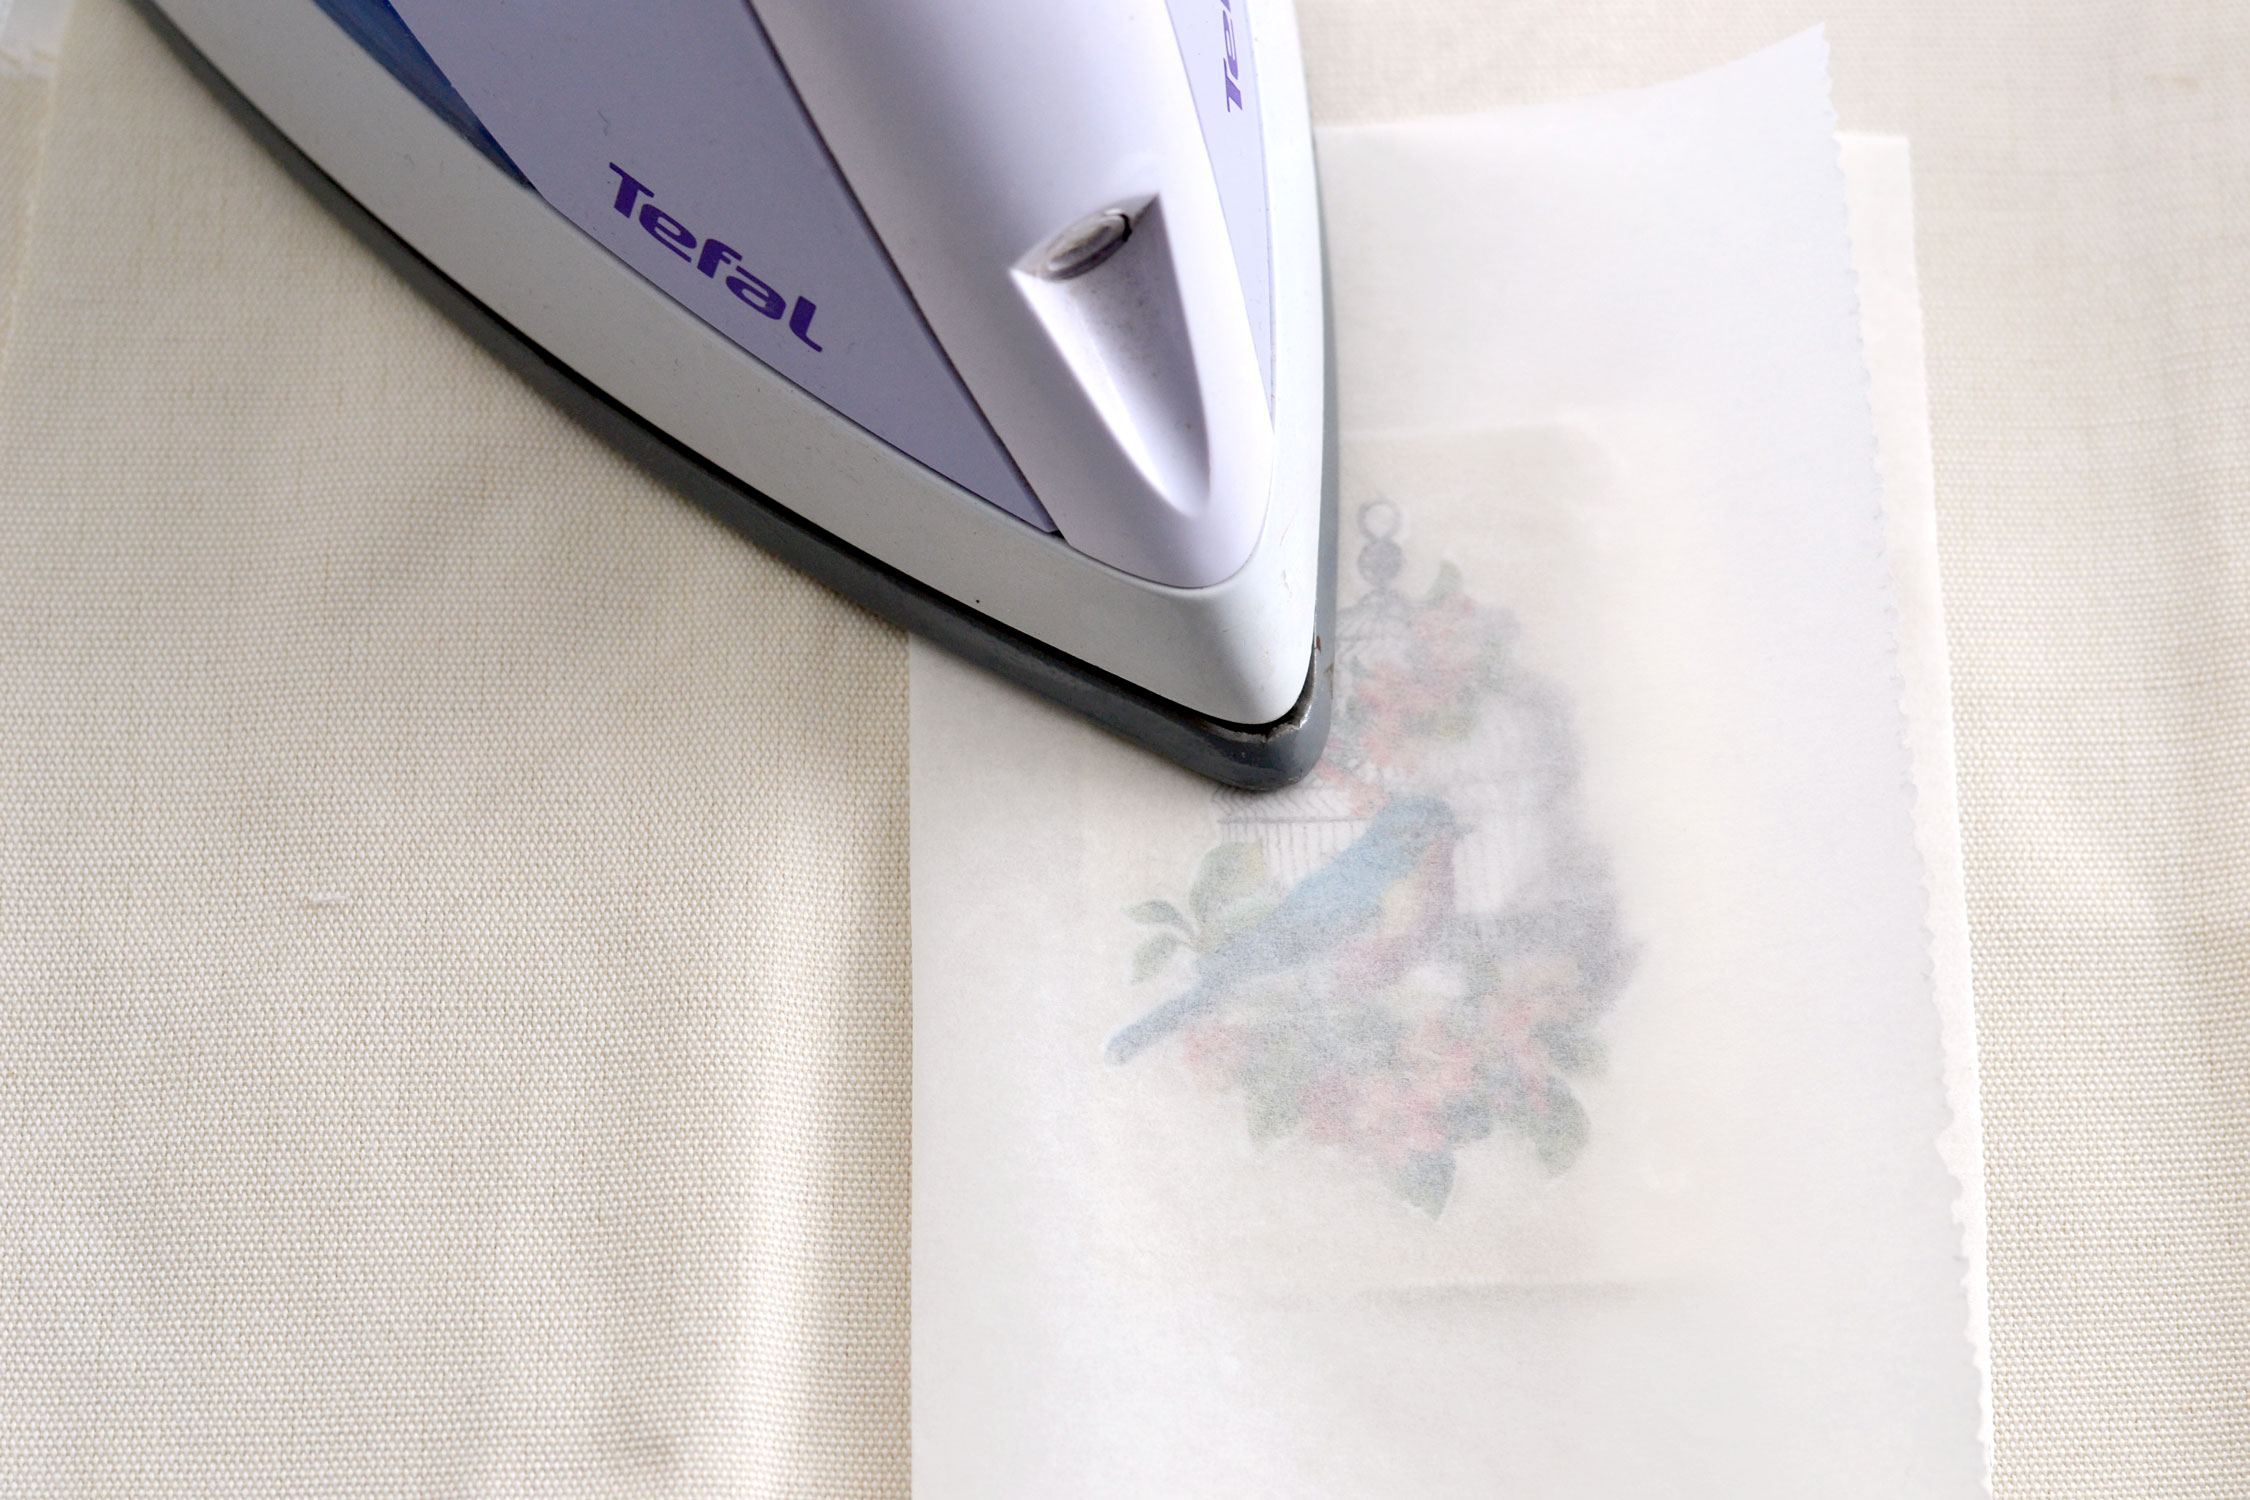
Use a large piece of parchment paper and fold it in the middle – it should look like a closed book. Place the fabric tag and the cling-wrapped image inside, center everything, then carefully close the parchment.
Use your iron to gradually iron all over the surface of the parchment and the tag inside. Use it on a medium setting (without steam). Make sure your tag is always protected by the parchment, you don’t want your iron to come in direct contact with the cling. When ironing, I like to place some folded fabric underneath so the surface is not too rigid.
Constantly move the iron all over the surface, and you will notice that your design will become more and more visible through the parchment. You can check your transfer from time to time just to make sure the cling is perfectly fused to the fabric. Just be careful when you do, the parchment will become quite hot, so just handle it with care.
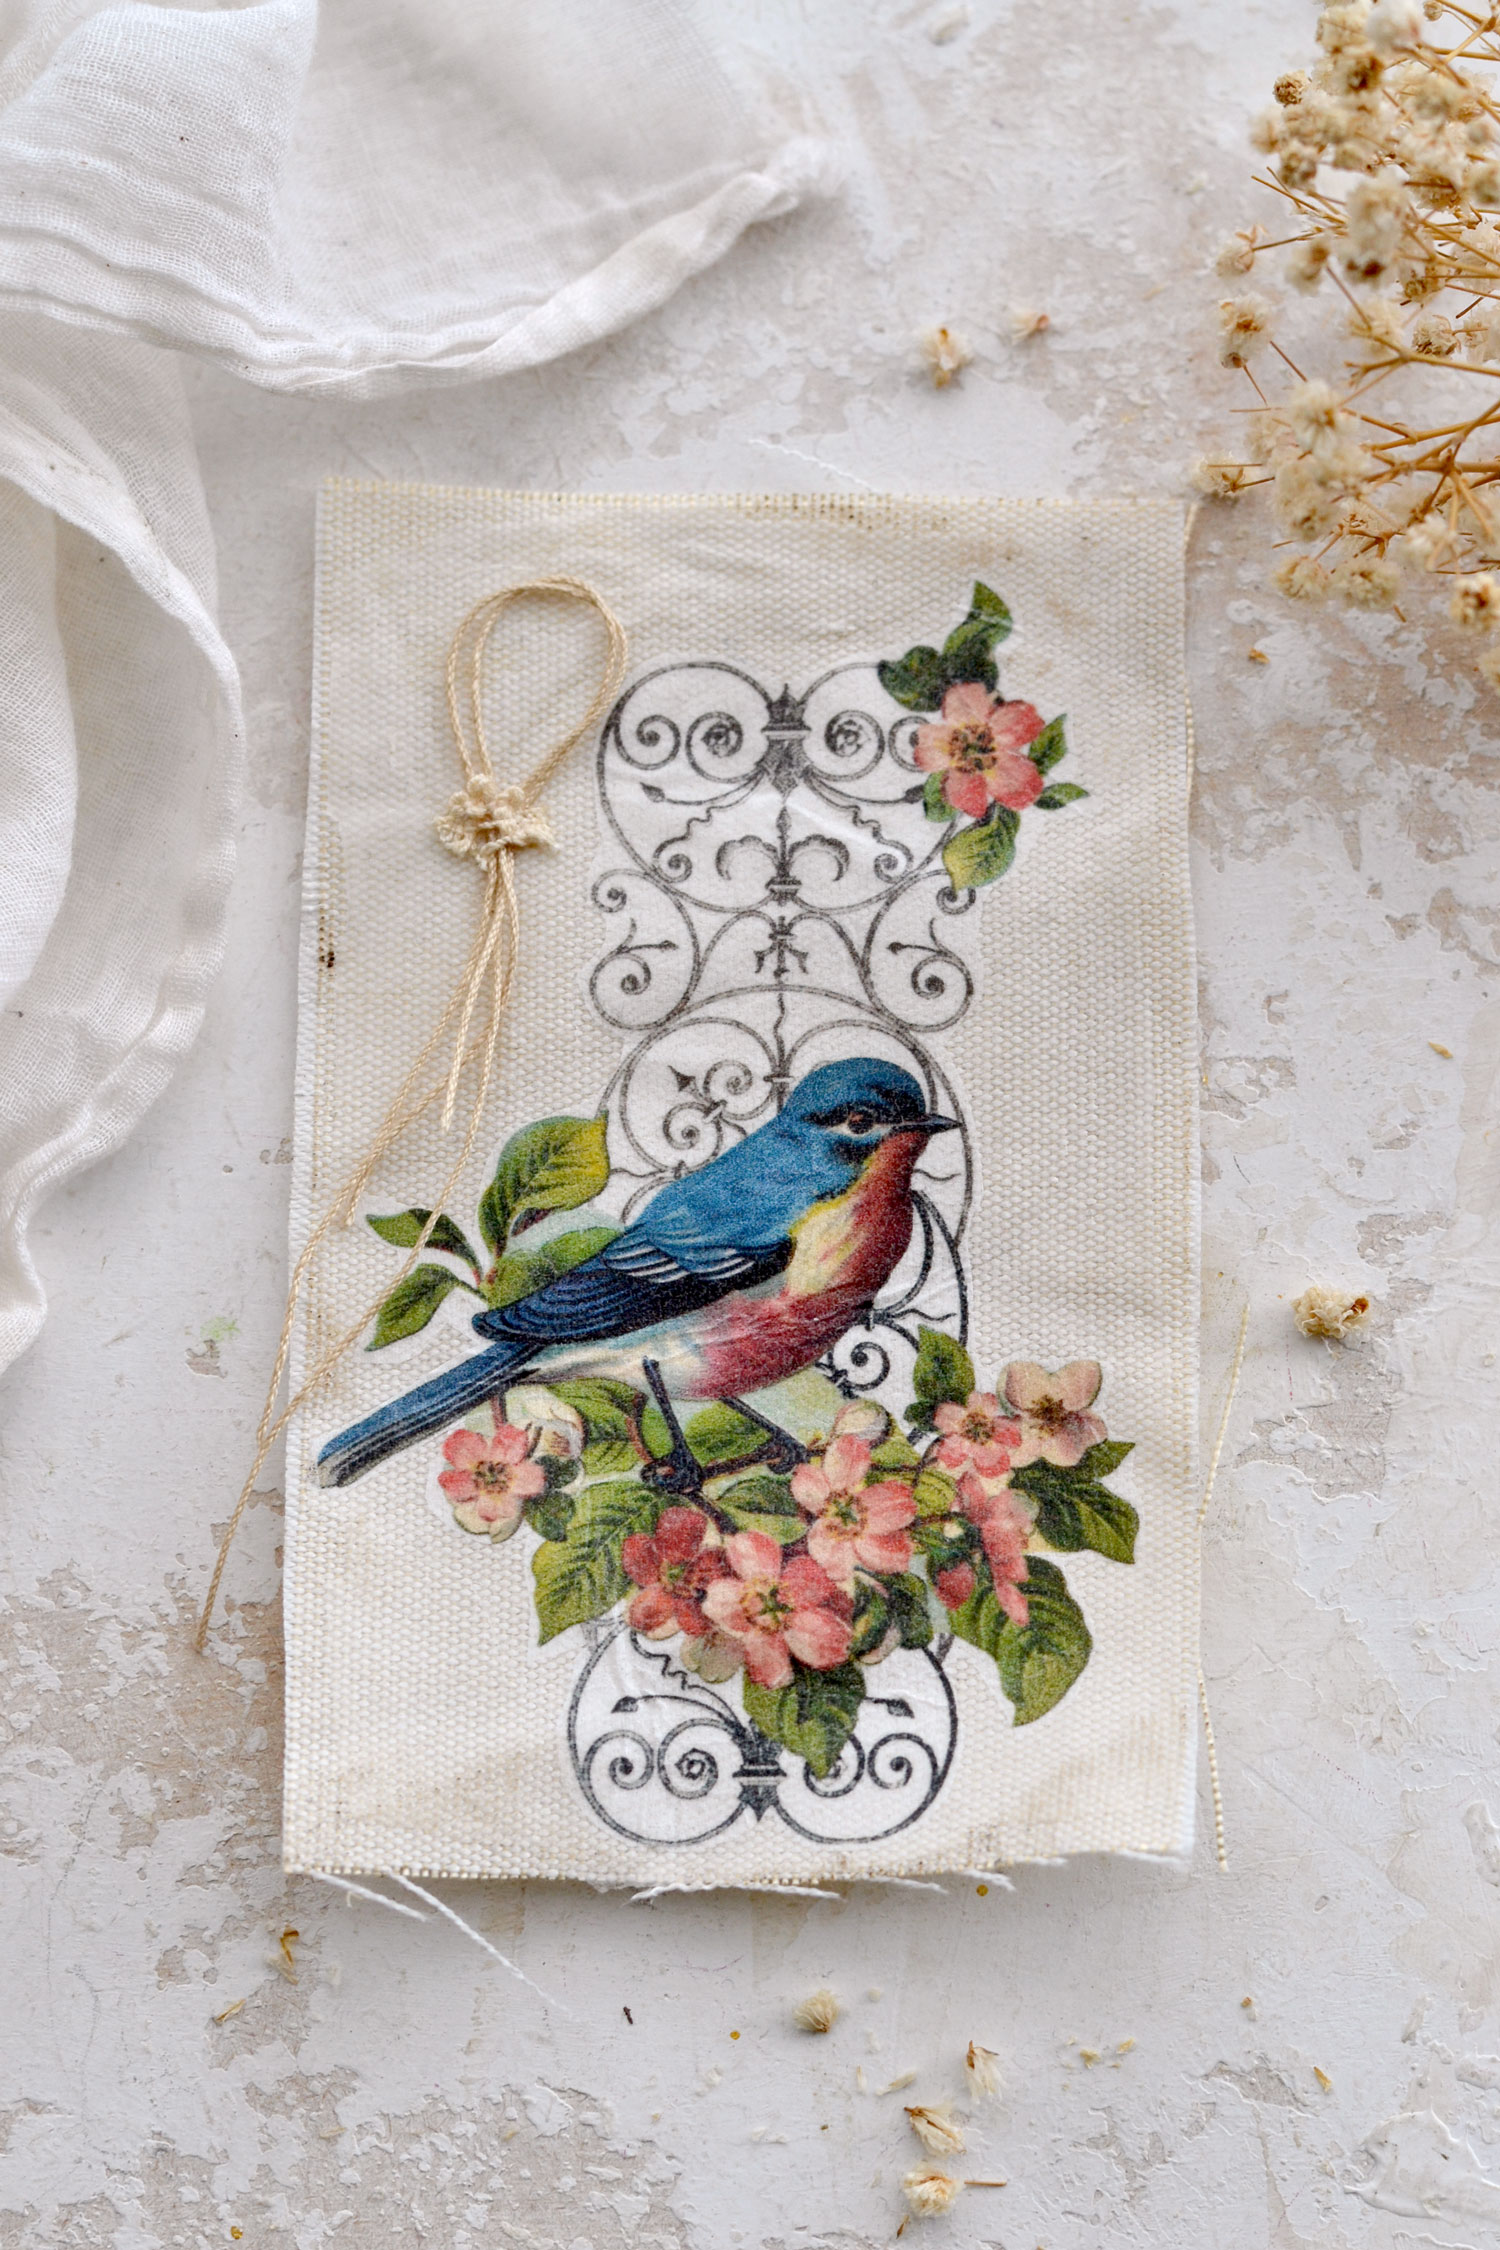
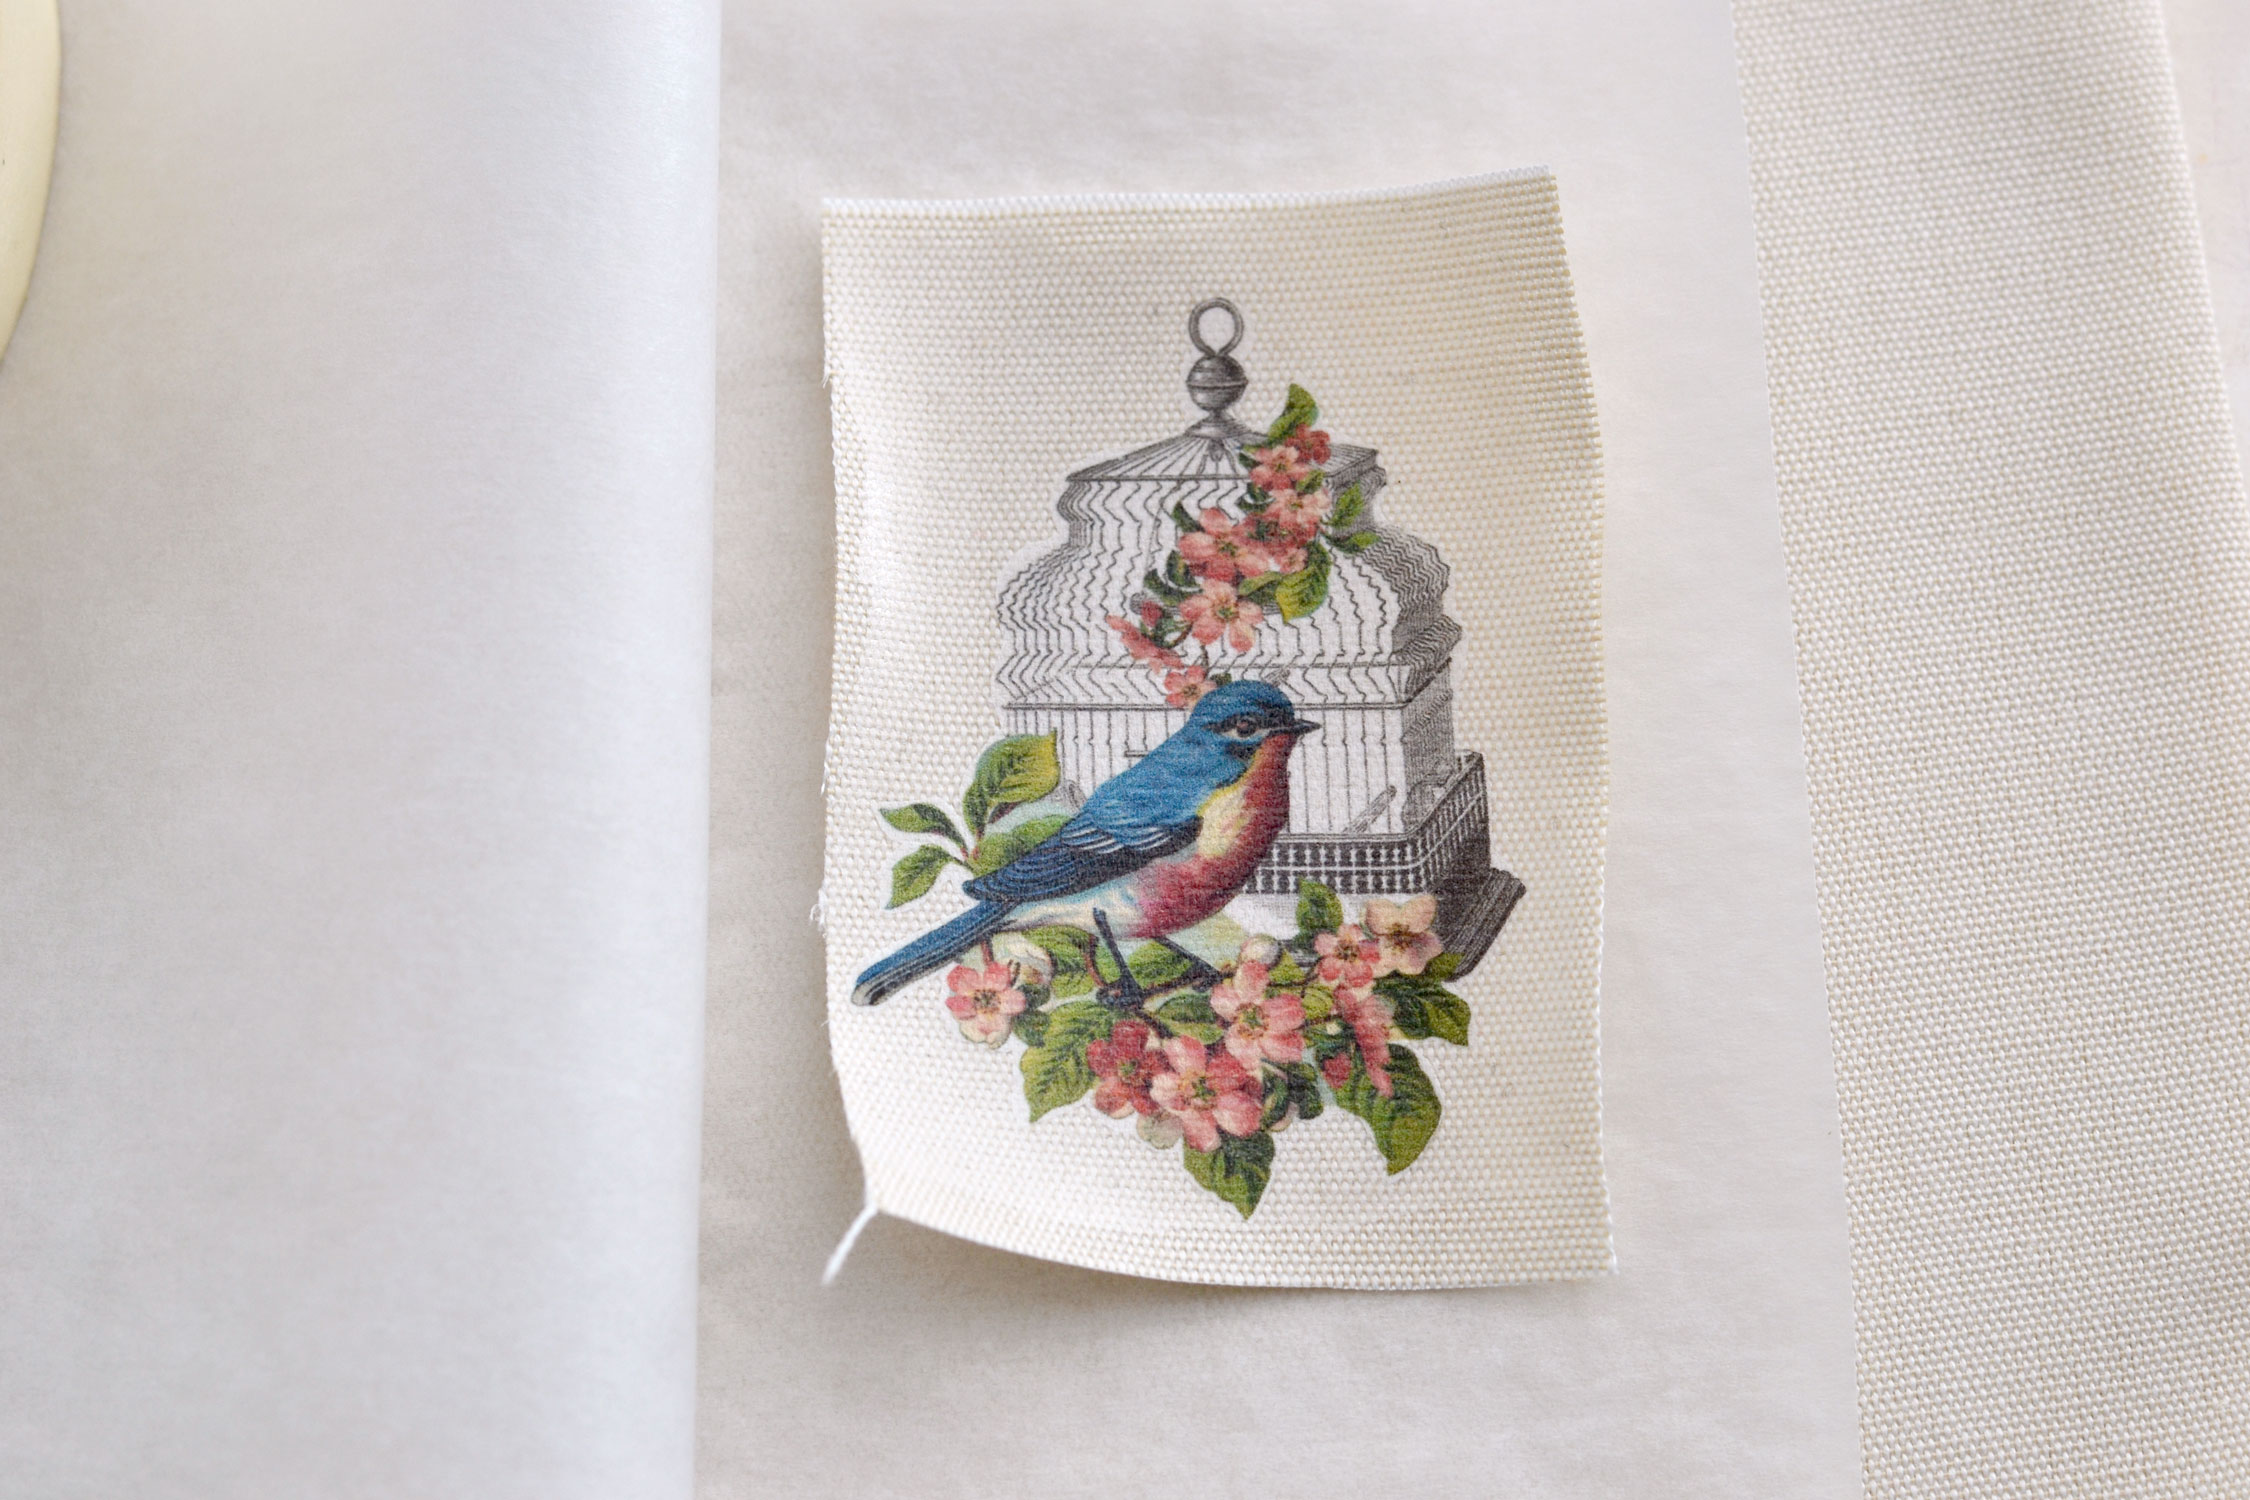
Your first transfer is ready, you can now be in awe of your beautiful work!
The fabric might warp a little bit, but you can place it inside the pages of a book to flatten it.
I wanted to give the fabric a more worn appearance, so I completely crumpled the tags one by one with my hand. This step might slightly interfere with the perfectness of your transferred image, I noticed some air bubbles here and there. You can skip this step if you prefer, or iron the fabric between the parchment one more time to address the air bubble situation.
I actually LOVED these small imperfections because they gave the tags more dimension and removed that flat-ironed appearance. If you want to further embellish your fabric tags, now would be the perfect time to do it!
I used a tiny bit of distress ink to give the fabric a worn look and even added some crinkle ribbons using a gourd pin.
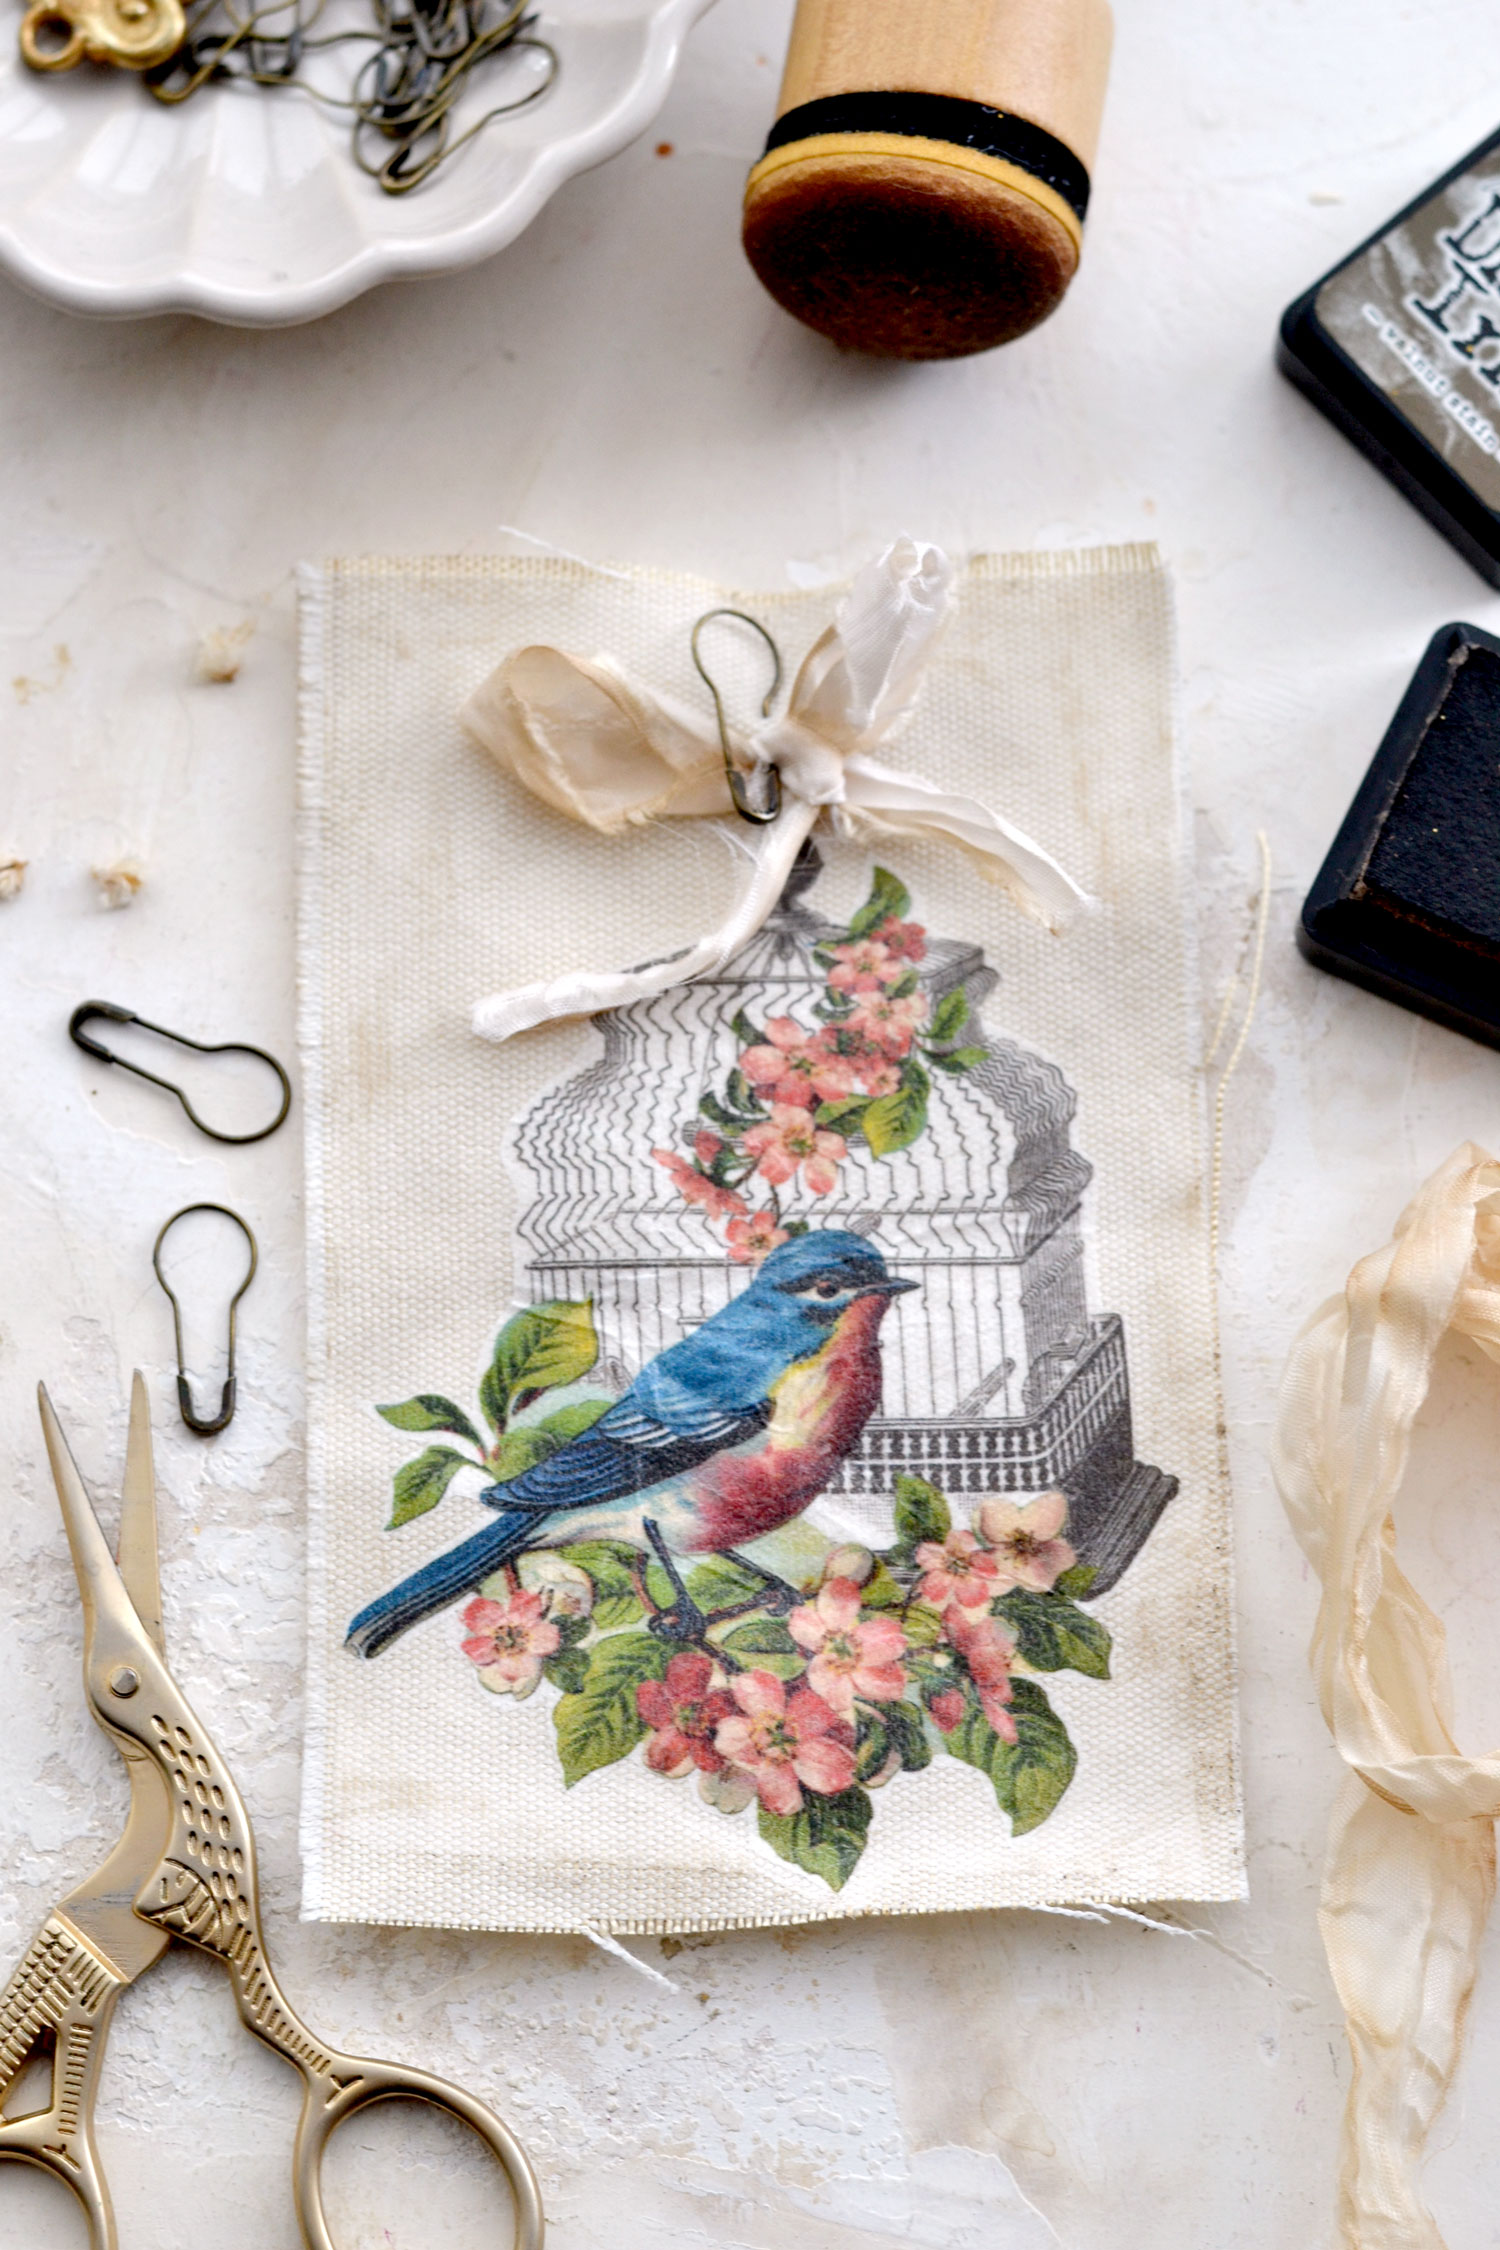
You can also sew some thread or just use some glue, as I did, to hold it in place.
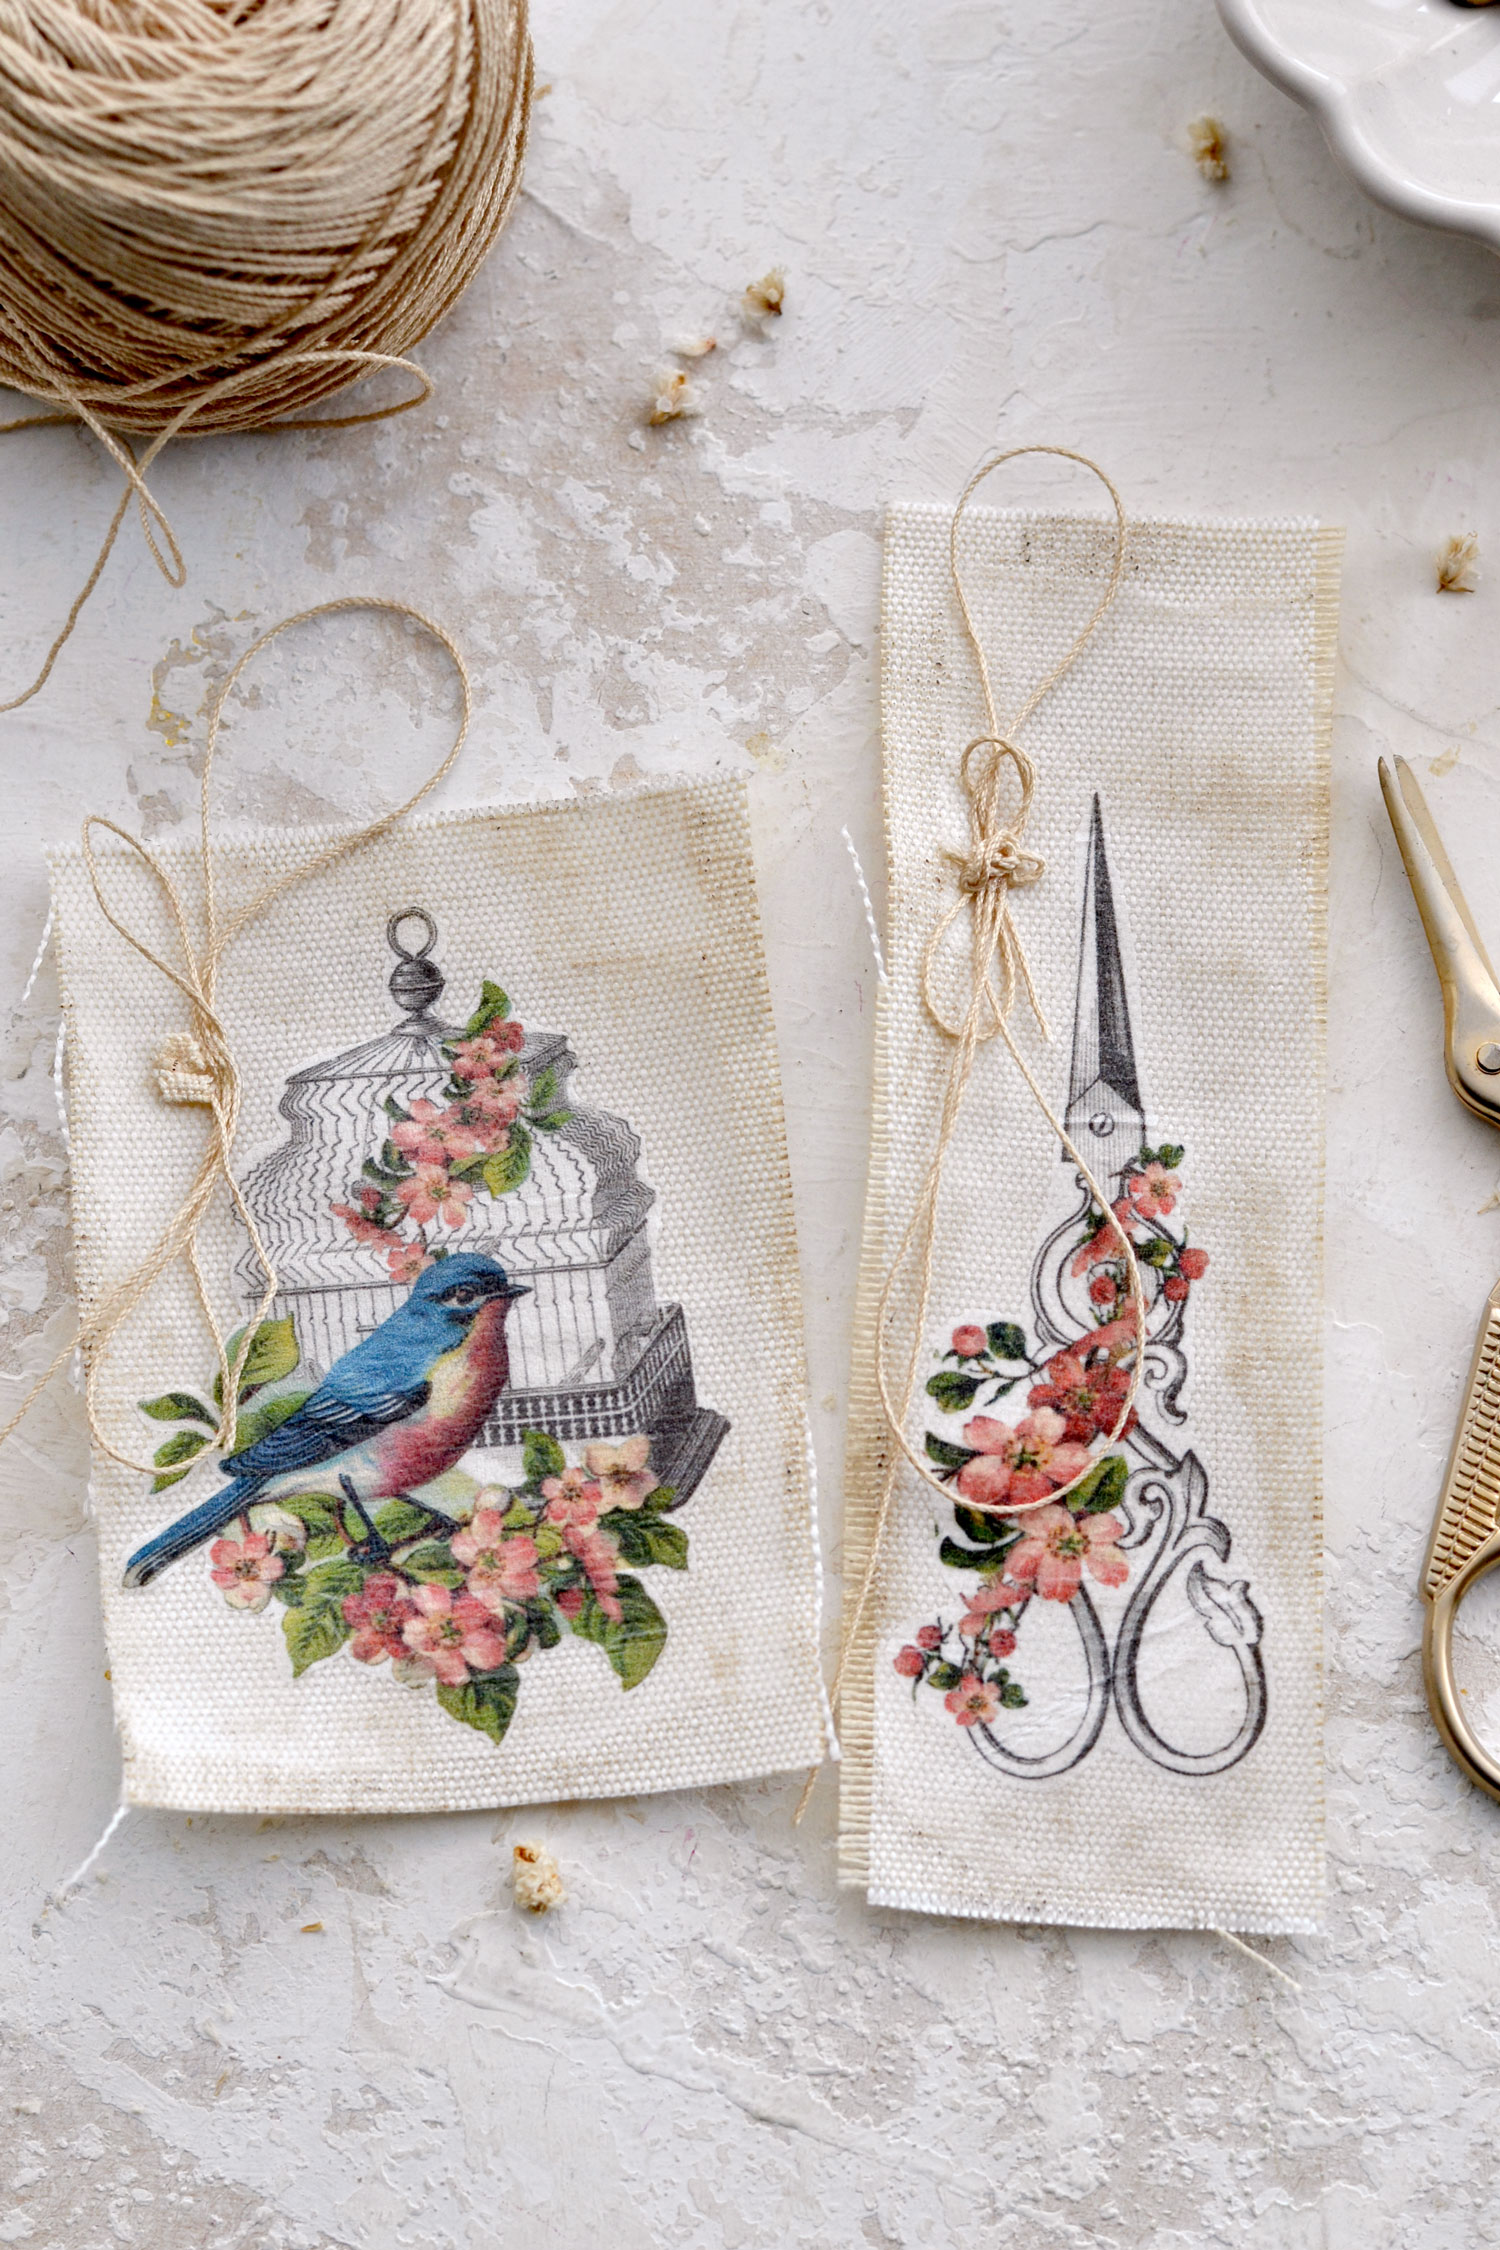
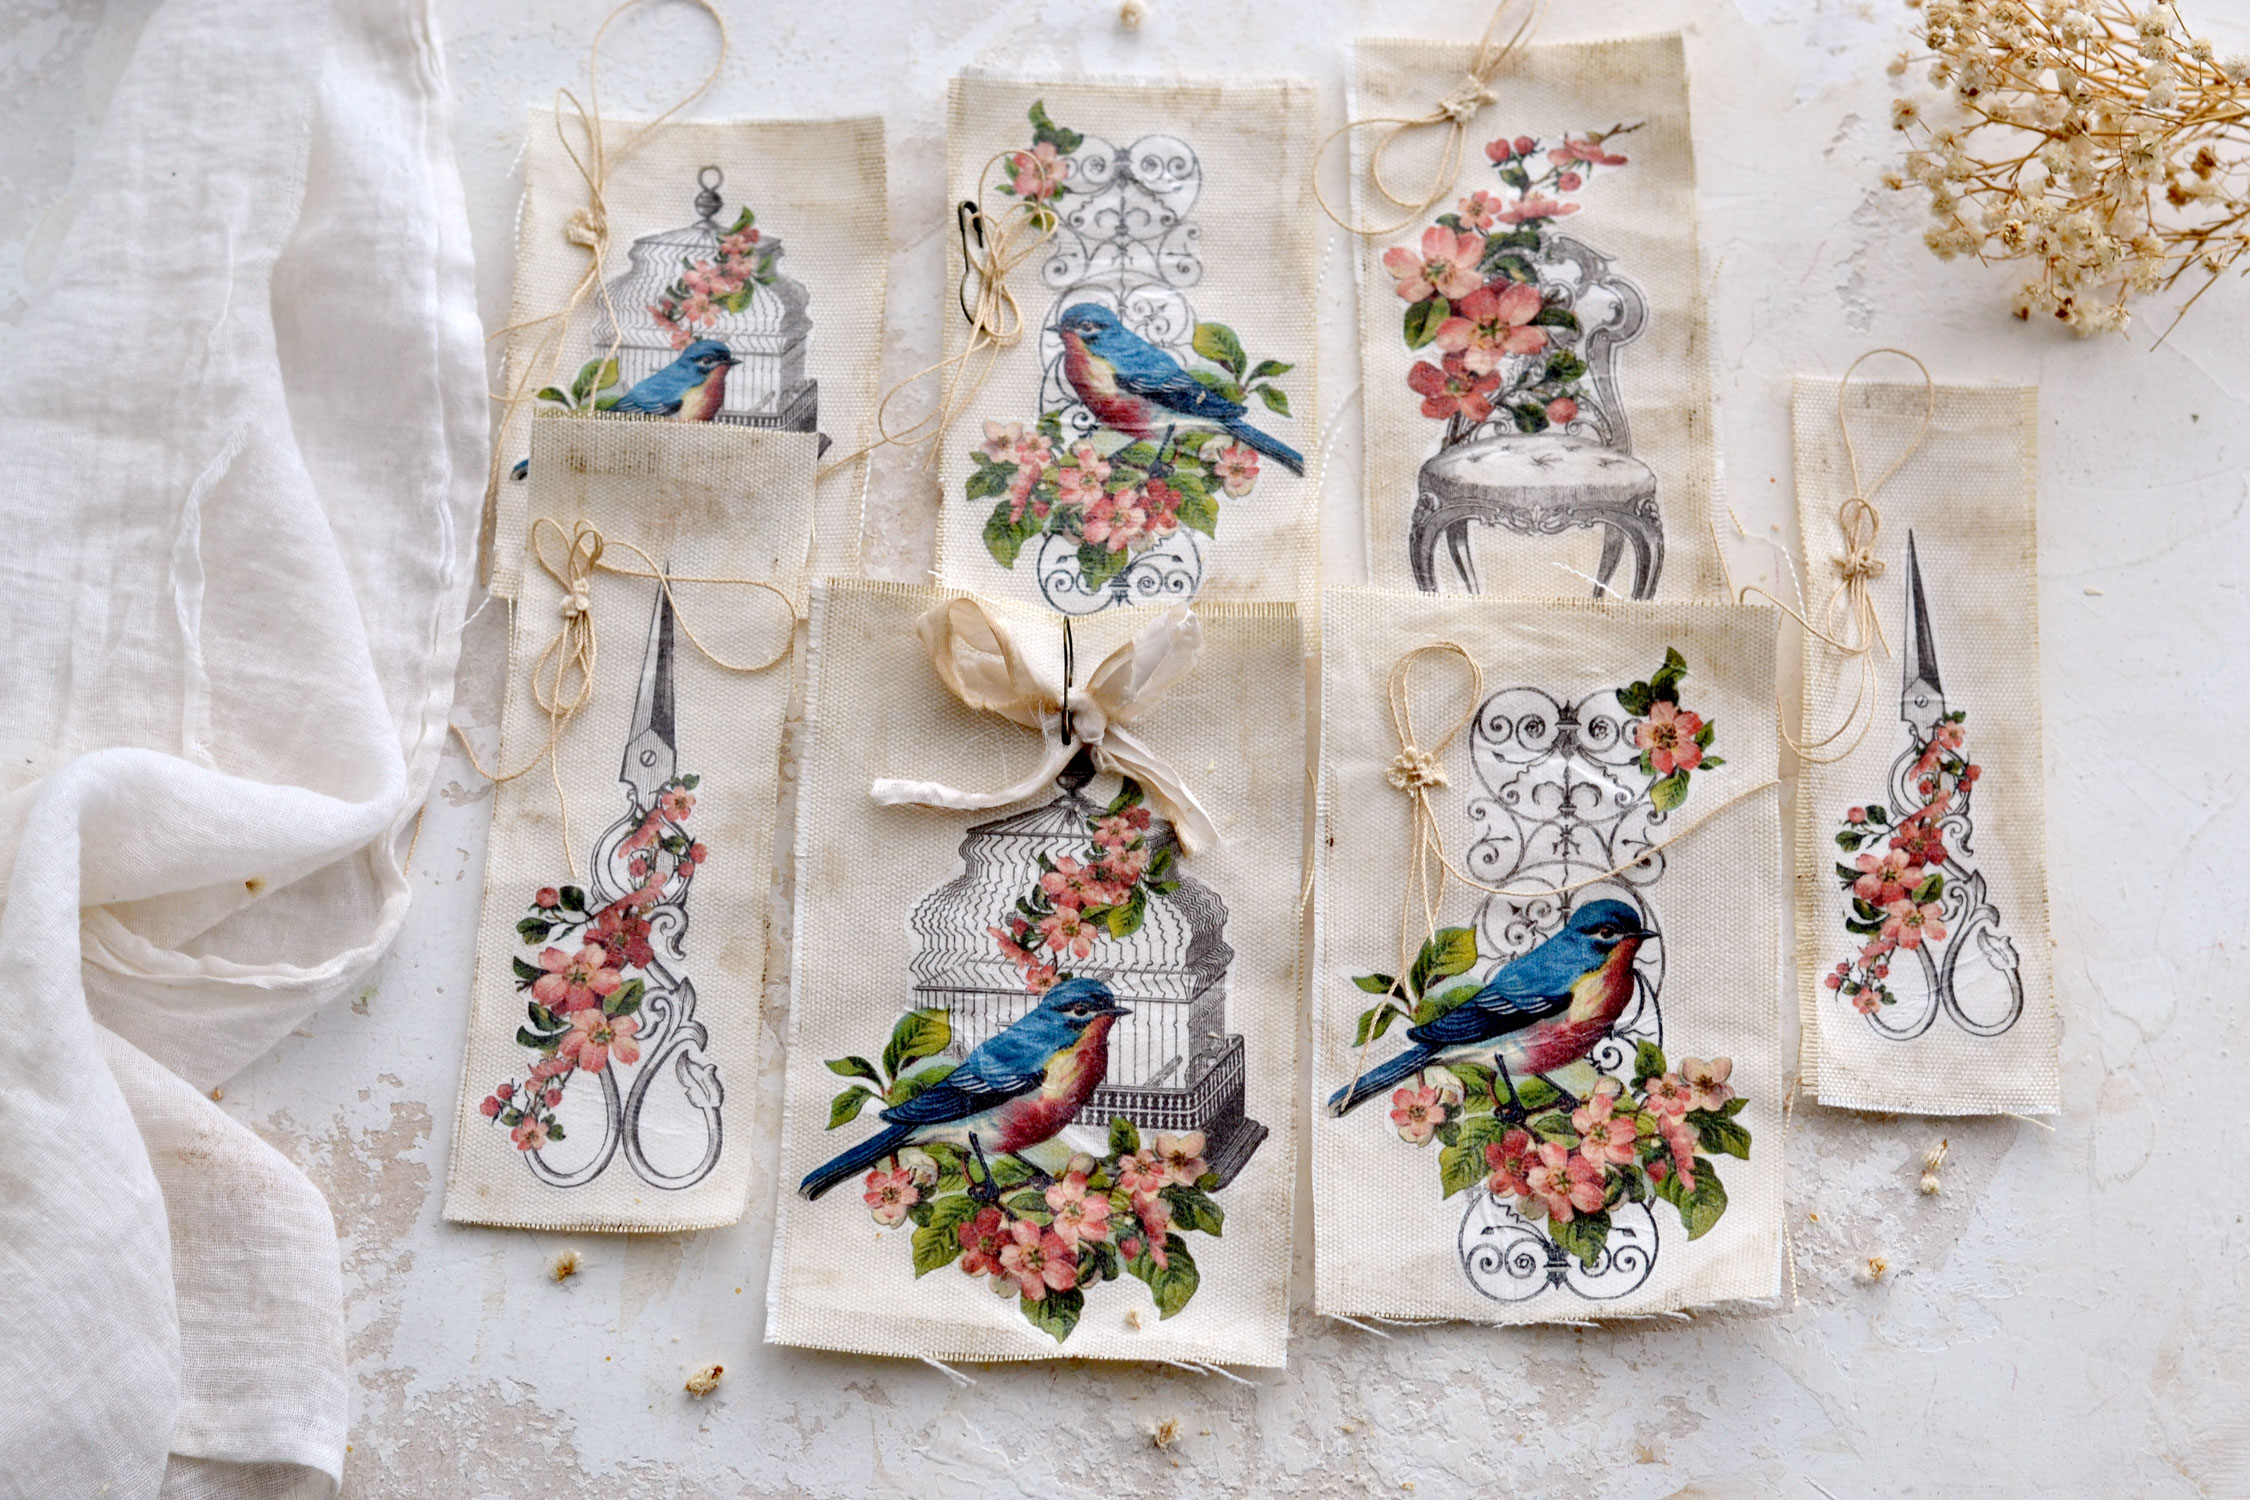
I’m absolutely over the moon in love with my new vintage fabric tags! They have such an amazing overall appearance, which instantly gives you a great vibe.
As you can see, there are some small imperfections here and there, but I am wholeheartedly embracing them.
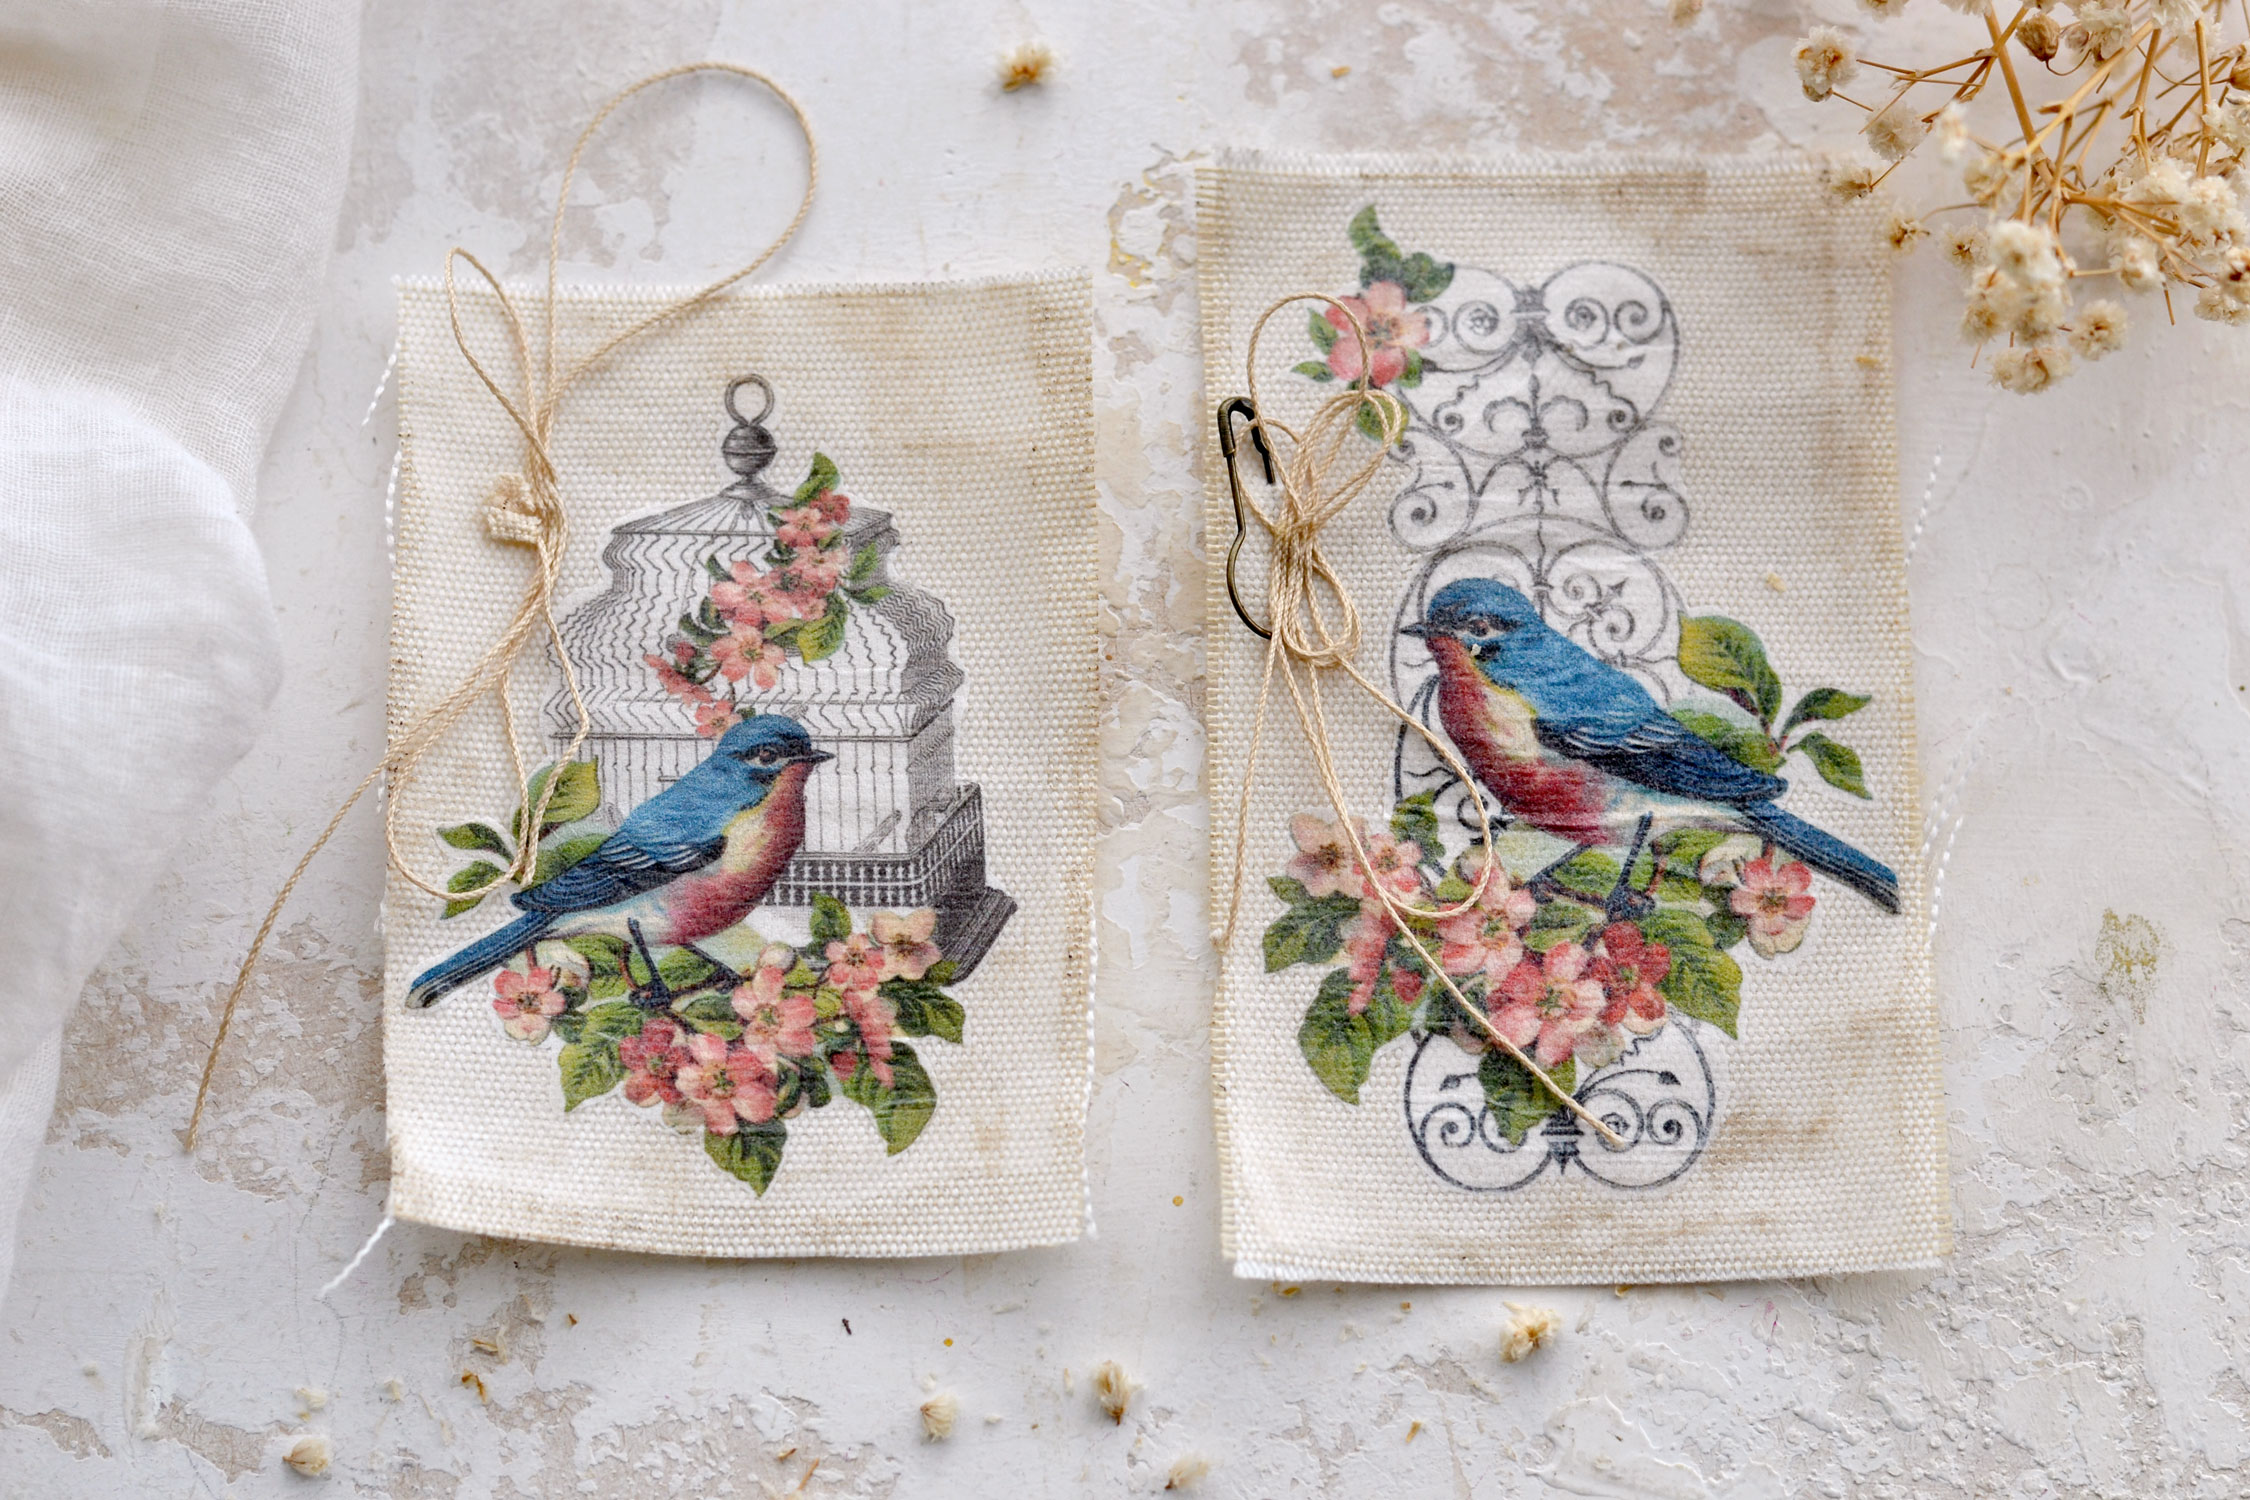
In fact, I cannot wait to include them in my projects, I would say they are pretty versatile and would look amazing anywhere!
You can use them in your home as super chic decorative pieces. Display them on your bookshelves, hang them from your drawers, turn them into scented sachets, the sky is the limit!
Turn them into gift tags, but also, don’t forget to include some in your junk journal. These will instantly beautify any of your pages (or even the cover) without too much effort on your part.
And speaking of junk journals, here is another suggestion – use the napkin printed images directly on your pages! This technique works great on paper too, so you can follow the same steps to transfer the image directly to your junk journal pages. Or transfer it to coffee-stained paper, dictionary or old book pages and use those in your journal instead. Just prepare the whole assembly and use your iron to transfer the images where you want.
Another idea would be to skip the cling wrap transfer and use Mod Podge to decoupage the images where you want. This will only work if printing these with a laserjet printer, an inkjet printer won’t be an option here.
And as a final suggestion, you could just use some iron-on paper sheets to print the printable and transfer the images where you want.
One of the many things I love about this technique is the final appearance of the transferred image. It not only has a finished matte look, but it also feels matte … if that makes any sense. It’s hard to explain, but it feels so sheer and delicate when touching it, you’ll just want to use it everywhere!
Happy crafting,
Diana / Dreams Factory


Rk says
Can we use water and a fine brush to “cut out” each image so that they have whatever shape we need and we can get close to the image edge?
Karen says
Absolutely! A wet brush works great for cutting close to the image edges just be gentle, the napkin is delicate.