Frog Drawing
Let’s learn how to Draw a Frog! In this post you will find step by step instructions for creating an easy Frog drawing! I’ll walk you through the steps of this cute little guy, that came from an early 1900’s drawing book in my collection. At the bottom of the post you will find a printable practice worksheet that you can print out and have space for your work. The practice sheet also includes a second simple Frog Drawing easy lesson with a sideview pose, as well as a how to draw Tadpoles and the other wildlife that you find on a pond, like a fun Dragonfly and even a pretty Water Lily! You can print out as many practice sheets as you like, so that you can keep at it until you are satisfied with your work.
Here is the cute little Frog that we will be drawing today. He’s got big curious eyes and a rather stout body. Just adorable!
How to Draw a Frog Step by Step
Kids and grown ups alike can follow the easy steps in this Frog drawing tutorial. Grab a graphite pencil and an eraser, or use an ink pen if you like to complete this drawing lesson.
Frog Drawing Step 1
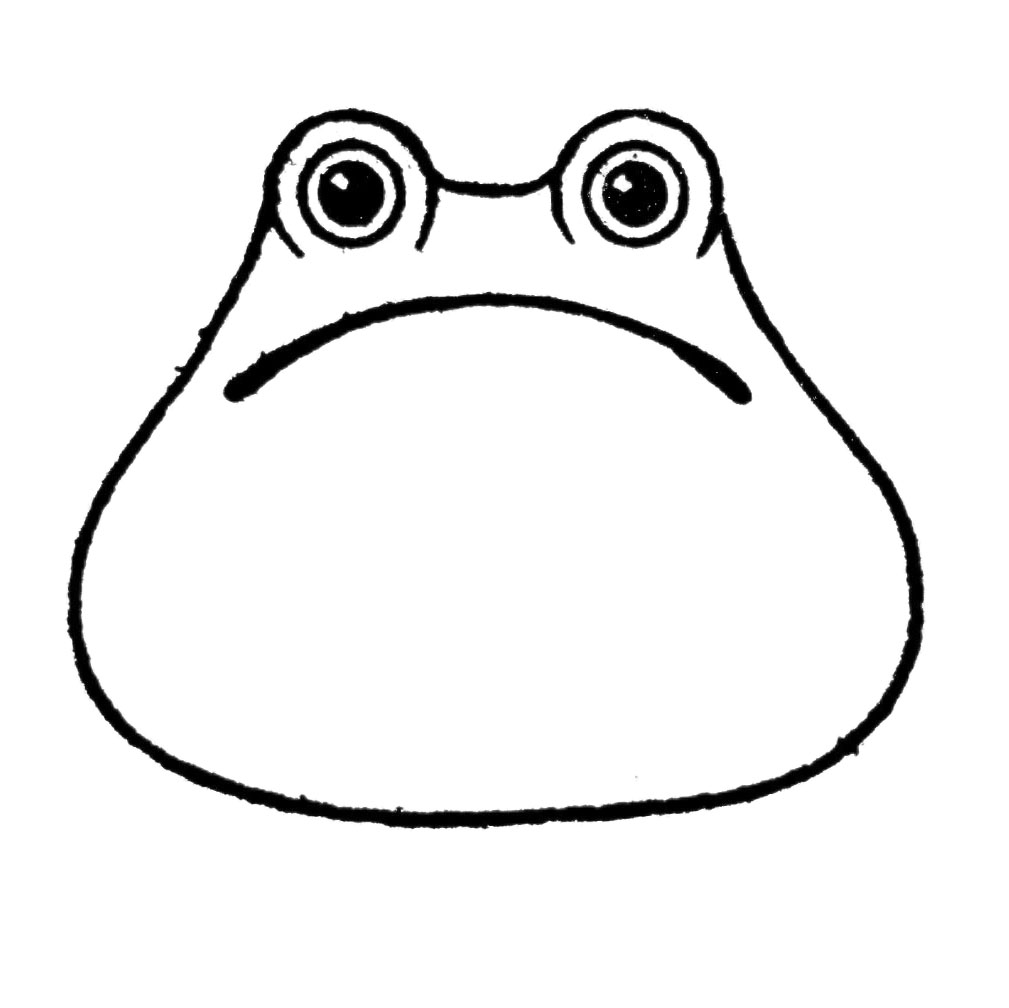
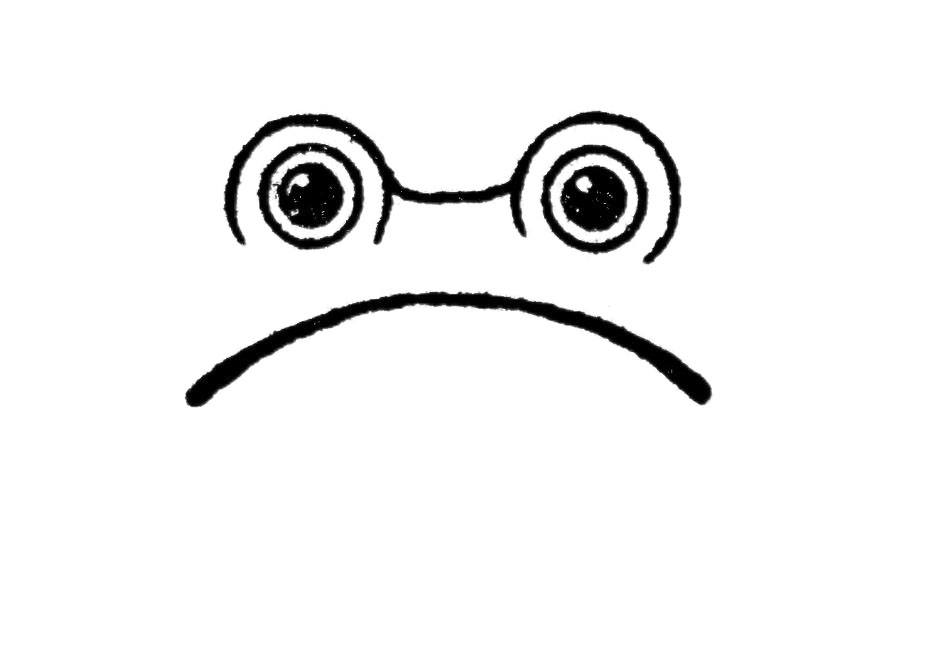 Step 1: First we want to sketch the Frog eyes and the mouth. Draw a half-circle curved line for the mouth, in a frowny position. And above it draw 2 black circles for the pupils. Fill the pupils in but make sure you leave a tiny white space on each one, to create a highlight reflection. Then draw a circle around each of the pupils and a semi circle around that. Connect the 2 eyes with another curved line. This time the line will curve upwards.
Step 2
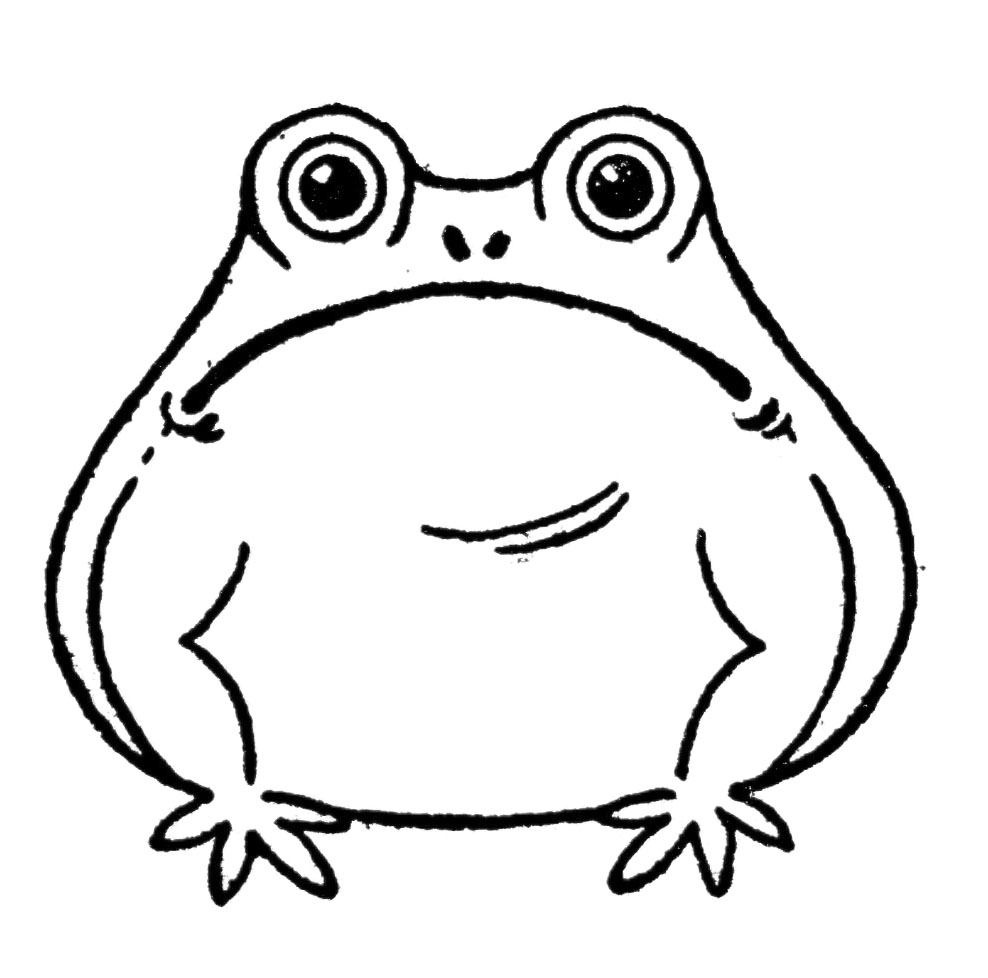
Step 2: Next we are drawing a sort of blob type shape for the outline of the Frog’s body and then connect it up to the outside part of the eyes of the Frog.
Step 3
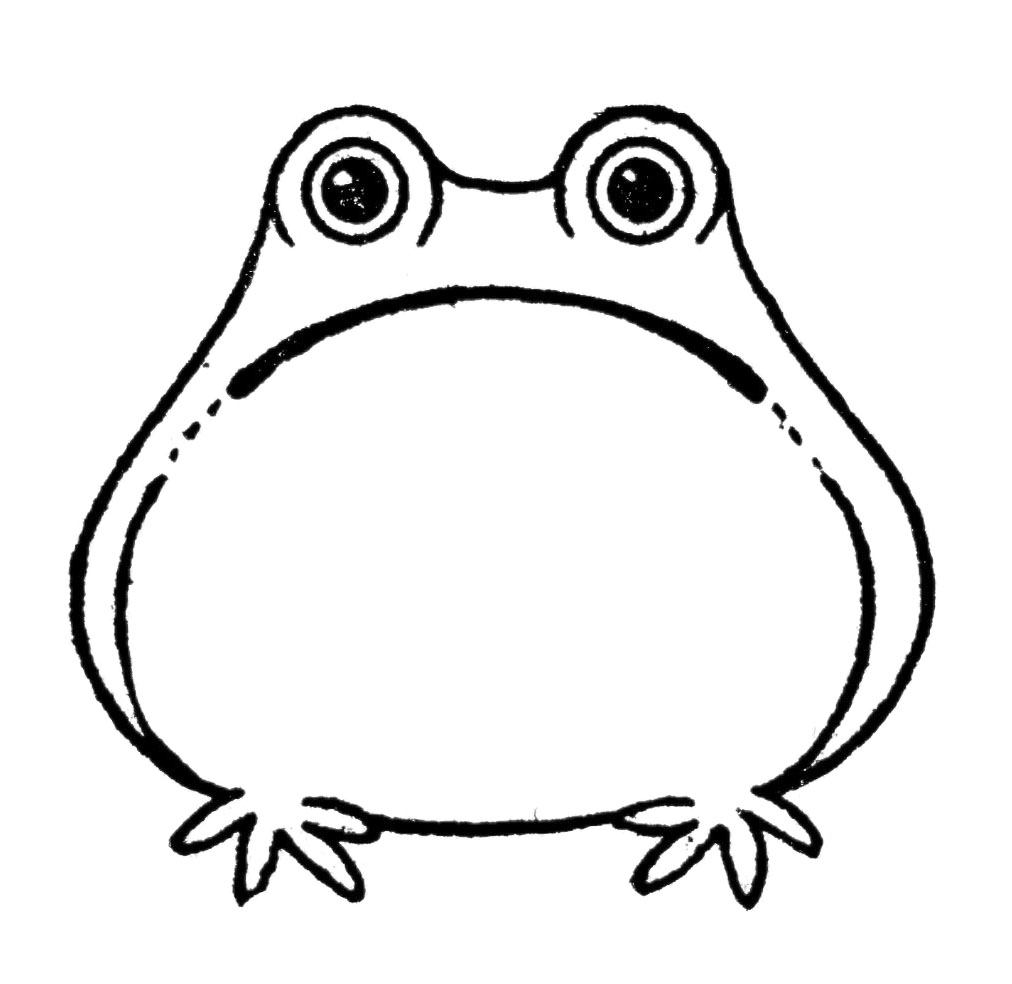 Step 3: Next add some little feet… he’s got 4 toes on each foot. And then create a curved line coming up from just outside of his feet to a little above the middle of his body. After that create 3 small dots or dashes from the end of those curved lines up to the ends of either side of his mouth.
Step 4
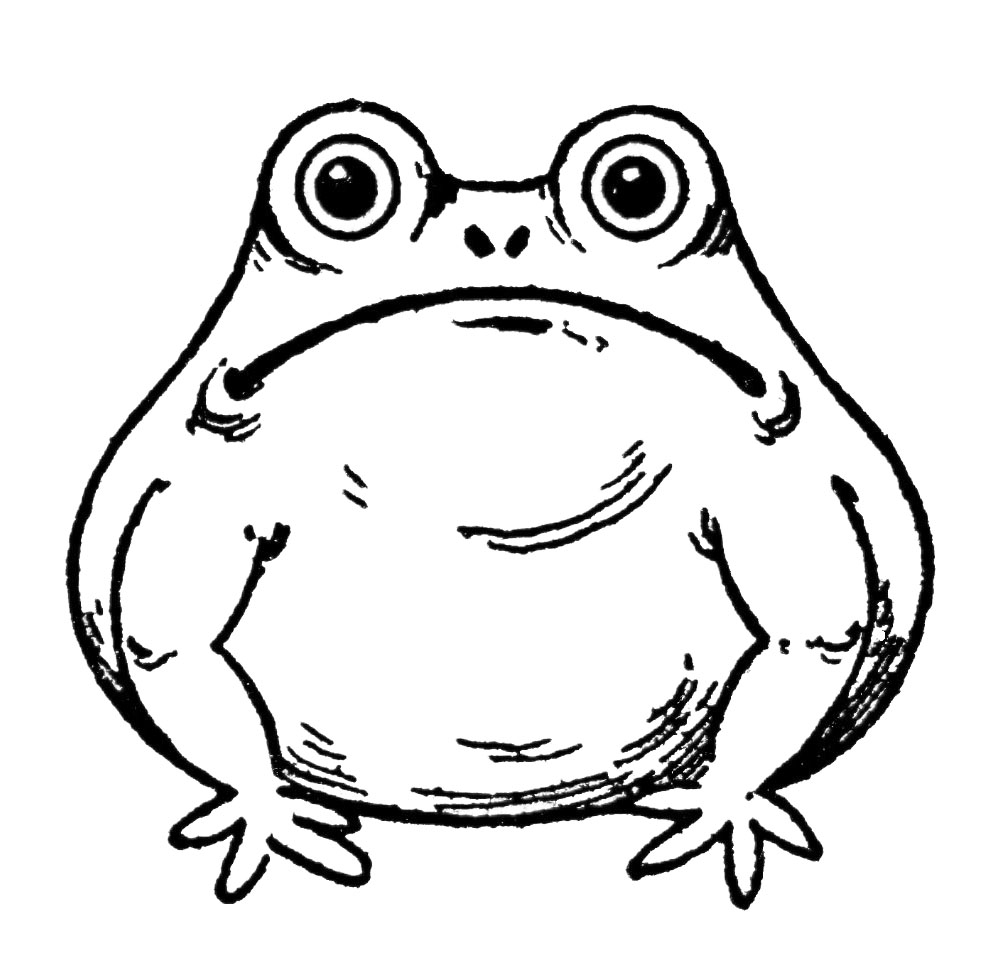
Step 4: Next we’ll add a bit more detail. Define the arms by adding indented lines on either side of the inside of his arms. Add a couple of angled dashes for his nostrils. Add a couple of tiny semicircles at the ends of each side of his mouth. And 2 more curvy lines along the upper right side of his body. At this point you have a nice simple Frog Drawing that looks a bit like a Frog Cartoon and you could stop there if you wanted. Or continue on to the next step to add even more detail.
Step 5
Step 5: For the finishing touches. Fill in the additional details as shown above, to create shadows around his eyes, and around his body towards the bottom, and a bottom lip under his mouth. There are also some little lines on his arms that define his elbows.
Step 6
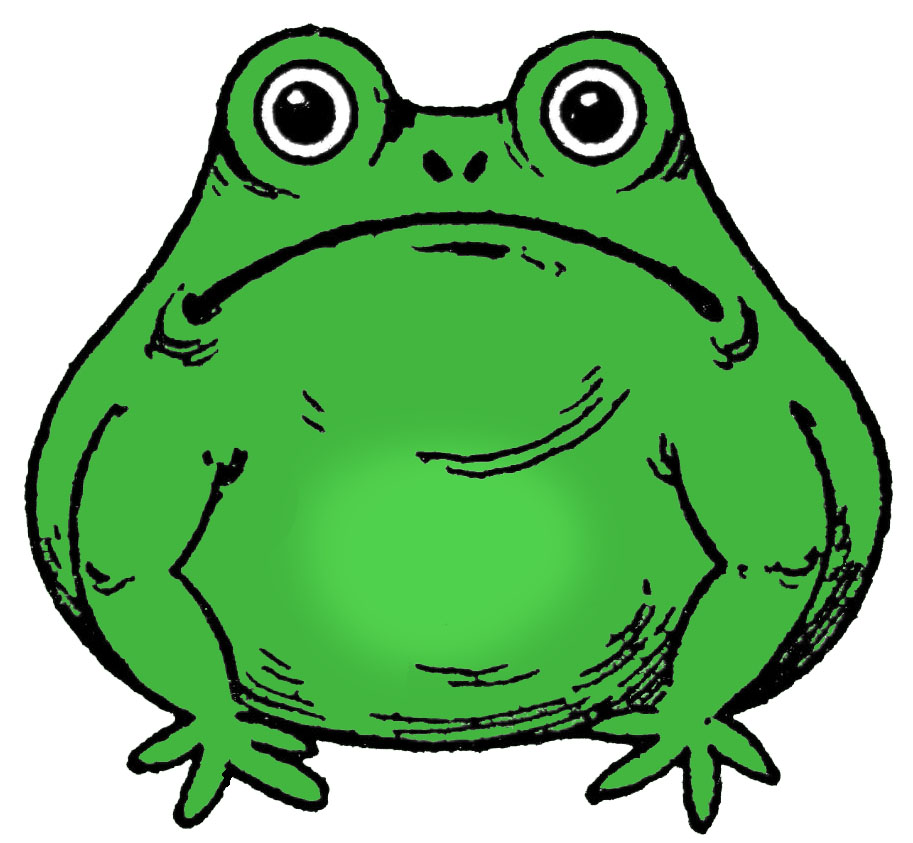 Now the fun part! The only thing left to do is color your cute Frog in! Grab your pencils, markers or crayons and color in your artwork and then admire your masterpiece.
Frog Drawing Easy Printable Practice Sheet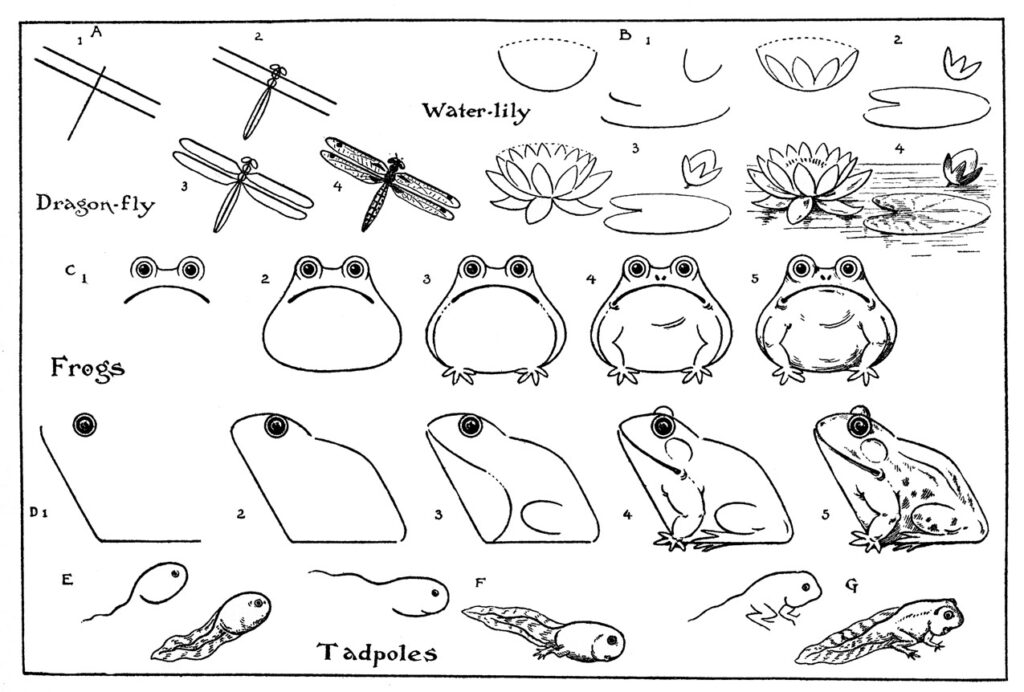
And here’s the printable practice sheet for loads of drawing fun! You can make a darling scene with all of the different sketches above. You could make the Lily Pad bigger and put either Frog on top of it, then add some of the pretty Water Lilies all around him, then create a few Tadpoles for under the water and sketch a couple of the cute Dragonflies flying around in the air above. Use your imagination to create the perfect little Pond scene for your art! These sheets would be fun for a group activity too, like a Sunday School class, Girl Scouts or Boy Scouts, Senior Centers, or just grab a few friends or neighbors and practice together.
Fun Tips
- Try tracing with some tracing paper when you first start. This builds up muscle memory and helps you to be a better artist. Plus it’s fun! Or you can use a light box. We have a post HERE that will show you how to use a Laptop, or Tablet, as a Lightbox if you don’t already have one.
- If you are using a pencil for your drawing, make sure it’s sharpened well so that you have more control over your lines. A mechanical pencil also works well, since you don’t ever have to sharpen it.
- And of course keep an eraser handy for any mistakes or smudge marks that you may want to clean up along the way.
I hope you enjoyed this step by step Tutorial. I think young artists, and older ones too, will enjoy this activity.
You might also like some of our other posts in this series:




Dawn says
I have a garden full of frogs – love them! Thank you!
JUJU e LELÊ Artesanatos says
Olá,
Gostei muito de conhecer seu blog e seus trabalhos.
Parabéns por tanta criatividade e beleza, estou encantada.
Bjs
Lelê
Farmer's Wyfe says
Oooo, this is so great!! I had to print it up for my kids to try!! 🙂 Thanks!!
Rene says
That is just darling!
Eve says
I love, love these. I can use them for embroidery, painting on my tin cans, just everywhere. Thank you so much for your blog. It is my favorite place to come. I can just see these on a tote or pillow. 🙂
Anonymous says
Thank you so much for your generous clip art! I love so many of them but always print the kids things! My daughter loves them! Keep up the great job!
Diane says
I want to take a quick moment to THANK YOU!! For all the lovely, wonderful, imaginative & precious images you share so freely with us!
I rarely get much computer time, but today – I’ll steal the extra time needed.
You are a blessing – I have fallen in LOVE with ephemera, thanks to you & your FAV sites in the side bar! So beautiful!
TY VVVVVVVVVVVVV M FS with us!
D 🙂
Beansieleigh says
So CUTE! Thank you, and hope you’re enjoying your weekend! ~tina
Stephenie says
Thank you for all of your images. I have made a card using mostly your images if you want to stop by and see it.
Stephenie
http://www.sscrafter.blogspot.com
Jenny says
Just want to thank you for your amazing generosity with all your gorgeous clipart! I have mad a cushion out of your cute maltese dog – you can see it here if you want:
http://deekiebelldesignstudio.blogspot.com/2011/07/hello-lovely-bloggers-hope-you-are-all.html
Thanks again and I will add it to your flickr!
Hugs
Jen xo
Elizabeth says
That’s perfect! We’re planning a froggy birthday party for my little boy.
http://agirlinherkitchen.blogspot.com