Babies First Christmas Ornament DIY
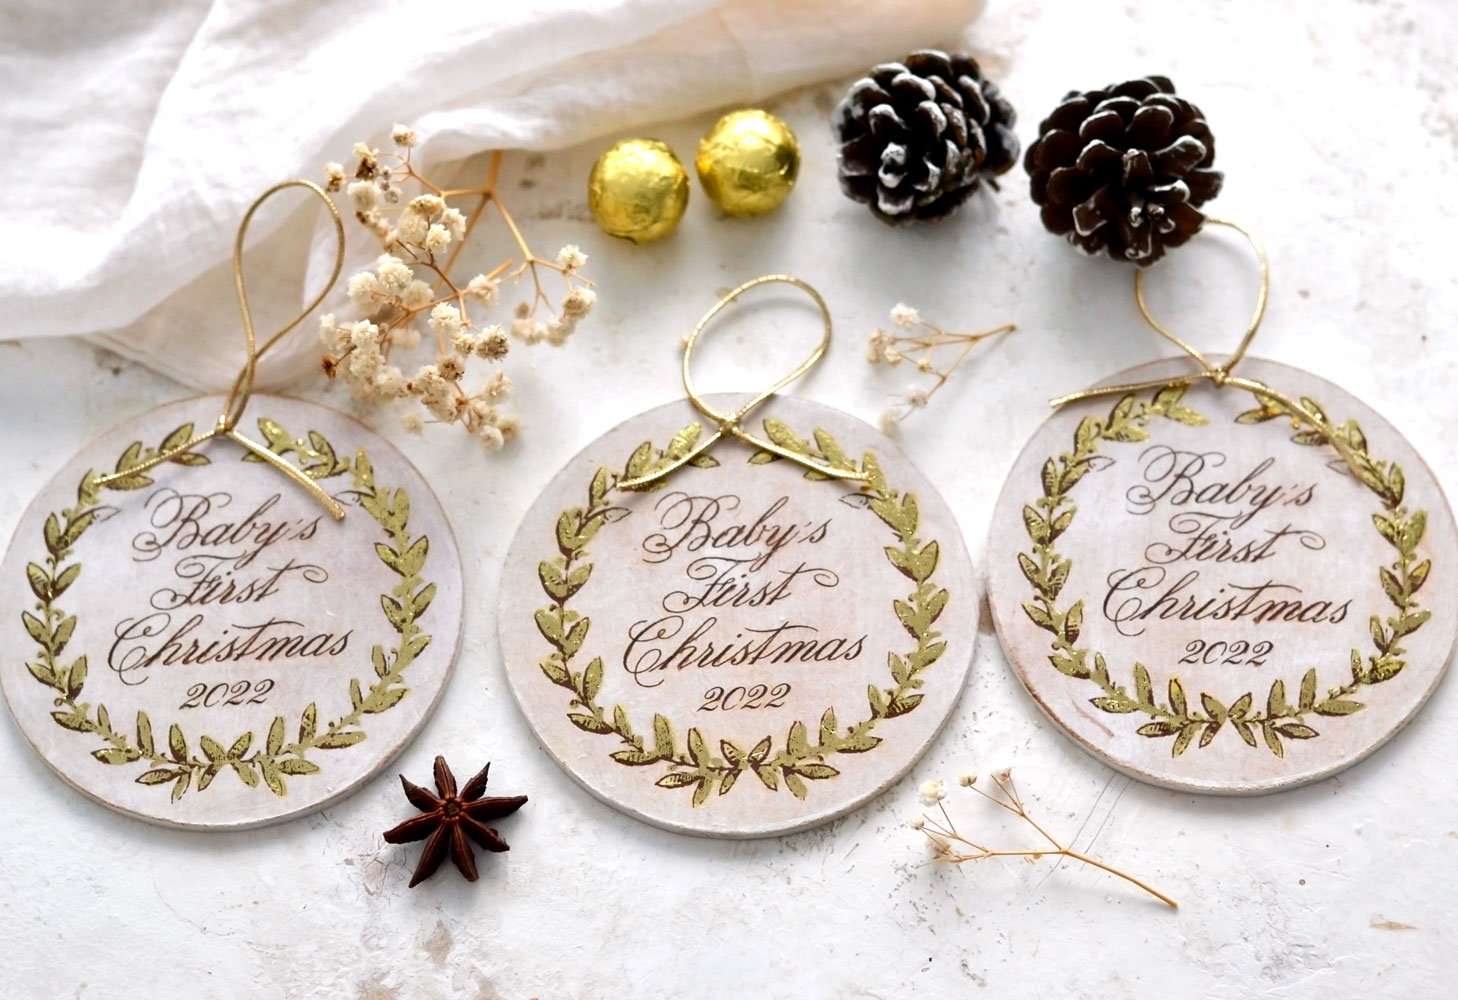
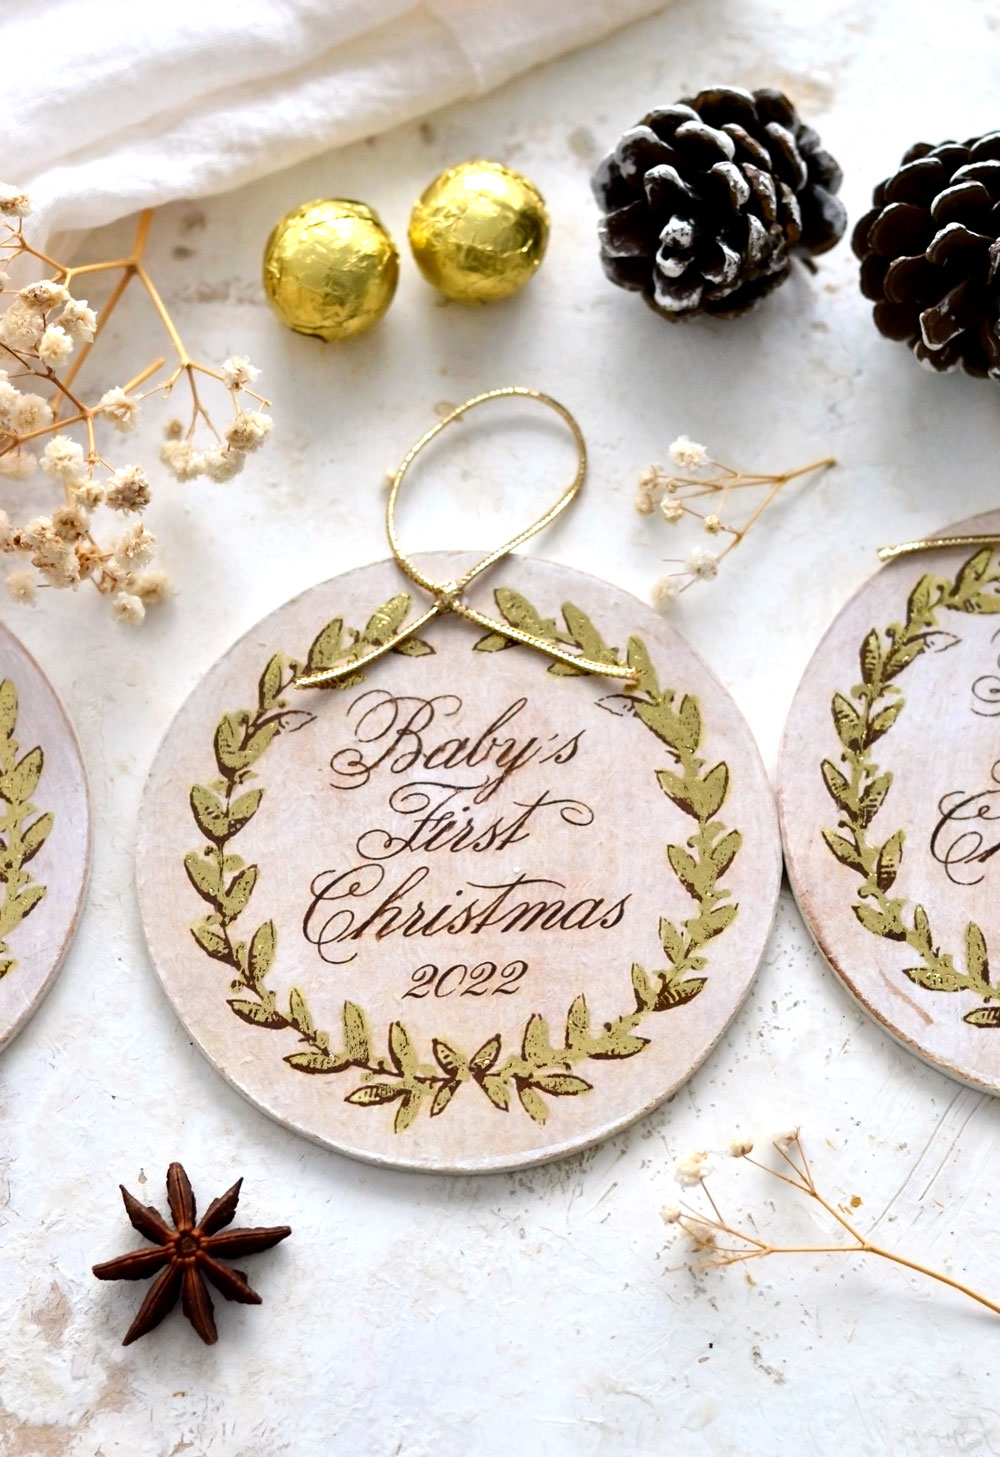
Hello Graphics Fairy friends, Diana from Dreams Factory here, ready to share another DIY project with you! Today I have some special Baby’s First Christmas Ornament DIY for you, I will show you how to make these adorable Christmas keepsake ornaments. We will be cutting our own MDF circles to create the ornaments, we will be painting them and then we will be using tissue paper to add the images on top. We’ll finish everything with some gold foil that will create the most amazing effect when the ornament will be hung on your Christmas tree for your little ones first holiday season. I know the whole process might sound like a lot of work, but in fact, it’s not, you will see how easy it is to make these beauties!
I’ve decided to use tissue paper today to decorate the ornaments, I just love this paper! It has the perfect sheerness and brings so much delicacy to any decorated object. Even though we are actually decoupaging it to our ornaments, it looks like it’s almost fusing with our base. I guess we could call it a faux image transfer because you can hardly see the paper once you apply it, the final results are really amazing!
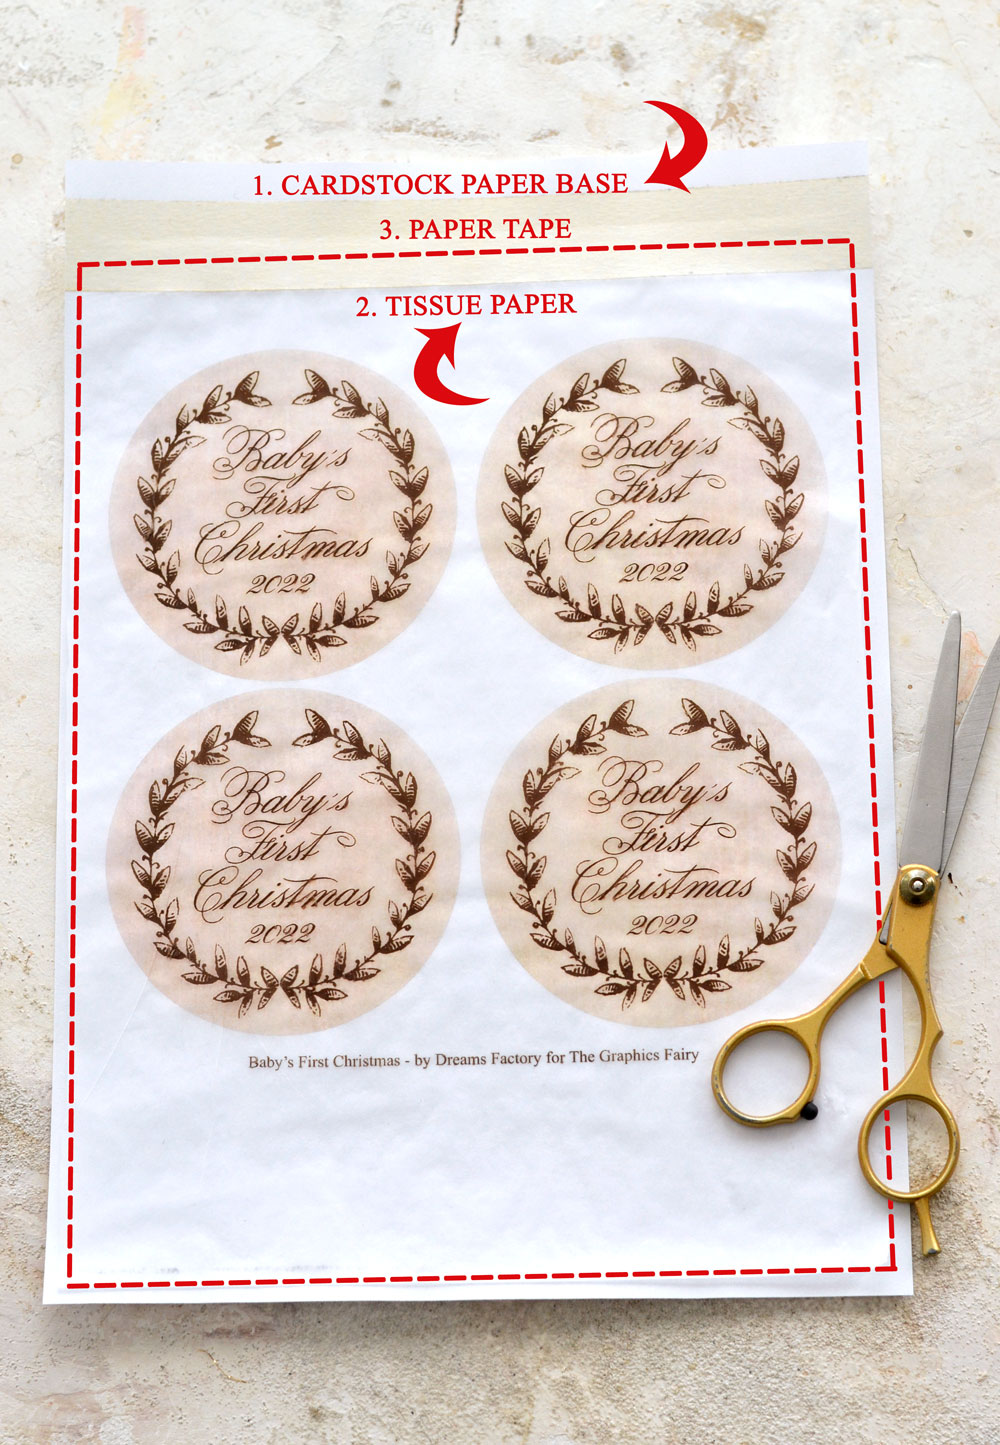
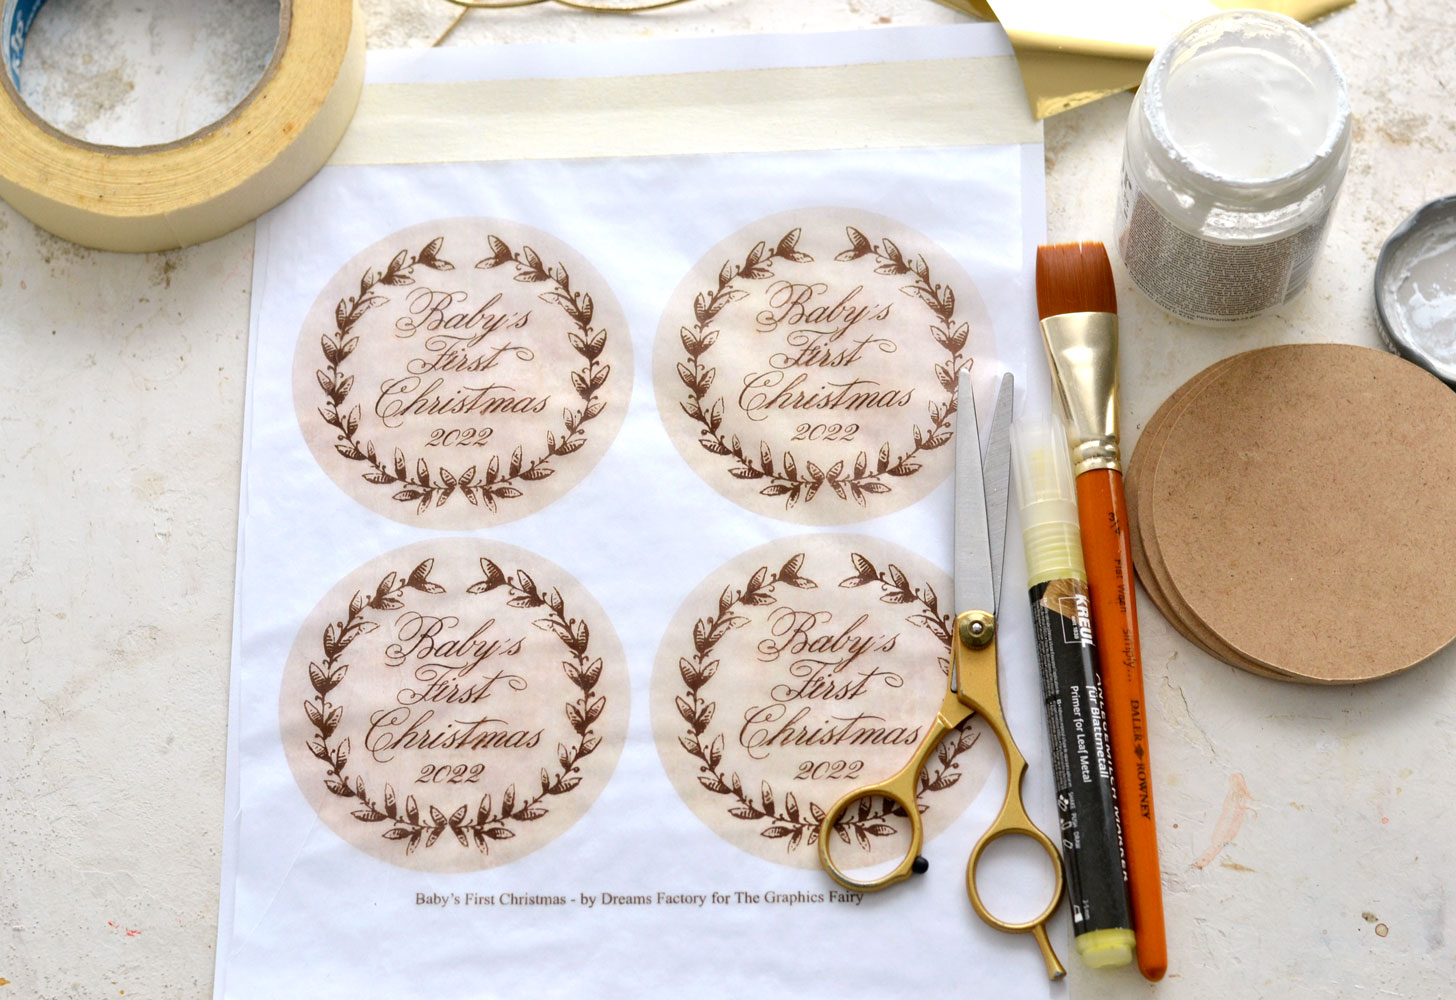
Tissue paper printing can be tricky at first but if you’ve tried printing on it before, I’m sure you’ve already come up with the best setup for you and your printer. This is my usual setup for printing on tissue paper using a laserjet printer:
1. I use a piece of cardstock as my base and I lay it flat on my table.
2. I cut the tissue paper a little bit smaller on the sides and even smaller on the top, then I place it on the cardstock, leaving a little extra space on the upper part. I highlighted the tissue paper in red so you can better see its size.
3. I use paper tape to keep the tissue paper in place on the cardstock, leaving a tiny bit of white paper uncovered on top.
You can check this article –> How to print on tissue paper – to get the basic idea for an inkjet printer.
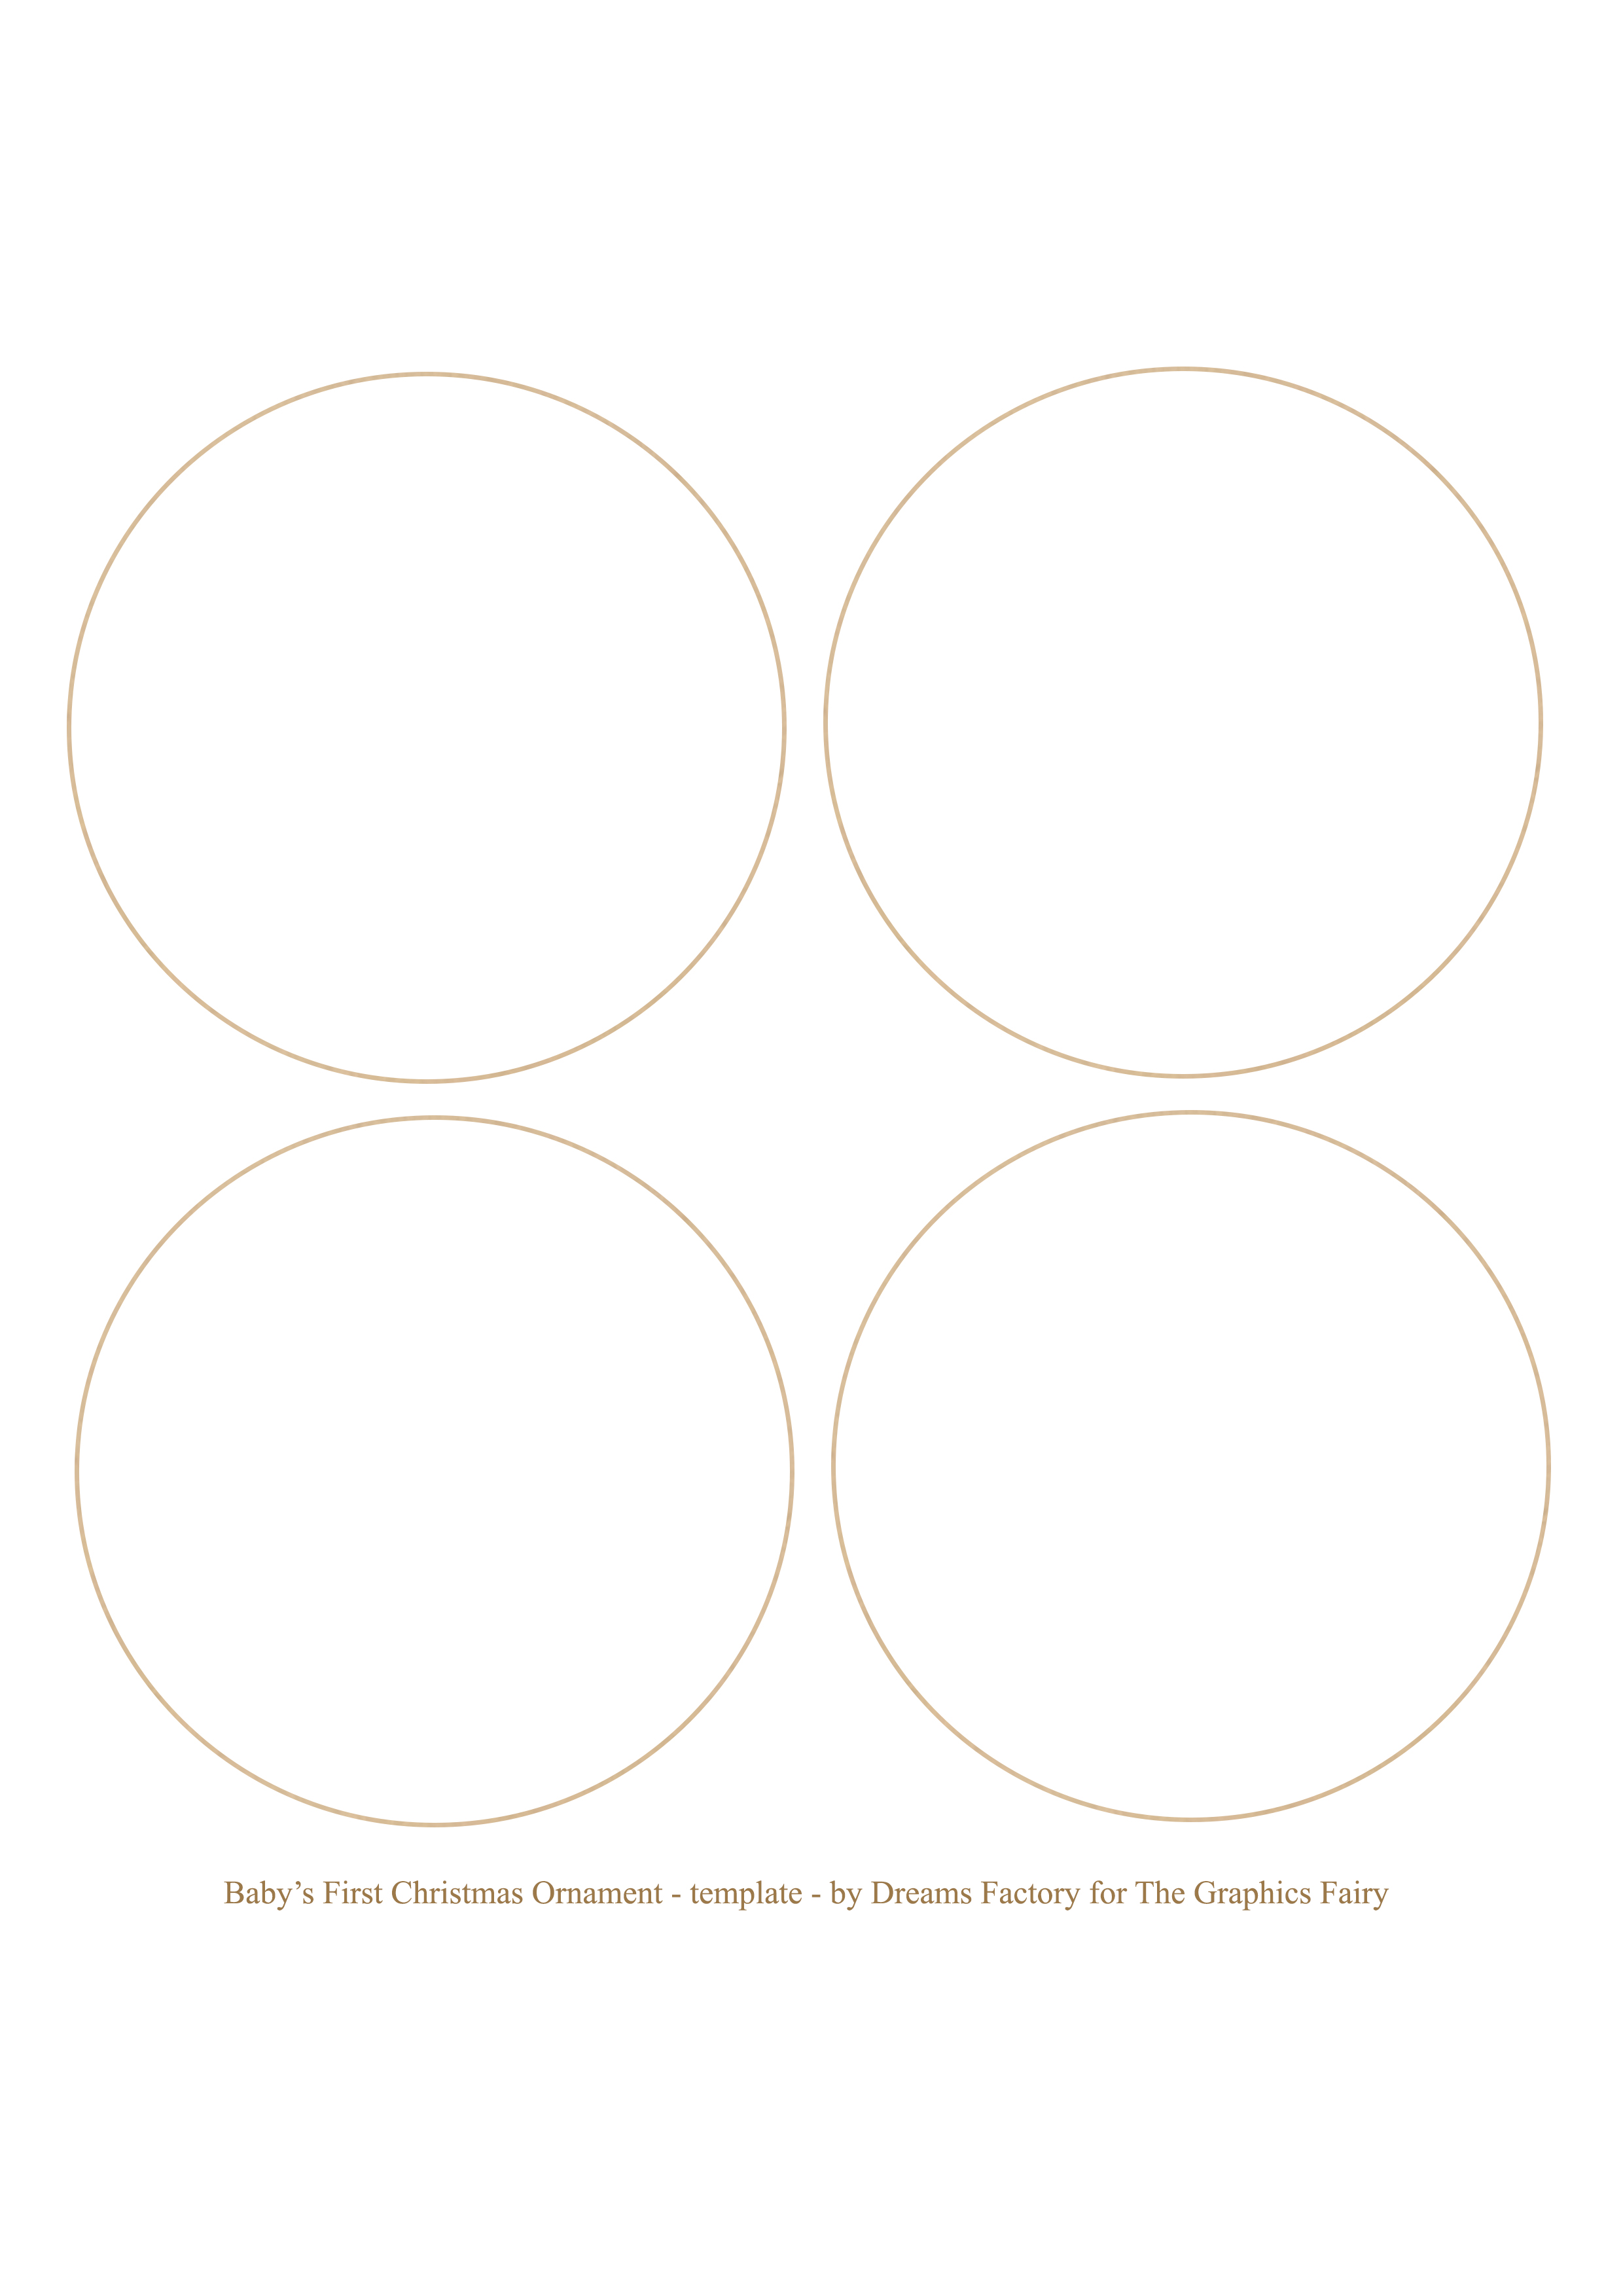
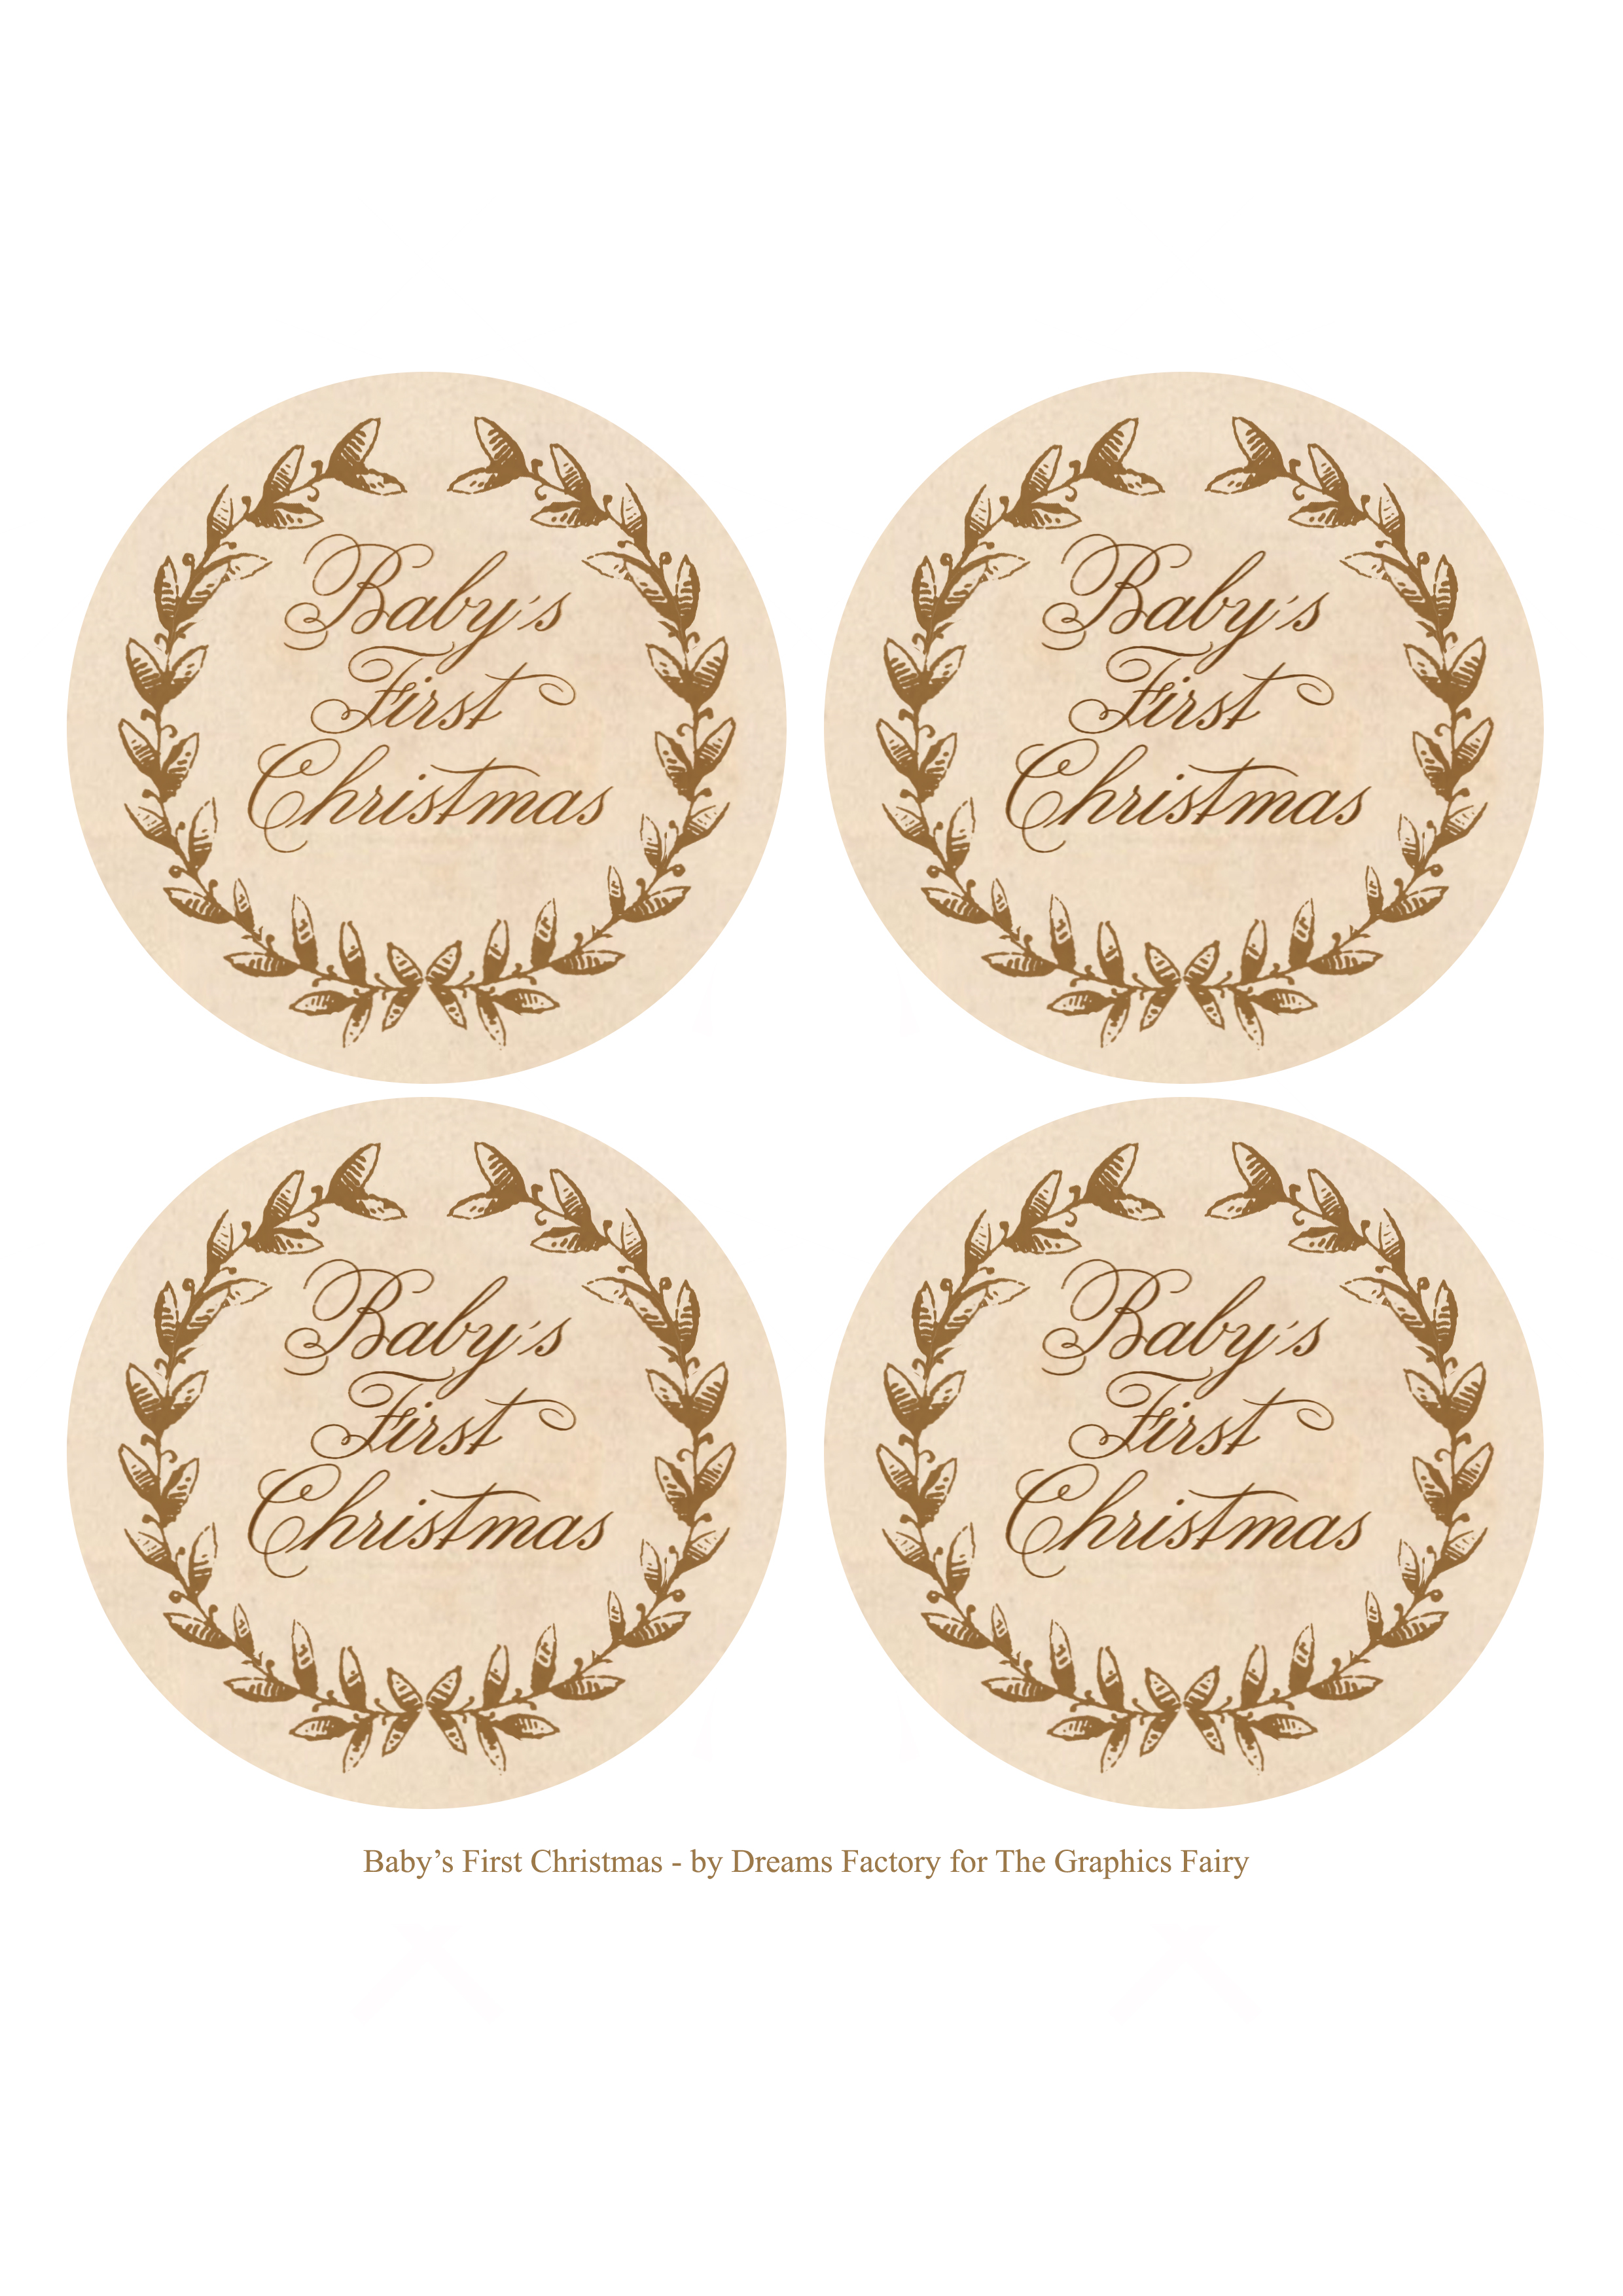
I’ve created two printables for you – one with the actual ornaments and one with the templates needed to create the MDF circles. You will only need 1 template to create the MDF circles, I’ve added more just in case you mess one up when cutting them.
Free Printables:
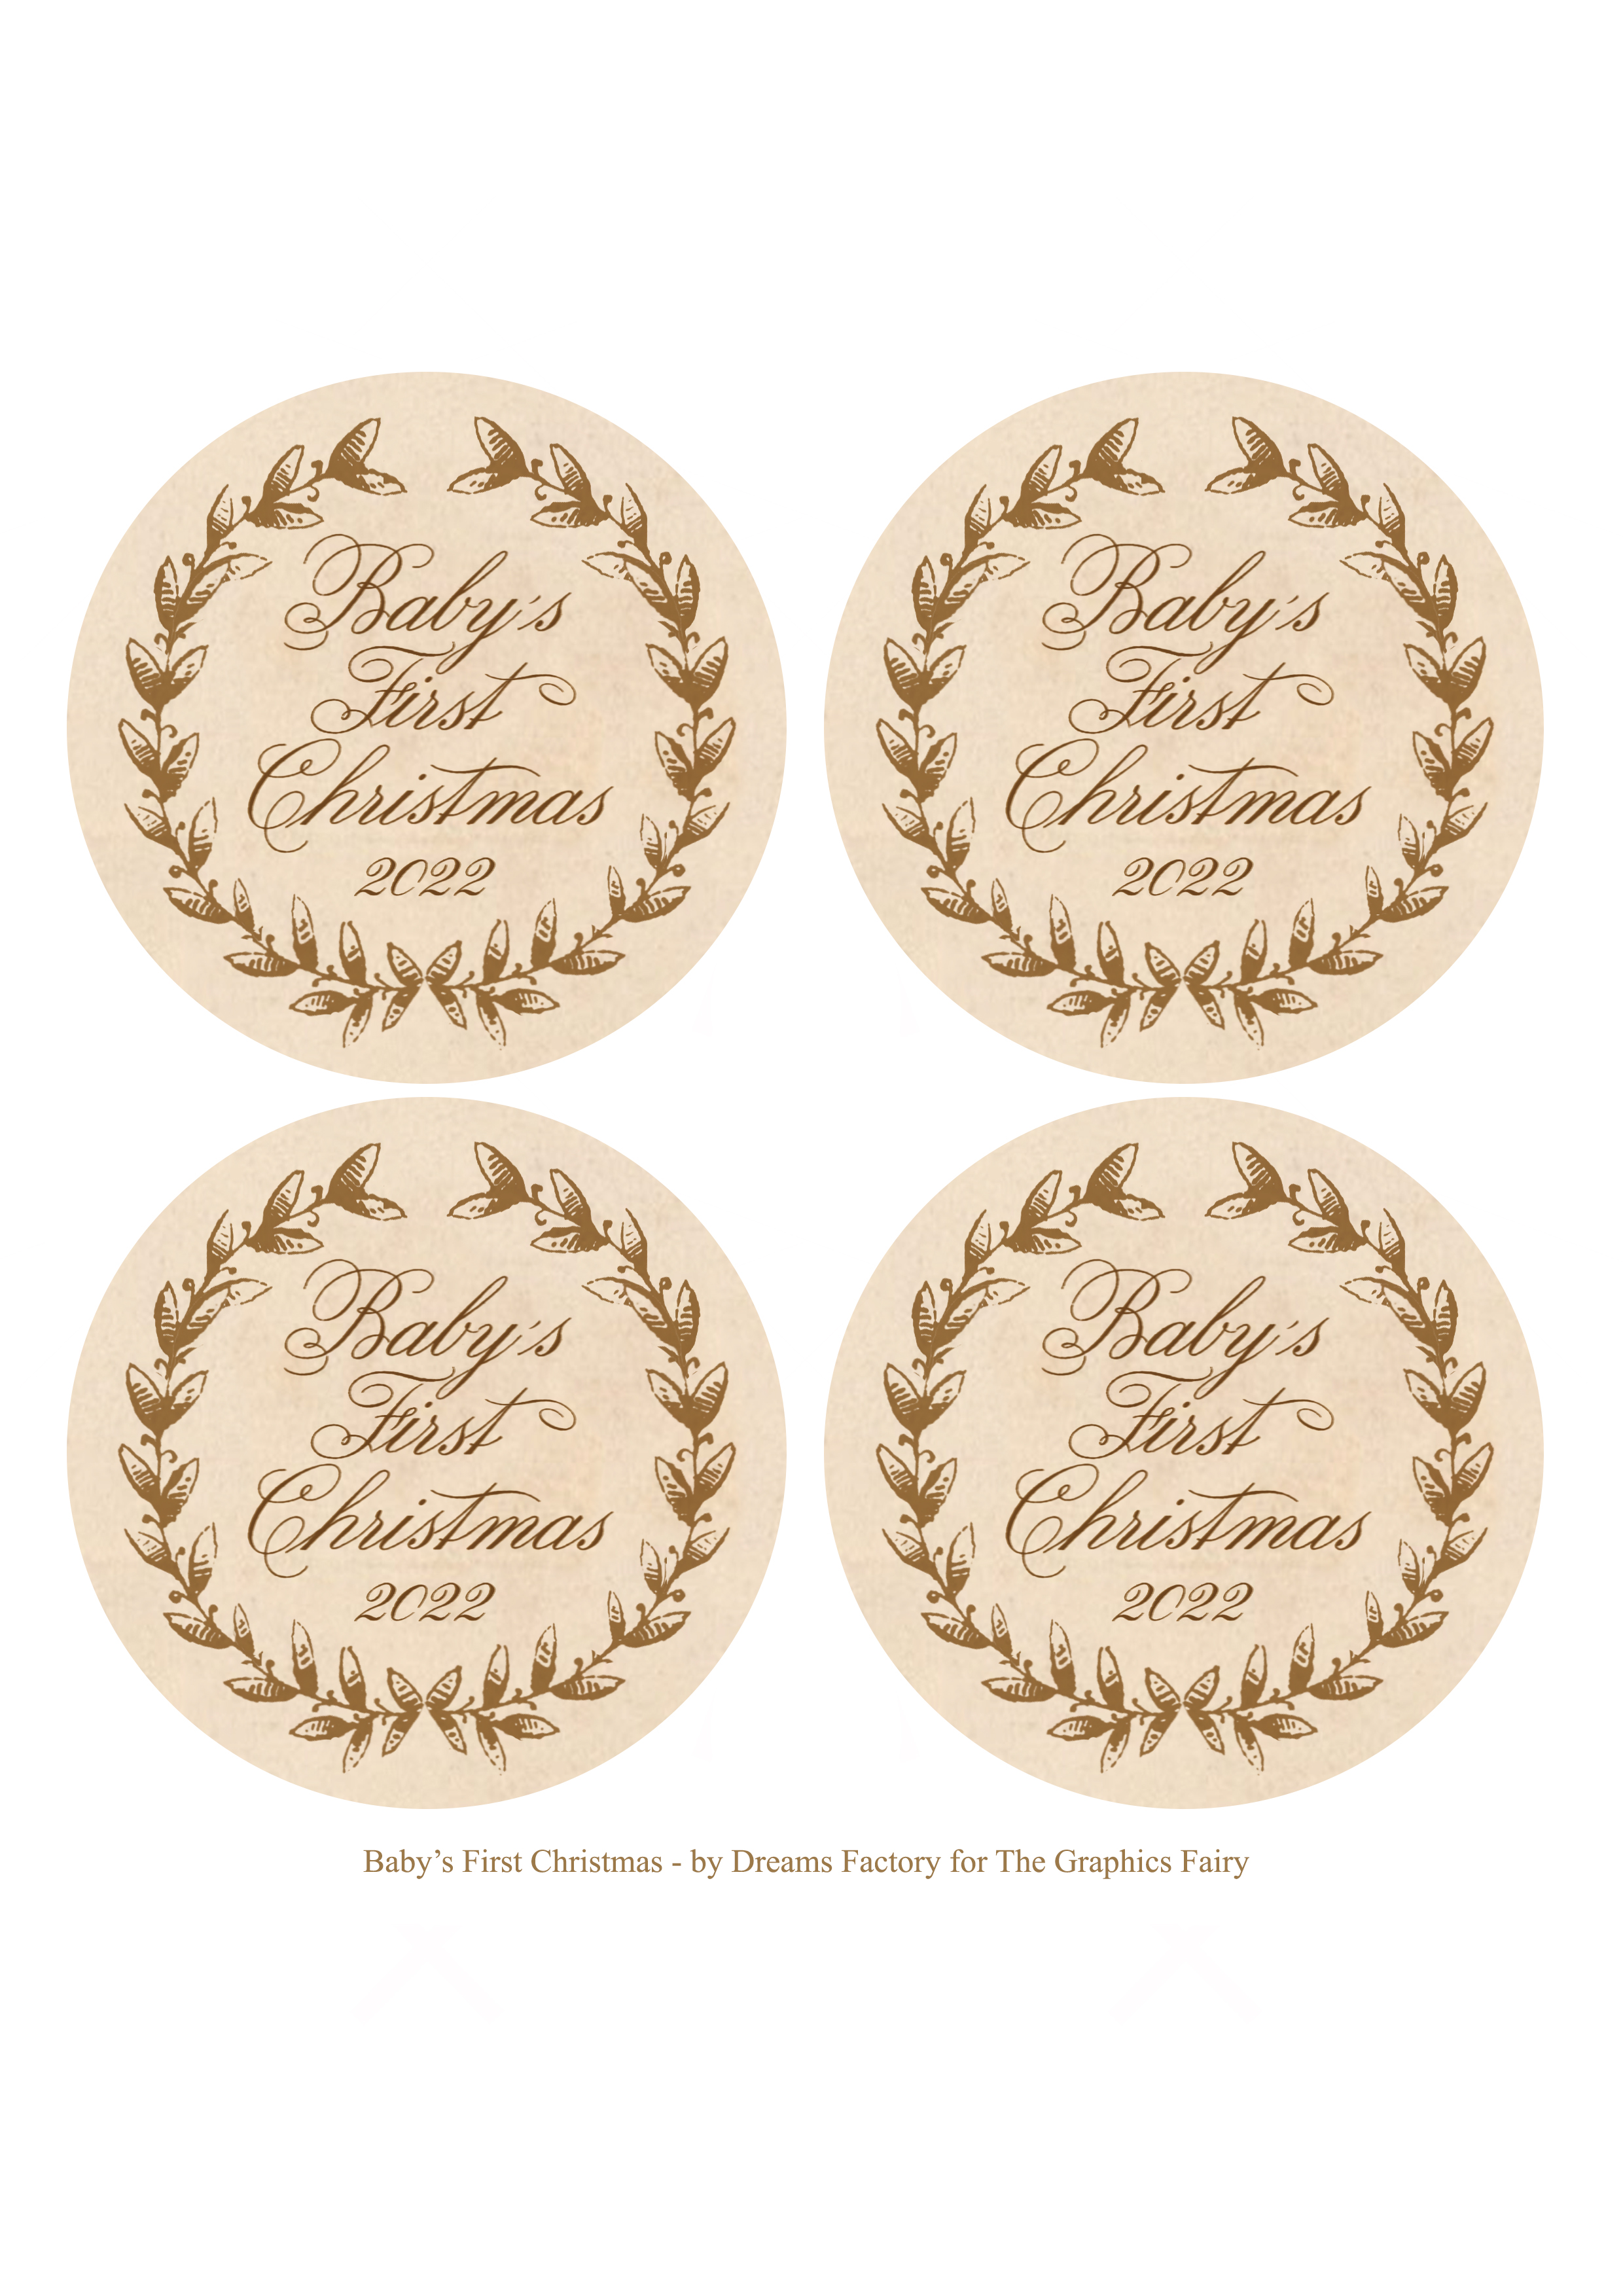 —> Click HERE to Download the Full Size Printable PDF – the ornaments <—
—> Click HERE to Download the Full Size Printable PDF – the template<—
As a bonus, I’m also sharing a customizable design where you can write your own baby’s birth year. We need to be prepared for new babies in the future!
—> Click HERE to Download the Full Size Printable PDF – the template with no date of birth<—
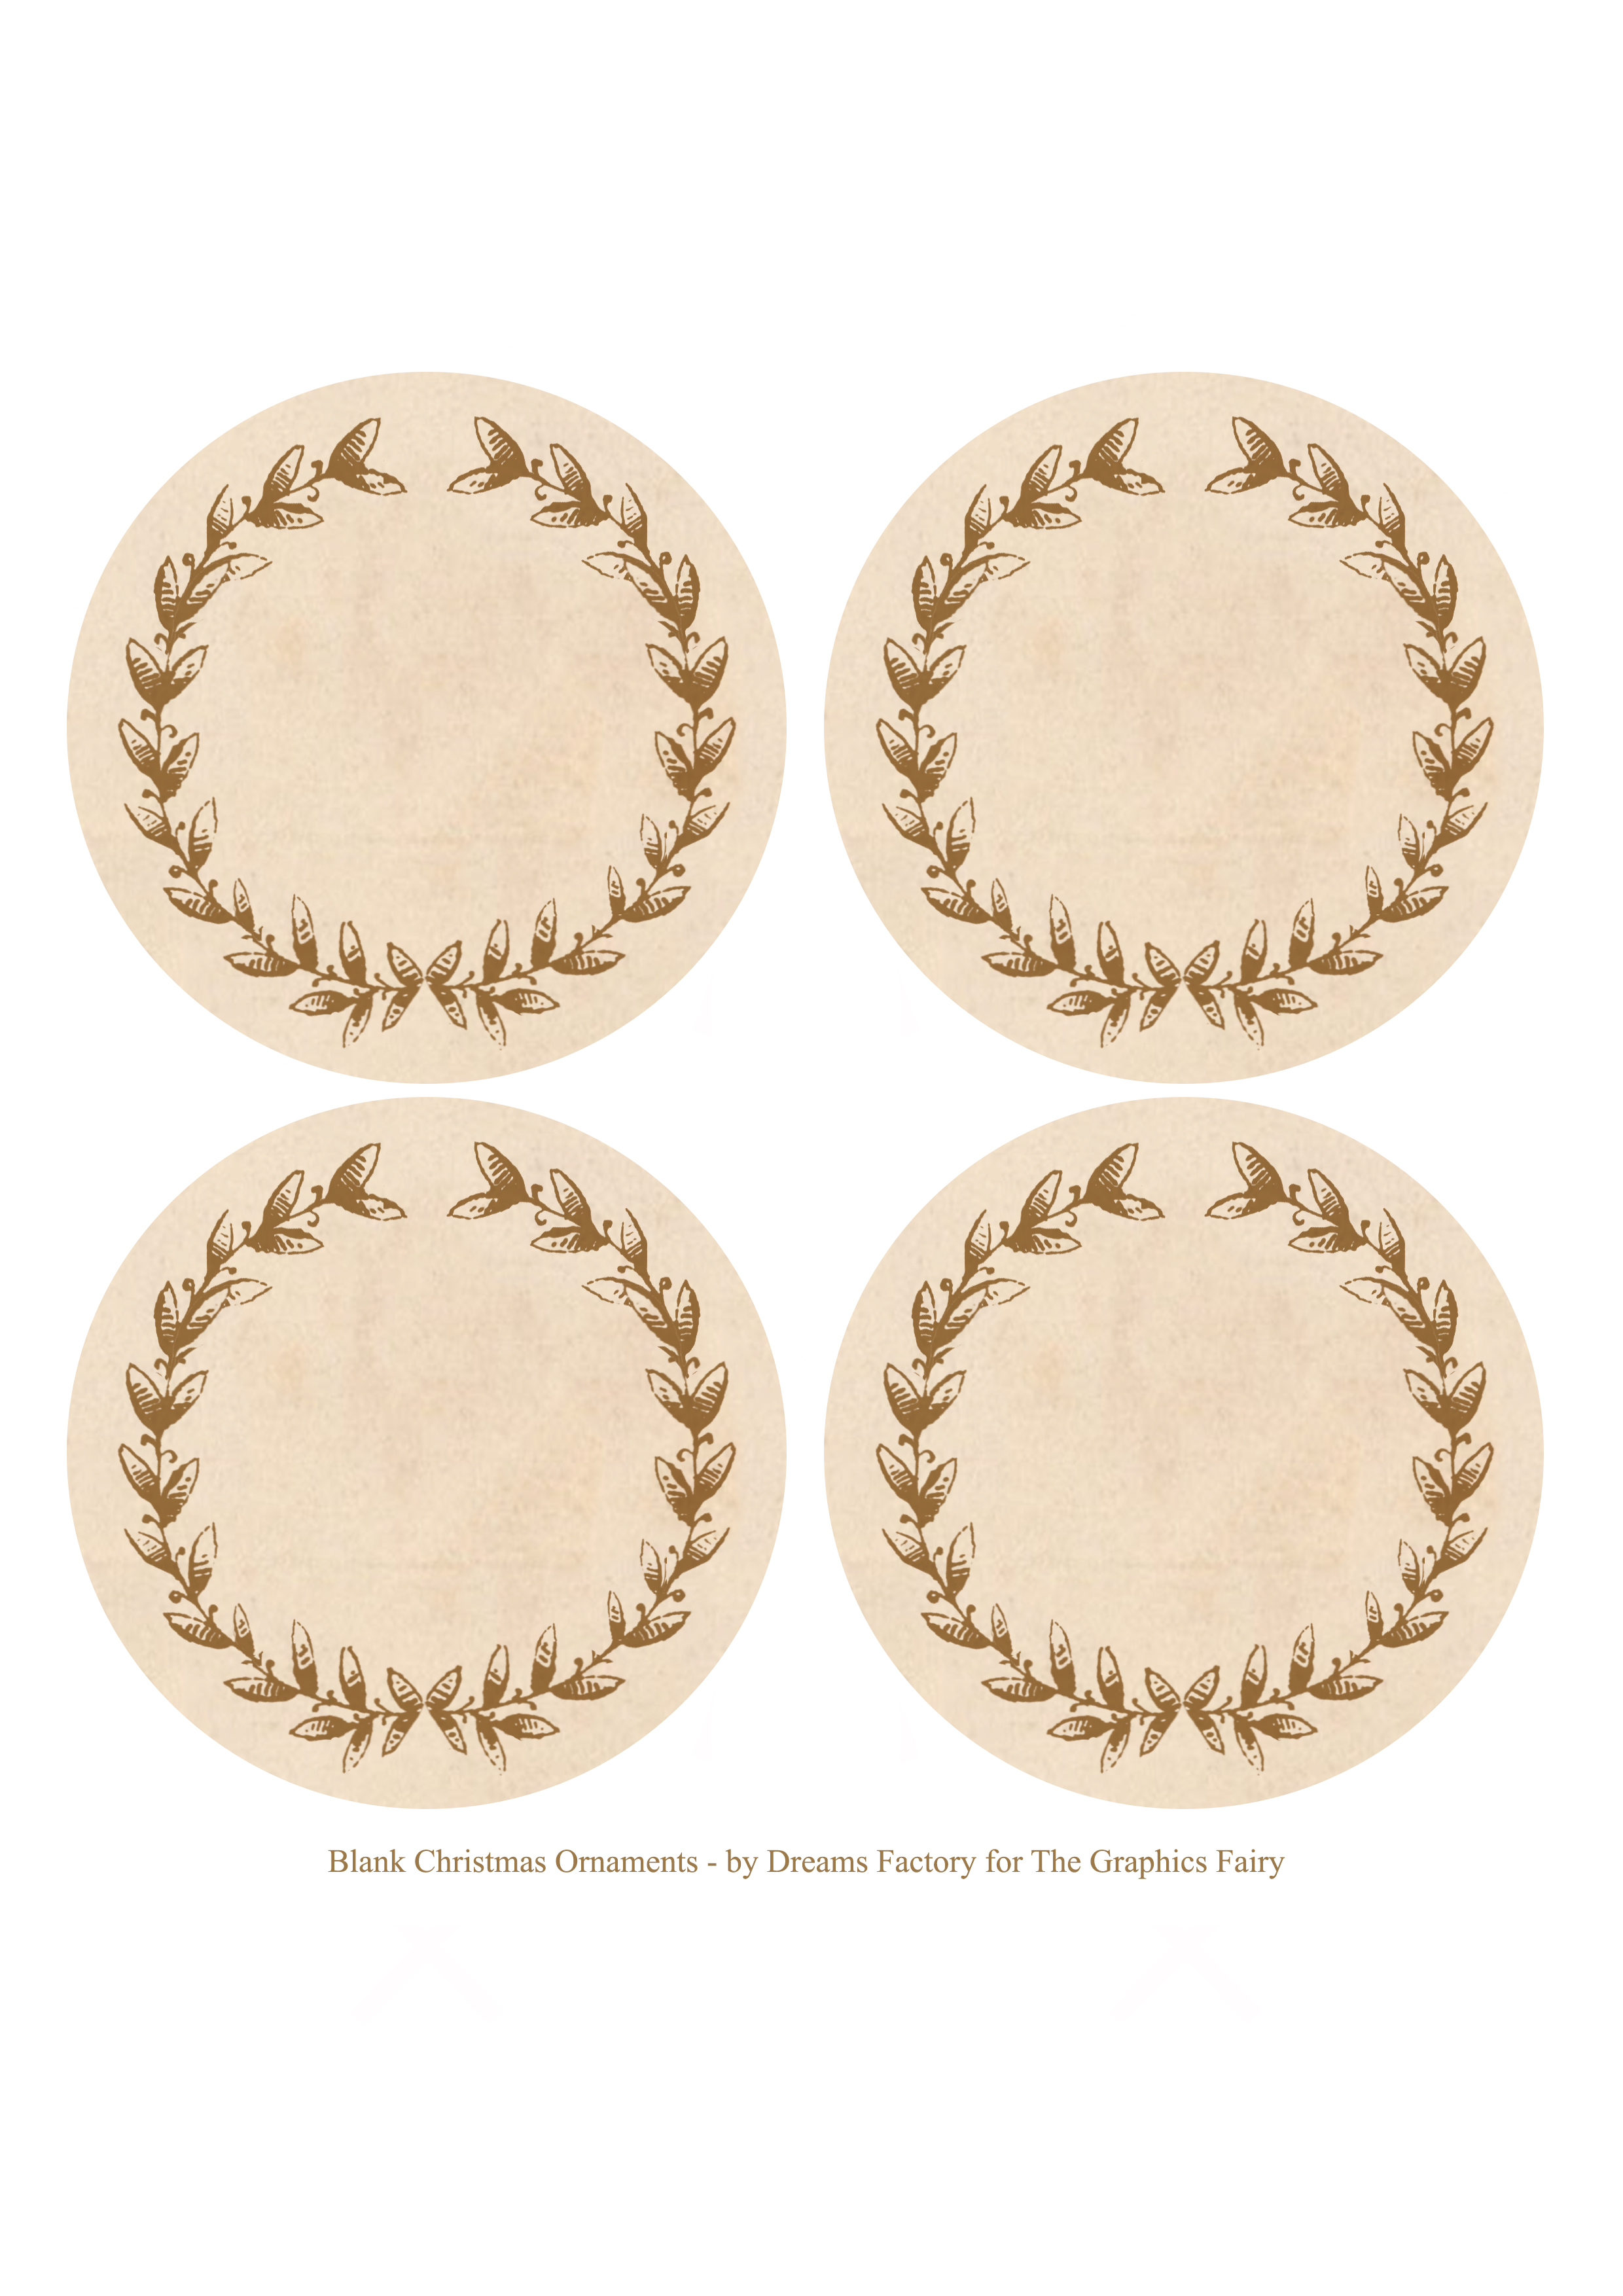
And here is another completely blank design, so you can personalize them as you want! You’ll need an editing program like Photoshop, Canva or Picmonkey to edit them, just use your favorite fonts to design the ornaments of your dreams, on your own terms!
—> Click HERE to Download the Full Size Printable PDF – the blank ornaments <—
Baby’s First Christmas Ornament DIY Supplies:
- tissue paper + paper tape + cardstock paper – for printing the ornaments
- cardstock paper – for printing the templates
- MDF (I used the 0.3 cm / 0.10 inches width)
- top handle jigsaw (and appropriate protective gear) – for cutting the ornaments
- home printer
- scissors
- acrylic paint (I used Titanium White)
- 120 or 180 grit sandpaper (optional, for distressing)
- Mod Podge
- brush
- gold foil
- foil glue pen
- parchment paper / plastic sheet / silicon mat– to protect our working surface
Full Tutorial:
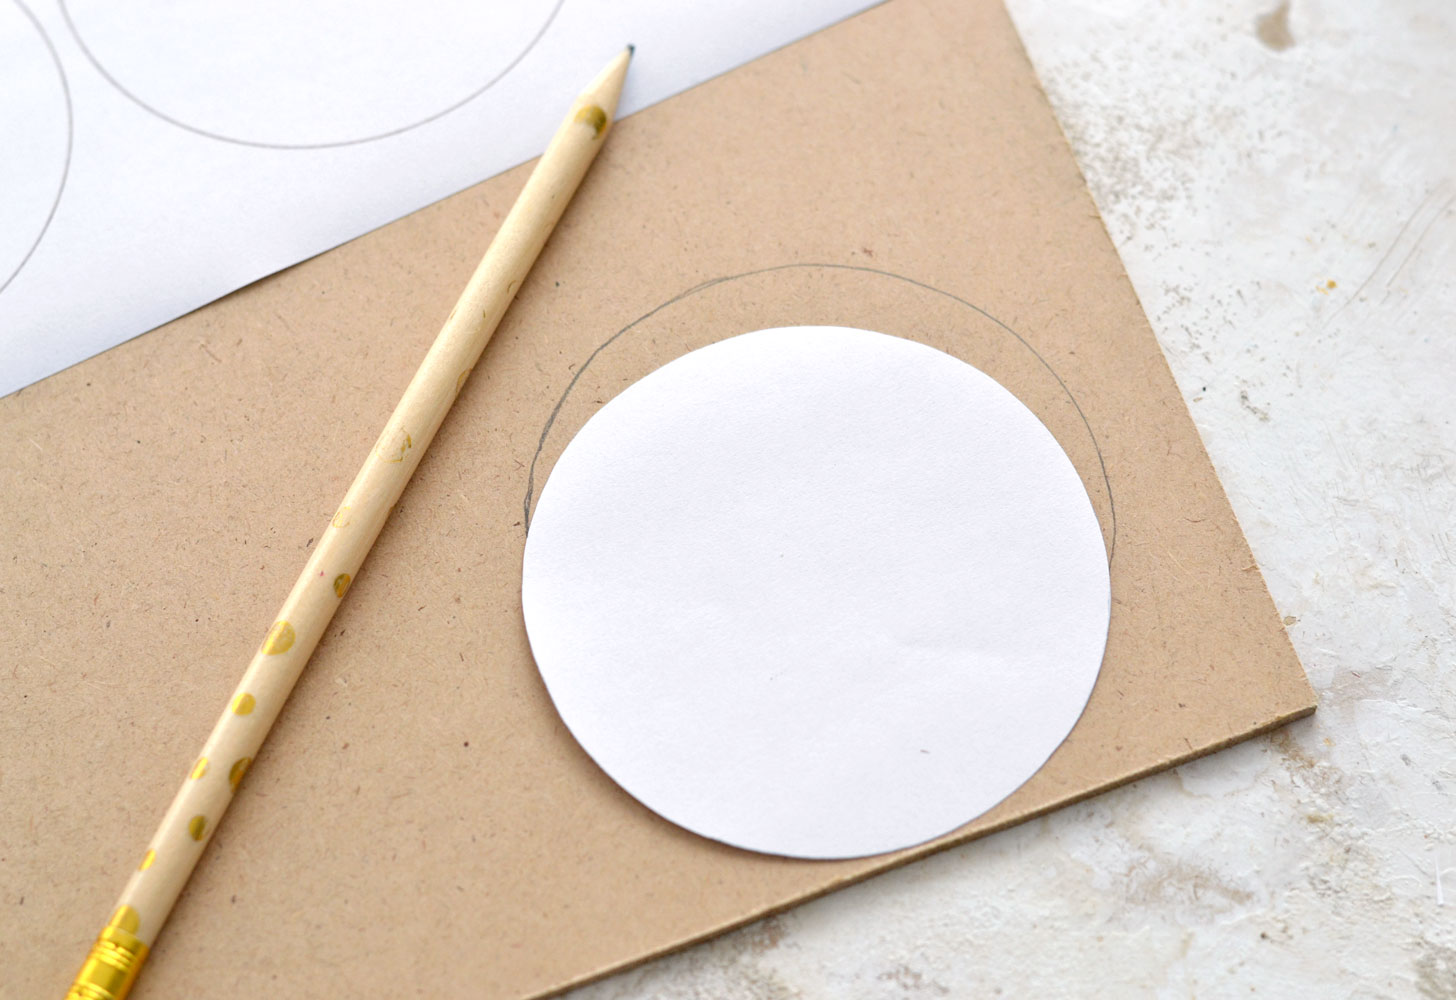
To cut the MDF circles you’ll need to cut the template first, then use a pencil to trace it on MDF. Trace as many homemade ornaments as you want then use a top-handle jig saw to cut them.
As an alternative, you could replace the MDF with balsa wood, which is really lightweight and can be cut using an X-acto knife.
As another alternative, you could use already cut wood or thick cardstock that you can find in craft stores or online. Old coasters could also work, just make sure they are not too heavy so they can be hung on your Christmas tree.
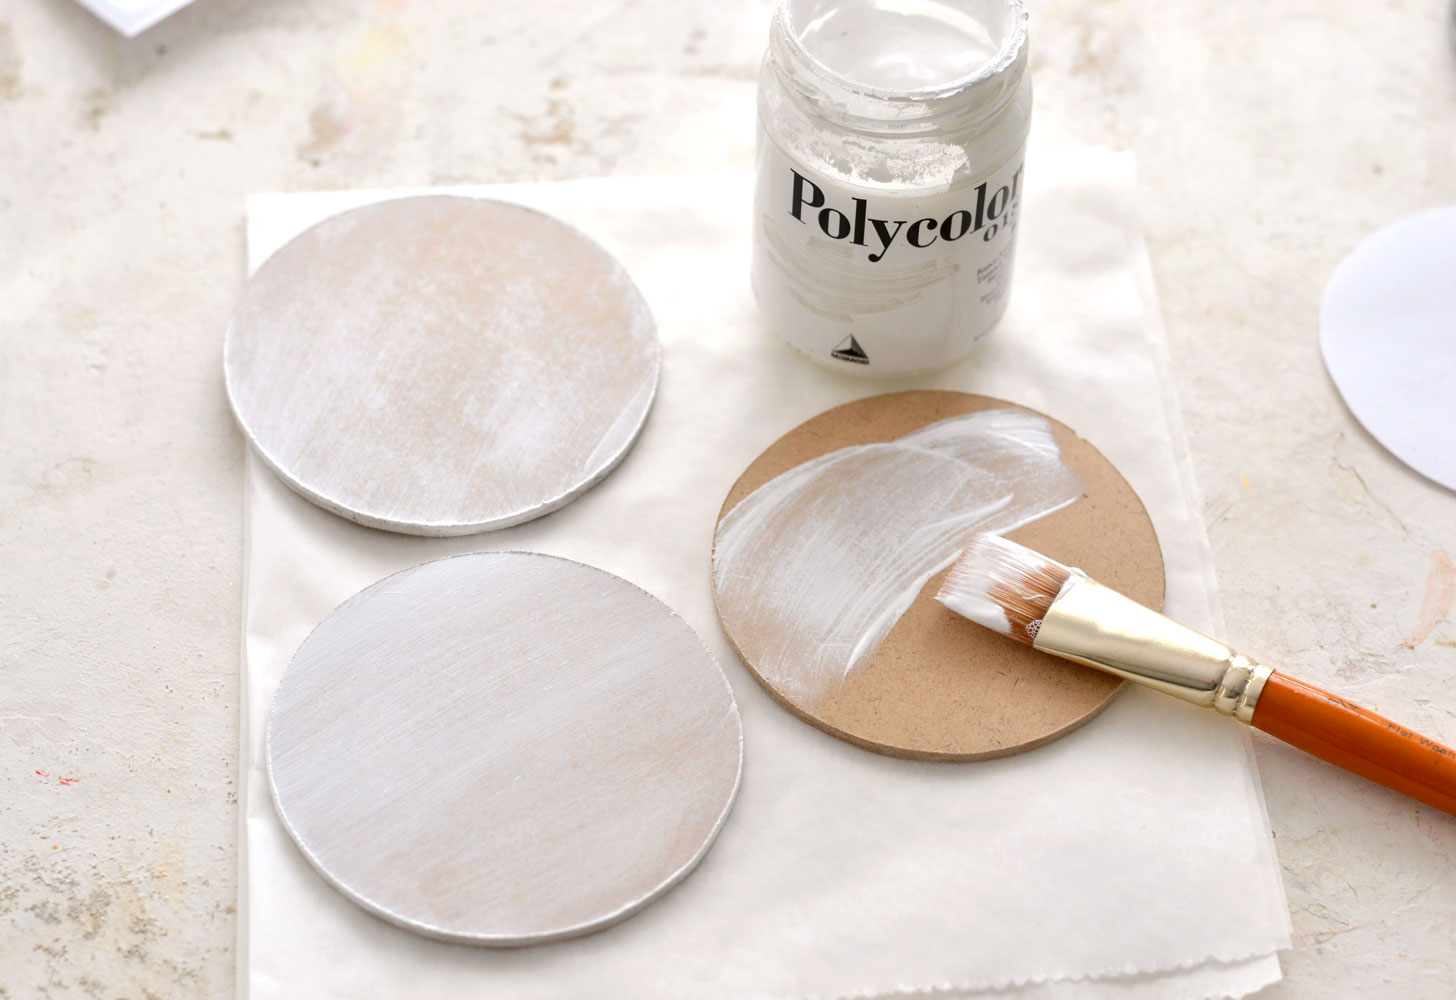
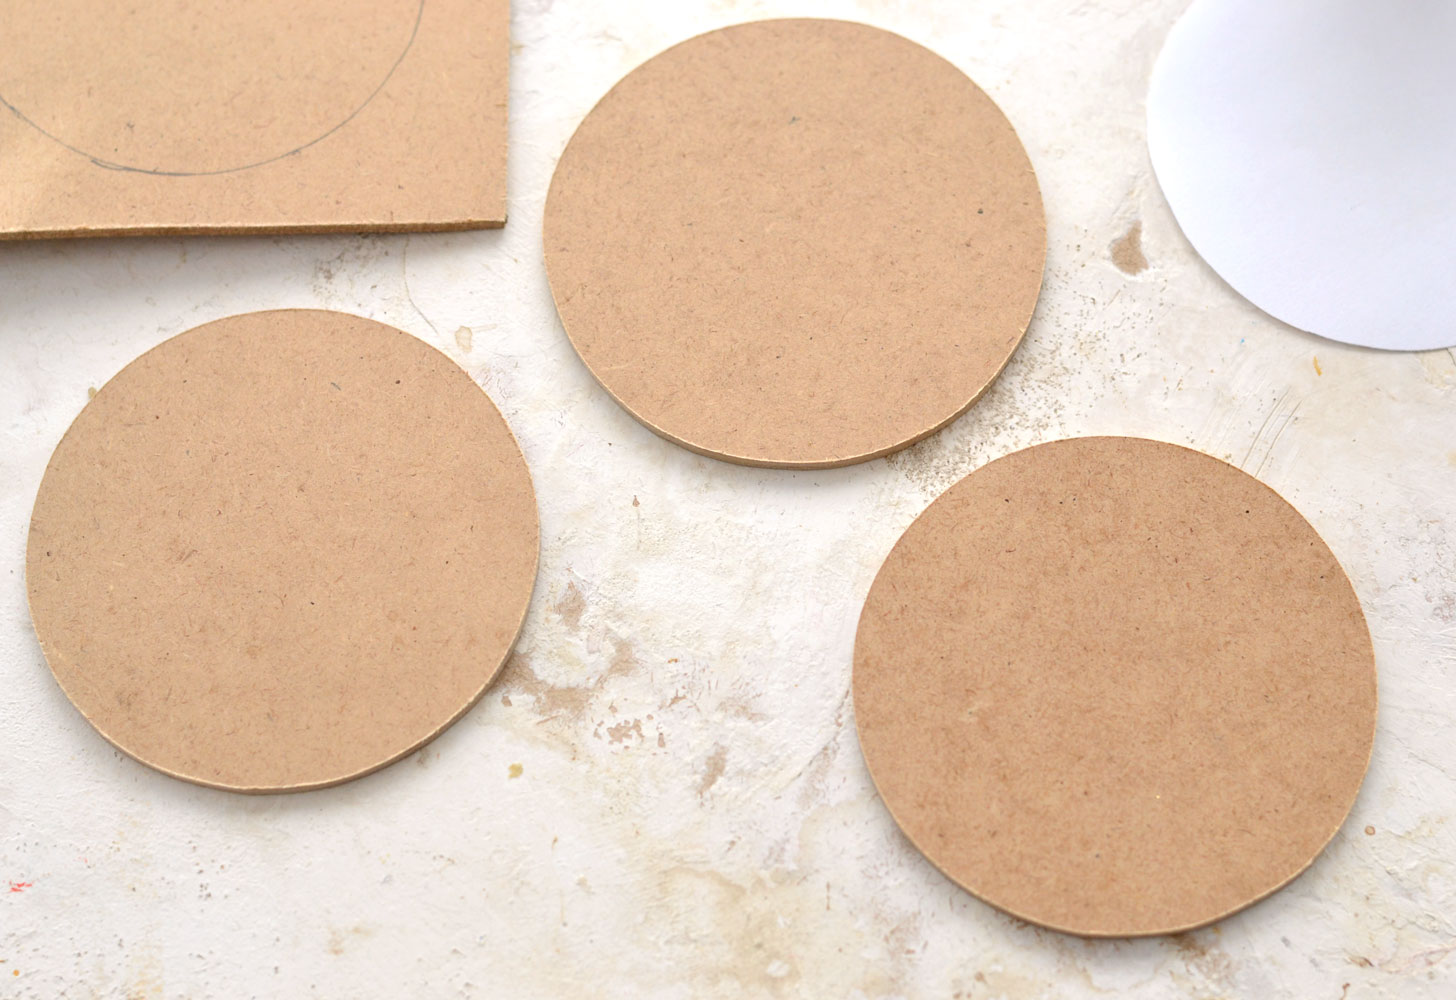 Paint the shapes using white acrylic paint. You can paint one or two layers, depending on the coverage of your paint.
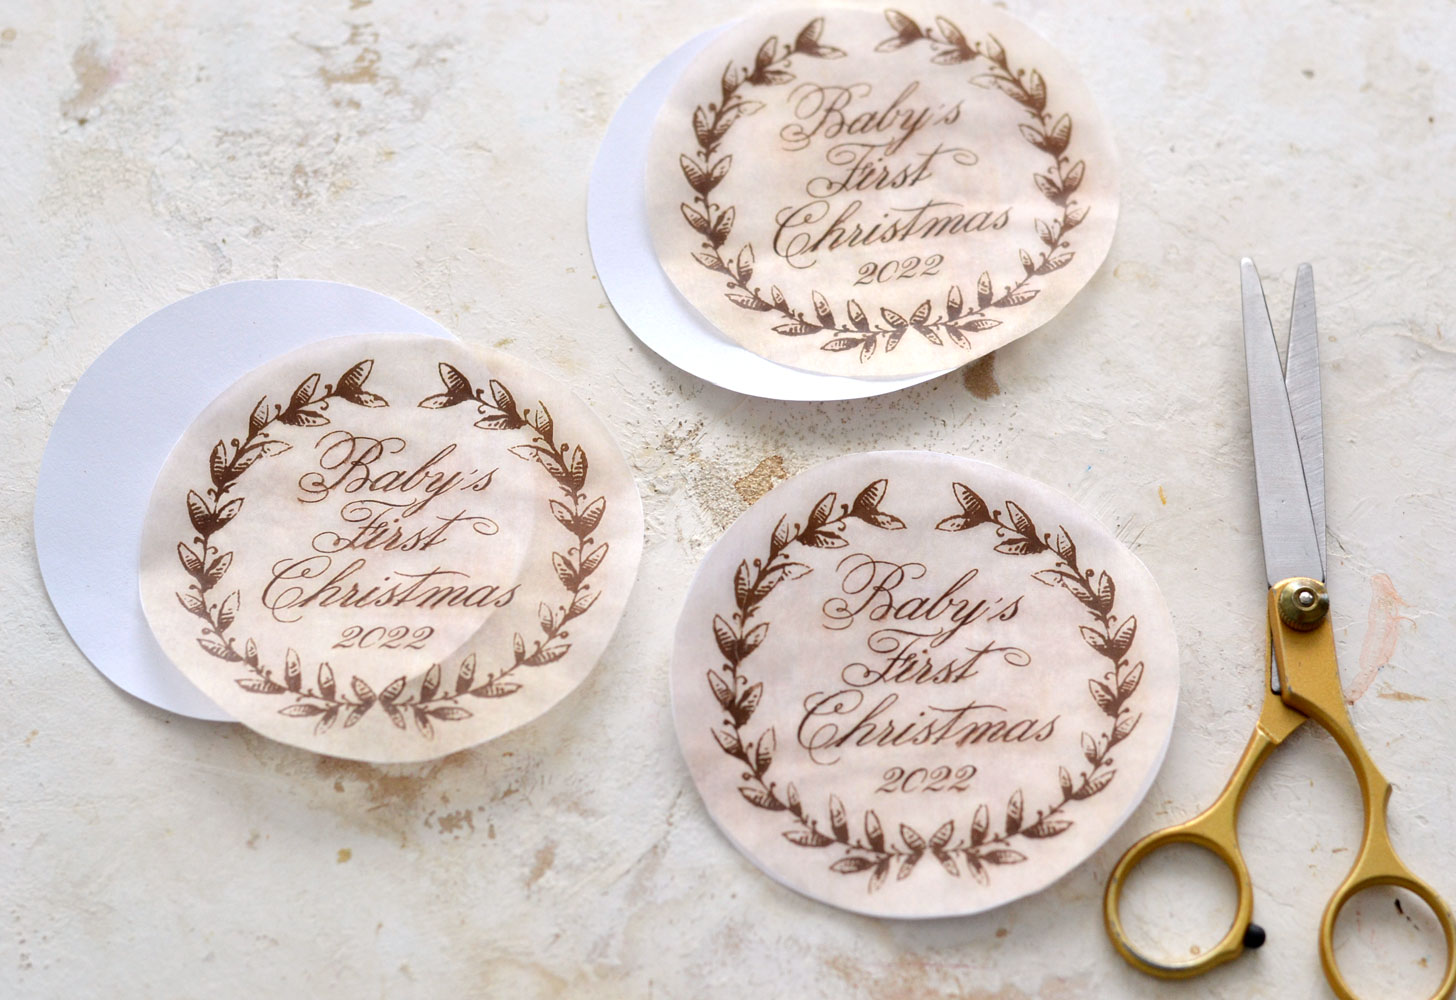
While the paint is drying, you can use your scissors to cut the tissue paper images. I also cut the underneath cardstock paper base along with the tissue paper. Why? Because tissue paper can be quite sheer and the white cardstock helped with better seeing the edges of the design.
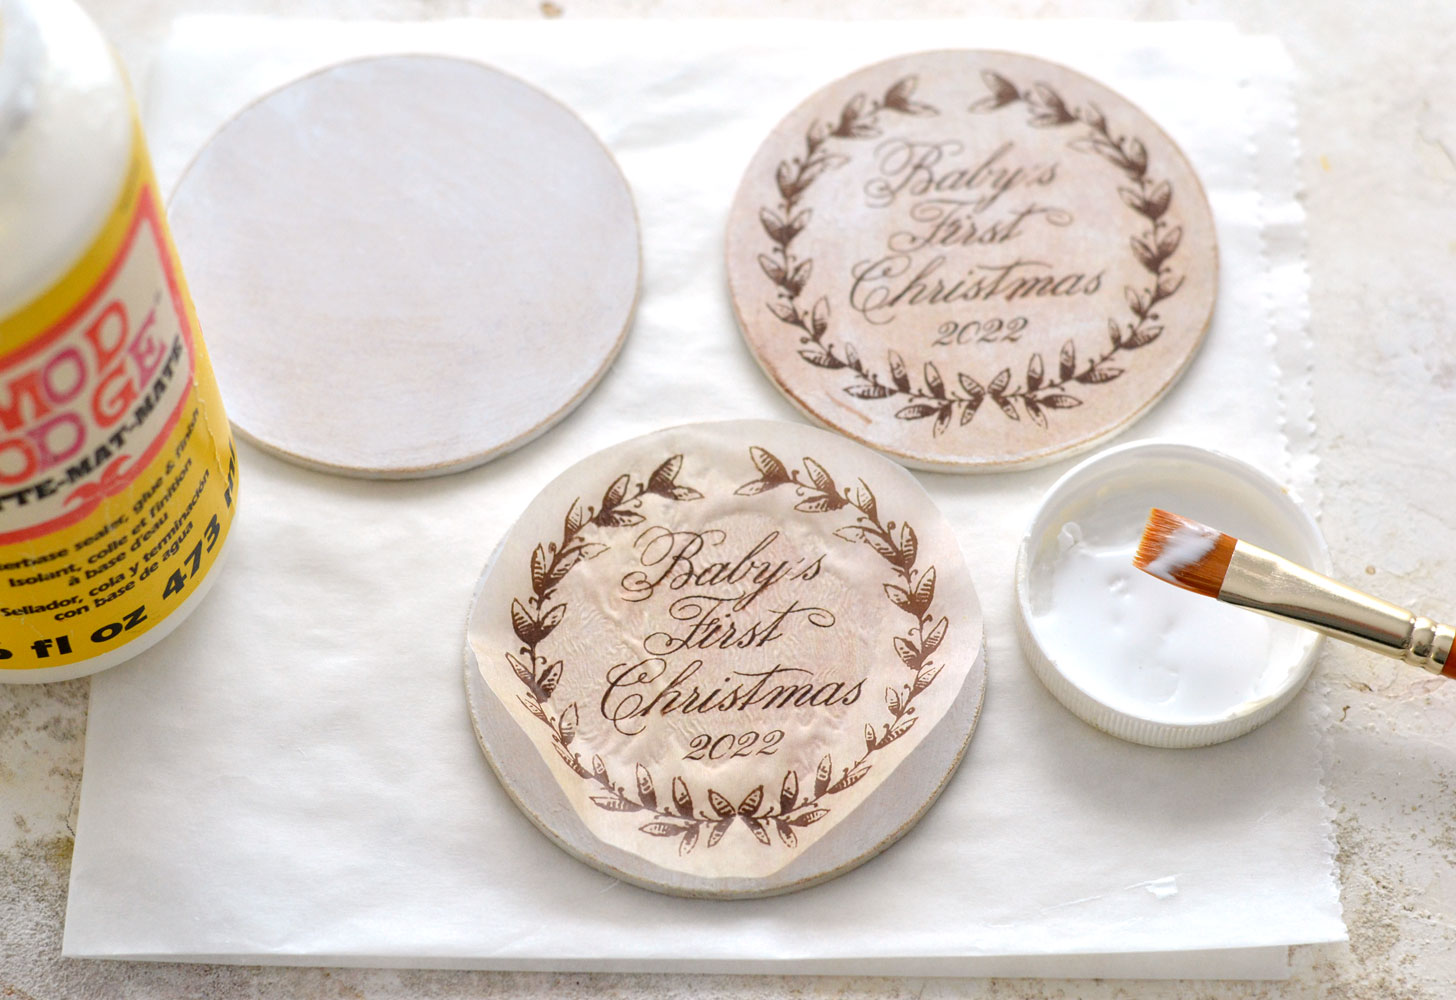
Apply a uniform layer of Mod Podge on your wood bases, just make sure it’s not too thick but not too thin either. Air center the image on top as much as you can, then place the center of the image on the base.
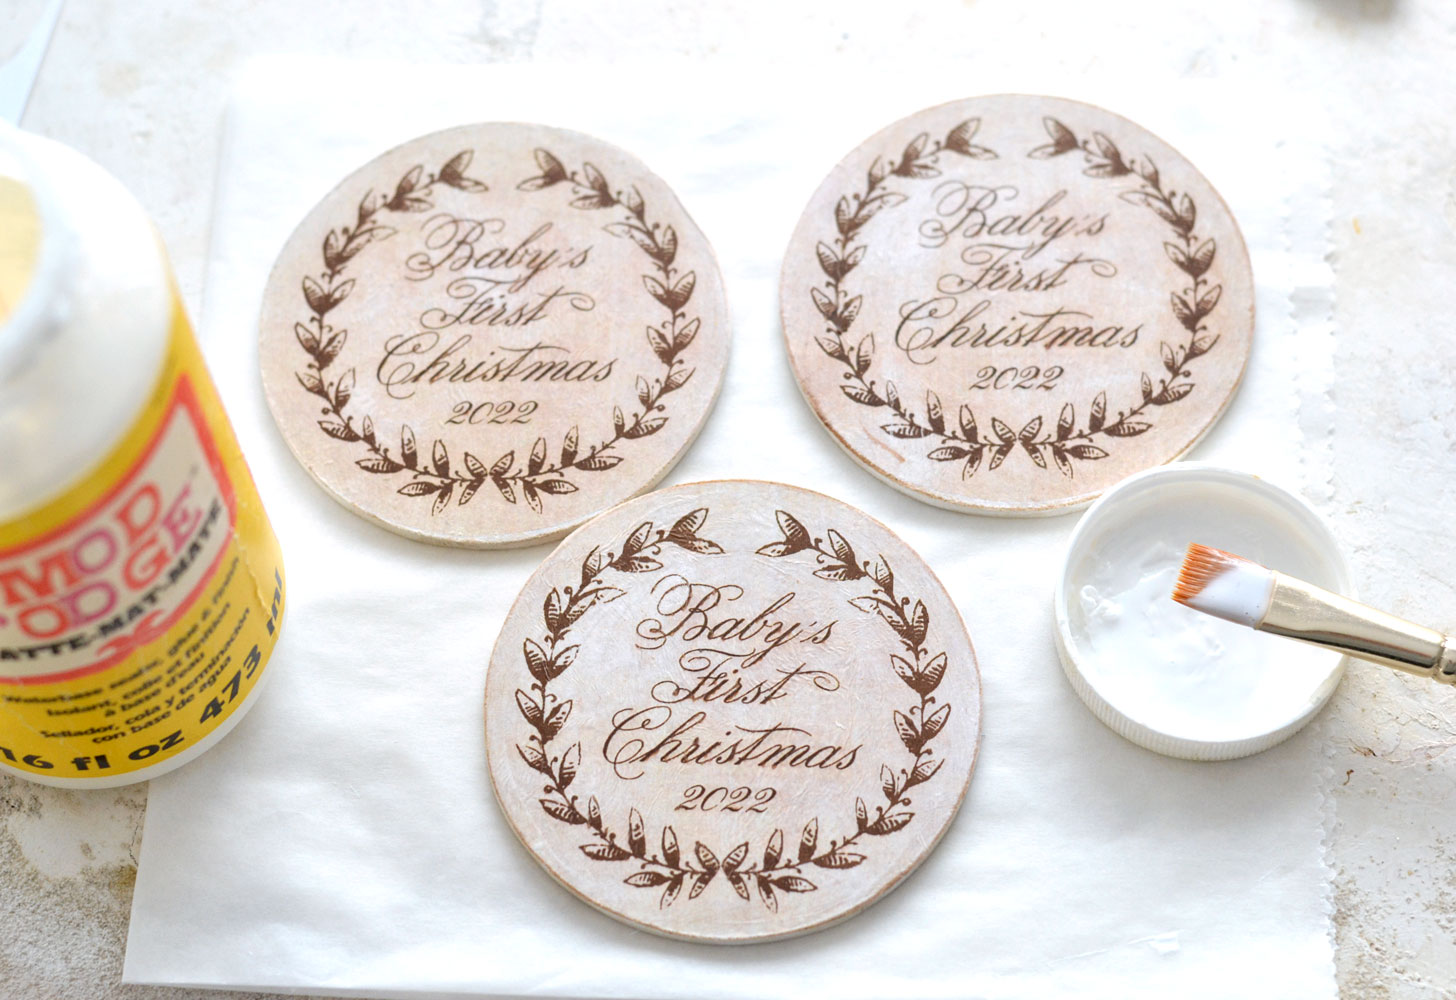
Now starting from the middle, gradually press with your fingers until the paper is smooth and all the air bubbles are removed. Glueing the images gluing the images
Try not to slide your finger on the paper, it’s best to gradually press the paper to glue it rather than making any left or right / up and down moves. If you slide your finger, because the paper is so delicate, the writing might move and it will look a little bit off here and there. That actually happened to me on one of the ornaments, but I didn’t mind the small imperfections.
If you want, you can add another layer of Mod Podge on top – I prefer to do this after the underneath glue had a chance to completely dry.
Moving on to adding the gold foil which is definitely my favorite part!
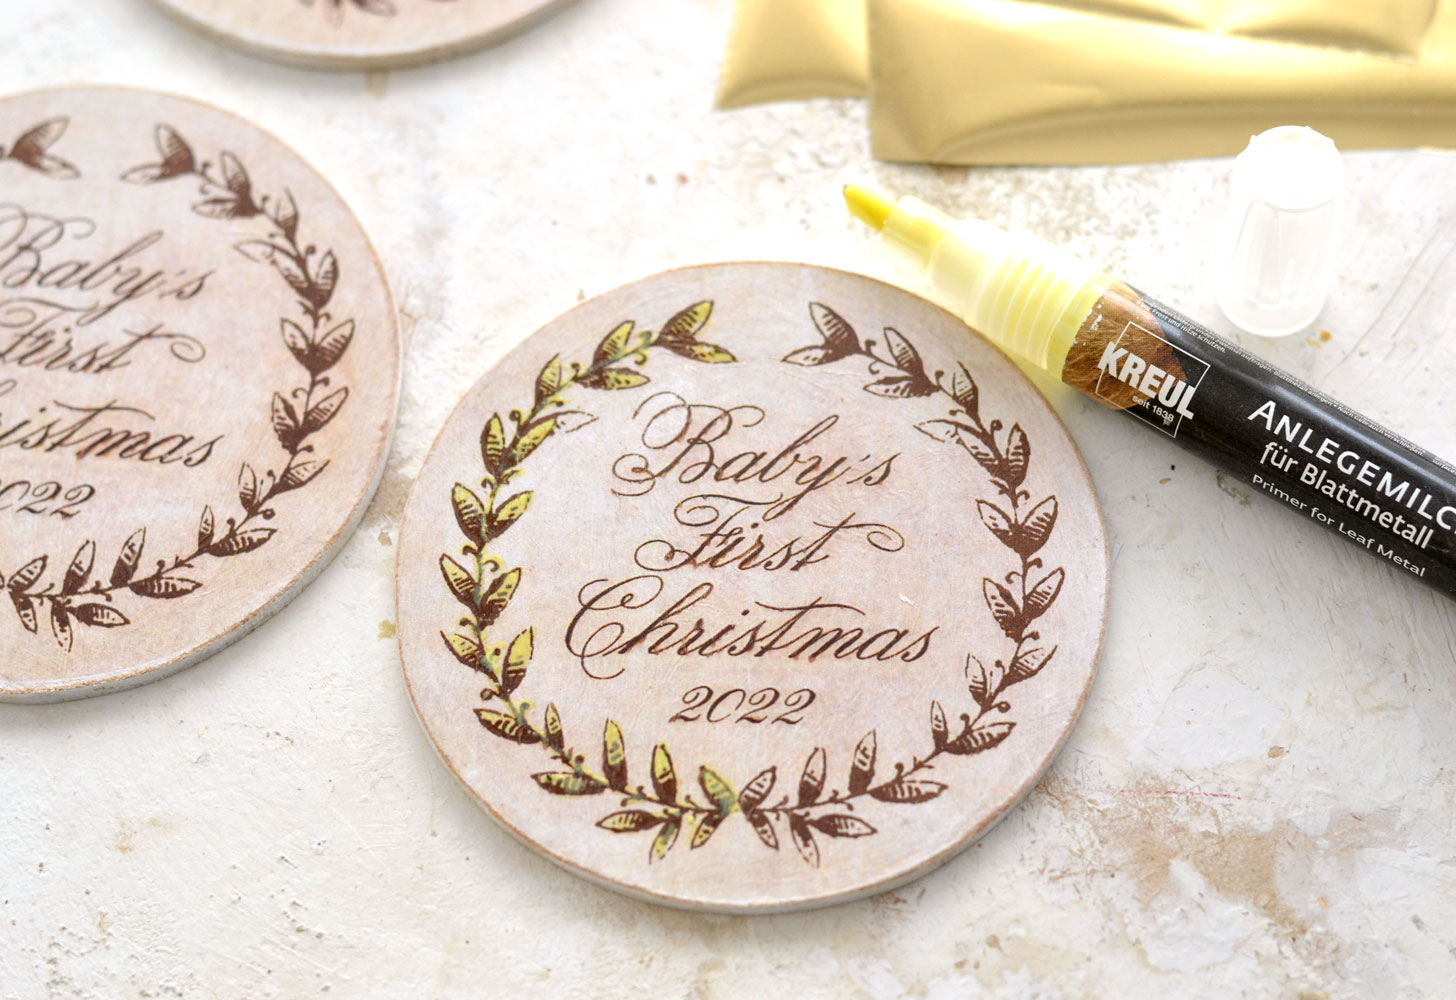
I usually use gold foil and a gold foil glue with an applicator for projects that require more attention because of their small details (the leaves of the wreath in this case). Just remember you need a special glue that becomes tacky after drying and lets you adhere the foil on top!
You can check out my Gold Foil Cards HERE!
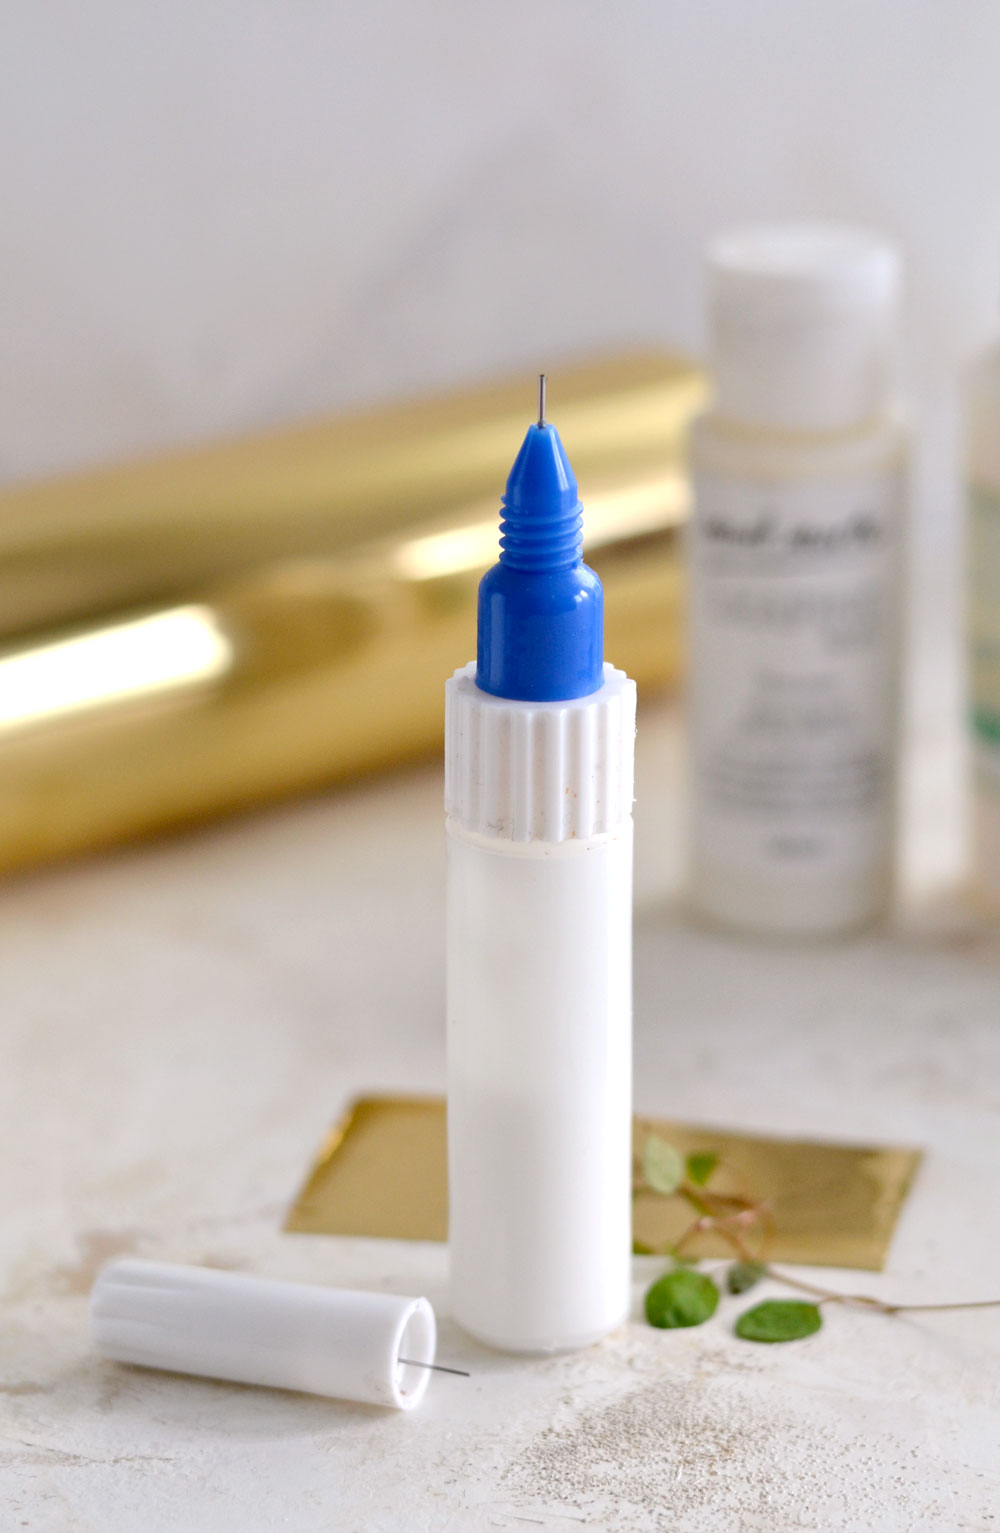
I actually experimented a little bit today using a gold leaf pen to apply the gold foil and I really loved the final results! I was excited to see that this gold leaf glue pen actually worked with gold foil! I’m not sure if you can find this exact pen where you live, so just use something similar that you can find online or in the stores near you.
Use the glue pen and go all over the leaves of your wreath. This glue was actually yellow, but foil glue is normally white and becomes transparent and tacky after drying.
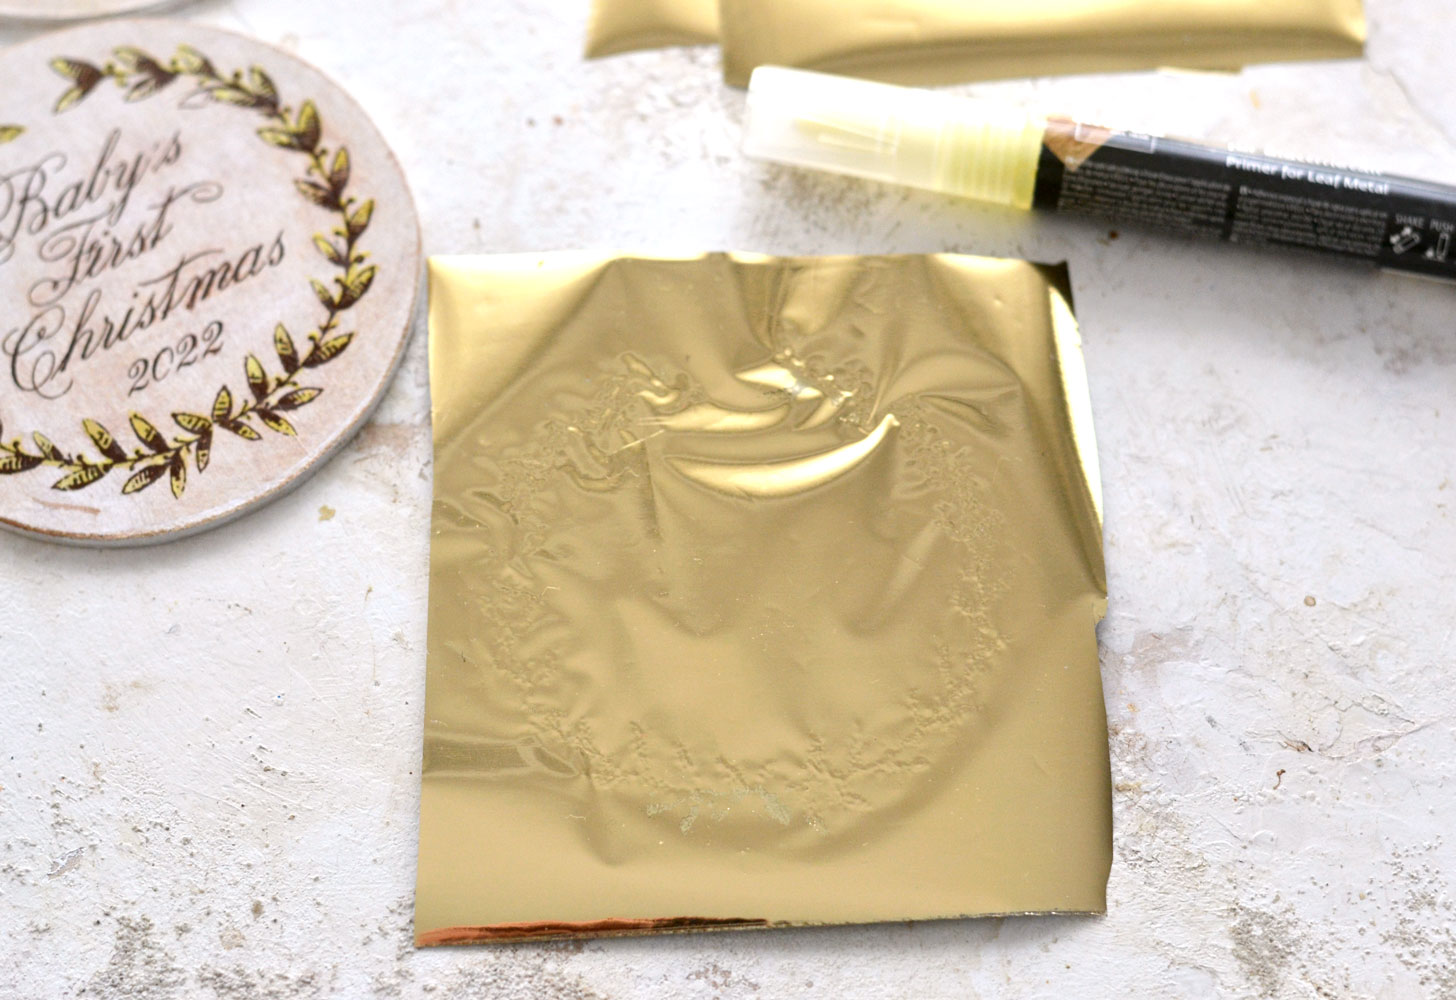
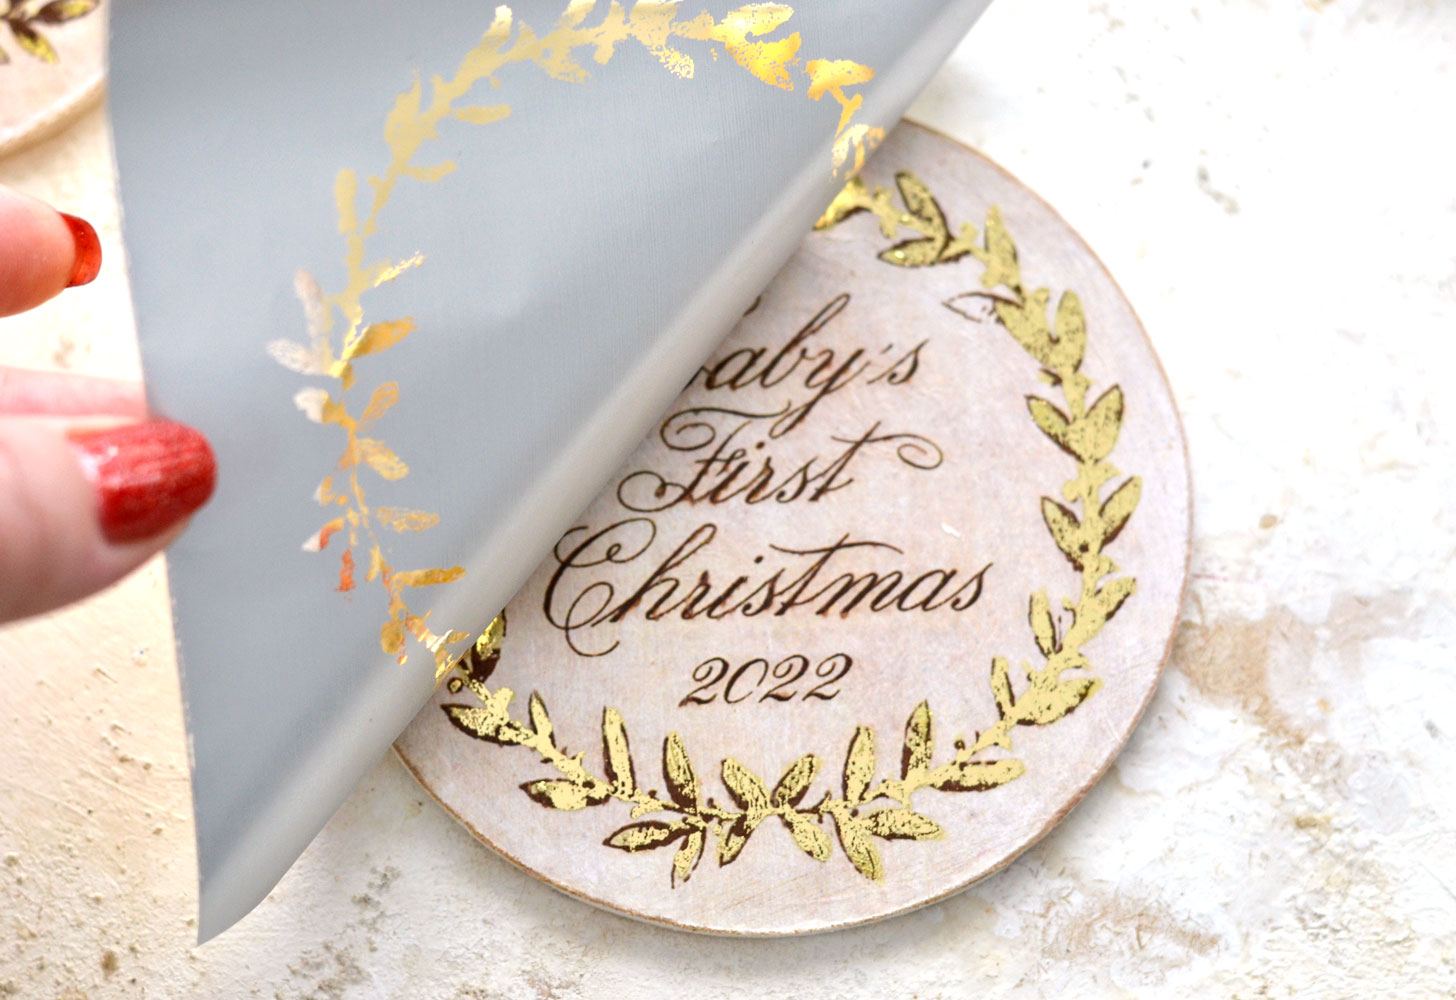
Let the glue dry according to the manufacturer’s instructions, then apply the gold foil. The foil will only adhere where you added the glue, so apply pressure with your fingers while going all over the details.
Remove the gold foil and admire these absolutely gorgeous and beautifully gilded designs! I love that you can also see the original leaves, the gold foil just enhanced them in a stunning way!
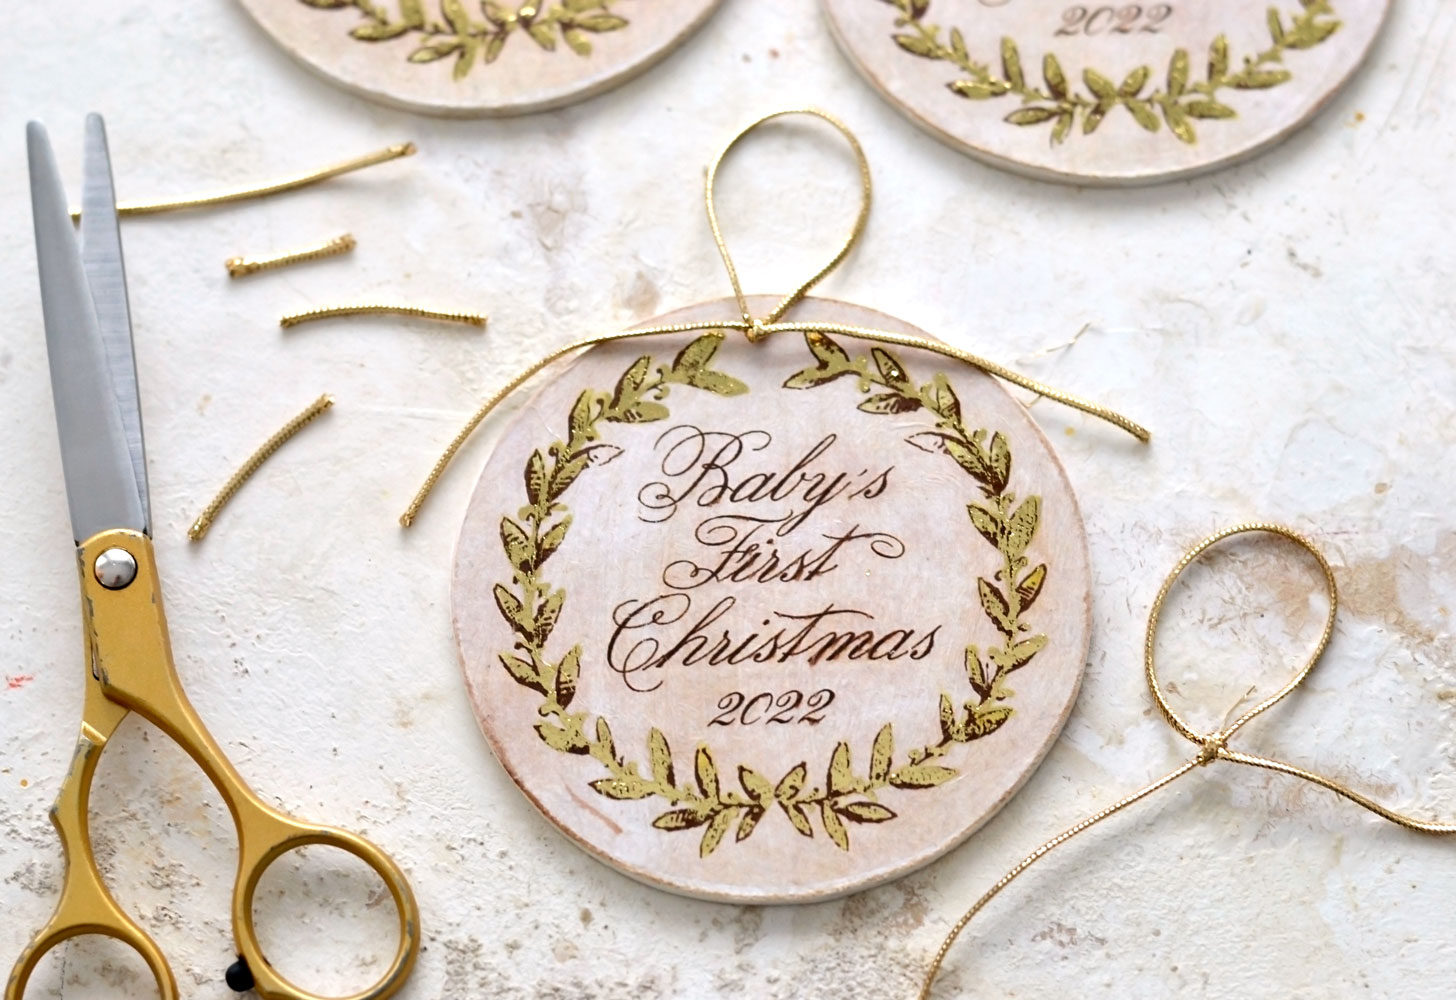
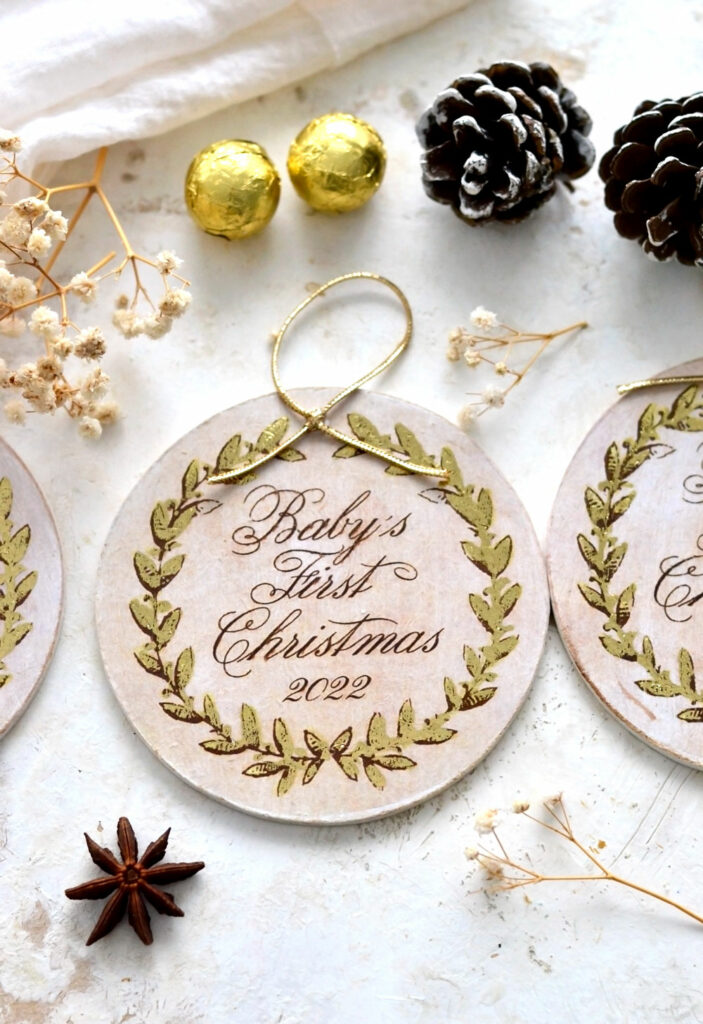
Cut a piece of gold twine, thread or ribbon and fold it in half to make a loop. Leave the loop as long as you want it to be, then tie a knot. Glue the knot on the ornament using a hot glue gun, then cut the ends as you want.
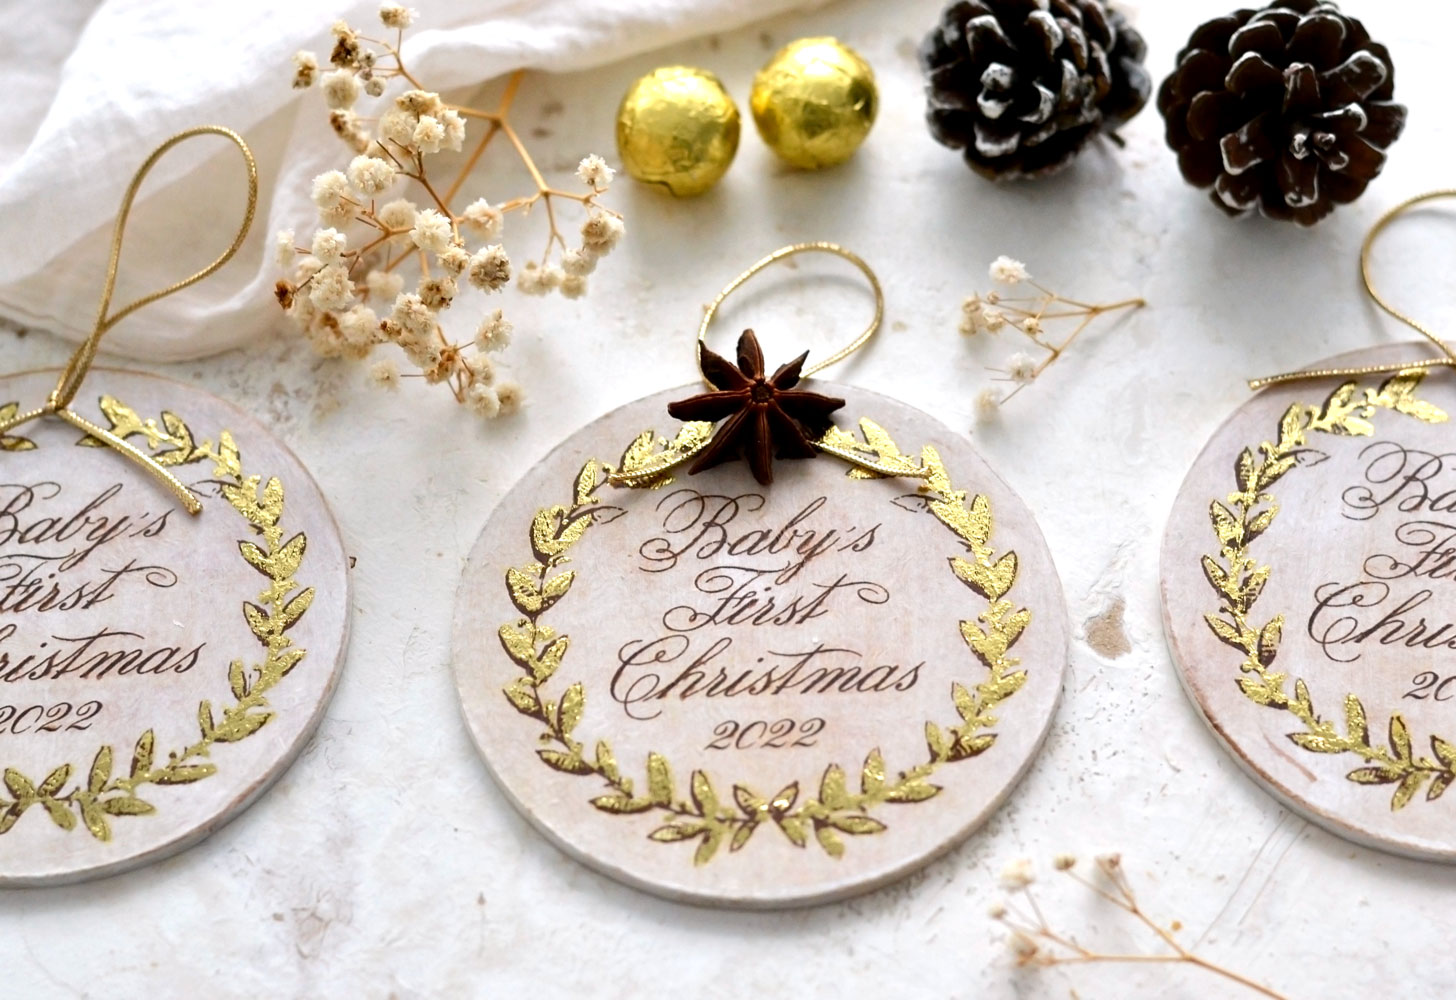
Your stunning baby Christmas ornaments are now ready!
The gold foil always looks gorgeous when included in a project, it’s really rewarding watching these beauties in different lighting settings throughout the day.
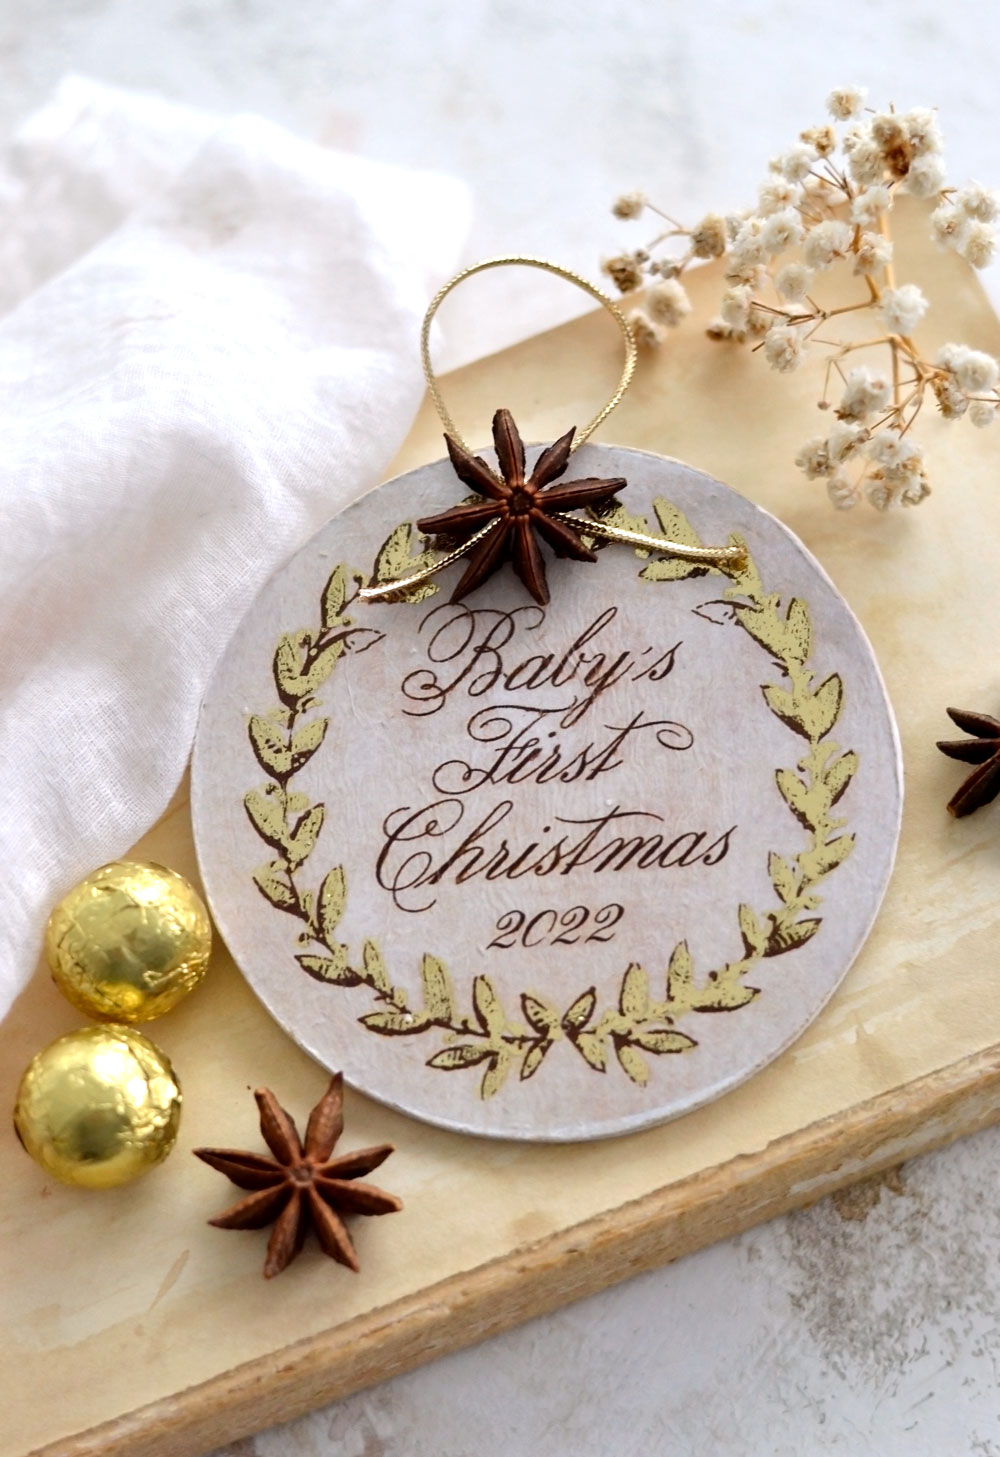
As a final touch, you can glue a small star anise on top! These ingredients smell heavenly and this is a wonderful way to take your ornaments into a new dimension! Who says we can only use spices in our kitchen, right? After all, it’s the small details that count and now your diy baby ornaments will not only look amazing, but they will smell like a dream too!
If you don’t have gold foil around you can also use highly diluted gold acrylic paint, gold watercolors, gold markers and gold glitter, just get creative and put your existing supplies to work!
You can make this adorable Baby’s First Christmas ornament DIY for you, your family or your friends that welcomed a new precious member on board this year. Grandparents, Aunts, and of course new parents will love these diy ornaments too! You can write the name and a thoughtful message on the back, then keep them for yourself or gift them, turn them into baptism favors, this sweet memento will surely be cherished throughout the years!
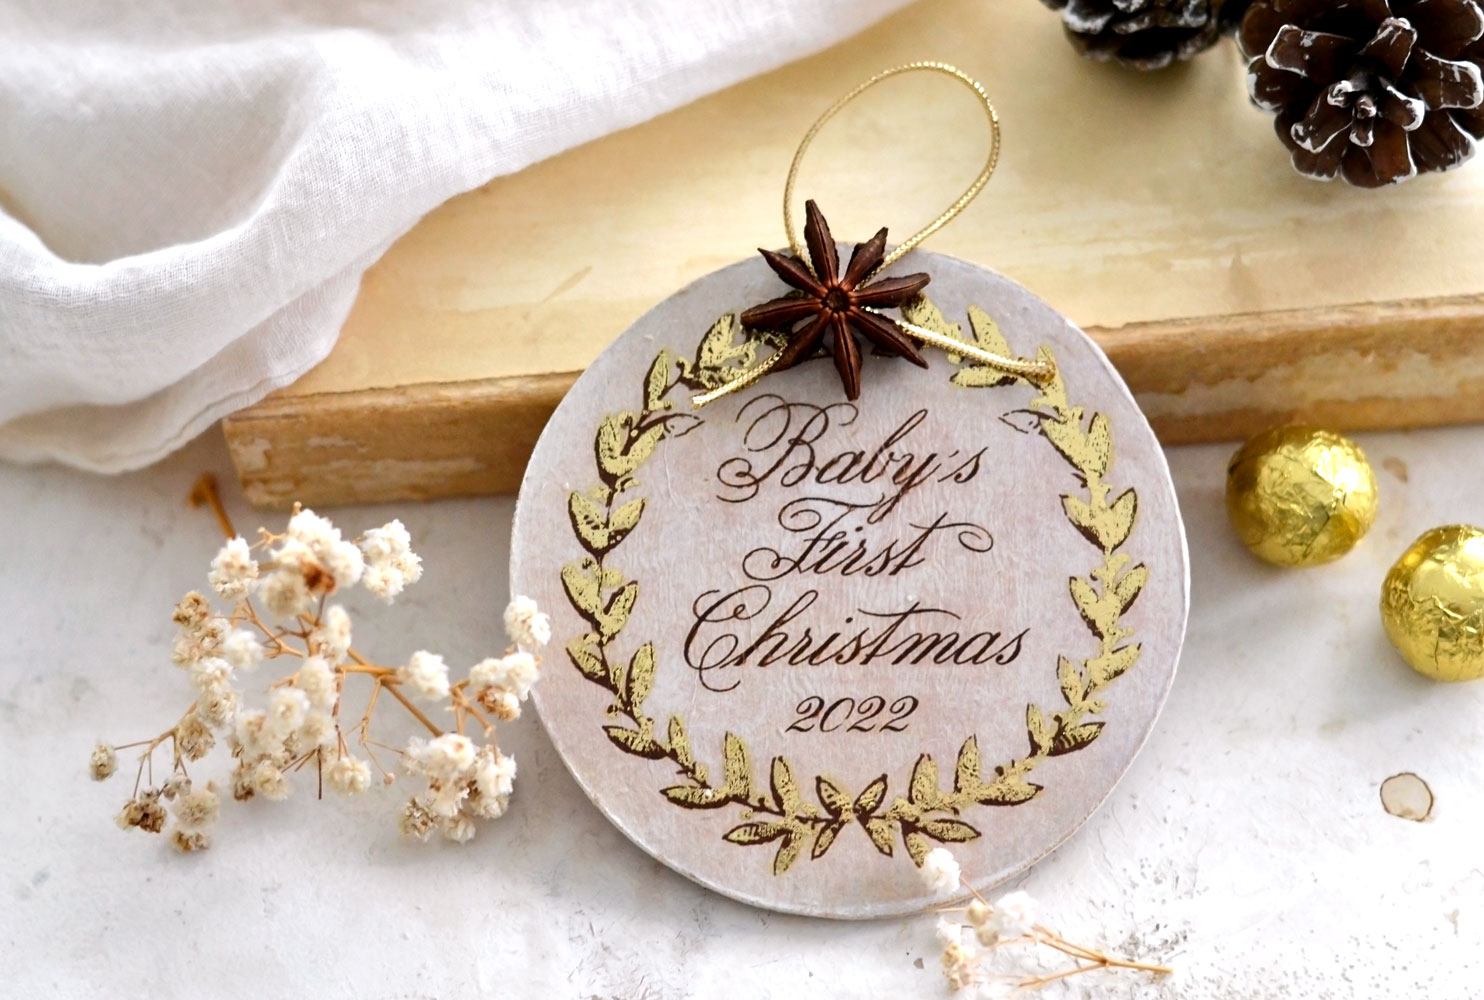 I hope you enjoyed learning how to make this special keepsake ornament to commemorate babies first year. I think it’s so much more meaningful of a gift than something that you purchase at the Hallmark store. If you like to make your own ornaments, you might also like the Salt Dough Ornaments HERE.
Happy crafting,
Diana / Dreams Factory
