Best Paint for Glassware
What kind of paint is best for painting drinking glasses? Learn about glass paint, how to prevent peeling, and what to avoid here. Hello dearest Graphics Fairy Paper and Mixed Media Crafters. I am Rebecca, aka Cre8tiva, back with another in depth look at the tools of our trade. In this post we will learn all about the Best Paint for Glassware! I will show you how to paint a drinking glass in an elegant French style along with a sweet glass jar in the tutorial. I promise to share my best ‘Tips For Applying Glass Paint’ plus what kind of paint is best for painting ‘drinking’ glasses. You will learn all about glass paint, how to prevent peeling, and what materials to avoid below.
Painting Glassware
Glass painting is probably easier than you think. Glass acts as a wonderful canvas for painting. The smooth surface allows for the production of awesome, beautiful visuals. With the wide variety of glass painting products available to today’s crafter, it is fun to see what you can accomplish. My favorite thing about painted glass is that it gives the viewer an amazing show when illuminated by natural or artificial light. Light shining through the paint, even the opaque colors, is simply breathtaking.
What Kind Of Paint Should You Use on Glassware?
Numerous types of paint are available to match the type of glass that you are working with. There are three basic kinds of paint that are commonly used for glass painting. These are water-based enamel, acrylic (which is water-based), and paint markers (acrylic and oil-based). Lighting is a significant issue to consider when choosing a specific paint because when light passes through glass, the resulting appearance is greatly determined by the type of paint used. For example, the more translucent the paint, the more light will pass through, whereas an opaque finish will block light. Let’s look at the paints made for glass:
Enamels
Enamel paint is perfect for hard, smooth surfaces such as glass and numerous other surfaces. Enamel is very durable and comes in vibrant colors. Additionally, the colors can easily be mixed together, so the choices are endless. There are water-based and oil-based enamels. Some enamels are toxic. (See “What To Avoid When Painting Glassware” below.) To avoid confusion, it should be noted that water-based enamels are often referred to as ‘acrylic-enamel’ paints. I have a few favorite brands that include: FolkArt Enamel Glass Paint and FolkArt Gloss Finish Acrylic Enamel.
Acrylics Made for Glass Projects
Another splendid choice for painting glass are acrylic paints especially made for glass. These are not the same as your everyday acrylic craft paint. They can be applied to numerous surfaces as well. Acrylic dries relatively fast and is easy to clean up. If you are producing multiple pieces (like a set of glasses), the quick drying properties will enable a faster completion time for your project. Some of my favorite brands are: FolkArt Multi-Surface Acrylic Paint and Pebeo Vitrea 160.
Paint Markers for Glass
These specialty glass paint markers and pens are used for decorating drinking glasses, jars, windows, mirrors, stones, ceramic, wood, and plastic. High Quality markers are essential for accurate lettering on glassware and jars. The primary benefit of paint markers is the ability to create with precision that other paints and brushes do not provide. Activating the Marker: Shake the marker vigorously with its cap still on every time you use it. The first time you use the pen you will need to press the tip on paper several times until the ink flows into the tip. DO NOT press it too hard. Be patient, the paint will come. Once you see paint on the paper, it is ready to paint with.
There are many brands of glass paint pens and markers to choose from, but let’s look at a few of the best and most popular ones available. Most come in multicolor a paint set.
- Artistro Acrylic Paint Pens One of the premier options for glass painting. These durable acrylic pens have medium tips that allow for precision and control. The many colors are vivid and dry quickly to prevent smearing and are especially useful for writing letters and creating hand-drawn art. They dry with a gloss finish. As with glass paints, the markers need to be oven cured (baked) for waterproofing and to make your design permanent.
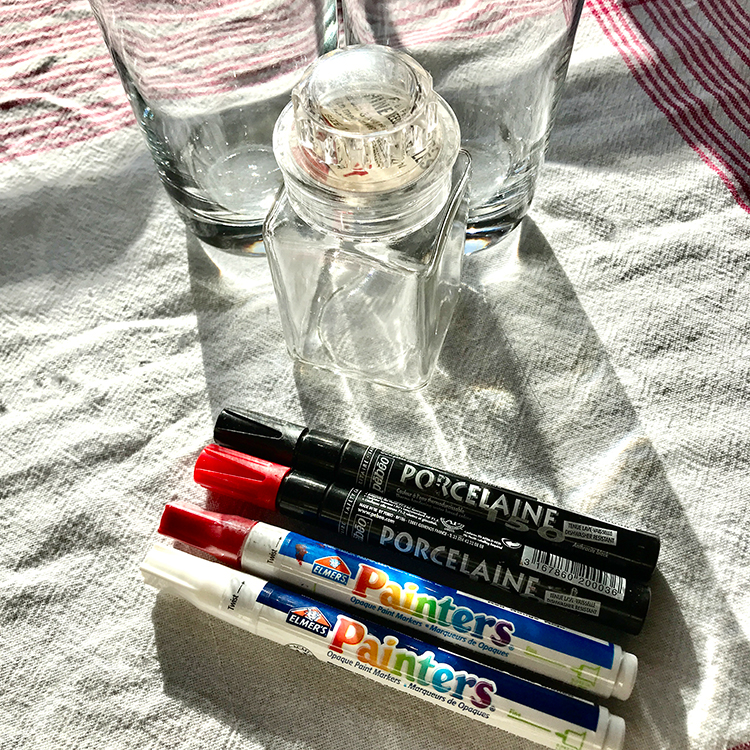
- ELMER’S Painter’s Opaque Paint Markers Smooth and easy to use, these paints are popular for painting glass ornaments and glass jars. They are colorful, opaque acrylic paint markers available in several colors, with good coverage. The paint flows easily once the marker is activated. The paints will air dry in four days, but need to be cured to become waterproof.
- Posca Pens Temporary markers for glass. These paints pens are acrylic and are ideal for beginners because they can be washed off with water whenever you want a new design. They are not permanent. The paints are typically used by mixed media artists, so you may have them in your stash. I would not use them for food and drink surfaces.
- Sharpie Oil Based Markers Not your regular Sharpie. These work on virtually any surface. I love that they come with four different tip sizes: Fine Point, Medium Point, Bold Point, and Extra-fine point. This gives you a good deal of precision. They resists fading and smearing and dry up quickly. A solvent is required to clean up.
What Kind Of Paint Brushes Should You Use with Glass Paint?
Soft natural hair acrylic or watercolor brushes are the type of paintbrush recommended. Natural hair brushes hold more paint and leave a smoother surface. Synthetic brushes leave more brush strokes on glass. Brush strokes can be distracting on glass, but can also be integrated into the design. If you are painting the entire piece like a glass canning jar, you may need to paint it several times to minimize brush marks. I prefer flat and round brushes for glass painting of designs. Flat brushes are good for drawing stripes, and angular brushes for things like lines, leaves, stems, and flowers. Daubers and spouters are the popular choice for making dots. Some artists use small roller brushes for stenciling. For fixing mistakes, a toothpick and cotton swab with alcohol works well.
What Colors To Consider
Choosing colors for painting is subjective. Color is dependent on what you want to create. Complementary colors (opposites) such as red-green are applied for contrast. Primary colors are great for mixing. For a natural look, Earth tones (e.g., tans and browns) are great. The choices are endless! As previously noted, lighting is a very important consideration when choosing paint for glass. The more solid the color, the brighter or darker it will be. Choosing between a more opaque color or transparent one depends on your personal preferences and what you are trying to achieve with your design. Transparency of course equals more light passing through.
Won’t the Glasses Just Chip And Peel?
Paint can chip and peel off glassware if proper curing processes are not followed. Chipping and peeling most often occurs when glass paint is allowed to air dry. This is especially true if a piece is left outside for an extended period and is exposed to heat and moisture, or indoors if exposed to long-term direct sunlight. To avoid this and waterproof your glass pieces, they should be bake cured in an oven to permanently set the paint on the glass. TIP: I prefer to hand wash my painted glassware without scrubbing. However, some brands are advertised as dishwasher safe.
What Kind Of Glassware Painting Tips Should You Heed?
The first step to painting glass is simple but very important; making sure that the glass is clean. Use warm water and soap to wash the piece before drying it. Next wipe with rubbing alcohol or white vinegar to remove grime, oils, etc. Then do not touch the area to be painted again. I pick up my glass pieces with paper towels. It is a good idea to tape off the area or pattern on your glass item before painting so you know which section to avoid.
Baking glass after painting is always recommended as the best way to protect it long term from heat and moisture and prevent chipping, peeling, and bubbling. Glass paints are generally bake cured at 300F-325F for 30 minutes. Place in a cool oven. Turn on heat and allow to cure. When fully cured, turn heat off and leave in the oven to cool completely before removing. Be sure to check the manufacturer’s curing specifications for each paint and follow that process. Baking usually leaves a shiny gloss finish to glass.
Although modern glass paints do not require it, a clear acrylic sealant either brushed or sprayed can be applied to glass after painting. Glossy sealants are the most water resistant and therefore better protect paint from chipping and peeling. They are easier to clean as well. The piece would not be food safe if sealed! Although sealants offer waterproofing capability, they are commonly used in combination with oven baking to ensure the best possible outcome.
What To Avoid When Painting Glassware
Here are some cautions to take when painting glass:
- Perhaps the most important thing to avoid when glass painting is ‘toxic paint’ on items you might use for drinking or eating! Many oil-based enamel paints are potentially toxic while still wet and are also flammable. Make sure the paint is rated food safe!
- Air drying, which can take several weeks, subjects the paint to chipping and peeling.
- Be careful to not apply too much pressure with your brush when painting glass.
- Synthetic brushes should avoided if you don’t want to leave brush strokes.
- If painting a glass jar or drinking glass, do not try to draw a design directly on it. It is easier to draw on a piece of paper and place inside the jar to trace.
Tips For Applying Glass Paint
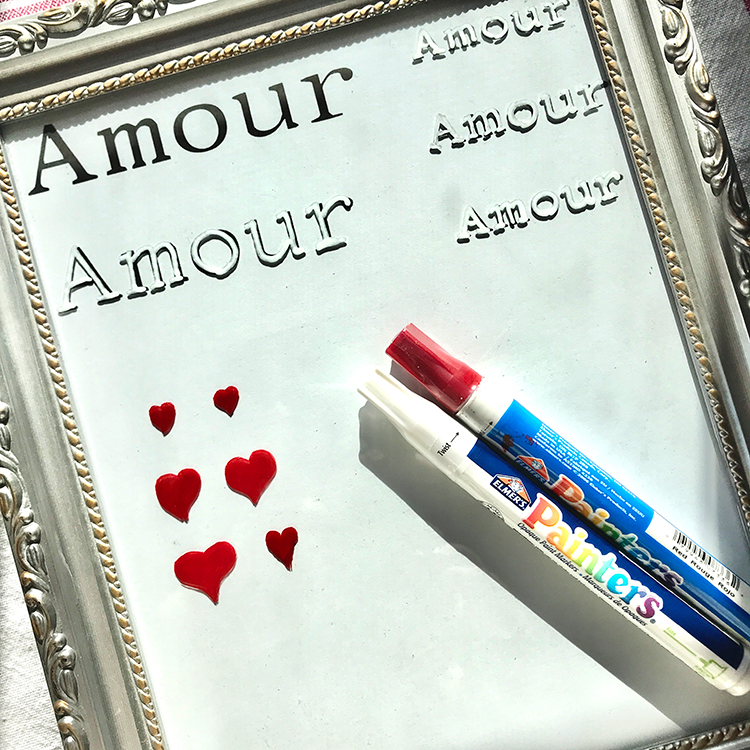
My best tip for painting glass is to: Practice until you are comfortable applying the paints to the glass surface. Also, play with a variety of the glass paints to find the characteristics you want for your projects. Each brand has its own look and feel. Some brands are more opaque. Others flow more easily. Some show brush marks more than others. Glass paint choice is really a matter of personal preference. It’s really difficult to compare them. For practice, I use a piece of glass in a frame. (see photo below) You can easily wipe it off after a practice session.
If you are just starting out with glass painting, know that the products listed here will be a good place to start. There are some brands that are created for more professional applications and for artisans with more experience painting on glass. I adore translucent glass paints, but they are much harder to work with.
It is important to plan the project based on which type of glass you will be painting. A pattern or design that looks great on a flat surface may be wonky on a drinking glass, jar, or other rounded surface. I also recommend that you think about where the glass will be displayed and how it will be illuminated. If it will be displayed outdoors, the paint must stand up to weather and sunlight.
It is also very important to consider if the surface can be painted laying flat or if it must be painted vertically. Runs and drips are not fun!
How To Paint a Drinking Glass or Jar
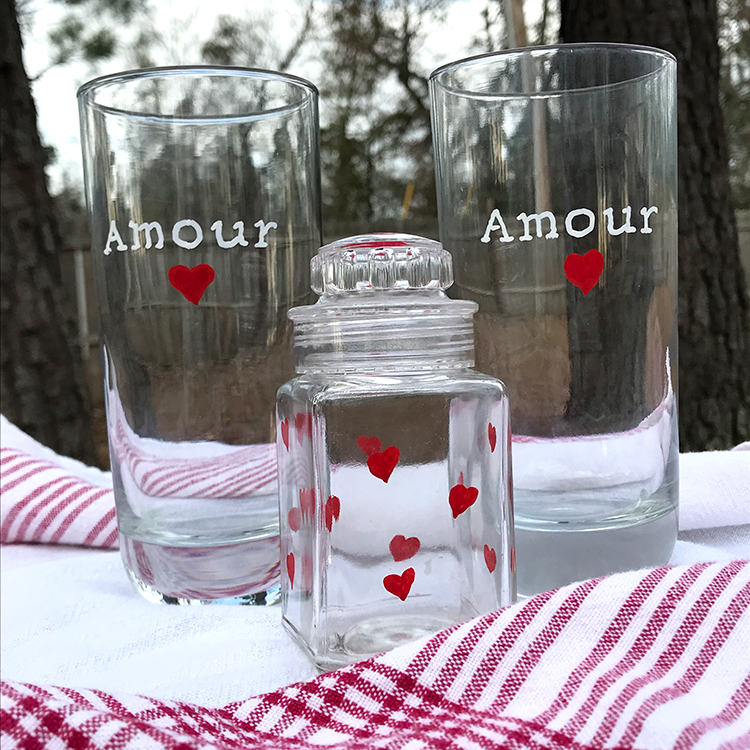
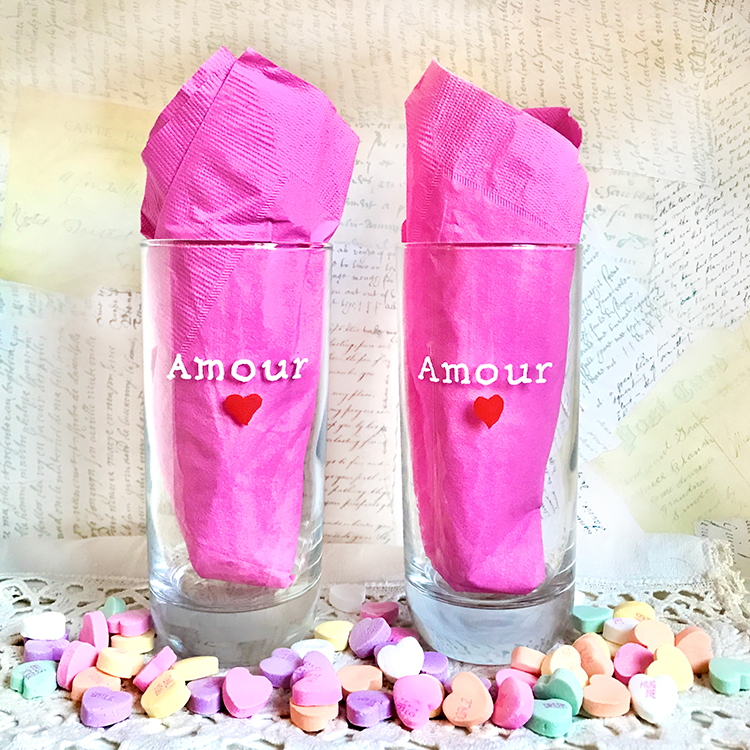
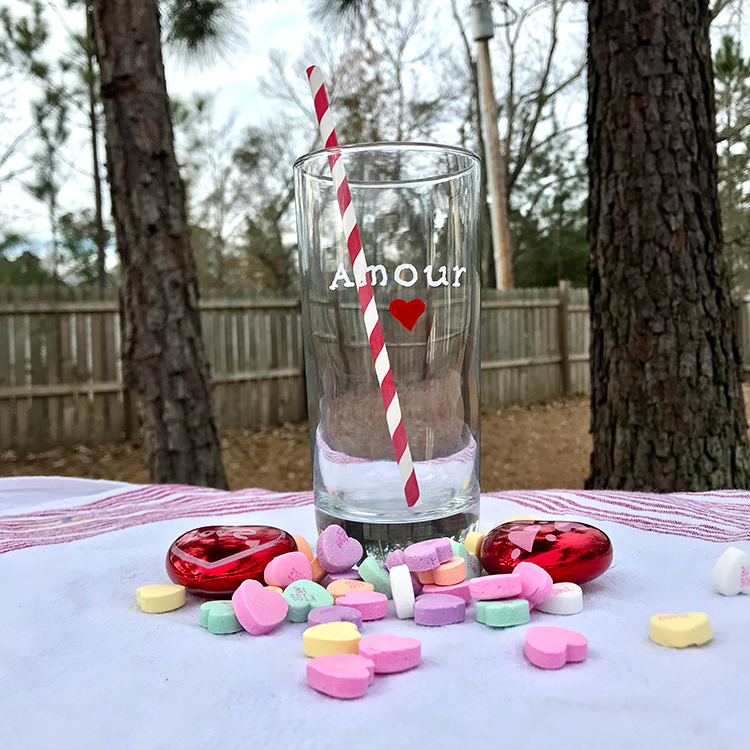
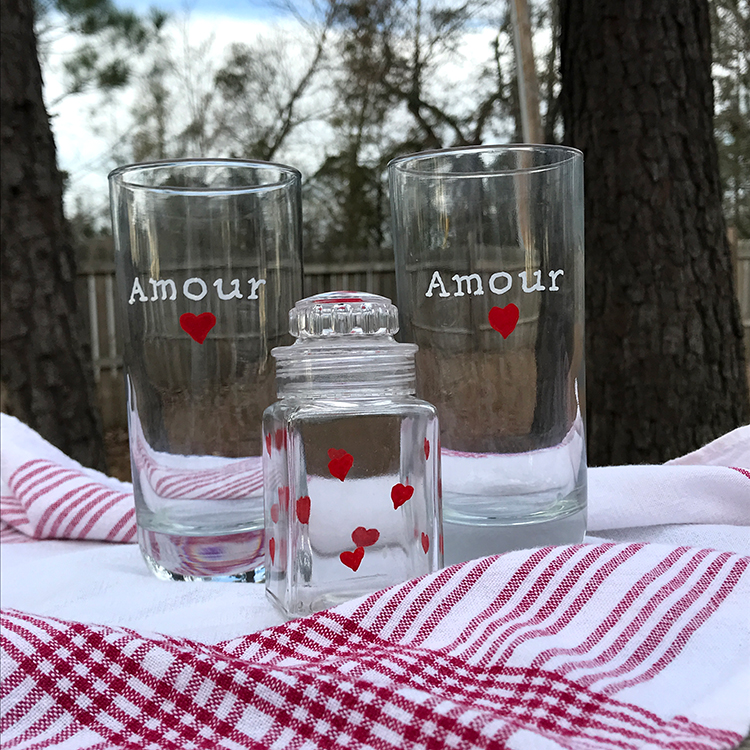
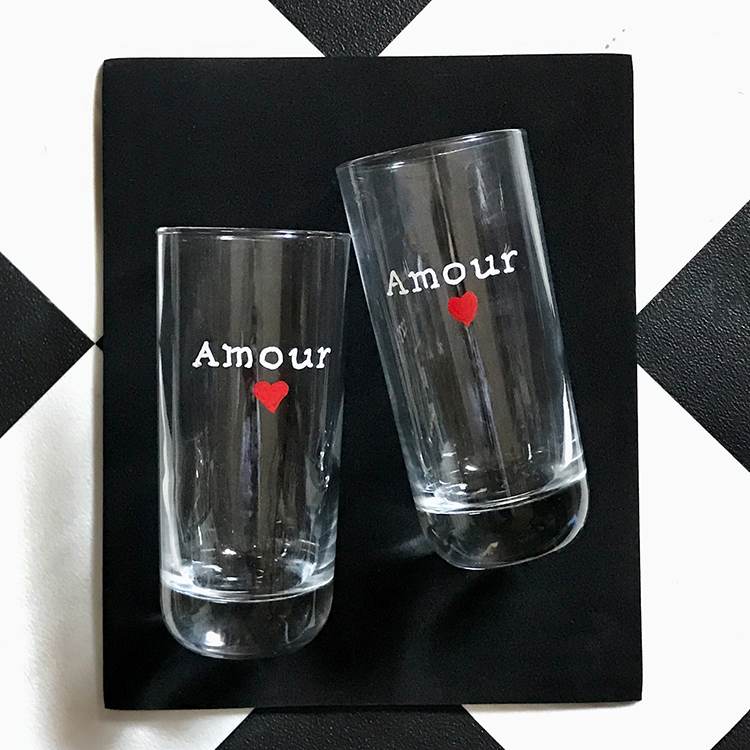
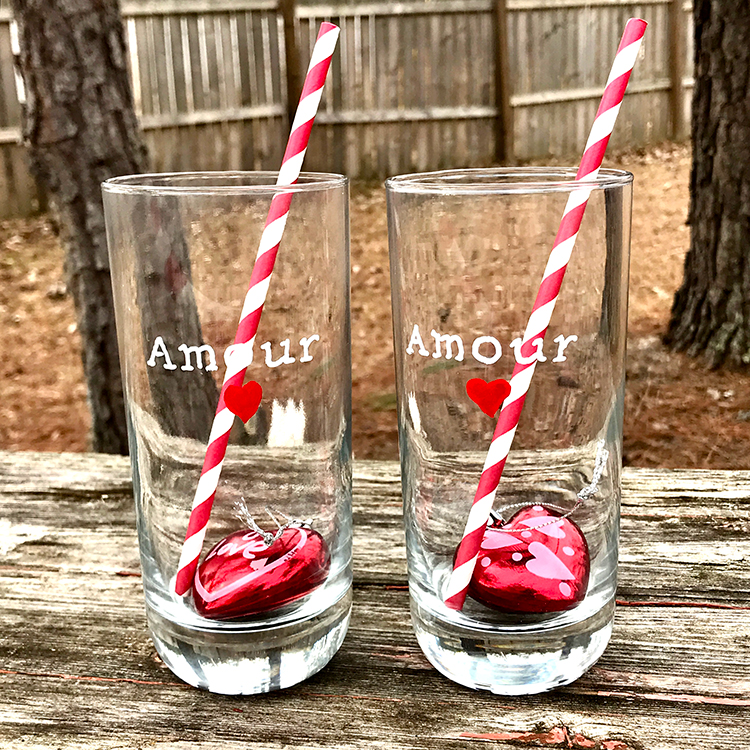
There are three basic steps for painting glass and glassware. With few exceptions, these steps will be used for all sessions of glass painting. We are painting drinking glasses and a glass jar in this tutorial. We will be doing lettering on the glasses, which is best done with a paint marker formulated for glass.
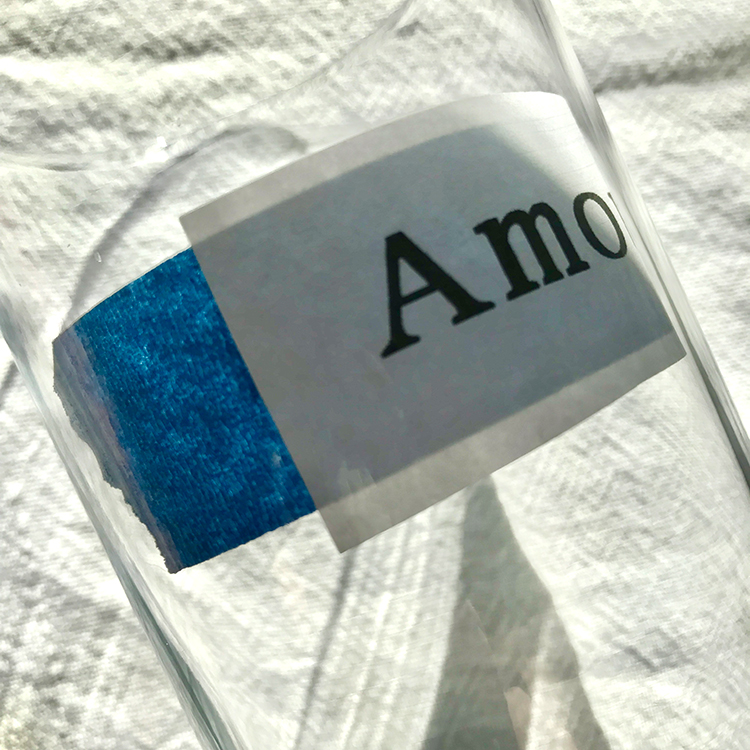
TIP: For lettering on a rounded surface like a drinking glass, print out the word(s) in the font you desire at the size you need. I make several sizes of the word so I can find the best fit for the glass.
I tape the word inside of the glass with painter’s tape and use it as a guide for lettering. TIP: You will need to check the transparency of your paint for lettering.
Step-by-Step Directions for Painting on Glassware and Jars
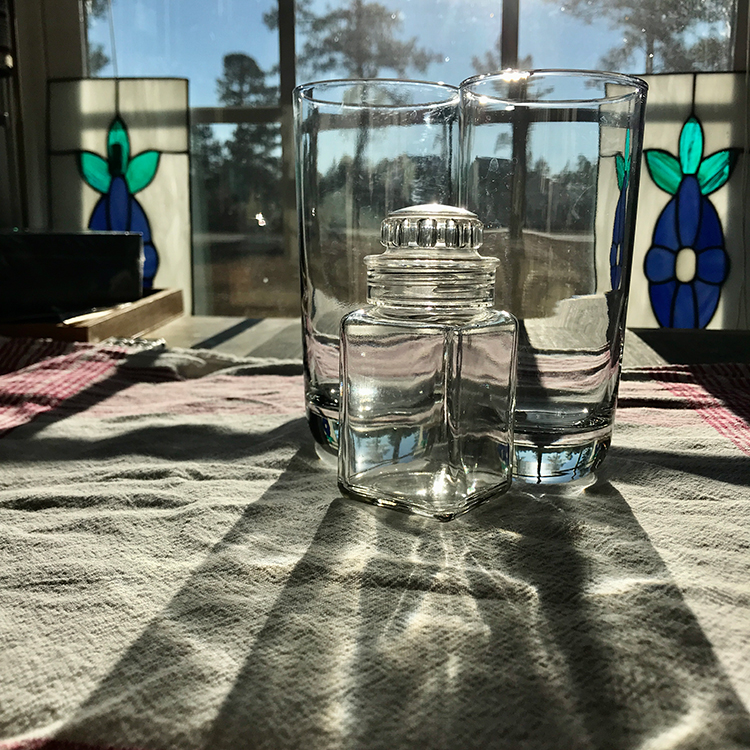
Step 1 – Wash & Clean Glass: Use soapy water to clean the glass. Rinse with hot water and allow to dry. Then use rubbing alcohol or vinegar on a lint free cloth or paper towel to wipe the area to be painted. Allow to dry for approximately 3-5 minutes before painting. TIP: DO NOT TOUCH THE AREA AGAIN! Oils from your fingers prevent the paints from adhering. Glasses should be sparkling clean as shown below.
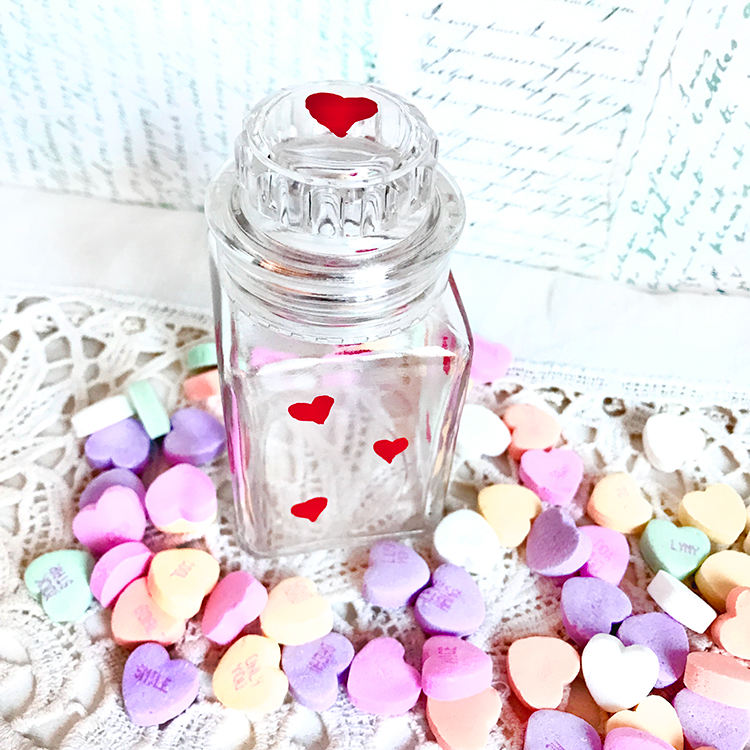
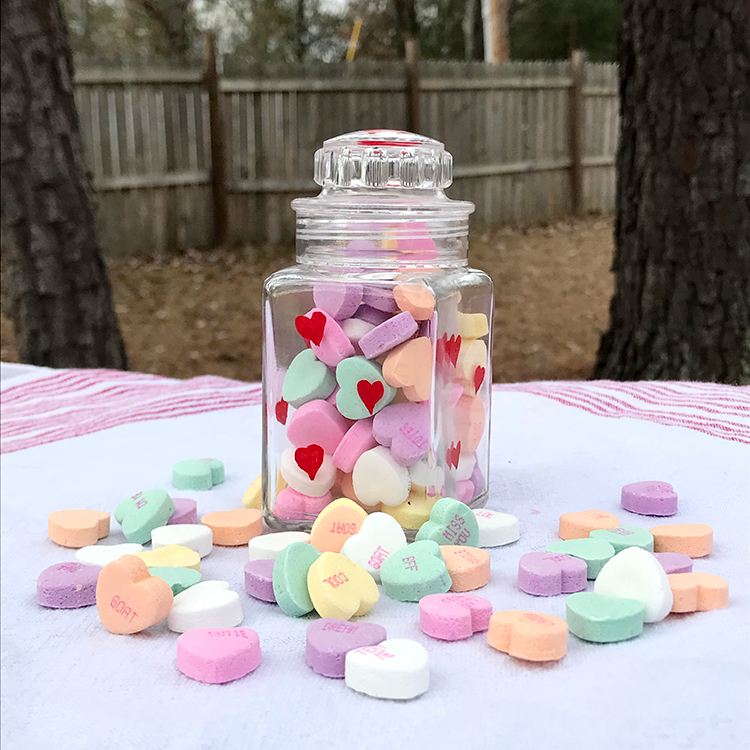
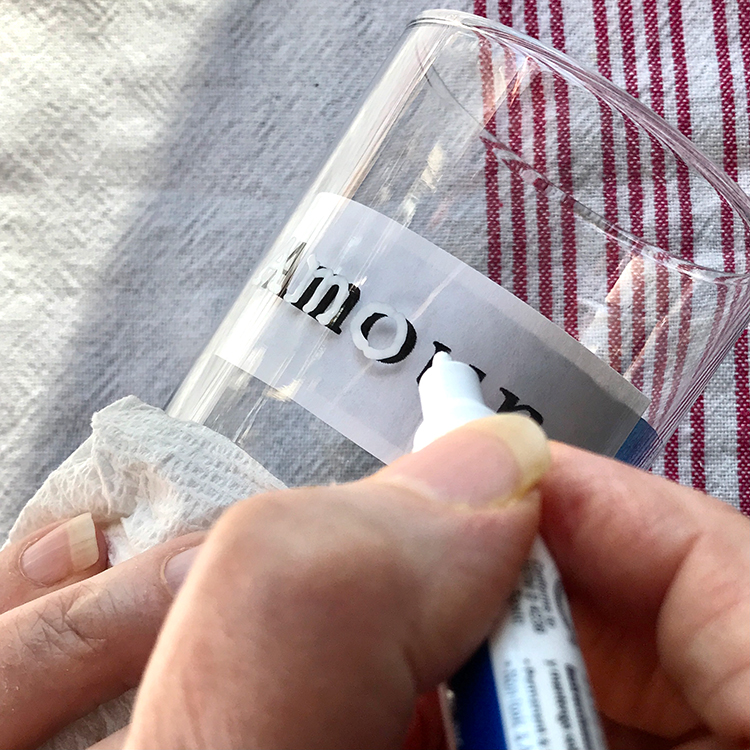
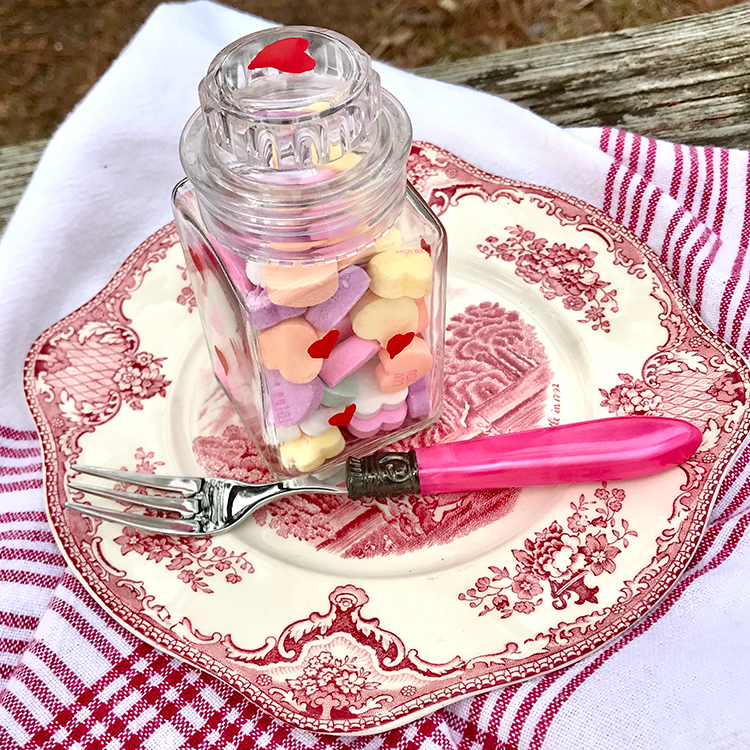
Step 2 – Paint Glass: We are painting a drinking glass and a glass jar in this tutorial. HINT: Markers are essential for accurate lettering like we are applying to our glasses. I also used them to freehand draw the tiny hearts on the jar. TIP: If you are painting glasses you intend to drink from, please make sure that the design is an inch or so below the rim so lips do not come into contact with it. TIP: Keep an alcohol cloth near to wipe off any boo boos immediately. TIP: See how I am resting my non- painting hand on a paper towel to keep it clean.
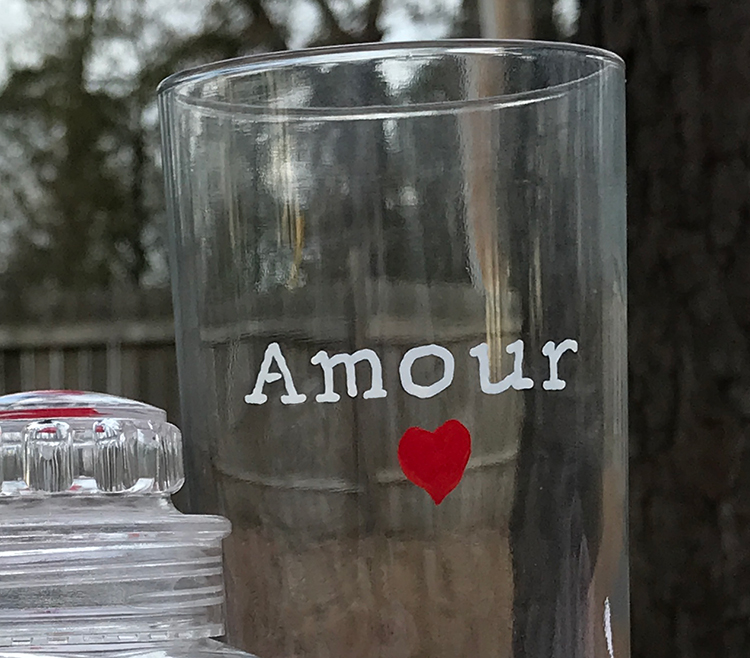
Below is a close up of the lettering.
Step 3 – Cure the Paint: Make sure to read the manufacturer’s instructions on how to cure your painted glassware. Most paints will require baking to cure. Some brands can be air-dryed. NOTE: It is a MUST DO to use the bake curing method for items you intend to wash in the your dishwasher (top rack only). TIP: I don’t recommend air drying as it usually starts to chip off fairly soon. TIP: Allow painted item to dry for 24 hours before oven curing to ensure that all layers of paint have dried.
