Book Decoration Ideas
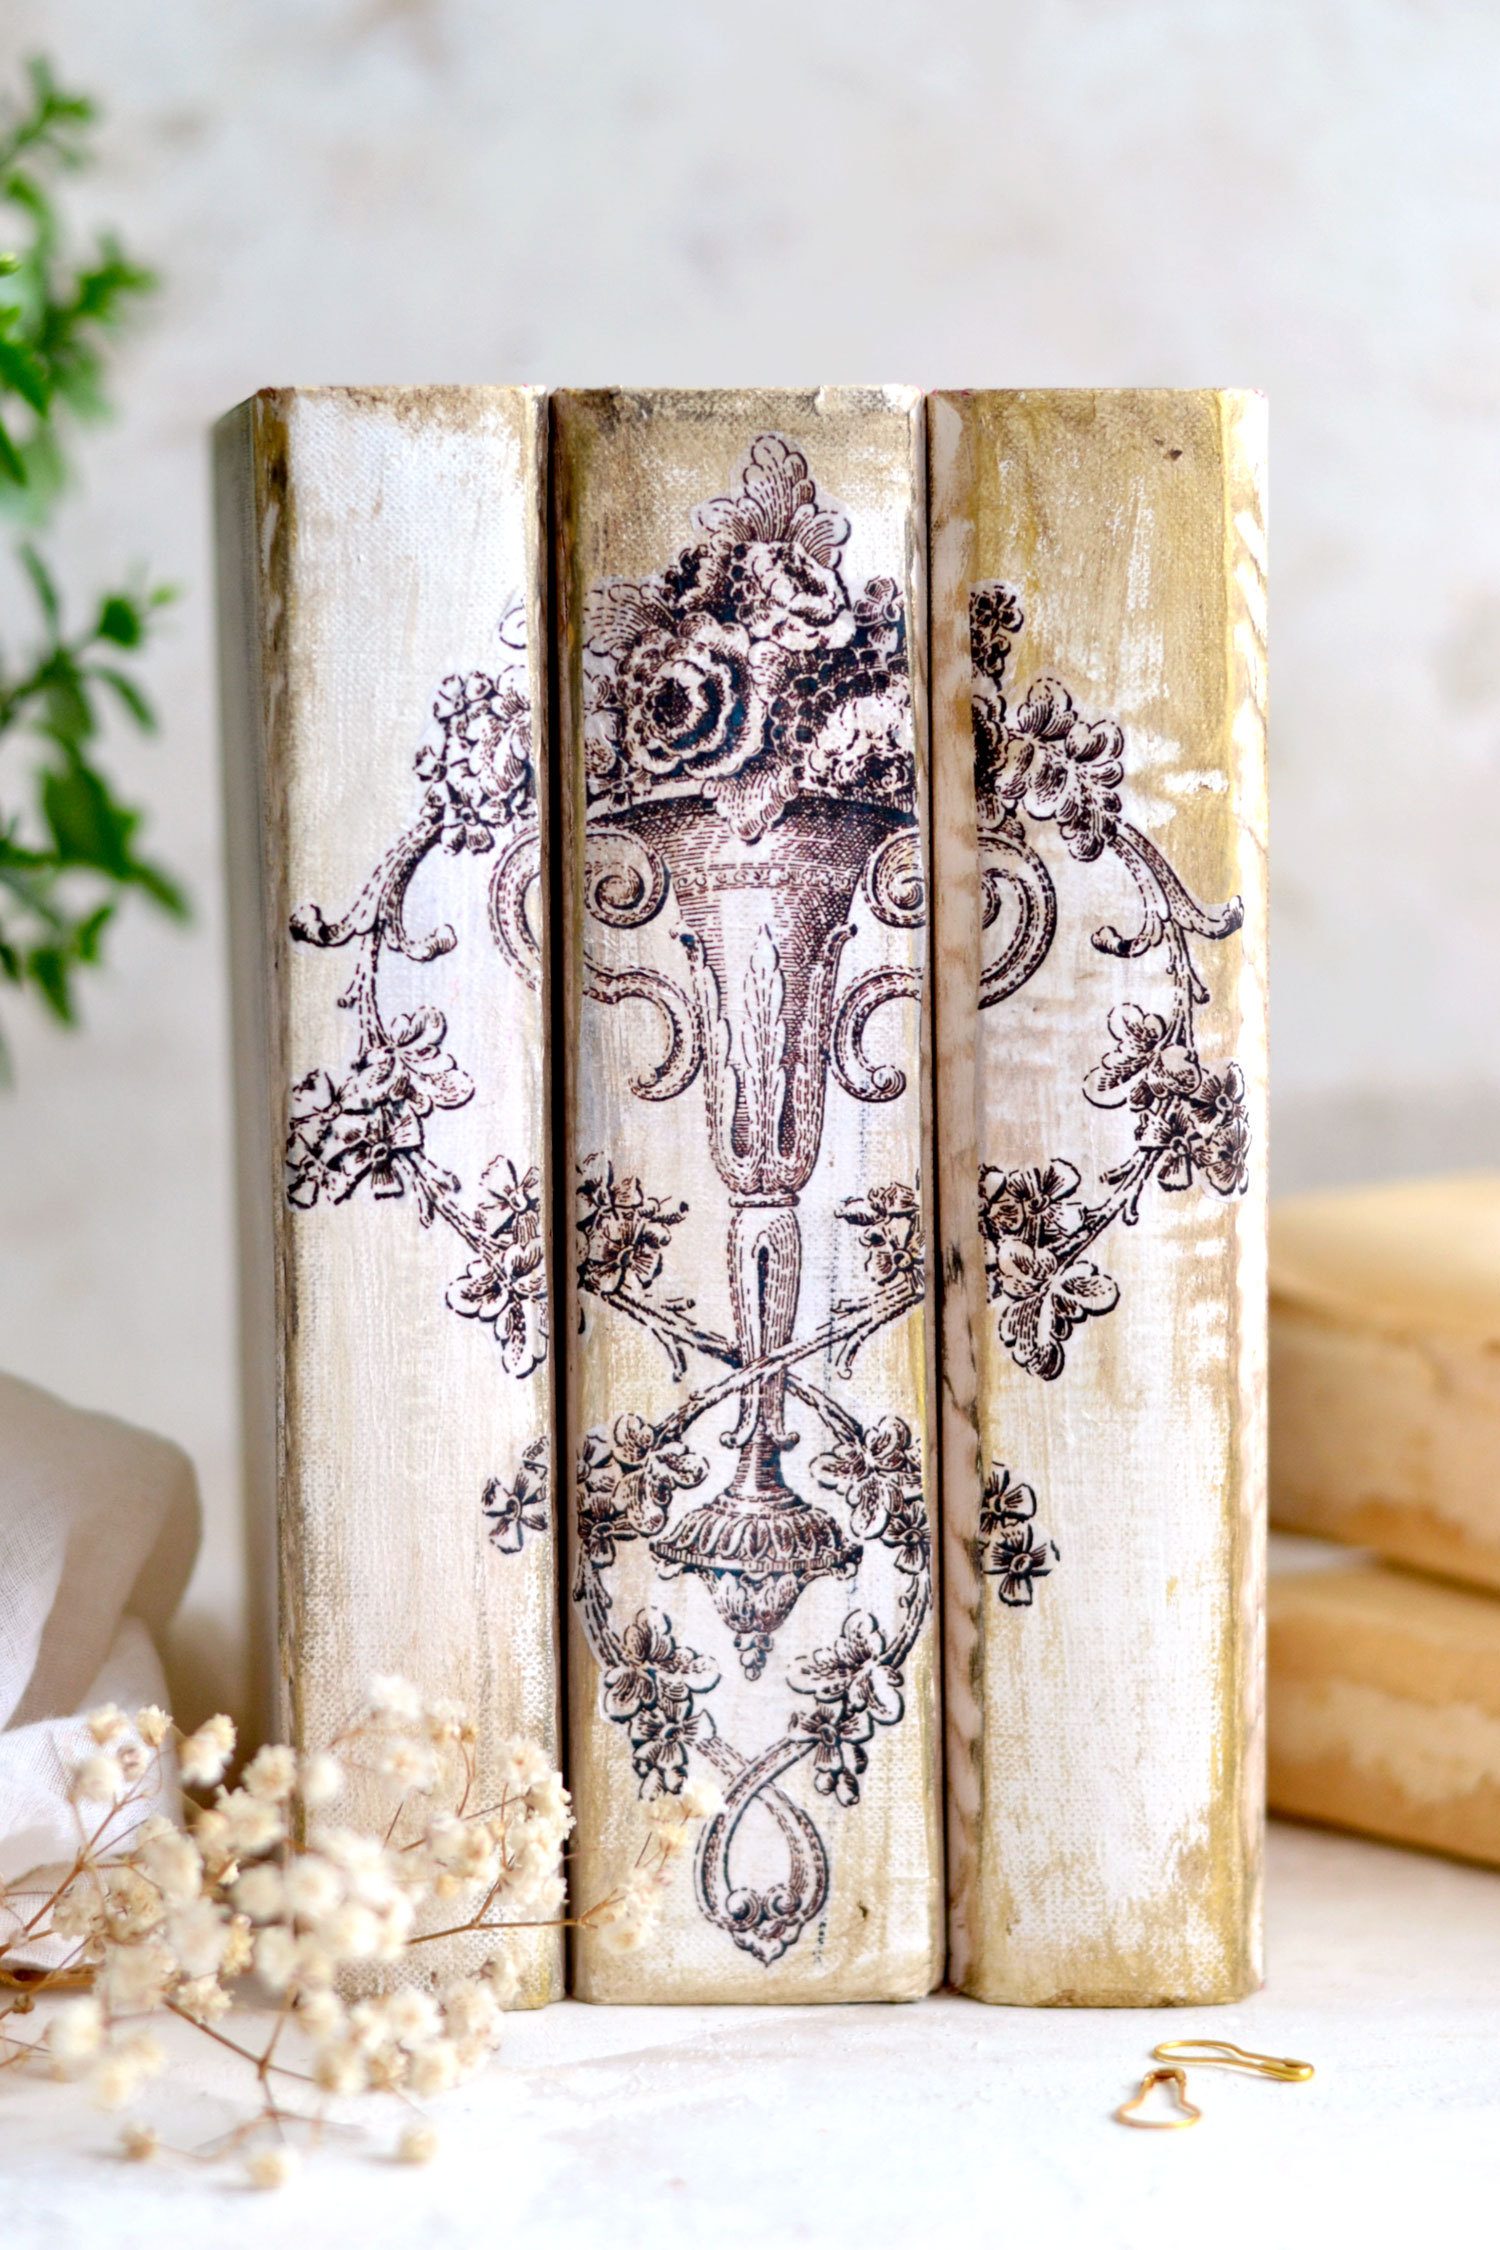
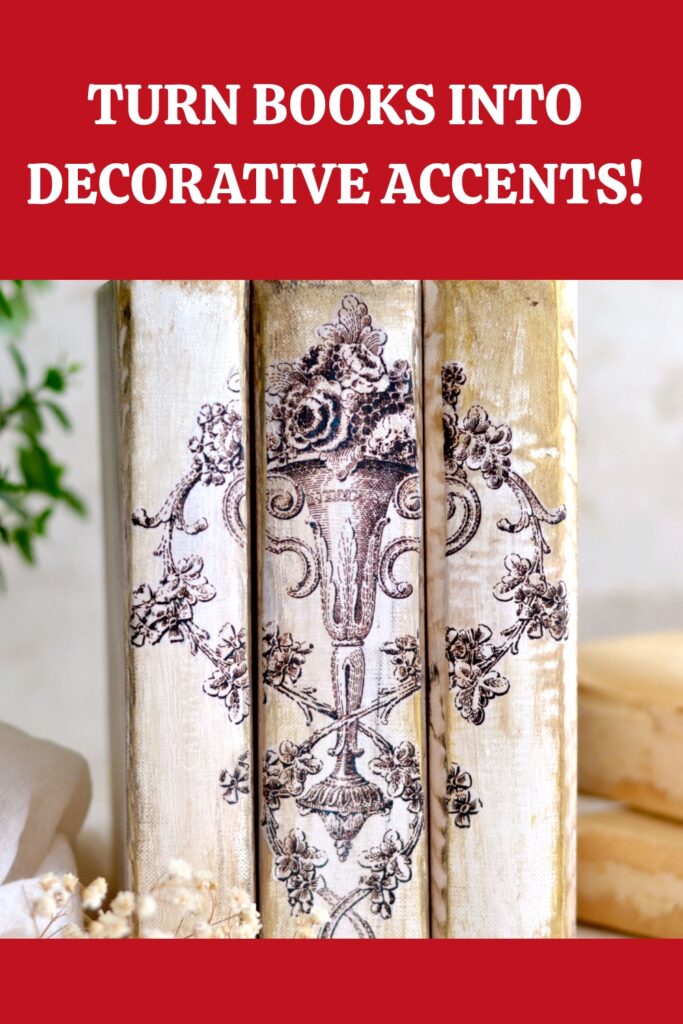
Hello Graphics Fairy friends! I’m Diana from Dreams Factory and I’m happy to be here again to share another DIY project with you! Today I have a short, but absolutely beautiful tutorial, I will show you how to decorate the spine of these lovely books using a gorgeous image that we will divide into three sections! You will love how quick this project is, you’ll be able to create a few stunning decorative books in no time!
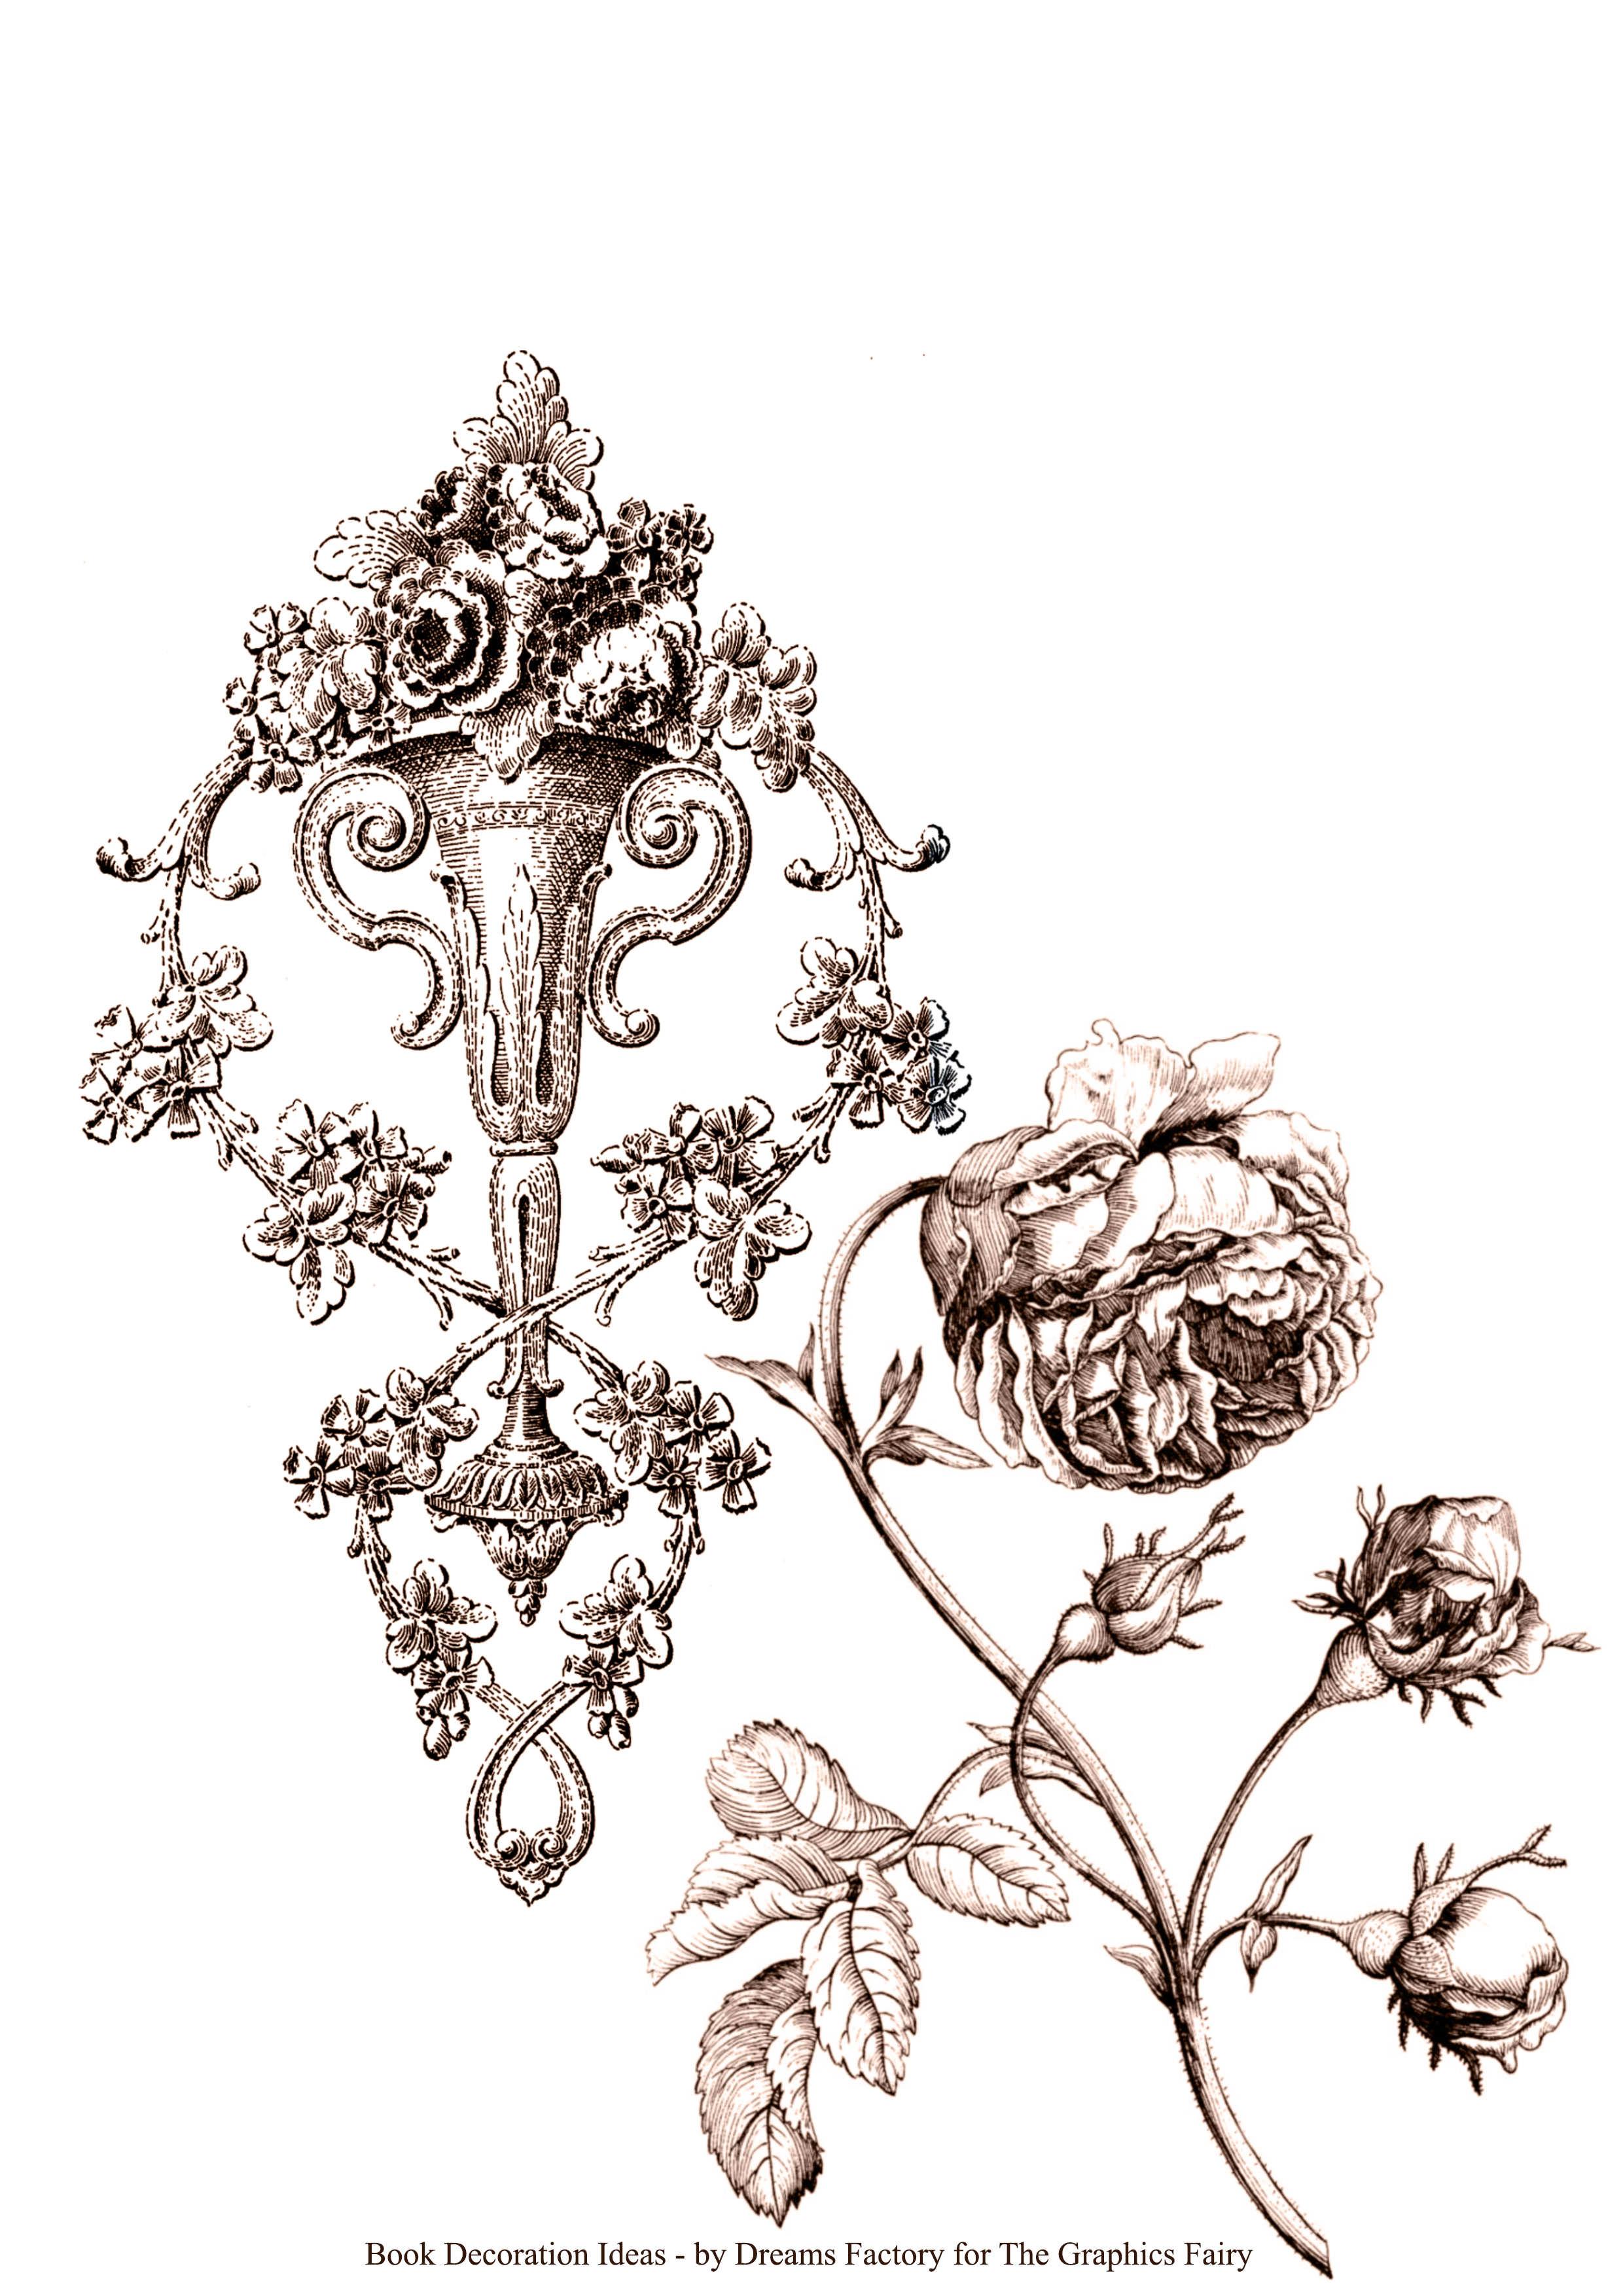
I’m using this beautiful black-and-white ornamental floral image today, but you can try the same technique using other images too!
As for the books, you can use old or new, just paint them as you want and you are ready to go! You might have already tried my Decorative Books Bundle where I showed you how to paint and distress hardcover books – I actually used that set today to further decorate it and I just love how they all turned out. You can also use fabric-covered books if you prefer, or even some simple paper-covered books (maybe stain the paper with coffee first) just use what you love the most and think works best with your home decor.
I’m sharing the printable that I used for my books, I actually included two different images so you can choose your favorite. My images have a lovely dark brown color, if you prefer a black-and-white version you can set your printer to print them in black and white. As you can see, there is quite a bit of space on the upper part of the printable just in case you want to use the same tissue paper printing setting that I’m using (I’m sharing the details below).
Free Printable to Decorate Books:
—-> CLICK HERE TO DOWNLOAD THE FULL SIZE PRINTABLE PDF <—-
Book Decoration Ideas Supplies:
- the lovely printable
- tissue paper + paper tape + cardstock paper (for tissue paper printing)
- Home printer
- scissors
- decorated books <- here is how to make your own
- Mod Podge
- brush
Full Step by Step Tutorial: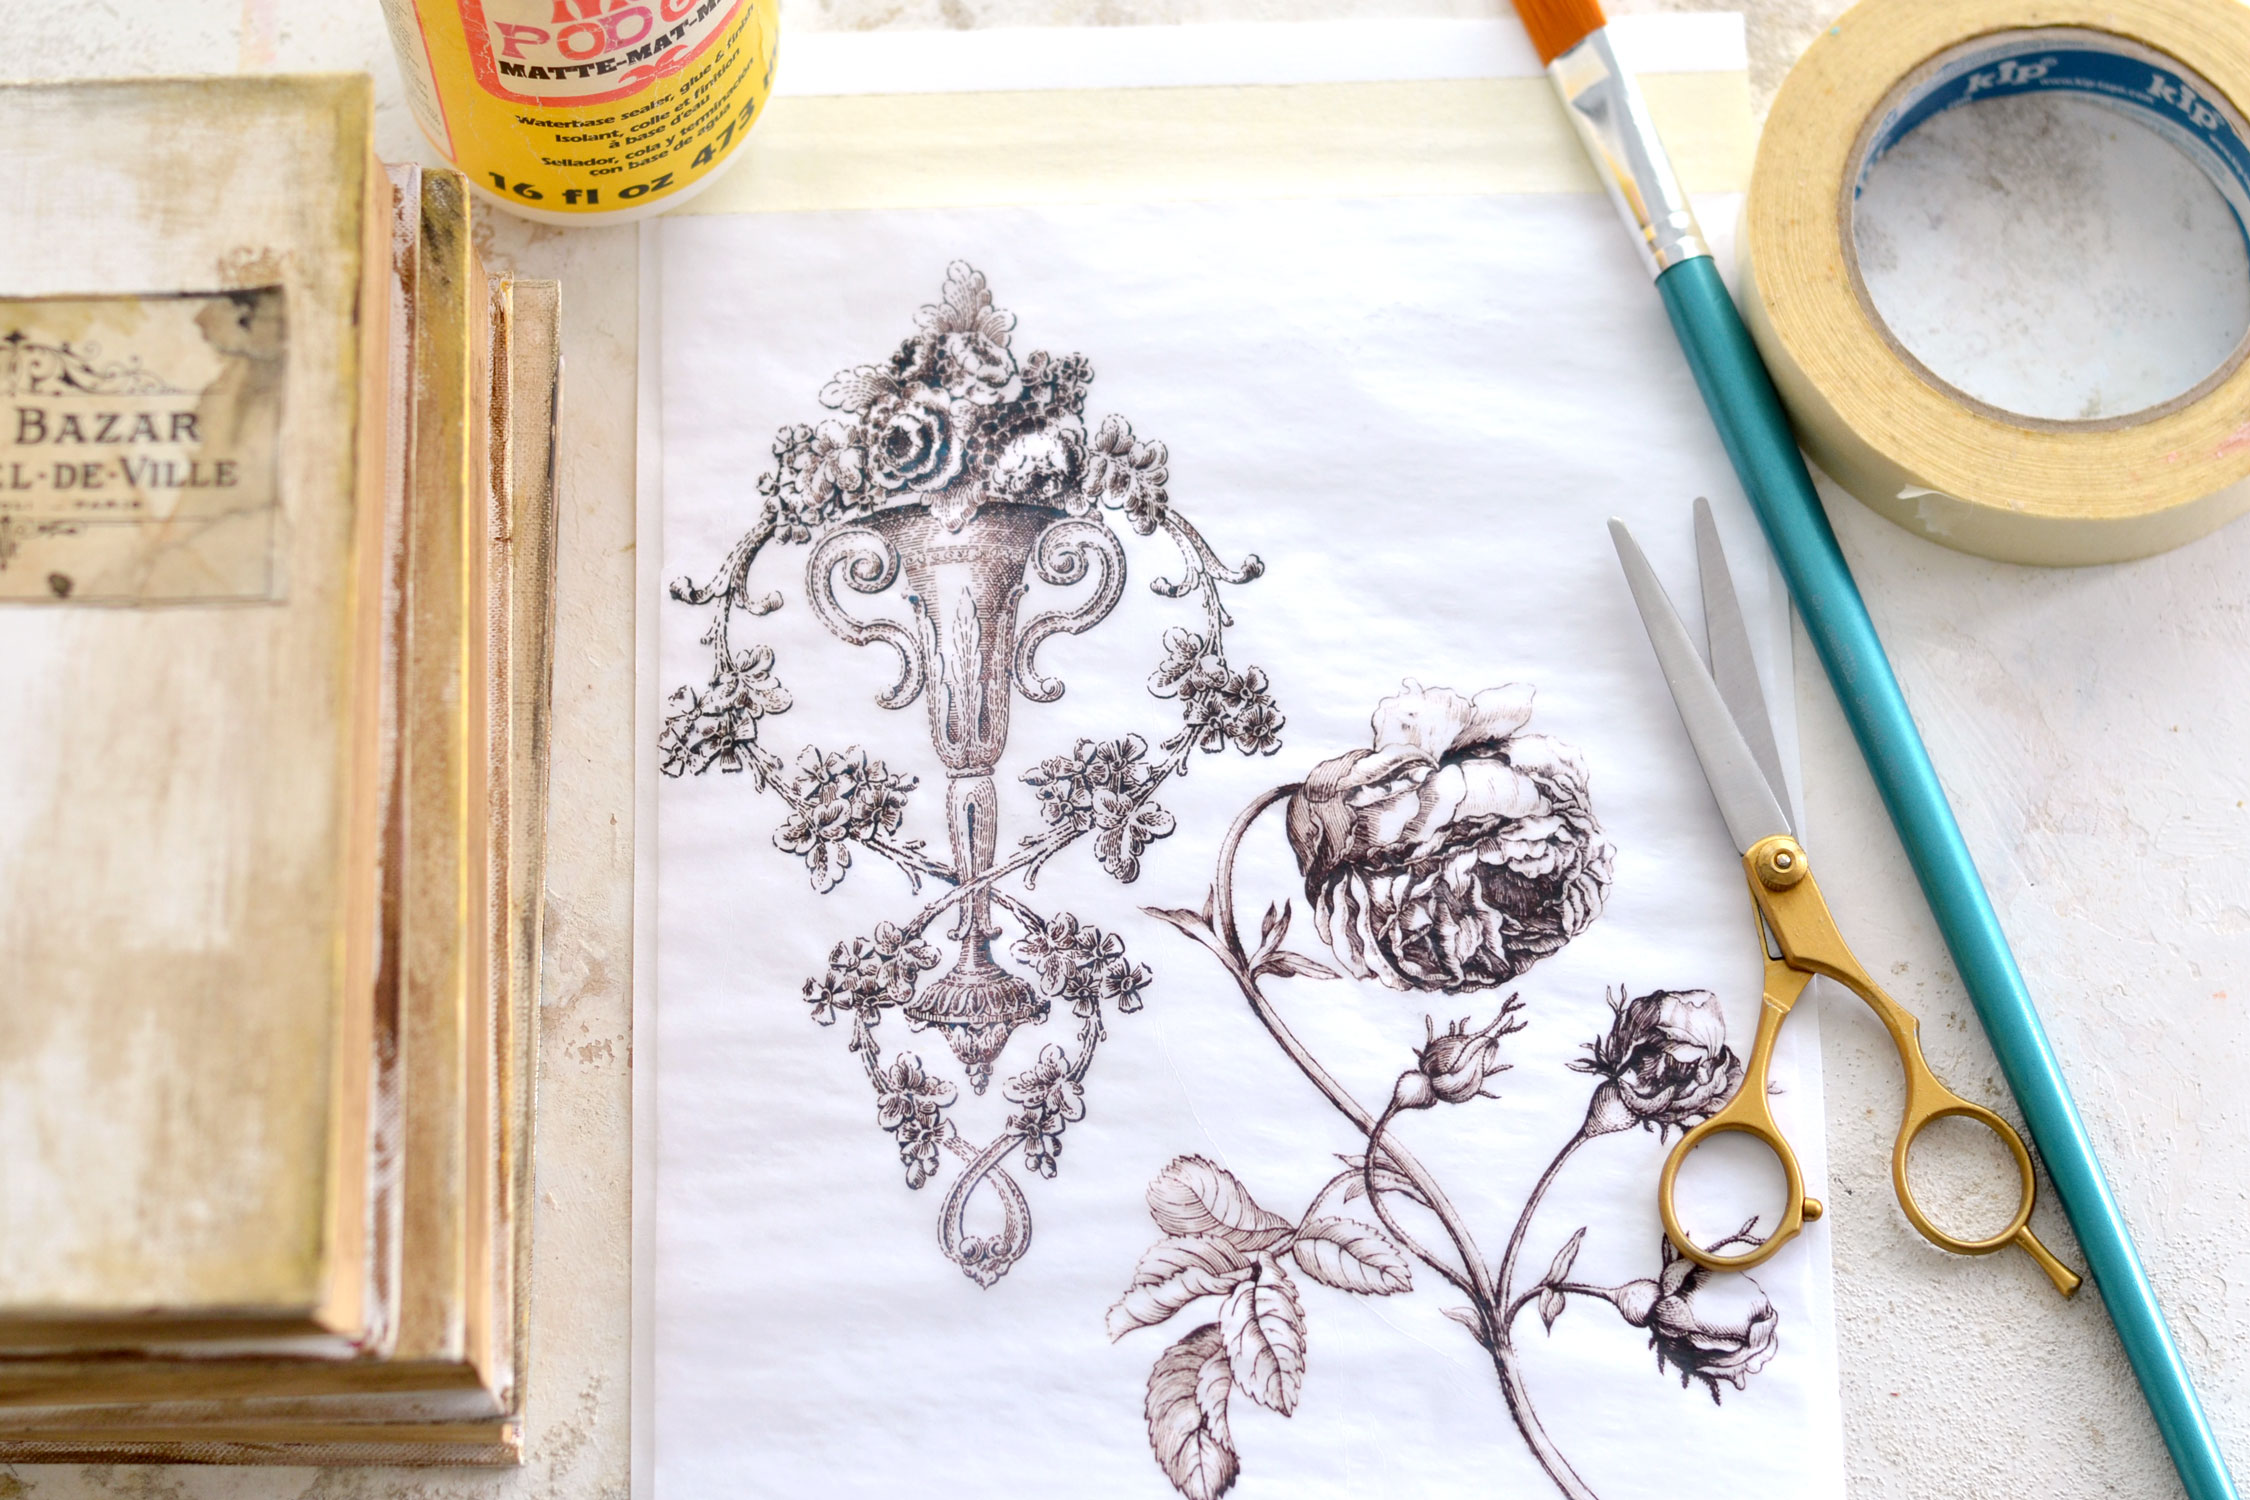
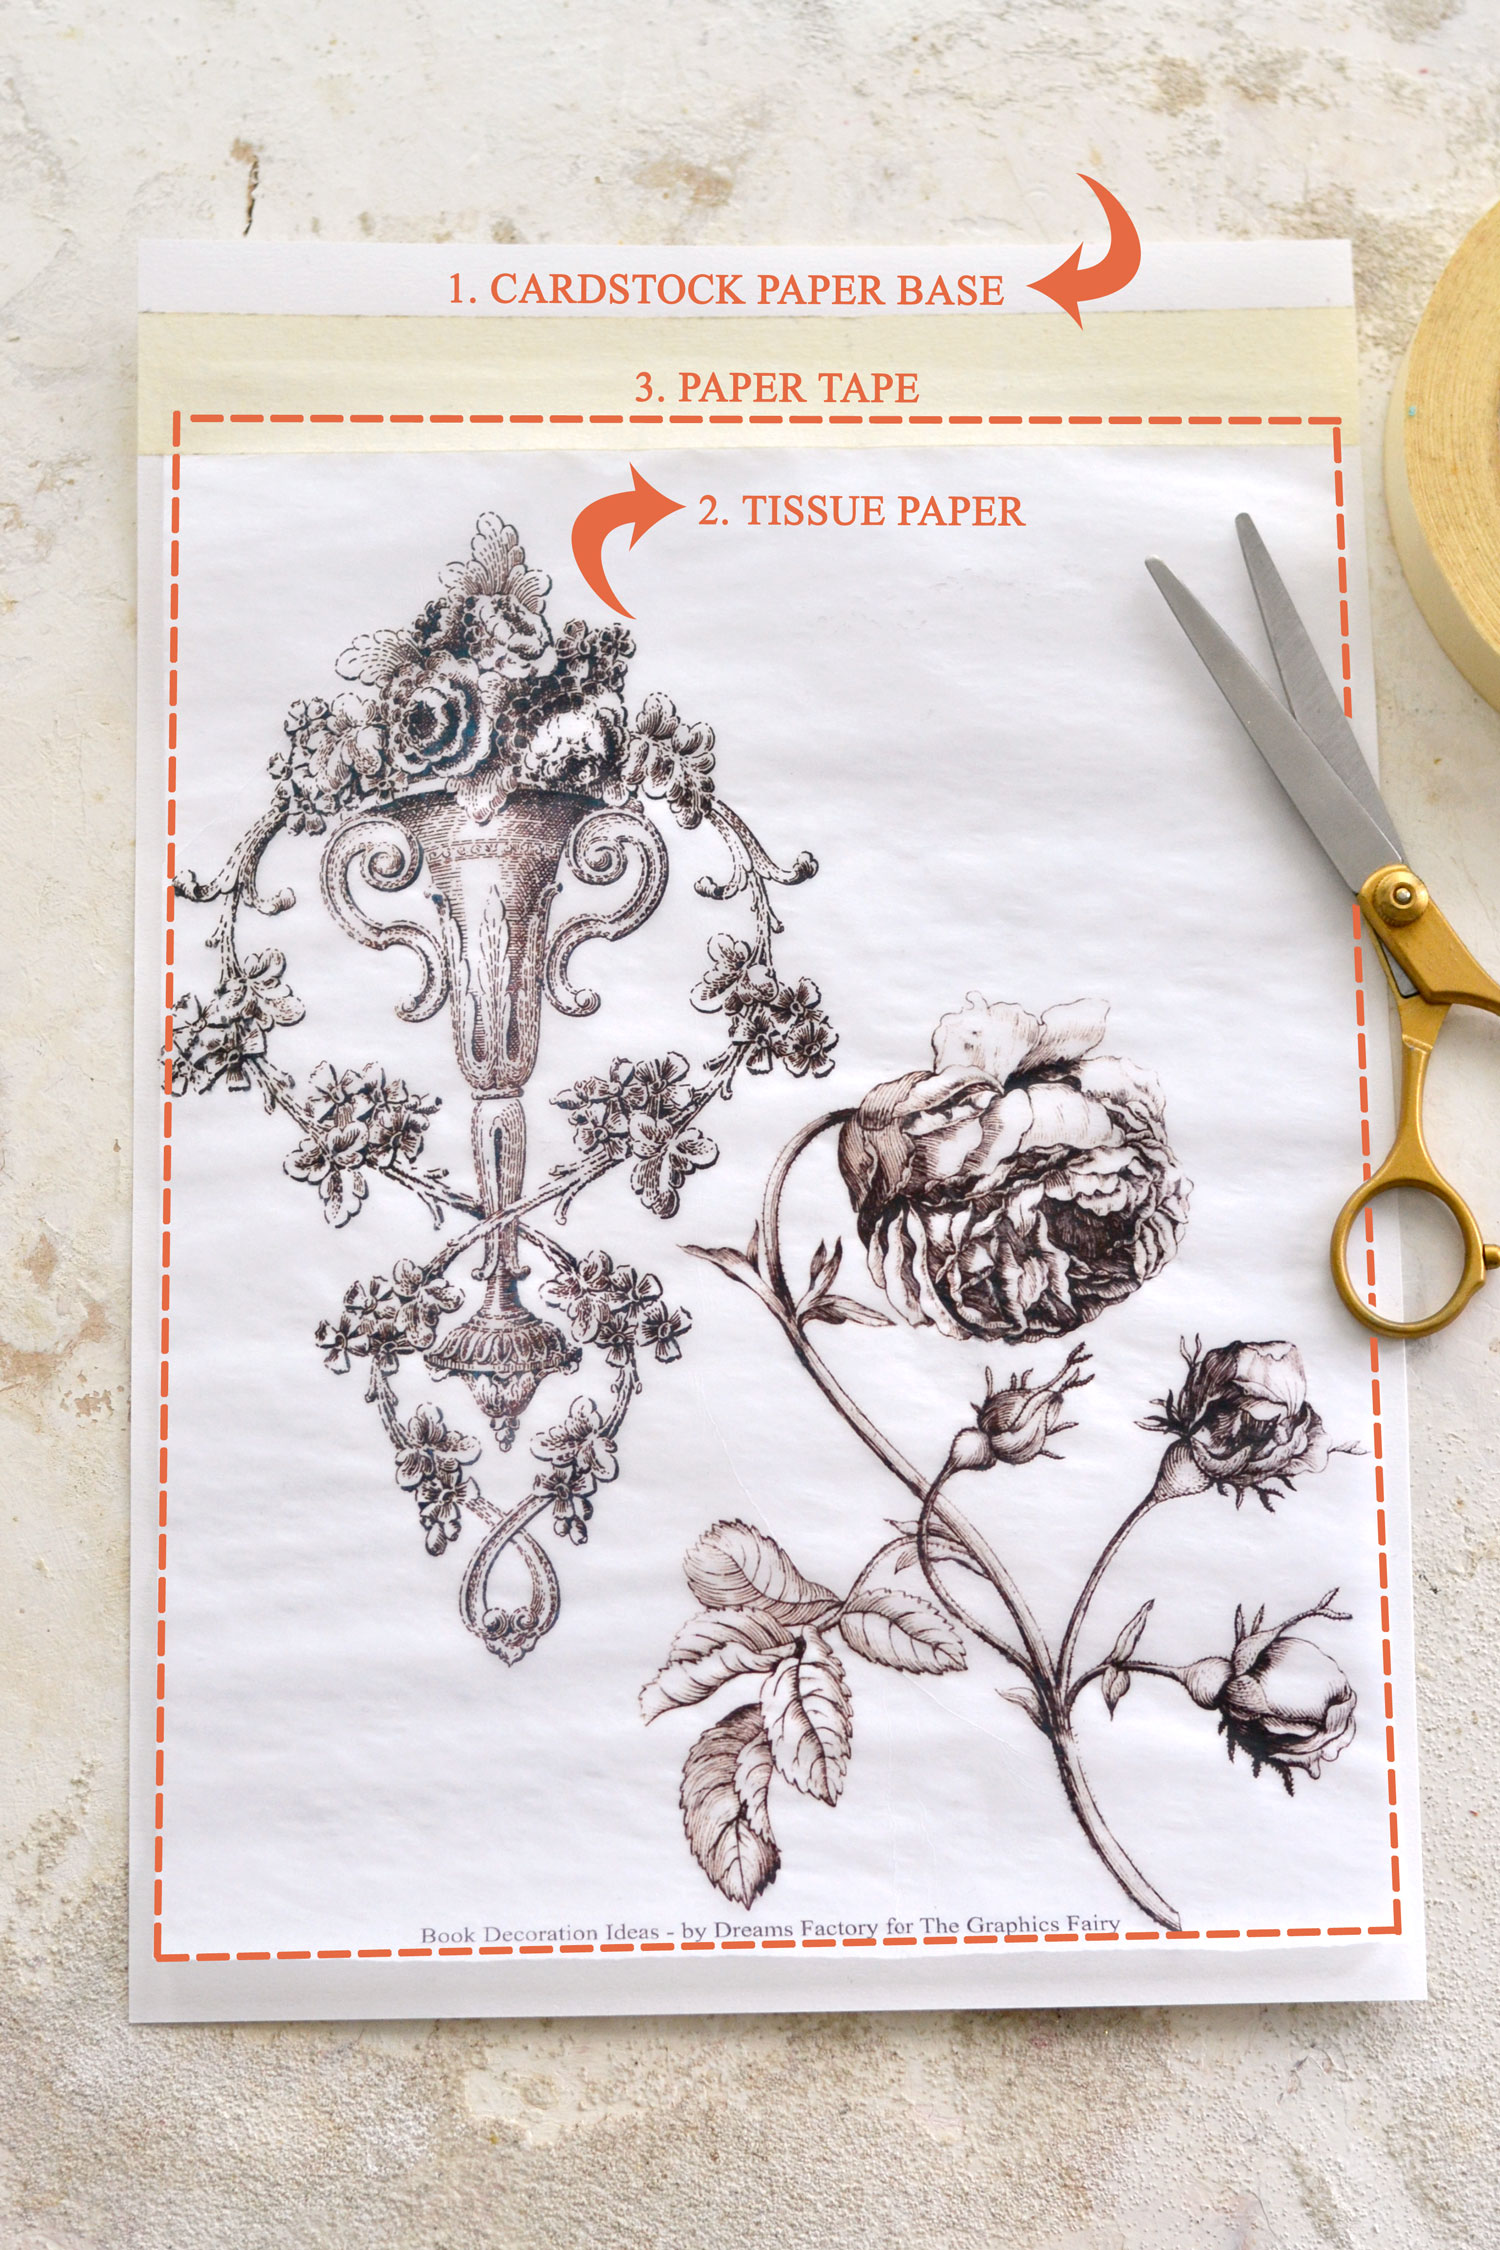
Before we dive right in I wanted to show you the tissue paper printing setup that I’m using, it’s the perfect combo that works for me and my LaserJet printer. I use a regular-sized piece of cardstock paper as my base, I place a slightly smaller piece of tissue paper on top leaving a little bit of space on the upper part, then I use paper tape to keep the tissue paper in place. You can check my setup in the image below, I highlighted the edges of the tissue paper so you can better see its size.
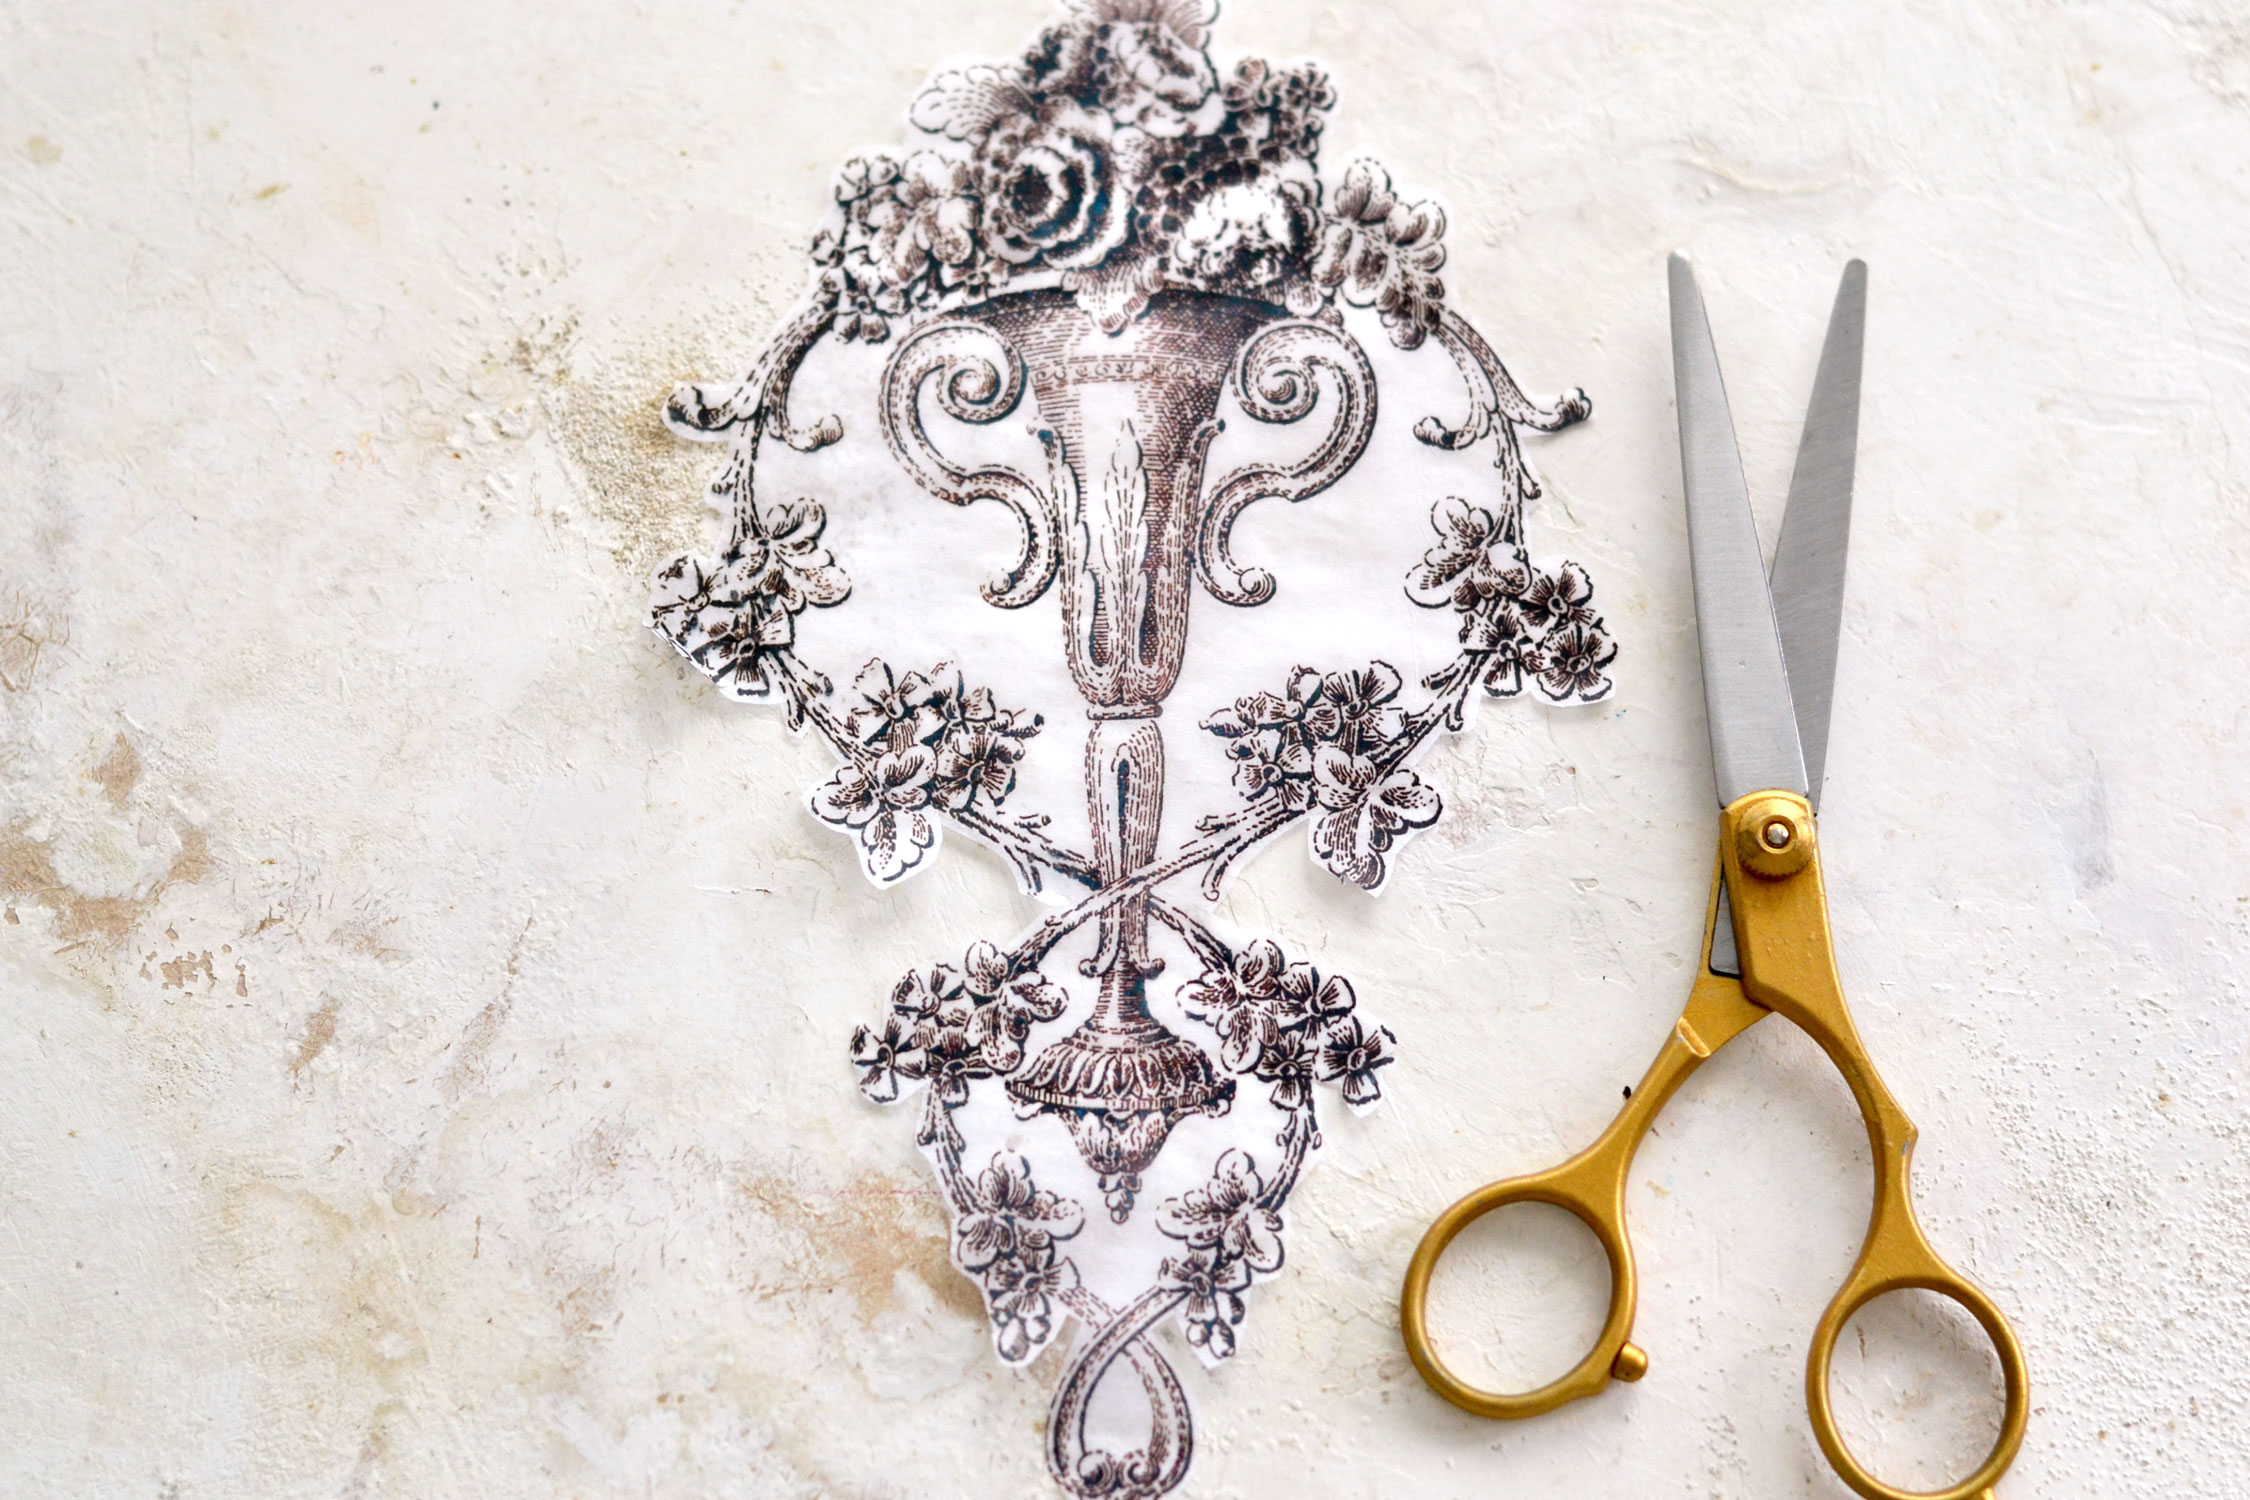
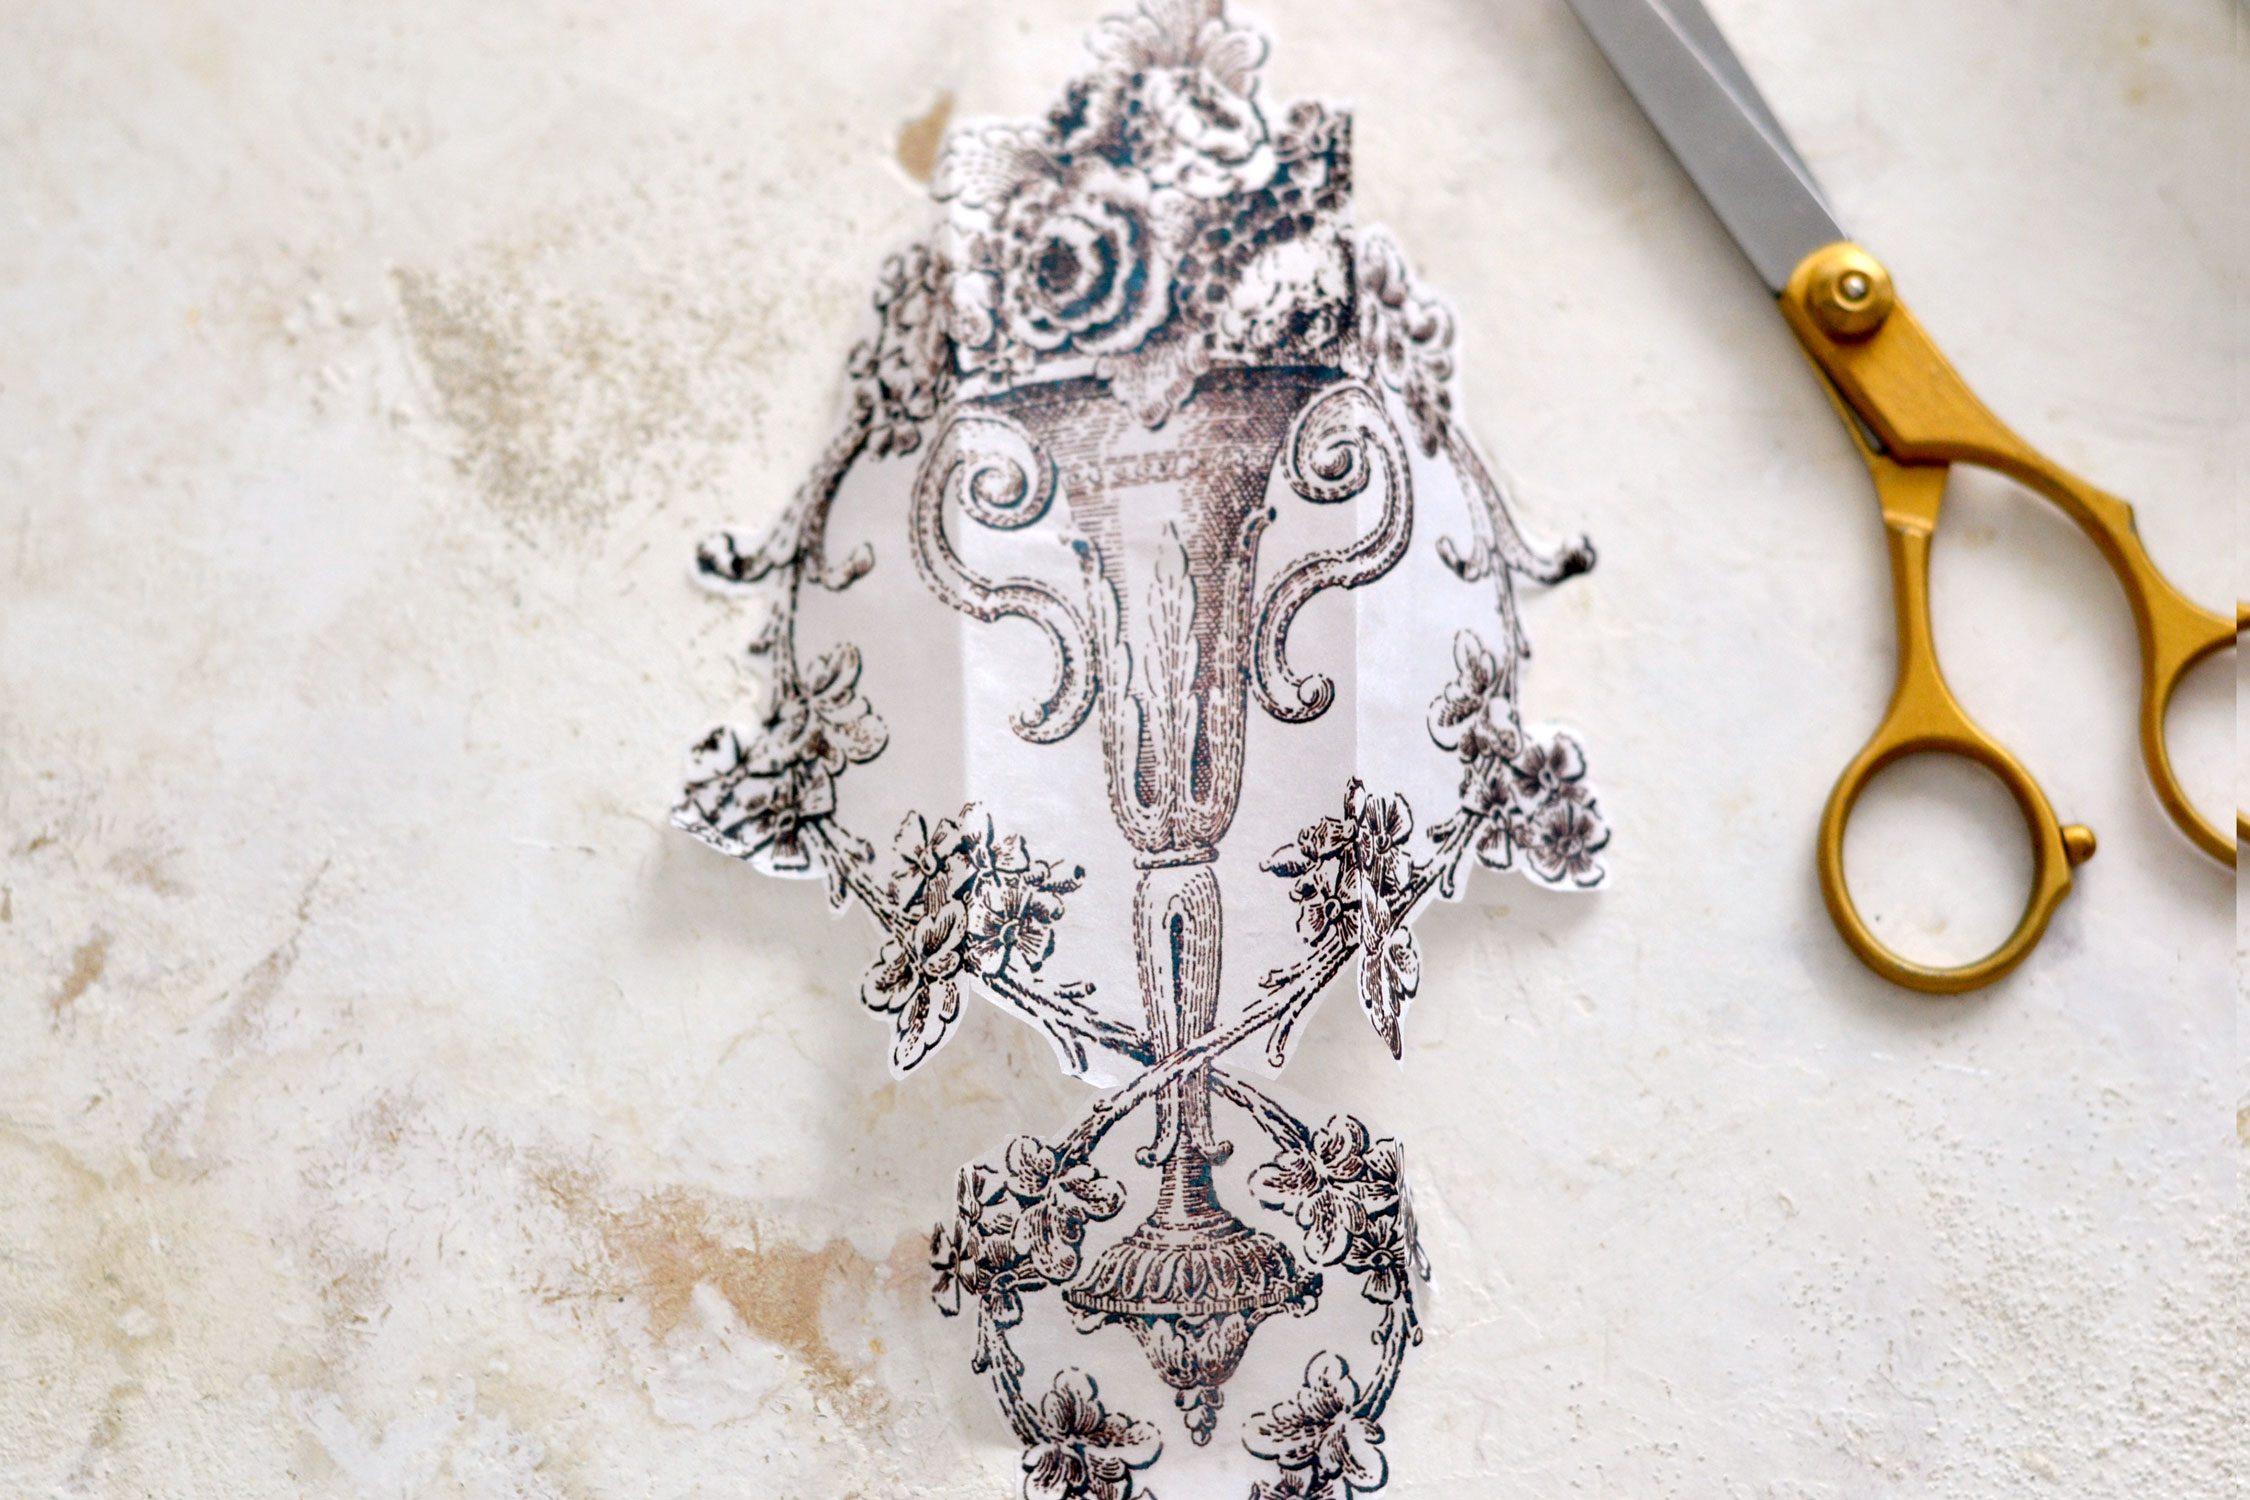
Start by cutting your preferred design – I went with this beautiful ornamental floral image.
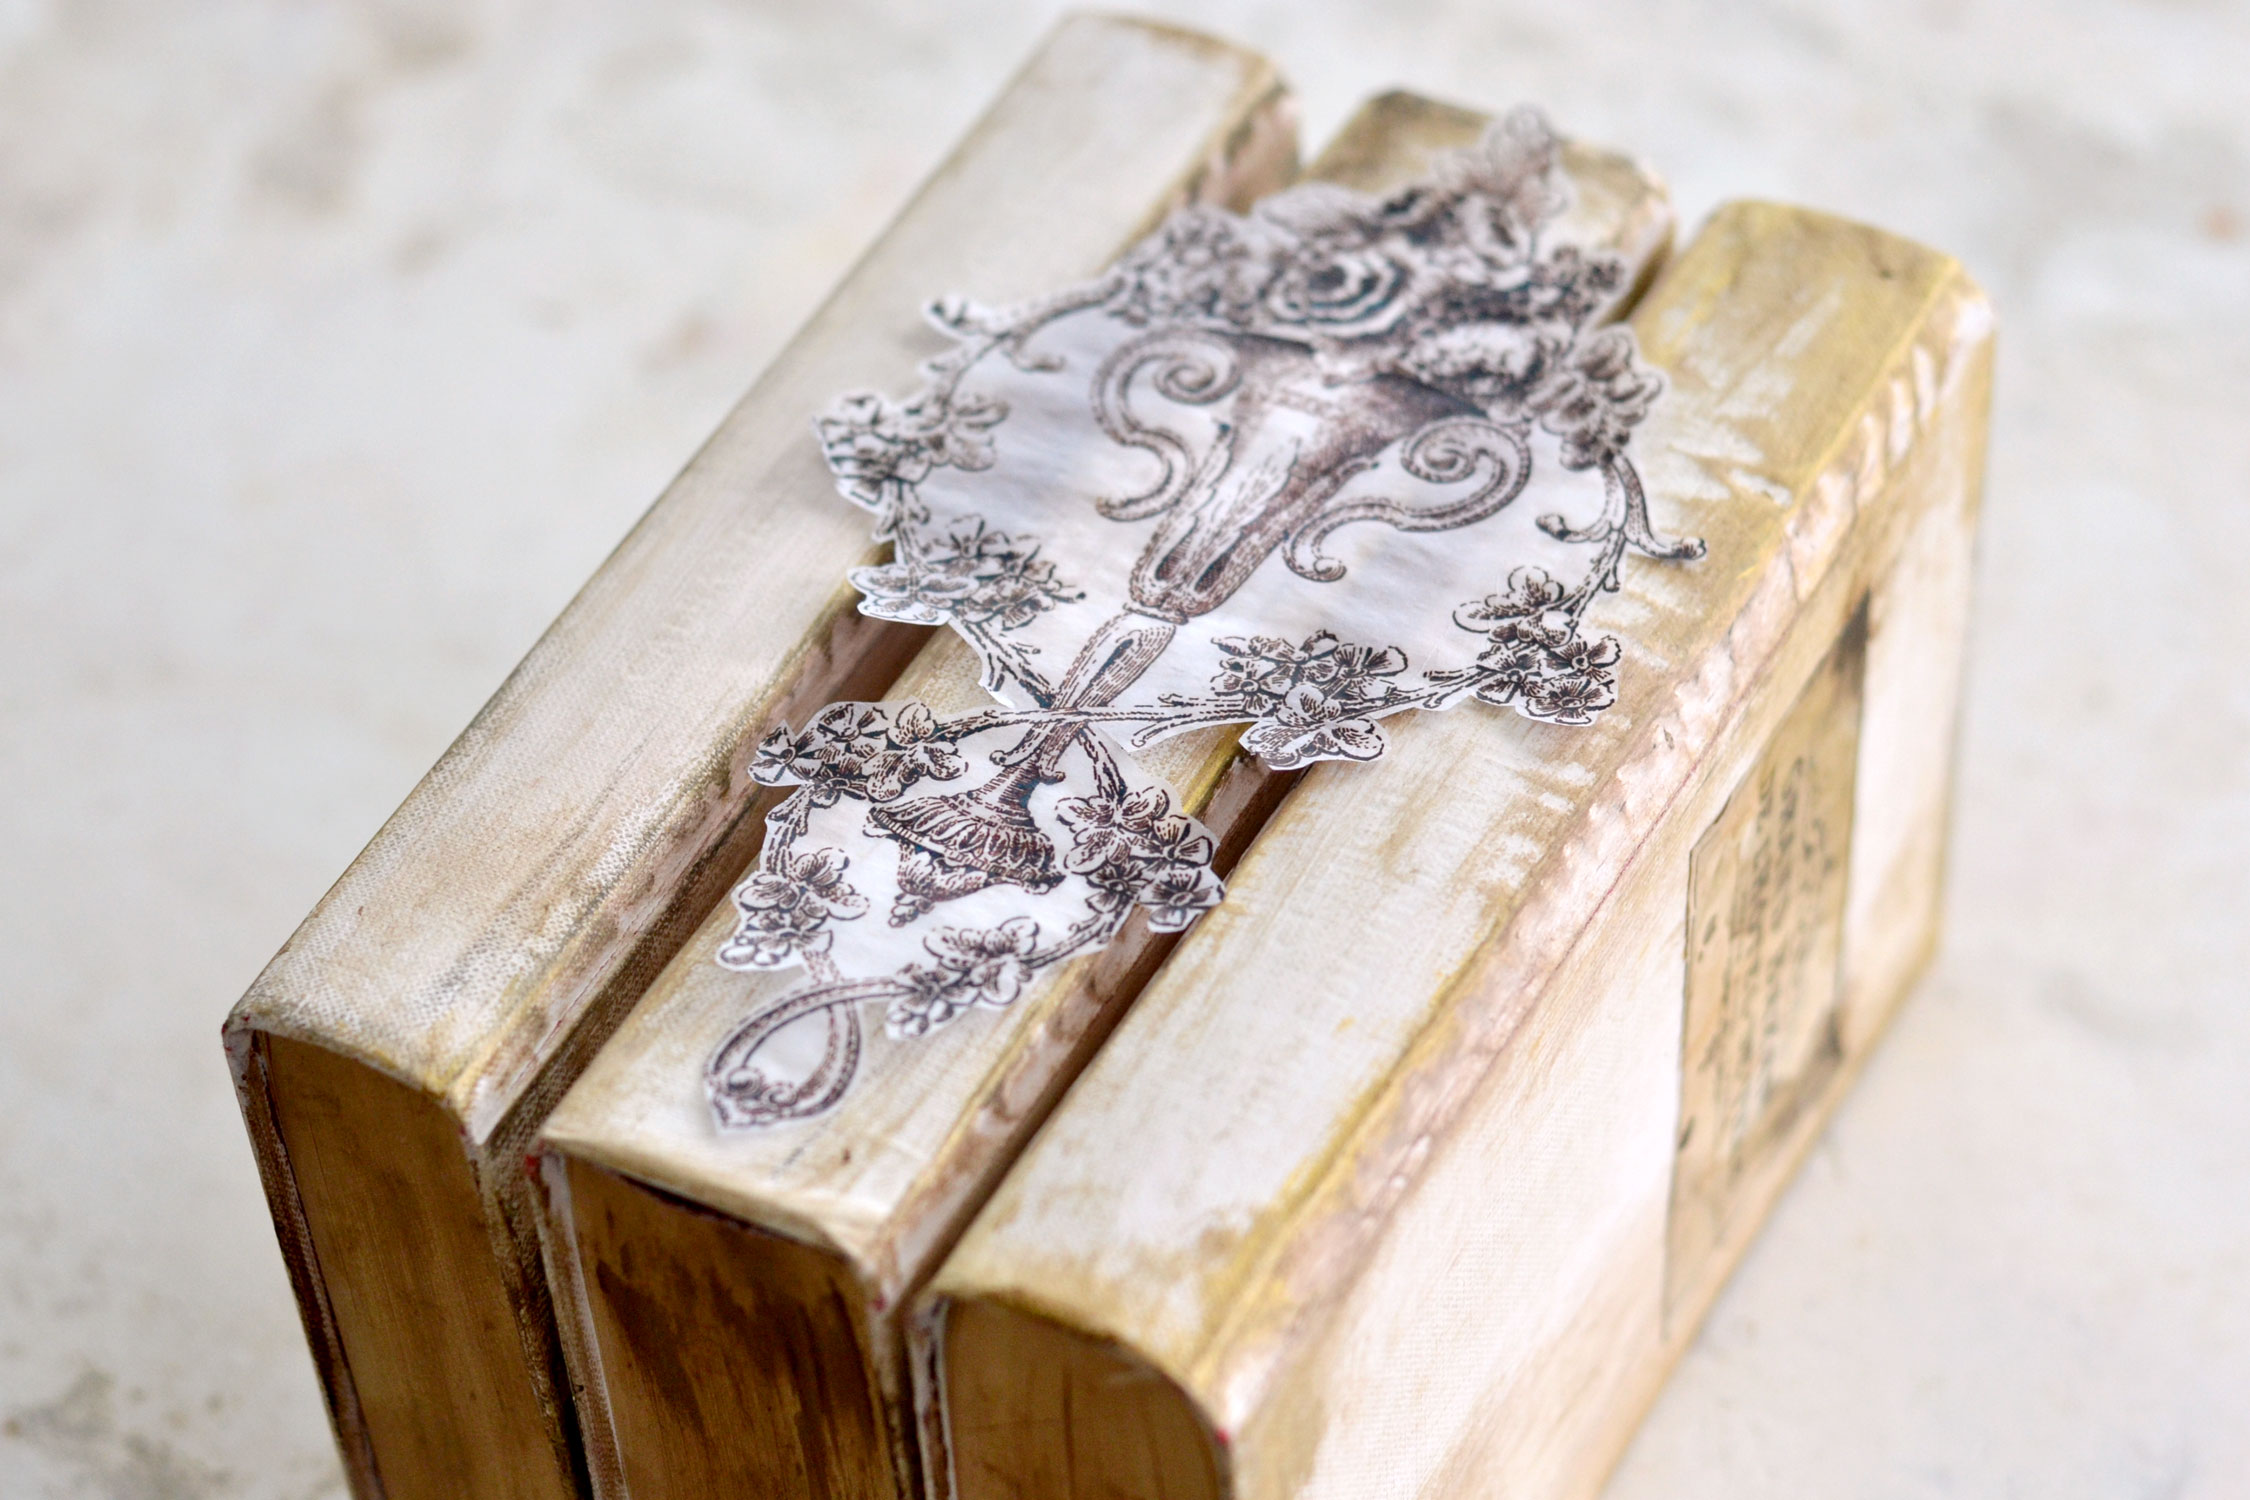
Place your books on the table with the spine facing up and place the tissue paper image on top.
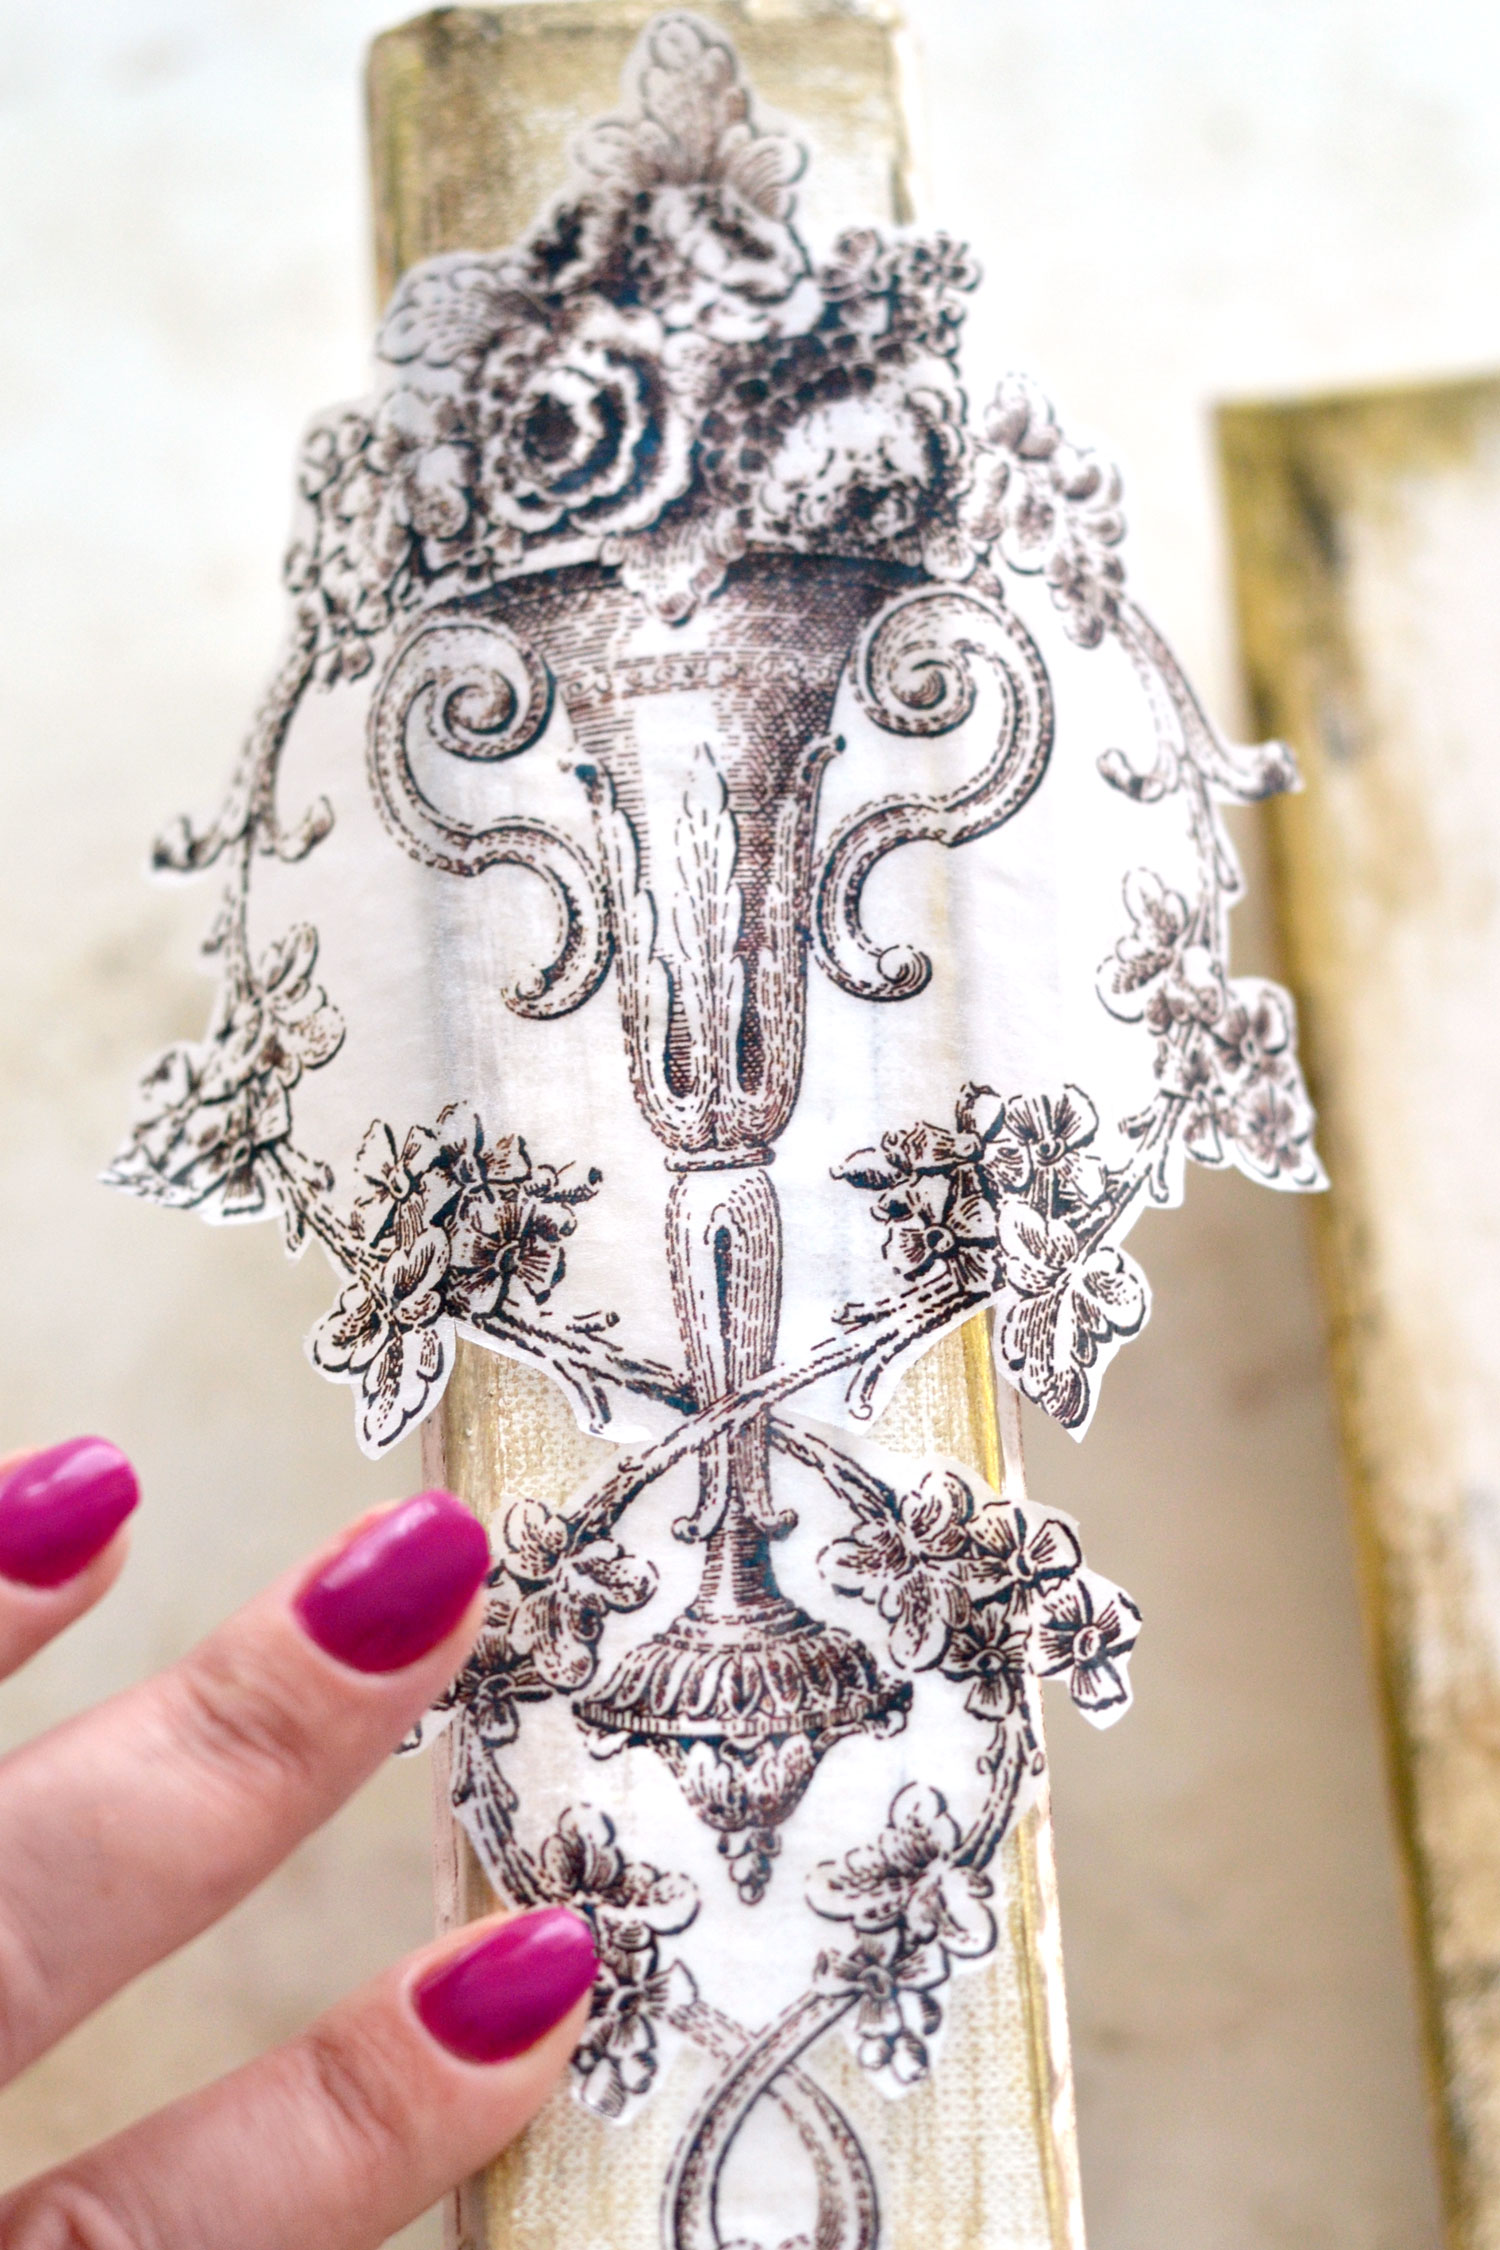
Try to center your image as much as you can, then gently pull the left and right books aside and only keep the middle one on your table. Use your fingers to carefully but firmly press along the edges to create a crease.
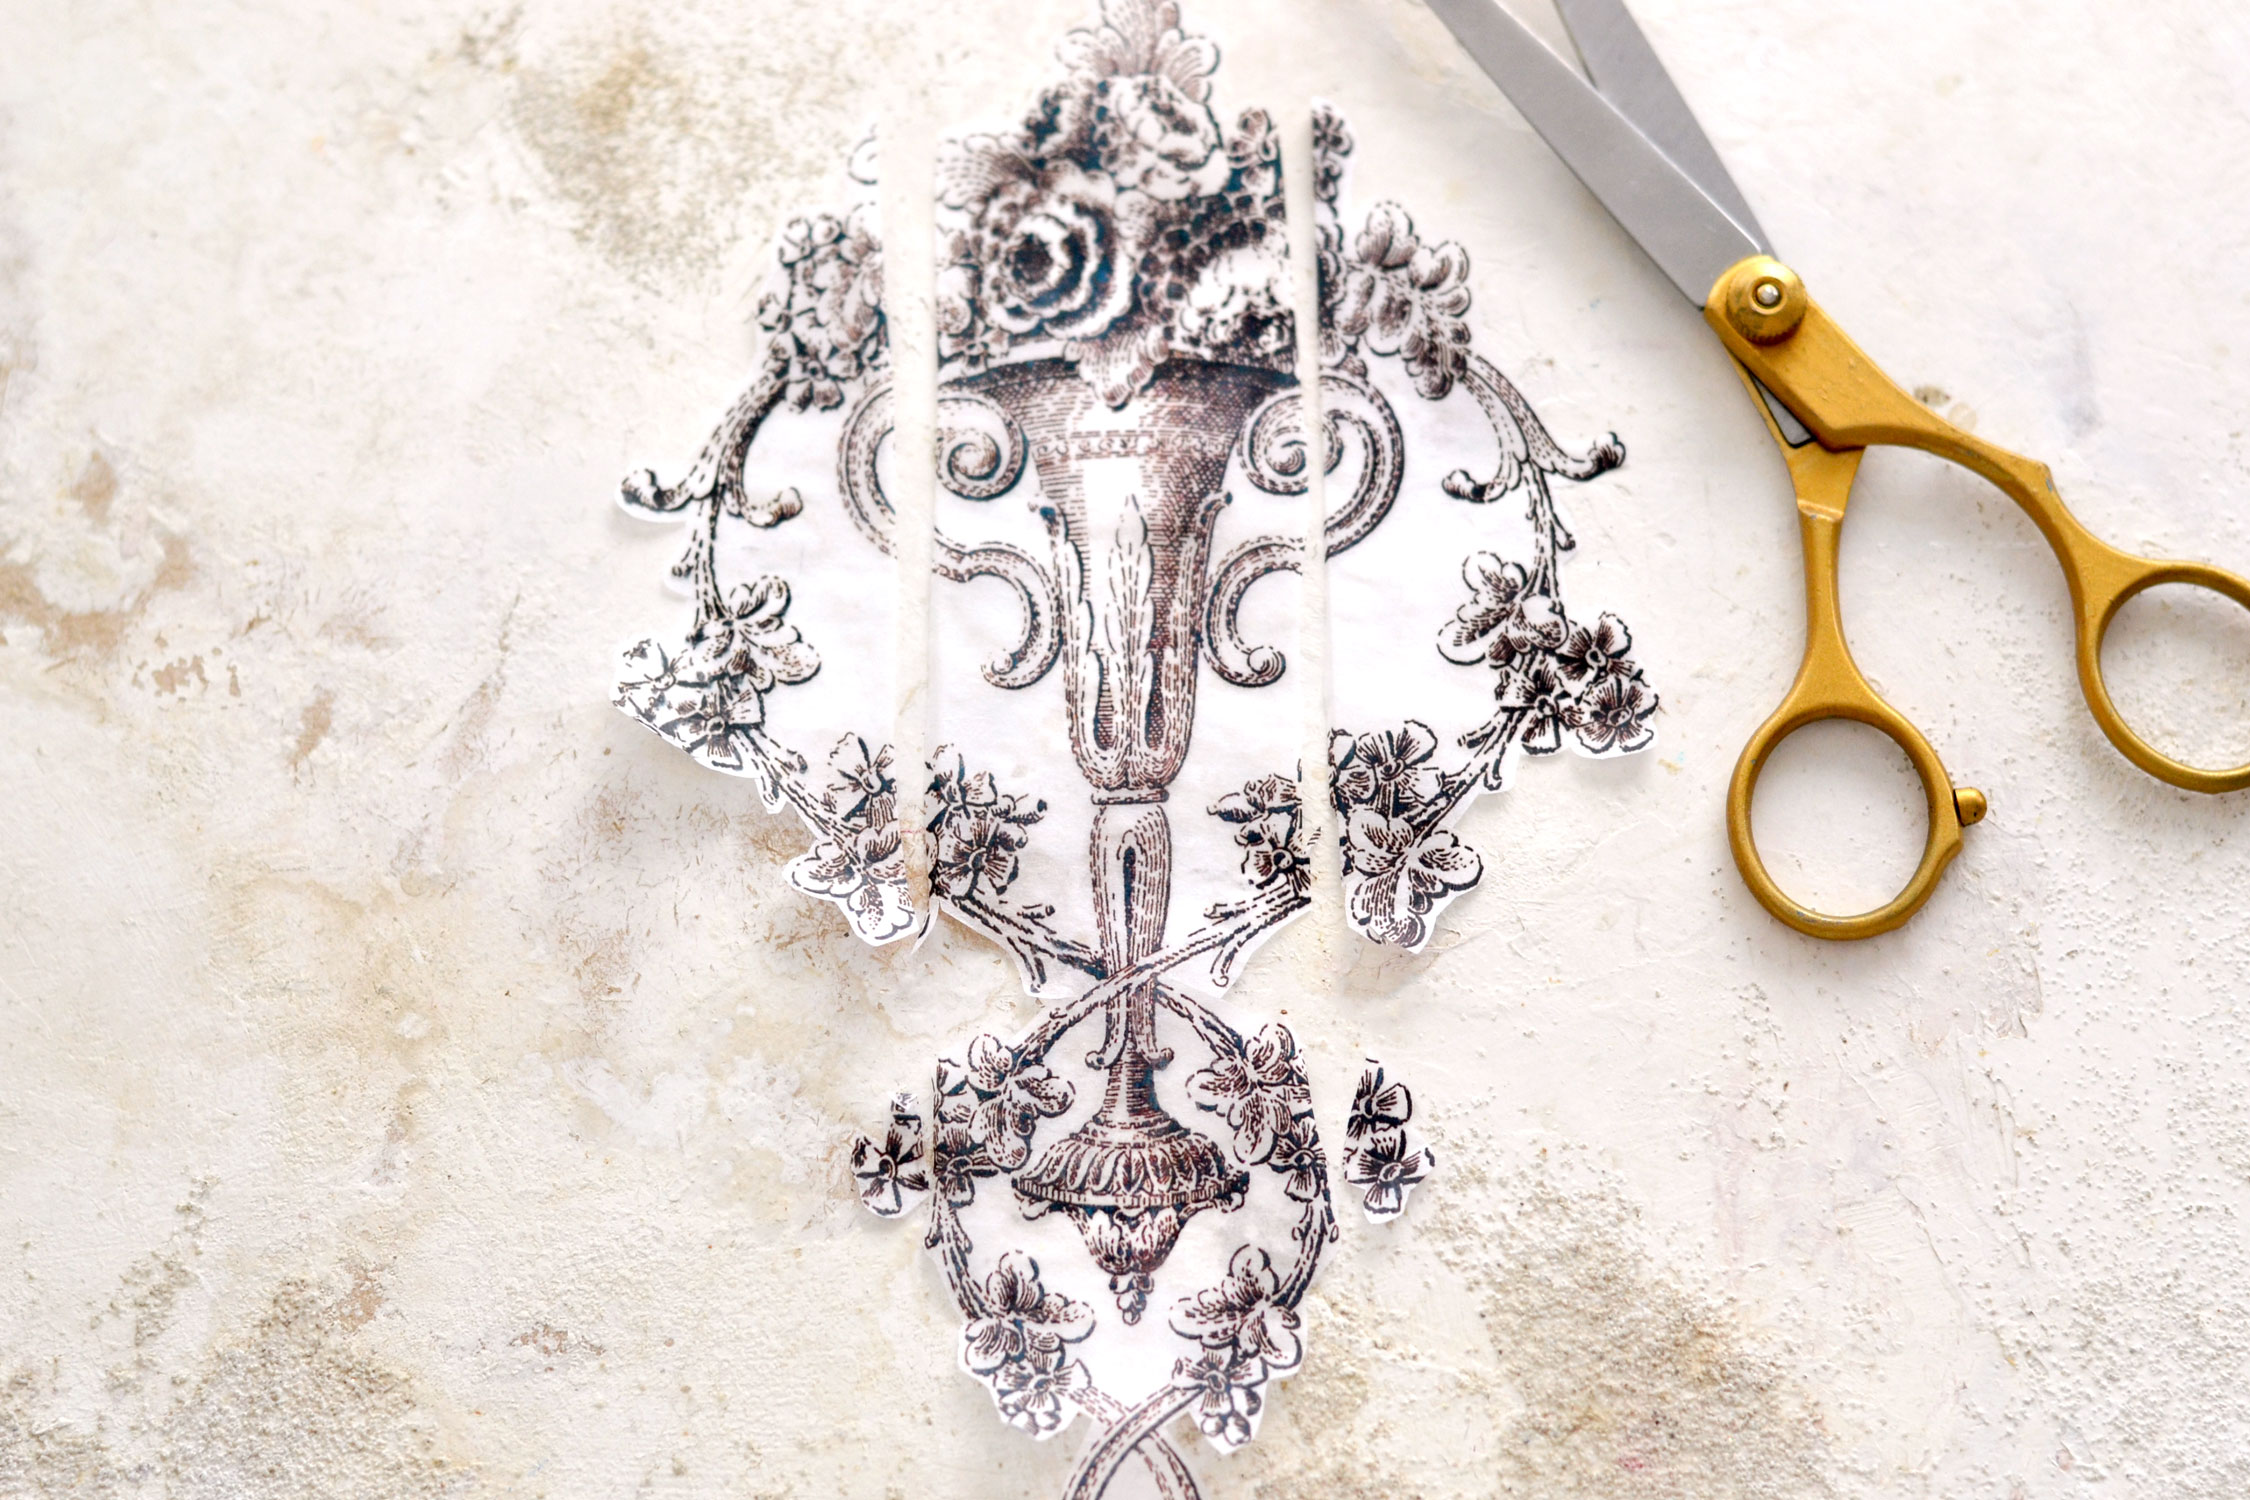
Remove the tissue paper from your book and place it on your table so you can fold it again to accentuate the already-created creases.
Use your scissors to carefully cut along the lines. Depending on the width of your books, you will have 3 strips of tissue paper that have the same size or 3 with different sizes.
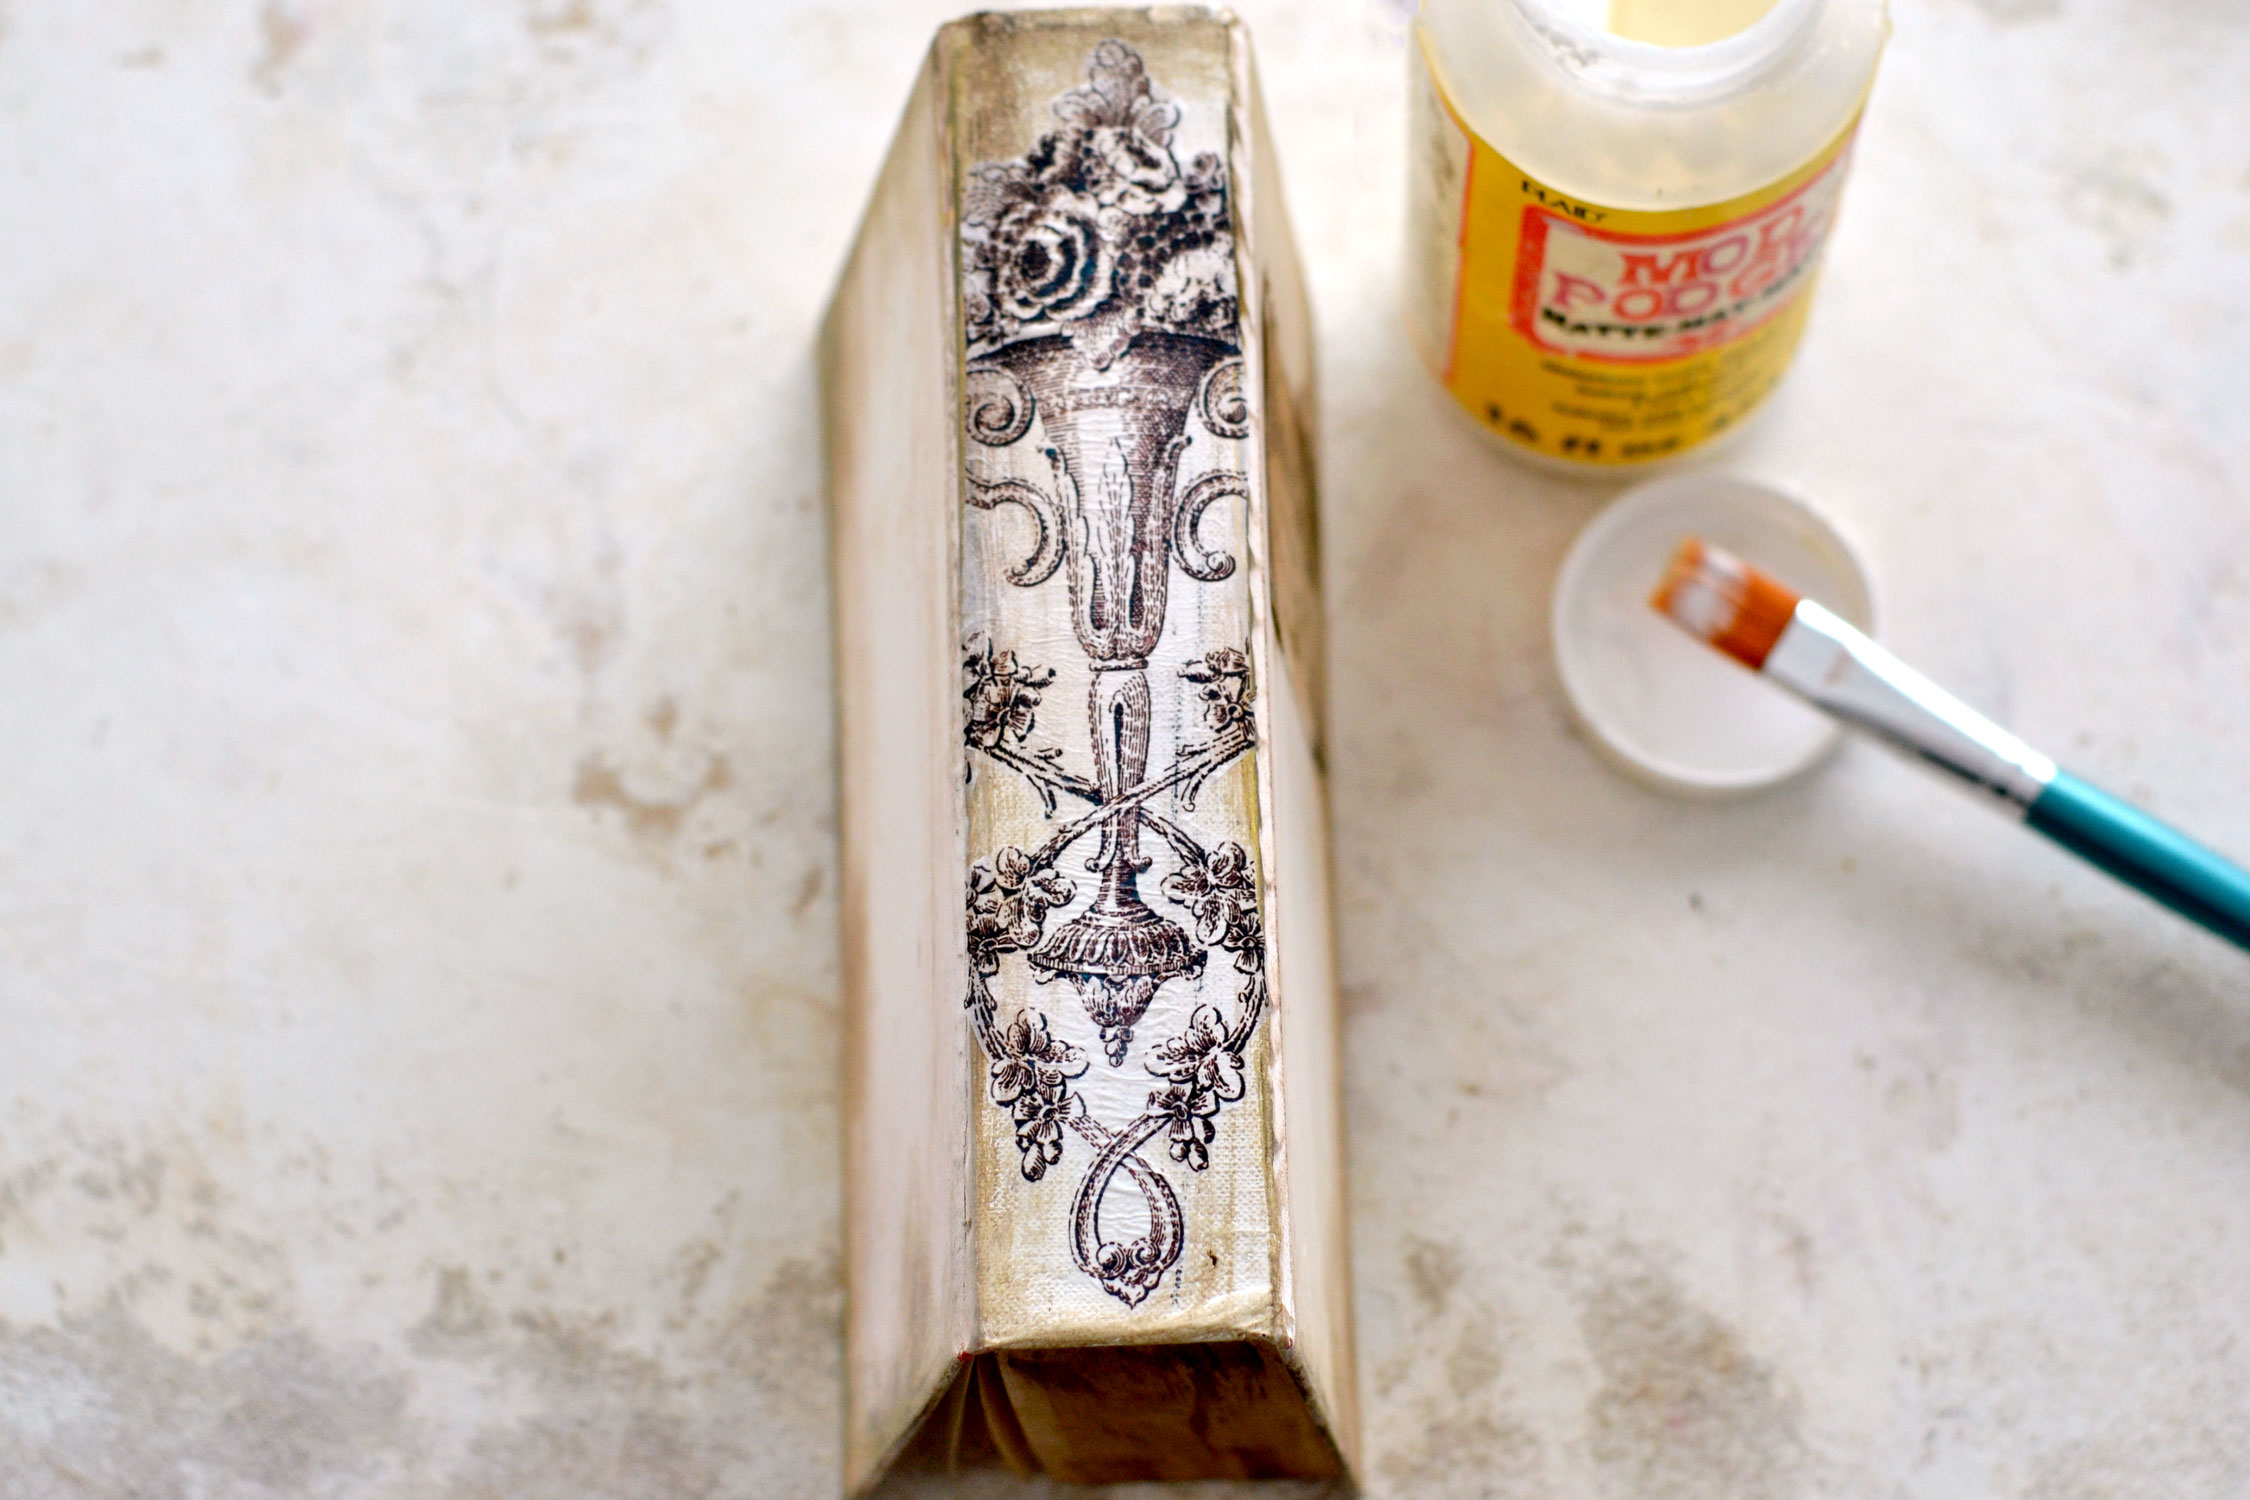
Use Mod Podge or any other craft glue to adhere the middle strip on top of the middle book spine. I like to work in sections when applying the glue on the book and adhering the tissue paper strip, I feel this way I can prevent the air bubbles almost completely. I don’t like adding another layer of Mod Podge on top of the image at this stage, I prefer to leave the image dry completely before doing that.
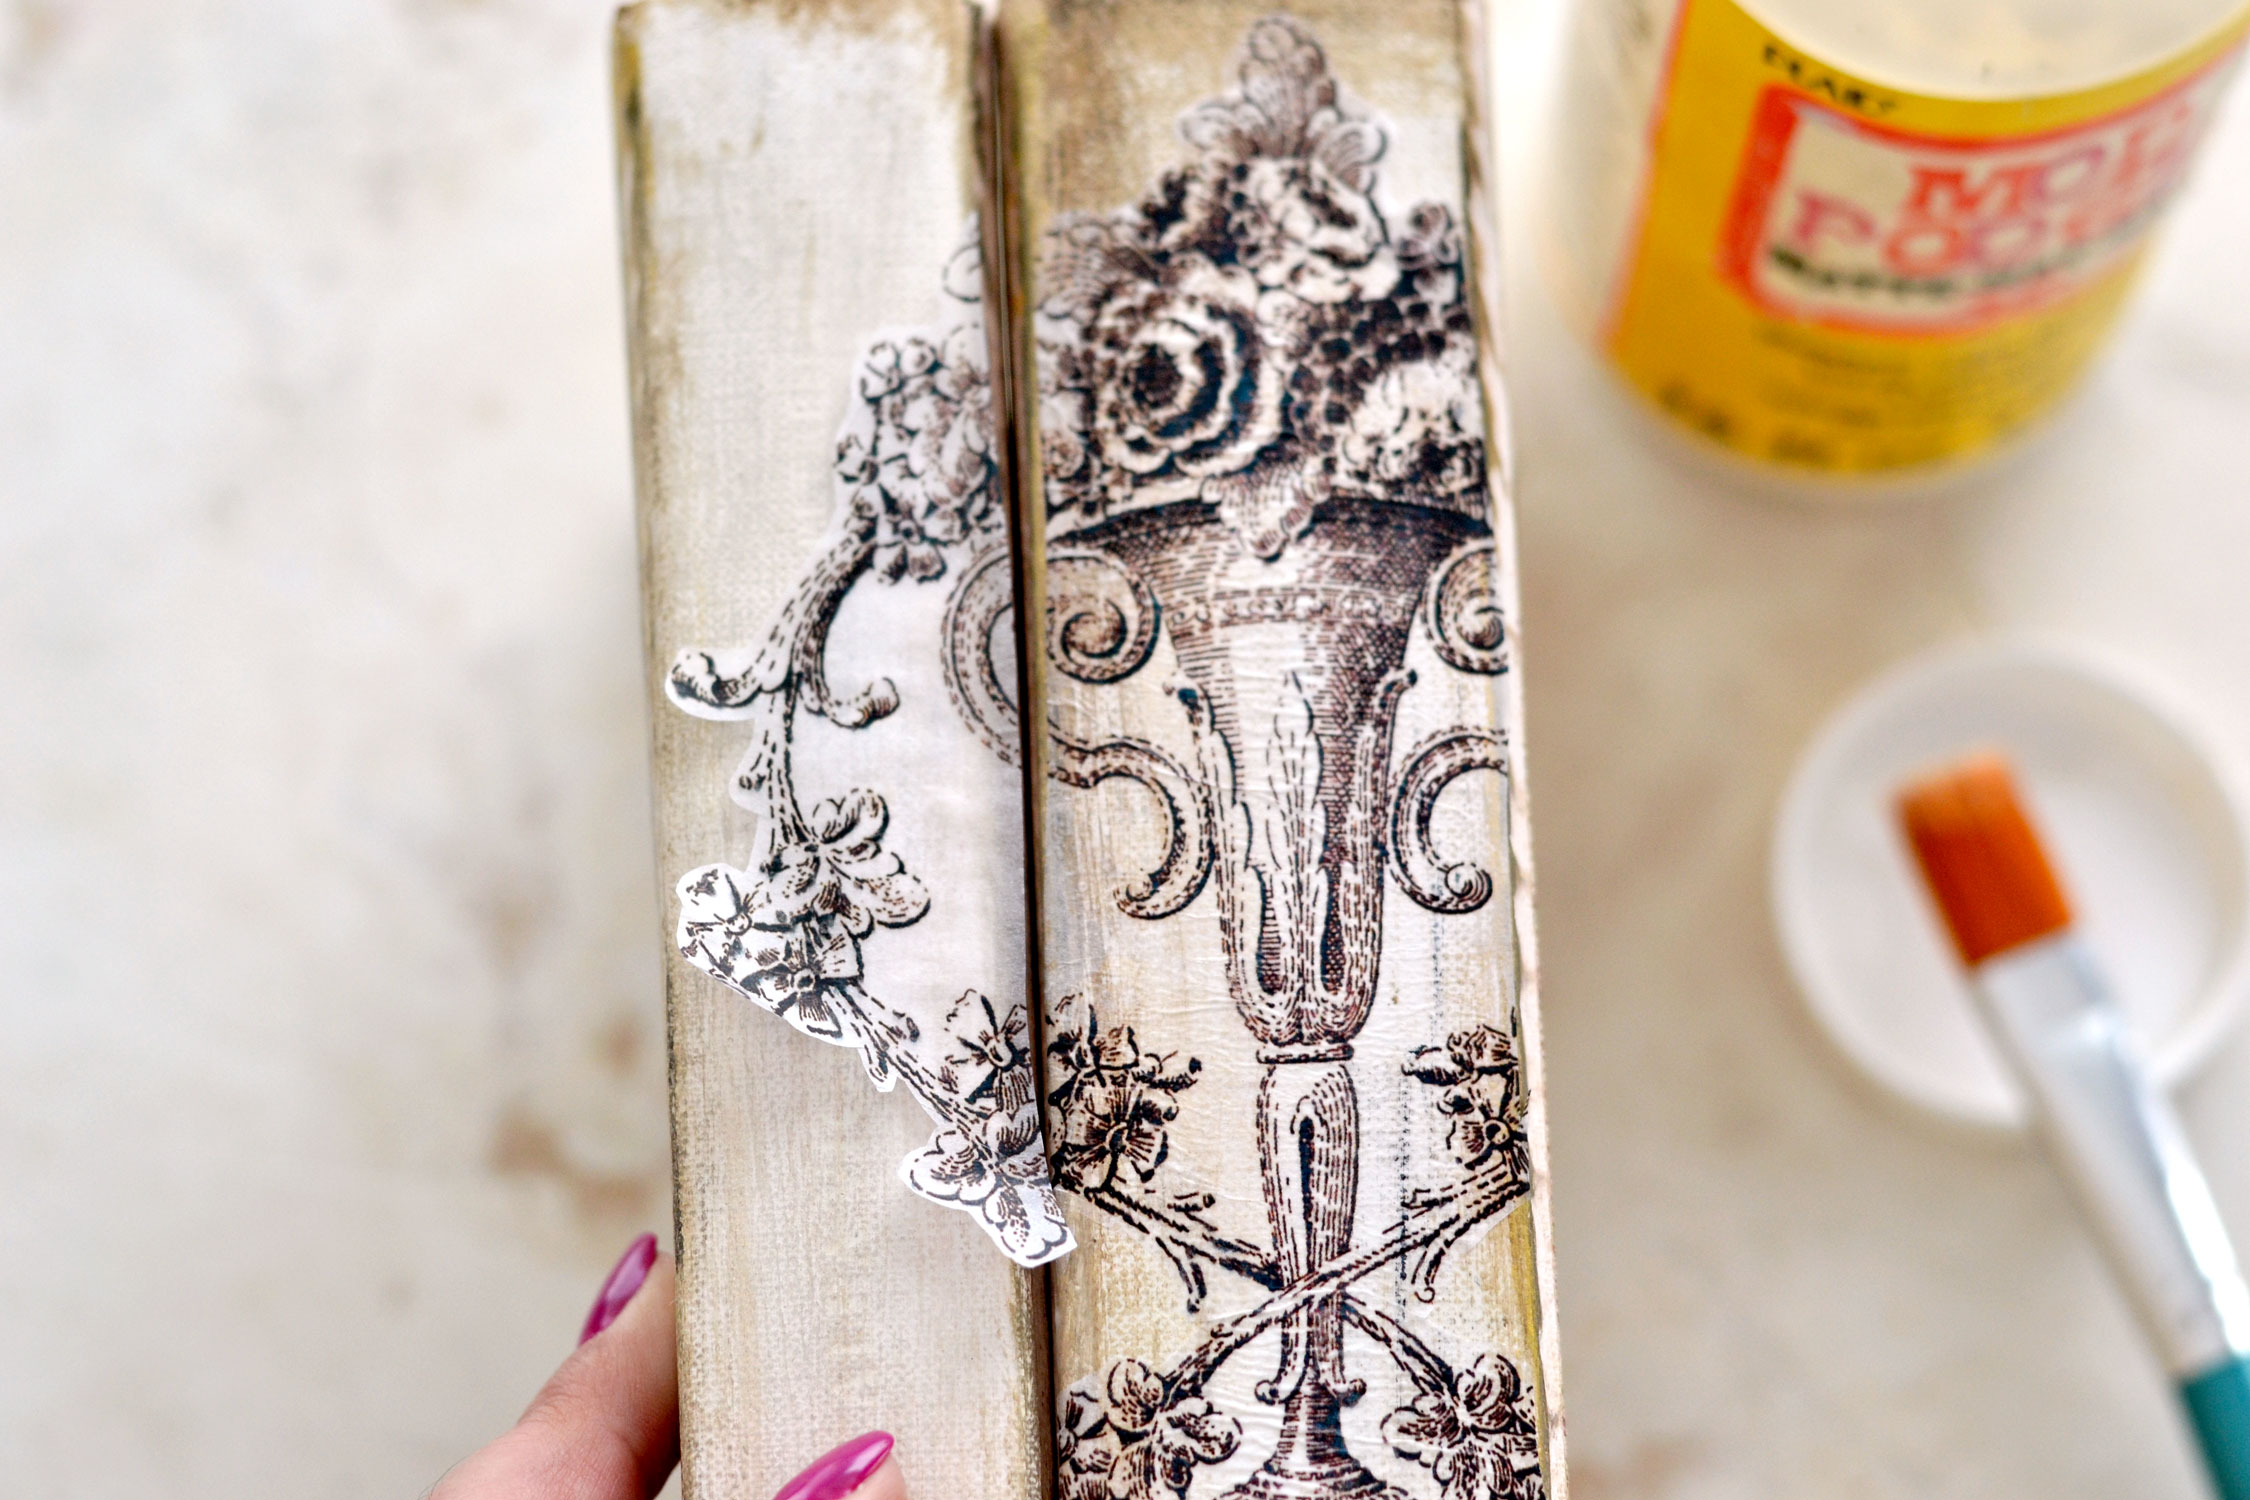
Place your left book on the table and use your hands to bring the books closer together, so you’ll know where to adhere the left section of the image.
After gradually applying the glue on the spine of the book I like to use my fingers to gently press the tissue paper. It’s important to keep your fingers free of glue (keep a paper towel close by), so you don’t accidentally lift up the tissue paper when you press it down.
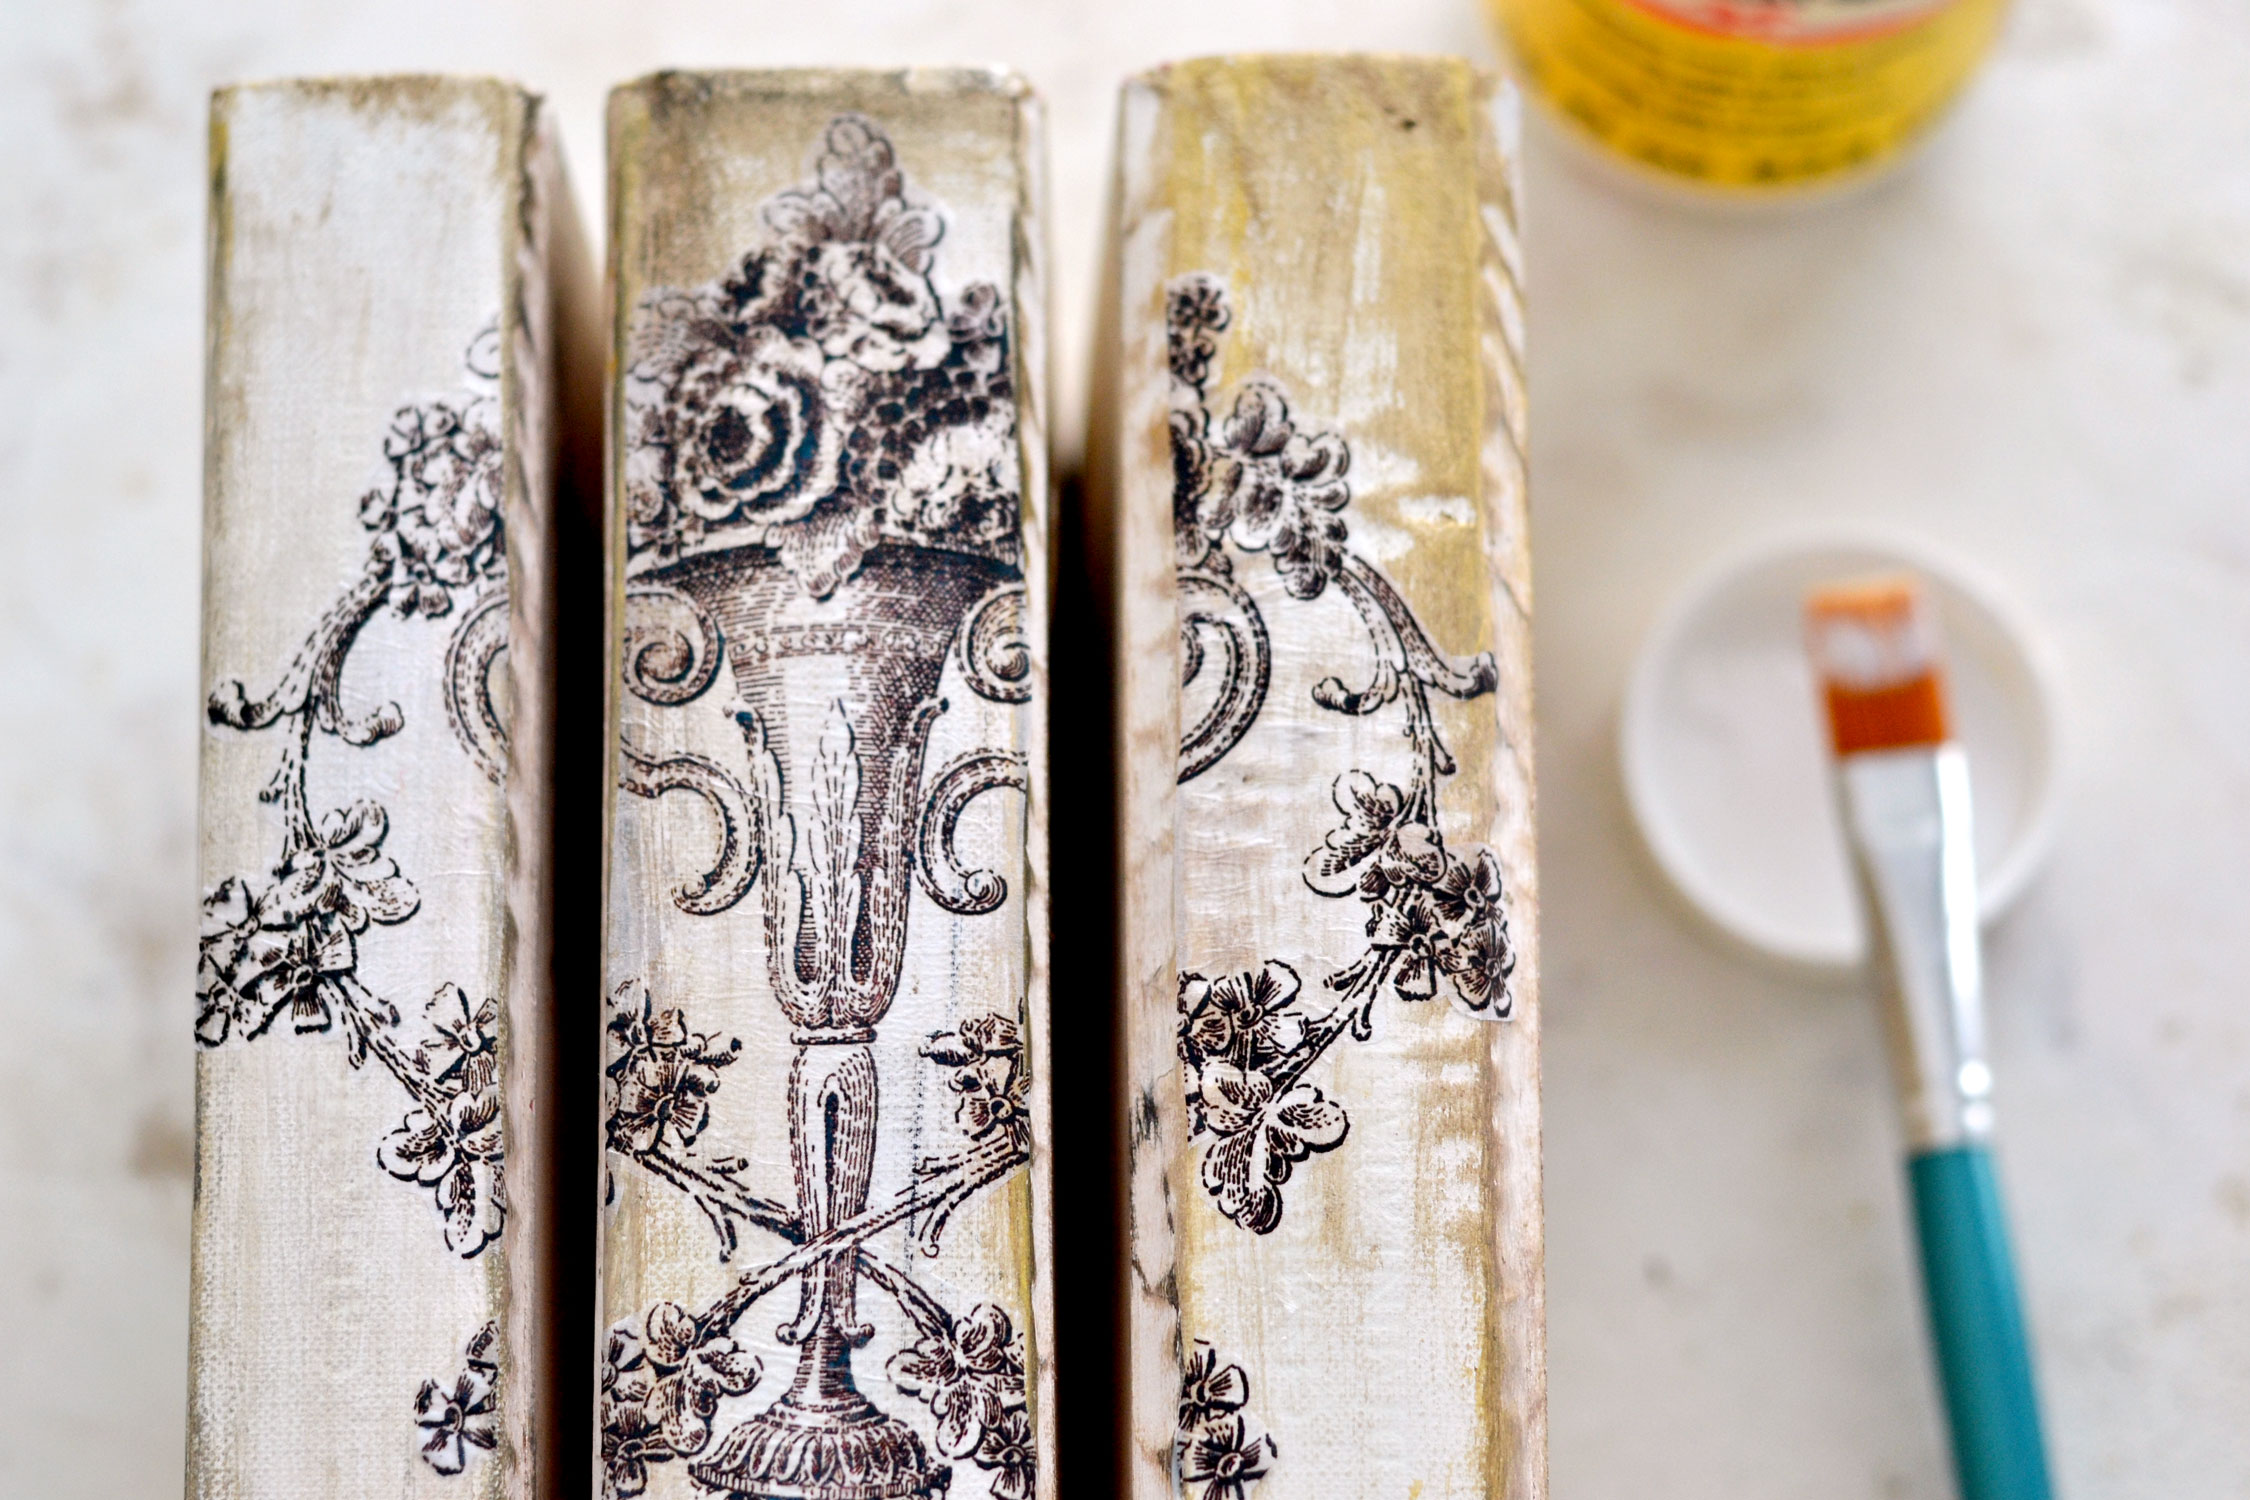
Adhere the last section on the right book and let everything dry completely.
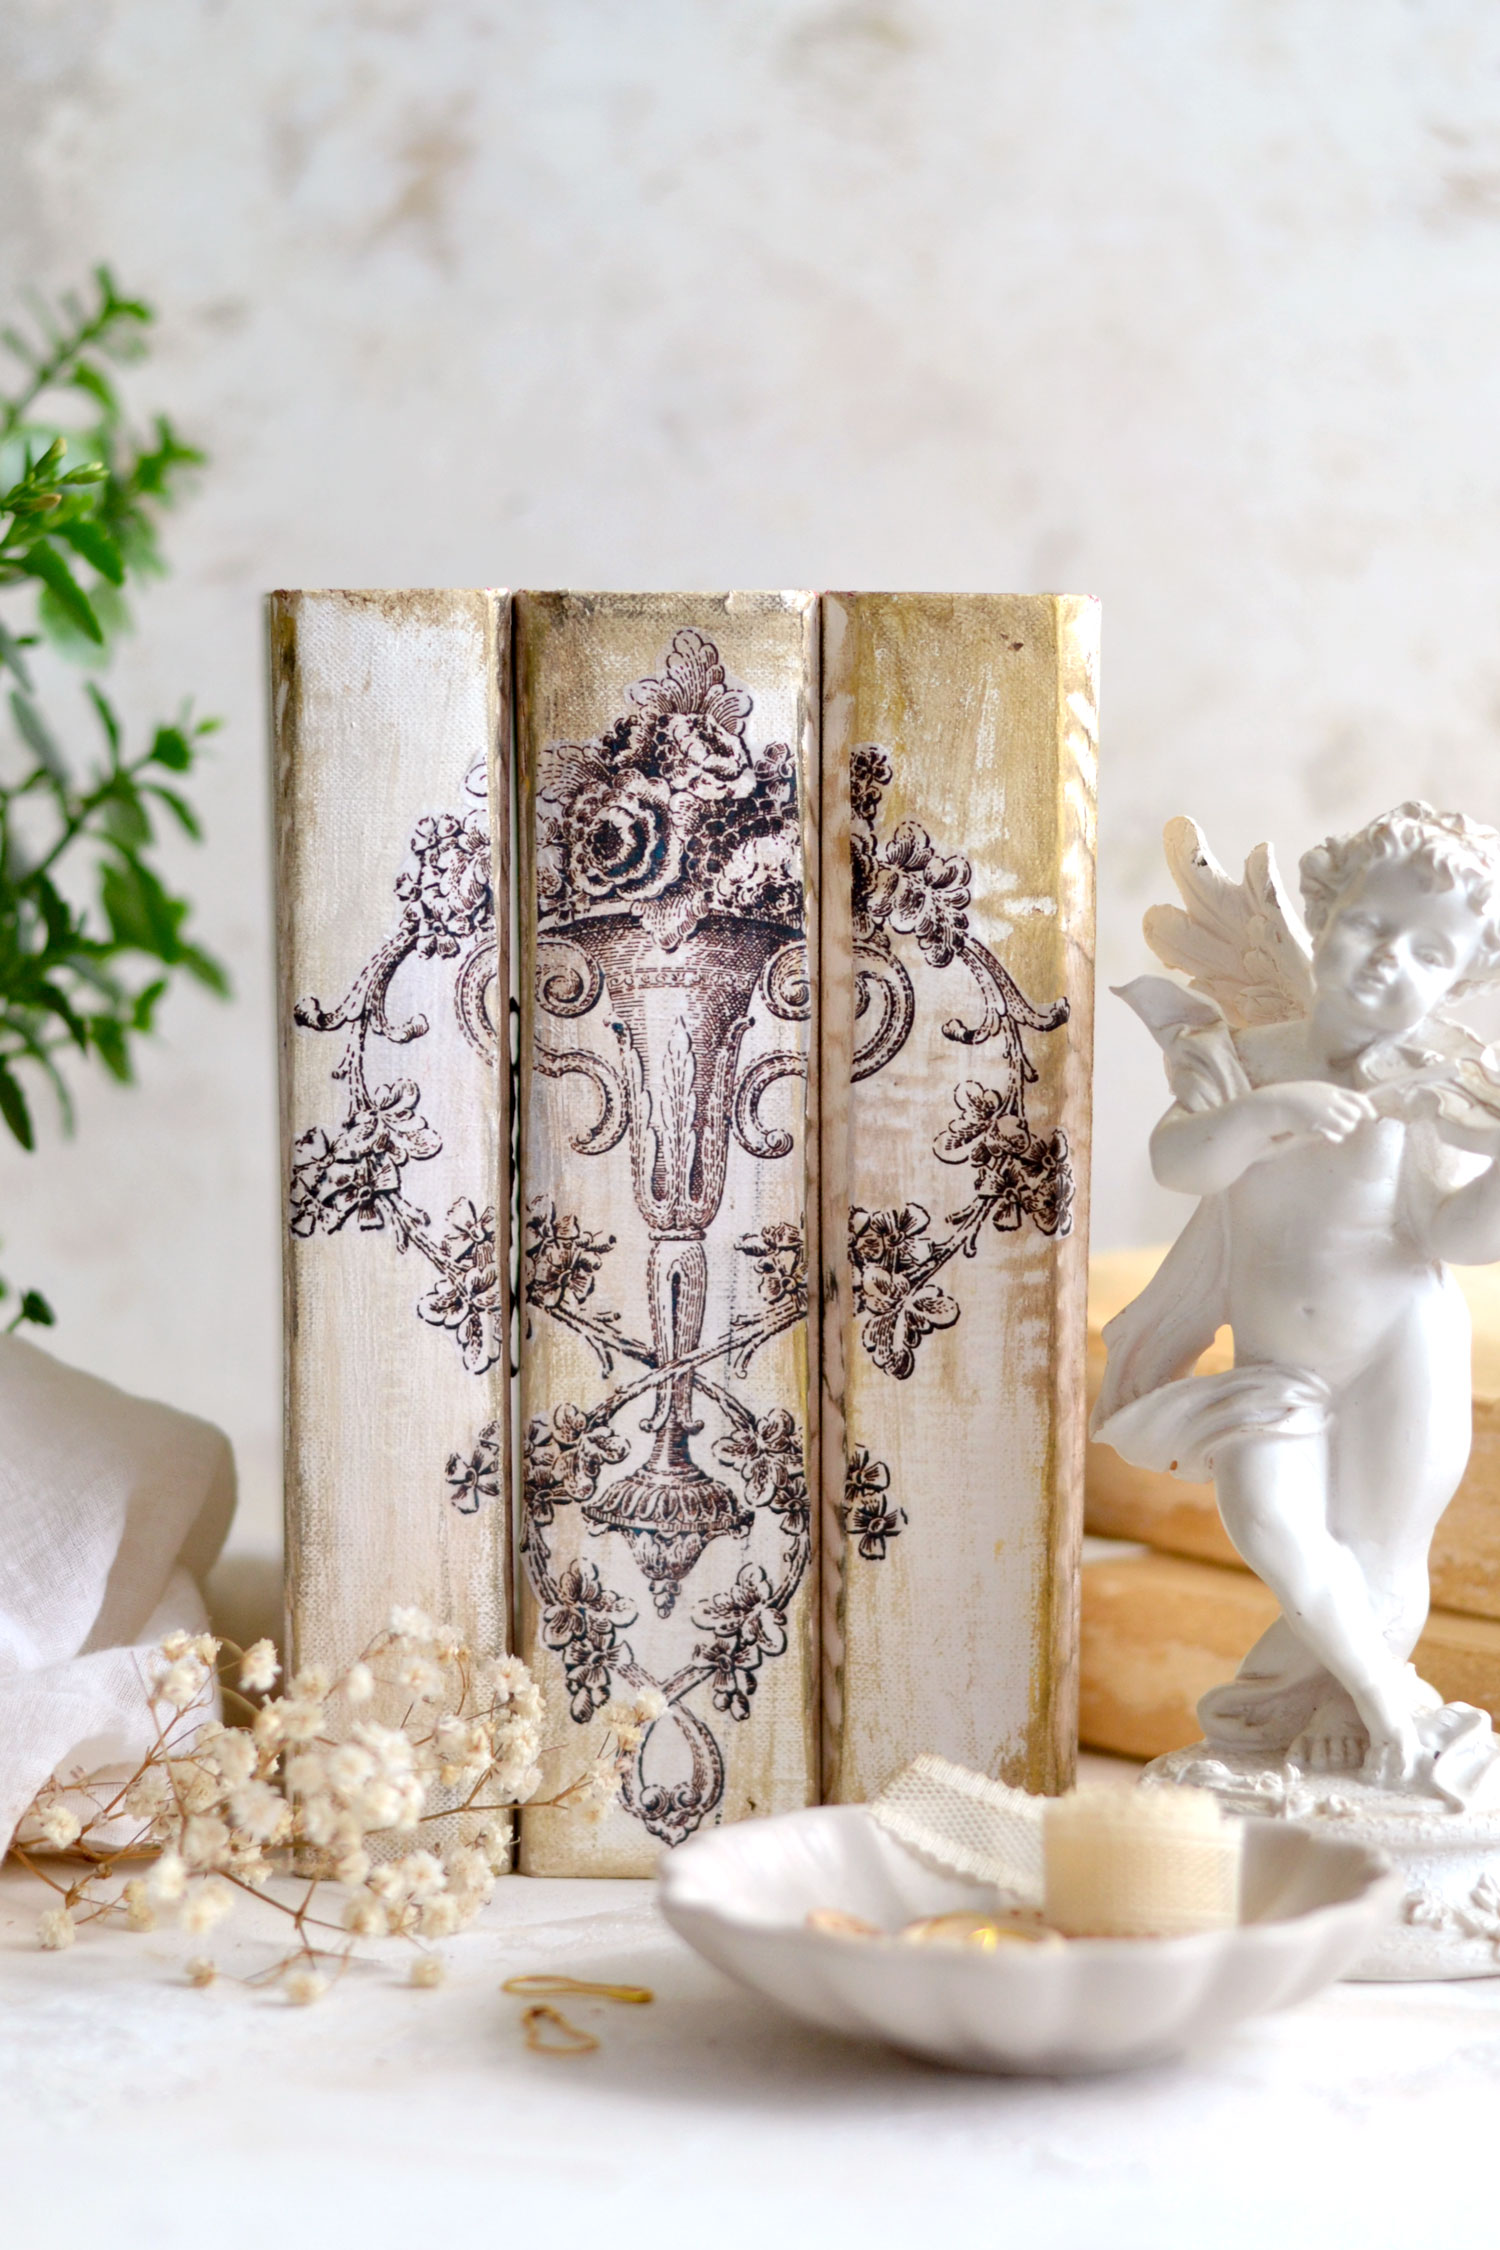
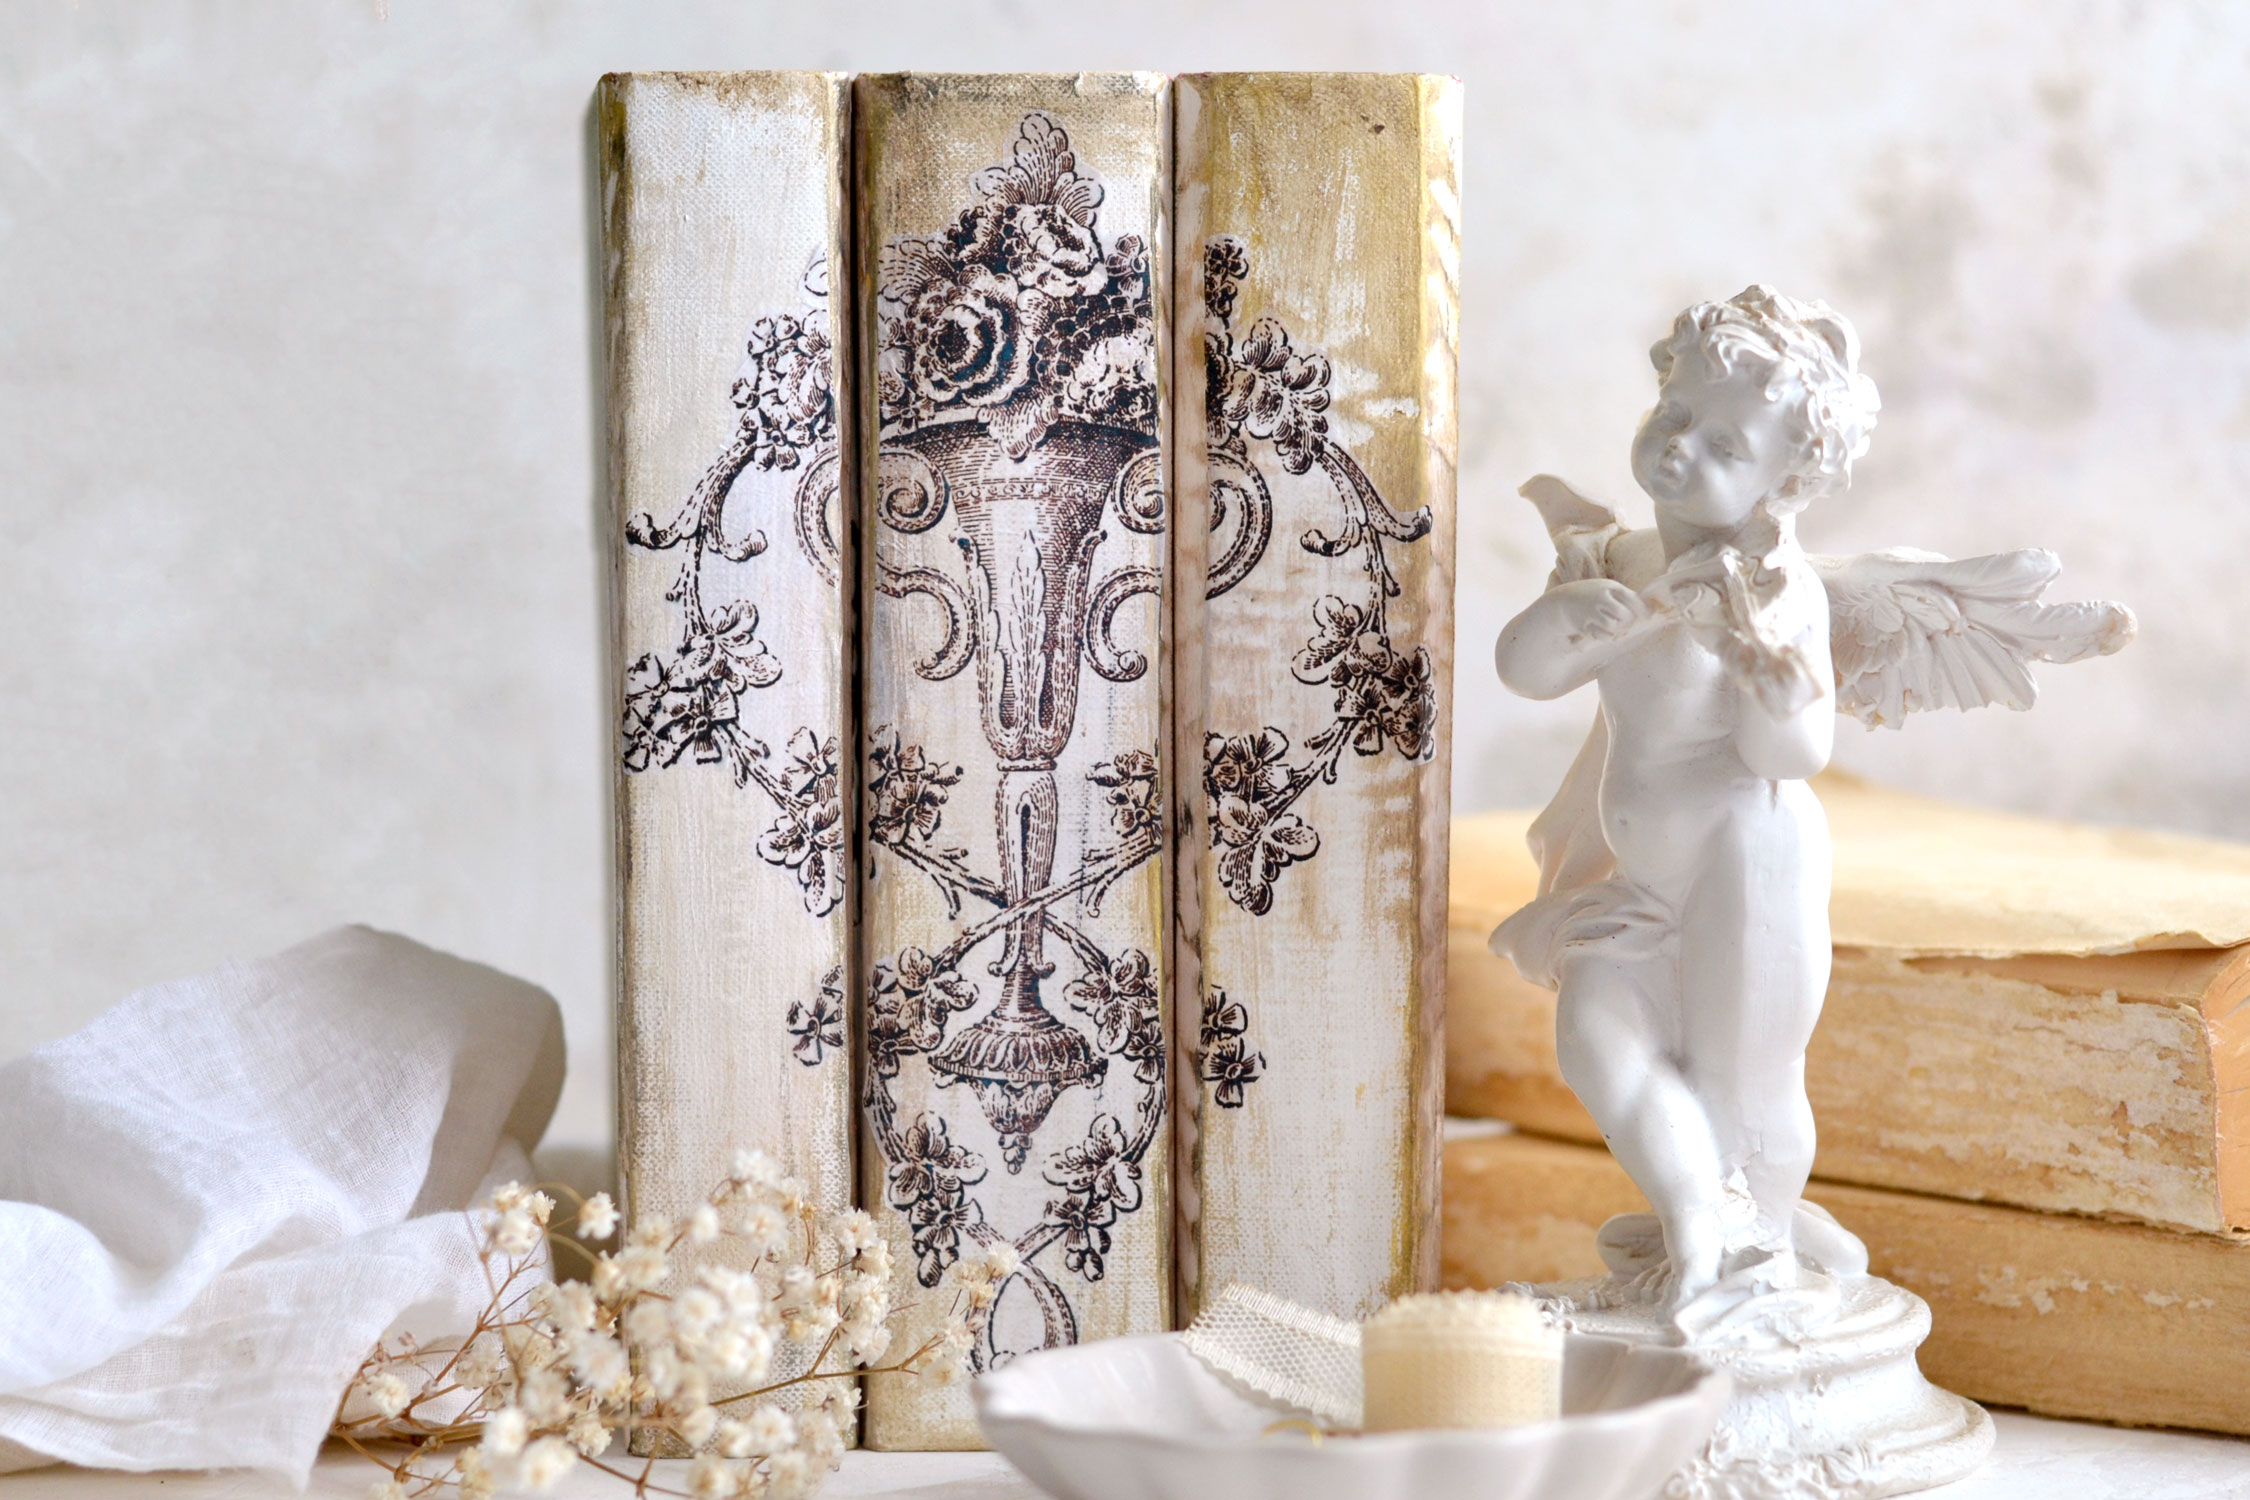
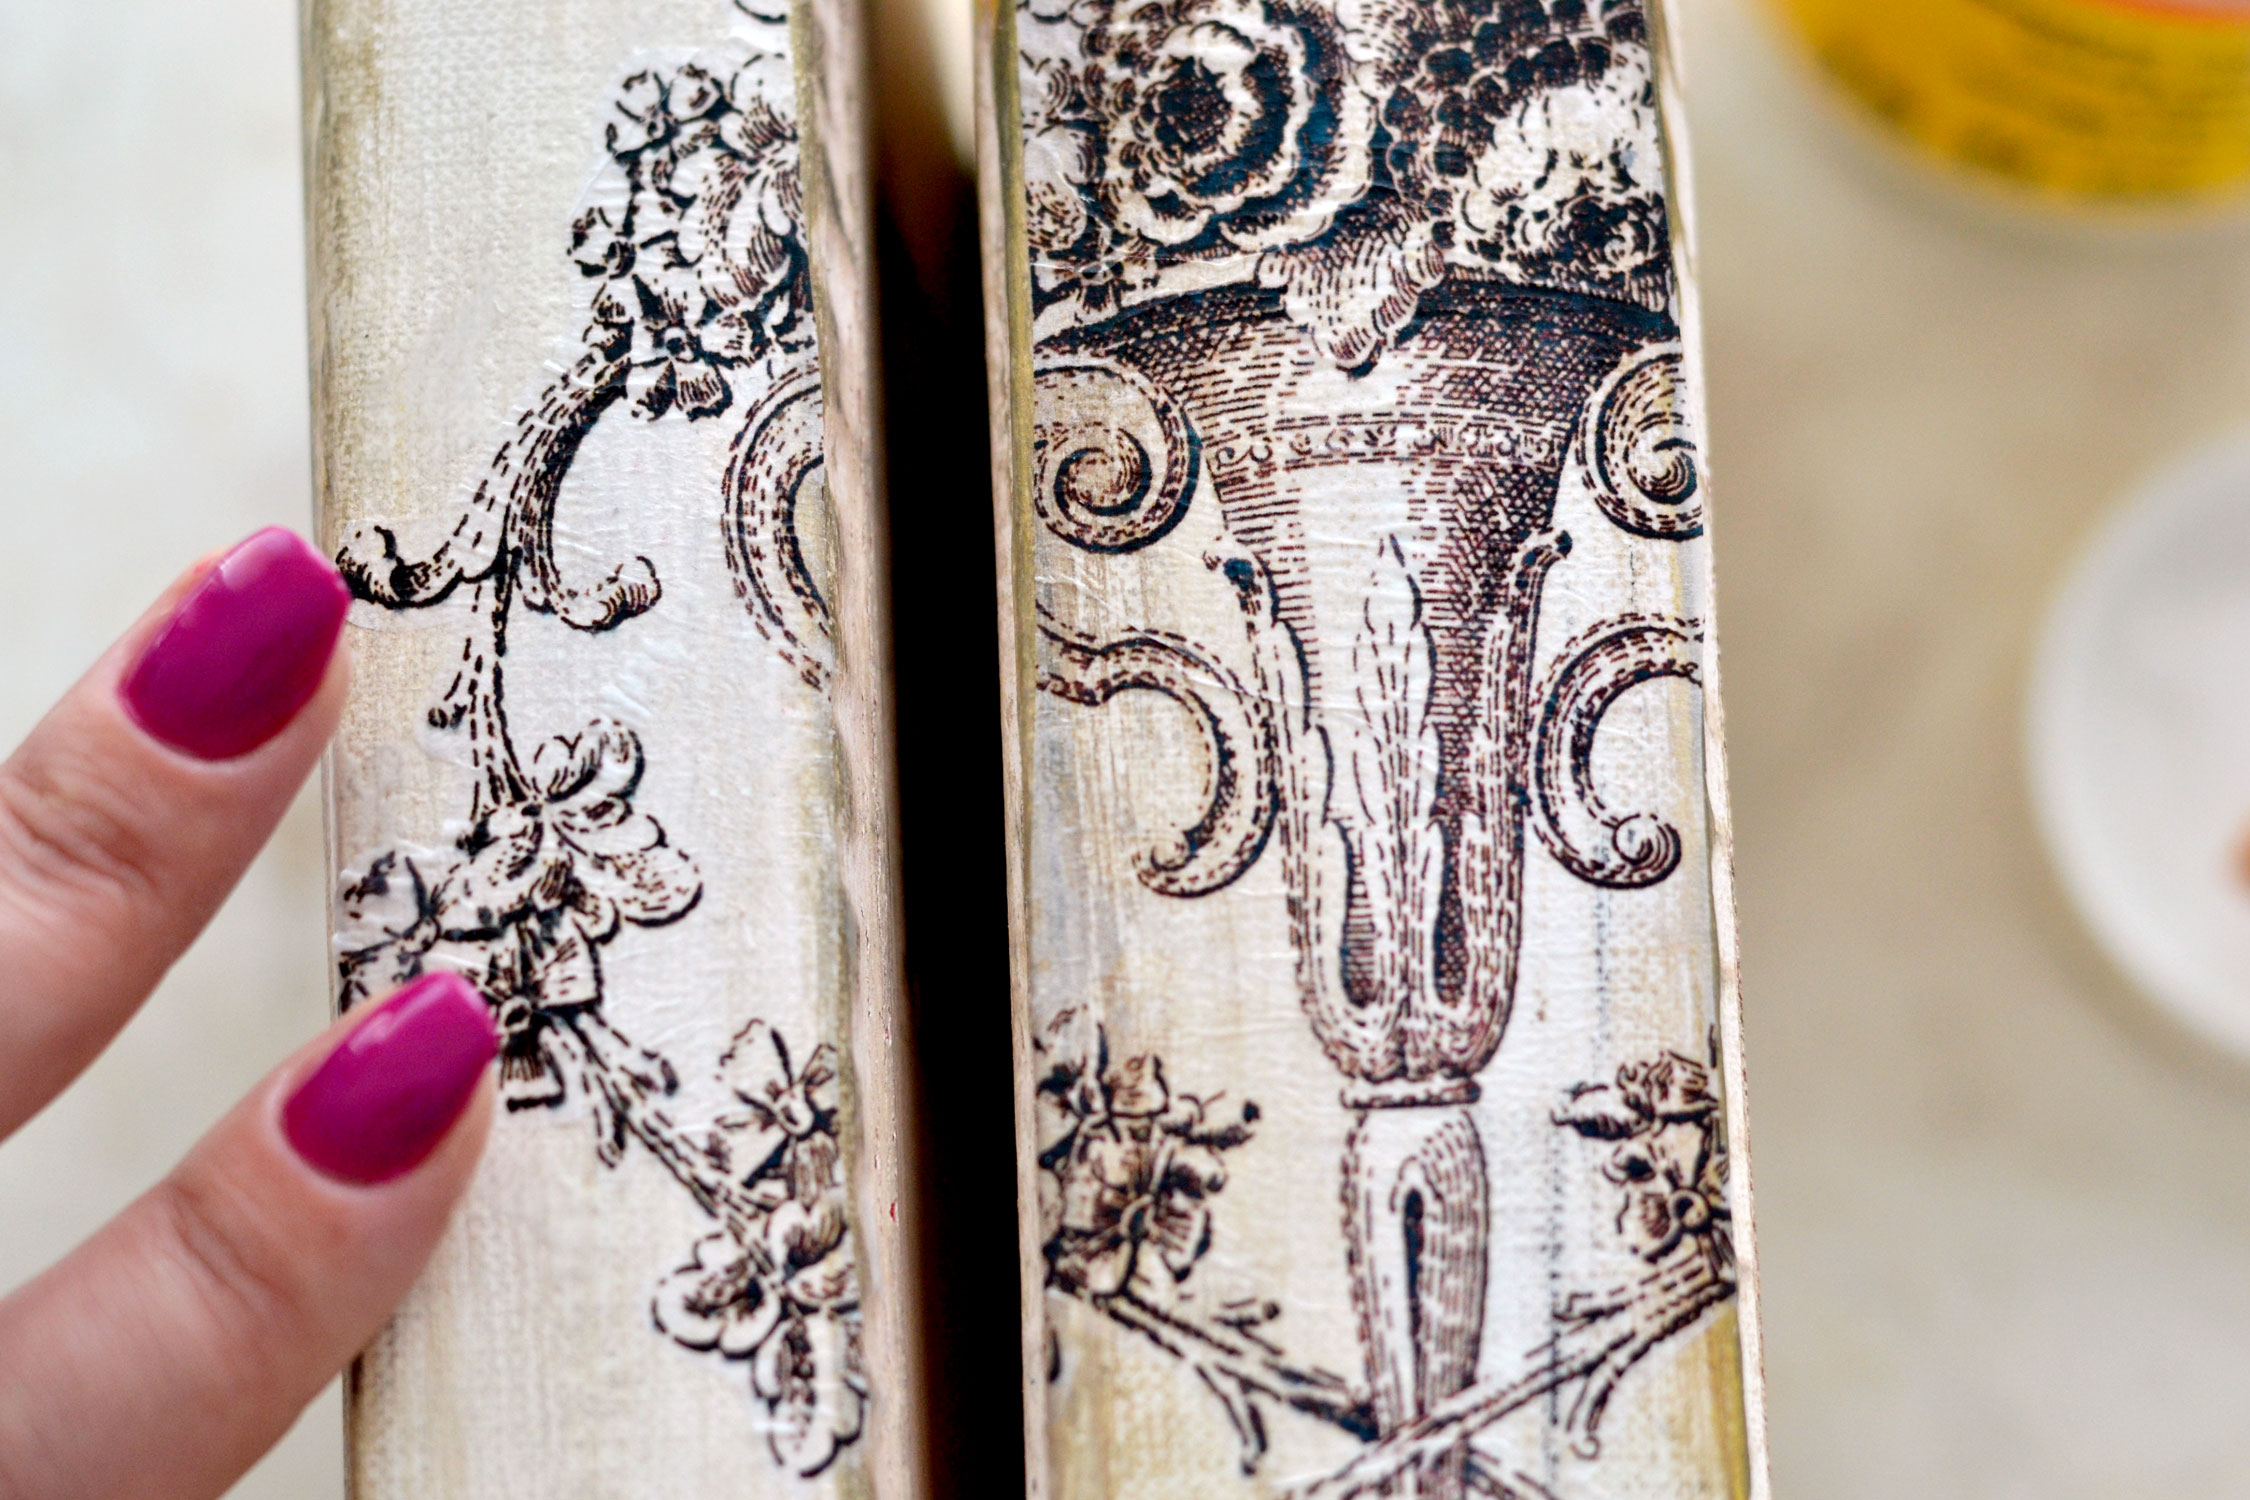
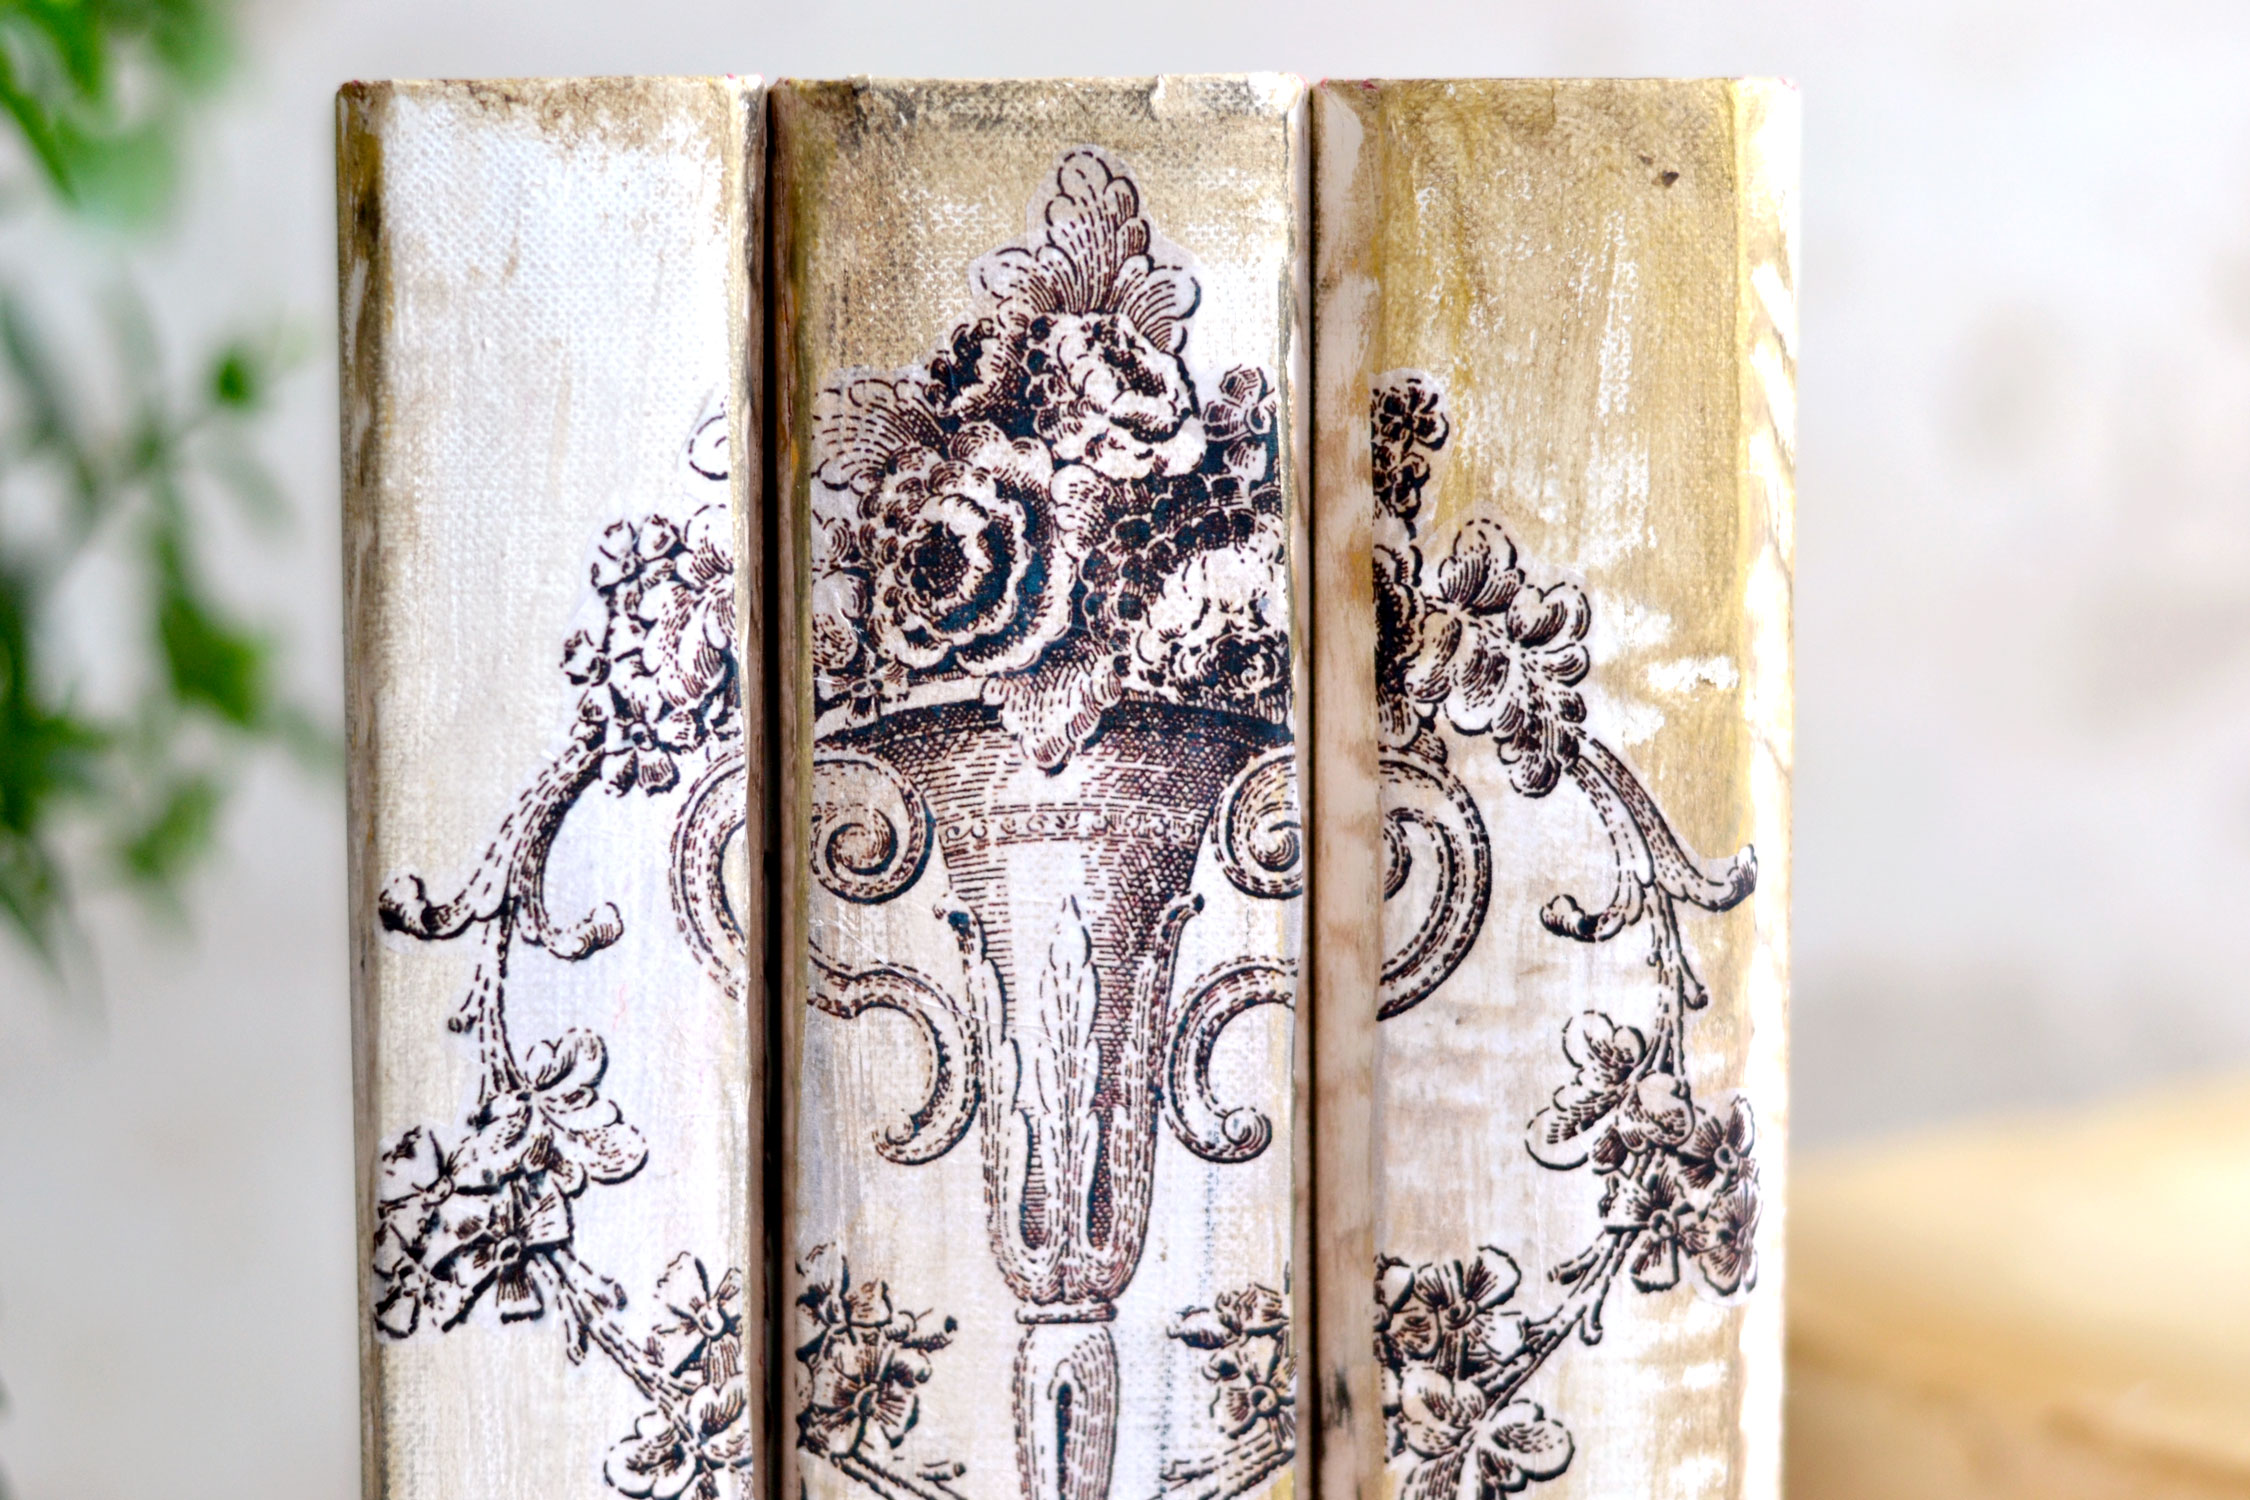
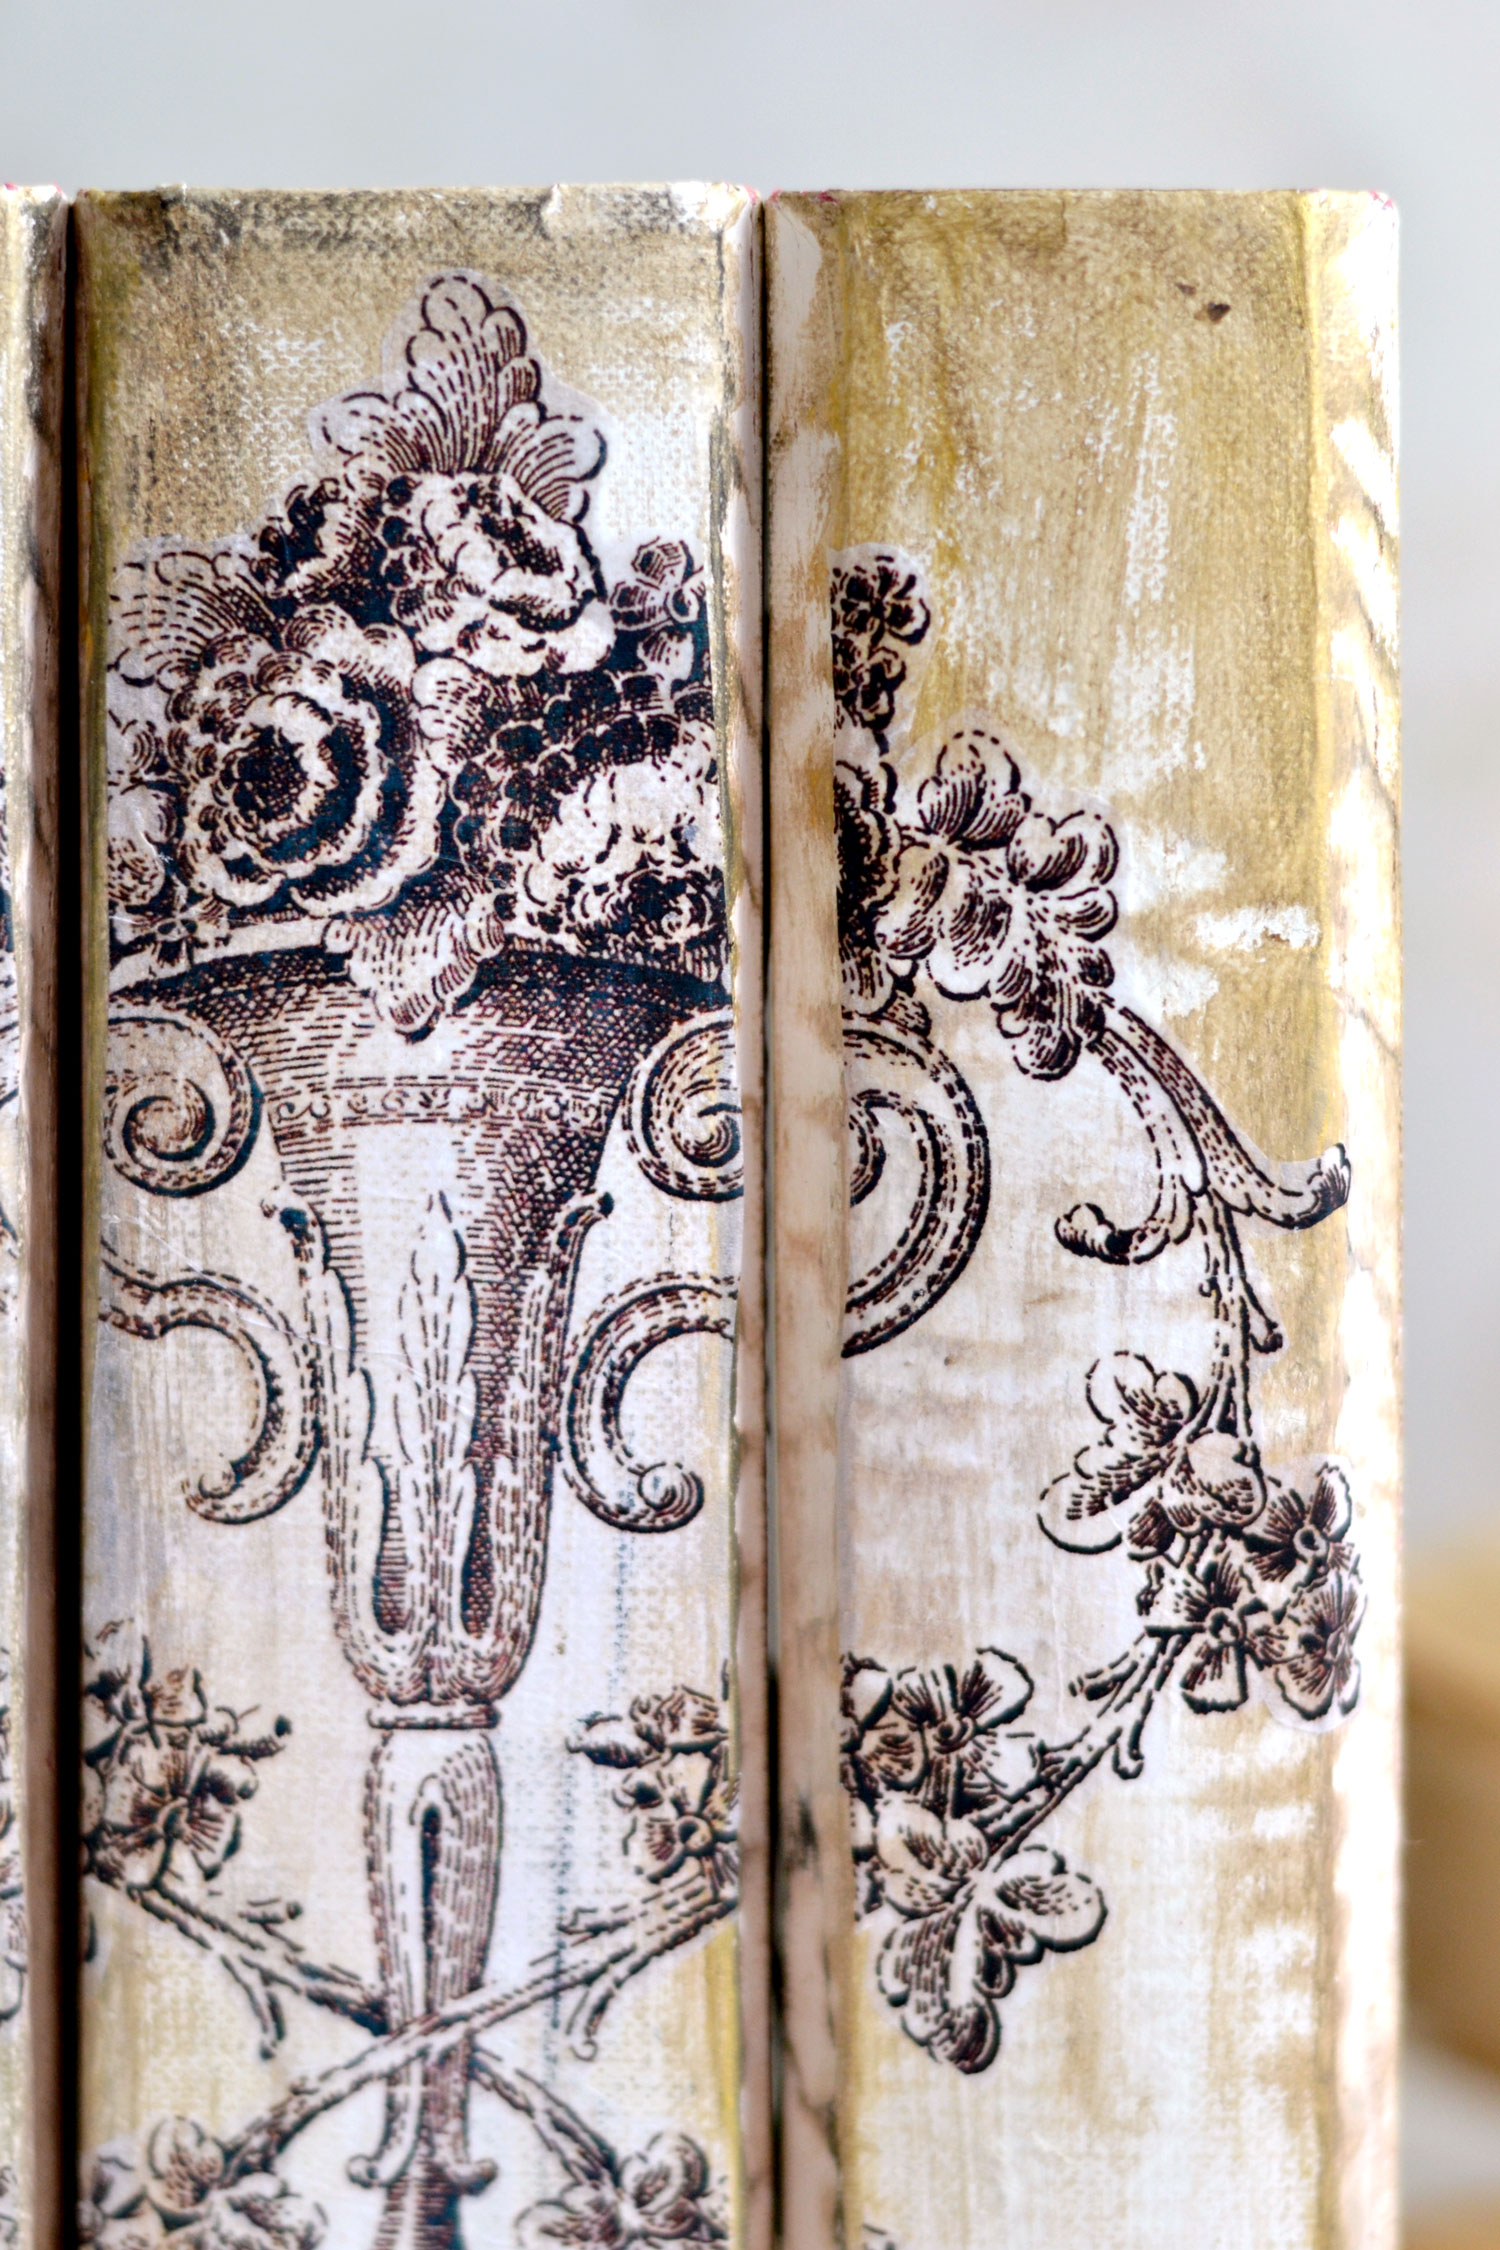
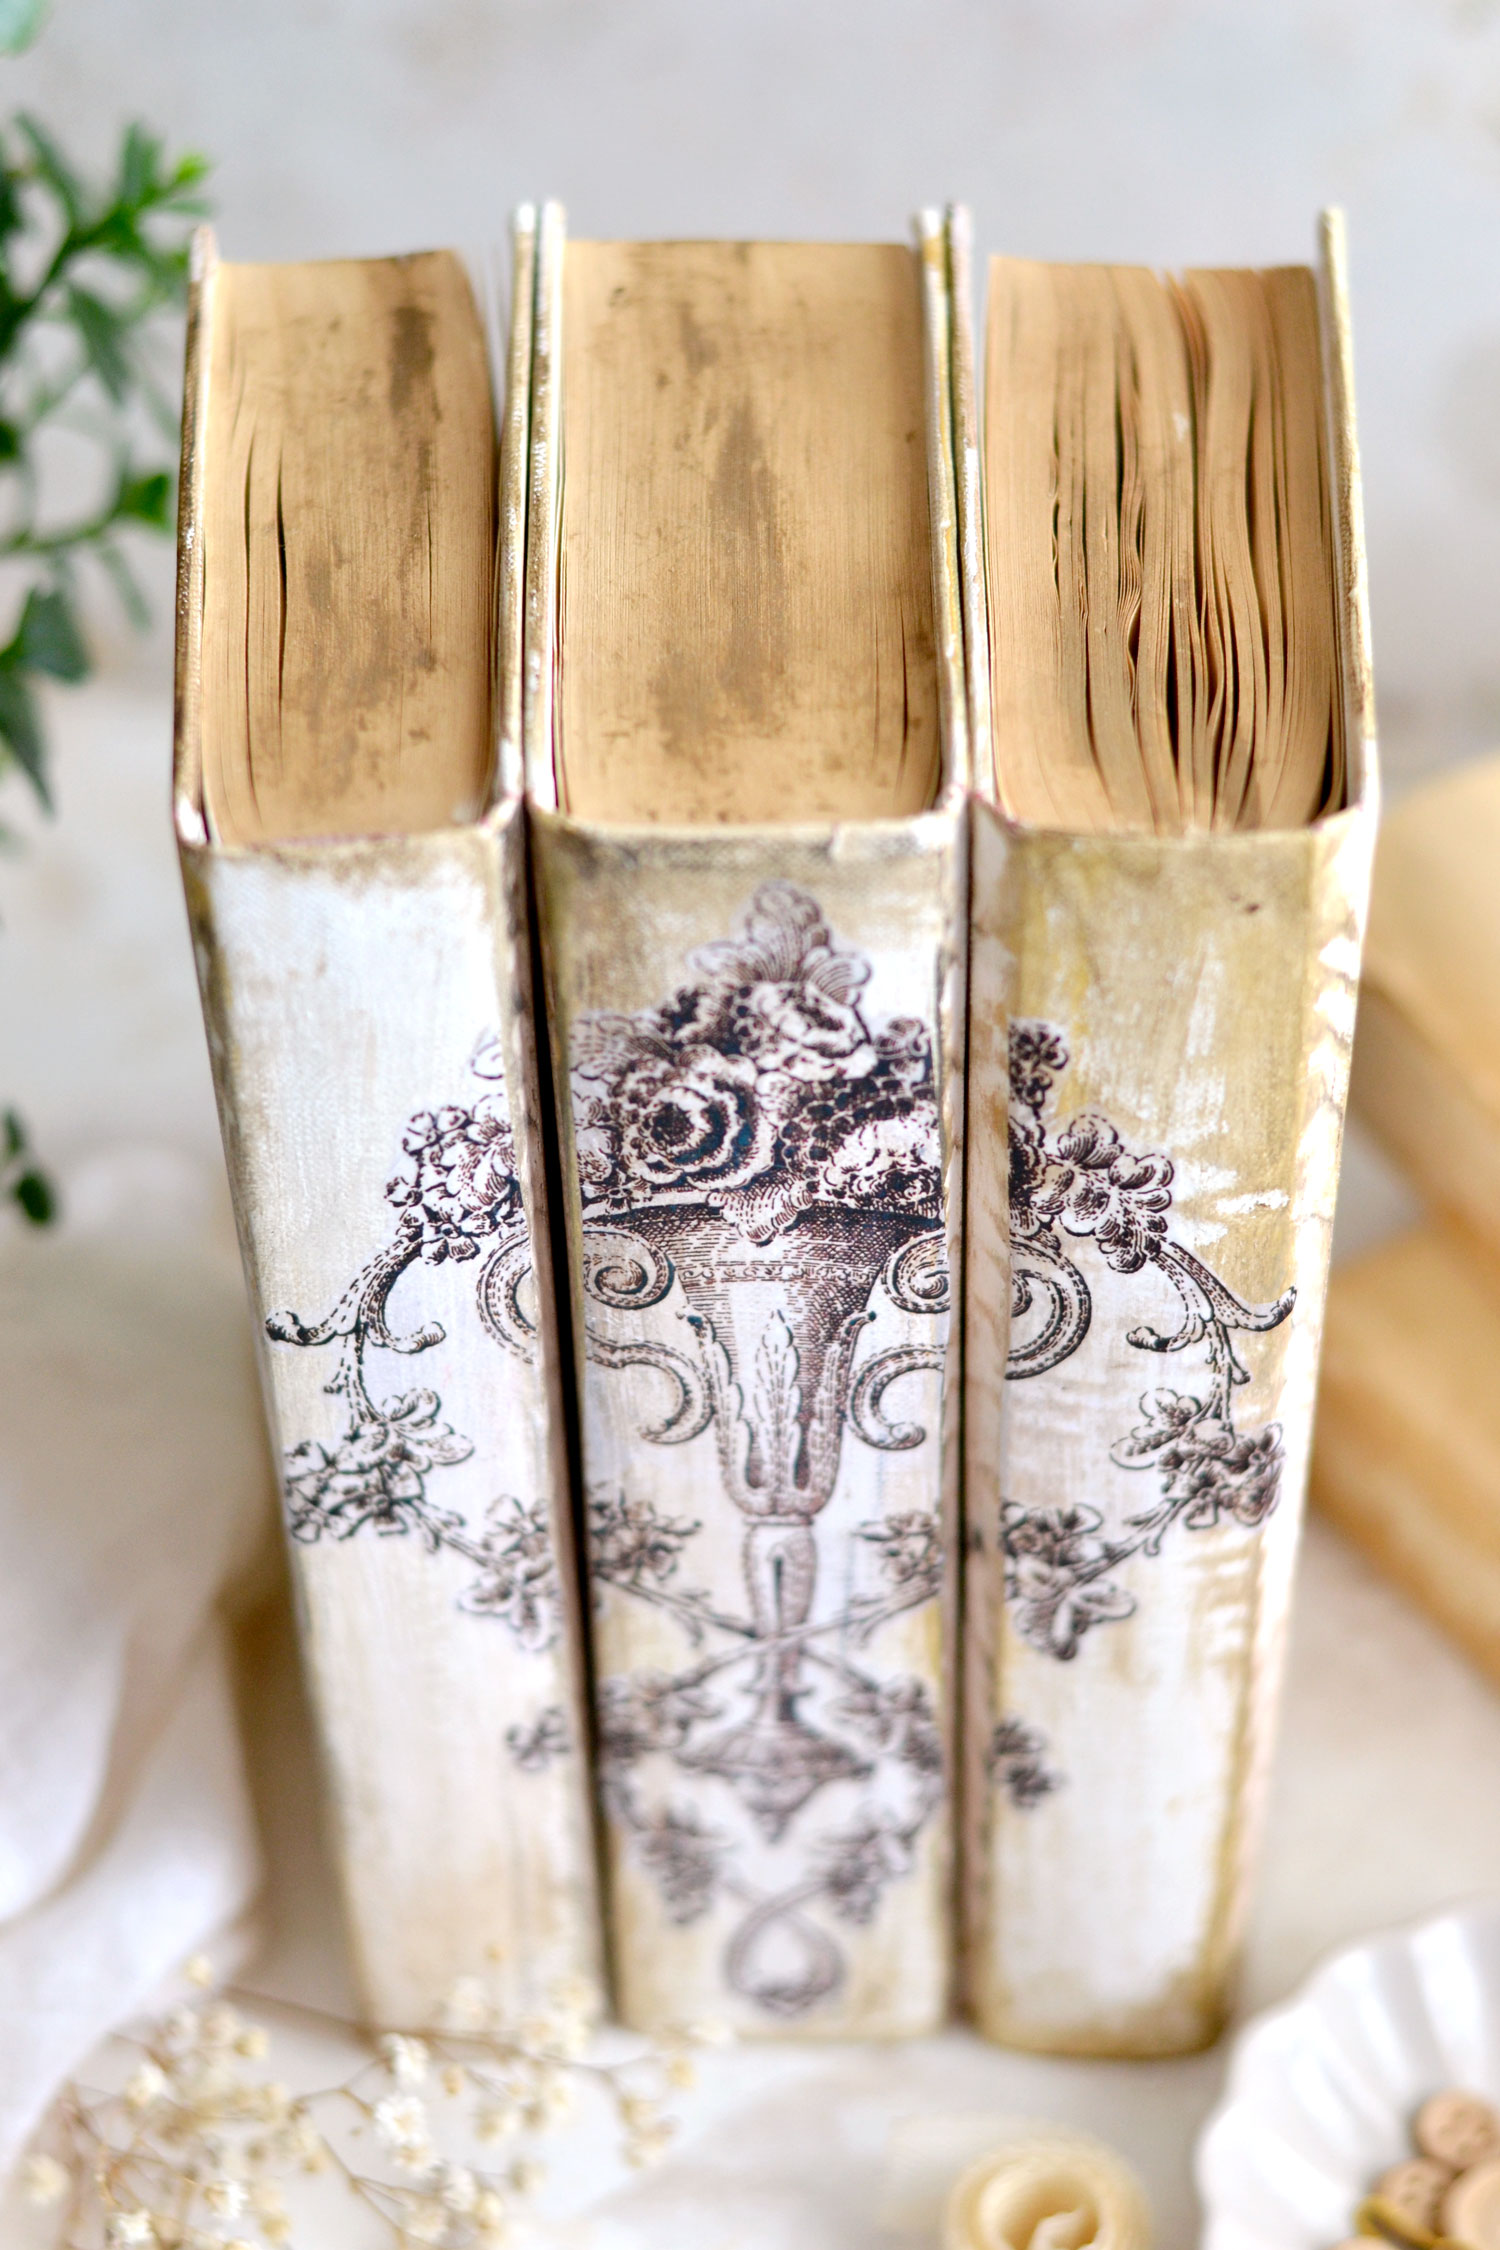
I’m loving how easy this project is and how amazing the final results are, the closeup details are absolutely gorgeous! My books opened up a little bit because I usually use them to press flowers and all sorts of other small plants from our garden, so the design is not completely perfect, but I don’t mind that at all!
I’m actually amazed by how stunning they look, I love the sheerness tissue paper usually brings to any decorated object. You can see the edges of the paper here and there – if you look really really close – but the overall appearance of the design is absolutely beautiful, it looks like it’s almost embedded into the books.
I would say that the best part of this technique of using tissue paper to decorate the books experiment was the fact that you can actually see the painted surface underneath. This brings even more charm to our books and that gold acrylic paint on the edges doesn’t hurt either!
You can use all sorts of black and white images that you love like bees, butterflies, birds or other ornamental images, the sky is the limit! But at this point I would say that we managed to successfully create some elegant and sophisticated books that can be easily adapted to any home decor.
I like using other small decorative items like angel statues, small jars, or even bowls filled with buttons, safety pins and scrap pieces of lace to create chic vignettes for our home. You can add some green plants to your vignettes if you want to keep them on the neutral side of things or add small vases filled with seasonal flowers if you want to add a pop of color. And let’s not forget that these beauties can be turned into the perfect gift for any vintage-loving friends, so make an extra batch or two so you can have them around when in need!
 For even more Book Decoration Ideas check out these other Tutorials:
DIY Decorative Book Bundles HERE
DIY Book Box from an old Book HERE
Happy crafting
Diana / Dreams Factory



Nancy says
Please tell me…do I cut around the black and white pattern? Or do I just cut a strip the size of the book binding?
I’ve got my books antiqued…awaiting your reply. Thank you so much.
Karen Watson says
Hi Nancy, that is great that you are making these already! In the photos it looks as though Diana is fussy cutting right around the outside edge of the tissue paper designs. Is that what you are asking? If you click on the photos, they will enlarge so that you can see them better. I hope that helps!
Donna Butler says
What thickness cardstock was used in this project?
Karen Watson says
Hi Donna, just your standard lightweight cardstock should be fine. You just need something to stablize the tissue so that it will run through your printer. If the cardstock is the type that is made to go through a printer, than it should be fine.
Wendy says
What a lovely idea for using this! Thank you for sharing the inspiration.
Karen Watson says
So glad you were inspired by Diana’s lovely tutorial Wendy!
Lesly says
Love this idea!!!
Karen Watson says
I’m glad you enjoyed it Lesly!
Joy says
I love this, from the prints to the end product it is beautiful. I need to make two, one for myself and one as a gift.
Karen Watson says
I think this would make a wonderful gift Joy, that’s a great idea!
Kimberly S says
I love this; I am a sucker for anything mod-podged that looks old and vintage. Thanks for sharing that beautiful image with us!
Karen Watson says
I’m so glad you enjoyed Diana’s beautiful project Kimberly!