Christmas Card Pop Up DIY
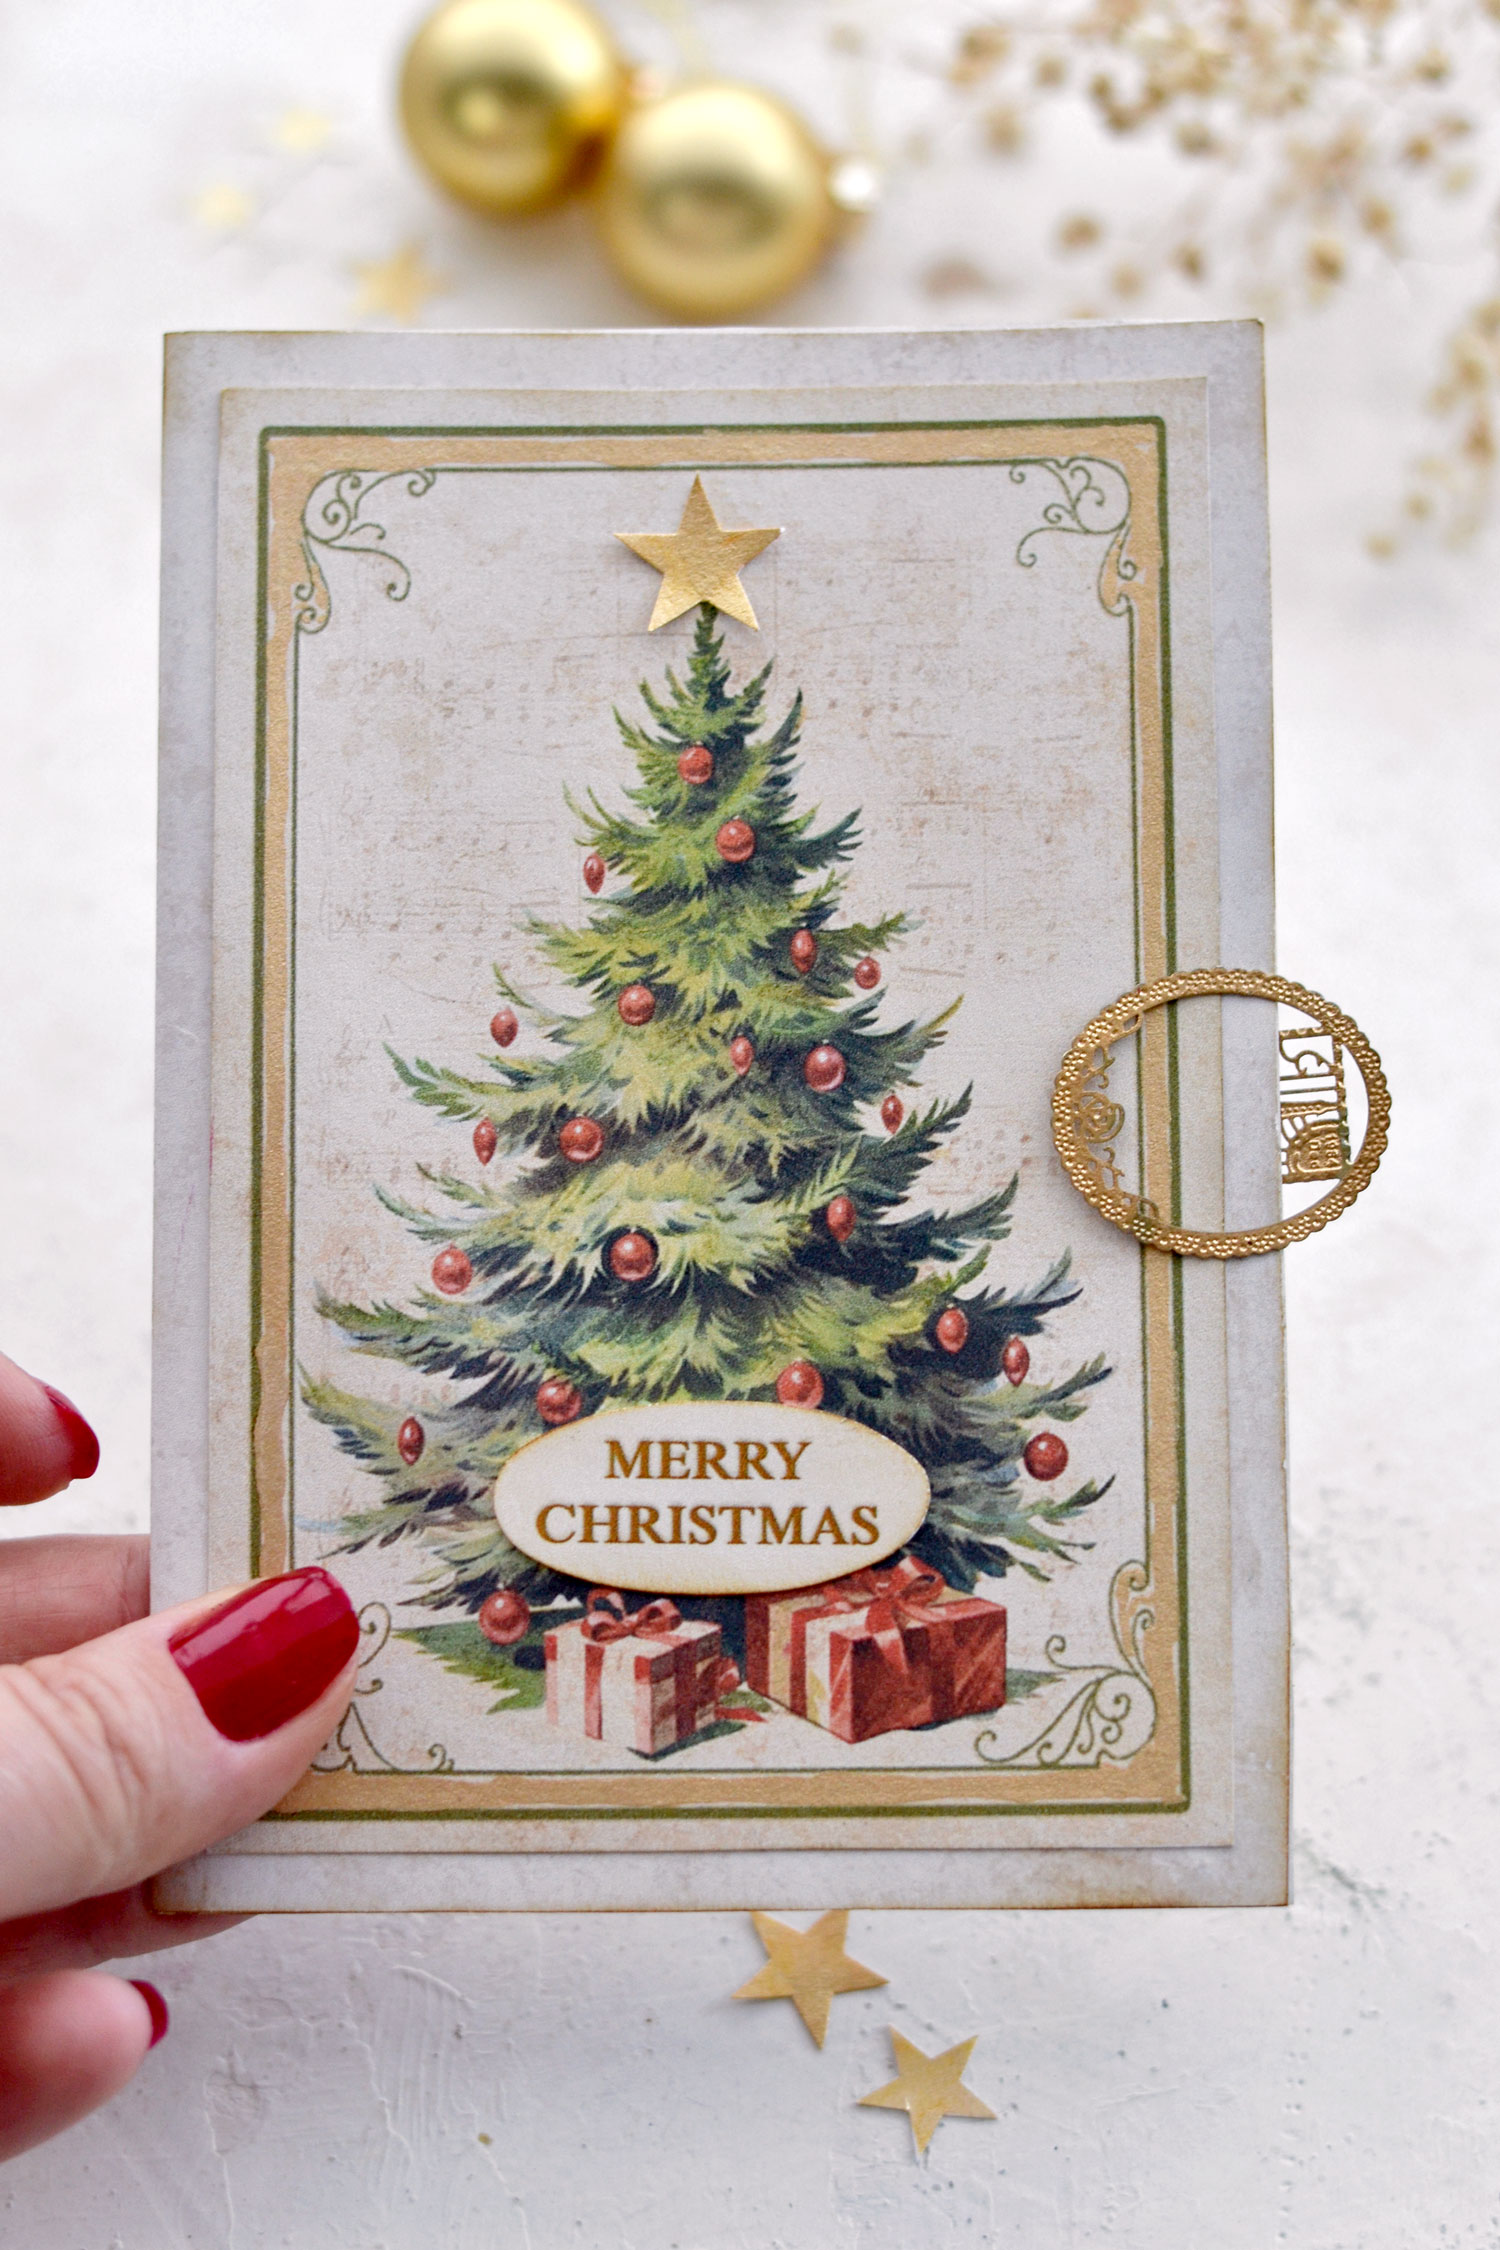
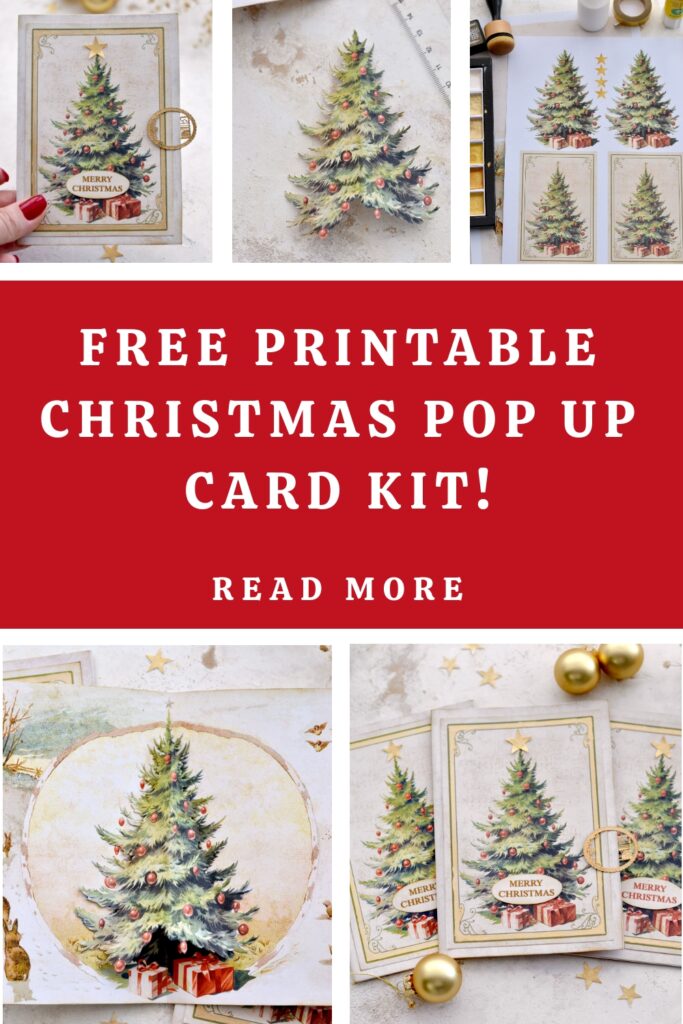
Hello Graphics Fairy friends! I’m Diana from Dreams Factory and I’m happy to be here again to share another DIY project with you! Today I will show you how to make this beautiful Christmas Card Pop DIY project with a lovely vintage vibe. It will make the perfect gift for Christmas this year with all its adorable elements and all these super chic golden touches.
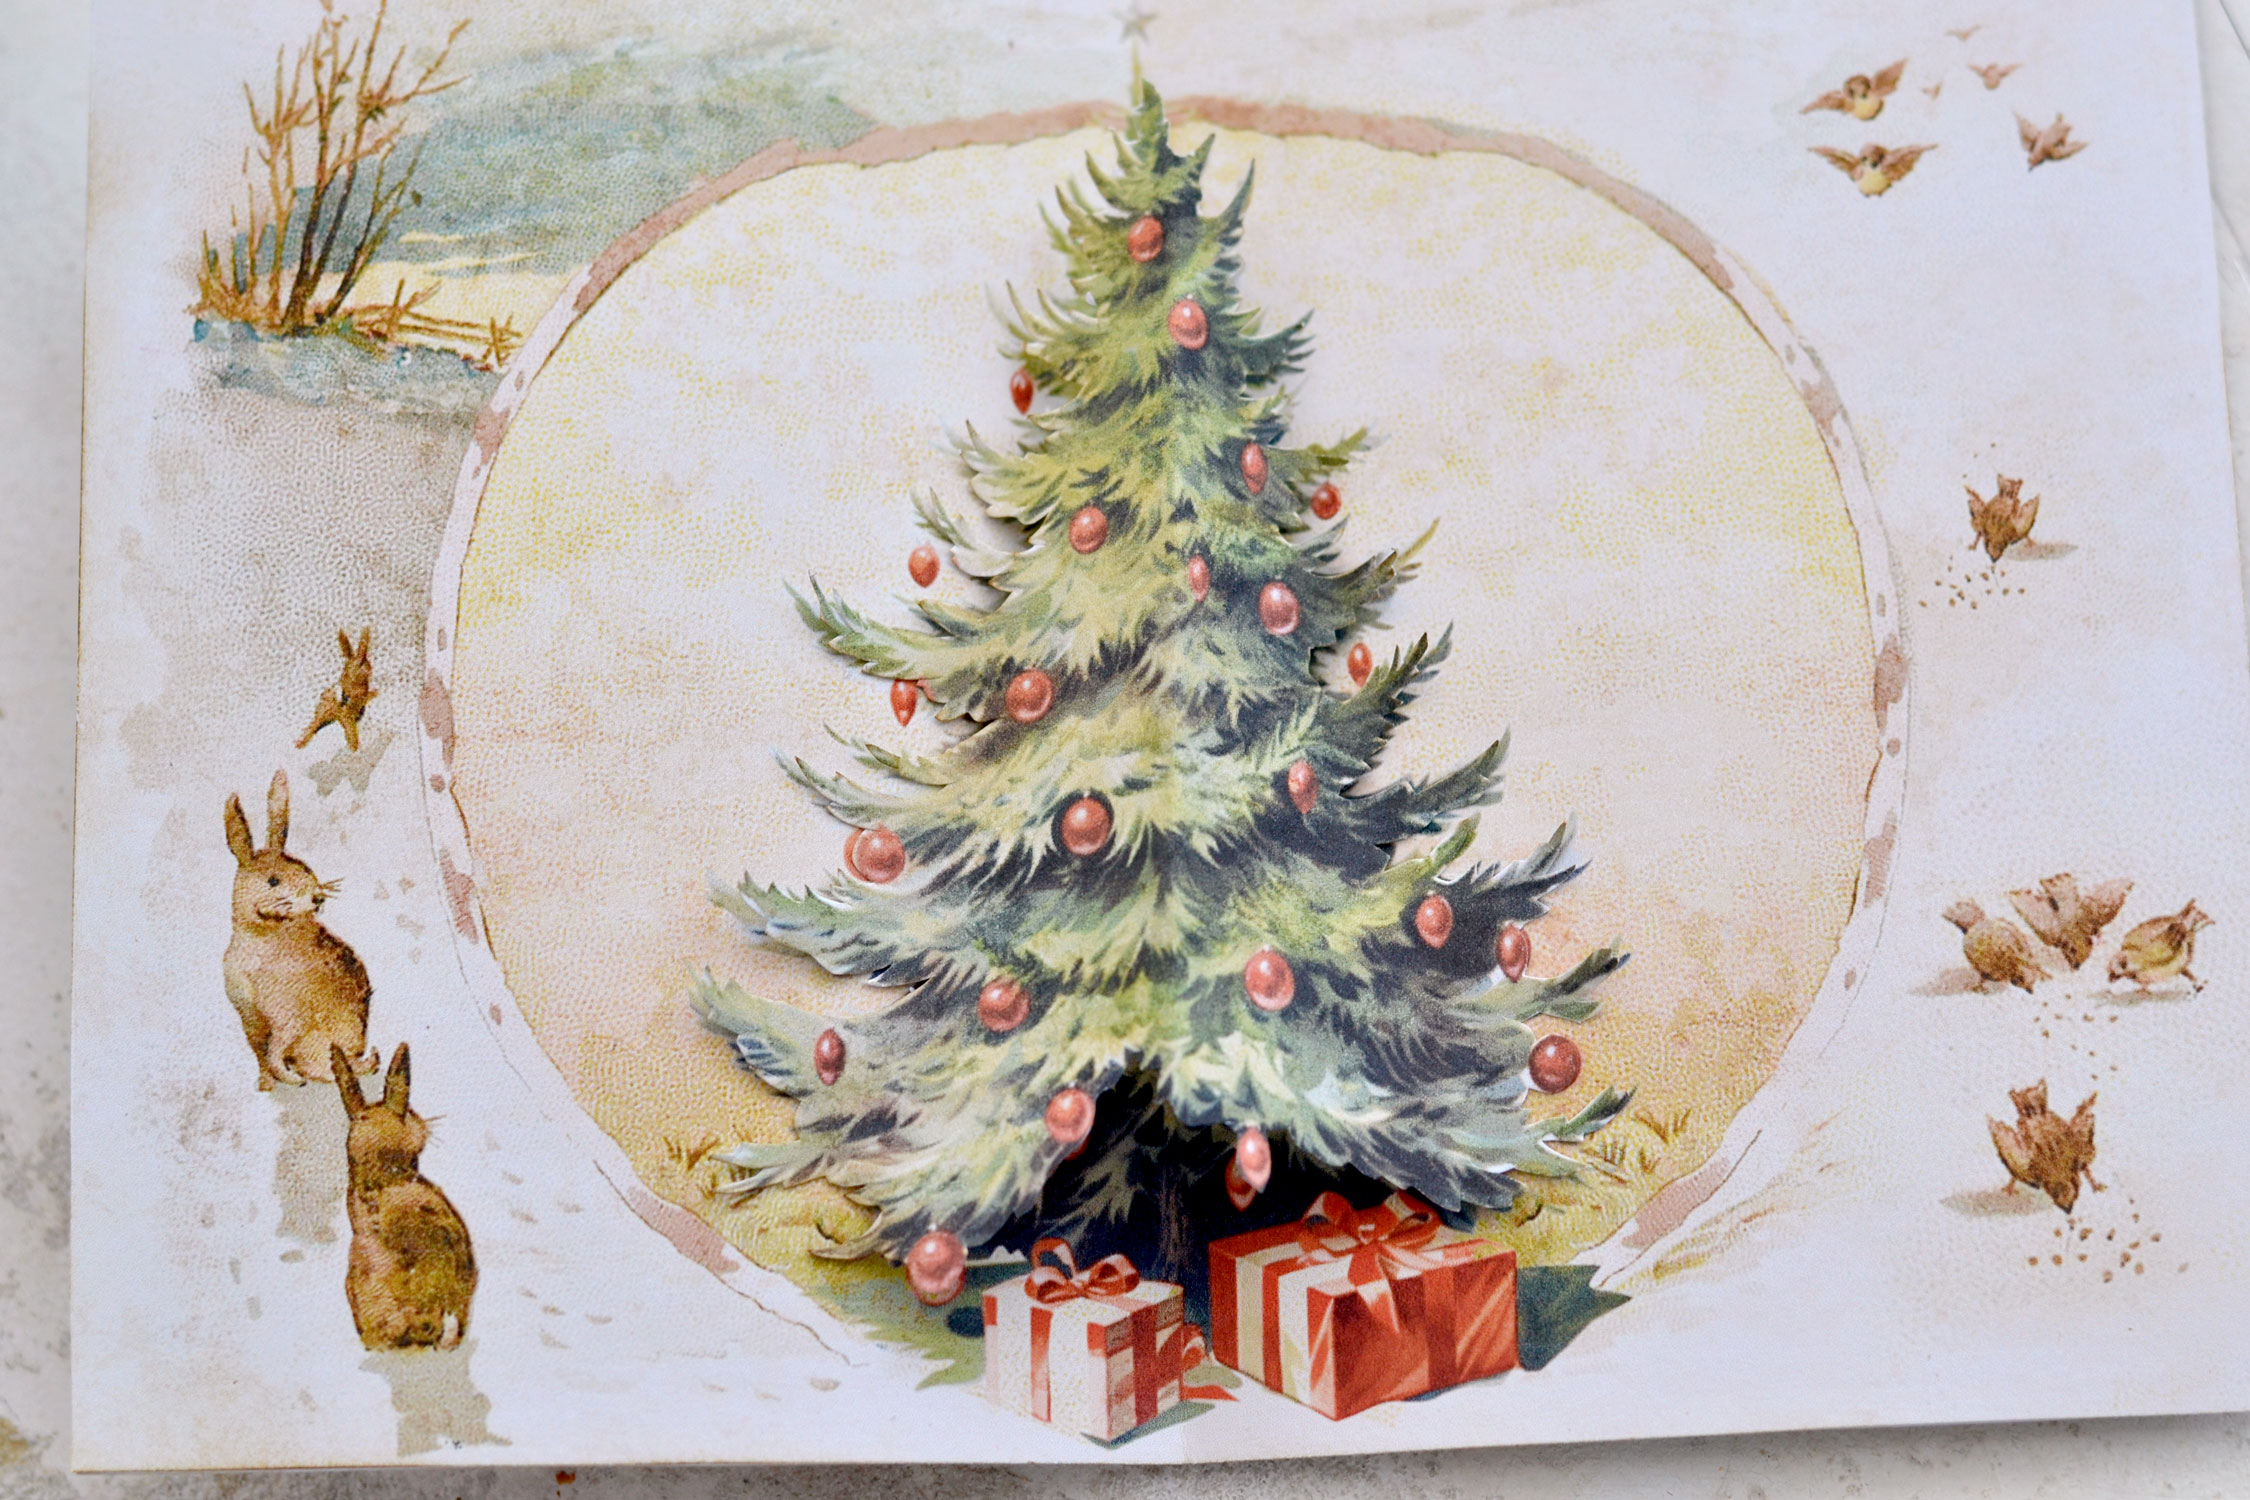
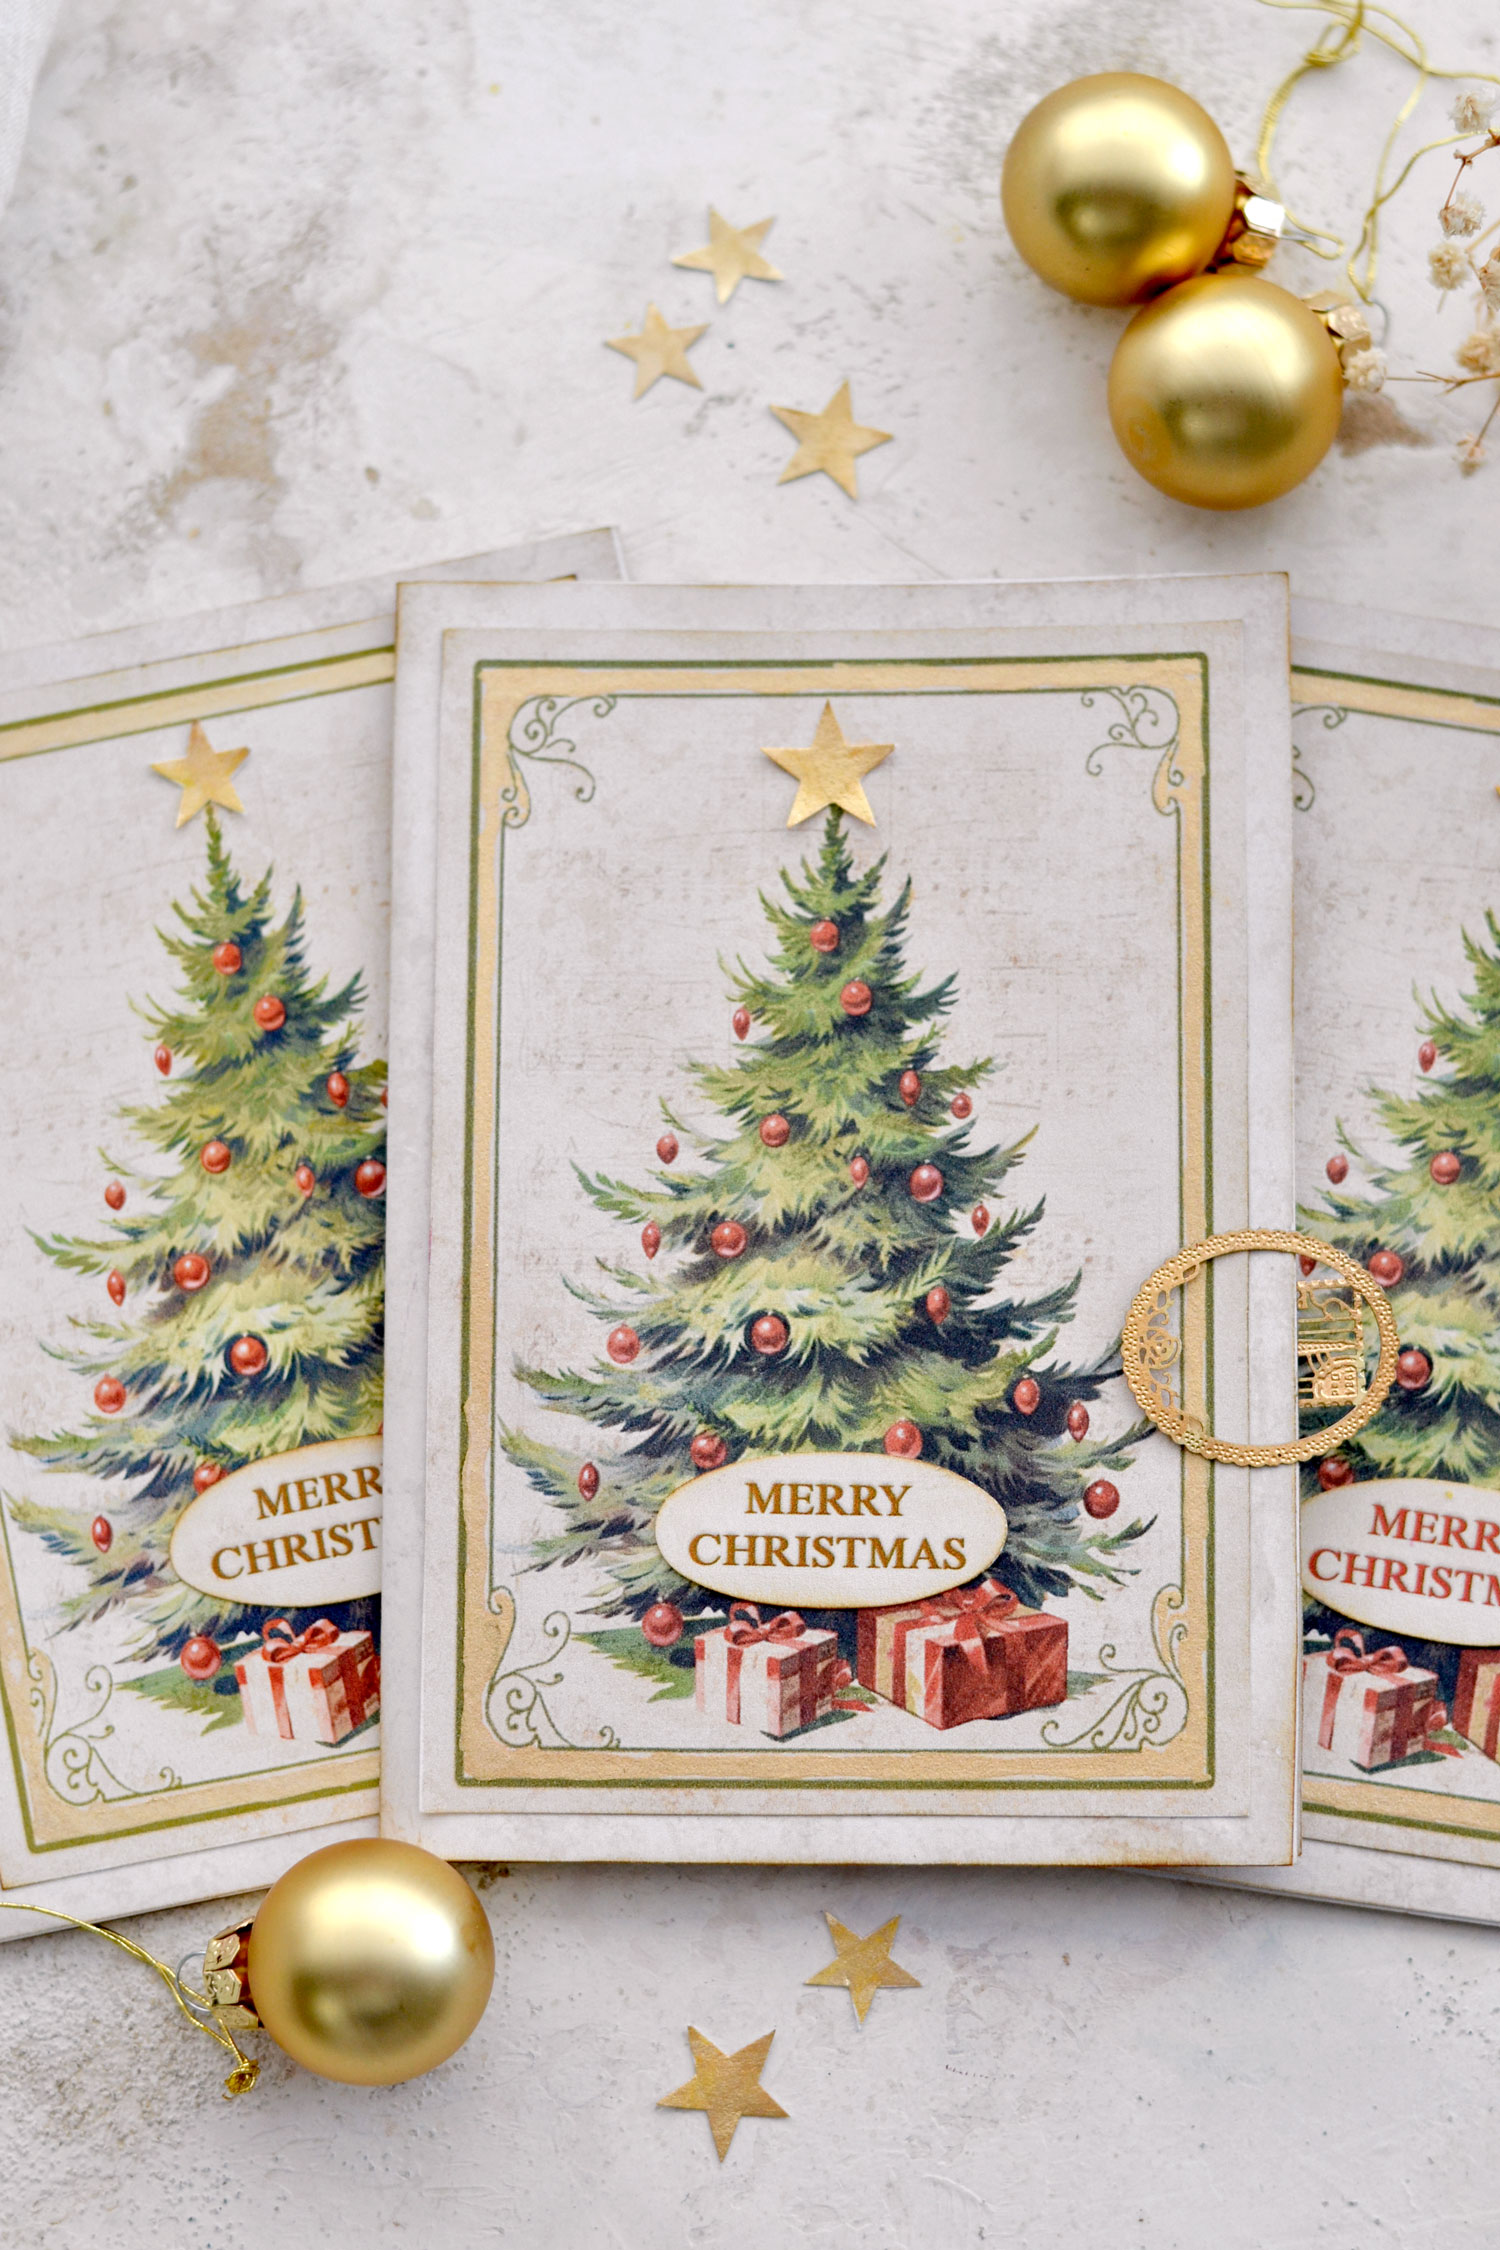
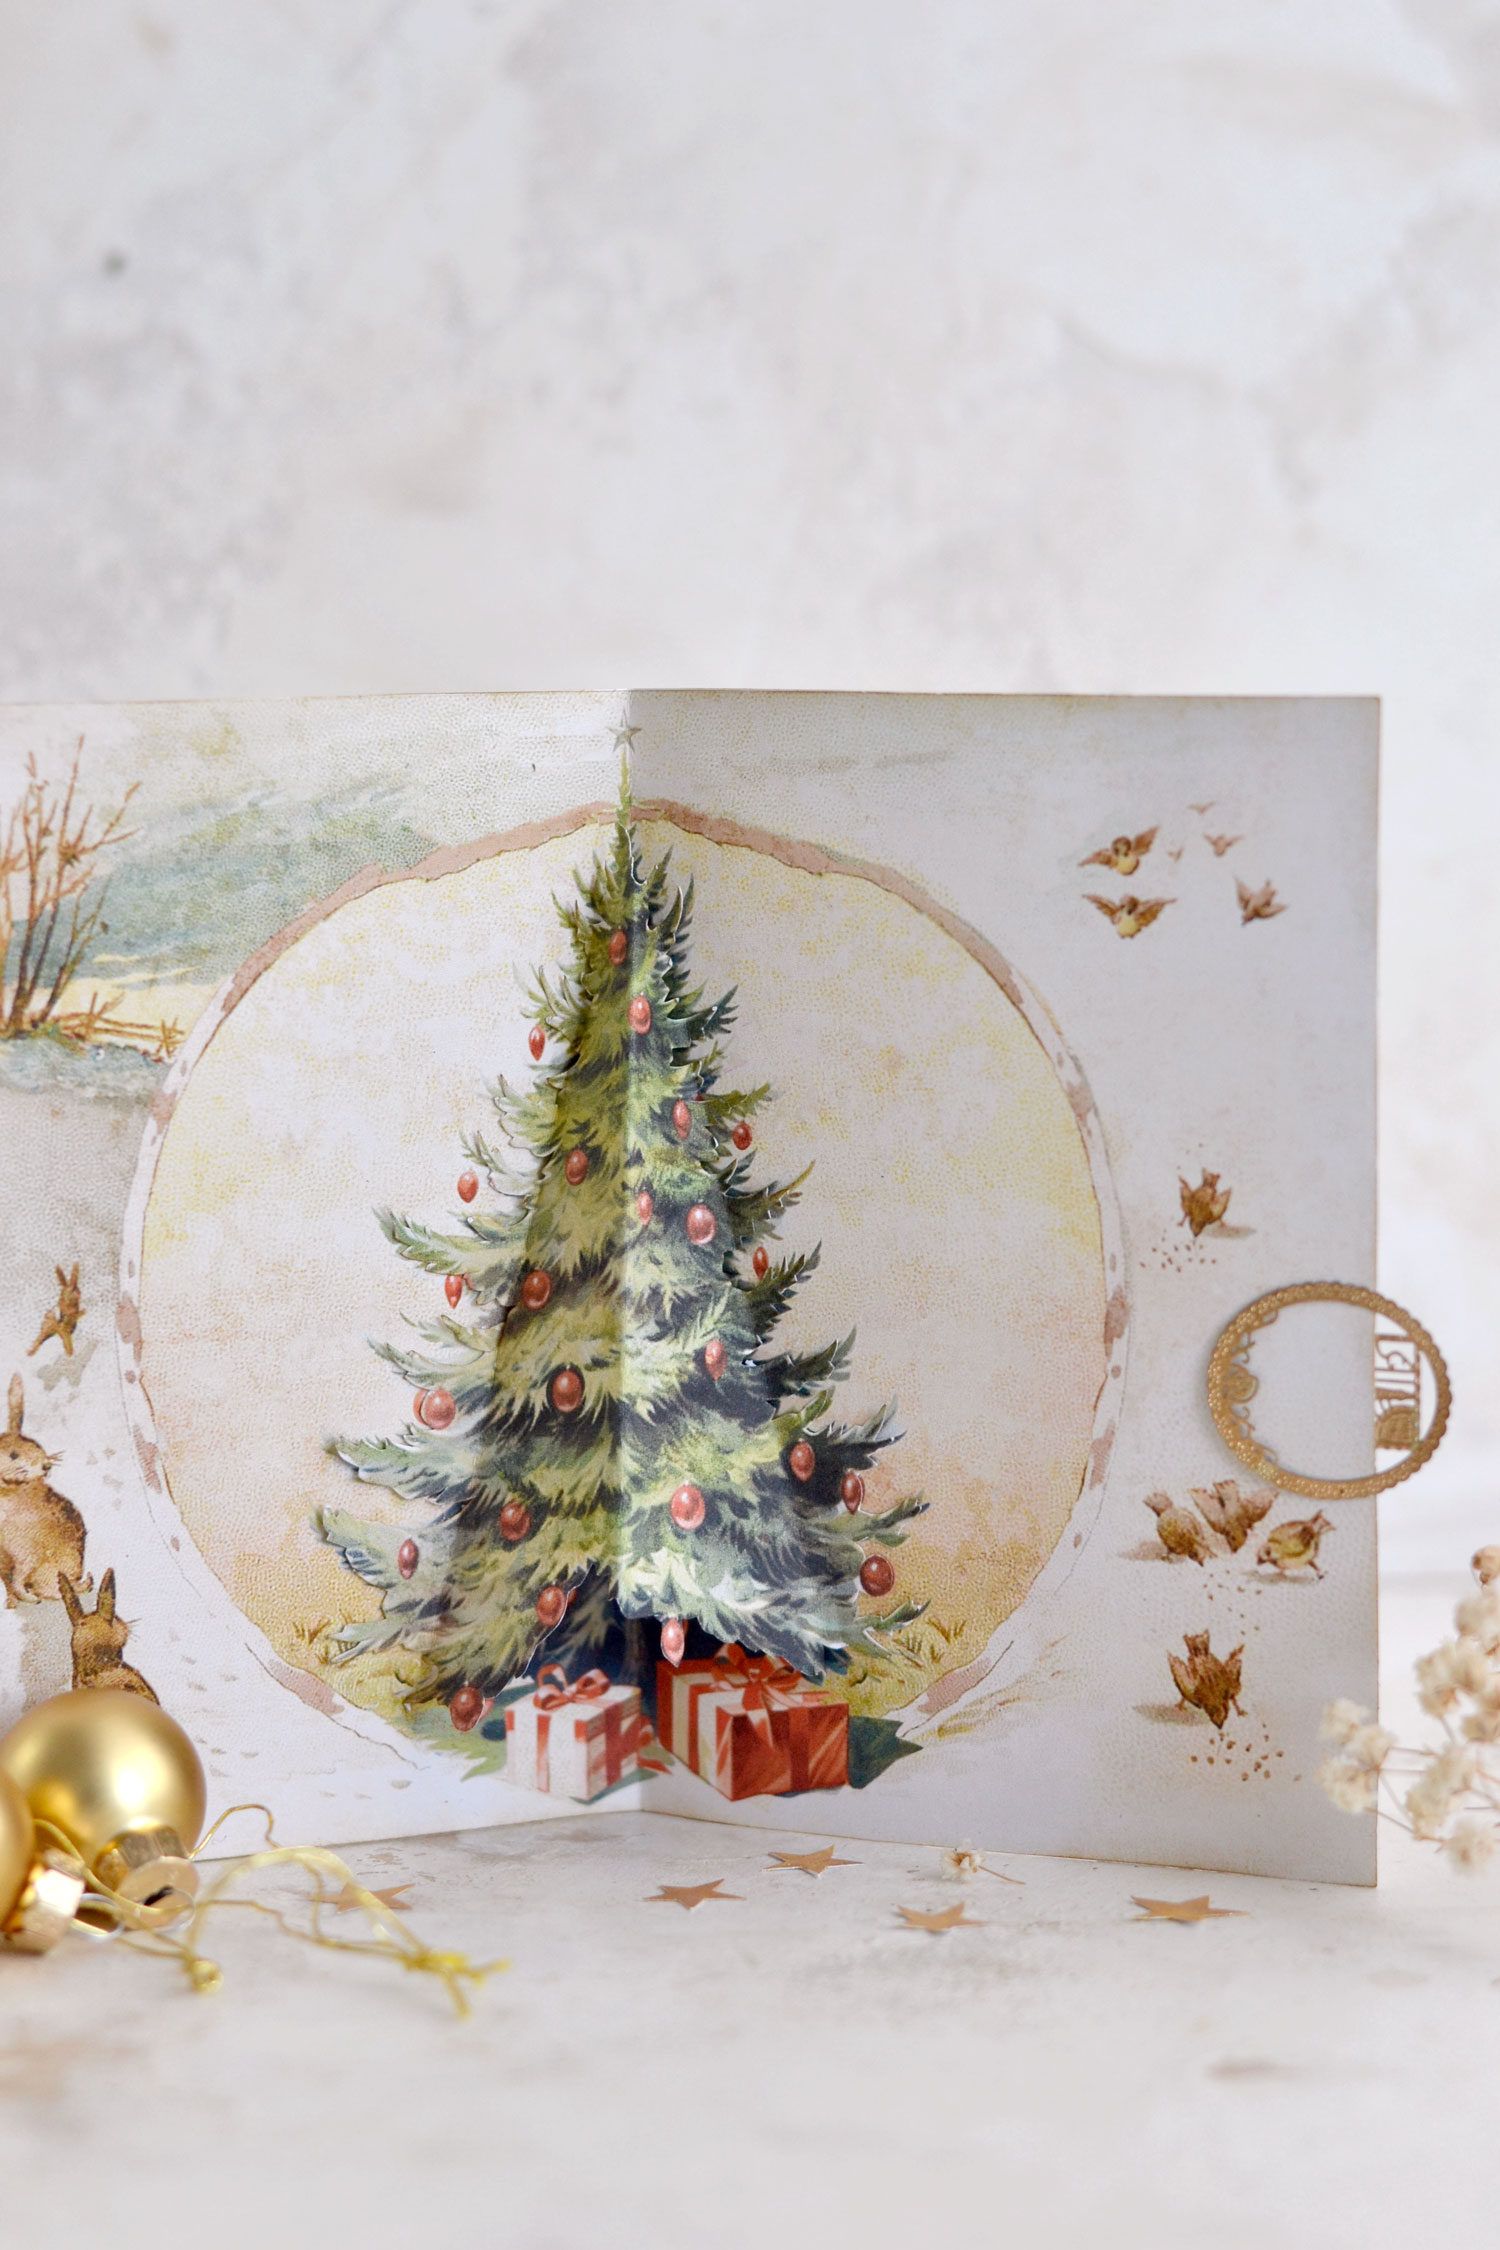
I used a stunning Christmas tree image to design both the front and the inside of the card, but I added some small variations to bring more interest and character. The top is really beautiful and it has that adorable vintage vibe that we all love, but once you open the card … well, that’s another, different story.
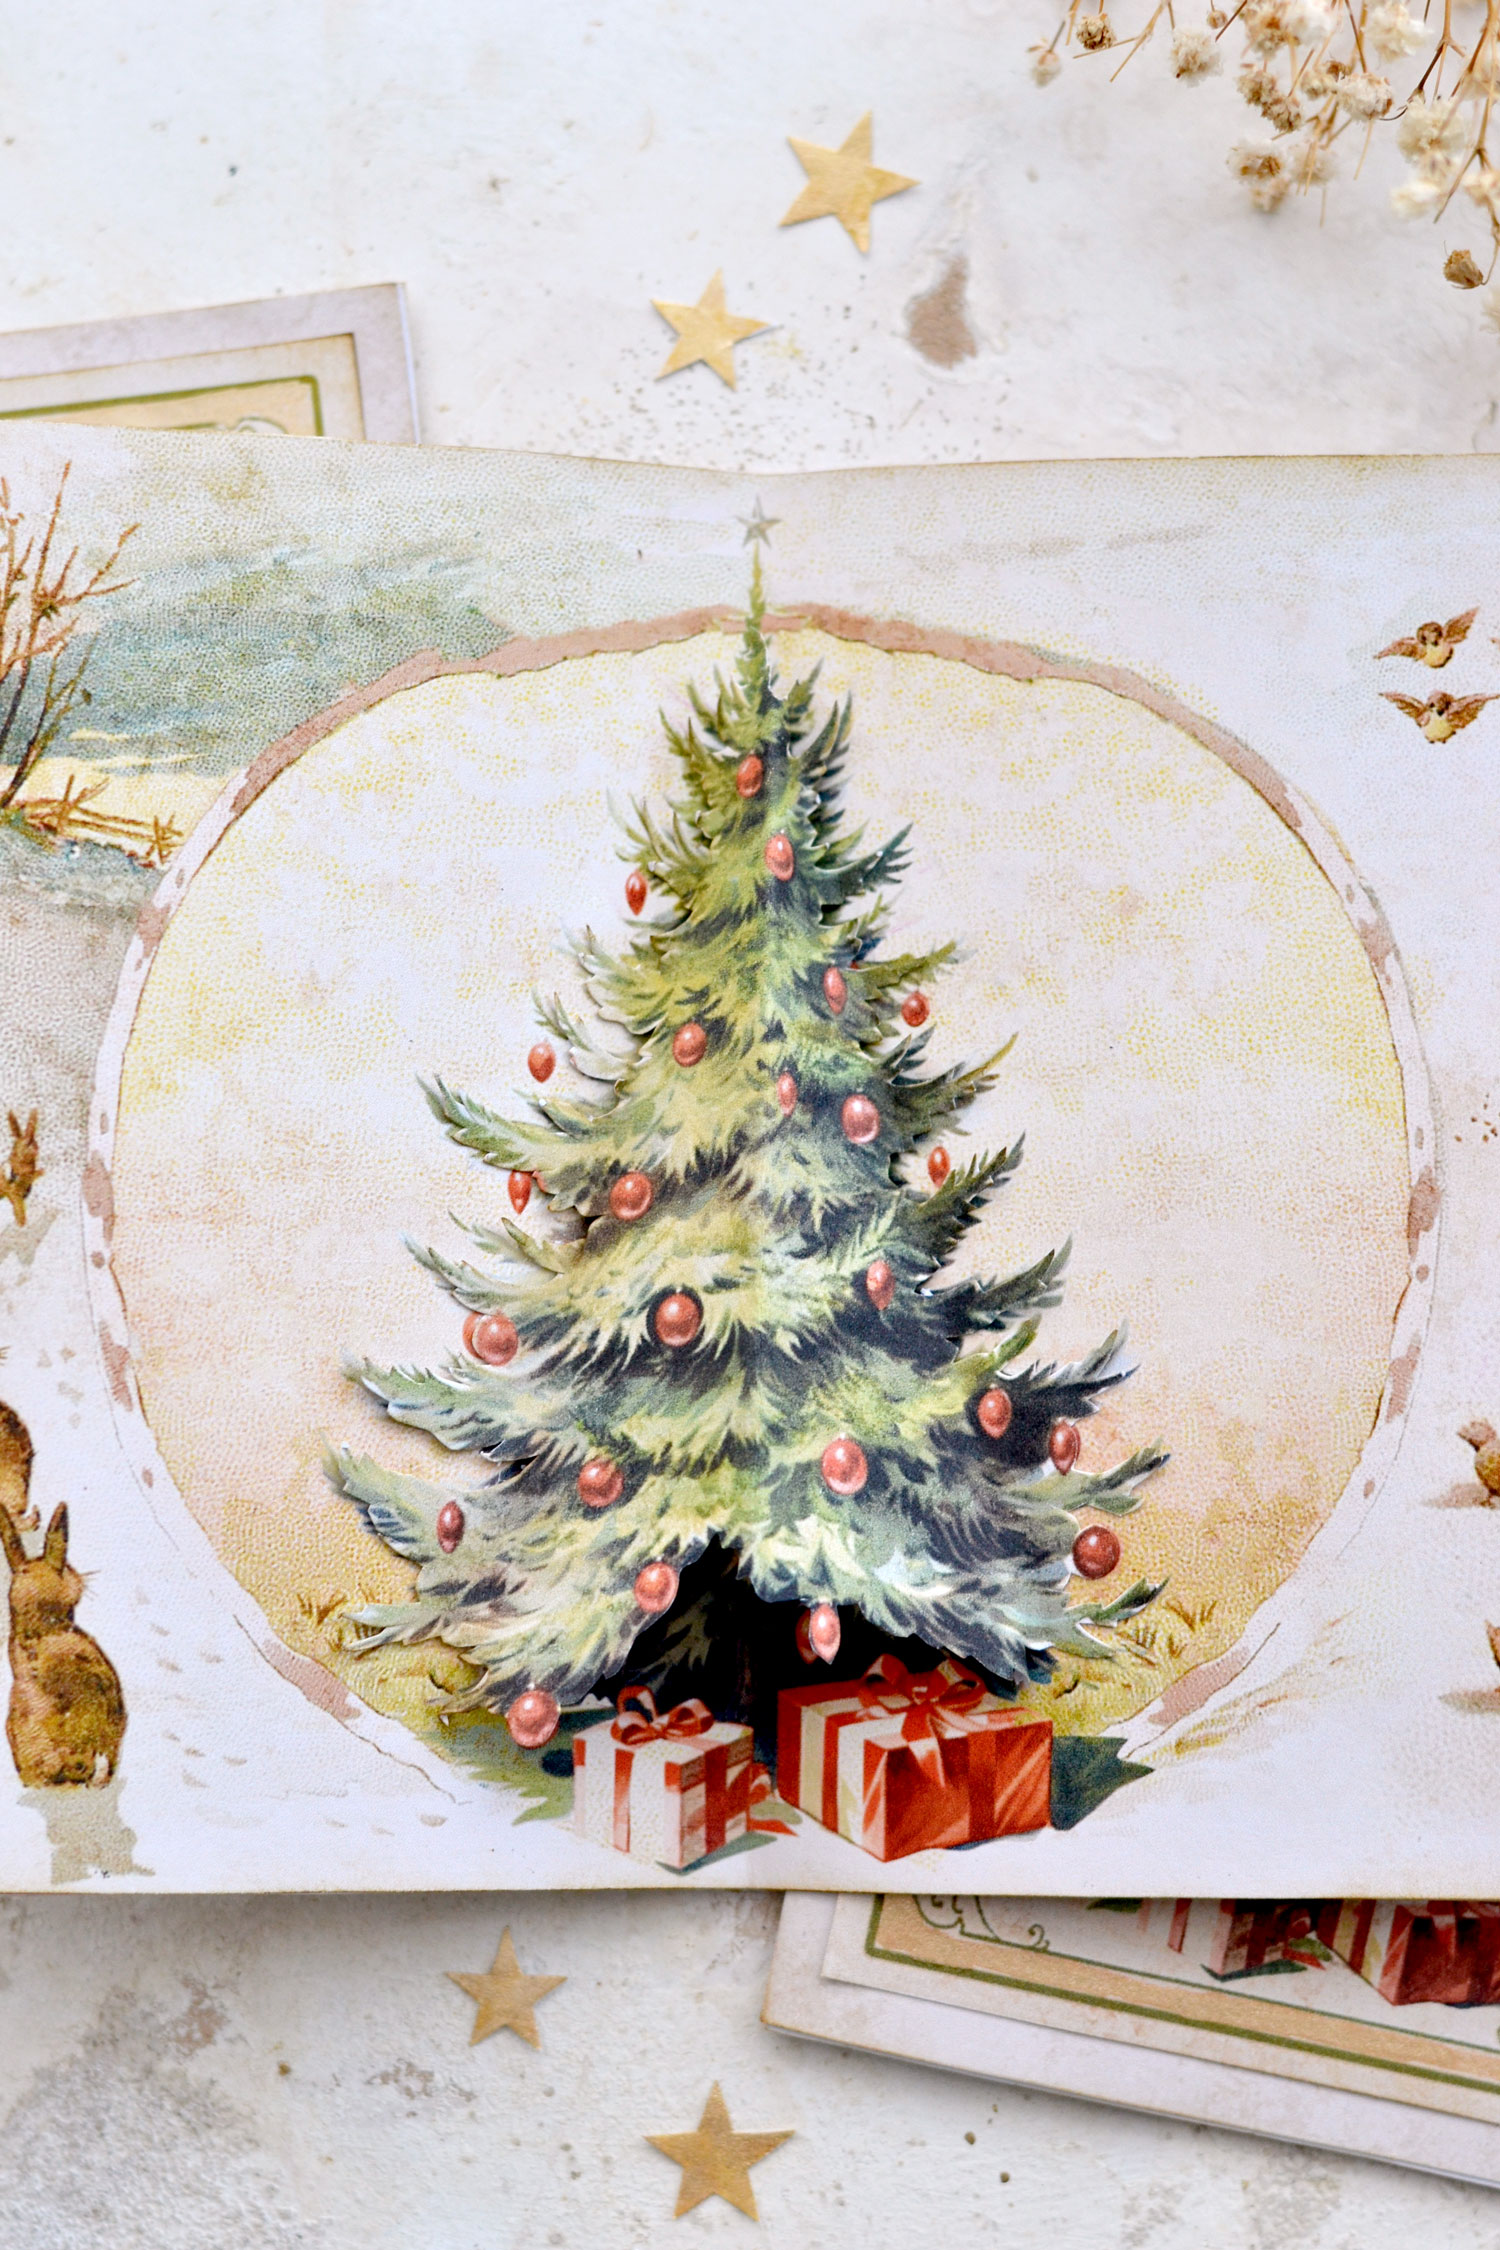
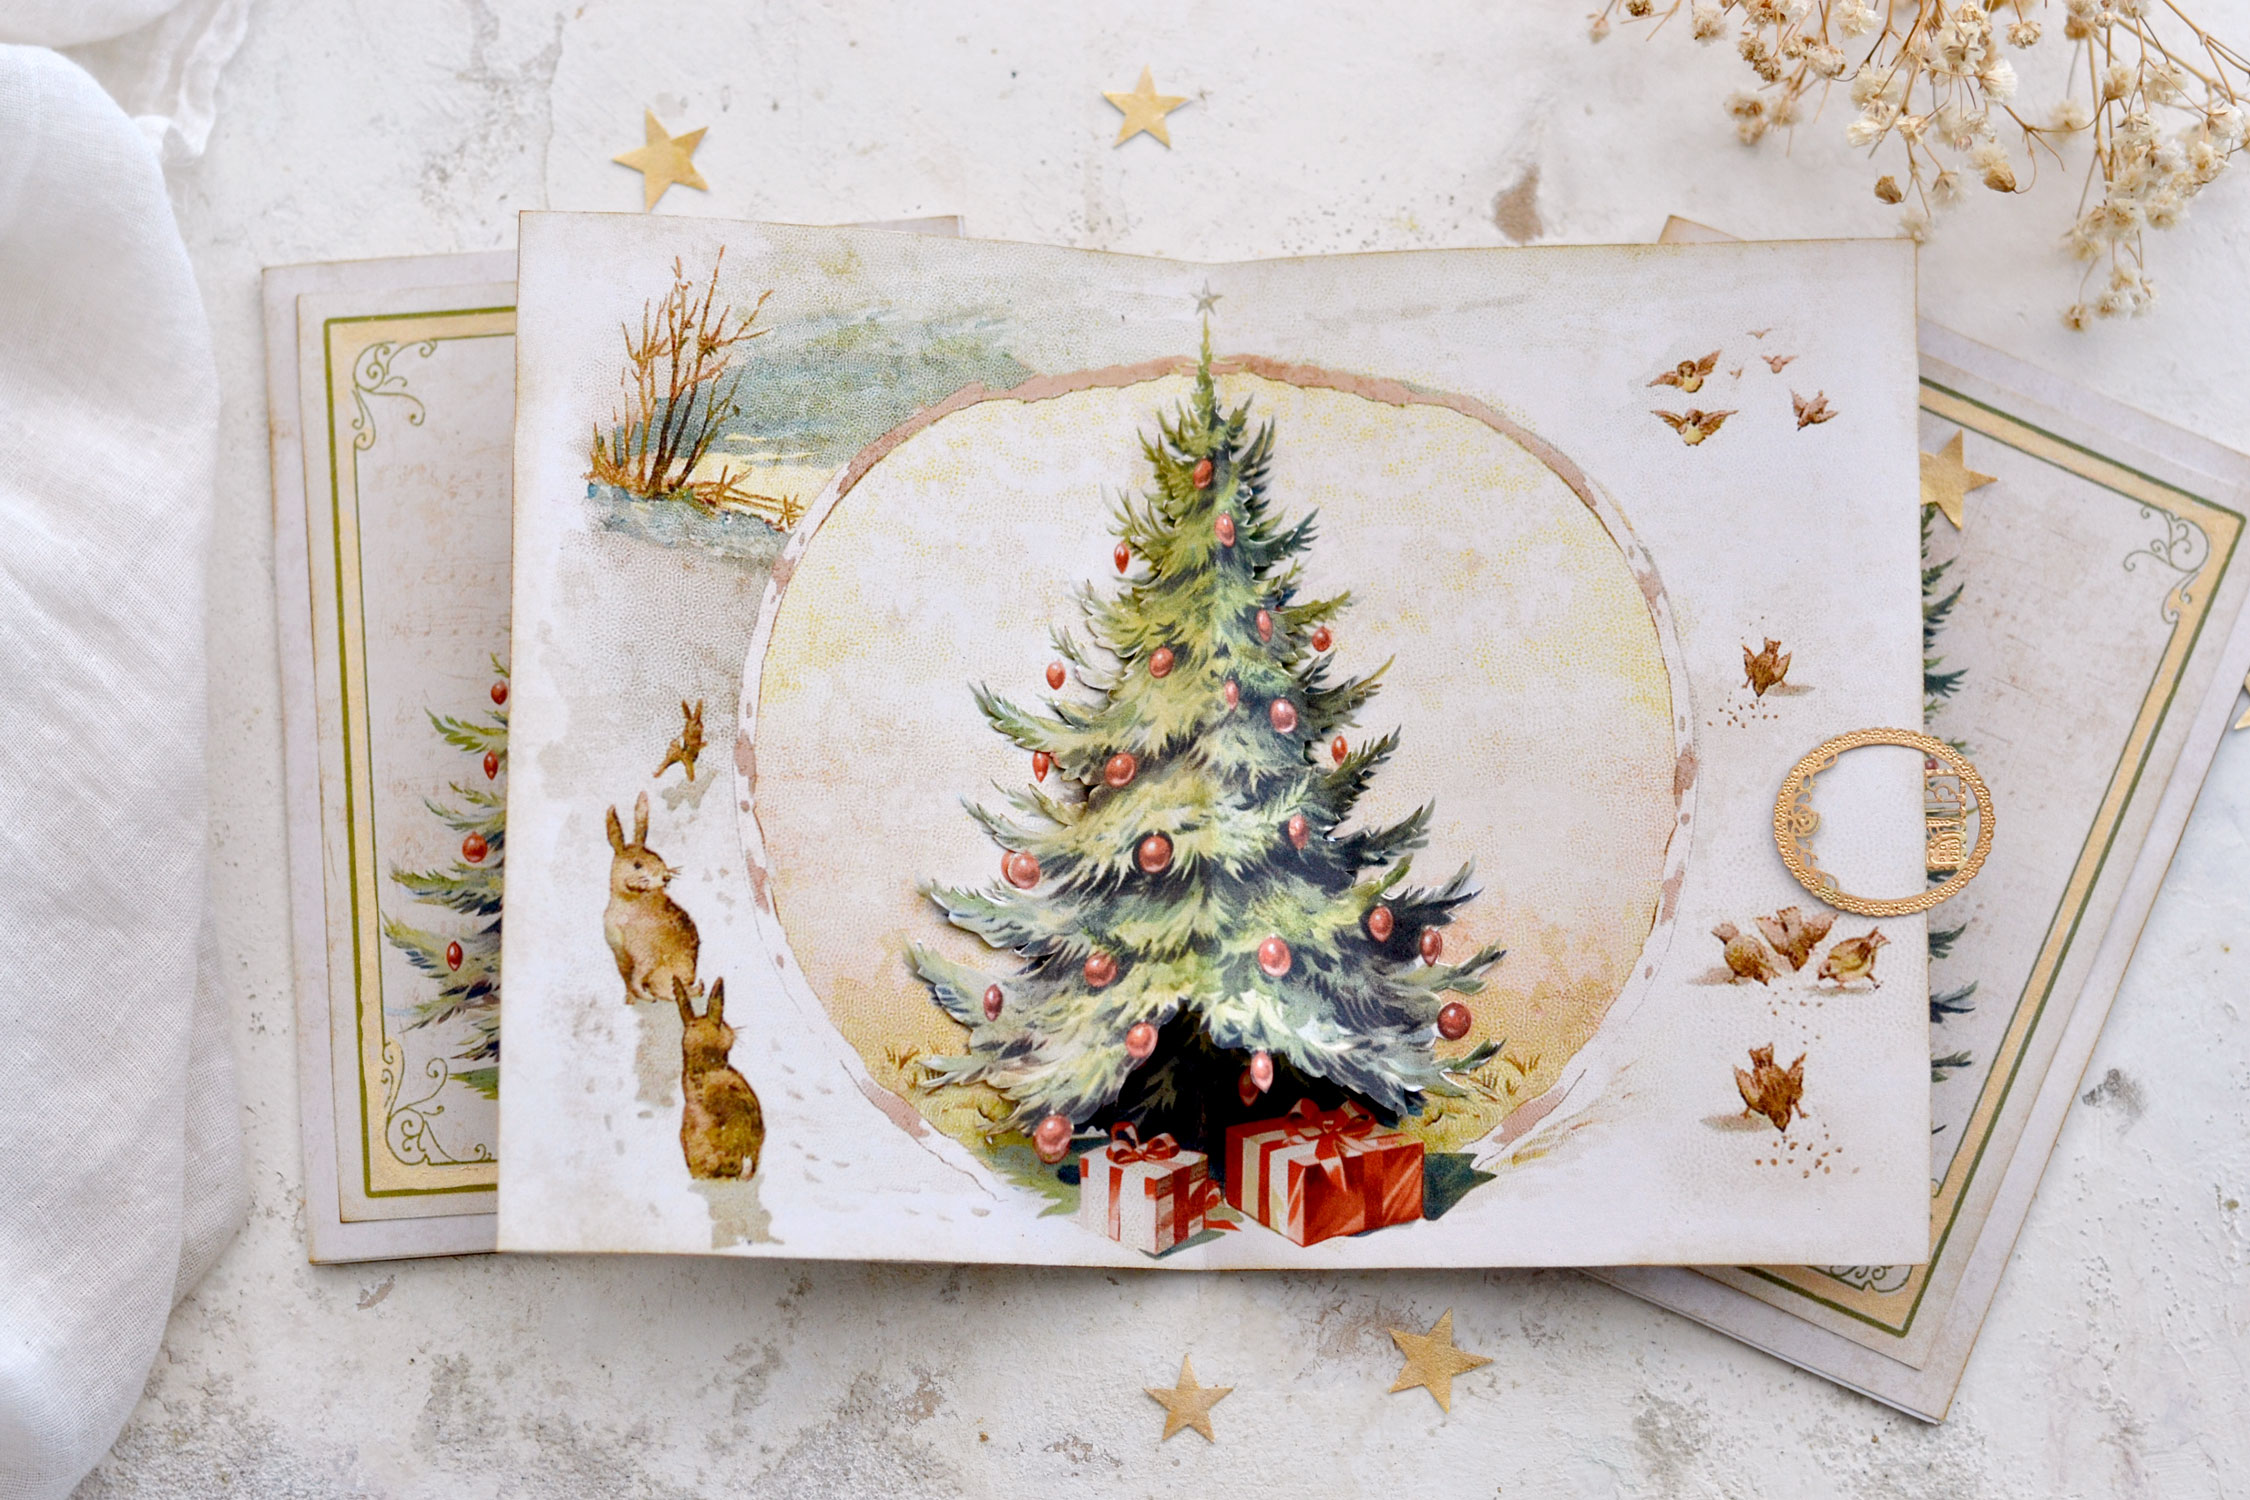
And I really mean that, my idea was to create almost like an old times Christmas story on the inside, one that warms your heart and instantly brings joy and nostalgia.
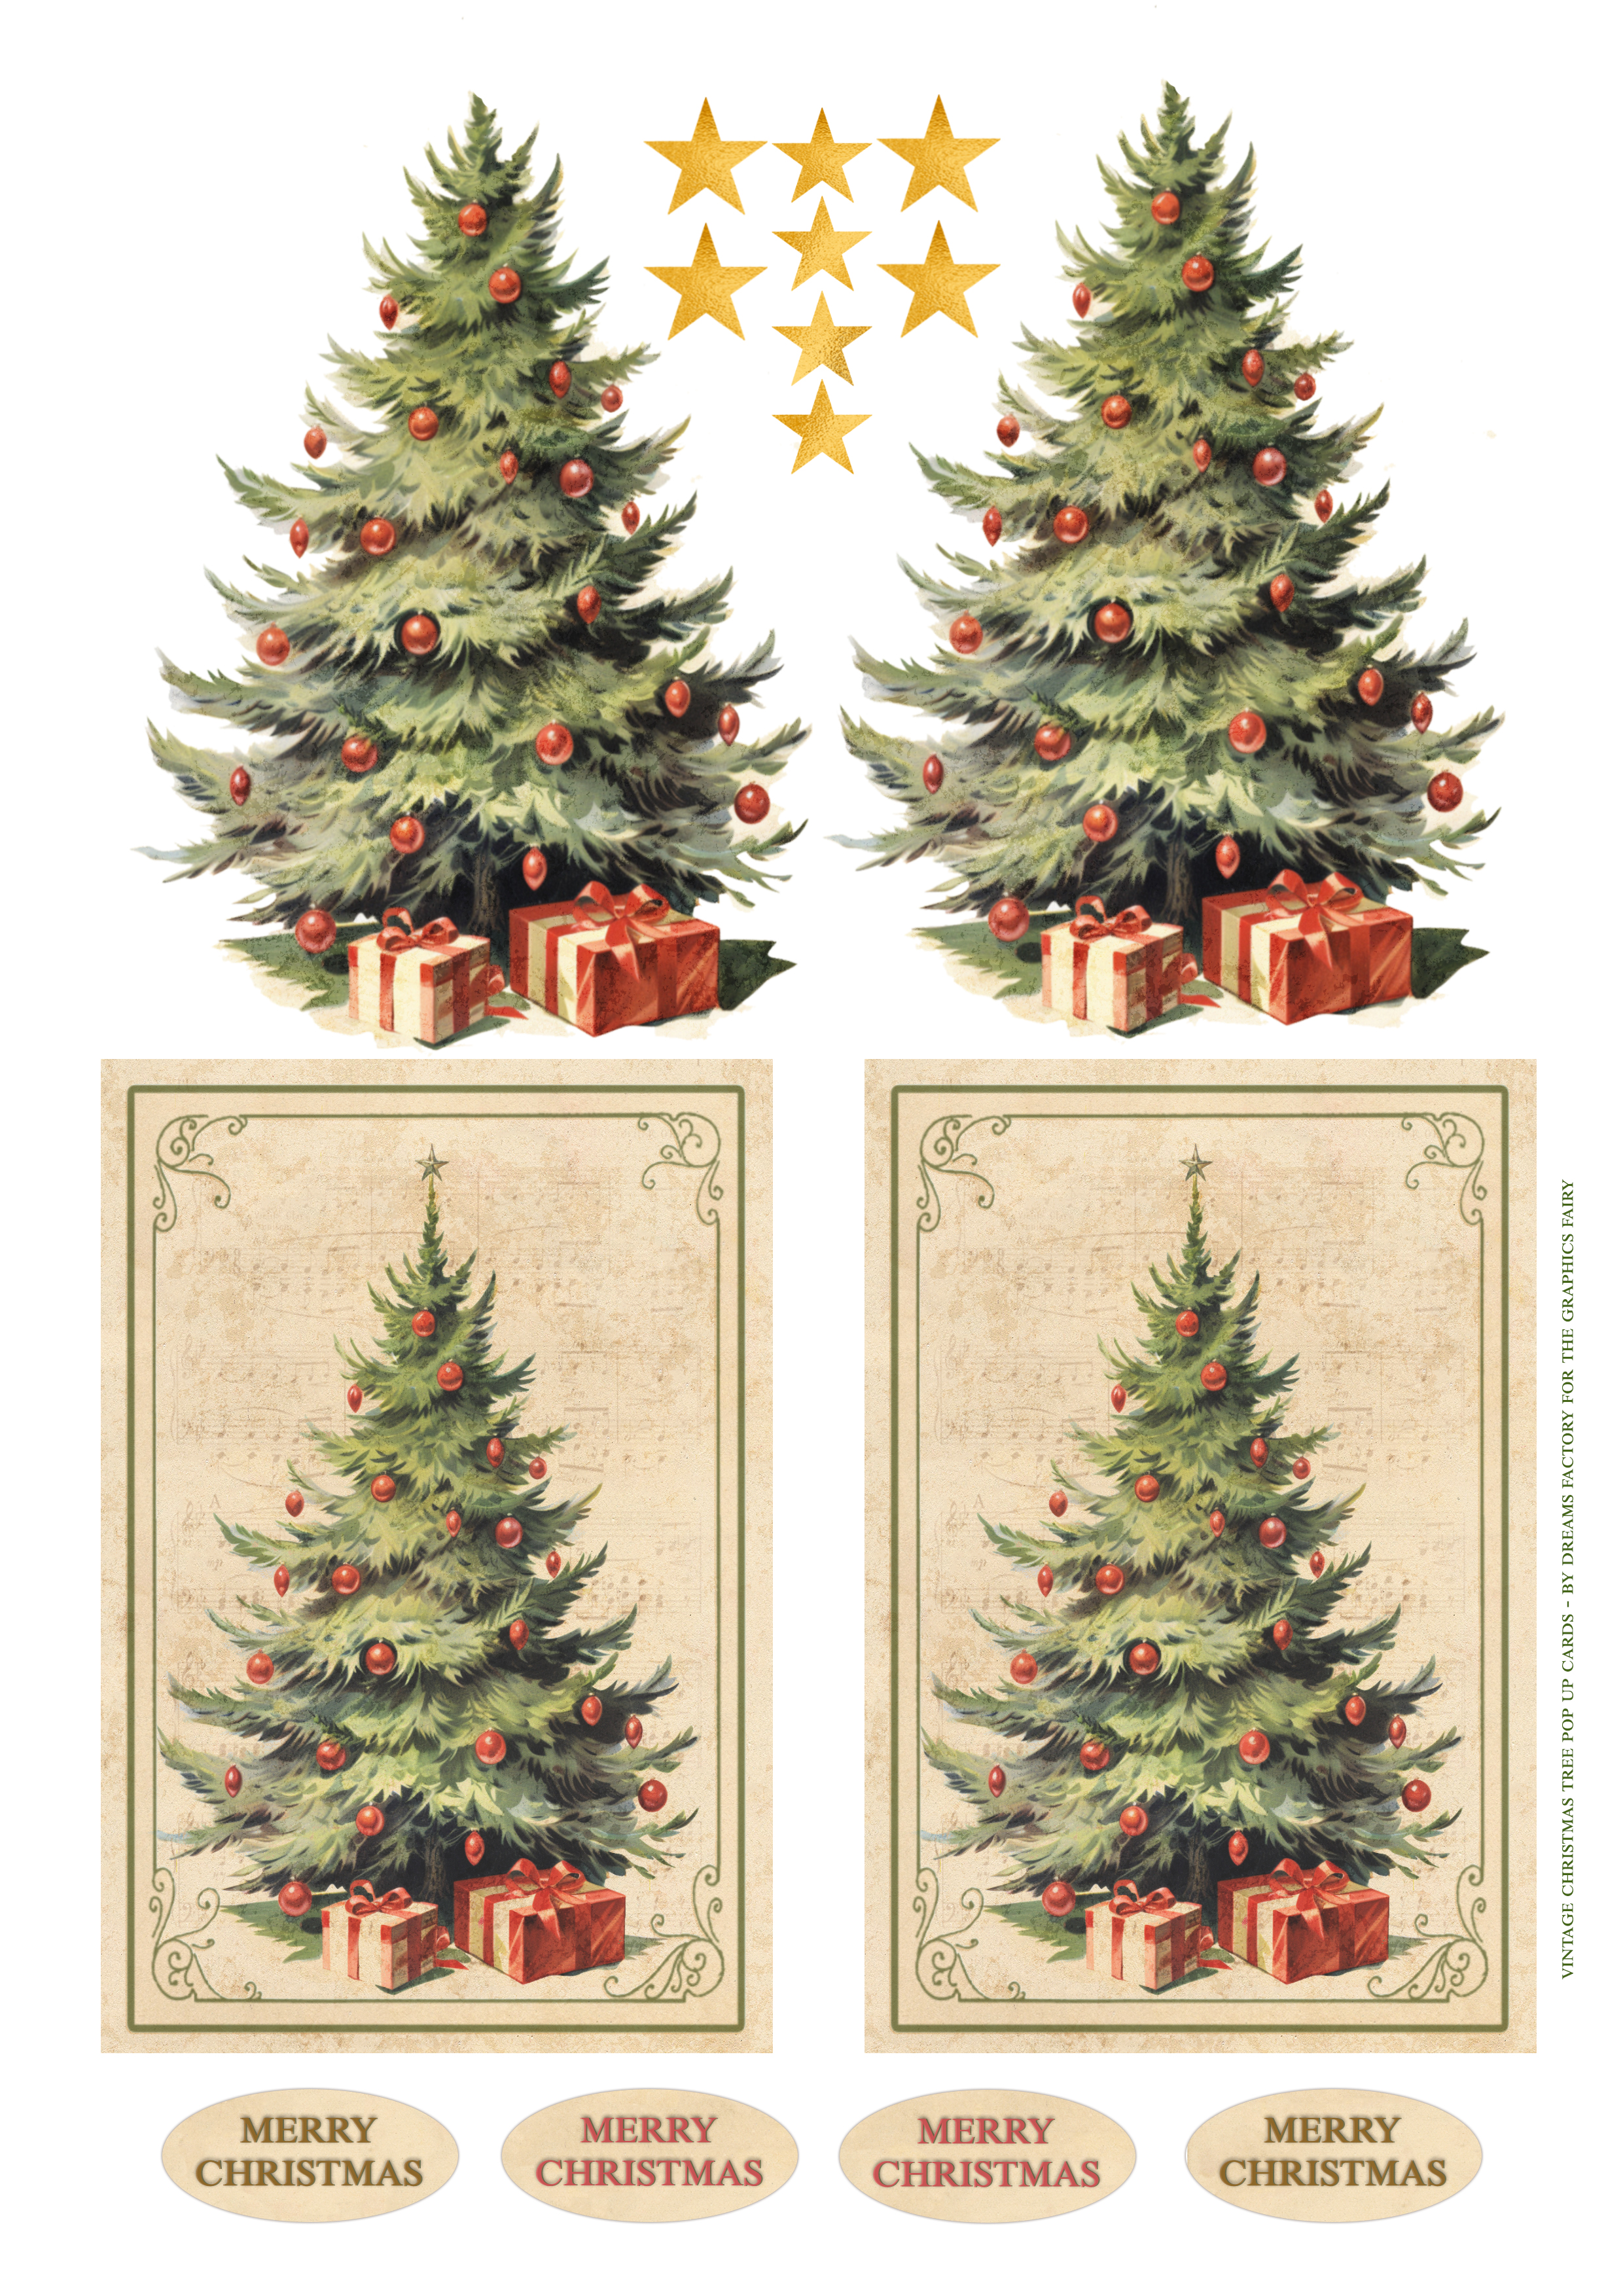
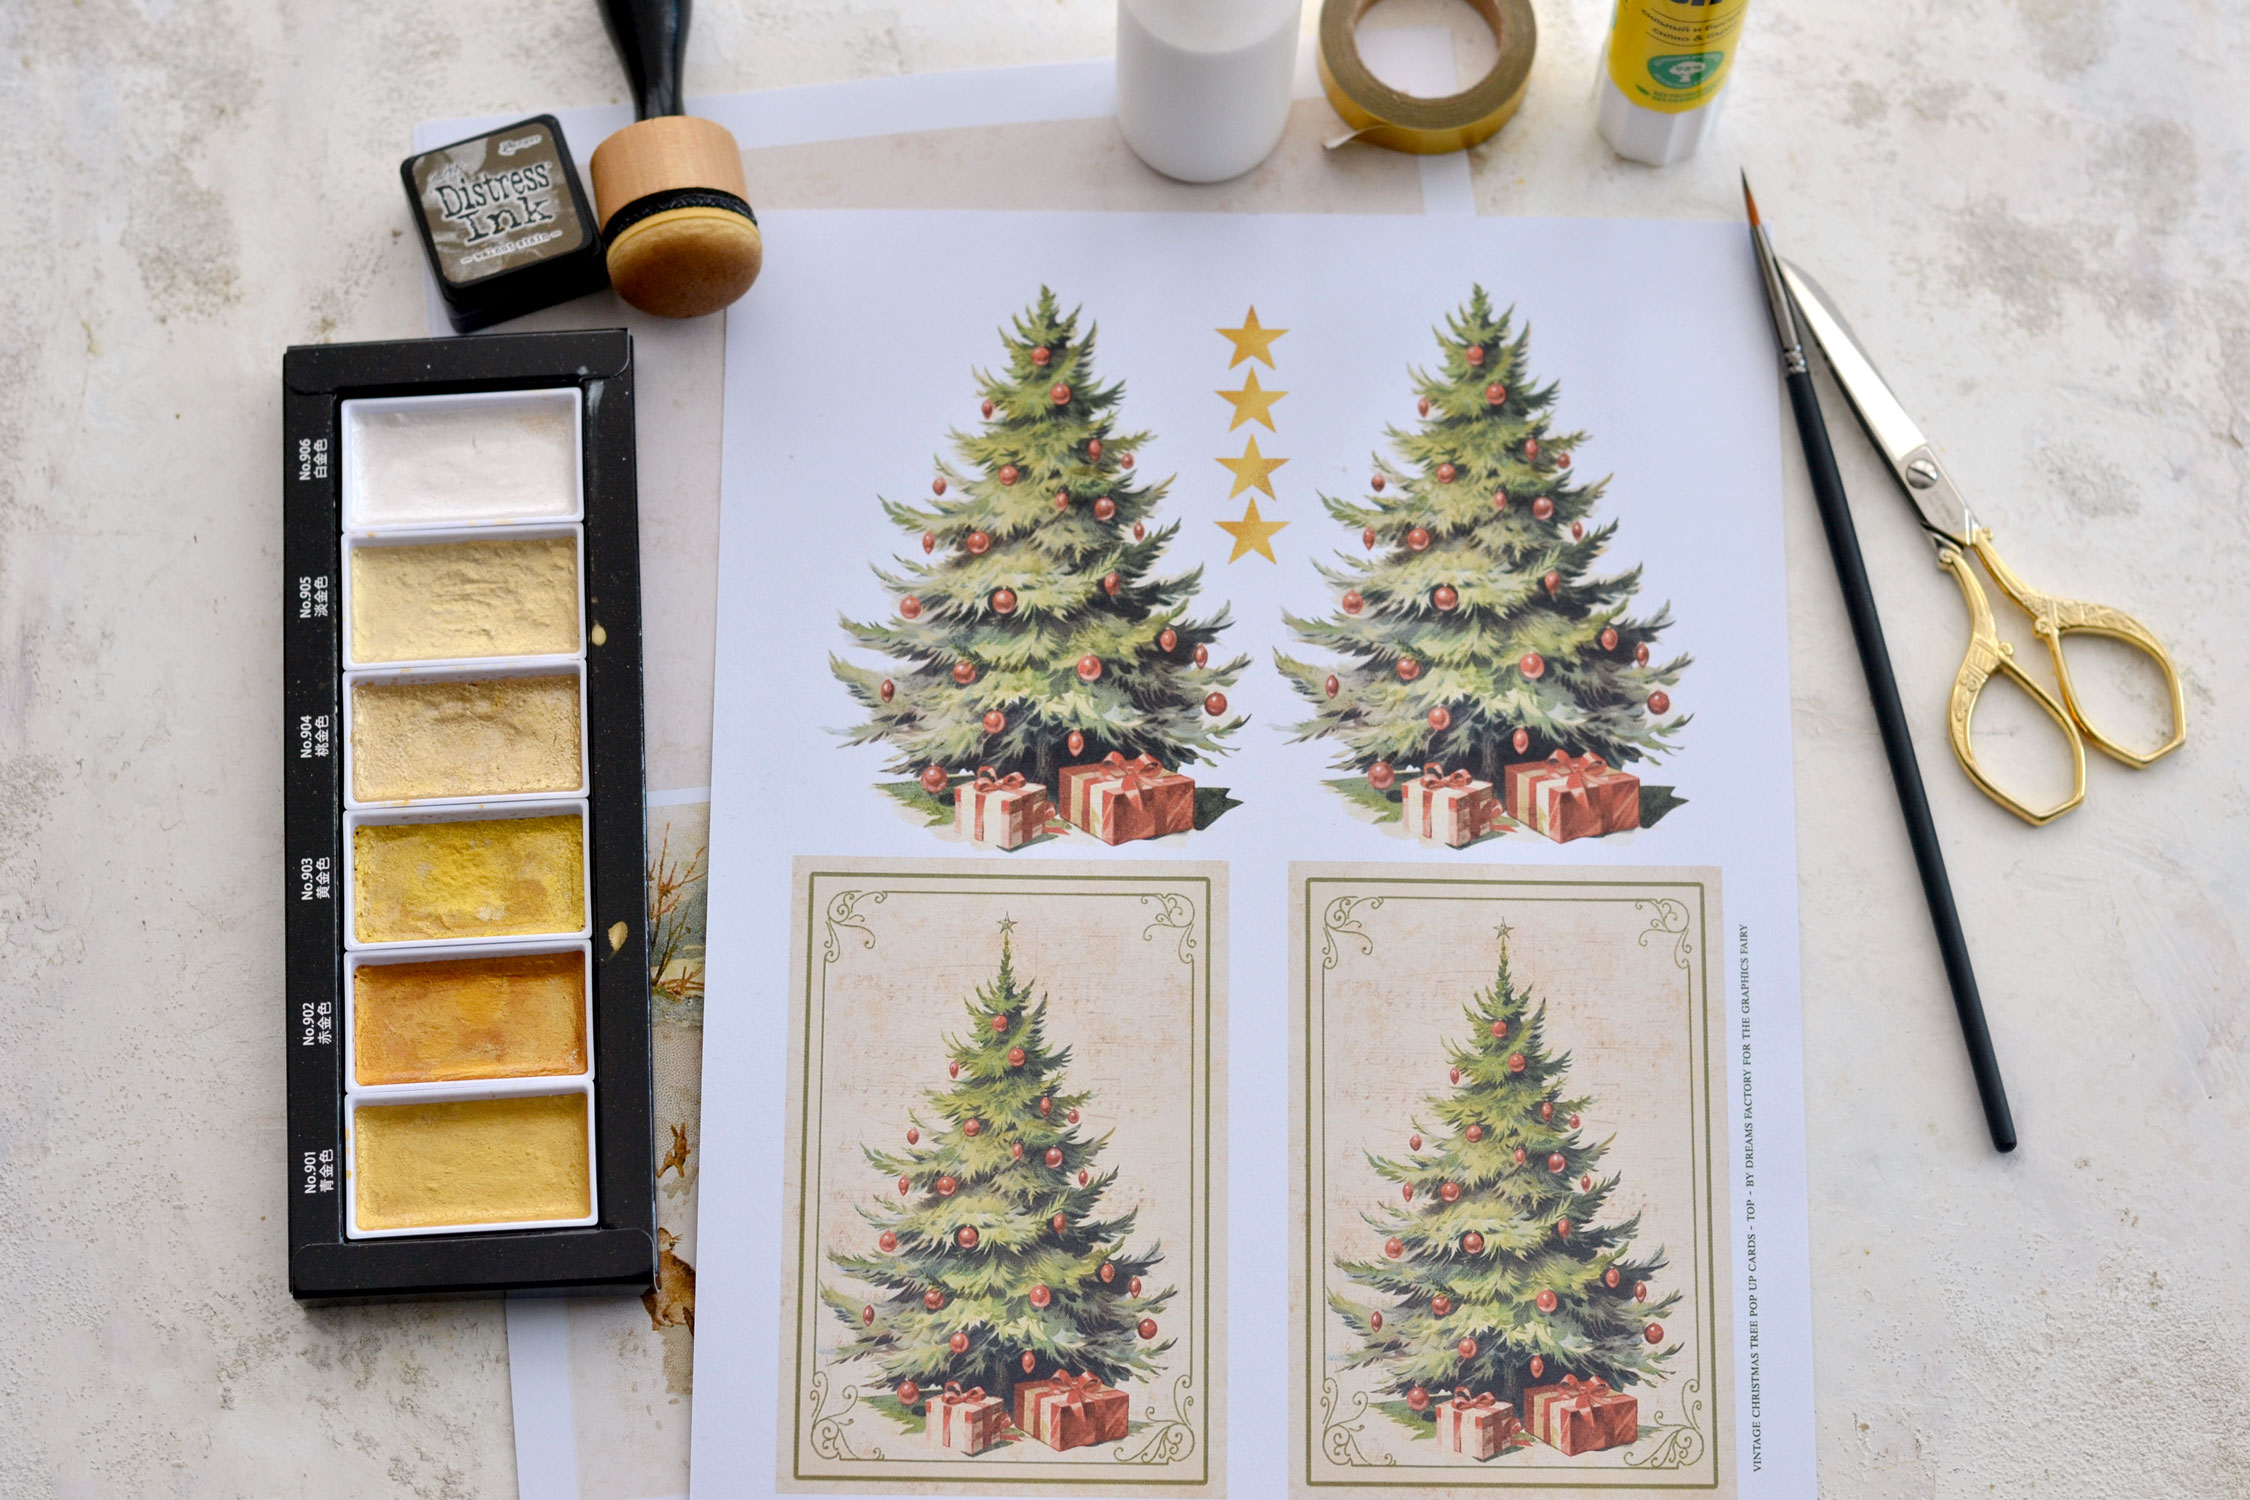
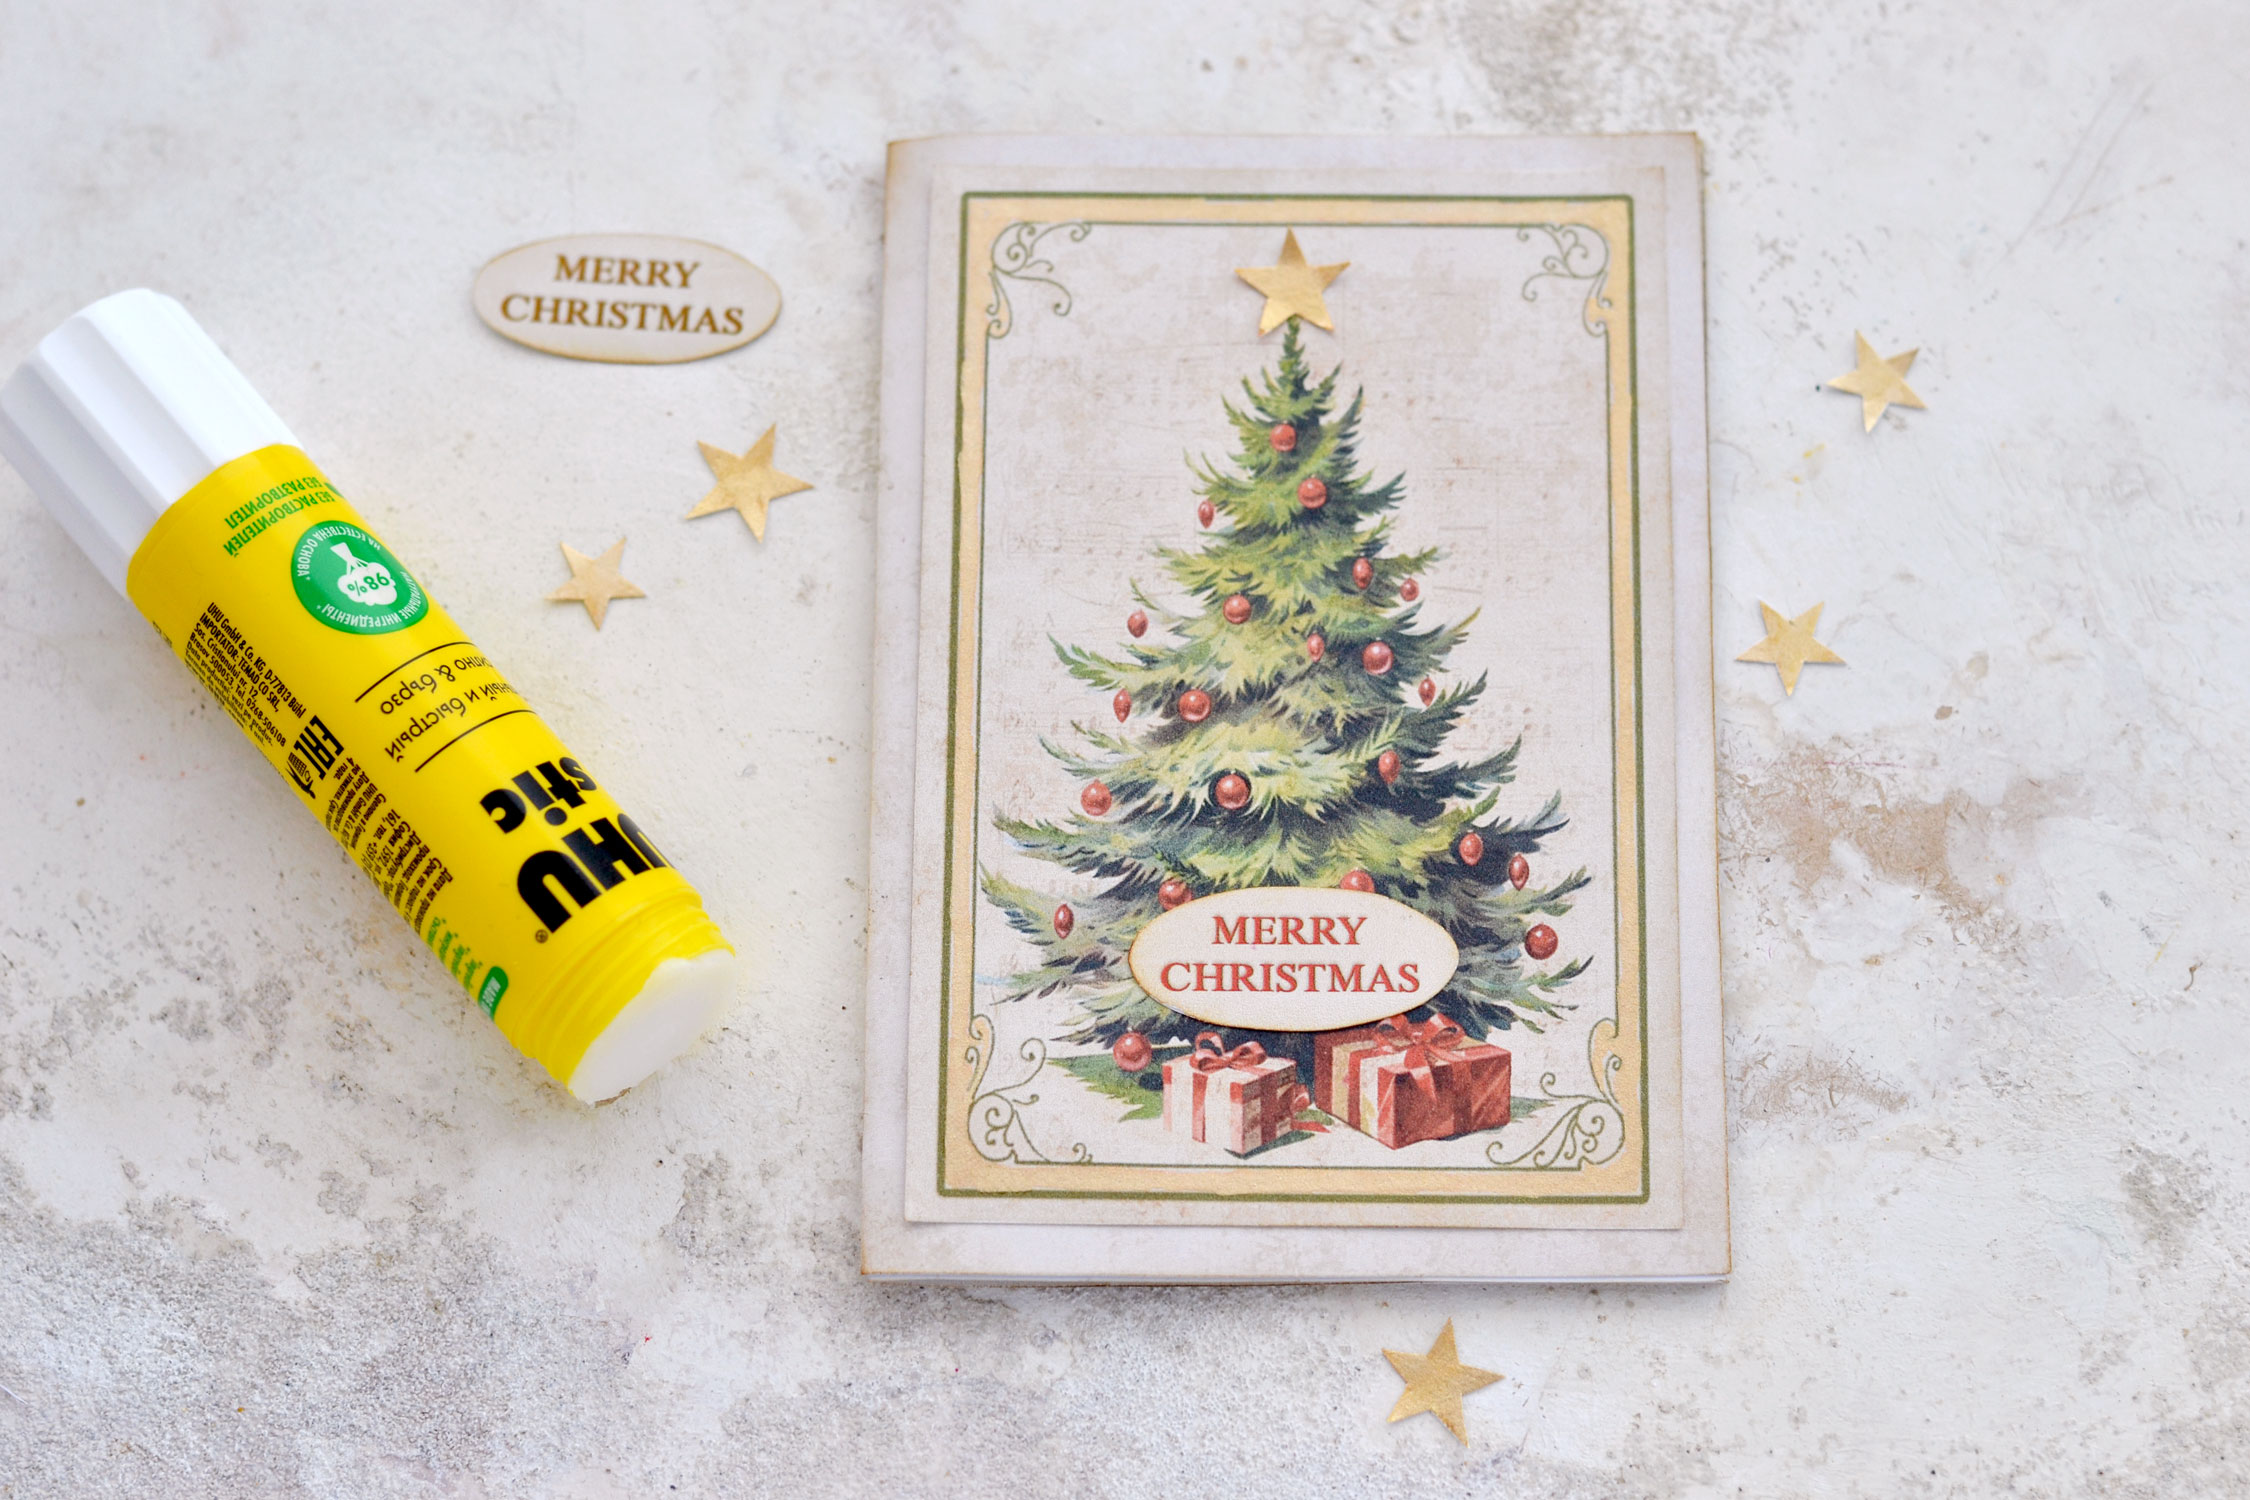
I created two printables for this project. The first one is mainly for the top and includes the top Christmas tree card element and some oval Christmas wishes cutouts that can be glued on top. I also included some gold stars, you will see that the printable that I photographed in my supply list only contains four stars, that’s because I’ve decided to include more along the way. I also included in this printable two Christmas tree images that we will cut and use on the inside as our pop up element.
Free Printable Pop Up Card:
—-> Click HERE to Download the Full Size Printable PDF <—-
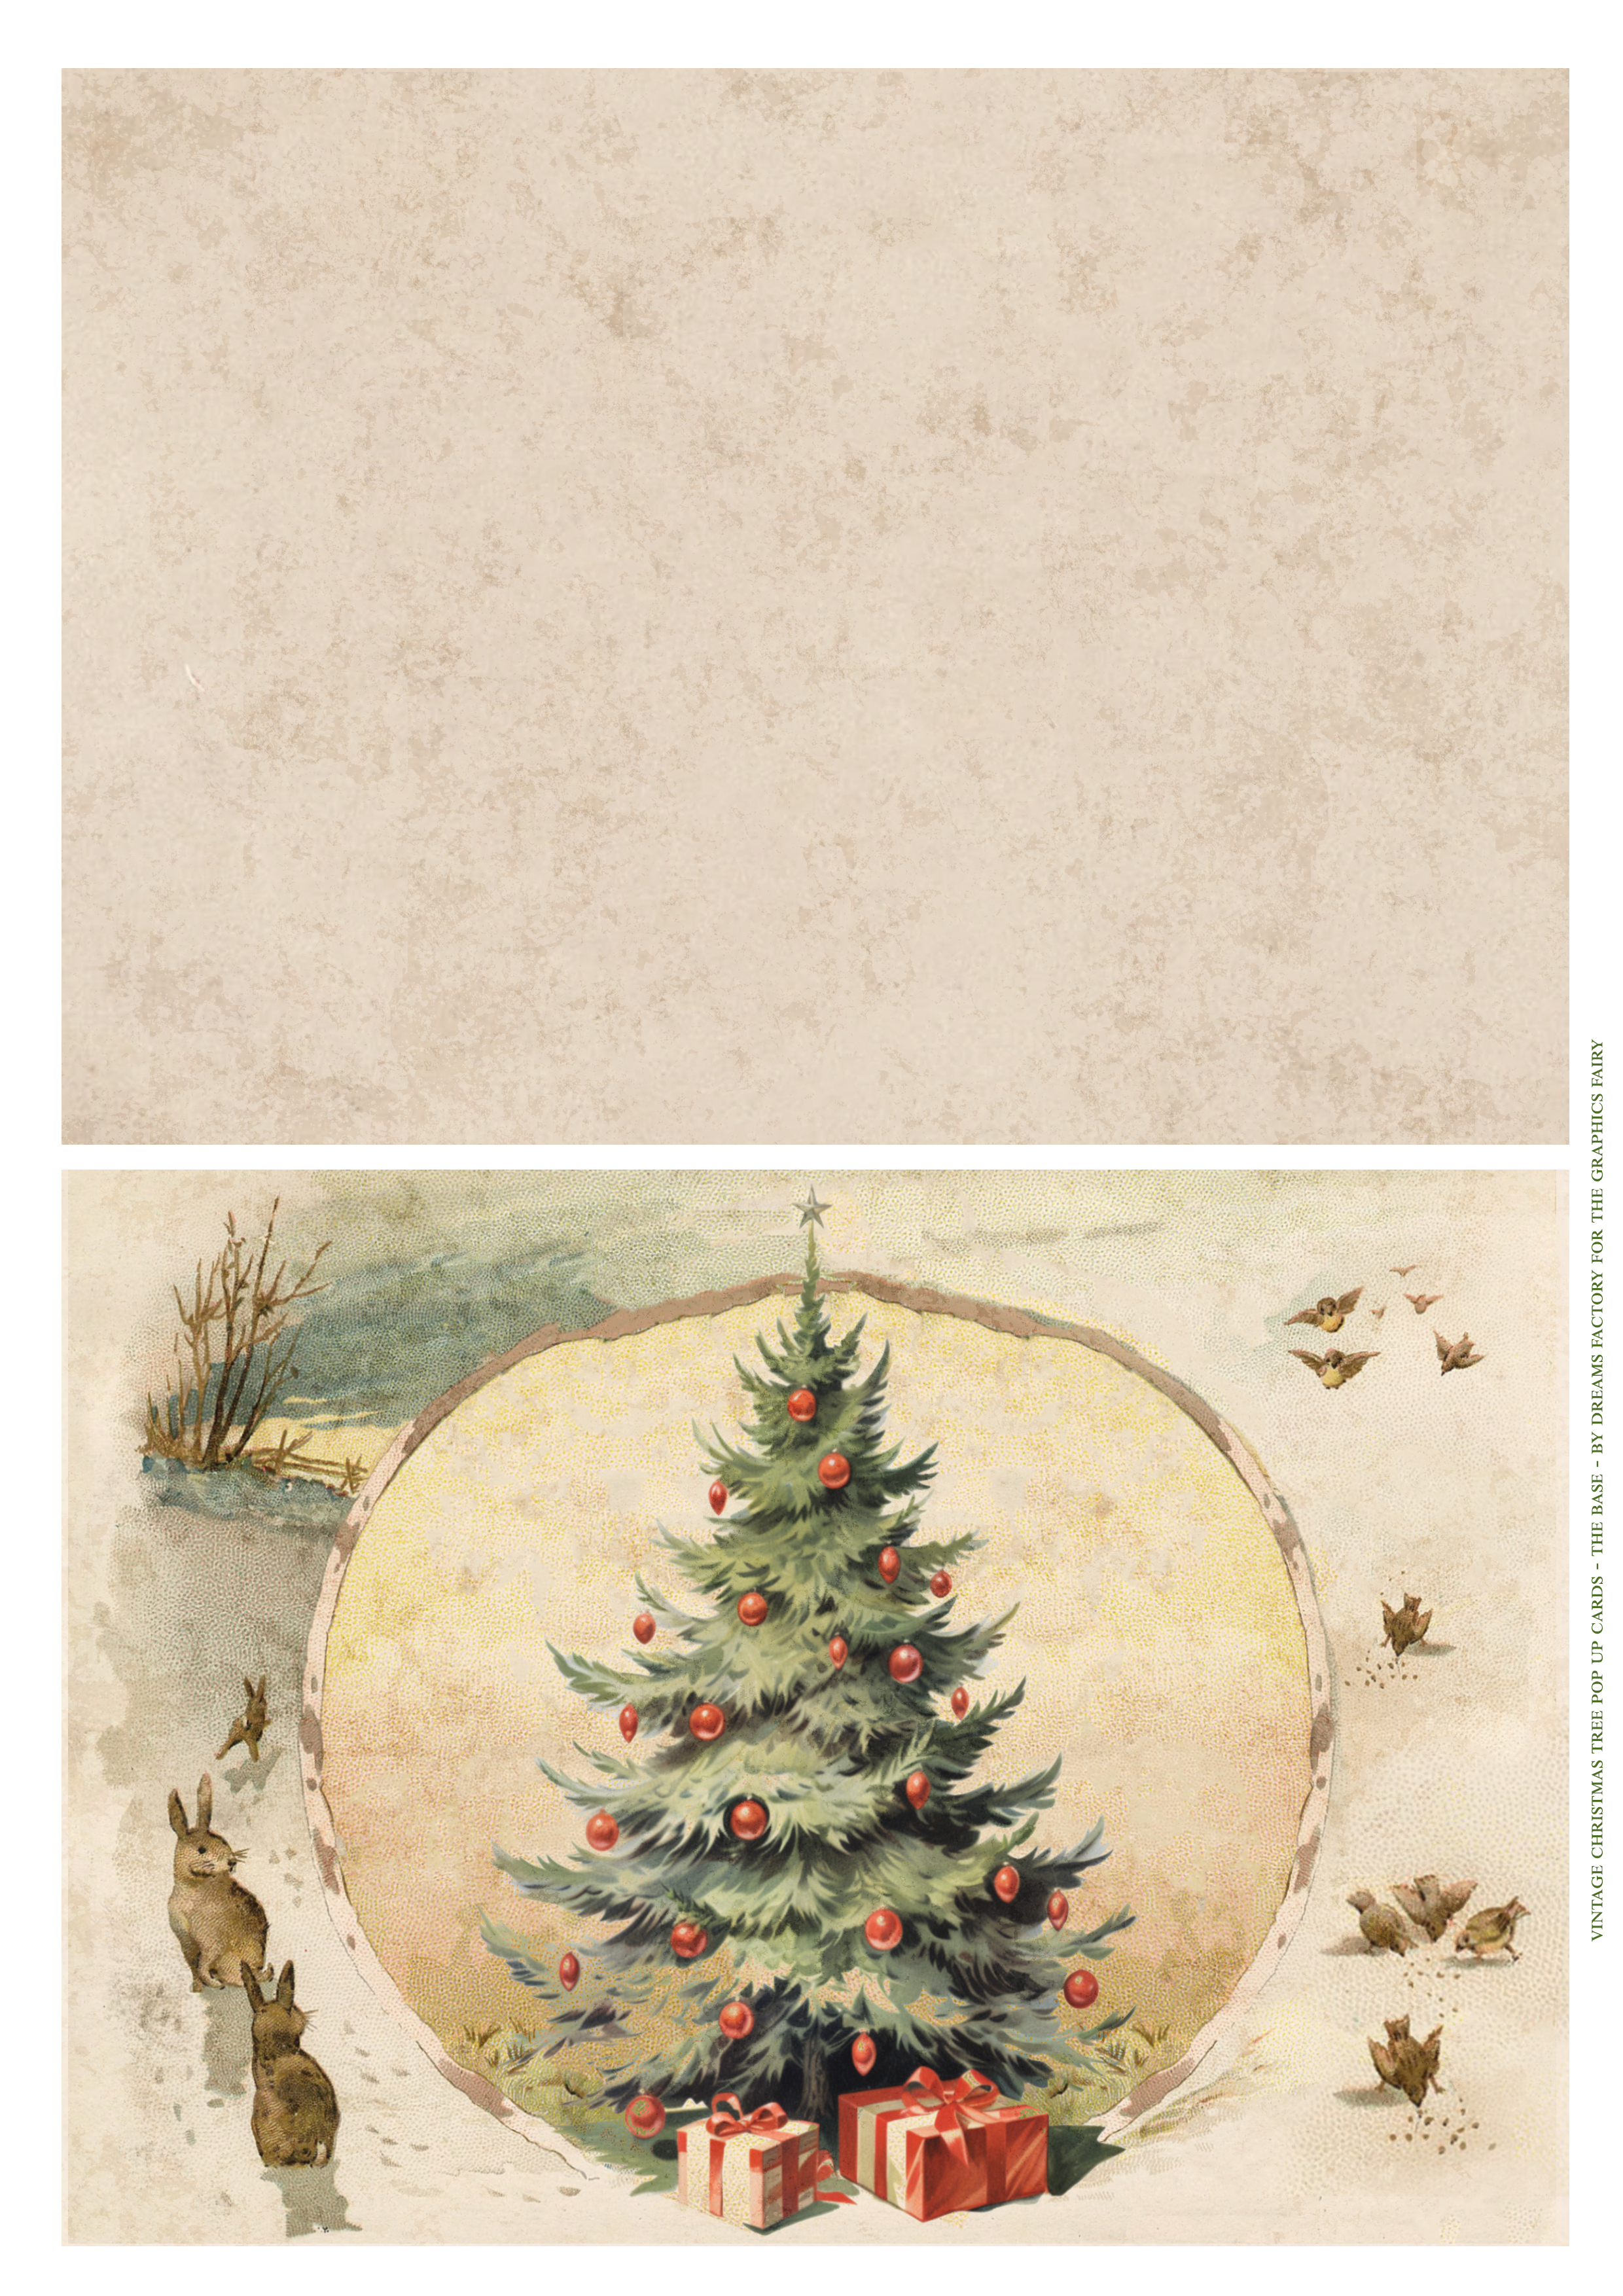
The second one includes a vintage base for our card, but also our Christmas ‘story’ element that we will glue on the inside.
—-> Click HERE to Download the Full Size Printable PDF <—-
Really important! You need to print the first printable ONCE and the second one TWICE to make two cards!
Supply List:
- white cardstock paper
- home printer
- scissors
- mini distress inks
- blending tool with foams
- gold watercolors – I used the Kuretake Gansai Tambi Starry Colors
- paper glue
- craft glue
- small brush
- bone folder
- ruler
- gold washi tape (optional)
Step by Step Tutorial for Pop Up Holiday Card:
Start by printing as many free printables as you want. Remember that you need to print the first one once and the second one twice to make two cards.
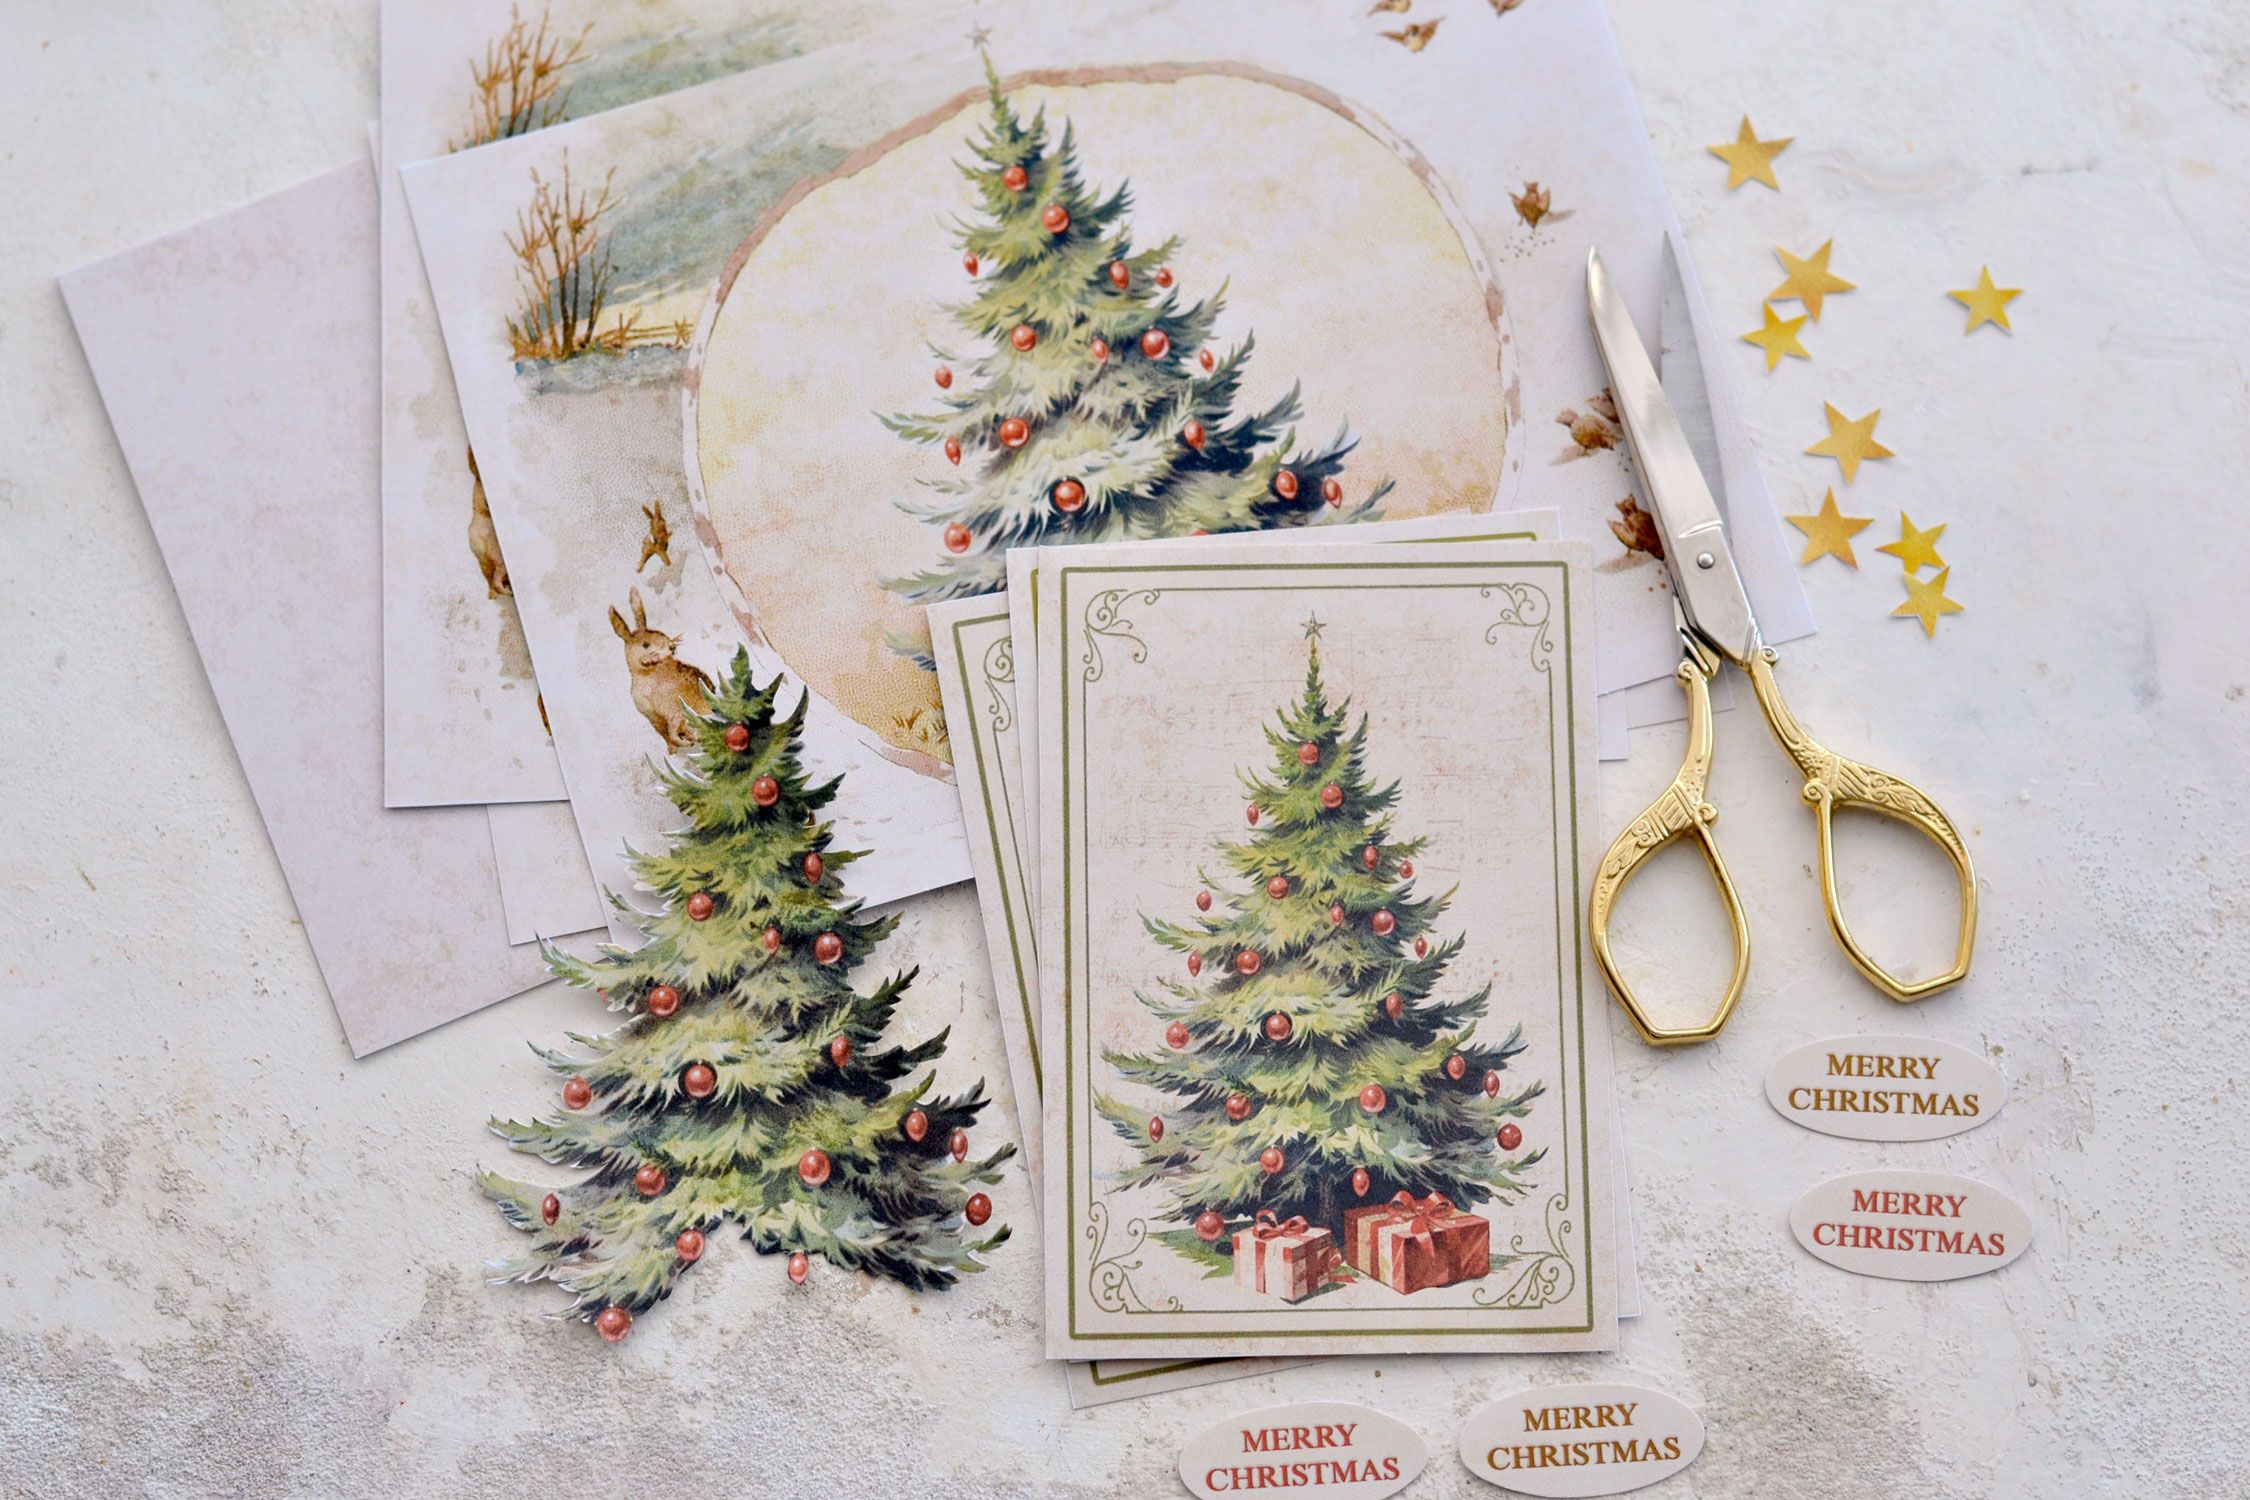
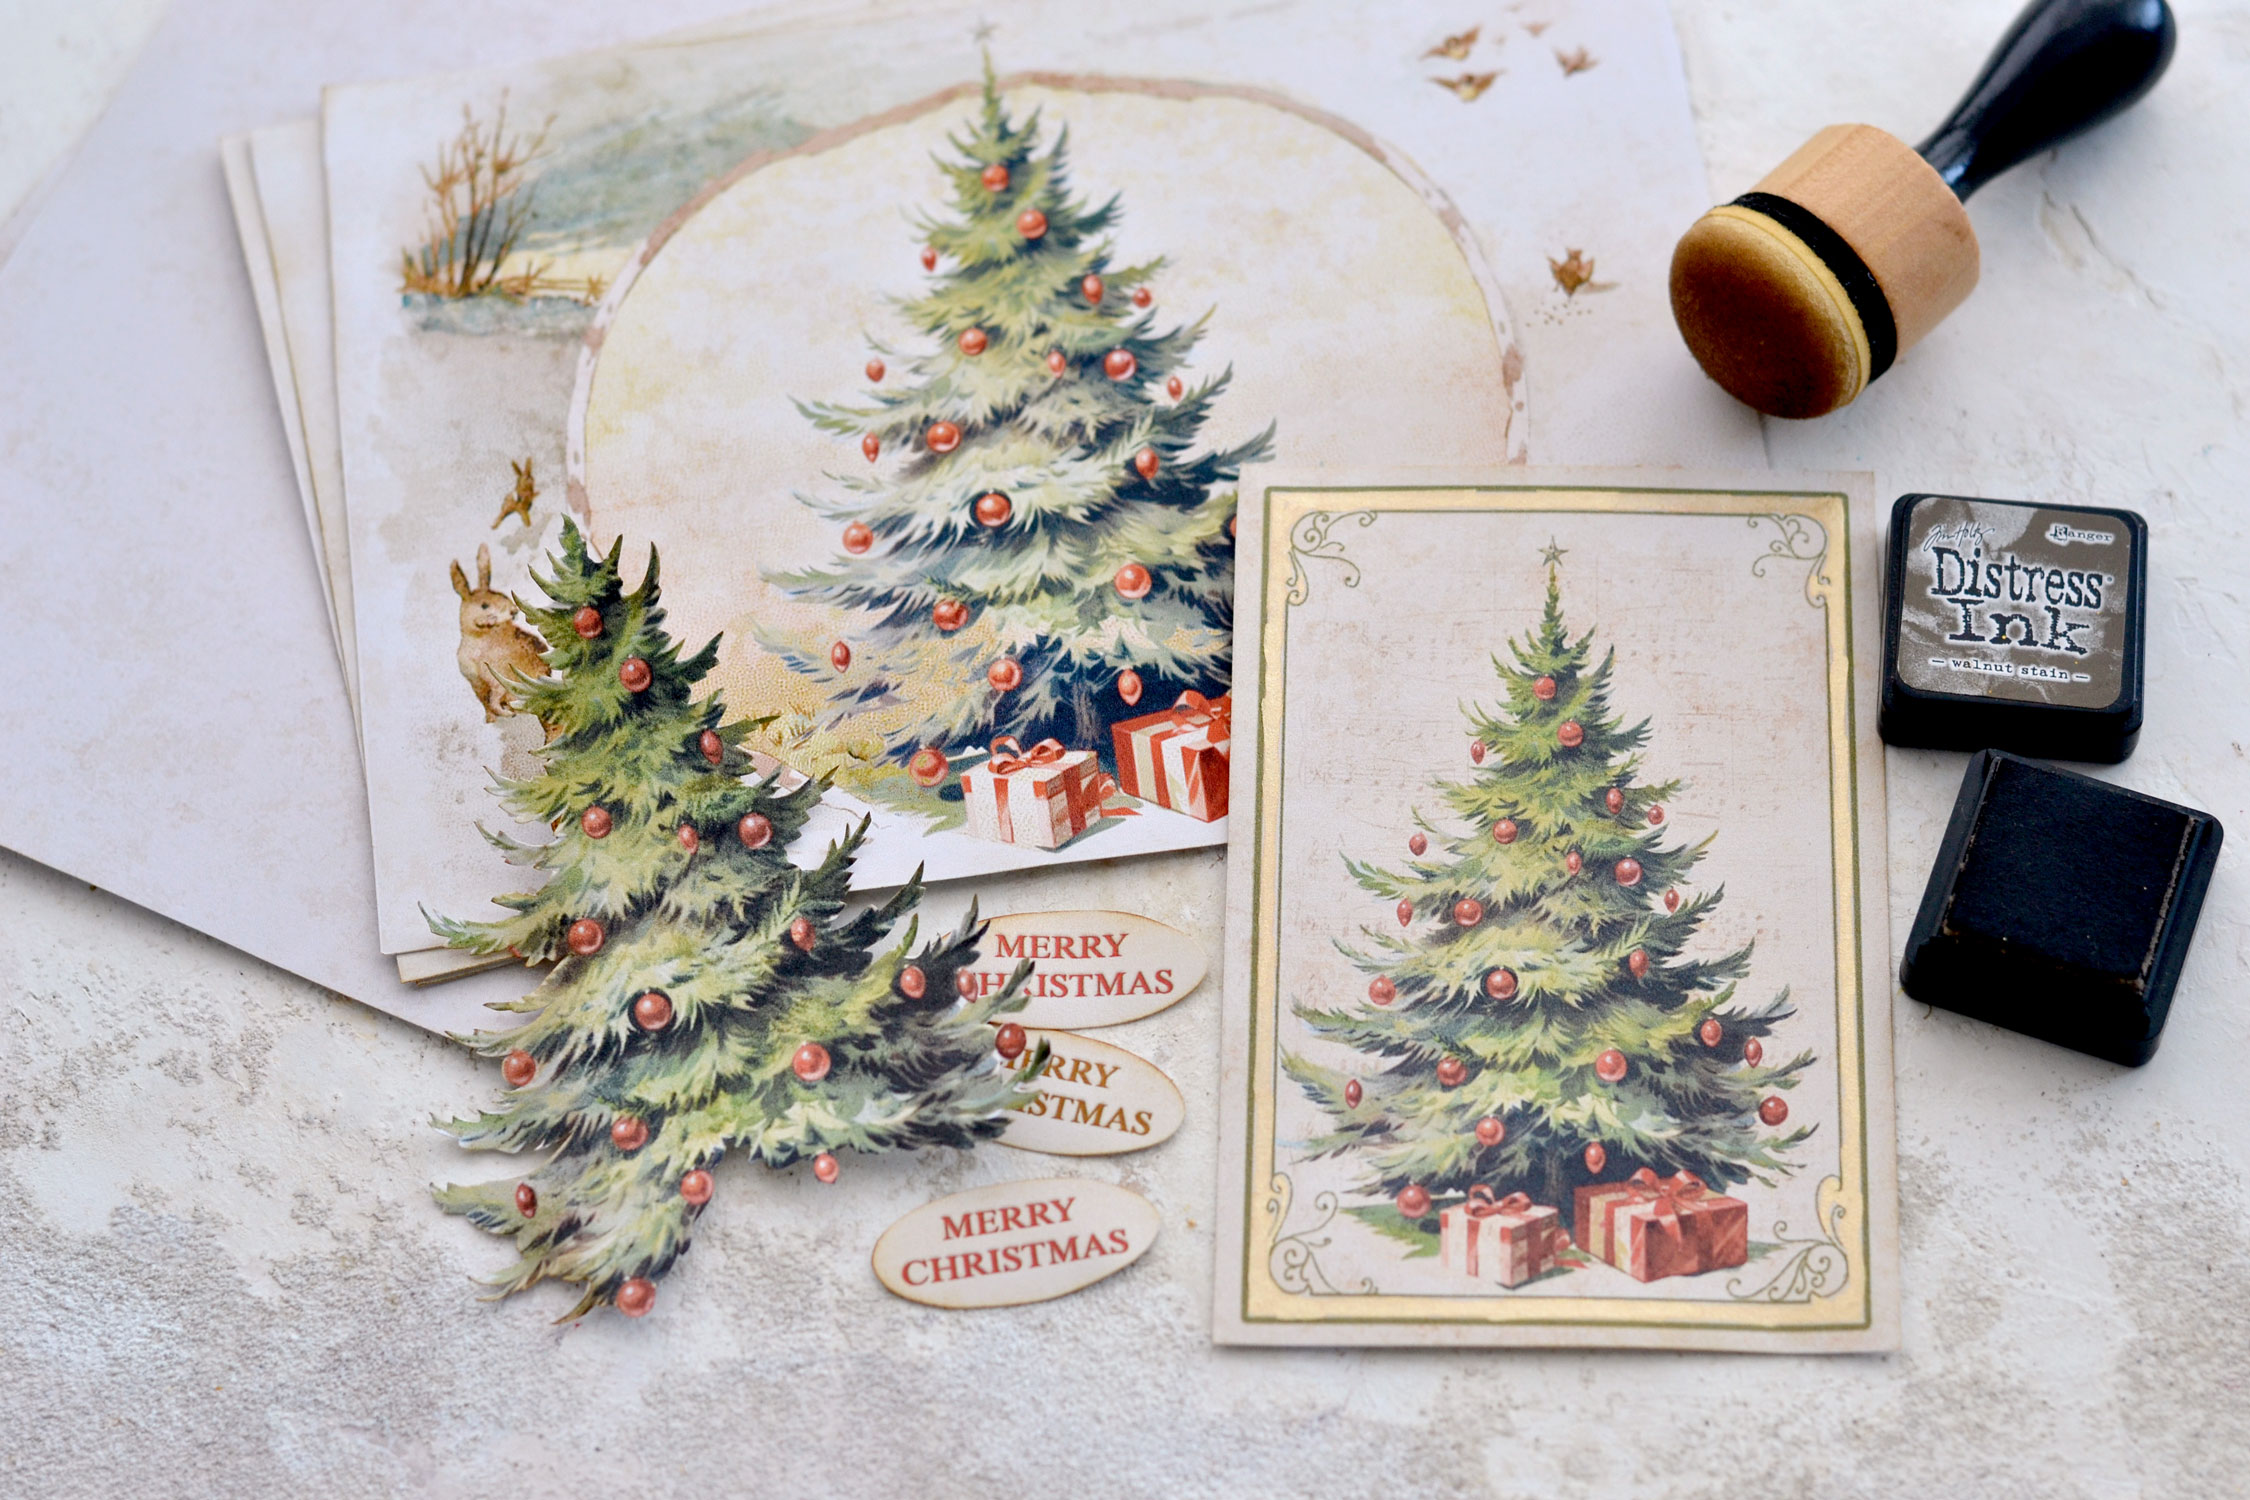
Cut all the elements using your preferred method. If you have a paper trimmer or a cutting machine, now would be the best time to use it! You will get cleaner cuts that will help you match the card base and the inside better. Use your scissors to cut the Christmas wishes and the Christmas tree that we will use inside as our pop up element. Cutting the Christmas tree will probably take most of your time because of all the small details on the edges, but I would say that the final results will make everything well worth it in the end. Try to remove as much white paper as you can while cutting the tree, as close to the design as you can, but don’t stress too much to make it perfect. I even encourage you to reshape the design here and there if you need to, especially around the smaller details that prove too difficult to cut. If you look really close, you will see that I cut off almost all the Christmas ornaments around the edges, but kept the three ones from the bottom. I also removed the lower part of the tree with the log and the presents and tried to create a lovely shape there.
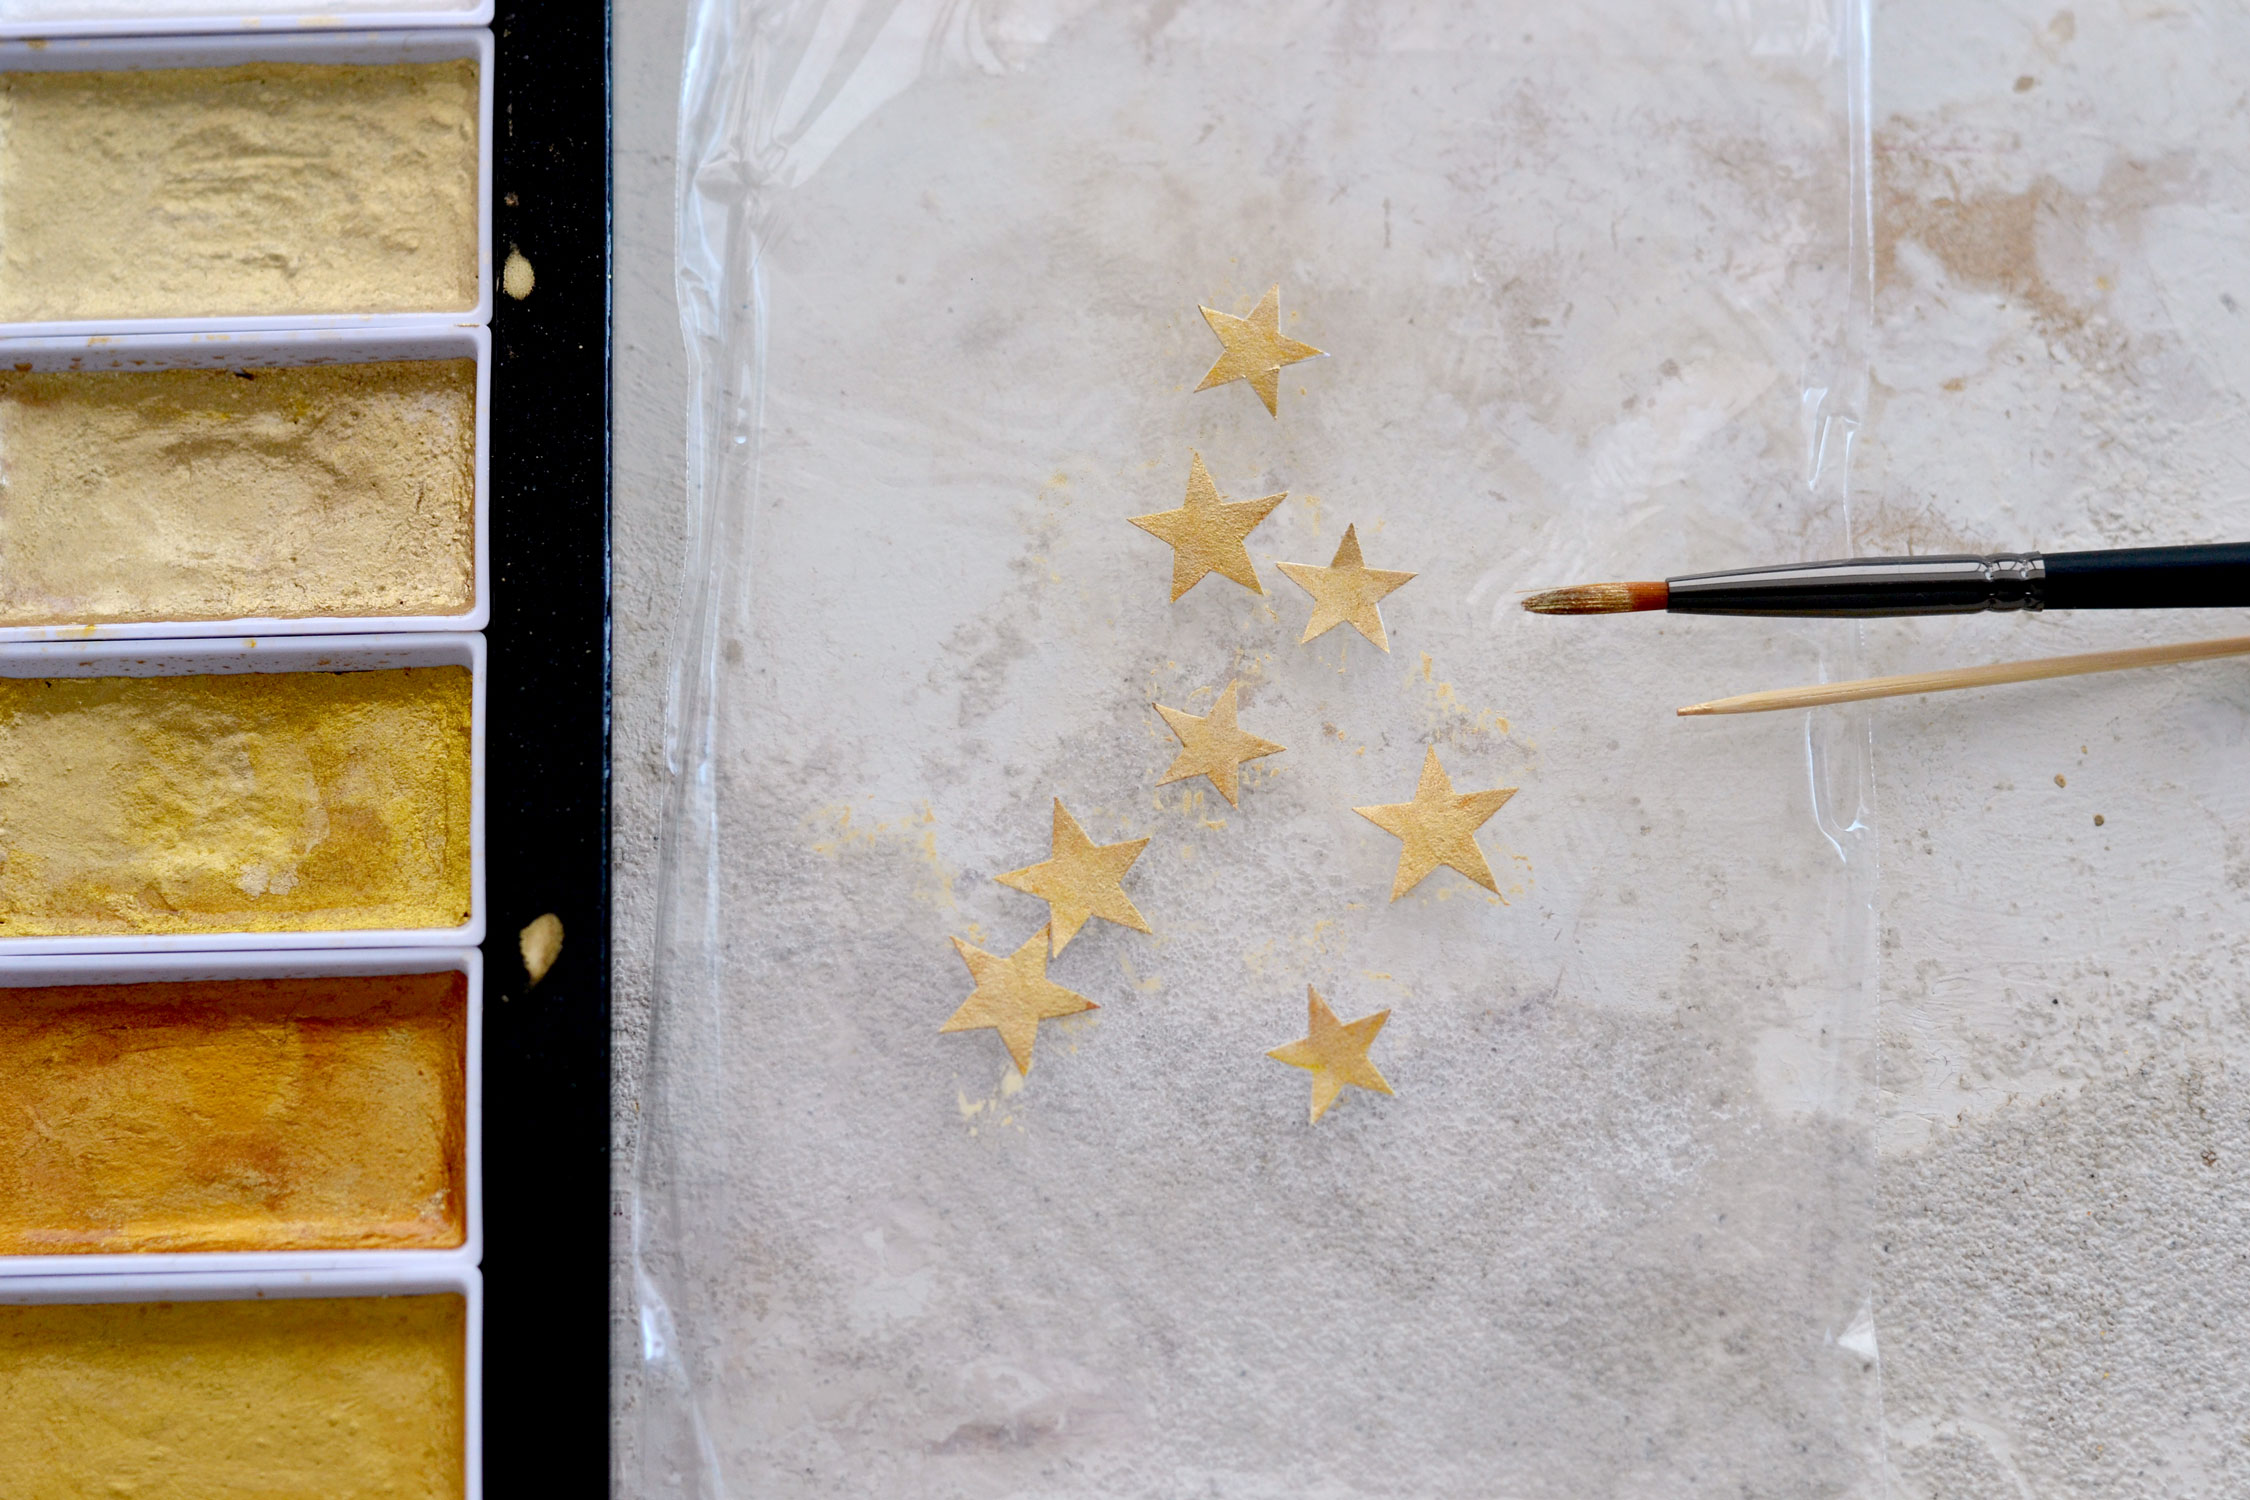
Use gold watercolors to paint the stars. Because they are quite small, it can be a little bit tricky to paint them, but you can use a toothpick to hold them in place while you do. It’s ok if you paint them all, you can easily include them in other seasonal DIY projects or crafts afterward. I initially wanted to use gold washi tape to cover the stars, but then I changed my mind and used the paint instead. If you don’t have gold watercolors you can use gold washi tape, gold acrylic paint, gold markers or even some gold nail polish, just improvise and use what you have around!
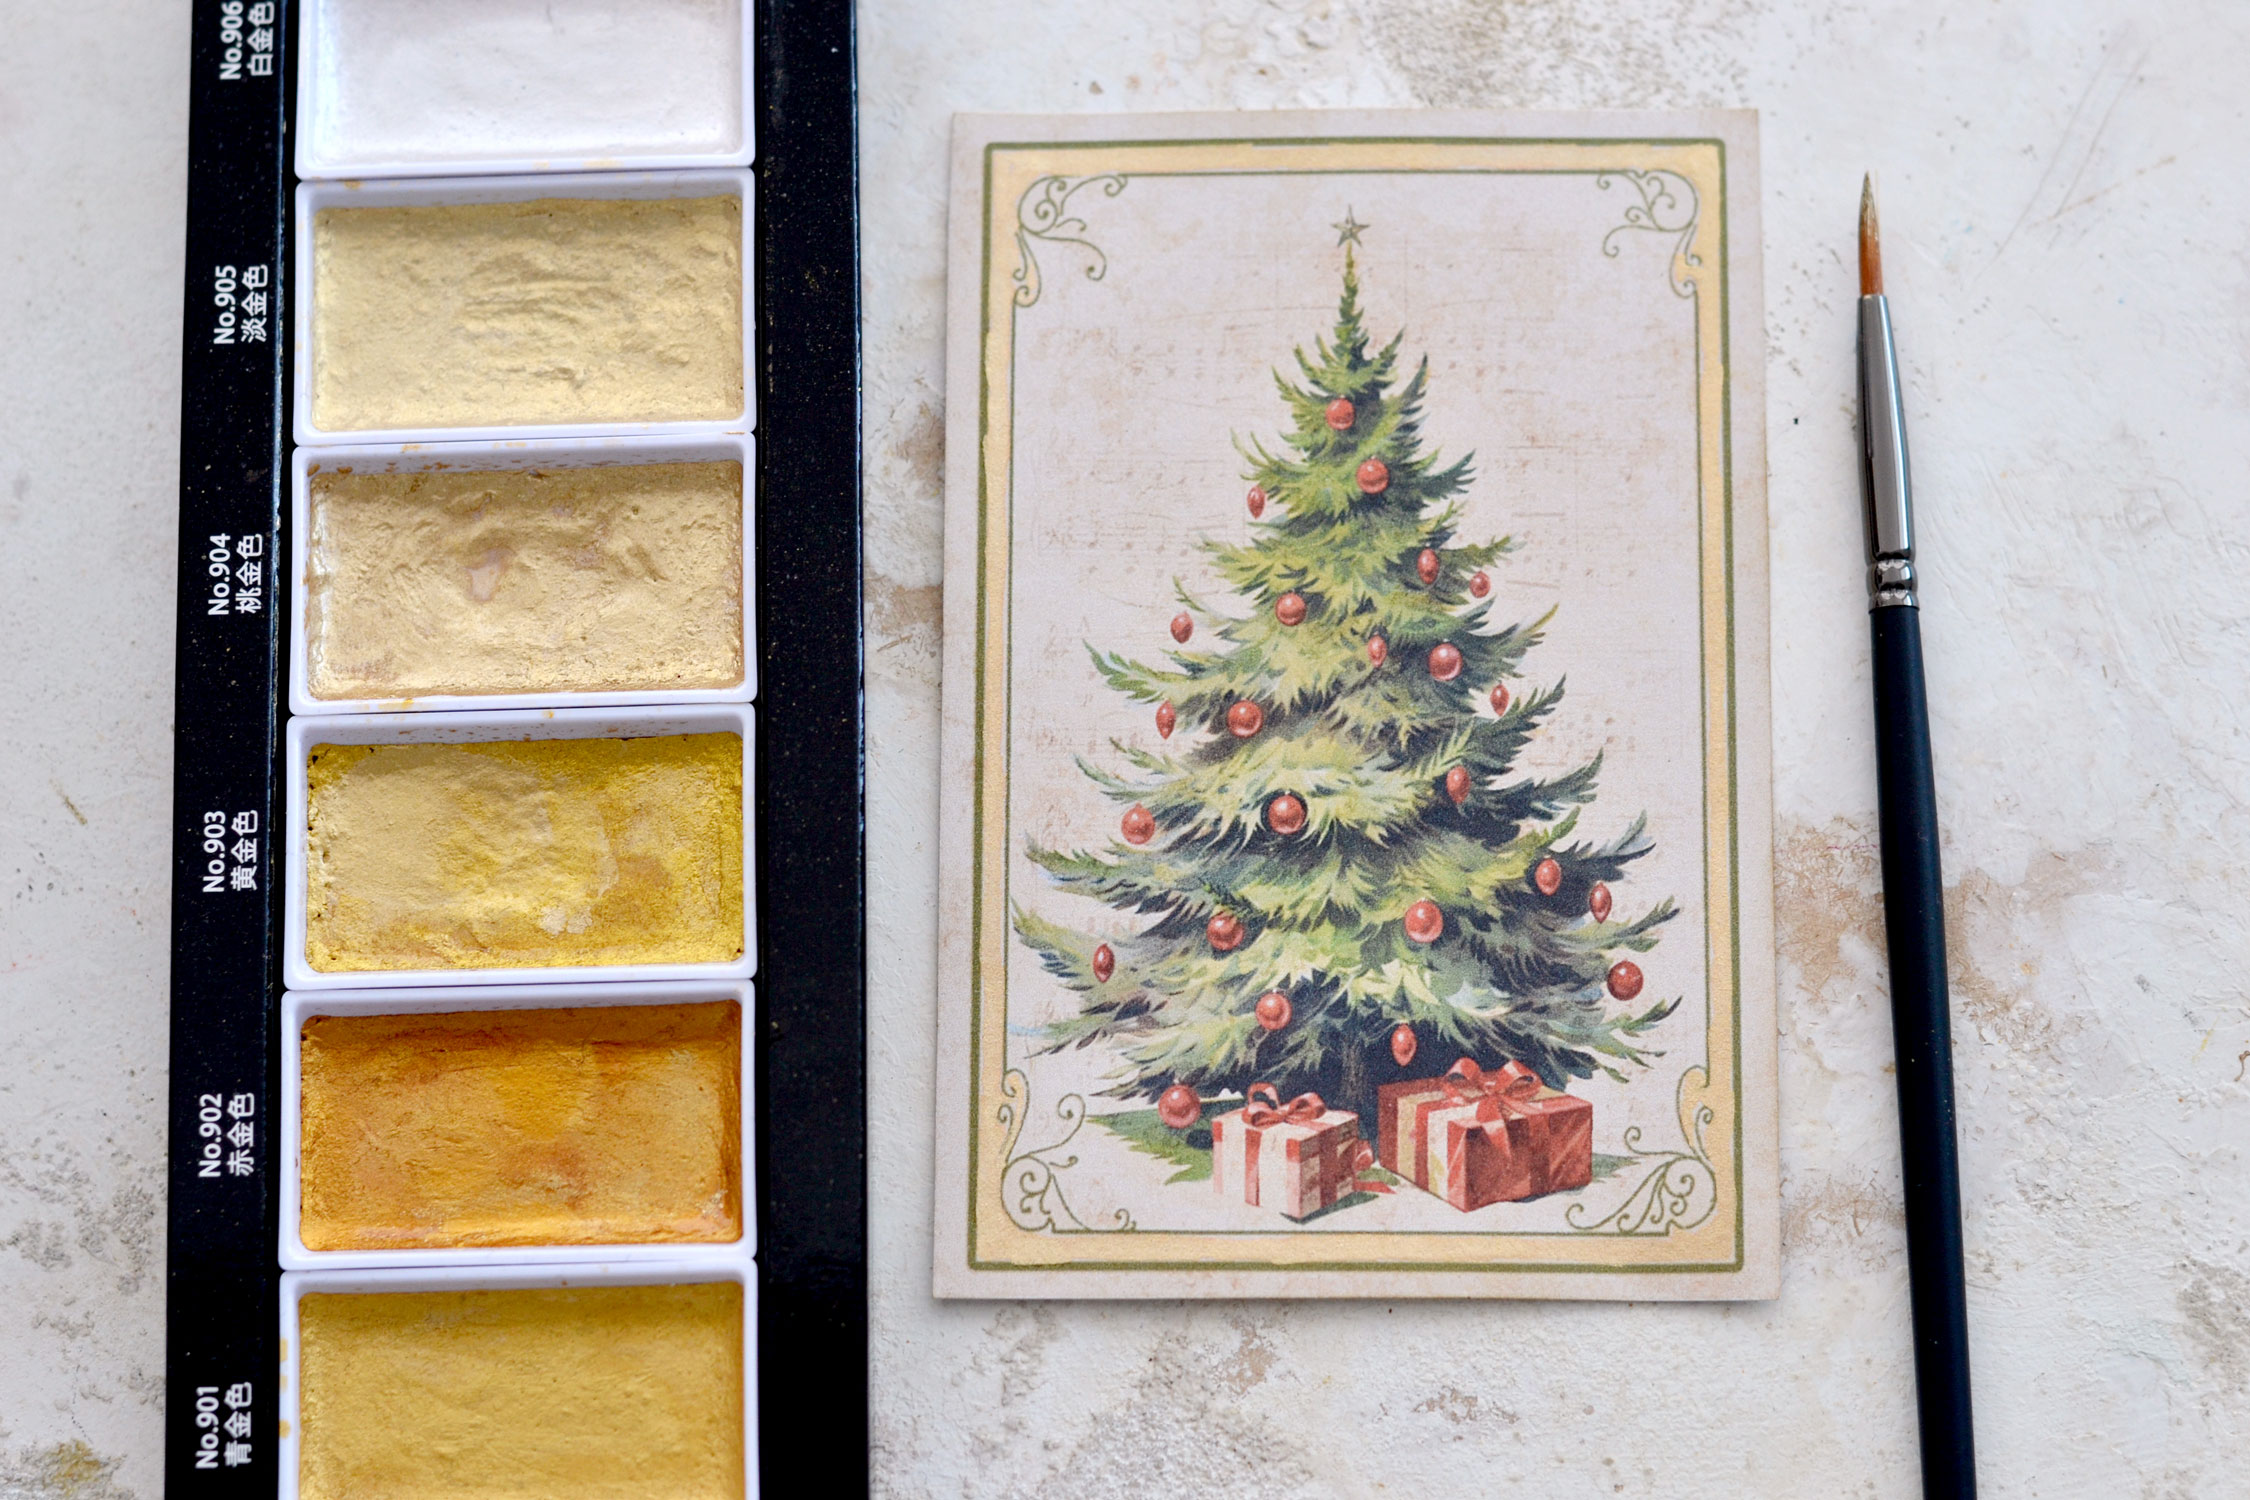
If you want, you can add some gold touches on the top of our card, I used a small brush to paint the frame on the edges. Use a smaller brush for the details on the corners, the idea is not to completely cover the design but to paint around it.
Use distress ink to give the paper even more of a vintage vibe – I used the Walnut Stain ink, but you can use your favorite.
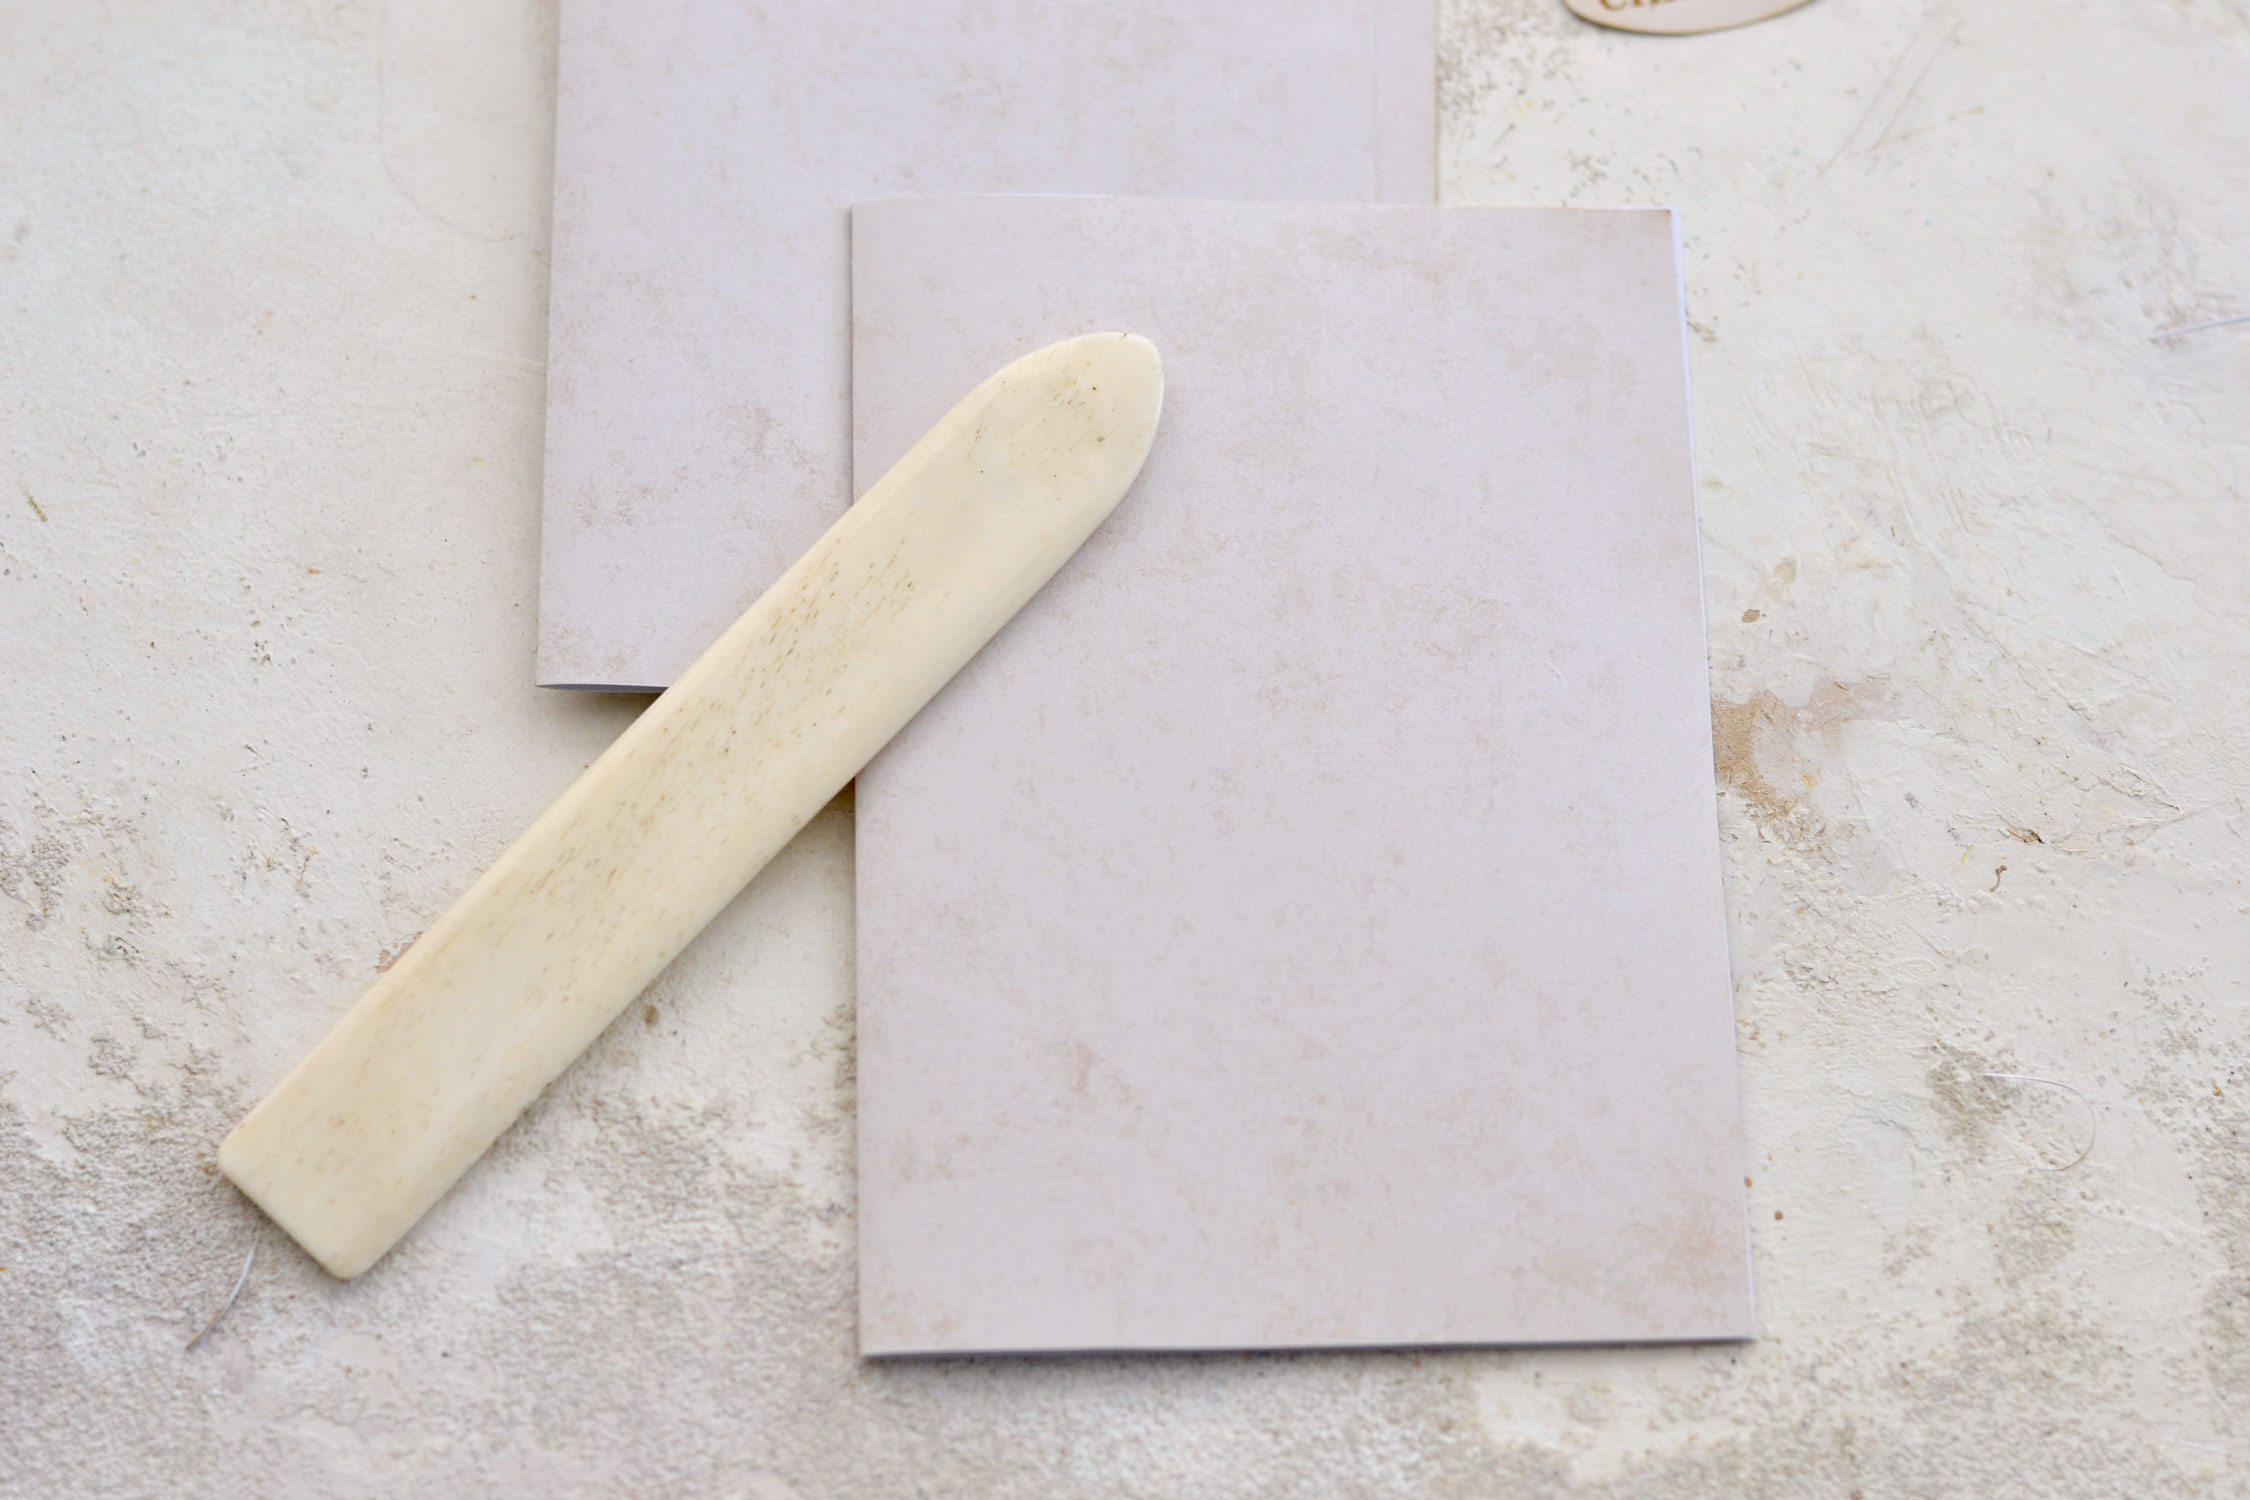
Use your fingers to partially fold the card base, then use a bone folder to create a smooth line. Or use a scoring board, if you have one around.
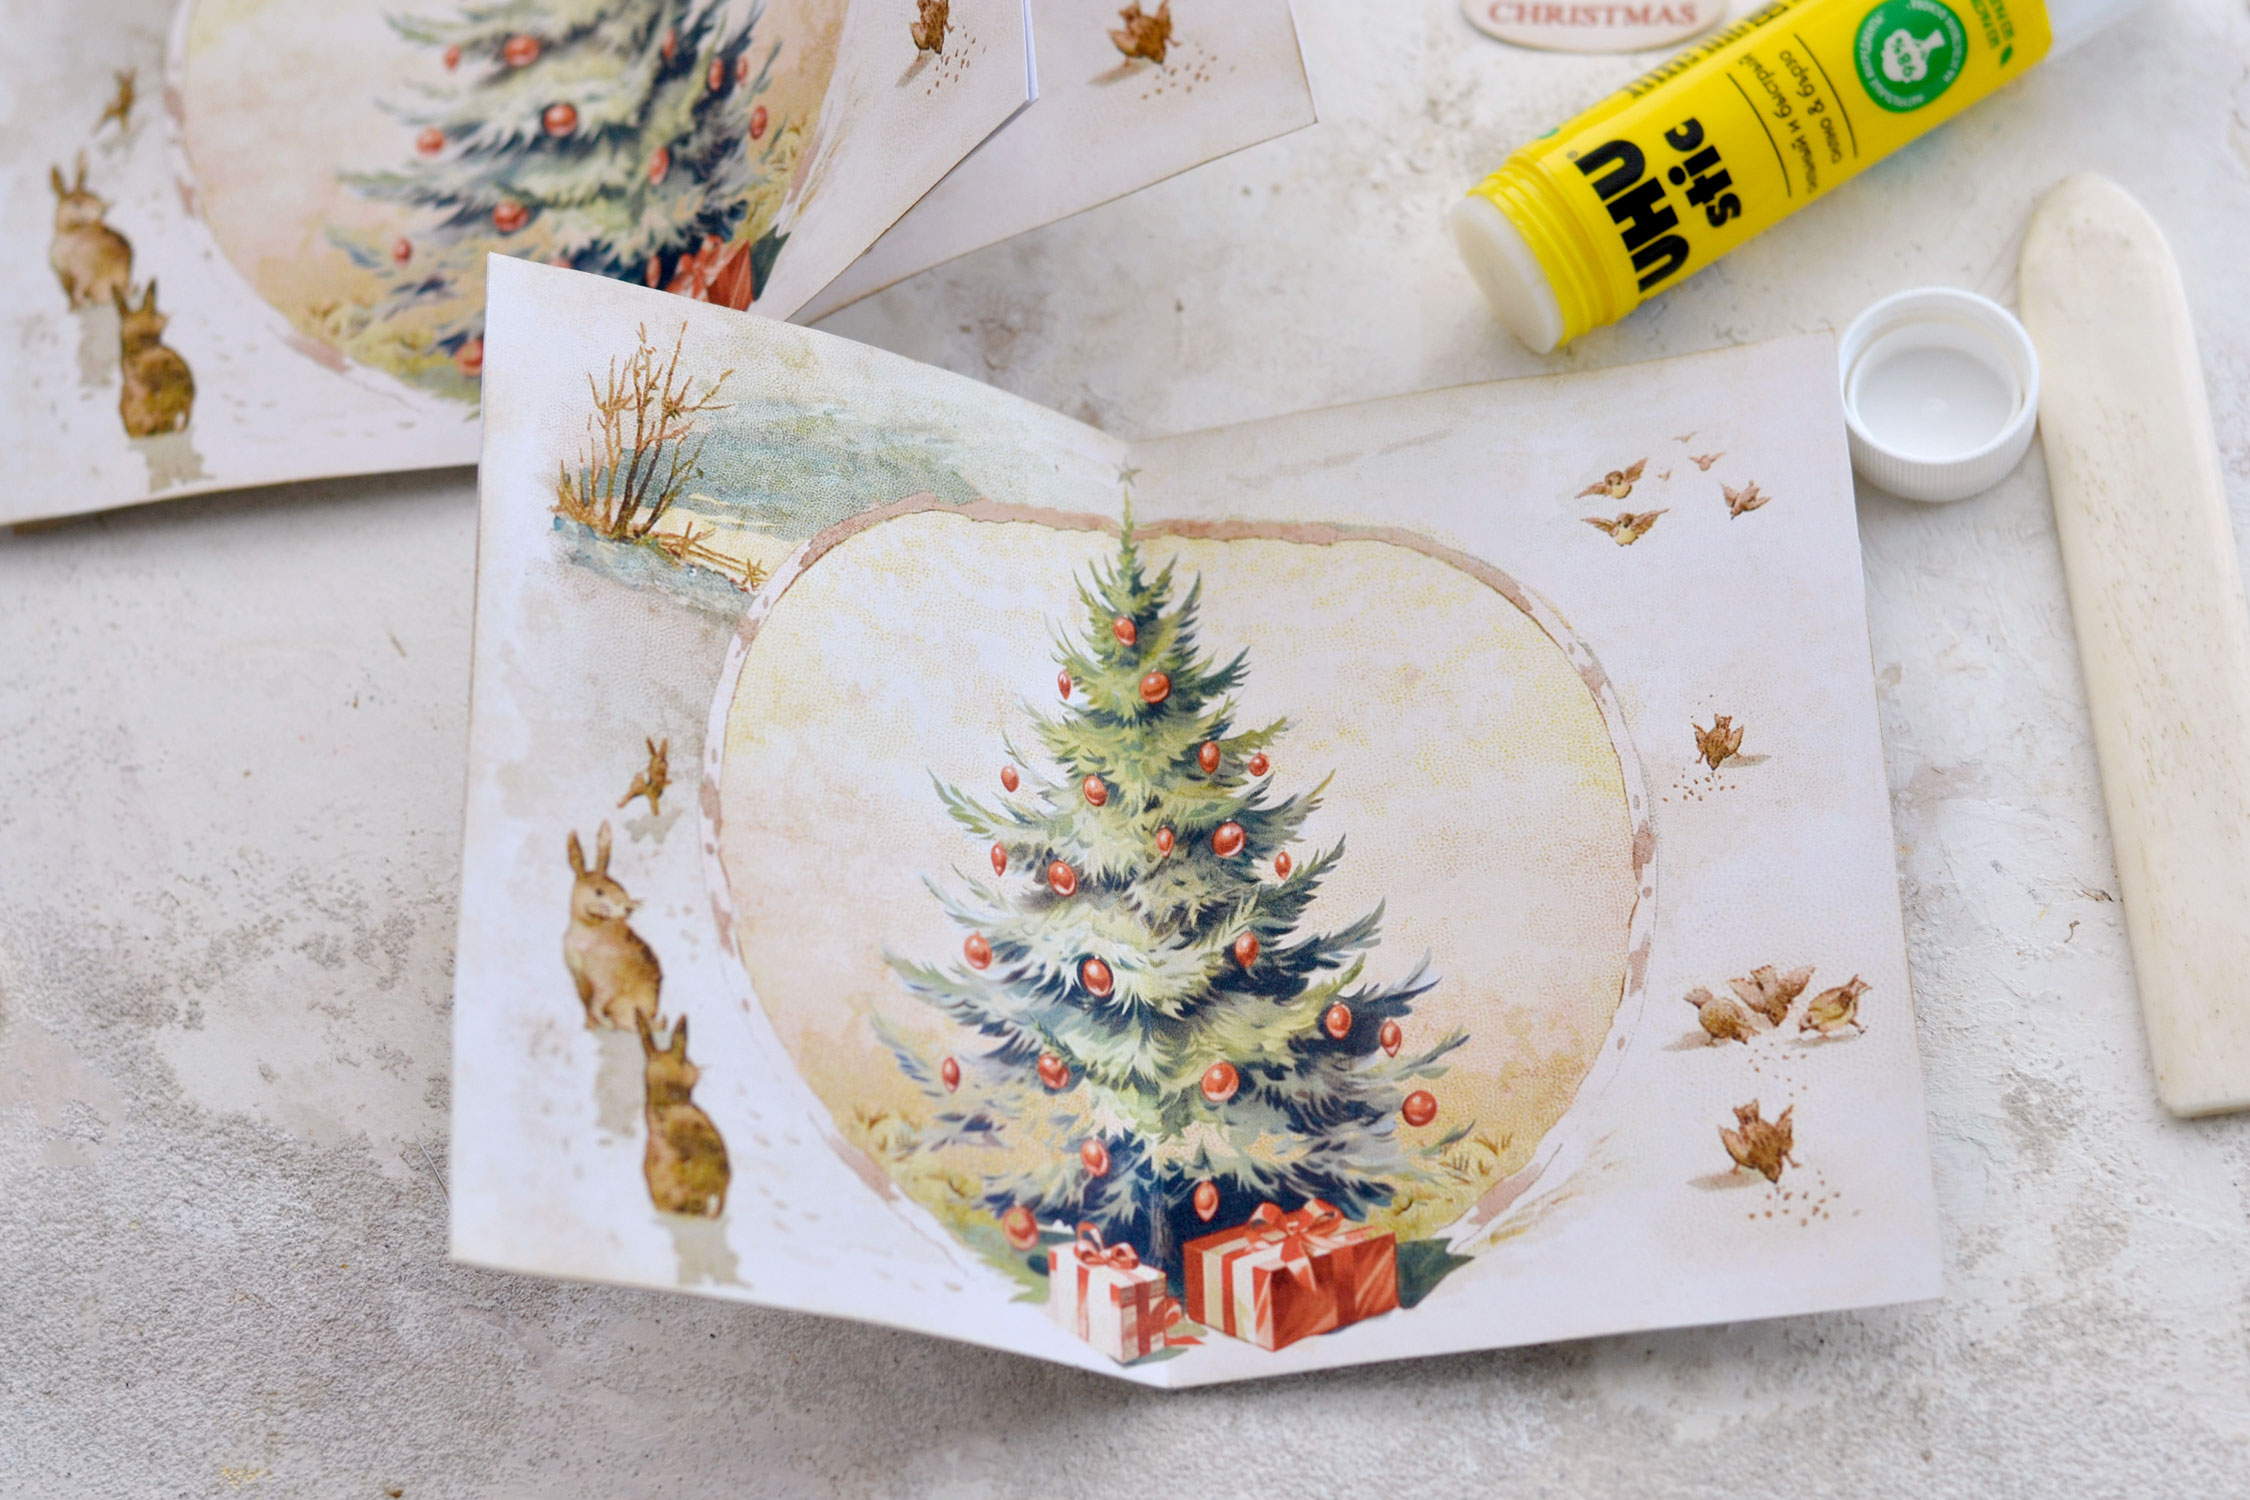
Follow the same step to fold the inside of our card, but this time make sure the design is placed inside while you fold it. Then you can check to see if the inside matches the card base. Partially fold everything so you can see how they look, depending on how thick the cardstock you used is, you might need to snip off some paper from the inside, all around the edges.
Then you can go ahead and glue the dreamy inside of your card to the card base. Press with your fingers, close the paper and use the bone folder, just make sure you let everything dry completely before moving on.
Now place the Christmas tree shape inside and position it on your design, but don’t glue it just yet. Carefully close the card and press with your fingers to create a fold on your Christmas tree shape.
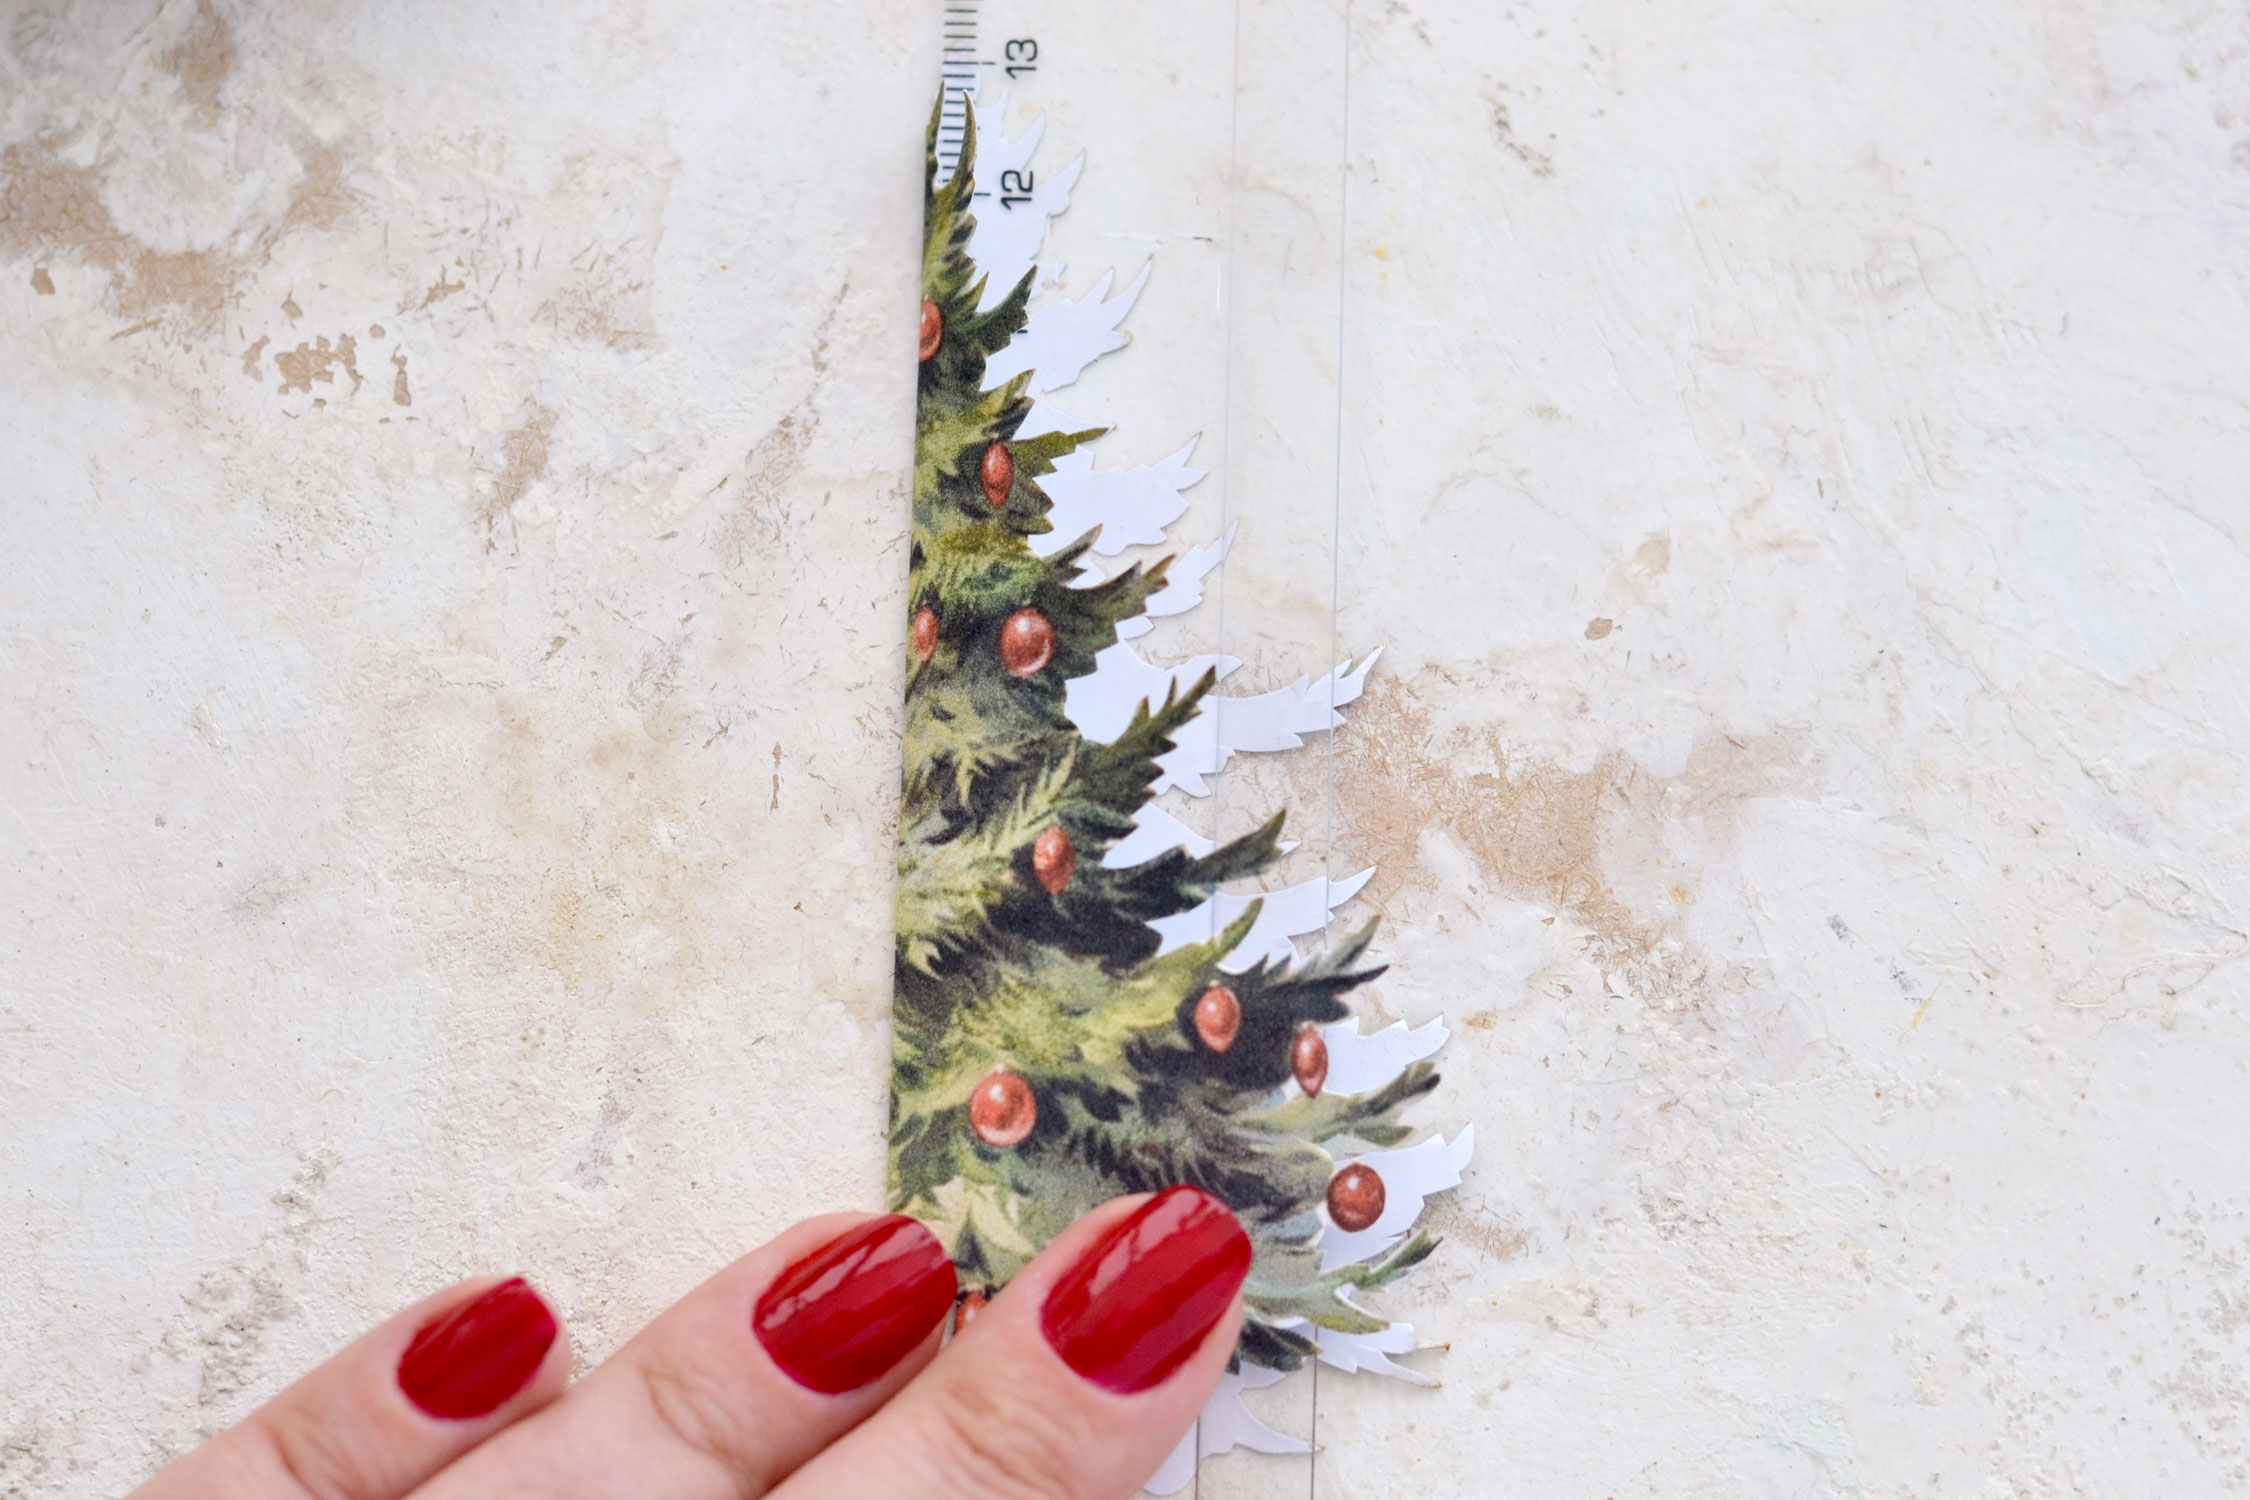
Take out the Christmas tree shape and place it on your table with the design facing down. Use the fold in the middle as a guide and place a ruler on top, then fold the paper to create a reversed fold on your tree.
This is how your tree should look at this point, it should have a small lifted section in the middle.
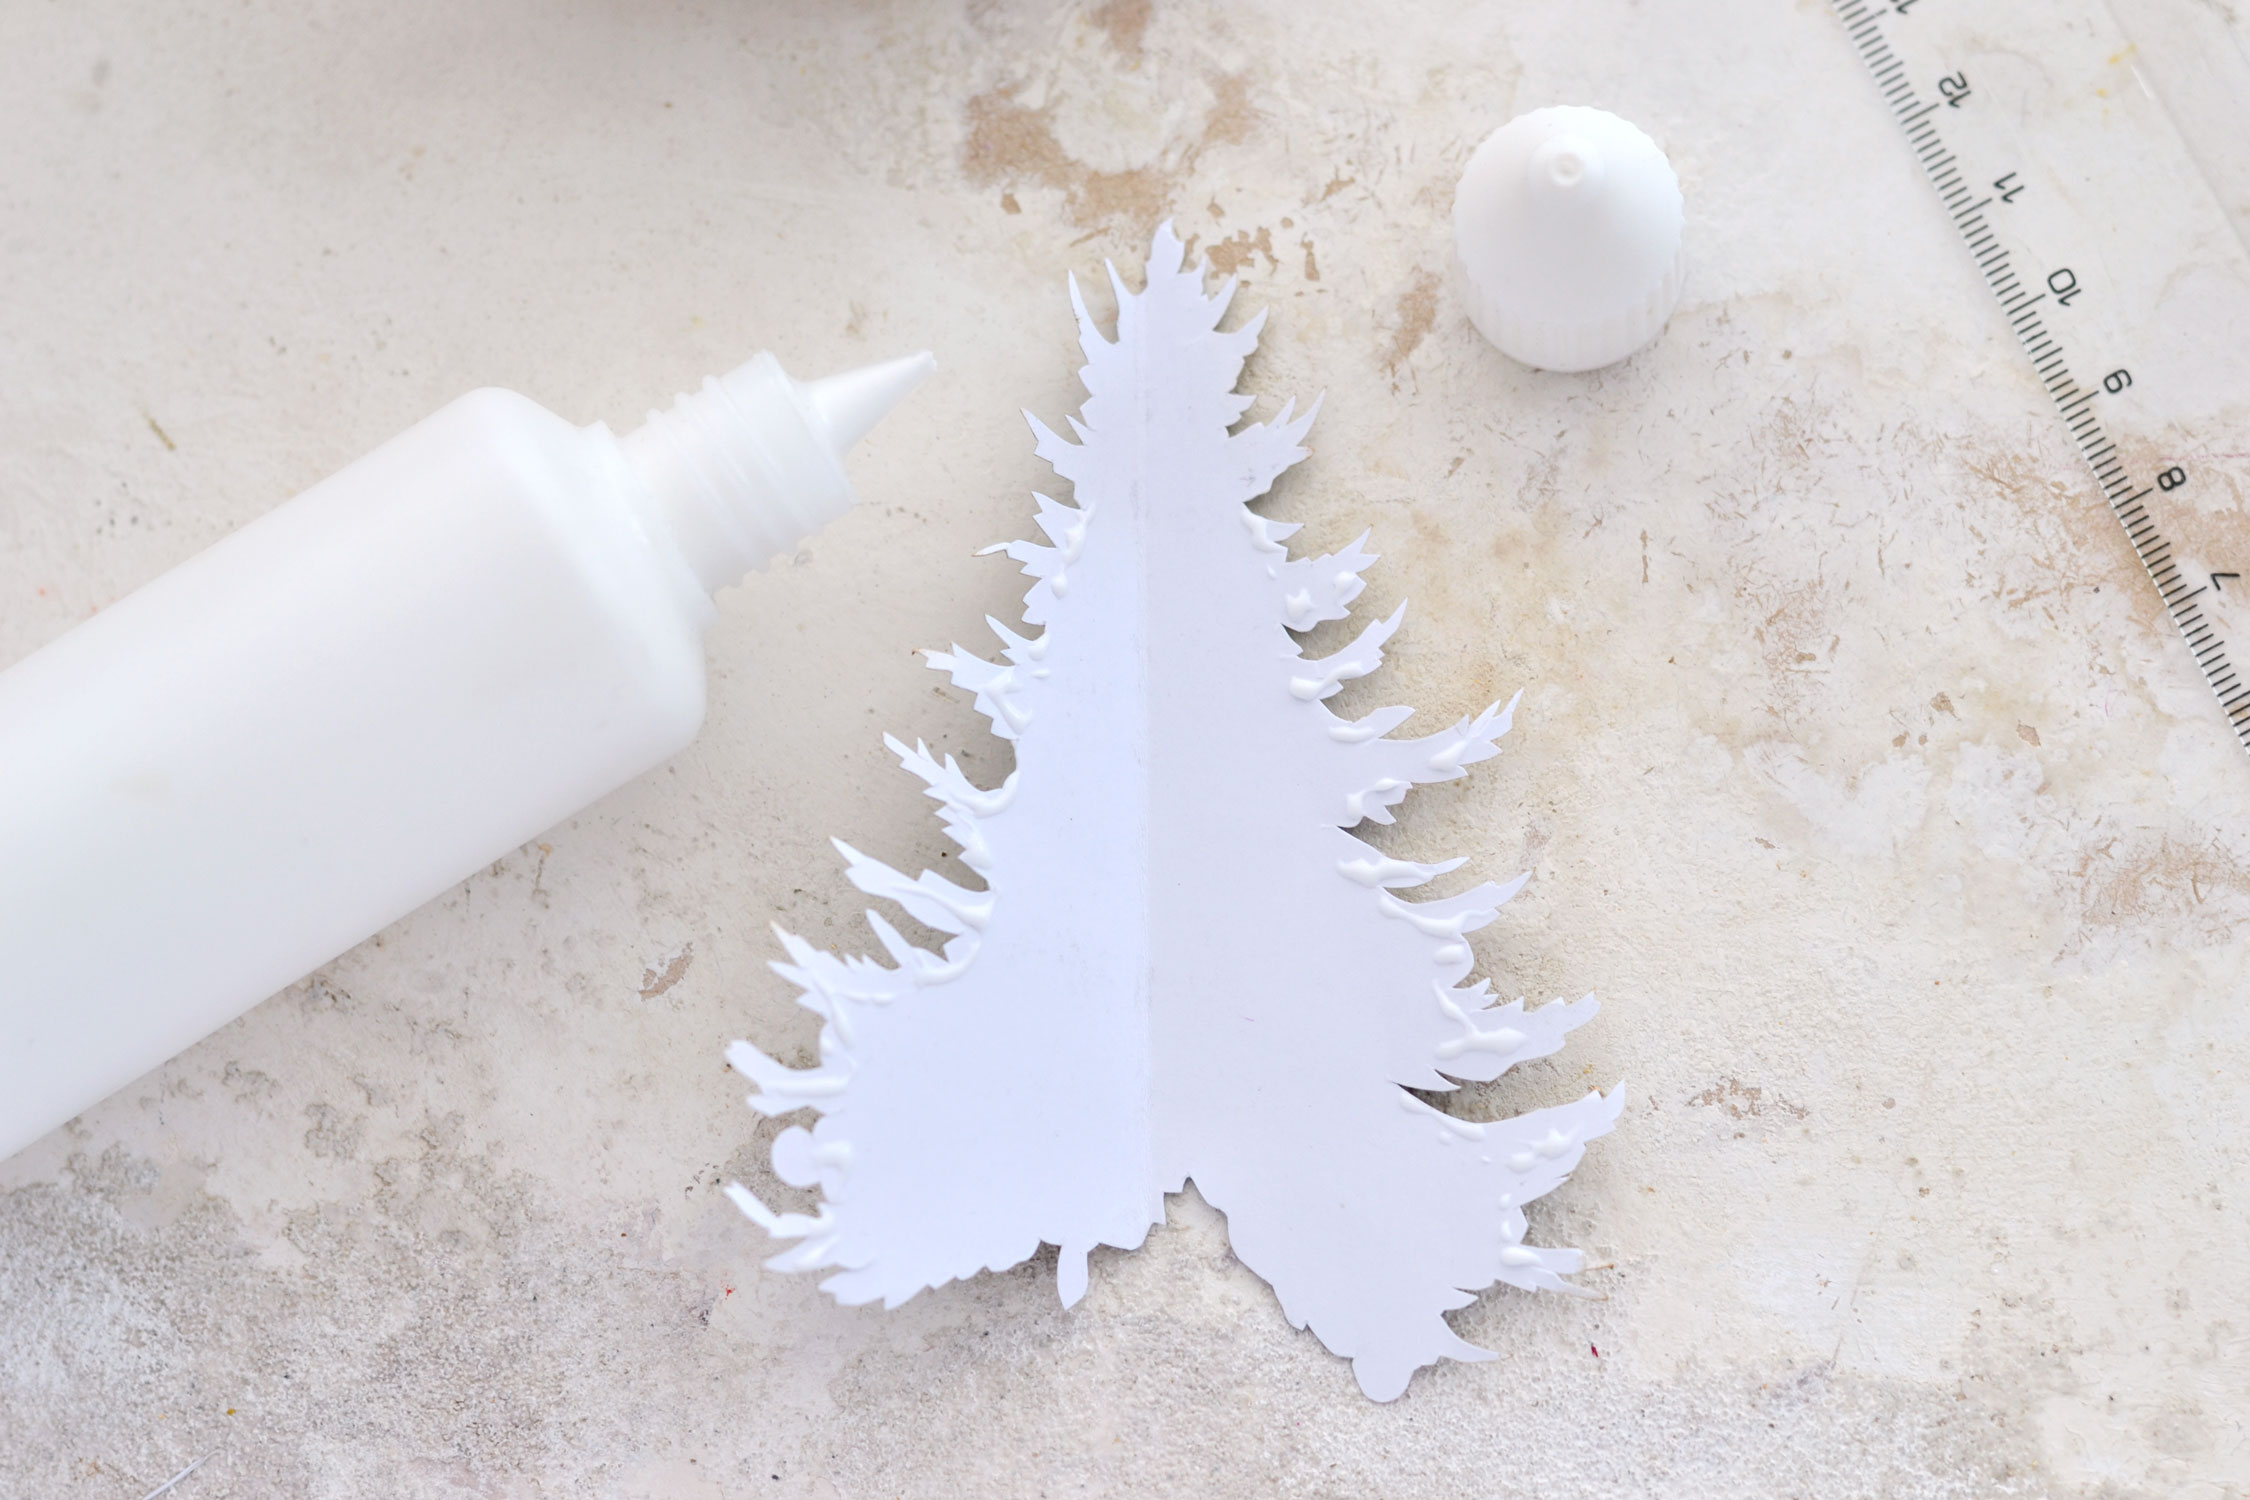
Use craft glue and apply it all around the edges, on the back of the design, except for the very top and the bottom, as you can see in the image below. If you look closely, you will notice that I didn’t apply the glue all the way to the edges because I wanted to be able to fluff up the paper afterward.
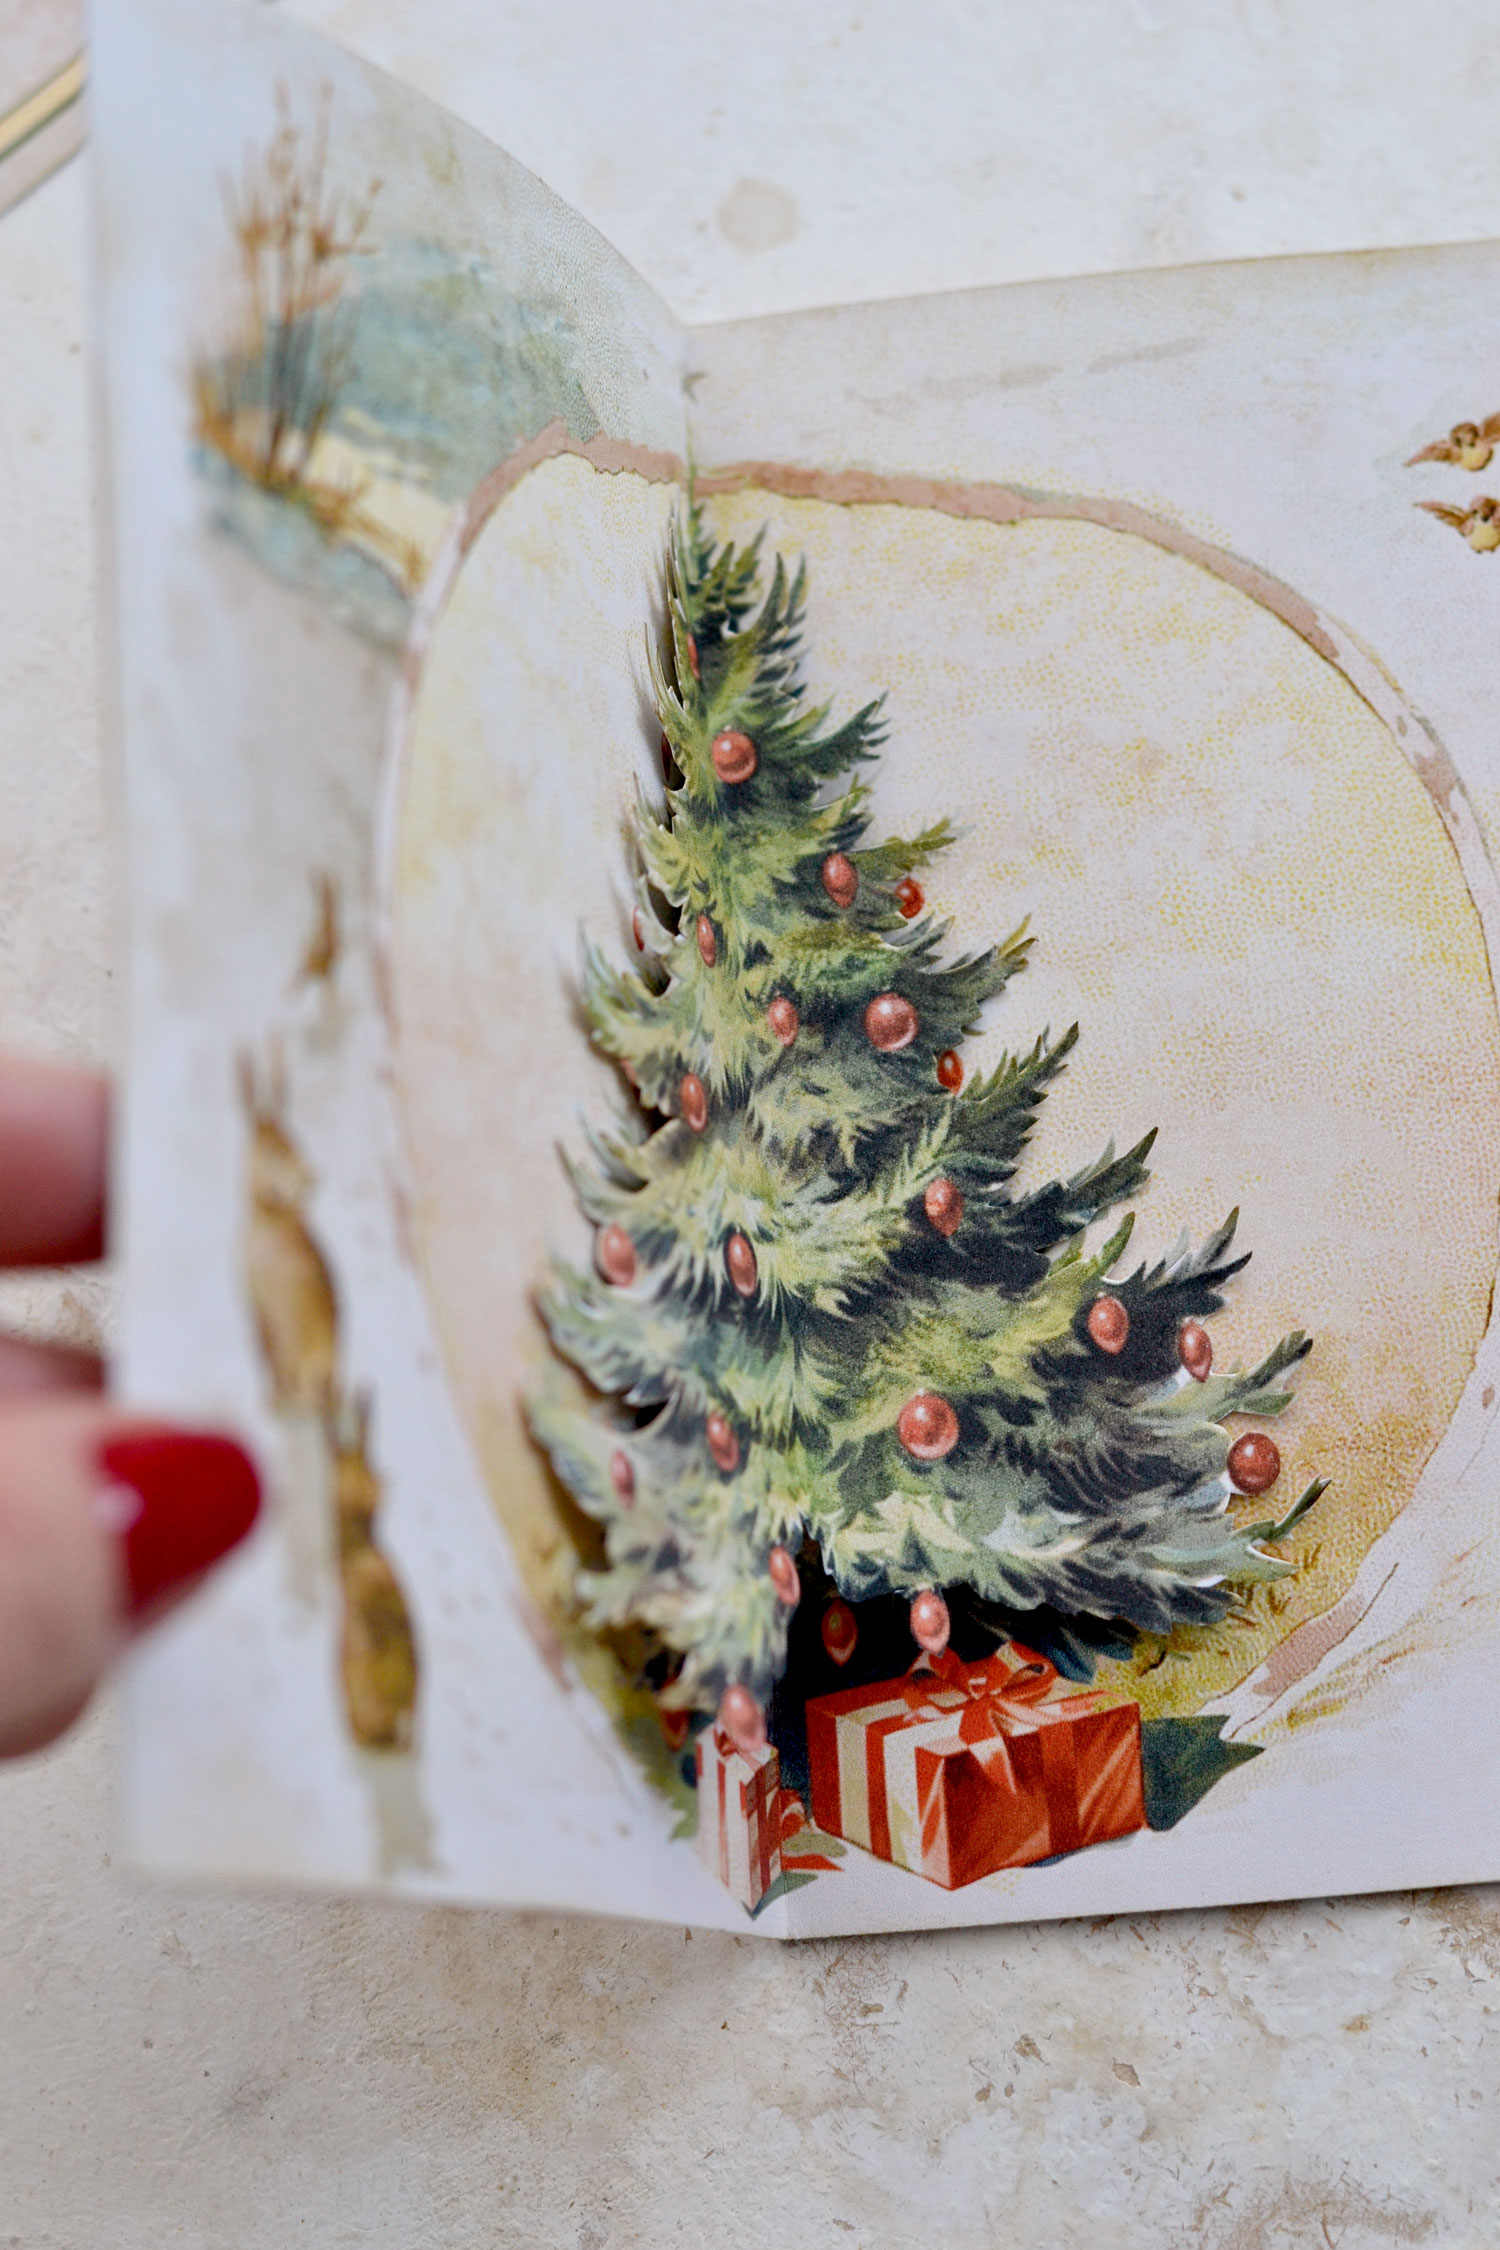
Completely open your card and place it on your table, then carefully position the Christmas tree shape on top. Try to center and position it as well as you can while using the middle line and the branches as guidance. Don’t glue the end of the branches exactly on top of the ones from our design, you need to slightly move them toward the center. Moving them toward the center will help us create some additional space that will allow movement on our tree and will help us while closing and opening the card. If you place the Christmas tree on top too close to the edges you will create too much tension and your paper might tear.
Press the paper with your fingers to make sure everything glues as supposed, then use your nails to lightly fluff up the very ends of your branches to create even more of a 3D effect.
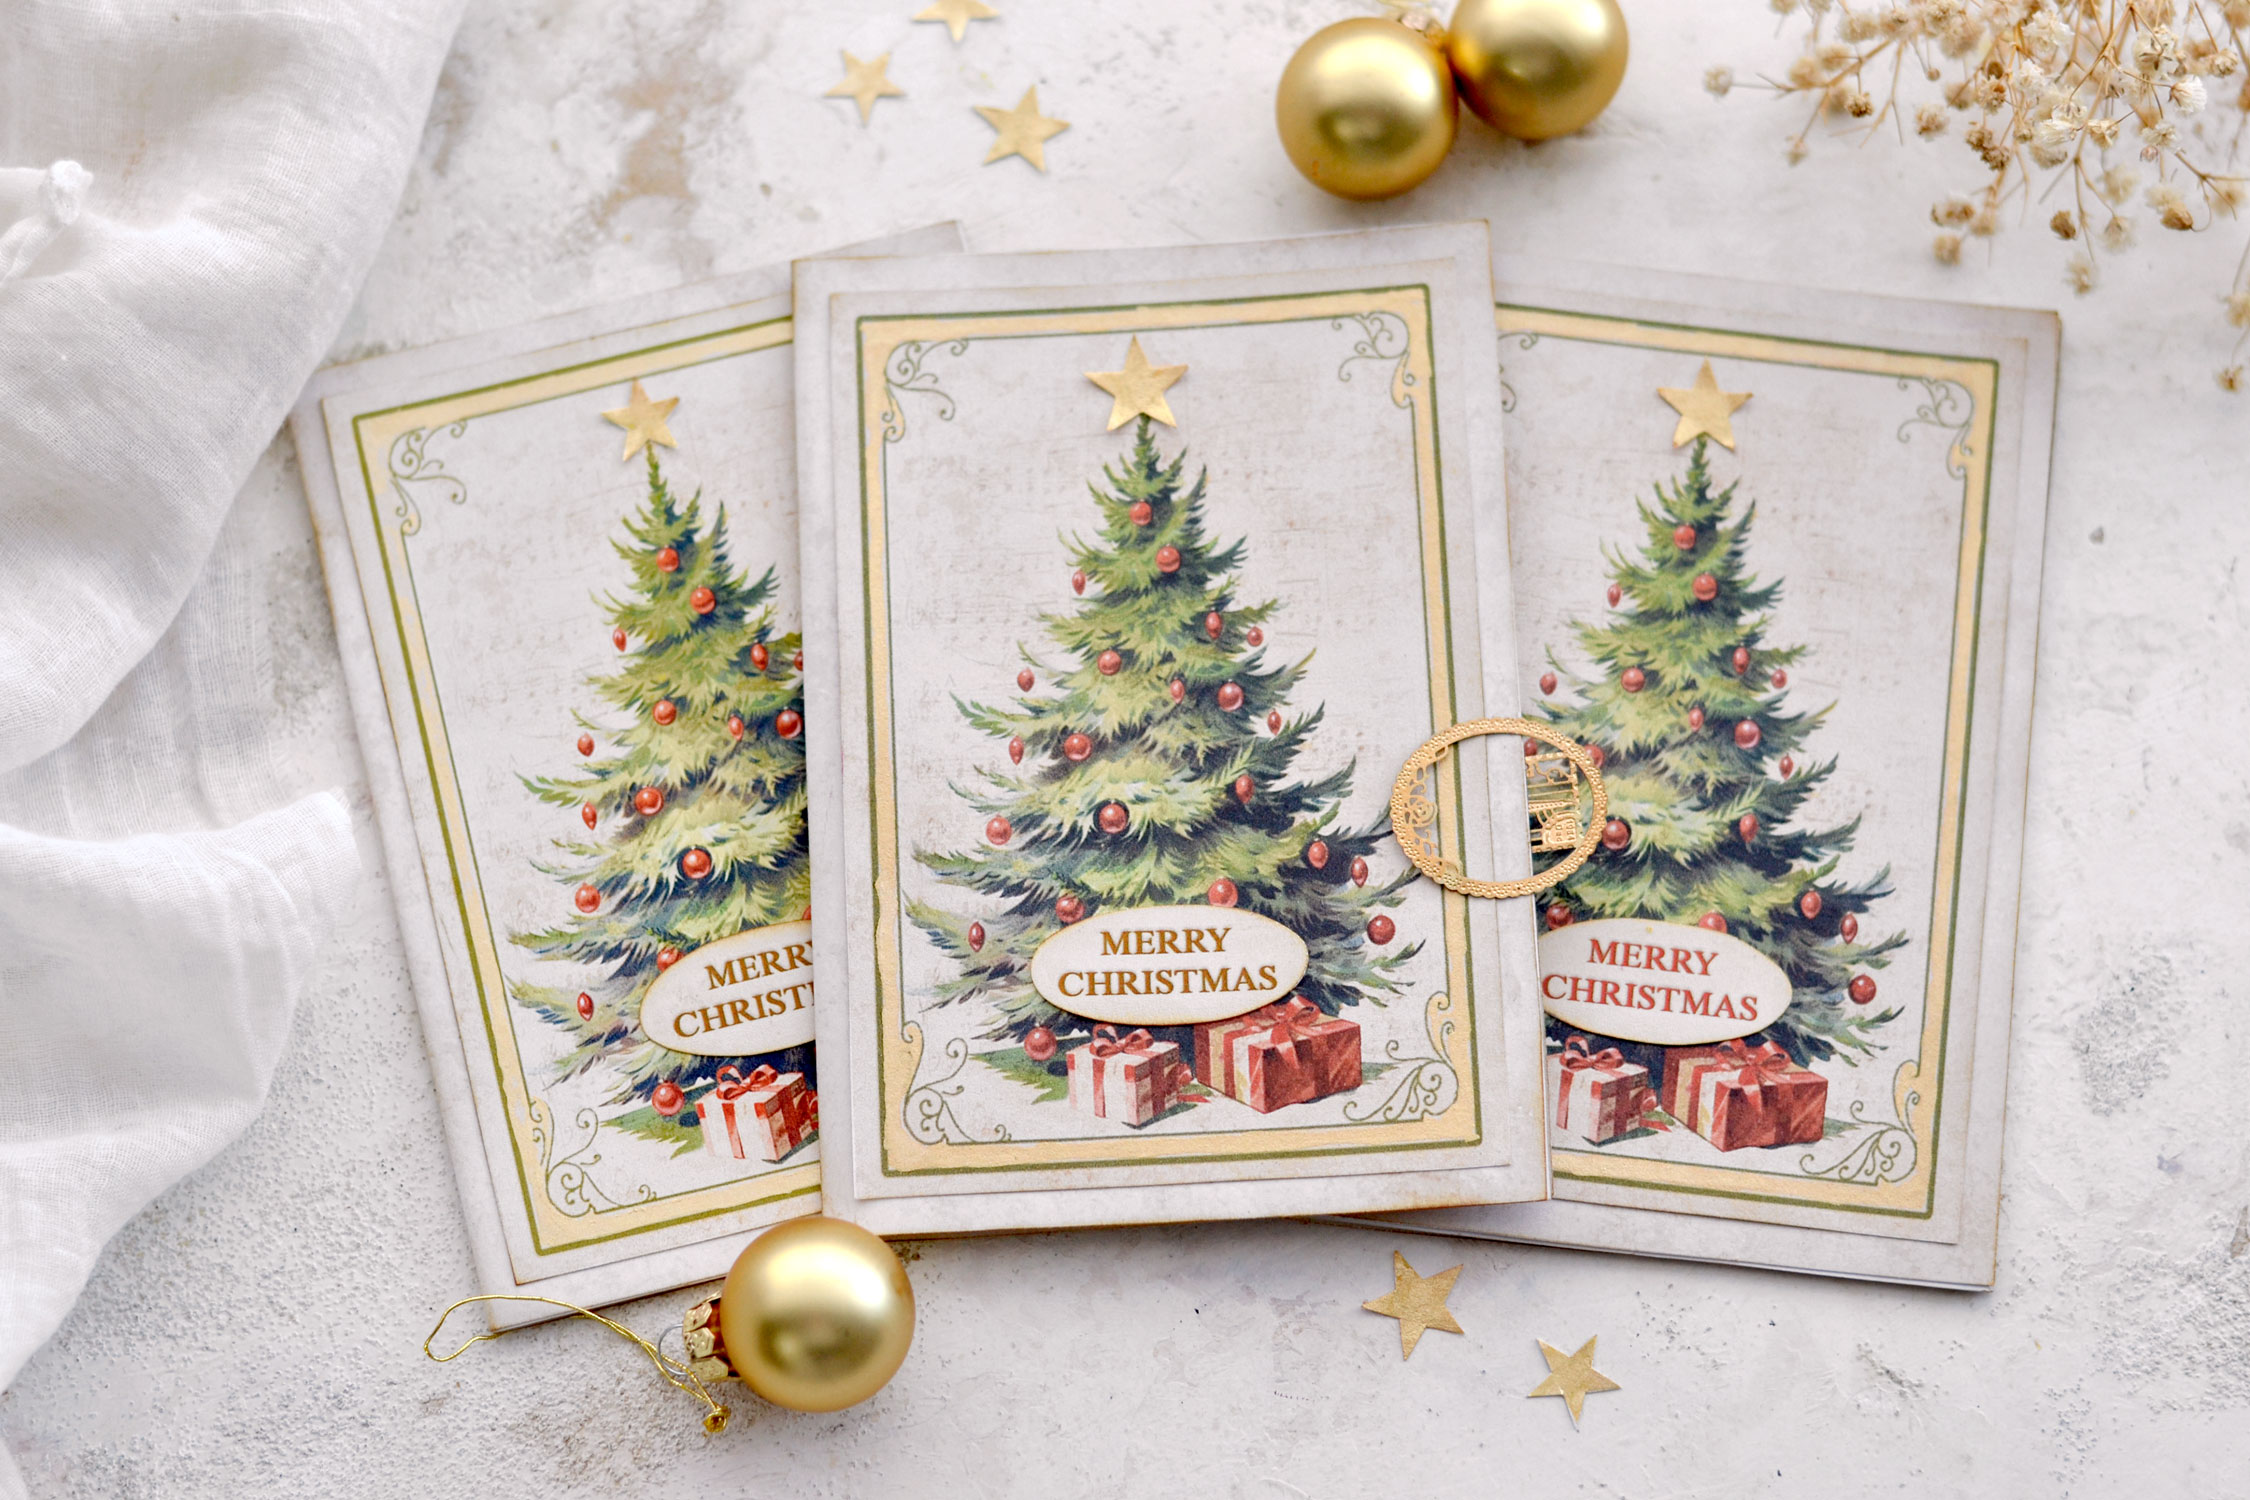
Let the paper dry completely before closing the card and moving on to the top, then glue all the elements on top. Add the top Christmas tree, the Christmas wishes cutout, and finally the gold star on top! You can also fluff up the pointy ends of the star if you want, this way you’ll have a small 3D element on top too!
And your gorgeous Christmas Tree Pop Up Card with a lovely vintage vibe is now ready! Or cards, if you decided to make more, as I did!
And once you open your card, it’s like a beautiful Christmas story that just waits for you inside!
Make sure you use plenty of distress ink on the Christmas tree branches before gluing the pop up tree shape to your card to remove that white paper feel. You could also use some gold watercolors on the inside – fill the round frame around the tree with gold, add some on the branches or the ornaments, just use a small brush and see where your creativity takes you.
As an additional idea, you can also use the Christmas tree shape on your junk journal, just glue it inside on two opened pages to create this super chic pop up effect in no time!
The card can be displayed in your home along with other decorative items to create small seasonal vignettes. Use gold, red or green Christmas ornaments, small angel statues and vintage books to give your home a festive vibe. You can also use small Christmas tree branches in pretty jars or bottles, pine cones or other seasonal things that will help bring a cozy feel to your home. And if you want to take things to the next level, use scented candles or your favorite essential oil blends to fill your home with the scent of Christmas. I love using cinnamon, sweet orange, clove and ginger essential oils and diffuse them throughout the holidays. As a trick, if you don’t have a diffuser but still want to use essential oils, I like adding a few drops to dried flowers, faux greenery, and pine cones and then I strategically place them in different areas around our home and even in our Christmas tree!
And of course, these adorable cards would make the perfect accompaniment for Christmas gifts, adding a touch of that special handmade feel. And a little bit of thought and care, even some love, things that we all like to add to our creative projects, especially when it comes to gifting them to the people we love. These handmade gifts, even if they are small, can bring an immense amount of joy!
 You might also like my Christmas Card Making Kit HERE and another Pop Up Christmas Card Kit HERE.
Happy crafting,
Diana / Dreams Factory




Ann Robinson says
Beautiful design and thank you so much for the free sheets they are lovely x
Karen Watson says
Have fun making these Ann!
Terre says
This is so lovely! Thank you for the idea and digitals to help make this a gorgeous card.
Karen Watson says
I’m glad you enjoyed it Terre!
Dina Marie Abramo says
This is a beautiful card and tutorial! Thank you so much for sharing these images and projects!
Love your ideas and the images you have posted!
Thanks again for sharing!
Karen Watson says
I’m glad you enjoyed Diana’s project this week Dina!
Jo Sorrell says
so lovely and original just what I needed for this year. I appreciate all the hard work and artistry that goes into this. Graphics Fairy at work once again. Thank You and have yourself a Merry BIG Christmas!
Karen Watson says
Hope you have a wonderful Christmas too Jo! Have fun making Diana’s pretty Card!
Yvonne A. says
Beautiful Christmas tree pop-up card! Great tutorial, thank you! :0)
Karen Watson says
I’m glad you enjoyed it Yvonne!