Christmas Greeting Card Ideas
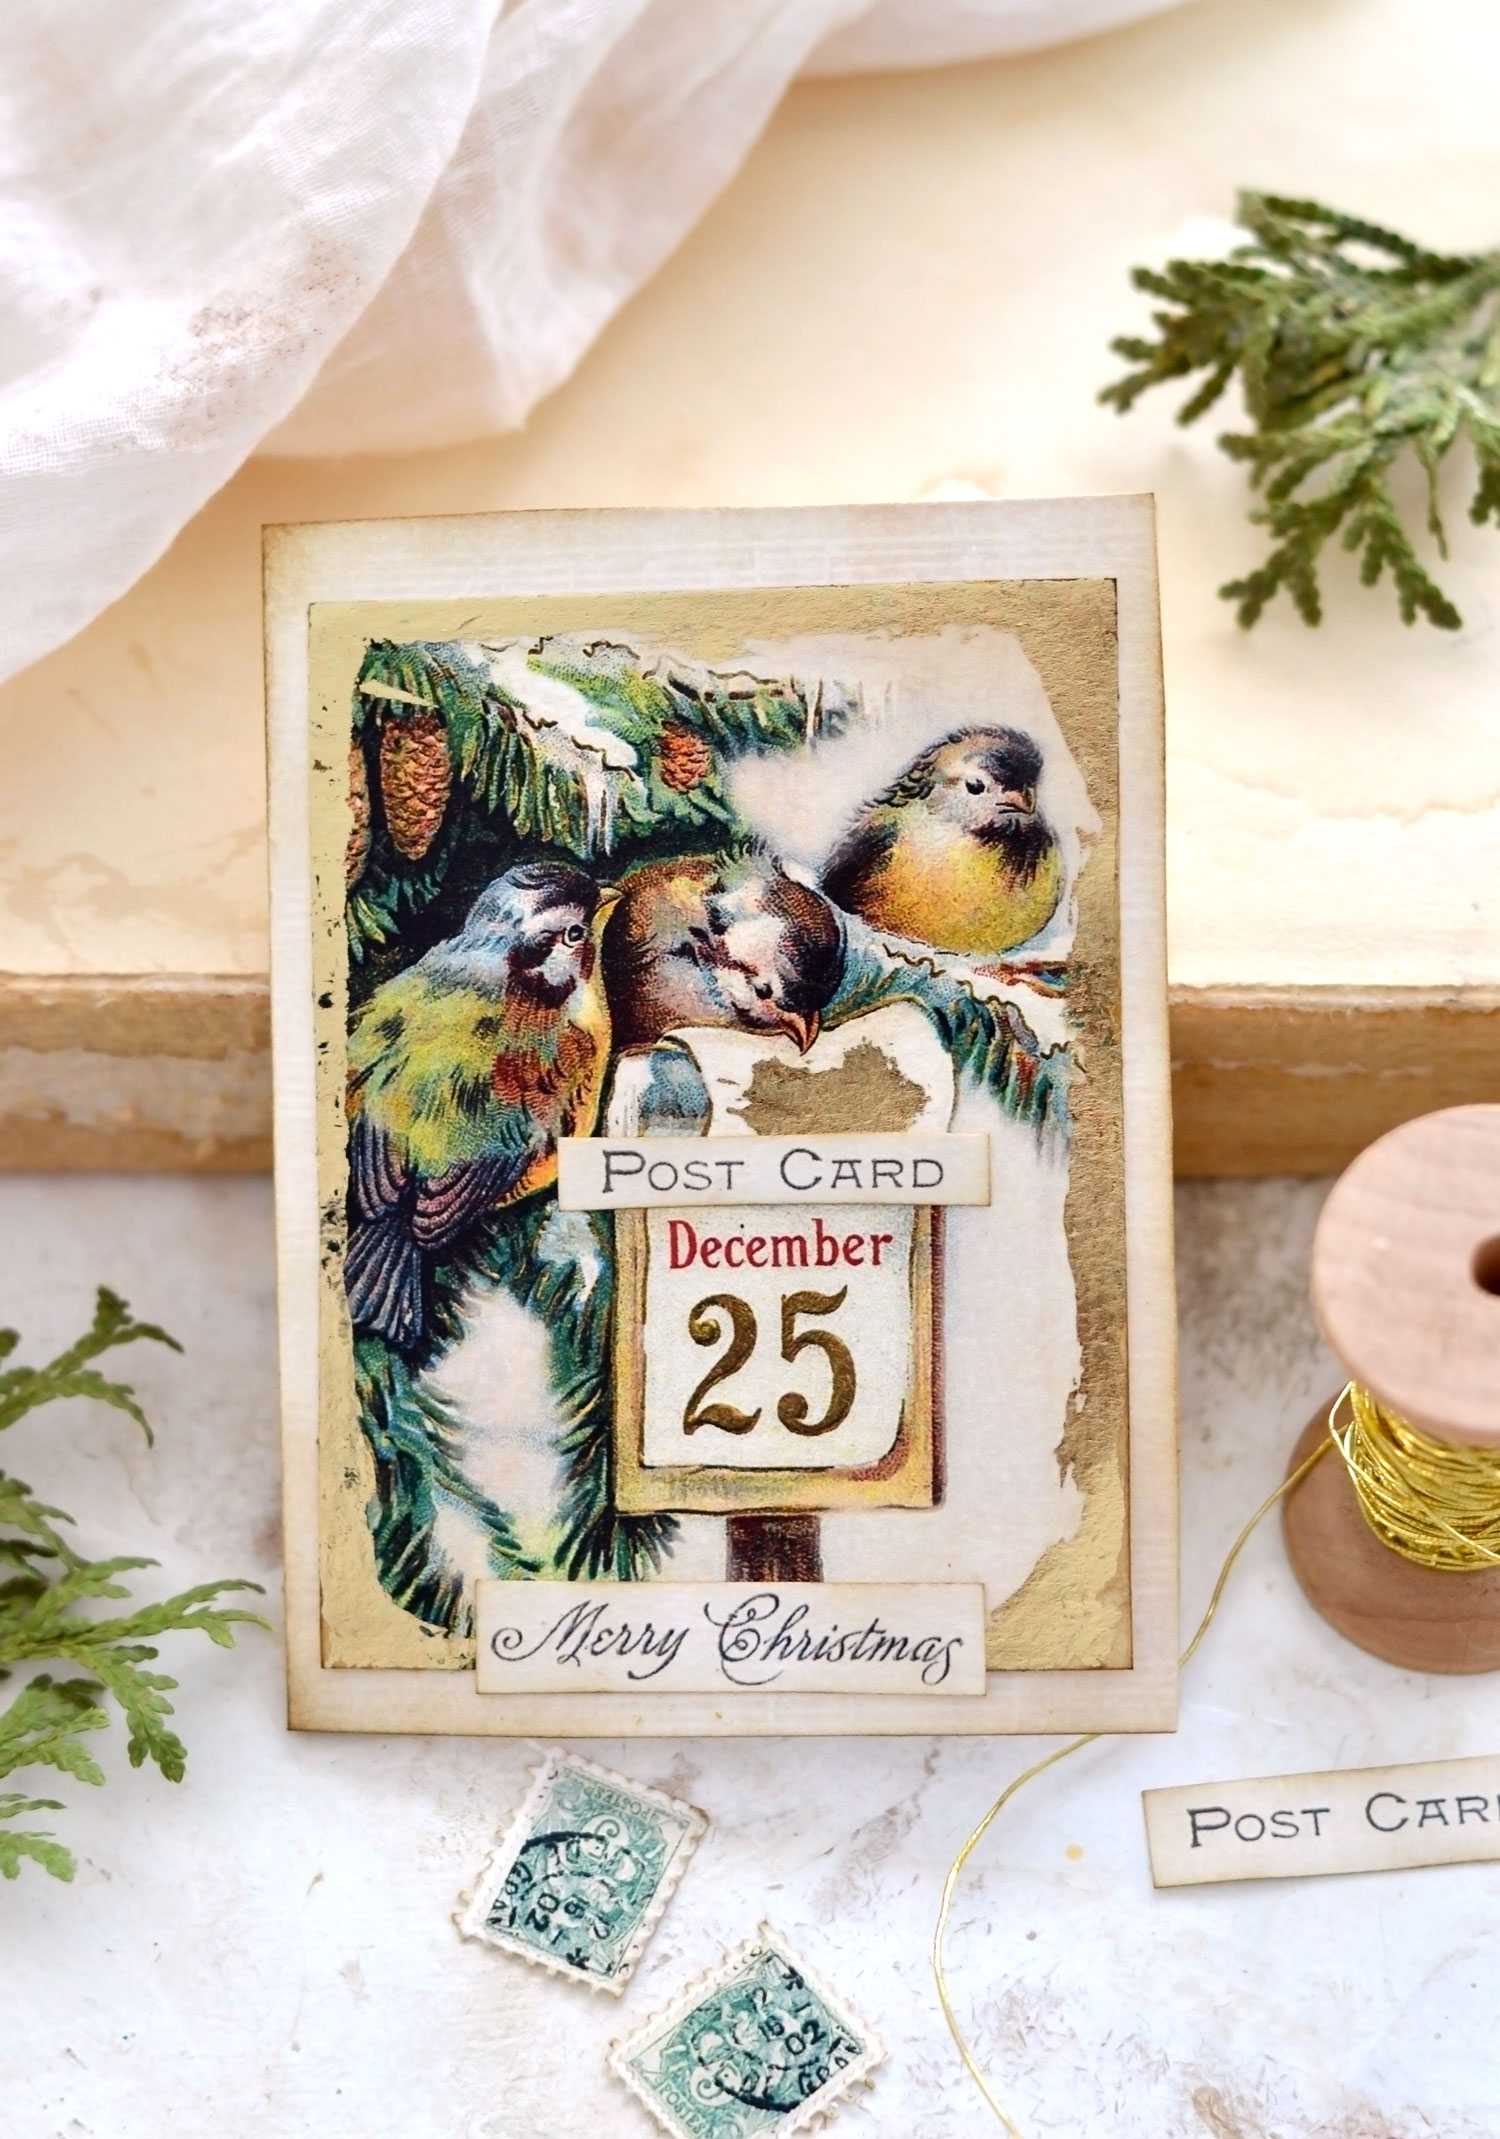
Hello Graphics Fairy friends! Diana from Dreams Factory here, ready to share another DIY project with you! Today I will be showing you a few gorgeous Christmas Greeting Card Ideas using the elements from this super chic Christmas Card Kit that I’ve created for you! You will find several Holiday images, and a few embellishments that you can mix and match as you prefer!
This is the PERFECT Holiday Card Craft kit with a vintage vibe.
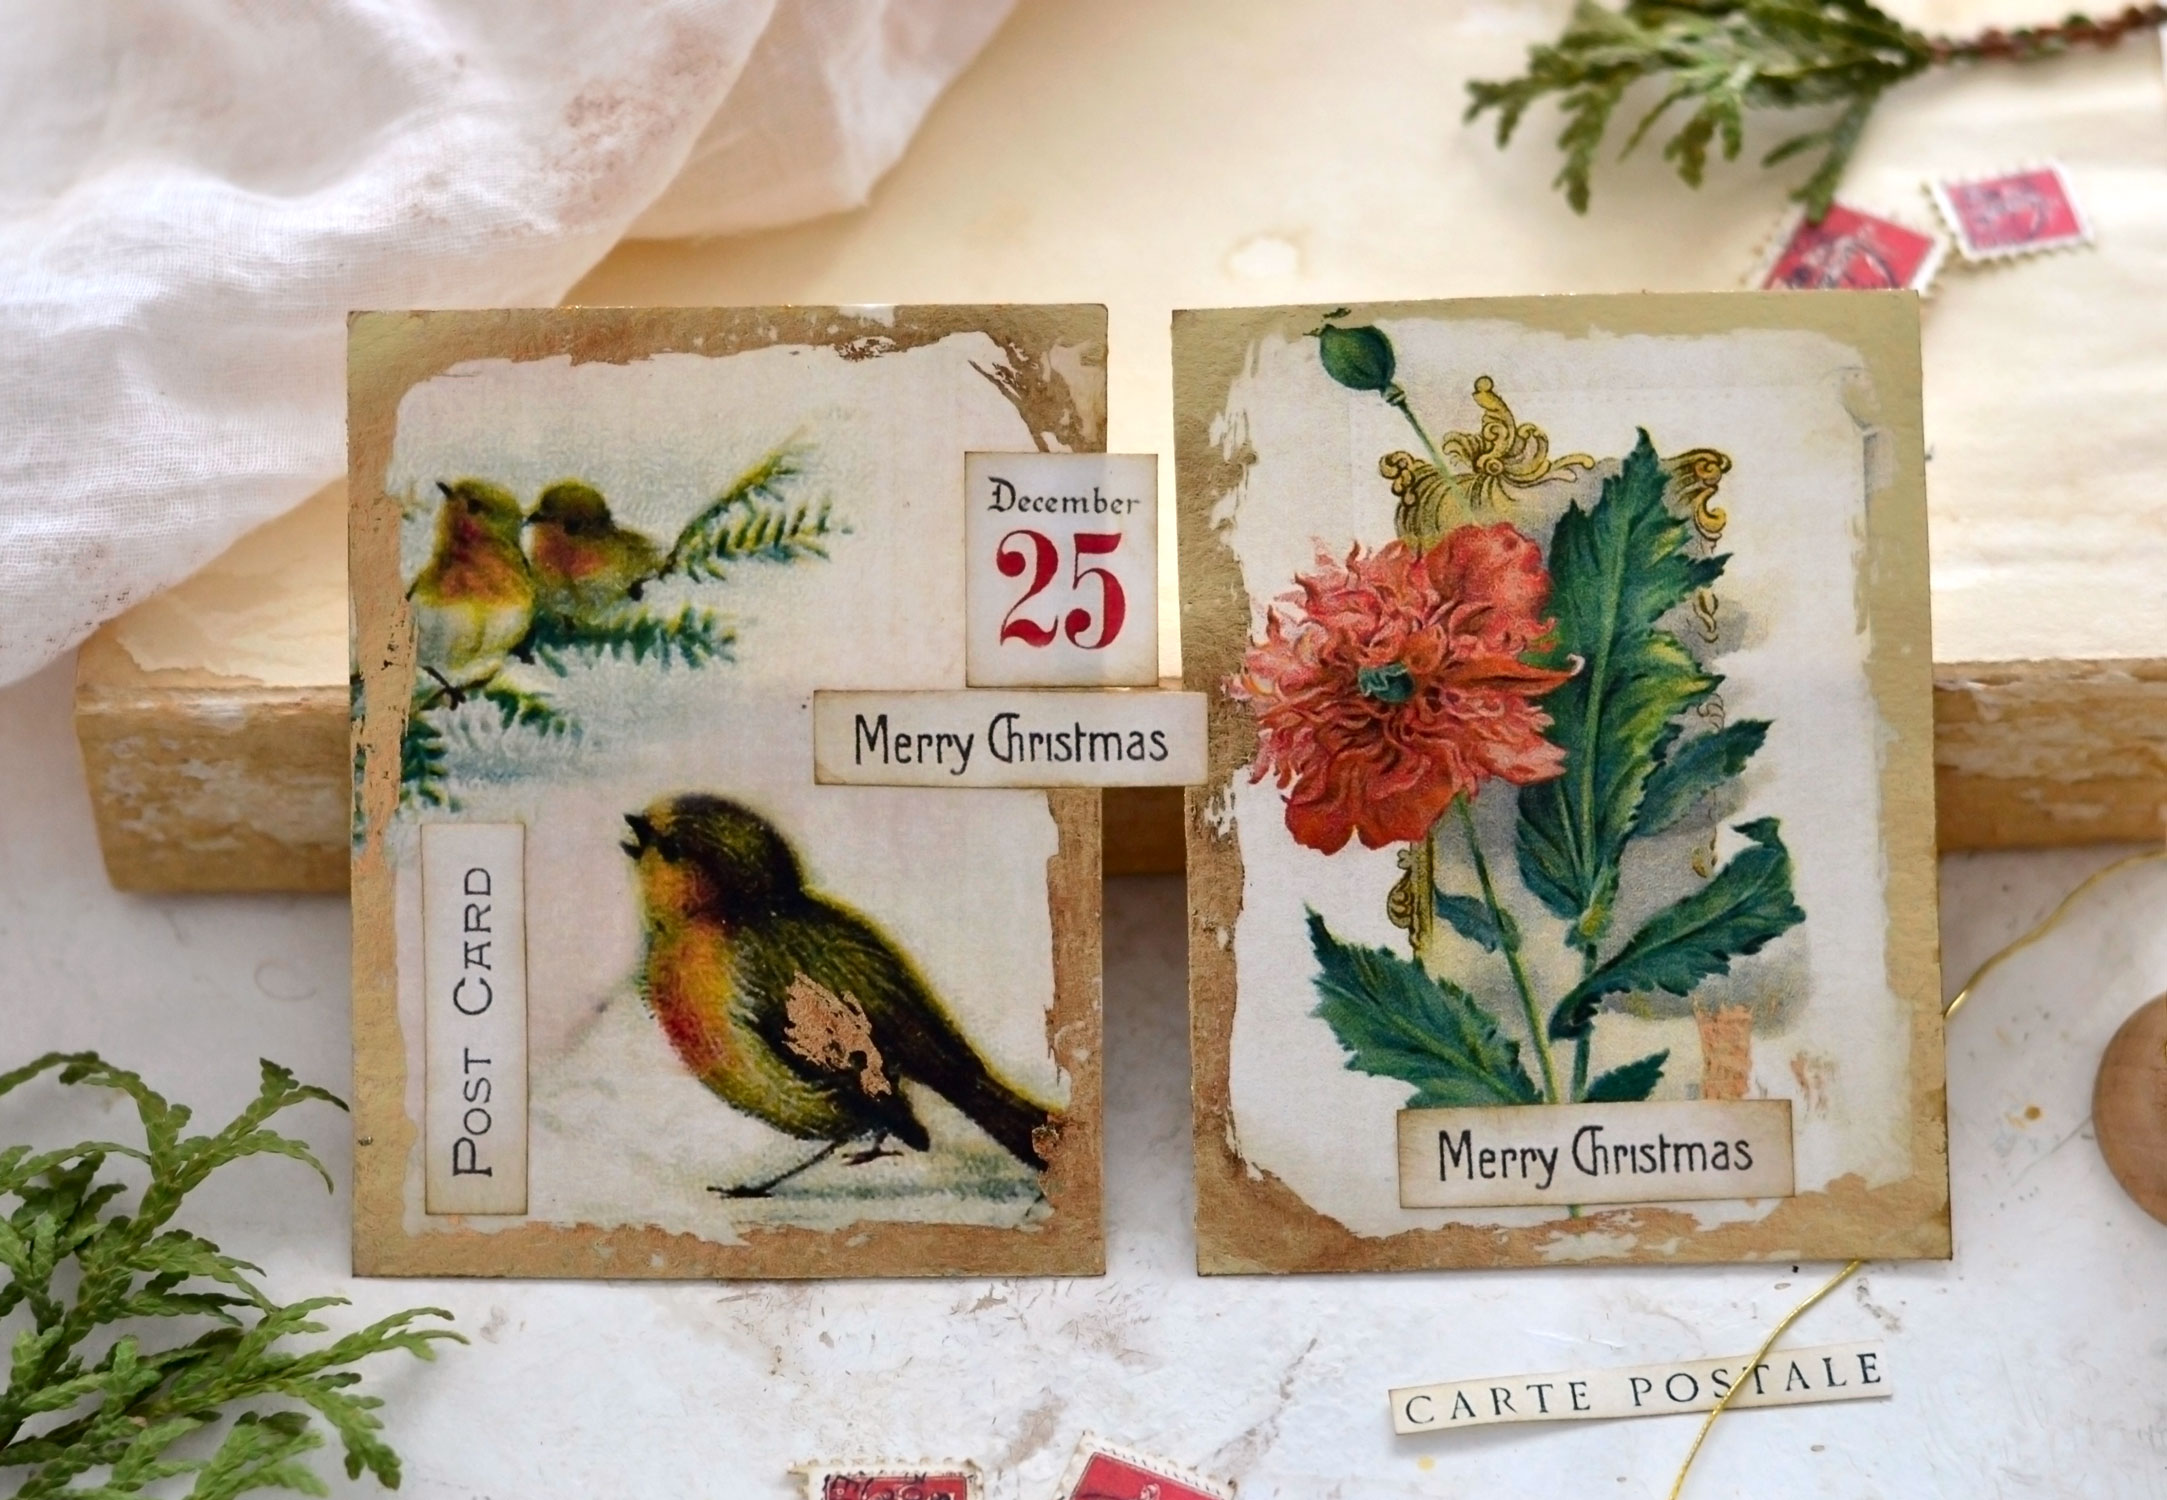
I wanted to keep things stress-free and fairly uncomplicated with these cards so I used distress ink on the edges to give the paper a lovely vintage finish. As a final touch, I added a little bit of gold, I will show you my quick and easy technique for gilding paper edges using gold foil and a glue stick. These beauties can be ready in no time!
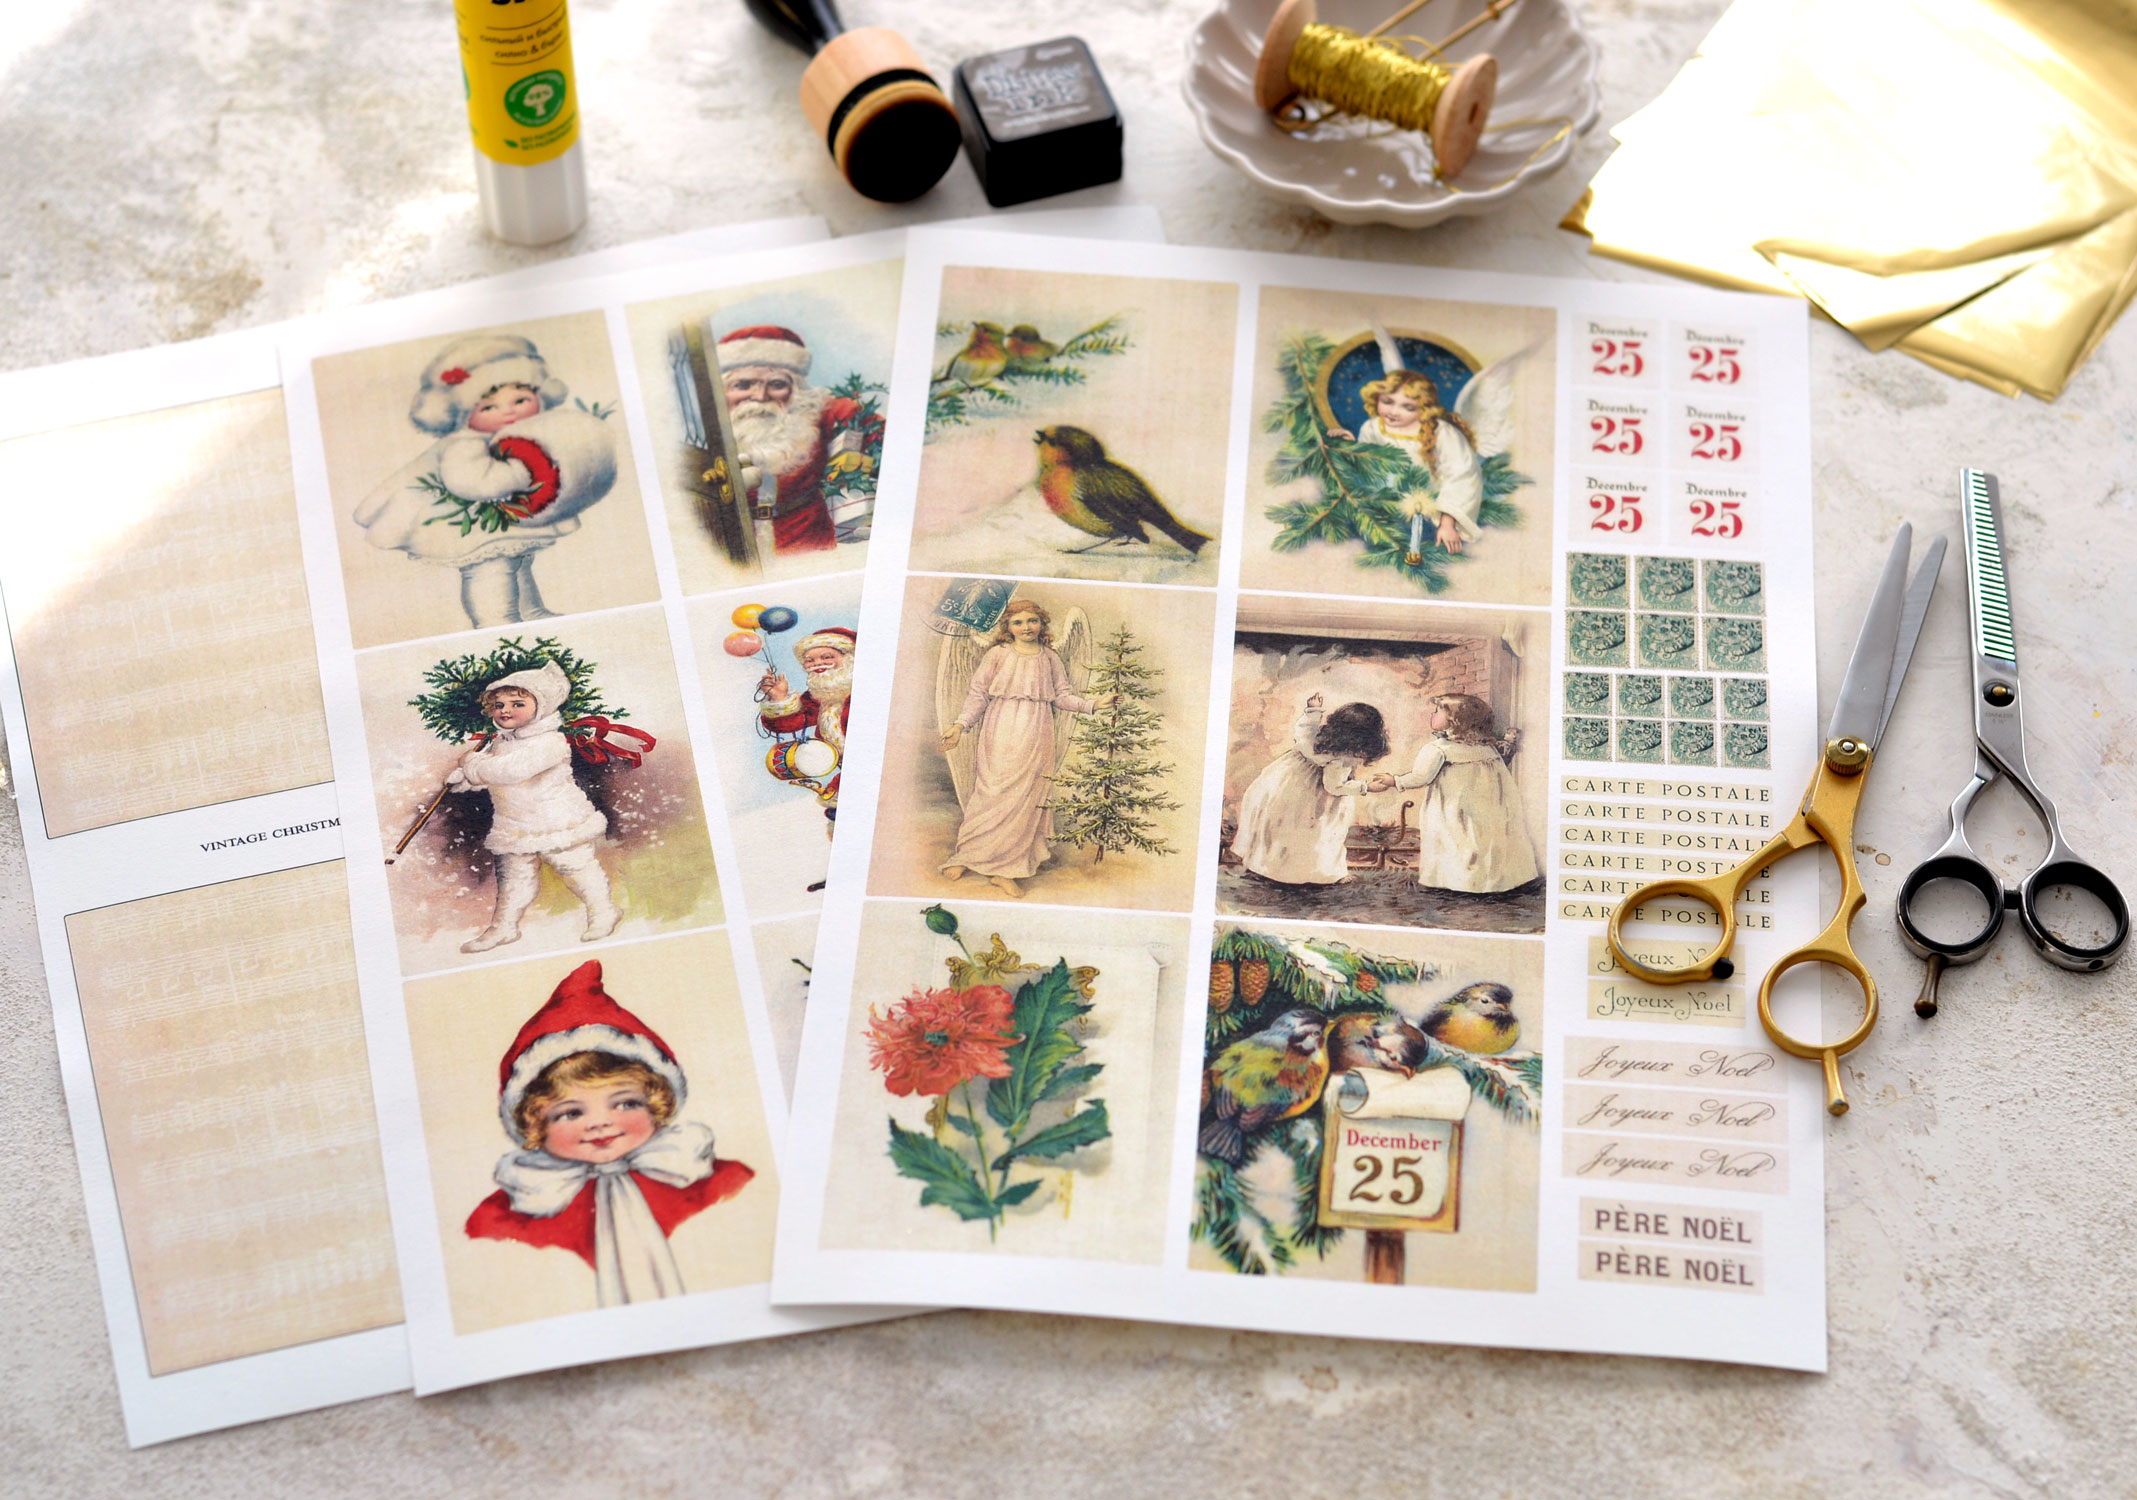
The Christmas kit that I’ve created for you includes 3 printables:
– 1 printable with base cards – you will be able to make 2 diy Christmas cards cards with this printable, just print it as many times as you want
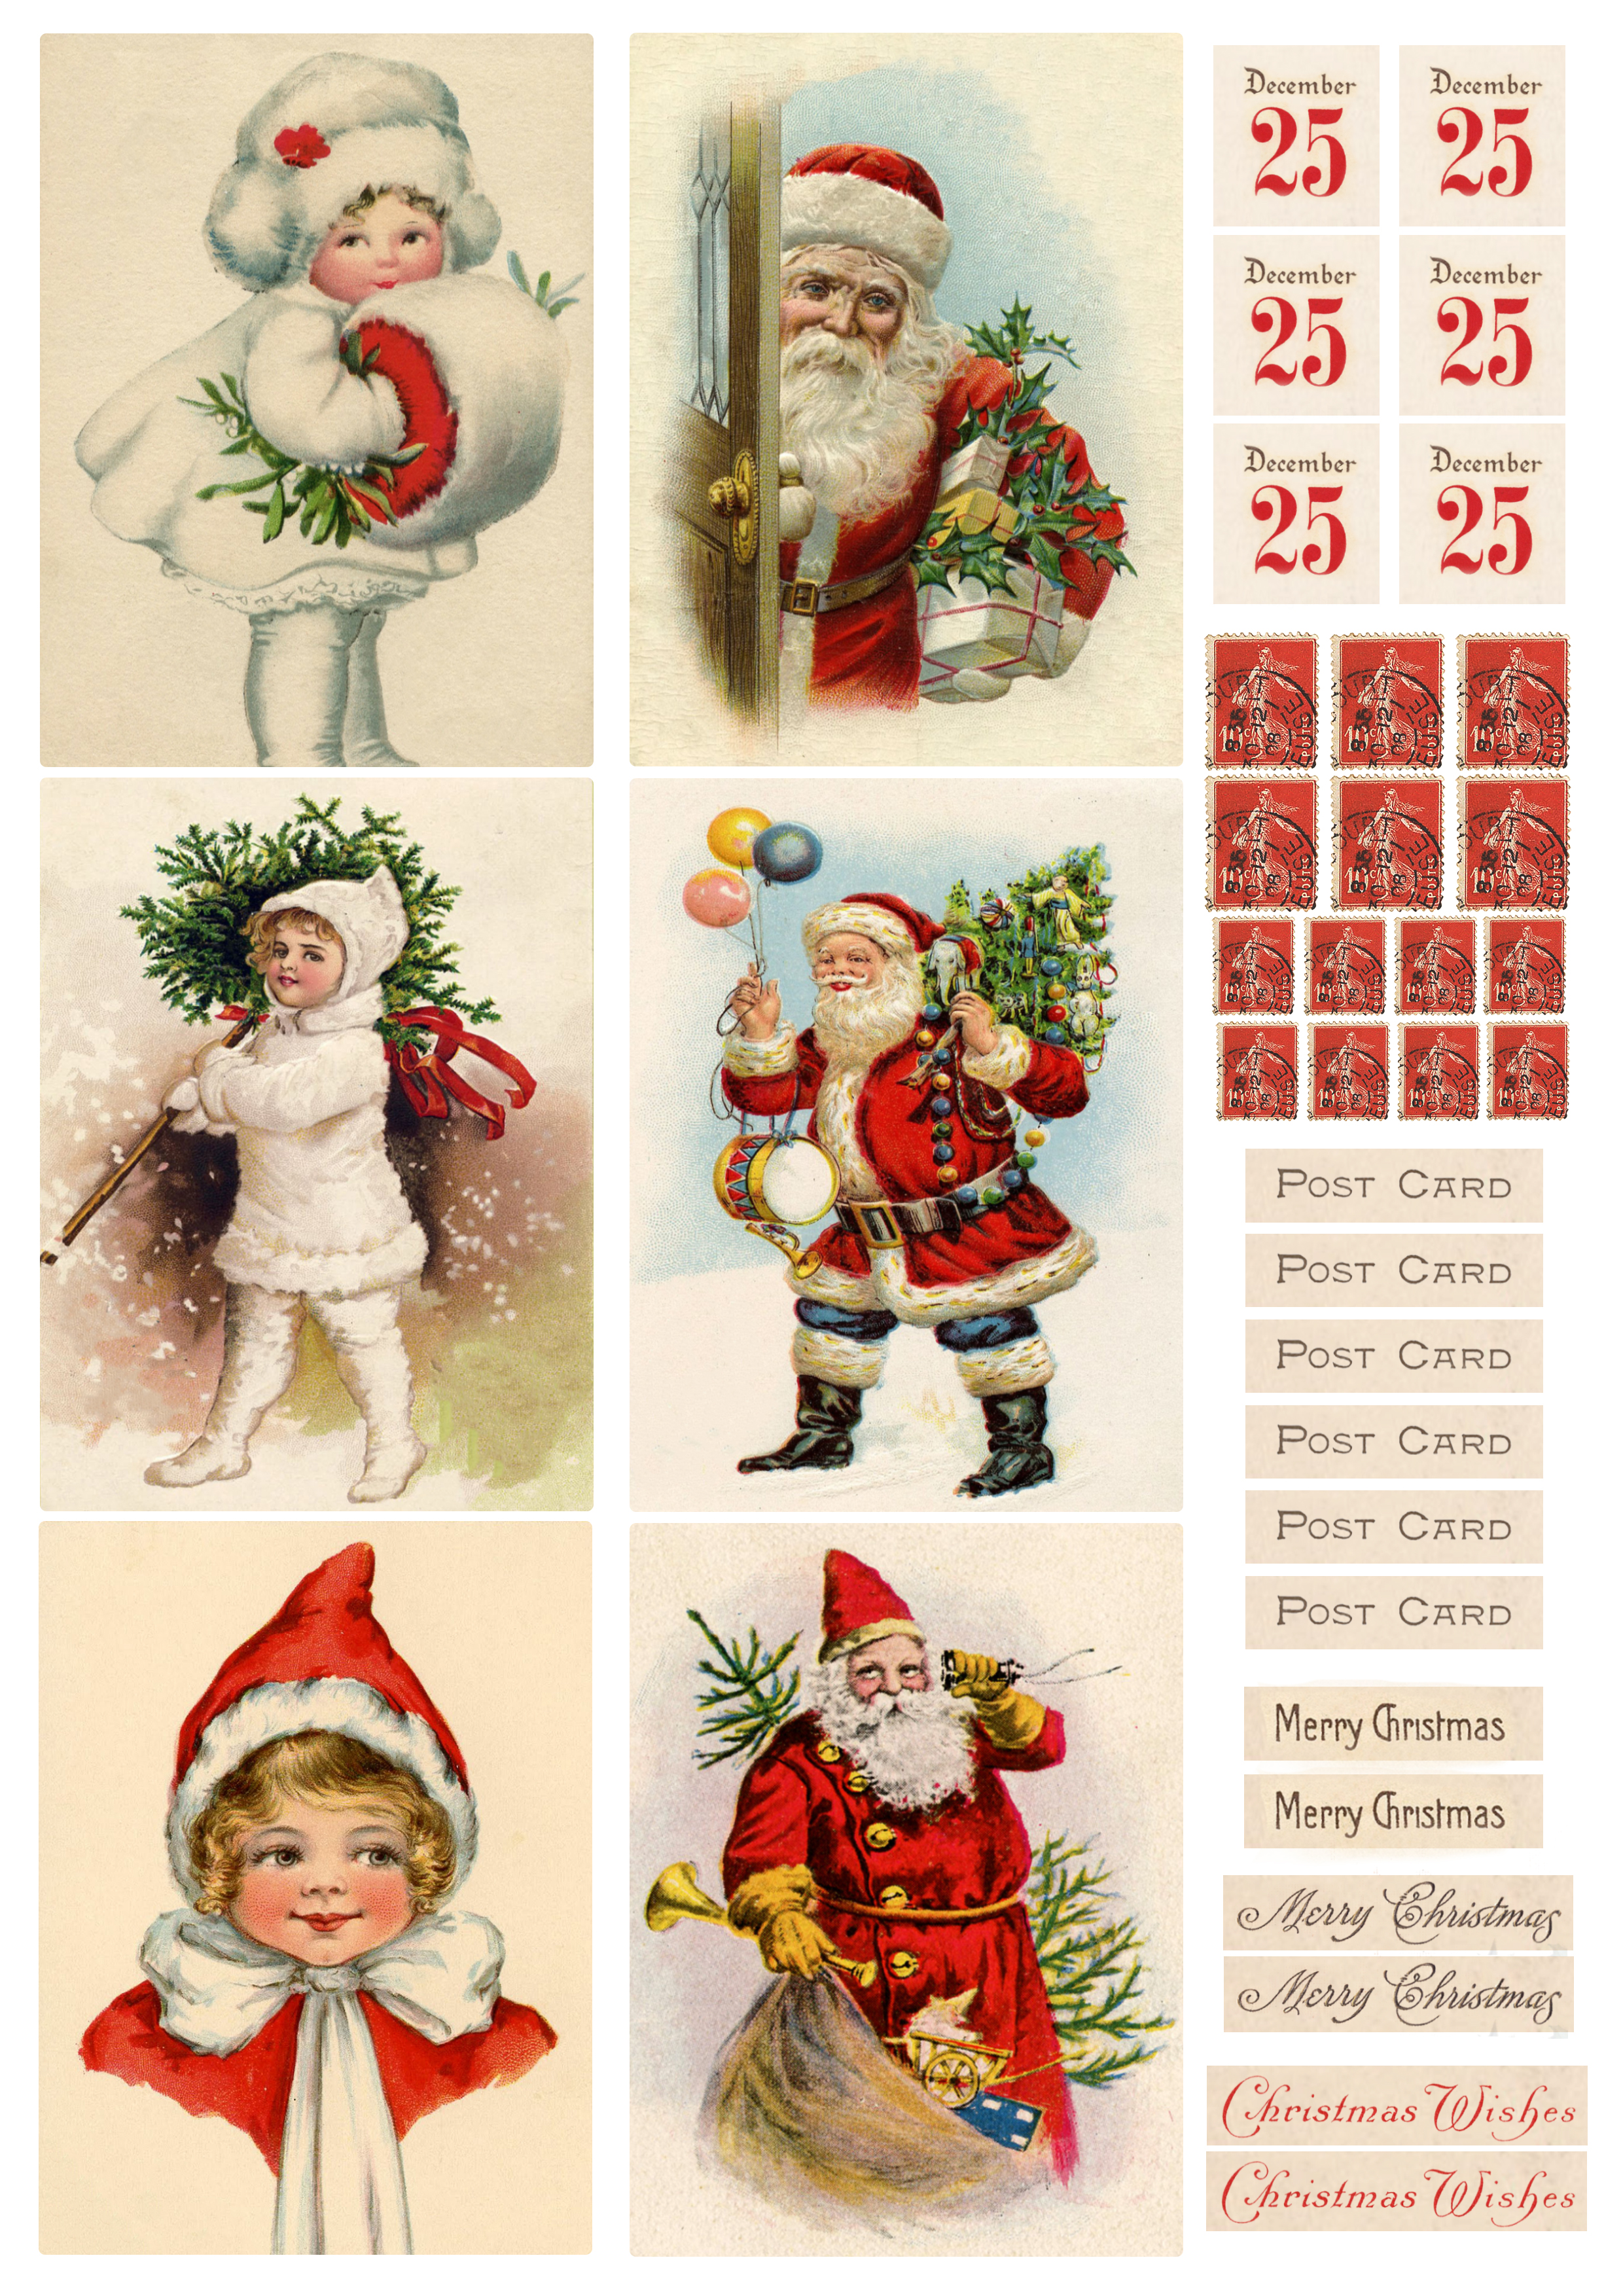
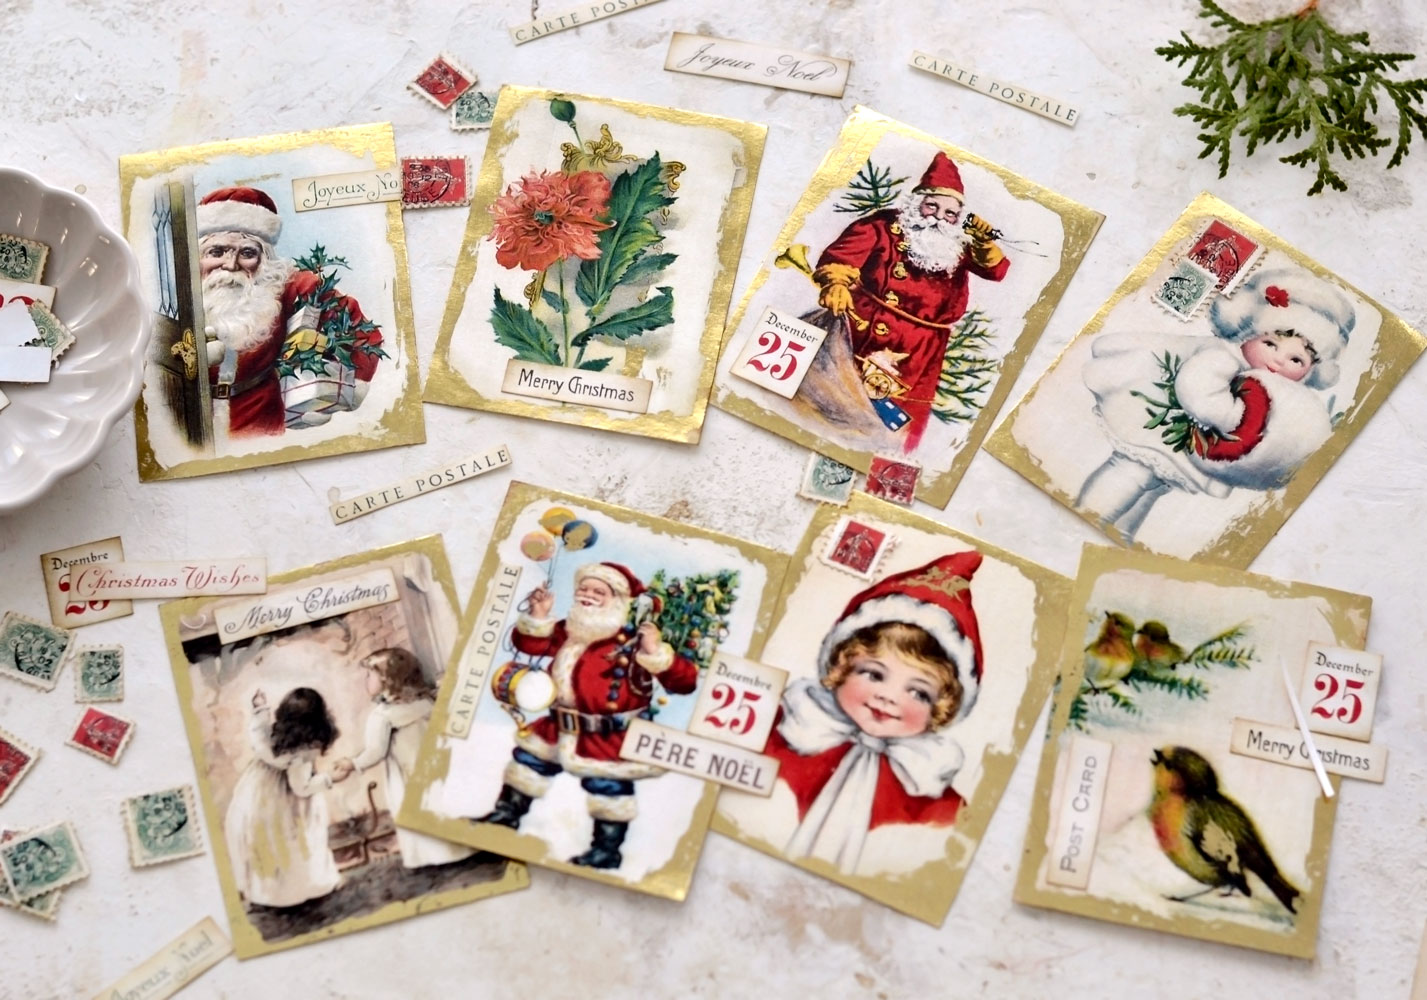
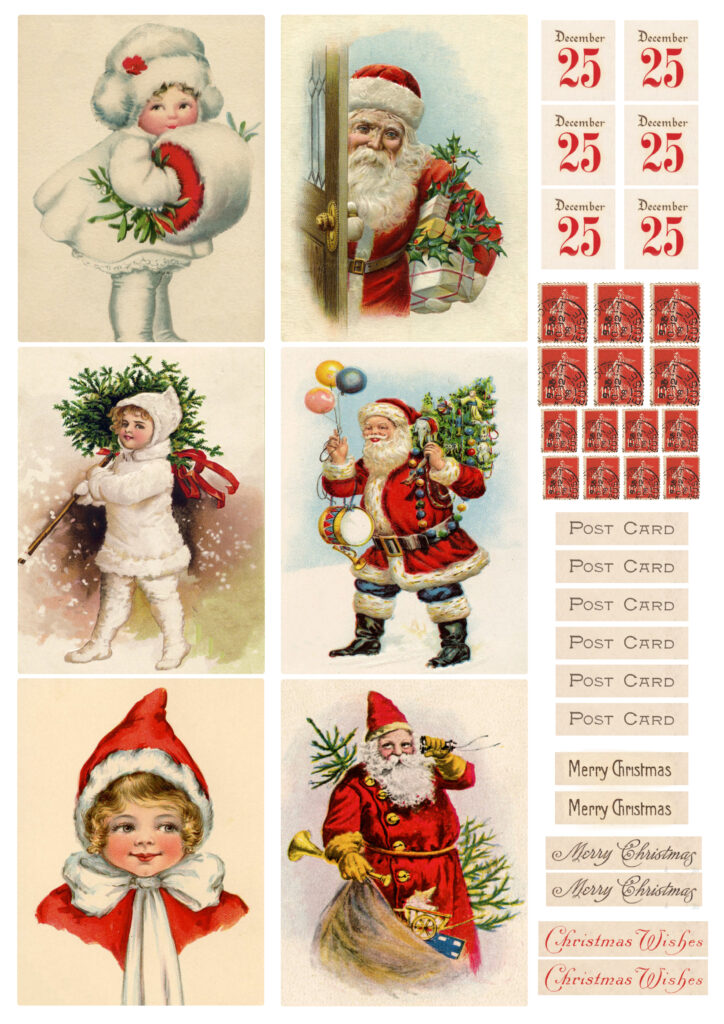
– 1 Magical Red Christmas printable with red images and matching elements in English – you will be able to make 6 cards with this
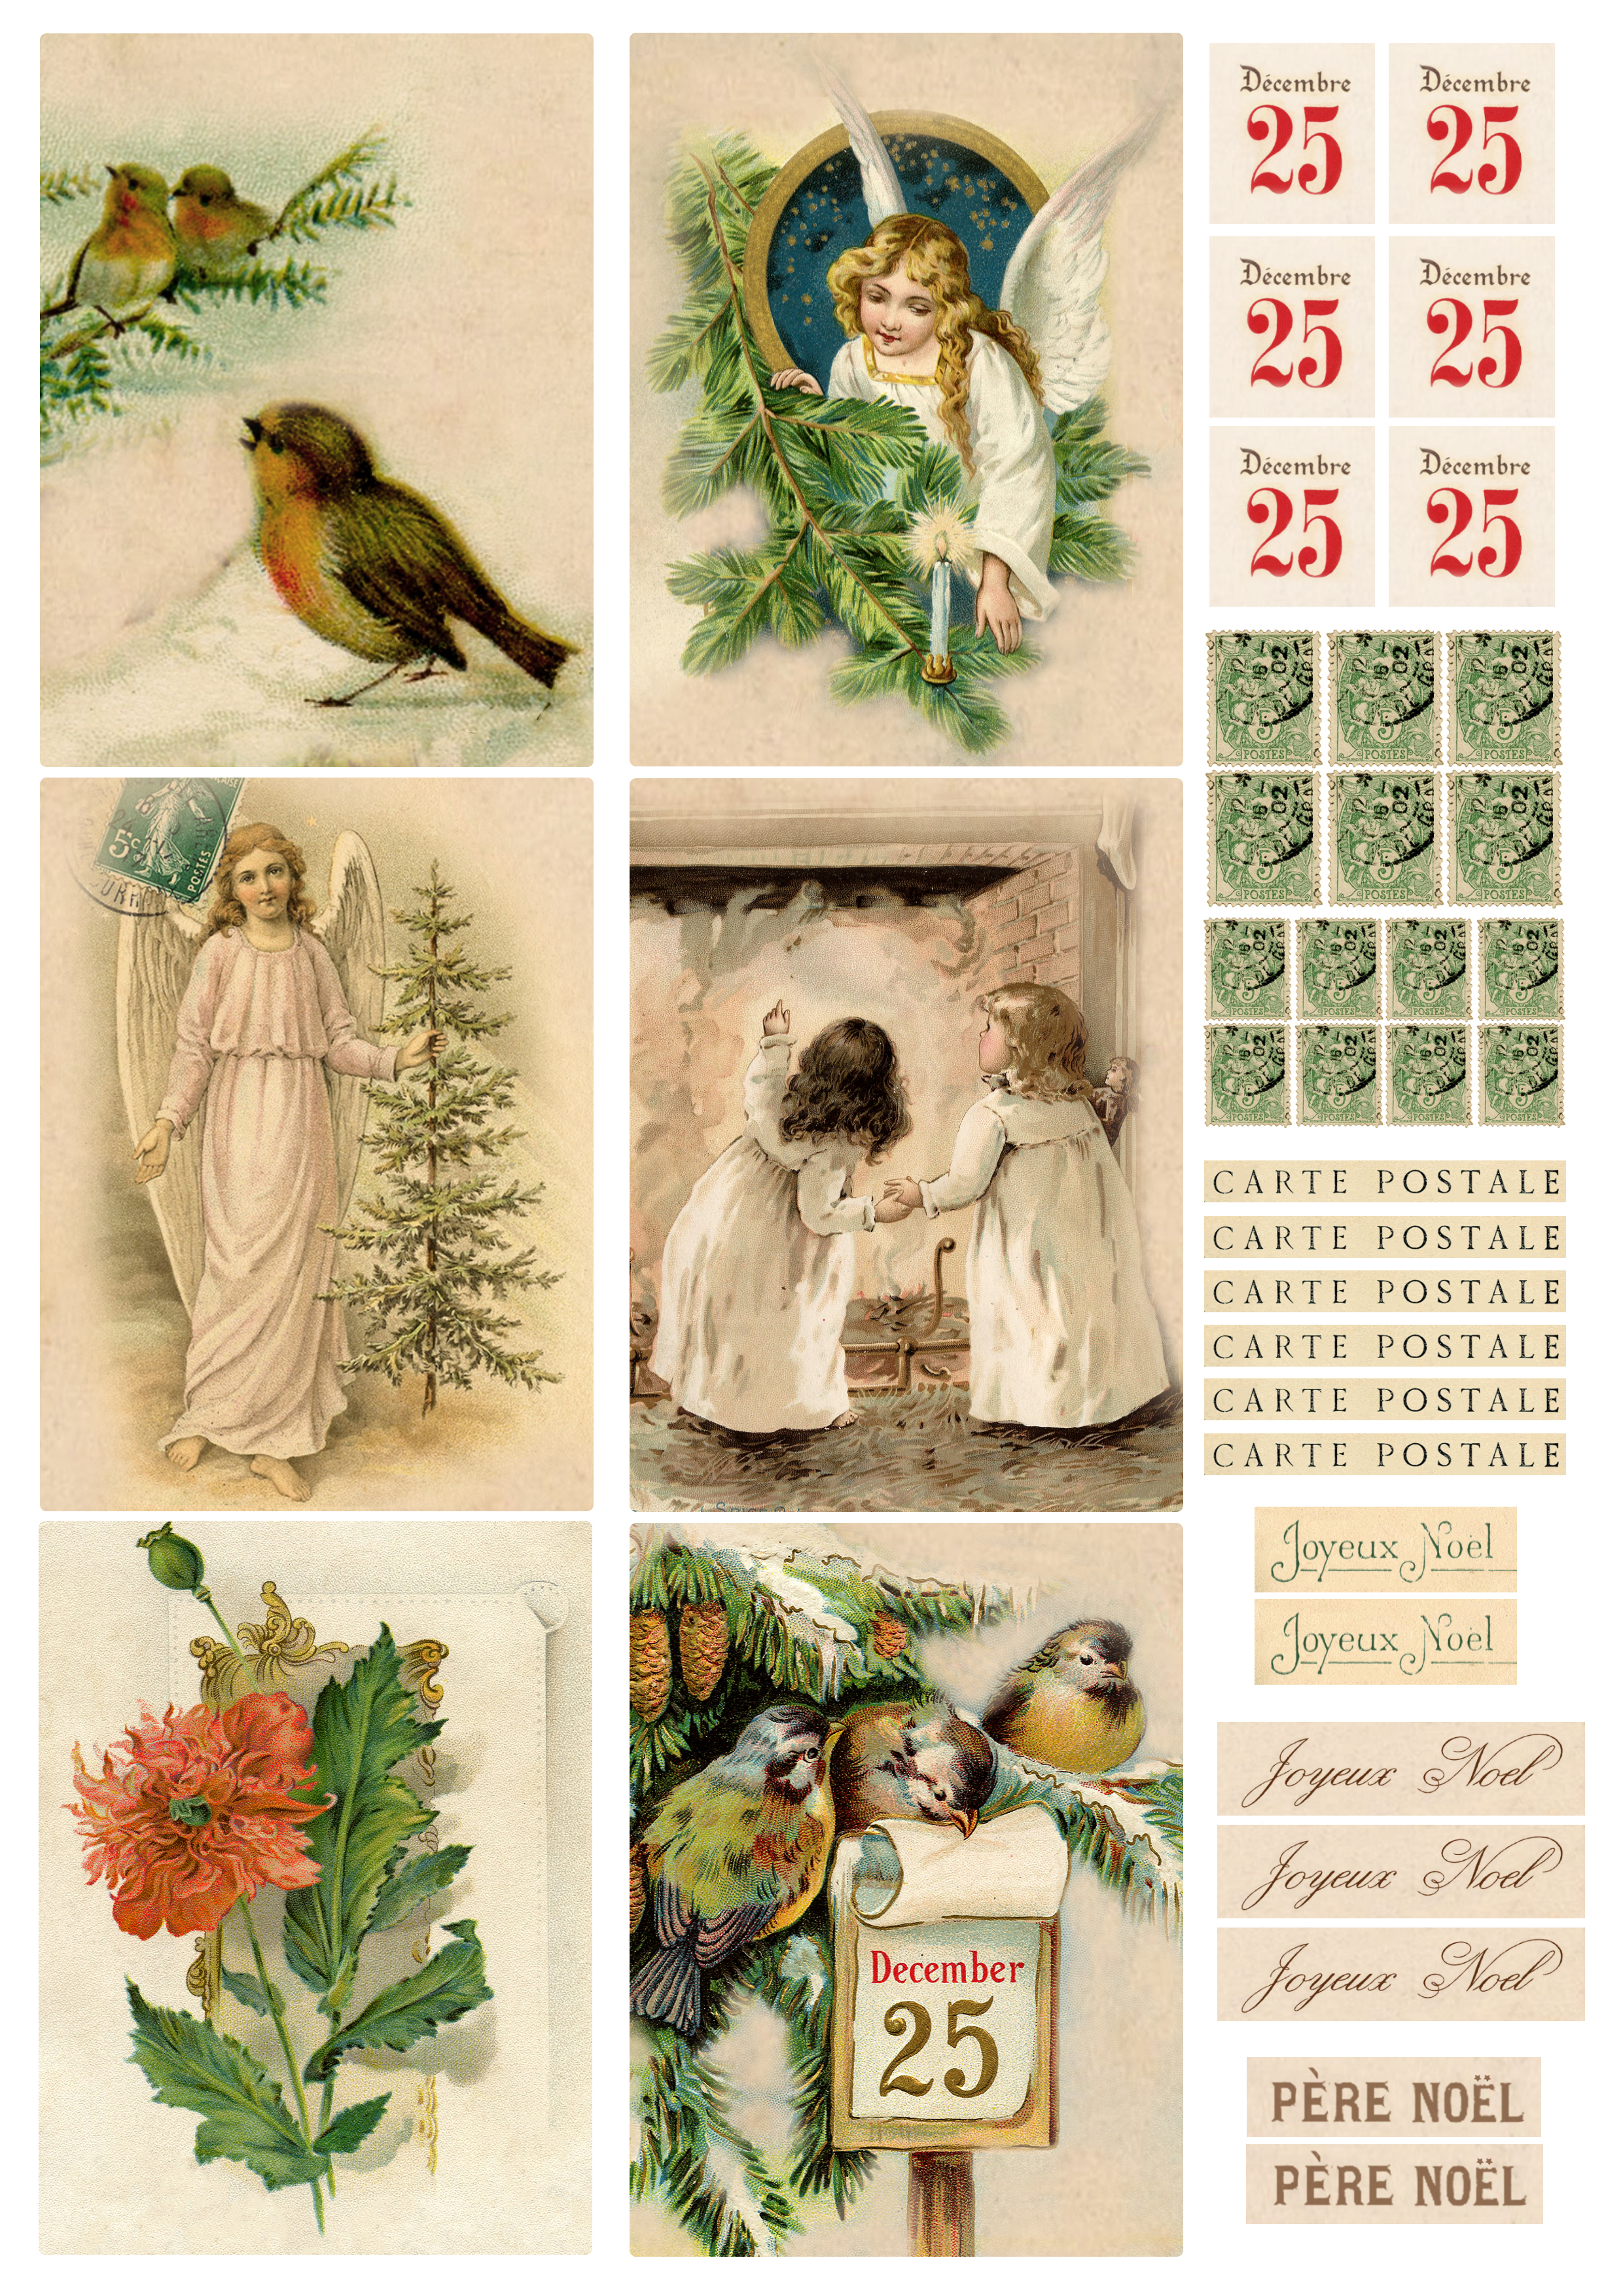
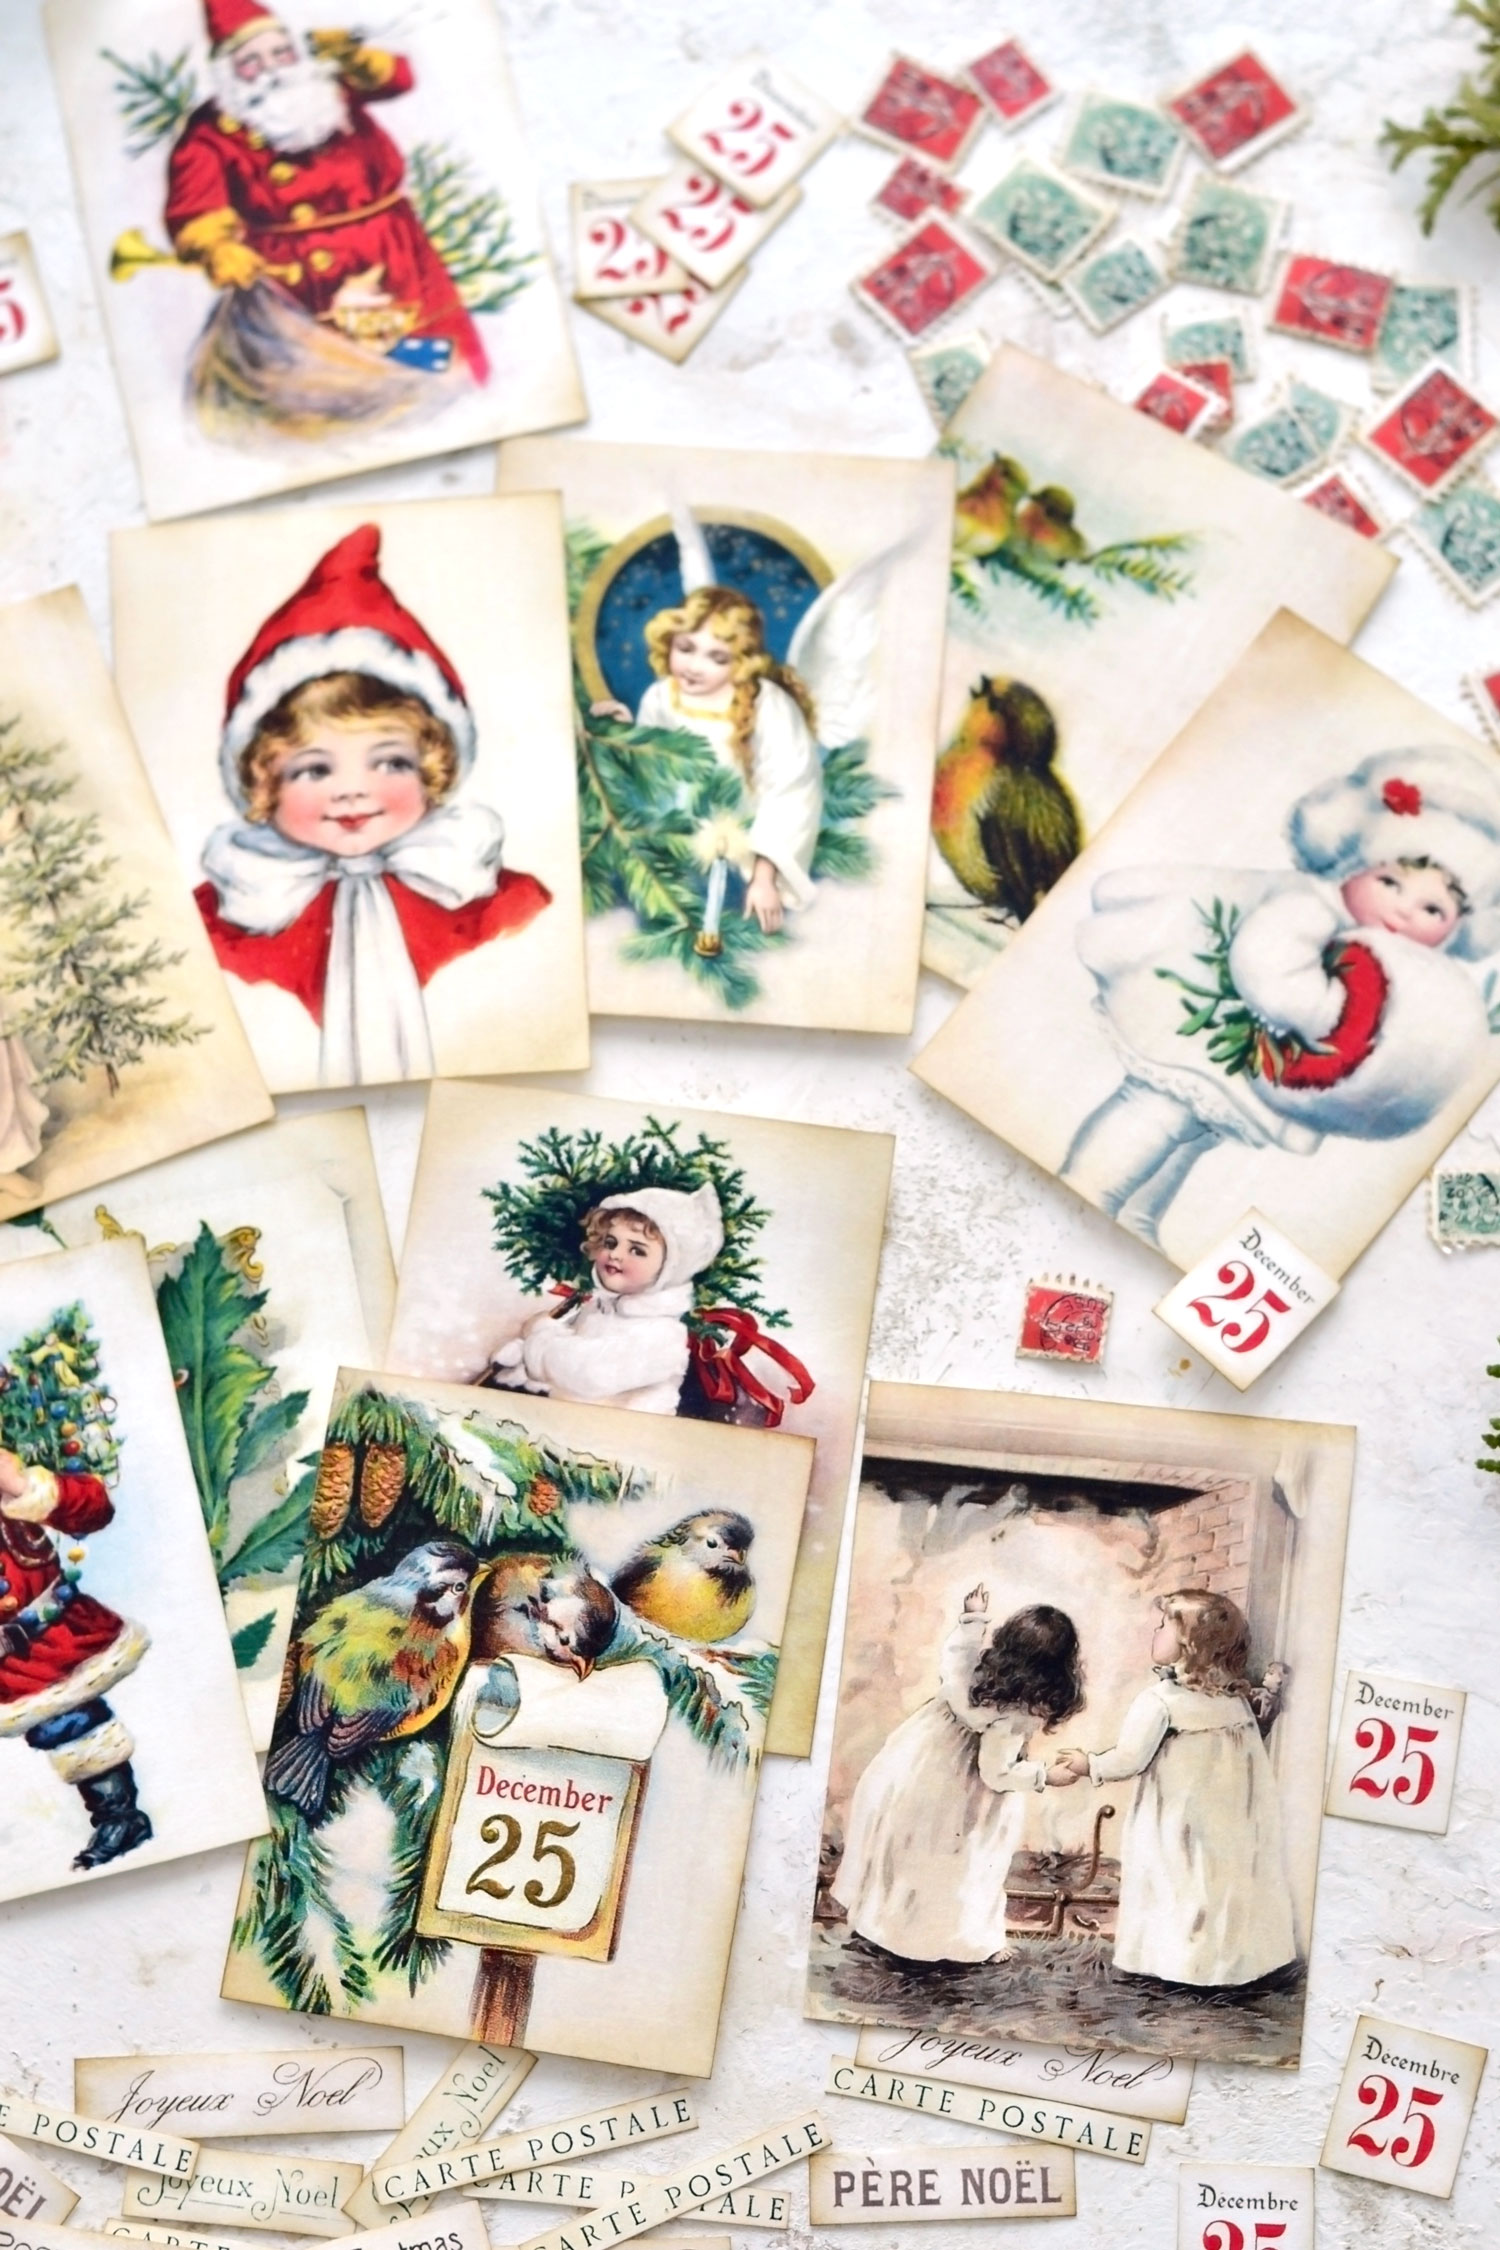
– 1 Magical Green Christmas printable with green images and matching decorations in French – you will be able to make 6 cards with this
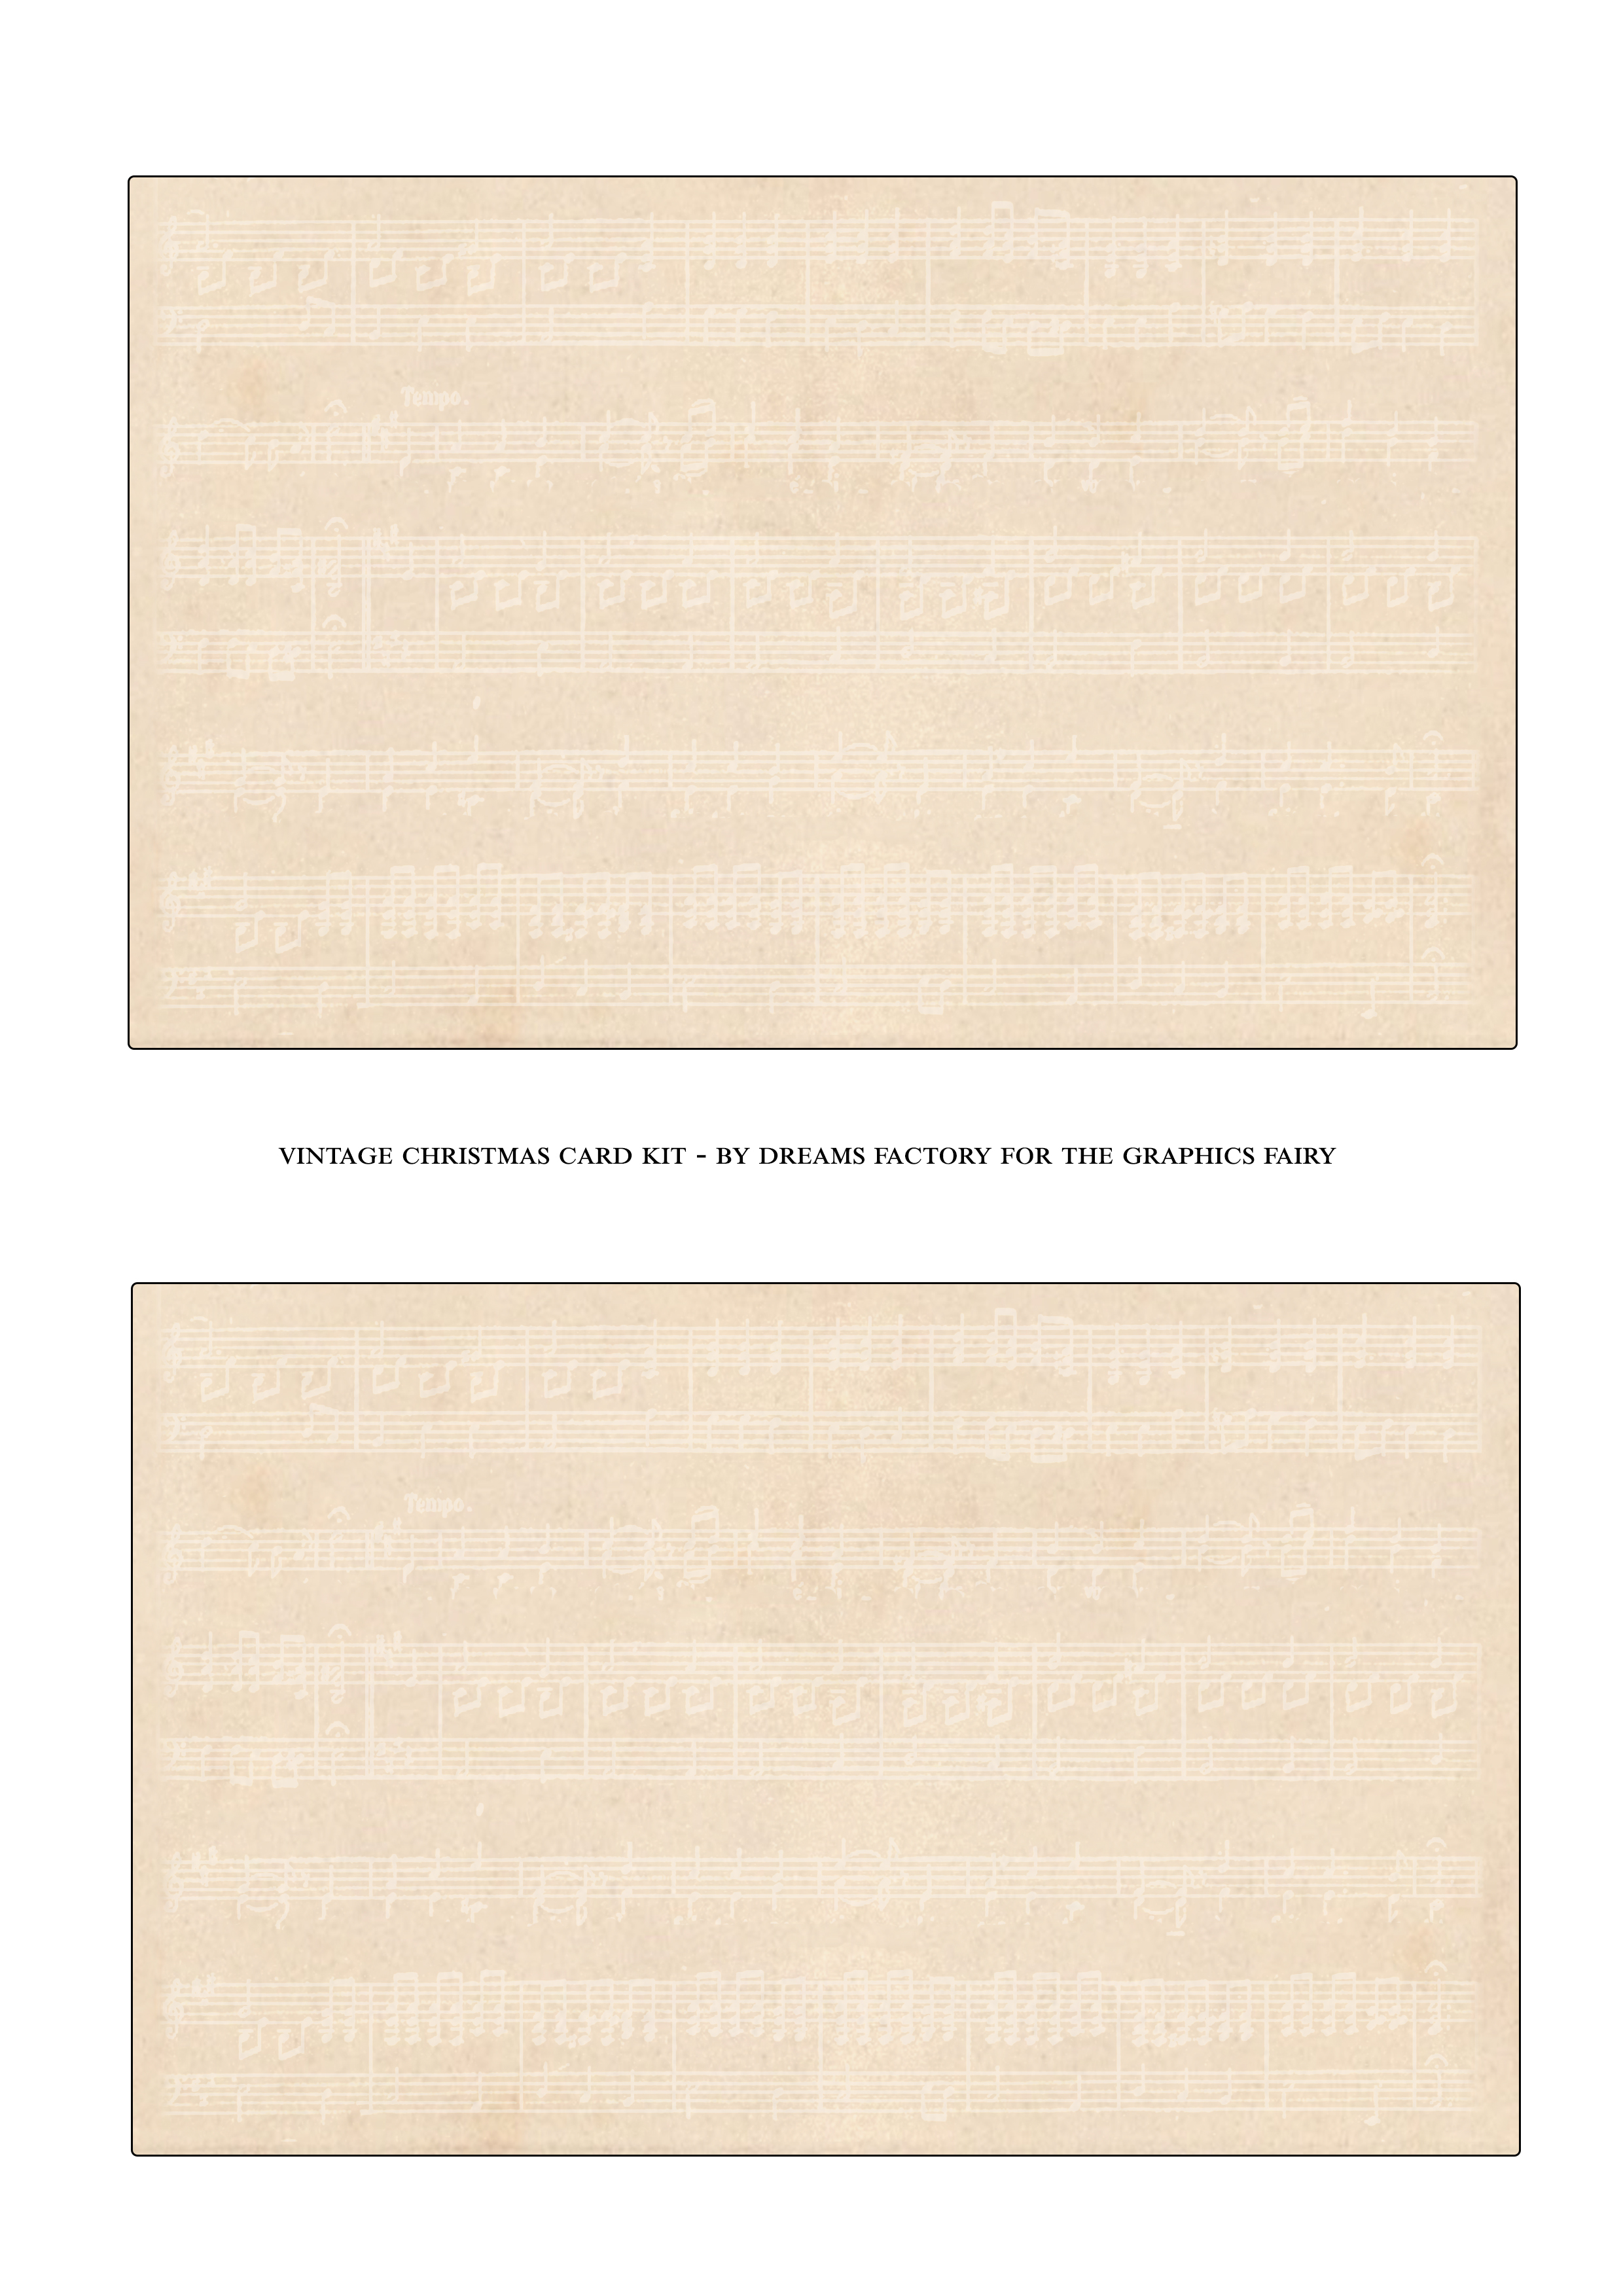 —> Click HERE to Download the Full Size Printable PDF – the base <—
—> Click HERE to Download the Full Size Printable PDF – The Magical Red Christmas<—
—> Click HERE to Download the Full Size Printable PDF – The Magical Green Christmas <—
Christmas Greeting Card Ideas Supplies:
- cardstock paper – for printing all the printables
- home printer
- scissors
- paper trimmer (optional)
- thinning scissors – for creating that special postage stamp effect on the edges
- bone folder or a scoring board
- glue stick – preferably UHU or Staedtler
- gold foil
- mini distress inks
- blending tool with foams (I prefer the domed ones)
- parchment paper
Tutorial Instructions:
Start by saving the printables on your computer then use cardstock paper to print them as many times as you want.
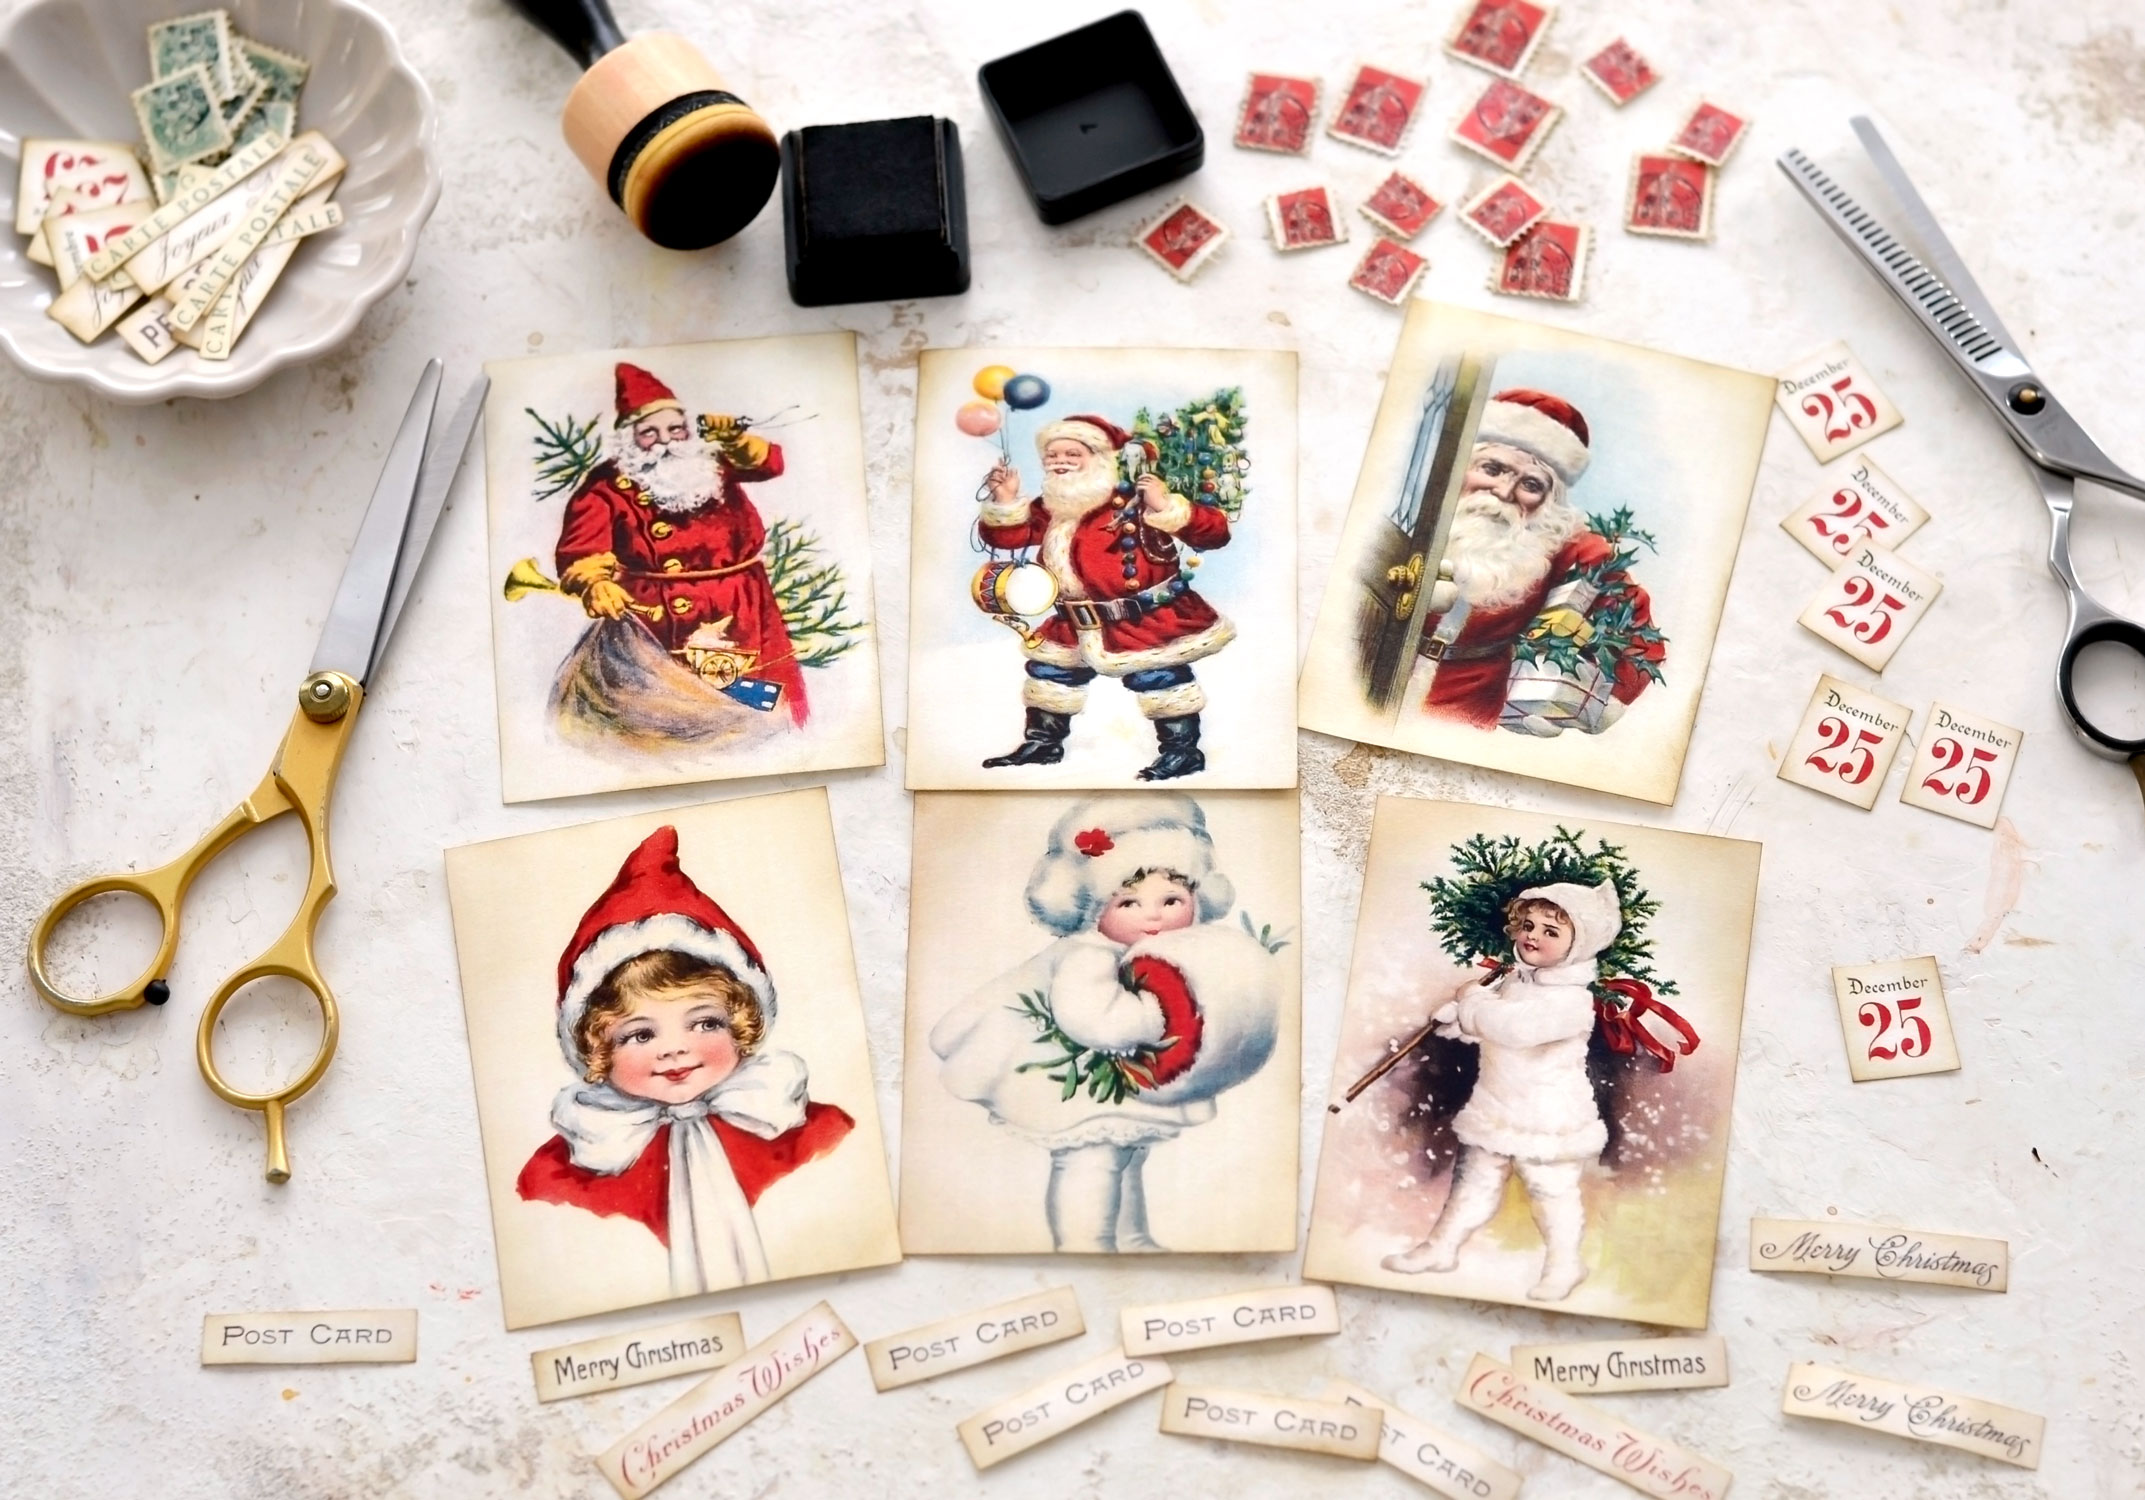
Use regular scissors to cut the gorgeous images from the Magical Green Christmas printable and all the matching elements. Except for the postage stamps!
If you want to give the postage stamp images that specific edge postage stamps usually have, you can use thinning sheers. You might be familiar with this technique, but if you are not or simply want to learn more you can check my Vintage Christmas Postage Stamps.
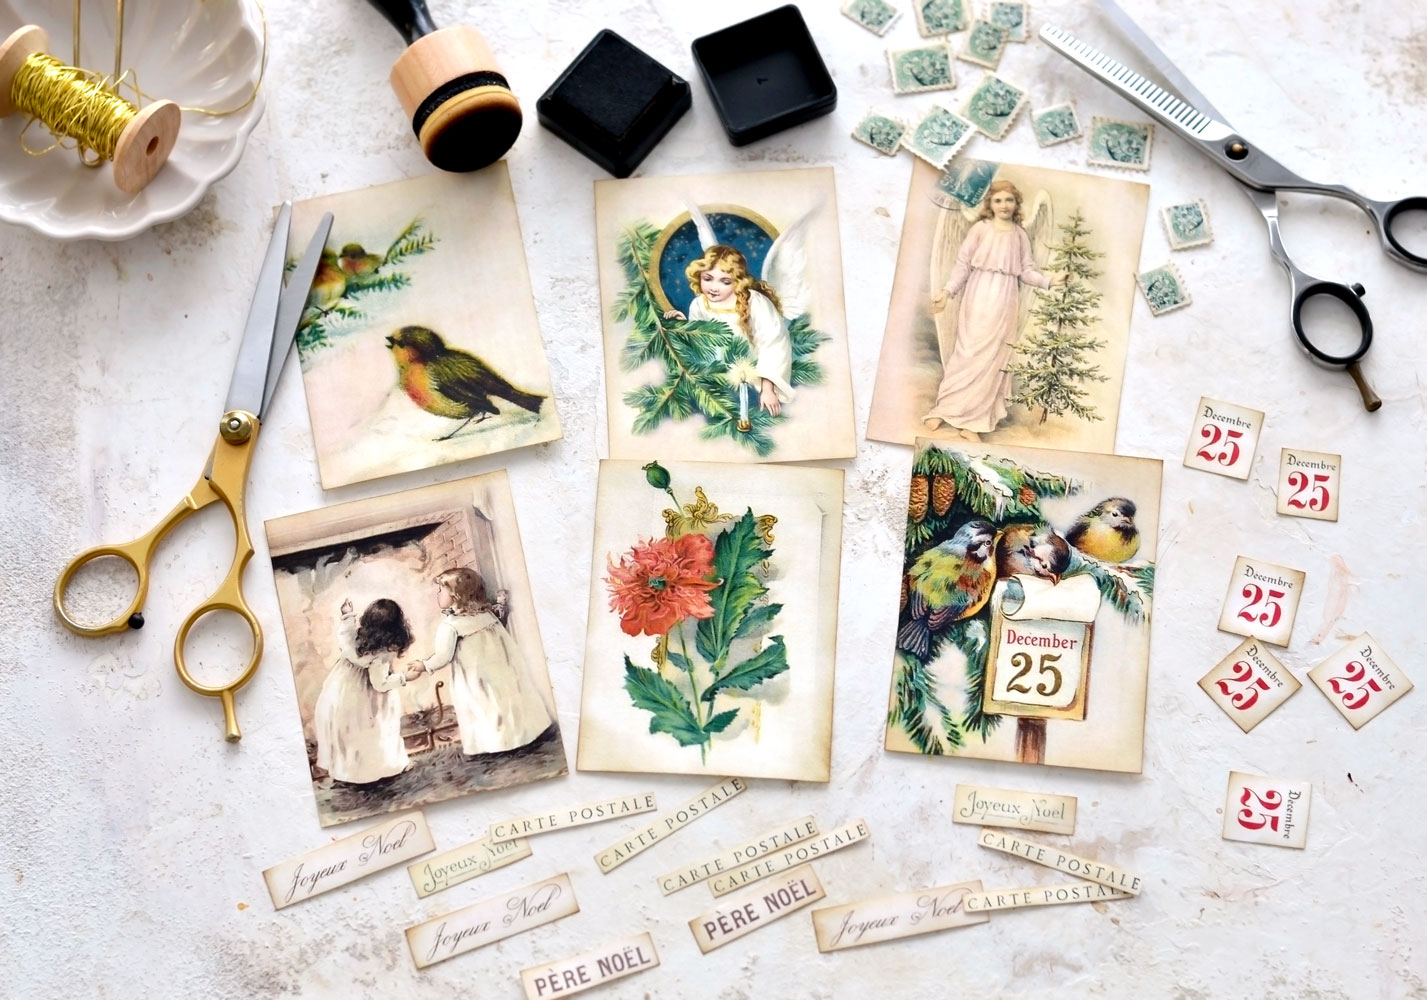
When you are done cutting, use your favorite distress ink (I love using Walnut Stain) to distress the edges.
Use the same steps to cut all the elements from the Magical Red Christmas printable – use regular scissors to cut the gorgeous images and all the matching elements, then use thinning sheers to cut the postage stamps!
Of course, you can use regular scissors if you don’t have thinning sheers. But if you really want to try this amazing cut-your-own postage stamp technique now or anytime in the future, remember that the Holidays are just around the corner – maybe now would be the perfect time to gift yourself a pair of thinning scissors! Wink-wink!
Use distress ink on the edges if you want to give the paper an aged look.
You can use small bowls or small boxes (Altoid tins will also work) to store all the smaller elements until you are ready to use them. I’ve decided to put them all together in a small bowl, but if you prefer, you can store the two colors separately.
I’m so in love with all these gorgeous pictures!
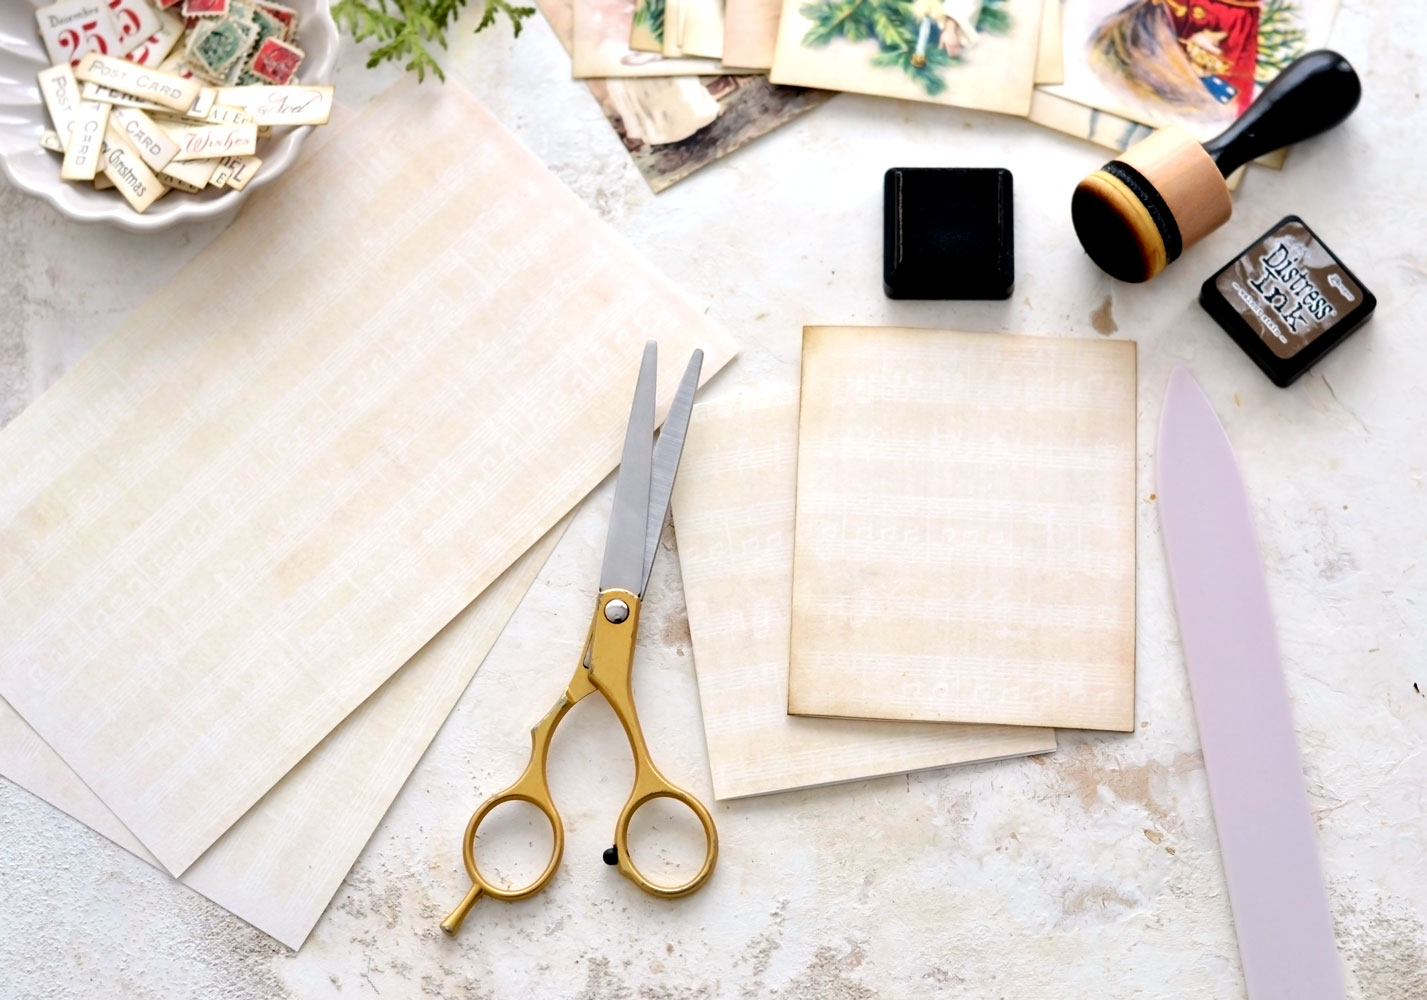
Print the card base printable as many times as you want. I wanted to make 4 cards for now. so I printed the printable with the 2 bases 2 times.
You can use a paper trimmer to cut the card bases if you want. I couldn’t find mine anywhere, so I used my scissors.
Use a scoring board or a bone folder to score the card bases, then fold them in half.
I like to distress their edges after folding them, I usually distress both the front and the back.
And now, here comes the part that I love the most – adding the golden touches! I’m using gold foil to gild the edges, it’s my go-to technique for quickly adding that gorgeous gold shine! If you are not familiar with this technique, you can check this article here: DIY Gold French Rose Tags, I’m sharing more details about gold foil and how it differs from gold leaf. While making the tags I used Mod Podge to gild the edges, but today’s technique is quicker!
Of course, if you don’t have gold foil, there are other ideas that you can try like using gold acrylic paint, gold watercolor paint, gold wax or gold markers, and even your gold nail polish!
The method that I’m sharing below is for gold foil and the UHU glue stick. I’ve also successfully tried this with the glue stick from Staedtler, but I need to mention that not all glue sticks work! This will create a perfectly-imperfect gold effect on the edges that works really great with our vintage holiday greeting cards.
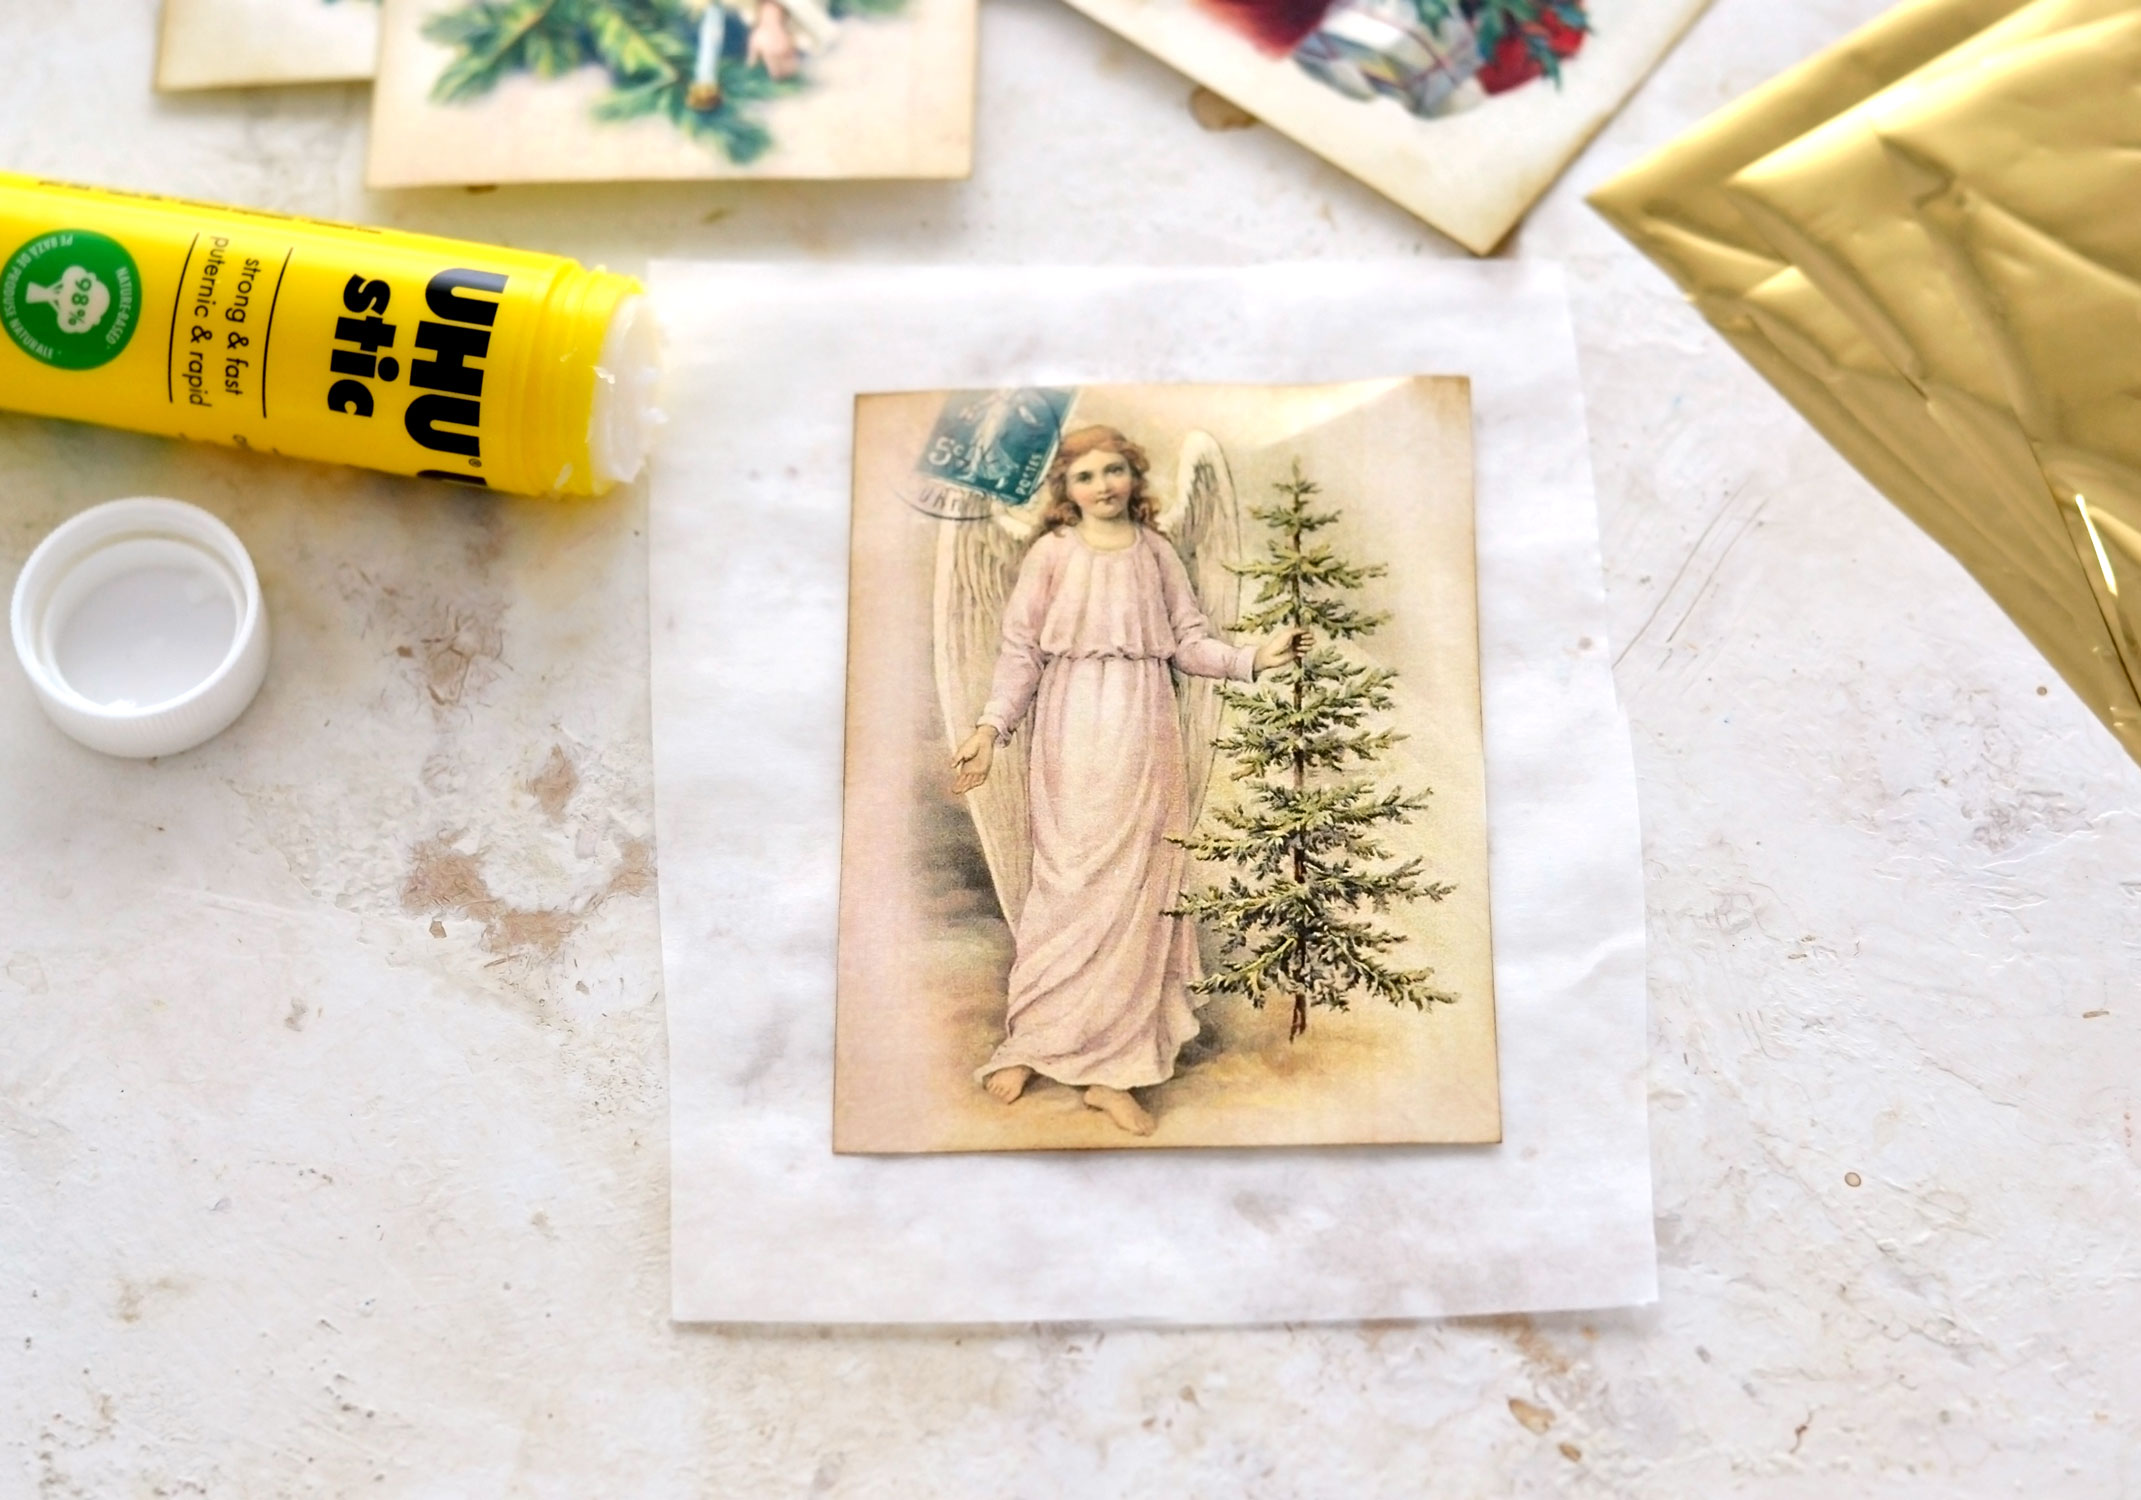
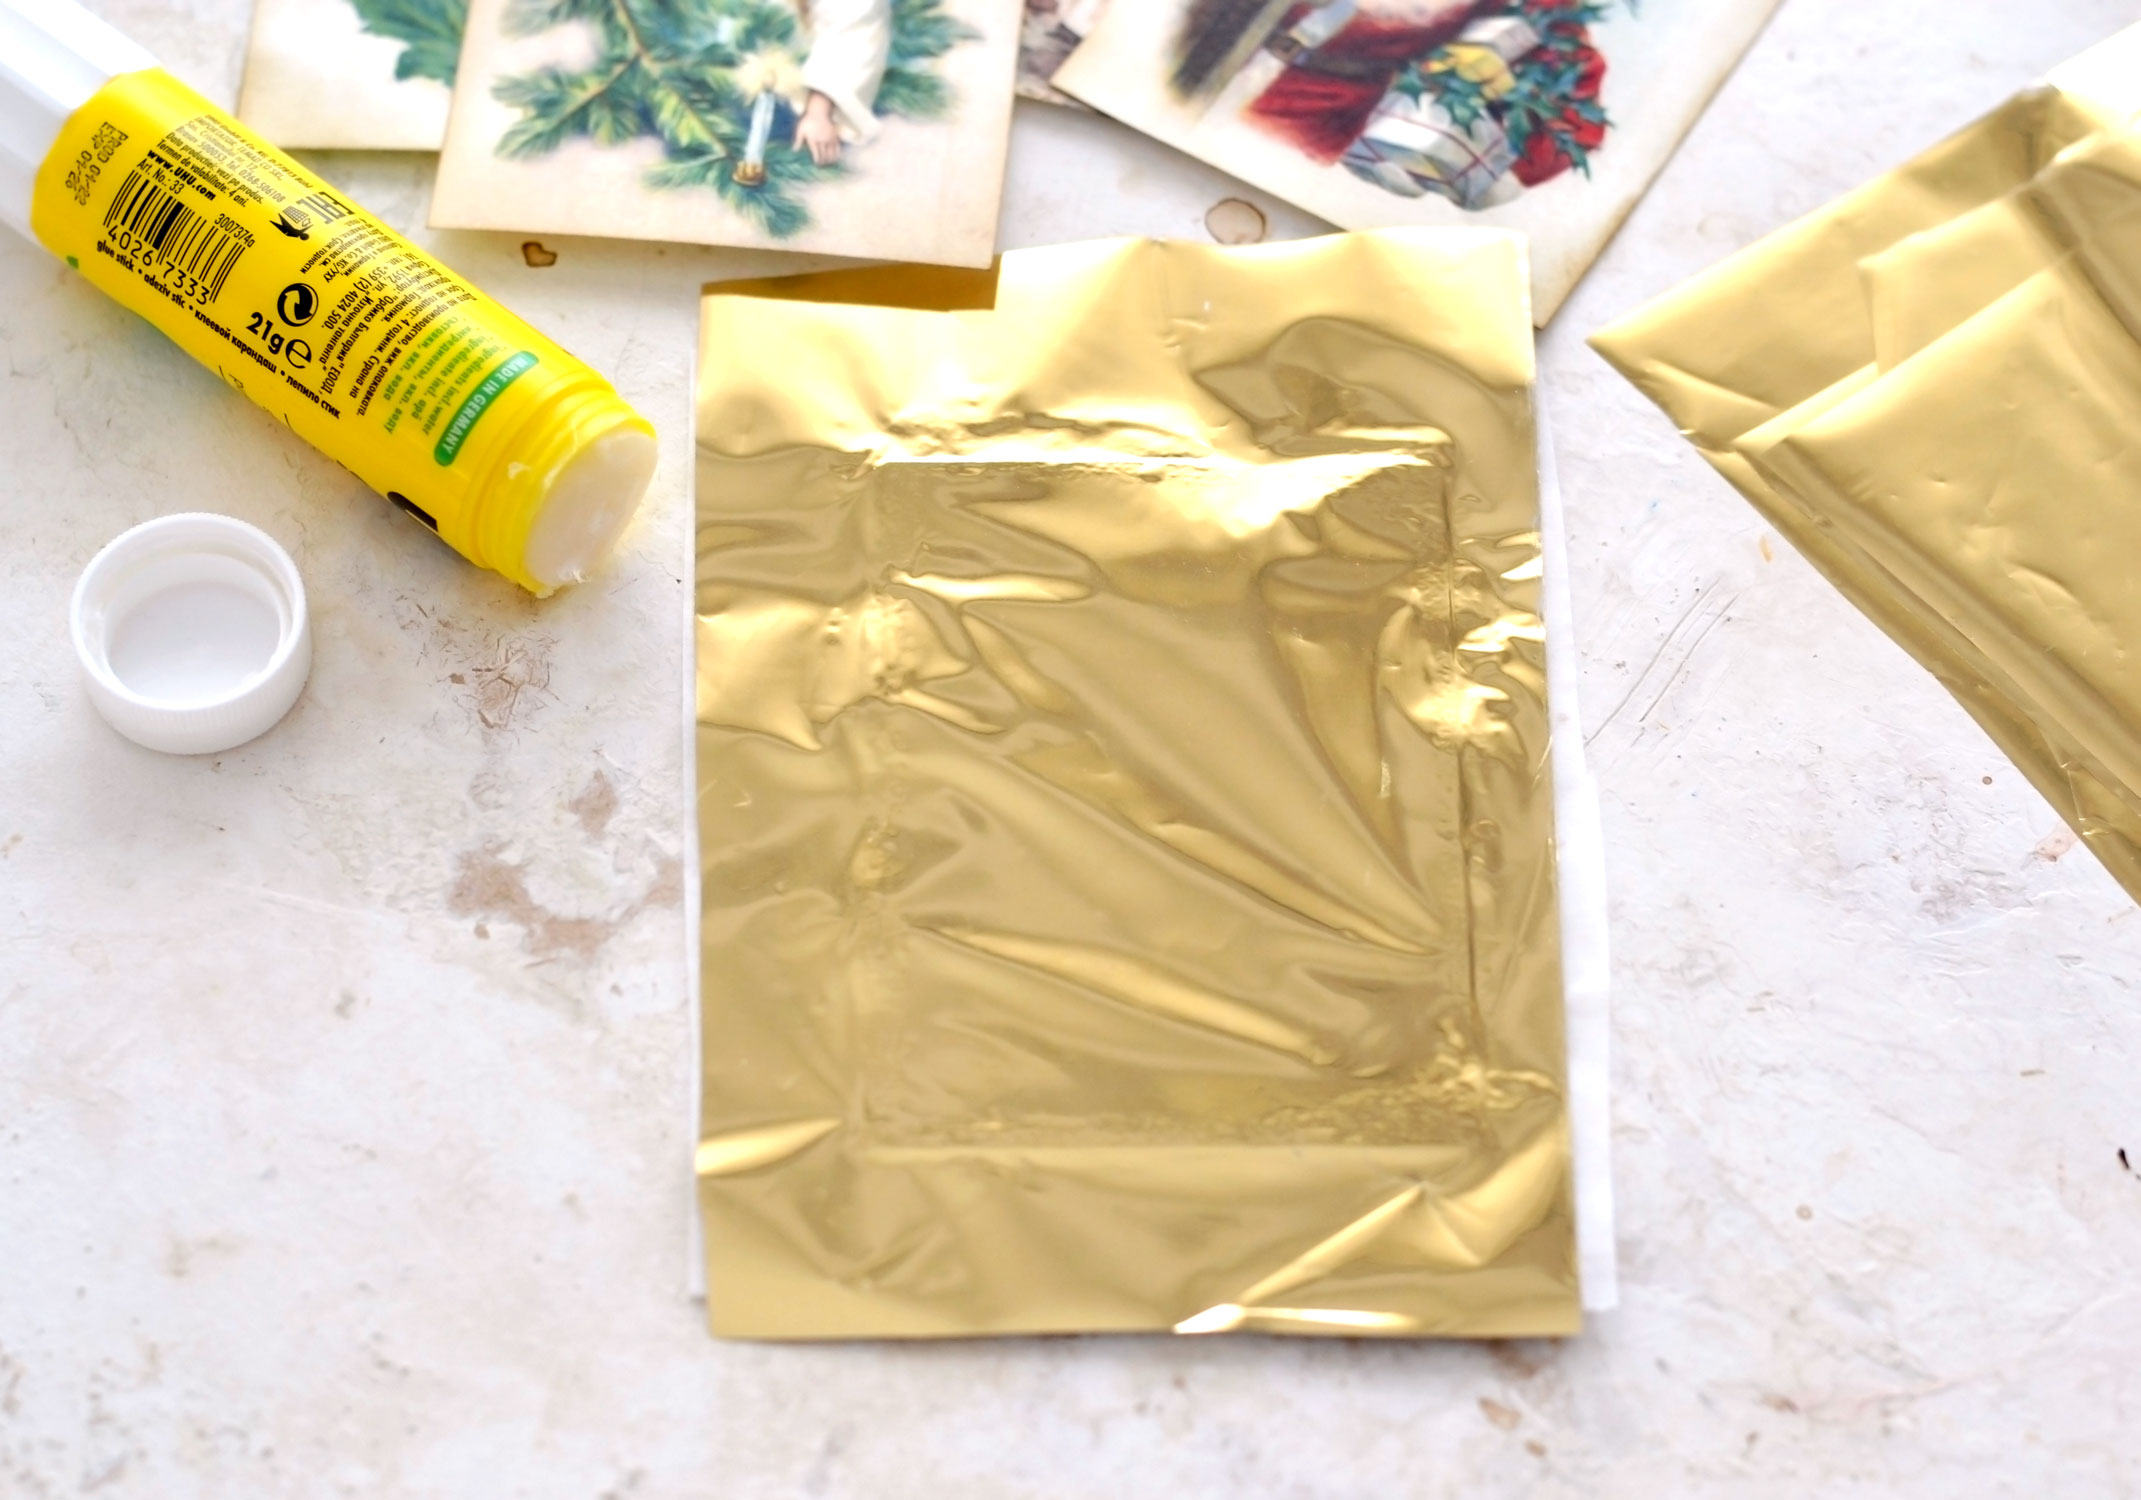
Place the image you want to gild on a piece of parchment paper that is a little bit larger, then go all over the edges with your UHU glue stick. I like to tilt my glue stick so I can completely cover the edges, but it’s OK if some of the glue goes on the parchment. It would be best to practice on a scrap piece of paper first until you get familiar with the amount of glue you need – it has to be enough to cover the edges in a uniform layer. If you put too little, it will dry before the gold foil has the chance to adhere.
Place the gold foil on top, then use your fingers to gradually press all around the edges. It would be best to press by dabbing one area with your fingers, then gradually moving on to the next area. You need to apply enough pressure so that the gold foil adheres to the glue! If you look closely at the image below, you will be able to see the adhered areas on the edges.
Depending on how much glue you added, the drying time might take a few seconds or a few minutes. If working in larger batches, it would be best to cut pieces of parchment paper for all the images you want to gild then let them dry on the parchment until you finish them all.
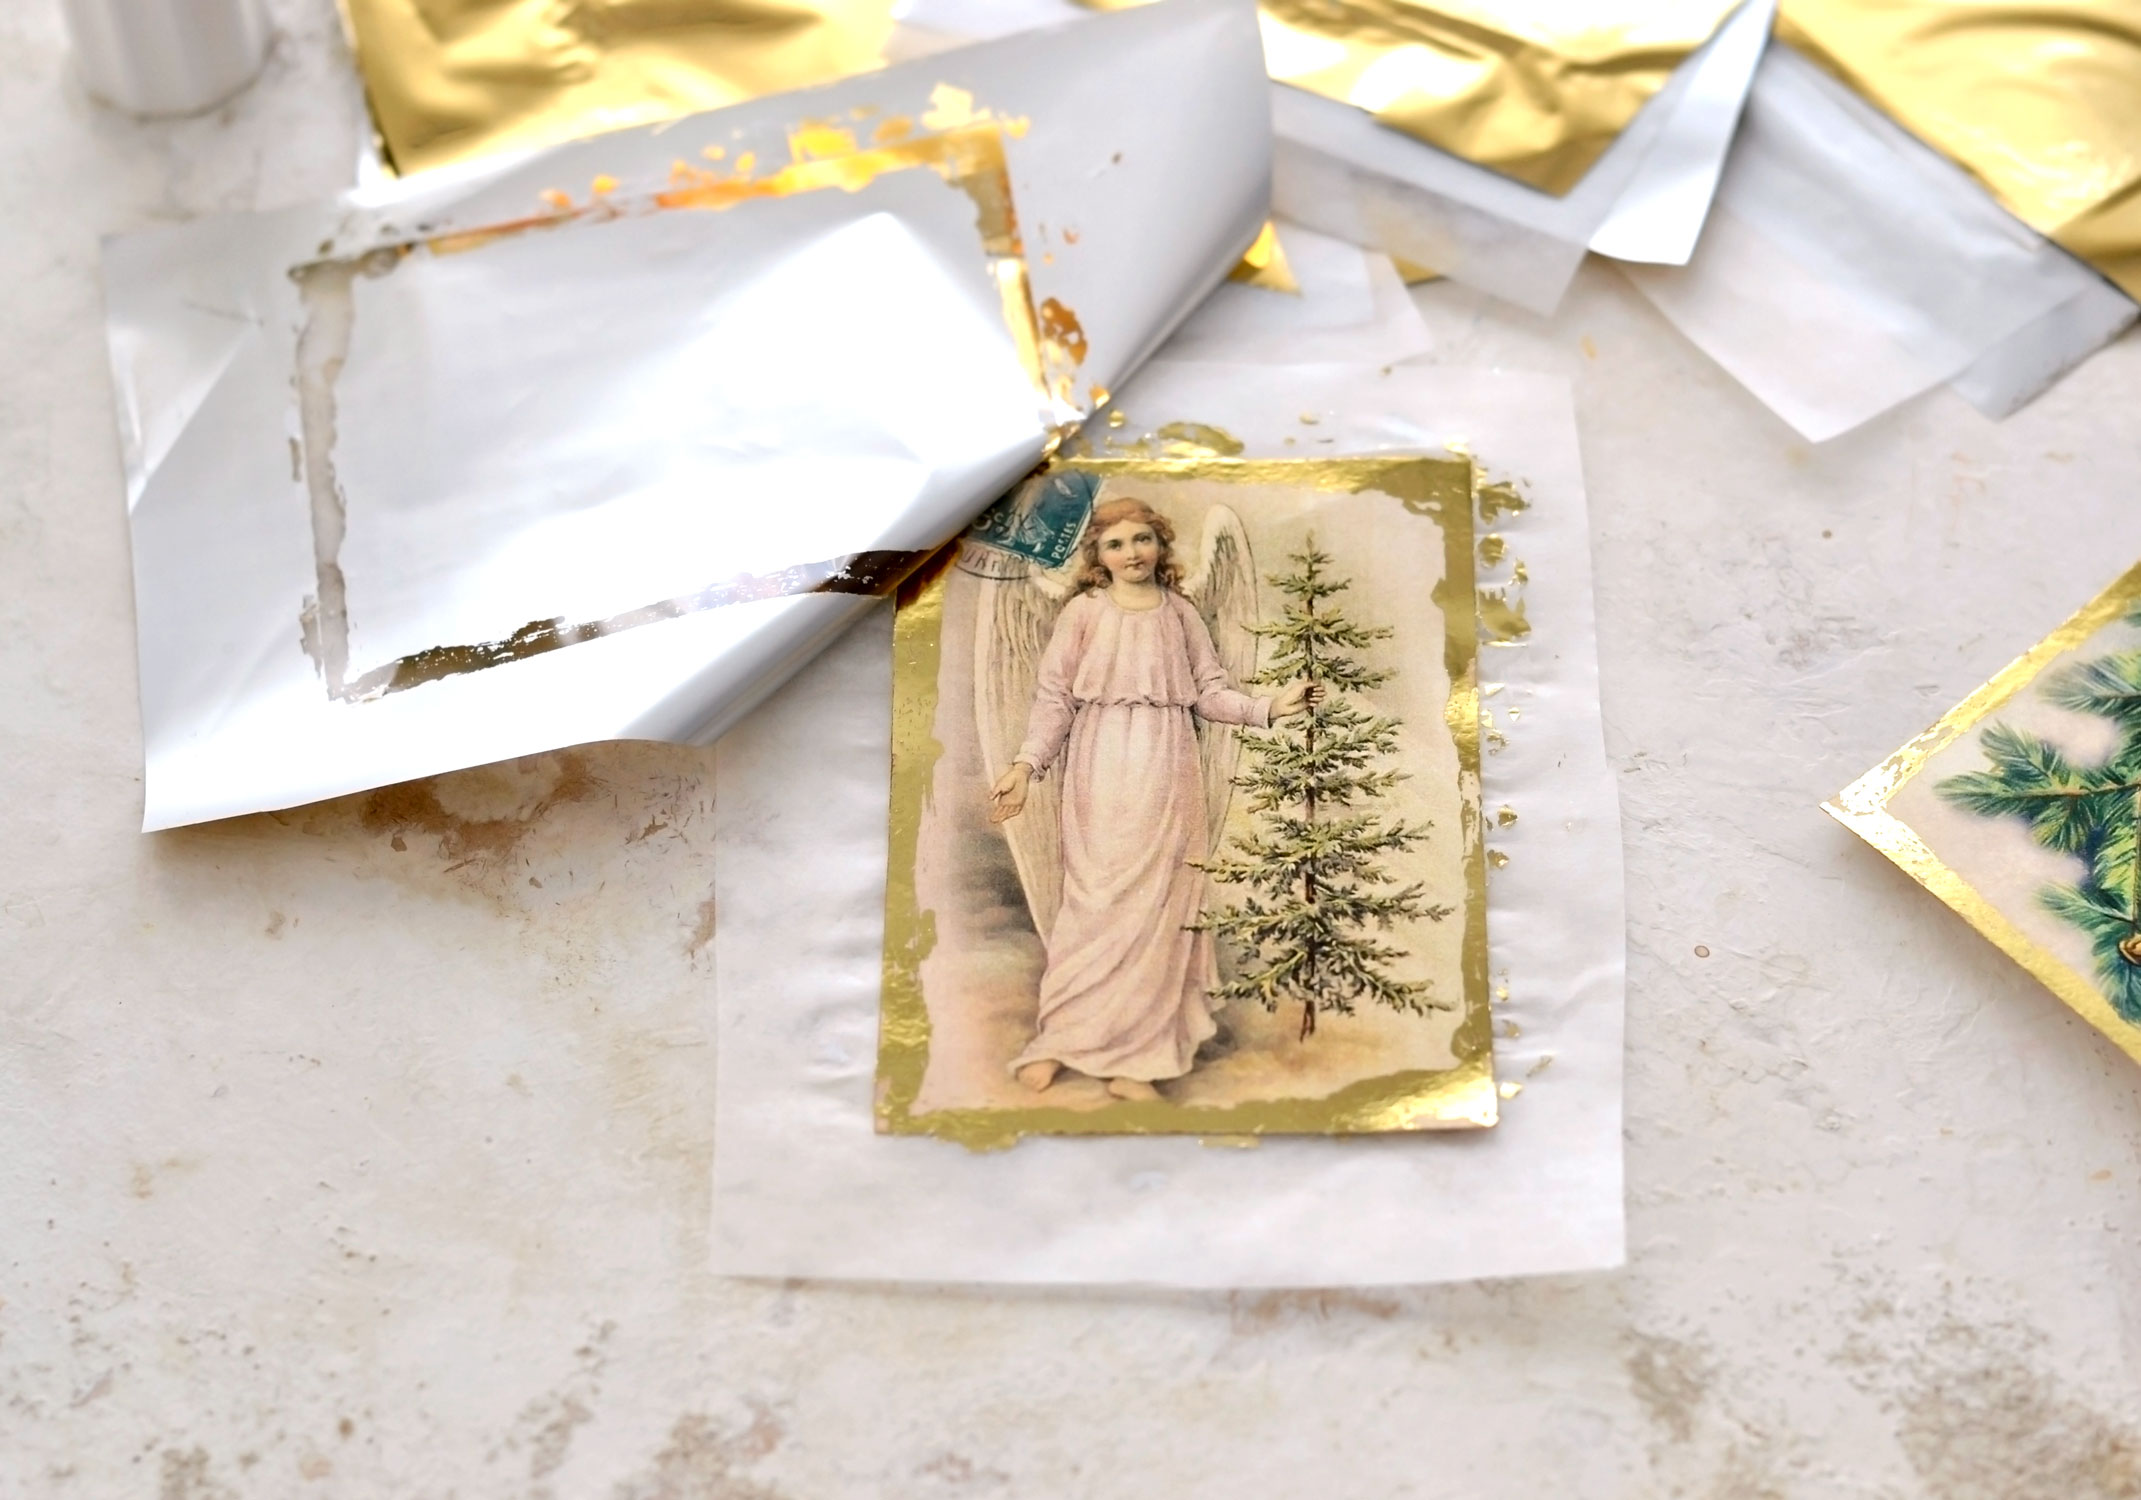
After a few minutes, gradually unpeel the gold foil from the paper and just watch the magic happen! This step is one of my favorites too, as you can see we can make a perfectly-imperfect gilded edge in no time. It’s really easy!
Unpeel the other images while enjoying the gold foil reveal! The parchment paper is really important here, it will help us not to make a gluey mess on our table! Don’t worry if some of the glue gets under the image, the cardstock won’t stick to the parchment!
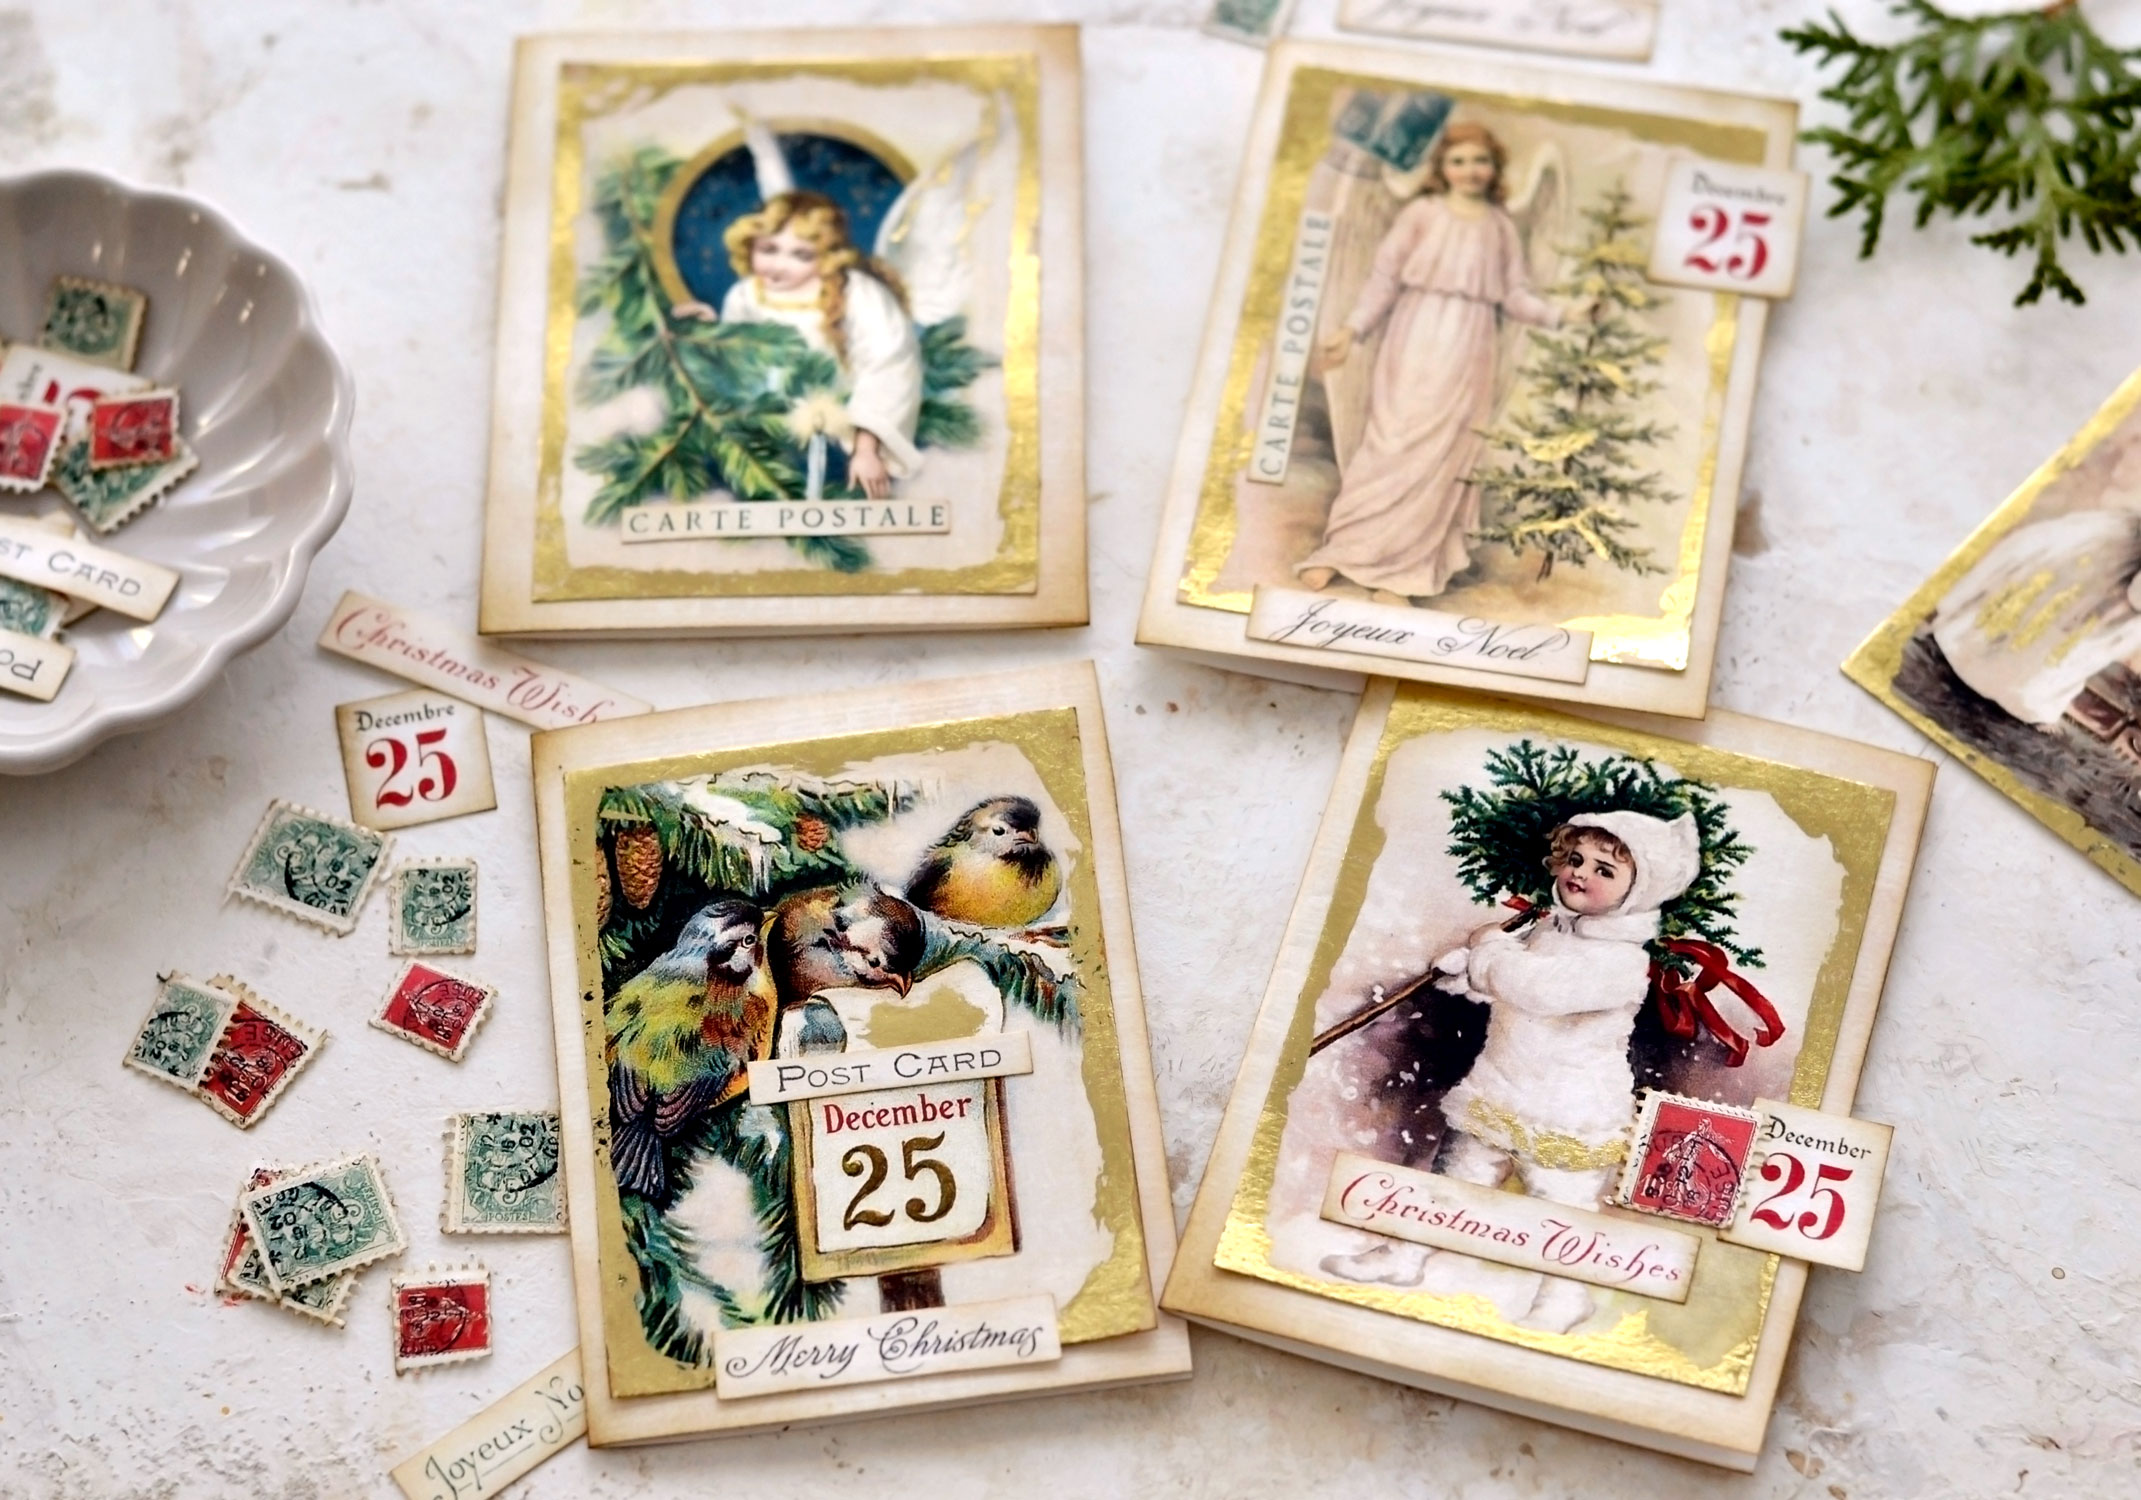
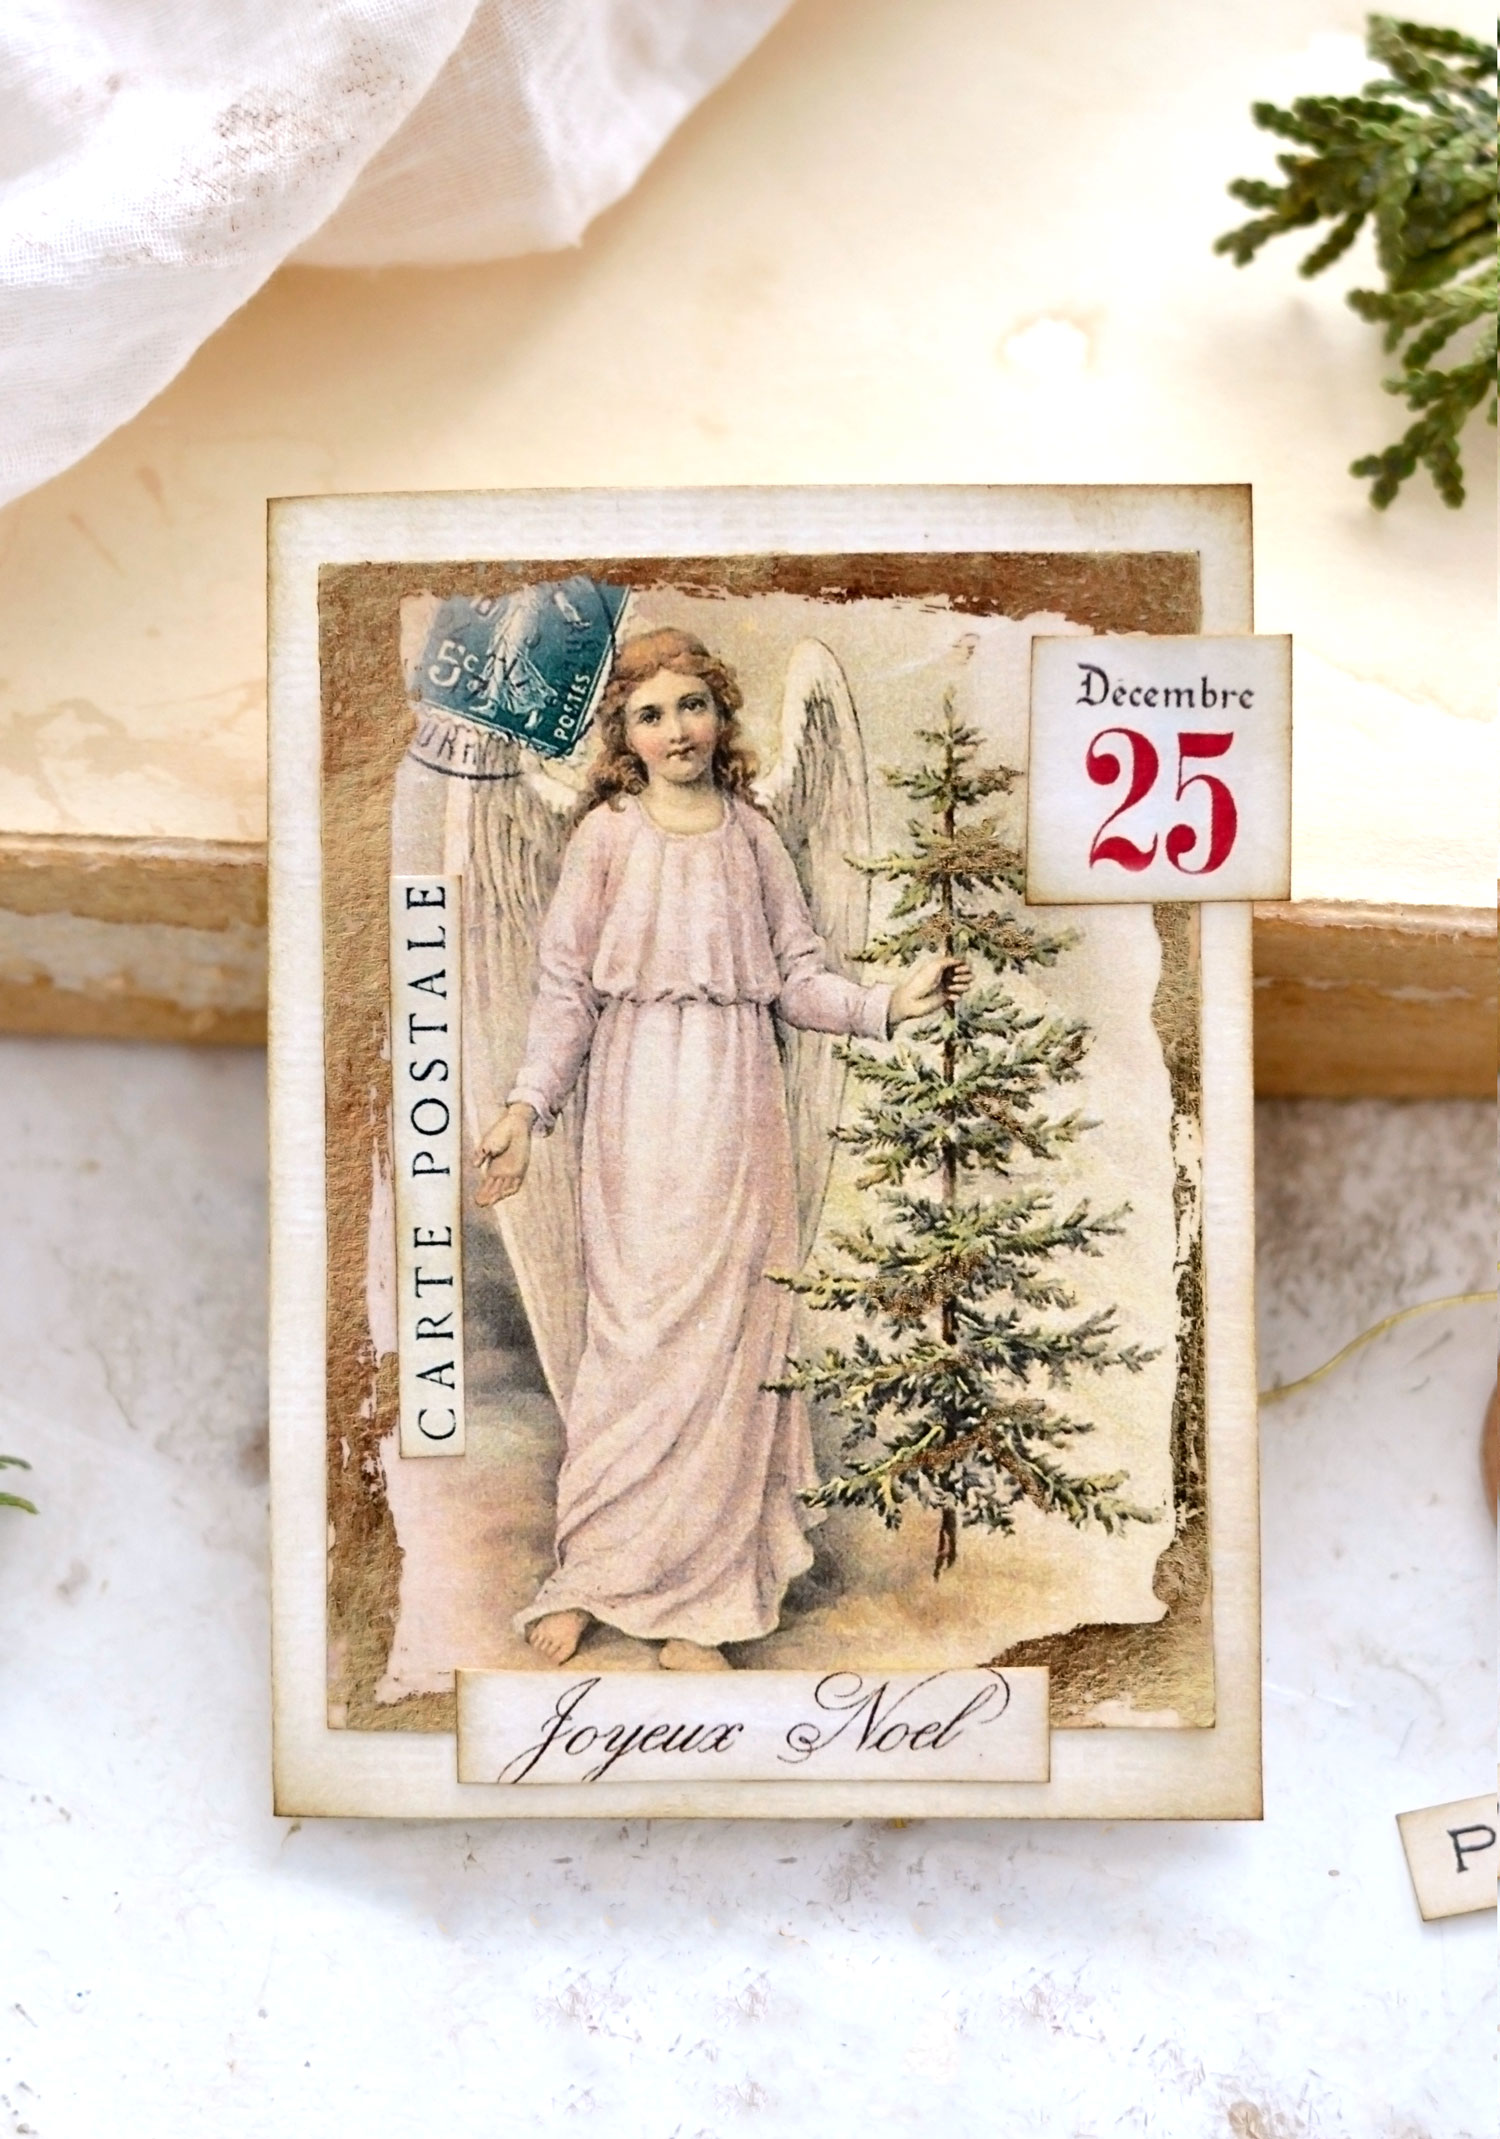
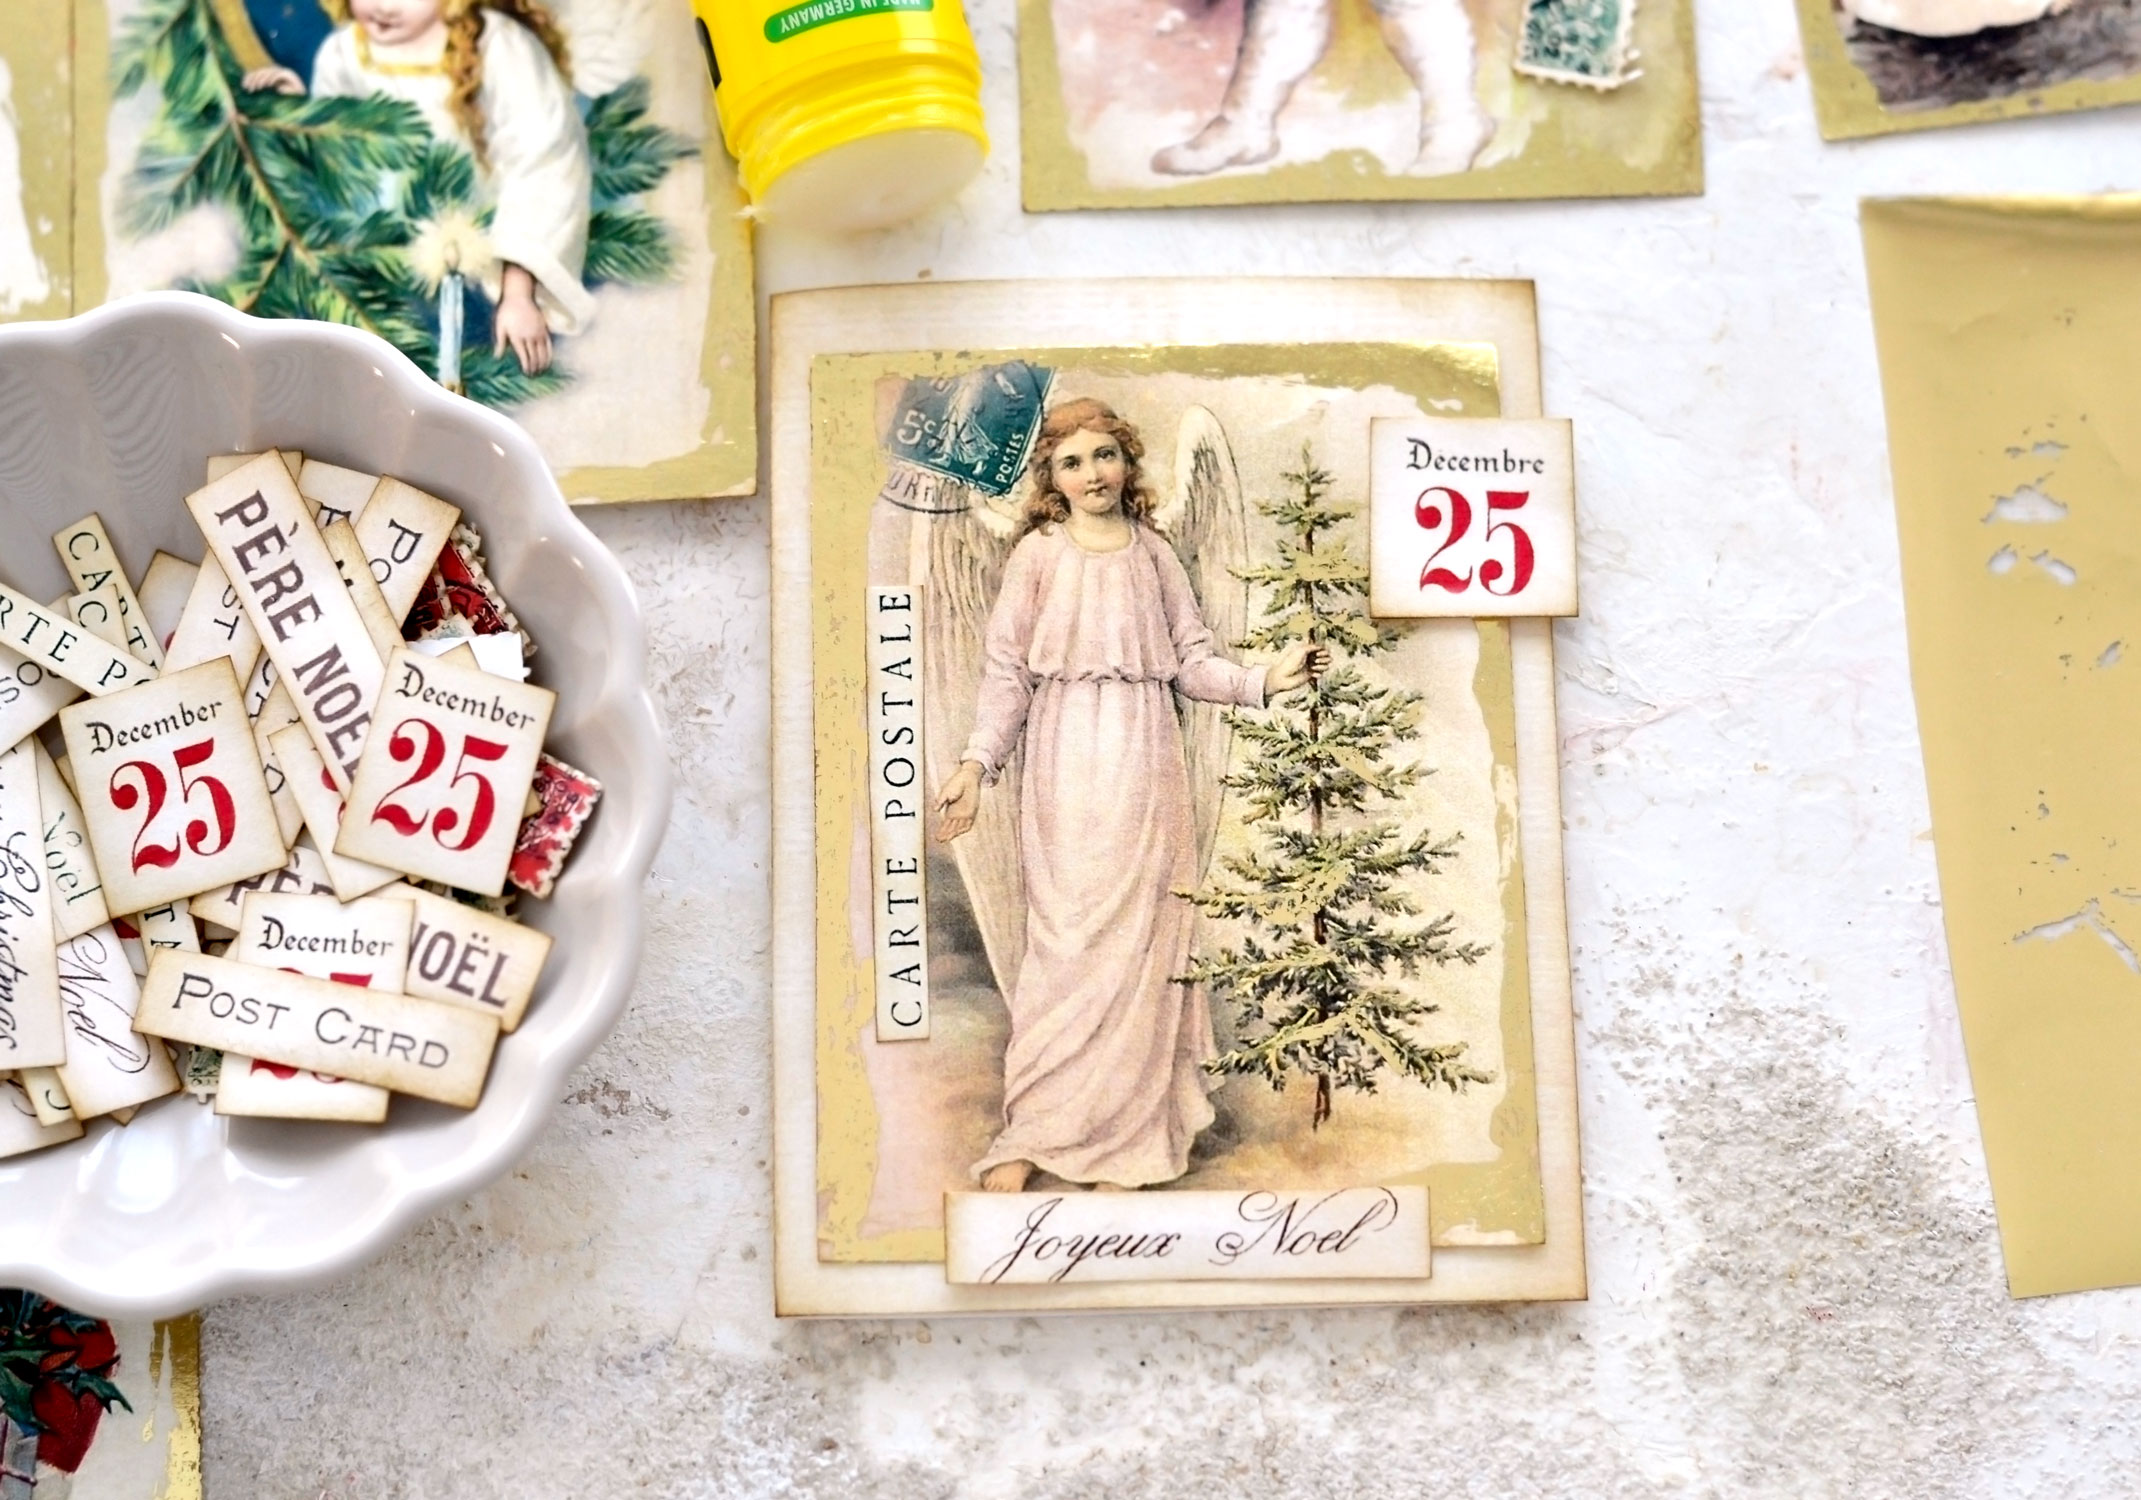
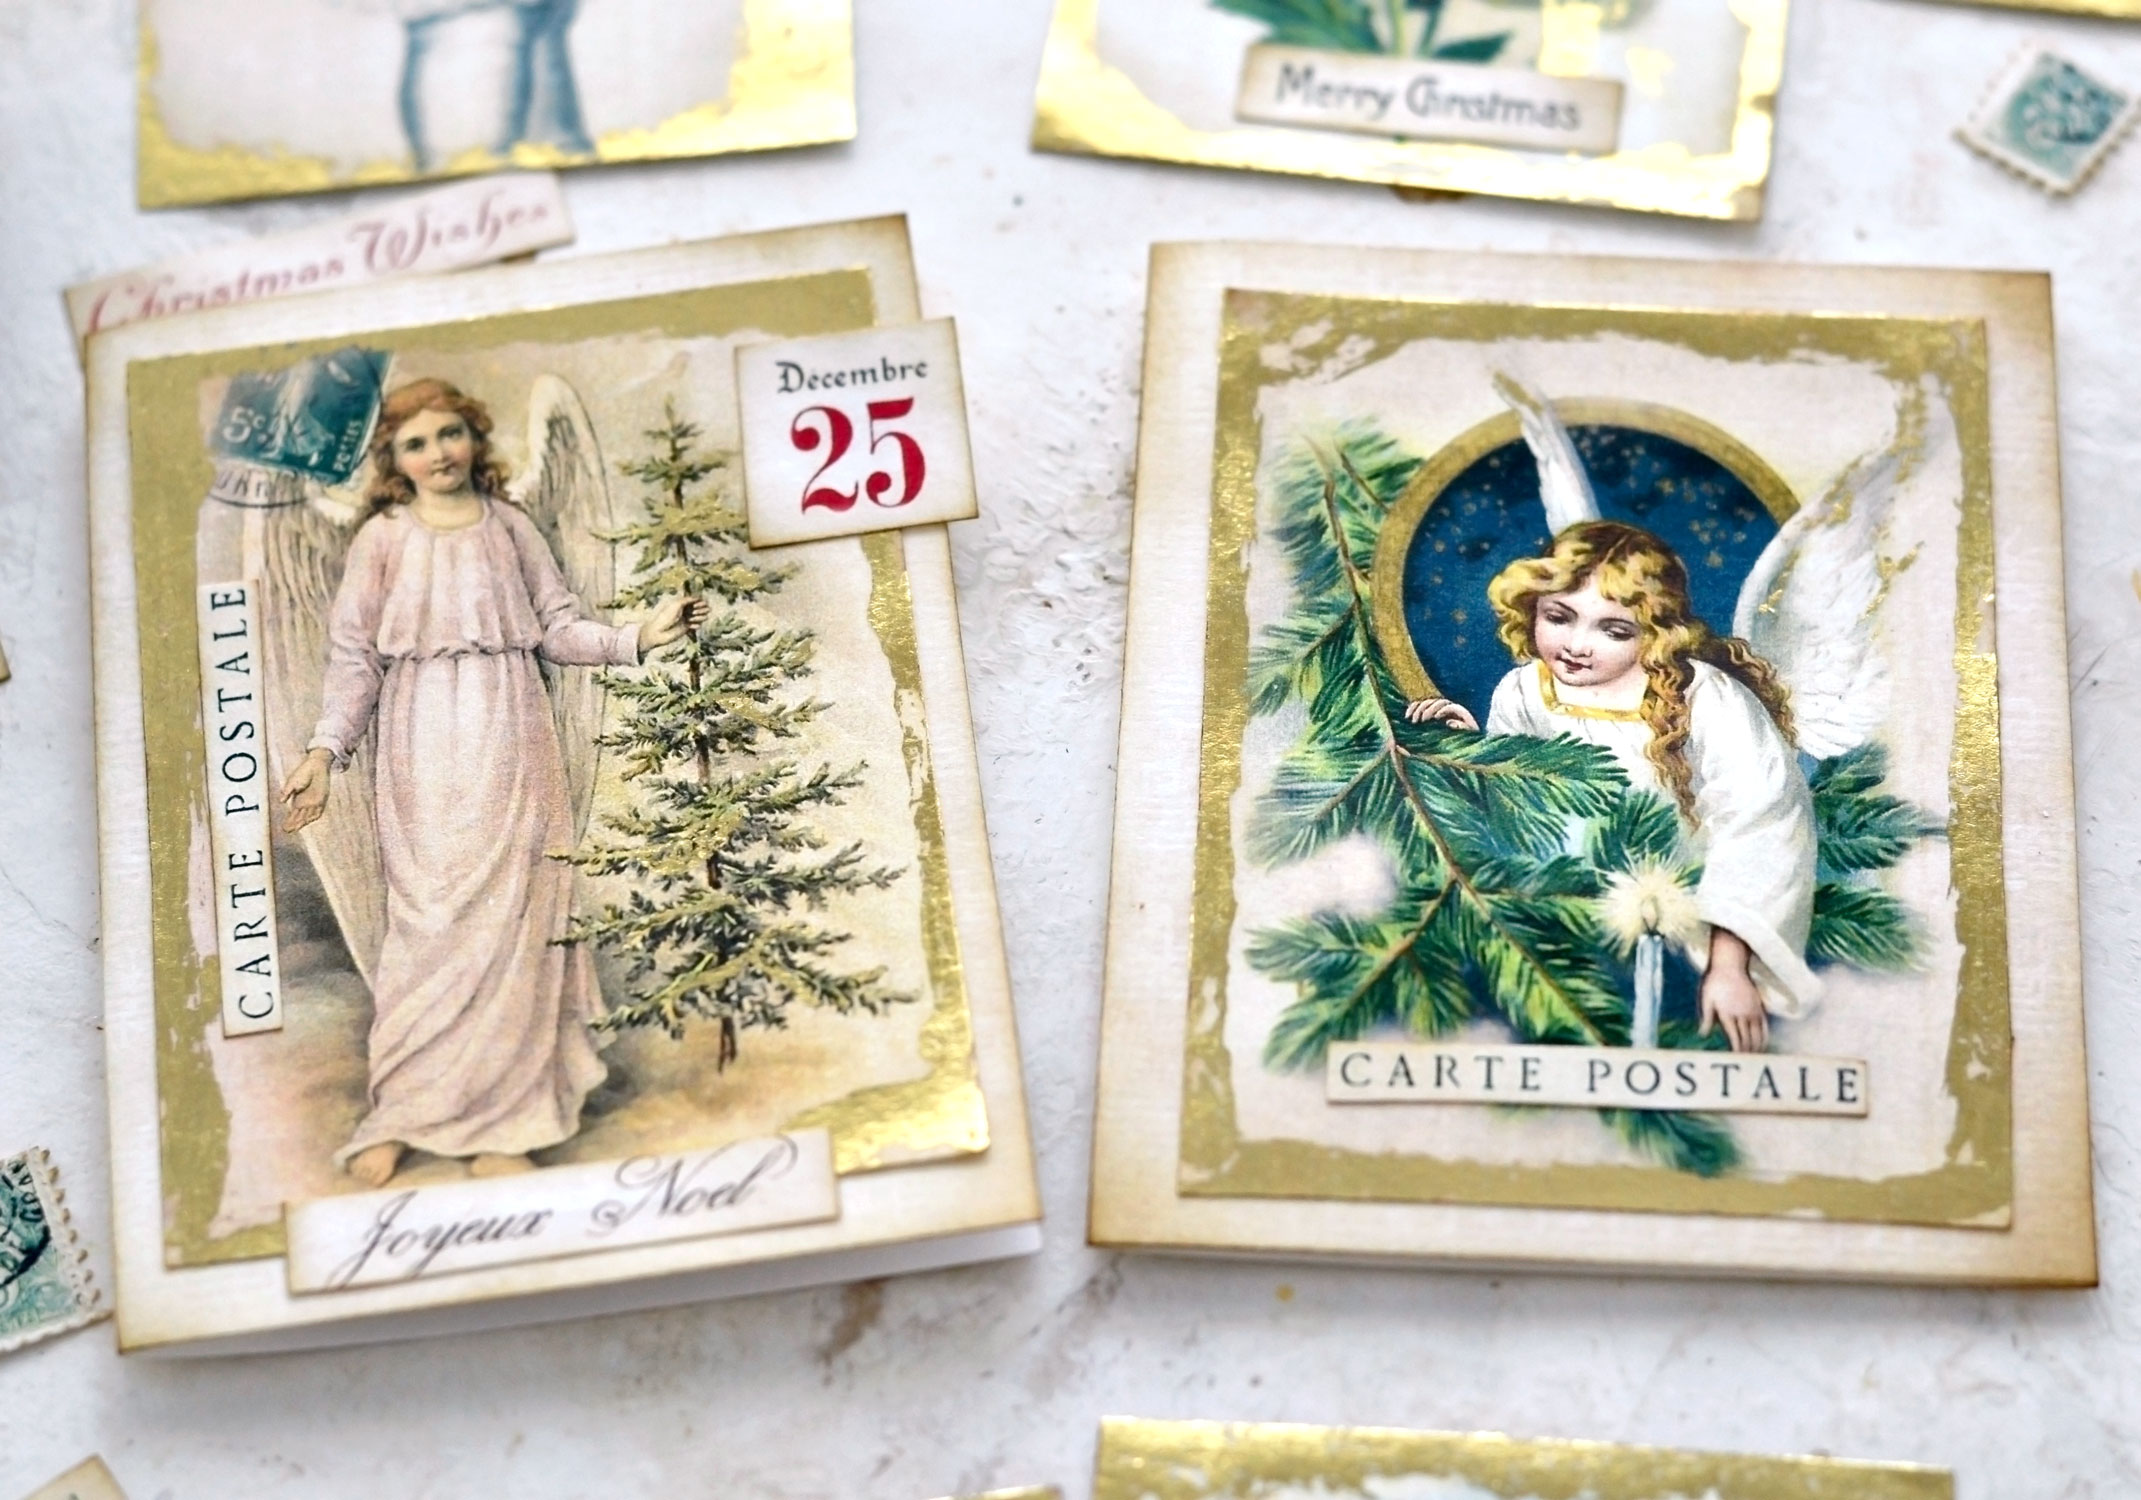
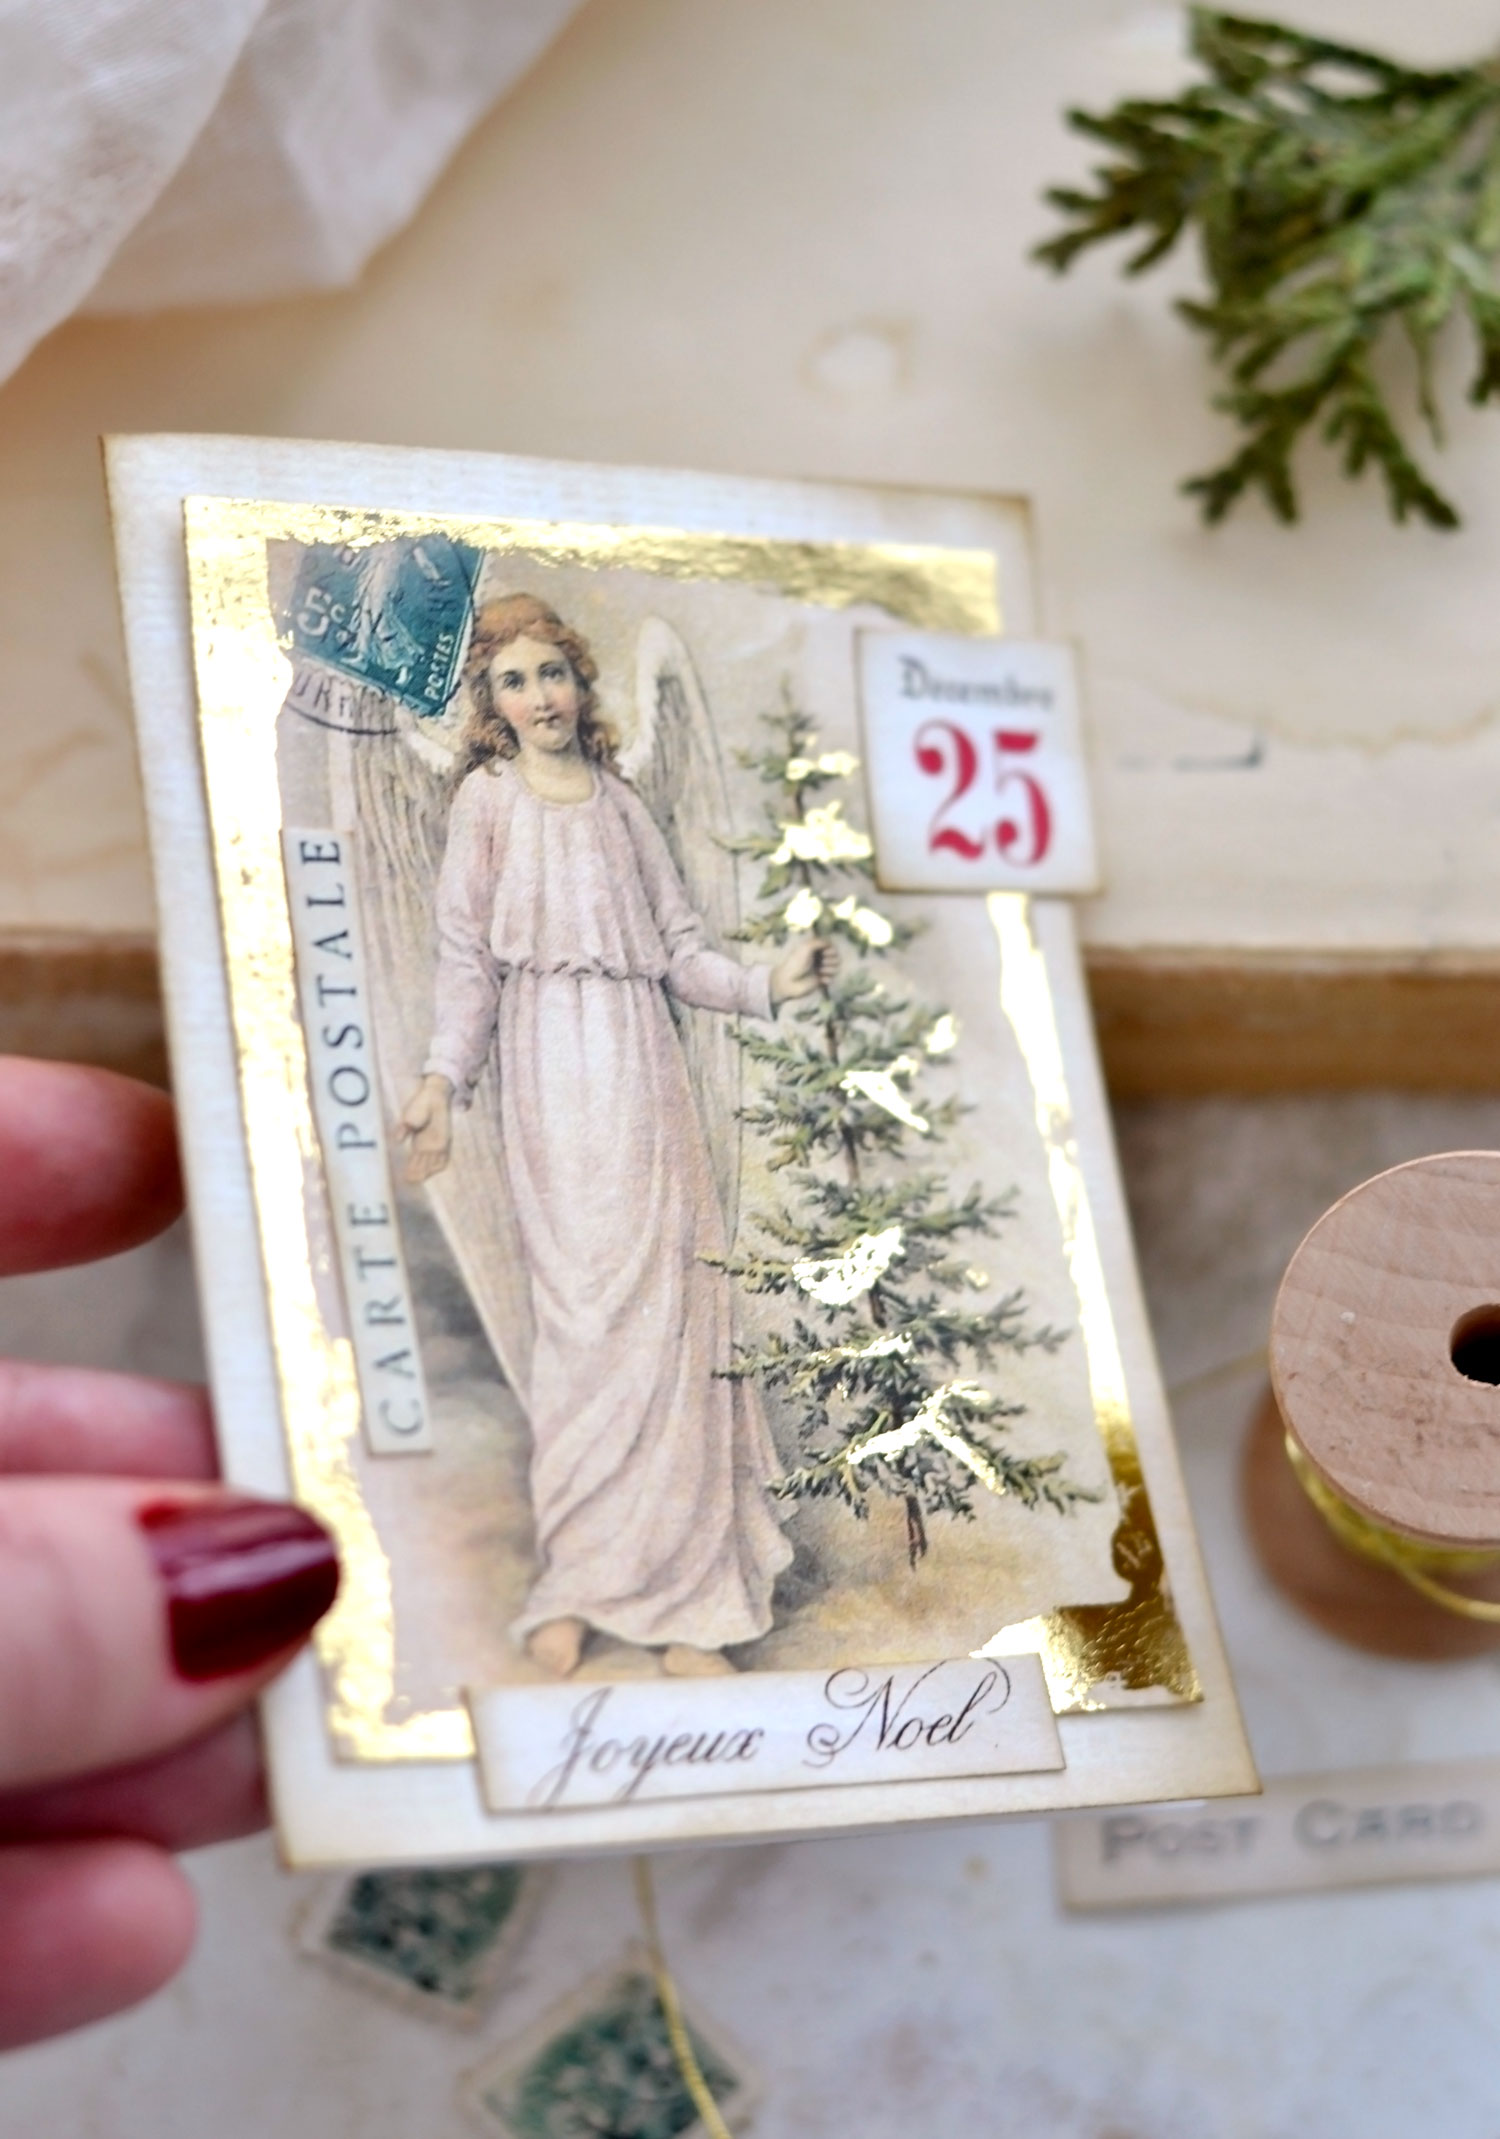
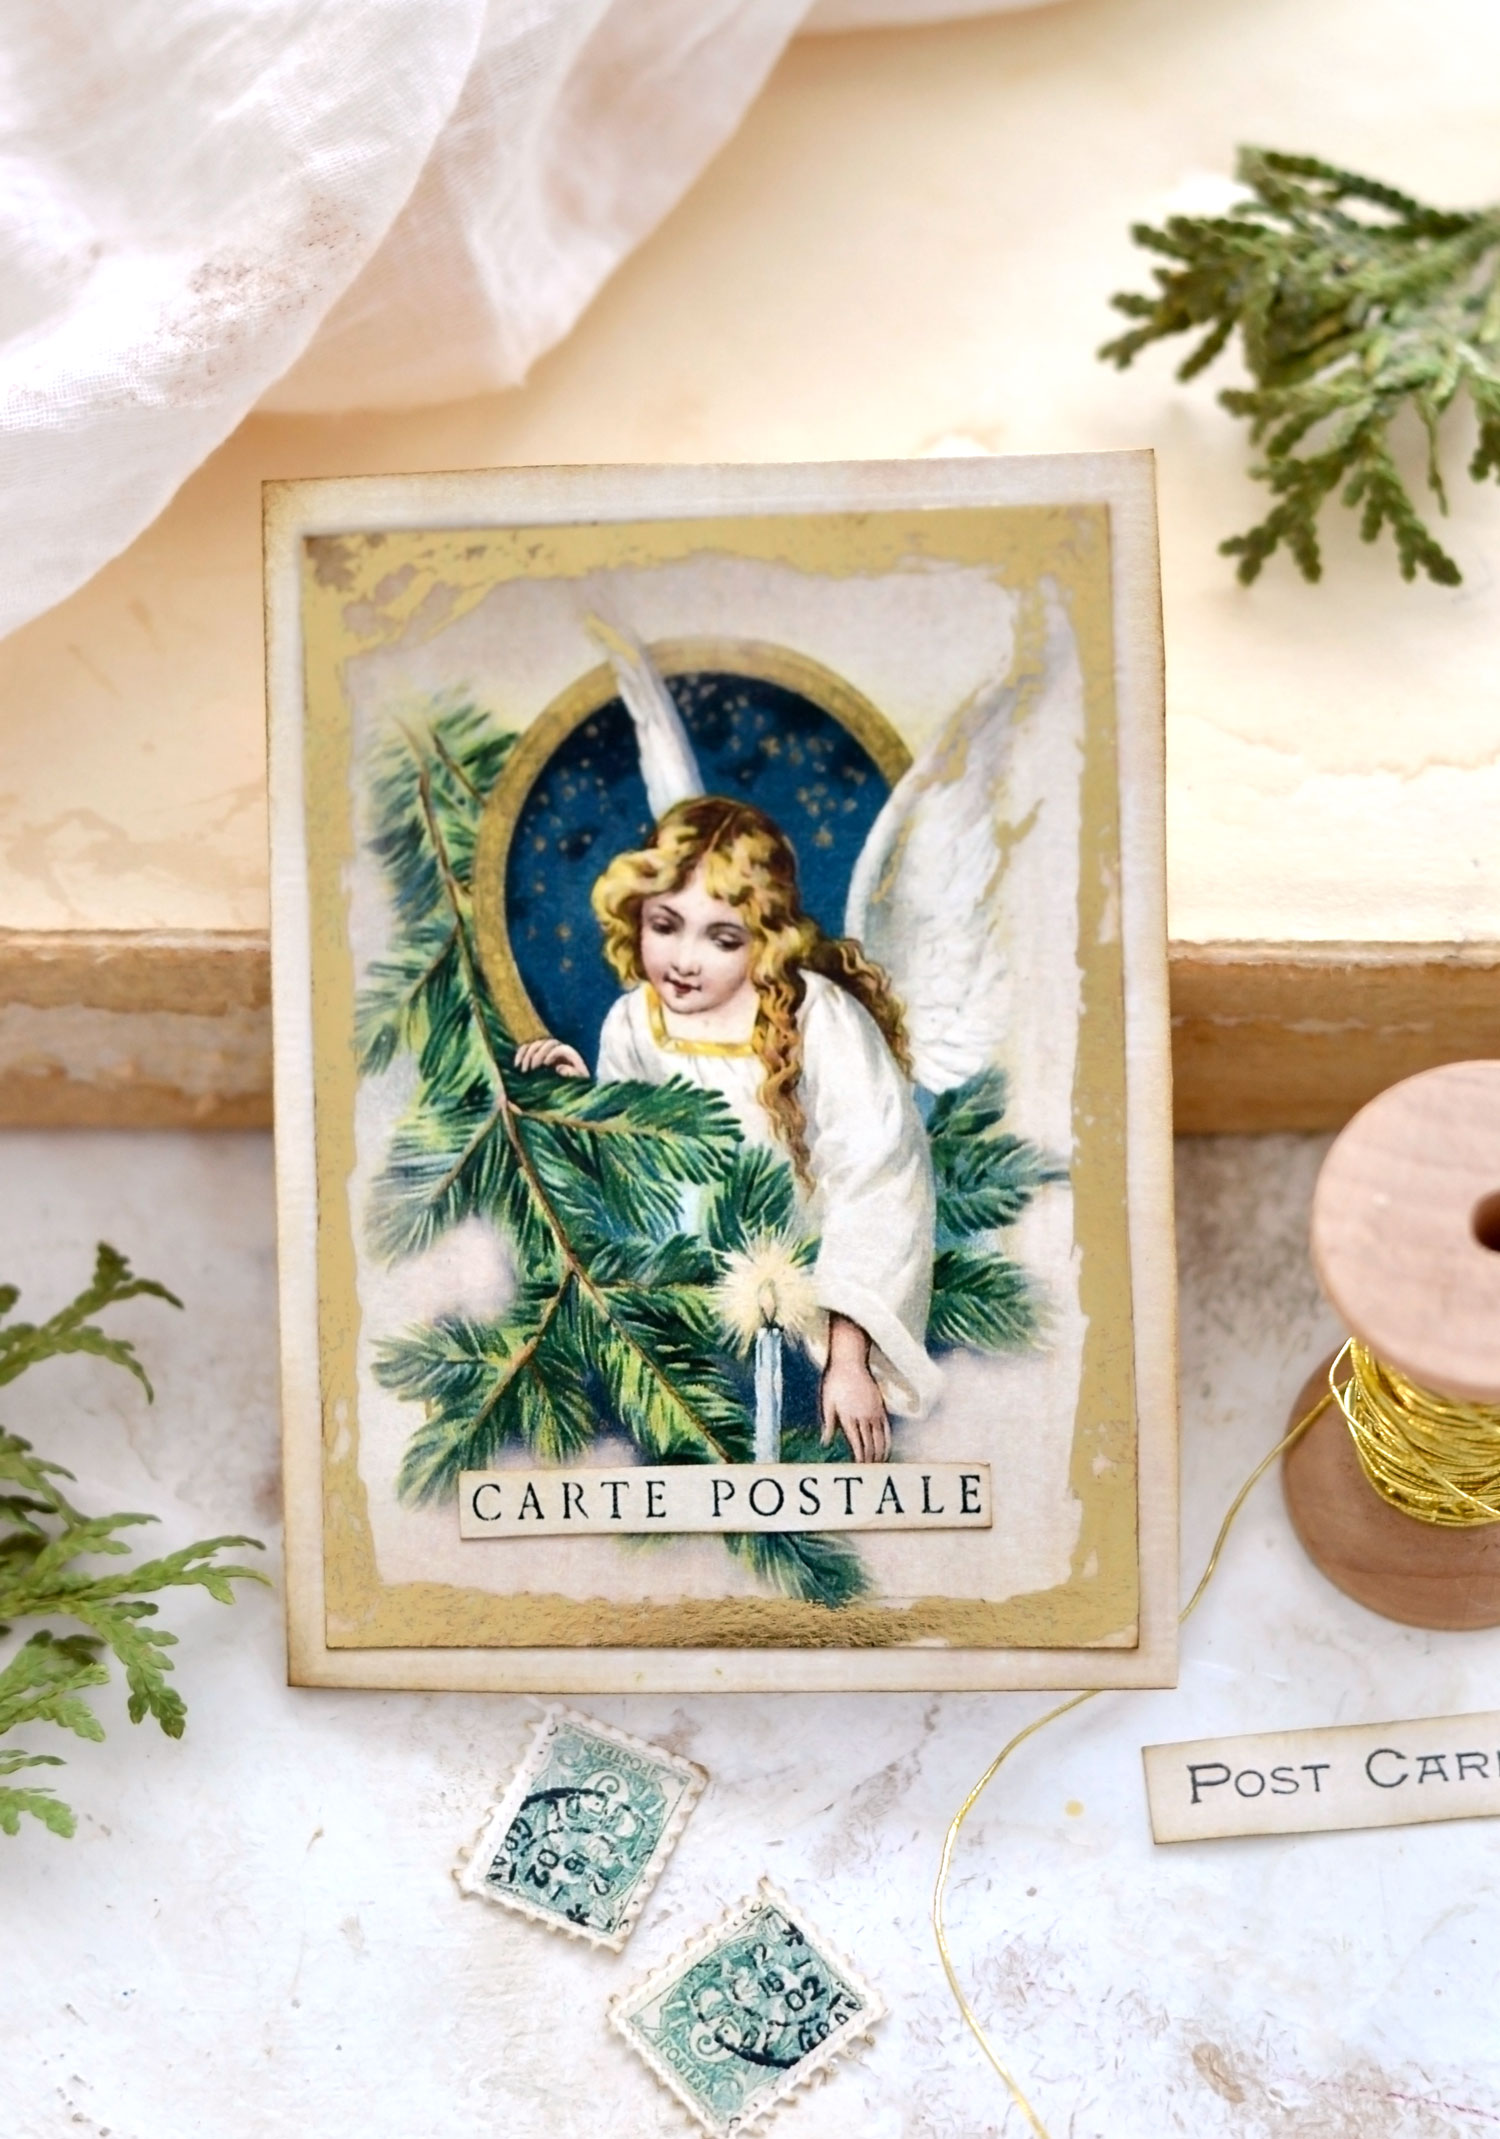
Use some more glue, but this time use it to actually adhere the gilded image to the base card. Mix and match the other embellishments as you want, as you can see I added the French version of the ’25 December’ element a little bit outside the edges of the card to create some sort of a tab. I also added the ‘Carte Postale’ and the ‘Joyeux Noel’ elements on this Angel with a Christmas tree card.
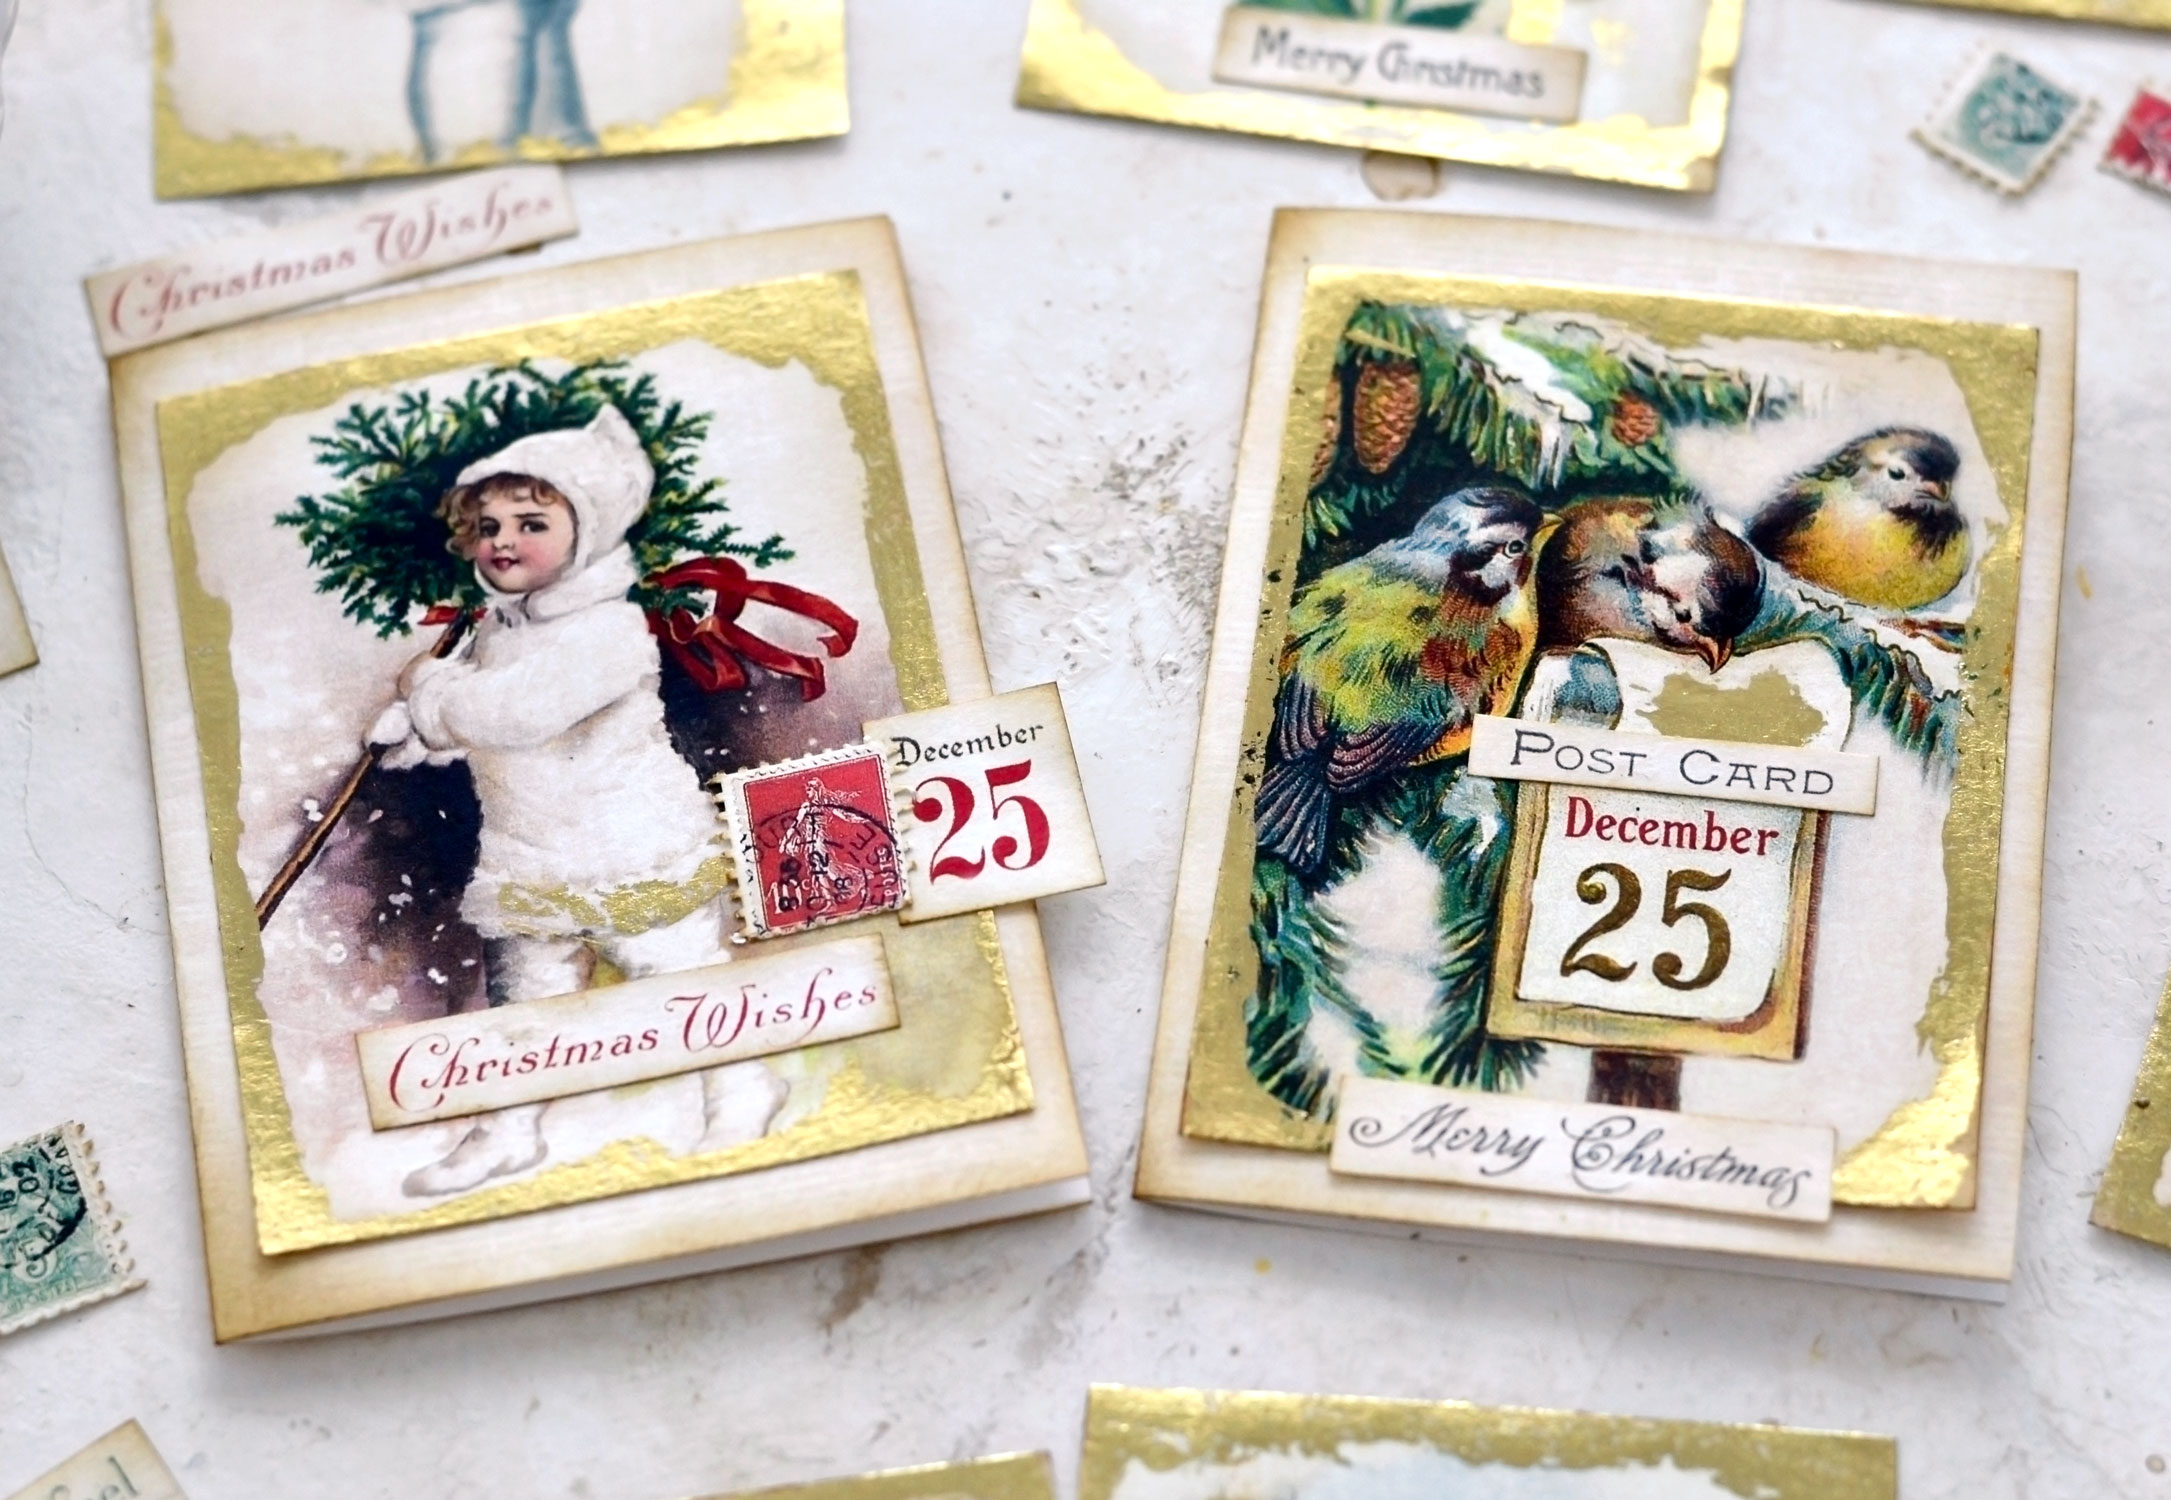
Put your imagination to work and use the images, the card base and the embellishments to create English or French versions of the handmade Christmas card ideas!
You can add as many elements as you want, depending on your inspiration for the moment.
If you are not making cards with all the images, you can either keep everything close by as separate elements for when in need or you can create some Christmas clusters using the images and the small embellishments!
If you want, you can use some more glue and gold foil to add some other gold touches here and there.
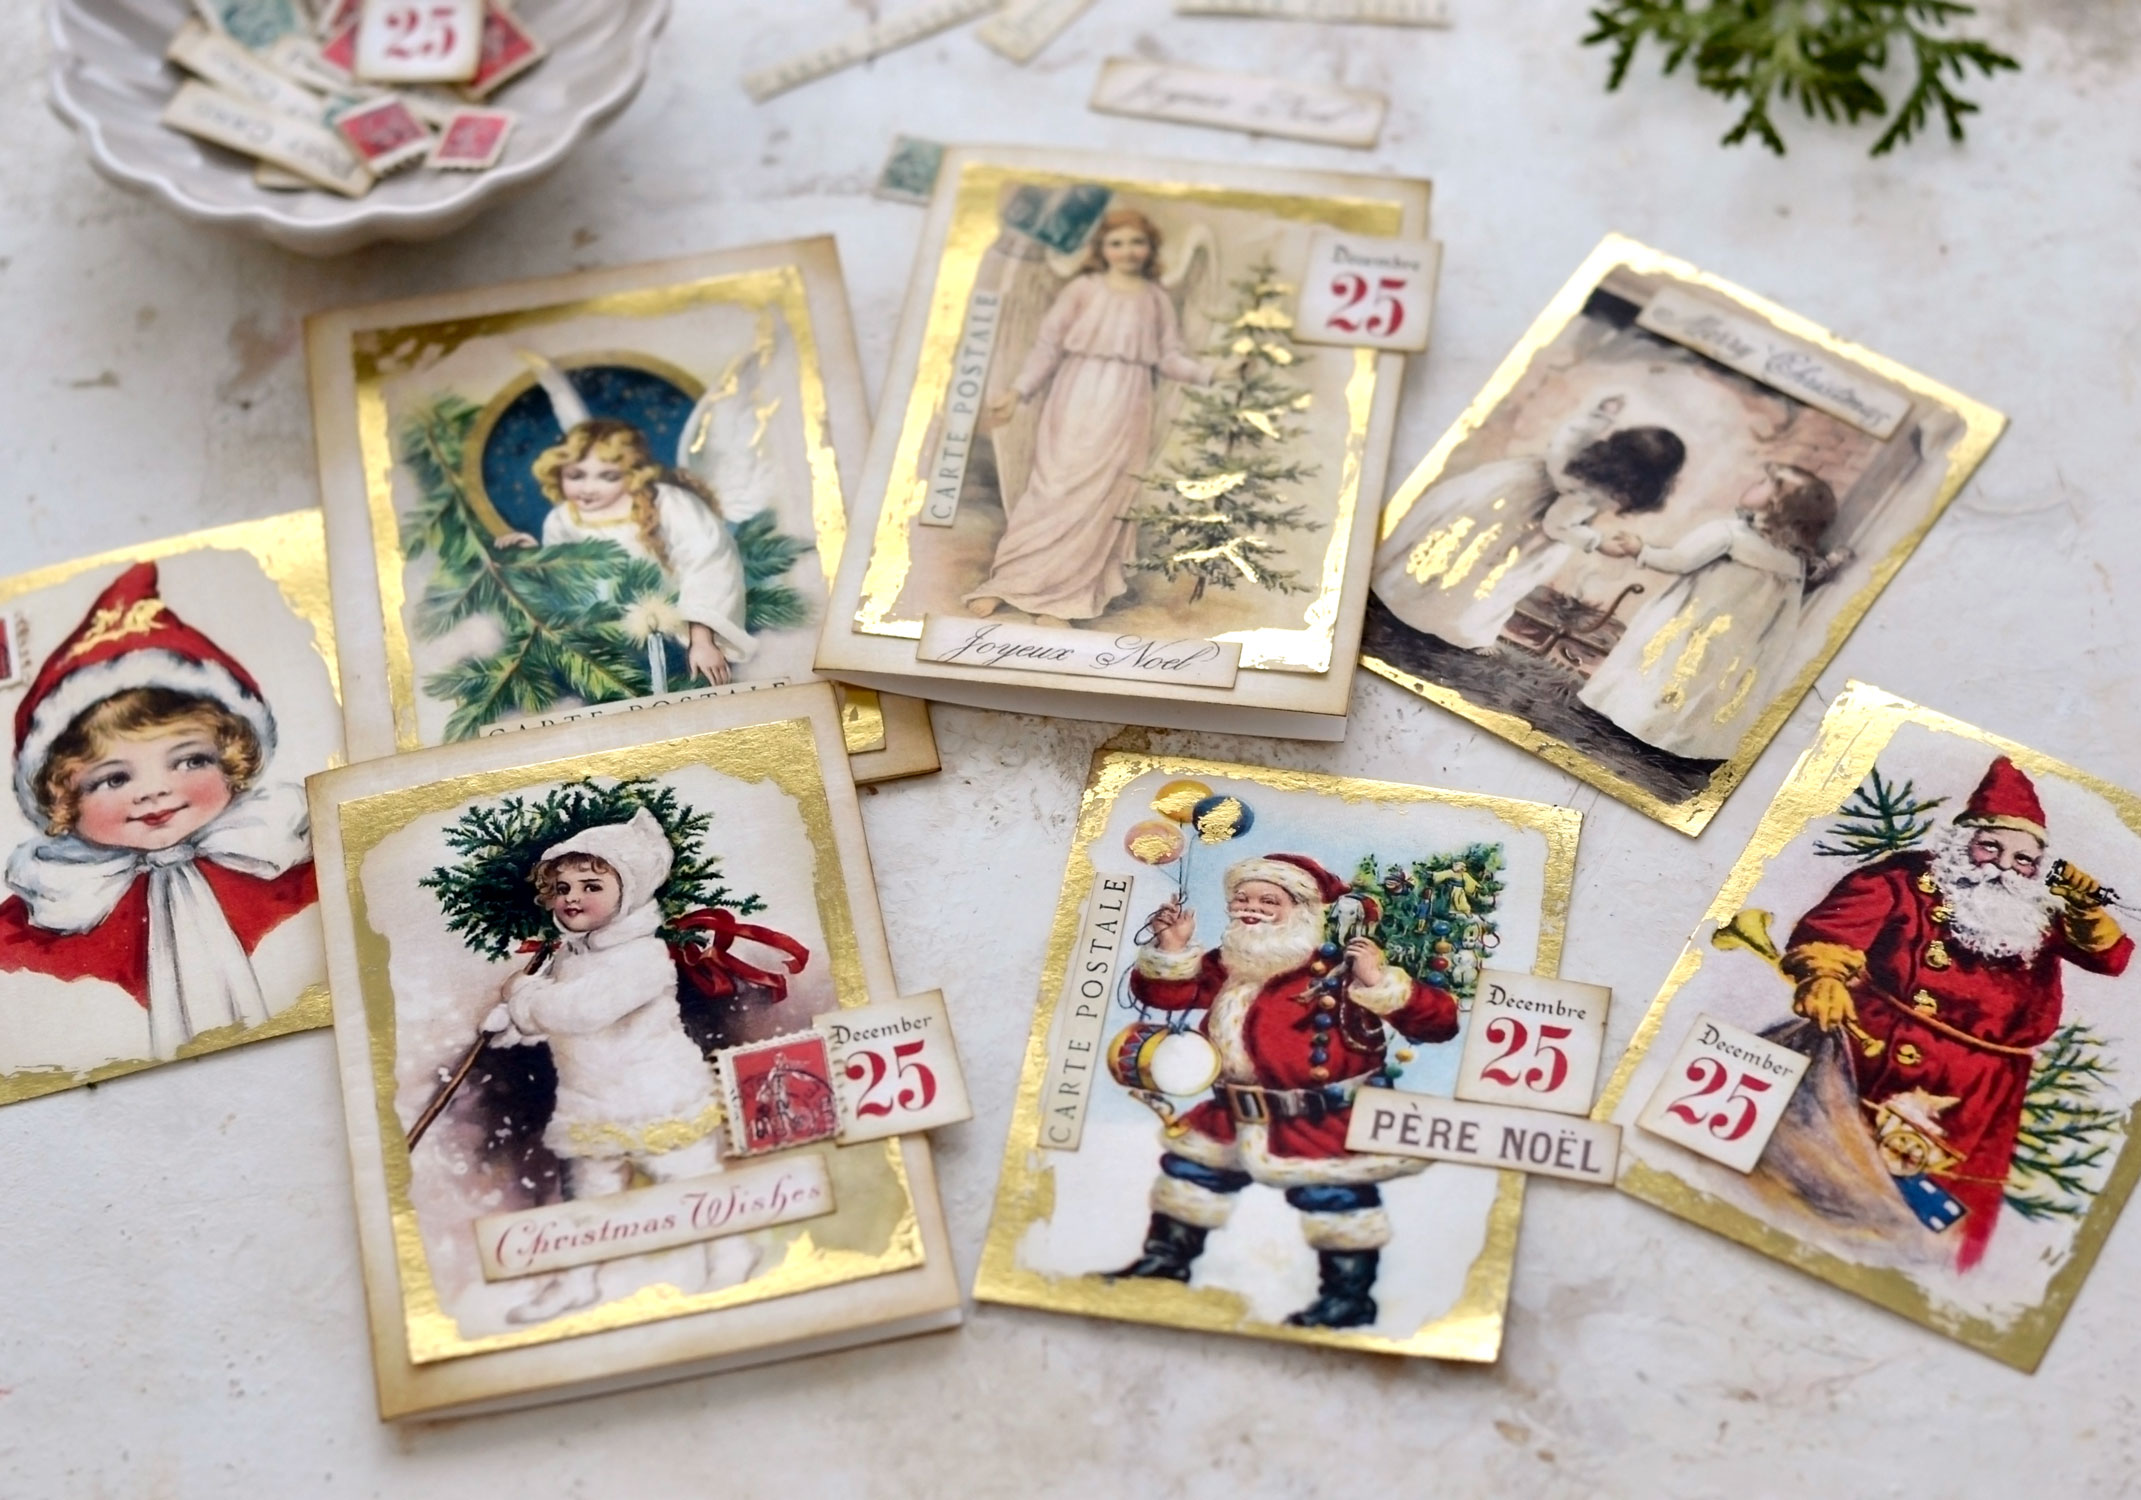
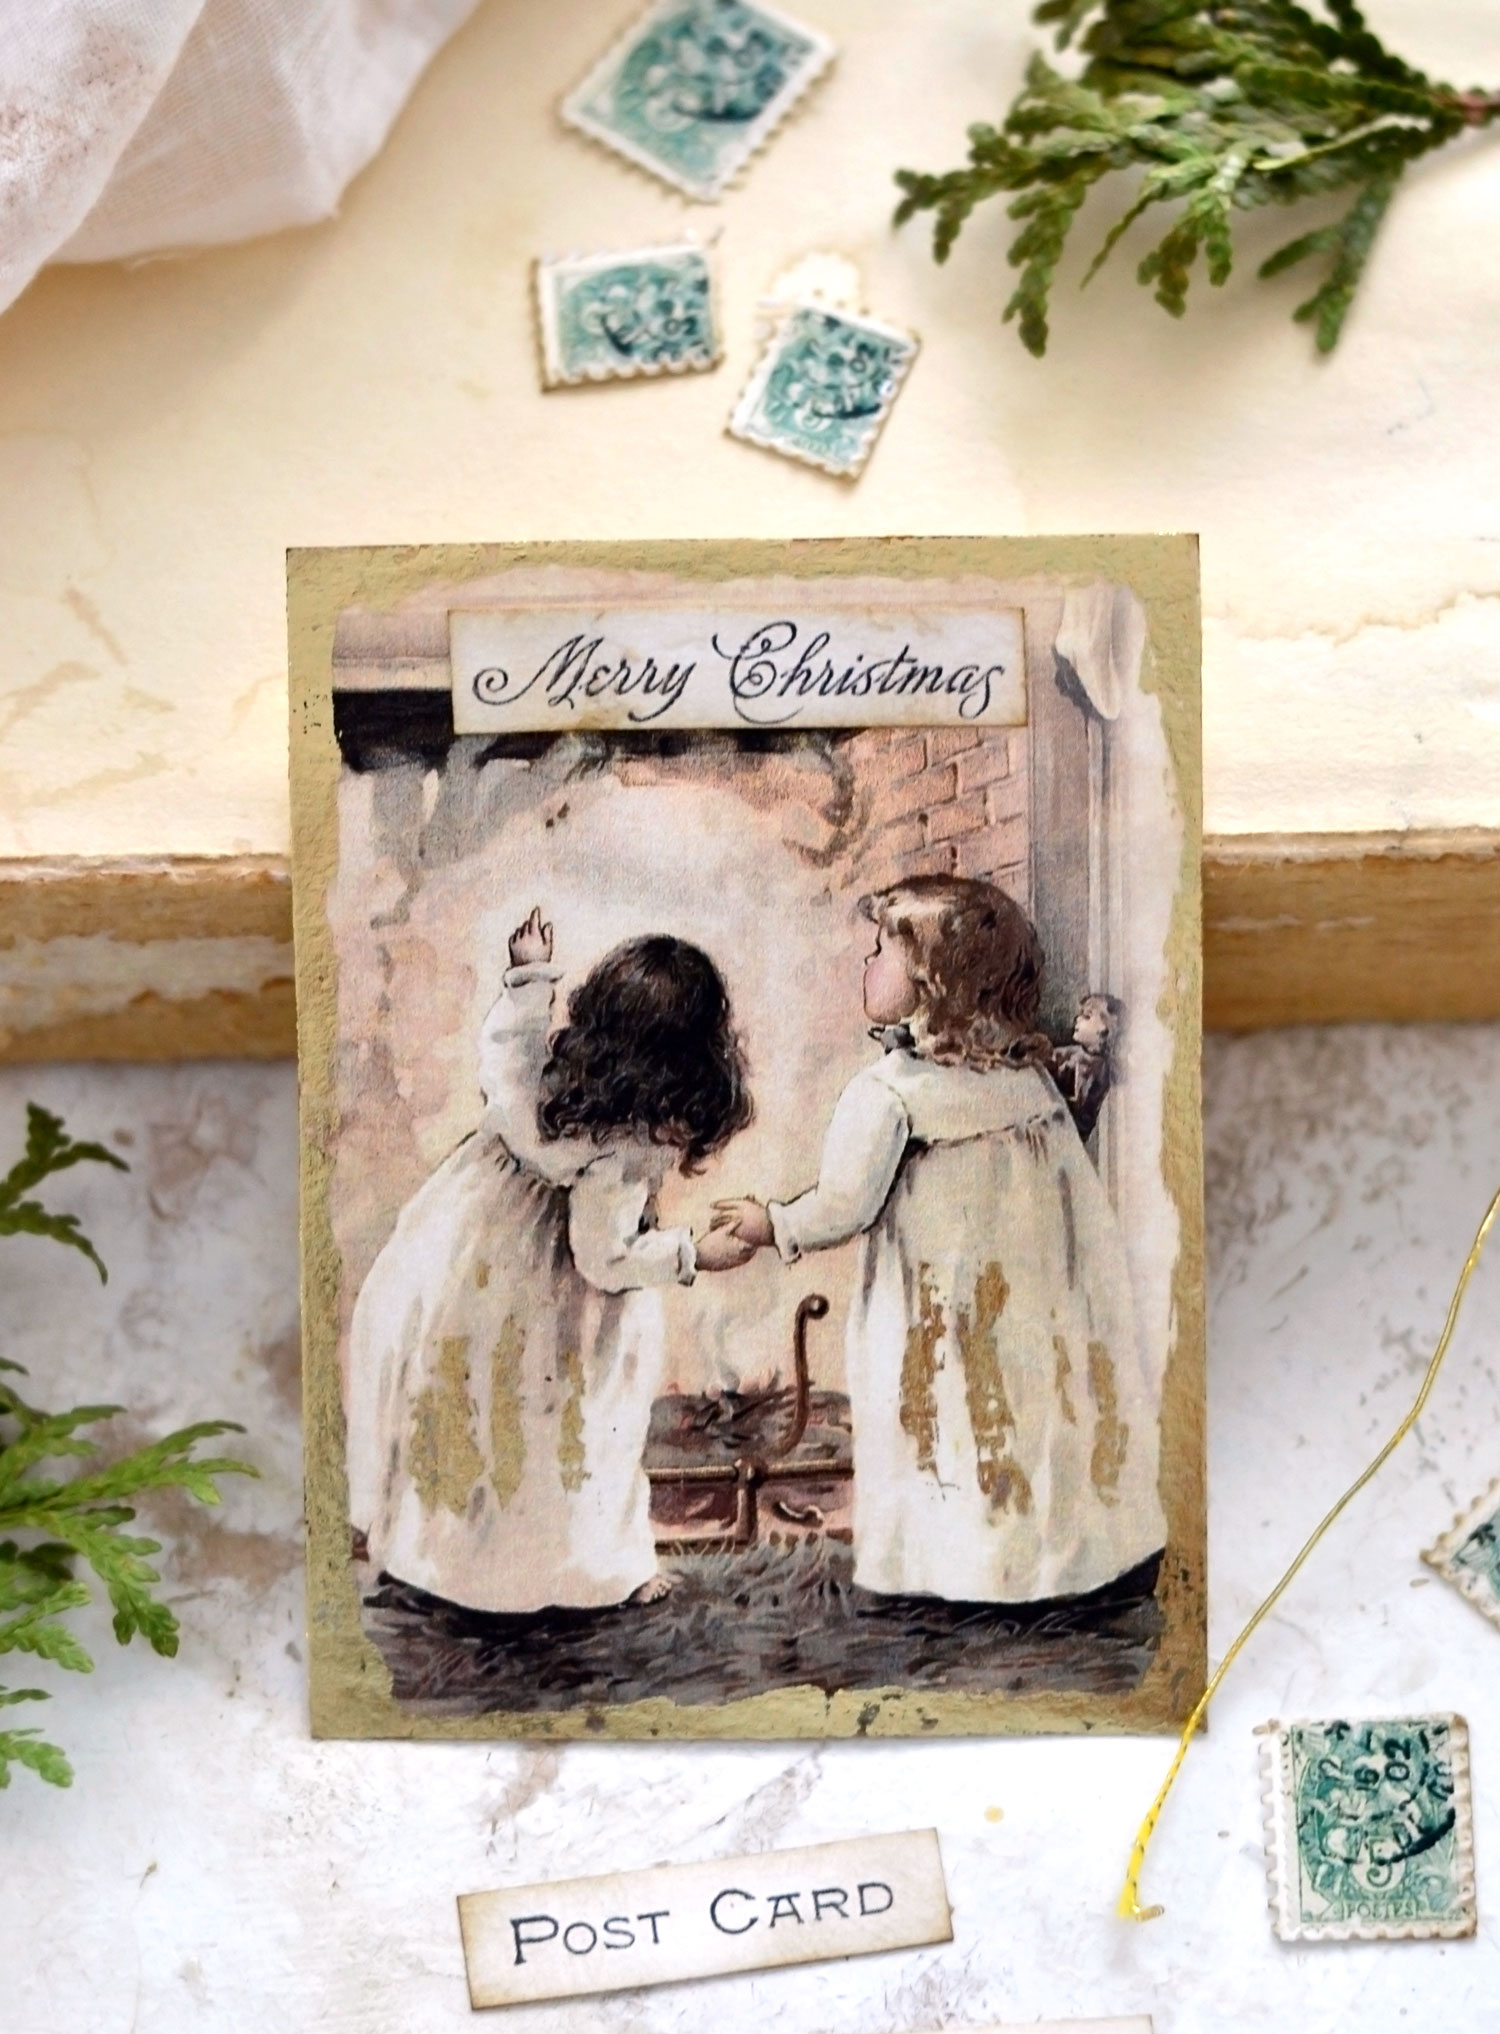
For example, I ‘painted’ glue lines, then added gold foil on the branches of the Christmas tree, on the angel’s wings and on the two sisters’ dresses, where I created some gold creases.
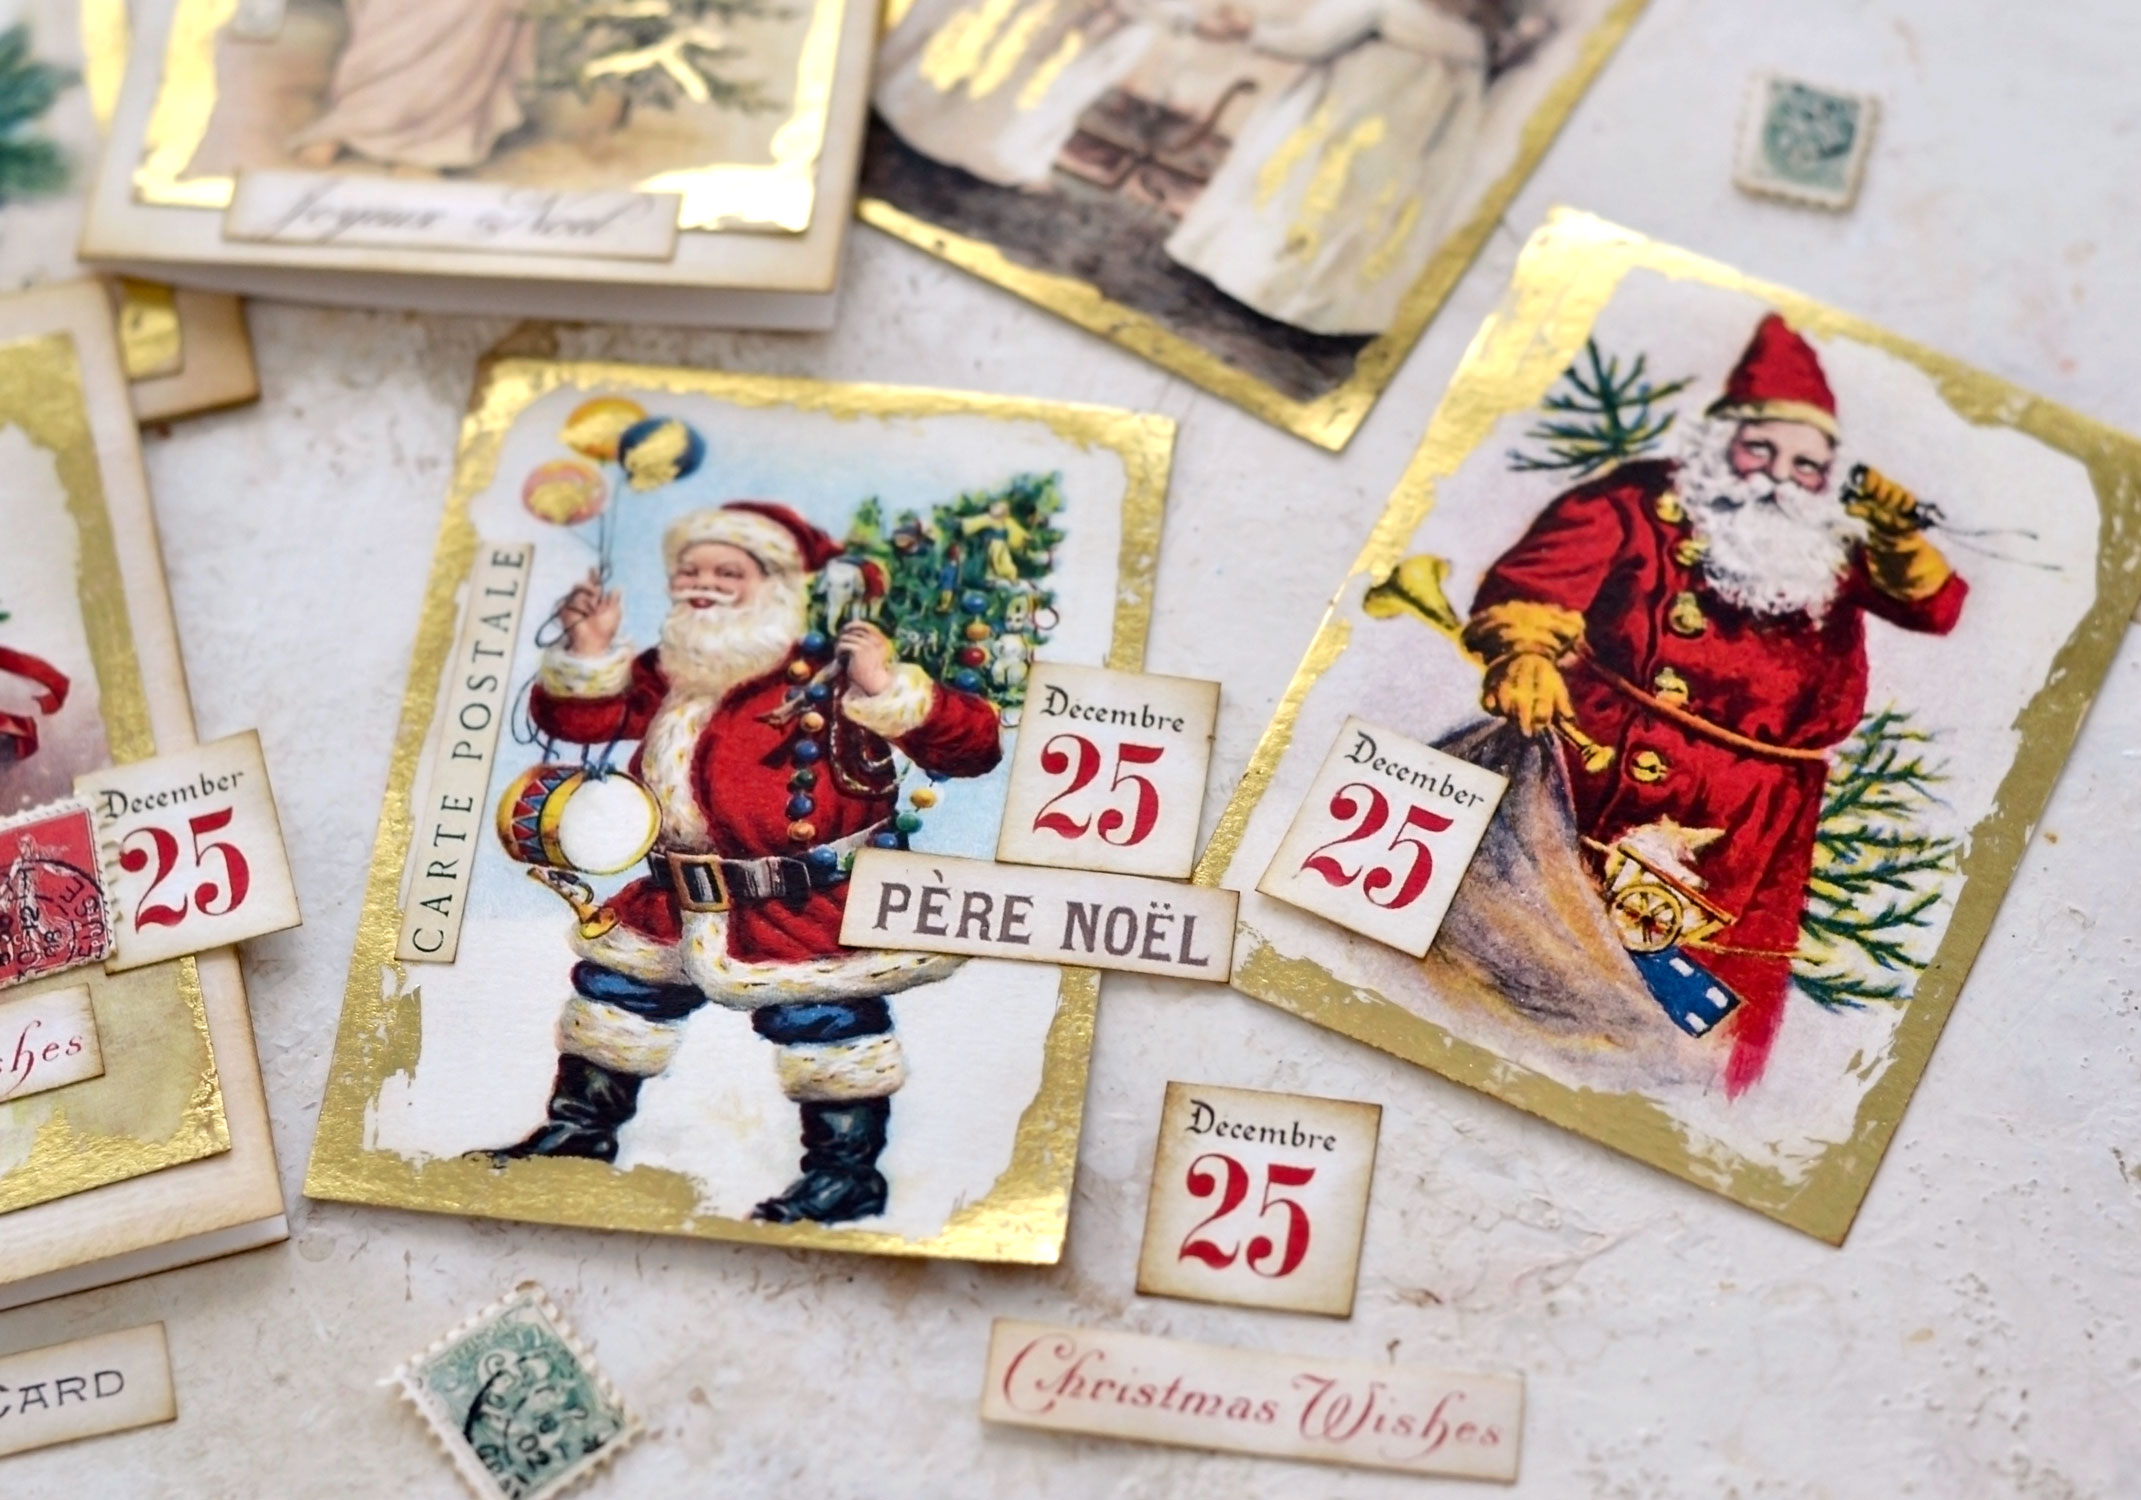
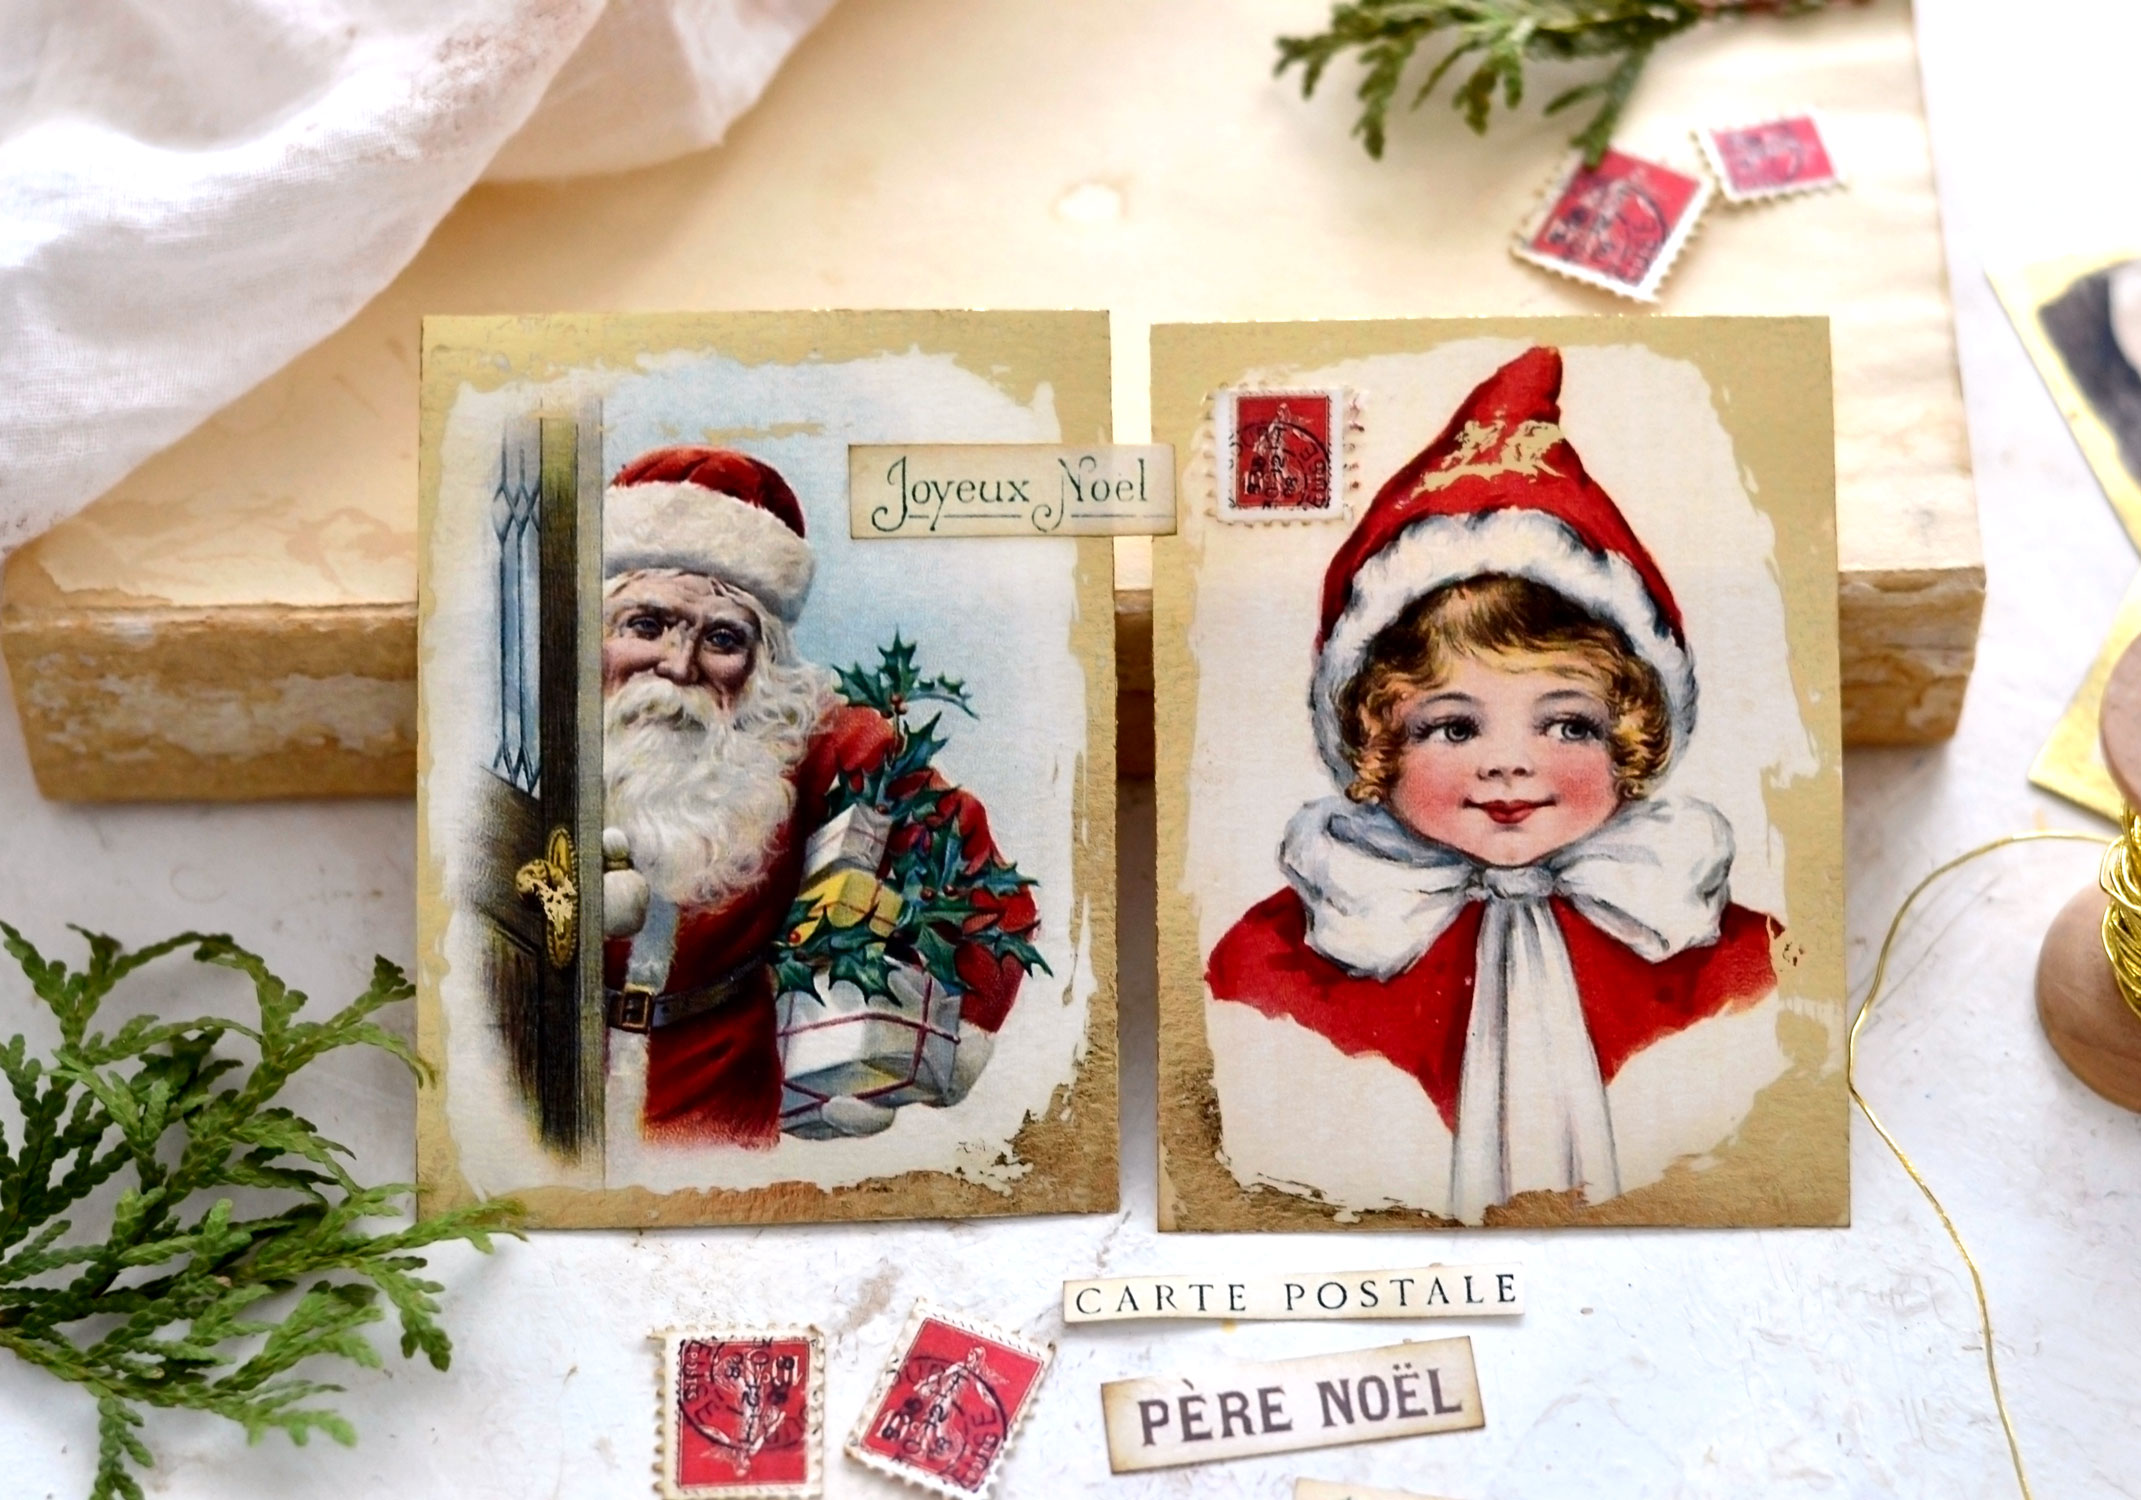
I ‘painted’ small glue dots to gild the buttons of Santa’s clothes and the door knob Santa is opening. I added some more dots on Santa’s balloons, you can use your imagination to find more perfect-for-gilding spots on our lovely images!
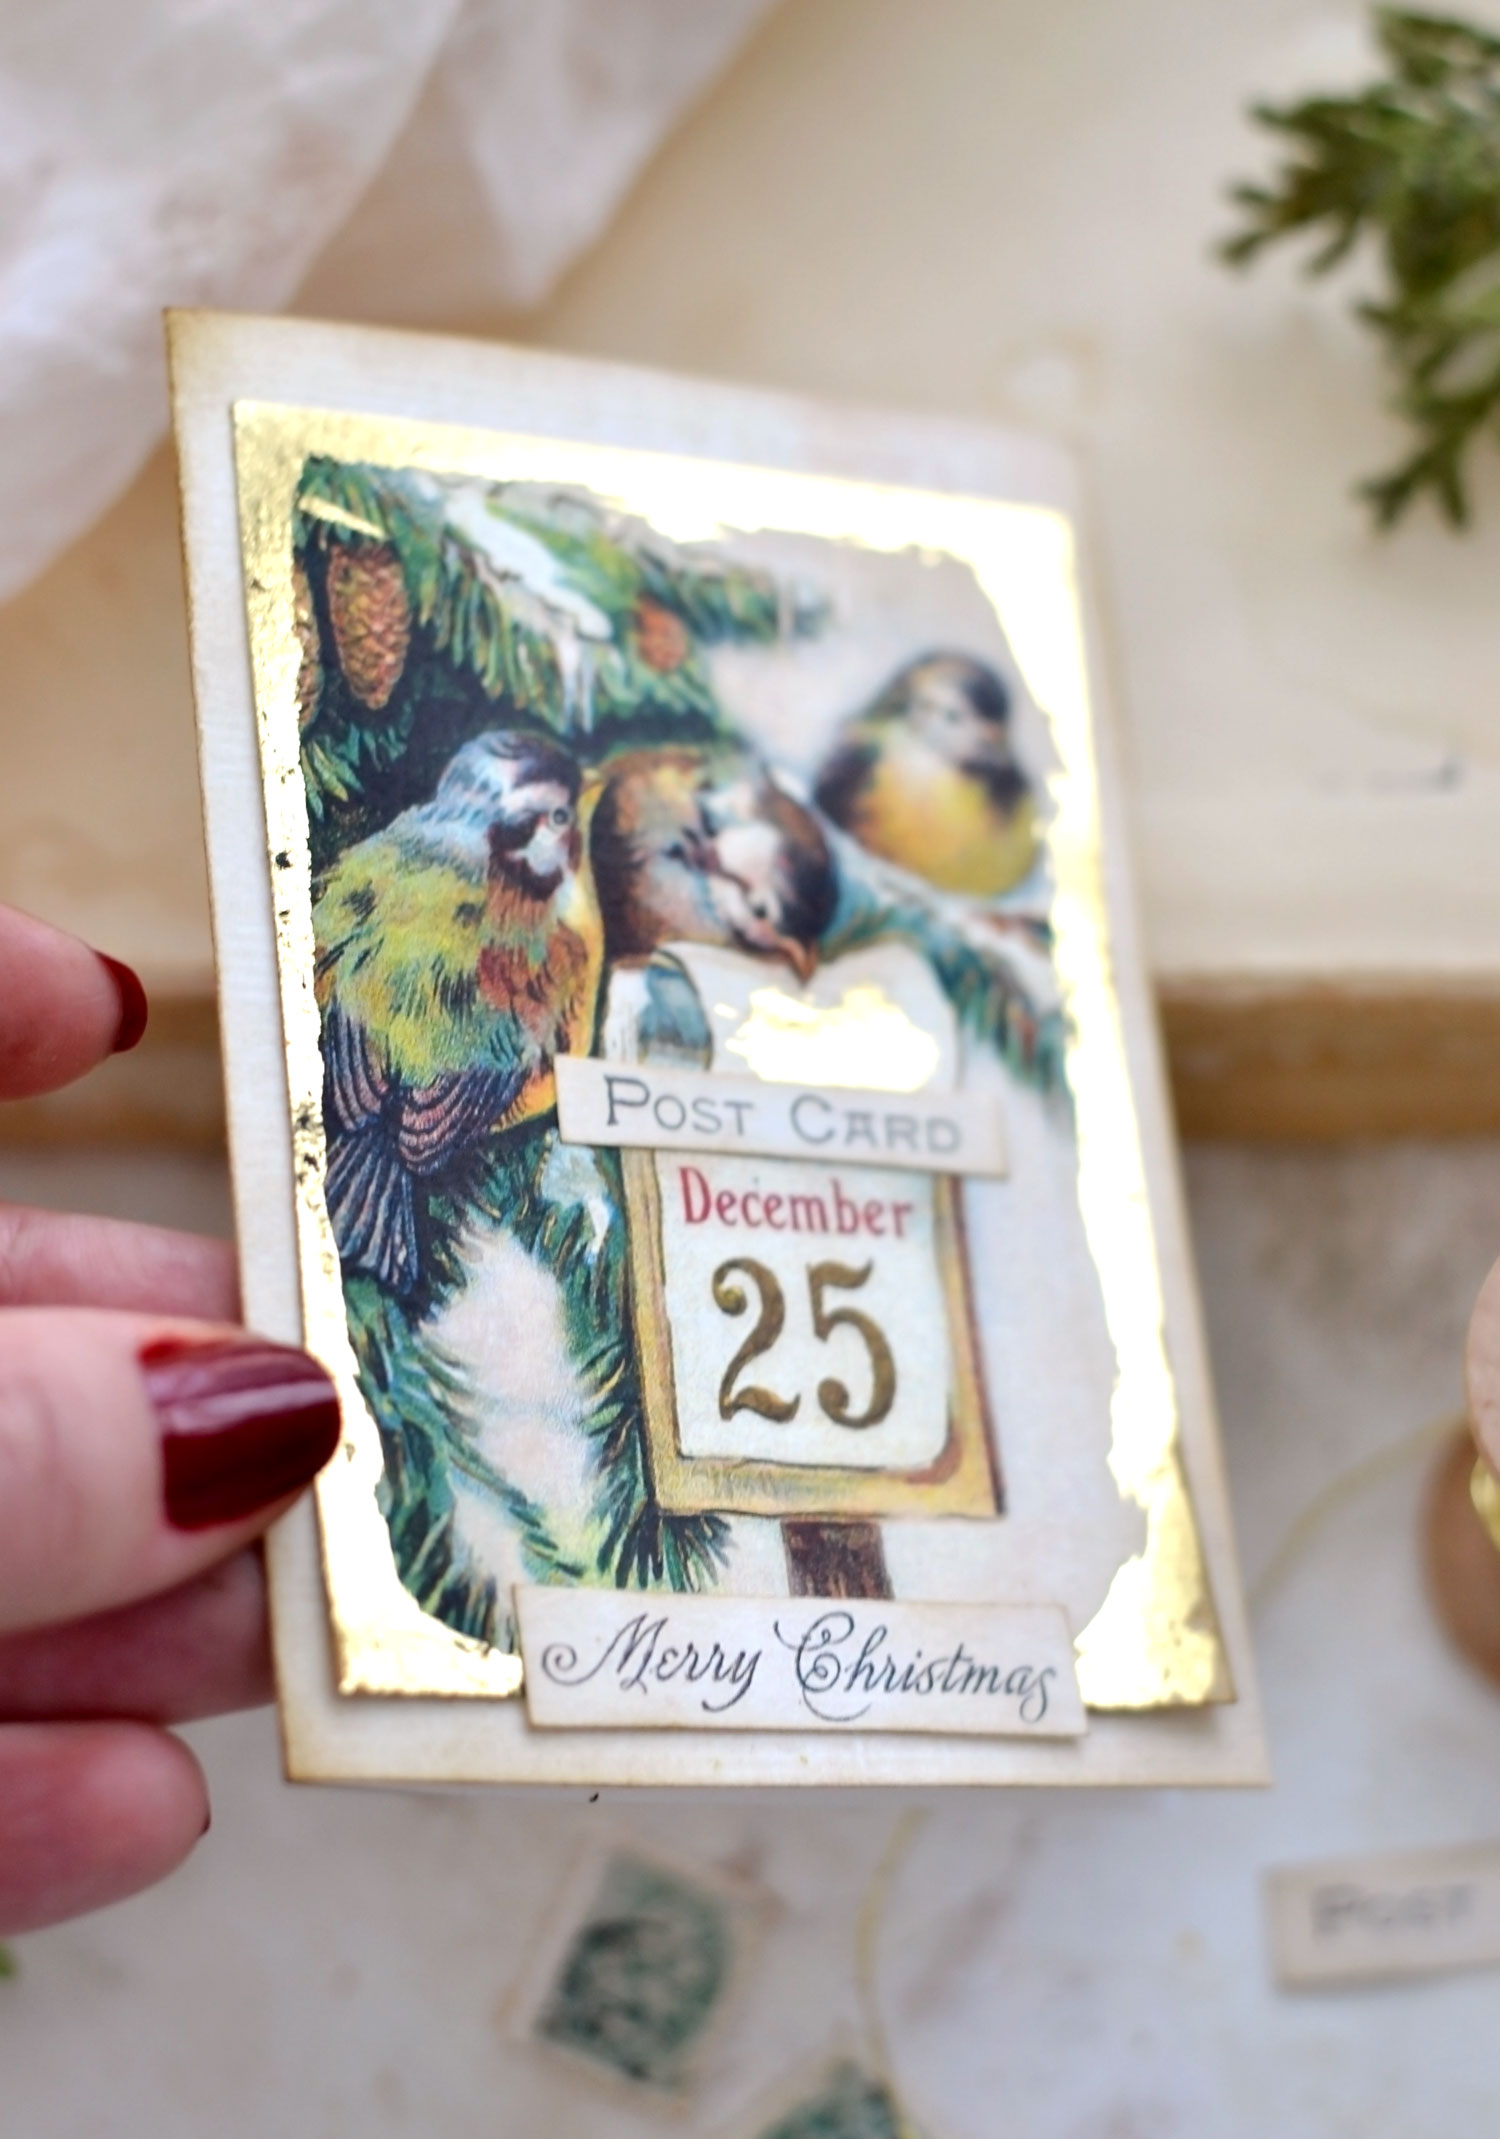
The best thing about our gorgeous gold foil is how the light interacts and plays with it! You will find yourself admiring these beauties from all angles but you will be surprised to discover how the gold foil basically captures the light throughout the day. And how different it looks depending on that light!
Sometimes you might see the gold on the edges as a simple (yet still amazing) painted edge.
But once you tilt your image, you can admire it in all its splendor!
I’m loving everything about this project, I feel like I did a pretty good job selecting all these stunning images! What do you think?
You will have plenty to choose from and you can even choose a specific image for a specific recipient, depending on what they love!
How cute is that Classic Santa Claus and the darling Elf girl?! If you are feeling adventurous, you can also find other creative ways of including the images and all the other embellishments in your projects! They can be turned into Christmas tags or bookmarks, inserts for your junk journal, a gift card holder, so many possibilities here!
You can even use them as mini Christmas ‘paintings’ that can be displayed in your home throughout the holidays.
You can further embellish your lovely creations with additional elements that you may have on hand like glitter, ribbon, twine, bows, washi tape, sequins, pipe cleaners, pom-poms and more!
The vintage image with these two little girls brings so many nostalgic memories to me! It reminds me of me and my sister growing up and all the happy times that we shared around the holidays! Christmas is about the magic that you share with your family, and also about making new precious memories that you’ll cherish forever. So I hope you will include this one little project as part of your holiday magic this year!
You might also like another Holiday Card Making Kit HERE and my Pop Up Christmas Card Kit HERE.
Warmest wishes for a very Merry Christmas and a Happy New Year!
Happy crafting,
Diana | Dreams Factory


Connie Griffin says
Beautiful cards, love the gold foiling with them!
Karen Watson says
I hope you try making these Connie!
mara says
Thank you! These are gorgeous & I can’t wait to make them.
Karen Watson says
Have fun creating these pretty cards Mara!
Susan says
Thank you Diana for sharing your creativity once again!! So pretty & festive. I truly want to make these & share with friends.
Merry Christmas 🎄
Karen Watson says
Happy card making Susan!!
Gail says
absolutelly stunning..love vintage ty so much for sharing these..huggzz
Karen Watson says
I’m glad you enjoyed Diana’s beautiful project Gail!
Connie says
I get so excited I forget to say thank you! Many thanks!
Karen Watson says
Yay! Have fun making these Connie!
Cris G says
Always a pleasure to see so much beauty, thank you!
Karen Watson says
I’m so glad you enjoyed Diana’s beautiful project Cris!
Debbe says
Totally love these! Thank you.
Karen Watson says
Thank you Debbe, have fun creating these pretty cards!
Theresa says
I love the vintage Christmas cards- just my style. Thank you for sharing and generosity.
Karen Watson says
Yay! So glad you enjoyed these Theresa!
penny hodgin says
thank you so much for sharing these beautiful images and project. i cant wait to make these cards and share with my people
Karen Watson says
Have fun creating these beautiful cards Penny!
Queenie says
These are adorable, Thank You for providing us with these & the technique. Have a Happy Thanksgiving and a Merry Christmas.
Karen Watson says
Thank you Queenie! I’m happy that you enjoyed Diana’s beautiful Tutorial!