Christmas Journaling Tags with Pockets
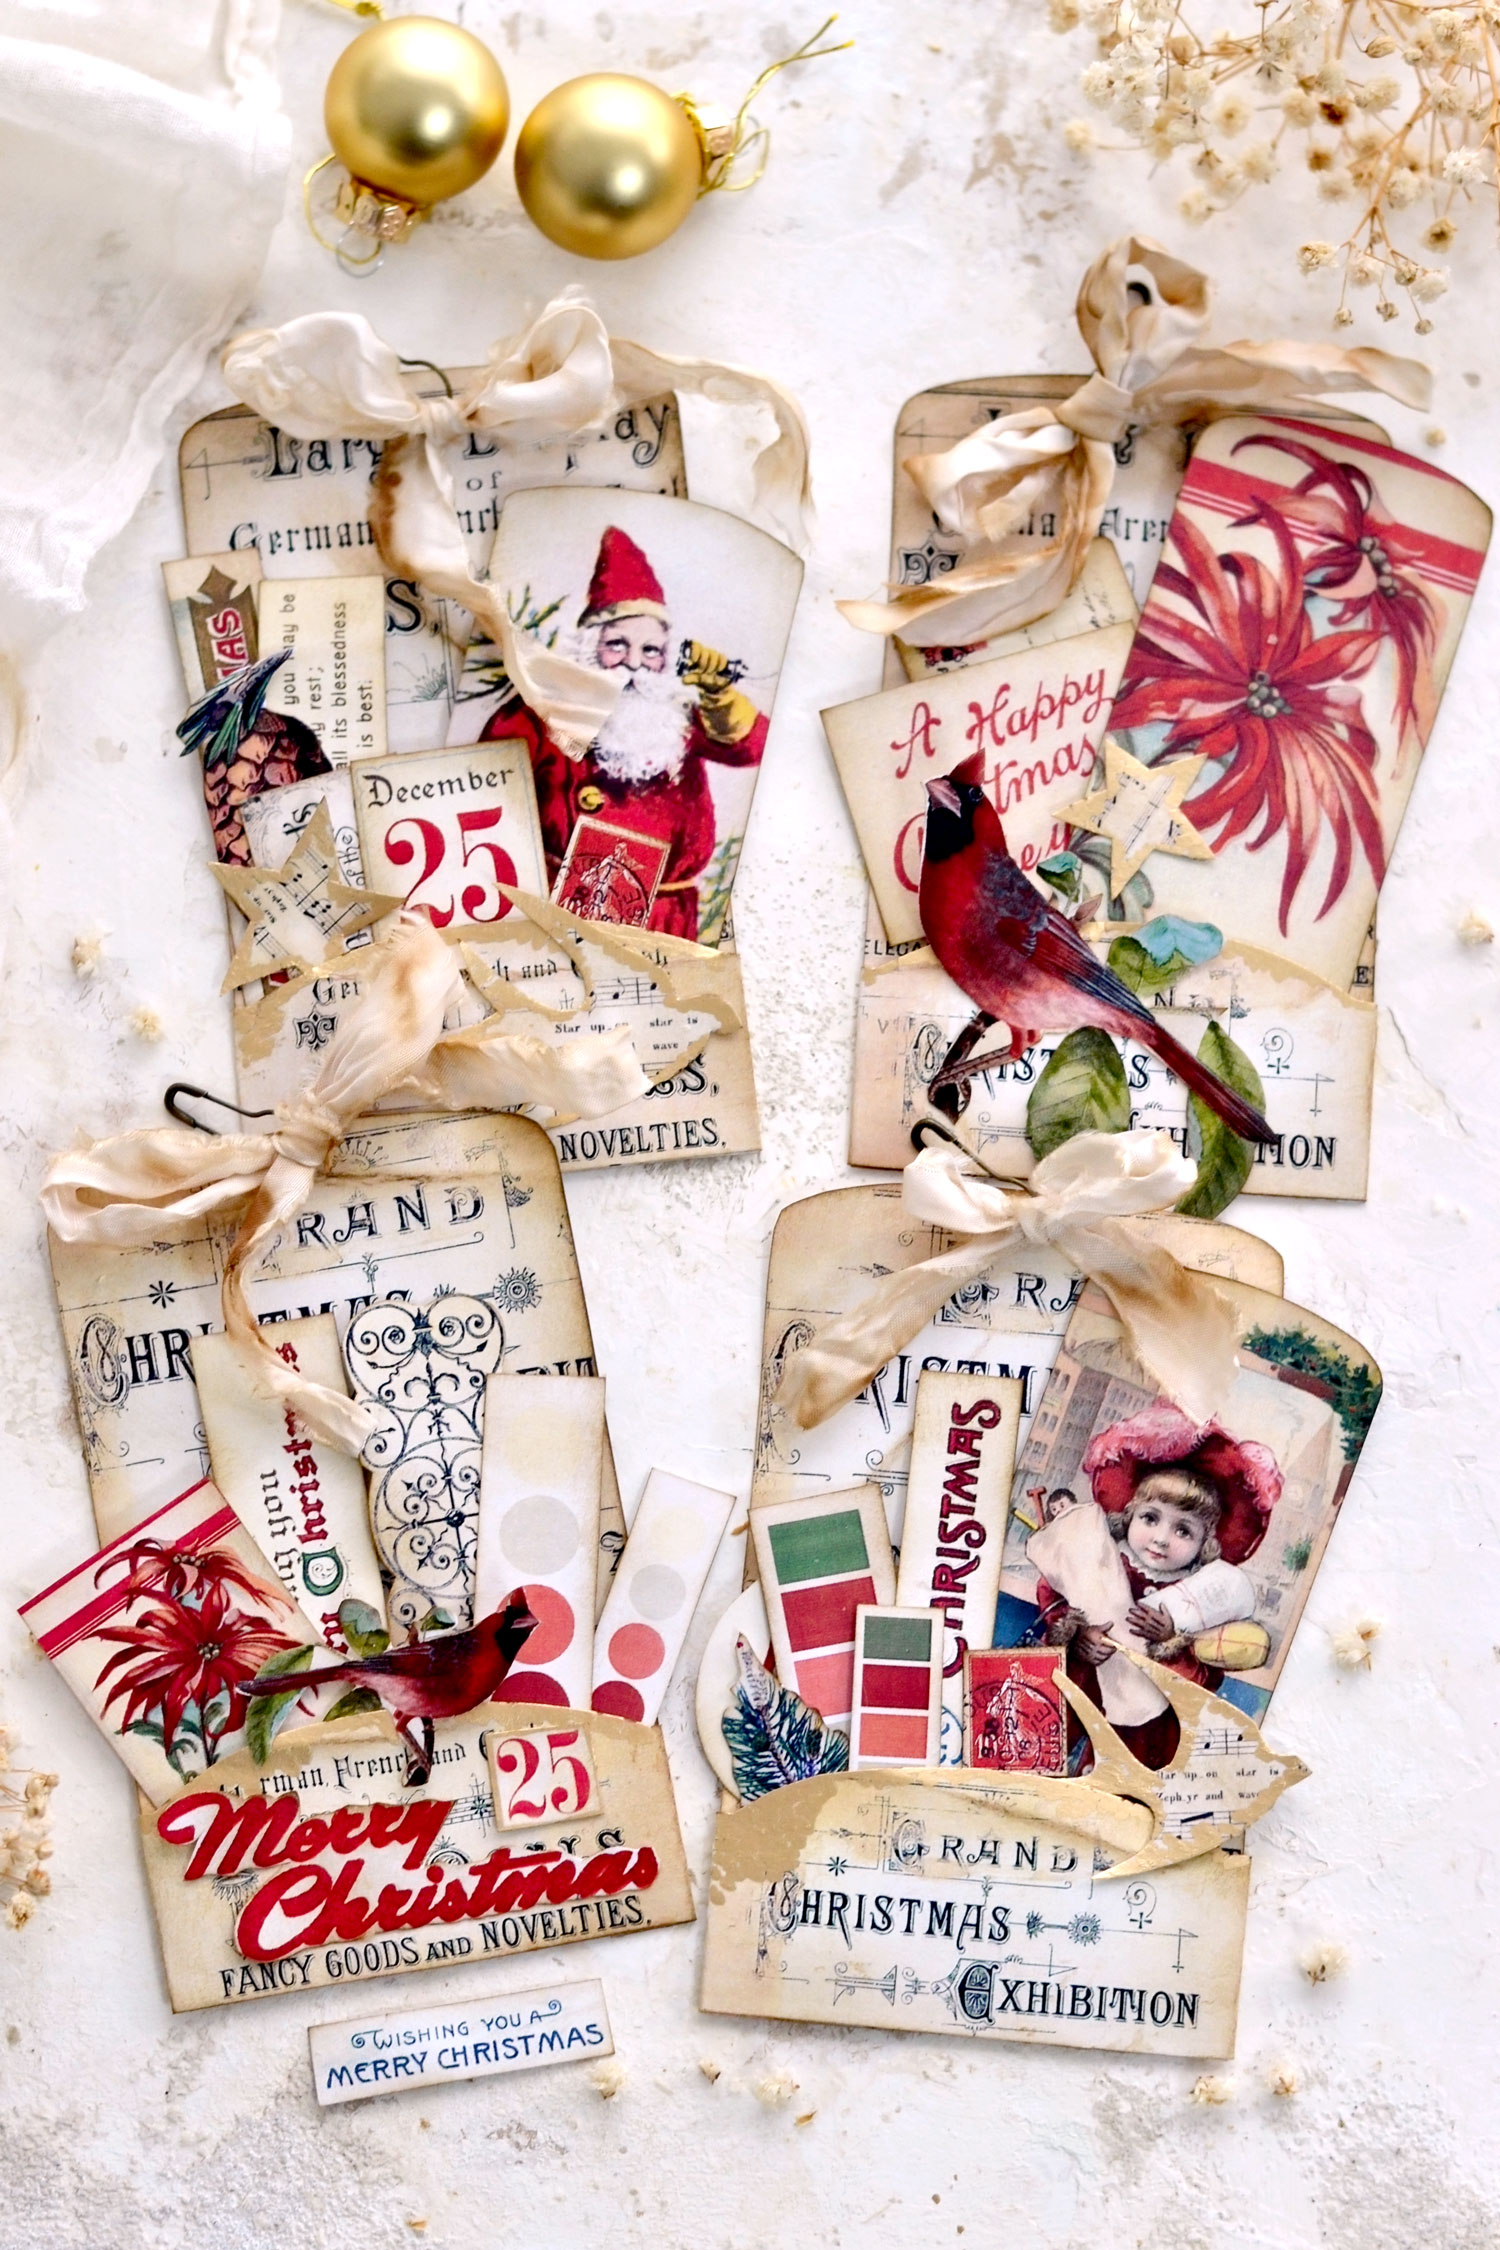
Hello Graphics Fairy friends! I’m Diana from Dreams Factory and I’m really happy to be here once again to share another DIY project with you! Today I will show you how to make these gorgeous DIY Christmas Journaling Tags with pockets. They have a vintage vibe which will be simply perfect for the upcoming season!
The pocket tags have a lovely neutral appearance, and I’m also sharing some additional cutout elements that are playful and colorful. They can all be used in your junk journal, but if you want, you can find other creative ways of including them in other projects too!
We’ll be using distress ink to give the paper a worn, vintage feel and I’ll show you a quick way to add some charming gold touches here and there. Vintage gourd pins and some coffee-distressed ribbons will perfectly finish our charming pockets and will bring even more chicness to this whole Christmas assembly.
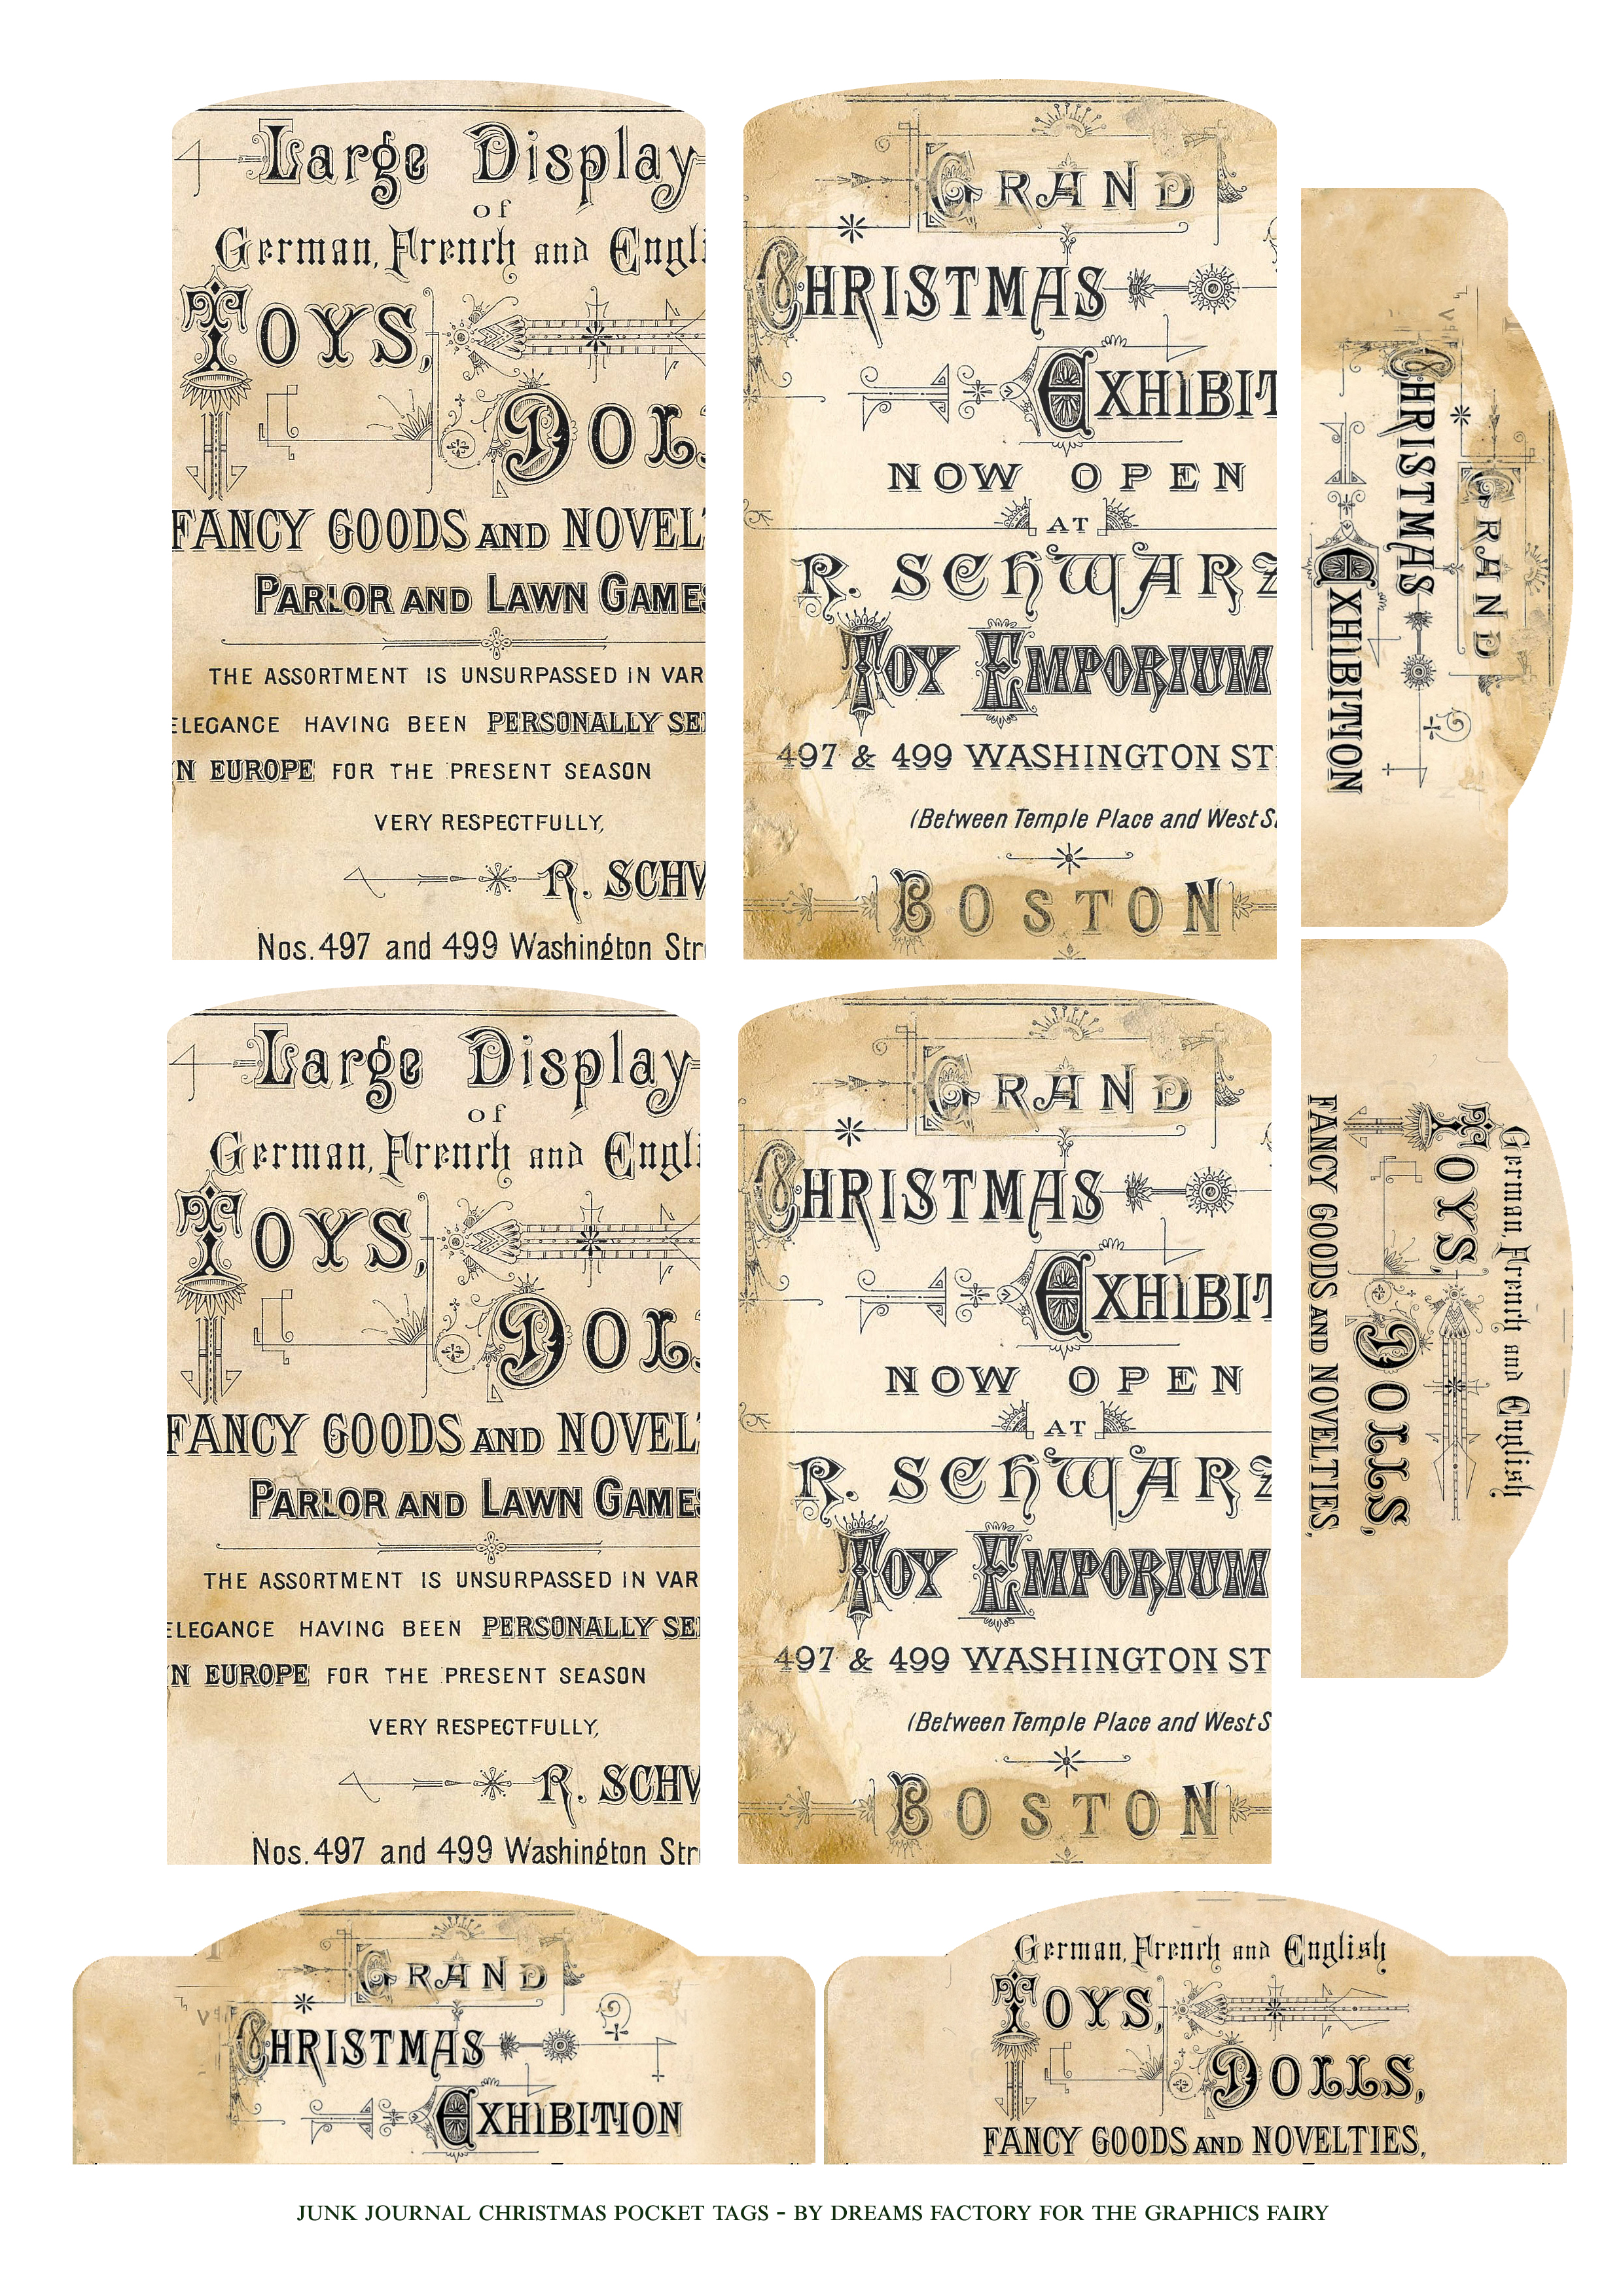
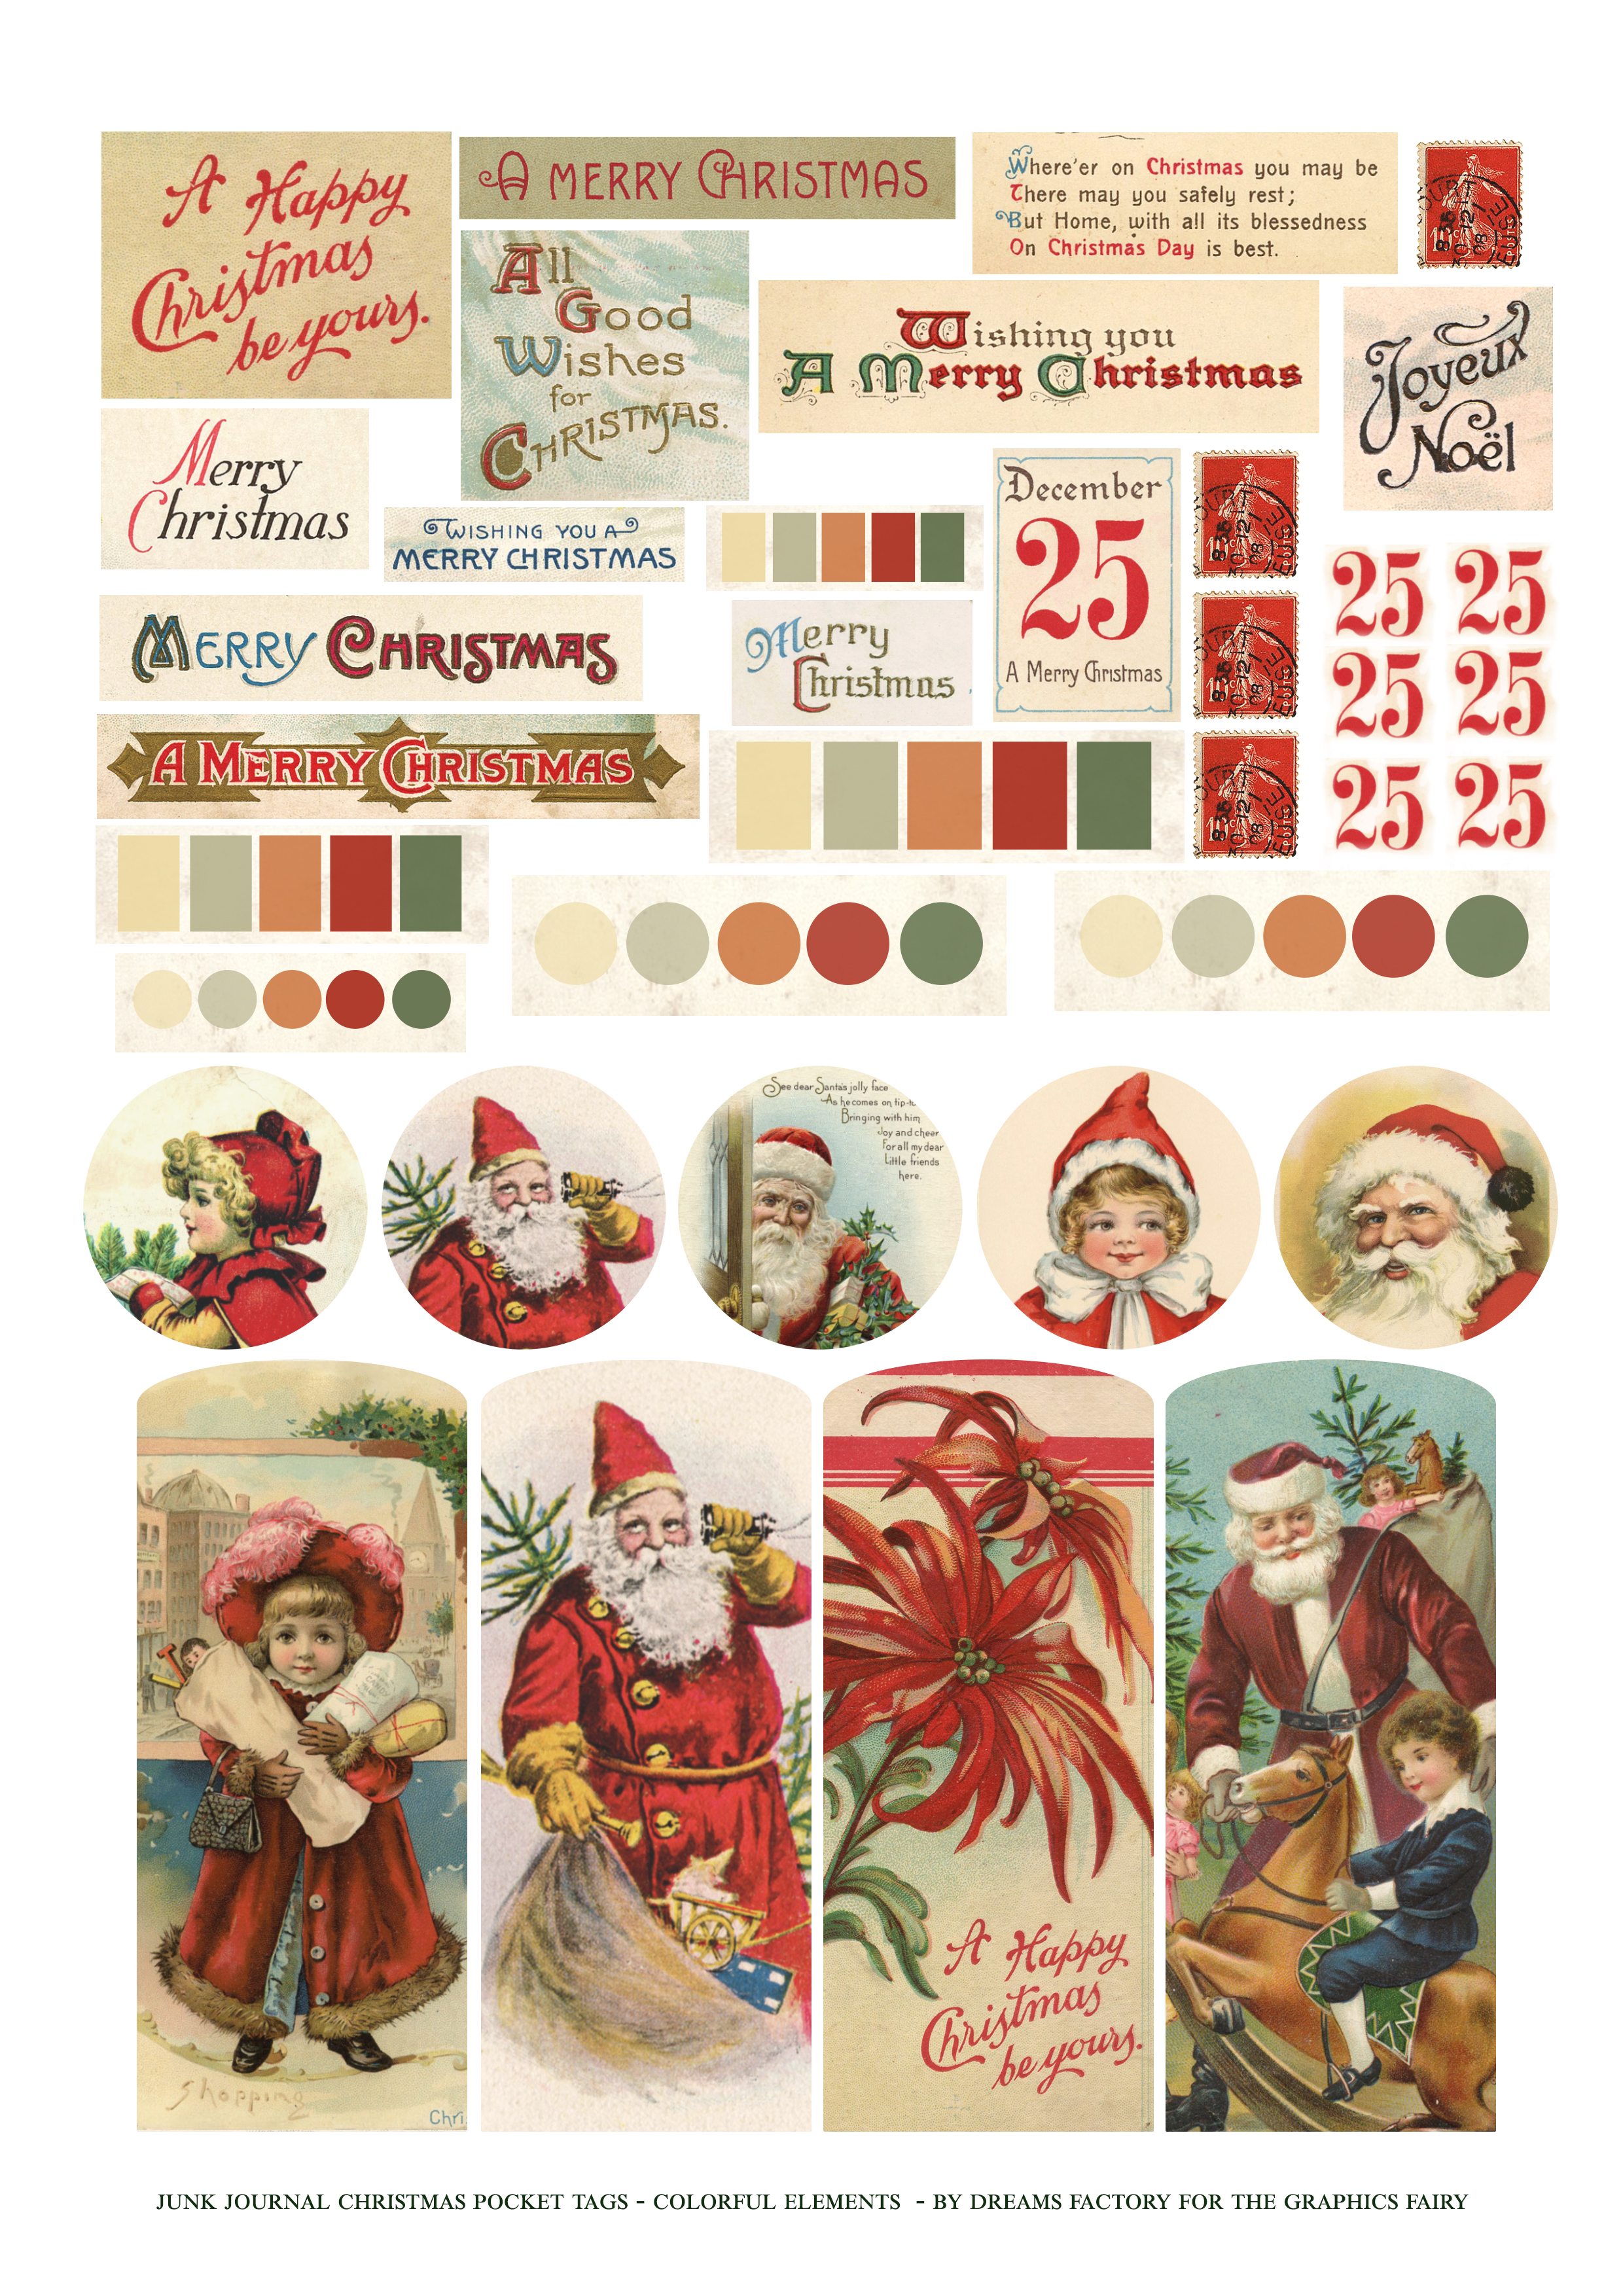
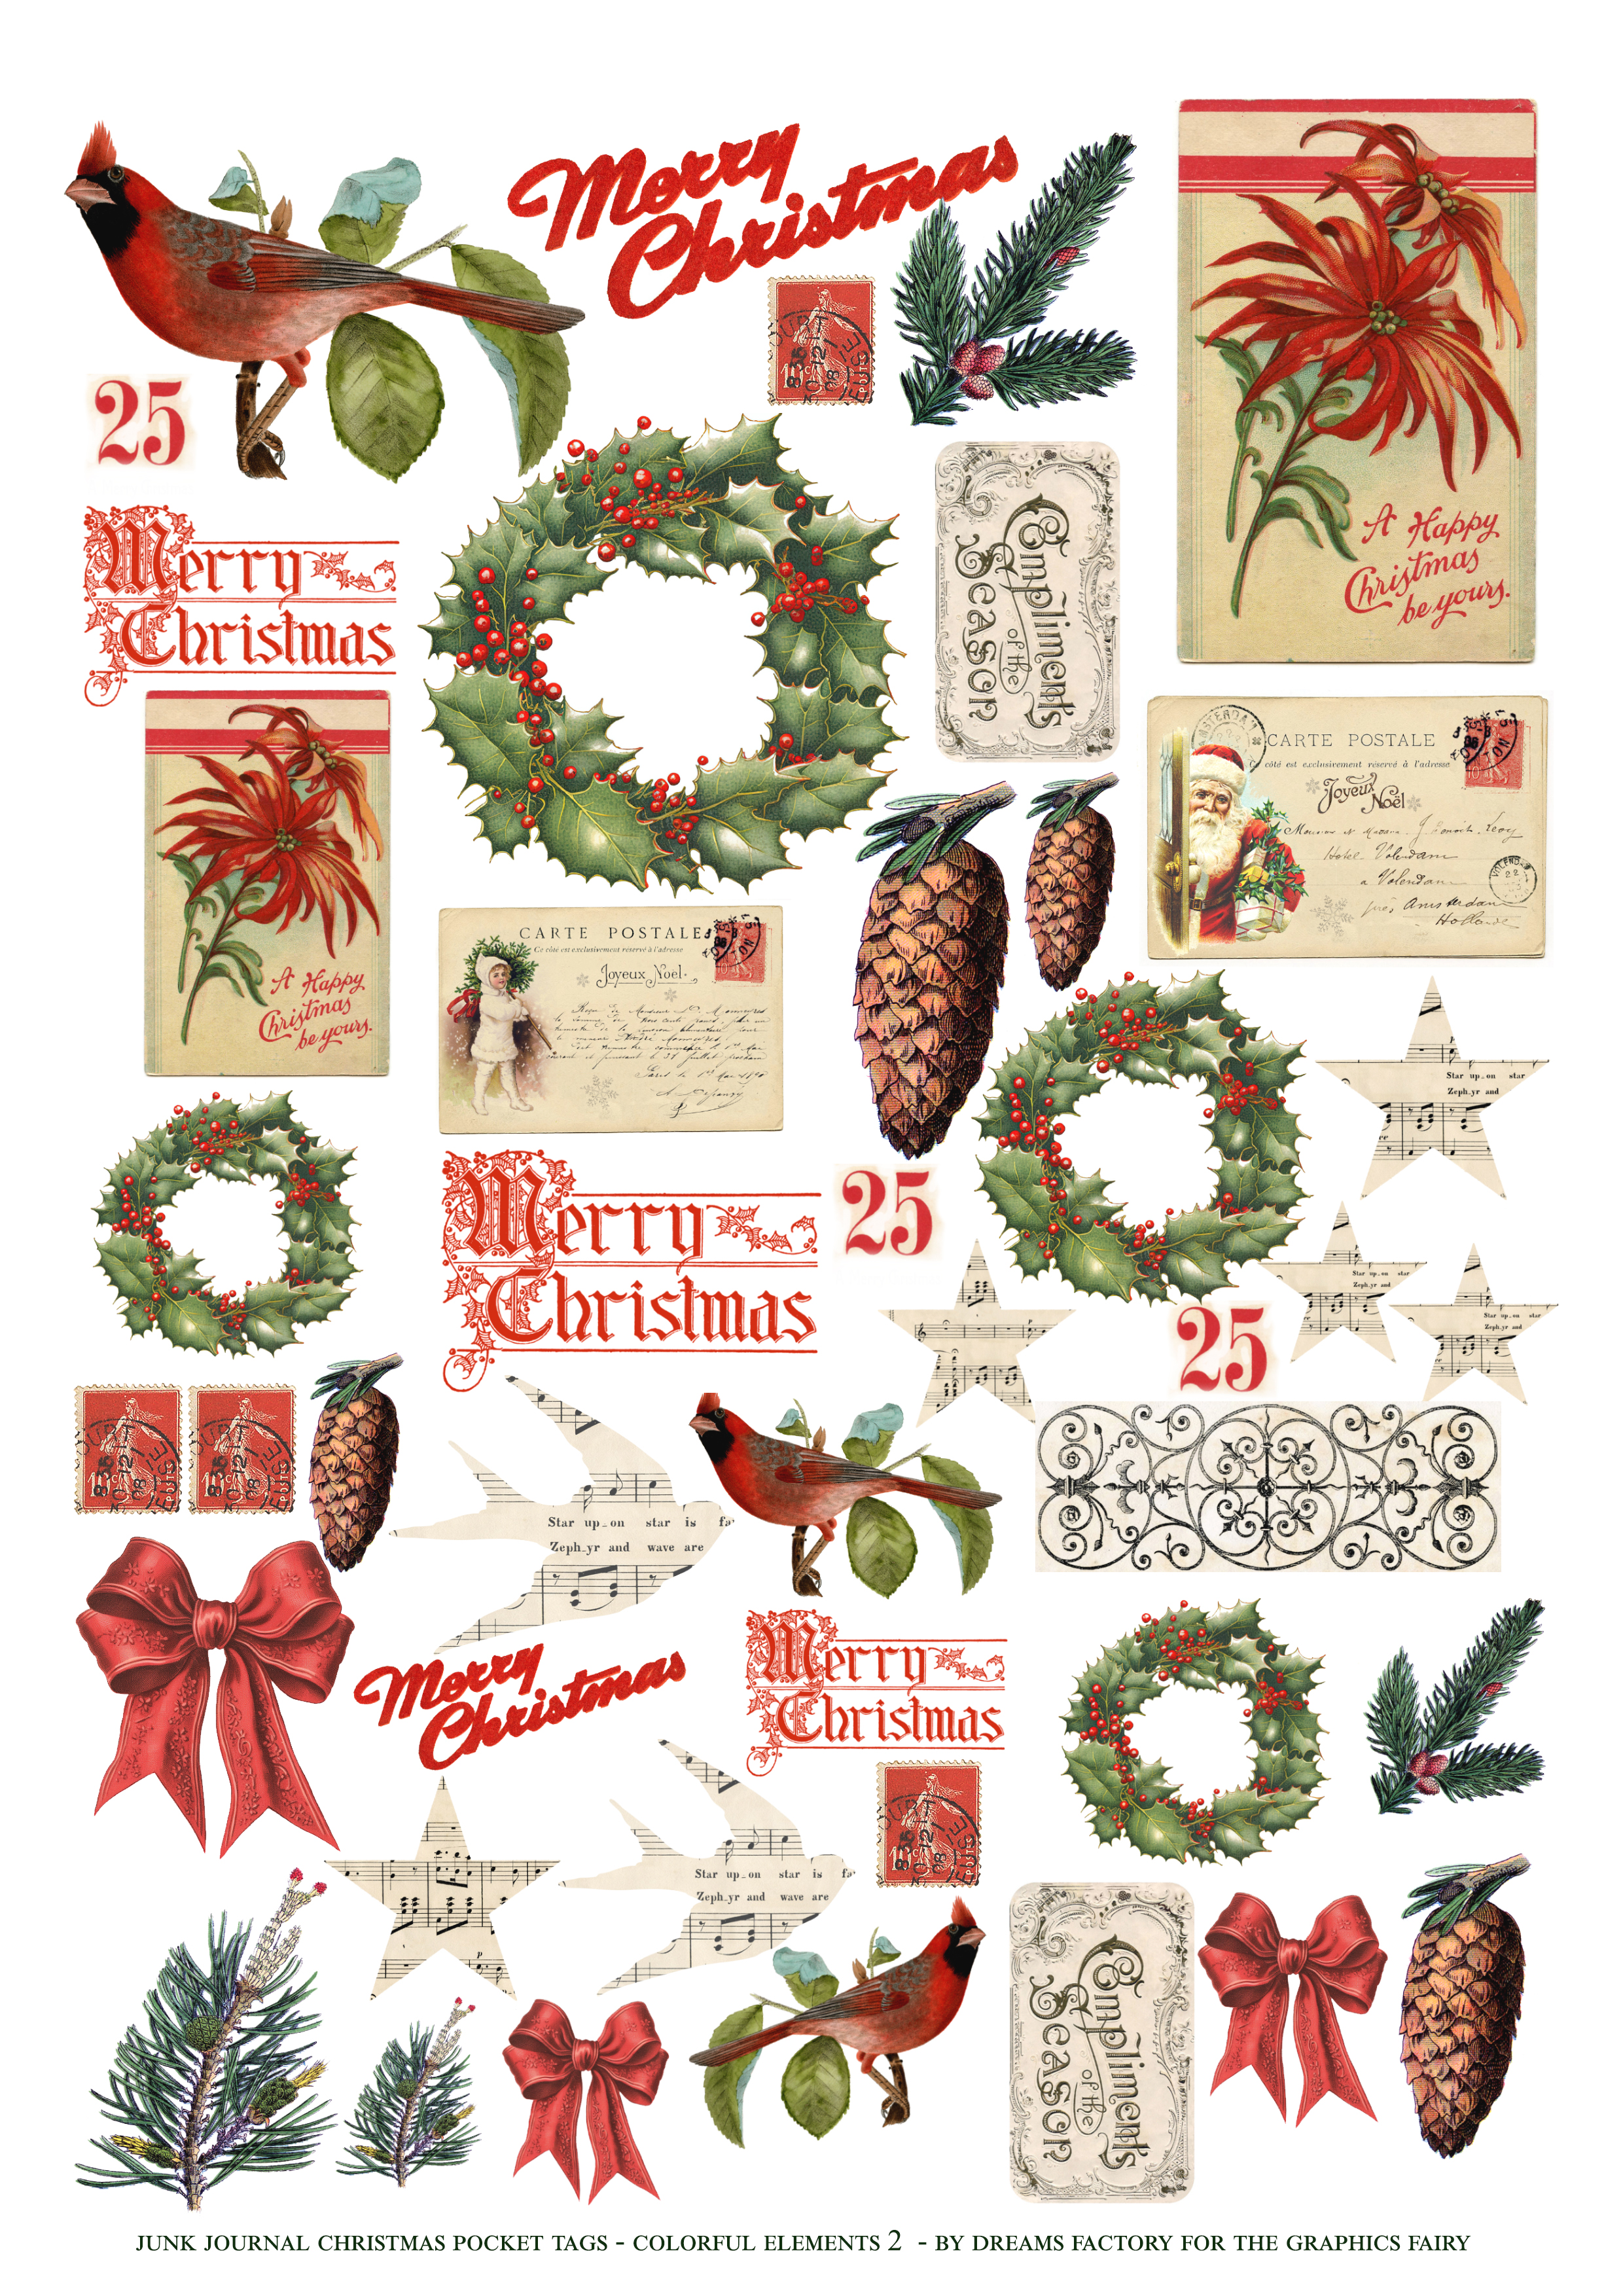
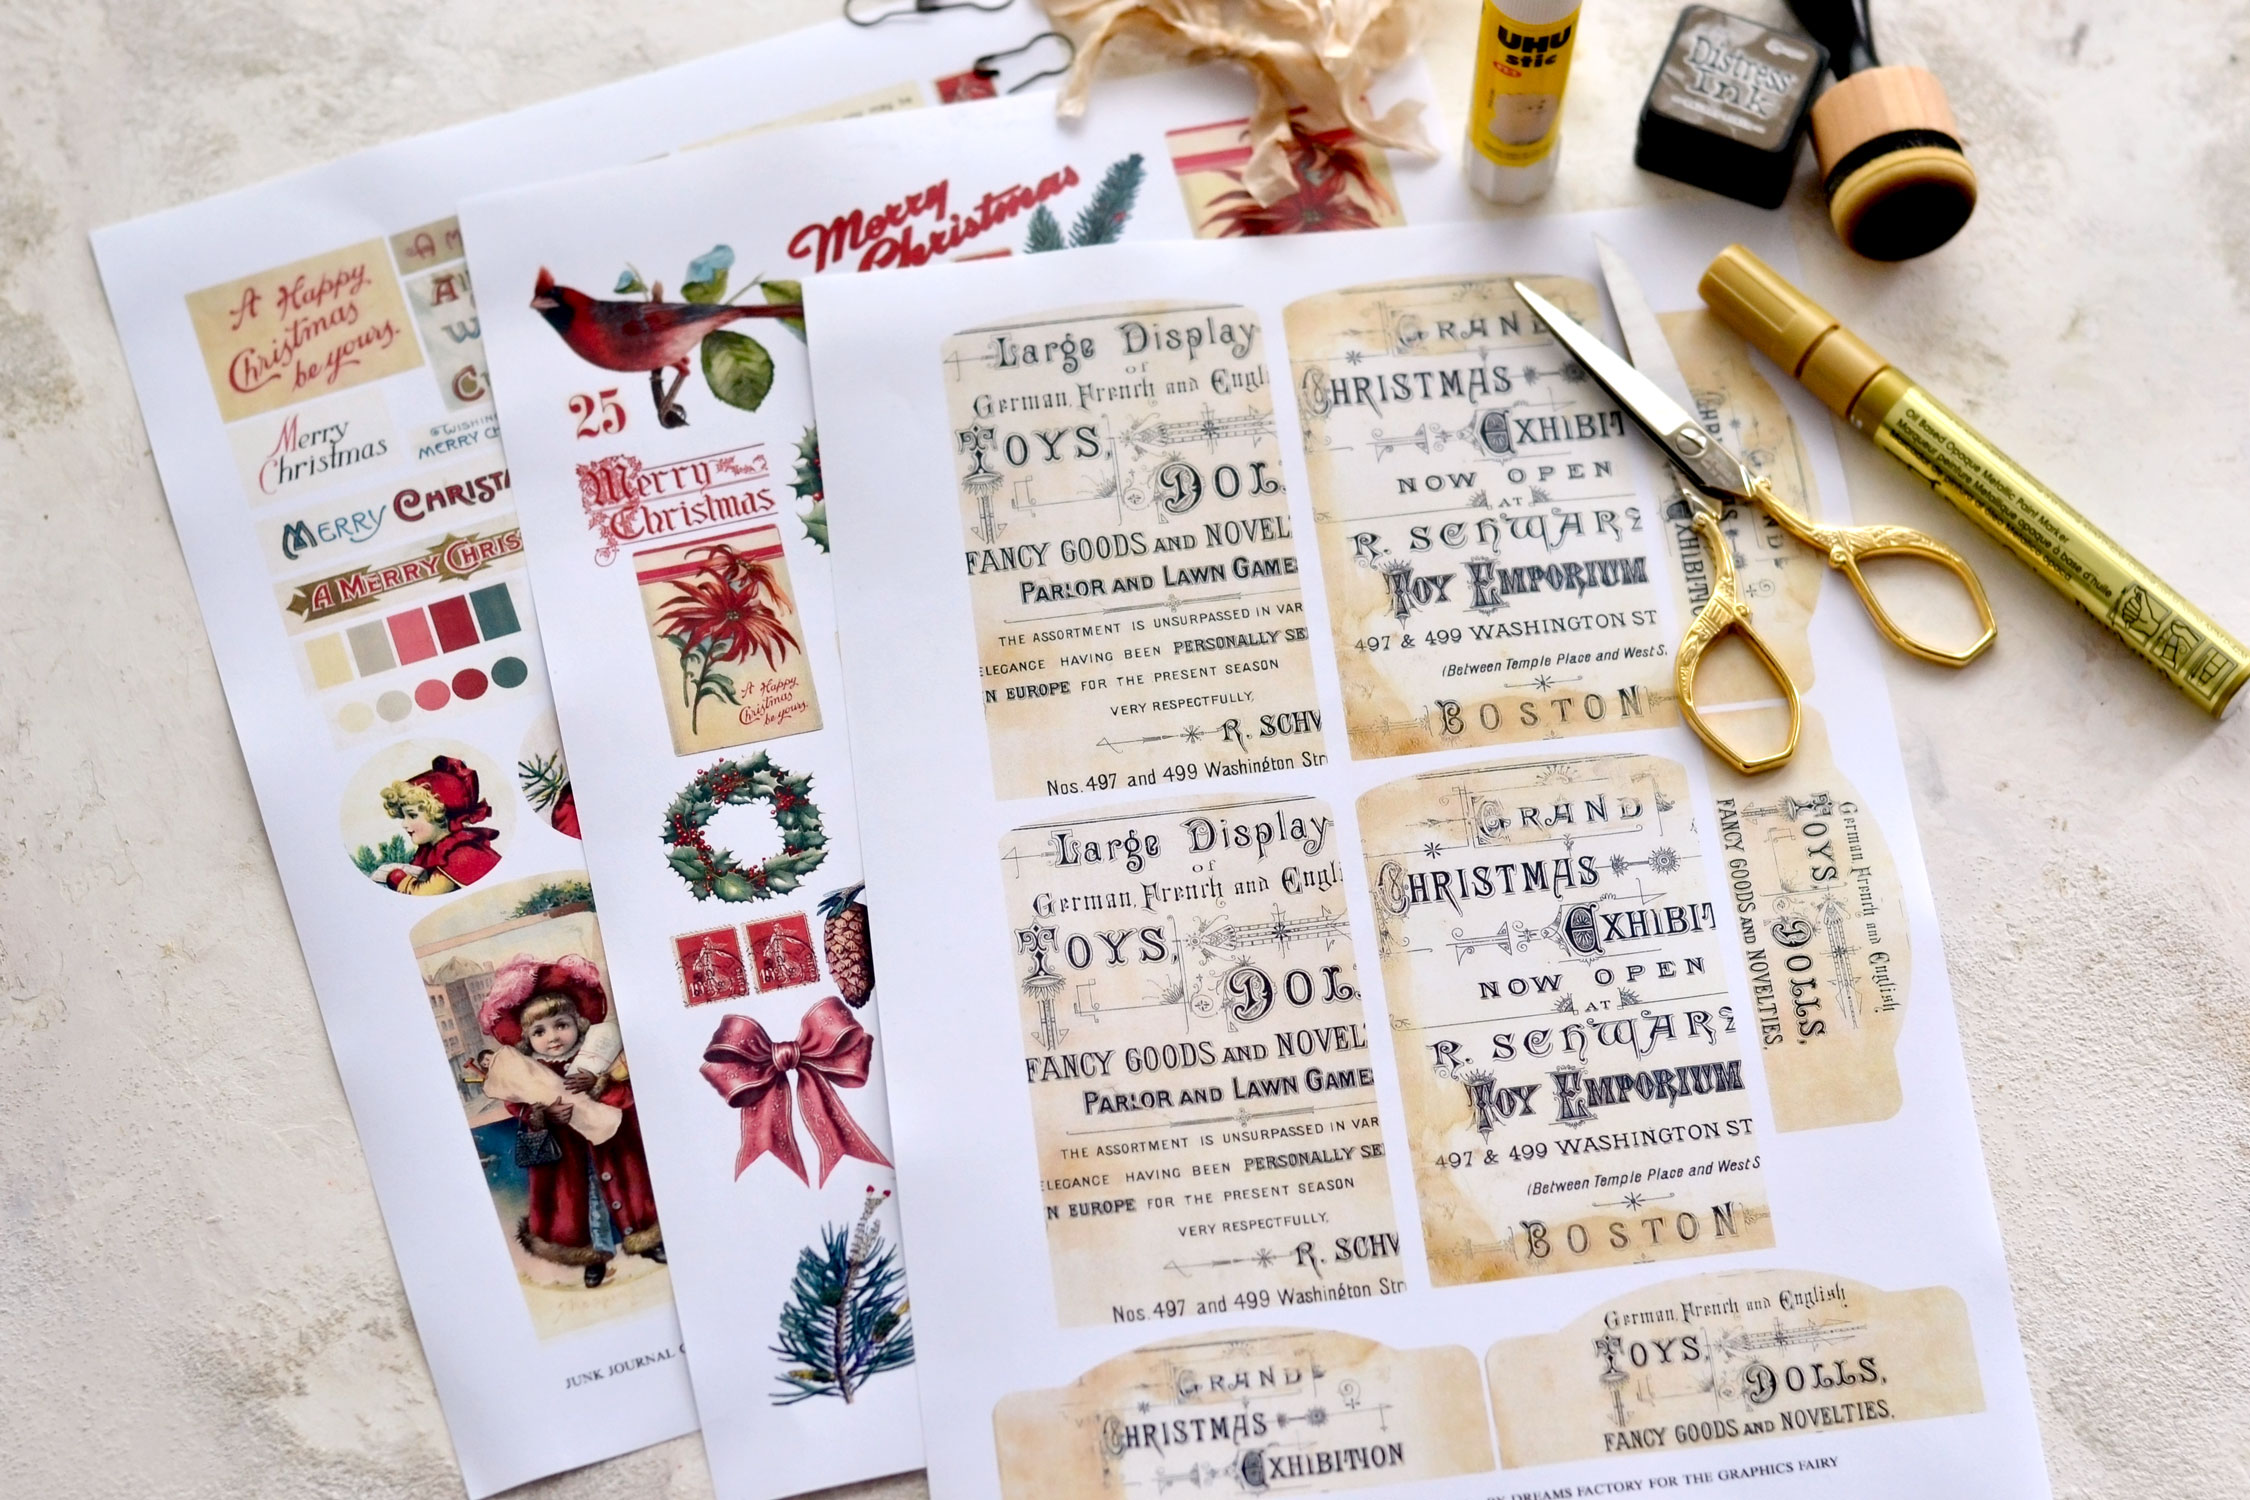
I’m sharing 3 gorgeous printables for this project – one with our lovely neutral pocket tags and two more with the colorful additional cutouts that you can just tuck in.
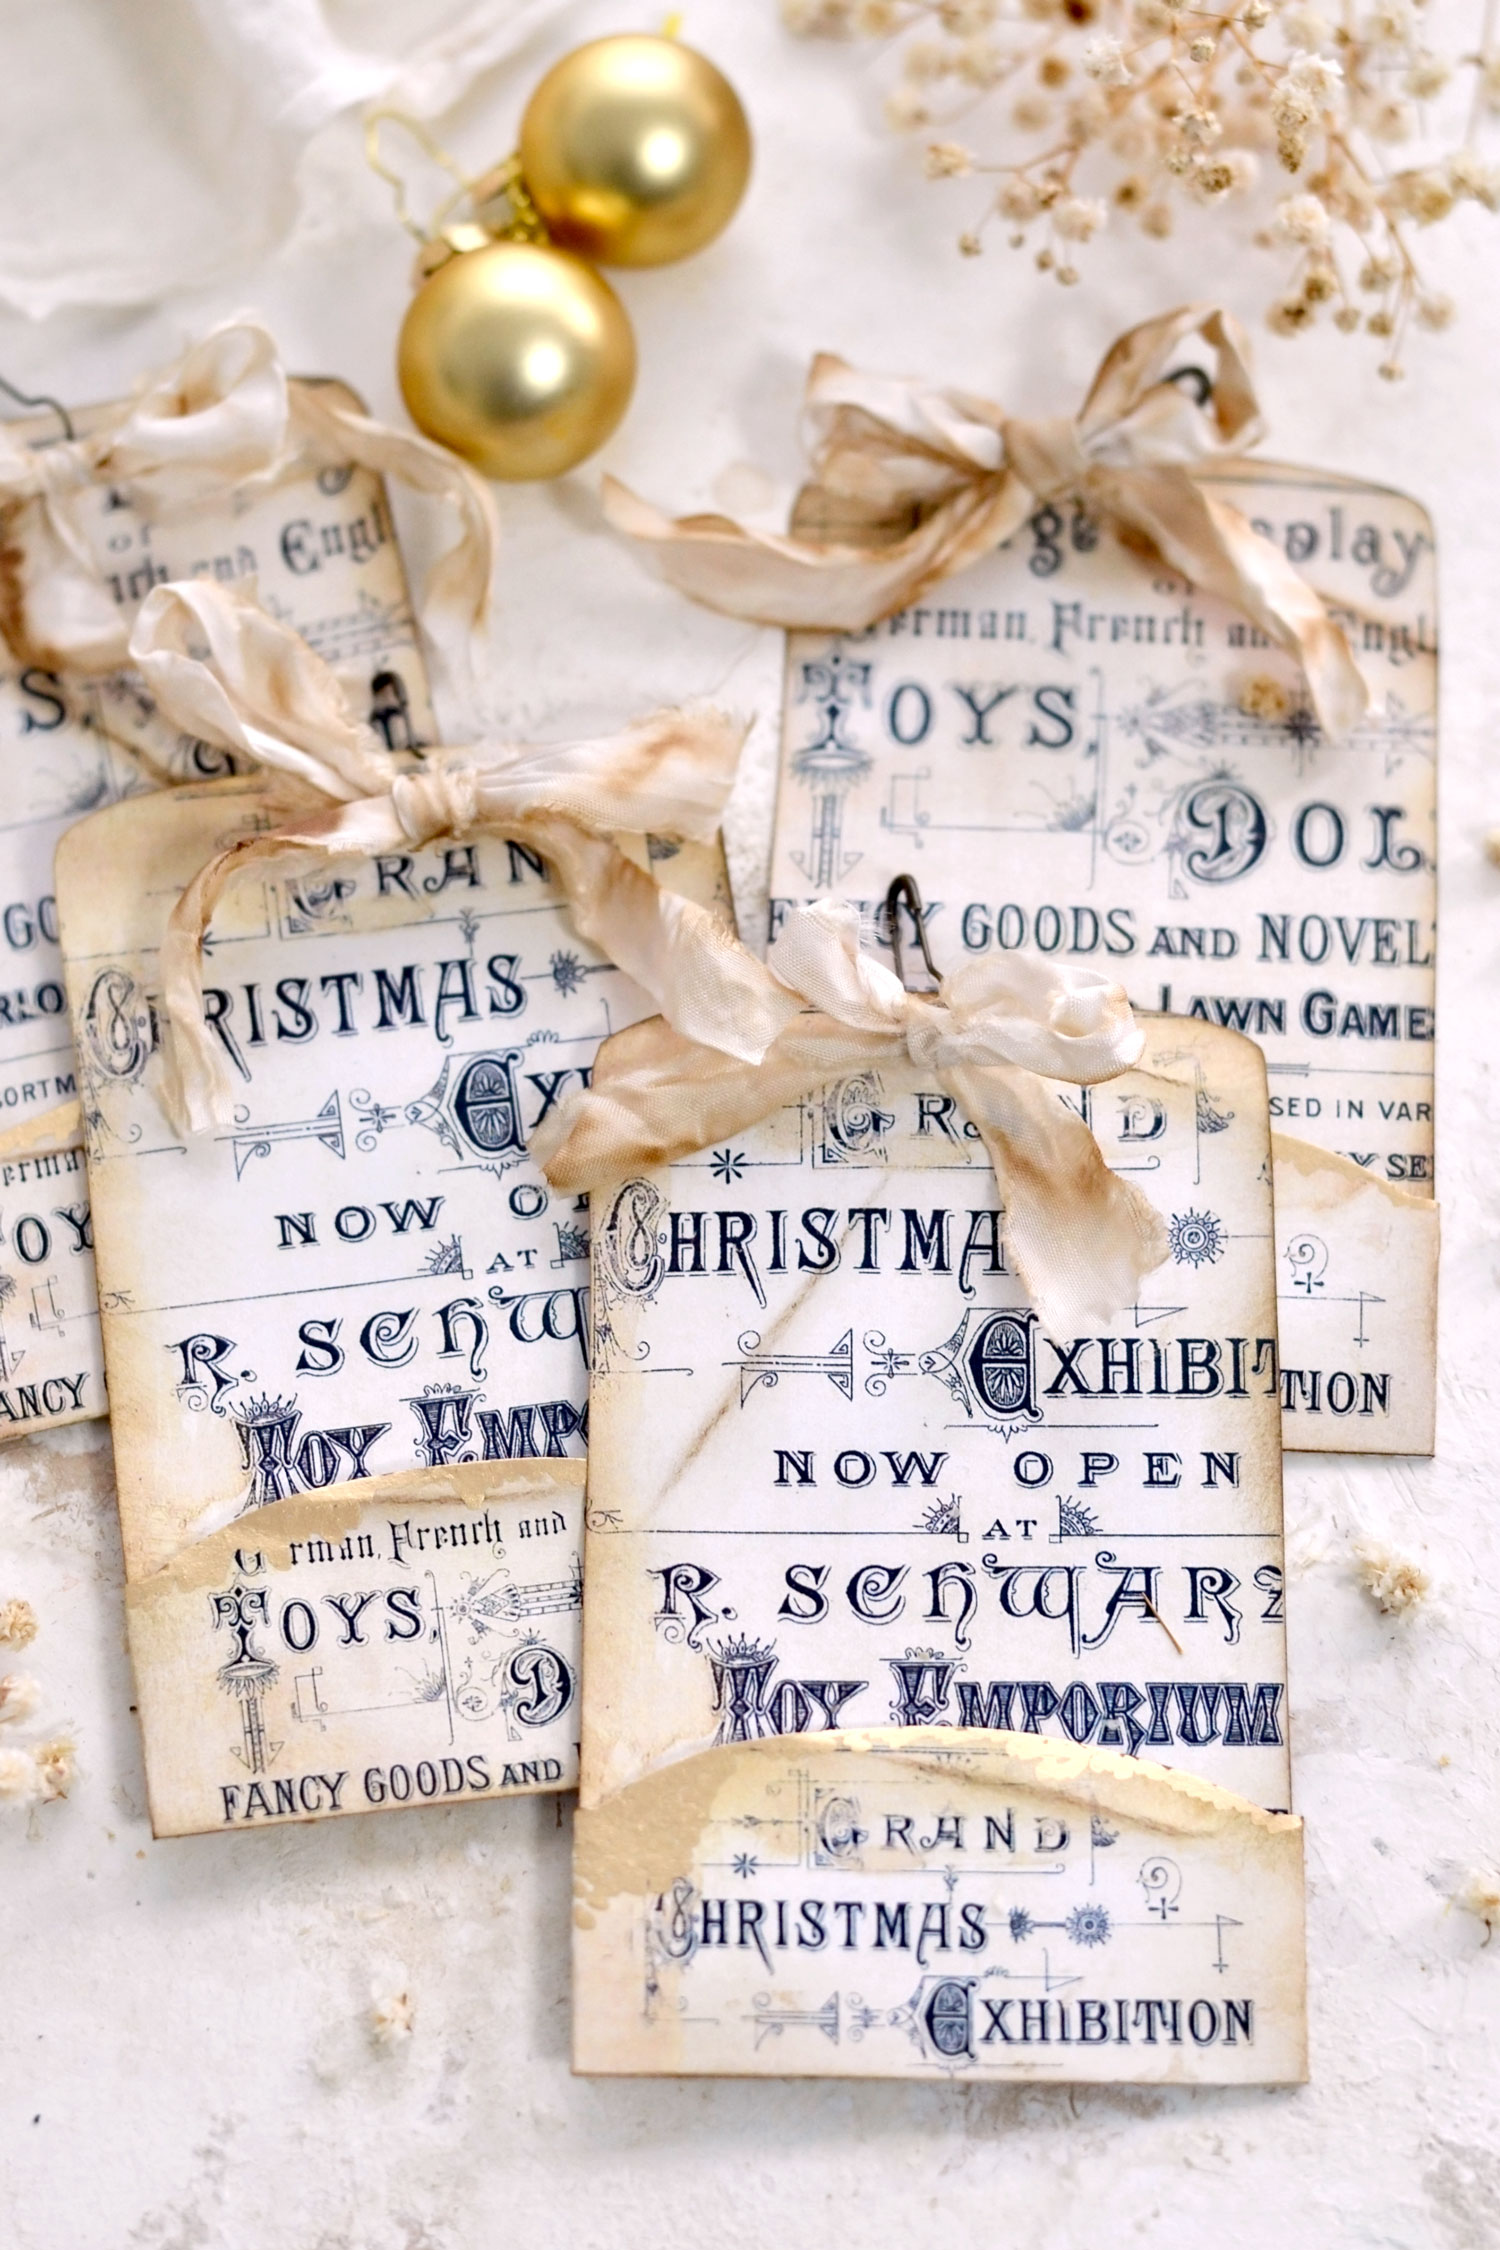
I wanted to make the pockets neutral because I thought you might want to use them with other Christmas cutouts too. So there is an element of versatility involved that makes them really adaptable to your needs! I used vintage Christmas ephemera pages that have lovely typography to design the tags. This printable will allow you to make 4 pocket tags, so feel free to print it as many times as you want if you need to make more!
Christmas Journaling Tags Free Printables:
—-> Click HERE to Download the Full Size Printable PDF <—-
I initially wanted to only share how to make the pocket tags, but since it’s almost Christmas, I thought it would be nice to have all these additional elements, too. You can consider them my Christmas gifts to you! You can simply cut and tuck in these beauties, I included all sorts of different elements here, so you’ll have plenty to choose from!
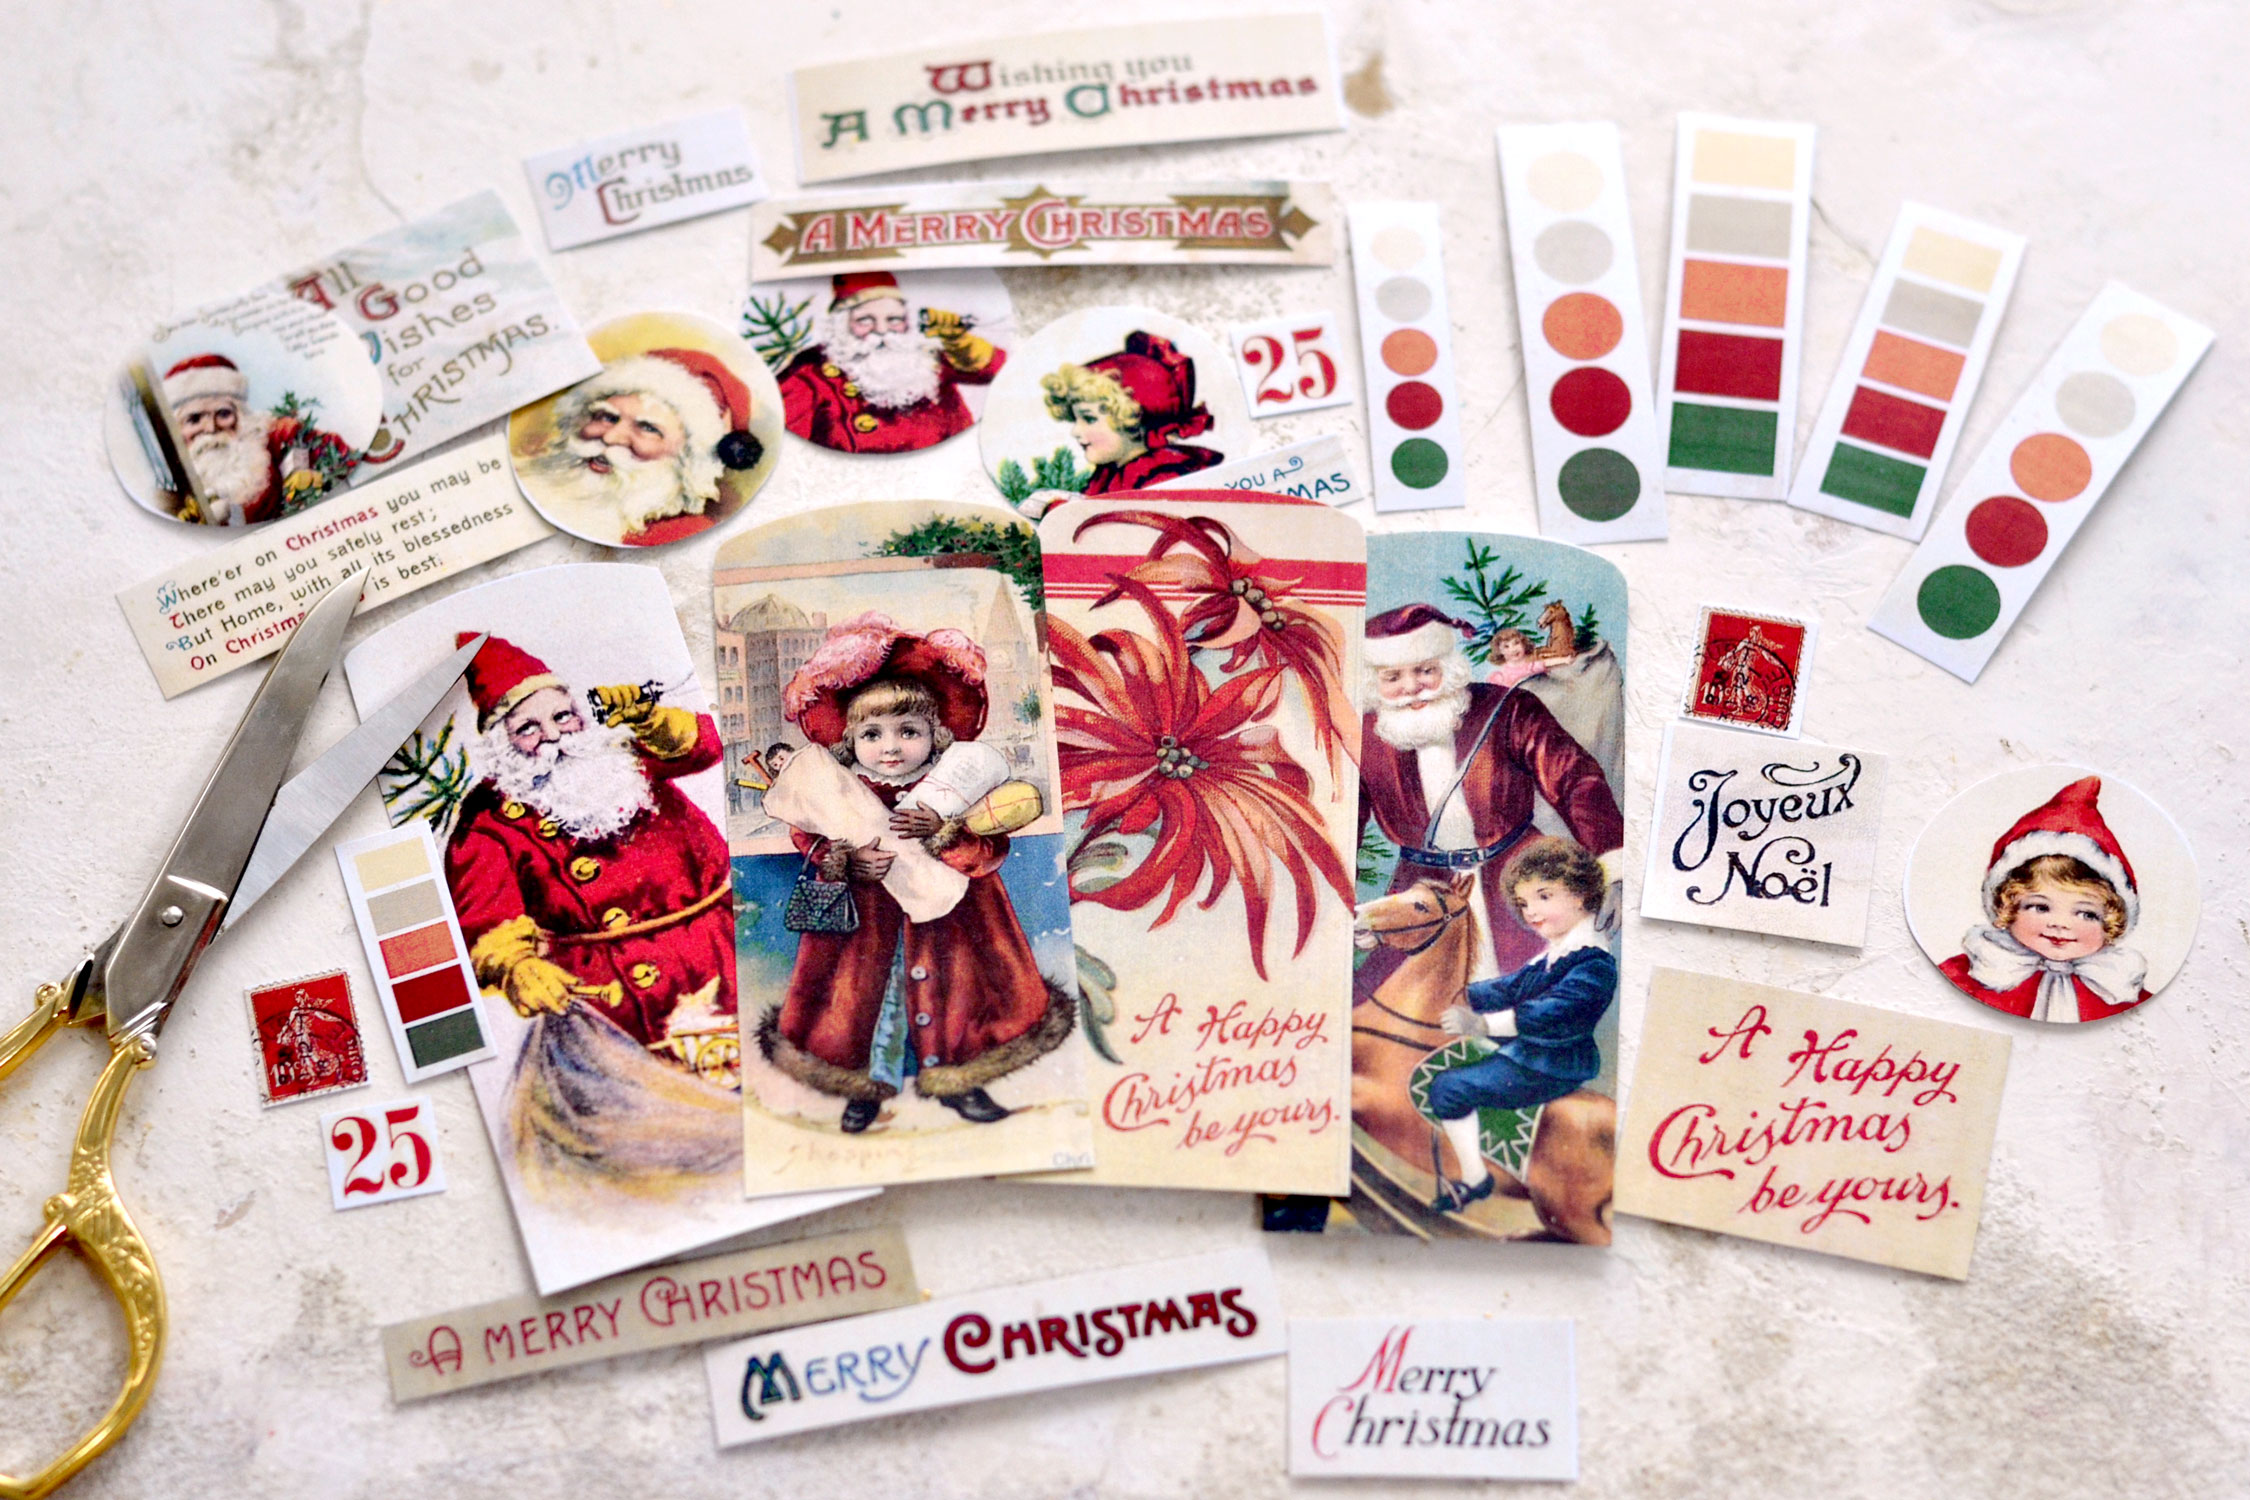
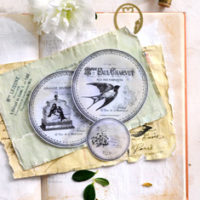
In the first printable gift, you will find multiple Christmas ephemera cutouts, postage stamps, a few rectangular tags and some round cutouts that can be mixed and matched to your own liking. As a novelty, I included a few vintage color swatches that will add so much charm to your lovely projects! I extracted the colors from the images that I included in the printables, so you’ll be able to use them as decorative pieces along with any of these colorful images!
—-> Click HERE to Download the Full Size Printable PDF <—-
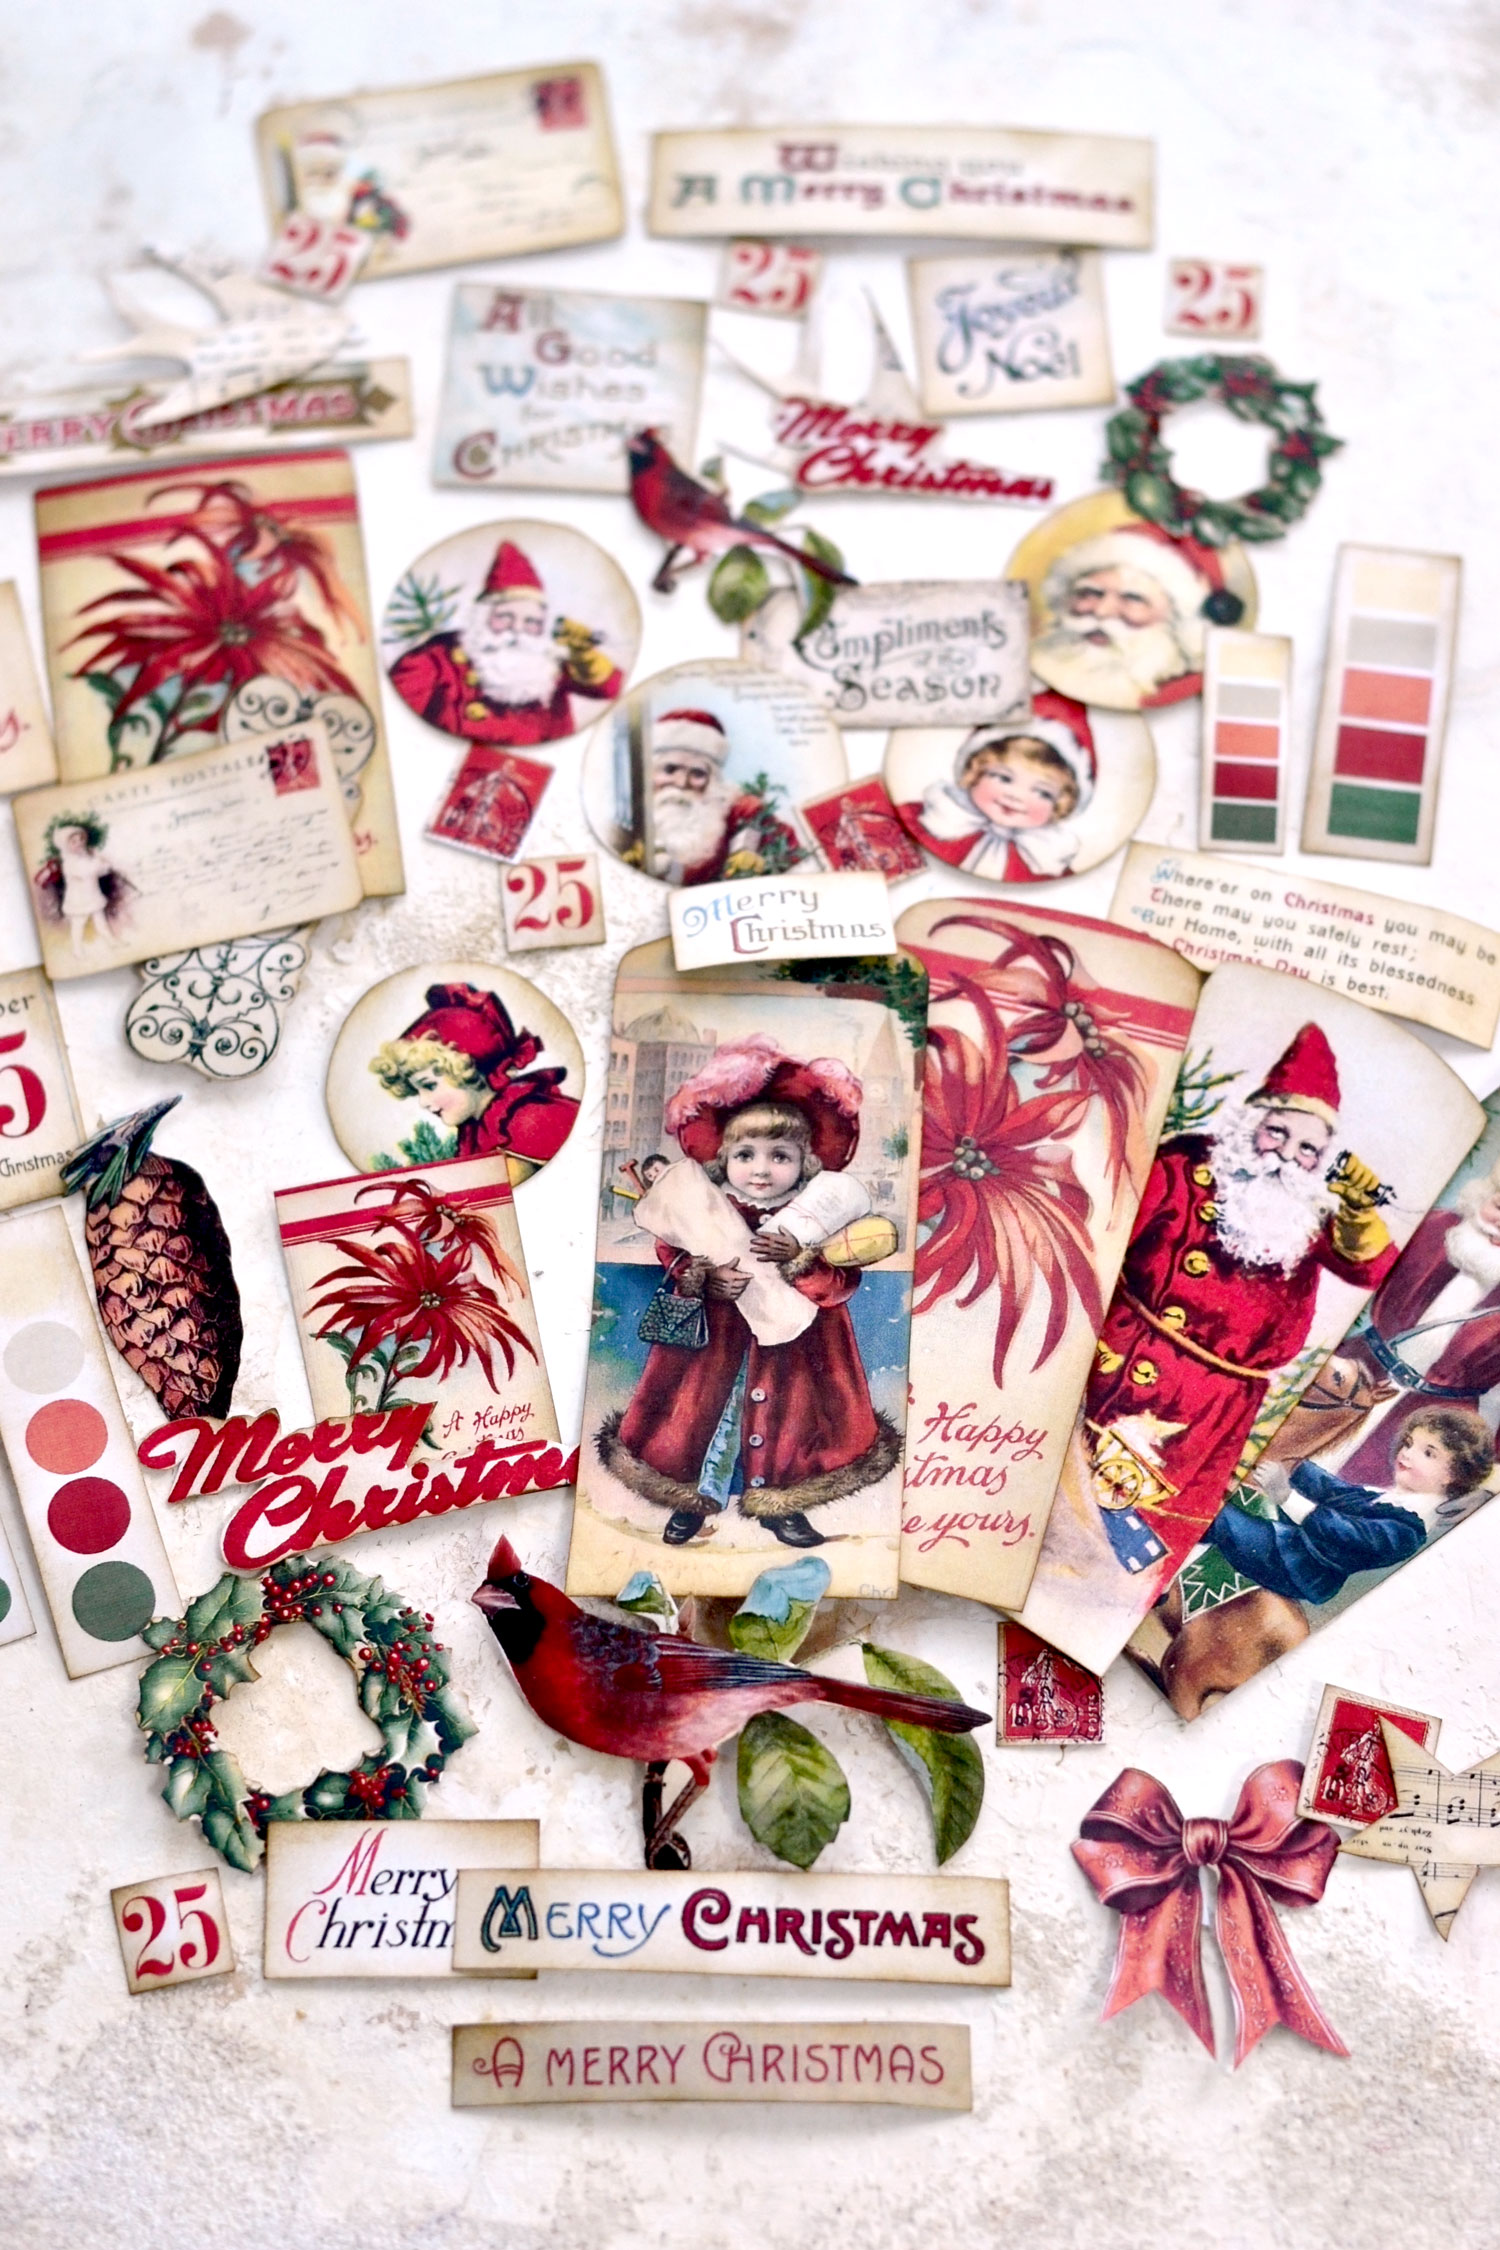
The second printable gift includes lovely Poinsettia cards, vintage Merry Christmas writings, holly berry wreaths, postcards, postage stamps, sheet music stars and bird silhouettes, several pine cone images and some lovely vintage bows. You will also find a lovely ornamental iron fence, I love using this one as a beautiful decorative element, it looks great anywhere! I also included this gorgeous red cardinal image in several different sizes – this is one of my all-time favorite Christmas images that can bring so much charm to any of your DIY projects!
—-> Click HERE to Download the Full Size Printable PDF <—-
Supply List:
- white cardstock paper
- home printer
- scissors
- mini distress inks
- blending tool with foams
- DecoColor gold marker or gold watercolors, gold acrylic paint, gold wax, gold nail polish
- gourd safety pins – gold or vintage
- glue stick or any other paper glue
- hole punch
- ruler and pencil – optional, for tracing the middle before punching
- crinkle ribbon or any other ribbon that you love
Step by Step Instructions for DIY Christmas Journaling Tags:
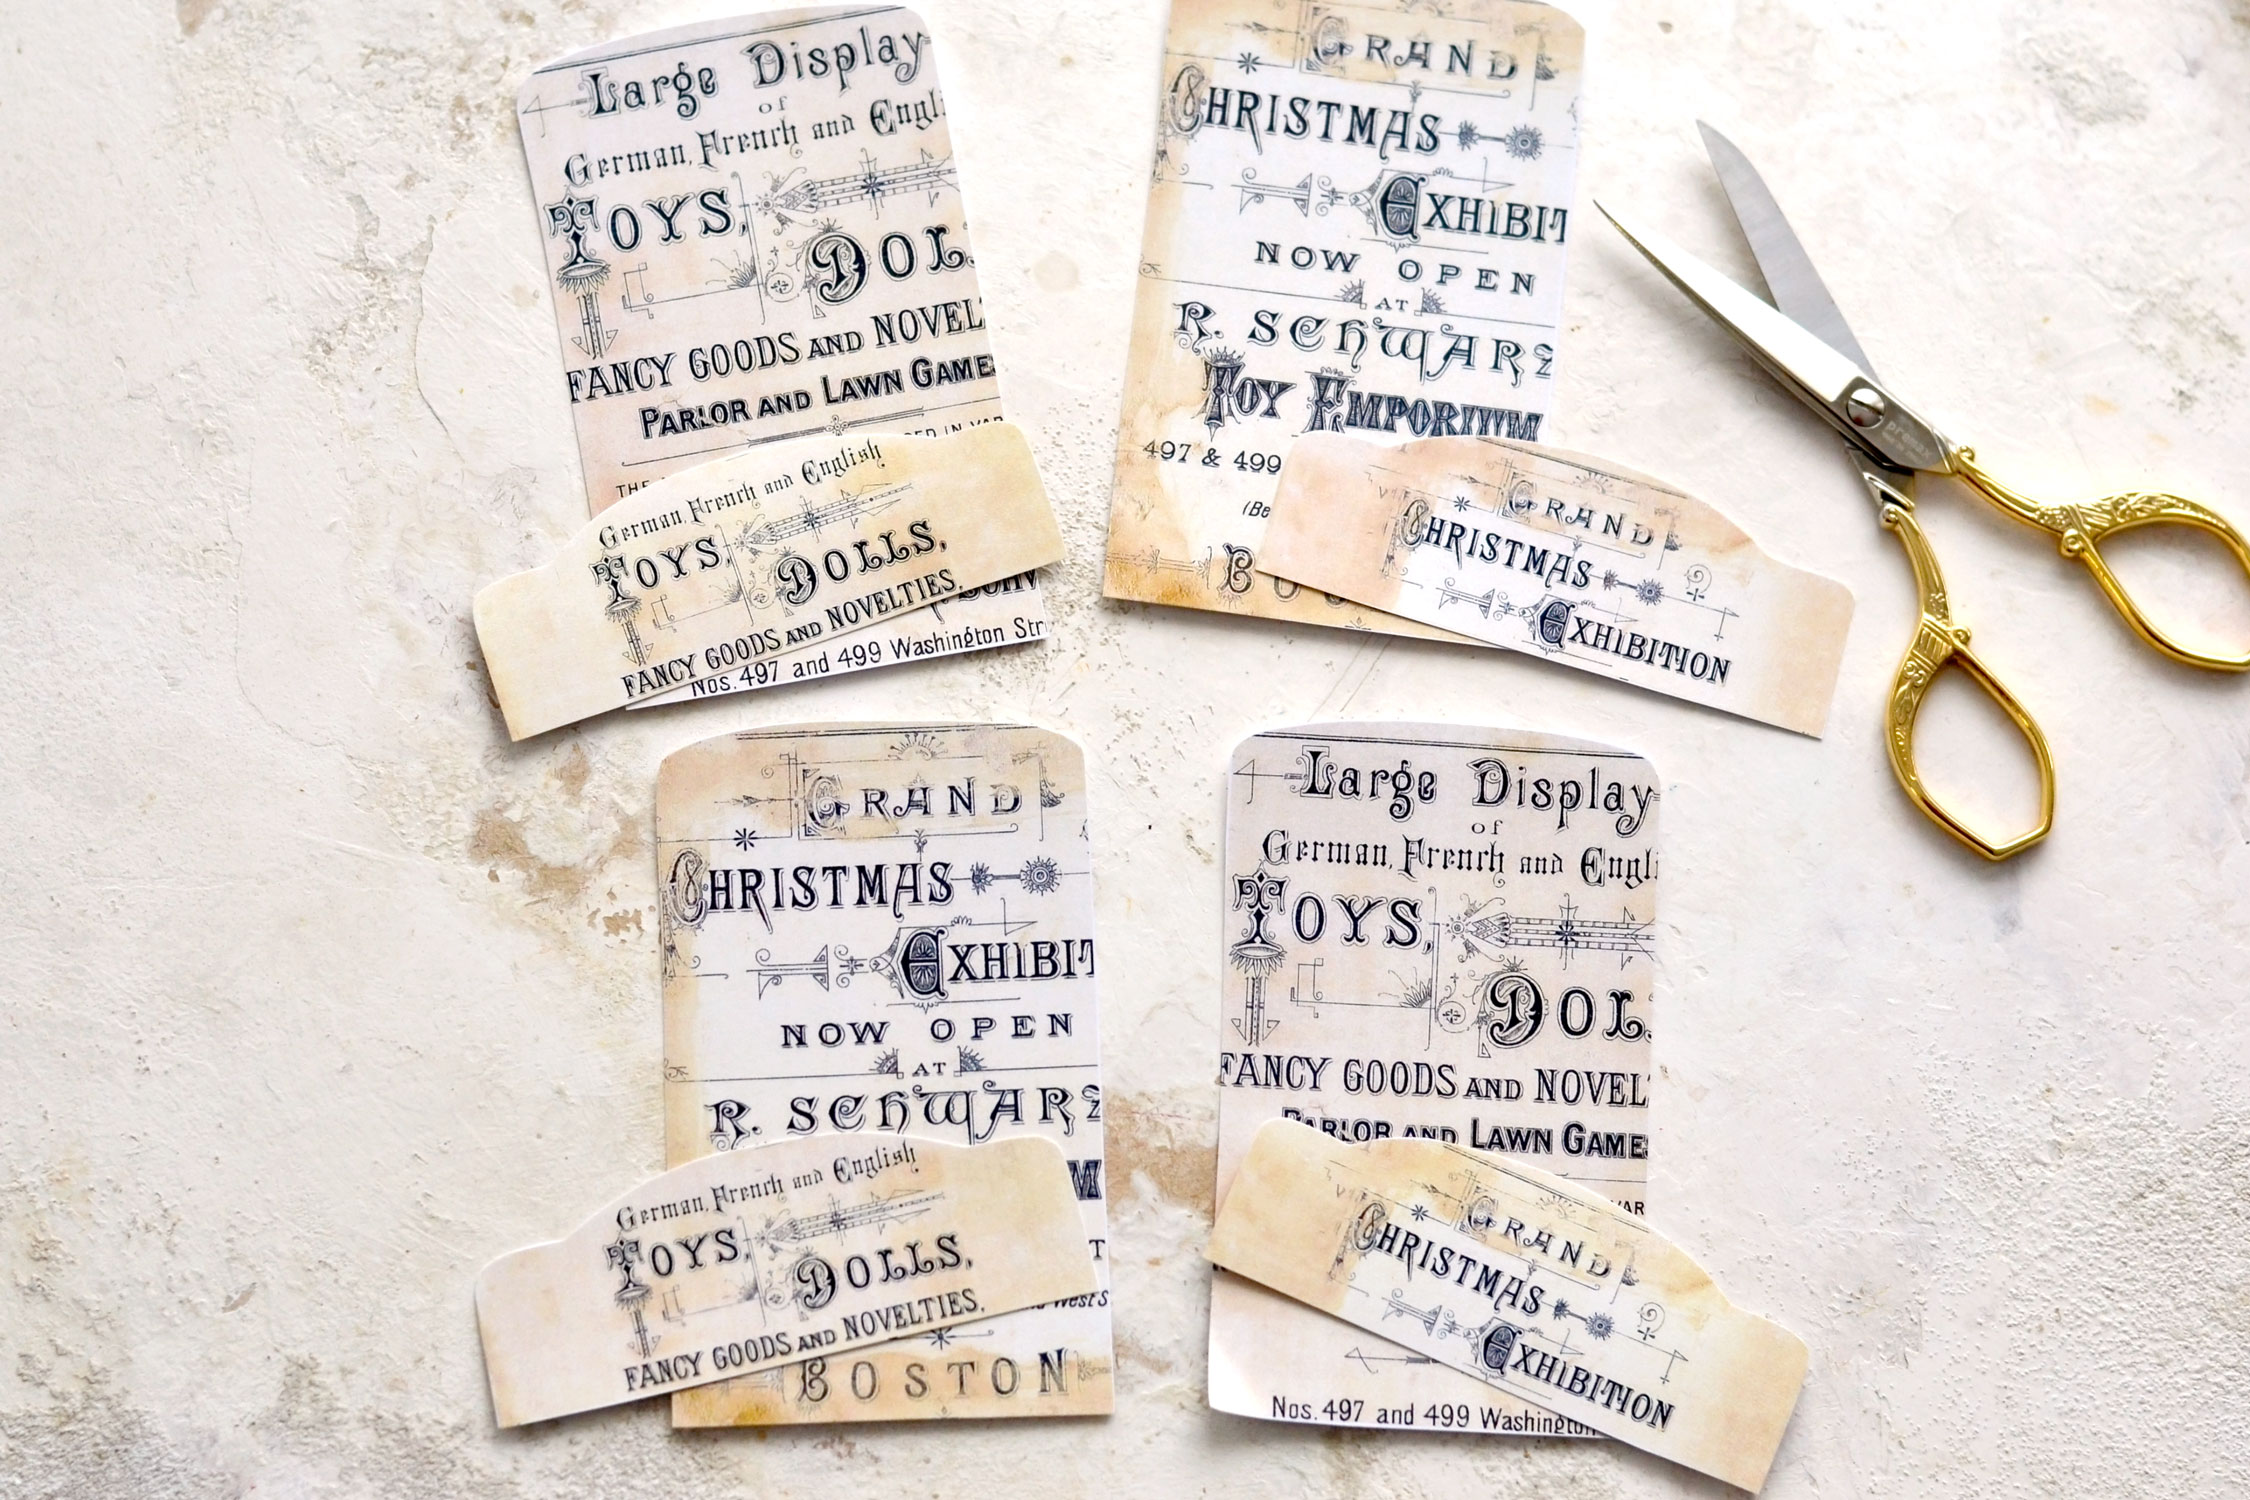
Start by cutting the tags and the flaps that we will be overlapping on top.
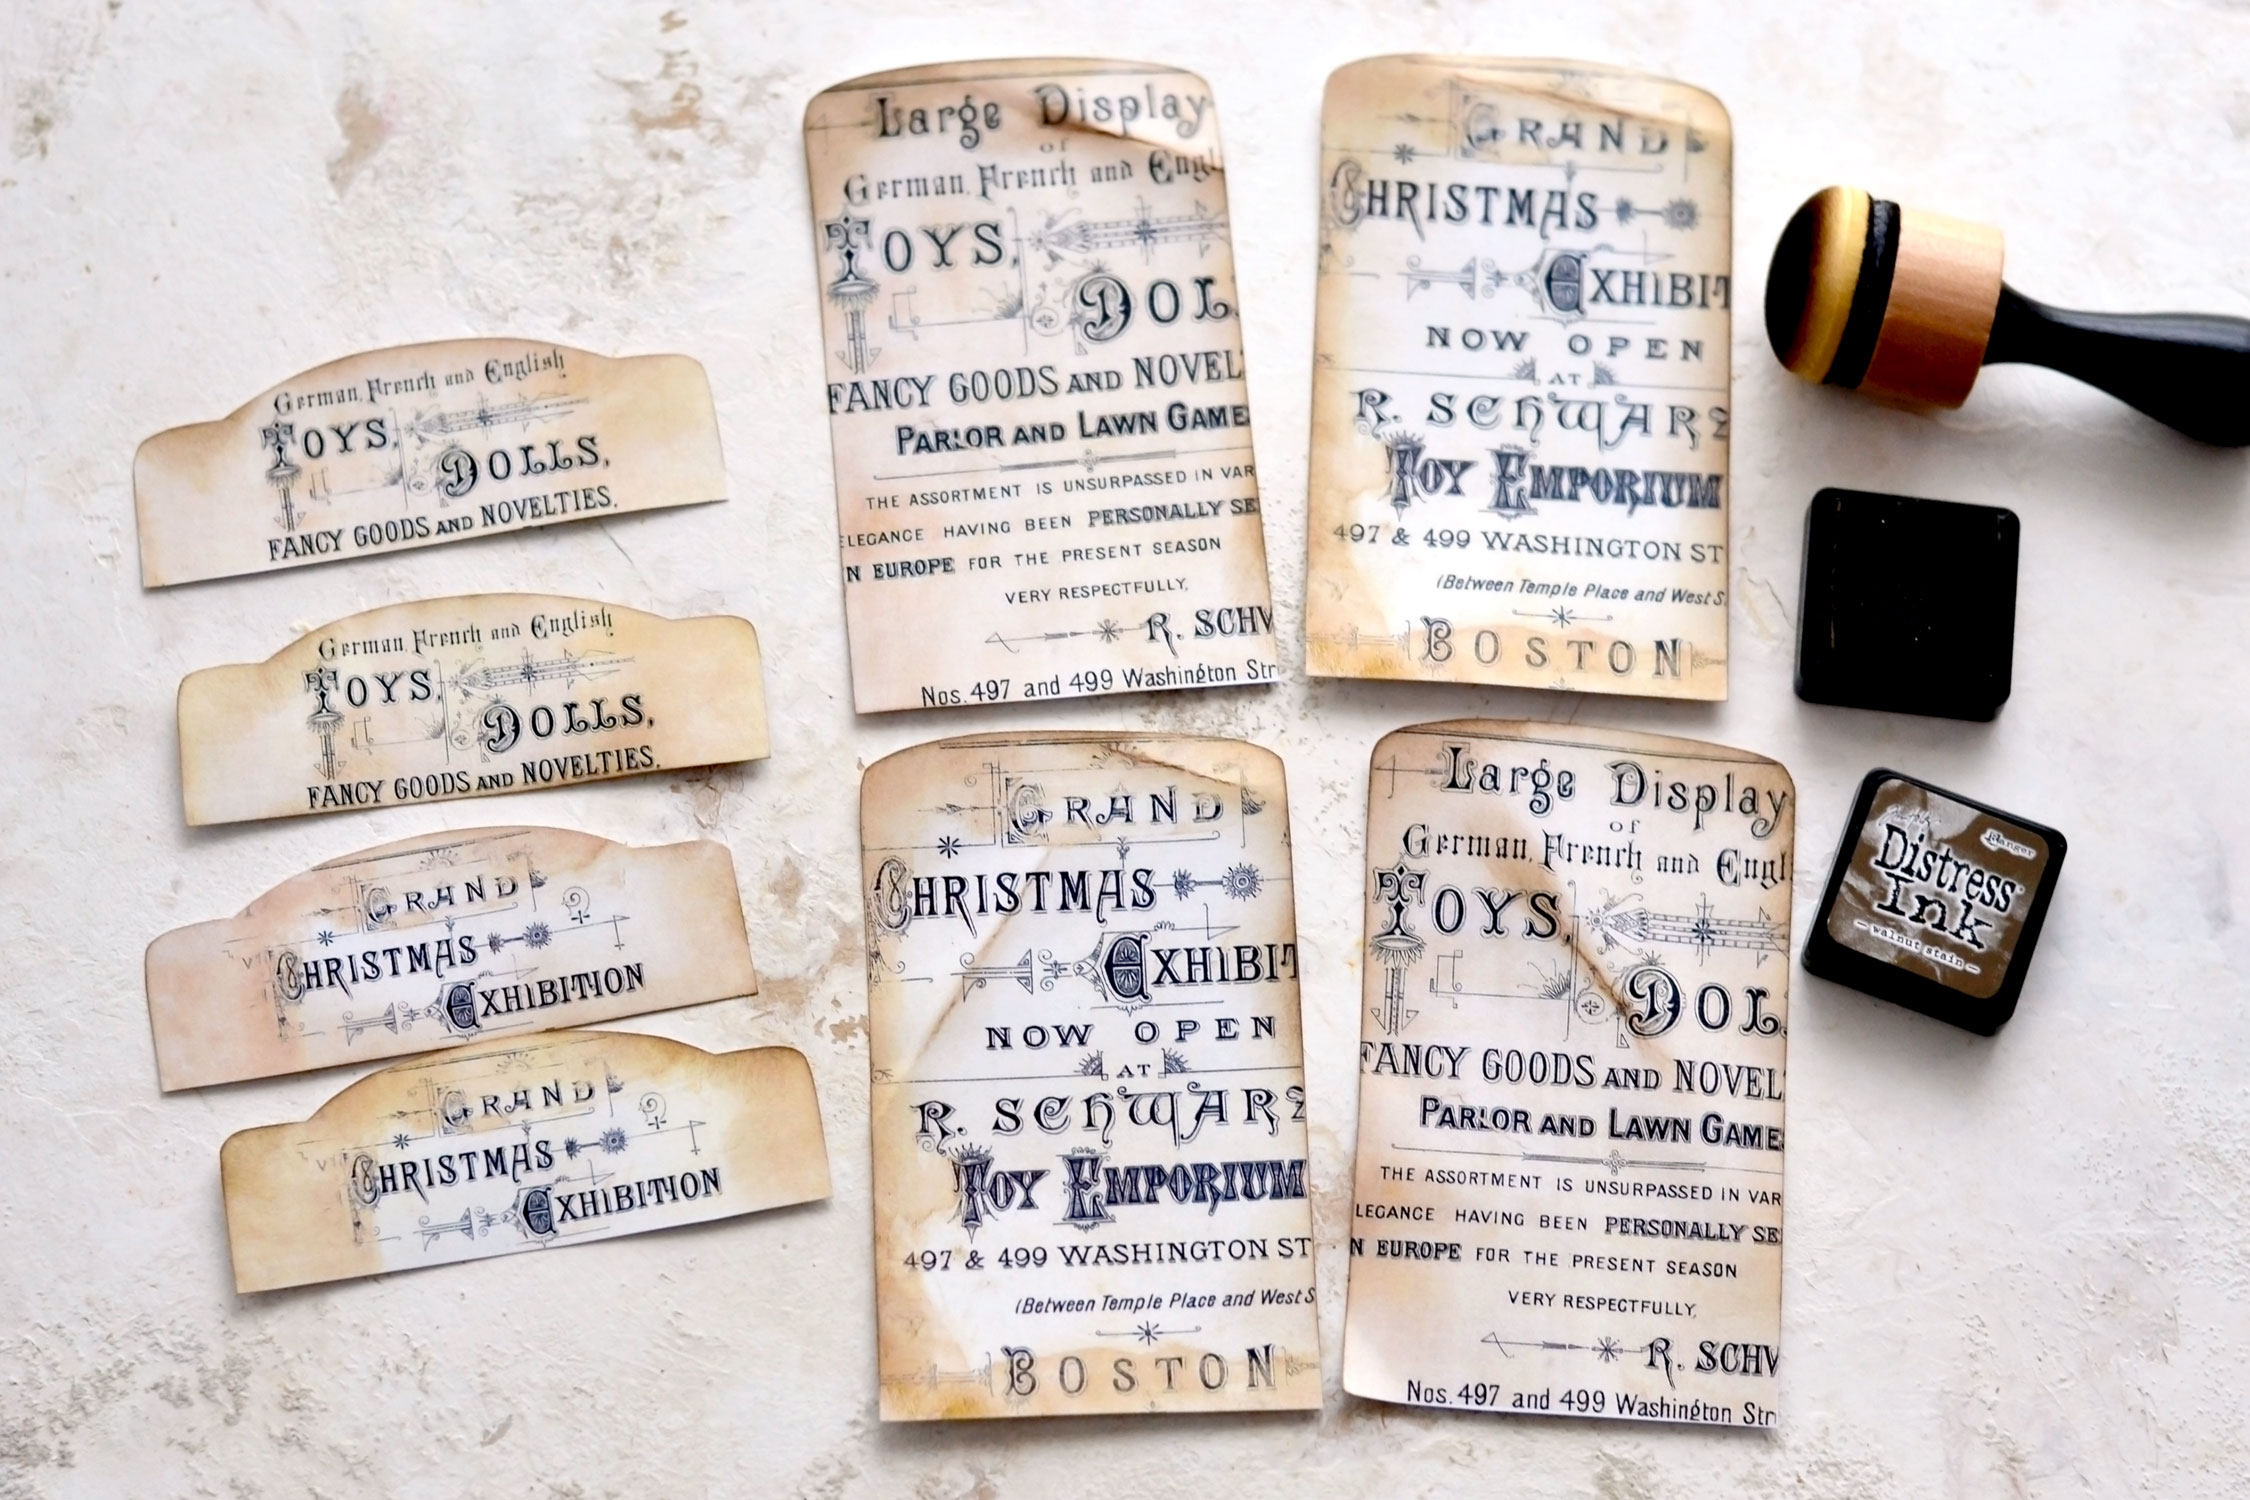
Use distress ink to give the paper a beautiful, vintage look. The level of distressing is definitely a personal preference, feel free to distress them as much as you want! I usually like using Walnut Stain for this step to keep things on the neutral side, but if you want to give the pockets even more of a Christmasy vibe, you could also use some colored distress ink!
You can crumple the paper here and there if you want to give it even more of a worn appearance.
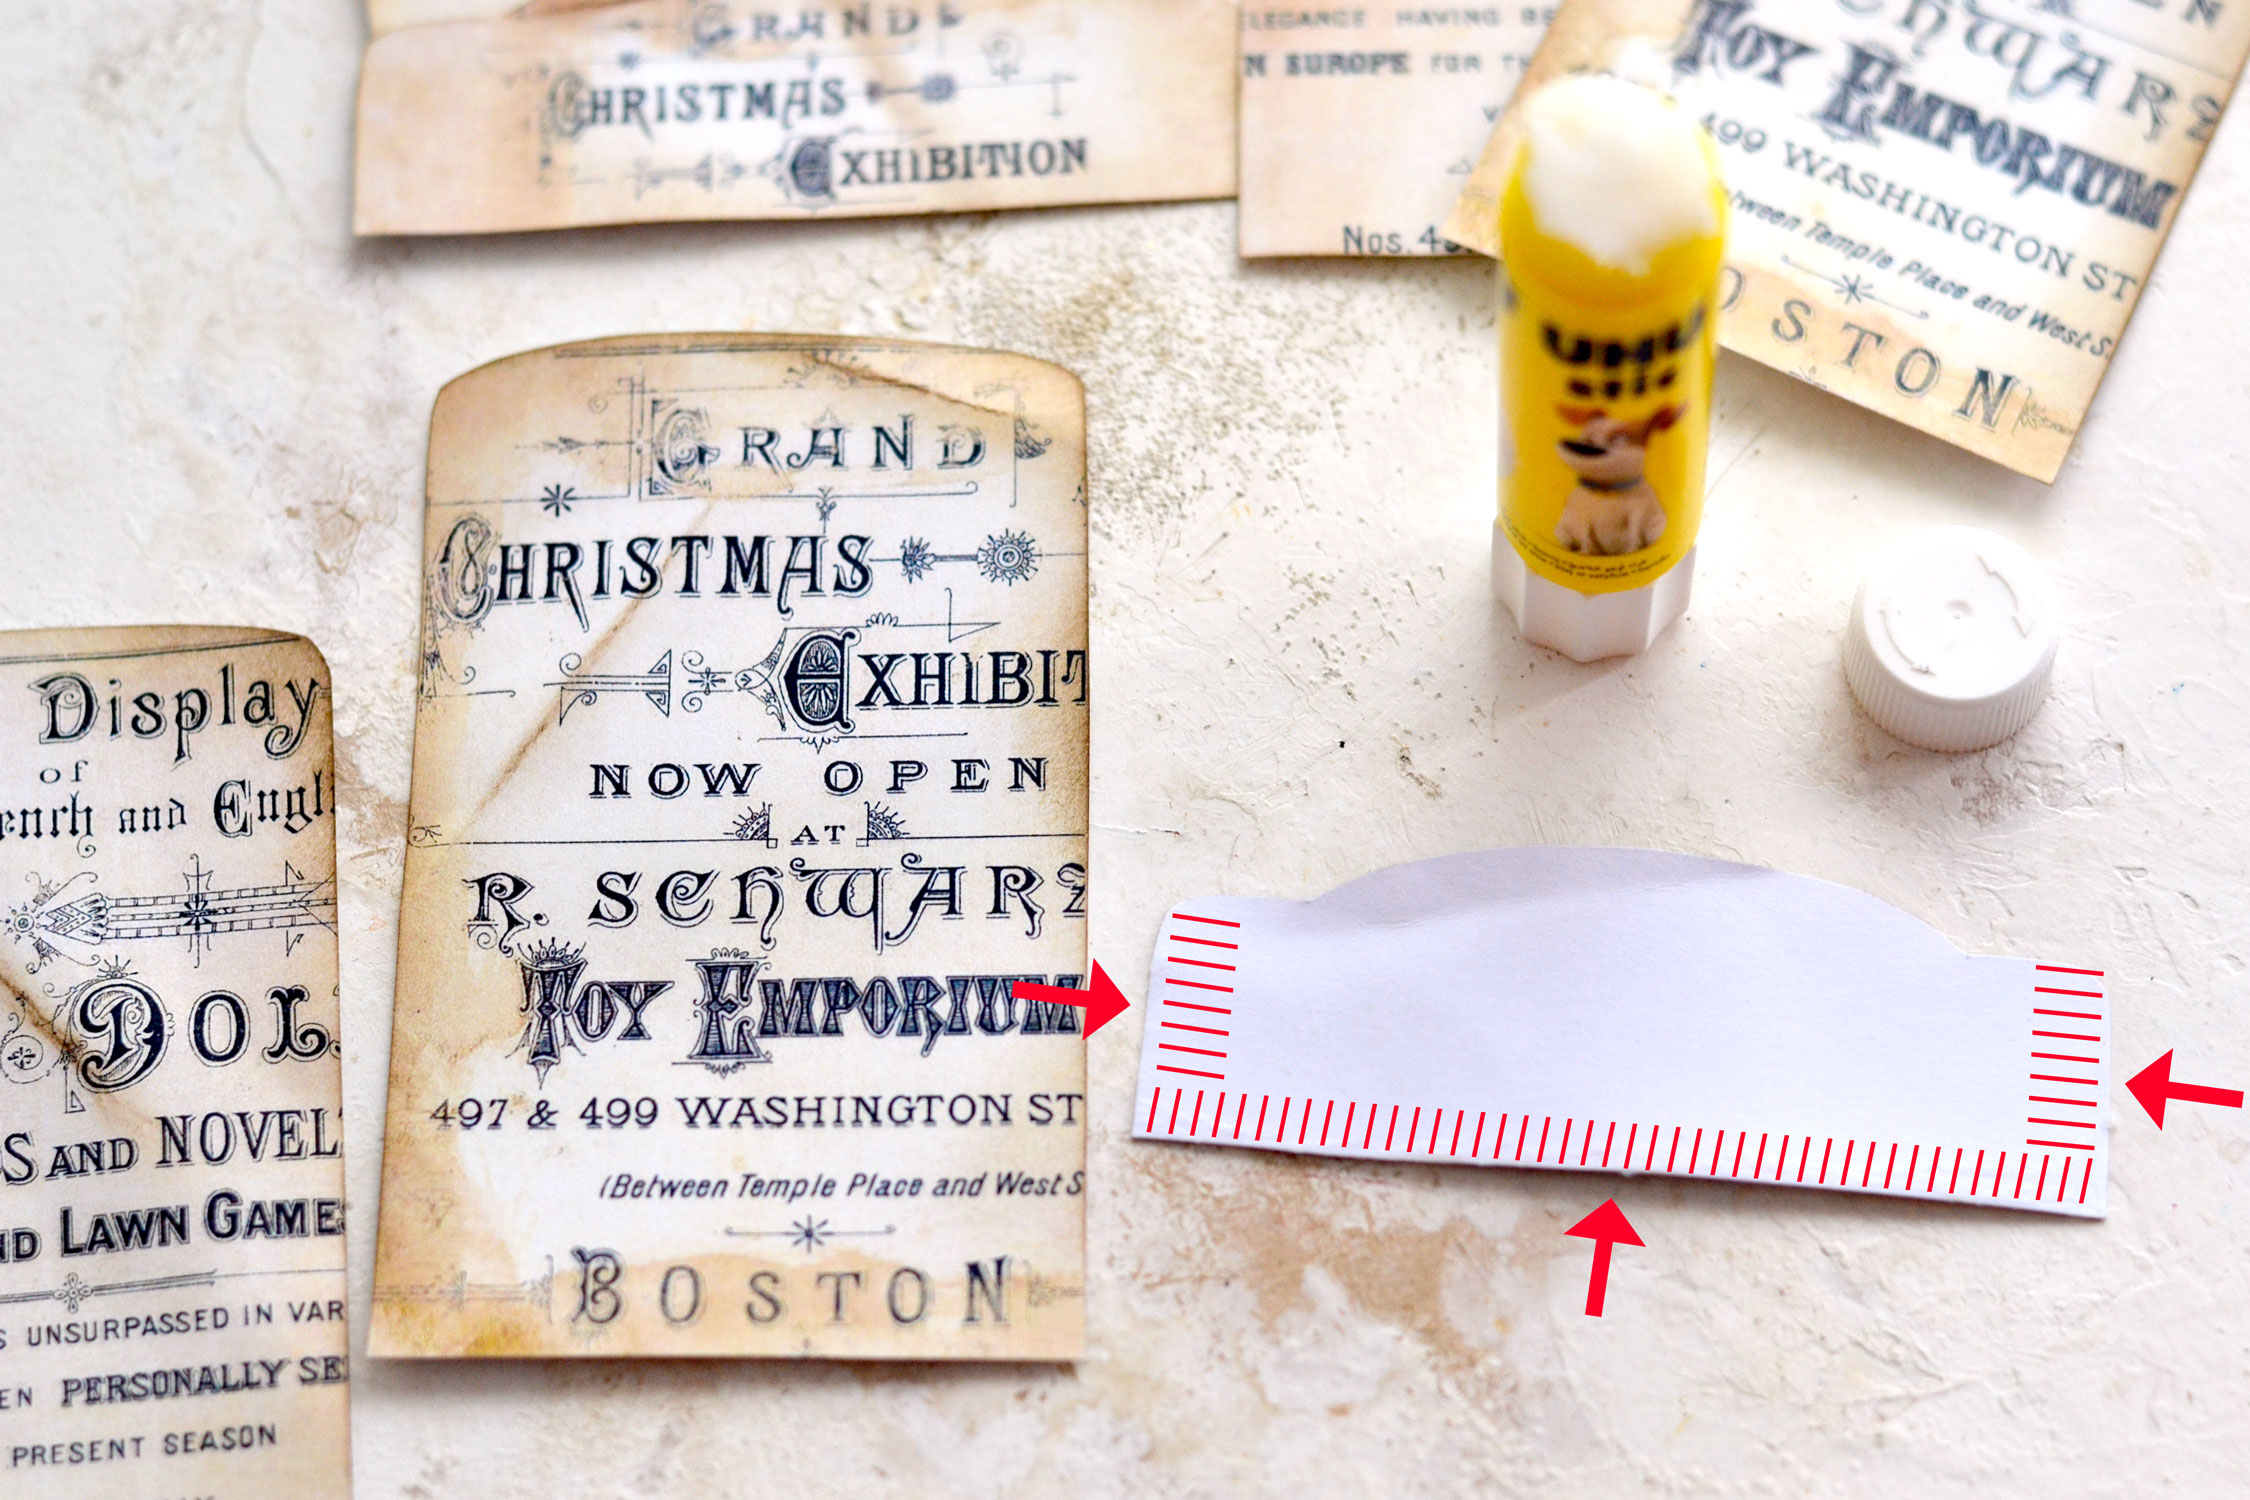
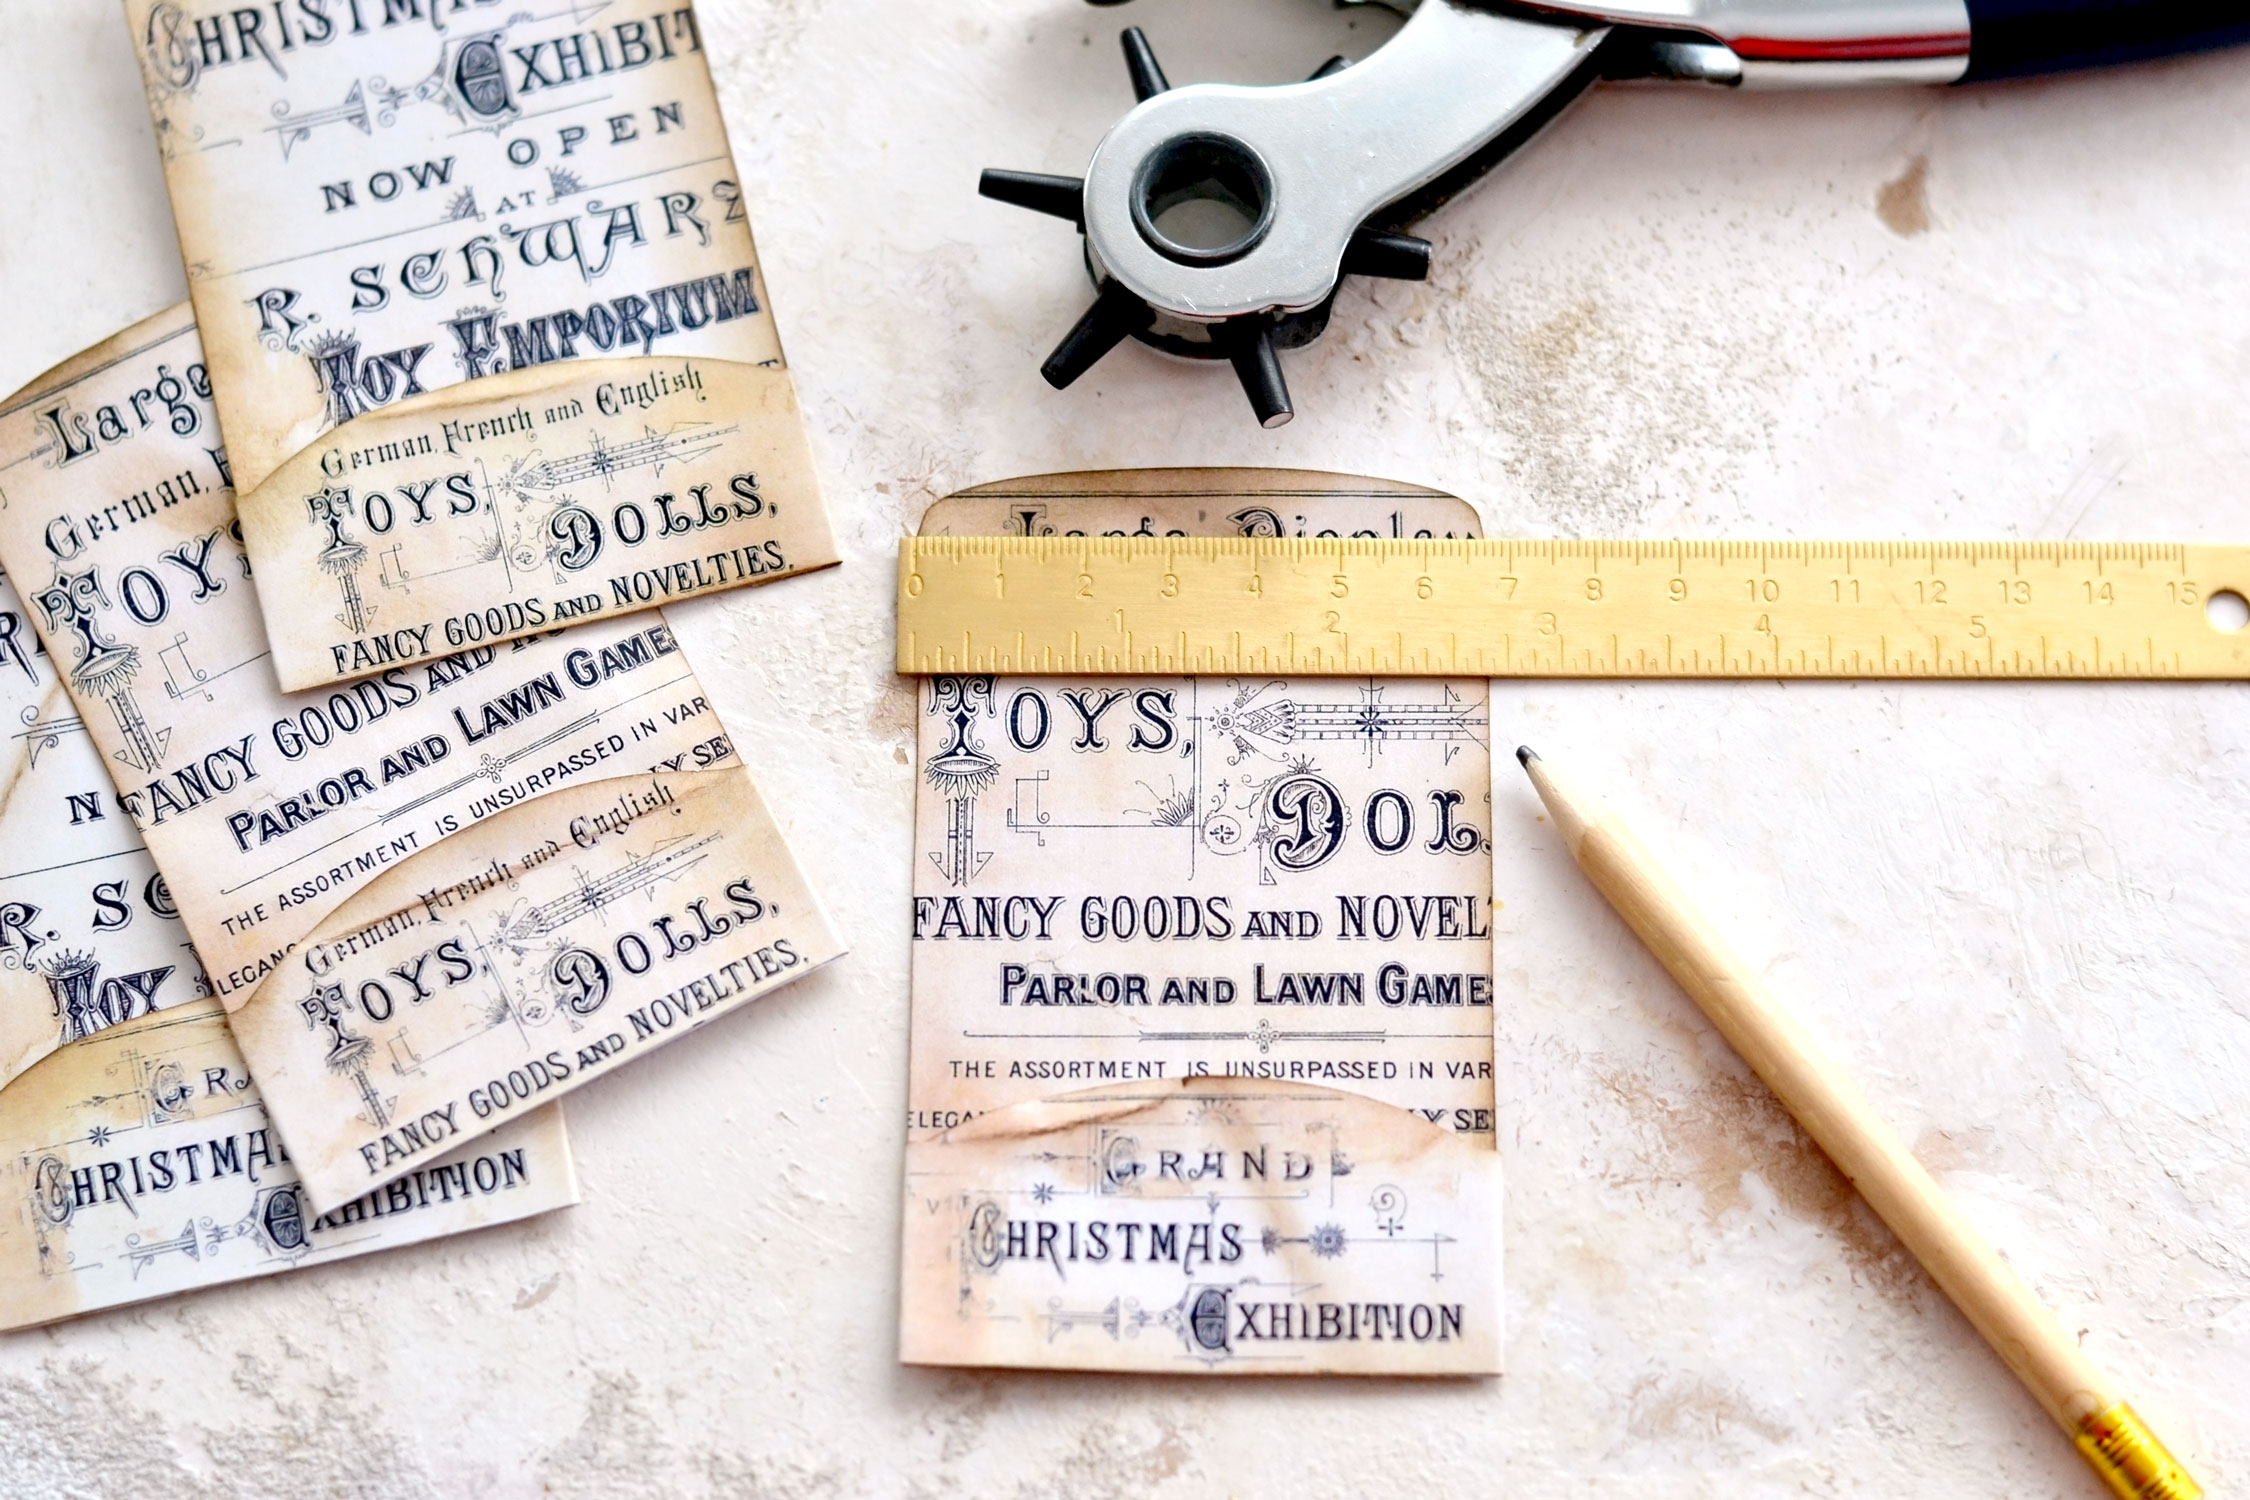
Flip one of the flaps over and add a small trace of glue on its back to all the sides except for the top.
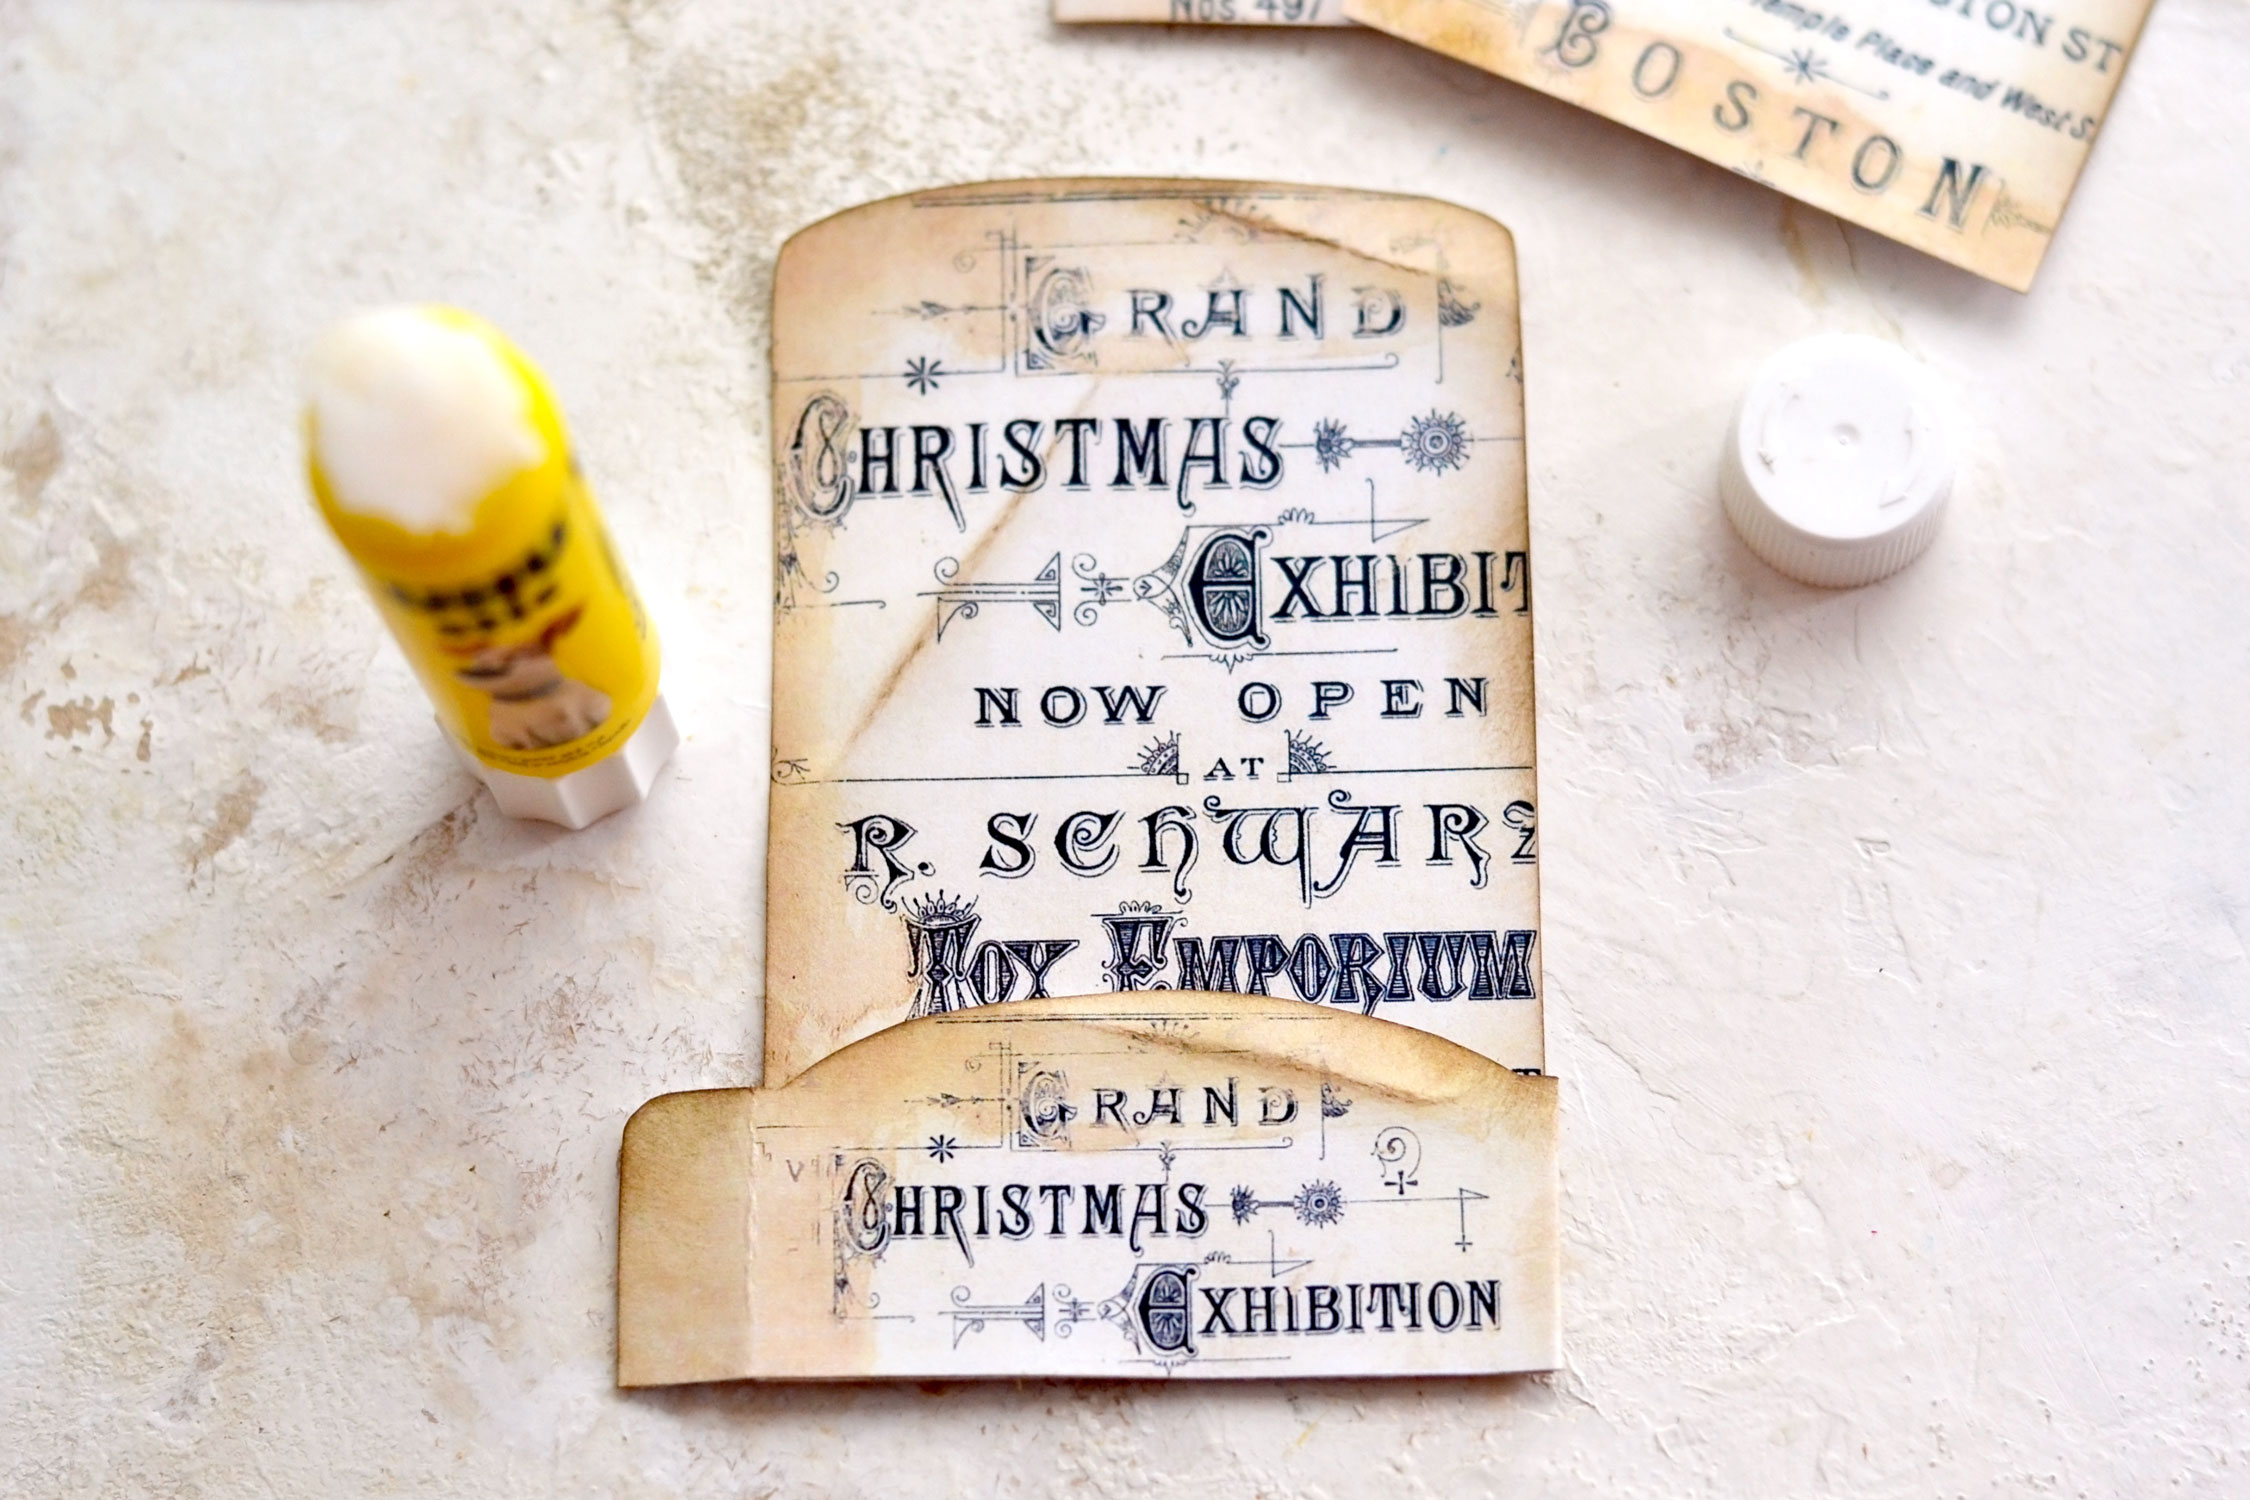
Flip it over again and carefully place it in the lower part of our tag, in the center. Fold the left and right sides underneath and apply a little bit of pressure to make sure to glue gets the chance to hold everything in place.
Use a ruler and a pencil to trace the middle of your pocket tags (or just eyeball everything), then use a punch to make a hole.
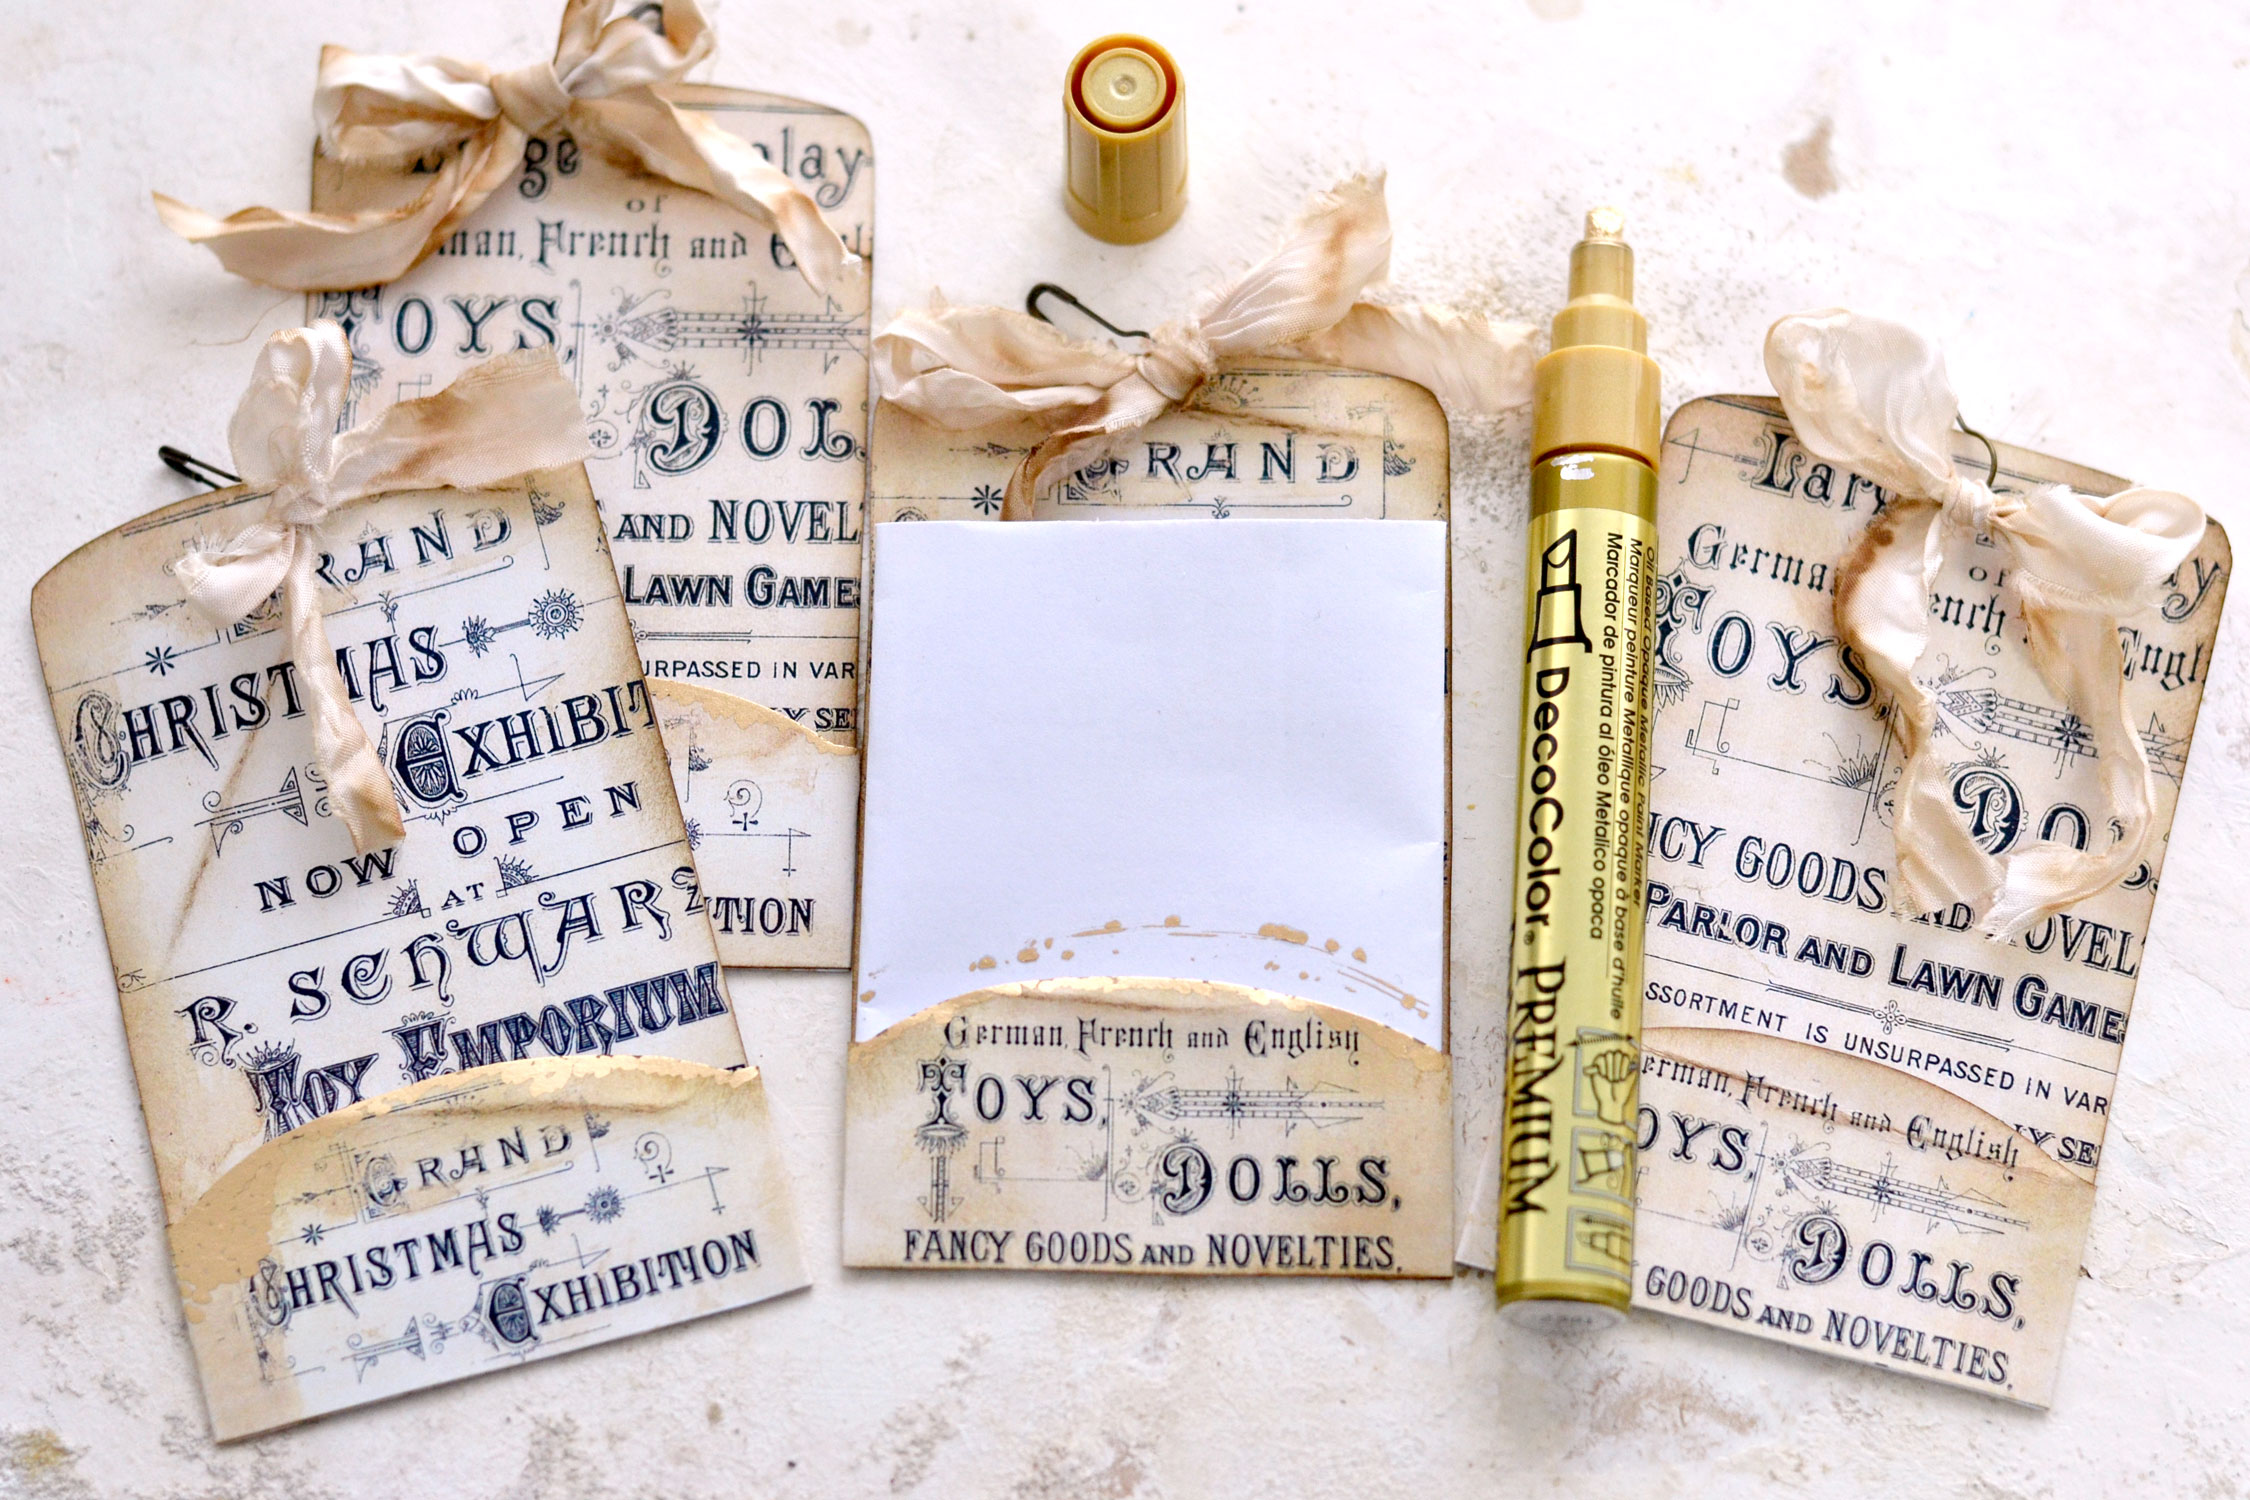
Use gourd pins or regular small safety pins to add some crinkle ribbon bows on top. I actually created the bows beforehand and just added them to the pins, I feel this way you can give them a more beautiful shape.
If you want, you can add small gold touches here and there. You can use your favorite gold paint whether it is acrylics, gouaches, watercolors or gold metallic markers, like I did. You can even use gold nail polish if you have one around. I wanted to add the gold to the rounded top part of the flaps, so I tucked some scrap pieces of paper inside the pockets while painting to keep the tag underneath clean.
Then you can move on to cutting all these gorgeous colorful elements! Use your scissors to cut all the elements from the first printable.
Then use some more of that lovely distress ink to to give the paper a chic vintage vibe!
Moving on to cutting and distressing the second printable. 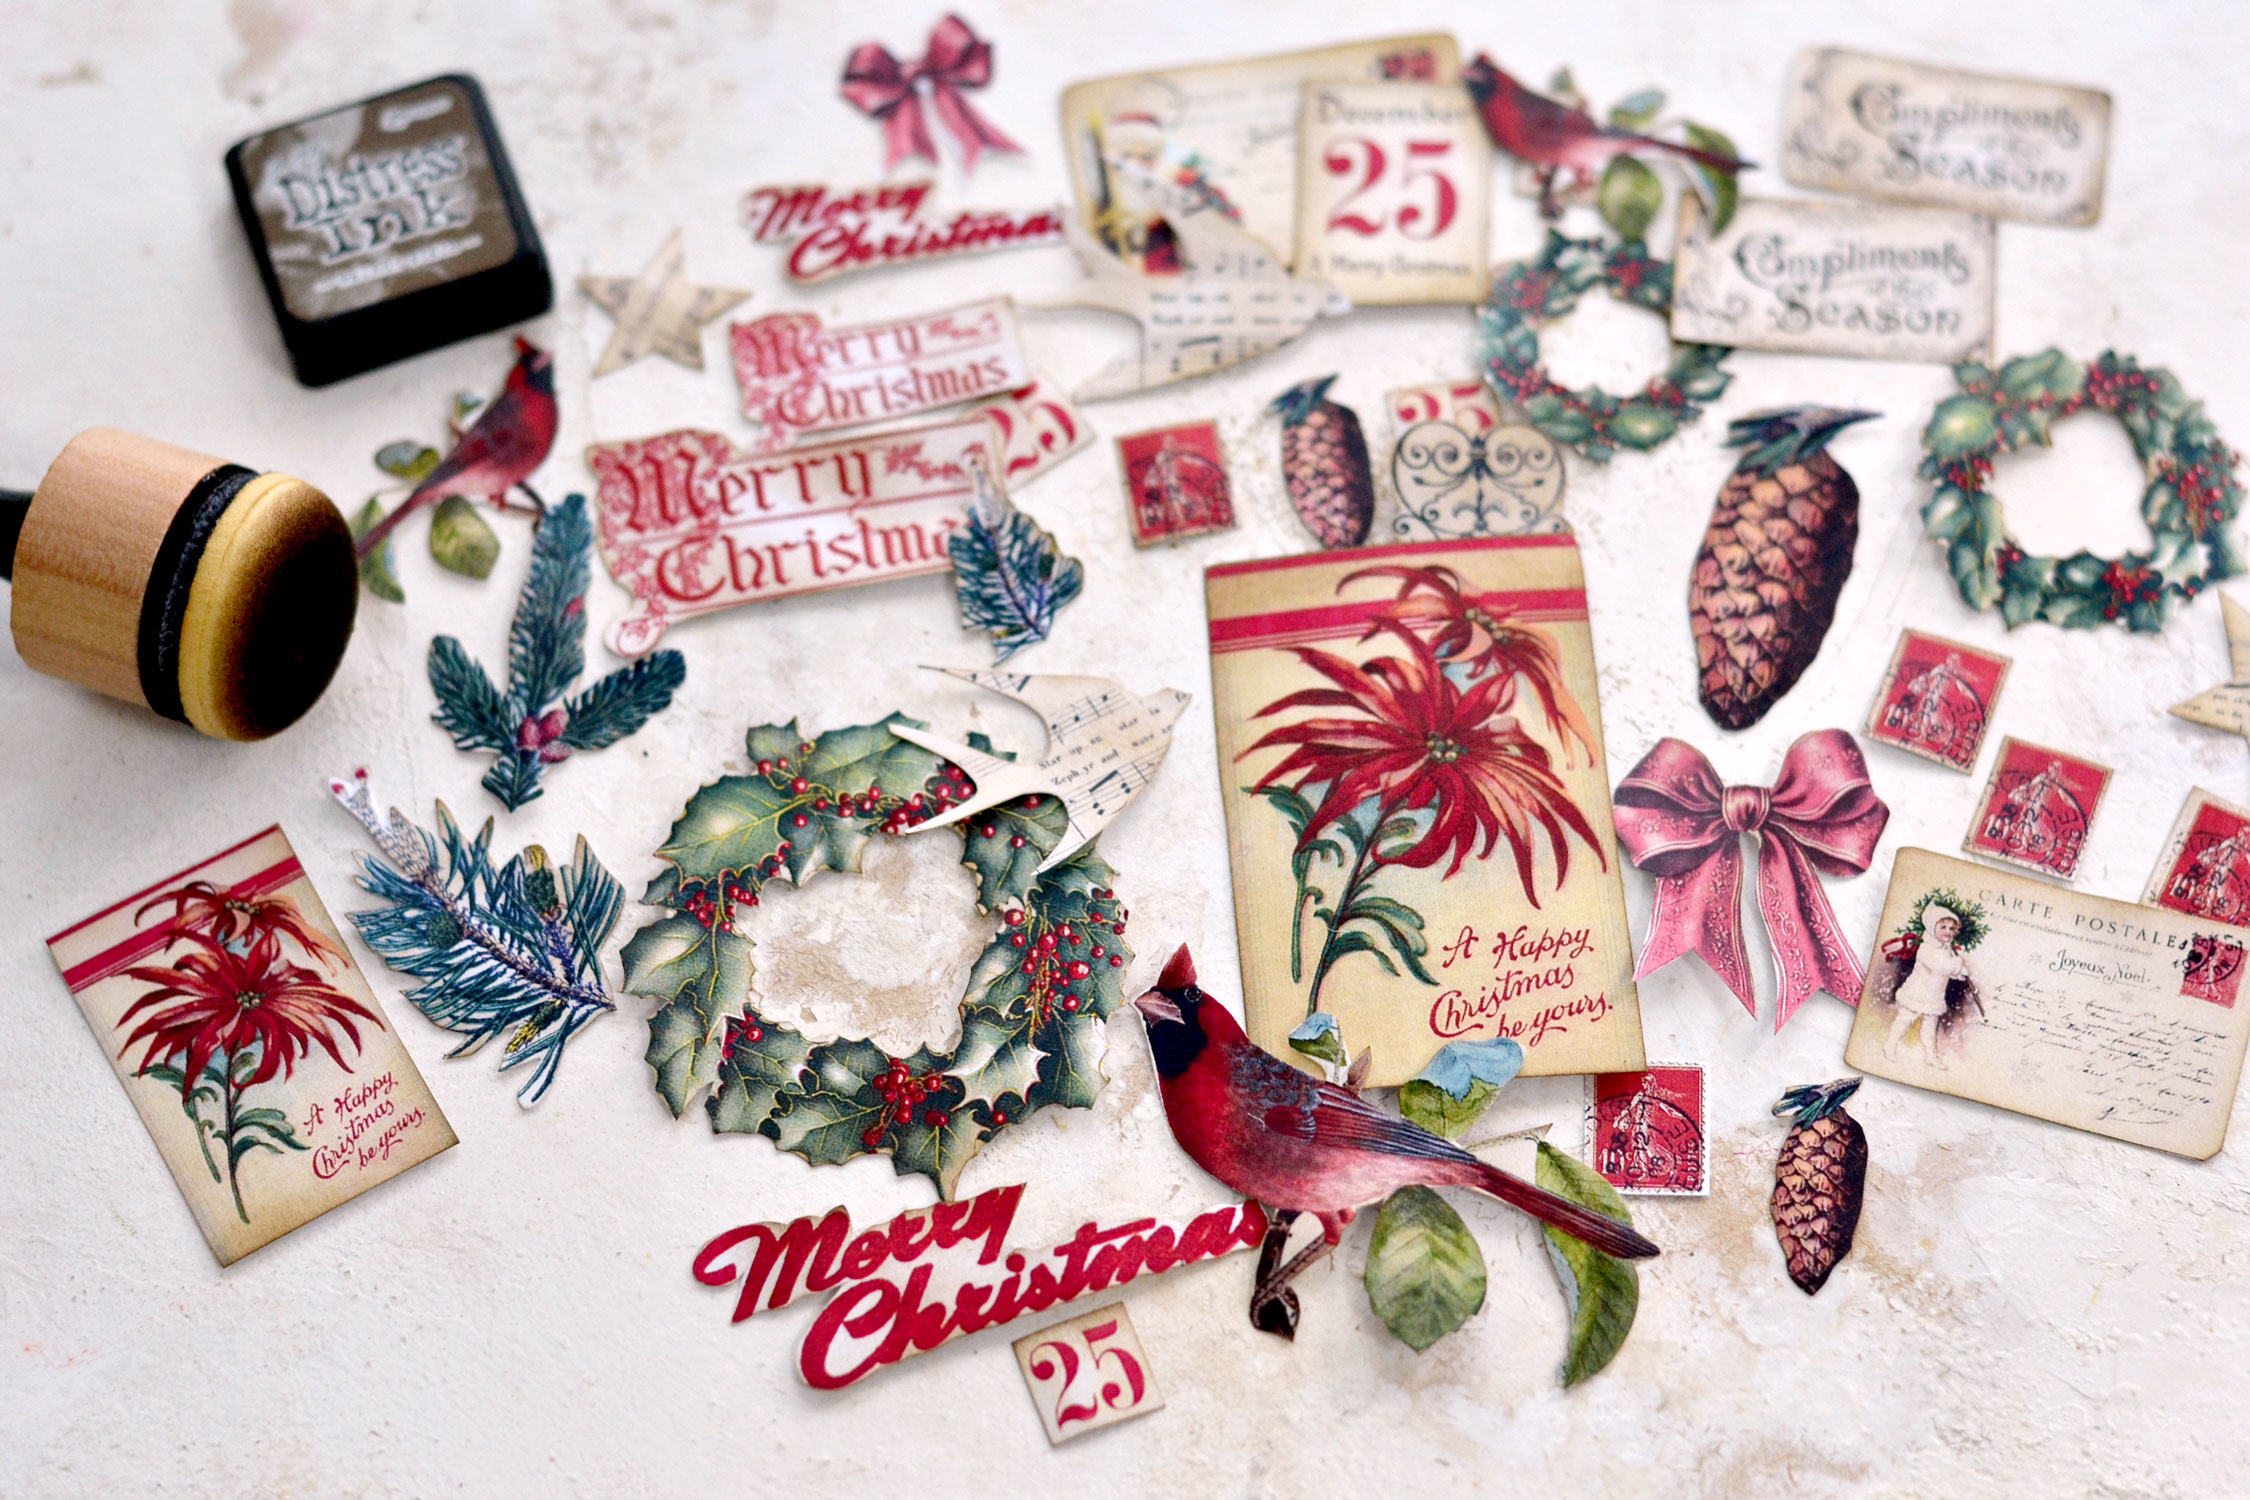
Cutting all these small elements will take a little bit of time, but the final results will make everything well worth it, I promise! You can put on your favorite Christmas songs while doing all this, it will help you relax and get into the seasonal vibe! The holiday mood is now turned on!
And finally, admiring all these gorgeous elements, they look pretty amazing together, don’t you think?
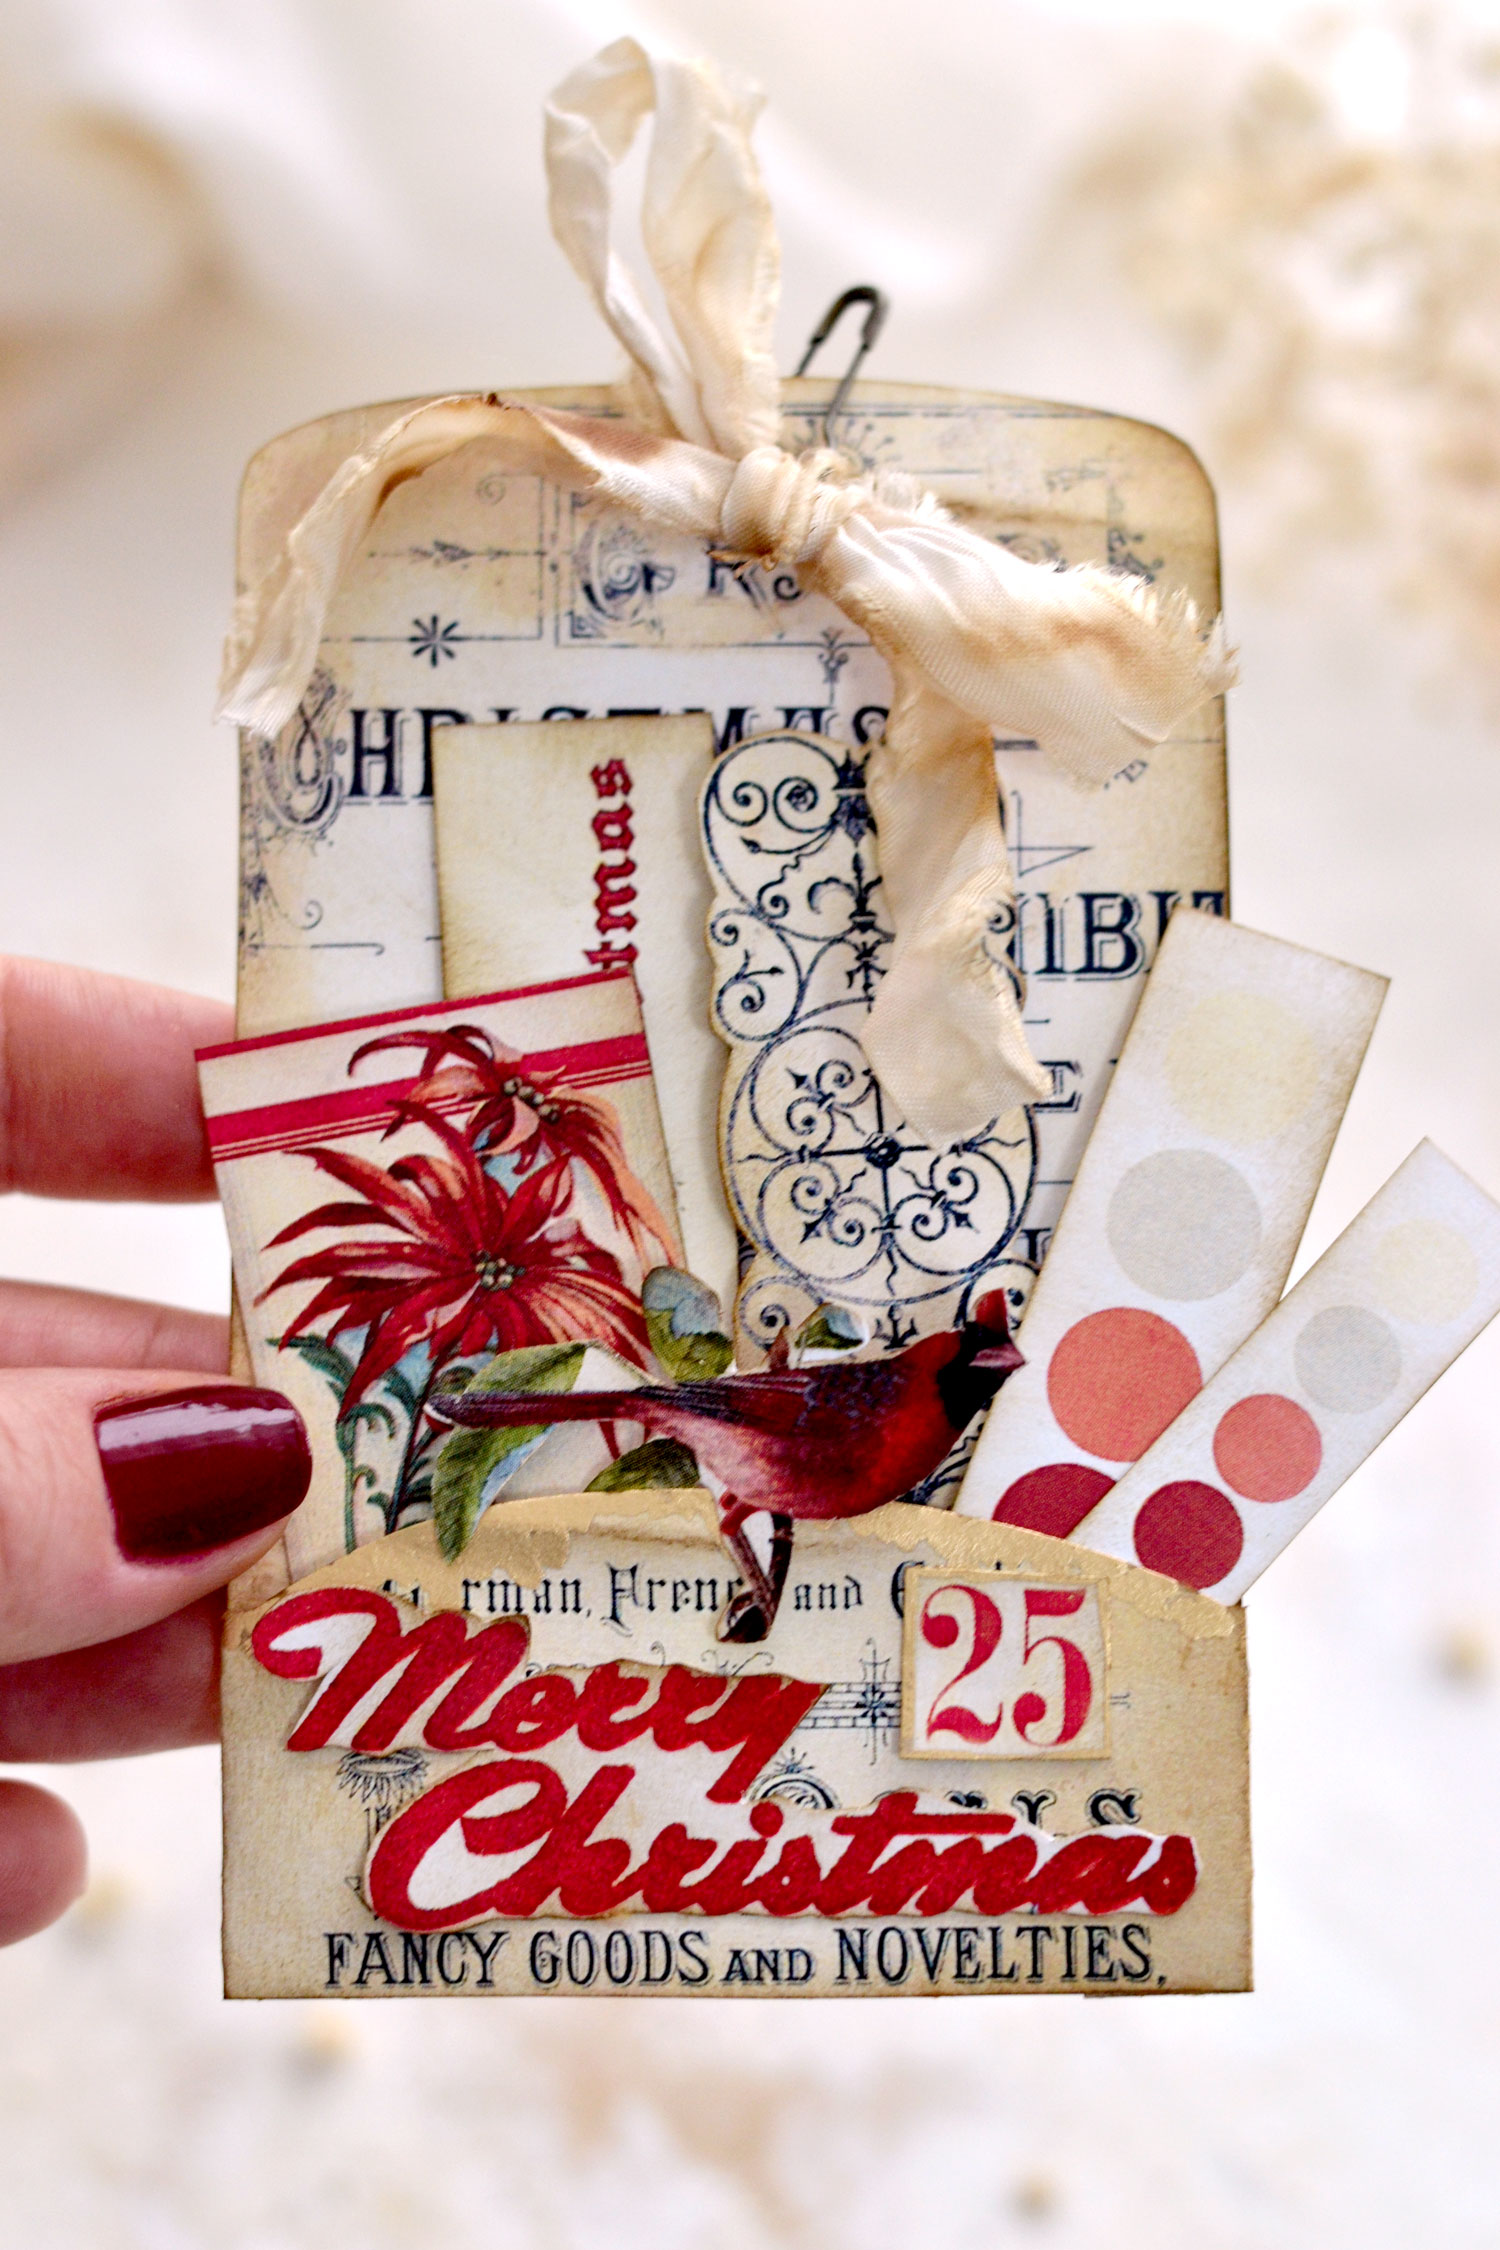
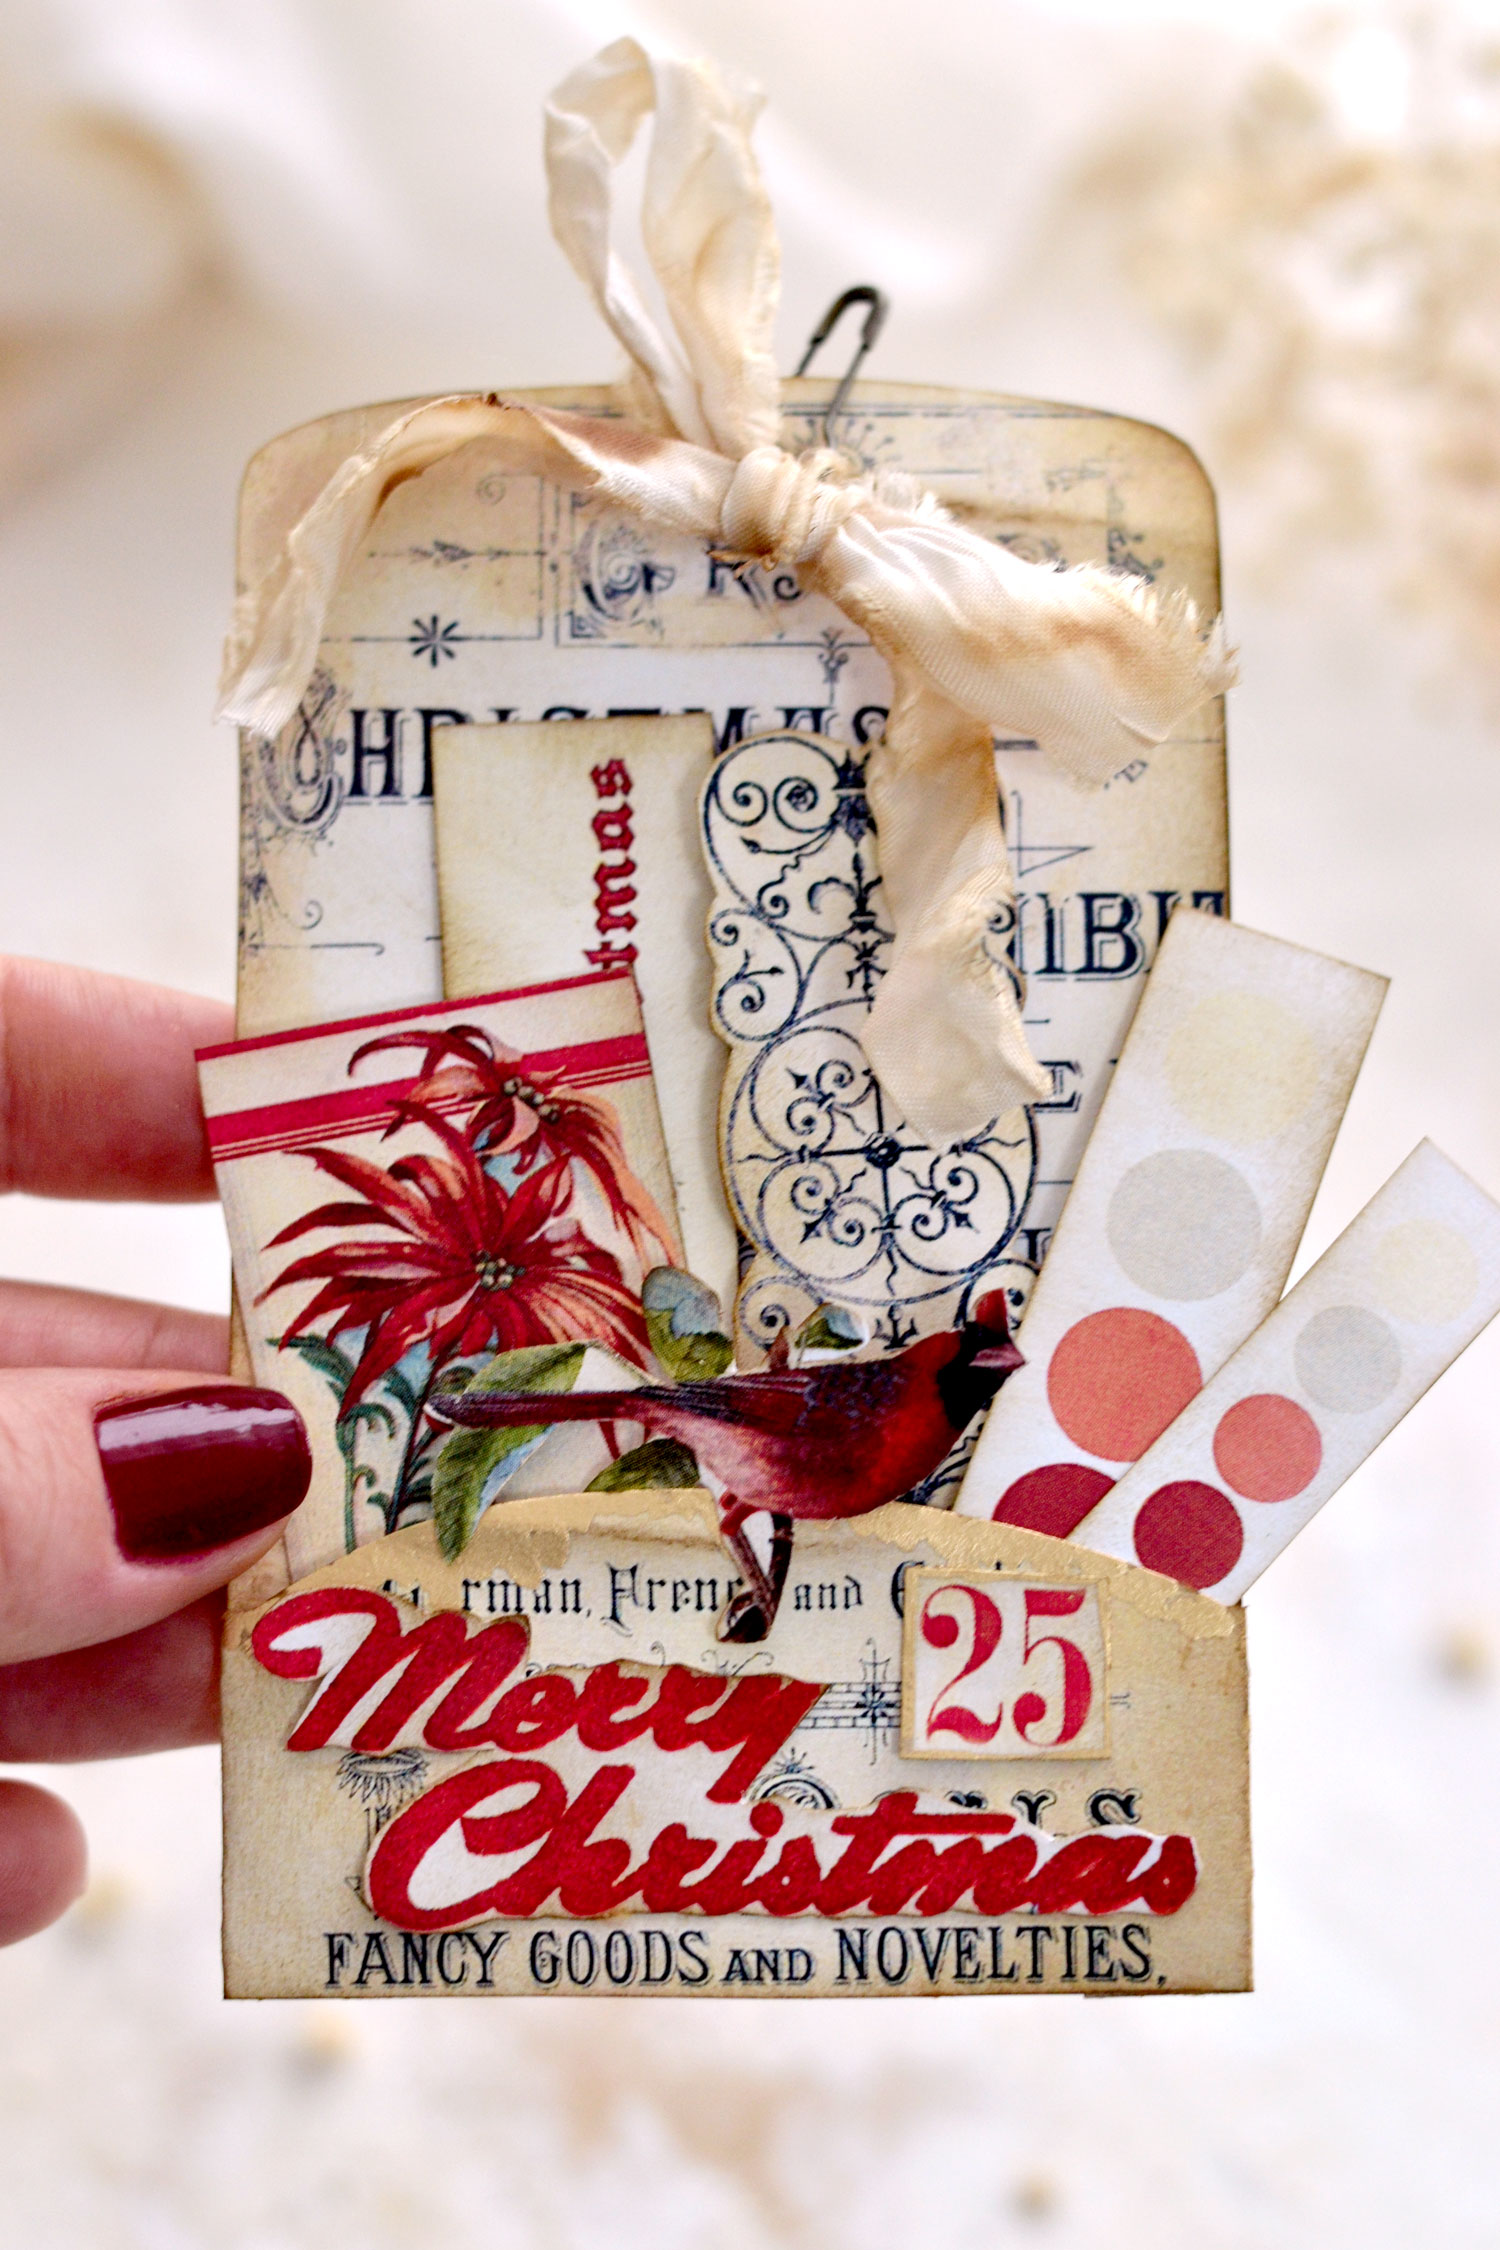
And here are our gorgeously finished DIY Christmas Pocket Tags. I just love how beautiful these look, with their neutral, almost classical vintage vibe. There is something magical about distress ink, I’m always amazed at how a little bit of ink can transform your regular white paper (cardstock in this case) in such a subtle but complete way!
And now it’s time to start tucking all our colorful elements in!
You can mix things as you want, according to your own preferences and your inspiration for the moment!
I actually found it a little bit challenging at first to decide which elements would perfectly go together. But then I knew I had to clear my head and just go with the flow! Don’t overthink this too much, just pick the elements that speak the most to you, group them into small clusters, and then just tuck them in!
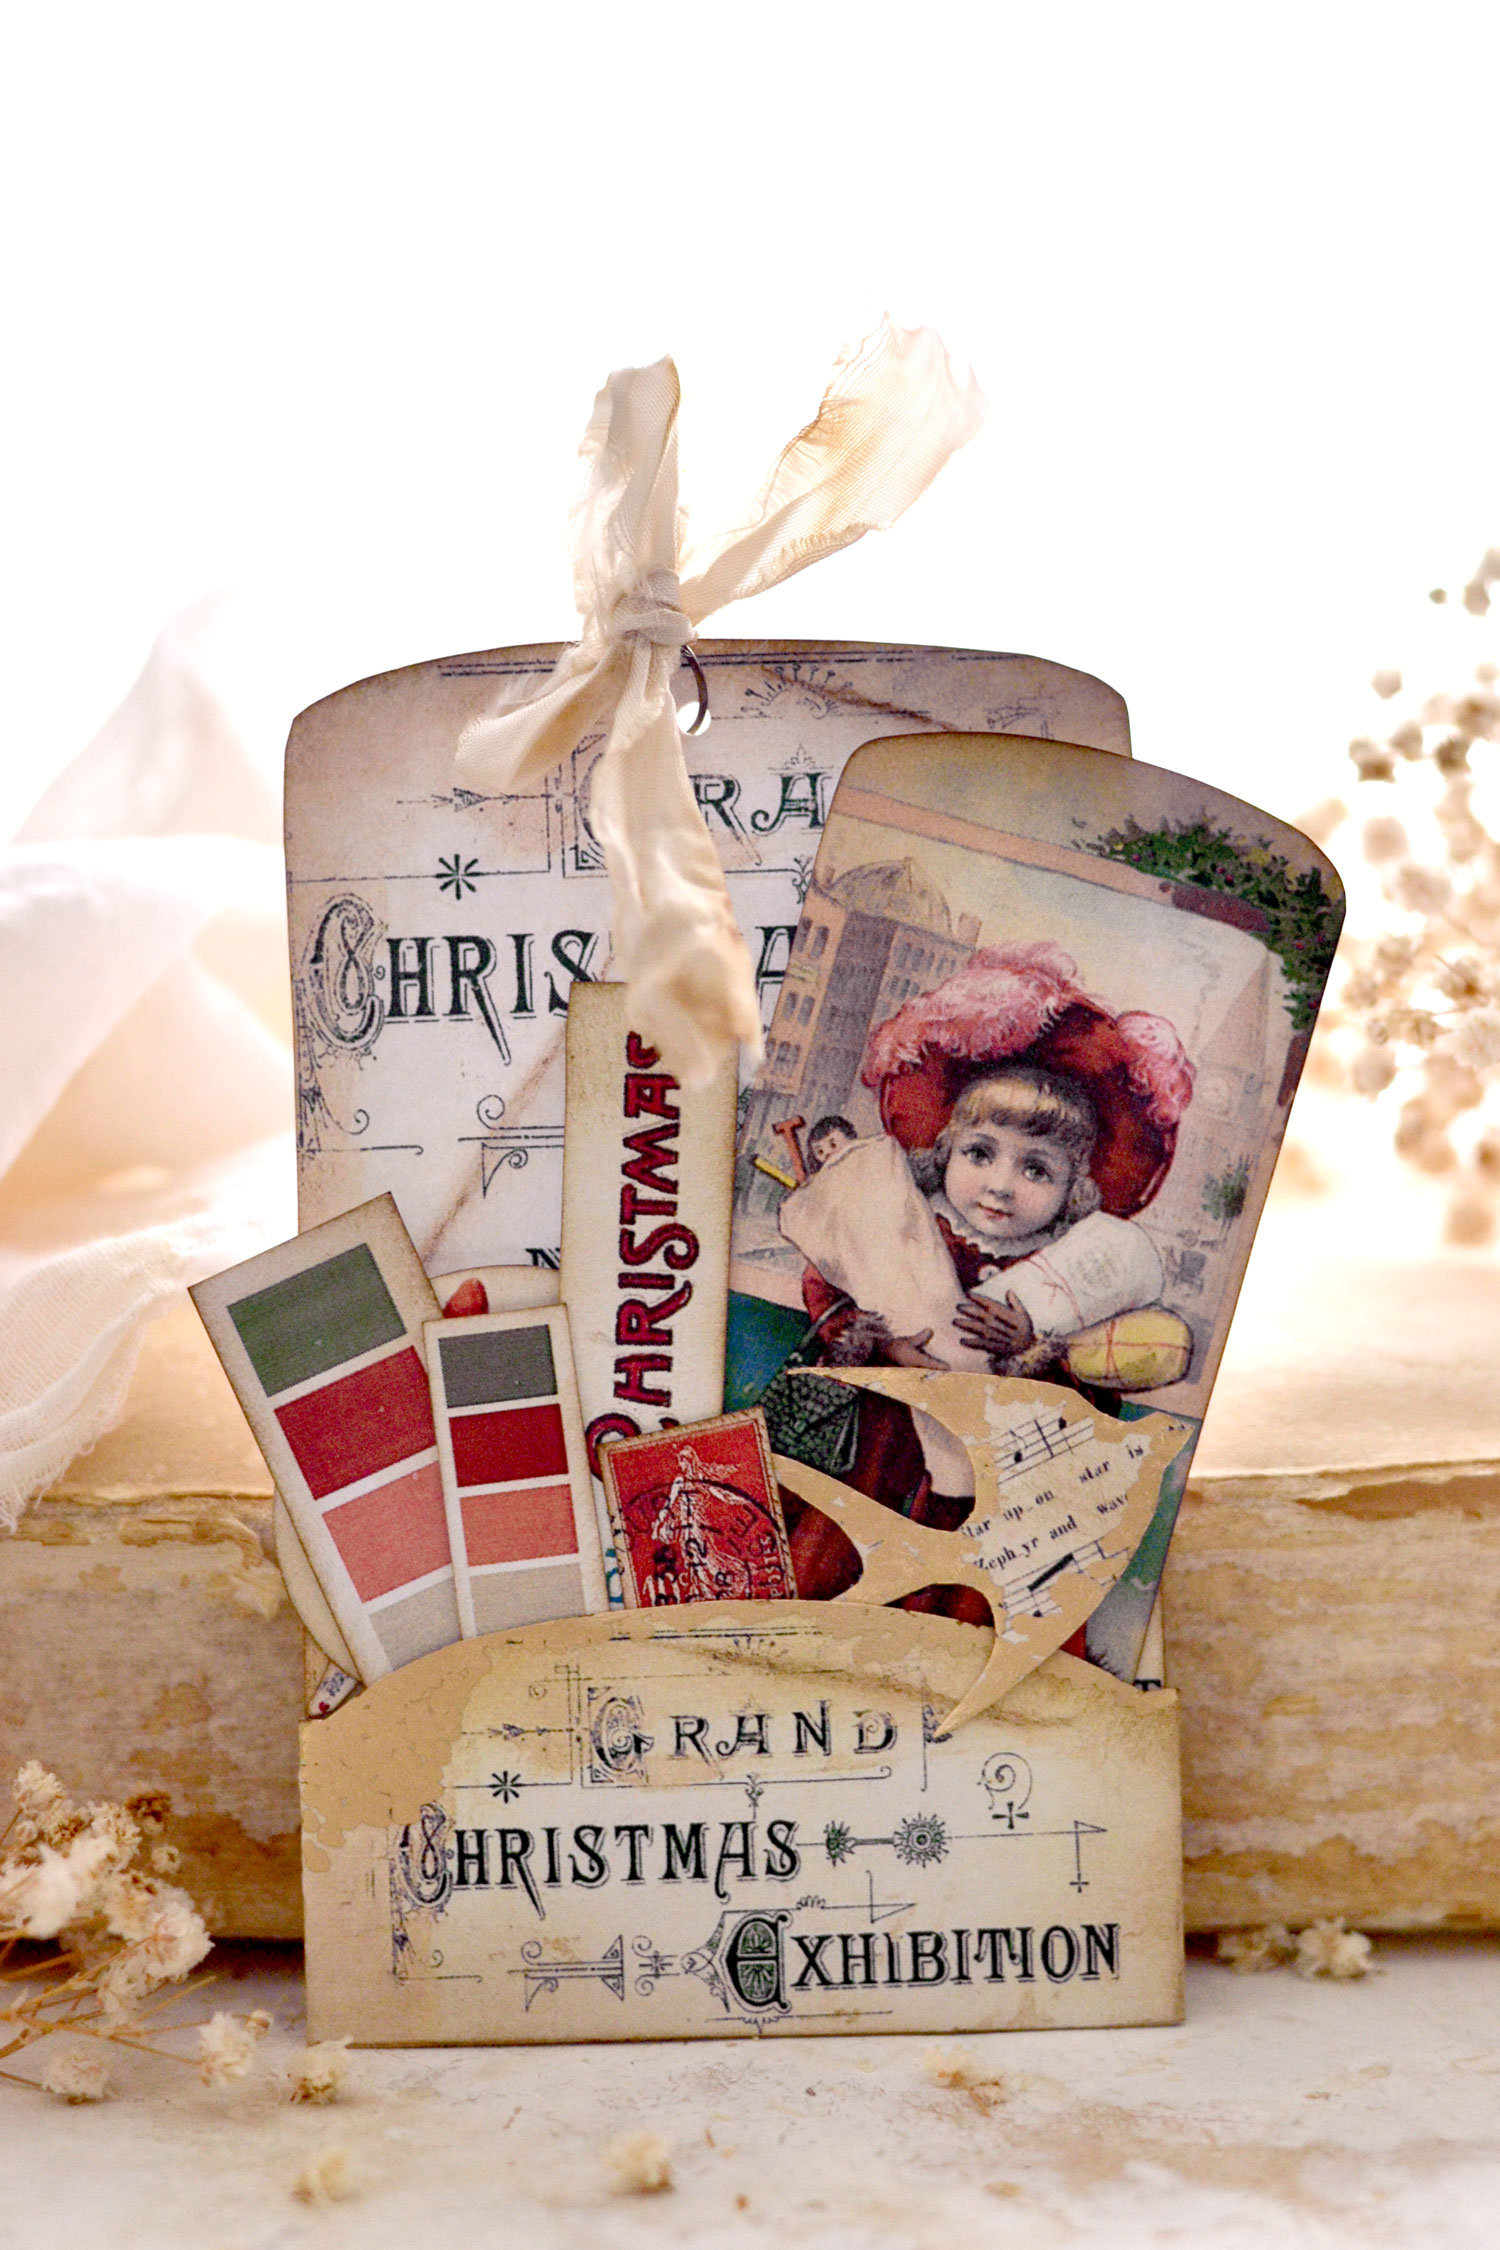
You could try to imagine how these elements would look in your junk journal and try to use this as a selection criterion. I particularly love the vintage color swatches, I think they would be a nice, quite unique embellishment to any junk journal page! If you want to emphasize the colors even more or why not, completely change them, you can use some acrylics or watercolors and just paint over the small rectangles! This will give them more of a handmade feel, which is always great!
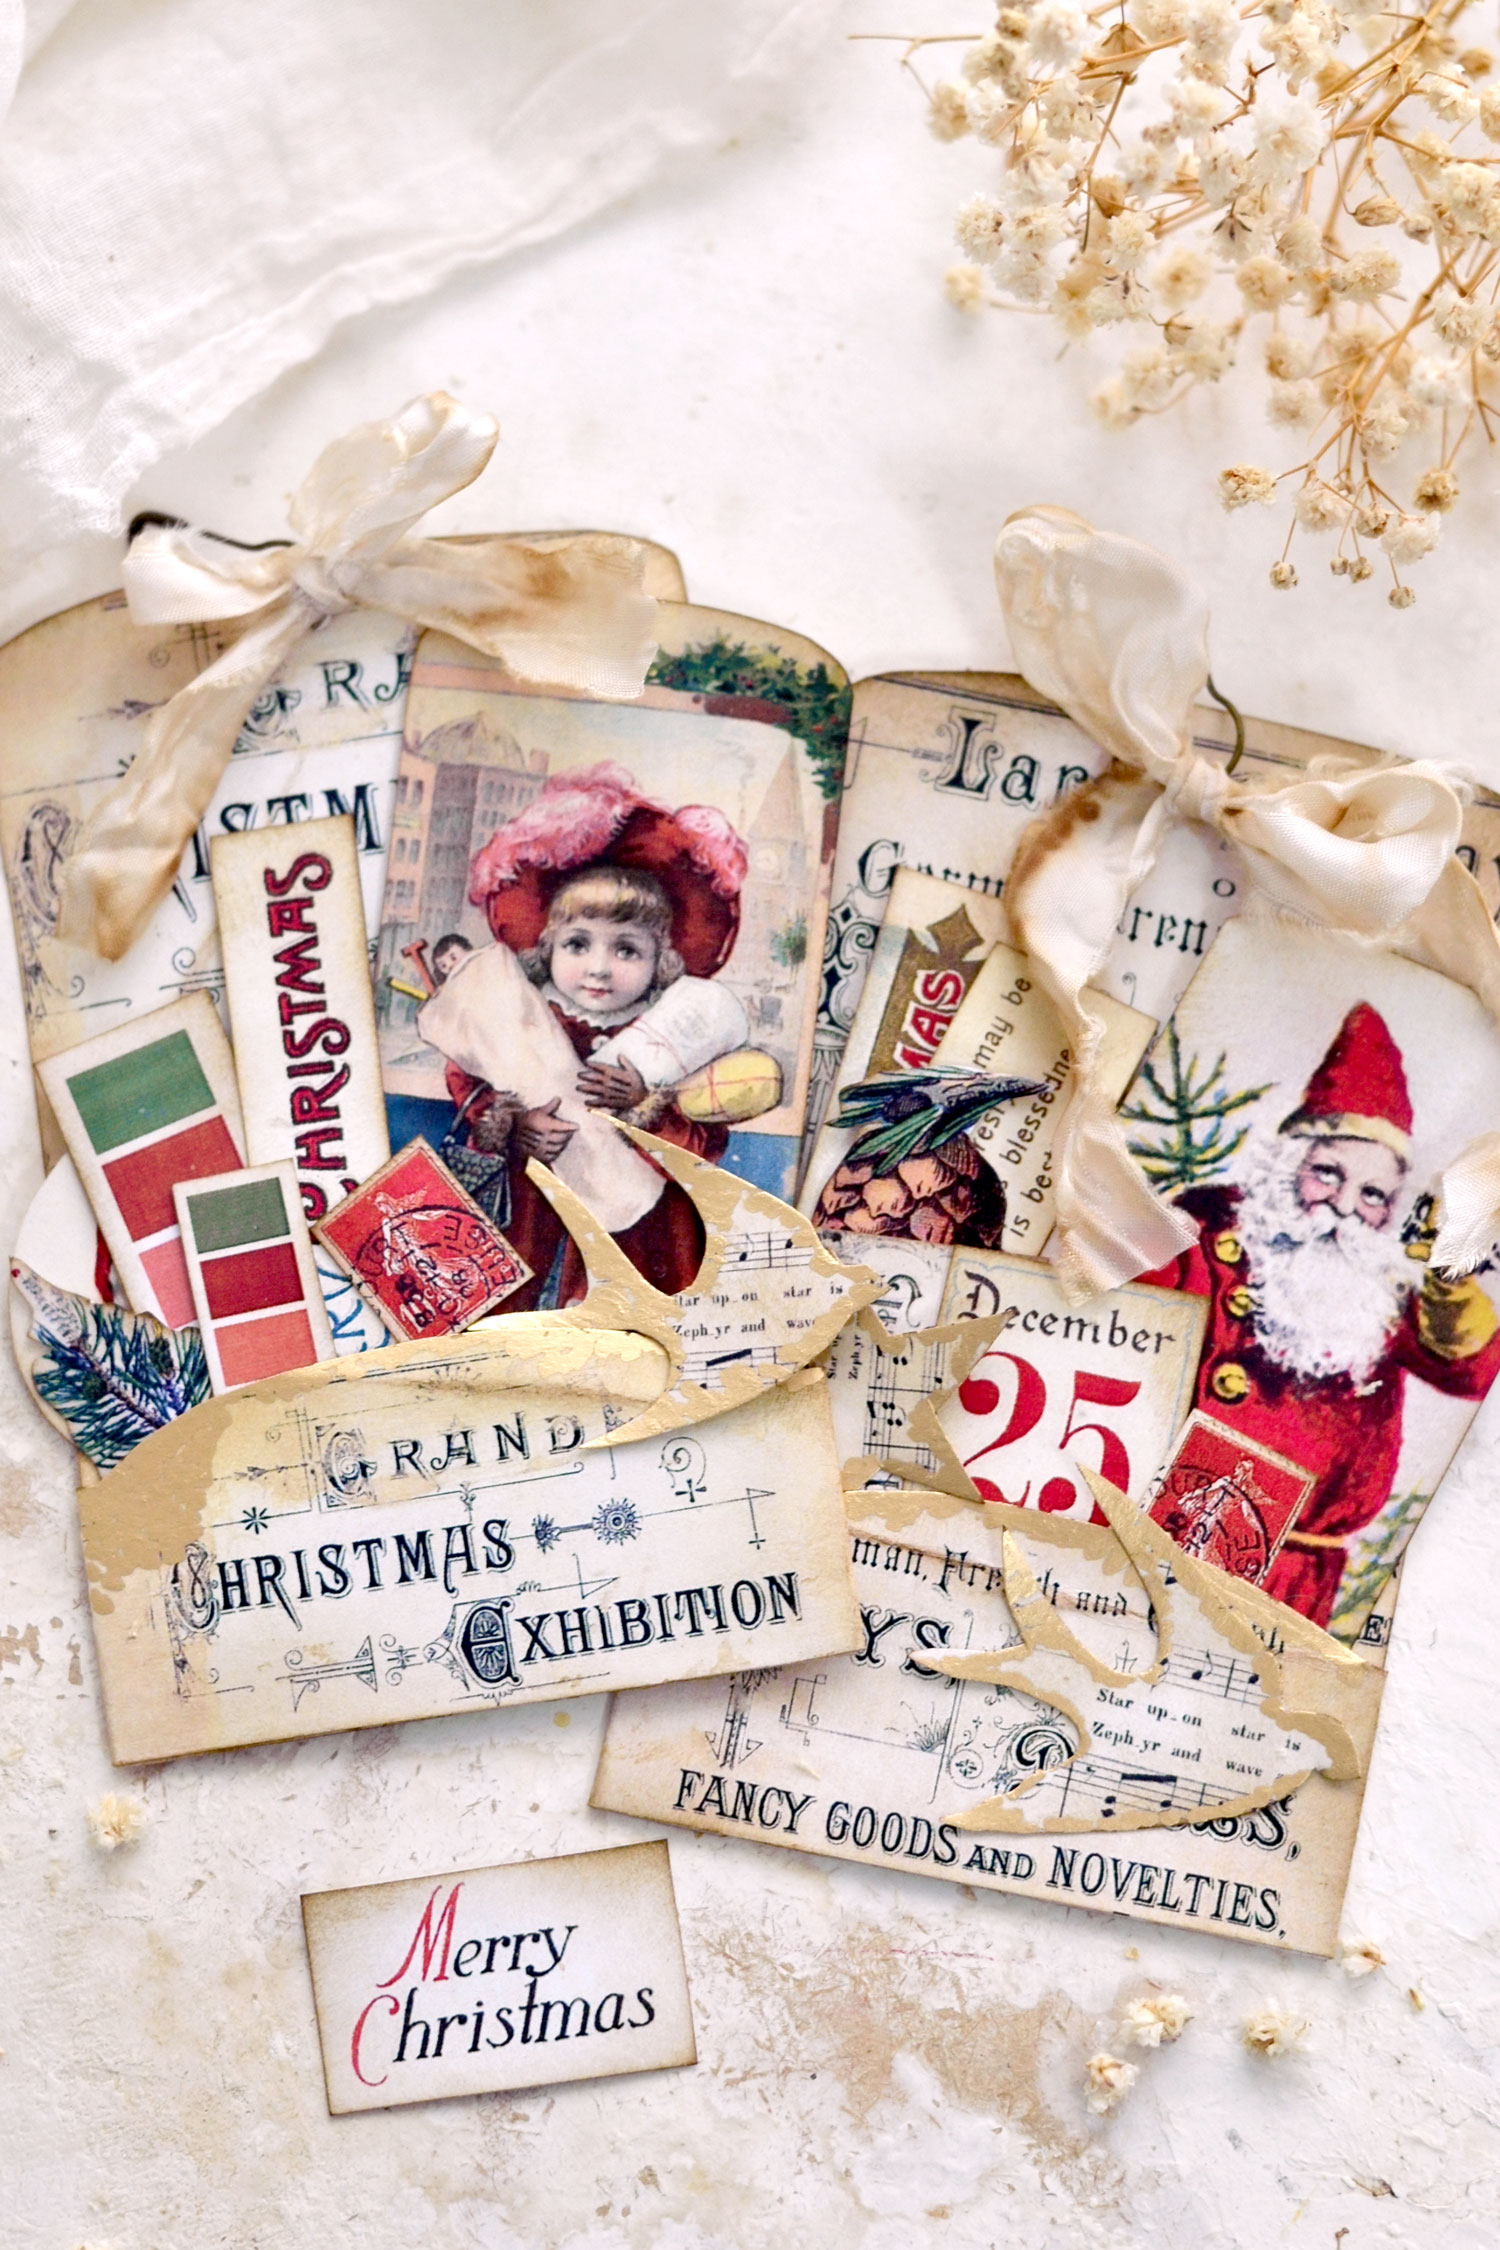
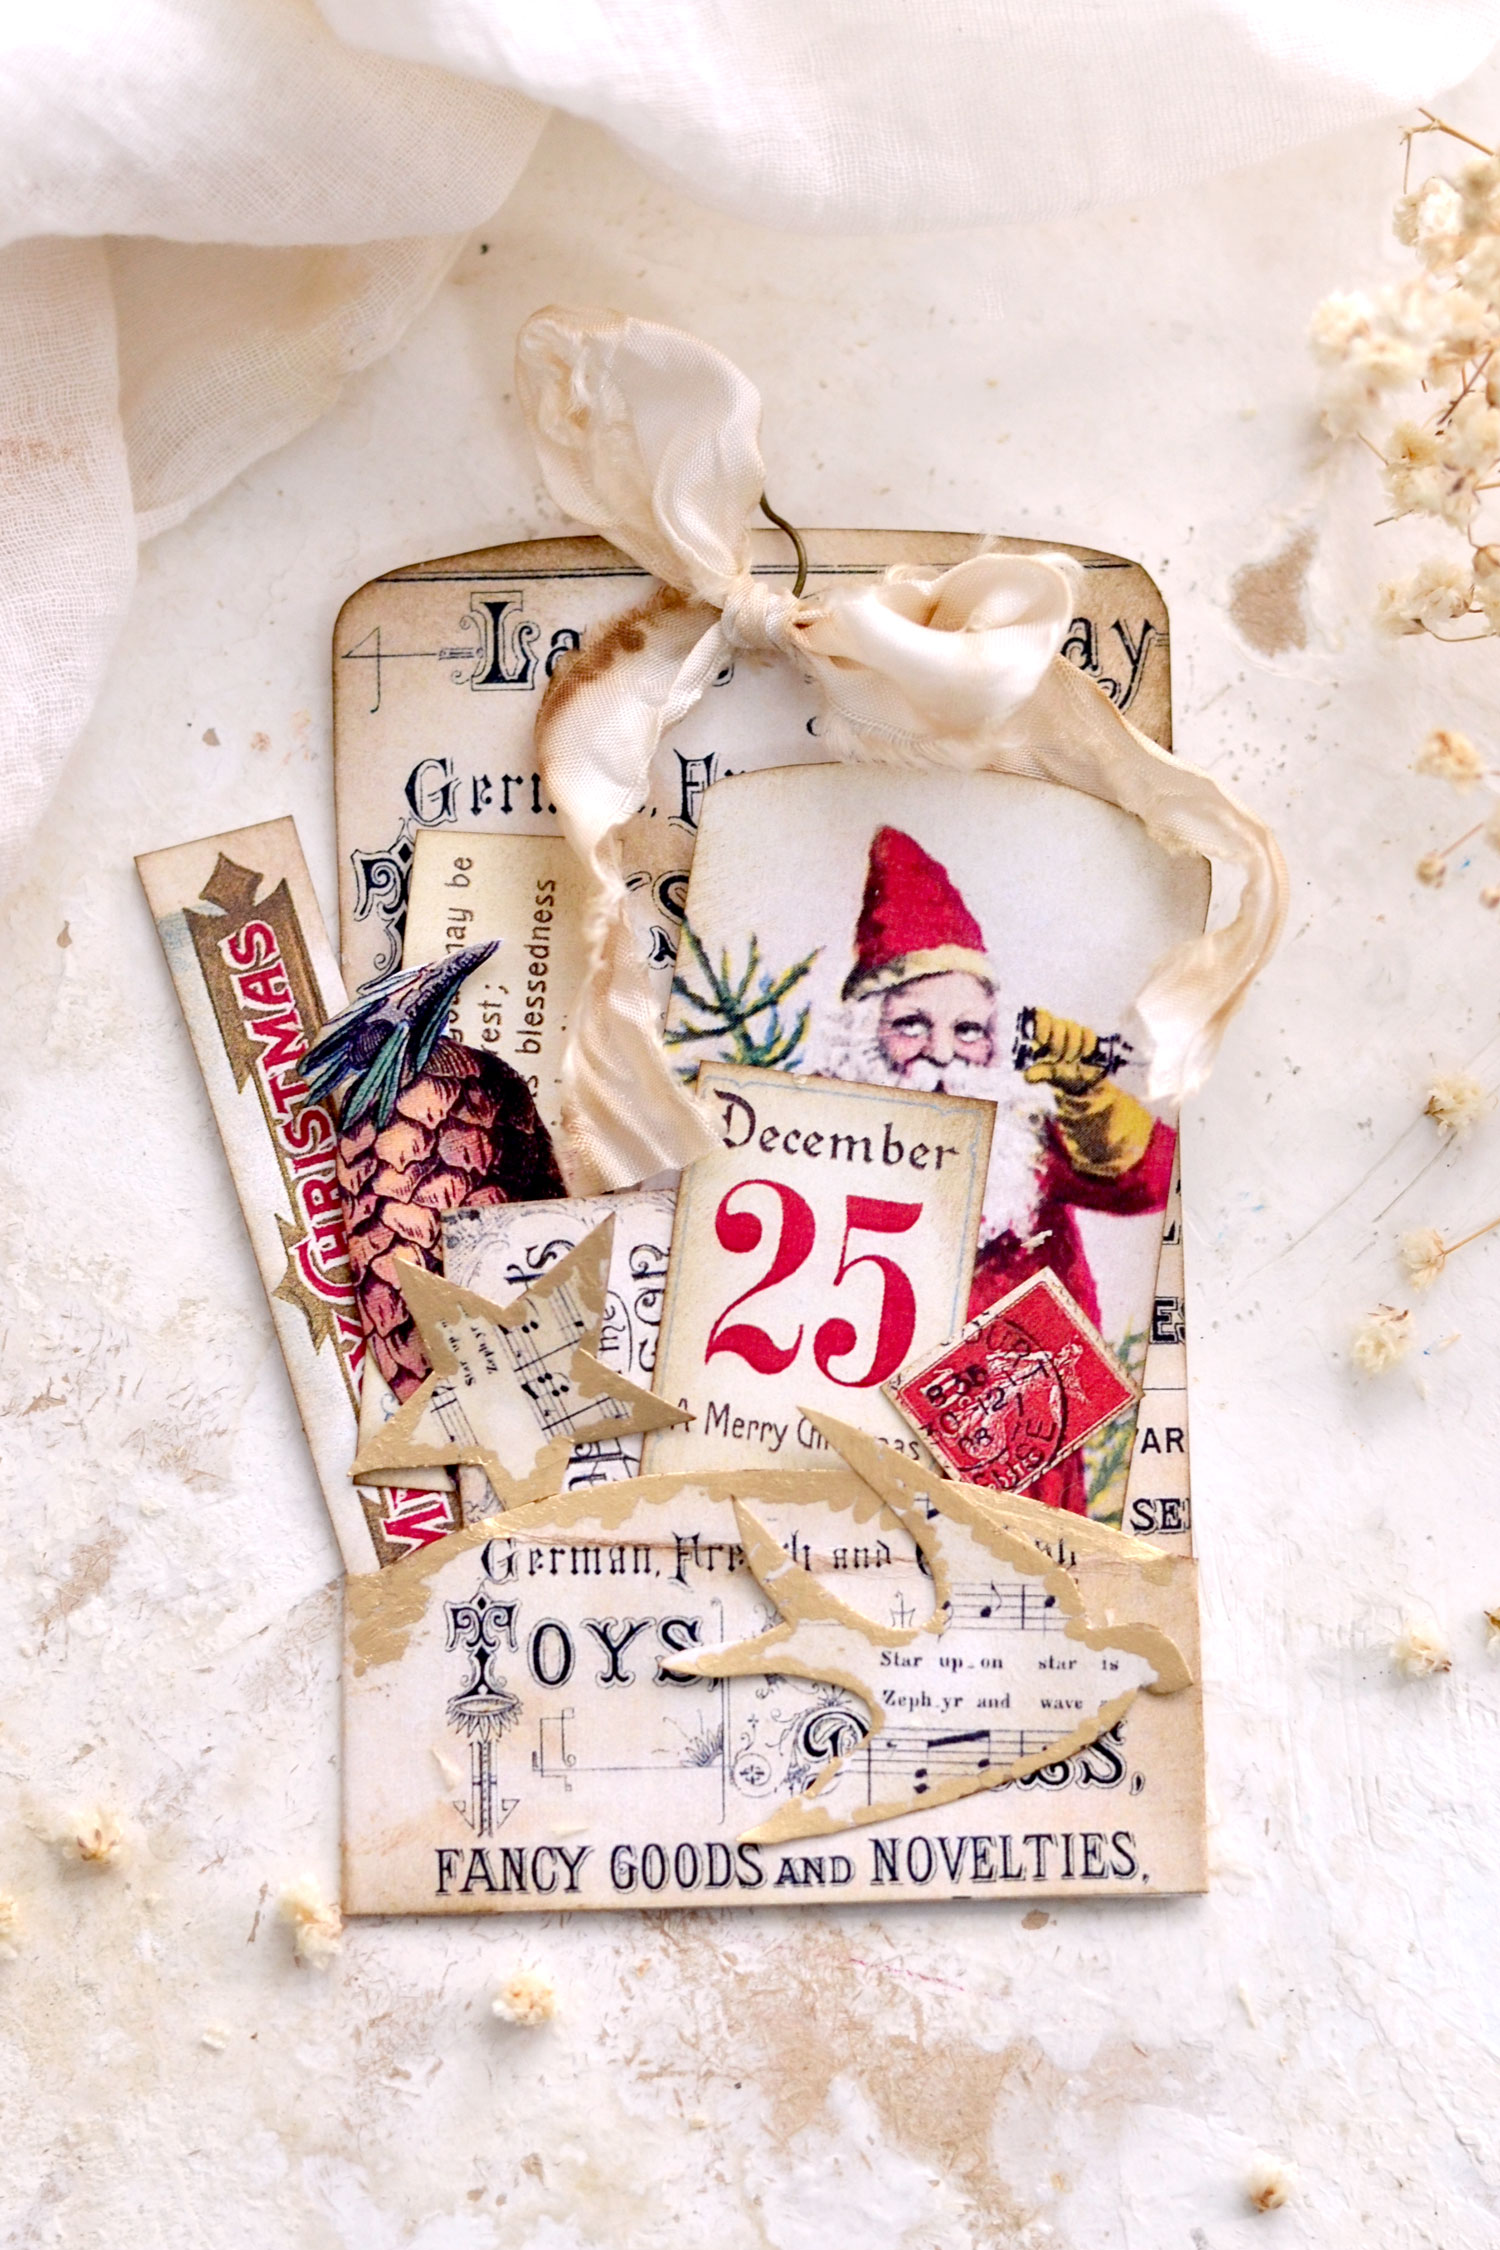
You can also add some gold touches to some of the elements, I used my trusted gold marker one more time to quickly create a small edge around the sheet music stars and the bird silhouettes.
You will be amazed at how gorgeous the Christmas pocket tags with all these small tucked-in elements look when grouped together! I think they will be such a nice addition to your lovely Christmas junk journals, but to other DIY projects too!
You can choose to glue these super chic pockets in your junk journals or just use the gourd pins to attach them to your pages. This way you’ll have all these gorgeous Christmasy elements patiently waiting for you inside, whenever your inspiration for a seasonal creative session strikes!
You could also turn these into unique handmade tags to embellish Christmas gifts. Maybe you could try printing the colorful elements on sticker paper if taking this route, this way the receiver will be able to enjoy some gorgeous ready-to-use Christmas stickers!
As a final idea, you can try to add a drop of your favorite essential oil to the ribbons of your pocket tags to give them even more of a seasonal feel. Try not to add too much essential oil though, especially if using them in your junk journal, because it will stain the pages. I think I’ll go with cinnamon, clove or some sweet orange essential oil, you can never go wrong with these for Christmas!
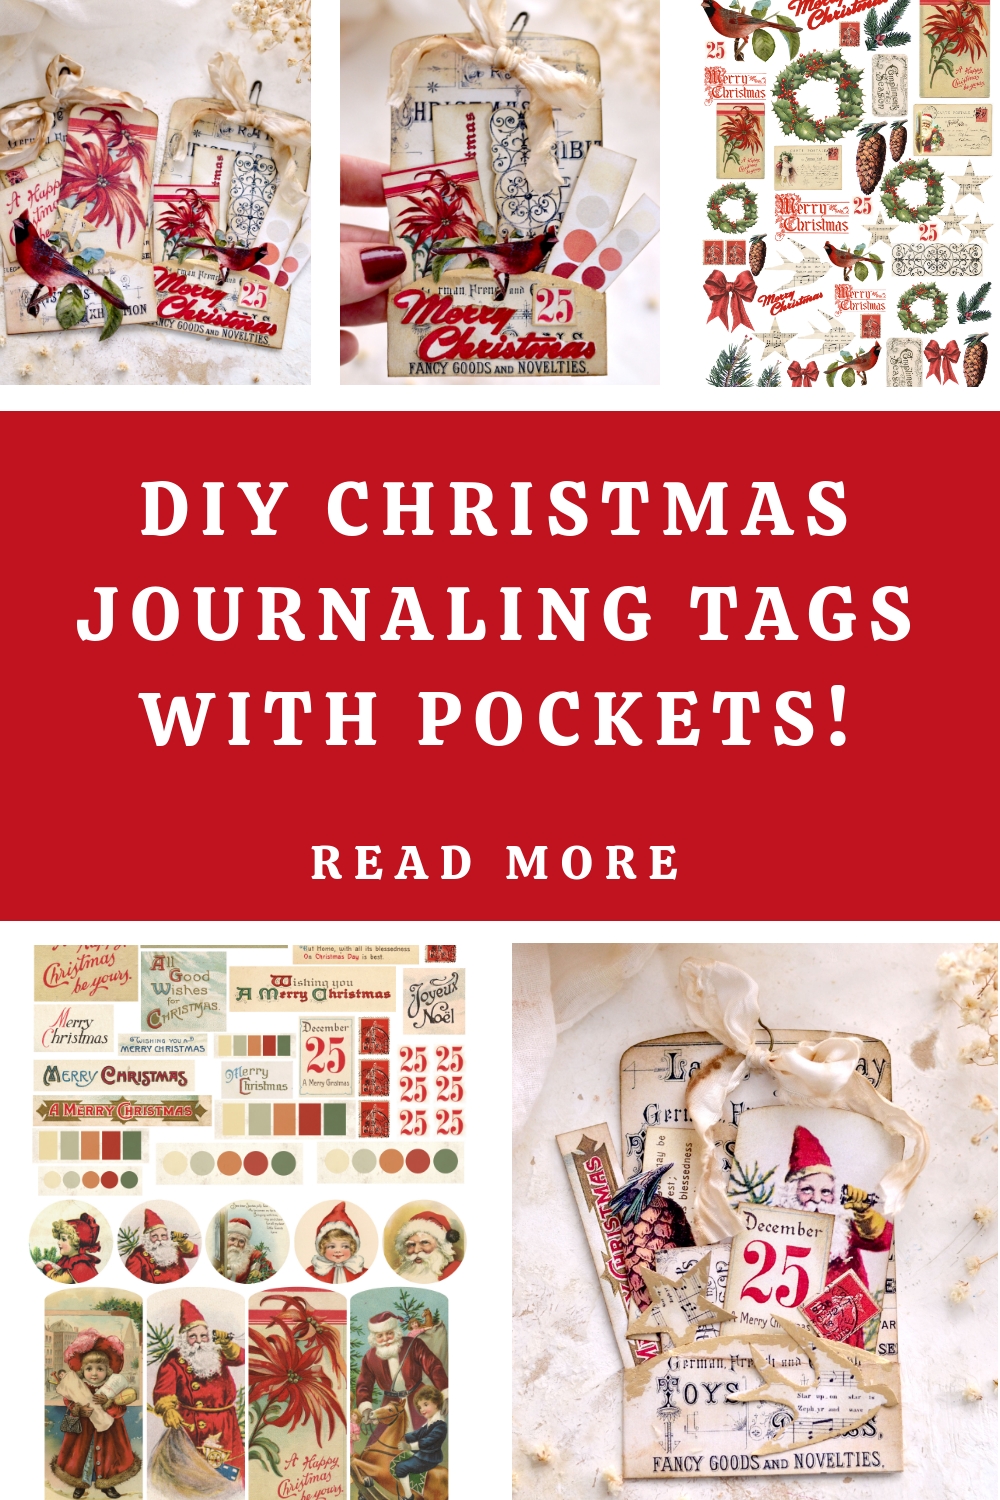
 You might also like my other Junk Journal Pocket Tags HERE or my Printable Christmas Bookmarks HERE.
Happy crafting,
Diana / Dreams Factory







Mary says
Thank you for the beautiful project, it will work nicely for a get together with friends.
Karen Watson says
That’s great Mary! Enjoy your crafting time with your friends!
Sharon R Krochmal says
I think I will use these beautiful images to embellish paper mache cones since I’ve never created a junk journal (yet!). Thank you so much for these lovely printables and all of the crafting suggestions!
Wishing you a blessed Christmas season!
Karen Watson says
That’s a wonderful idea Sharon! You can certainly use these printables in all different kinds of projects. Merry Christmas!
Jacqueline Hale says
These are absolutely gorgeous! Thank you!
Karen Watson says
Have fun making Diana’s pretty tags Jacqueline!
Laura says
Thank you for the beautiful printables. I also can use them in my December journal. Have a nice day.
Much greetings
Laura
Karen Watson says
I’m so happy that you have a use for Diana’s pretty printables!
Donna says
thank you so much for the tutorial and for the digitals! I had fun recreating the tags and they turned out so cute! Can’t wait to figure out how they’ll be used in my journal!
Karen Watson says
That’s wonderful to hear Donna! So glad you had fun making these cuties!
Linda says
These are just wonderful! thank you. 🎄
Karen Watson says
I’m glad you enjoyed this one Linda!
Gail says
you are so generous ty so much for sharing these beauties..huggzz
Karen Watson says
Have fun making Diana’s pretty Pocket Tags Gail!
Vicky Rafn says
This is wonderful! thanks for sharing so many images. I am excited to use them!
Karen Watson says
Have fun making these Vicky!