DIY Clear Contact Paper Transfers
Clear Contact Paper Transfers onto Glass – who knew it would be so easy? And in Color too! Hello, fellow crafters! It’s Heather from Thicketworks with a fun method to transfer color images to glass. With this method, you can create small or large transfers, and the colors are vibrant.
This is a variation on the wonderful DIY Packing Tape Transfers method shared by Andrea from The Cottage Market. If you haven’t seen that post, make sure you check it out to learn this simple and fun technique. Visit Easy Image Transfer Methods for DIY Projects for even more inspiration!
Supplies for DIY Clear Contact Paper Transfers:
To follow along with this project, you’ll need a few basic supplies:
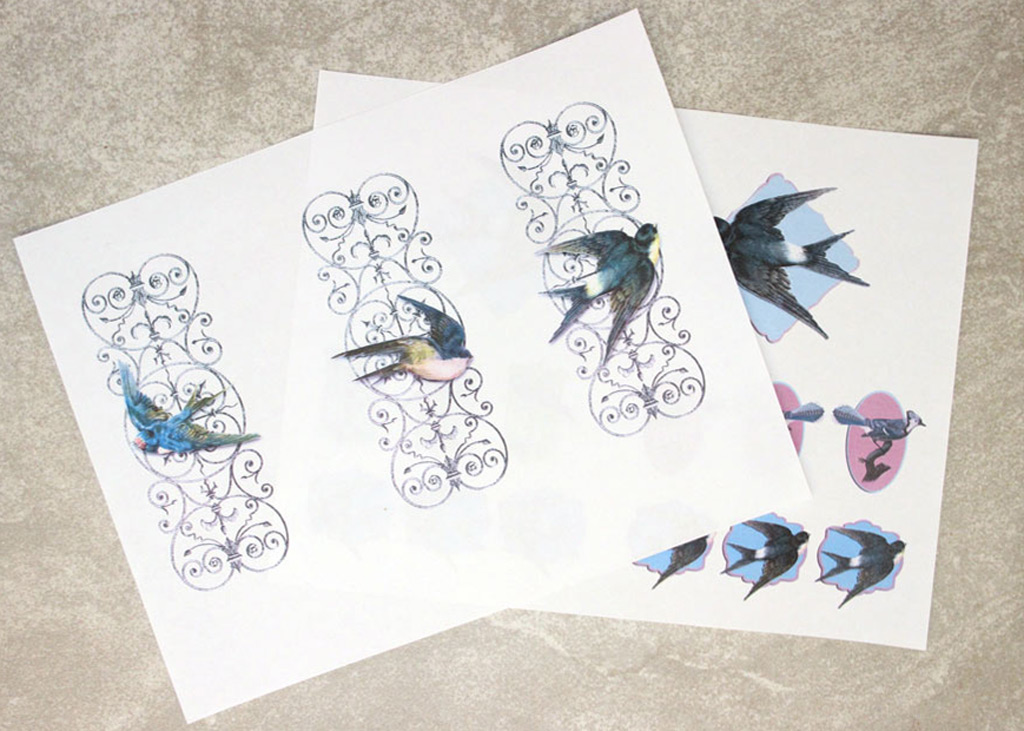
- Toner or laser copies of your favorite color graphics, printed onto ordinary printer paper.
Note: Ordinary ink-jet prints will run when exposed to water.
You know your printer/ink best: if your ink is waterproof, then go for it!
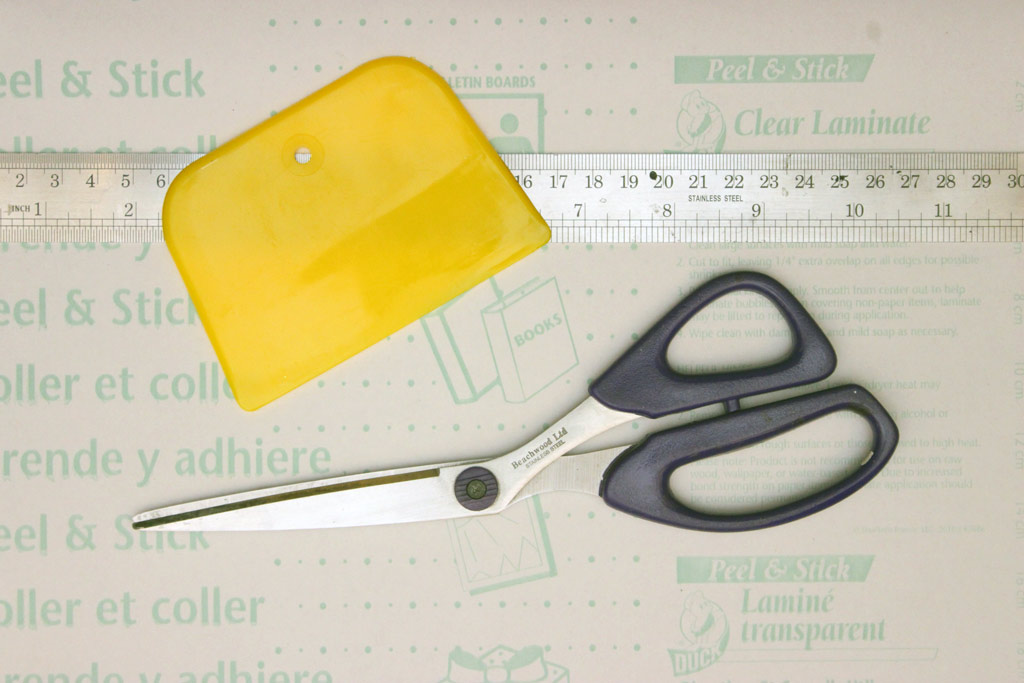
- Scissors
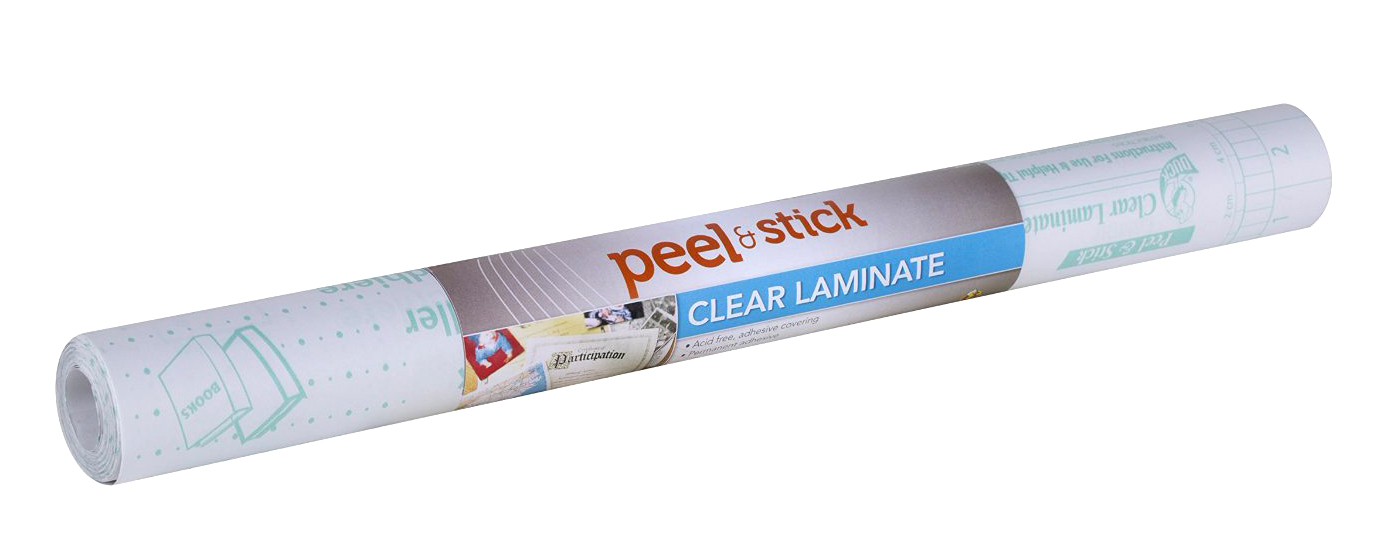
- Clear Adhesive Shelf Liner
- A tool to smooth the image to the adhesive – I use a Spreader Tool
- Glass containers to embellish
- A spray bottle of water, or a shallow container large enough to submerge your graphic in water
Optional:
- A smooth, light colored ceramic tile
- Plain white pillar candles, in glass
- Plastic Page Protectors (for storage of your masterpieces)
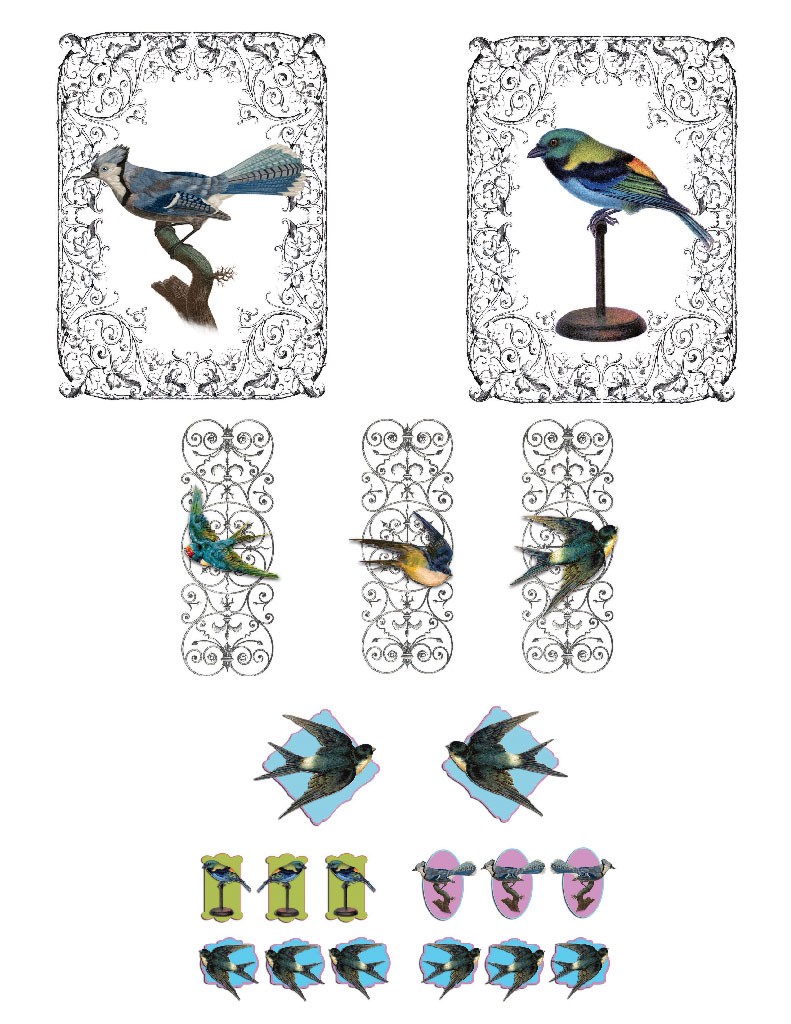
Simple collages in Photoshop were created for this demonstration.
To grab your free copy of the pre-made collages, click HERE!
To make your own collages, download the source images by clicking on the image names that follow:
Natural History Butterflies and Moths
How-To:
- Gather your supplies, and cut pieces of Clear Shelf Liner to fit the surfaces of your glass containers
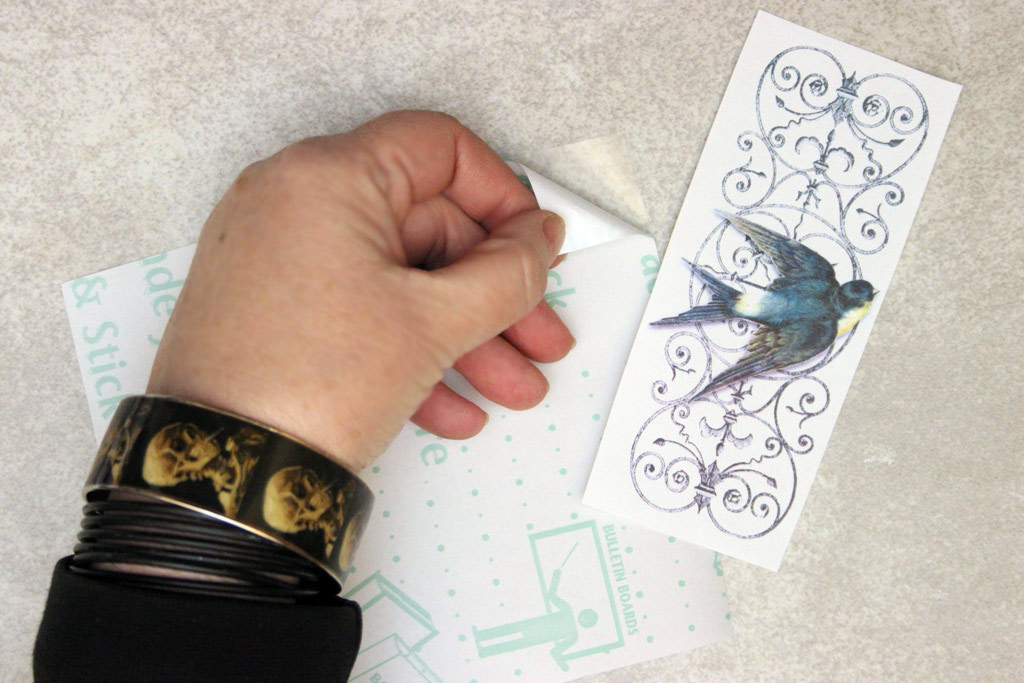
2. Now, trim away the borders of your printed graphics.
No need for precision – we’re just eliminating unnecessary white paper.
3. Peel the backing away from your shelf liner, exposing the adhesive. Don’t discard the paper backing – we’ll be using it in just a moment!
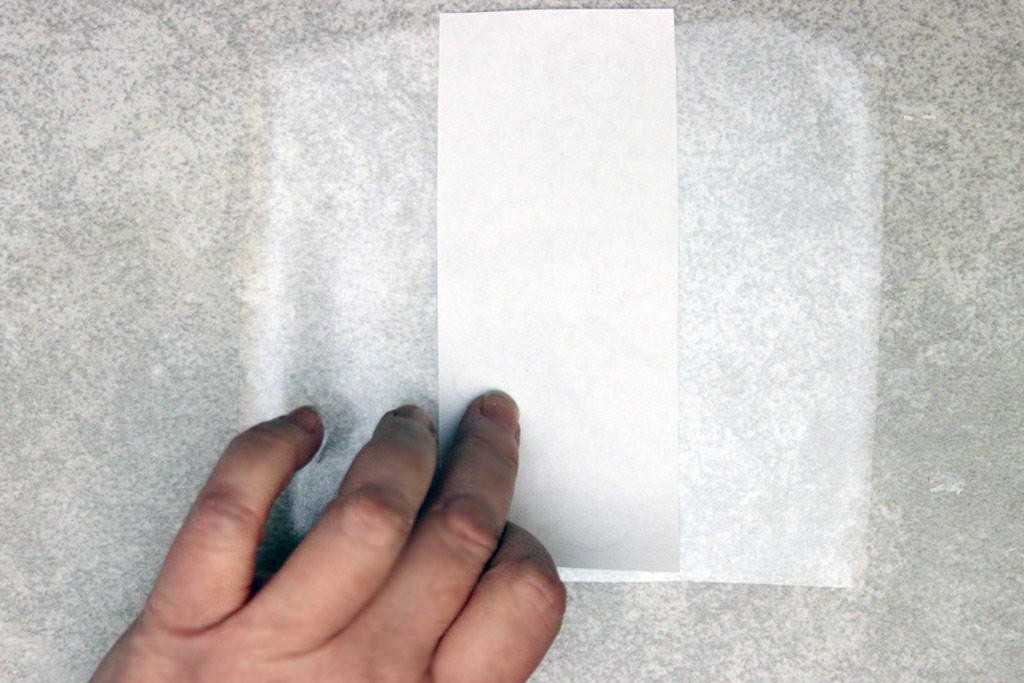
4. Carefully place your printed image upside down onto the adhesive, and smooth lightly with your fingertips.
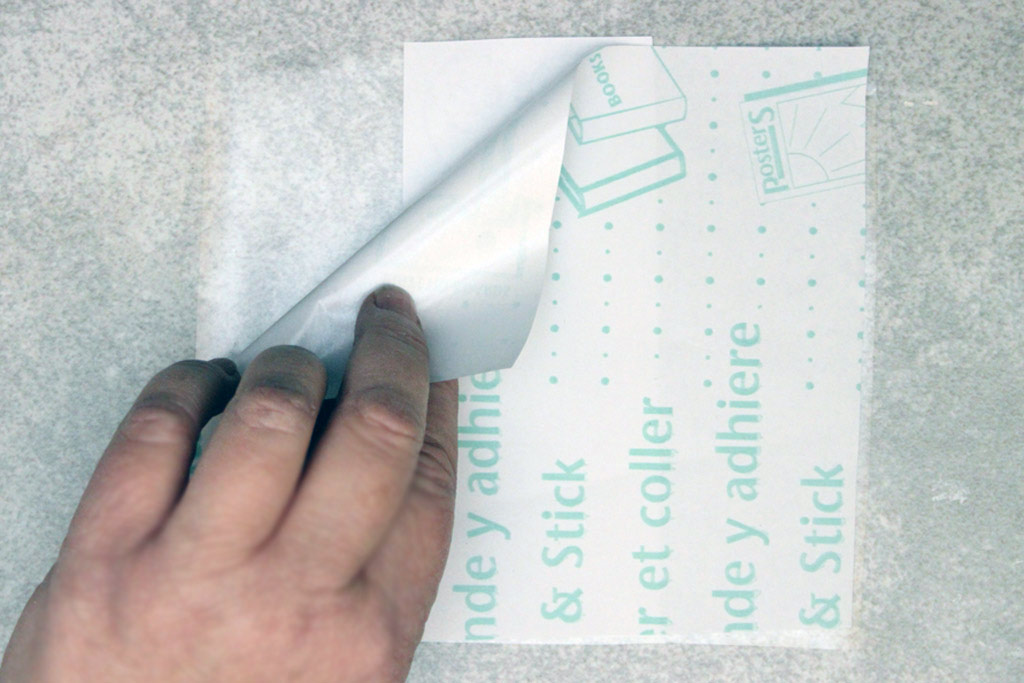
5. Re-apply the paper backing to protect the adhesive that surrounds your graphic:
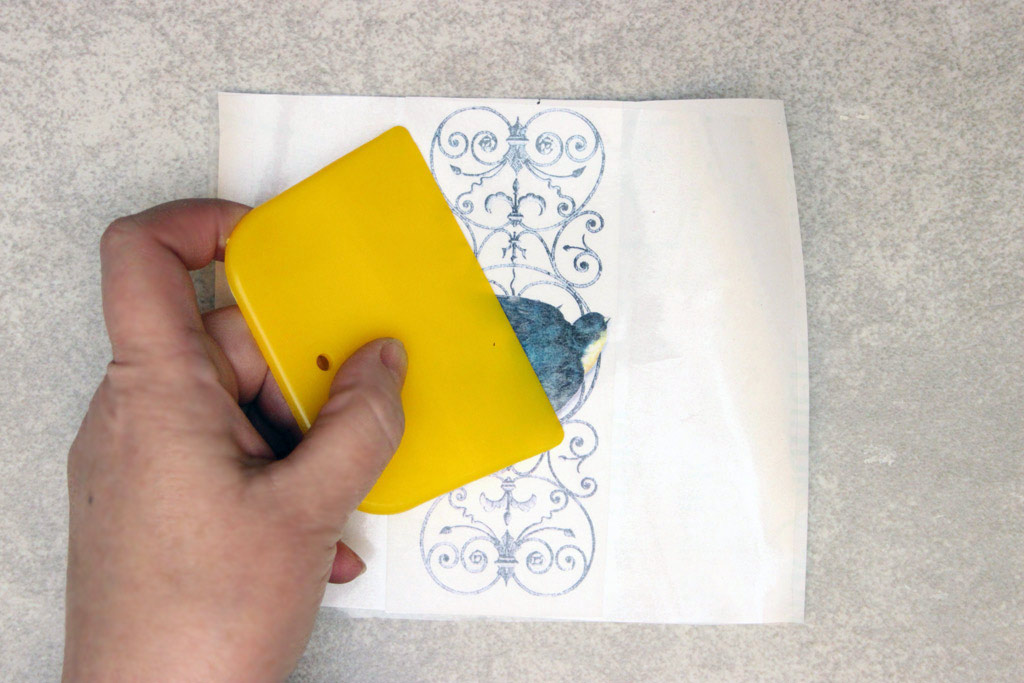
6. Flip this ‘sandwich’ over and smooth the shelf liner to the graphic, with the Spreader Tool, removing any air bubbles.
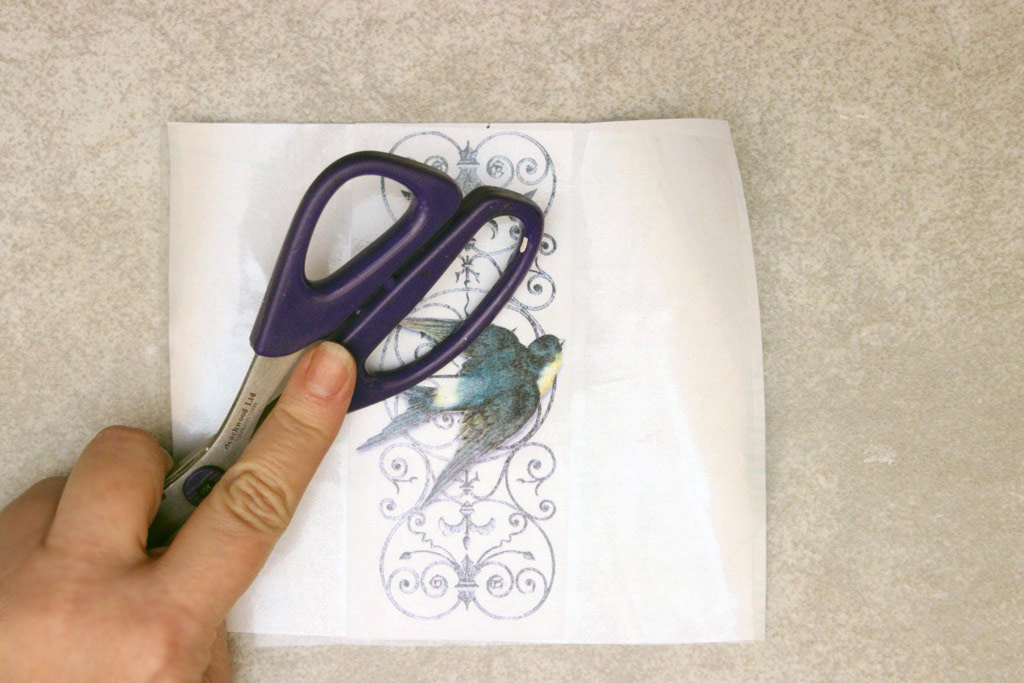
7. Burnish the shelf liner onto the image with the handle of your scissors, the back of a spoon, anything with a hard but smooth surface.
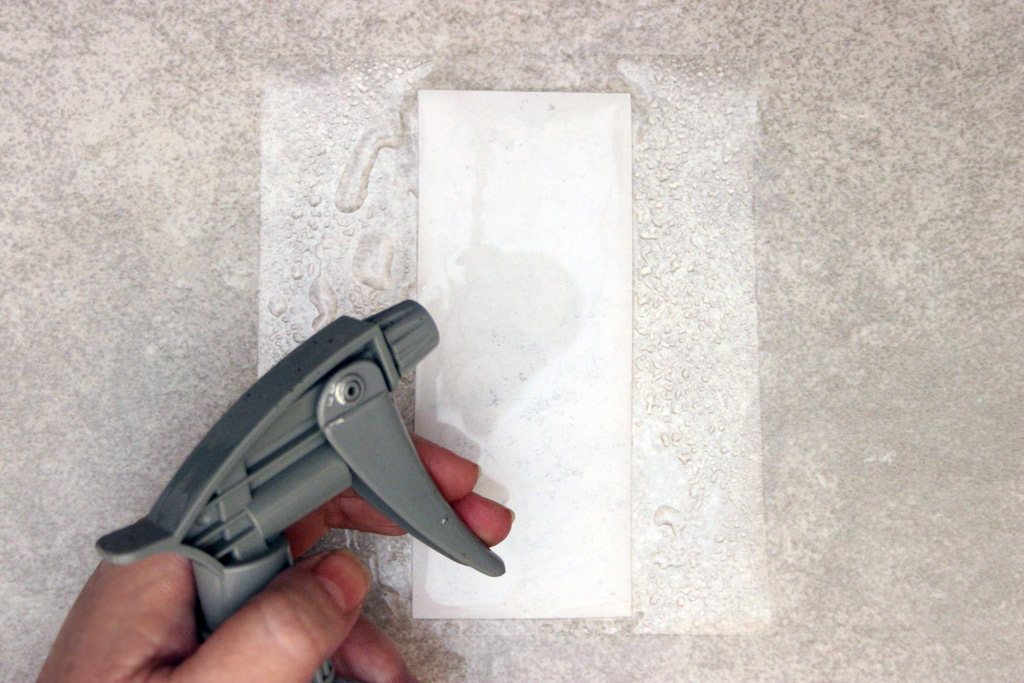
8. Remove and discard the backing paper, flip the image over and saturate the paper with water.
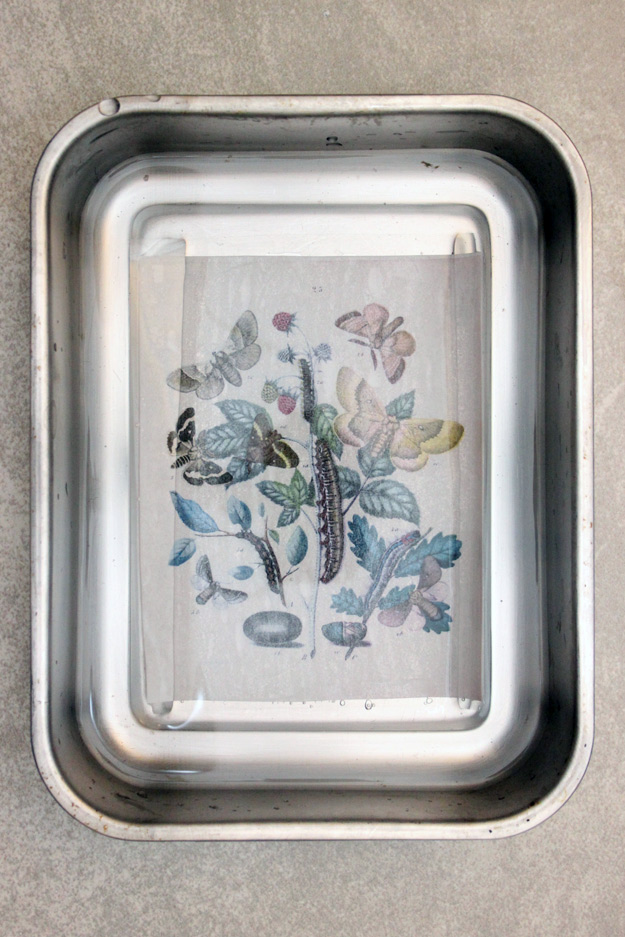
For larger graphics, a shallow pan will allow you to soak away the paper more efficiently:
9. Once the image begins to appear through the back of the paper, it’s time for the magic!
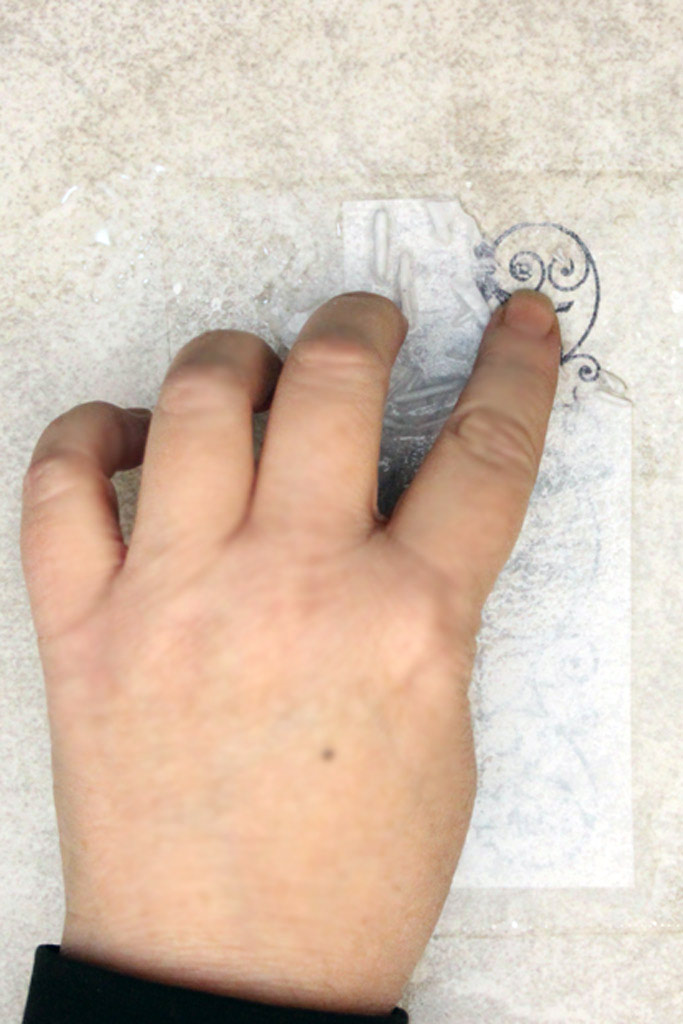
10. Place the shelf liner face down on your work surface and begin rolling the paper away from the ink with your fingertip:
11. Continue this process until all of the paper fibers have been removed.
Here, we’re almost done:
12. Complete the paper removal under gently running water at the kitchen sink.
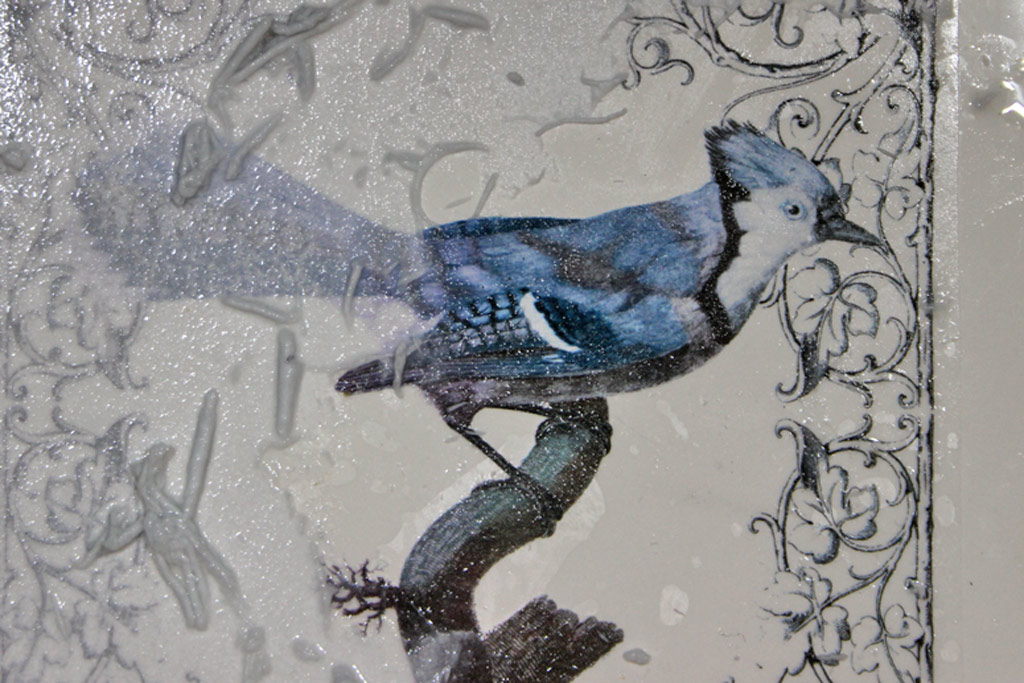
Note: By placing the shelf liner adhesive side up onto a smooth ceramic tile, it’s possible to have a firm surface to rub against while running a gentle stream of water over the work.
This is helpful for larger scale pieces, like this Blue Jay:
13. Once you have removed all of the paper fibers, carefully place your transfers in a safe place to dry.
Avoid attempting to dry the surface with a towel – any fabric will leave tiny fibers coating the surface. Patience is a virtue in this process!
14. When the transfer has dried, you will notice small patches of white paper fibers still clinging on to the ink in some spots. Just re-apply water, rub them away, and allow to dry.
15. When fully dry, you simply place the adhesive side of the transfer directly onto the clean glass surface you wish to decorate!
Our graphic has become a full color transparent ‘decal’, which can be easily removed, but will stay in place securely until you peel it off.
You can adhere these transfers onto any non-porous surface: mirrors, windows, canisters, etc.
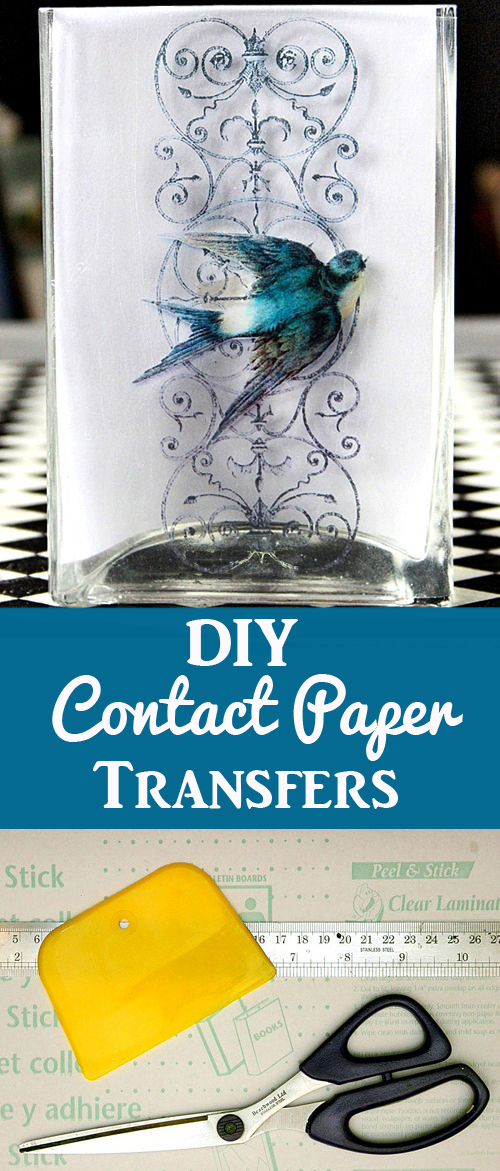
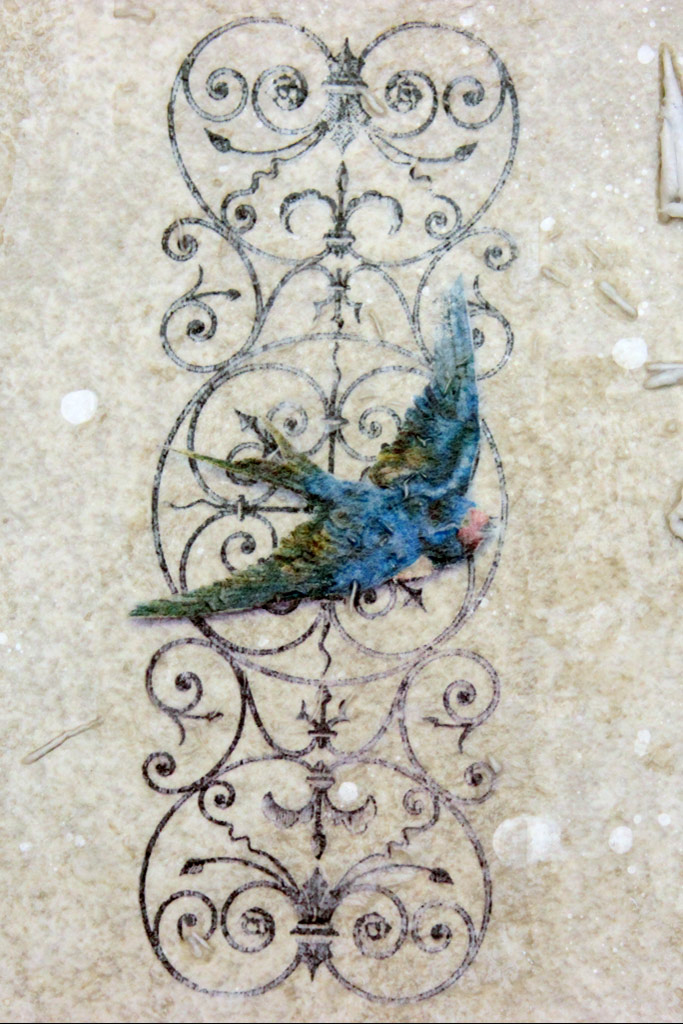
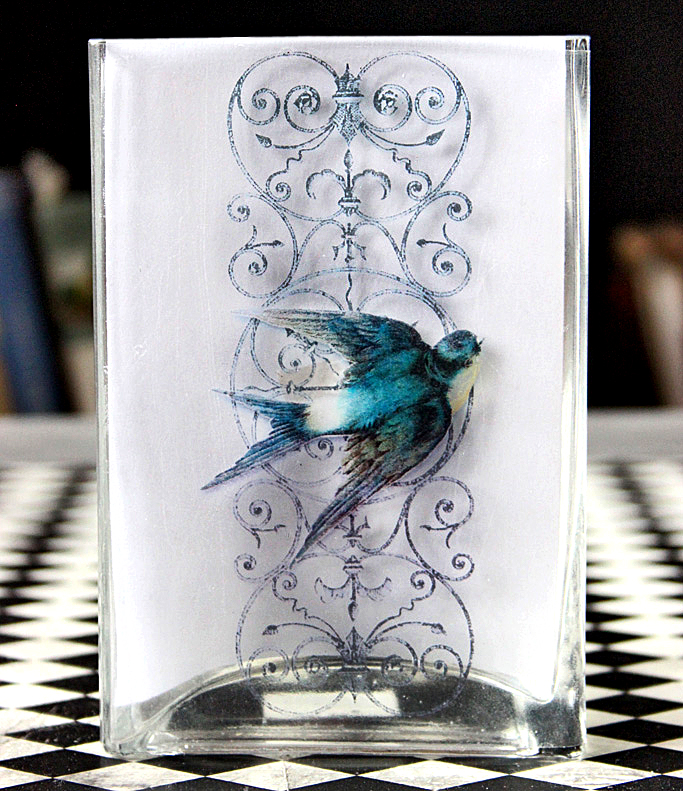
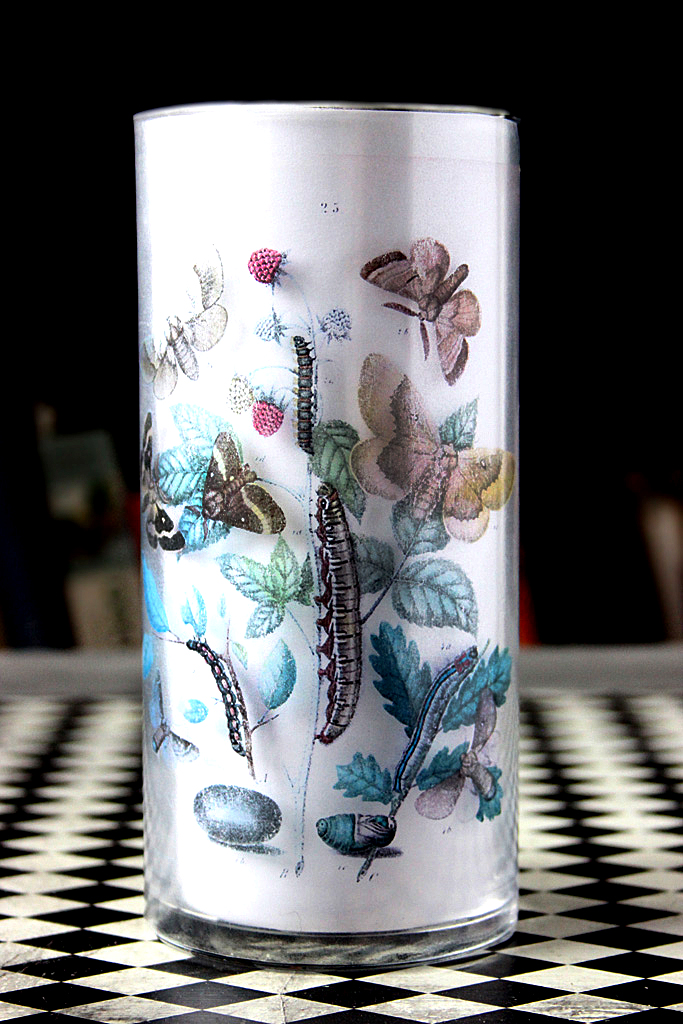
Here’s a close-up of the delicacy of the results once applied to glass:
Because the shelf liner comes on a large roll, you can create both small and large transfers.
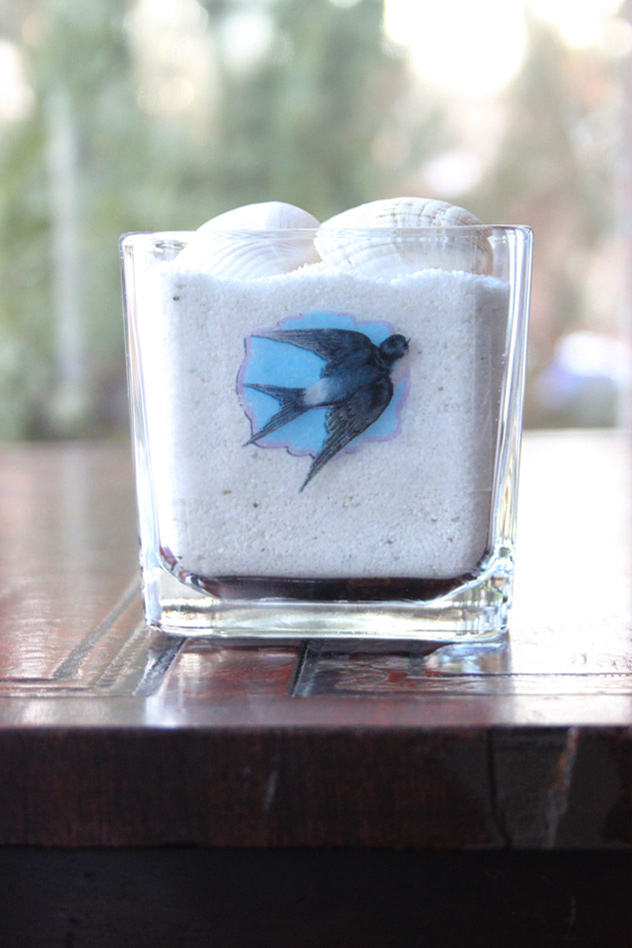
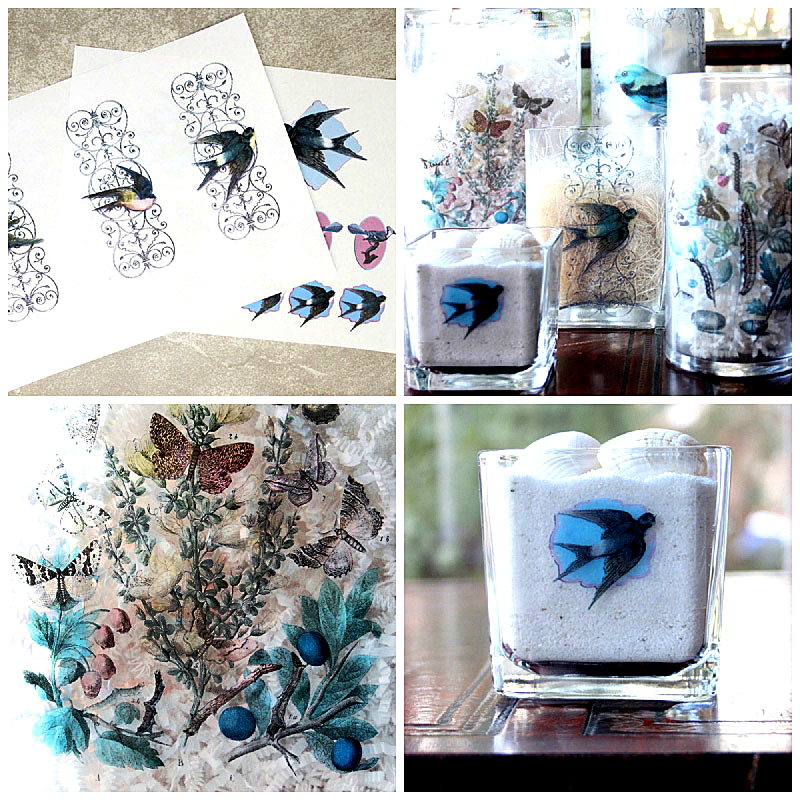
Here’s a small one, about an inch and a half tall:
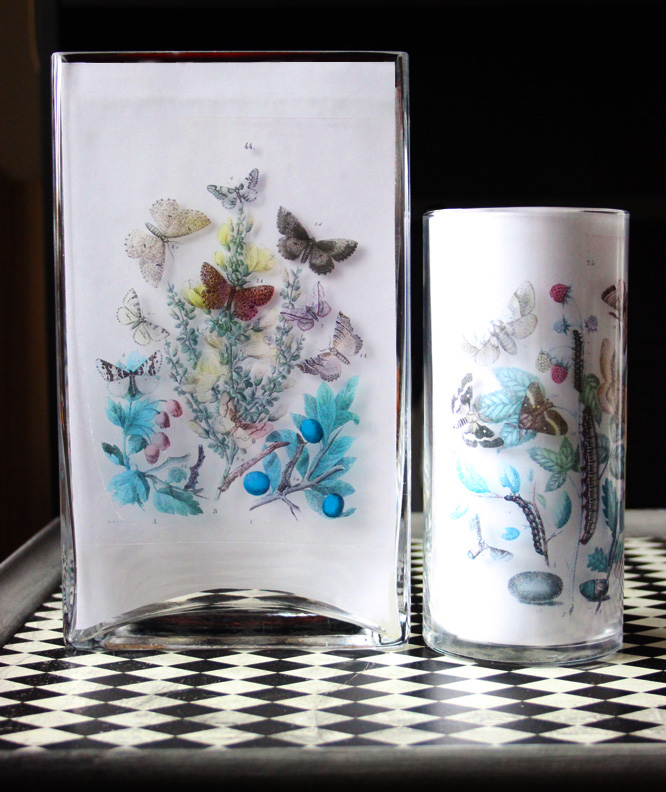
Larger graphics, larger applications:
These are a fantastic way to create seasonal motifs on plain white pillar candles encased in glass.
When the seasons change, simply create new transfers, and safely store those that you’ve removed.
Placing them on regular plastic page protectors in a 3 ring binder will keep them safe for years!
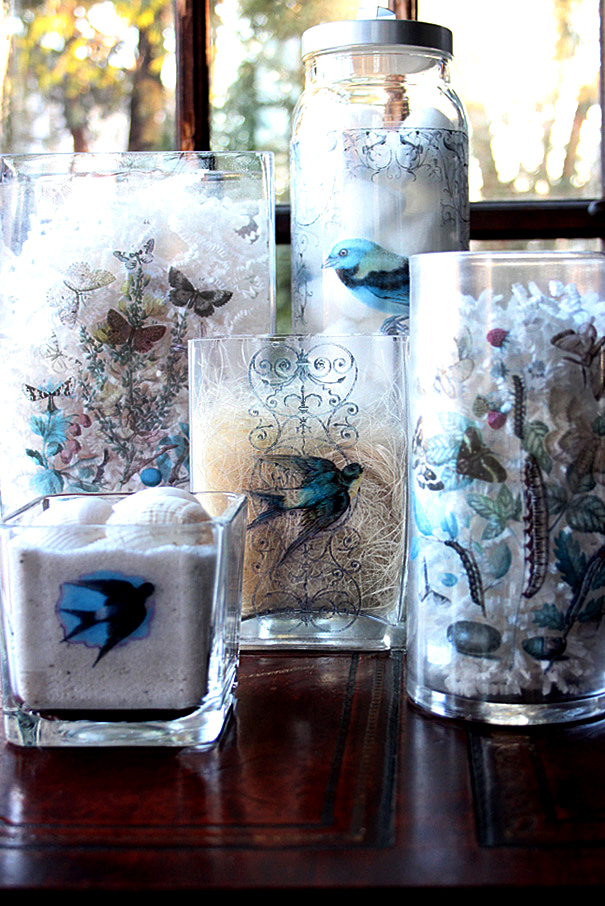
It’s easy to create an ensemble of containers with a cohesive look:
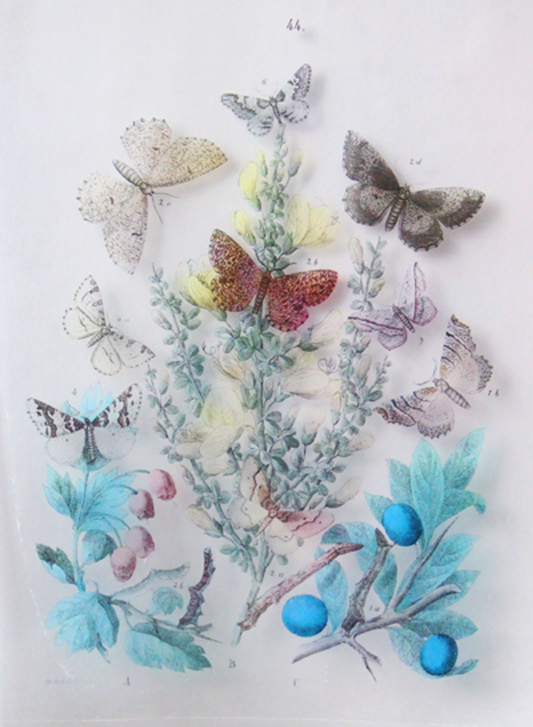
Old natural history prints give such a soft and vintage feel:
Have fun creating your own color transfers on glass!
Thanks for visiting The Graphics Fairy today, and I hope you’re inspired to try the Clear Contact Paper Transfers technique!
If you like experimenting with various materials and methods, drop by Thicketworks to explore!
Heather


Darlene says
Can you tell me what kind of printer I shoulld be using? When I print any images out. the colors always look so washed out…not vibrant. My printer is a Brother color printer.
graphicsfairy says
Hi Darlene, I have an older Epson all in one printer that uses Durabright ink, it is water proof and I love it. Unfortunately it is no longer available but they have newer models. Maybe your ink cartridges are running low? I am not an expert so really can’t offer advice, I would check with the manufacturer or your local office supple store for advice. Good luck 🙂
plant-in says
Have you heard about tom Palissade transfers paper? I saw videos on YouTube, seems to be great
Karen Watson says
No, I haven’t. Thanks for tip. I’ll check it out!
saula a nelson says
How would this work on Terra Cotta Pots that have a painted surface?
graphicsfairy says
I am not sure the colors would show up well. This was a guest post by Heather over at Thicketworks, this process was meant for clear glass, but give it a try on a practice piece and see how it looks before trying it on your real pot.
Corrie says
Does contact paper make a “window cling” sticker? Or is it pretty permanent? Before I buy contact paper to try this, I’d love to know how it would work on a car window, and how easily removable and repositionable it would be. Thanks so much!
Heather Tracy says
Hi Corrie! The adhesion quality of Contact Paper falls somewhere in between ‘cling’ and ‘sticker’…mine have been comfortably in place on glass surfaces for months with no sign of ‘peeling’ – and YES, they are easy to remove and reposition….
BUT, the conditions in a vehicle are pretty extreme: high heat/frigid cold…it’s impossible to know if the adhesive will weather those extremes without testing. Additionally, the pigments in home printer ink are not engineered to withstand direct sunlight, day after day…fading would no doubt occur.
You can find clear contact paper at many Dollar Stores, so the investment is minimal…I encourage you to give it a try!
Christina Wedow says
Hi Will this work putting the decal onto wood? I would like to make a wood sign, with nice colorful decals, such as florals, and then stencilling a nice saying onto the wood.
Heather Tracy says
Hi Christina! If the wood has a smooth enough surface, it should work. Because the Contact Paper retains its’ adhesive qualities, as long as the surface is smooth, it should ‘stick’ to just about anything. Good luck!
Melody says
Call me late for supper but never for something as beautiful as this and everything on the site!
I have to start over and get to the sign me up area so I can get MORE,MORE,MORE!!!! I love what I have seen and I sooooooo want to try this!!!!
graphicsfairy says
Thanks Melody, you are too funny!
Jane Aniston says
Hey all, I have just been to your Instagram profile of thegraphicsfairy.com and I really like your photos! I think your Instagram profile deserves a lot more followers and likes! Did you know that you can actually buy followers and likes on websites like http://www.sozialy.xyz ?
Nonetheless, I just wanted to let you know that you are performing a great job! Looking forward for more of your images!
Have a great day!
Jane
graphicsfairy says
Thanks Jane!
KHuber says
I think I got it.
Heather Tracy says
Relieved – if I can help in any way, please ask, K.!
KHuber says
Instructions not clear. Upside down? Upside down how? More trouble than it’s worth. I’ll figure it out myself.
Heather Tracy says
Uh, oh! So sorry that it’s frustrating. I would love to be of help if I can. Tell me more?
Lisa says
Yikes! Why be so hateful on this glorious, cheer-filled and lovely site?!!! The rest of us appreciate all the wonderful, free ideas and assistance-please keep up the great work!!!
sue says
I am not 100% sure on the printer will check and let you know. The rest of the steps I believe I did correctly
Heather Tracy says
Thanks, Sue – if your images are inkjet, but not Epson Durabrite Ink, it’s possible that they will not transfer correctly. Toner based images (laserjet or xerox copies) will give you the very best results.
SUE says
HELP…I keep ruining my photo. I am trying to transfer a black and white photo to a vase. I can’t get passed the rubbing off paper part.
Heather Tracy says
Hi Sue – I would love to help. I have a few questions that can help us focus in on what may be going wrong:
1. Are you using Toner based print-outs? Ink Jet?
2. Are you adhering the contact paper to the PRINTED side of the paper? In order for this to work, you must place the image face down onto the sticky side of the contact paper.
3. Are you burnishing the paper carefully onto the contact paper?
4. Have you saturated the paper with water, and then rolled the paper fibers off with your fingers?
Please explain exactly what is happening, and I’ll do my best to assist you.
Thanks!
rk says
Another brilliant idea from you Heather!! I have contact paper from art supply store (not expensive either) and I can’t wait to try this! Sheesh, I can’t keep up with all the fantastic projects you are sharing, need more time in a day to make all of them 🙂
Heather Tracy says
It’s rk! Hope you’re well, my friend.
You better get busy – we have SO much mayhem to cause in 2016! You have to try this – it’s like magic! So FUN.
L. Deyerle says
Another easy thing to do with this idea is to use pretty pictures that you get from magazines. Just cut out the picture and follow the same procedure. All the beautiful pics you see in magazines that you wish you could preserve are now yours to decorate with. I learned this technique in college during an education course in visual arts…. One student got an “A” on her project when she transferred the centerfold from Playboy on to the contact paper and then wrapped it around a lampshade for her boyfriend’s birthday! It was the 70’s of course. But i just did this with a bird pic from a VA Coop magazine and it still works.
Heather Tracy says
Absolutely, you can use any images at all…unfortunately, copyright issues would prevent you from being able to share your awesome work online if you used Magazine images…but perfect for a personal project!
Wow! That sounds like a wild project that your classmate created, L. Deyerle! Thanks for chipping in -it’s always fun to hear other’s experiences with techniques! xox
Jo says
How does it stay on when you use the dish washer?
Heather Tracy says
Hi Jo – this is not a dishwasher friendly method – however, all you have to do is carefully remove the ‘decal’, wash your glassware and re-apply the ‘decal’ when the glass is dry. Excellent question!
Donna Makowski says
So the adhesive on the contact paper will dry as well so you use that to adhere the transfer?
Heather Tracy says
Hi Donna – exactly! Once it dries it retains it’s adhesive qualities and can be ‘stuck’ to any smooth surface, like a sticker.