
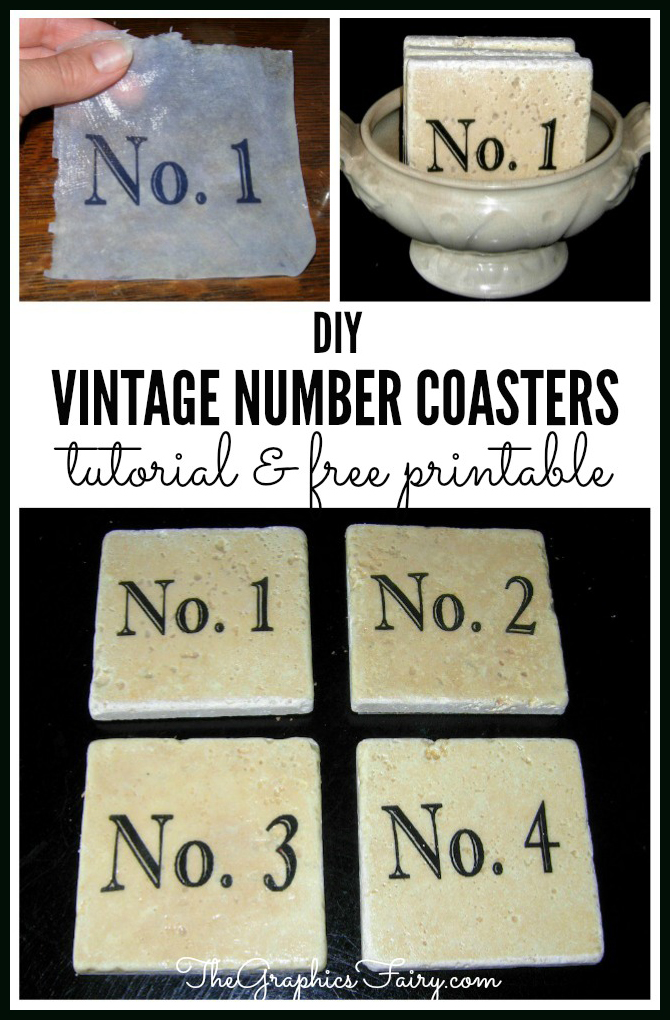
DIY Coasters with Photo Transfers
I’ve got a fun project tutorial for you guys today, we’re going to make DIY Coasters! Not just any coasters but Gorgeous Travertine Marble Tile Coasters with photo transfers. These are inexpensive to make and look very high end, and they make fantastic Homemade Gifts! I first created this tutorial back in 2016 but I think it still holds up, so I’ve updated it with some larger photos.
 I used some fun Vintage numbers for my coasters and I’ve included a free printable down below so that you can make some too, if you like. But really you can use any image that you like, beautiful flowers, pretty Birds, Mushrooms, Architecture and of course Photos too! You can customize with photos of your own family, ancestors, pets or friends or even with pictures of your house. Feel free to customize the process to your liking!

Supply List for DIY Coasters:
1)Light colored 4″ square tumbled Travertine marble Tiles (you can often buy them by the box at Lowes or Home Depot too)
3)A roll of adhesive backed cork sheet
4)Paintbrush
Free Printable Numbers
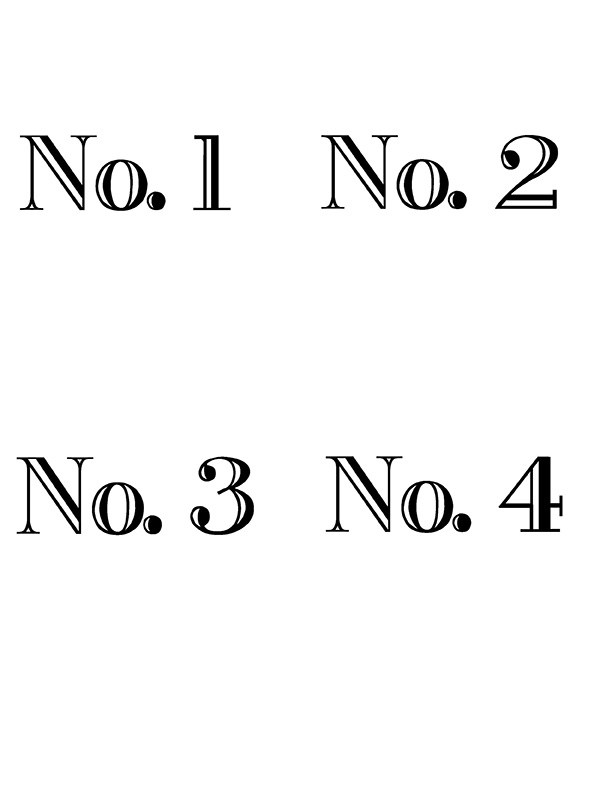
Click HERE for the Full Size Printable PDF of the Vintage Numbers
Tutorial for DIY Tile Coasters
Step 1: Grab the Free PDF sheet of the numbers above for this project, and print it out on your computer (or use your own images or photos). Next, you will need to have a Photocopy made of this ( inkjet printers do not work with this process.) So take your printed images or photos on over to a copy place, like Staples or Office Max etc and have them make a Laser Copy for you.
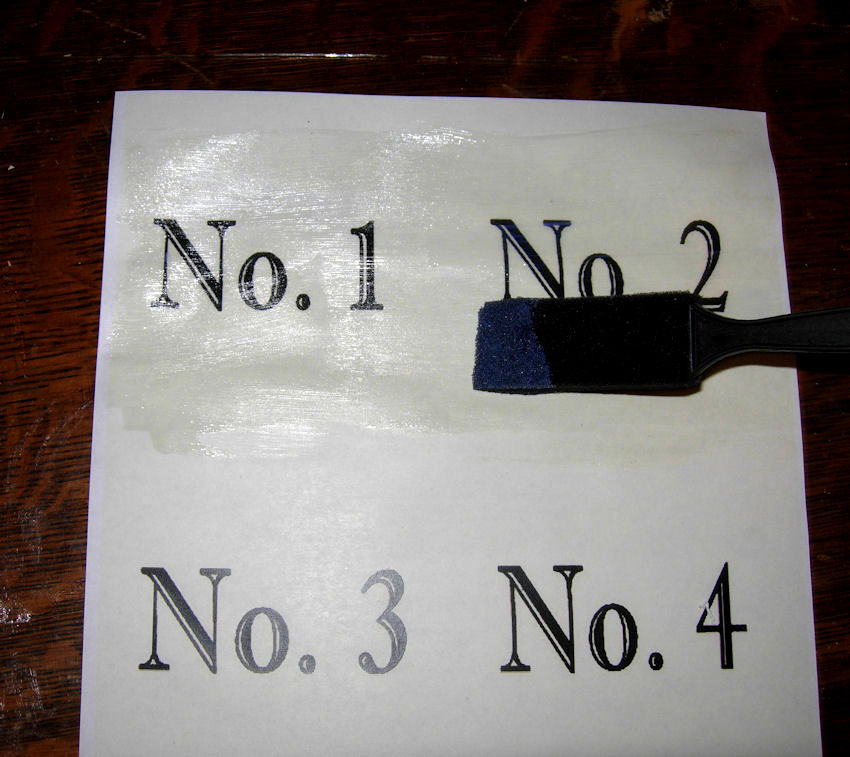
Step 2: You will need to brush on 3 coats of the Omni gel Transfer Medium. Brush the first coat in a horizontal direction, let dry completely. Brush the second coat in a vertical direction, let dry completely. Brush the 3rd coat in a diagonal direction, and again let dry completely.
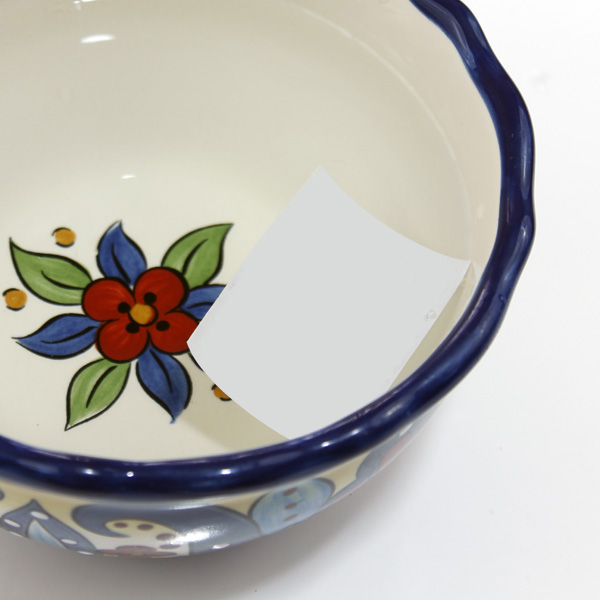
Step 3: Cut image to the size of the coaster and then soak in a bowl of water for 10-20 minutes.
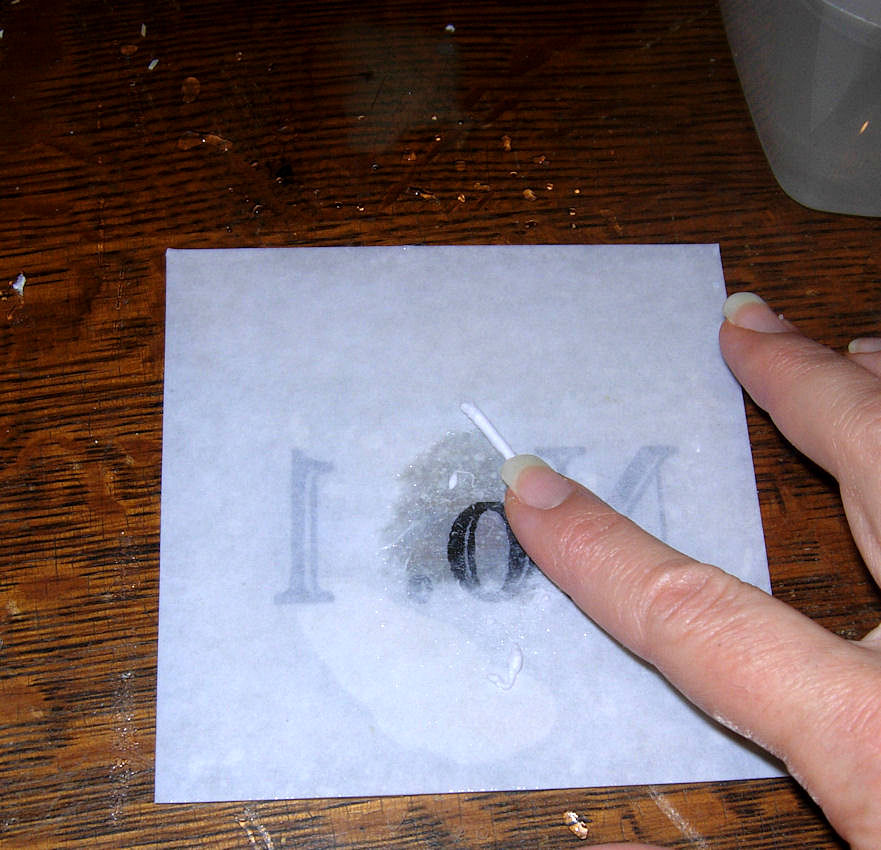
Step 4: While paper is still wet, rub the paper backing with your fingers in a circular motion to remove all of the paper leaving just the gel transfer behind. It can take a bit of rubbing to get it all off but it’s worth it!
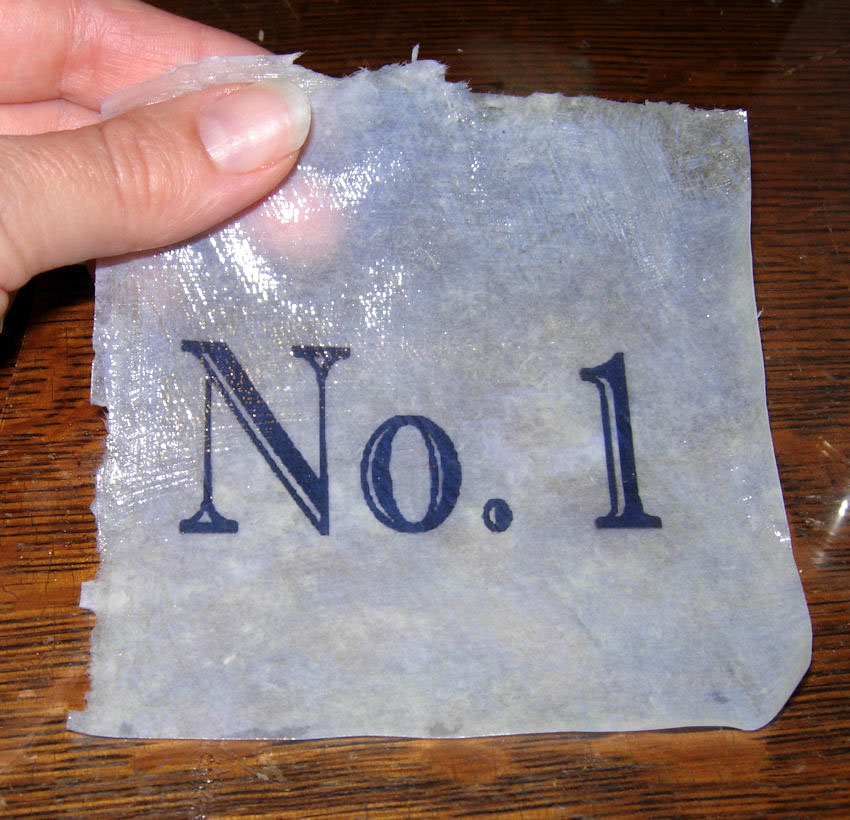
Step 5: This is what your left with. The ink is trapped inside of this vinyl looking piece. Pretty cool!! At this point you can trim this up with scissors if you have ragged edges like I did here.
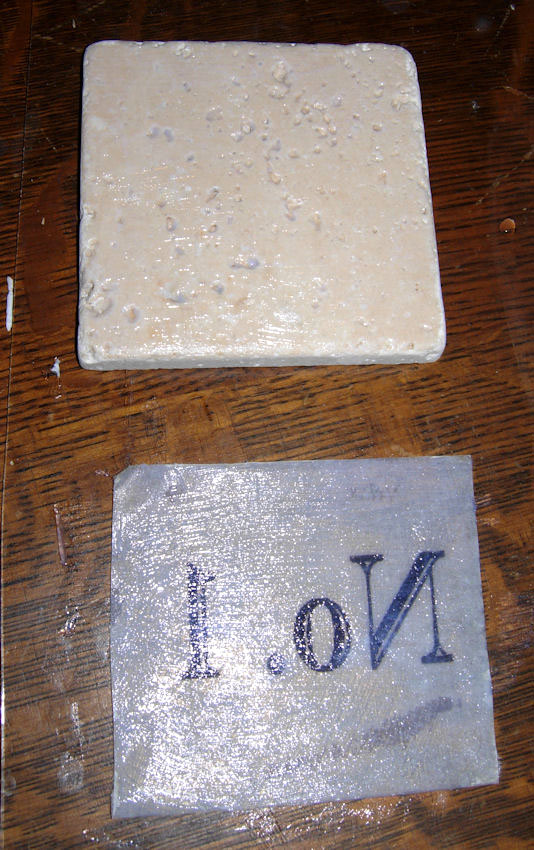
Step 6: Use more of the Omni Gel as a glue to adhere the transfer to the tile. I coated both the top of the marble and the back of the transfer.
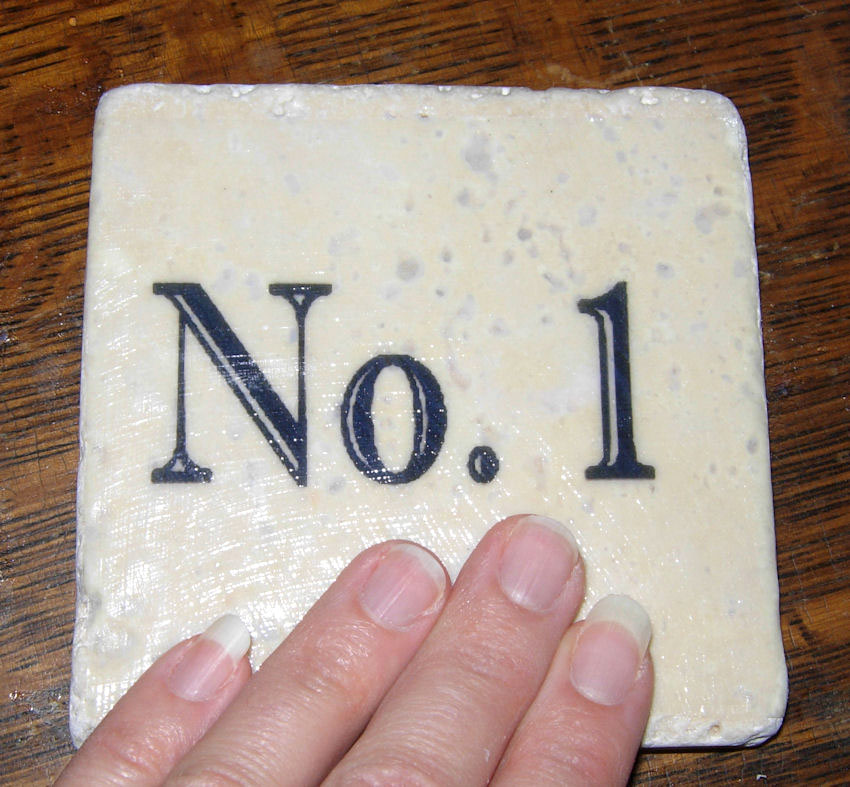
Step 7: Press the transfer down and smooth out to get rid of any air bubbles. If you have a brayer this would probably work even better. I have one but um… couldn’t find it. Oh well!
(Note: The image will look a little cloudy at first but it will dry clear after a day or 2.)
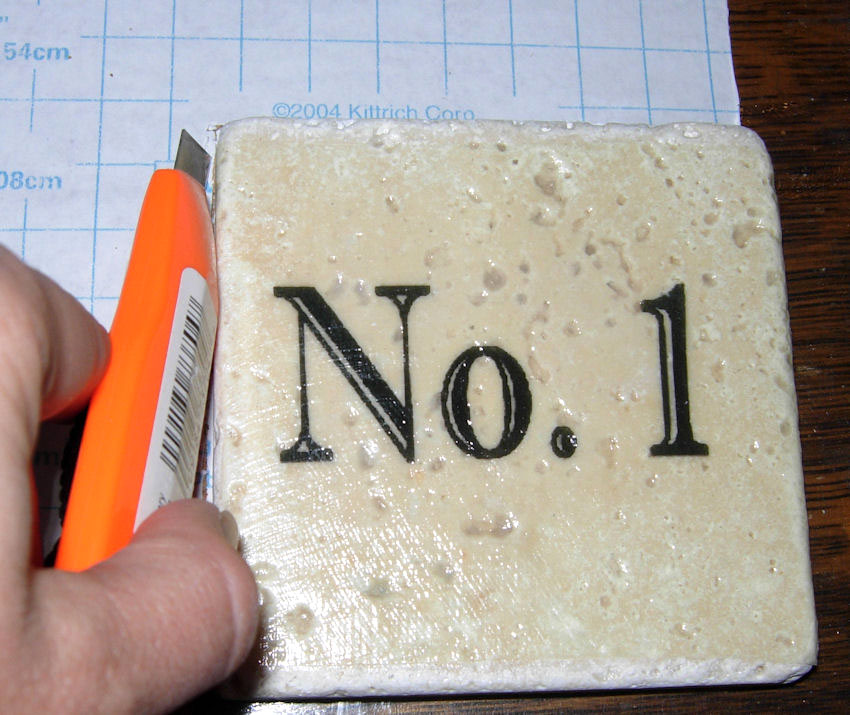
Step 8: Next roll out the adhesive backed cork and lay the tile on top. Then cut around it to fit. I used a utility knife for this one, but scissors work just as well. This cork is made by “Contact” (the same people that make Contact Paper that you line your shelves with) and it has a nice grid on the back, which makes it easy to get it just right!
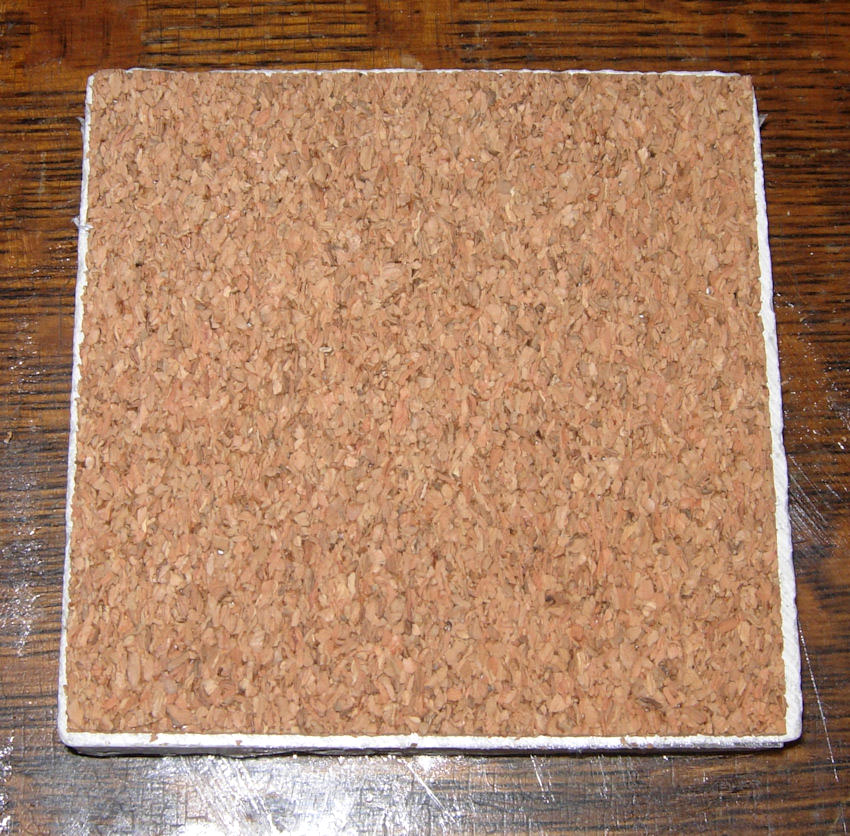
Step 9: Smooth down the cork with your fingers until it’s nicely adhered to the tiles. I think this gives them such a great finished look and it will protect your tables too.
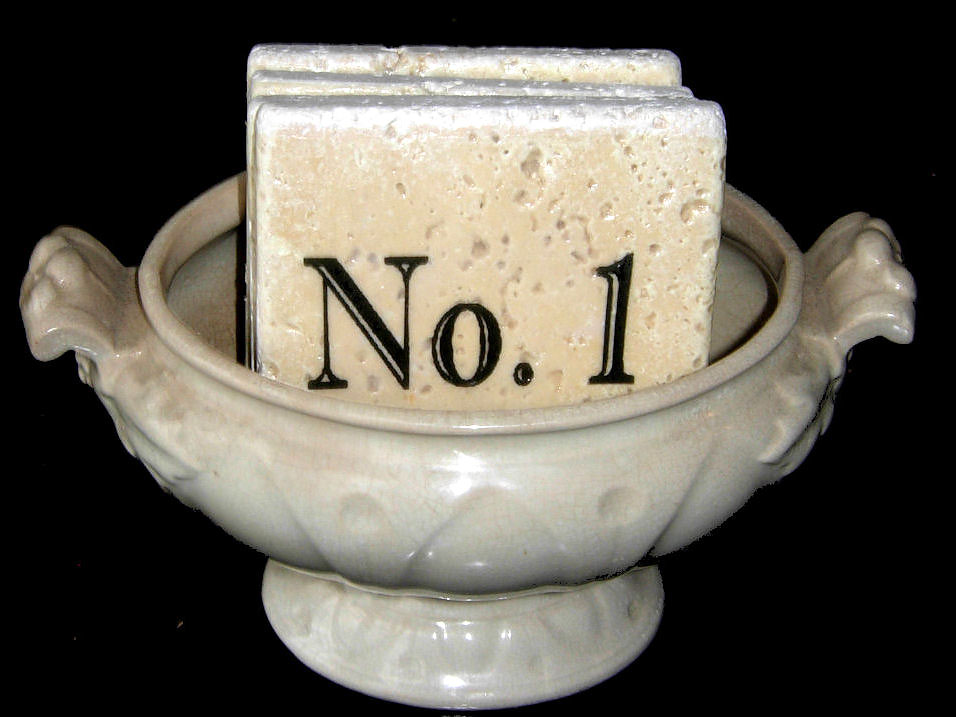
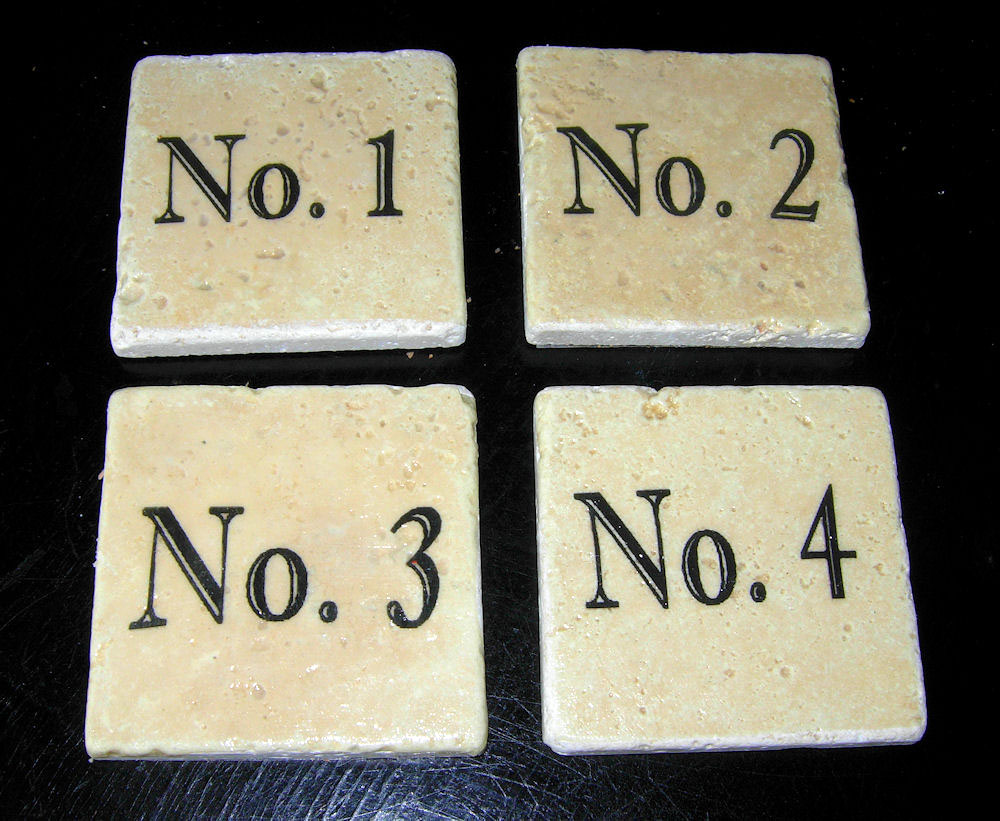
Now you are done! So easy right? And they really do look like a very high quality item. I’m storing mine in a small antique Ironstone tureen for now. I hope you like this easy project. These would make a great gift for the holidays, I think they would also be a good item to sell at craft shows, or Barn Sales etc. I would sell them in sets of 4, you could tie them up with some nice rustic string or pretty ribbons. You might also like our Transfer Methods Page HERE and these beautiful Wooden Bee Coasters that Diana made HERE.


Amanda @ Serenity Now says
What a fun little project…I like those rub-on letters, but haven’t ever tried a coaster. Good idea. 🙂 Thanks for the visit!
Sheri says
I have those! Except mine have my initials on them. A friend made them a few years ago using permanent pigment ink and stamps! Very cool.
If you haven’t alredy please head over and link up: http://theshadesofpink.blogspot.com/2009/10/room-month-monster-dominoes.html
chicroses says
Hi Karen, Just wanted to let you know that I used your header and wall paper of the crow. I am not computor literate and this was so easy. Now if I could figure how to put my blog label on the header.Hope you can take a peek at my blog. I did mention your blog in my post. Thankyou again. Sally
Nancy @ Live love laugh says
What a great Idae! I actually use my leftover backsplash tiles as coasters, but never bothered with the cork or decoration! So much nicer!
~Nancy
Jen R. says
I love this idea! I am sooo doing this!
Jane says
Such a great project and I LOVE the number graphics. I made coasters like this using vintage images of my grandparents…they made great gifts for family members. Love all of your graphics and ideas…I need to get busy in the studio again….I’ll try and get something done for next week’s Brag Monday.
Jane
Beachbrights says
I love these and your tutorial looks so easy!
Thanks for sharing-
XOXO
PS. Love your BOOst comment. Clever 🙂
A Rose Without A Thorn says
A really great project and I learned something as well, thanks……
Mandy says
SO CUTE!
cindy@cottageinstincts says
Fabulous! And great instructions…I would love to make some of these for Christmas gifts. Thanks for sharing the inspiration :o)
Debashis says
I think so. I will also try.
ClassyChassy says
What a super project! So nice of you to share your talents with everyone!
Mary Green says
Cool project – they came out so nice. I’ll have to try the Omni Gel. Thanks for the tip!
Annette says
This is such a wonderful idea! I have never heard of this product, but it looks like something else I could use for making glass platters. Thanks so much for sharing.
Dragonfly Treasure says
What a cool idea! They turned out great! Thanks for sharing
*hugs*deb
Christine @ Great Oak Circle DIY says
These are so cute! Great job!