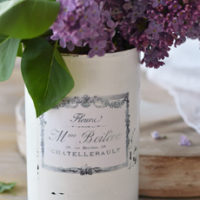
DIY French Flower Bucket
Today’s craft project is a pretty & super easy French Flower Bucket!

 I used the image that you see above for this project. You can click HERE for the French Label image that you see above.
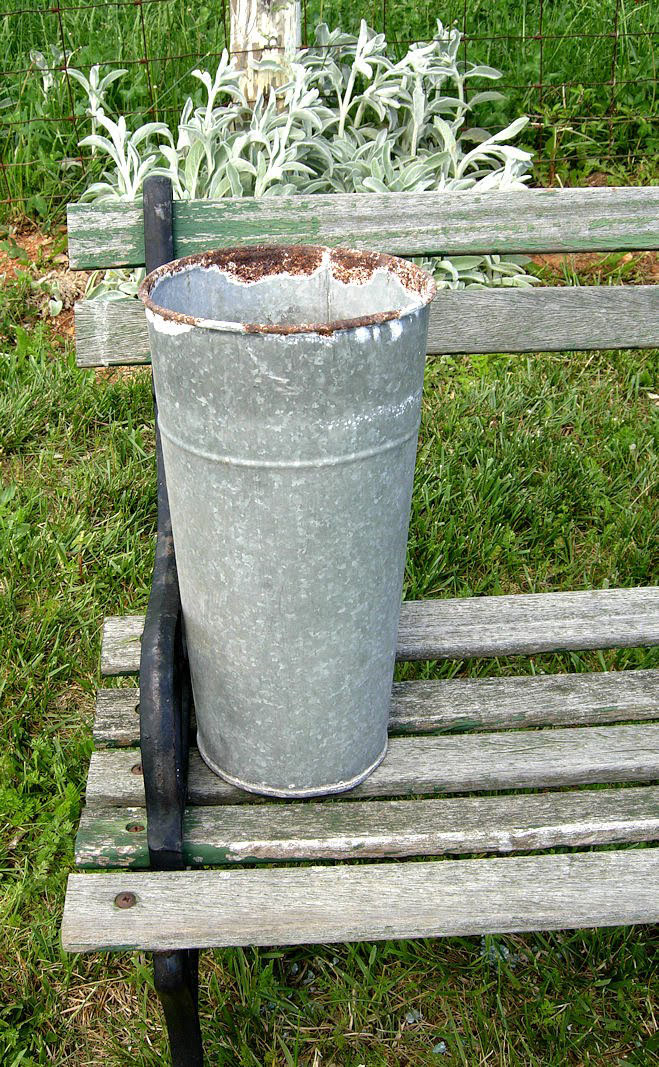
For this project I used an antique sap bucket that I’ve had for a few years. You can really use whatever you like, this would be cute on a regular metal bucket from the hardware store, a metal paint can, a watering can etc.
I’ve included a supply list and instructions below:
Supply List for DIY French Flower Bucket:
1) Printed copy of the image shown above.
2)Mod Podge (I used matte finish)
3)Brown stampers ink or antiquing glaze
4)Metal Container
5)Paintbrush
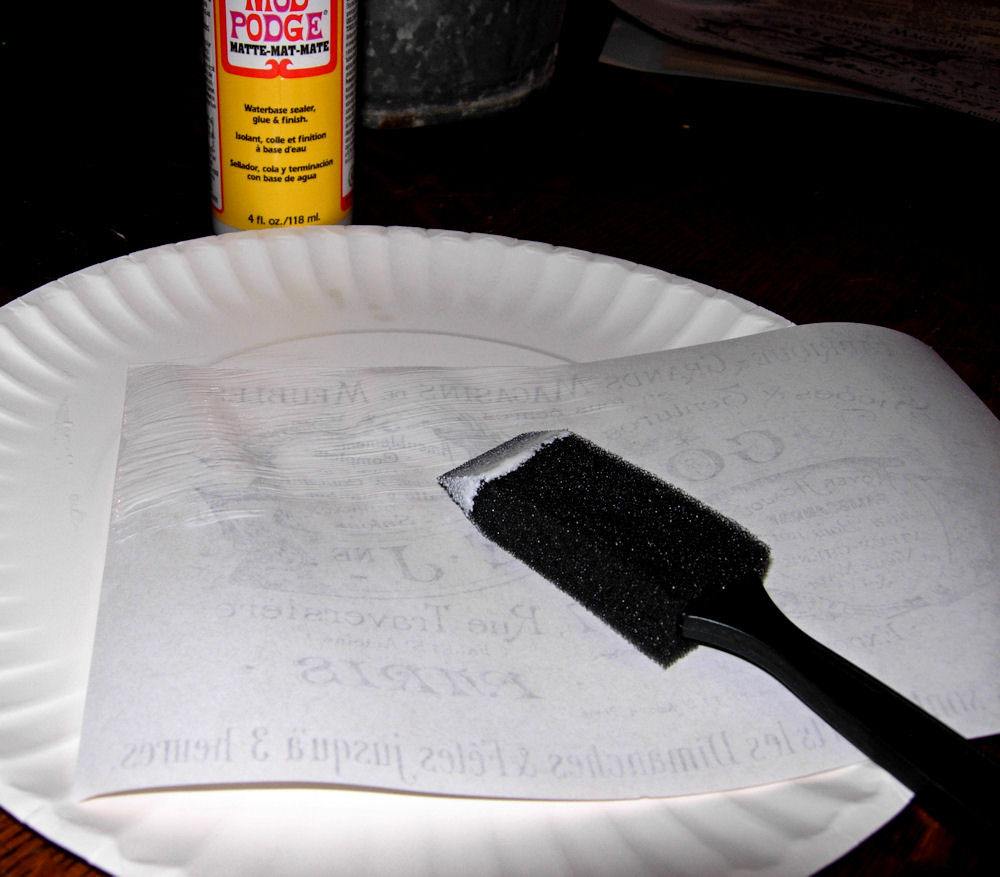
Step 1)Print out the image (you may need to adjust the size to fit your project). Cut it out and apply a coat of Mod Podge to the back of the image.
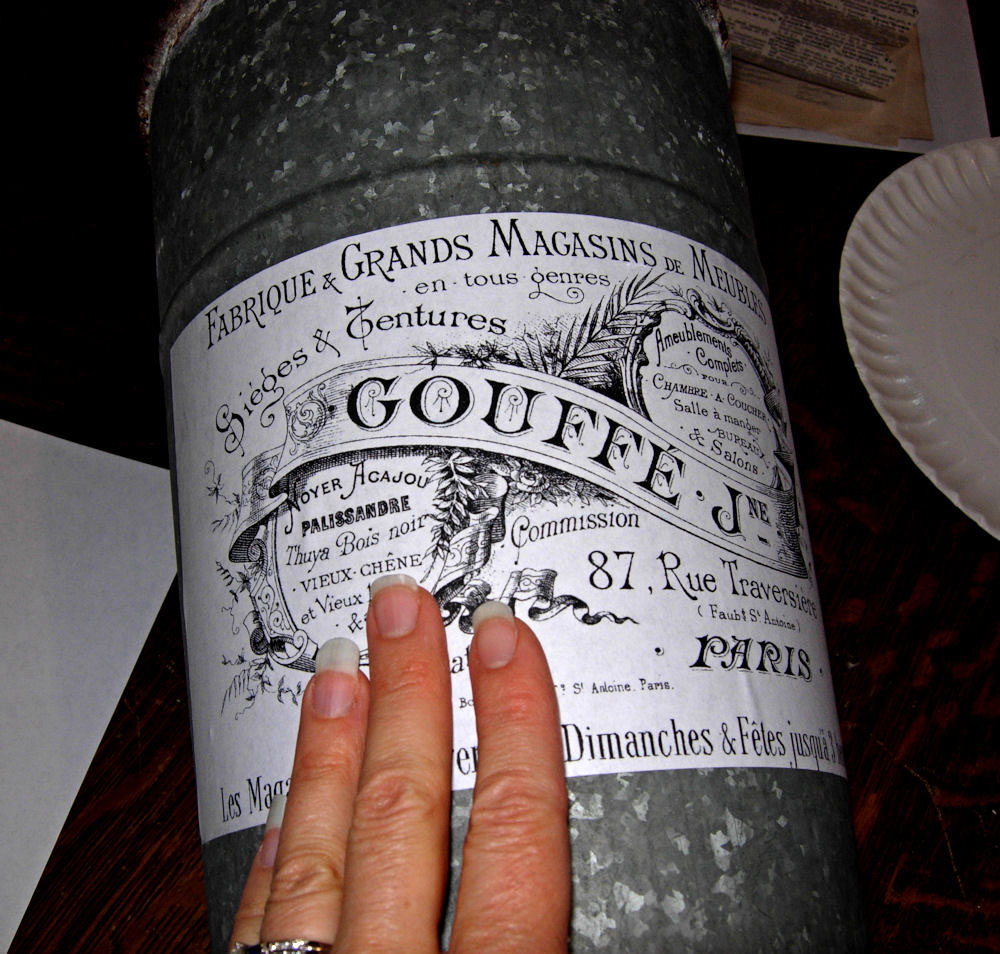
Step 2) Apply label to your metal bucket and smooth out any bubbles. Let dry.
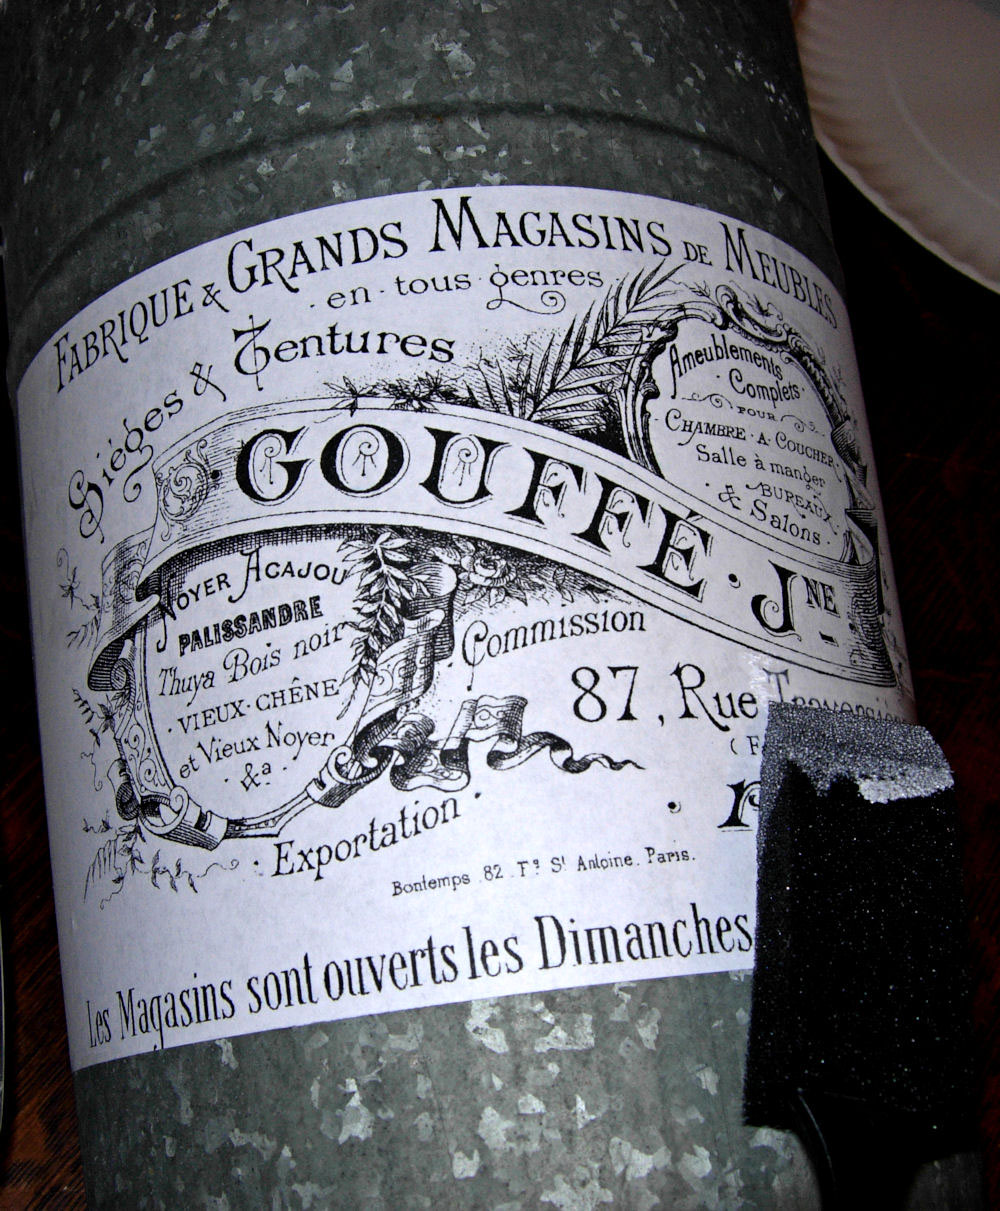
Step 3) Brush on a coat of Mod Podge to the top of the label. Let dry.
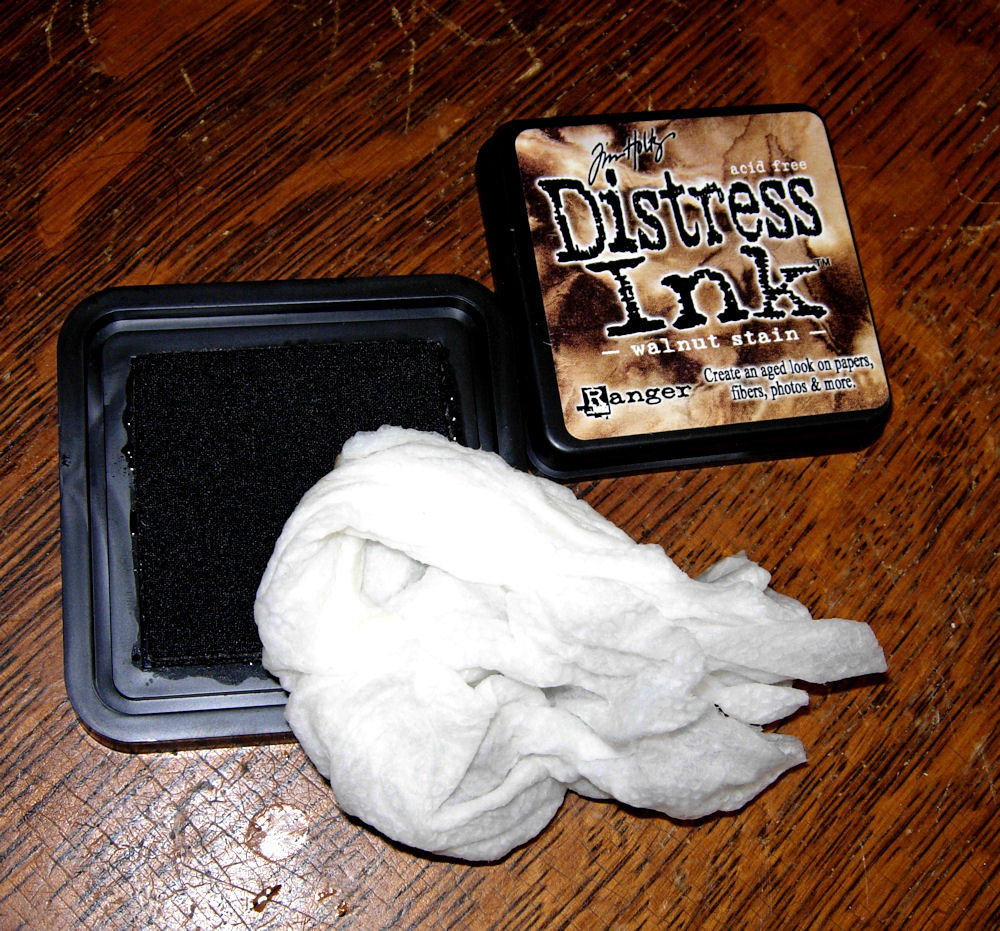
Step 4) Apply some brown stampers ink or antiquing glaze with a wet rag. This step is optional.
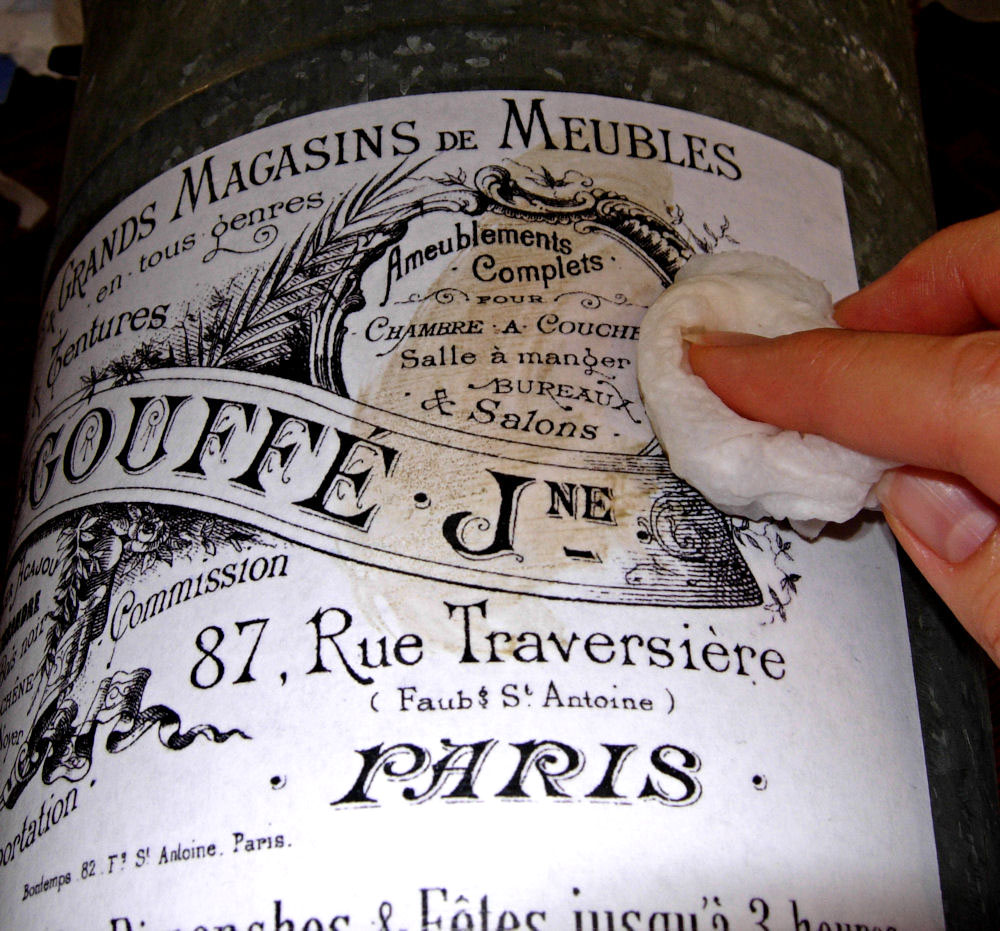
Step 5) Rub the ink or glaze in, with a light circular motion and remove excess.

You can see I didn’t use a lot of the glaze, I didn’t want it to be too brown, I just wanted to take the white down a notch. That’s all there is to it! Now you have a lovely French bucket to keep display your fresh cut flowers in.


designdazzle.blogspot.com says
Thanks for all your graphics. You are wonderful : )
Hugs,
Toni
Beverly @ FlamingoToes.com says
I really like this. Are there any problems with using modge podge on things you print out? I thought I read somewhere that the ink can bleed?
Little Tesoro says
What a cool looking bucket. I’m inspired 🙂
-Lisa
Sarah says
Karen, this is a clever idea. Love your French flower bucket!
Sandy says
Great ideal, I might have to try this one!! Thanks for sharing. Come by for a visit sometime.
Sandy
Karen- The Graphics Fairy says
You guys are awesome!! Thanks so much for all of your lovely comments about my project!
Diane,
I like your idea about the colored paper!
sissie says
Hi Karen,
I just love what you have done with the french flower bucket. The image, which I love, is perfect for this project.
hugs
Sissie
Donna says
Hi Karen,
I just love your sap bucket! This project is right up my alley! Thanks for all of the wonderful graphics and great inspiration!
Kathy @ Creative Home Expressions says
Love this, Karen! I’ve already got these types of buckets on my mental shopping list of things to pick up. You had a couple of other labels I wanted to try similarly.
Diane says
Karen, this is cool! And if someone wanted it a different color, easy to print on colored stock! Then maybe just age the edges.
Thanks!
Diane
Le Chateau des fleurs says
I love this!!! This is so expensive to buy one in the store looking like this! Love l’etiquette (picture).
You are so darn crafty!
XOXO
frenchy
charles says
fantastic post you have a great each day deligh my view wiht those beautiful posts that low is a great pleasure read you xxxooo
Regina says
Karen…this is lovely. I have plans for this great idea once we get moved and settled in. Thank you thank you!!!
Hugs,
Regi
Mandi says
Beautiful, Karen! I love that.
PetraB says
This is such a lovely project. The bucket now looks a million! Thank you for sharing this project.