DIY French Flower Bucket
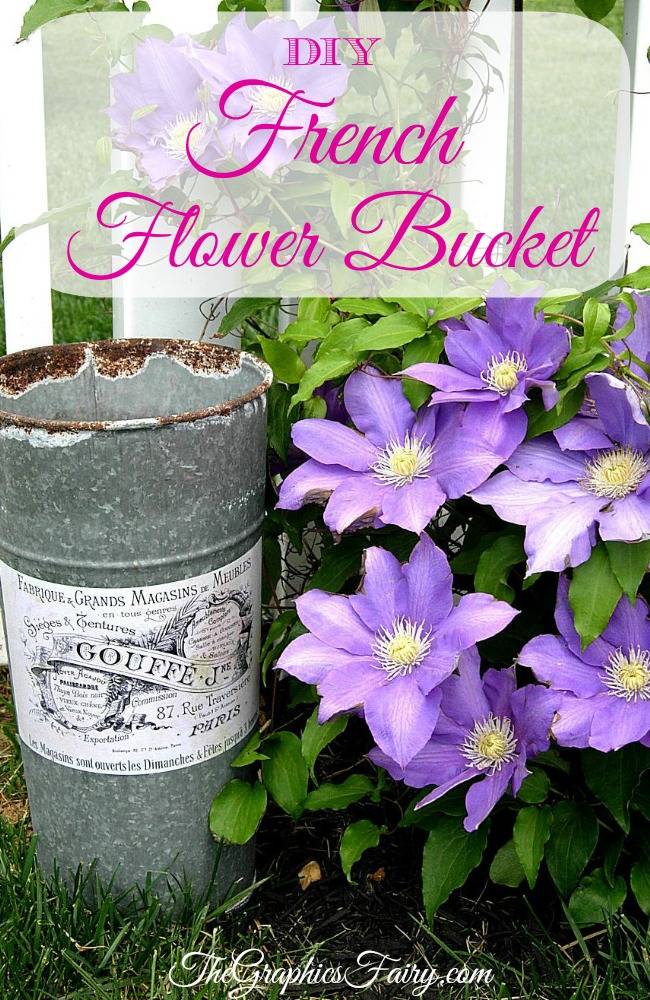
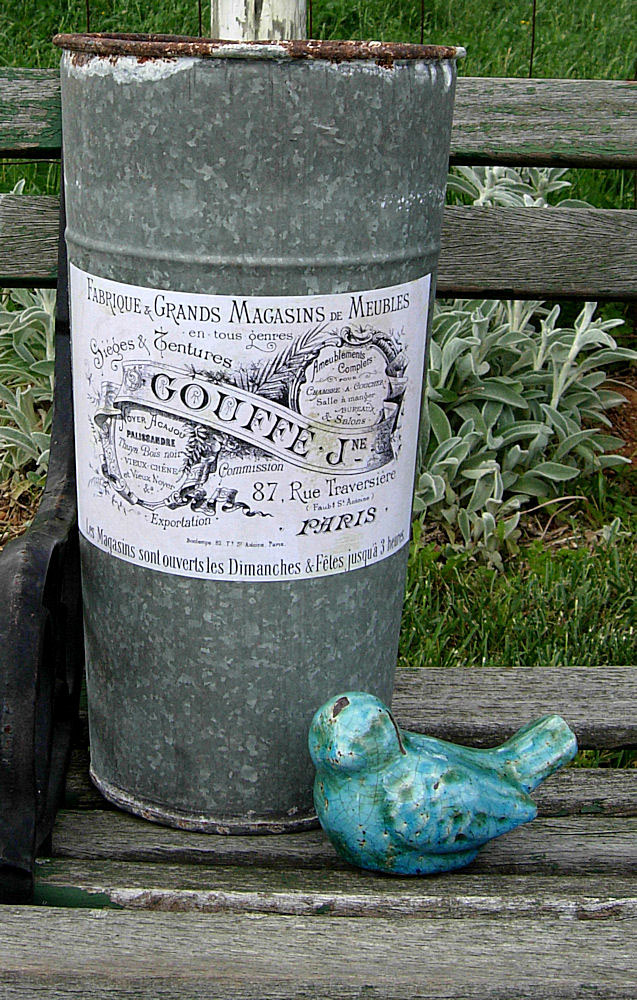
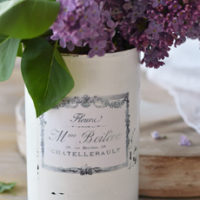
Today’s craft project is a pretty & super easy French Flower Bucket!
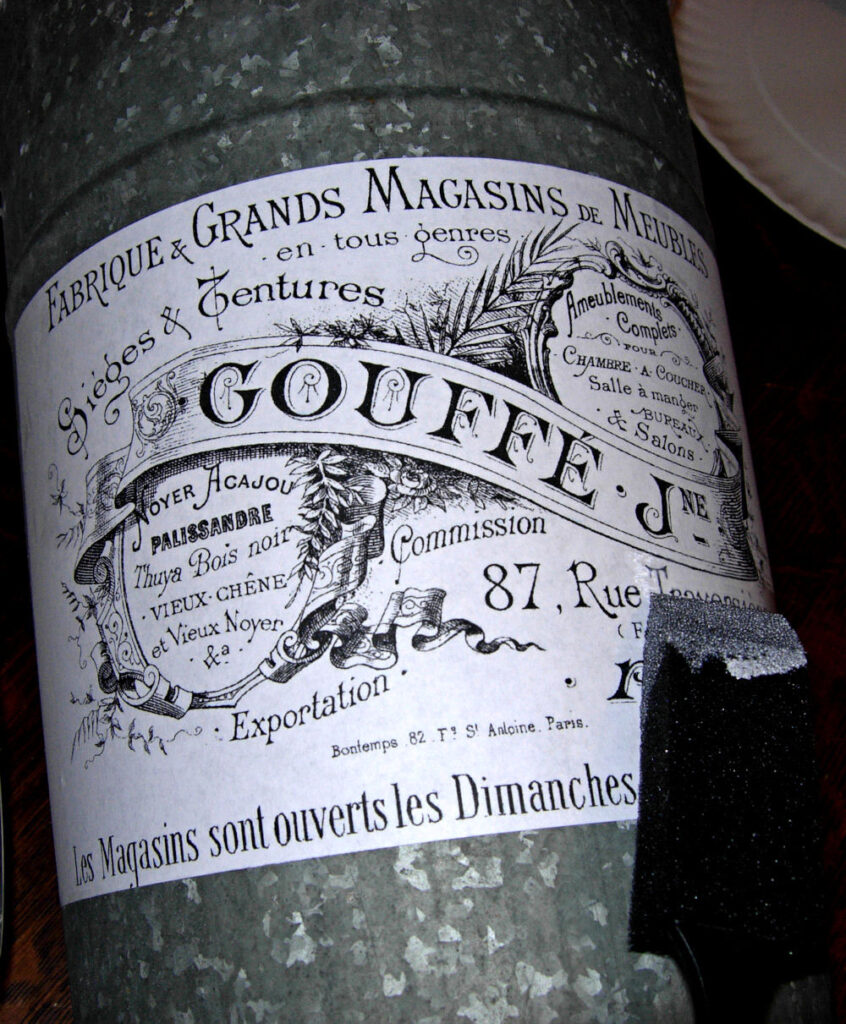
 I used the image that you see above for this project. You can click HERE for the French Label image that you see above.
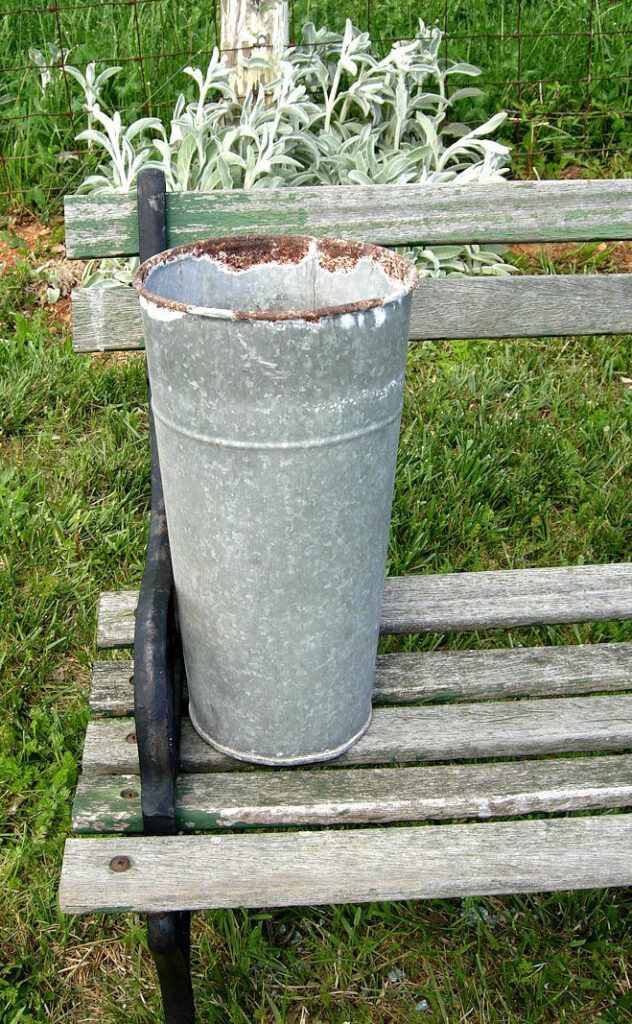
For this project I used an antique sap bucket that I’ve had for a few years. You can really use whatever you like, this would be cute on a regular metal bucket from the hardware store, a metal paint can, a watering can etc.
I’ve included a supply list and instructions below:
Supply List for DIY French Flower Bucket:
1) Printed copy of the image shown above.
2)Mod Podge (I used matte finish)
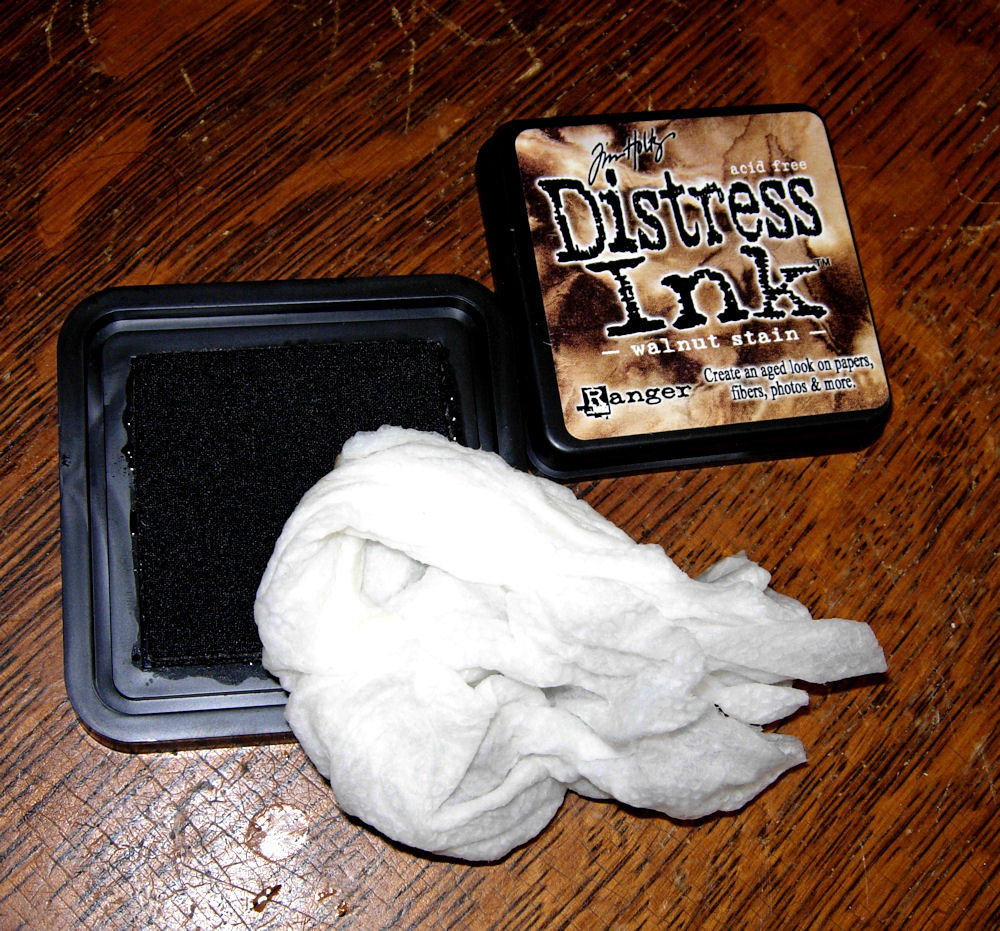
3)Brown stampers ink or antiquing glaze
4)Metal Container
5)Paintbrush
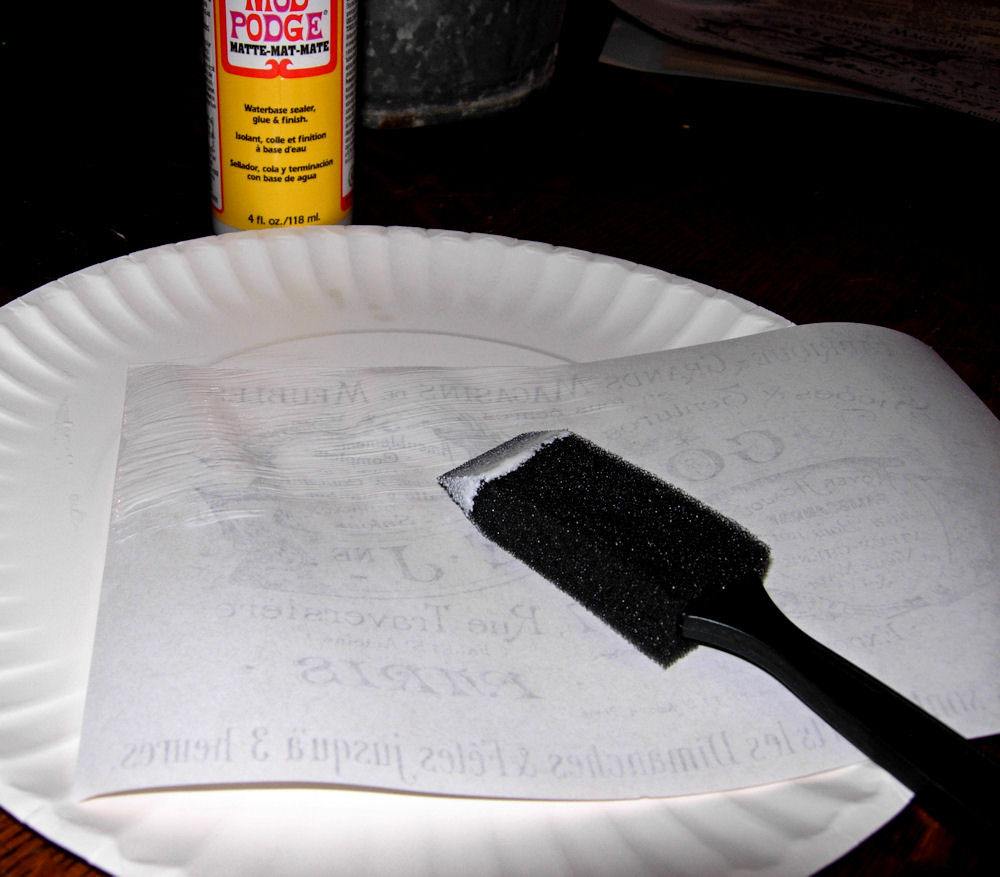
Step 1)Print out the image (you may need to adjust the size to fit your project). Cut it out and apply a coat of Mod Podge to the back of the image.
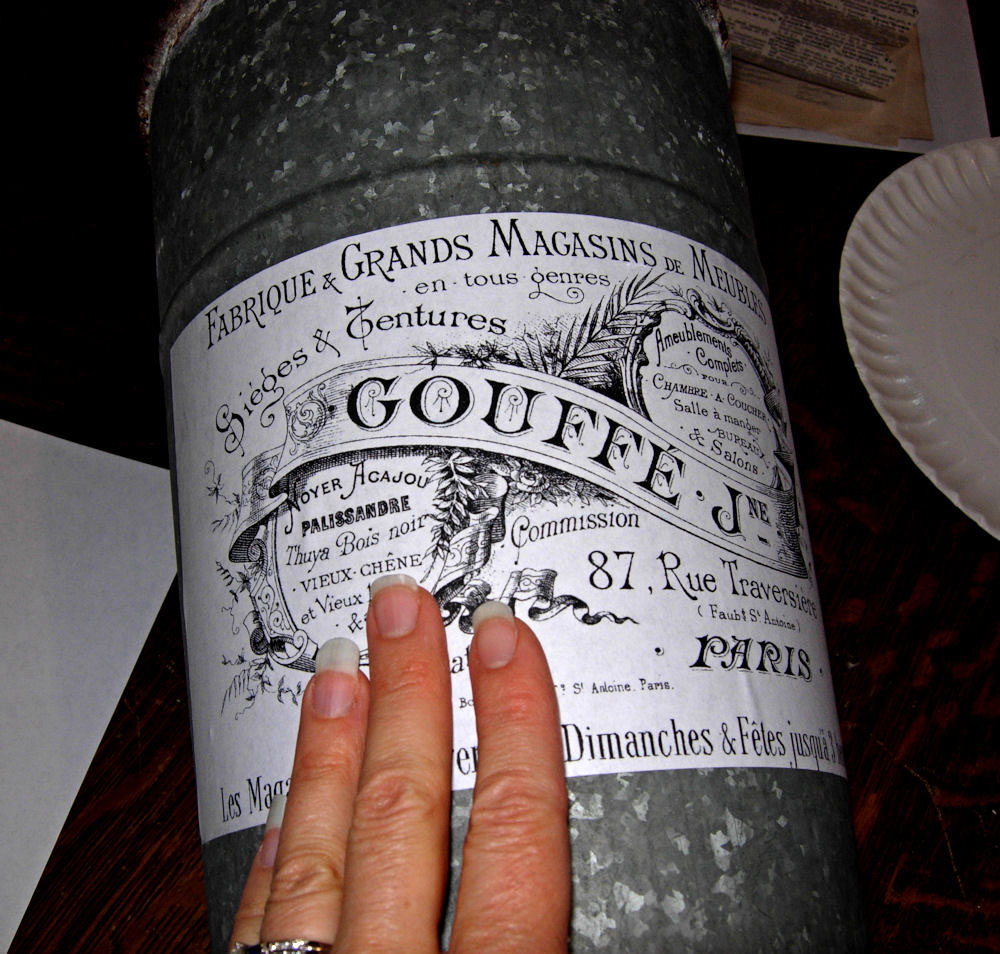
Step 2) Apply label to your metal bucket and smooth out any bubbles. Let dry.
Step 3) Brush on a coat of Mod Podge to the top of the label. Let dry.
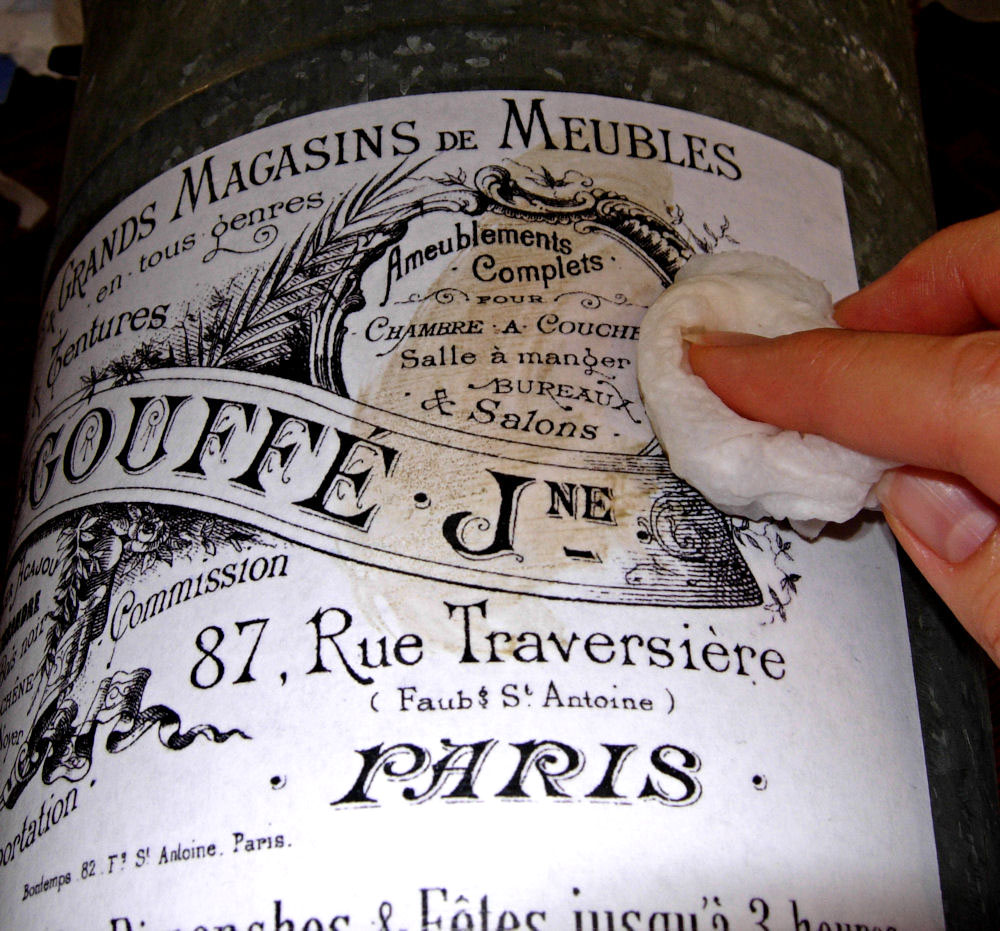
Step 4) Apply some brown stampers ink or antiquing glaze with a wet rag. This step is optional.
Step 5) Rub the ink or glaze in, with a light circular motion and remove excess.
You can see I didn’t use a lot of the glaze, I didn’t want it to be too brown, I just wanted to take the white down a notch. That’s all there is to it! Now you have a lovely French bucket to keep display your fresh cut flowers in.



FLOWERSHOPGURL says
Hi Karen, I love your tutorial, what a pretty label. Thank you for sharing. I recently did a post on my french bucket filled with flowers. You can view it here if you wish:
http://flowershopgurl.blogspot.com/2010/05/table-top-tuesday.html
Have a wonderful day!
Hugz,
Kim
the momma says
Love this! Thanks so much for the printable–definitely bookmarking this one!
Rene @ cottage and vine says
Brilliant!
tales from an oc cottage says
So loving this!!!
m ^..^
Nancy says
Love the Idea Karen, and a perfect Graphic!! What about water hitting the Image? Did you use something to protect it over the Mod Podge?
Huggs, Nancy
http://www.coeurdalenegifts.com
Jenny @ DIY Newlyweds says
Looks great, I love it!
MessyMissy says
I love this project. Such a great idea. I can already imagine who I could give this to….but I will DEFINITELY be making one for me!! Thanks for the inspiration!! 🙂
GeorgiaBabydoll says
I LOVE your project. What a great idea for upgrading an old tin bucket.
Karen- The Graphics Fairy says
Hi Beverly,
If your printer has the type of ink that runs, you can spray your printed image with a sealer first. Or you could take the image to a photocopy place and have a laser image made.
Hi Lynneandco,
I was just thinking today that I need to look for something graduation related.
lynneandco says
I love this! I am going to try it out on a blue tin bucket that I have. Now I have a question for you….any good images/ideas for a high school graduation card? The only one I have come up with so far is the gate that is in your architecture section.
One Cheap B*tch says
It looks gorgeous now! Thanks for sharing the DIY!
Jeanine
Mod Podge Amy says
I totally love this! Just posted on the MPR FB group . . . xo
Jo says
Thank you so much for this lovely project! The bucket looks so different with the label. x
Anonymous says
Simply MERCI Dear Karen!
I have enjoyed so much this so
delightful project.
Hugs.
Genevieve
Alba Linea says
love yor ideas! best wishes ;0)