Decoupage Glue – A Comprehensive Guide!
Hey y’all – it’s Rebecca back with another Comprehensive Guide. We will be exploring the Decoupage Glue and Mediums used for the vintage craft form known as Decoupage. Here at The Graphics Fairy we do a lot of paper crafting. Decoupage is one of our favorite techniques. As an artist/educator, I especially enjoy learning and teaching others about the features and benefits of our “tools of the trade.” Today I am sharing this multi-faceted product that is probably in your craft room!
What is Decoupage?
Decoupage was first used as an art form for decorating furniture in 17th century France. It was known then as “the poor man’s alternative to painted furniture.” Paper cutouts in combination with special paint effects, gold leaf, and other decorative elements is the art of decoupage. Several coats of varnish were applied and sanded to produce a smooth finish that looked and felt like it was painted on the surface.
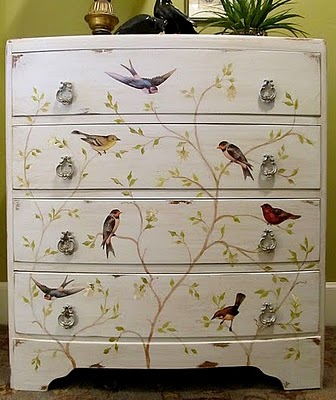
In the simplest form, decoupage is cutting and pasting pictures to transform an ordinary object into a beautiful piece of art. The Graphics Fairy archives has thousands of pictures for this craft. Coating the pictures with a few coats of a formula called Decoupage Medium to protect and enhance them is the next step after fussy cutting the pictures and gluing them to an object. You can see this in the Decoupaged Dresser by Lindy at Cottage Hill using vintage Birds from this site.
The very first craft class I taught, over 30 years ago, was Decoupage. At one time my decor was heavily reliant on this beloved technique. Roosters were the star in my home, with a prized possession being a little red fellow I found in a Paris Flea Market when I studied art in France! Then I found The Graphics Fairy some 12+ years ago. I thought I had stumbled upon the gates of artist heaven. Karen’s image collection aligned perfectly with my Rustic French Country sensibilities. I think my very first image download was a French Label. And I most probably decoupaged it on something!! WINK!
What is Decoupage Glue and Mediums?
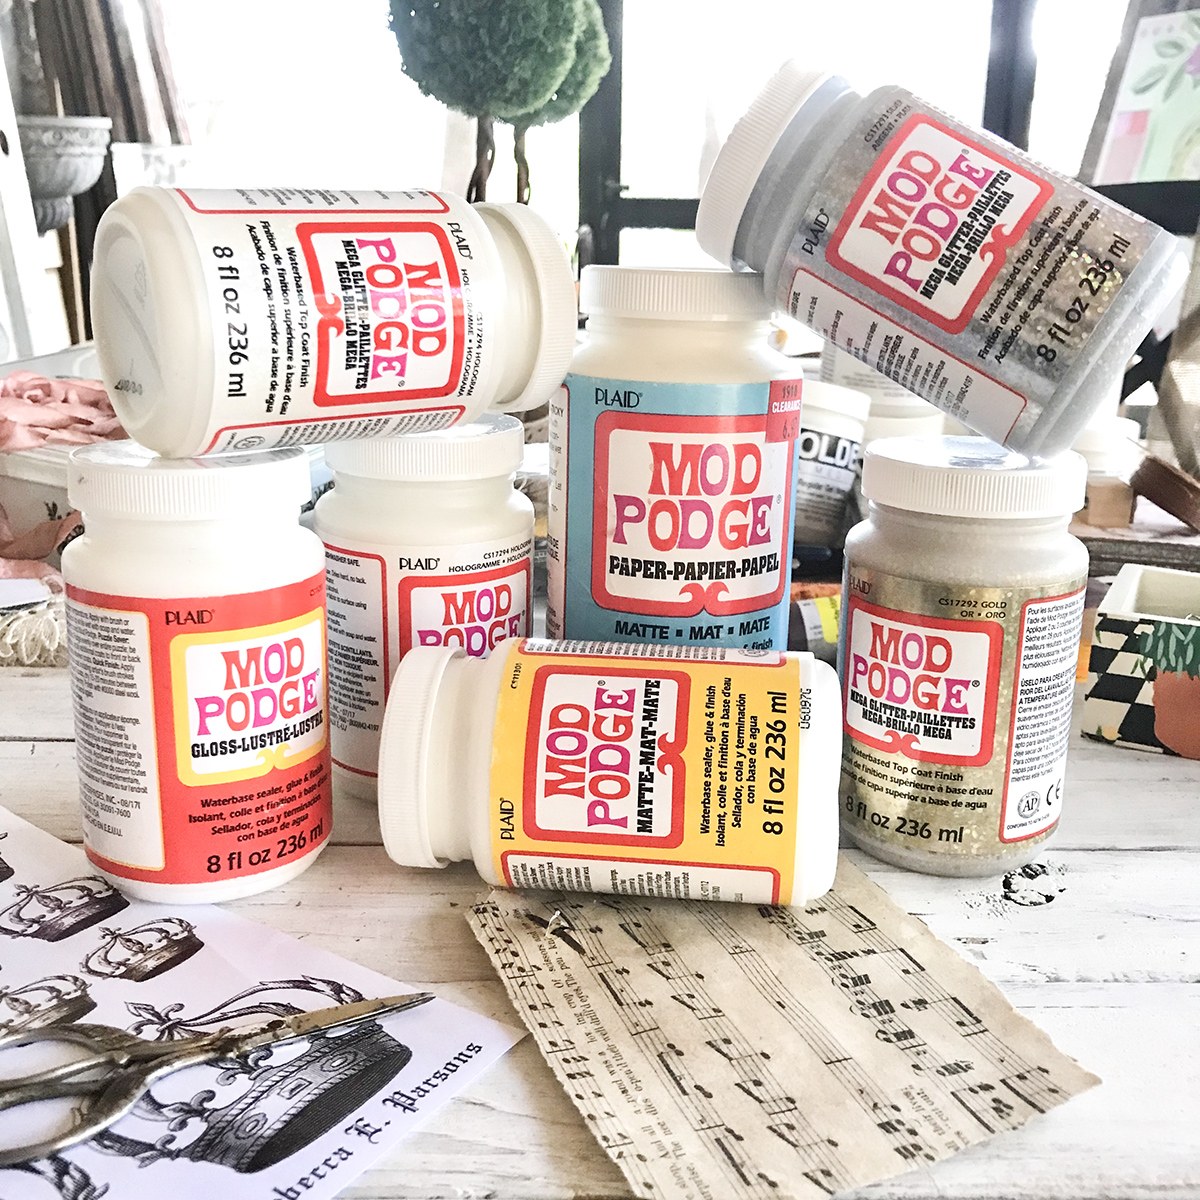
Decoupage Glue, or Medium, is an all-in-one adhesive, sealant, and protective coat for your Mixed Media and Paper craft projects. It is available in a variety of finishes – matte, satin, gloss, and even glitter. There are also outdoor versions. The milky white liquid is similar in consistency to a school glue or a liquid gel medium. Actually, watered down school glue was used for decoupage in the 1900s. Now there are products specifically made for this craft, which we will take a closer look at here.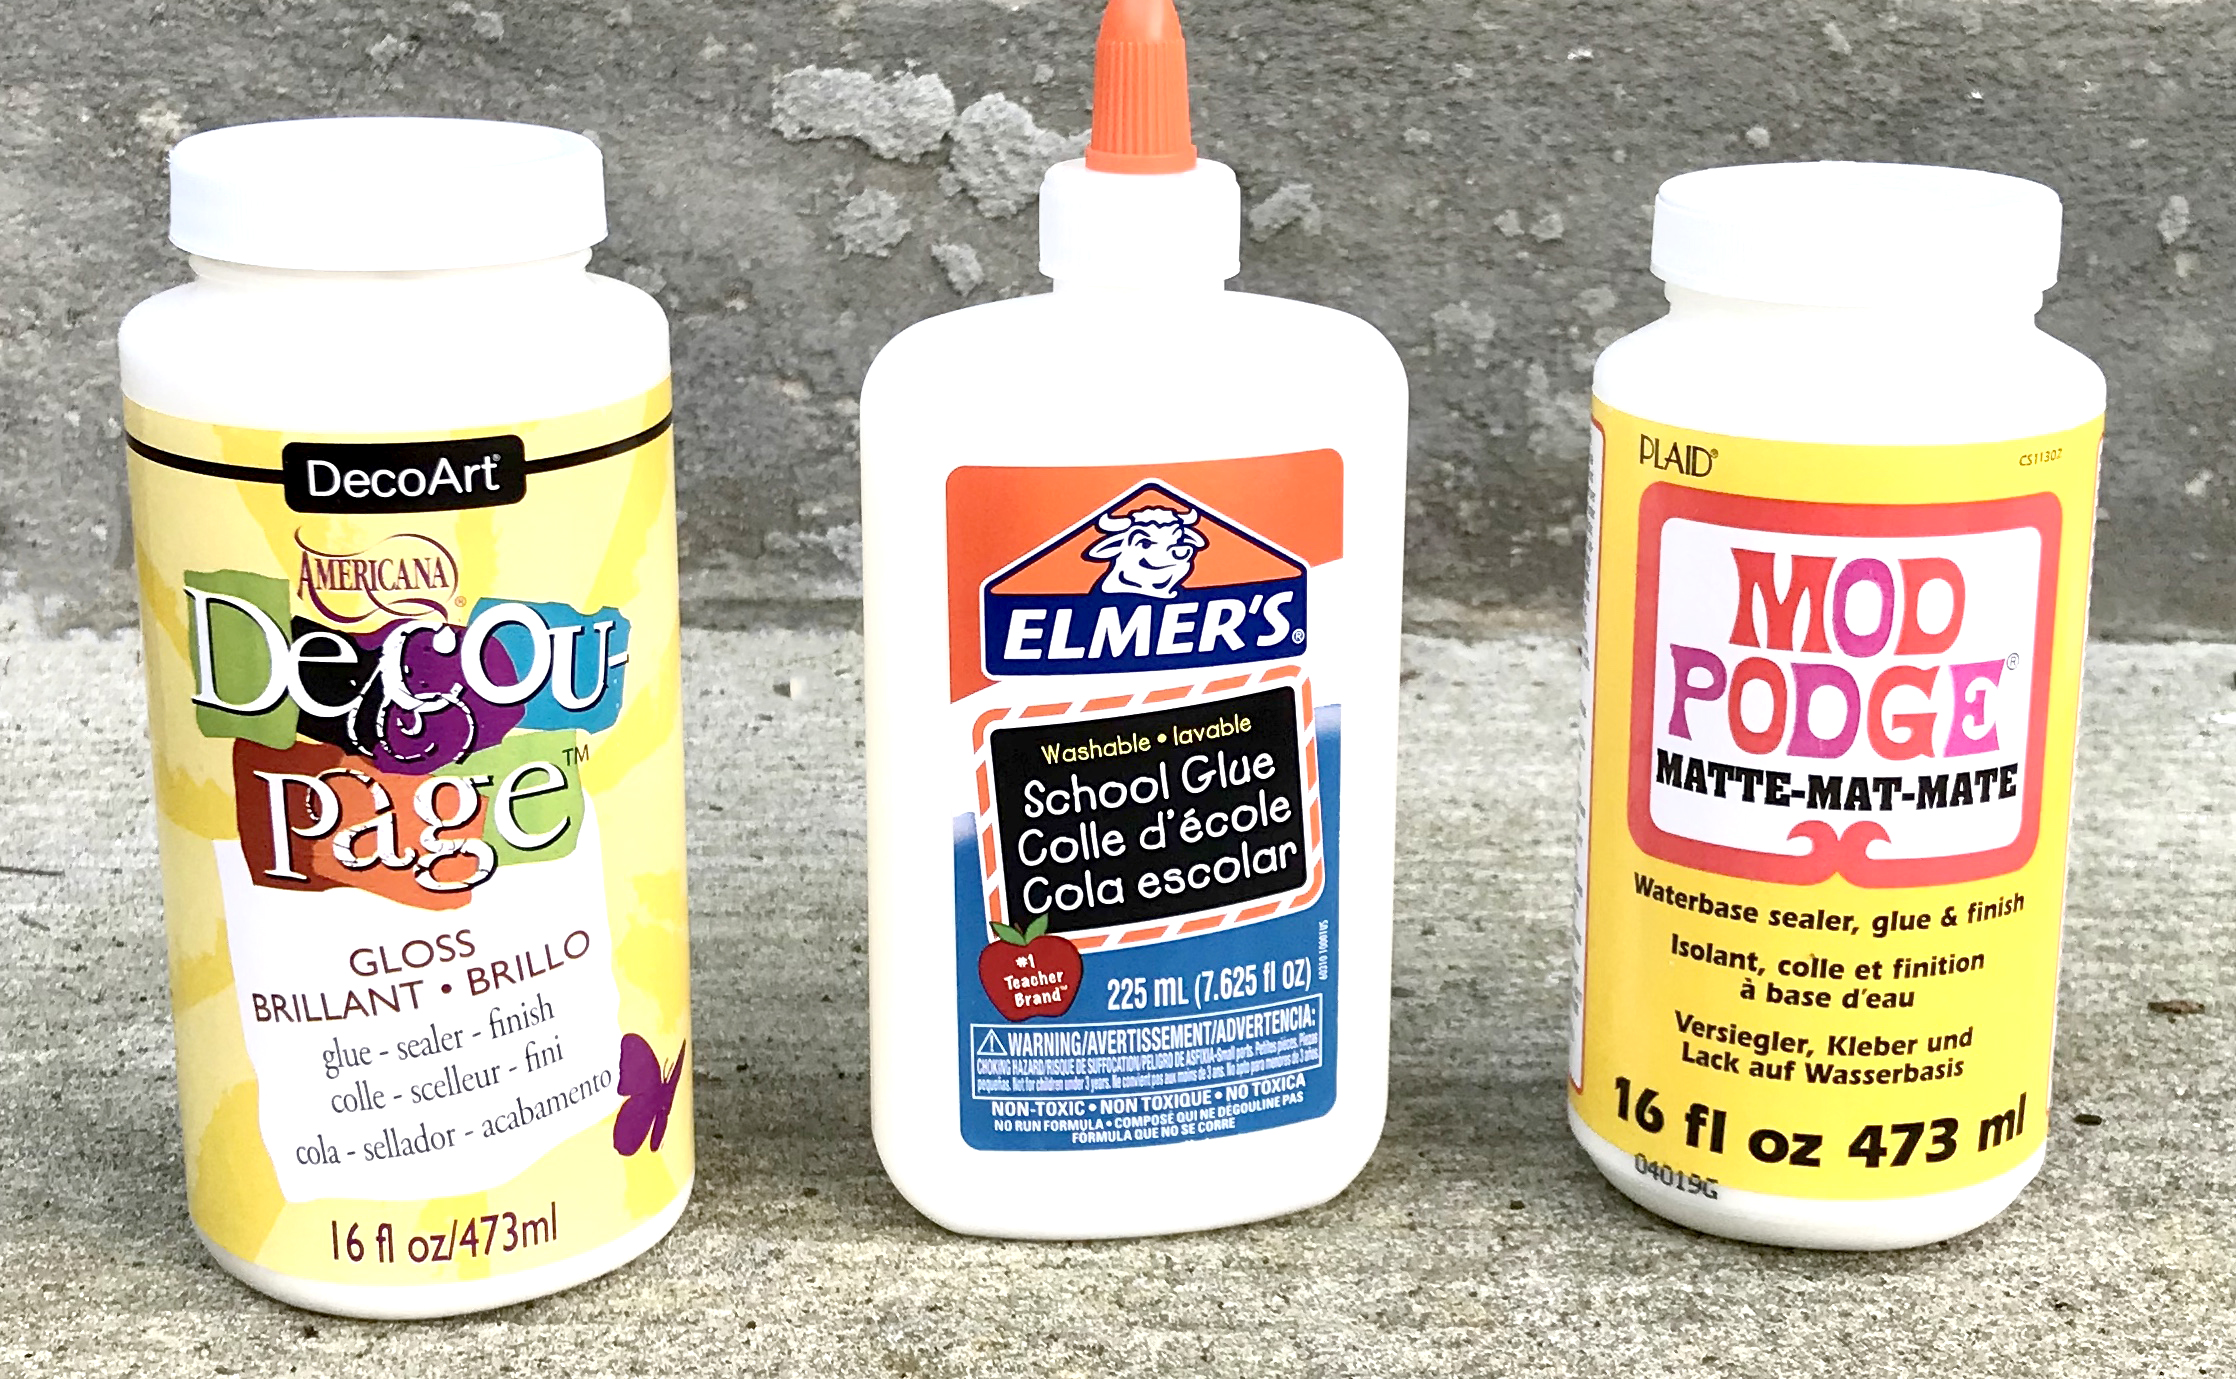
Decoupage Mediums
Mod Podge and DecoArt Americana Decoupage are two ‘special’ types of glue readily available and made specifically for decoupage projects. Mod Podge is especially popular, and is available in a wide variety of mixtures from matte to gloss, shiny and glittery to dimensional. Elmer’s School Glue is the trusted, age-old formula for decoupage! DecoArt Americana Decoupage is available in a matte and gloss formula. You can also use Gel Mediums, which I discussed in an earlier Comprehensive Guide HERE!
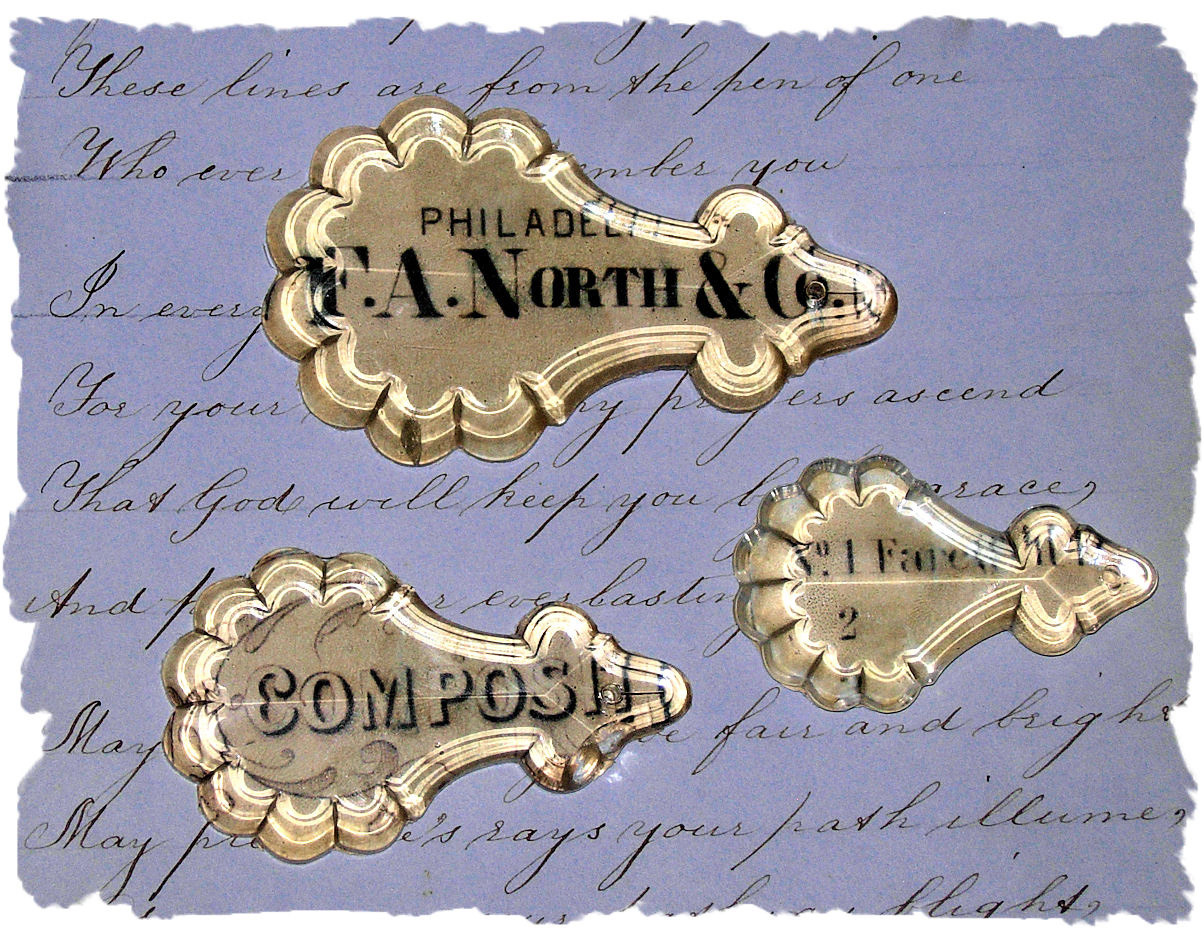
Used as the adhesive, the sealer specifically for protection, and the finish sheen for producing decoupage works of art, this medium is quite versatile. Crafting on wood, fabric, clay, and tile are some of the favorite uses, along with many other porous surfaces. The medium dries clear and holds glued-on cuts of paper firmly to the surface. You can see below Decoupaged Glass Prisms by Karen HERE! The craft is fast and easy, but oh so pretty!
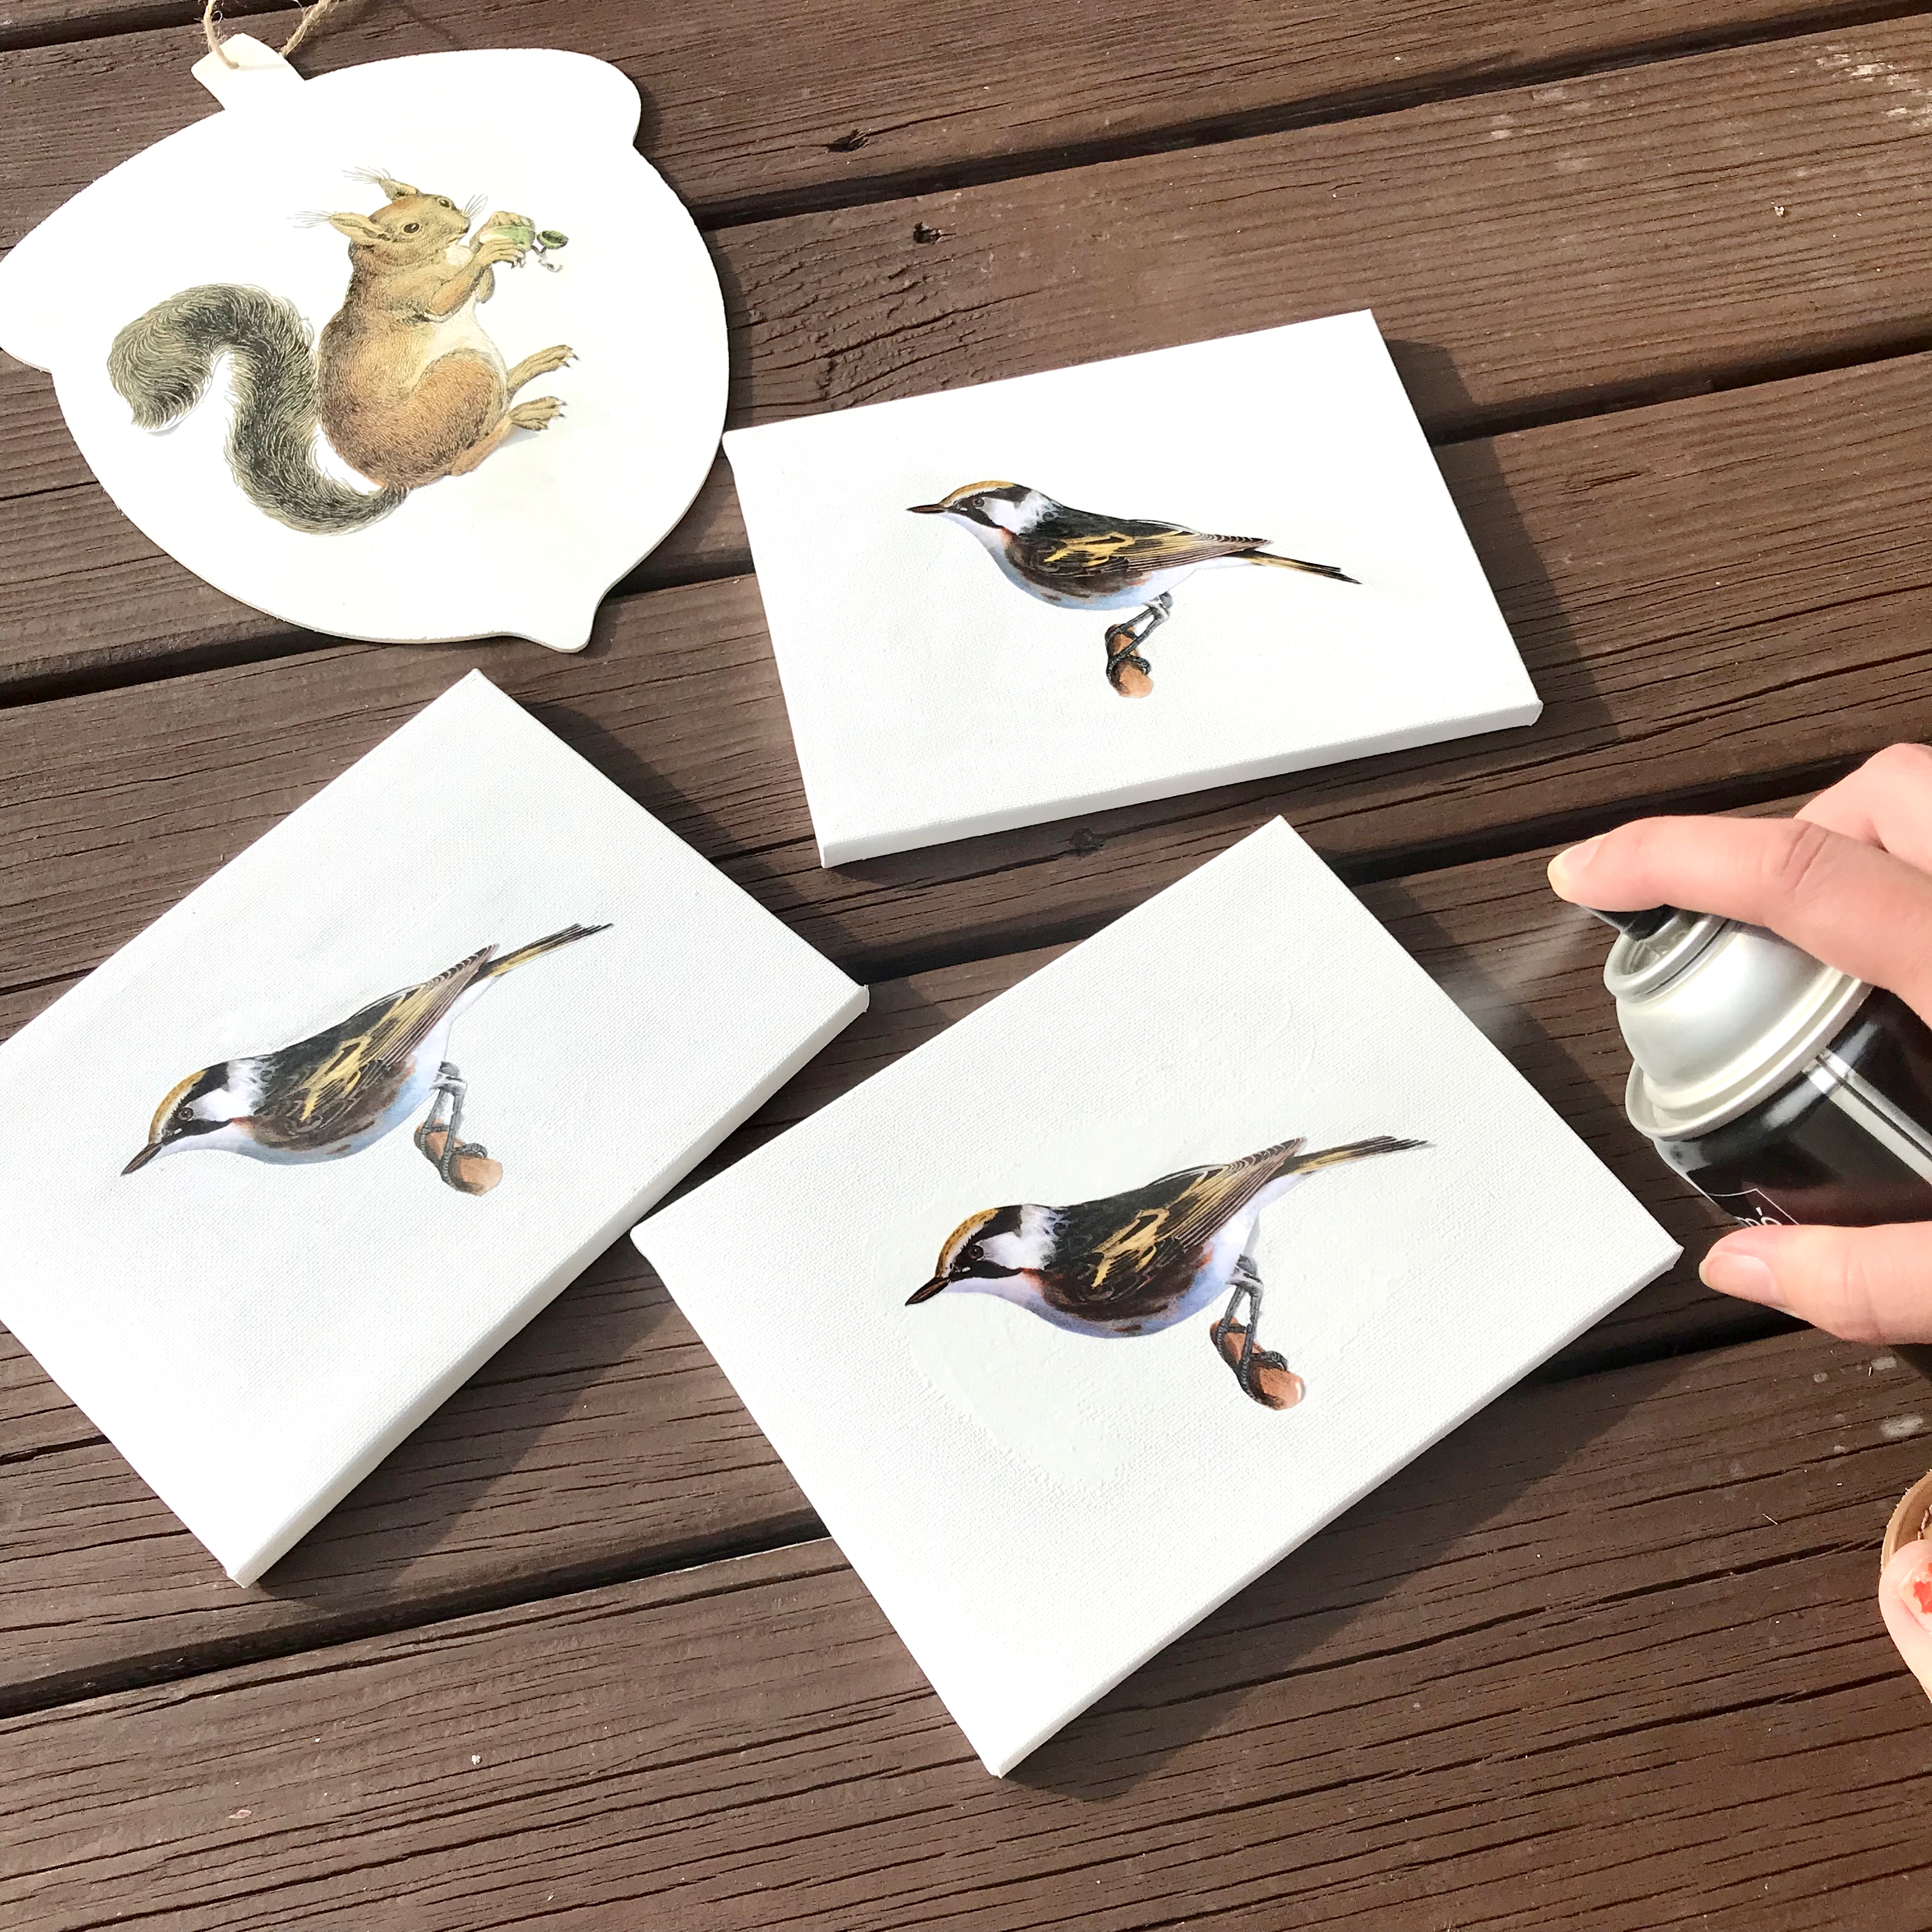
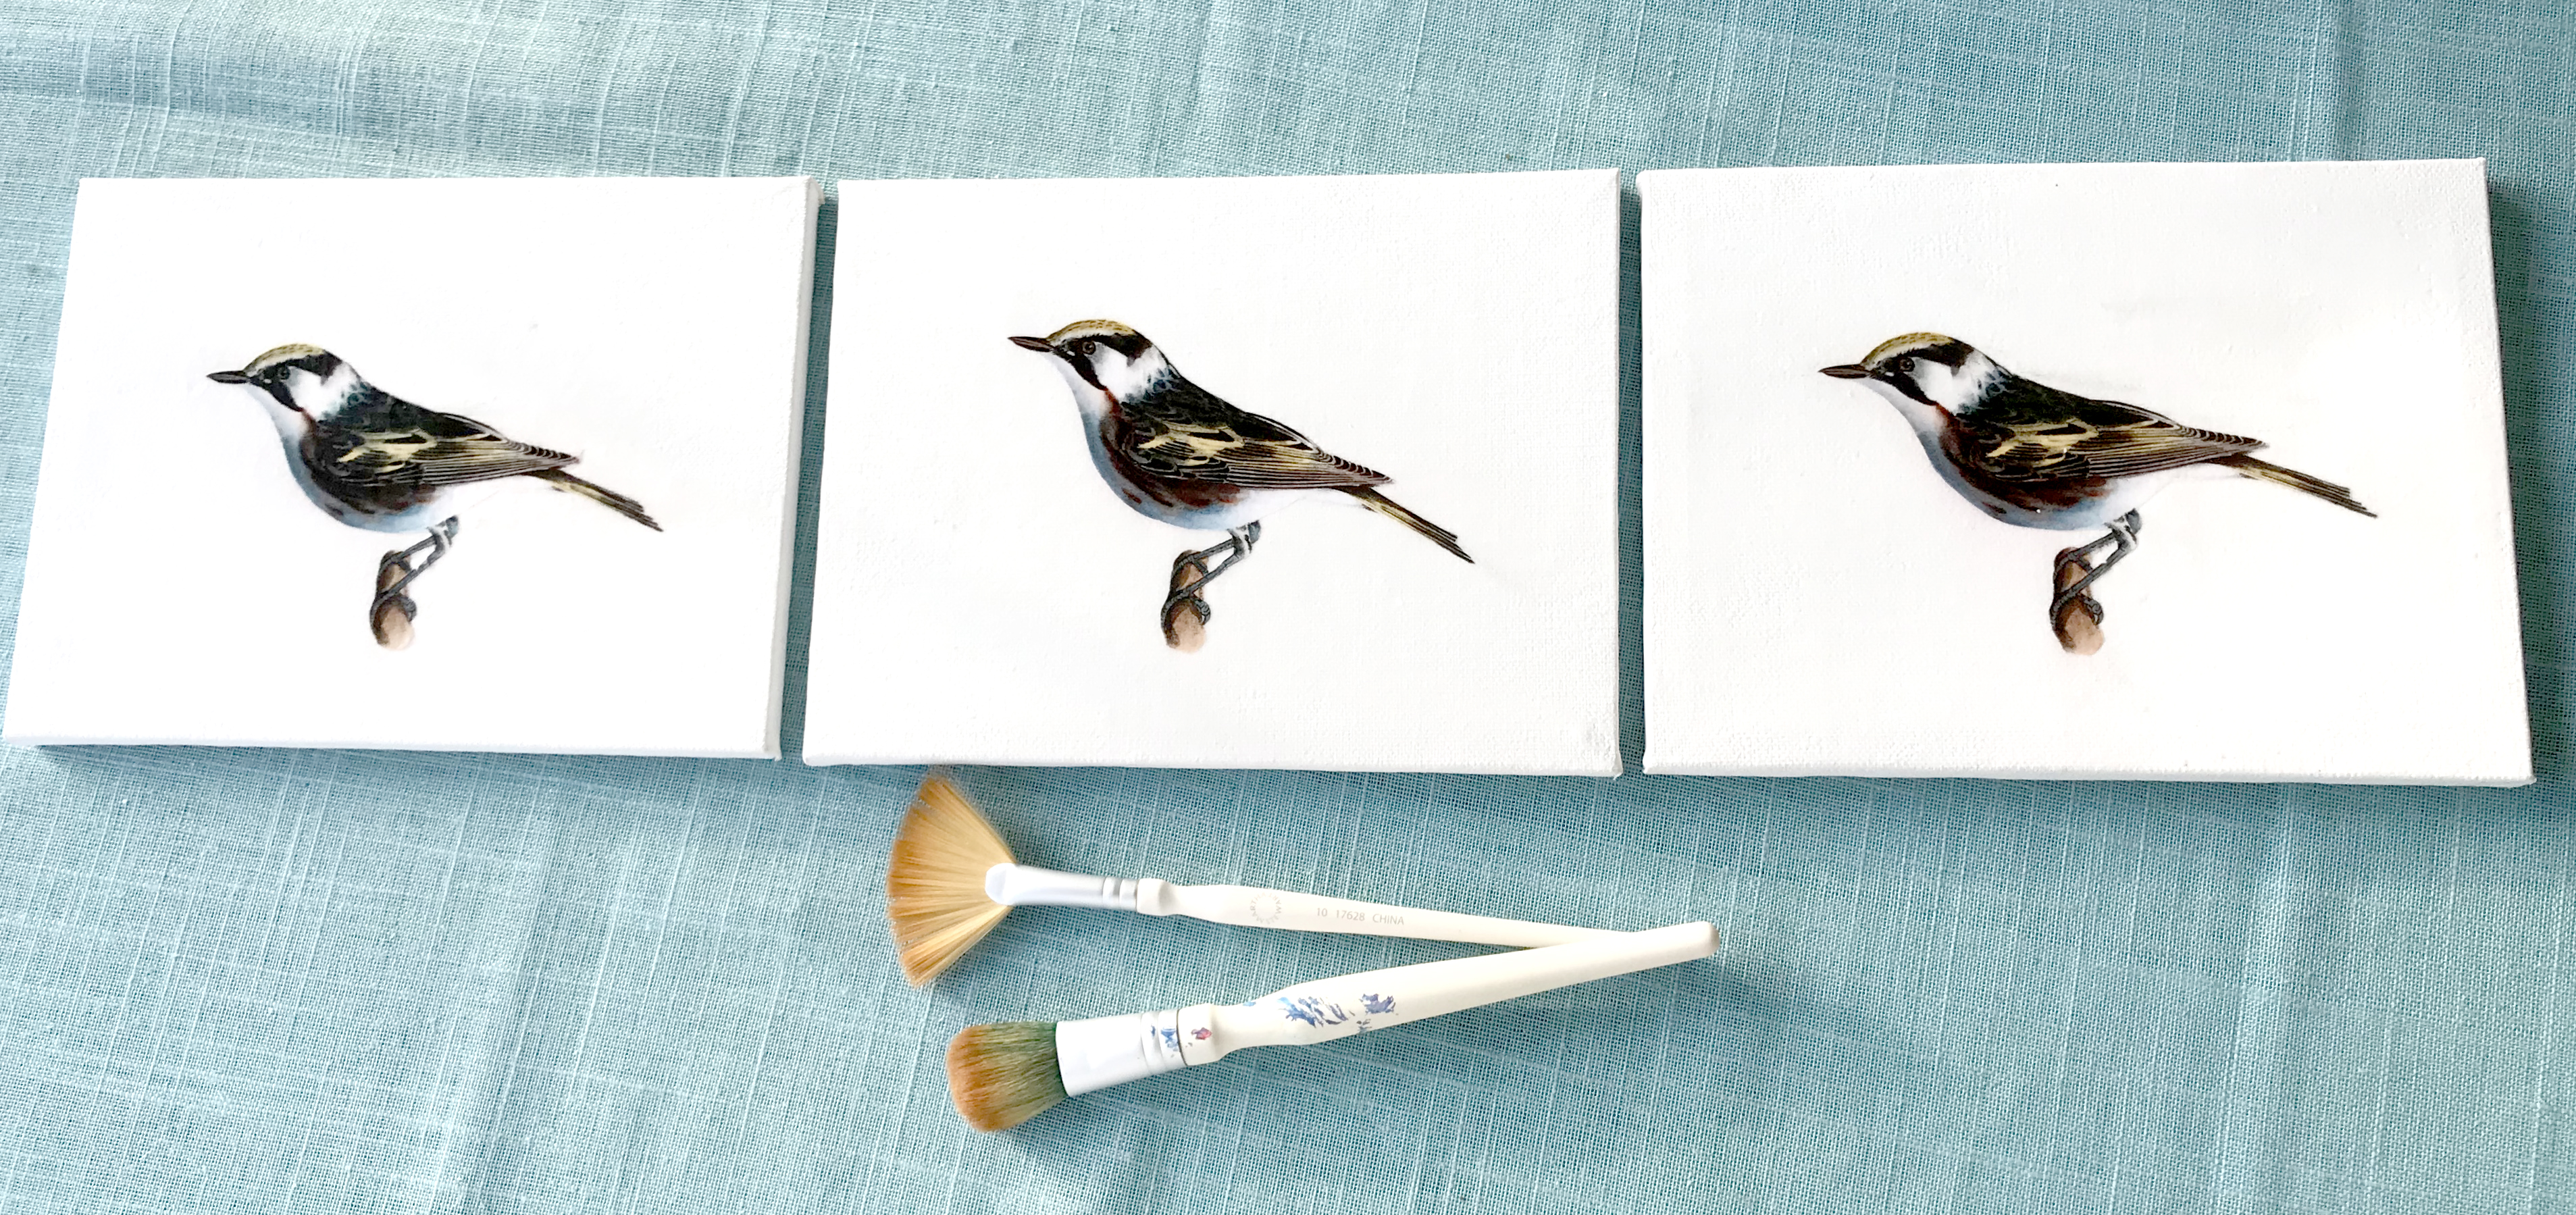
I tested the two products mentioned above along with my homemade version (see Make Your Own Decoupage Medium below). All worked beautifully as you can see in the images below. I used this Lovely Little Bird image on all three experiments. From left to right: Mod Podge Matte, DecoArt Decoupage Gloss, and Homemade School Glue Decoupage. These are almost identical when dry. All a beautifully clear and smooth to the touch. The application was easy with a soft brush.
Note: There is a shine or sheen even with the matte finish. The Homemade version has the least shine when dry. For those sensitive to smells, all these have an odor in their liquid state.
Make Your Own Decoupage Glue
As I mentioned earlier, I used to make my own DIY decoupage Glue by mixing equal parts of a white school glue with water. I know it sounds too easy, but I have loads of beautiful DIY objects and furniture to prove that it works. I encourage you to experiment with products and to try making your own. You will discover the formula that works best for your projects.
Basic Tools Needed
You actually need only a few tools to accomplish a beautiful decoupage finish. Tools that are helpful for your projects include:
- Bone folder or Brayer To smooth out wrinkles in your paper and remove excess glue.
- Artist Brush or Sponge Brush To spread your decoupage medium .
- Scissors To fussy cut out the pictures you want to decoupage.
- Craft Knife To cut tiny details or intricate areas.
- Tweezers Helpful for positioning small images.
- Damp rag To wipe off excess glue.
- Decoupage Medium – Mod Podge, DecoArt Decoupage, Elmer’s Glue
Decoupage Ideas
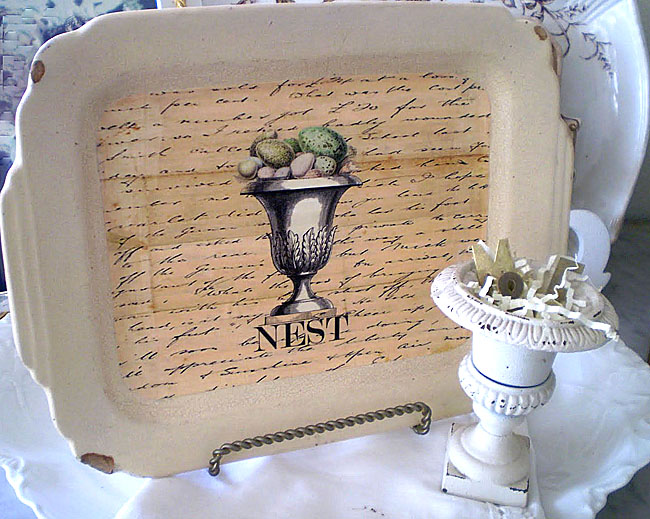
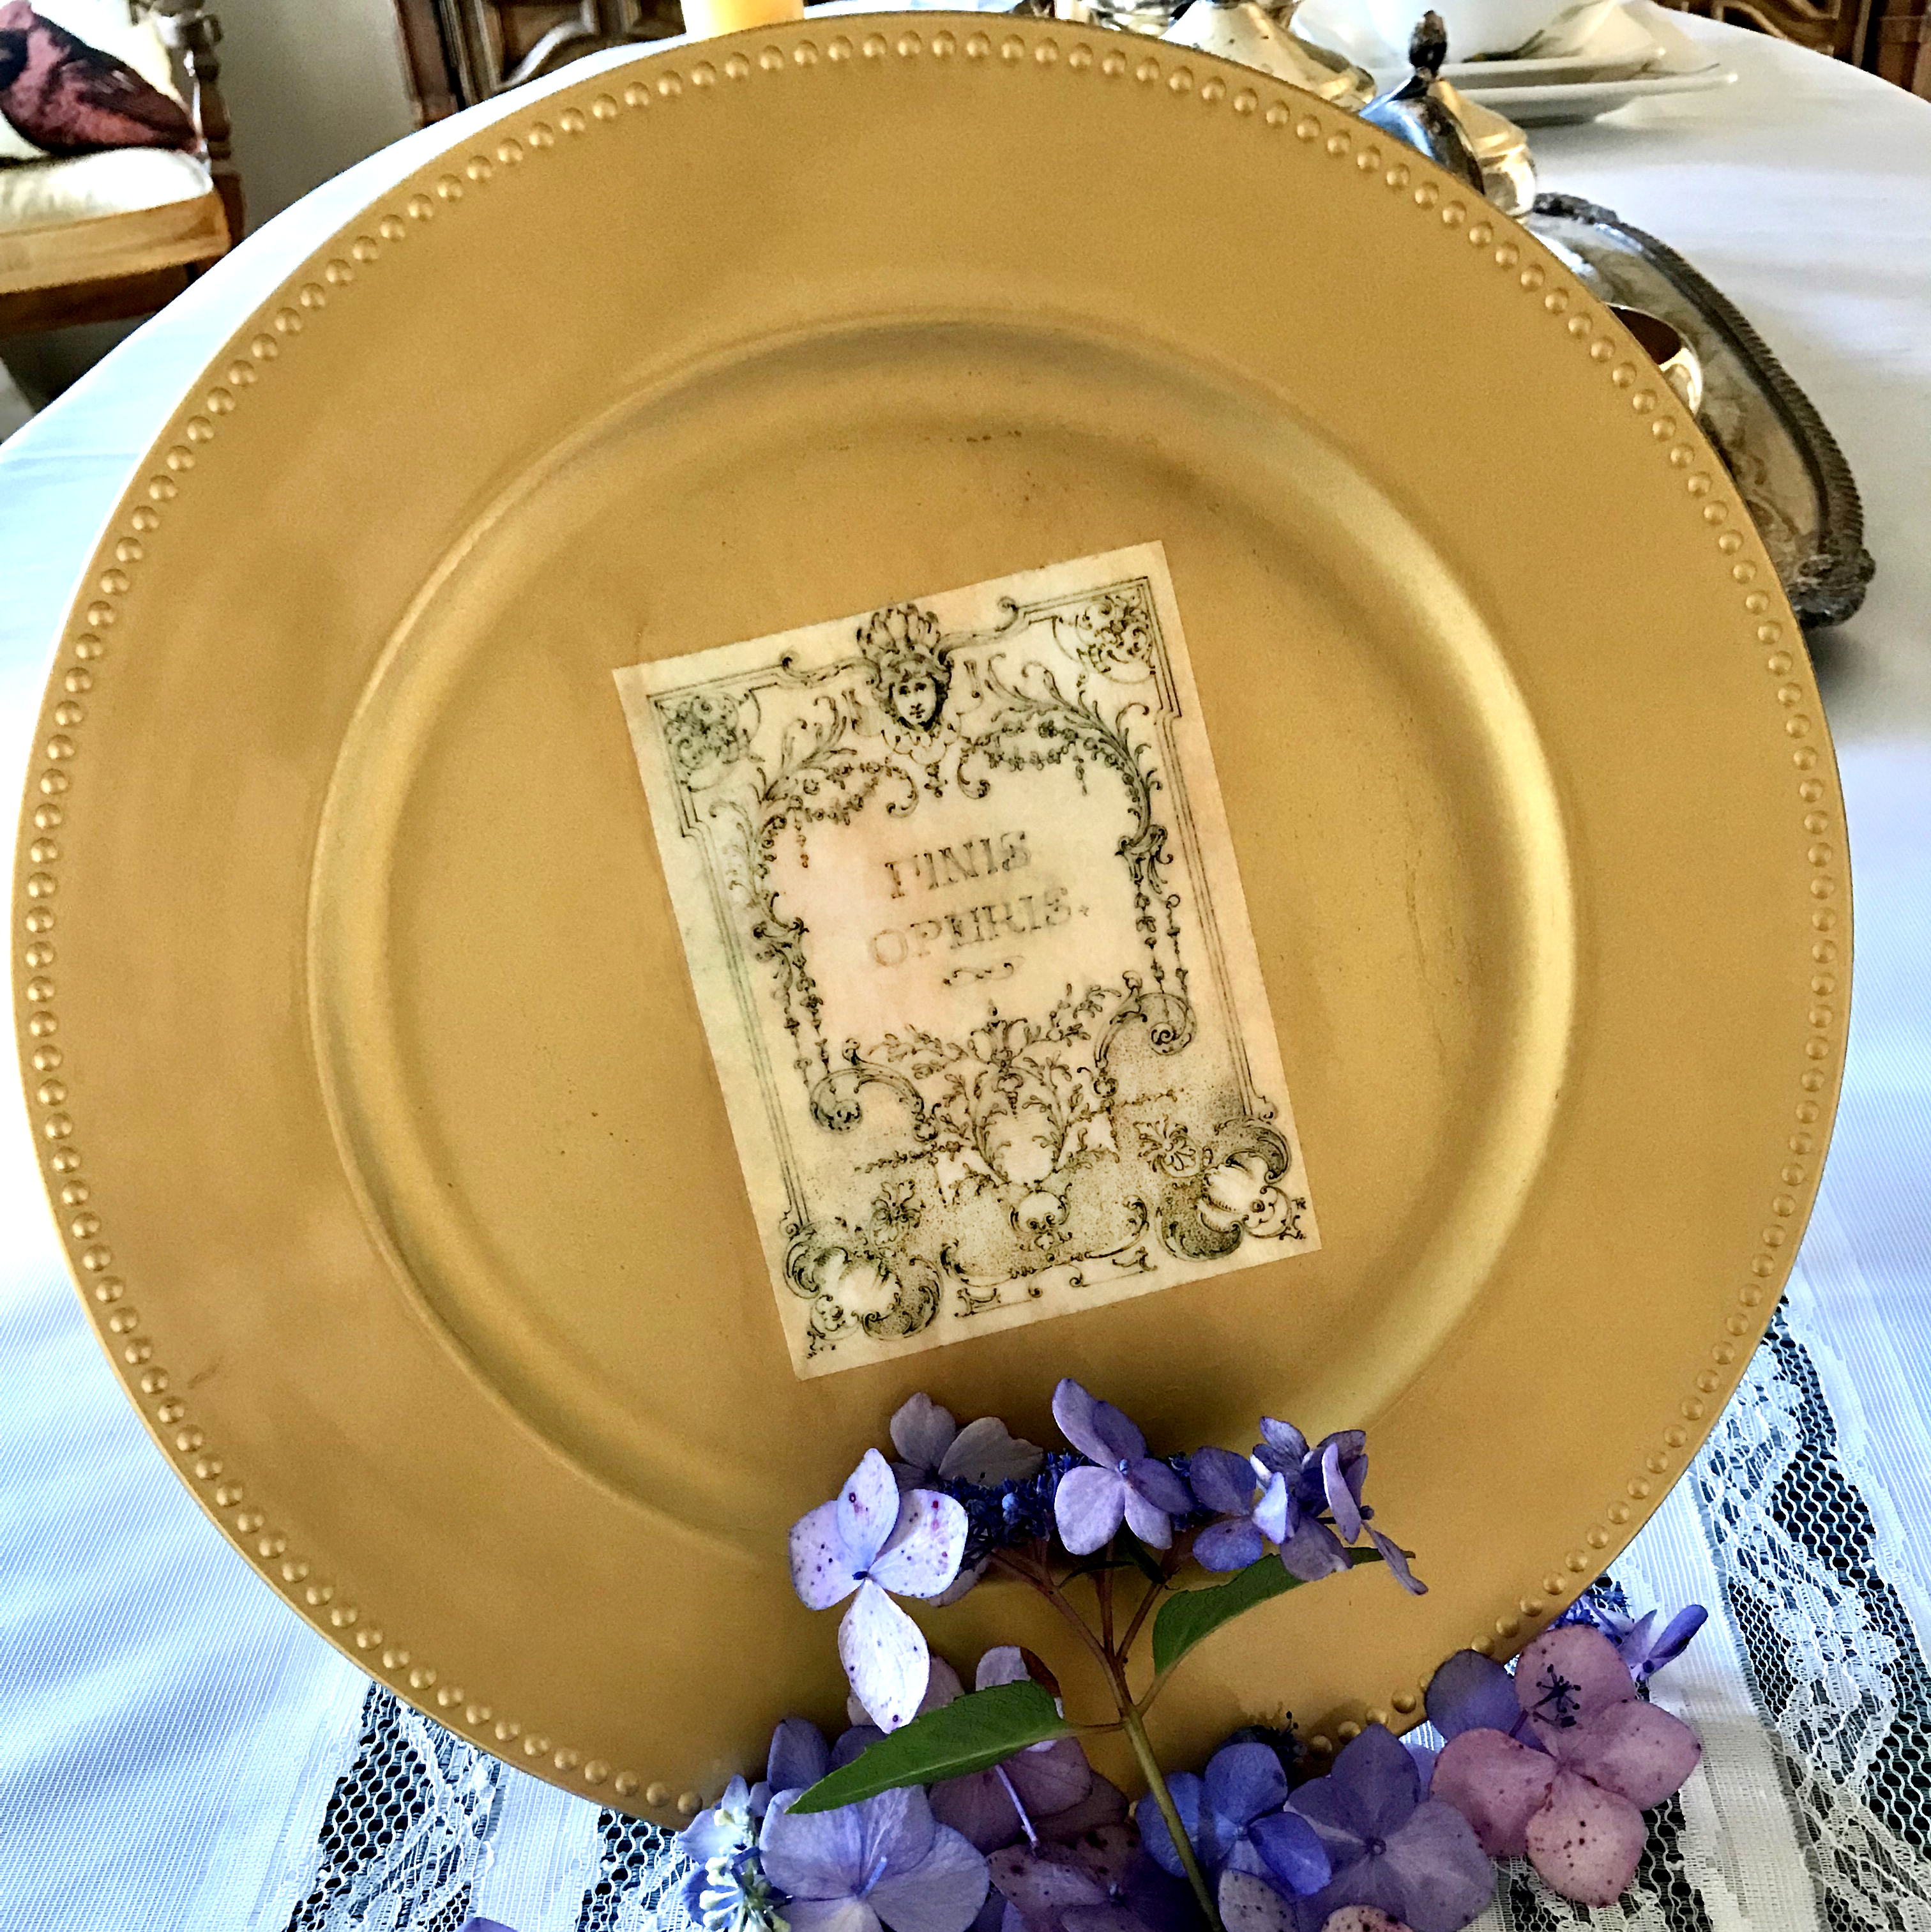
Decoupaged Ironstone Platter Feature HERE!
If you need decoupage ideas, the following surfaces work great with this artform:
- Furniture
- Frames
- Boxes
- Books
- Vases
- Mirrors
- Suitcases
- Rocks
- Dishes
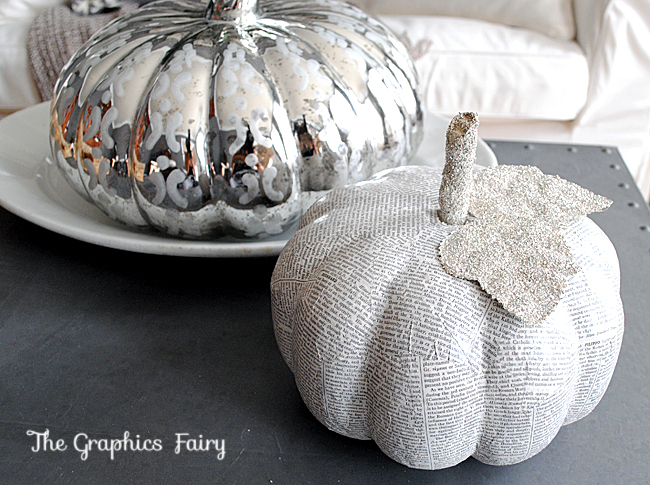
- Even special surfaces like the Dollar Store pumpkin covered with book pages seen below. See the Tutorial HERE!
Decoupage Picture Sources
Of course, we think The Graphics Fairy images are perfect for your decoupage projects, ![]() but there are also endless choices for pictures, decorative design or patterns, or shapes from things such as:
but there are also endless choices for pictures, decorative design or patterns, or shapes from things such as:
- Wallpaper
- Wrapping paper
- Colorful tissue paper
- Greeting cards
- Postcards
- Posters
- Photographs
Many other choices are also available. Photocopies of photographs and other documents allow you to save the originals without damaging them. Computer images of items like TGF clip art can be printed and fussy cut. If using an inkjet printer, it is best to let the ink dry, then apply hairspray for protection from bleeding before decoupaging.
How to Decoupage
Now let’s look at the actual Decoupage process to learn how to do it. It is a little messy as you need to get your fingers in the medium. But it is so much fun!
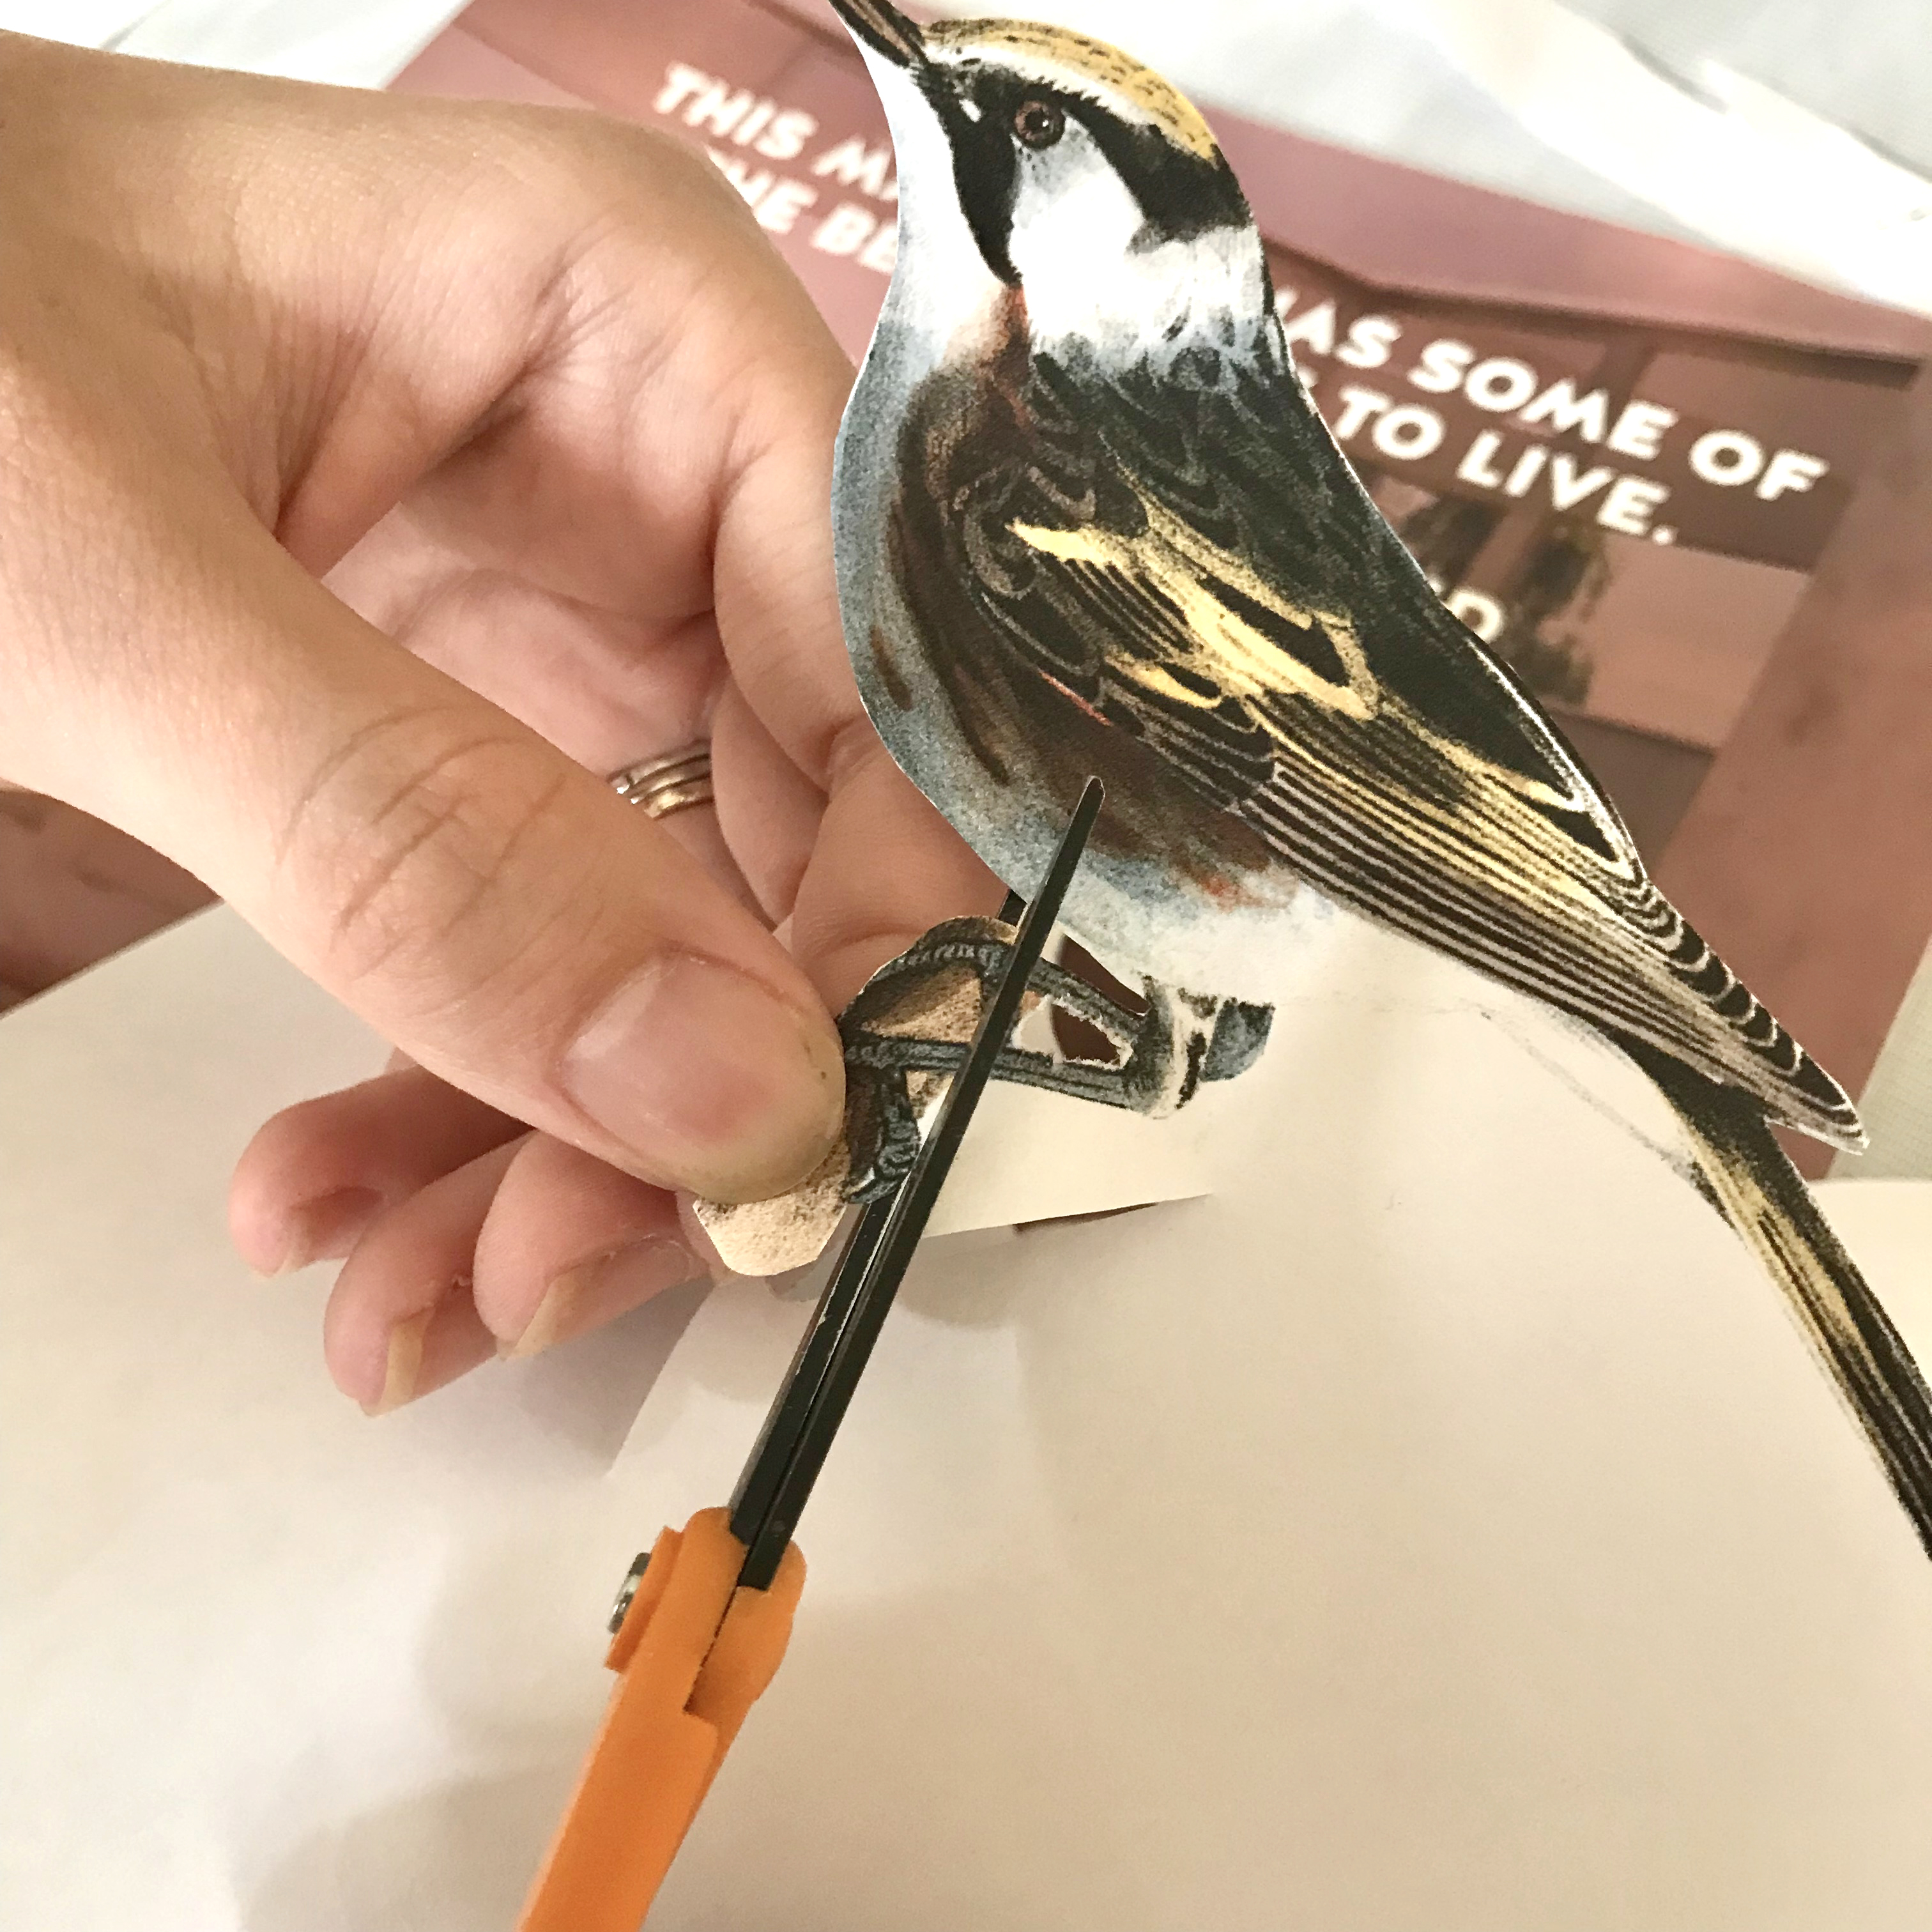
- Fussy cut your image(s). This is an important step to making the final product look amazing. TIP: Take your time!
- Make sure that your decoupage surface is clean and dry. TIP: If it is slick or shiny, I recommend that you sand it just enough to roughen the surface.
- Place your image(s) carefully as you want them to be arranged. TIP: Do this before gluing so you can change your mind about placement.
- Spray InkJet images with a good two coats of hairspray before applying the medium. Laser images are fine to use as is.
- Apply a generous portion of medium to the surface and lay your image into the glue. Sometimes it is necessary to use tweezers to arrange your images. TIP: When setting a picture in place, use your fingers to lightly press down and rub the decoupage medium. This helps eliminate air bubbles. With a large picture, press from the center first, then smooth down the paper outwards. You can use the brayer or bone folder for this also. Just be careful not to tear the paper.
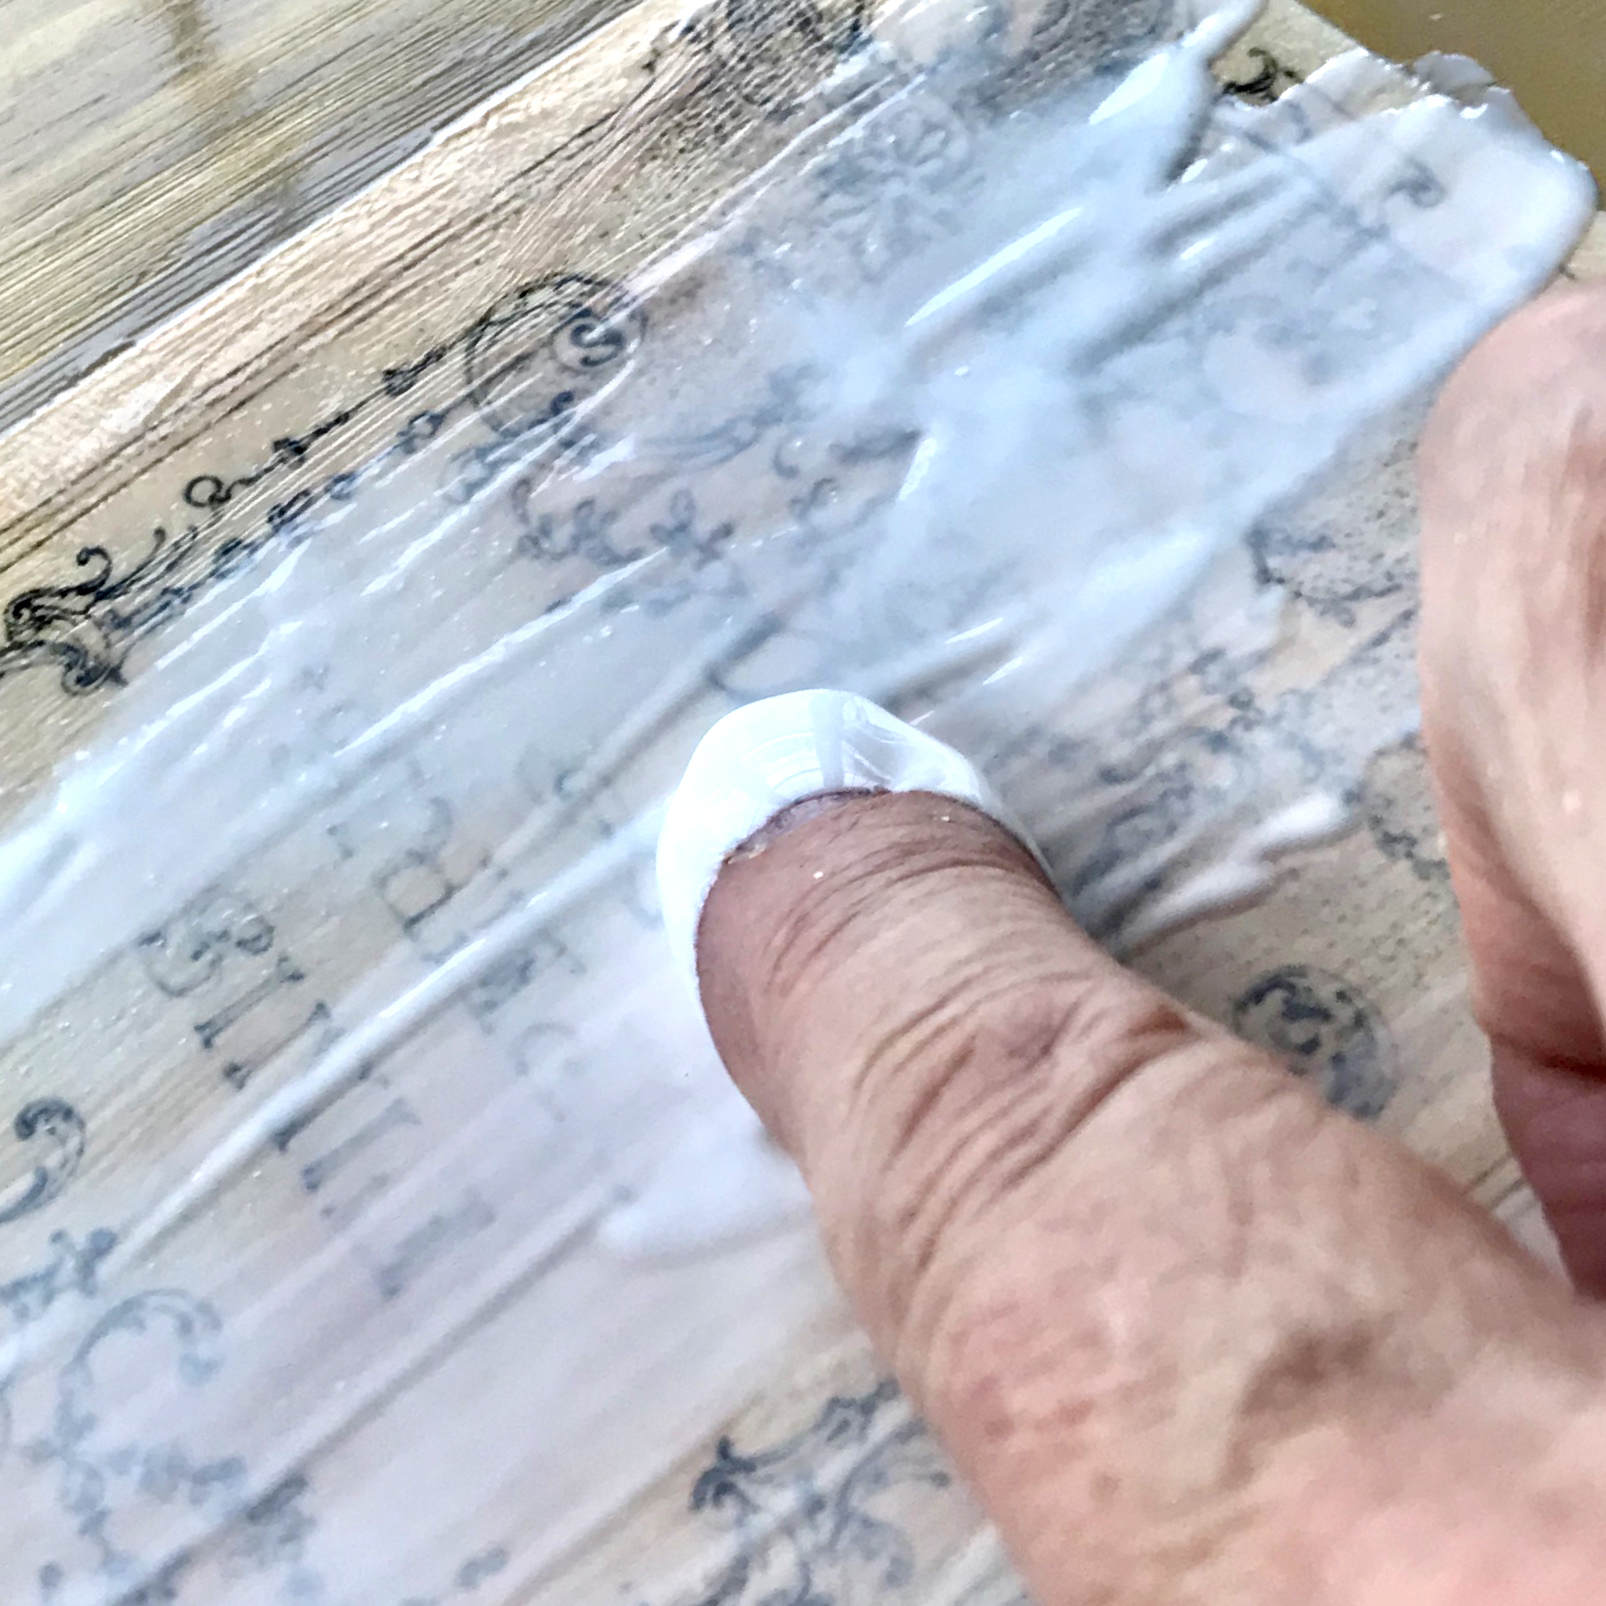
- Completely cover the images with the medium using horizontal strokes.
- Let the pictures dry completely. TIP: Look for bubbles, and use a pin or utility knife to pop them. Then smooth down that area with your finger.
- Coat thoroughly with a second layer applied vertically. TIP: I brush the medium on in a horizontal layer, vertical layer, or horizontal layer pattern. That way I am assured that all surfaces are fully covered. This is especially helpful if your surface is textured, like fabric or canvas.
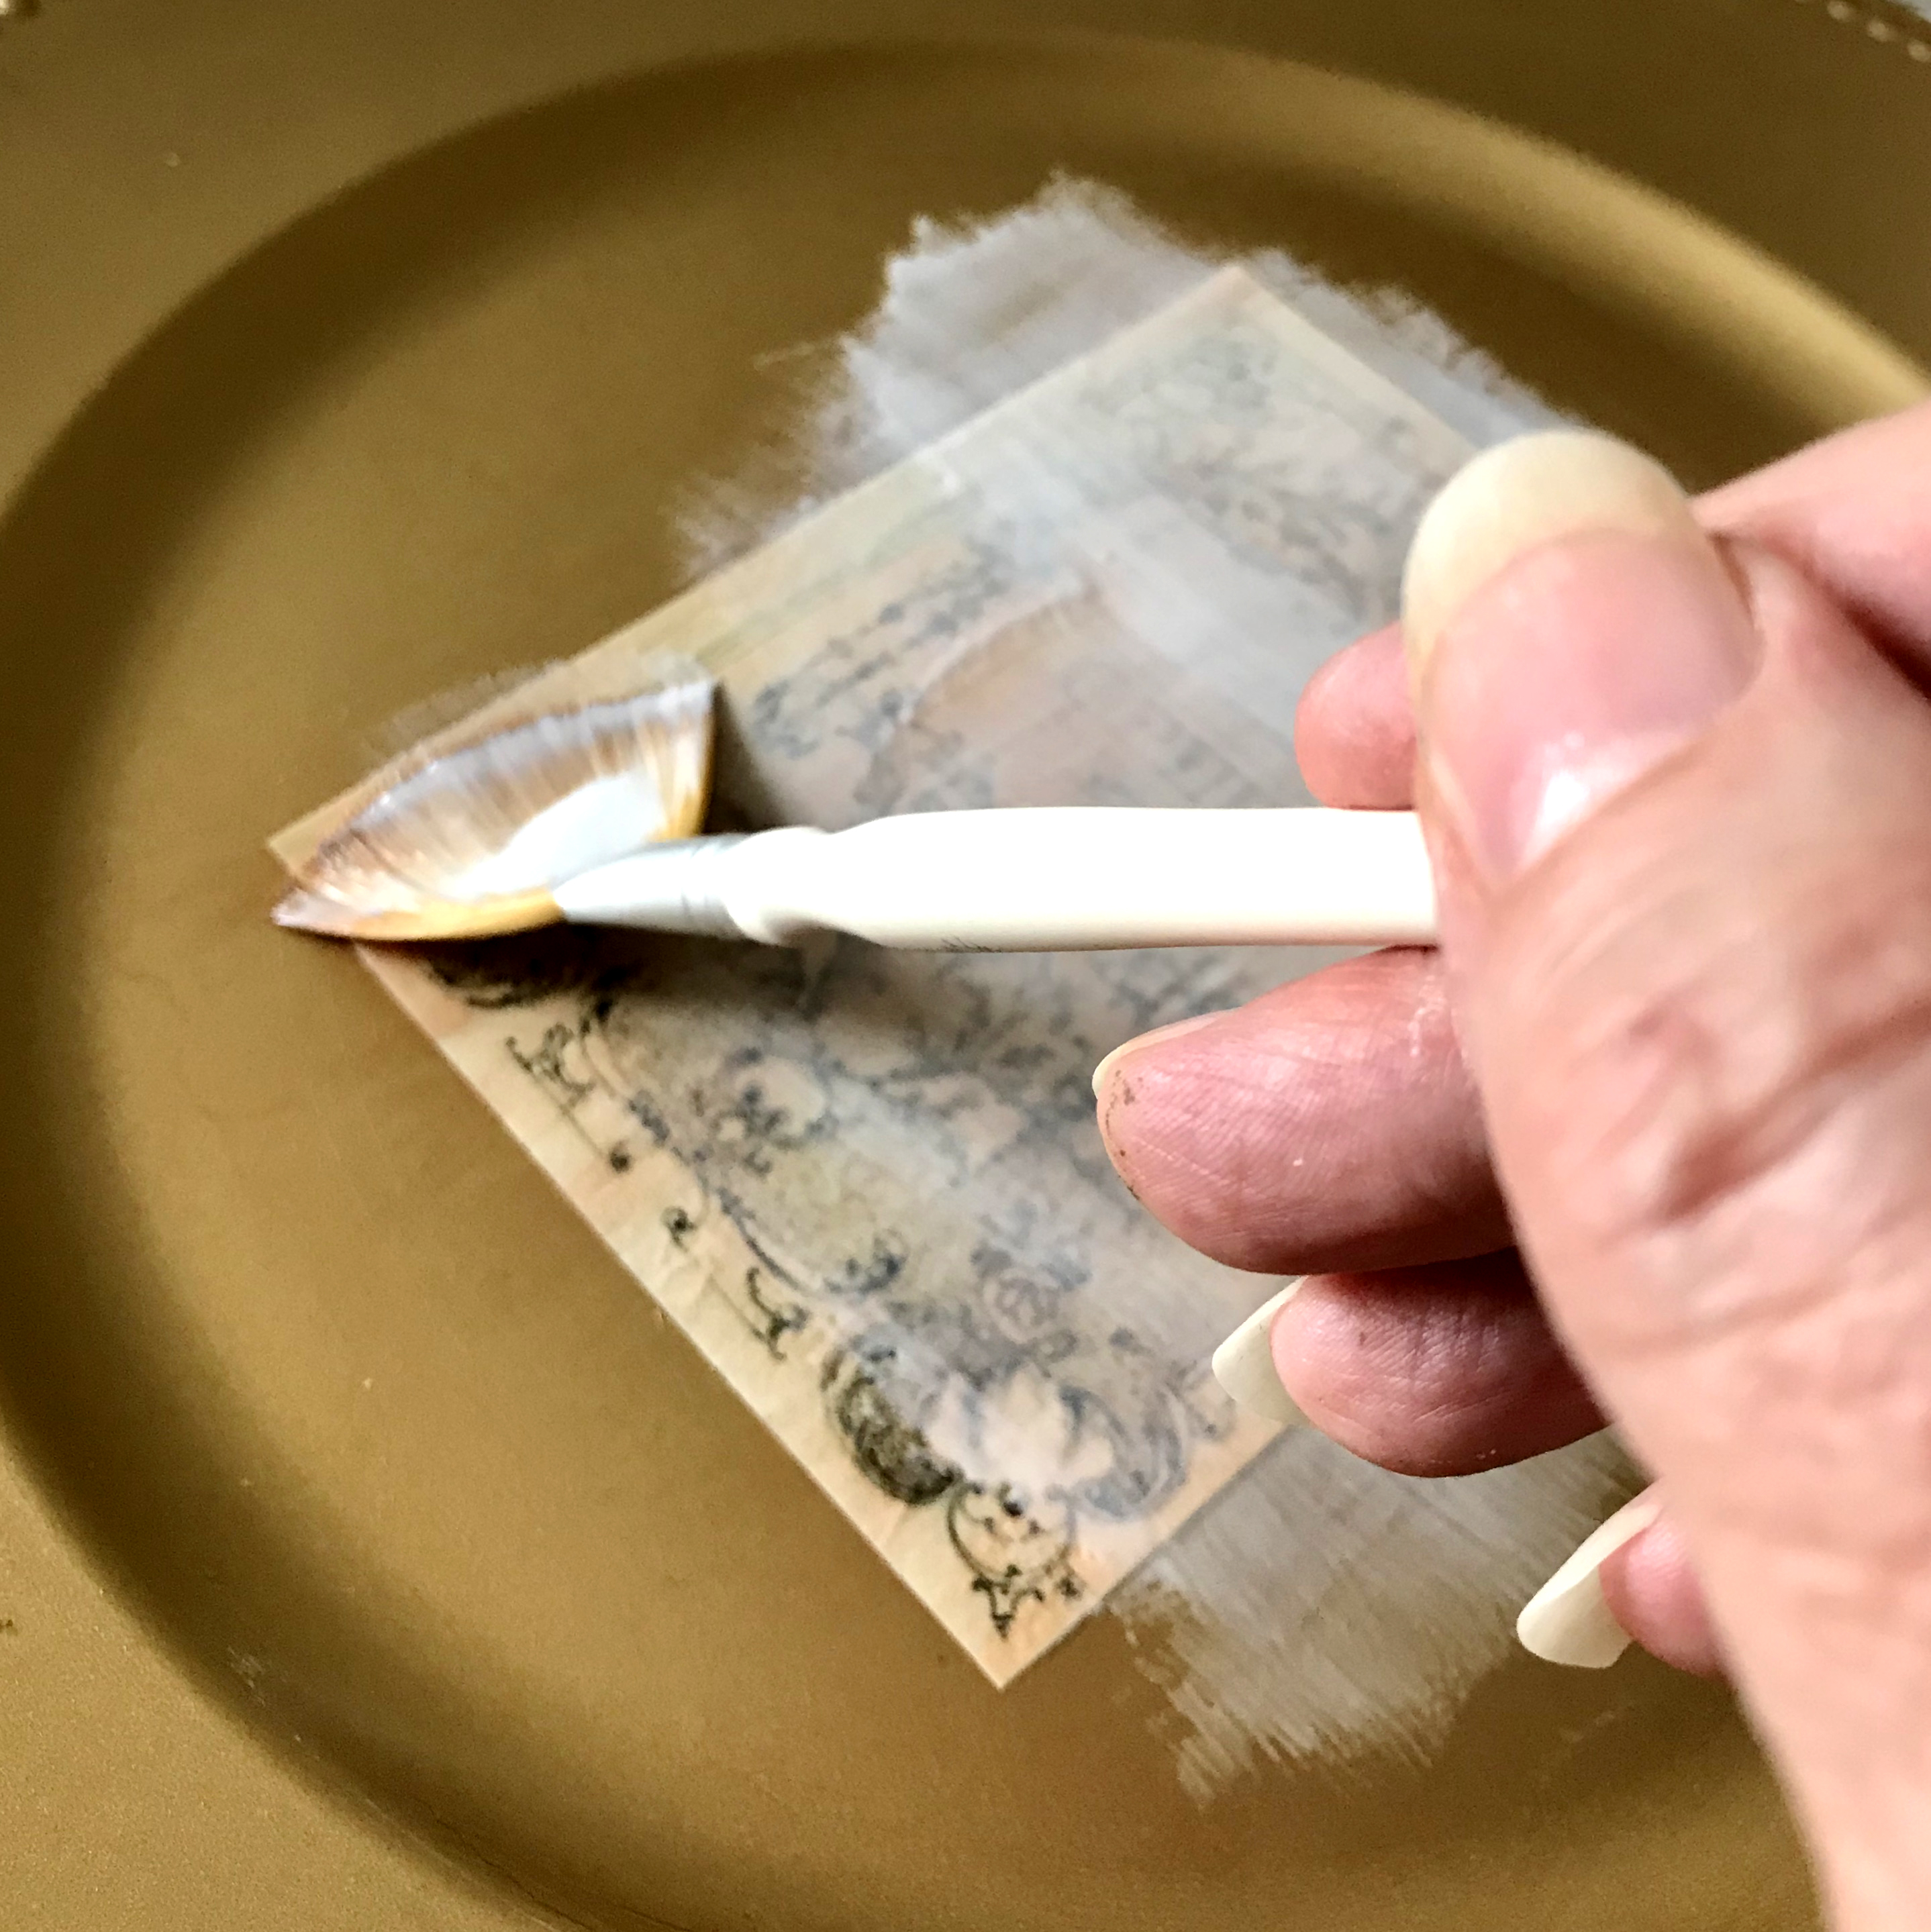
- Apply a third layer horizontally and let dry.
- Gently sand with very fine sandpaper. Brush away the sanding dust. TIP: I like to wet the fine sandpaper for this process.
- Repeat this process and add more layers until the edges of all images blend with the surface and are smooth. There should be no ridges between the image and the surface.
Beautiful Decoupage Projects on TGF
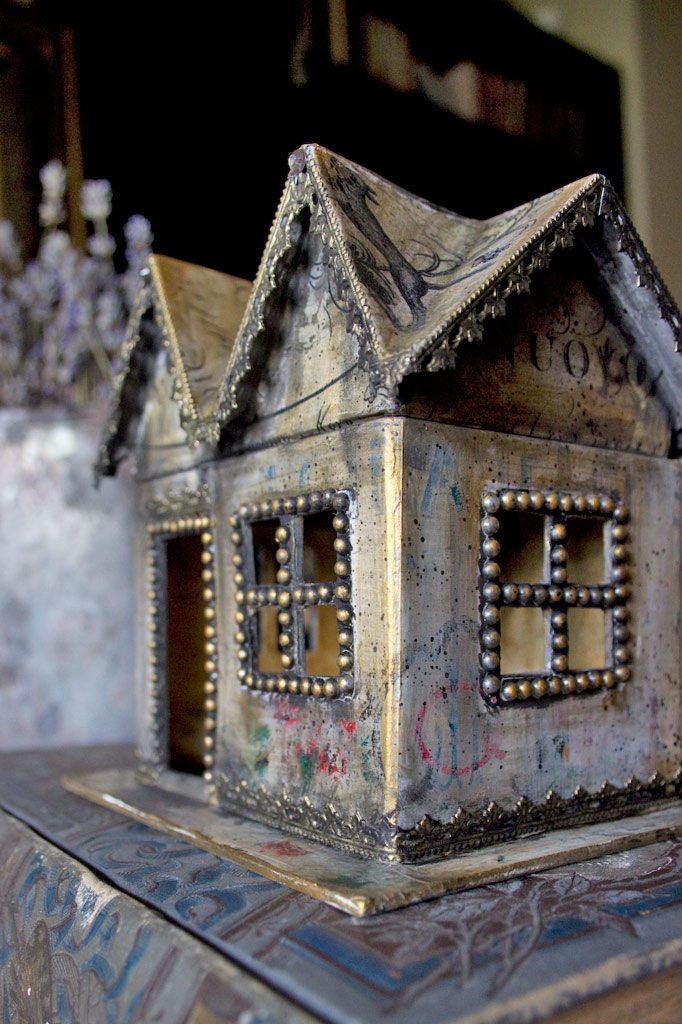 I recommend that novices try wine bottles, trays, table tops, and flat chair seats for their first projects and gradually progress to more detailed surfaces. For a great decoupage “how to,” see this Golden Grunge Decoupage Tutorial HERE!
You can find even more Decoupage projects HERE!
I hope you had fun exploring the wonderful world of Decoupage and Decoupage Glue with me!! I also create Photoshop Elements tutorials and craft project videos over on The Graphics Fairy Premium Membership site. You can find even more of my books, art, and whimsical shenanigans on The Bookery




Jeannette jones says
I used Mod Podge many years ago and over time my art piece yellowed. Has it improved? Now I use Matt medium and it is quite expensive.
Rebecca E. Parsons says
Hi Jeannette:
Yes, early mediums had a tendency to yellow with age. There have been improvements over the years and there are less problems with yellowing and clouding. I suggest that you try a small piece as a test of the latest versions of Mod Podge. You will probably be happy with the results.
Rebecca
Maria Wolfgang says
Thank you so much for the ideas especially the one, when using ink jet printers to spray images first with hair spray….
graphicsfairy says
I am so glad you found it helpful Maria, enjoy!
Rebecca E. Parsons says
That has always been my go to quick sealer Maria. Hope it helps you in your future art projects.
Cheryl Atkinson says
Hi, I am new to your site however i am subsribed to your newsletter. There are a few paint brands that now have decopauge mediums. I am about to try one of them. Have you ever tried any? I know that Fusion and DIY paints have one.
Rebecca E. Parsons says
Cheryl, I have not tried either of those. Most of the brands are pretty similar in my experience. I just revied the ones that are most readily available to the public. Those I believe need to be purchased from a dealer. Have fun and let me know how those work for you please!! XO Rebecca