More Distress Oxide Ink Techniques
Hello, my fabulous Graphics Fairy Friends! It’s Heather from Thicketworks, here with 5 More Distress Oxide Ink Techniques to help you achieve intensely vivid effects for your Mixed Media Art and other projects! You may recall my original Distress Oxide Techniques post HERE.
Supplies:
- Shipping Tags or Plain Cardstock
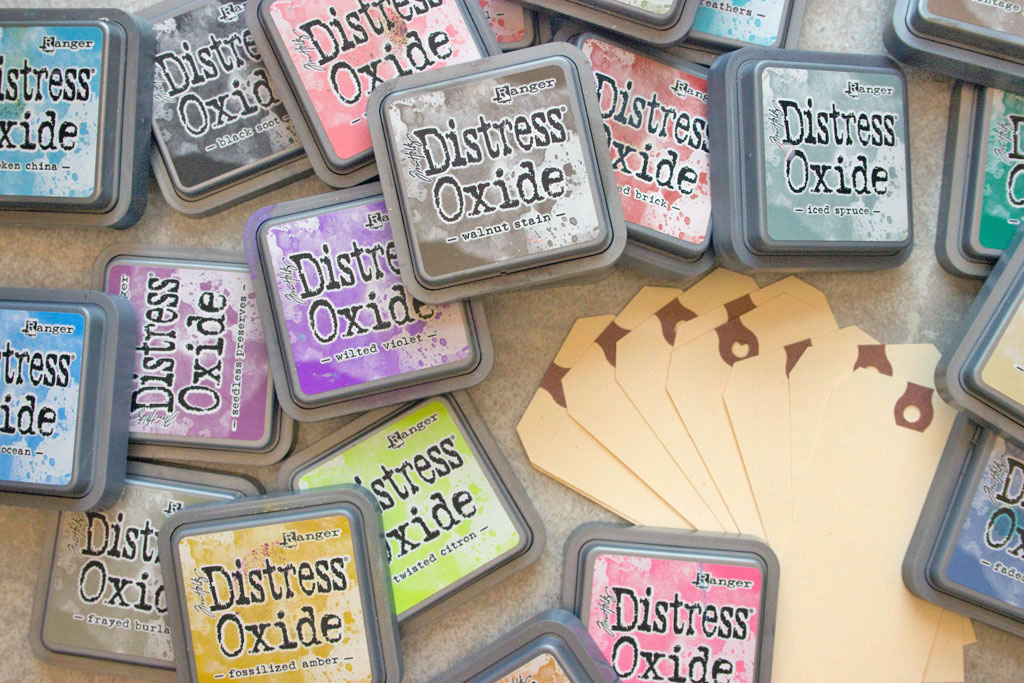
- Distress Oxide Inks
- Blending Tool
- Tim Holtz Distress Sprayer
- Acrylic Stamp Block
- Heat Tool
- Stencil of your choice
- Container of Water & a Brush
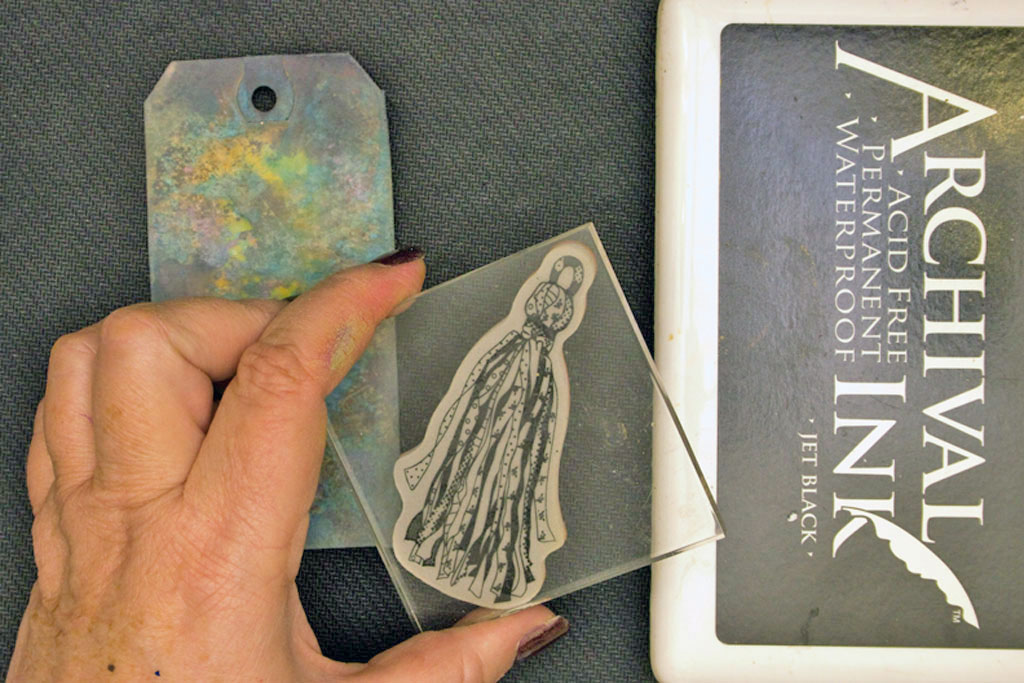
- Optional: Favorite Stamps (I chose these fun Tassel Stamps)
- Optional: Archival Ink
- Optional: Workable Spray Fixative
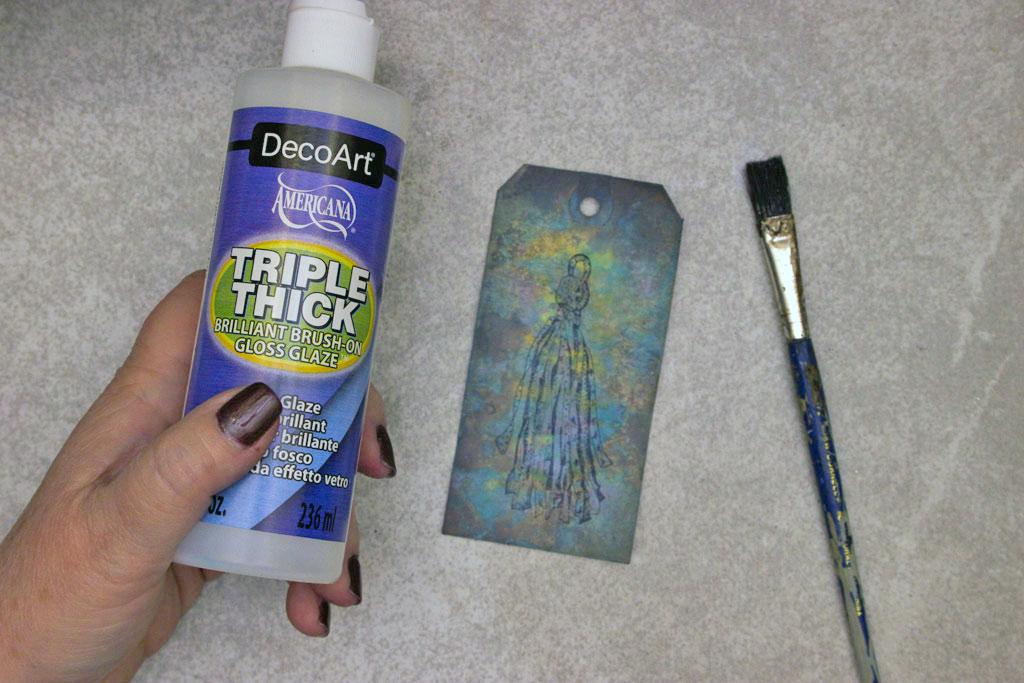
- Optional: Triple Thick Gloss Glaze
It’s been far too long since I had a play session with Distress Oxide Inks. Now that there are 24 colors, it’s been such a temptation to just sneak off and spend the afternoon experimenting…
That’s exactly what happened today, and I’m thrilled to share the results with you. Will we ever exhaust ALL the Distress Oxide Ink Techniques? I doubt it – these inks are AH-Mazing! So, grab a handful of tags, or your favorite cardstock, and let’s Get Mixed Media Messy!
Distress Oxide Ink Technique #1:
This technique is all about harnessing the special properties of Distress Oxide Inks to create a dramatic interplay of lights and darks. Begin by deliberately applying a heavy vertical swath of light colored ink along the center of your paper.
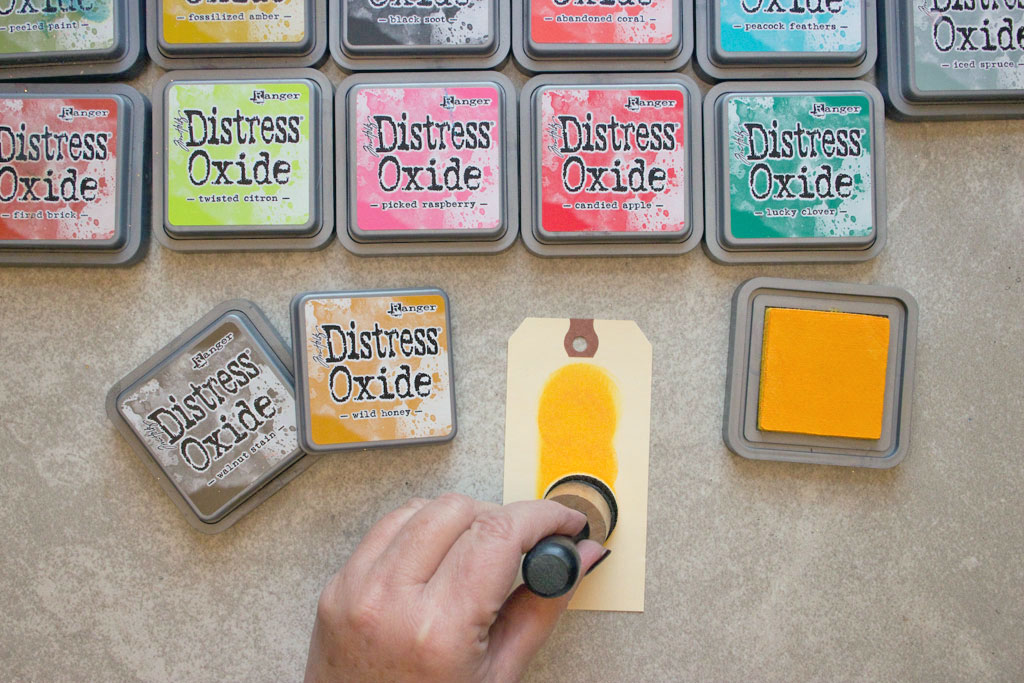
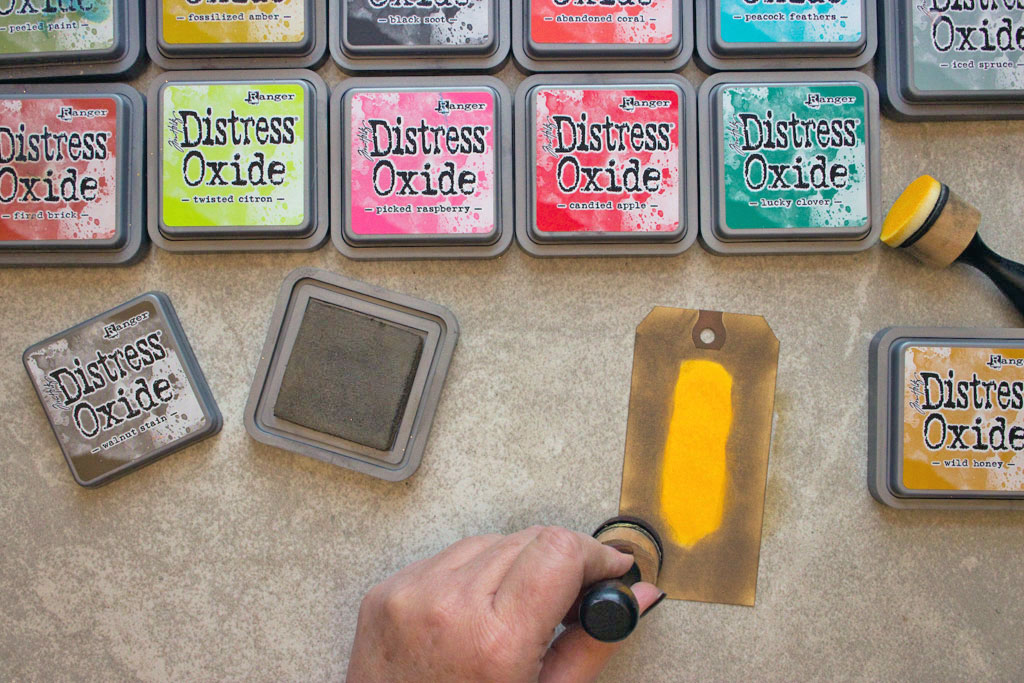
I chose to begin with Wild Honey:
Next, surround that light pigment with a bold and contrasting dark color…here, I’m blending Walnut Stain around the perimeter of the tag.
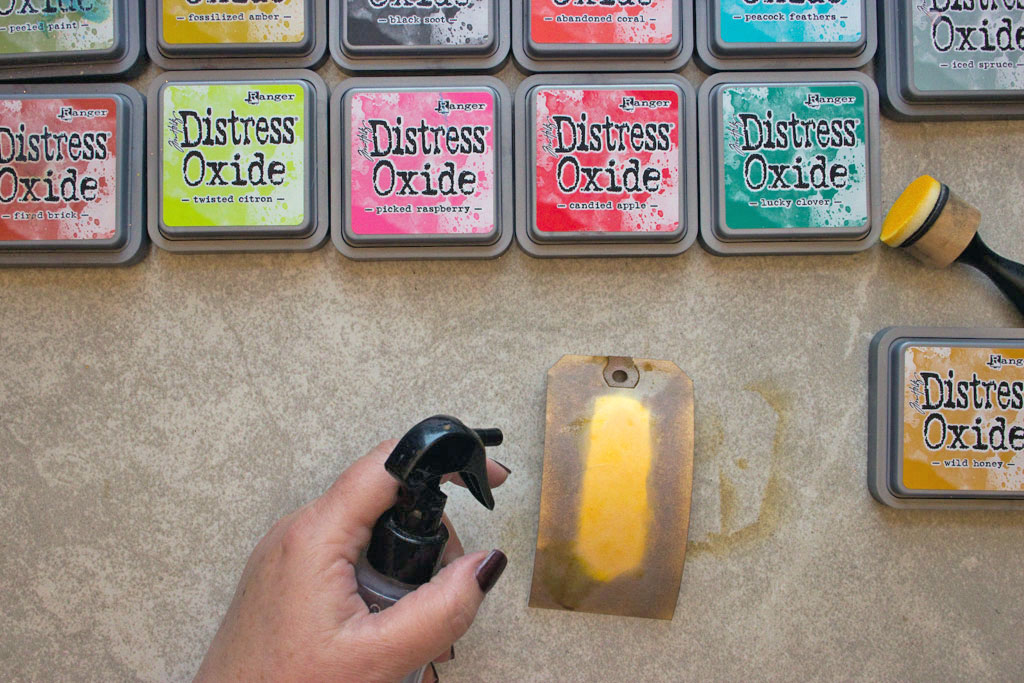
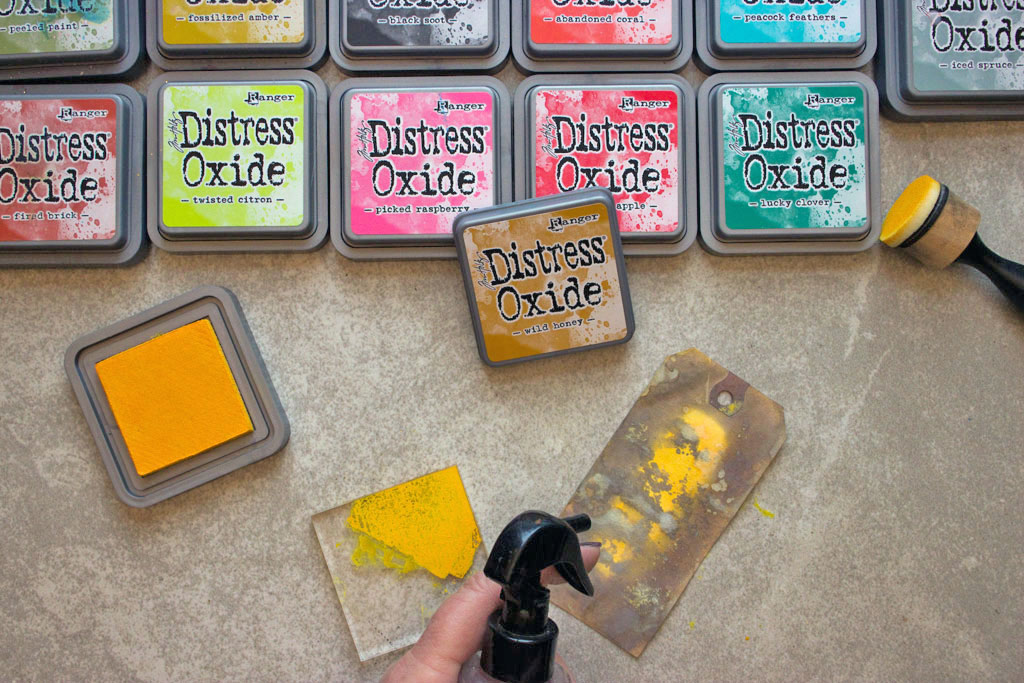
Activate the inks by spritzing with water:
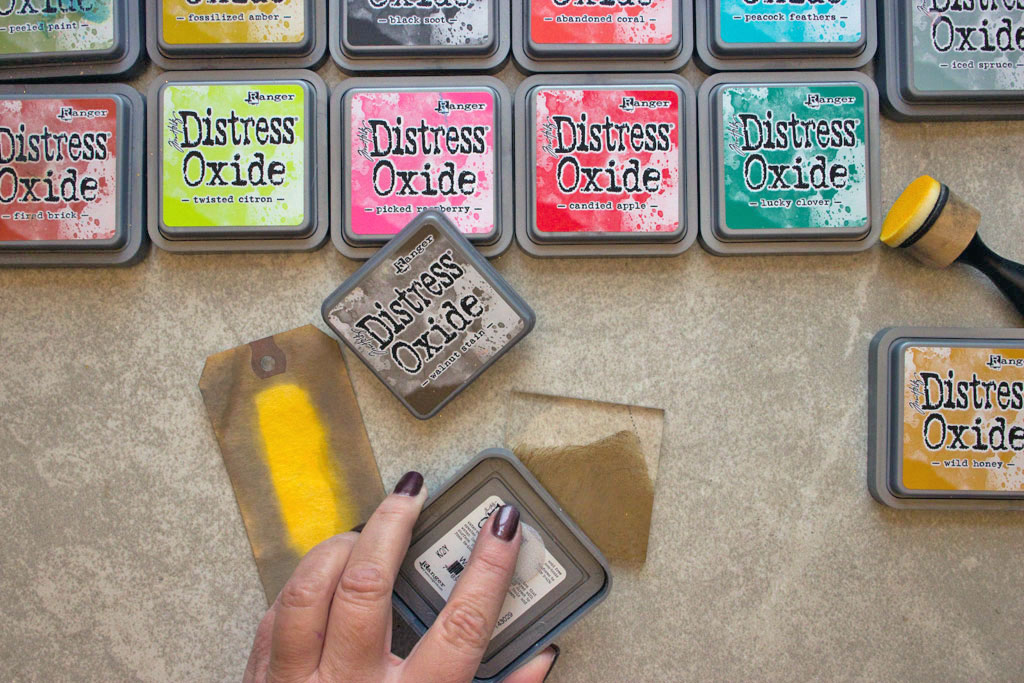
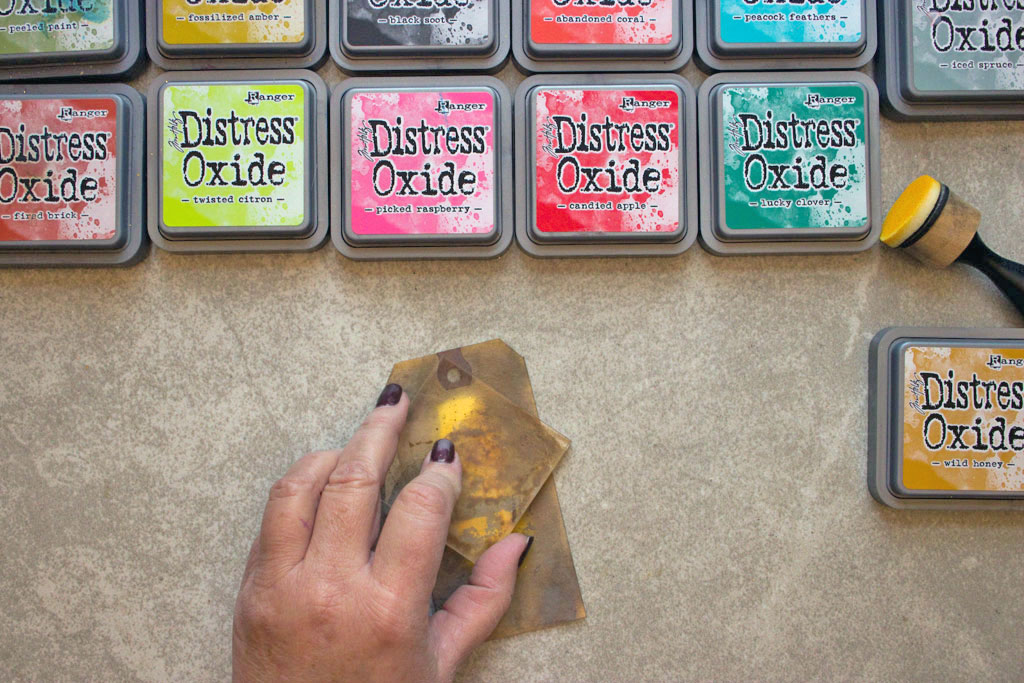
Now, apply Walnut Stain Distress Oxide Ink directly to a small acrylic stamp block:
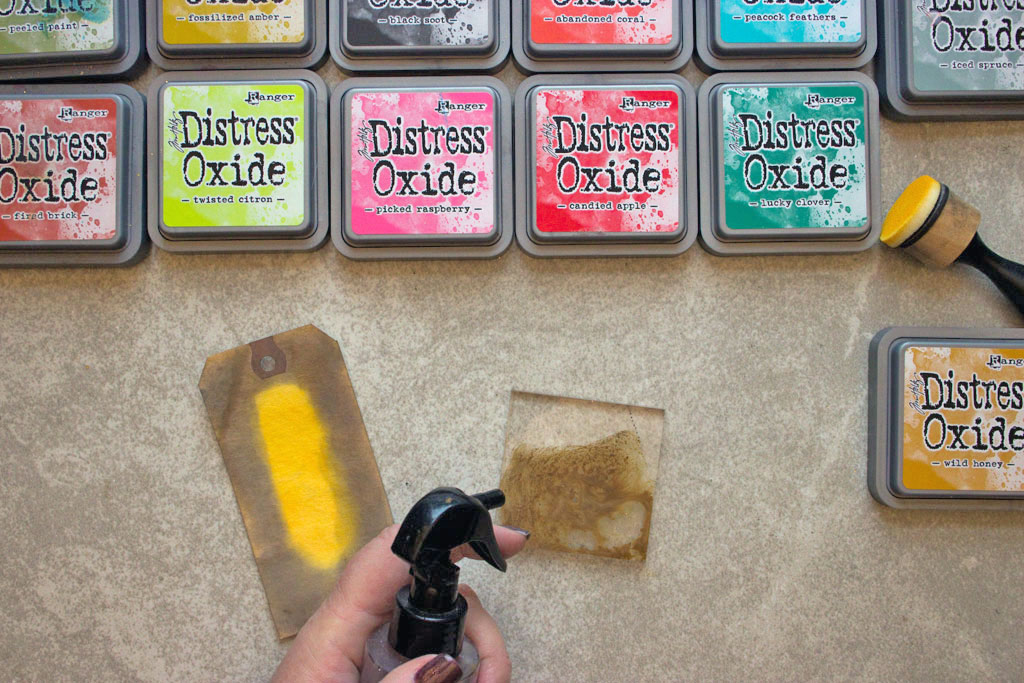
Spritz the surface of the stamp block with water:
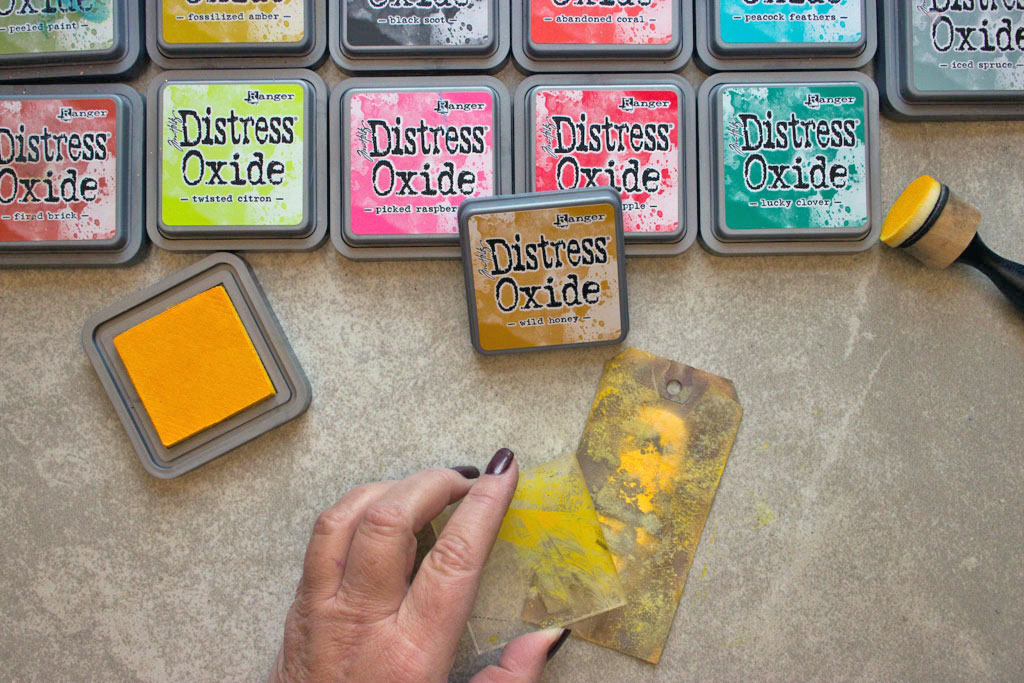
Press the inky side of the block onto the Wild Honey area of your design, lifting and pressing until you have created a bunch of cool watercolor like splotches:
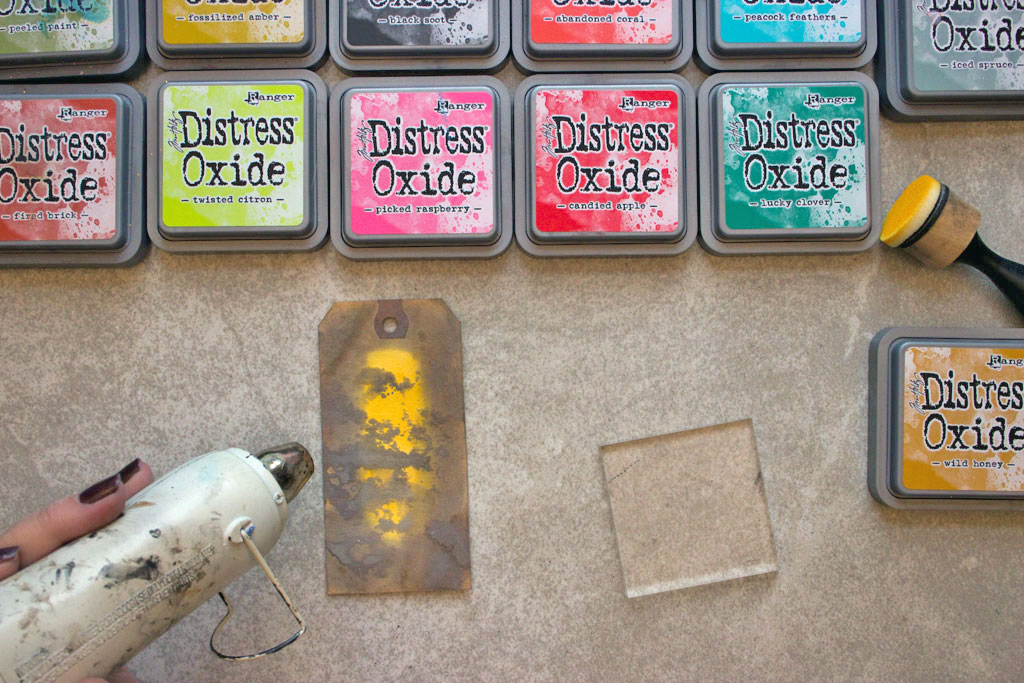
Dry the inks with your Heat Tool before proceeding:
Distress Oxide Ink Technique #2:
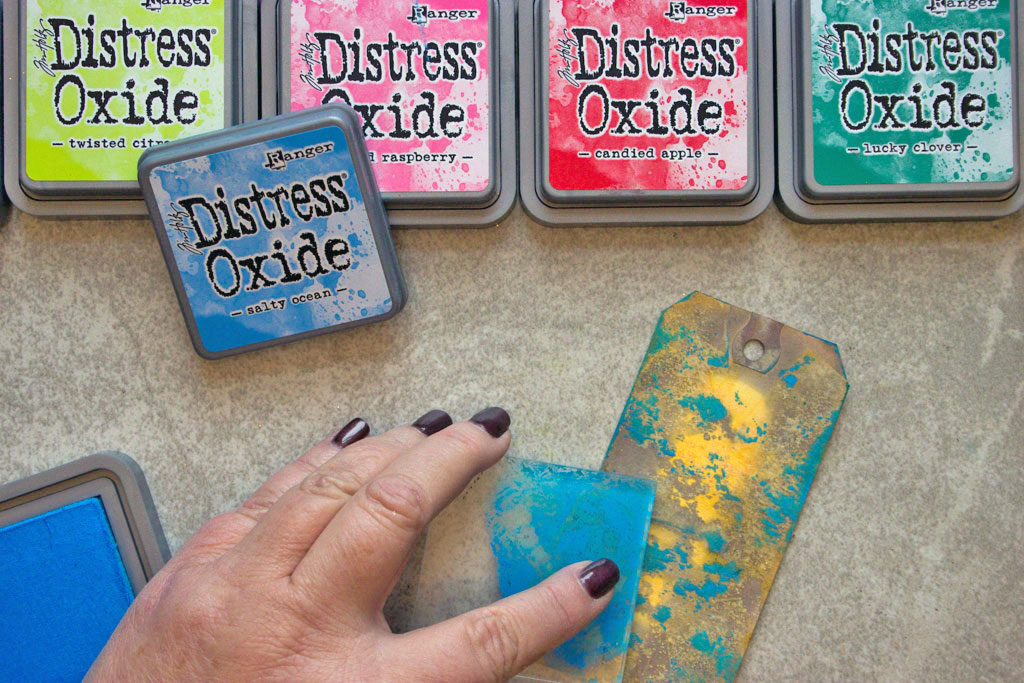
Apply Wild Honey to the Stamp Block, but do NOT spray it with water. This time, we will reverse the process. I know it seems weird, but once the paper is dry, give it a light mist of water:
Immediately press the inky Stamp Block onto the damp surface of the paper. Give it small twisting motions to really smear the ink around!
By applying the ink full strength to a damp surface, you will obtain a supersaturated result – very intense color, unlike the watercolor effect in the first technique!
Here, with the contrast of Salty Ocean, you can get a good idea of just how intense the effect can be:
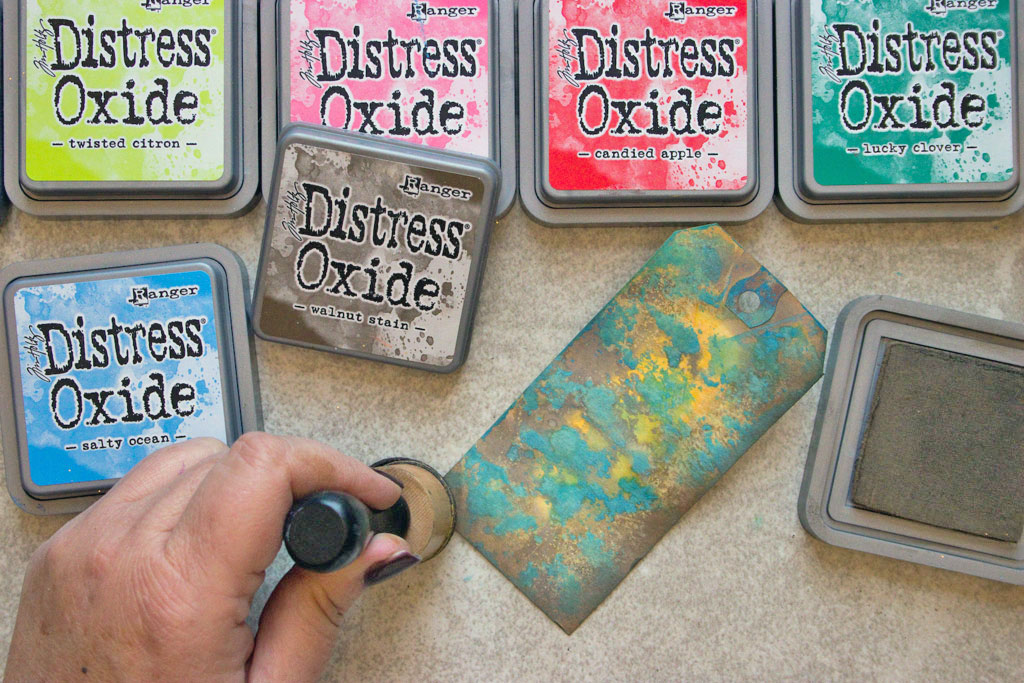
Use a blending tool to add a softening edge of Walnut Stain around the perimeter. This helps to draw the eye to the areas of vivid contrast near the center.
Distress Oxide Ink Technique #3:
Let’s create a simple ombre effect, then punch up the WOW!
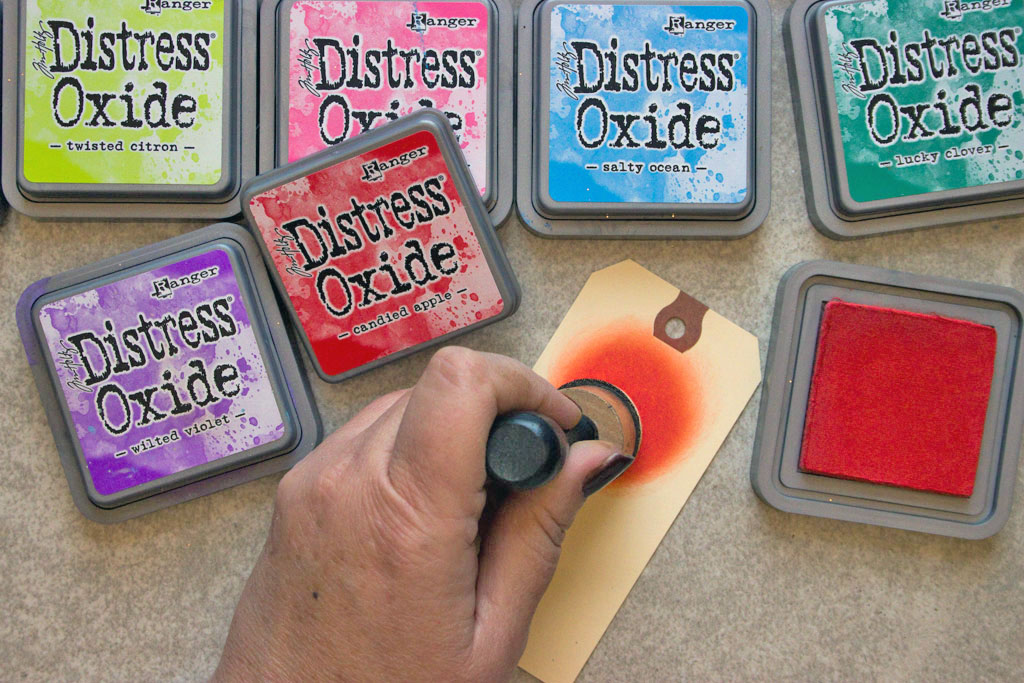
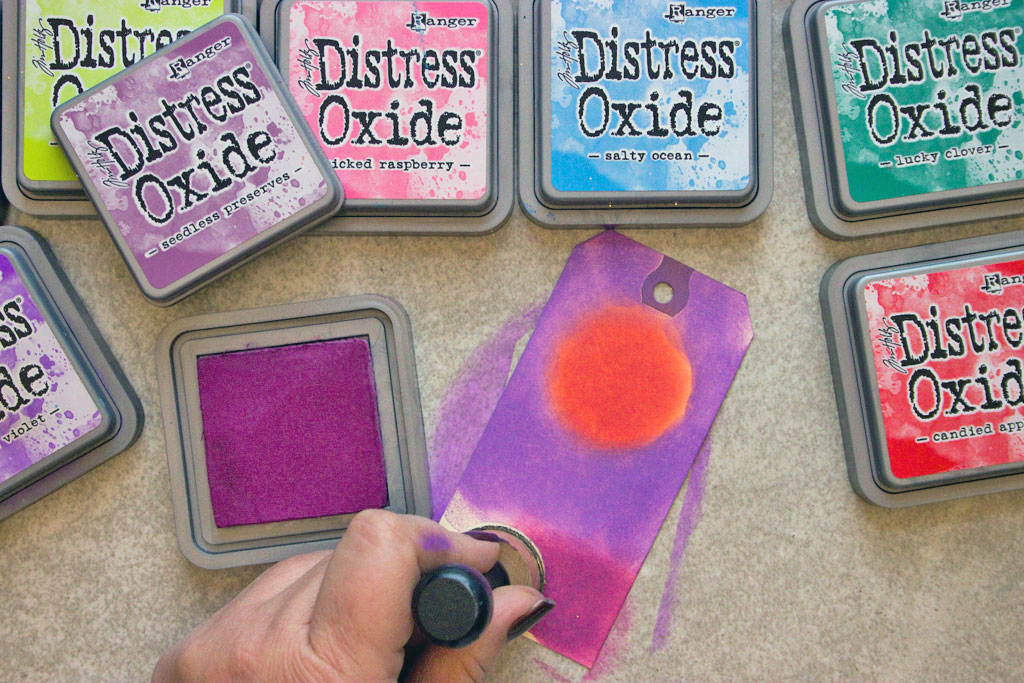
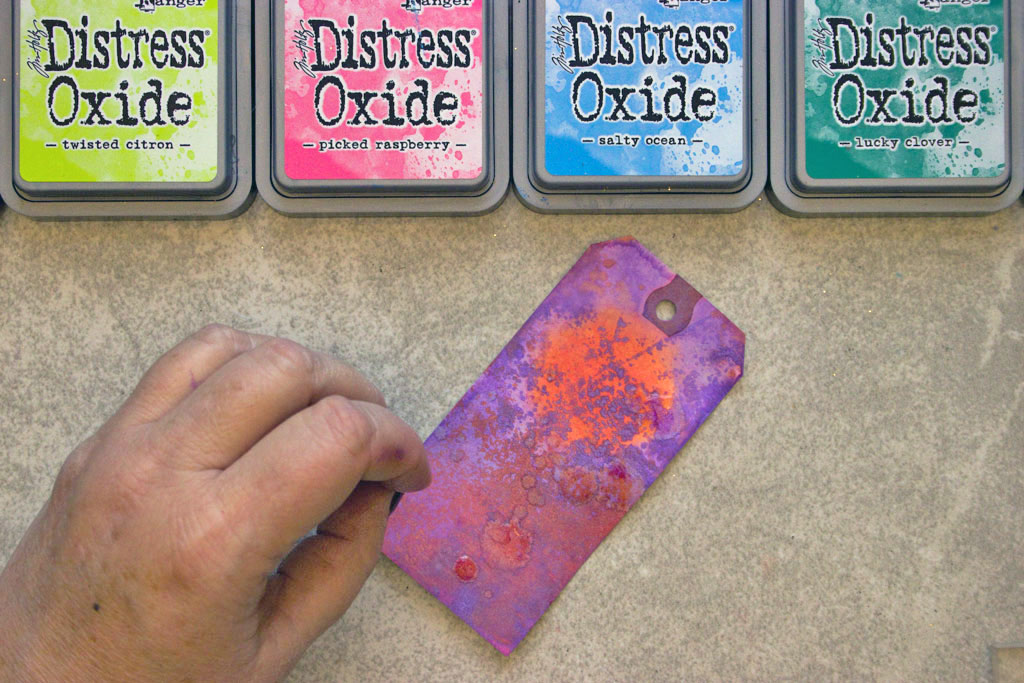
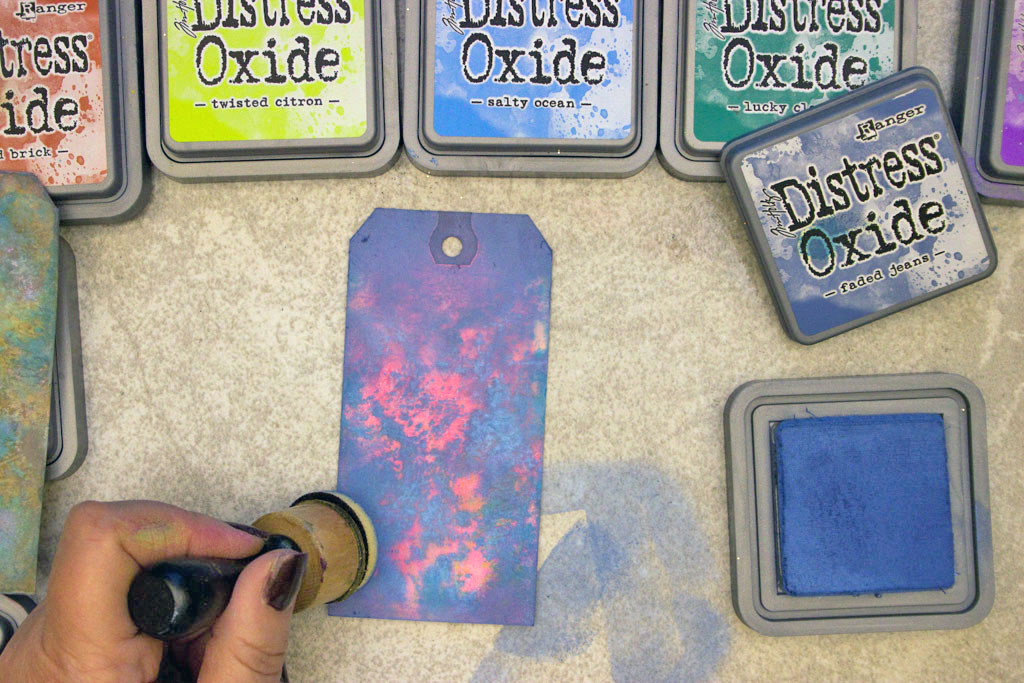
Apply a rich spot of Candied Apple Distress Oxide Ink with a Blending Tool:
Surround it with Wilted Violet, and extend the color 3/4 of the length of the tag:
Apply a band of Seedless Preserves at the base of the tag:
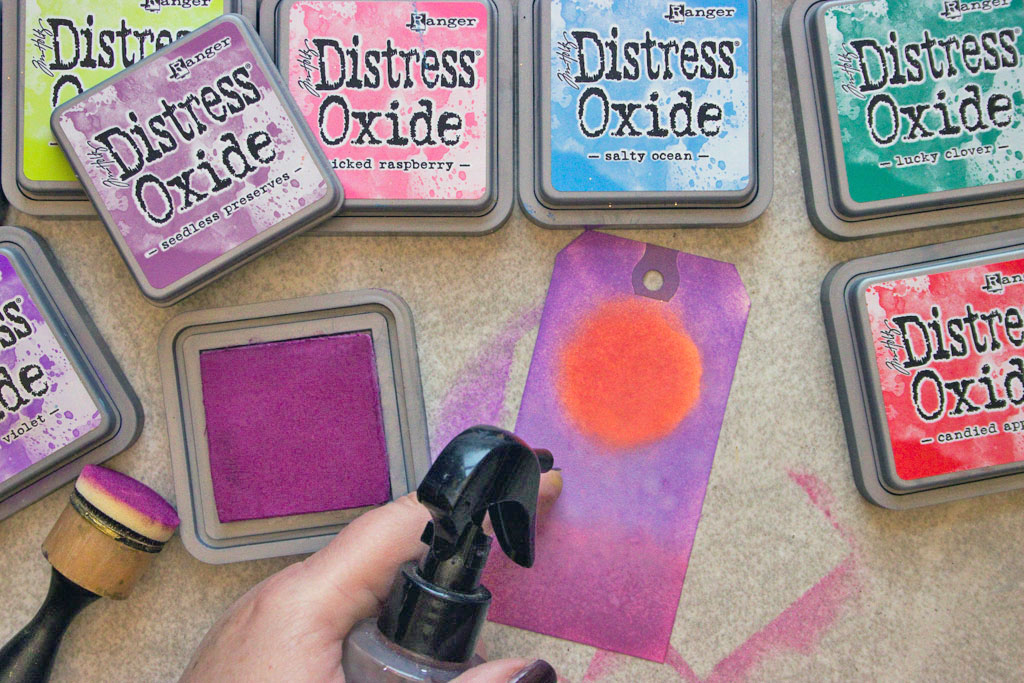
Soften the blend with water:
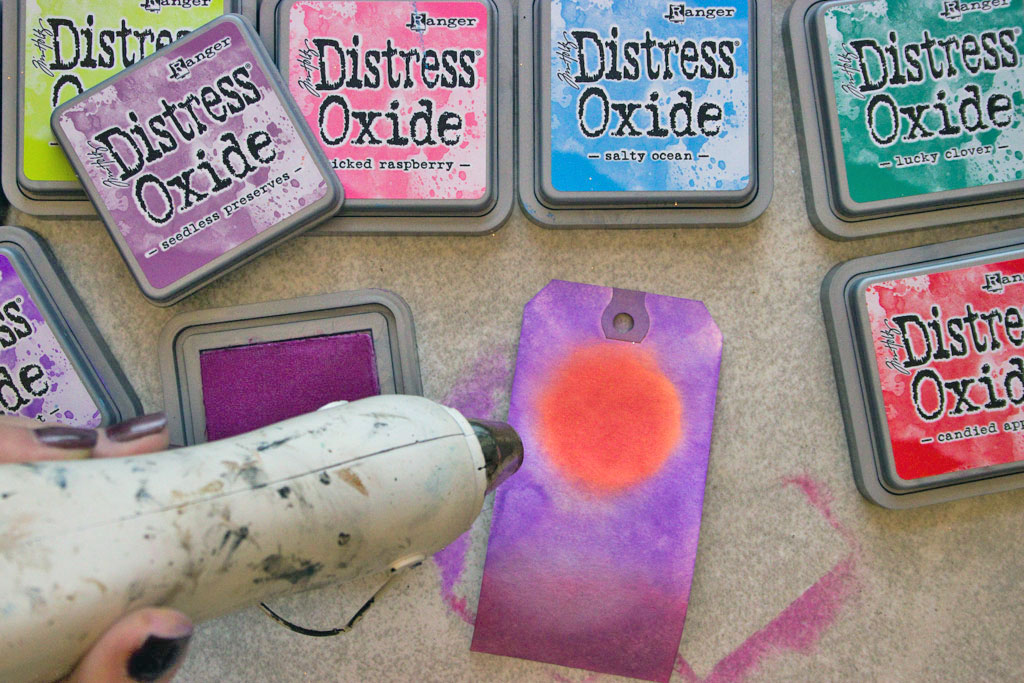
Dry with a Heat Tool:
Lightly mist the tag, and apply Candied Apple to the Stamp Block:
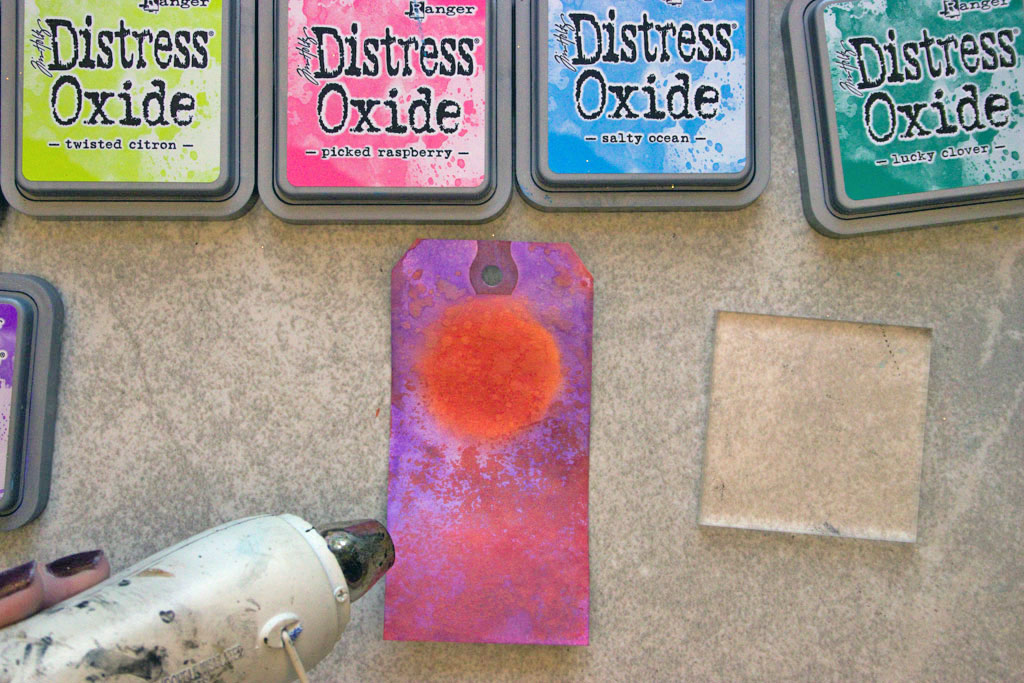
Smear the Stamp Block over the base, allowing the original colors to peek through in small areas:
Dry with a Heat Tool:
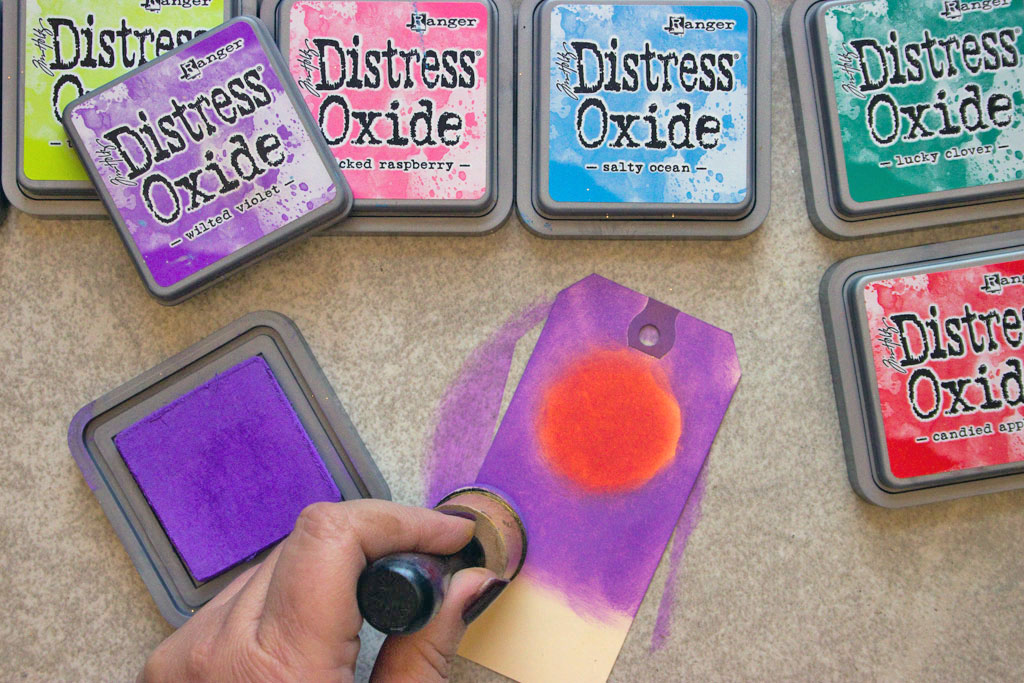
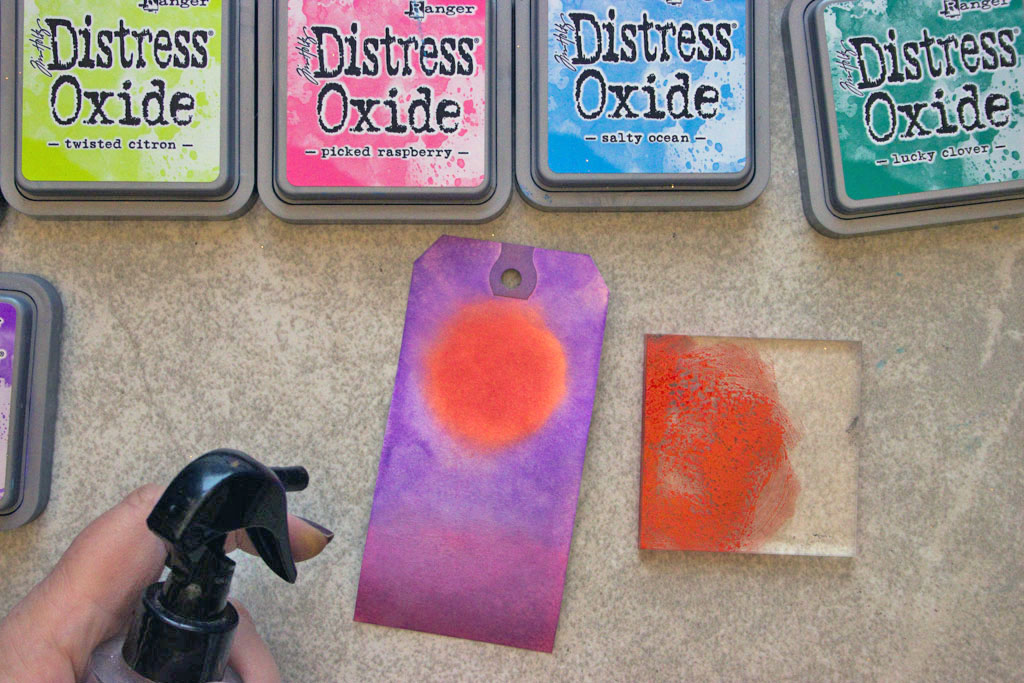
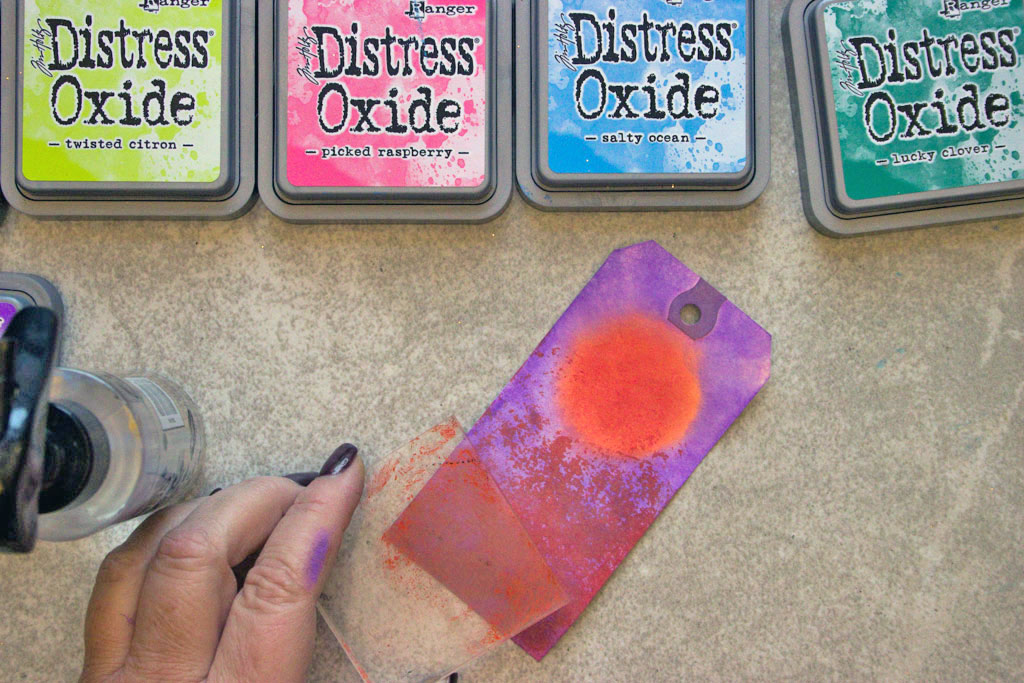
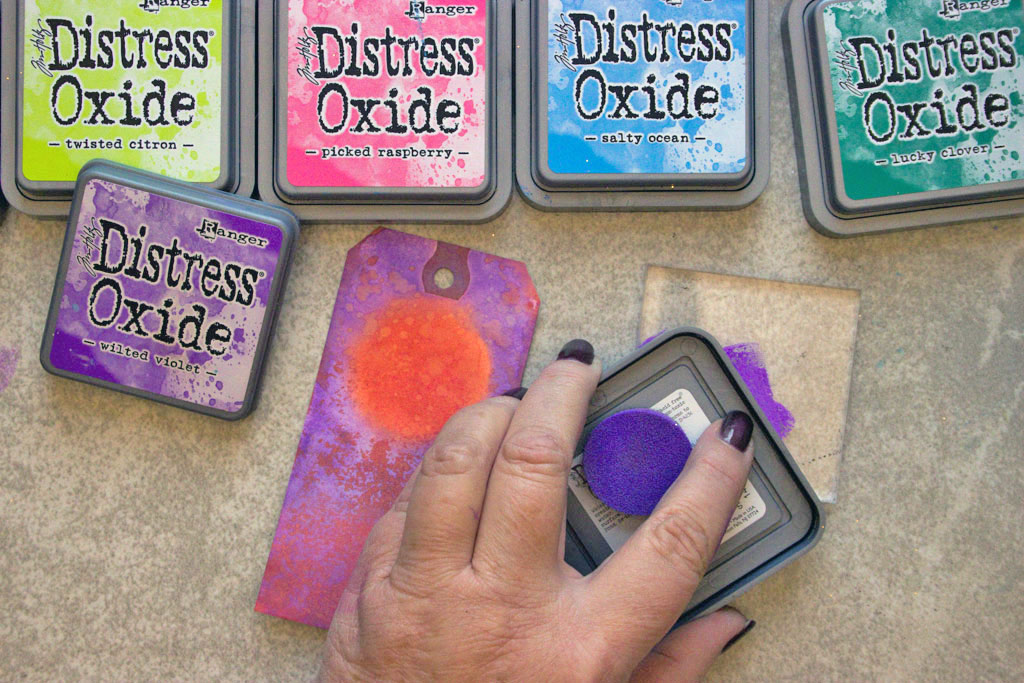
Now, apply Wilted Violet to the Stamp Block:
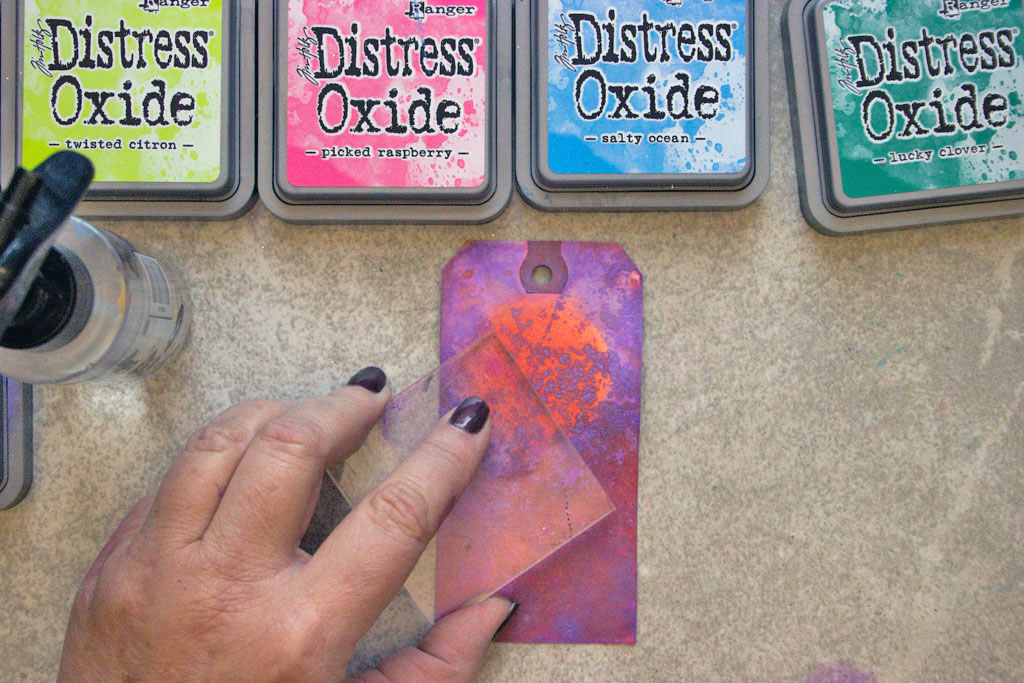
Mist the Stamp Block very lightly with water, then pounce it onto the circular area of Candied Apple!
The light mist of water activates the Oxide, leaving a psychedelic bloom of startling contrasting purple over the orangey red!
Finally, flick the surface with a few big water droplets, creating even more visual interest as they ‘bleach’ the inks into yummy pools of deliciousness!
Distress Oxide Ink Technique #4:
Let’s play with a stencil!
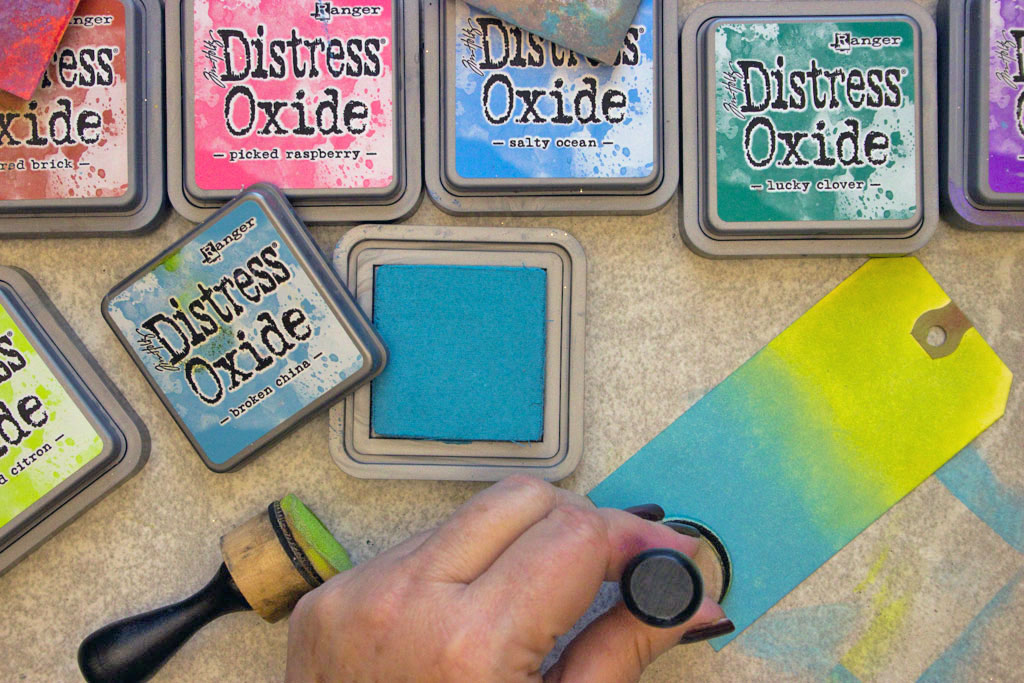
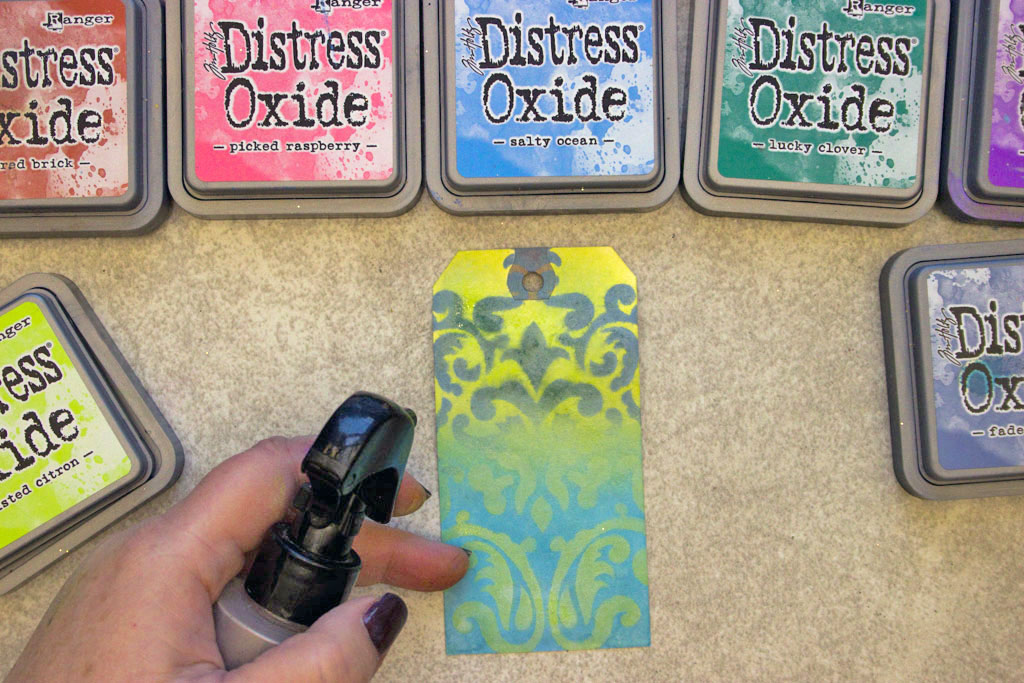
Begin by creating a two color blend. I’ve chosen Broken China and Twisted Citron for a fresh and vibrant combination:
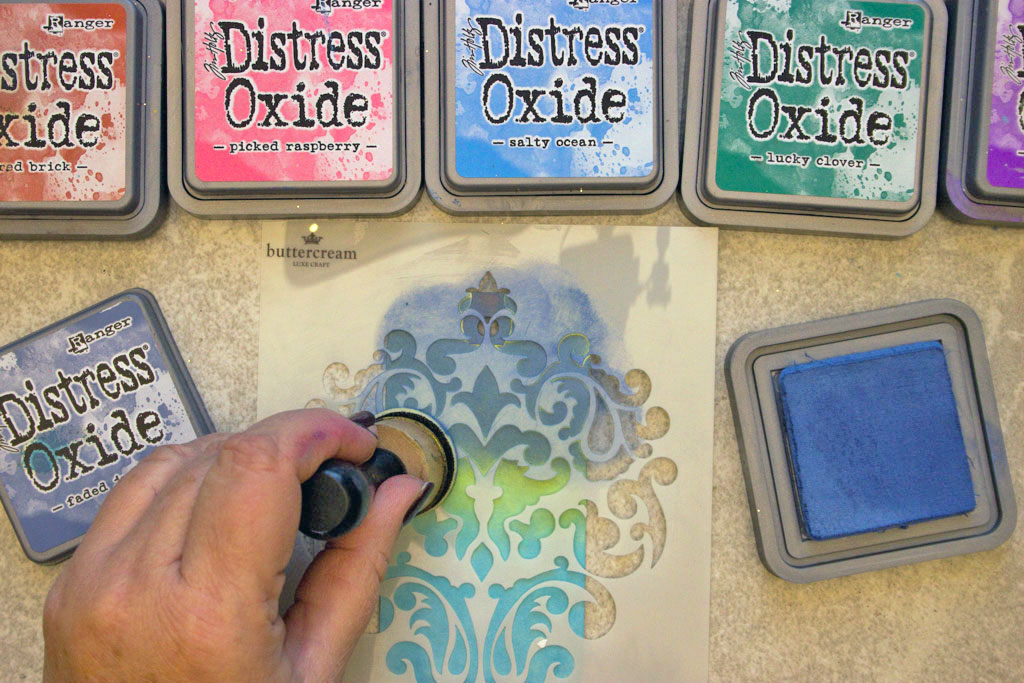
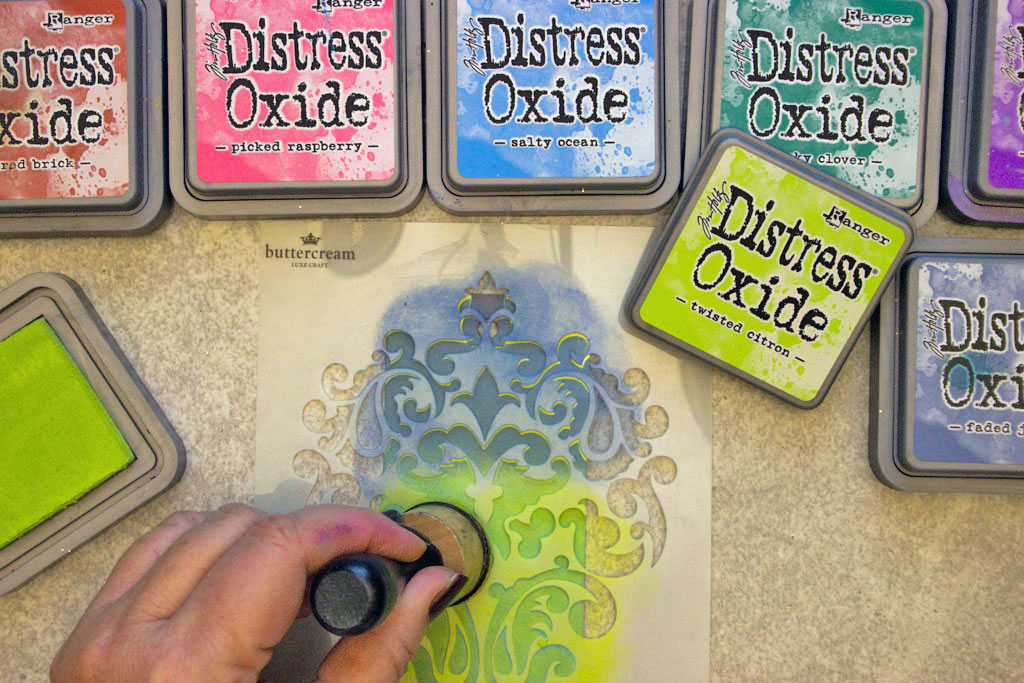
Apply a dark, contrasting color – Faded Jeans, through the stencil only over the Twisted Citron area:
Blend Twisted Citron through the stencil over the Broken China:
This creates a lovely three color motif.
(Don’t clean your stencil – we’ll be using the inked surface in the next technique! Just set it aside for now.)
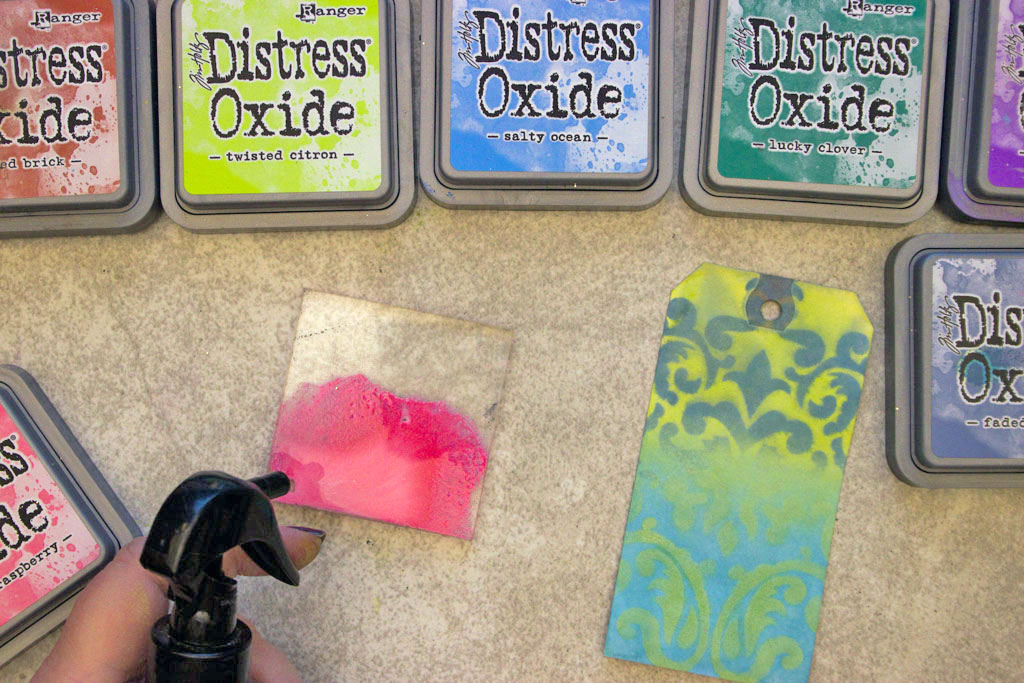
Spray a light mist over the stenciled surface…
Apply Picked Raspberry to the Stamp Block, and spritz with water:
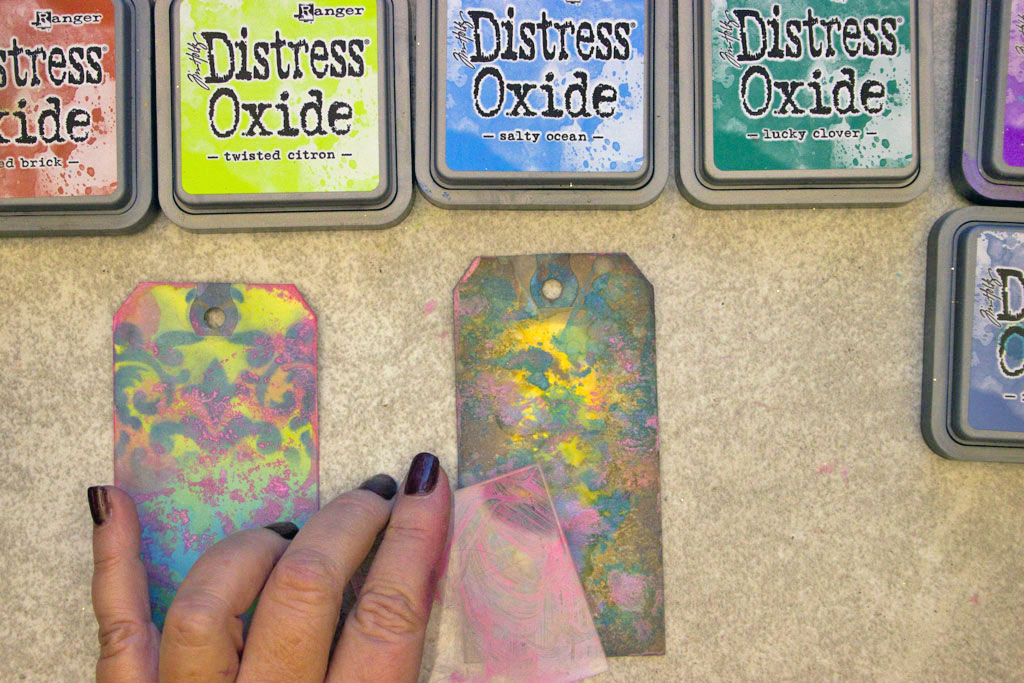
Dab and Tap the Picked Raspberry over the stenciled paper…
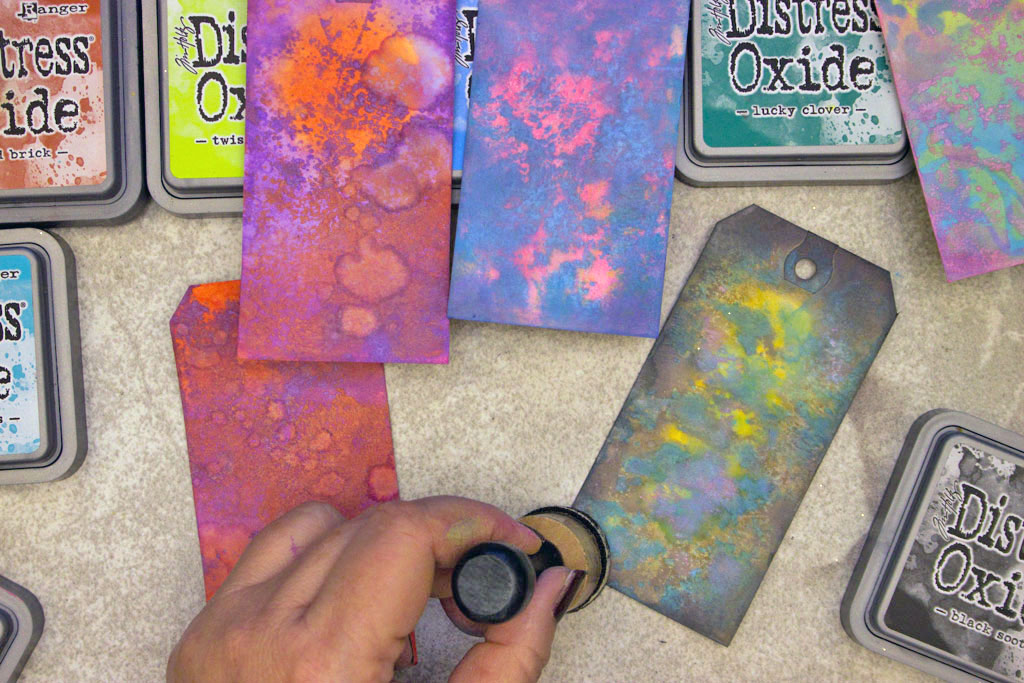
Go nuts, and Dab the Picked Raspberry onto similarly colored tags…
Distress Oxide Ink Technique #5:
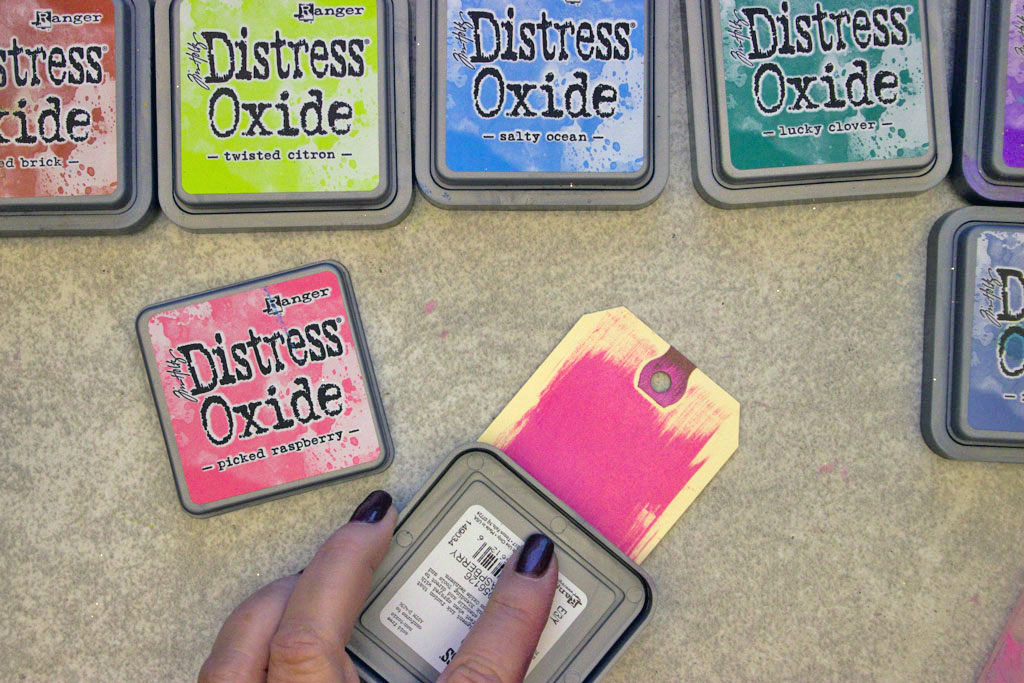
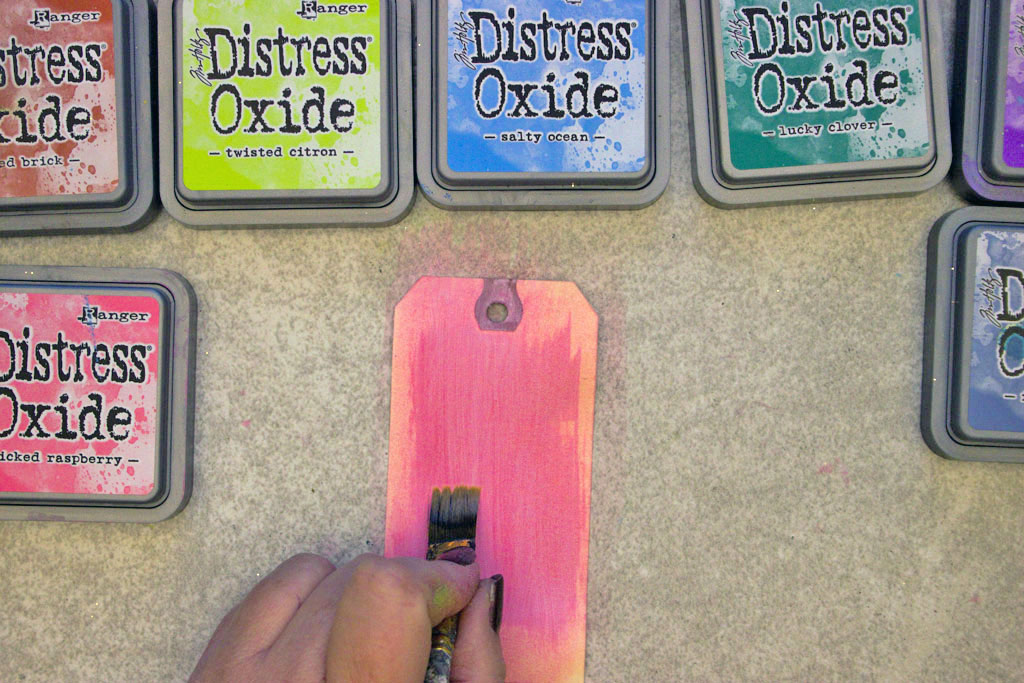
Smear Picked Raspberry directly onto the surface of a dry tag:
Dip a brush in water, and gently blend the ink for a soft, watercolor effect:
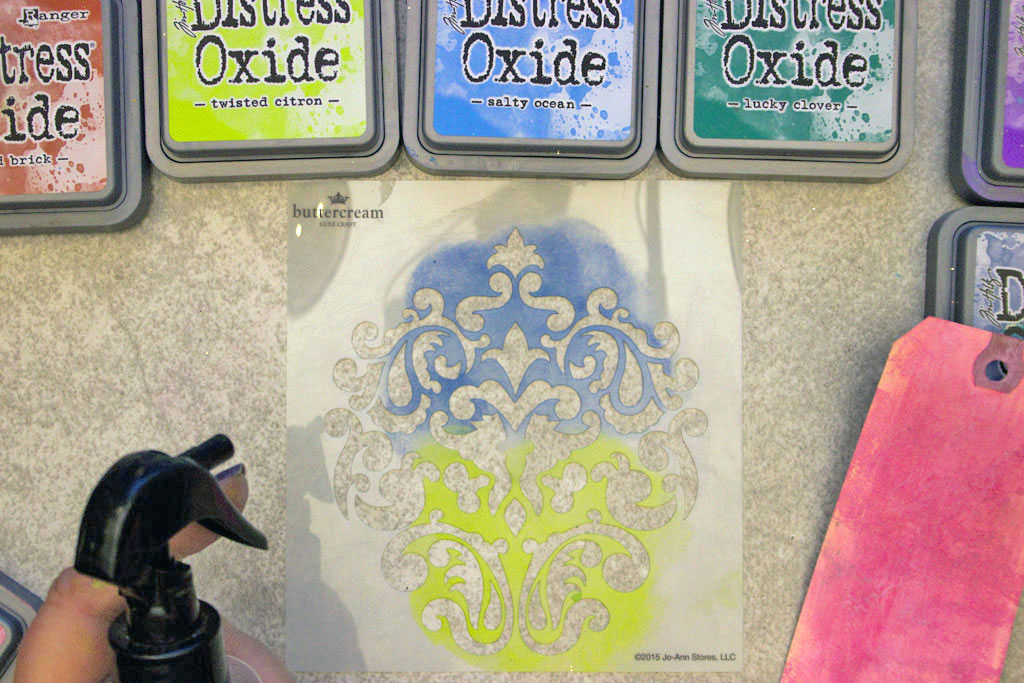
Spritz the inky surface of your stencil:
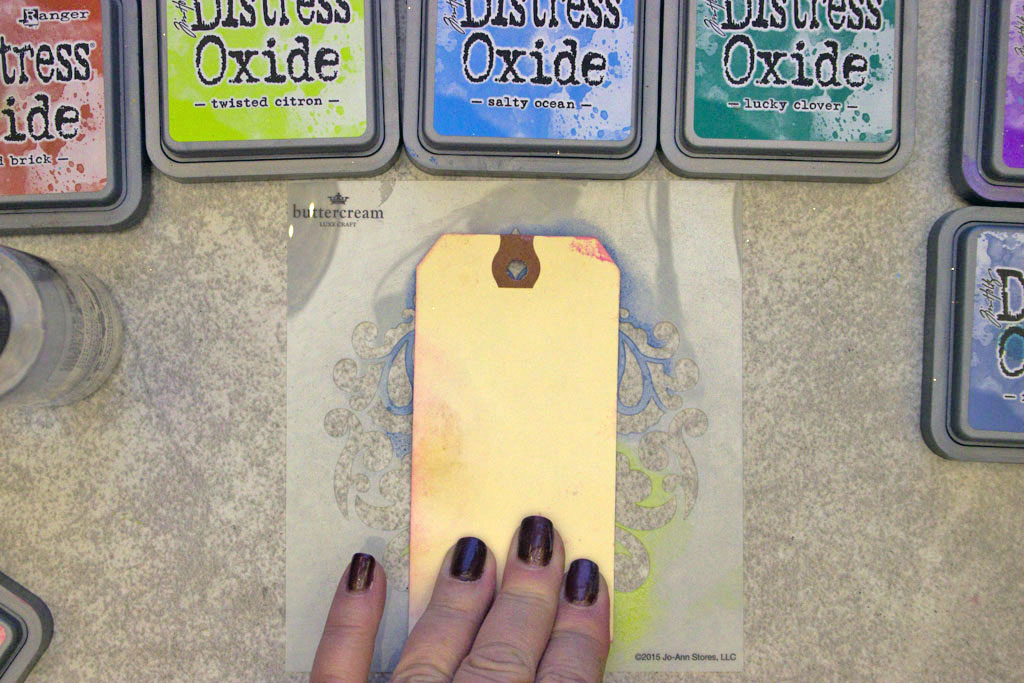
Press your tag against the stencil:
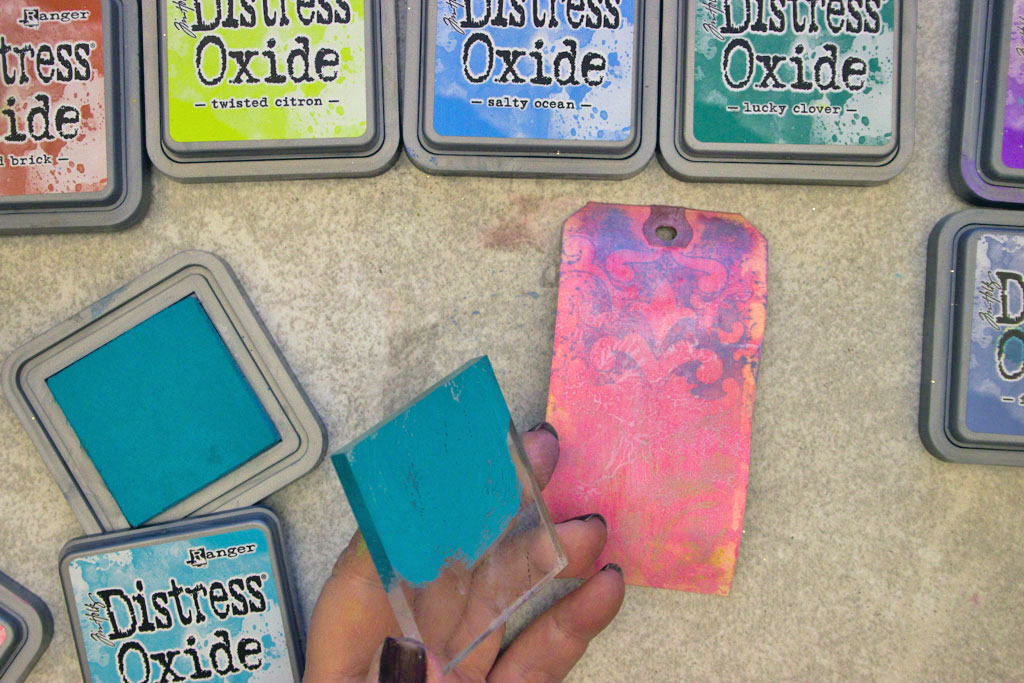
Dab and Tap a Stamp Block covered with Broken China over the ghostly motif:
Blend the edges with Faded Jeans for a dramatic skyscape effect…
If you’d like to increase the drama even further, edge your tags with Black Soot:
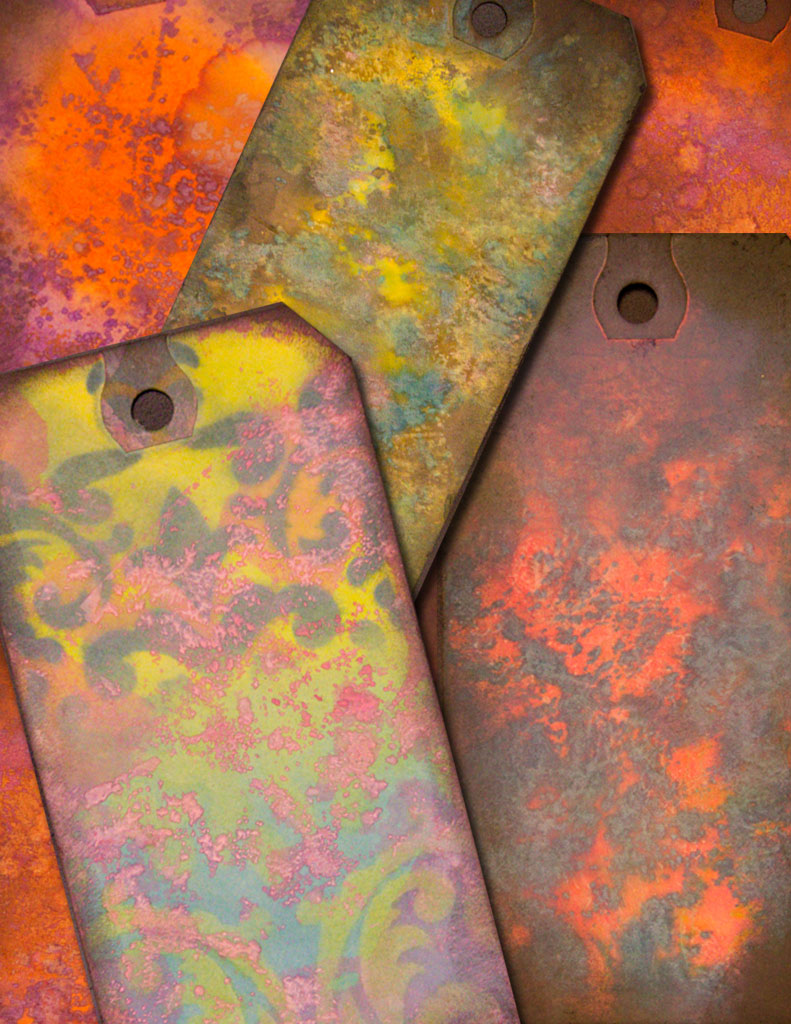
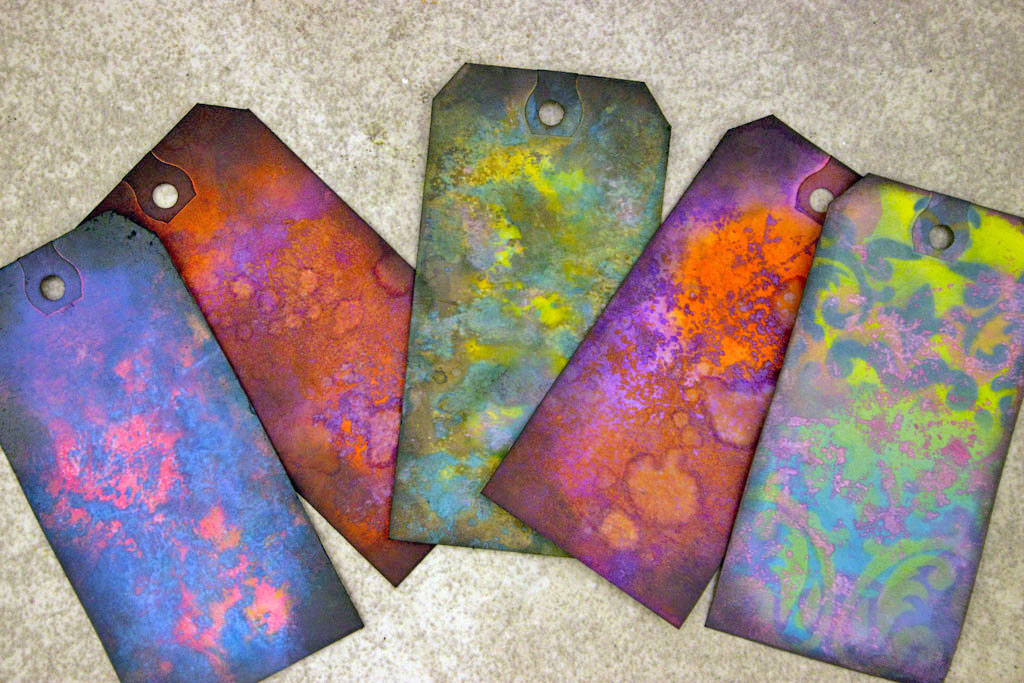
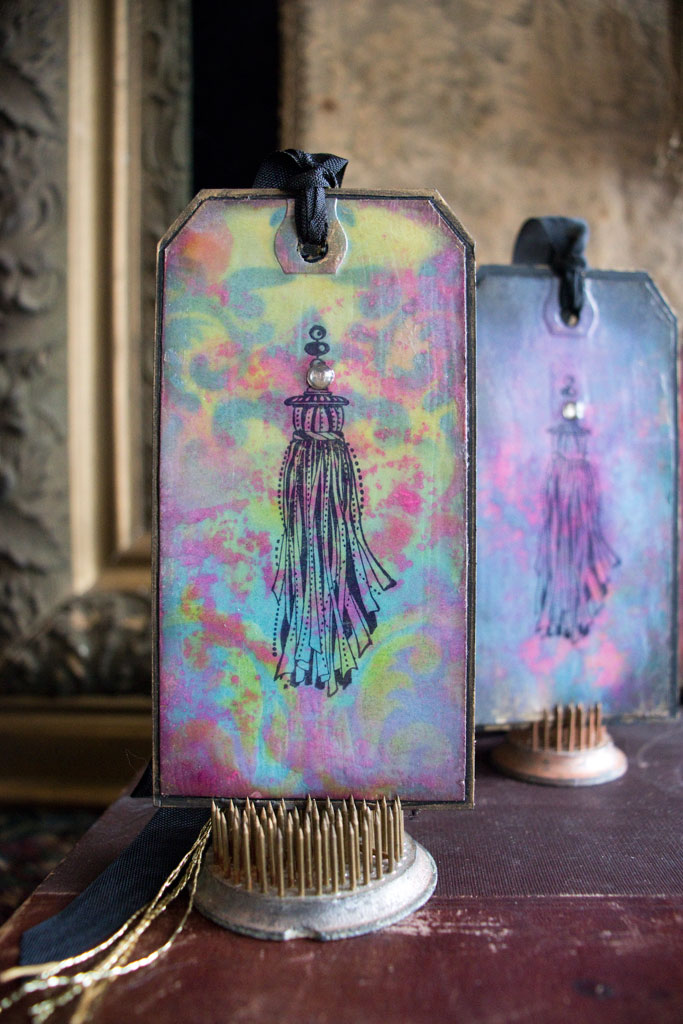
No fancy Photoshop adjustments – these are the resulting effects!
So vivid. Yep.
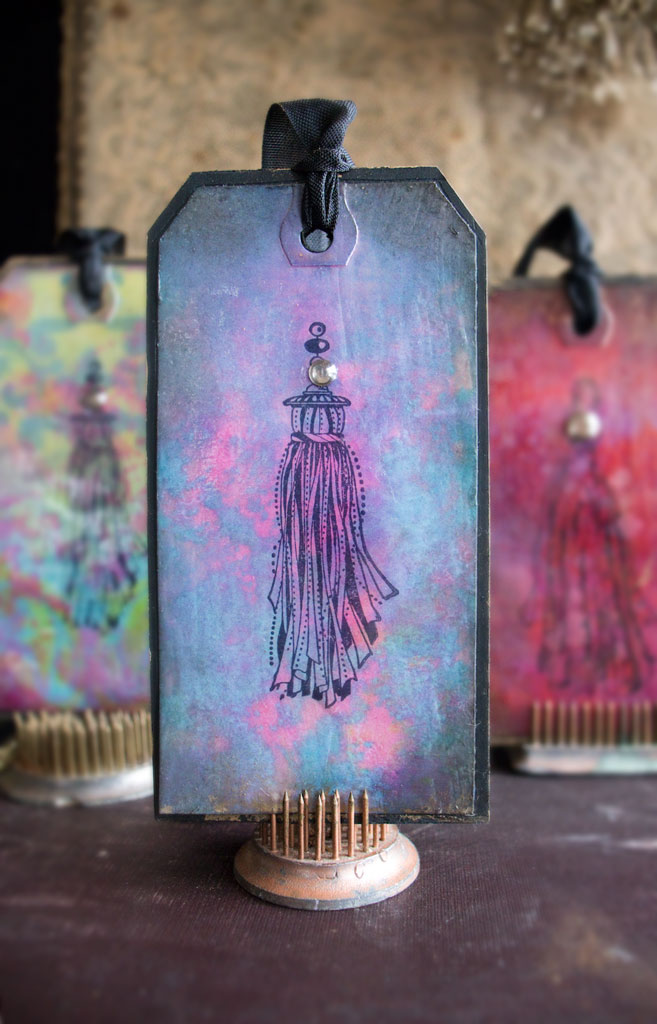
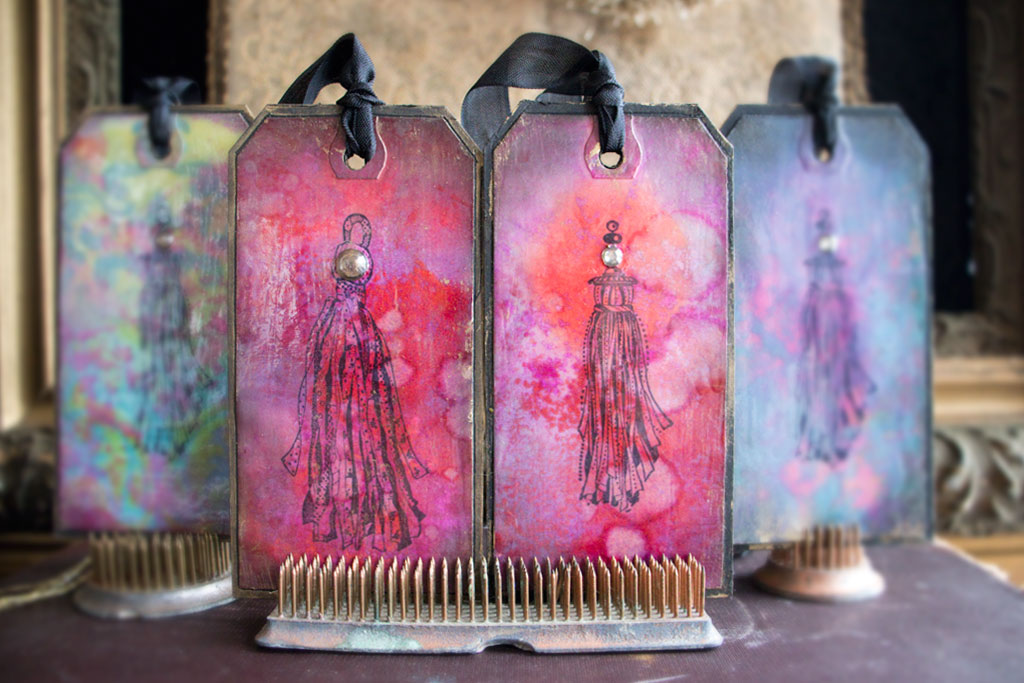
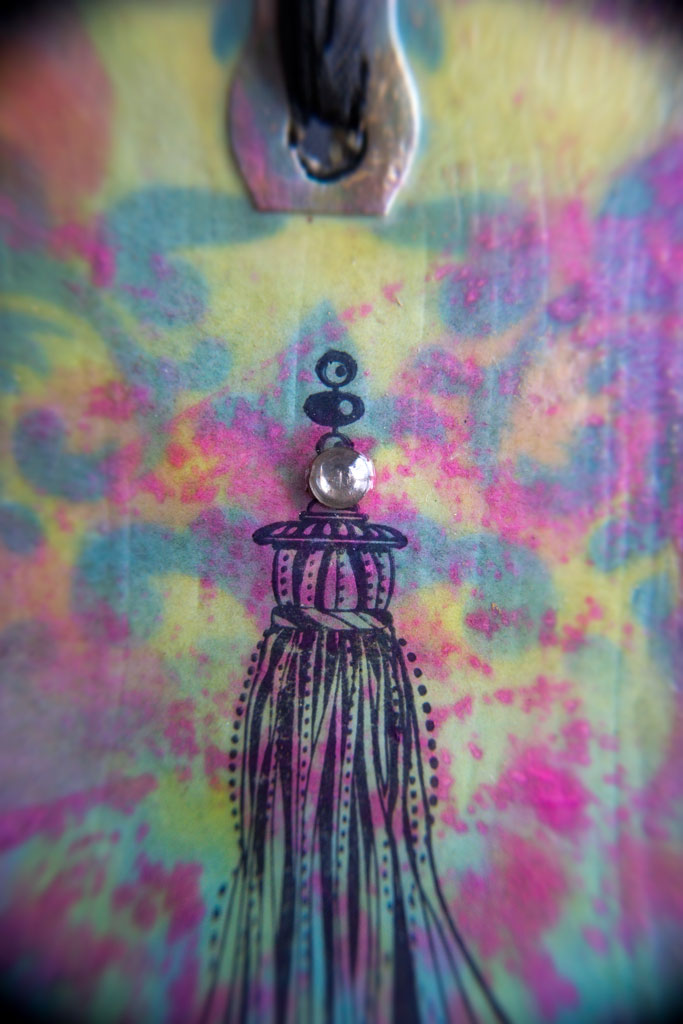
A clean, black stamped image plays nicely with these Distress Oxide Ink Techniques…
Once the paper is fully dry, apply a couple of coats of Workable Spray Fixative, to ensure the ink doesn’t smear.
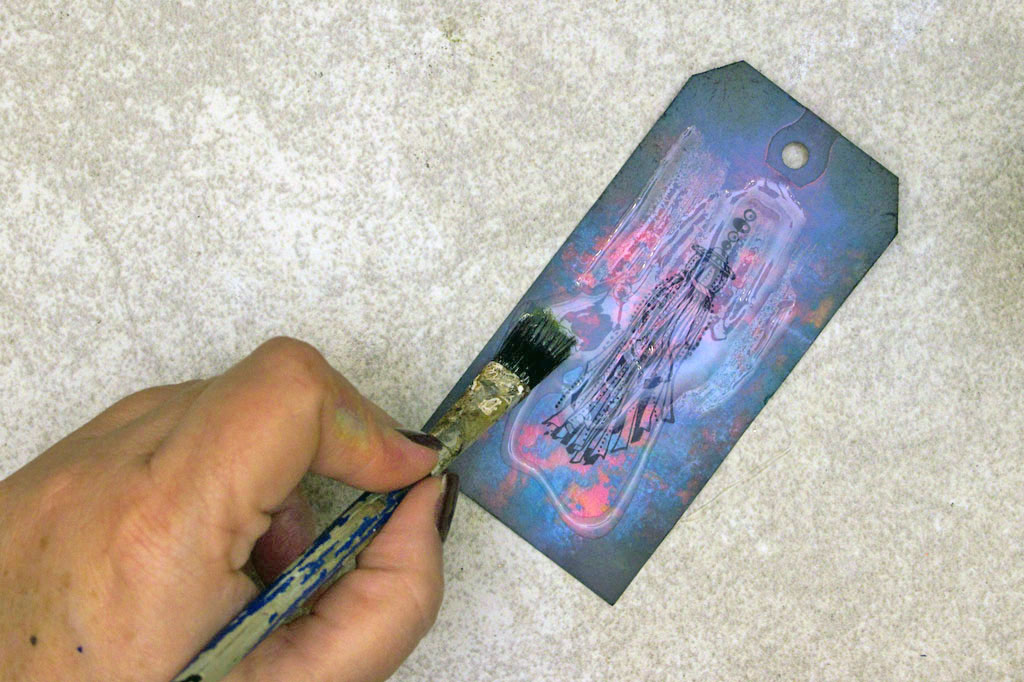
When the Fixative is dry, you can coat the surface with a Gloss Glaze, like Triple Thick to increase the impact of the pigments even more!
Brush Triple Thick in an even coat to obtain a gorgeously deep reflective finish…
Vivid?
Yep.
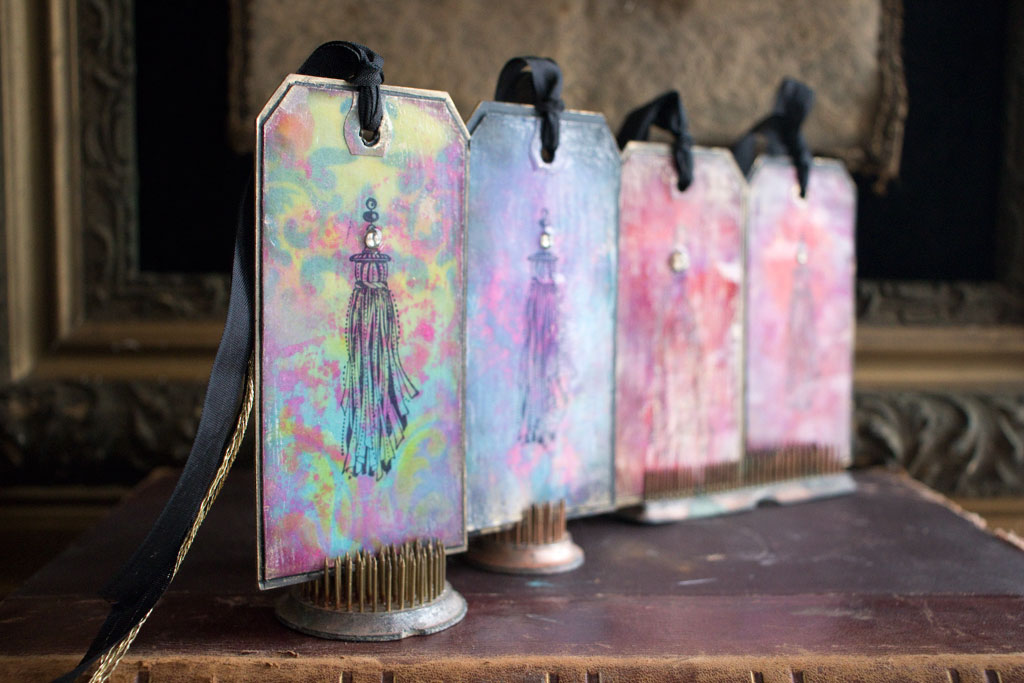
Working with a series of Distress Oxide Ink Techniques is SO fun – so many variations, so little time!
Will we ever tire of the deliciousness?
I think NOT.
Richly pigmented layers of WOW!
A treat for the senses!
Thank you SO much for visiting The Graphics Fairy today, and for allowing me to share my playtime with you! You might also want to check out my Alcohol Ink Techniques HERE.
Until next time,
Heather
Come visit me at the Thicketworks Blog – we’ll have us some Messy FUN!




Cheryl Berry-Blankenship says
I can’t wait to try this out! Ooh are the ideas jumping into my mind. Love that! Thanks so much for sharing.
graphicsfairy says
That is awesome Cheryl, have fun creating!
Carole S. Noble says
I have been playing with the oxides and having fun. Your finished tags are gorgeous. Am I seeing correctly – the tan tags have been made slightly smaller and them mounted on black tags? This makes seense to me because my tags, when all inked up, have lost their stiffness. Carole
graphicsfairy says
I am so glad that you are having fun with the oxides and I bet your tags are gorgeous too!
Marcus says
Hi. I love it. Can this process be done on wood as well and how should the surface of the wood be prepared (sanded, use sanding sealer or a pre-stain medium? etc)
graphicsfairy says
Hi Marcus,
I have not tried it on wood but I googled it for you and it appears you can, here is the link, http://homeguides.sfgate.com/use-distress-inks-wood-101287.html
Good luck!
Sarah says
I am fairly new to this – but what is the purpose of the tags? I like to make cards to send to people, but wouldn’t send them a tag. Your techniques are fantastic and the pictures make your directions even more easy to understand!
Heather Tracy says
Hi Sarah! I’m so glad you found the techniques interesting – thank you!
Now, what about those TAGS? It’s funny, I know…but it has become a long-standing tradition in the paper crafting community to use shipping tags as tiny little canvases.
They are a wonderful way to embellish a handmade gift, for example.
I like to tuck them into packages for friends and loved ones, as a tiny little memento. They aren’t intended to take the place of a card – but as a little something ‘extra’.
Hope this helps! xox
Ellie says
Hi there, love the tutorial and can’t wait to try it. I wondered what you call the little spiky stands you have used to display the tags on? I have seen them before somewhere, and think they are antique but I can’t remember what they are called or what they used to be used for?
Thanks
Heather Tracy says
Hi Ellie! These are antique flower frogs – so great for displaying small paper items…thanks for asking! xox
Ellie says
thanks so much! I couldn’t remember what they were called. I am still struggling/persevering with the distress oxides lol
Heather Tracy says
My pleasure…Keep playing with the Oxides, Ellie! The ‘struggle’ is oh-so-WORTH-it!
Kimberly Head says
Melissa Frances sells them @ melissafrances.com, under ‘search’, type the word ‘frog’ and they’ll populate. They run something like $7-8 each depending on size/shape. Hope that helps! I bought four of them at the West Coast Scrapbook Expo a few years ago and they’re awesome! Good luck!
rupa says
Every tag and the details/colors/images are exquisite. You sure do tempt me to get these oxide. This is a fantastic reference when I do end up buying them. Thanks as always for all you do for us!
Heather Tracy says
Hi Rupa! Distress Oxides are SO different than anything we’ve been able to work with before…I just can’t tell you how impressed I am with them, my friend. We’ve only scratched the surface of what they are capable of. Why not get 2 colors? Just 2, but you do need to see how the interact, so just 1 won’t do. Play with those two colors and tell me what you think of the experience…better yet, come on over and we’ll bust out the whole set and go to TOWN, Missy! Thank you, as always for your kindness, Rupa dear. xox
Rupa says
Great idea, I may do that just to give it a try with two of them. The invitation is SO tempting….Oh what a treat that would be to sit with you in person and play with the goodies!! PS: Did I mention I have a brother in CT? 😉
Heather Tracy says
I think you need to visit your brother soon, Rupa! (wink) And, oh my goodness, YES, it would be so fun to play! xox
Rita says
Absolutely stunning. BUT unless you are going to make a “bunch”, this project will be very expensive-thanks for the craft.
Heather Tracy says
I have to agree with you, Rita…Distress Oxide Inks are NOT cheap…but for those of us who have succumbed to their charms, the investment is oh-so-worth it. Thank you for visiting and taking the time to leave a thoughtful comment, my friend. xox
Linda K says
Wonderful tags. Thanks for sharing these great techniques. I love the distress oxides but have not tried what you did……but I certainly will give these a go. Happy Holidays!
graphicsfairy says
Thanks Linda, Happy Holidays!
Jakki Garlans says
Thank you, this was a really helpful tutorial!
Heather Tracy says
Hi Jakki! You are SO welcome – thank YOU for giving me a reason to play with Distress Oxides! They are my FAVORITE! xox
graphicsfairy says
Thanks so much Jakki 🙂
Juls Twombley says
These distress ink tags are super cool! Thank you for sharing the techniques you used! Still a few days left before Christmas (an excuse to make extras for me!)
<3
Heather Tracy says
Hey Juls! So glad you found this useful…have fun playing, my friend! xox