DIY Aged Terracotta Posts
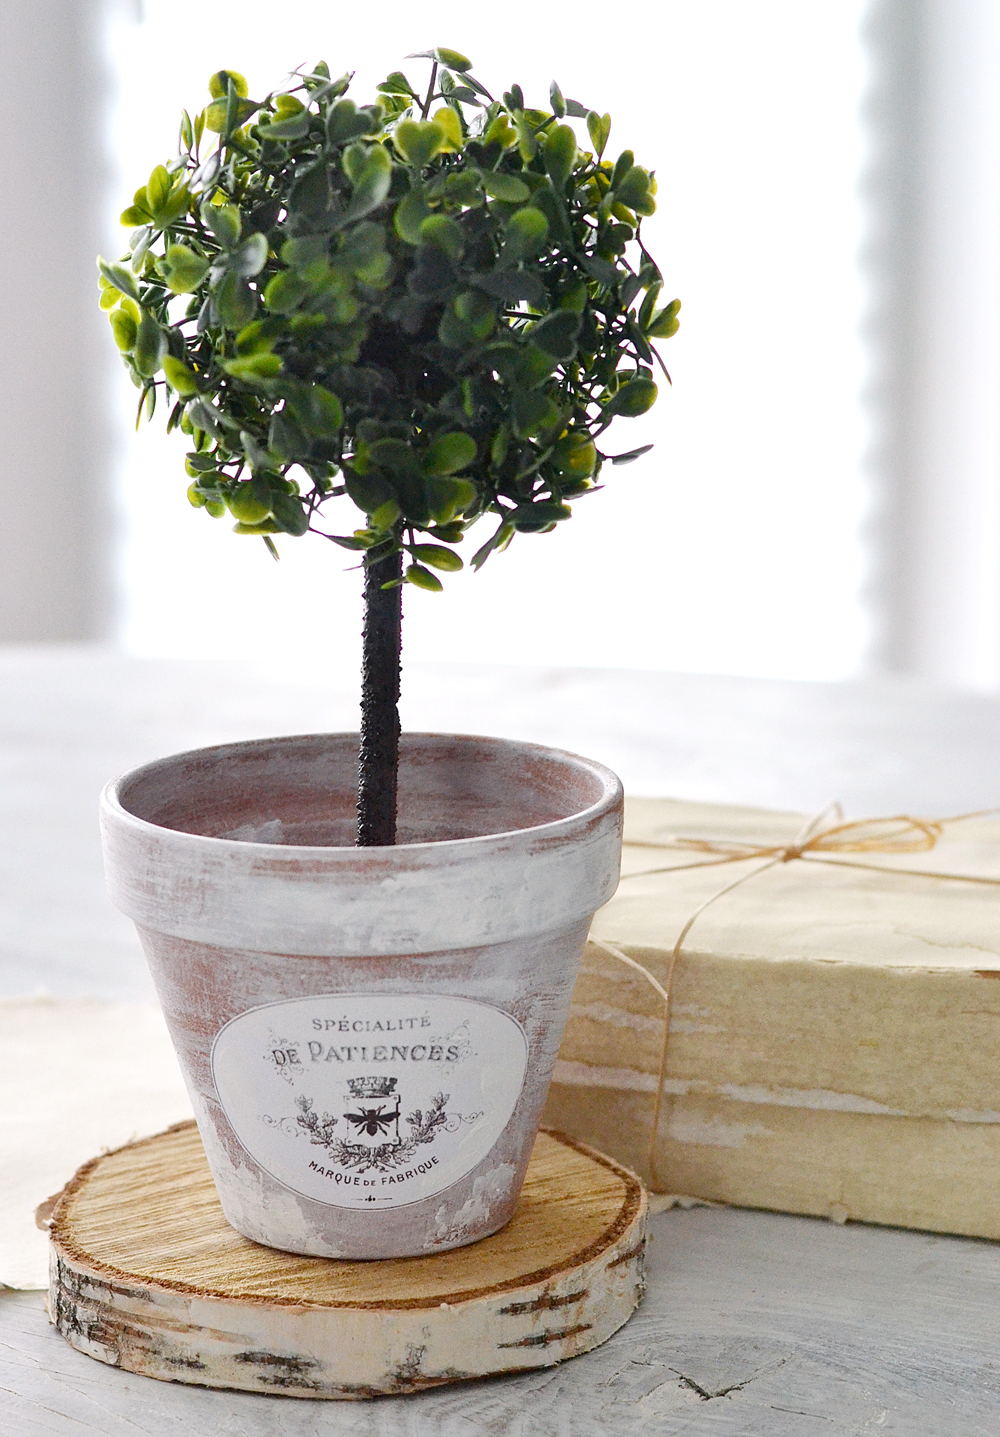
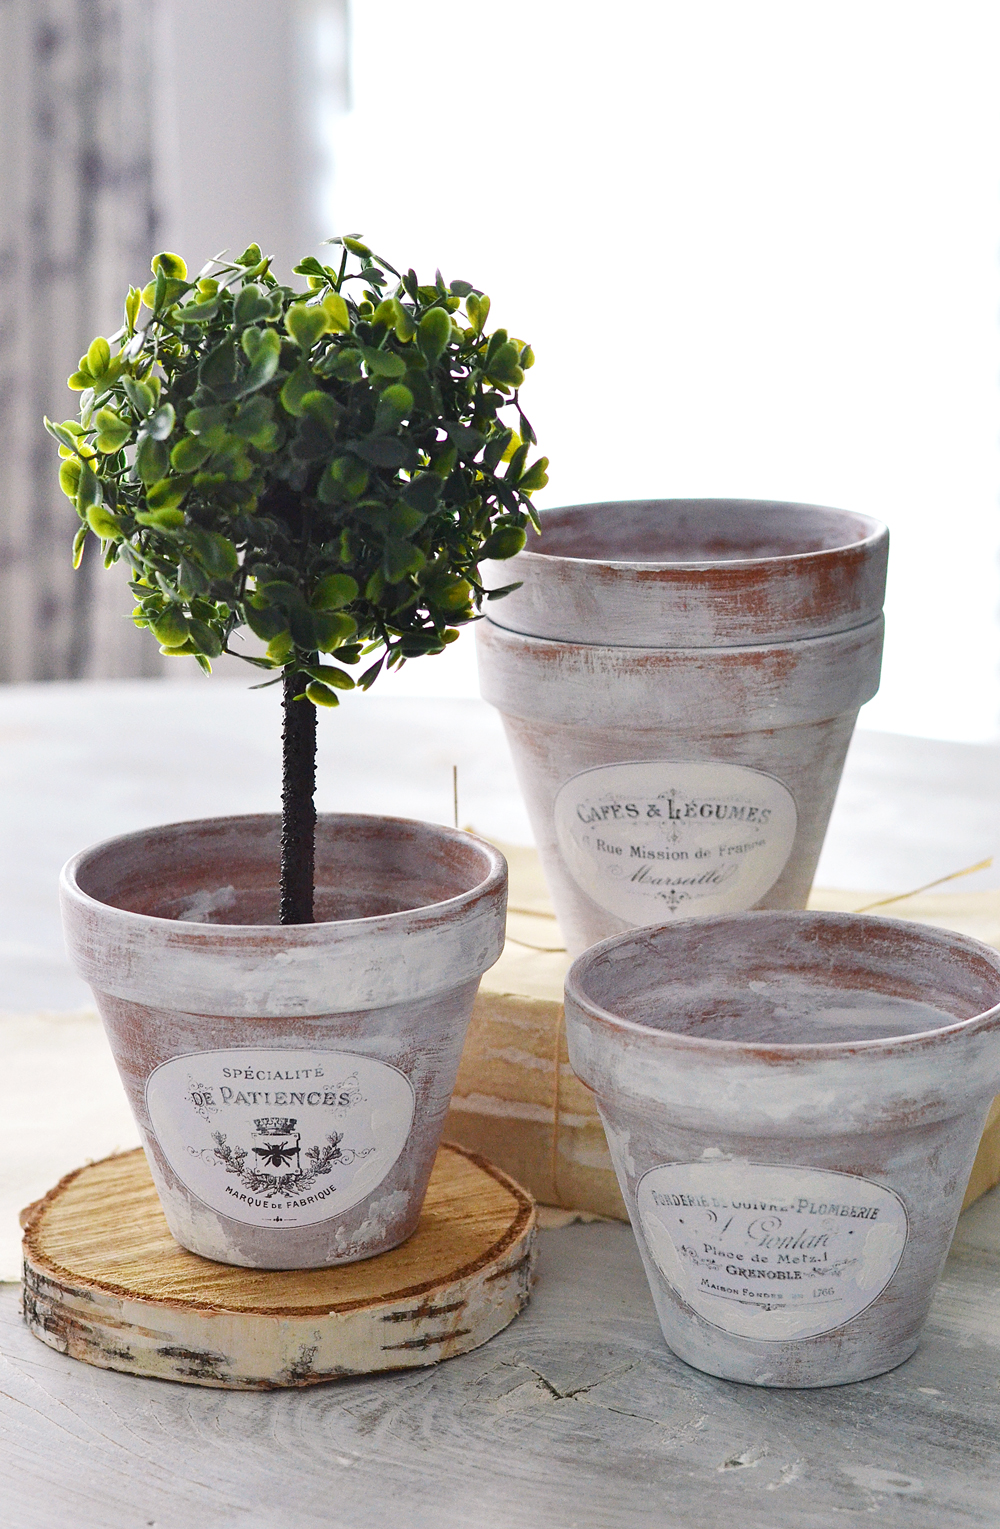
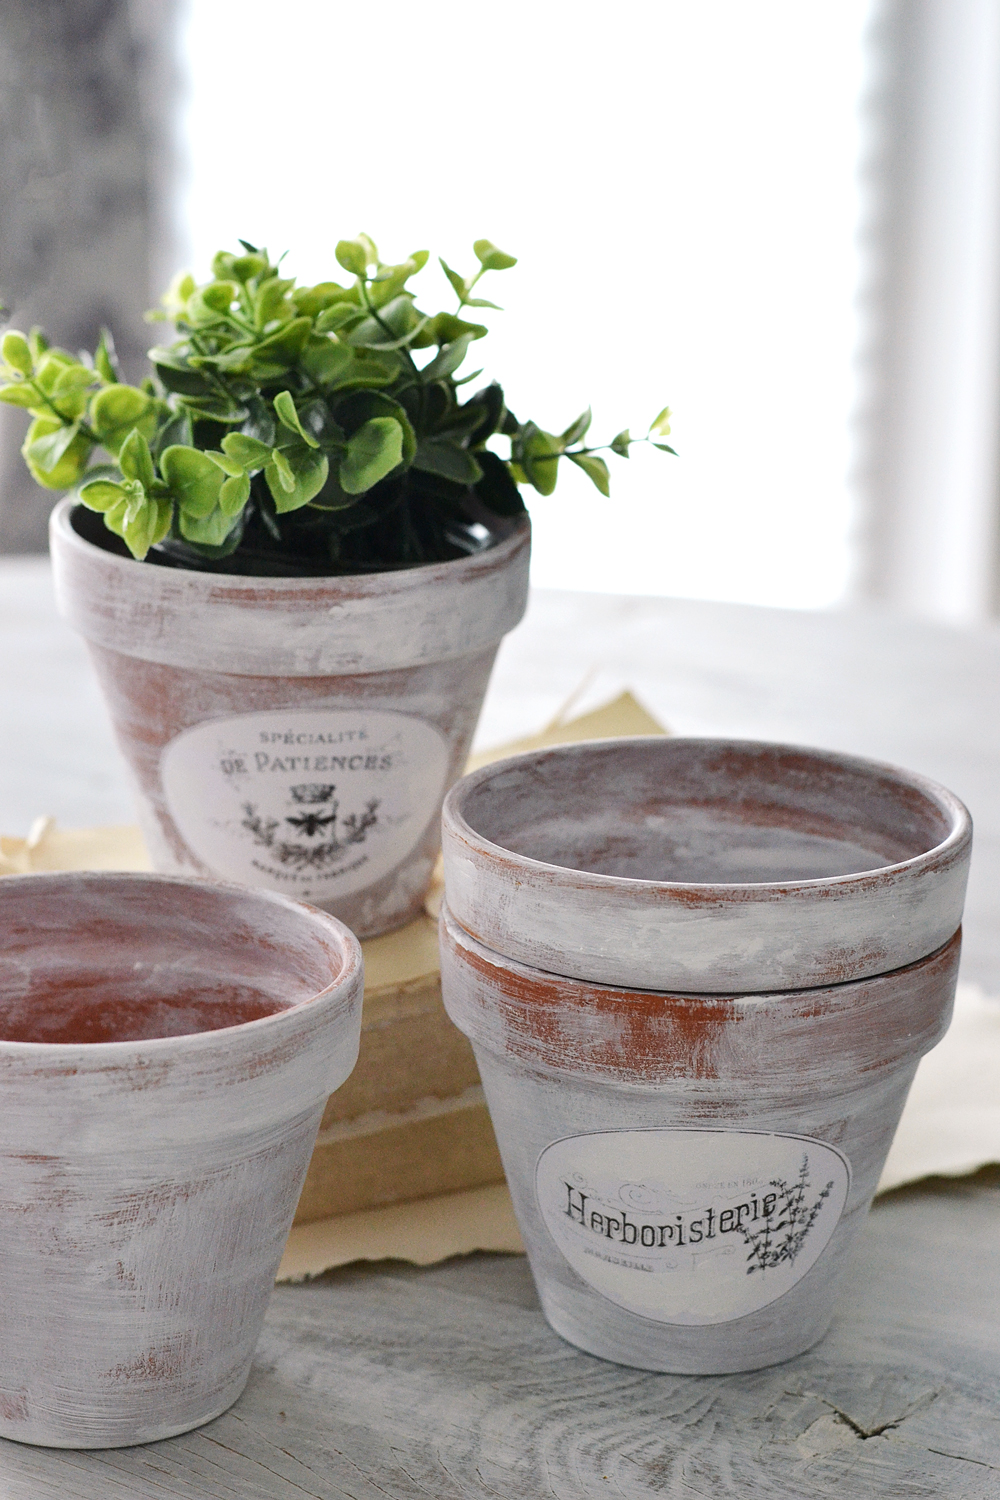
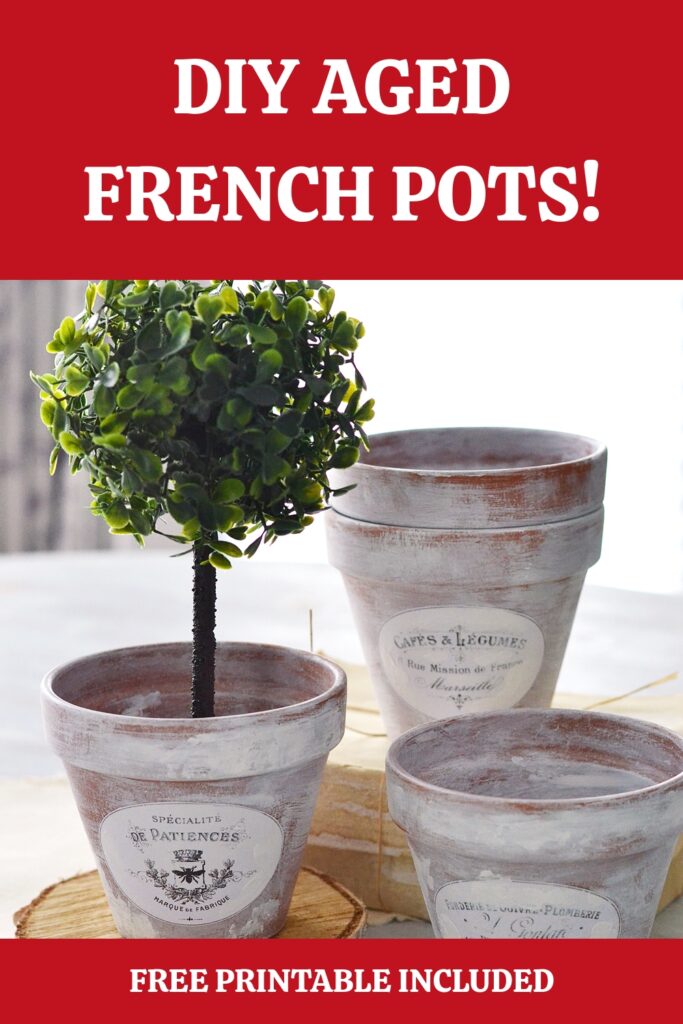
Hello Graphics Fairy friends! So happy to see you again, are you ready for a new DIY project, Dreams Factory’s style? Today we are making some beautiful DIY Aged Terracotta Pots! And of course, I have added a French twist with a Free Printable that you can use for your own French Aged Terracotta Pot projects! I’ll show you how you can easily transform new clay pots into aged, old looking ones with gorgeous patinas, in just a few easy steps – by using the dry brushing technique.
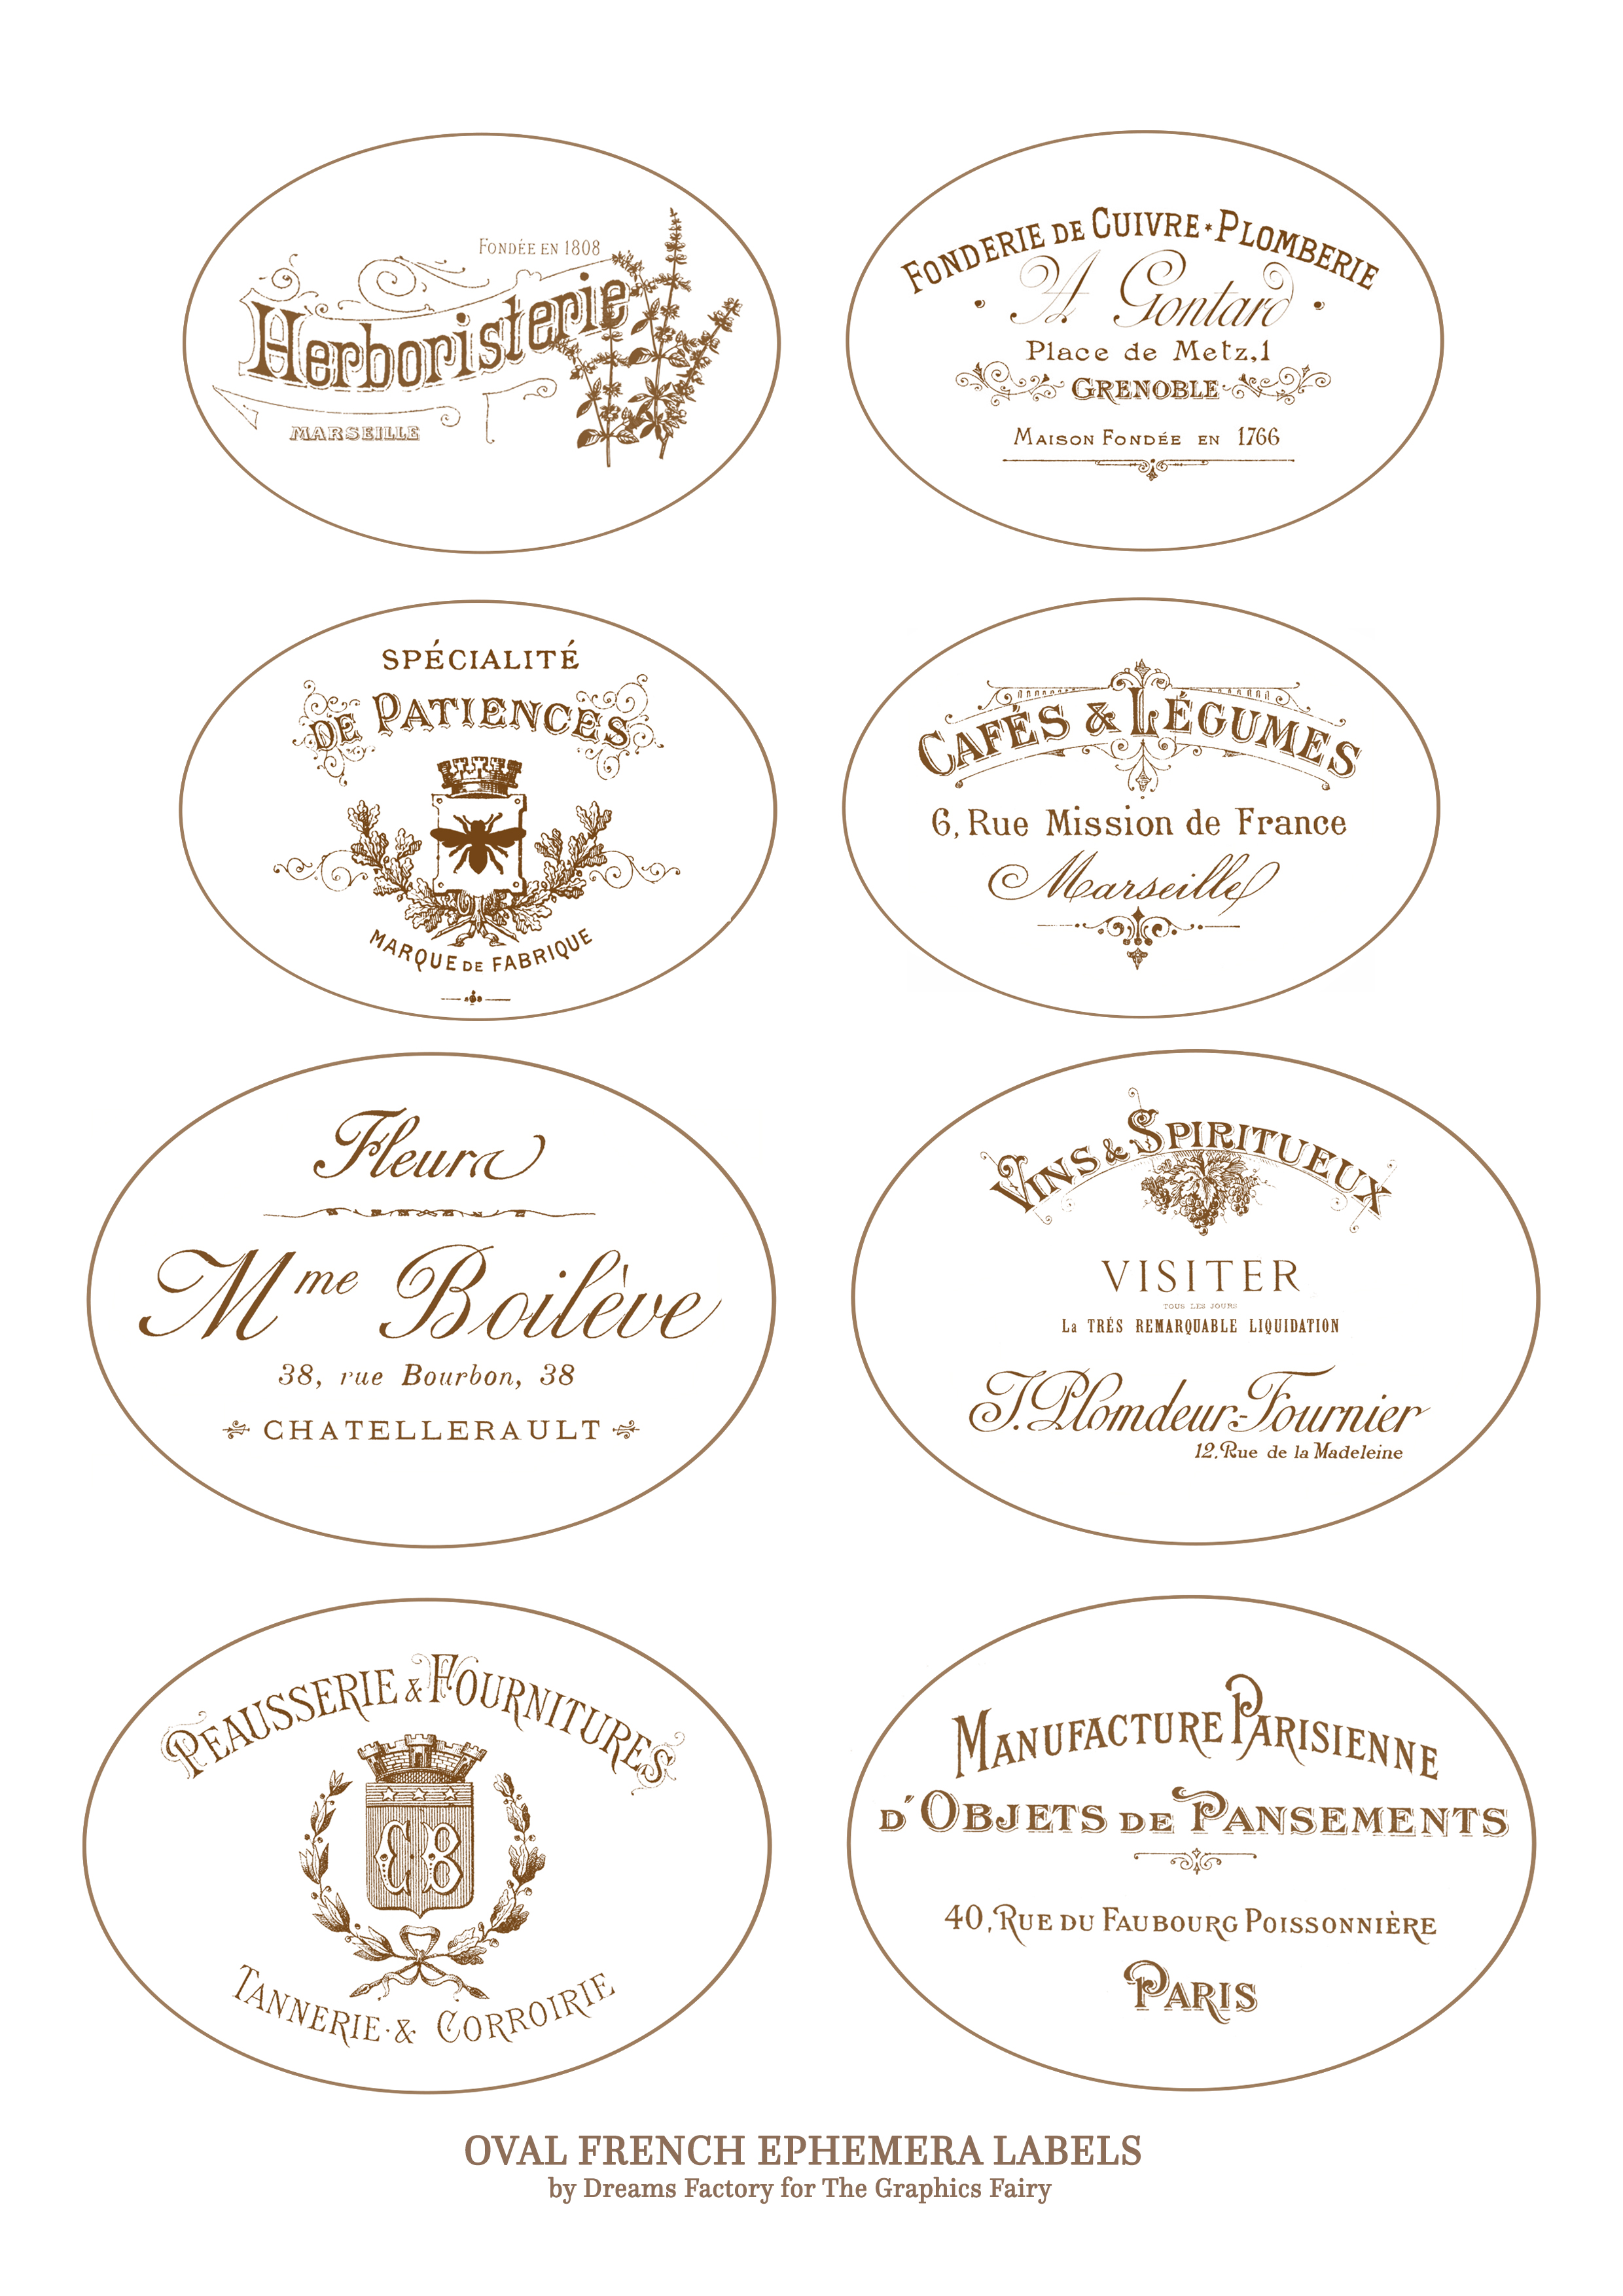
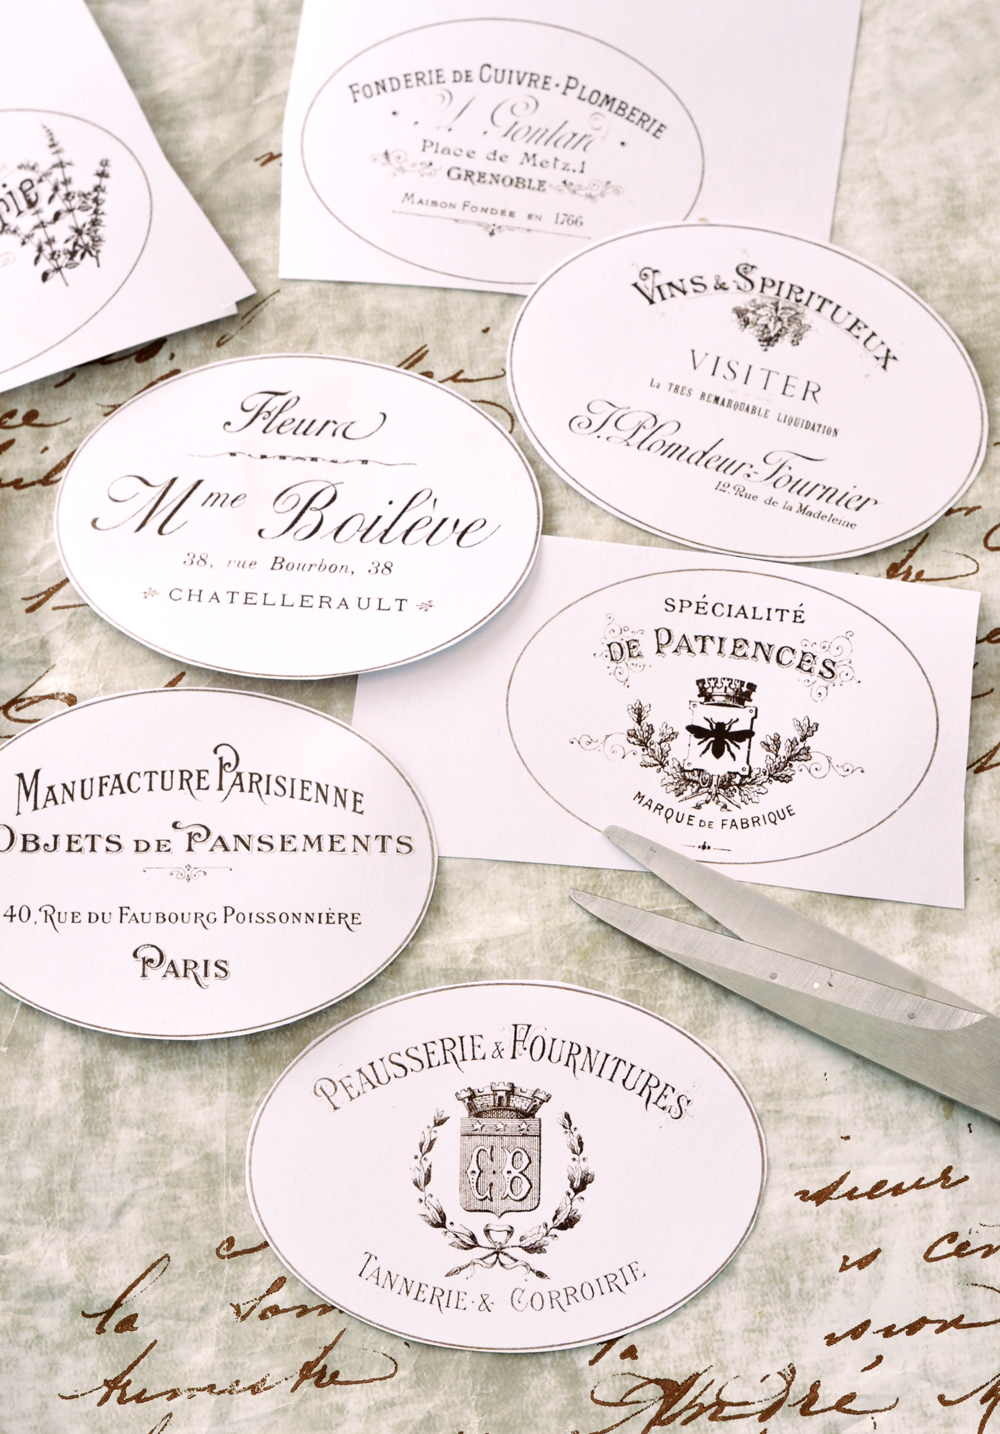
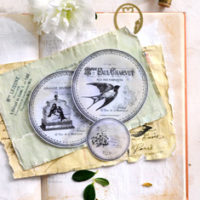
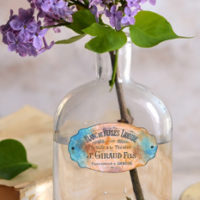
And of course, I’m sharing some amazing French labels that I created especially for this project so you can Frenchify all the pots that you can find! But please don’t stop only at regular terracotta pots when adding these French labels, try to get creative and find any other recipients that can be easily transformed into flowerpots (like jars, pretty cups, zinc pots, enamel bowls, etc.) … so you can Frenchify those too!
NOTE: I made the labels brown because I thought this color would go much better with the whole terracotta concept, but if you want them in black, just set your printer to ‘black & white’ before printing them.
—-> Click HERE to Download the Full Size Printable PDF <—-
I usually work in larger batches for this type of projects because:
- You can never have too much aged pots in your home – especially now that spring is almost here and we need to plant something to (feel more alive and) revive our home decor after one long and cold winter, they look so cute on a covered porch too.
- You will have some truly unique gifts ready to be gifted to friends and family any time of day
So whatever your motivation is, I hope you will give this DIY Aged Terra Cotta Pots project a try!
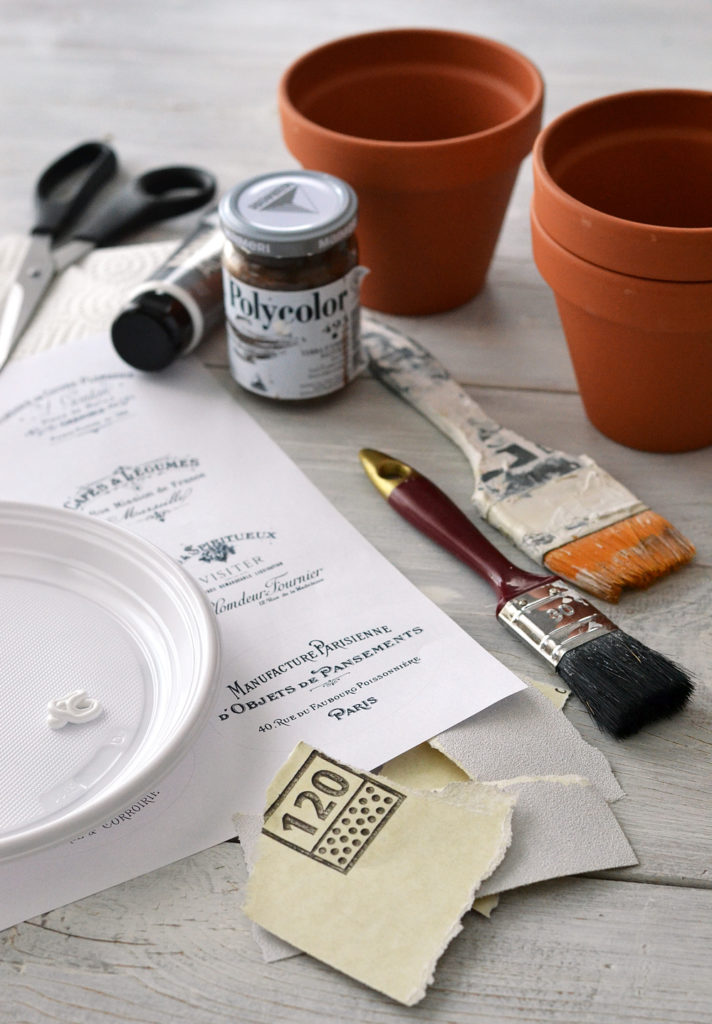
DIY AGED TERRACOTTA POTS SUPPLIES:
- terra-cotta pots
- white milk paint OR acrylic paint OR chalk paint
- brushes (I prefer a regular paint brush over a foam brush)
- Mod Podge
- scissors
- cardstock paper
- ink or laserjet printer
- oval French labels
OPTIONAL:
- 120 or 180 grit sand paper
- grey or brown milk paint OR acrylic paint OR chalk paint
- palette knife
- matte finish spray
- disposable plates
PHASE 1 – AGING THE FRENCH TERRACOTTA POTS
You can use any one of the paints mentioned in the supply list to age the clay pots, I’ve tried them all on several occasions and achieved very similar results.
I choose acrylic paint this time and, in terms of colors, I ended up using only white! I initially thought that I would need a second color (brown or grey) to add more depth and create texture on the pots, but that was not the case. I kind of took advantage of their natural color, I’ll show you in a second what I’m talking about.
The dry brushing technique is quite easy and I just LOVE how much freedom you get when using it!
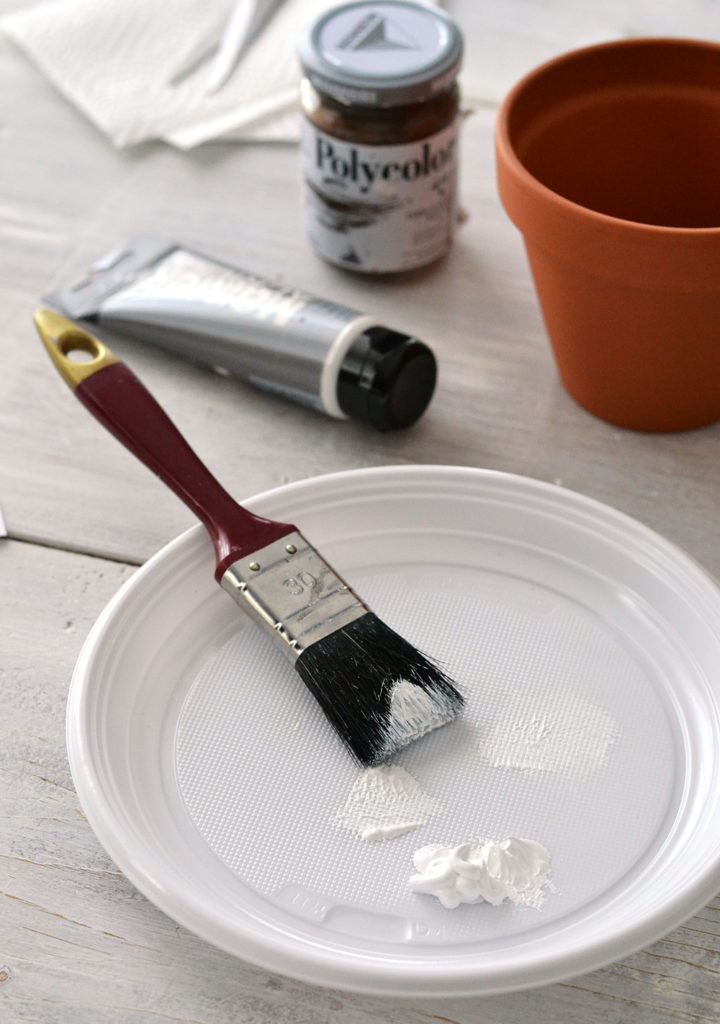
You basically dip the tip of your brush into paint and you dab away the excess until you have removed almost all the paint from the brush. I used a disposable plate for dabbing the excess paint, but you can also use paper or a cloth.
Just make sure you dab the excess paint BEFORE brushing it to the object.
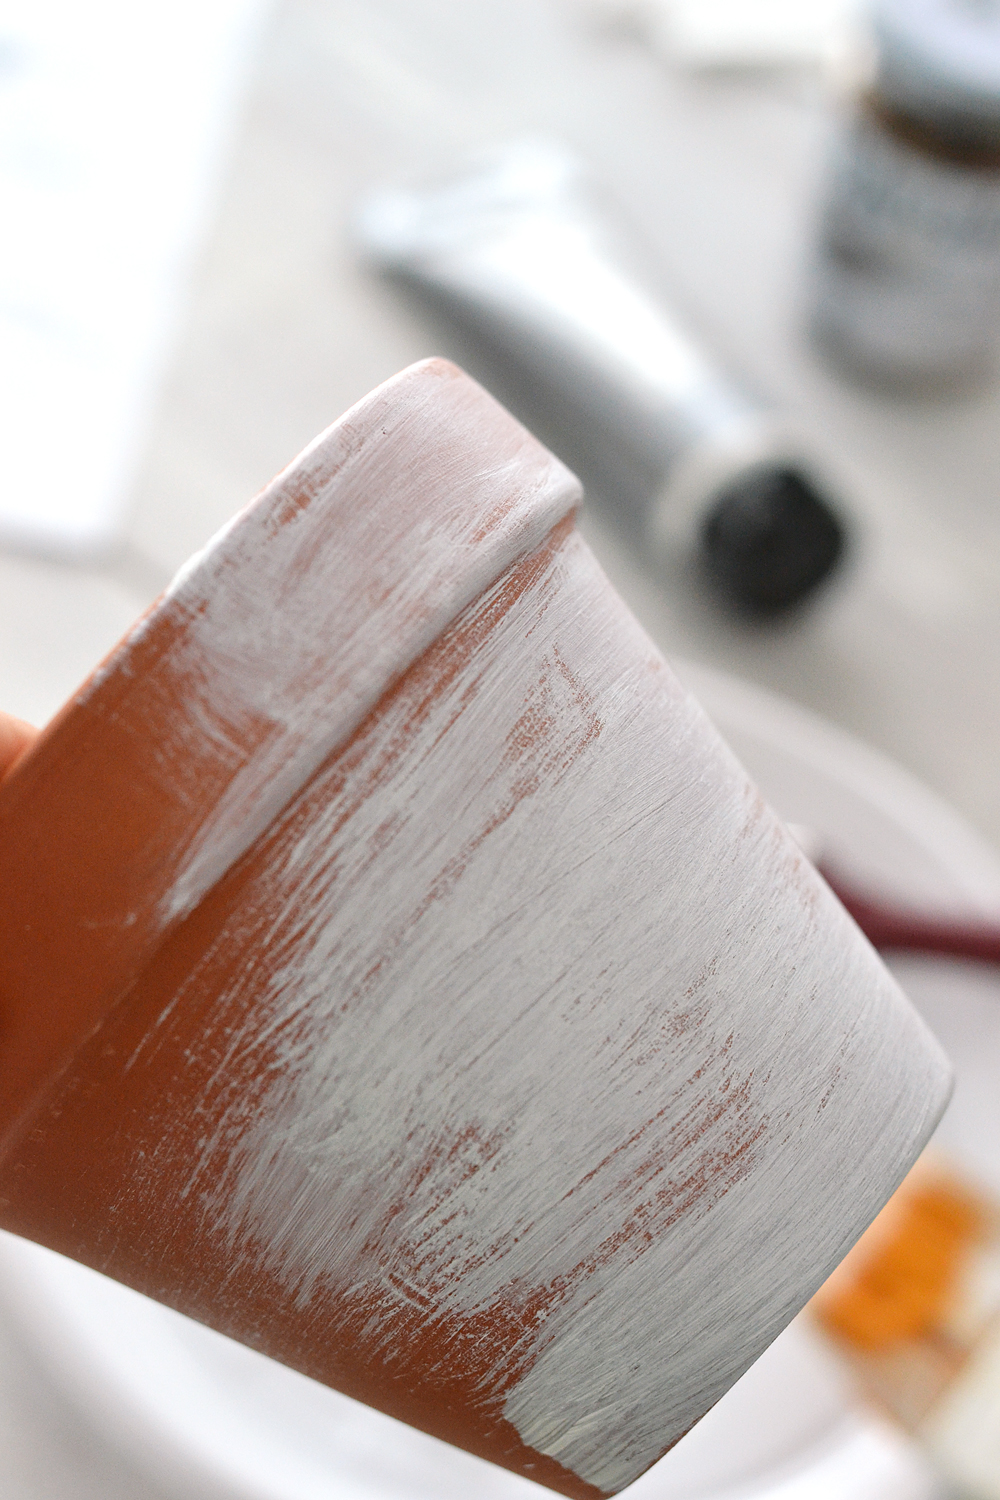
Then you can paint long irregular brush strokes all around the pot, applying not too much pressure. Don’t insist too much in the areas where you want the color of the pots to show from underneath – the margins, the edges or any other places that you think would normally be aging in time.
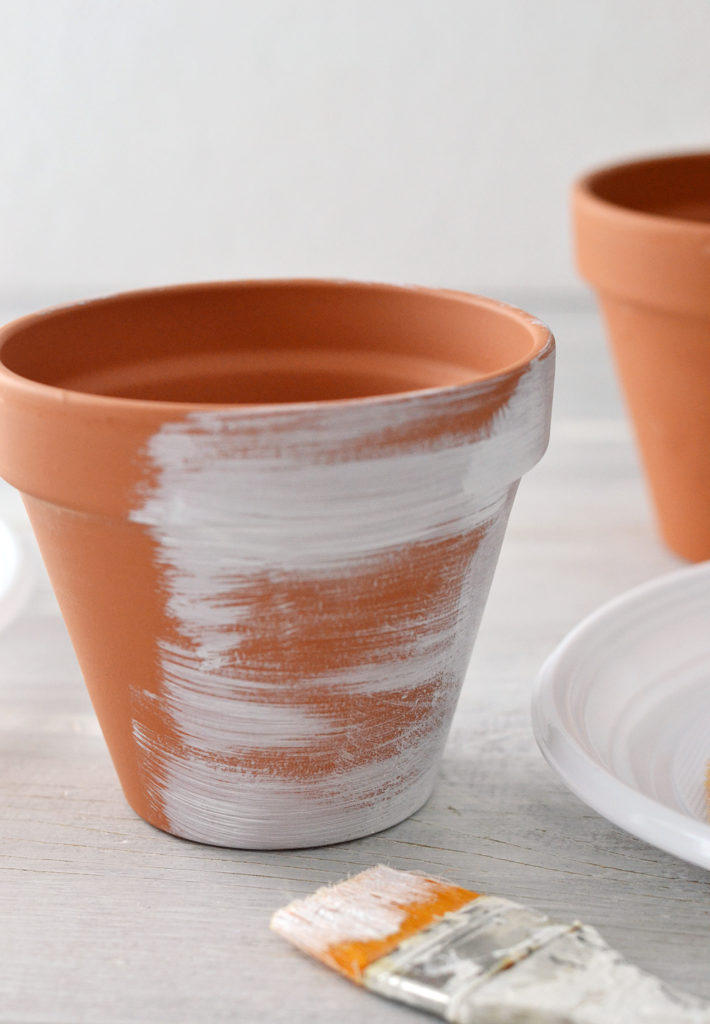
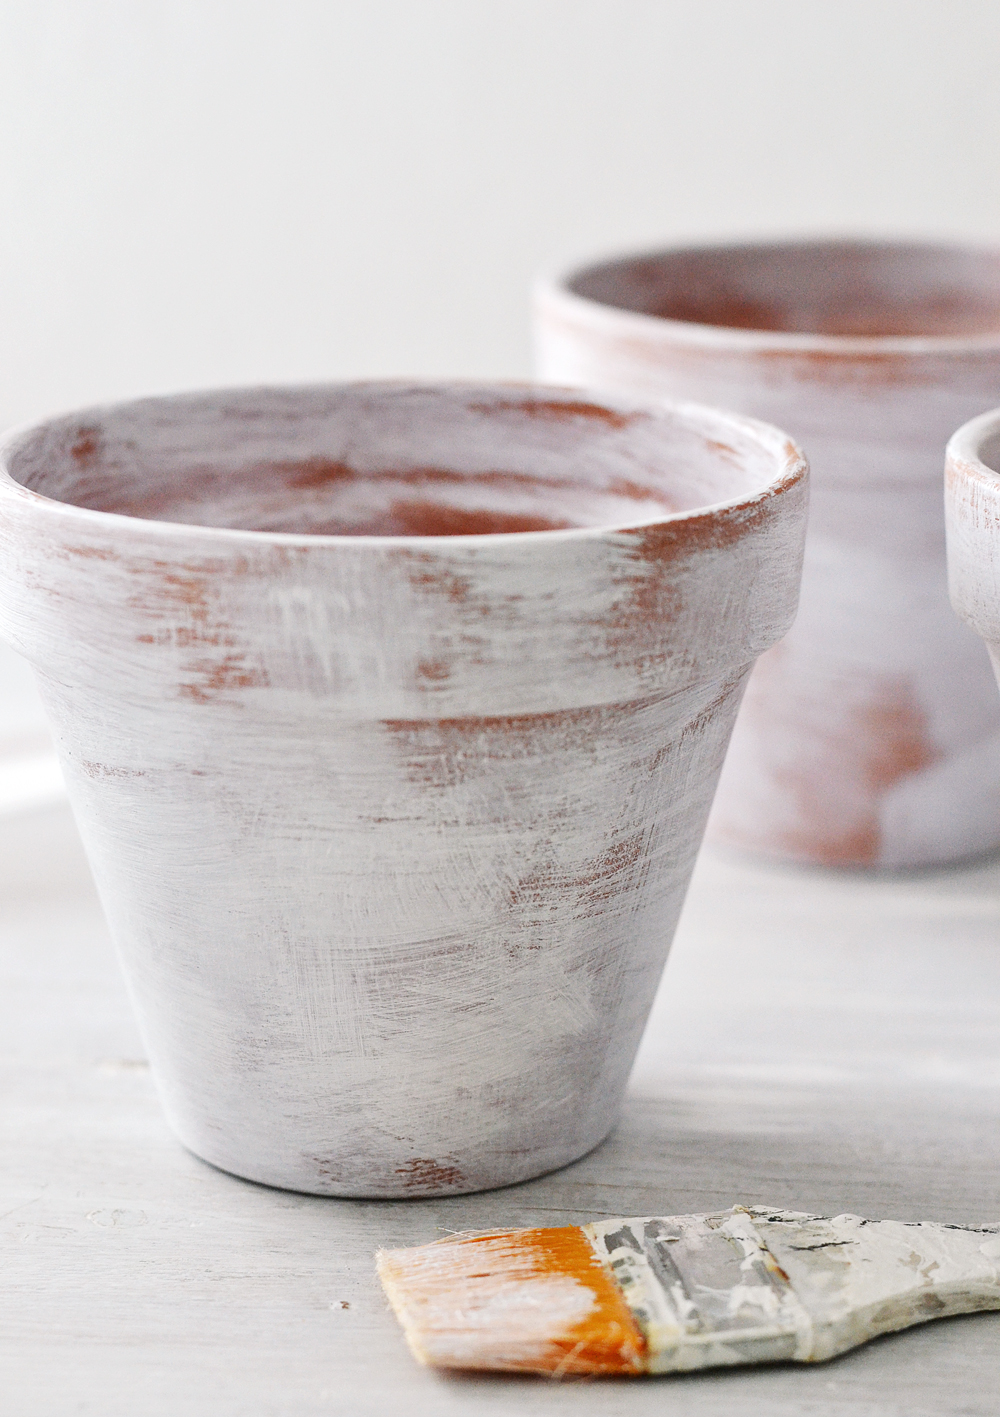
I found it easier to leave large unpainted areas at first (like in the picture above) and then go back to paint and ‘fill’ those areas, applying more or less pressure (like in the picture below).
You will primarily brush long horizontal paint strokes (if you keep your pot in front of you, on the table), but you can also brush on some smaller vertical or diagonal lines. This will create texture and will add character and dimension to your painted object.
Just remember, every time you dip your brush into the paint, you dab the excess on the disposable plate BEFORE applying it on the pots! Quite easy, right?
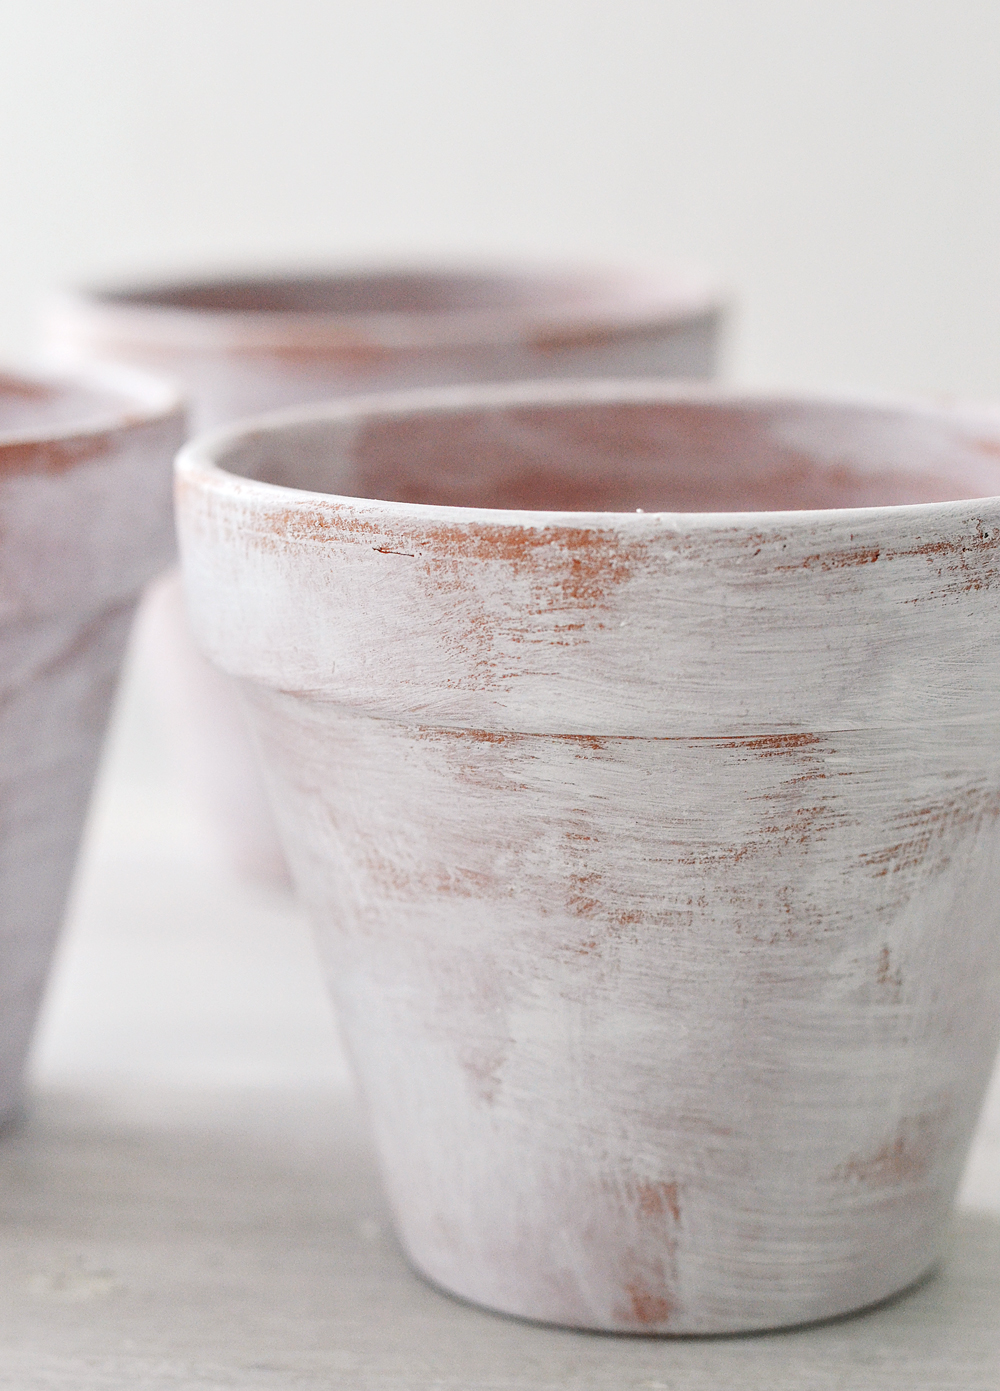
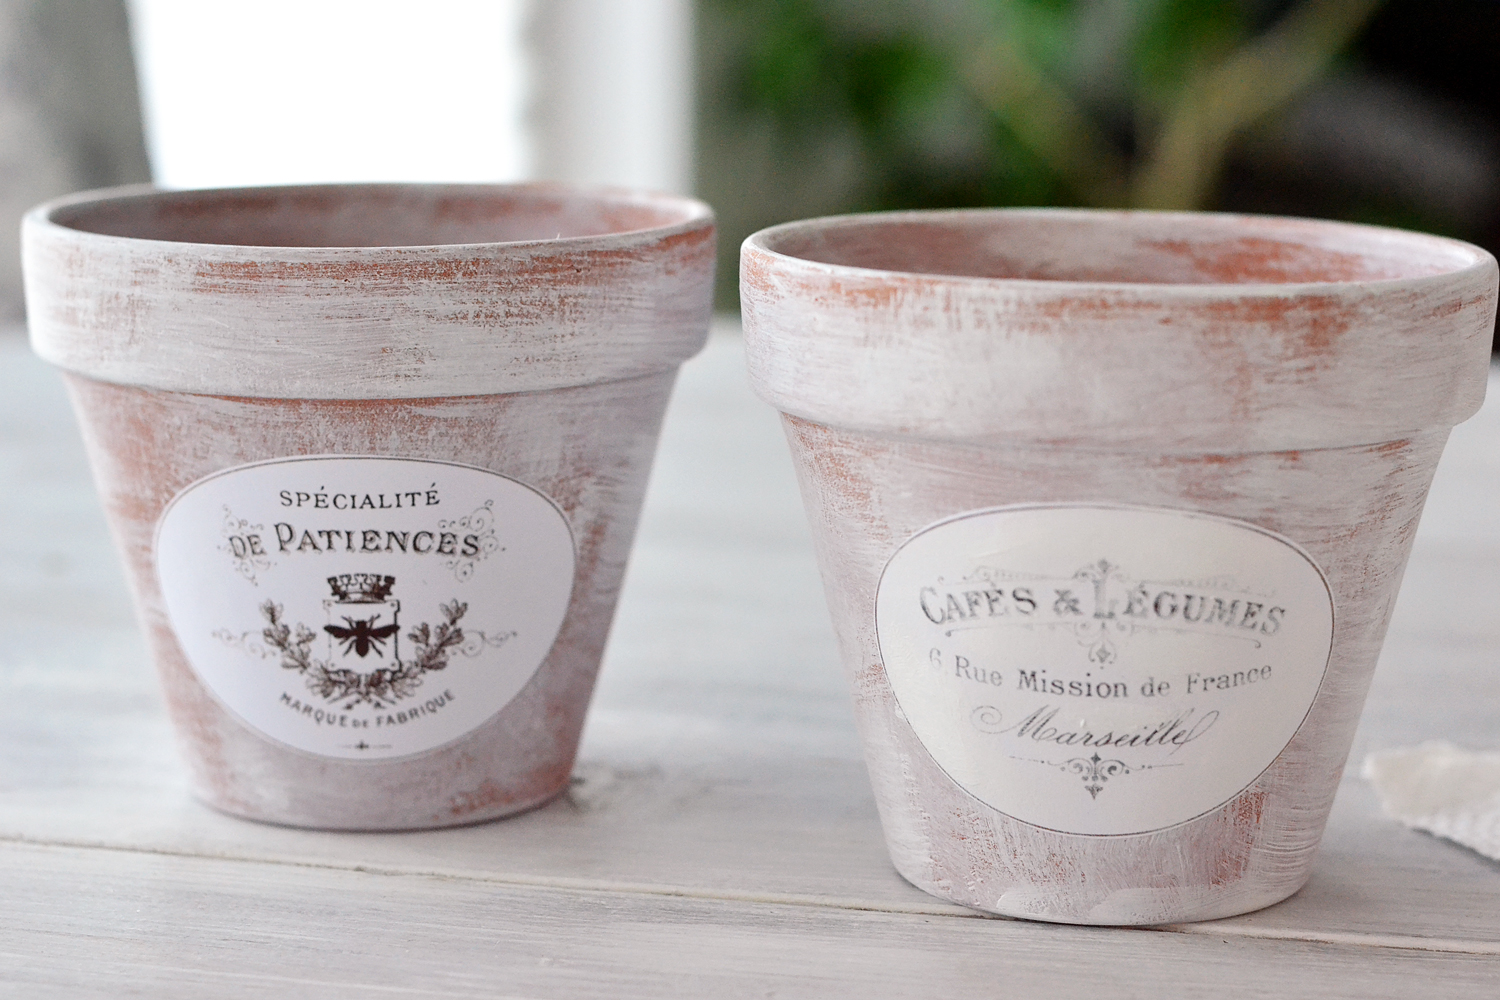
It was almost love … at first brush! This perfectly imperfect technique allows you to get really creative with every brush stroke and add a beautiful white patina.
Because we are using a little amount of paint on our French Terracotta pots, they will almost instantly dry.
NOTE:
If you are not happy with the results or if you feel like maybe you applied too much paint in one place, you can use a damp cloth to remove some of the paint or to blend it in (and give it a more washed look). You can also use sandpaper to give the pots an even more aged look.
OPTIONAL:
If you feel like adding another color, now it’s the perfect time to do it. Follow the same steps (dip and dab) and brush the new color here and there, trying to blend it in.
As I mentioned before, I only used white paint.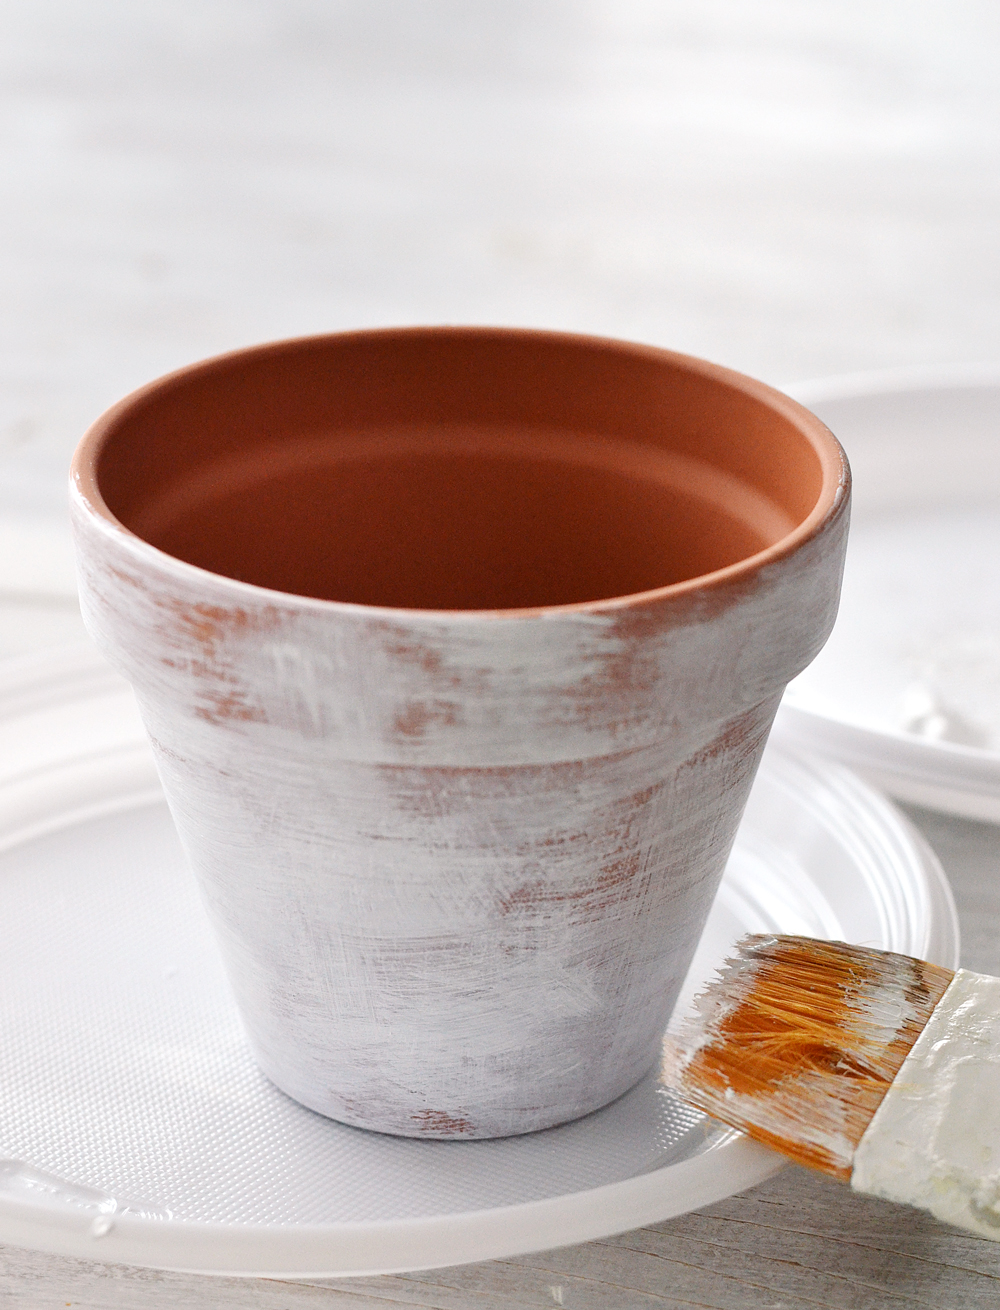 You can brush a little bit of paint on the inside of the pots to create a more cohesive final whitewash look.
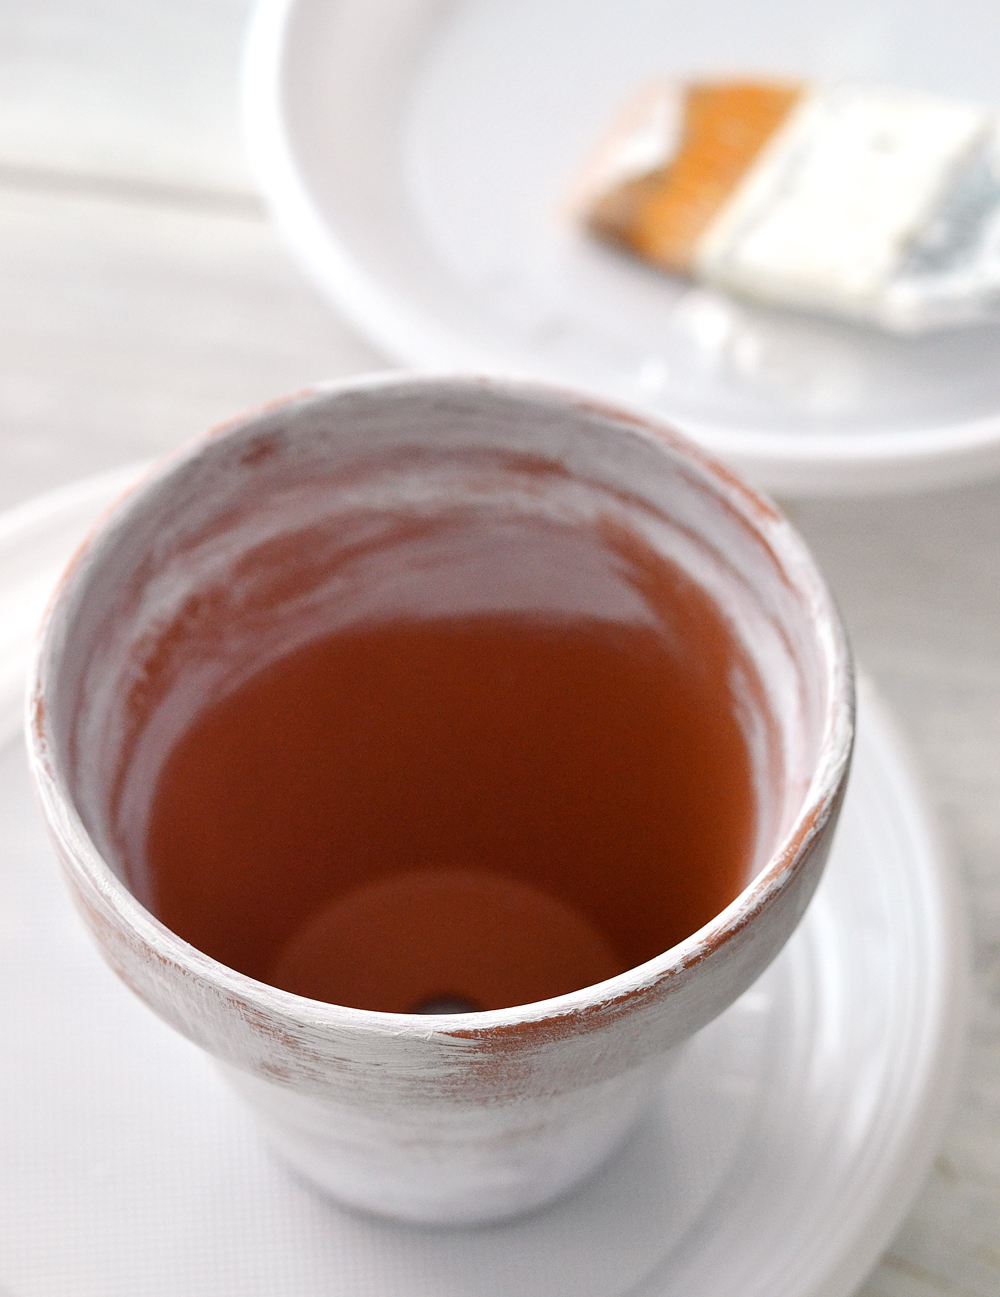
Follow the same procedure to dry brush all the pots…and then sit back and admire your work!
PHASE 2 – FRENCH DECORATING THE FRENCH TERRACOTTA POTS
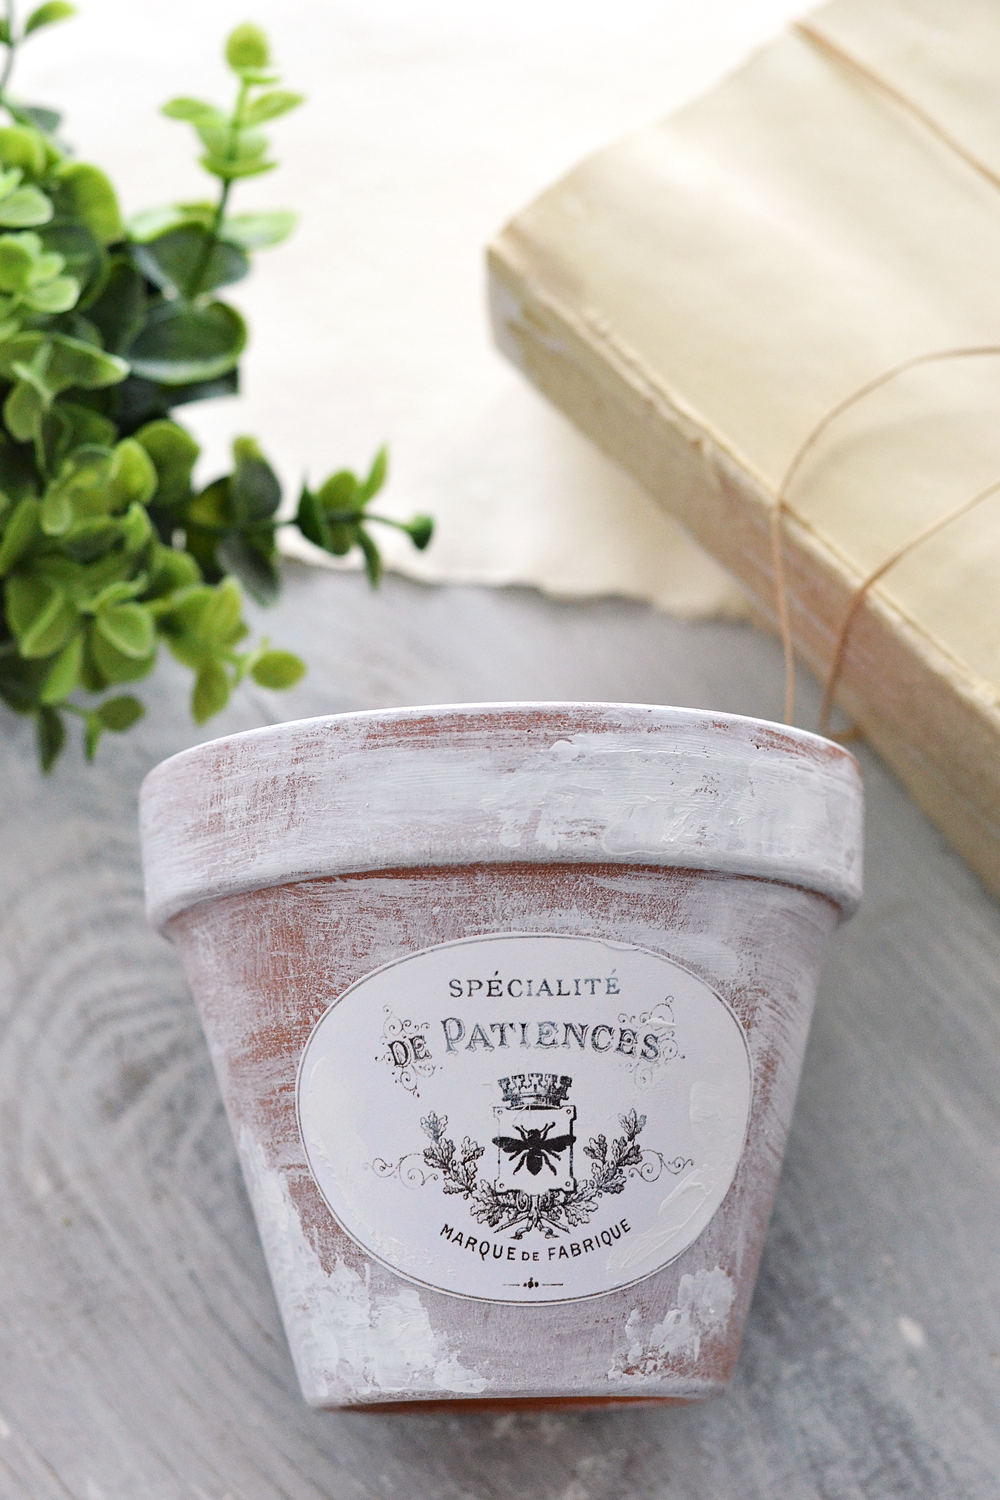
For this step I decided to go with a super simple method. I printed the French labels on cardstock paper (using my laser printer) and just adhered them to the pots using some Mod Podge.
TIP: If you want to try any other technique, you can also check this article: 23 Easy Image Transfer Methods.
Then the labels got a special treatment too, because I felt I needed to help them blend more in, so they would go well with the whole aged look that I was looking for.
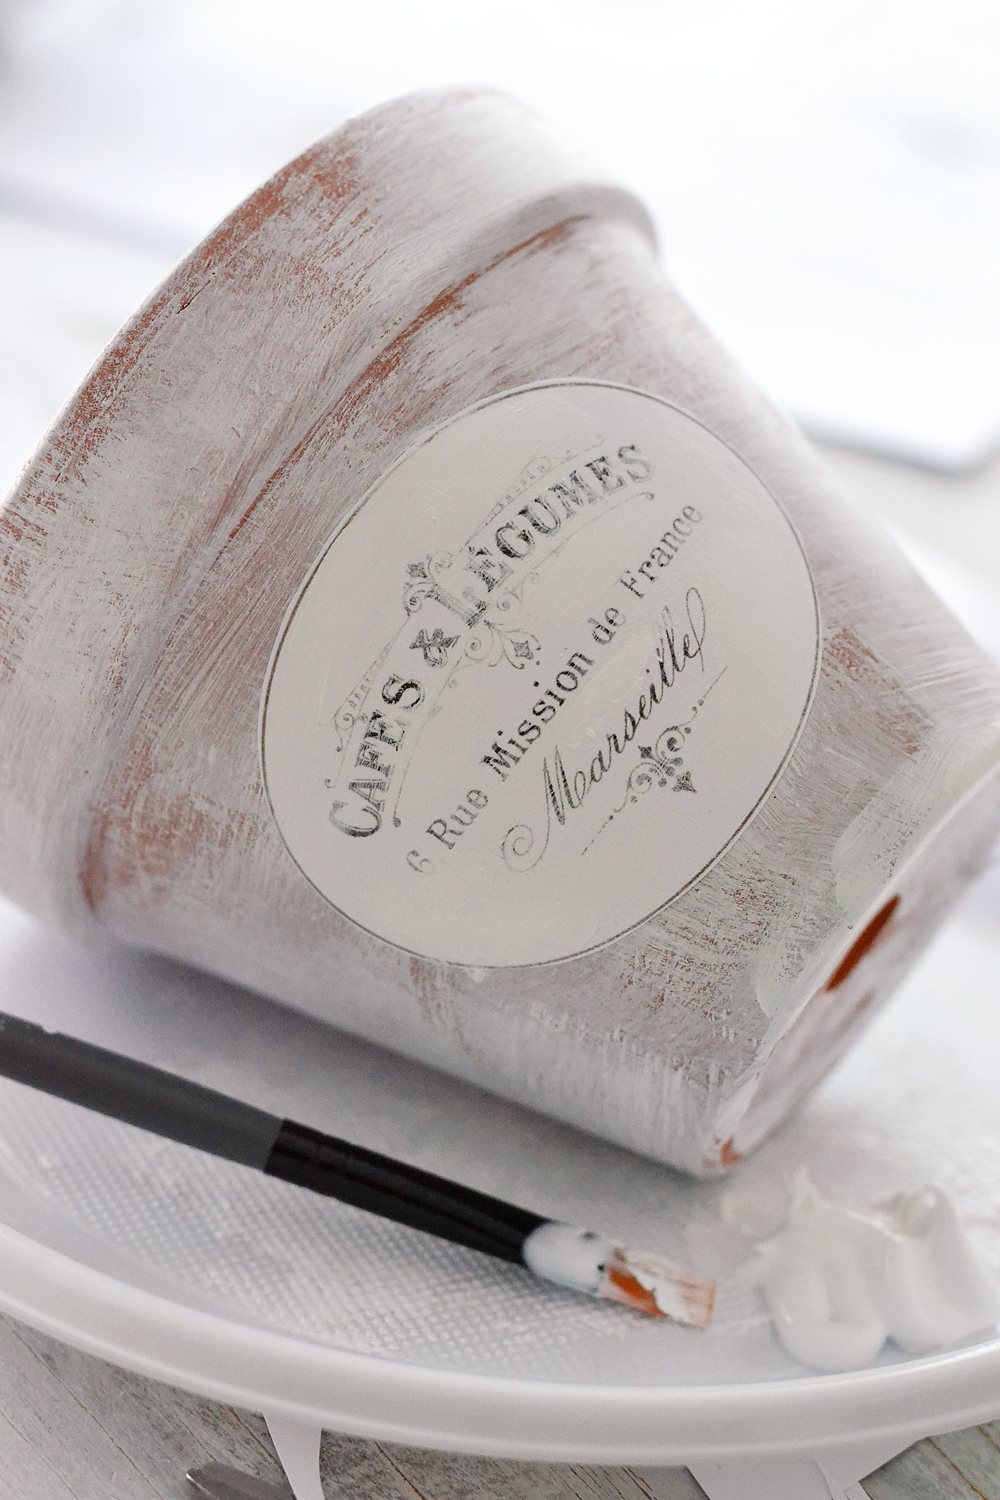
So I dry brushed some white paint on the labels too, especially on the areas that were not covered with graphics. I deliberately cover some of the writing too, so that the labels don’t look ‘too perfect’.
Here is an example – the label from the left is just simple cardstock paper without any white paint and the label from the right has a little bit of special treatment applied on
As you can see, the left label kind of pops in when you look at the pot and the one from the right sorts of blends it better. You can also use tea, coffee or highly diluted brown paint (like I did with the DIY Vintage French CD Coasters or with the French Hat Boxes) to give the paper a more antique look. So you have a few options here and depending on your preferences, you can choose your favorite method!
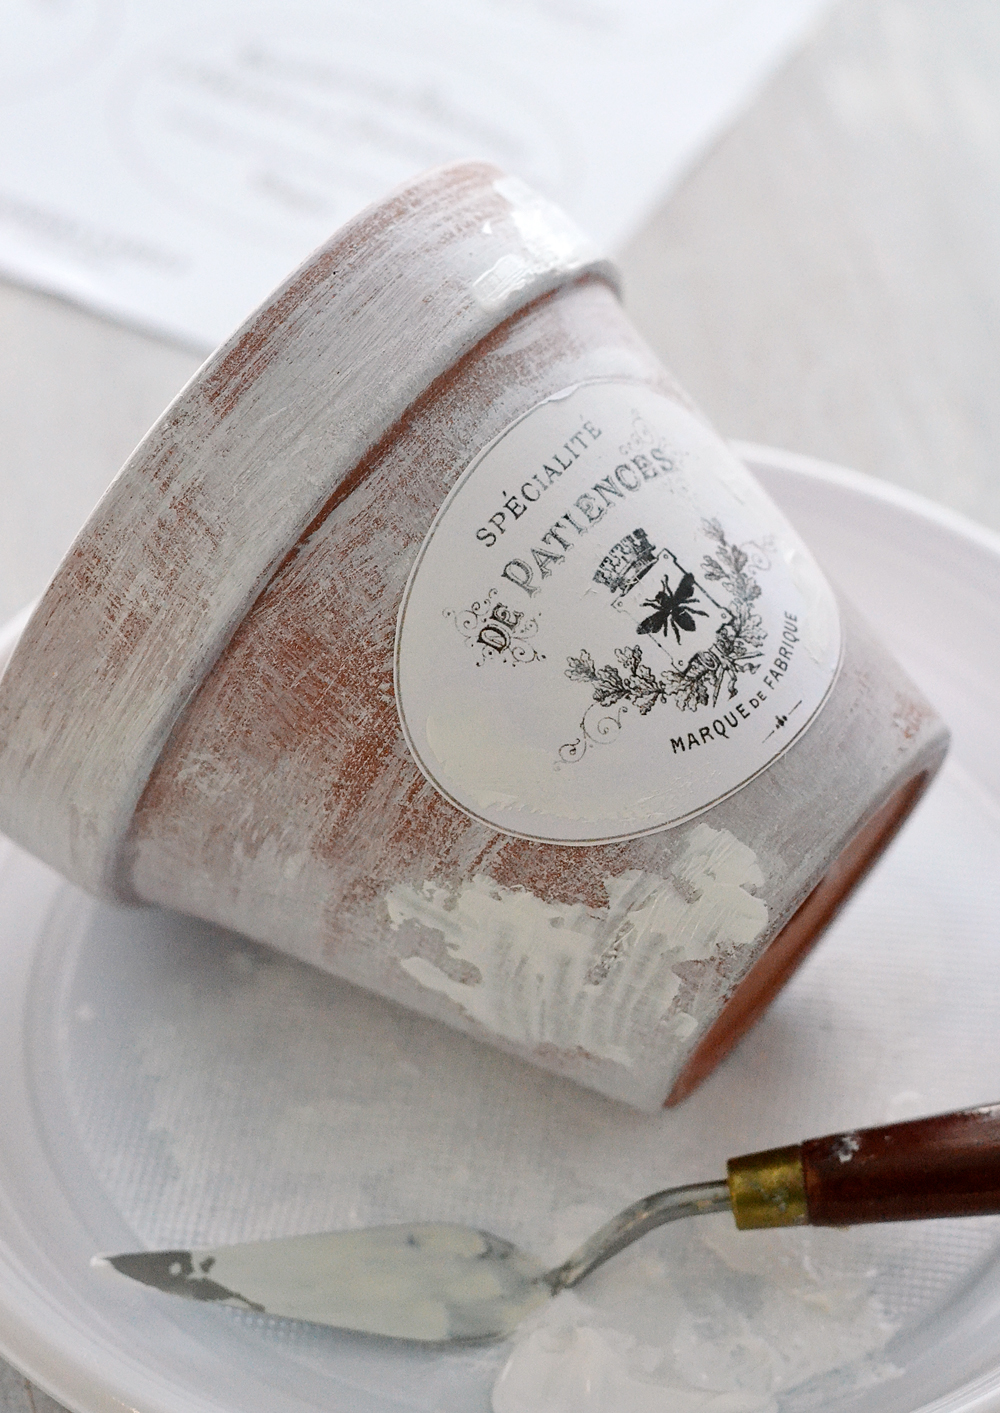
Optional, to give your DIY Aged Terracotta pots and your labels a little more depth, you can apply more paint in some of the areas, or even some gesso. I used a palette knife to create irregular textures here and there, but you can also use your brush for this.
Or your fingers, like I did, to apply thick dabs of paint on the label below 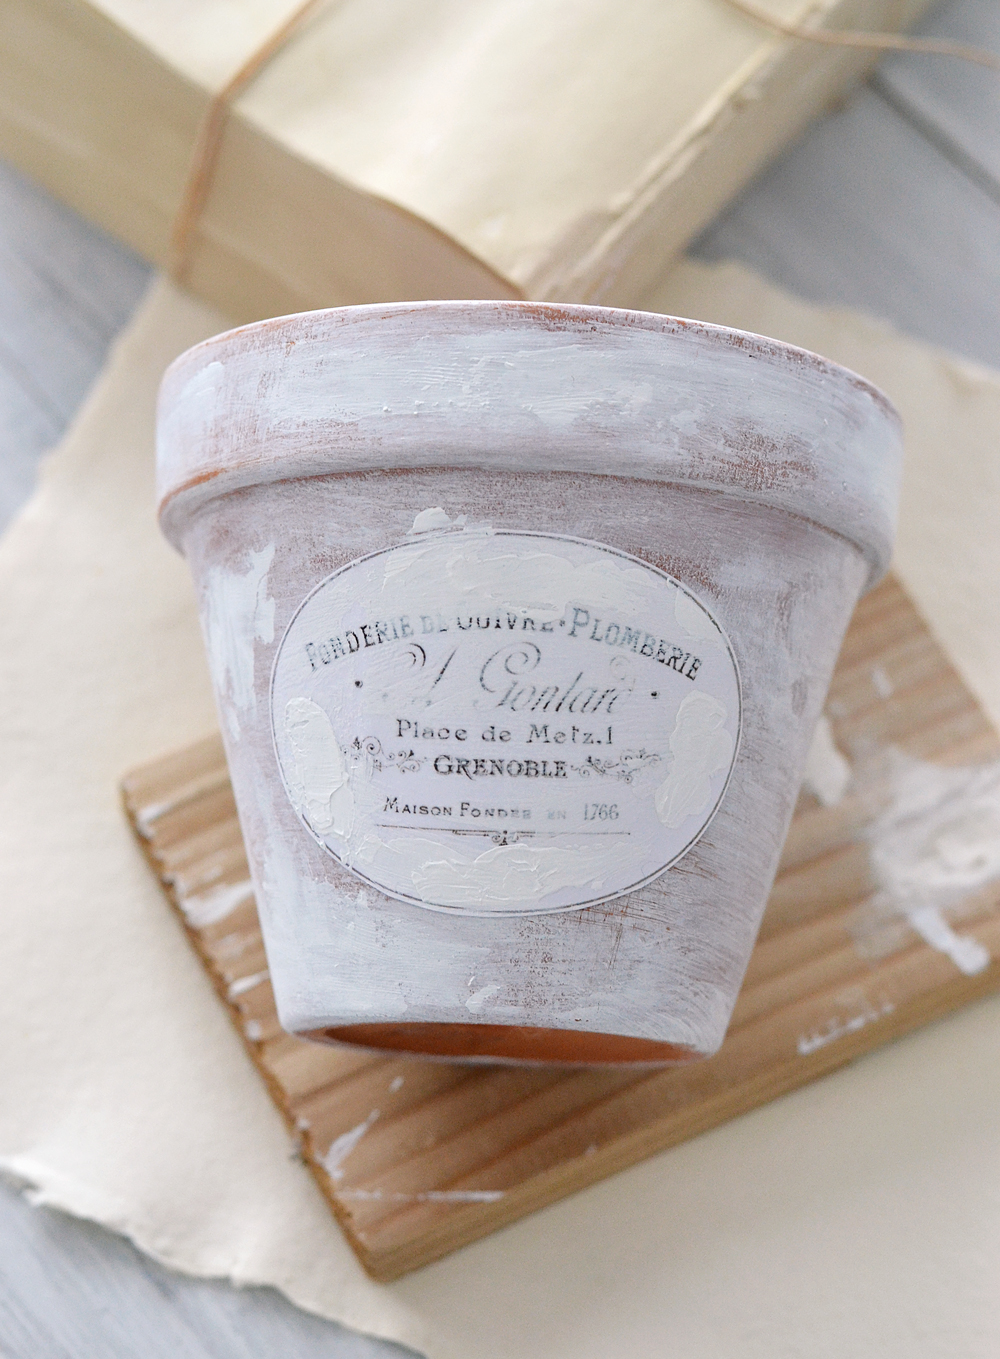
PHASE 3 – SEALING THE FRENCH FLOWER POTS
After the pots are completely dry you can take them outside (or in a well ventilated are) and seal them with a matte finish spray.
I skipped this step (for now) because is still cold outside, but I will do that as soon as the good weather settles in.
If you want to only seal the labels, you can use Mod Podge to brush a generous layer on top of each label.
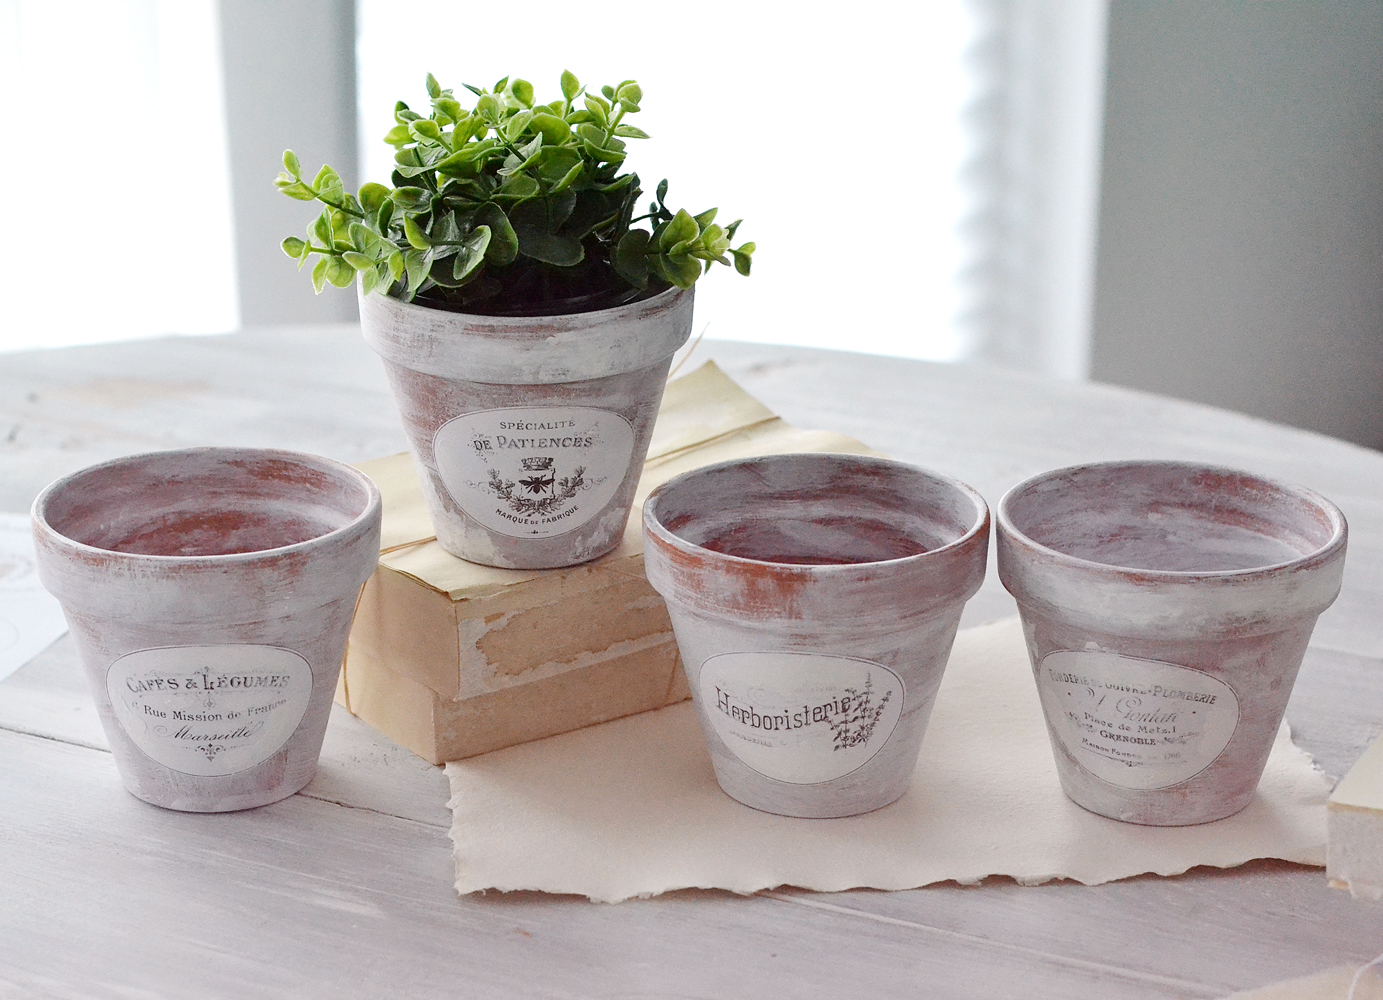
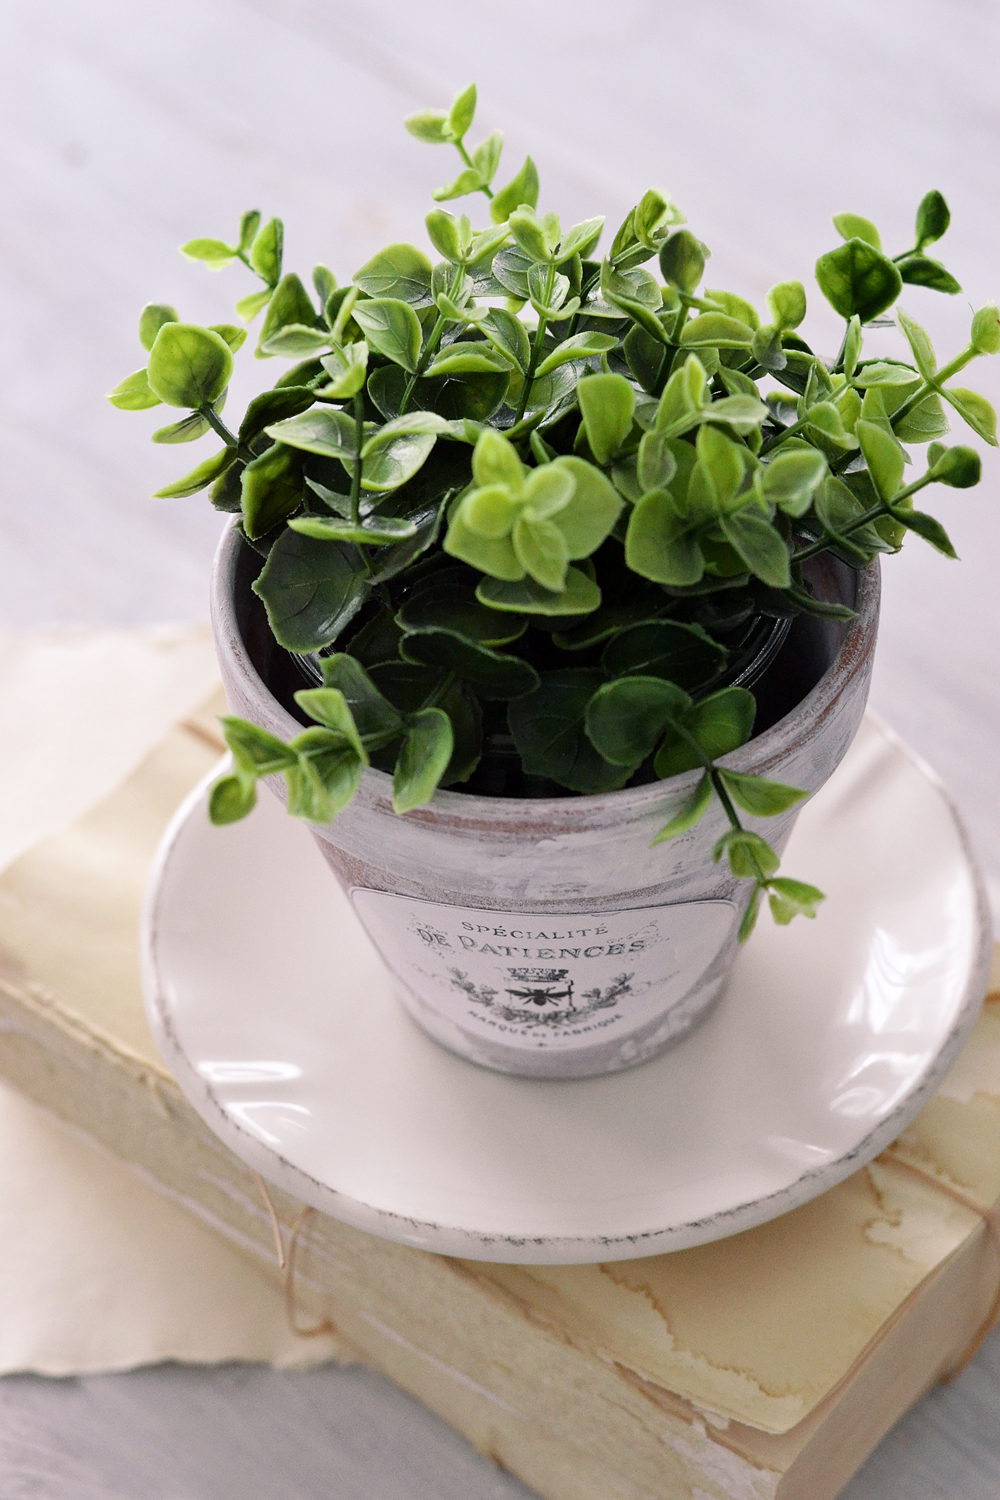
You can place these beauties all over your home with natural greenery or artificial plants – herbs, flowers, aromatic herbs, wheatgrass, anything that you can think of.
I’m planning of using them to create a small indoor aromatic herbs garden in my farmhouse style kitchen real soon. What a great way to welcome spring, my favorite rosemary, basil, oregano and thyme will now have some pretty amazing planters all for themselves.
If you have some terracotta saucers to go with your pots, you can follow the same steps to also give them an aged look. If not, just use some lovely coffee saucers or small plates that would complement your new French Flower Pots.
Hope you’ll have fun creating these DIY Aged Terracotta Pots for your home! For more similar DIY projects you can visit my blog – Dreams Factory. Have a beautiful spring!
Diana


Val says
Could this technique be used on plastic pots for out door
Karen Watson says
Hi Val, I think it would be very hard to get a rustic look on plastic pots. The terracotta really lends itself well to dry brushing because of the matte and porous finish of the clay, where as plastic pots are a shinier slicker surface.
Tricia B says
Hello
Just discovered your site. WOW !
what product would you suggest to seal the pots ?
So excited on learning and making vintage style products.
Tricia
graphicsfairy says
Welcome Tricia! We are so happy you found us:) She used a matte clear spray sealant.
Elaine says
The PDF for the ‘brown’ labels won’t link to the file. Thanks for all the great labels!
graphicsfairy says
Hi Elaine, I just tested the link and it is working just fine. Try closing out of your browser completely and then going back in and try it again, this usually does the trick 🙂
vivian says
love love your labels! i was wondering how to “rotate” the image; making it backwards. so that way when i do the mod podge technique and rub the label off, it will be right. thanks so much for your help!
graphicsfairy says
Hi Vivian,
Here is a link to how to reverse images for transfers, https://thegraphicsfairy.com/how-to-reverse-images-for-transfers/
I hope that helps, enjoy!
Marilyn Sletten says
Thank you for the inspiration!! I plan on trying this project. Thanks again!!
graphicsfairy says
My pleasure Marilyn 🙂 Good luck with your project!
Marie says
Thank you for sharing, Diane. Will definitely try this.
graphicsfairy says
Awesome Marie, enjoy!
Julie Kitchener says
Wow, gorgeous! I am going to try this! thank you
Nancy E Hinrichs says
I LOVE this! When I get a chance, I’m doing it!
graphicsfairy says
Yea 🙂 Go for it Nancy!!
Barbara Hermes says
IThe gorgeous bird, nest and eggs is truly gorgeous. I will have a special frame made for it by a friend who does this.Your website is the best I have found.
graphicsfairy says
Thanks so much Barbara!