DIY Christmas Planner
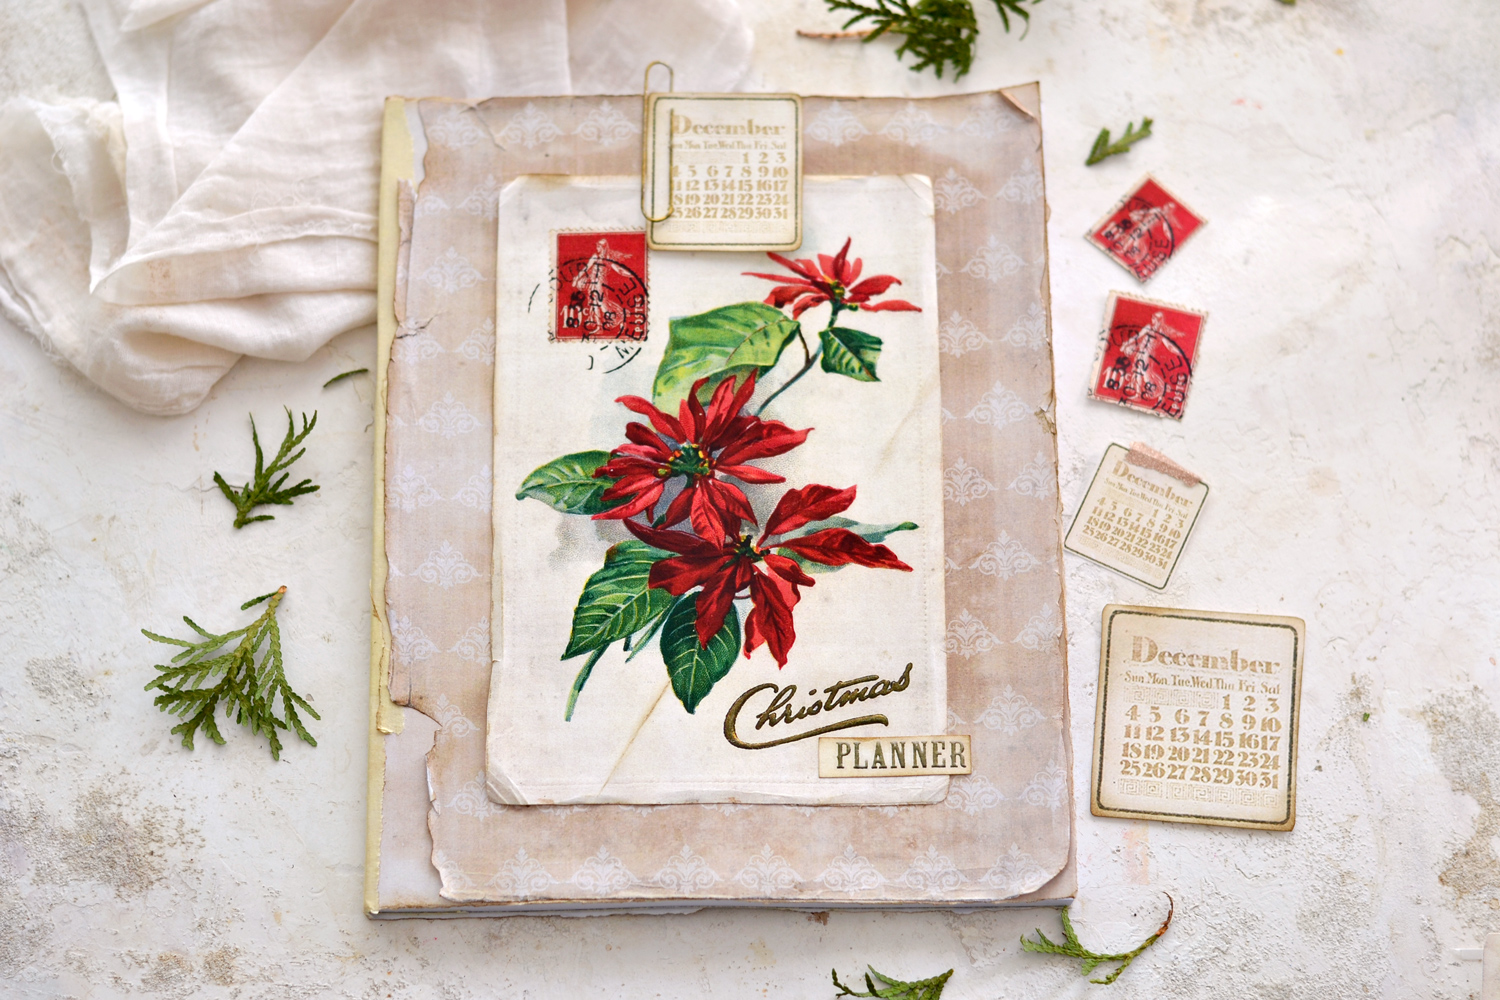
Hello Graphics Fairy friends! Diana from Dreams Factory here, ready to share another DIY project with you! Today we are welcoming the holidays with a special project – I will show you how to make this gorgeous DIY Christmas Planner using a Dollar Store Notebook! And even though we will be using a minimal list of supplies, I will show you how to imprint a vintage vibe to your planner, so you’ll not only have a functional planner, but also a visually appealing one! I went with neutral colors for the covers, but the star of our project is obviously this absolutely stunning poinsettia flower that will definitely bring that chic Christmas-y vibe in.
This time of year I always envision how great it would be to start prepping beforehand so I can have everything ready just in time for Christmas. But that is not usually the case and Christmas always manages to take me by surprise. Maybe you’ve been in this situation on more than one occasion, so I’m hoping this planner will come in handy. It might even become your best friend who helps you organize things as you go while also keeping you stress-free! It’s always great to have one of these helpers around, no matter if you are planning on organizing a small family gathering or you are feeding a larger crowd.
I wanted to keep things fairly uncomplicated with this project, so I used a composition book for my base. These are usually inexpensive and easy to find so you will be able to create a planner that is beautiful but also functional. A win-win situation in my books! I opted for the unruled version, just choose the one that you are most comfortable writing in.
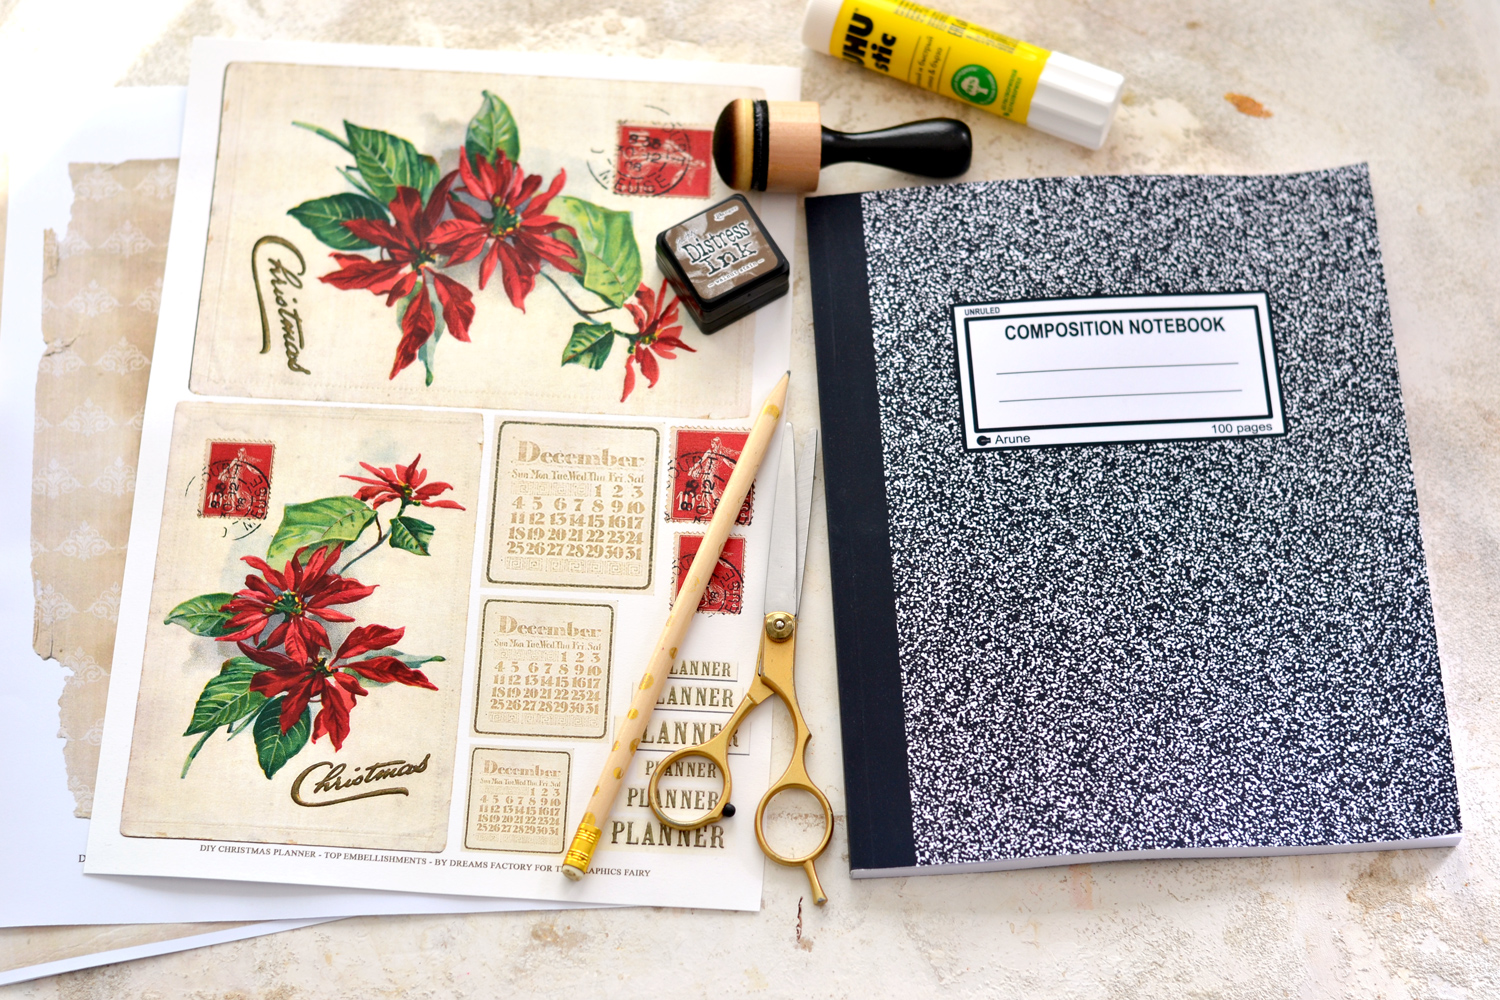
As always, you will be able to download and use the printable that I’ve created especially for this project. There are actually 3 different printables that you will need to print:
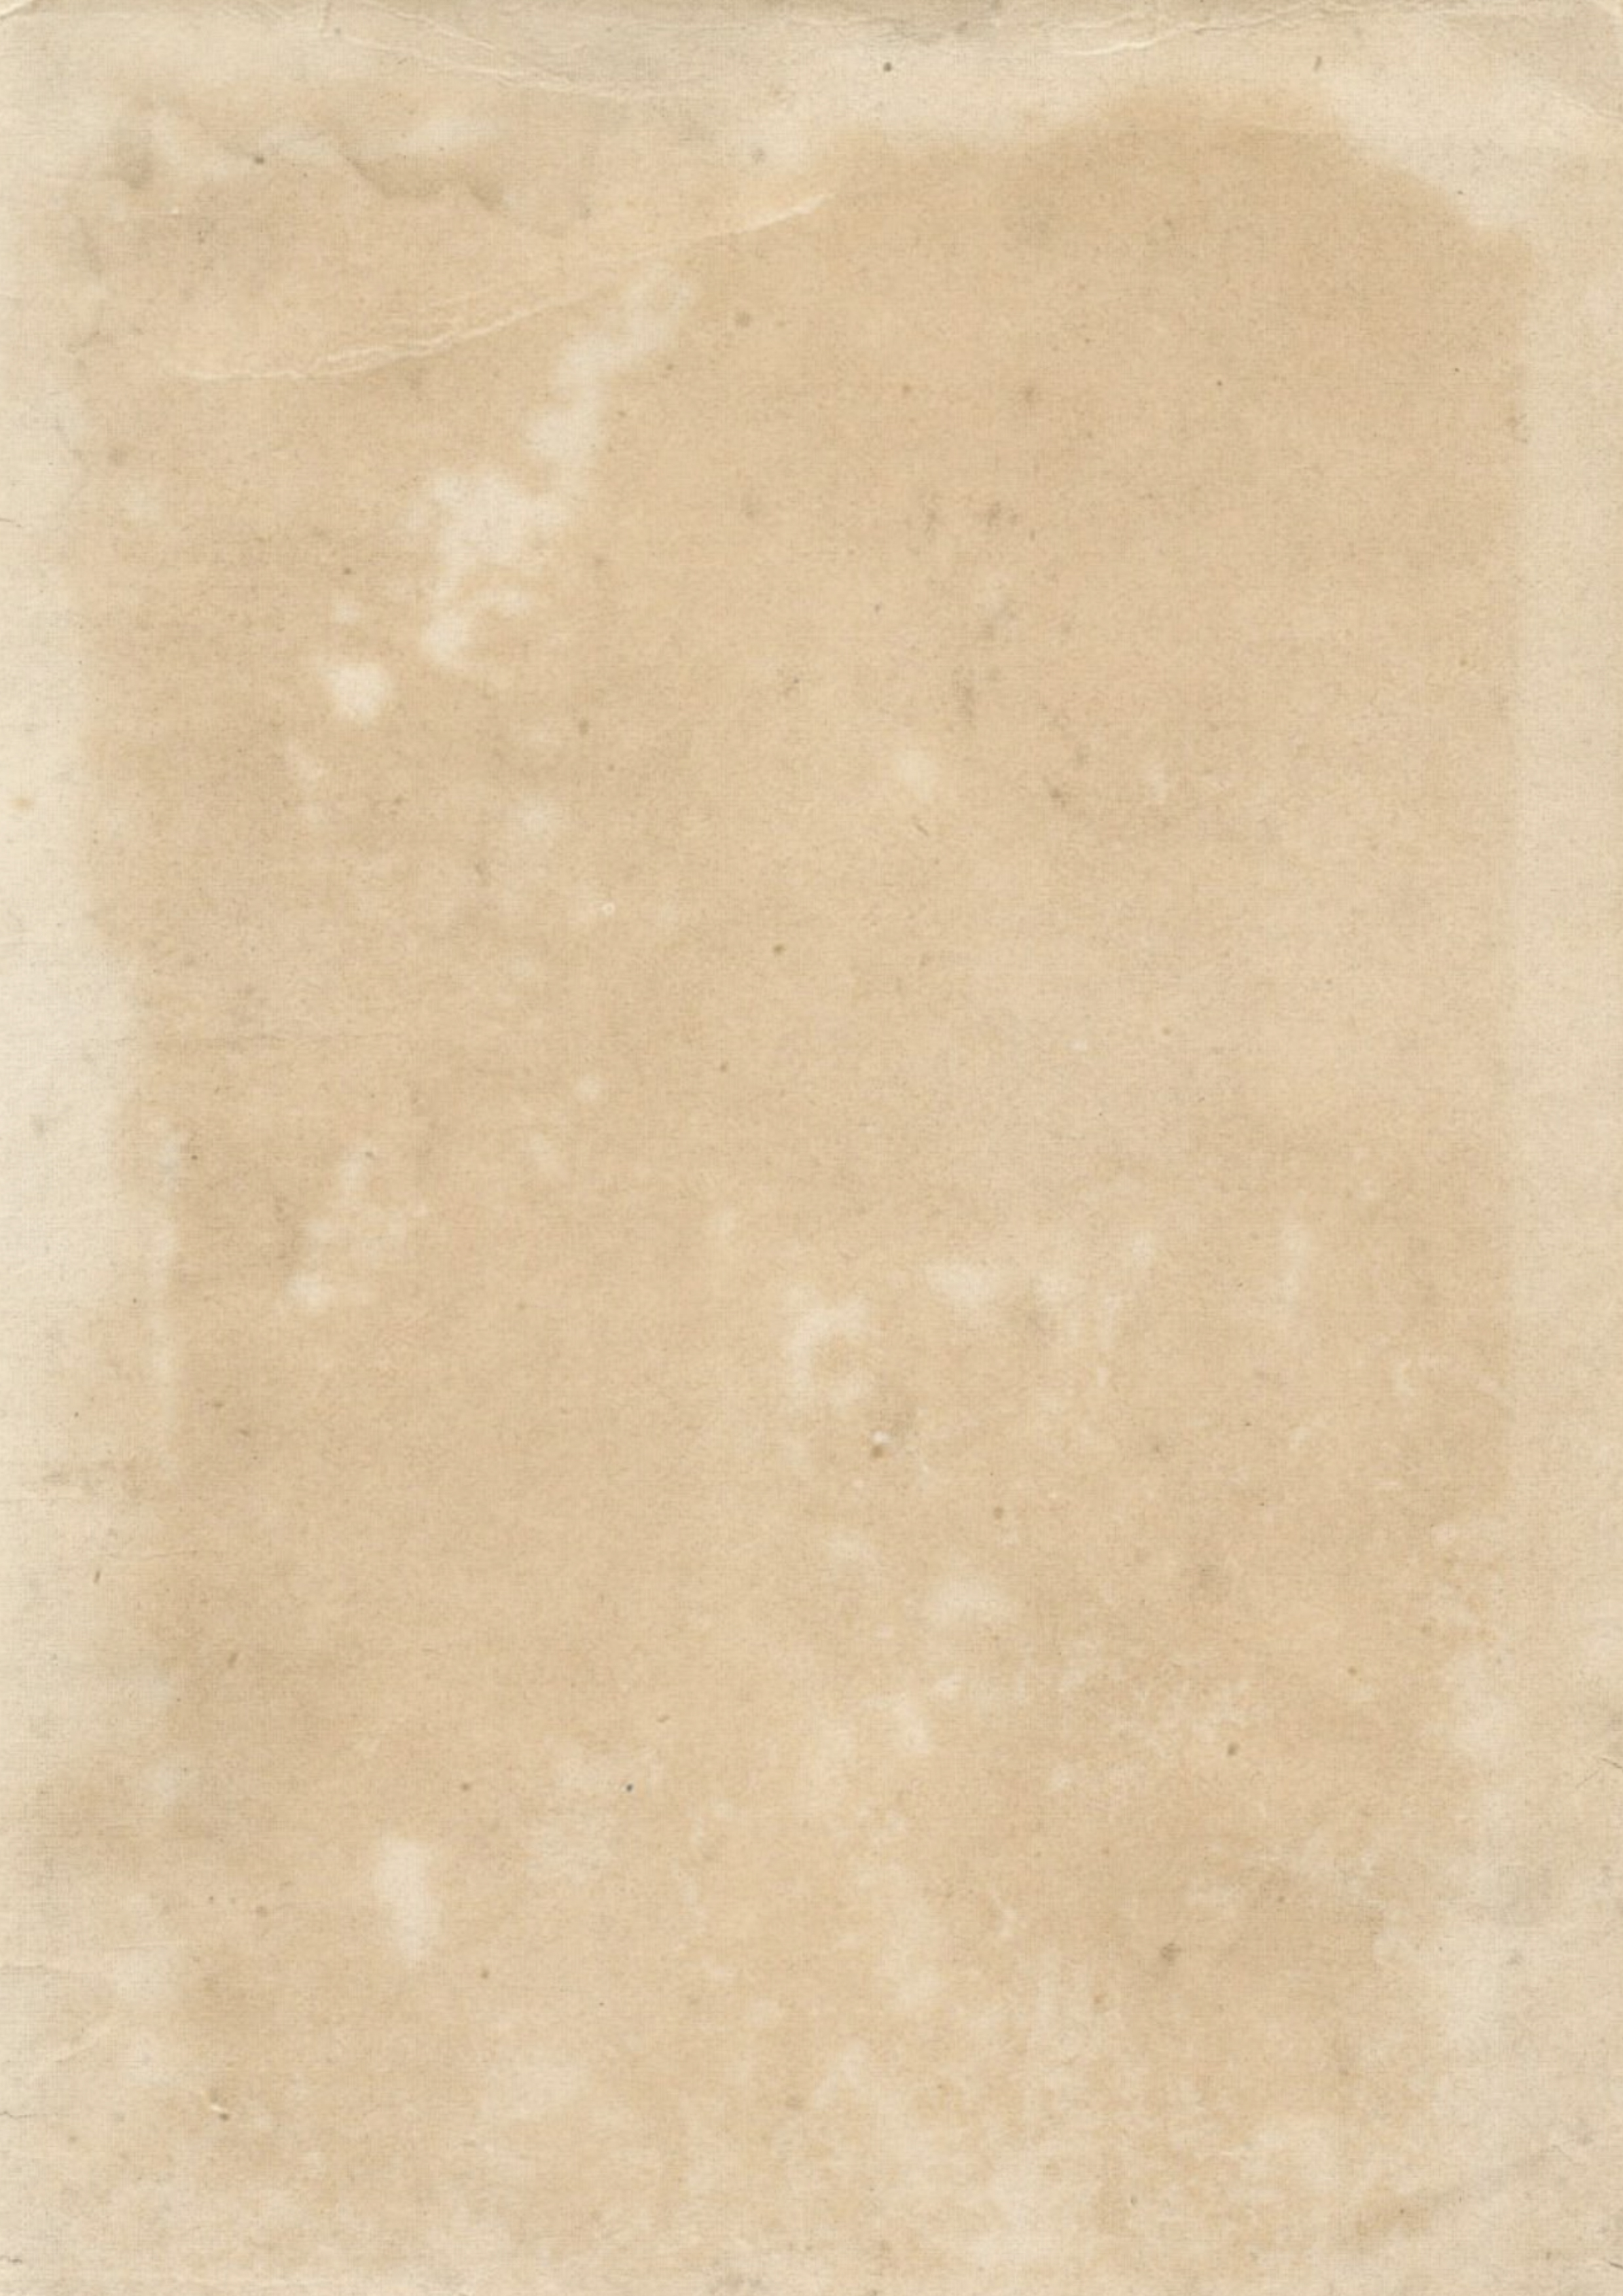
– a simple distressed background printable – you’ll need to print it 2 times to completely cover the front and the back cover
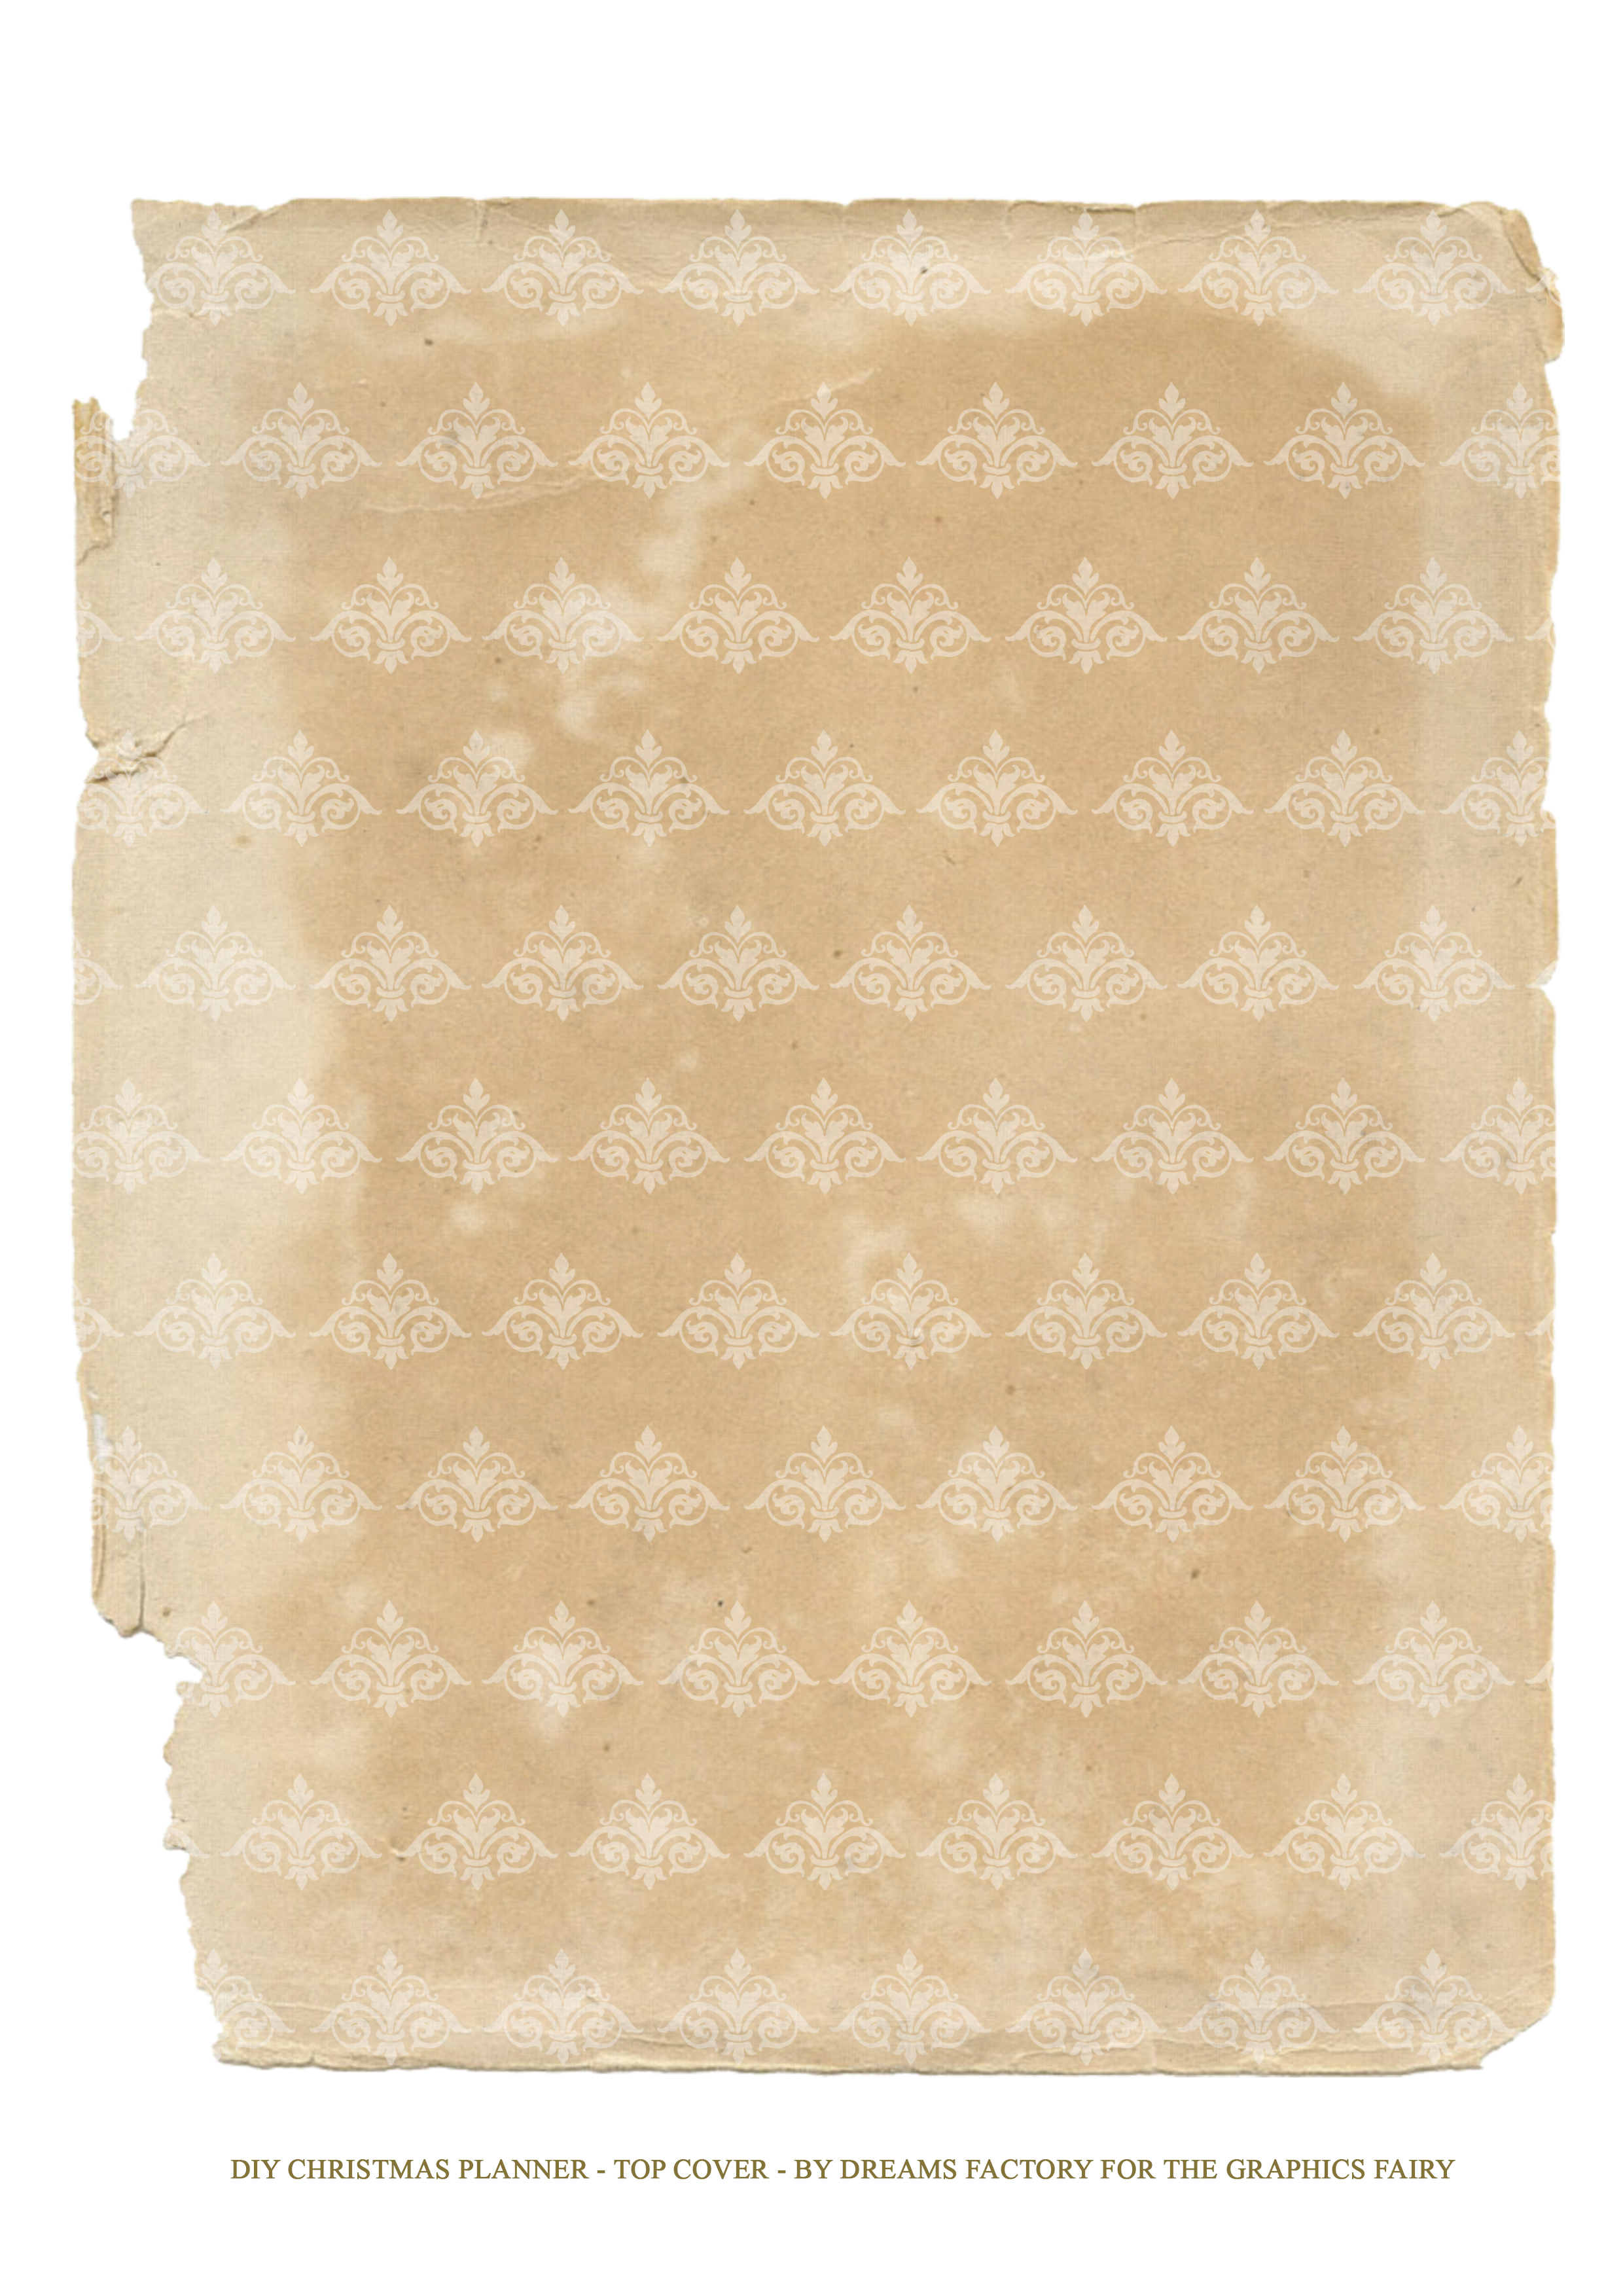
– a torn & distressed cover with a pattern – you’ll need to print it 1 time and glue it on the front cover
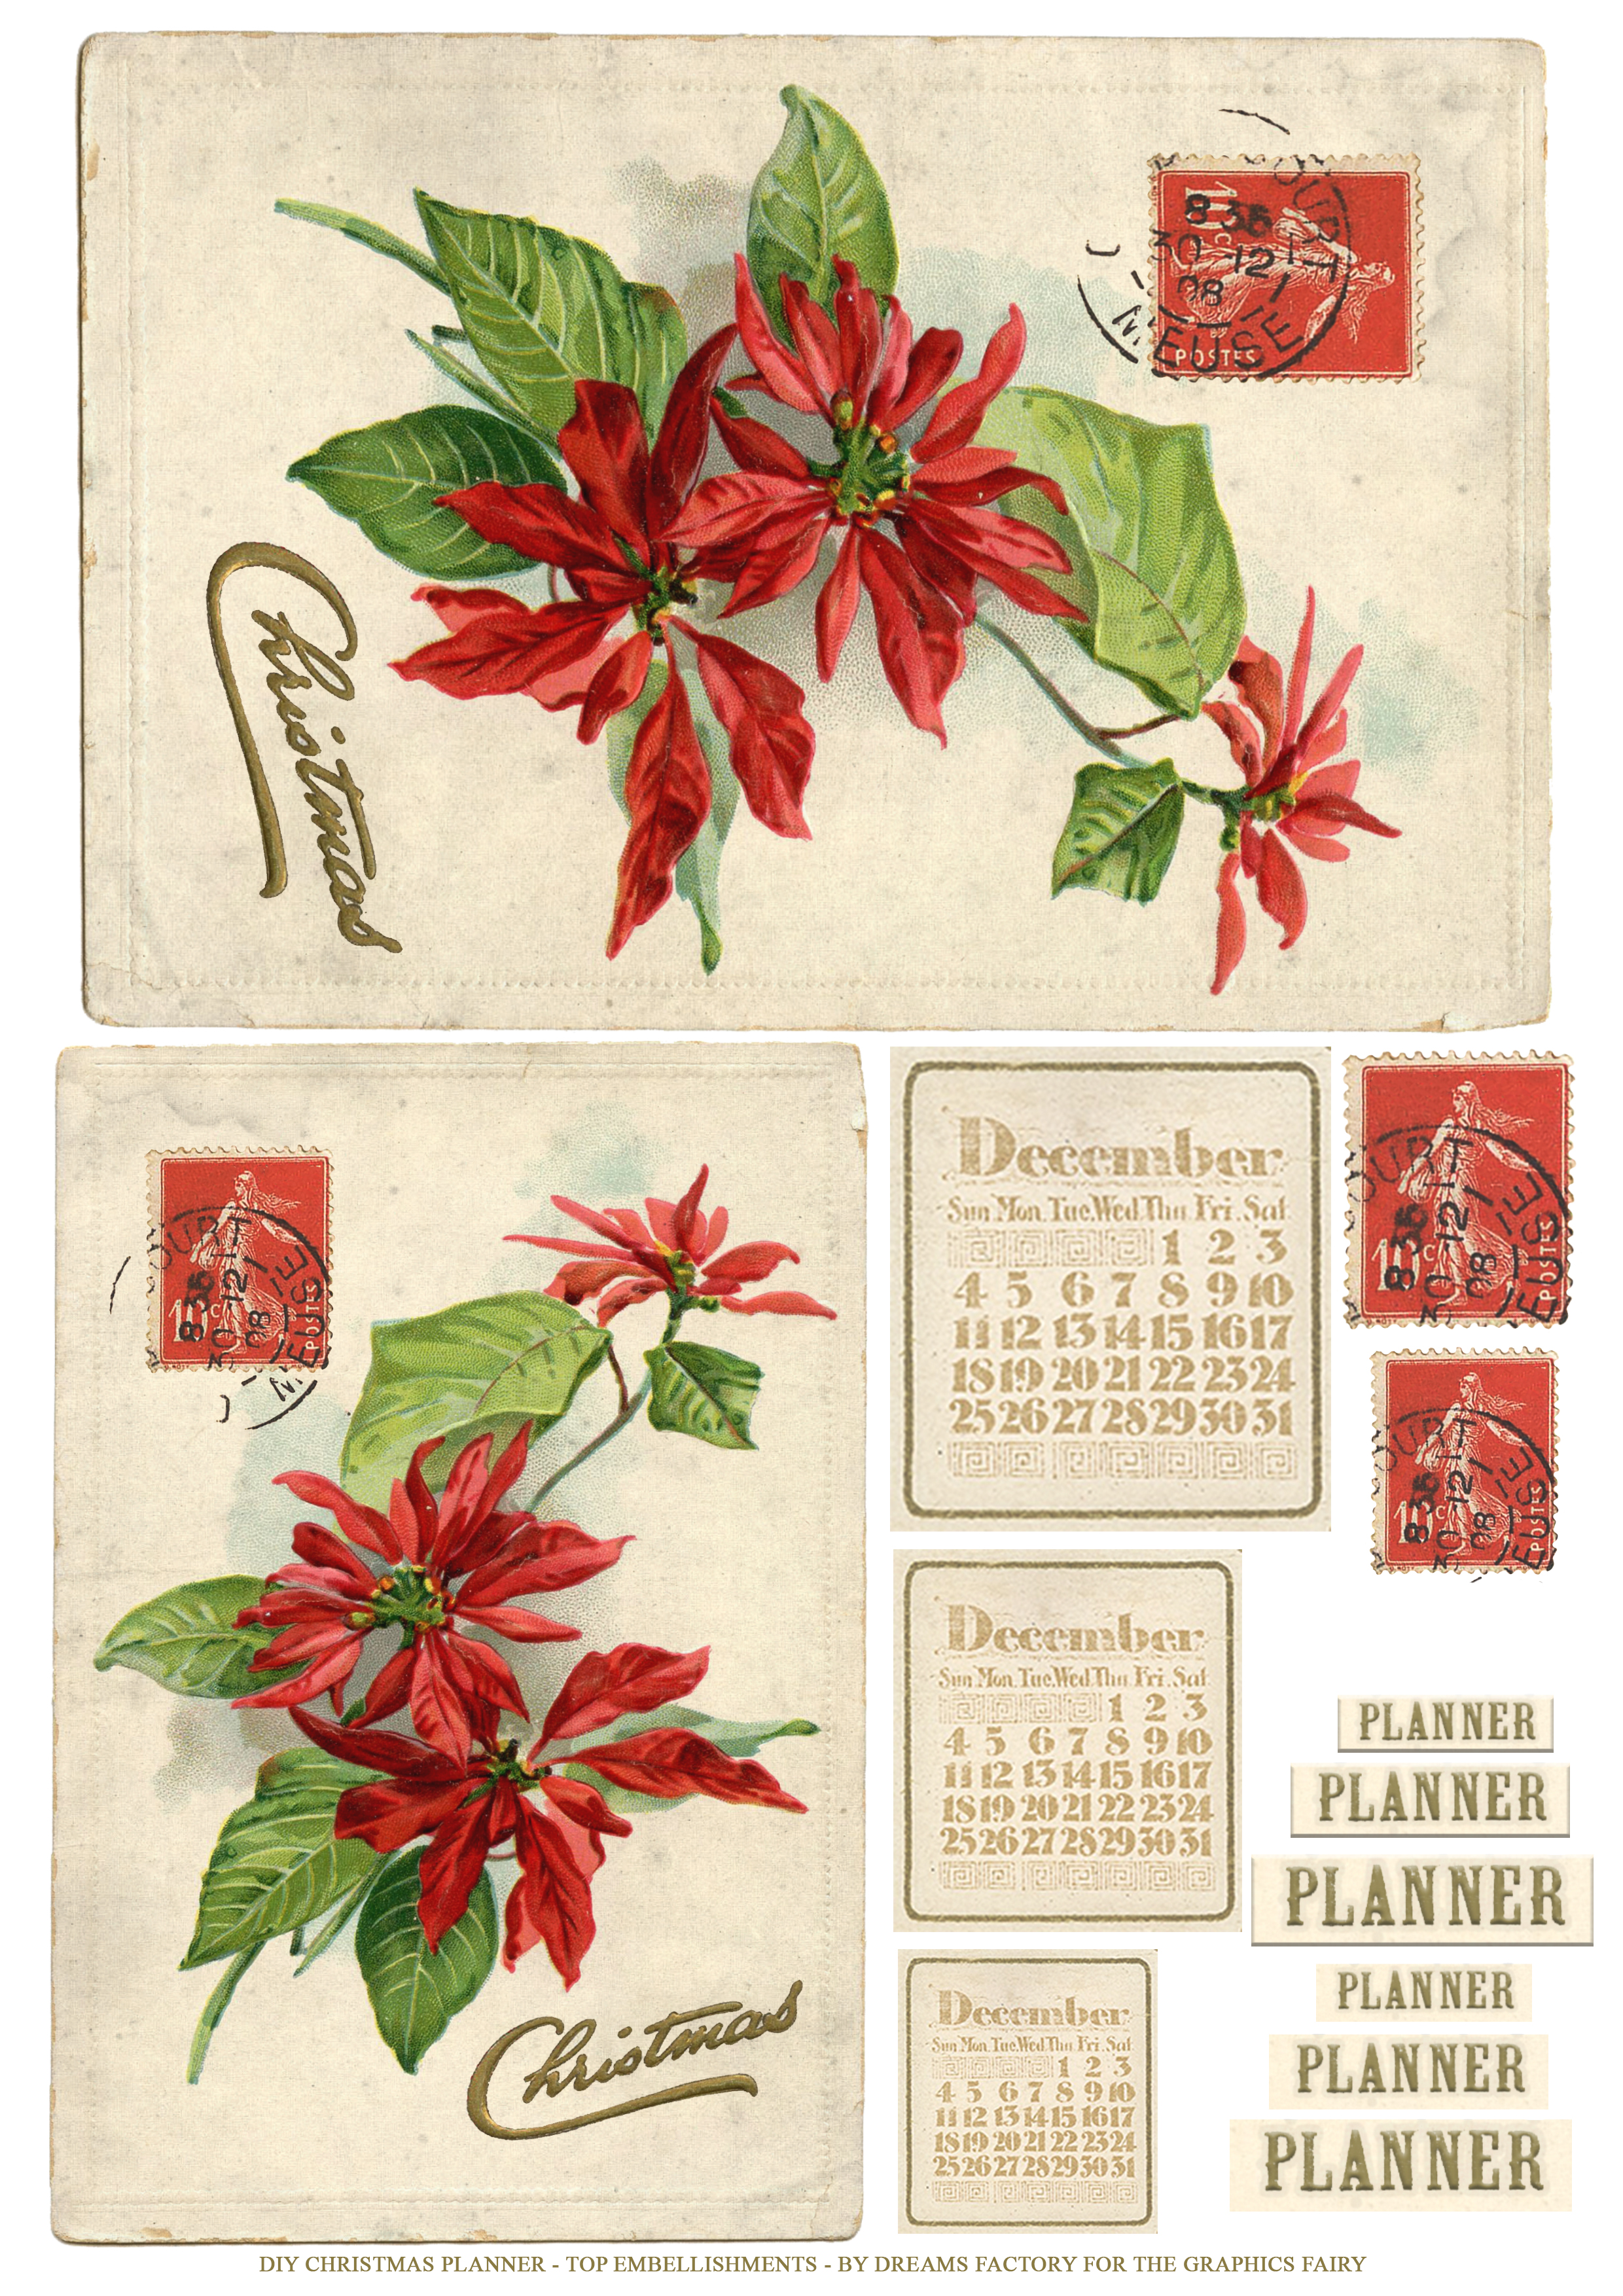
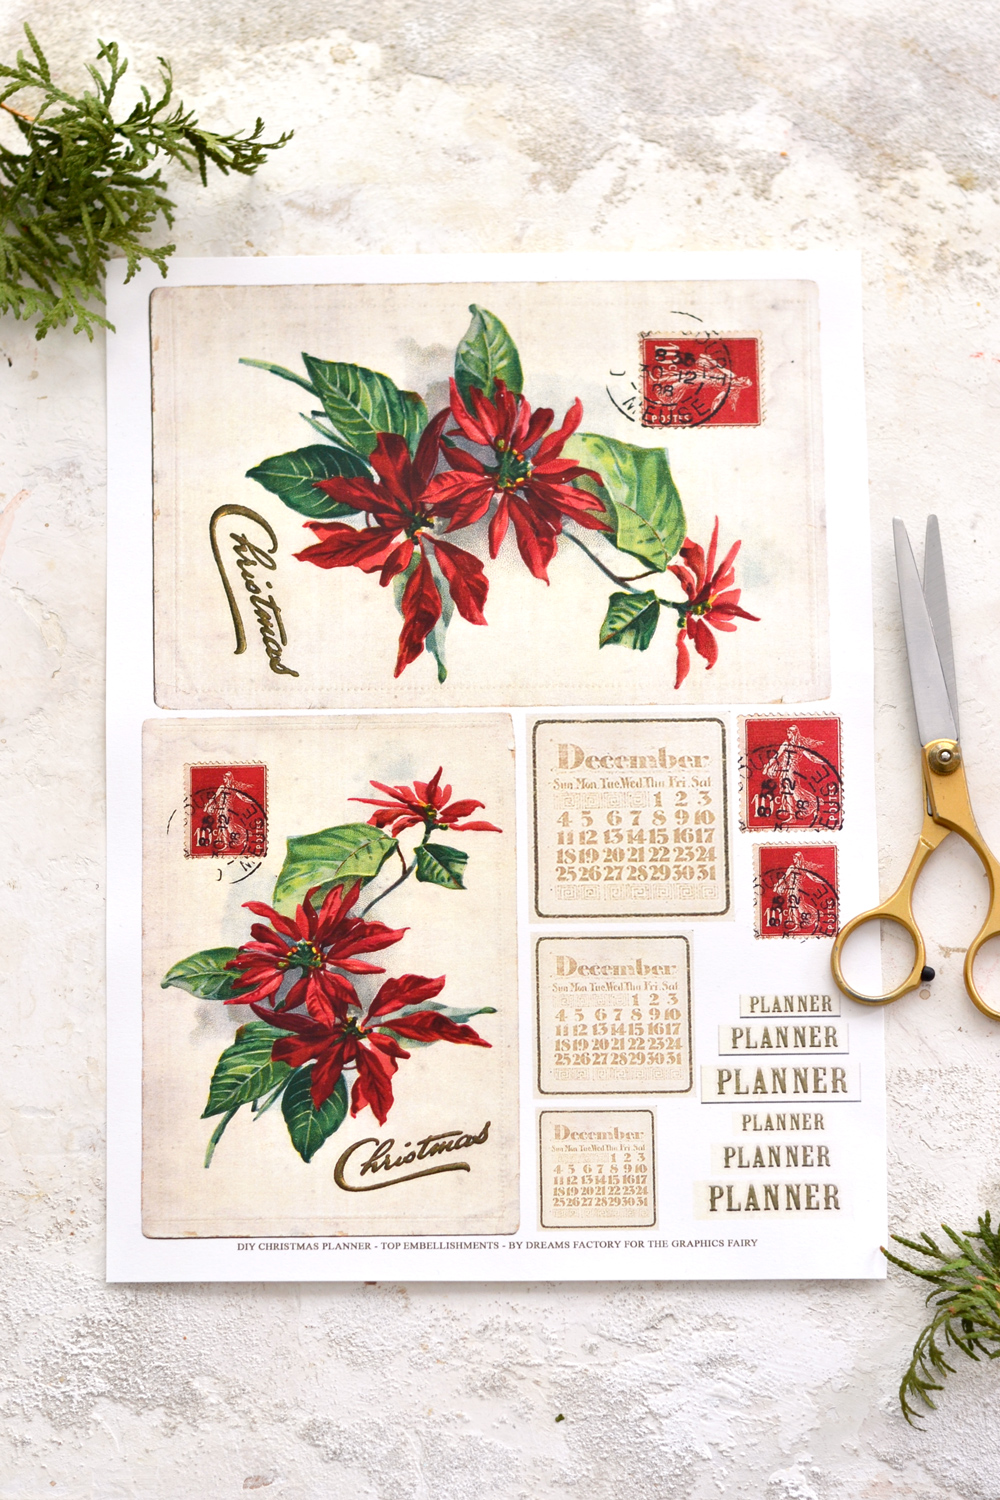
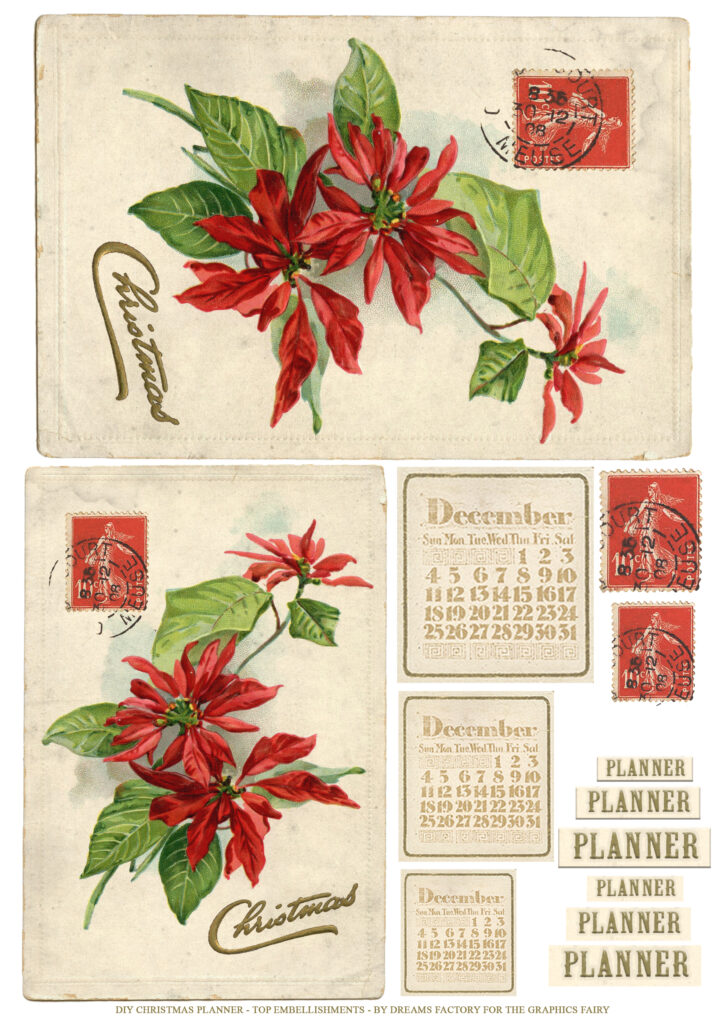
– a poinsettia printable with a few embellishments – you’ll need to print it 1 time and choose the size of the flower and the other elements as you want
—> Click HERE to Download the Full Size Printable PDF – background cover <—
—> Click HERE to Download the Full Size Printable PDF – torn patterned top cover <—
—> Click HERE to Download the Full Size Printable PDF – poinsettia & embellishments <—
DIY CHRISTMAS PLANNER SUPPLIES
- composition notebook – mine was 9.25 x 7.5 inches
- regular paper – for printing the cover printables
- cardstock paper – for printing the poinsettia printable
- scissors
- home printer
- glue stick (or any other craft glue)
- pencil
- mini distress inks
- masking tape
- blending tool with foams (I prefer the domed ones)
Instructions:
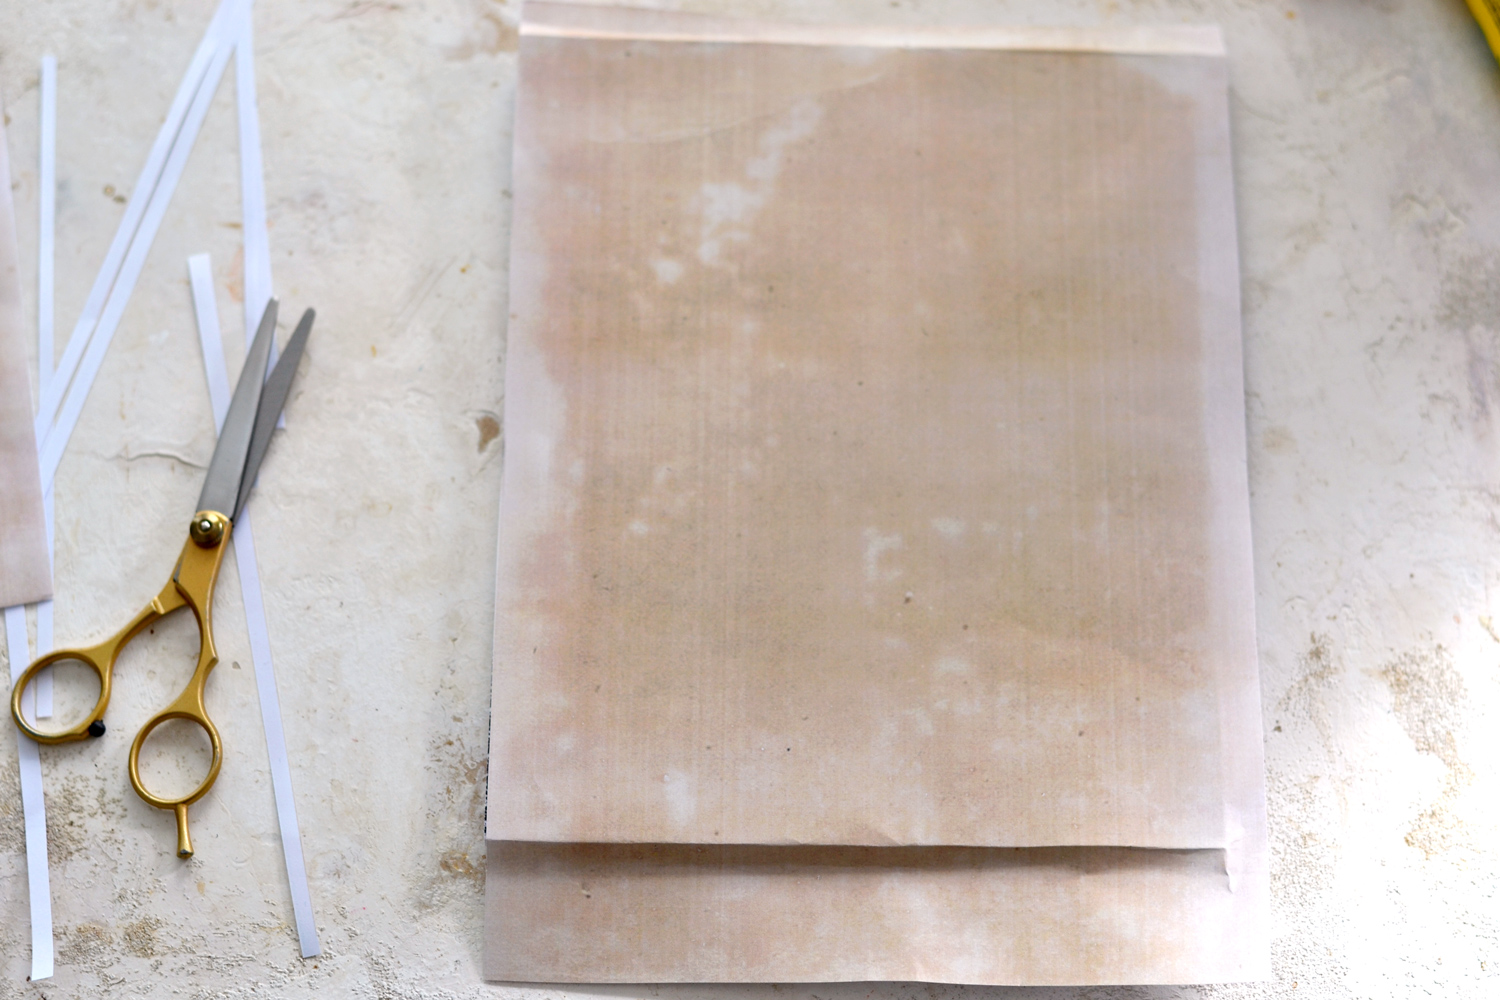
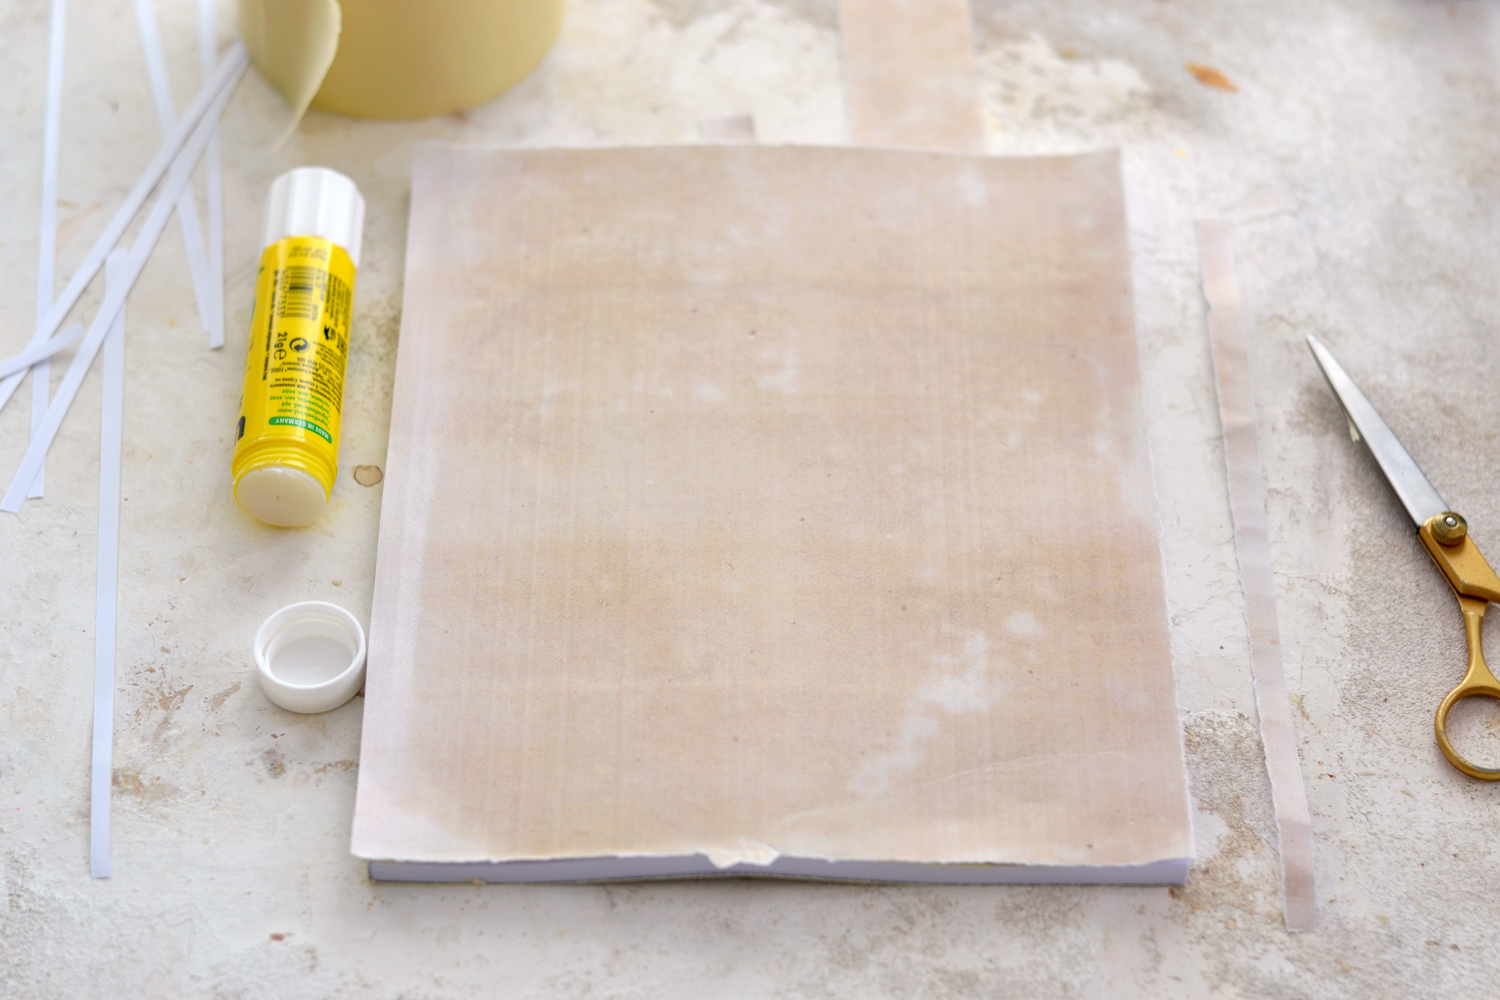
The process itself of making the planner is really easy, just start by downloading and printing the printables. Remove the excess white paper around the cover backgrounds, then place one of them on the notebook and use your fingers to crease the edges around its shape.
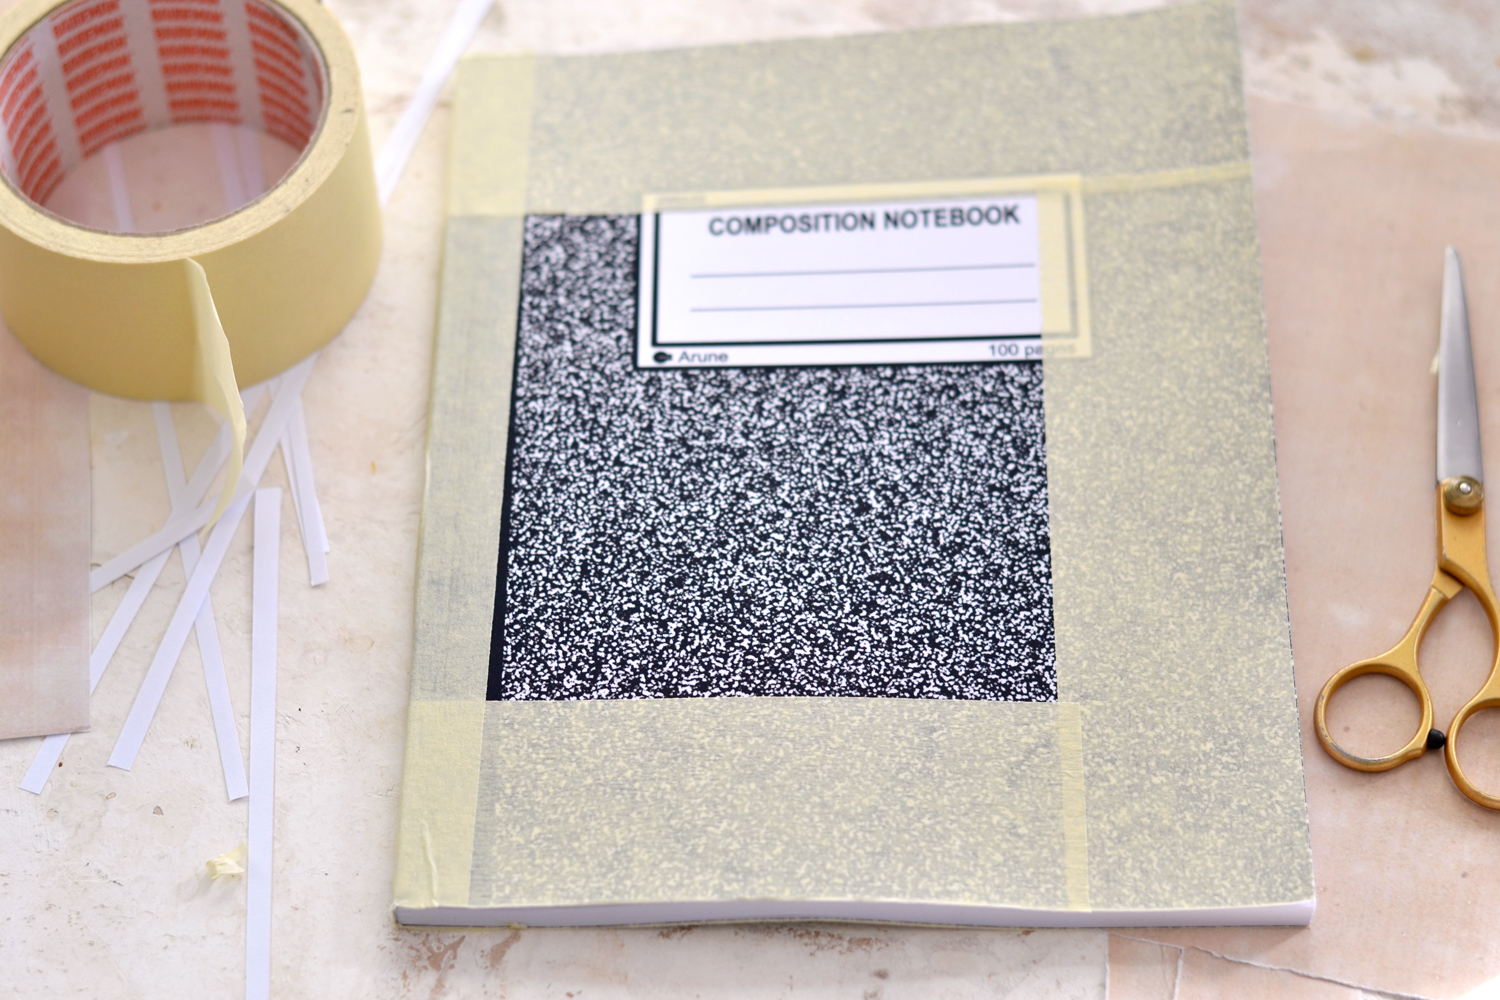
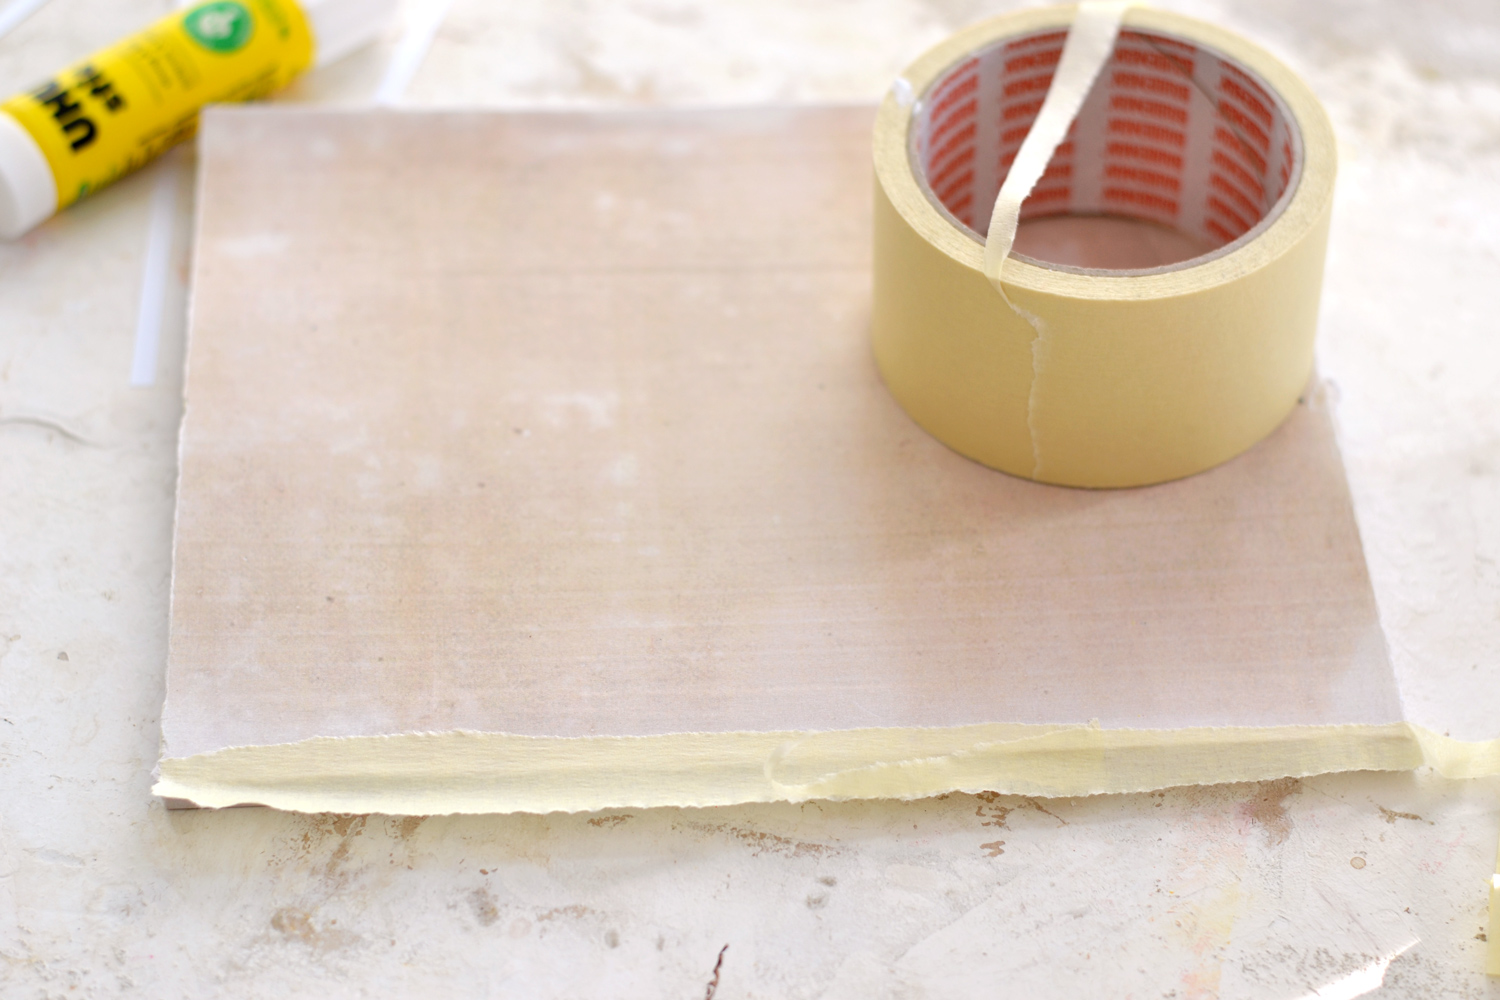
Just to make sure the black won’t peak from underneath when adding the background covers I used some masking tape around all the edges and on the spine.
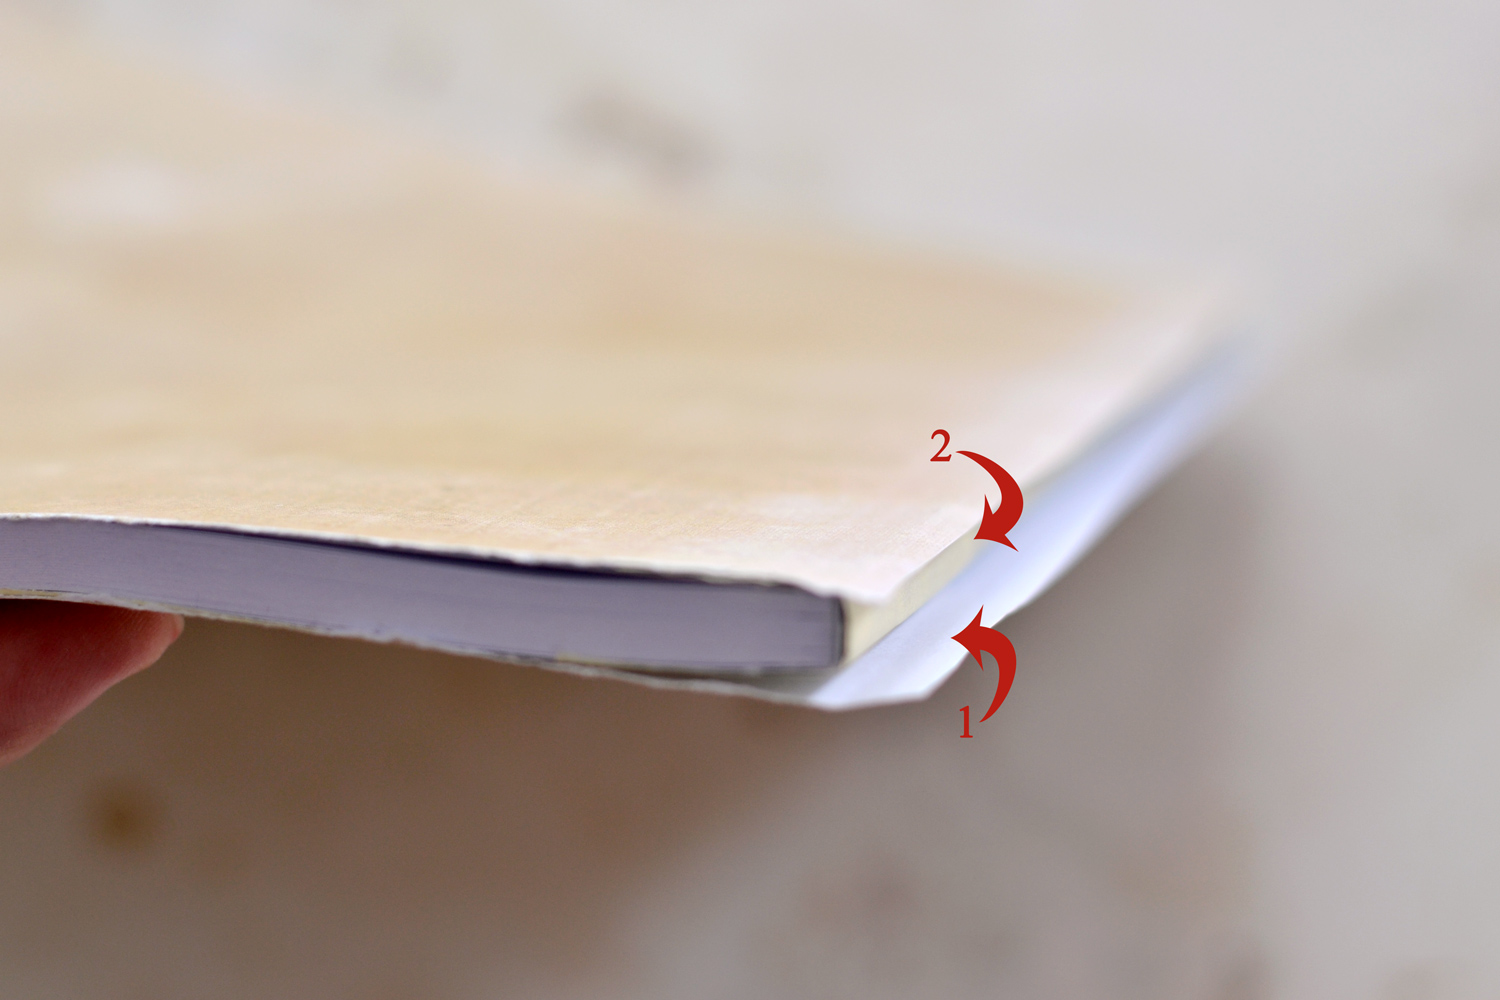
Next, because I wanted to get a more vintage and worn look on my planner, I decided to tear the folded paper around the edges instead of using scissors to cut it. Leave a little bit of extra paper on the side with the spine, we need to overlap the back and front backgrounds over the spine to cover it. It’s OK if you get small imperfections here and there, they will add more character to the final piece.
When you have the back and front background covers, use a glue stick (any craft glue will work) to adhere them on top of our planner.
Glue the extra paper from the back cover over the spine, press it really well with your fingers, then glue the extra paper from the front cover over it.
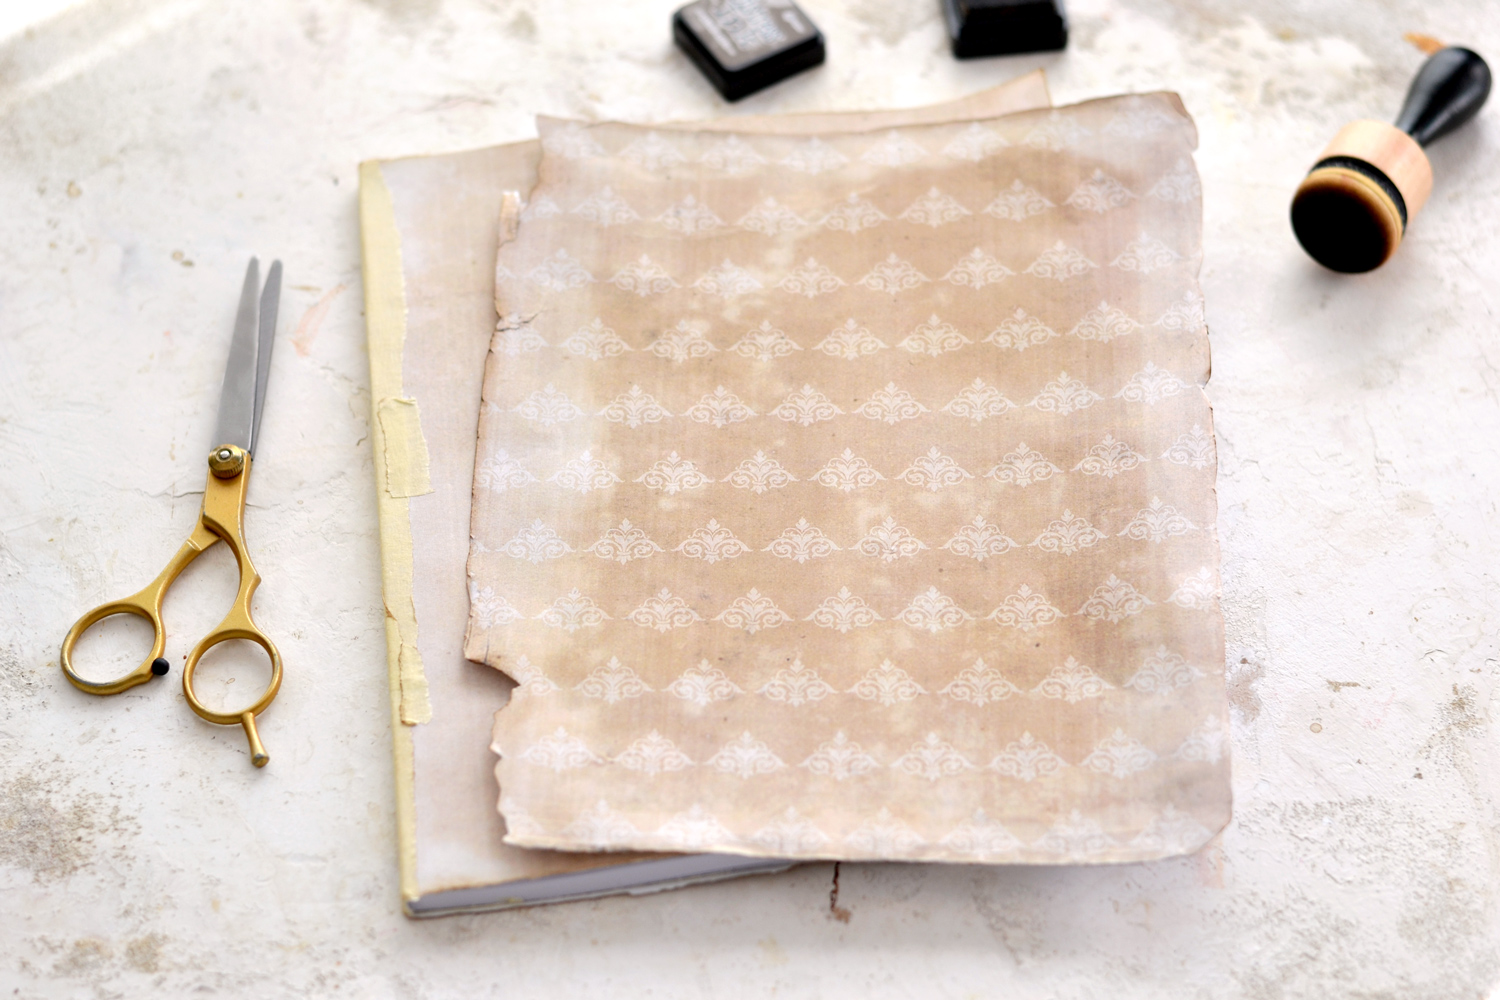
If you want, you can use some irregular masking tape tears and place them over the spine to secure it even more, but also to add more grunginess.
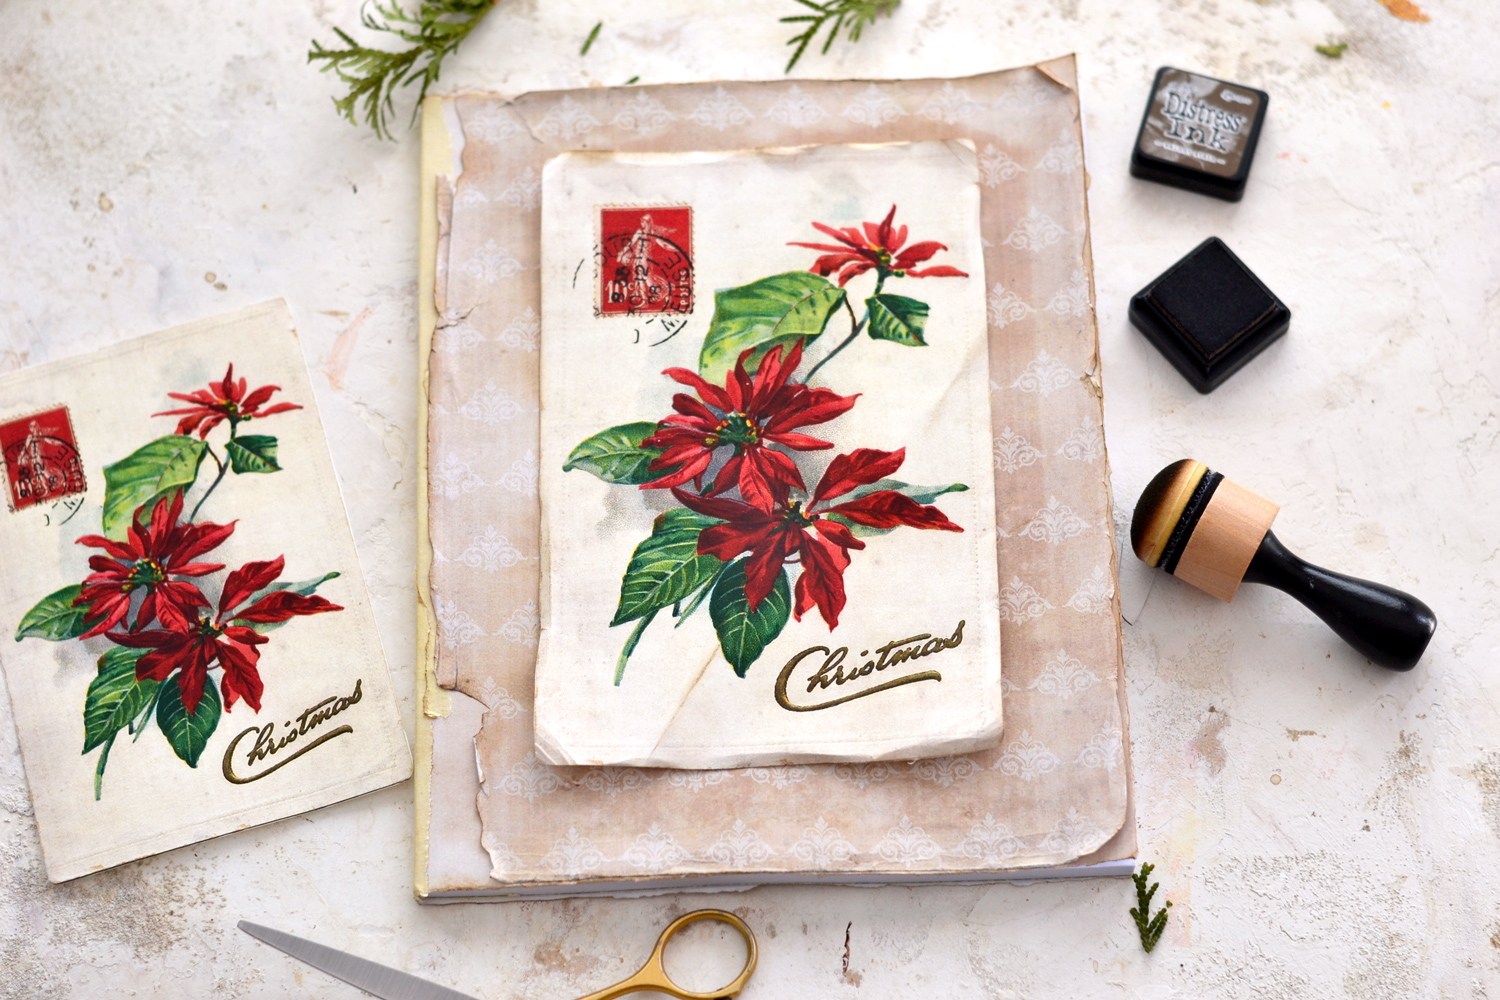
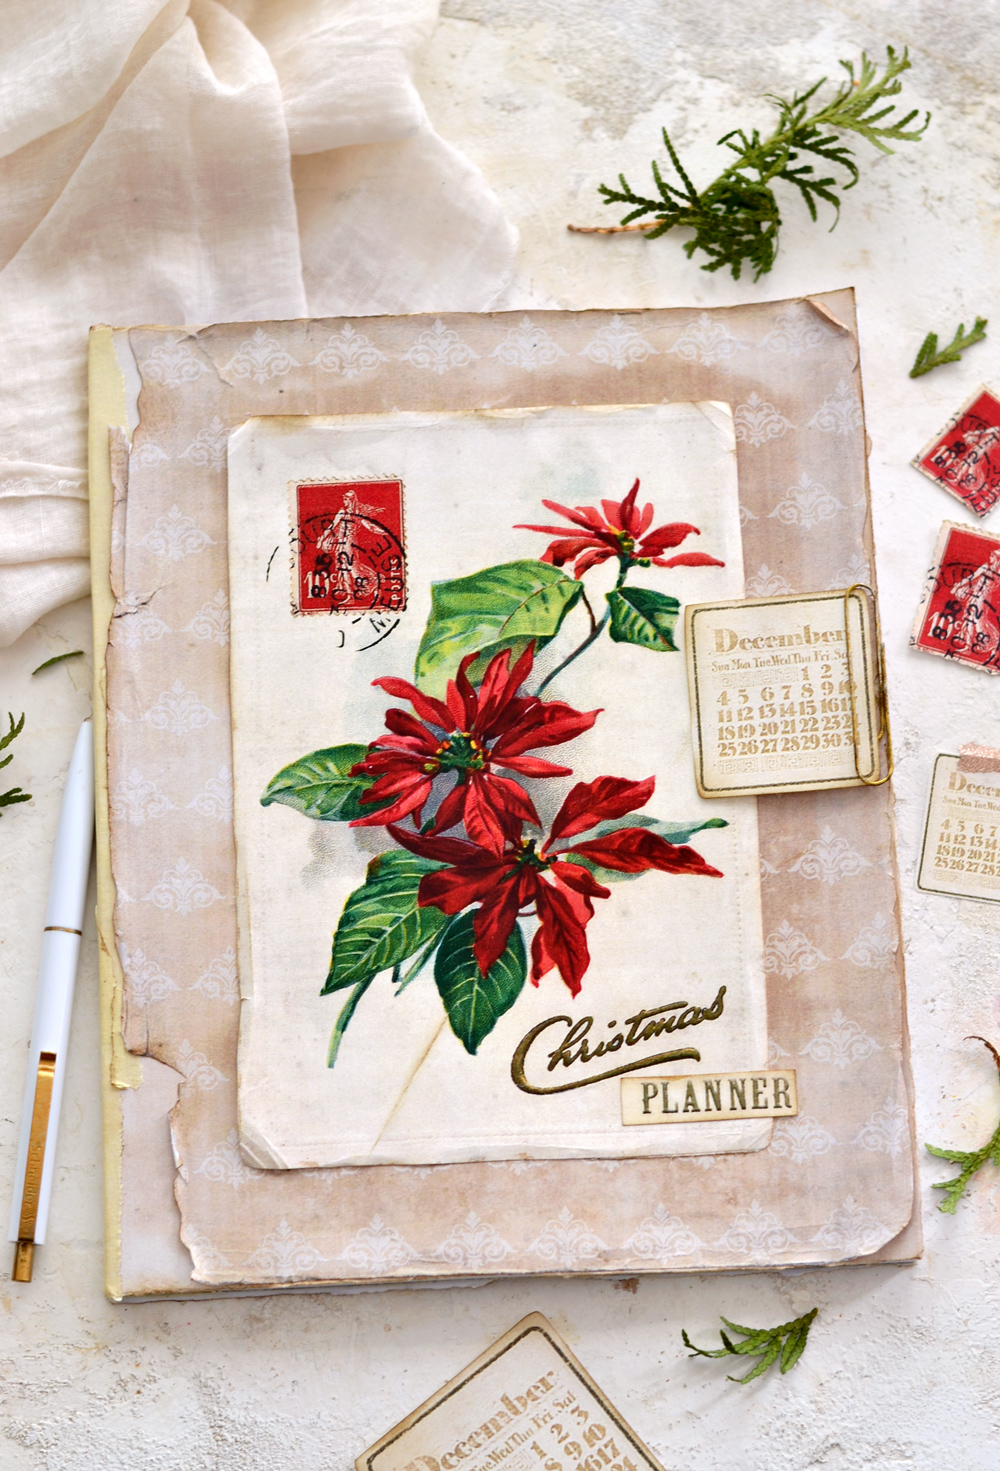
Cut the torn patterned cover using your scissors. Follow the shape of the design on the edges as well as you can and try to remove all the excess white paper. Place it on top of your cover to see if it matches (it should, but it really depends on the size of your notebook and your printer’s settings). If it doesn’t match, use your scissors to remove the excess and design a new shape with your scissors using the old design as a guide. Go all over the edges with distress ink to imprint a vintage vibe on your paper – this will also hide the whiteness of the paper if there is still any left on the edges.
To bring more grunginess in, roll the edges of the paper, then unroll them, partially fold the paper in different areas around the edges, then unfold it – you get the idea. All these actions will remove some of the sturdiness of the paper making it more ‘aged’. Use some more distress ink if you want, this time following the new creases of the paper, then use a glue stick and adhere the image to the front cover. Leave the edges unglued to bring more of that vintage vibe in!
The poinsettia flower image comes in 2 different sizes, you’ll need to decide which size you prefer for your planner.
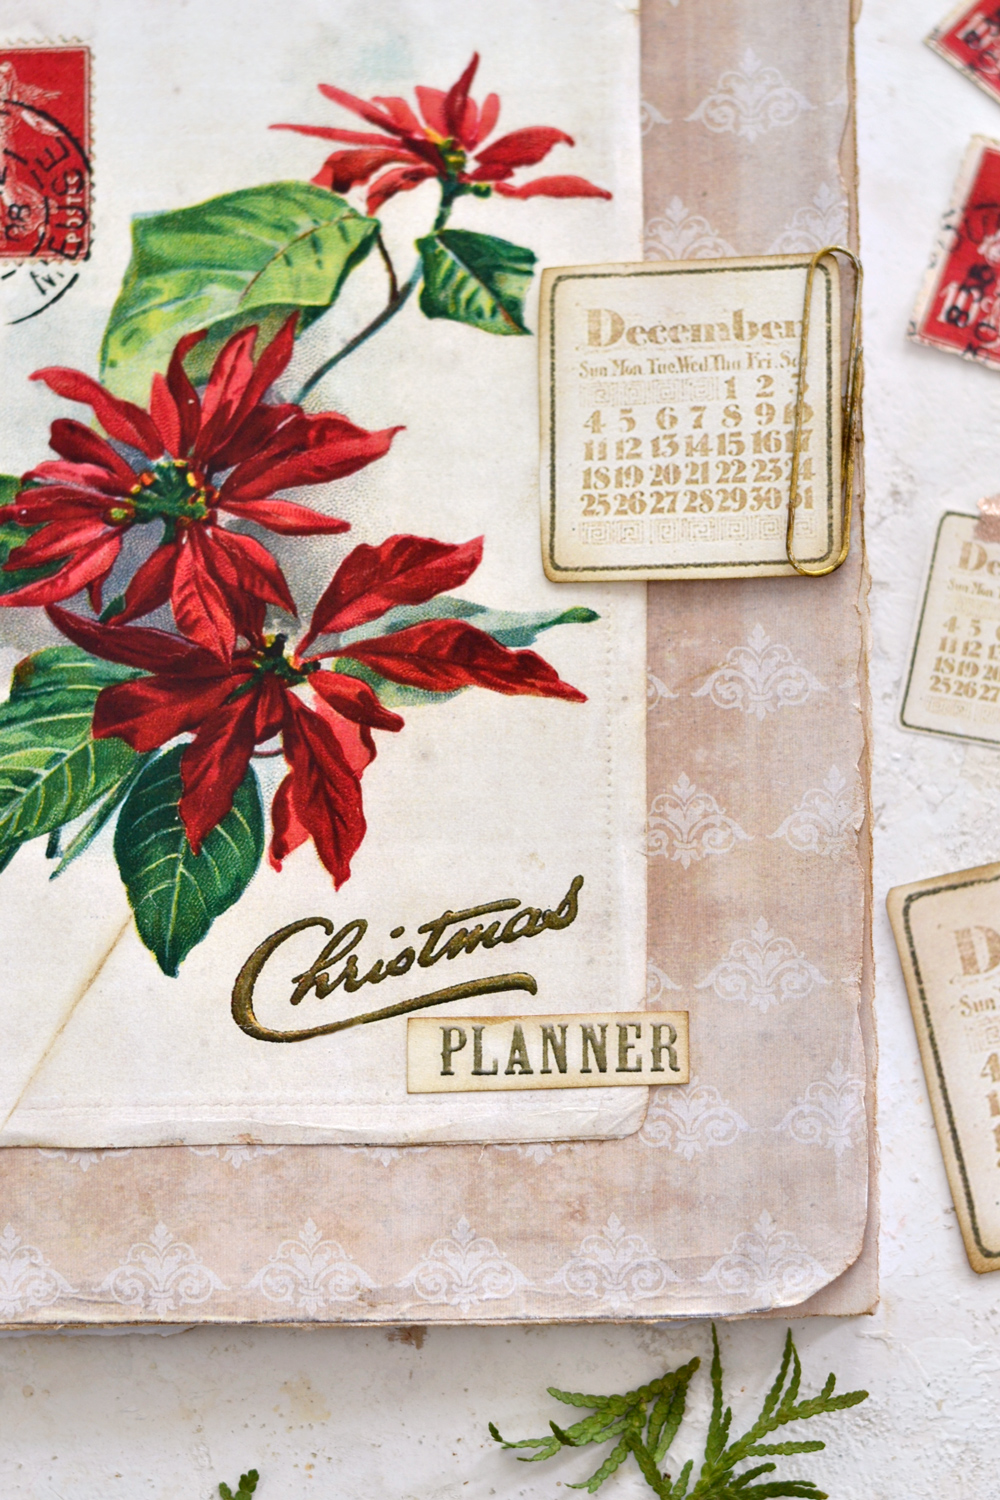
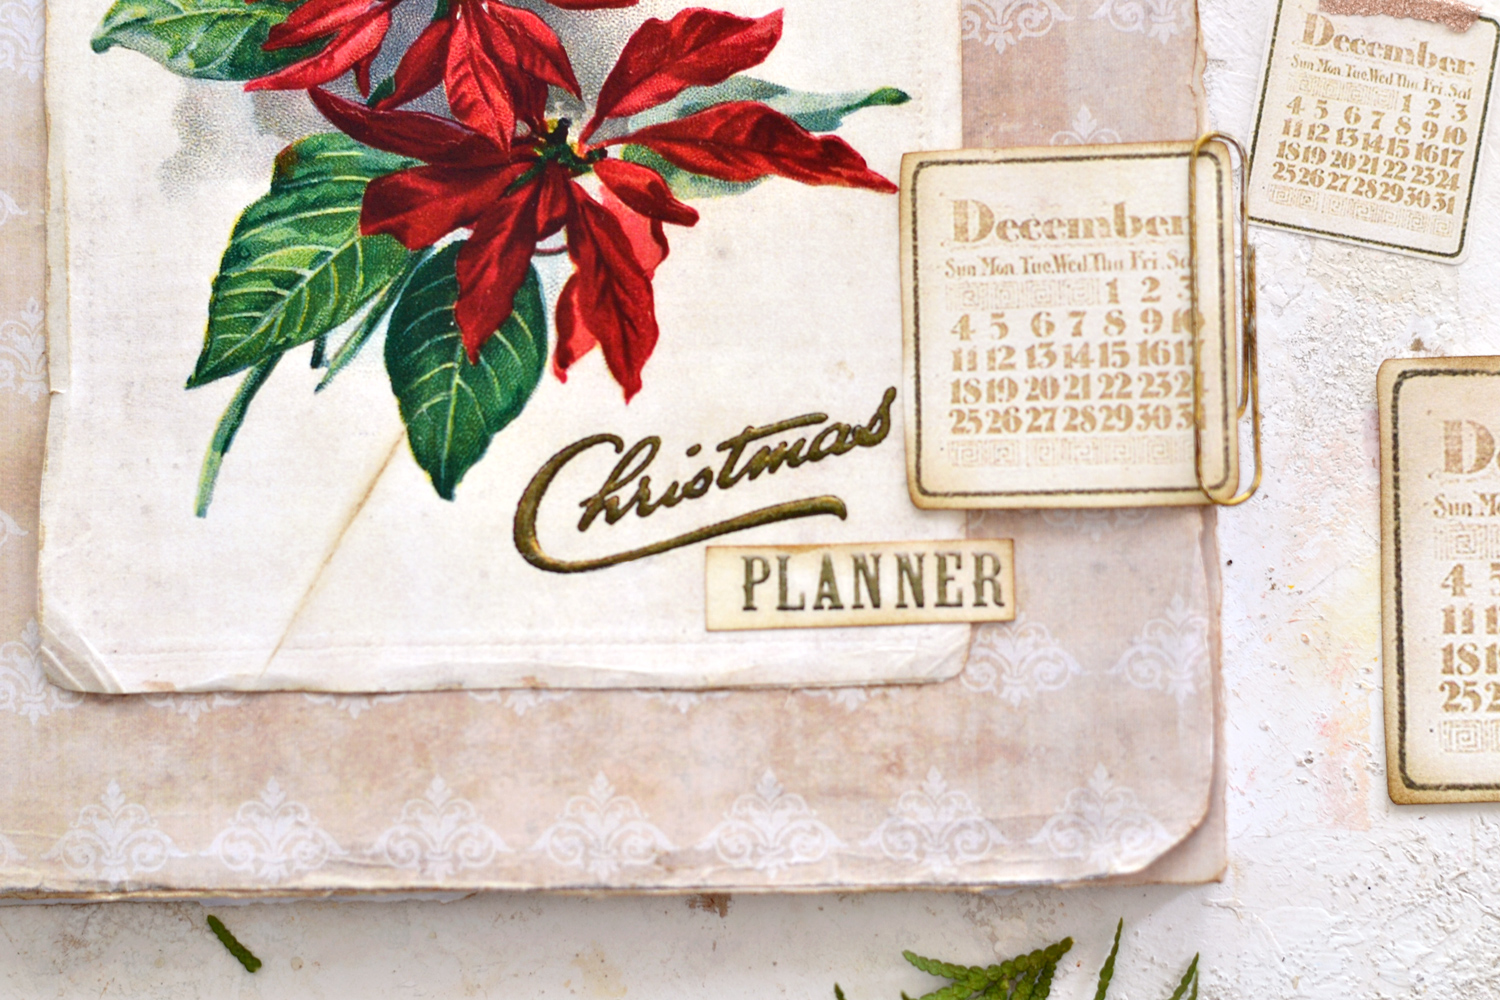
I’ve also included a vintage calendar image for December, a red postage stamp and the word ‘planner’ – they all come in several different sizes, just make a few tests, then use the ones that you love the most!
These embellishments can be used in other projects too, it’s great to have them nearby for when in need!
If you are having trouble deciding which flower size you love the most (like I did), you can cut them both to see how they look, then choose your favorite. I’ve decided to go with the larger one and I performed some more of that rolling & unrolling, folding & unfolding to give the paper a more distressed look. I then applied some distress ink on the edges – I used Walnut Stain.
Glue the poinsettia image on top, but don’t completely glue the edges to get more interest on your final piece.
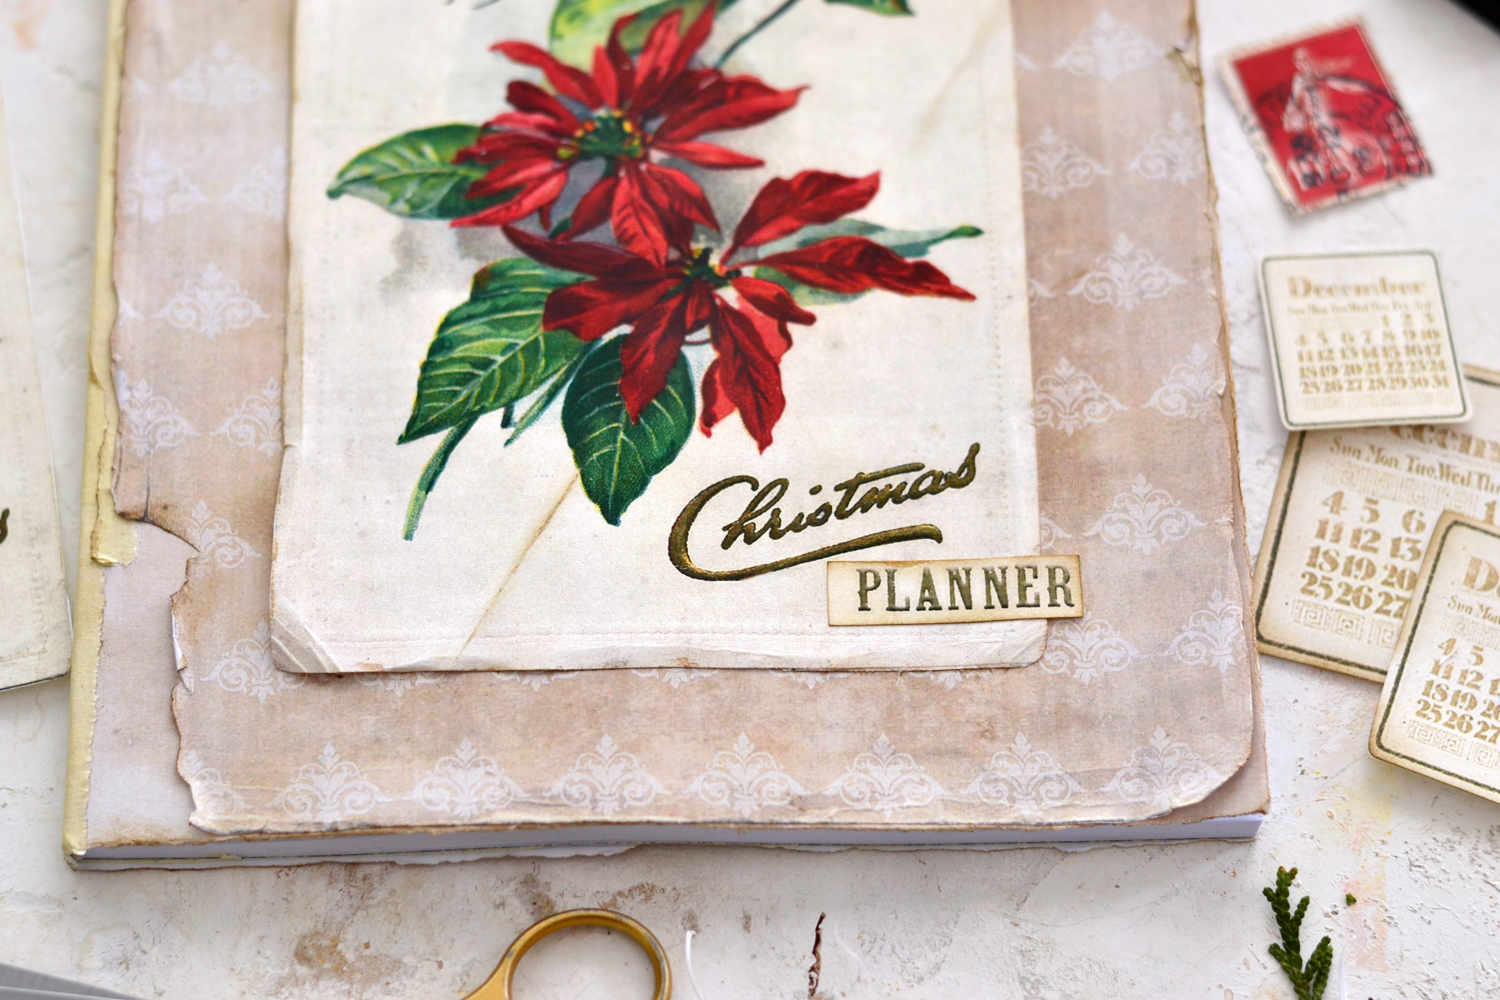
Cut, distress and glue the ‘PLANNER’ word. You can find a different place for it on your cover if you want.
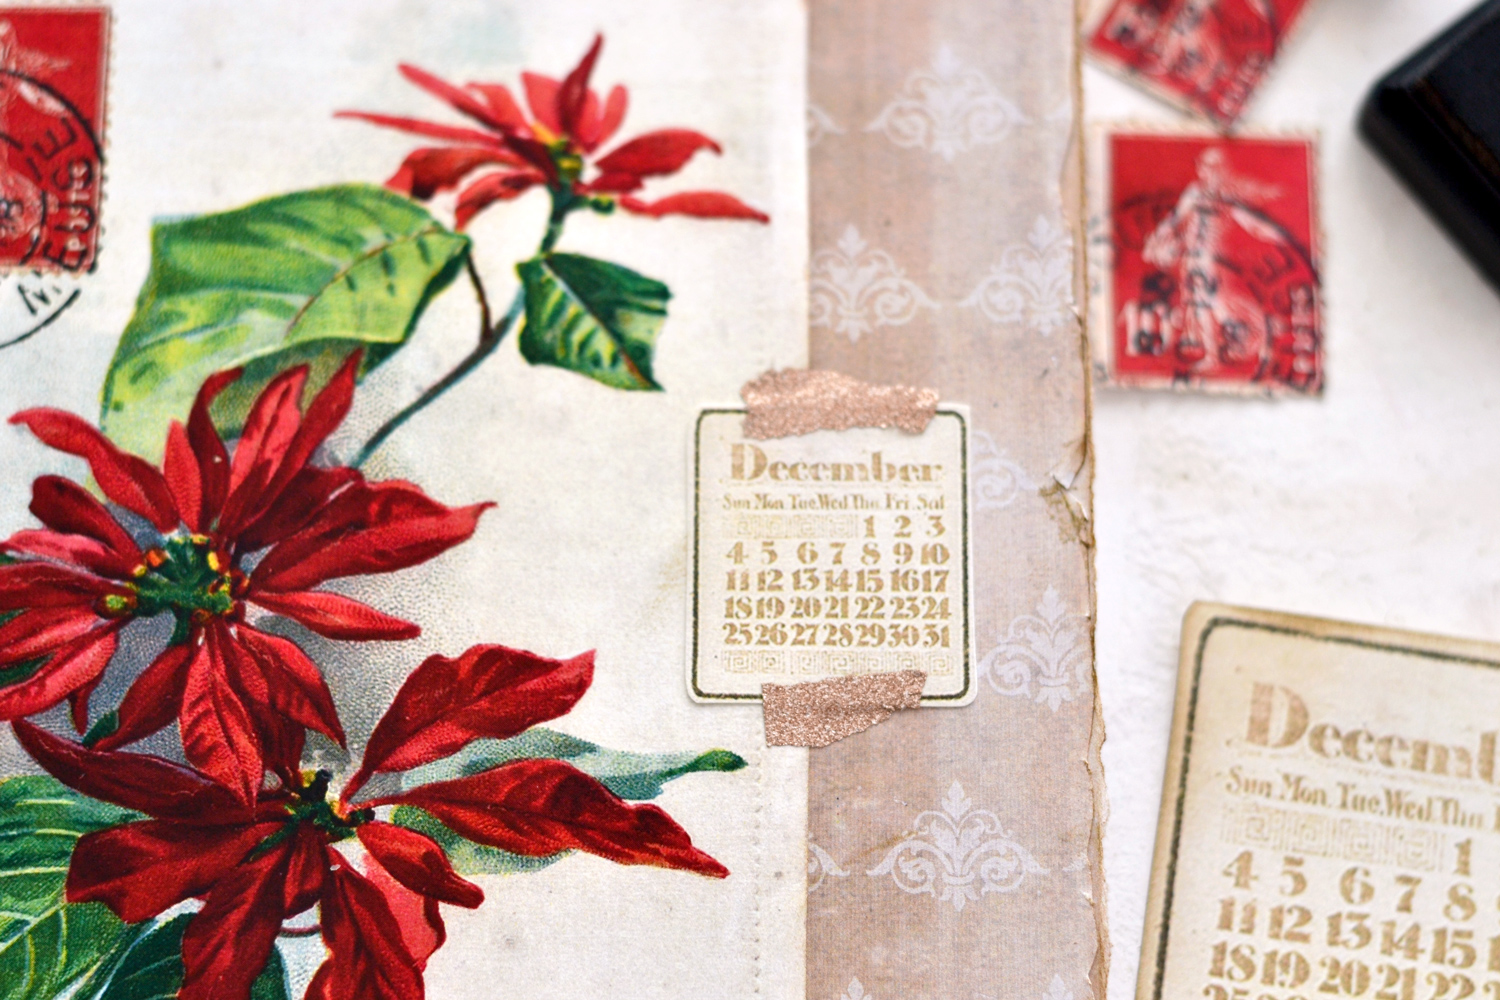
As for the December calendar, you can use two pieces of torn (glitter) washi to adhere them to your cover.
Or at least that was my initial thought because in the end, I’ve decided to actually use a paper clip (that I’ve previously painted/distressed with gold and brown acrylic paint) to hold it. I like this idea better because this way I will be able to move the calendar around as I want.
The funny thing about this calendar is that I really liked the design of this image when I first discovered it on The Graphics Fairy a few days ago. I thought it would be simply perfect for this project because what would a planner be without a calendar, right? Especially around the holidays, when you need it the most!
My initial thought was to use Photoshop to rearrange the dates on this old image so they would match the days of the current year, but when I checked, guess what? They already matched! I just couldn’t believe it so I checked a few more times just to be sure. What a beautiful coincidence, the universe has a funny way of making things fall into place, don’t you think? The perfect match for our perfect planner!
You can use all the other elements to decorate the inside of the planner if you want, but you can also include them in your junk journal or any other Christmas-y projects, the sky is the limit!
I’m absolutely in LOVE with how my first Christmas project turned out this year! I already feel more in control knowing I have this trusted friend by my side, I’m confident things will go in the right direction when it comes to scheduling, shopping sessions, meal prepping, gift ideas and all there is to a perfect Christmas planning.
I hope you will love this project and decide to make one of these gorgeous DIY Christmas planners with a chic vintage vibe to help you prep for the upcoming holidays. Make one for you but also keep in mind the idea of turning them into gifts for family members and friends! You might also like my Printable Christmas List HERE and my DIY Gratitude Notebook HERE.
Happy crafting,
Diana / Dreams Factory


Bev Wilson says
Great images and project! thank you 🙂
Karen Watson says
I’m so happy you enjoyed it Bev!
Linda says
Such a pretty project and perfect for keeping all my holiday to do lists handy. Thank you!
Karen Watson says
Isn’t it lovely?! I’m glad you enjoyed it Linda!