DIY Clear Labels for Jars
Hello friends, Diana from Dreams Factory here with another DIY project you just HAVE to try! Today we are making some super easy DIY Clear Labels for Jars … perfect for decorating different objects all around your home. We will be using some supplies that you might already have around and the star of this tutorial will be … clear packing tape! The final results will just blow your mind … and it might give you a slight addiction for making more and more of these.
Before jumping right in, I have to tell you that this project will only work with a laser printer! This is really important, you guys, just keep this in mind if you want to try it. If you don’t own a laser printer yourself, you could ask a friend that has a printer like this if they would be willing to print the labels for you or you can go to a copy center and pay for the print there.
There are clear packing tape that will work well and others that won’t work too well. Others won’t work at all. Try looking for super clear packing tape that doesn’t have any greenish or yellowish hues and is super clear. The stickiness is very important for this project too, so try looking for tapes that have super powers or extra adherence mentioned on the package. But if you don’t have too many options available, just use what you have on hand and see where that takes you.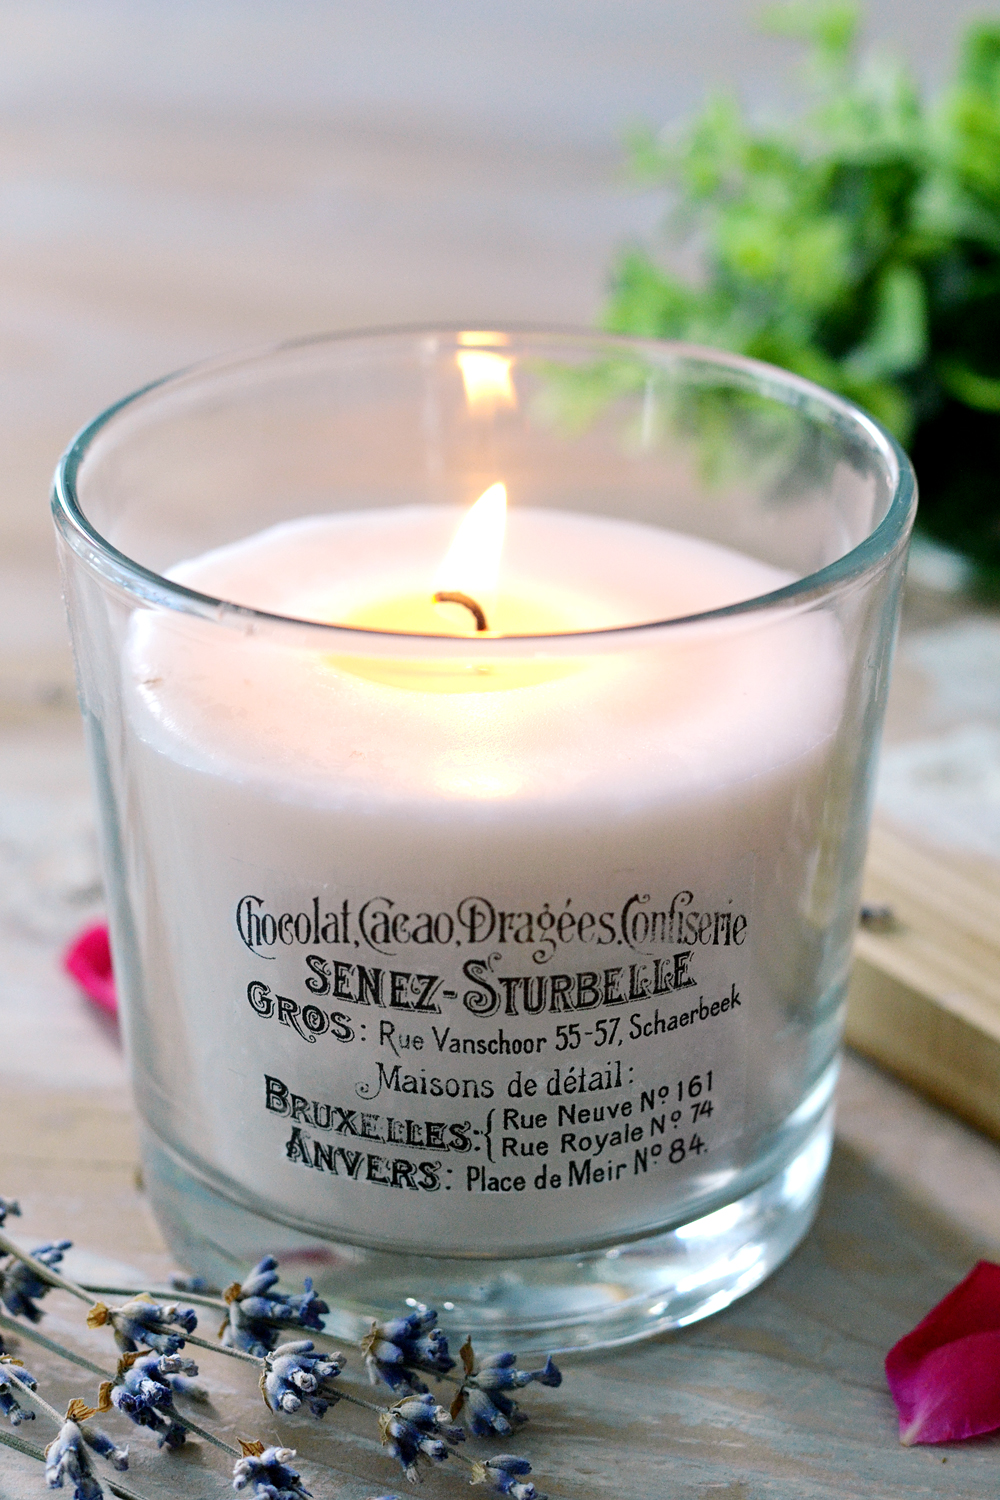
Don’t be afraid to experiment, some of the best things are born when we are not expecting too much and we are just having fun! And also, don’t expect these to be perfect, because they are not! Depending on the type of tape you are using, there might be small imperfections here and there. A little bit of paper that won’t rub off completely or a small wrinkle … these just might happen.
But these are French Labels after all, all handmade items have some distinct characteristics that only make them … truly unique!
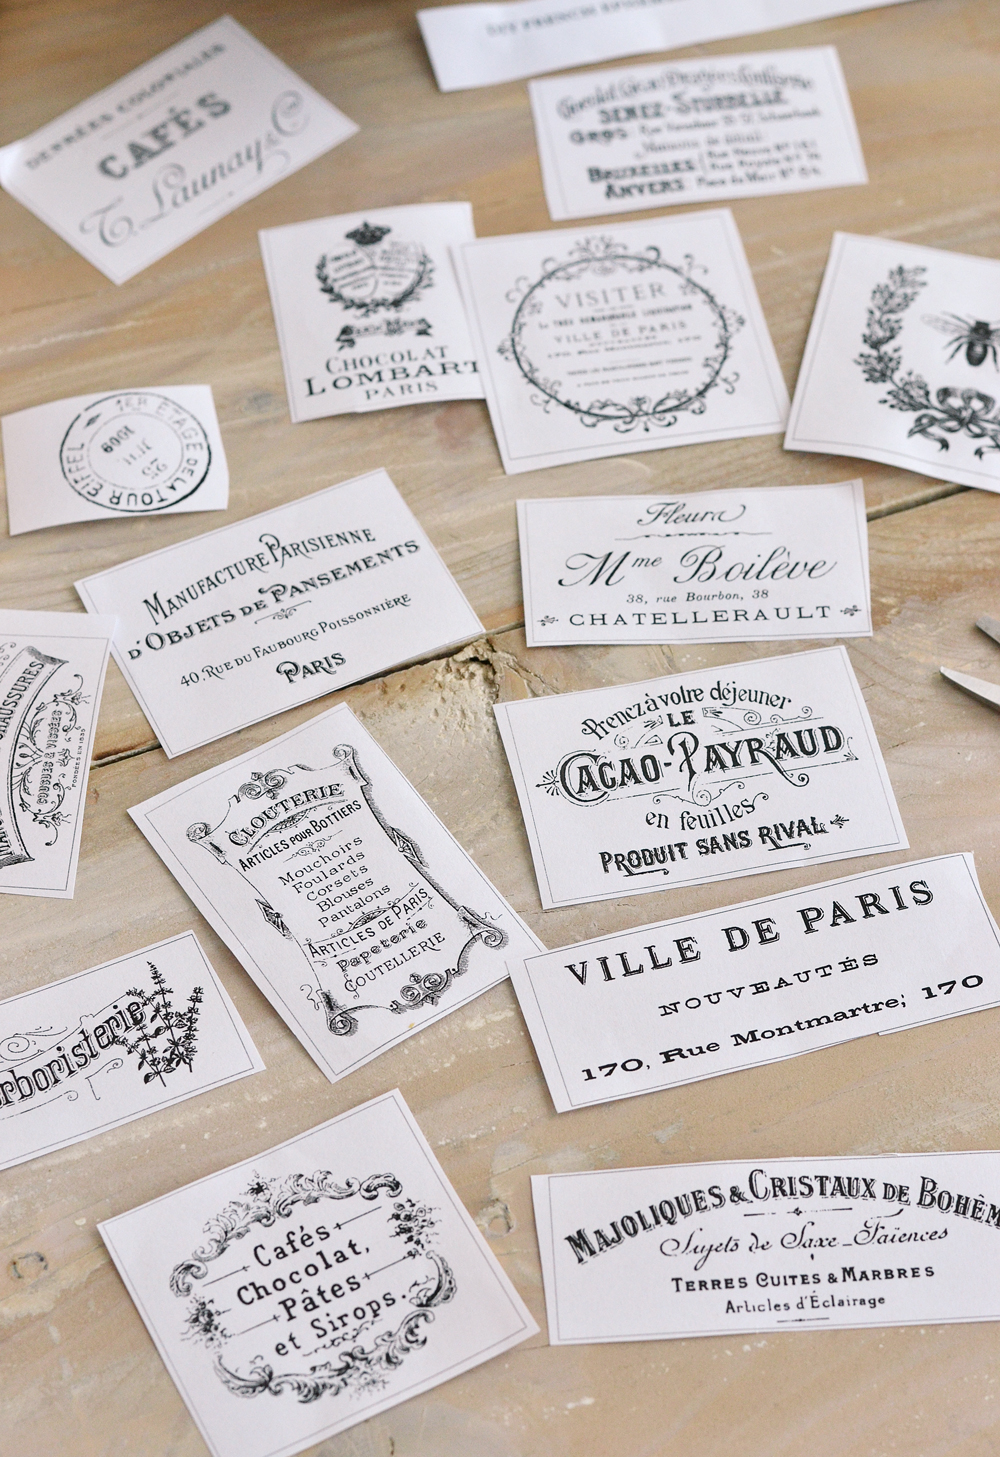
As always, I wanted to make things easier for you so I created a free printable with some of my favorite French ephemera graphics from The Graphics Fairy. You can download the free printable below and use it for this project, but you can also use other graphics that you love!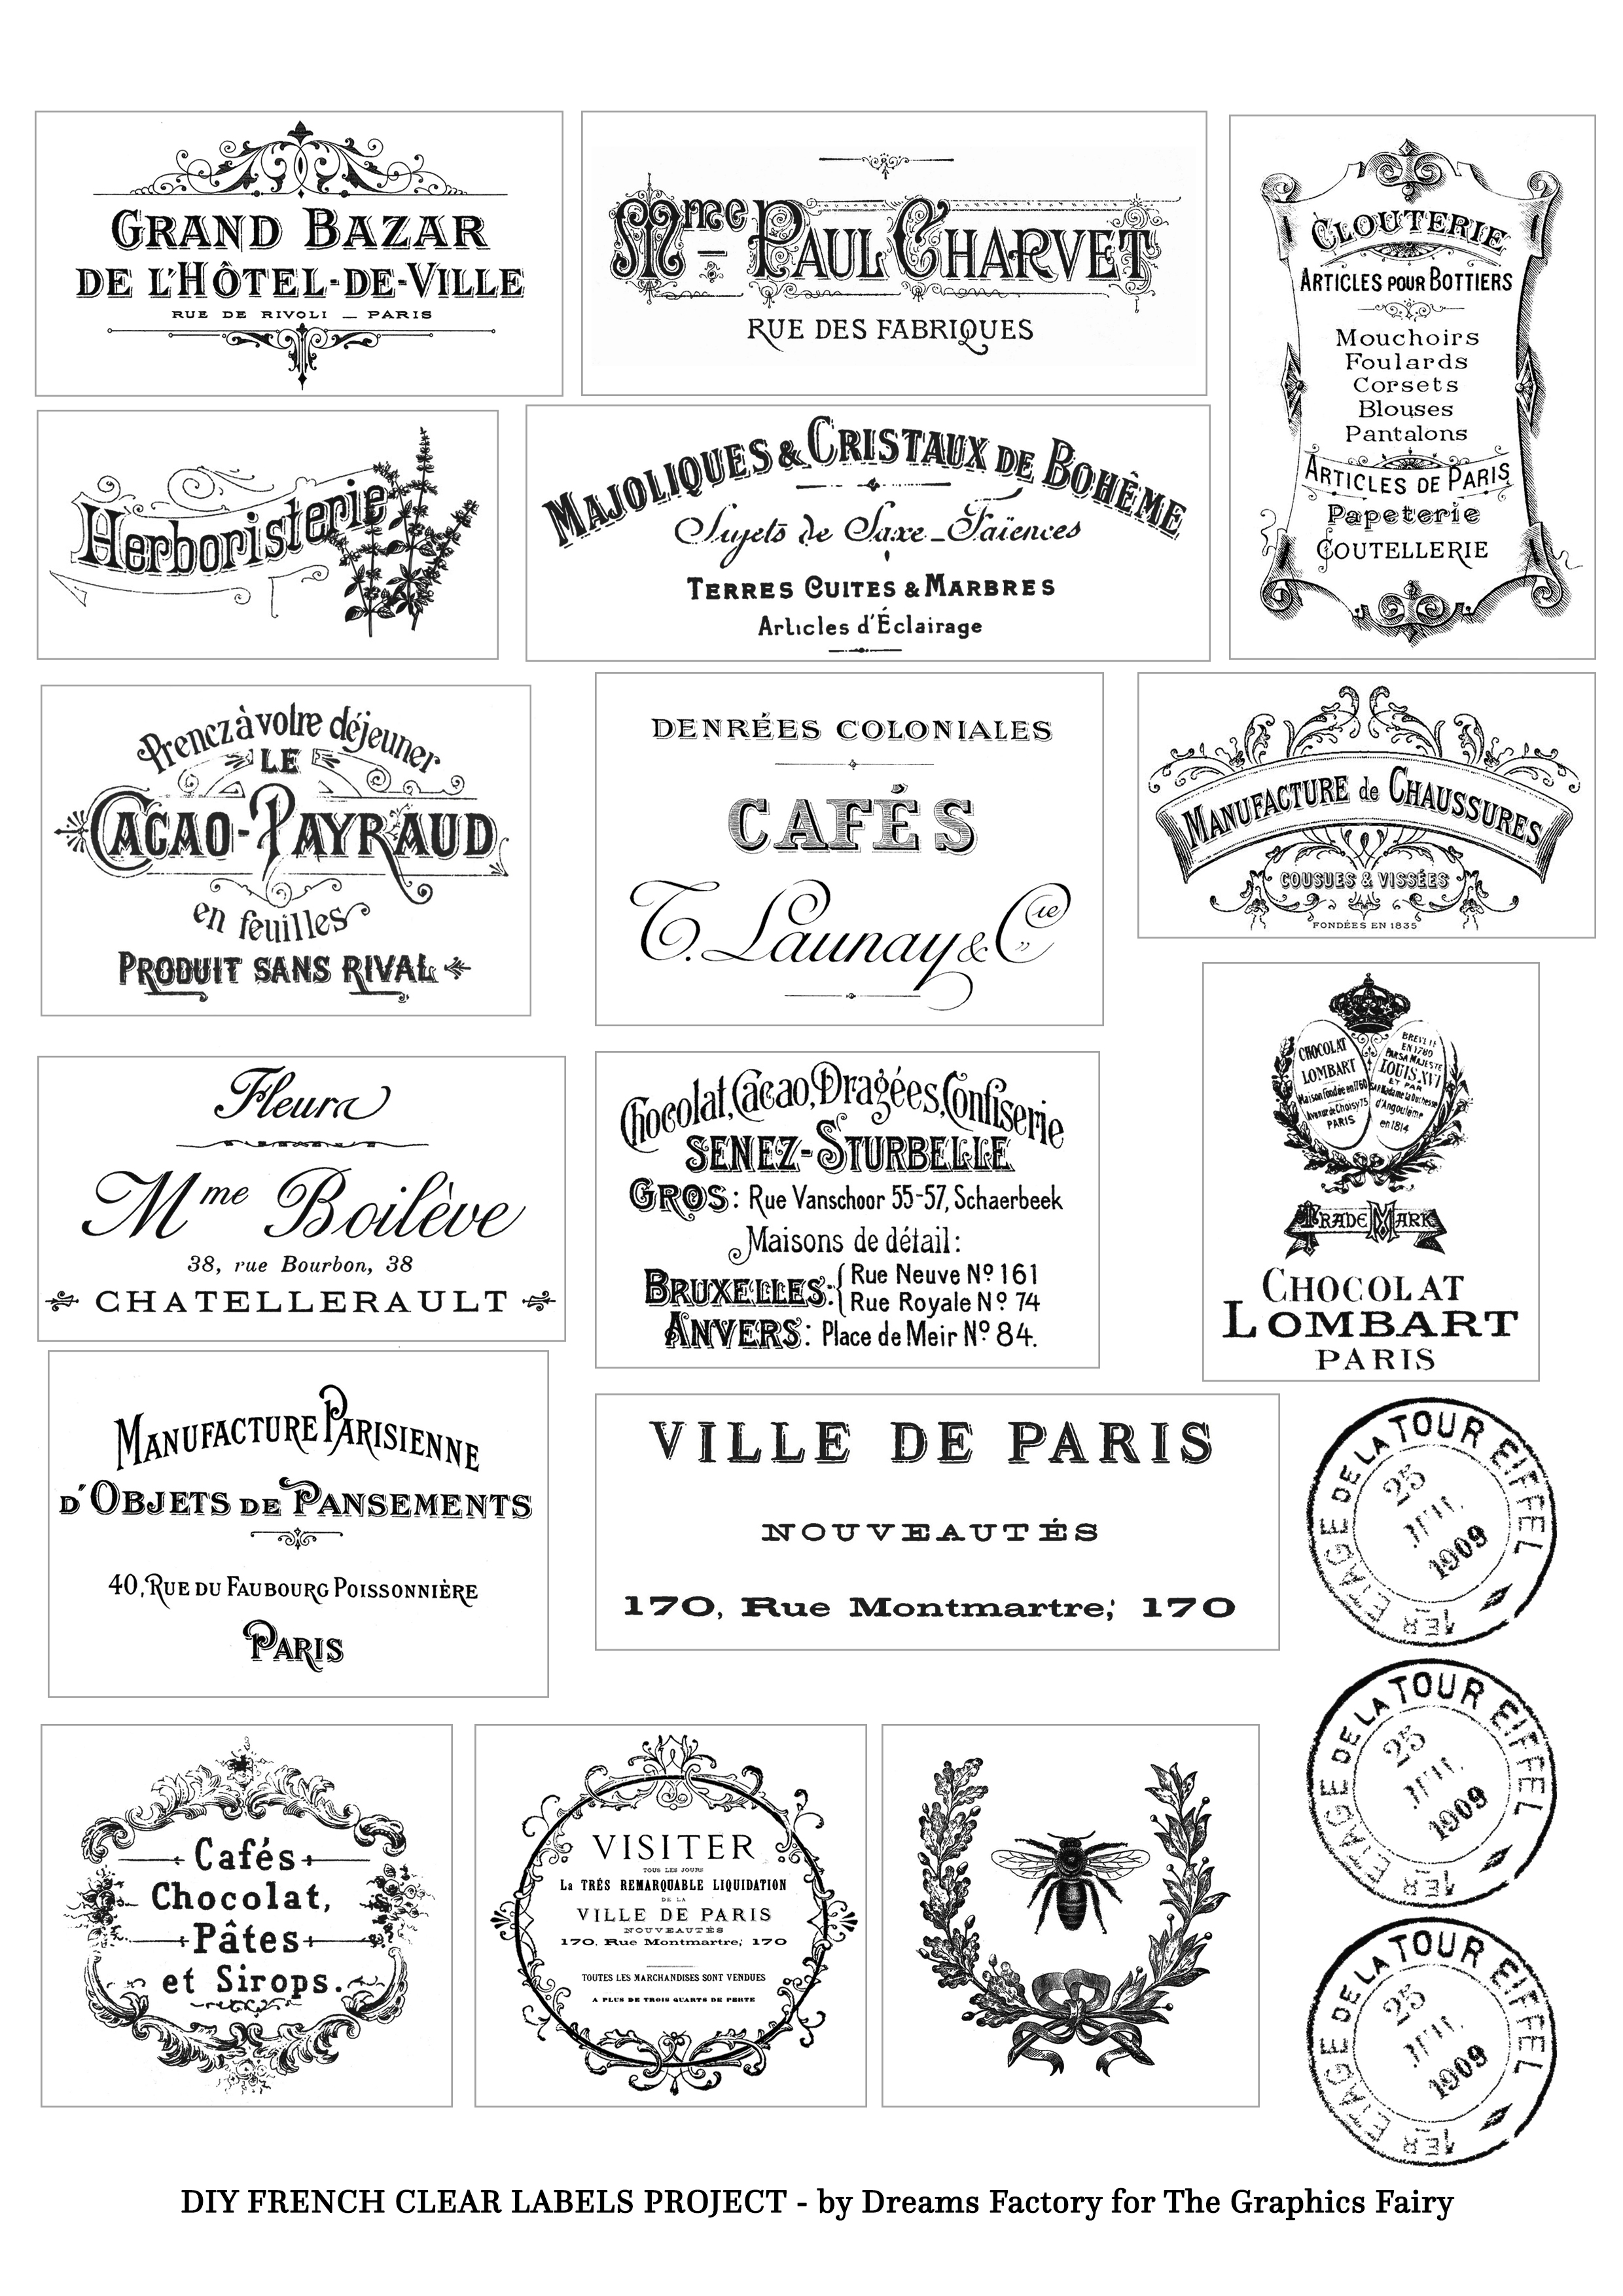
—-> Click HERE to Download the Full Size Printable PDF <—-
DIY Clear Labels for Jars Supplies:
- regular printing paper
- laserjet printer
- scissors
- clear packing tape
- a teaspoon, a popsicle stick or a craft bone folder
- a wooden board (or another hard and flat surface)
- a bowl with warm water
Tutorial
Print the labels using your laserjet printer and gather all the other supplies needed.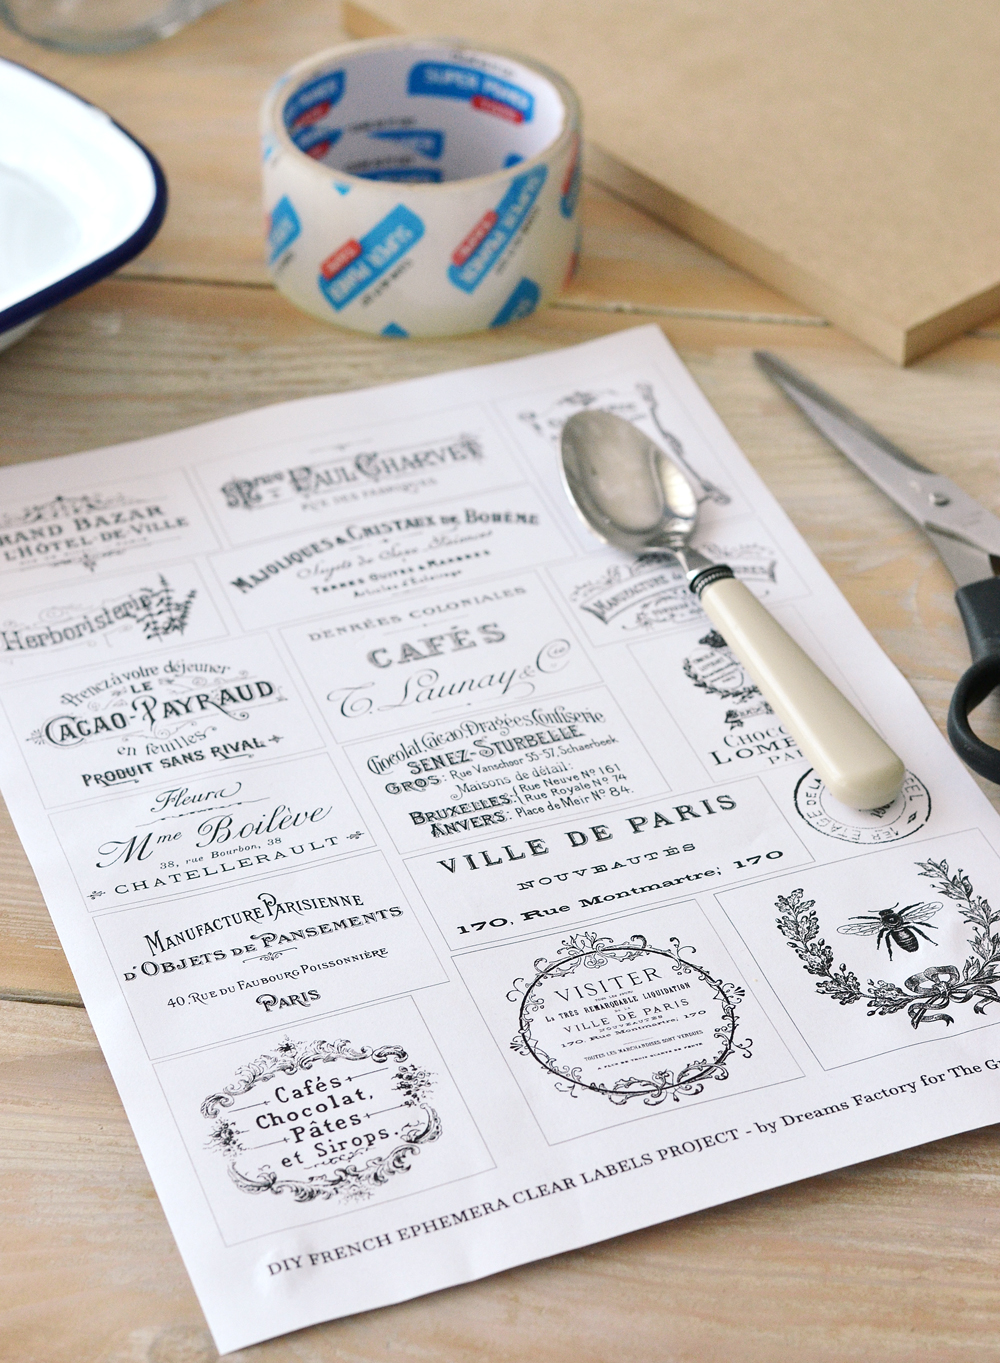
Use your scissors to cut the labels following the outside of the grey borders (see the picture below). We will keep the grey border on each label for now and we will use it for guidance afterwards.
Place a paper label on a corner of your wooden board (or any other hard and flat surface), cut a piece of packing tape a little bit larger than the paper label itself and carefully stick it on top of the paper. Now the regular paper label is completely covered with tape and is also stuck to the flat surface.
Follow the same steps for all the labels leaving some space between them and gradually arrange and stick each one on your board. I folded the right & left edges of the excess tape so I could easily unstick them from the board later. 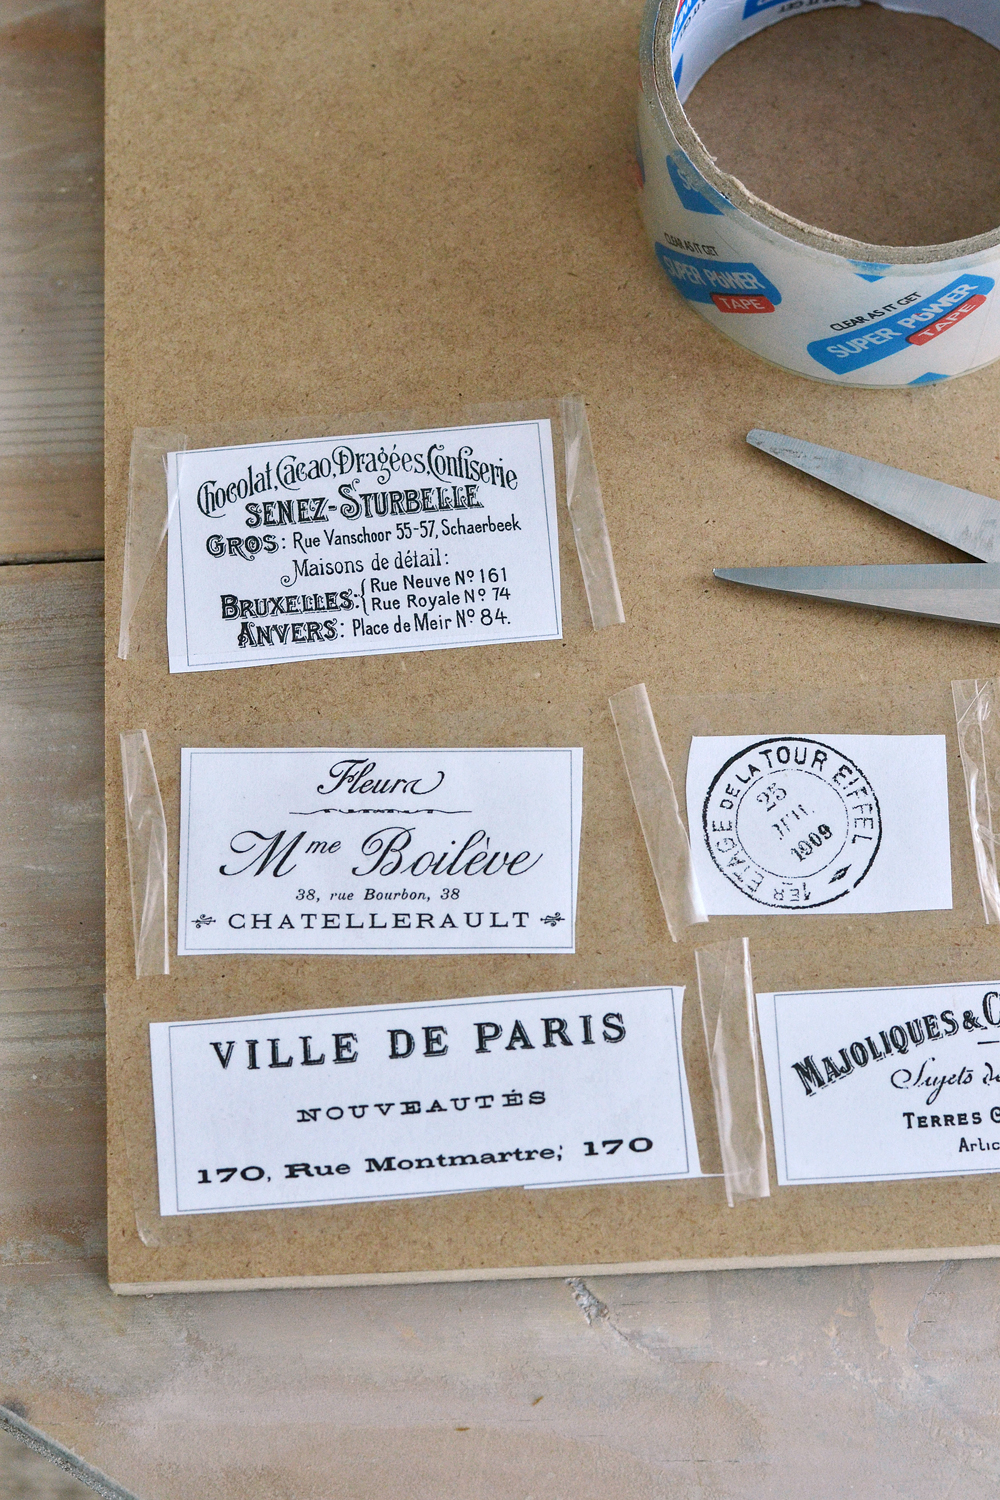
This will help us complete the next step, for which we need the labels to be securely hold into place, on a hard surface.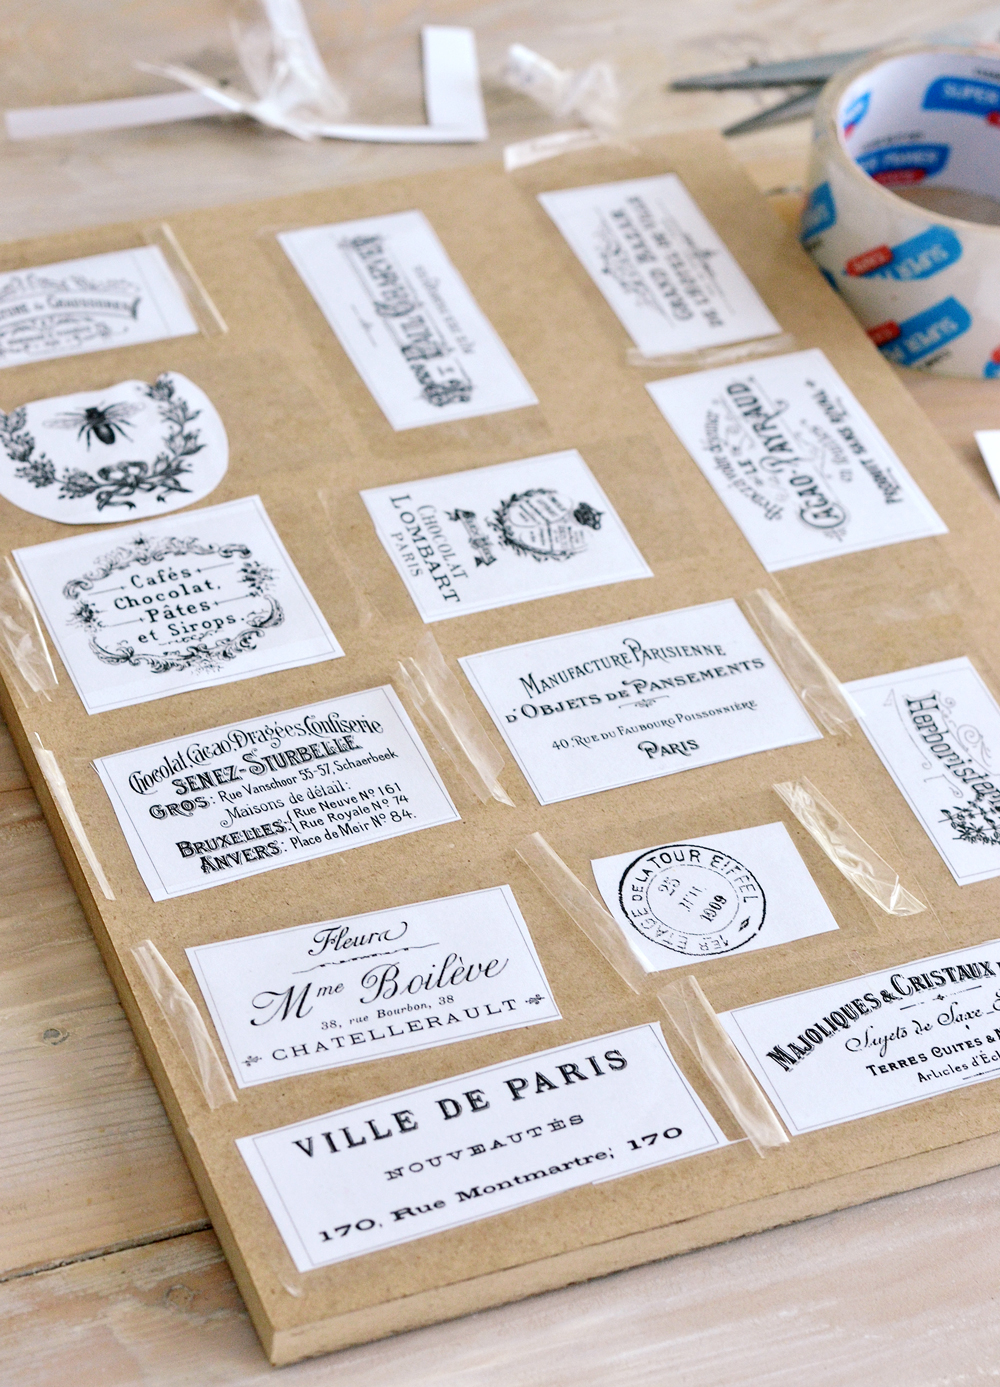
Now that we have the labels arranged on the board, use a spoon, a bone folder or a popsicle stick and burnish each label really well. Apply pressure and insist on the areas with writing, because this is the step where the magic will start happening!
Burnishing each label really well will (hopefully) transfer the writing (the toner) from the white paper onto the sticky side of the packing tape! 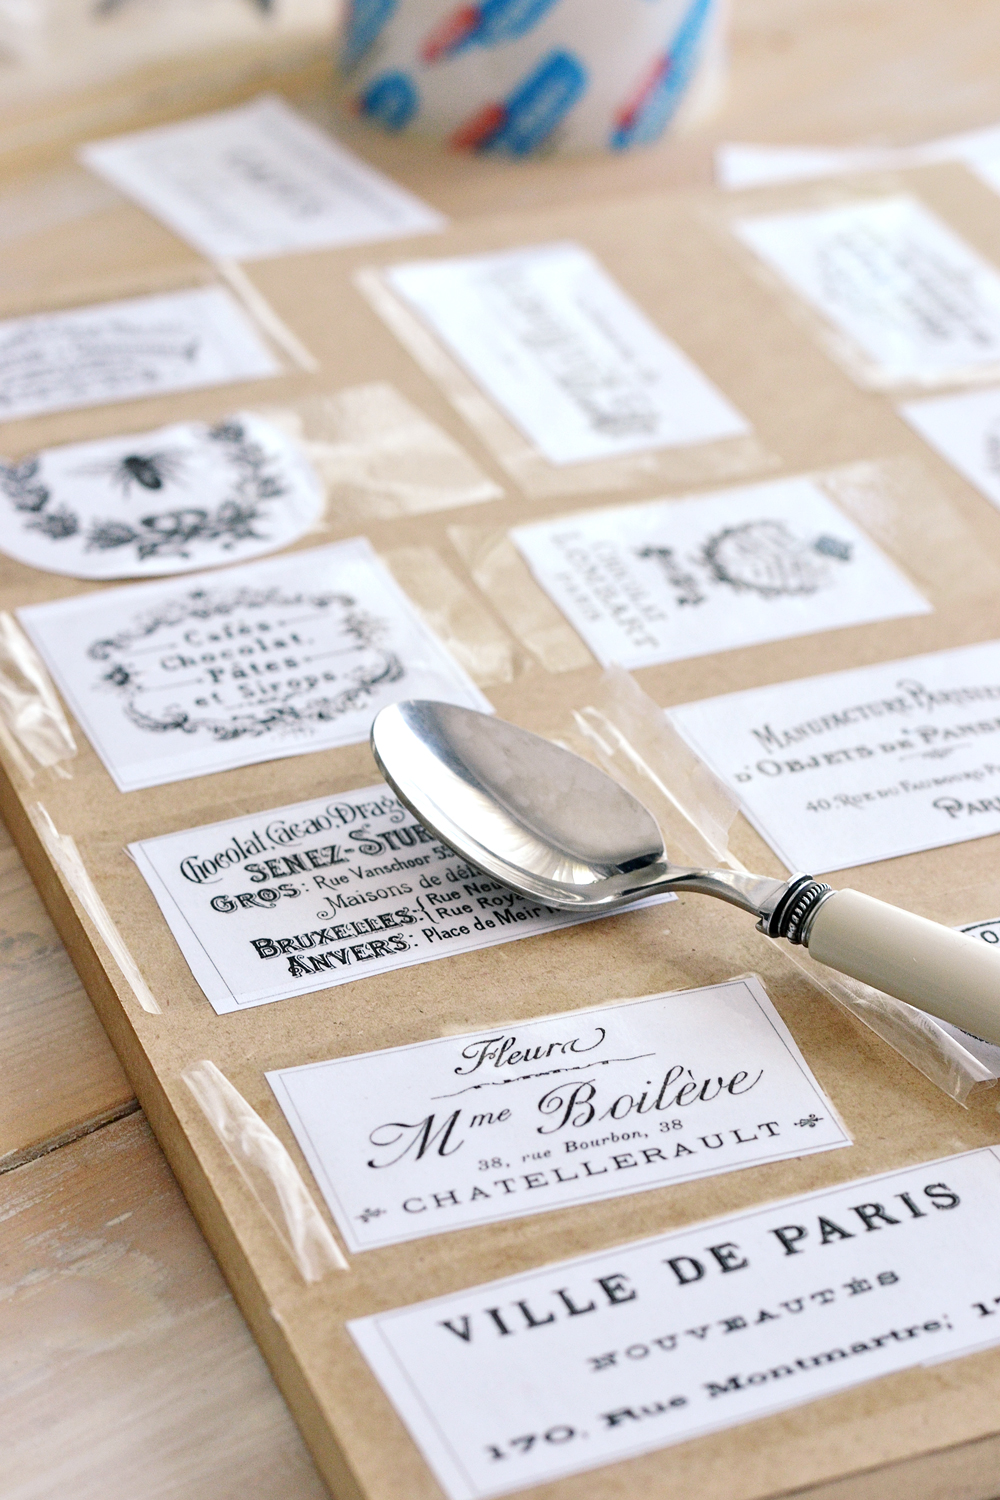
After you have completely burnished all the labels, peel them off from the board.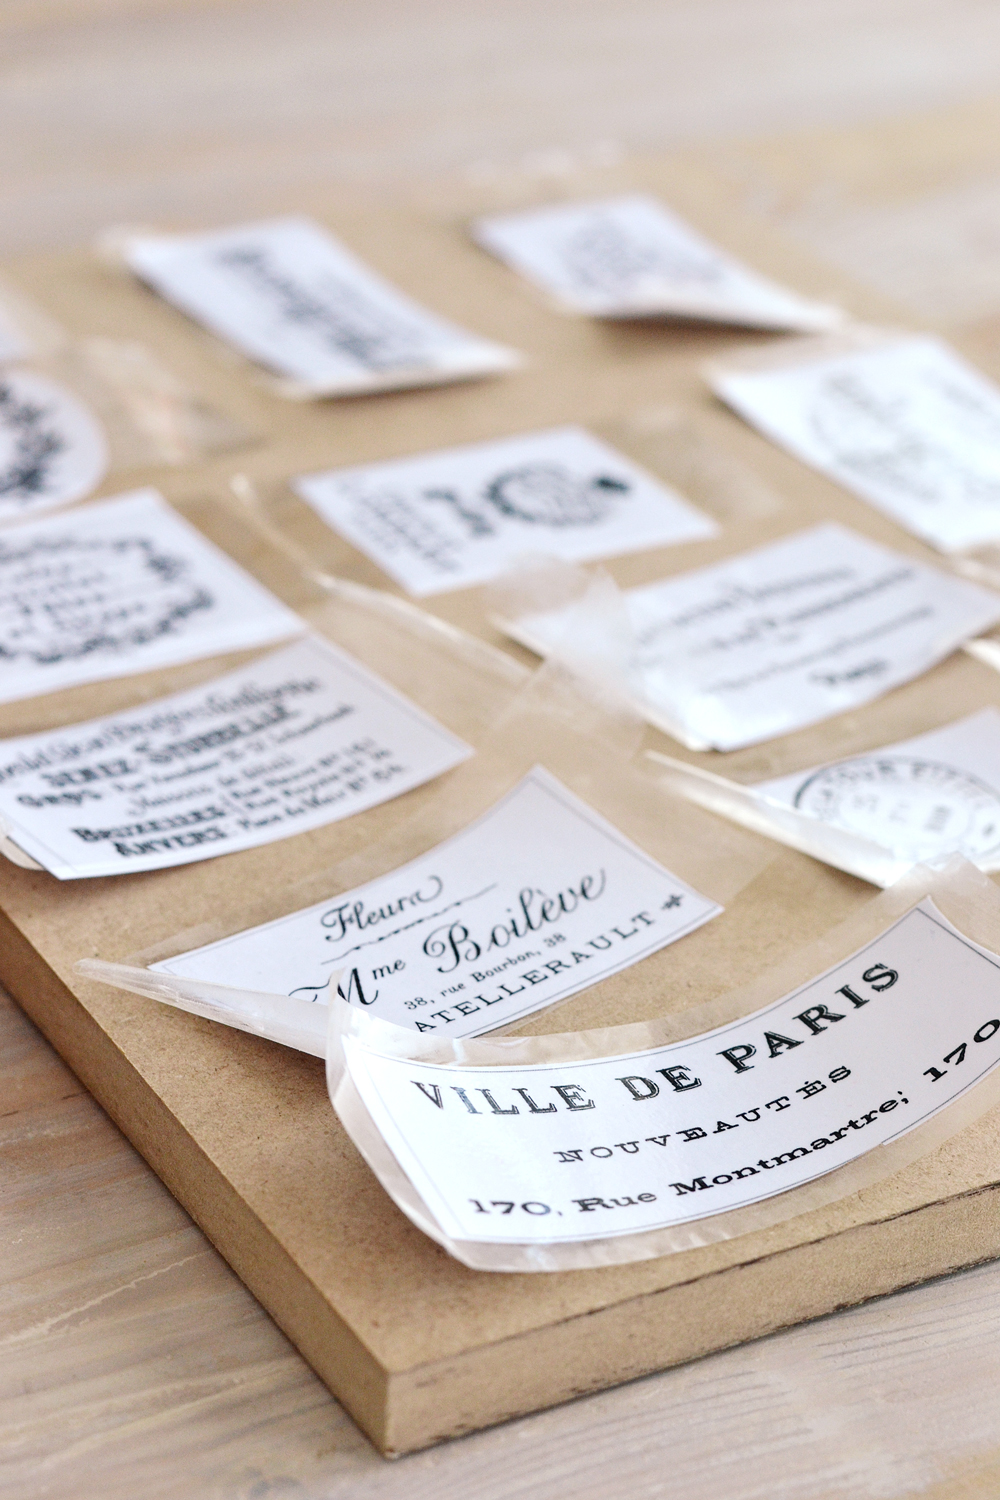
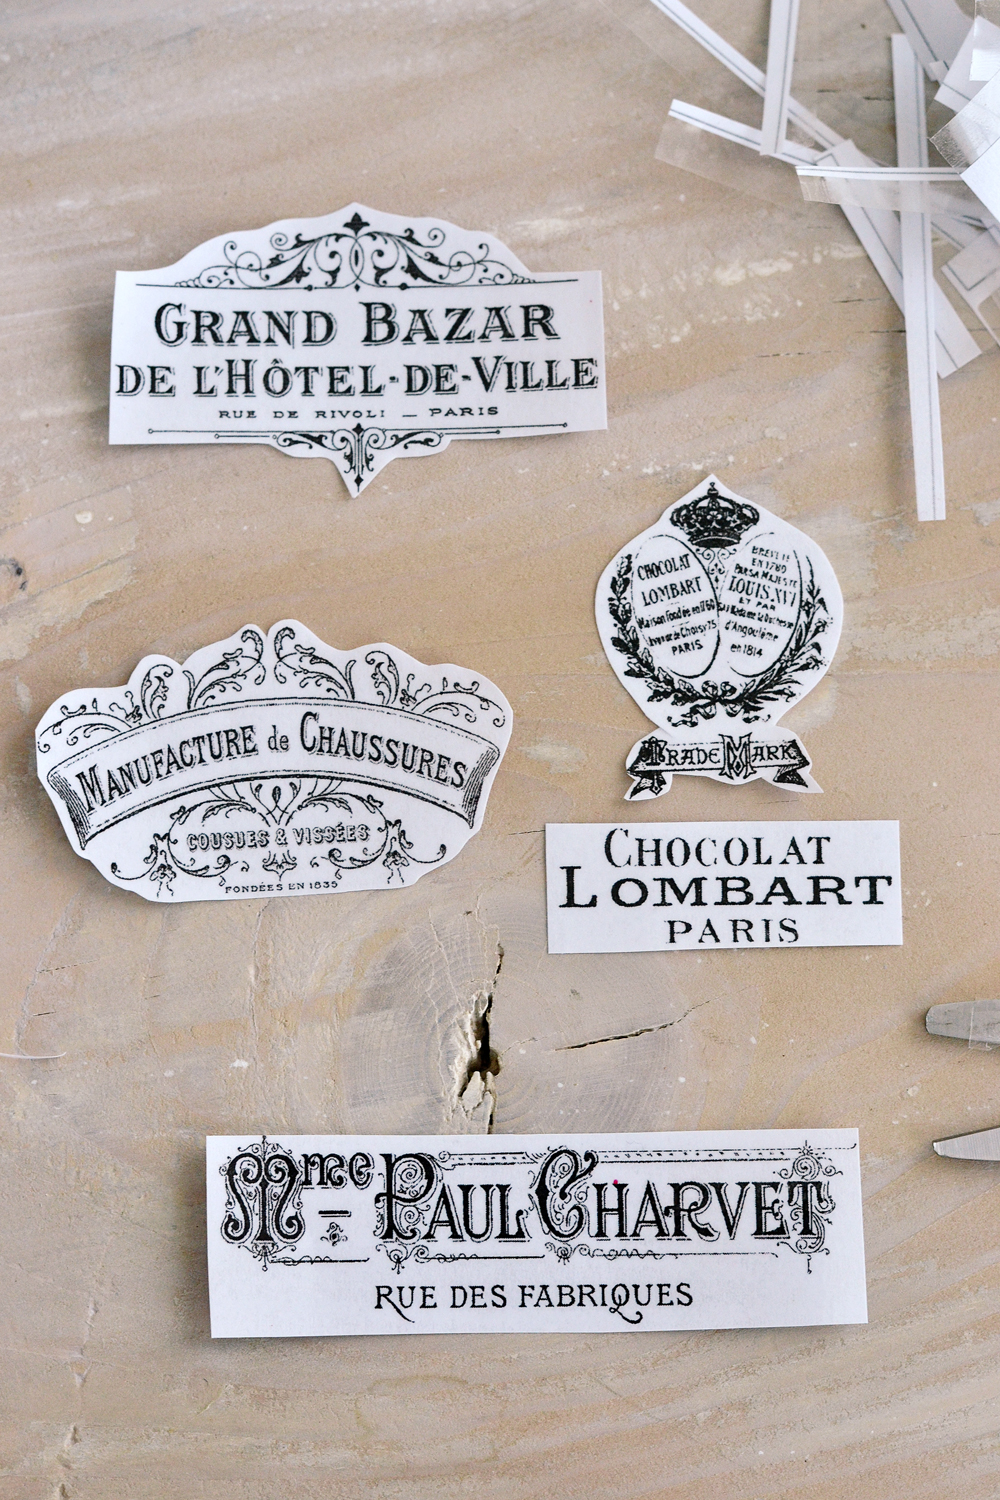
Now it’s time to cut the excess paper and the excess tape from the labels! You can use the grey borders as guiding lines again, but this time we will cut inside the grey borders and we will basically remove the grey borders all together. We’ll use our scissors to cut as close as we can from the writing on the labels. We want our labels to have a nice rectangular shape, with straight lines and as much of the white paper removed. 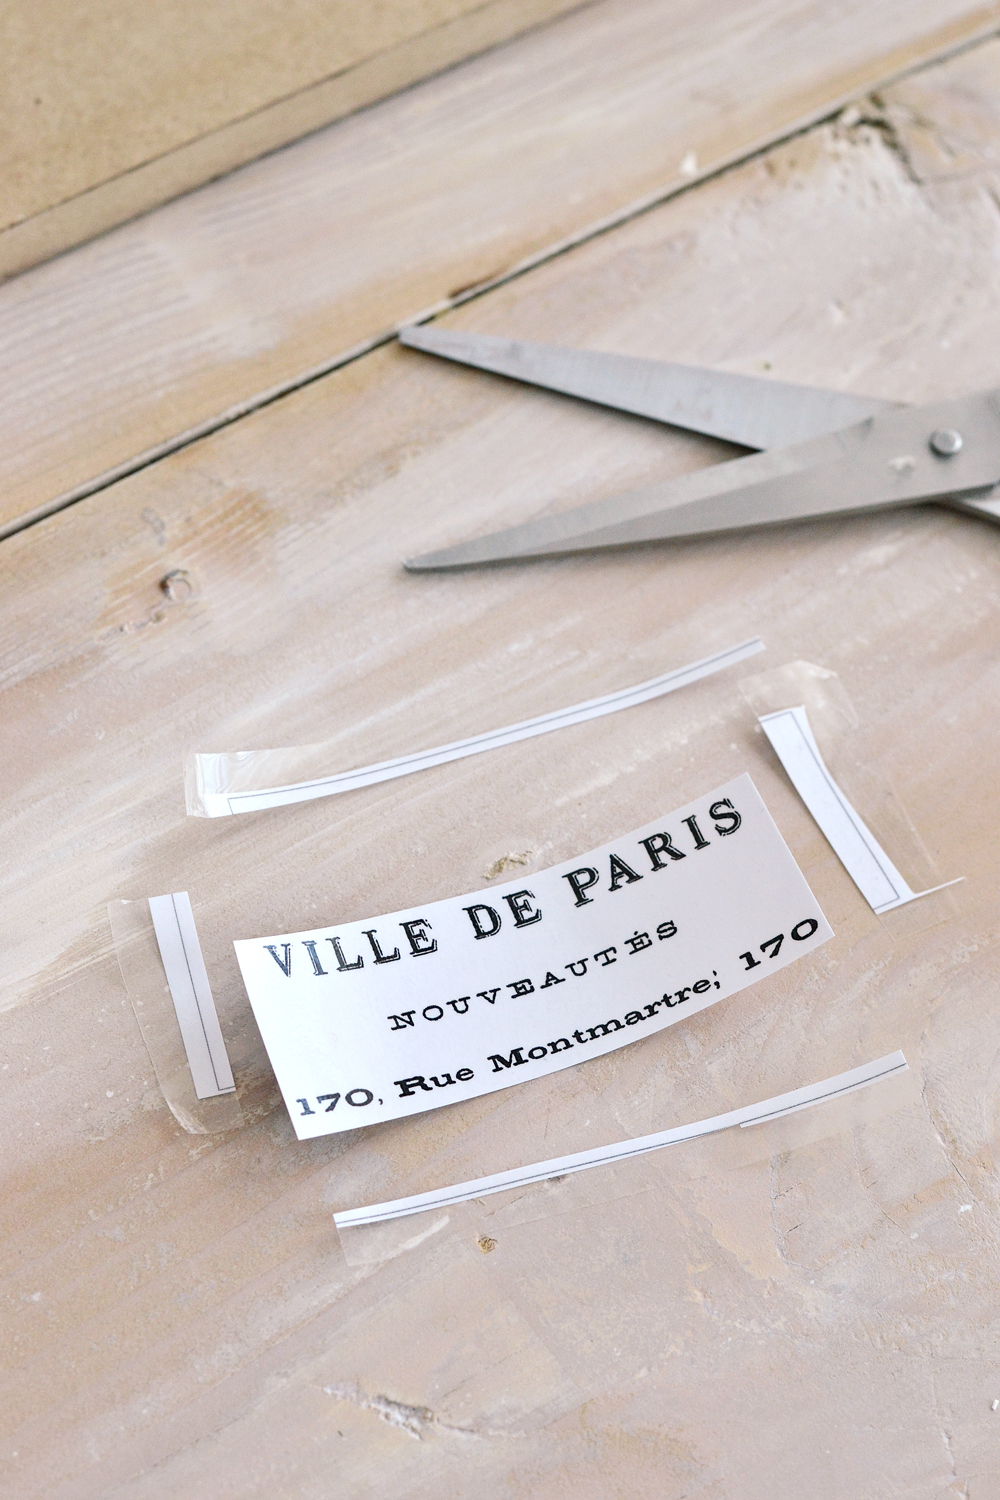
At this point things will get really sticky! As I gradually cut the excess paper and the excess tape from the margins of each label, I found it easier to just add the excess clippings into a sticky pile on my working table that I easily discarded after all the labels were done. The sticky pile, not the table.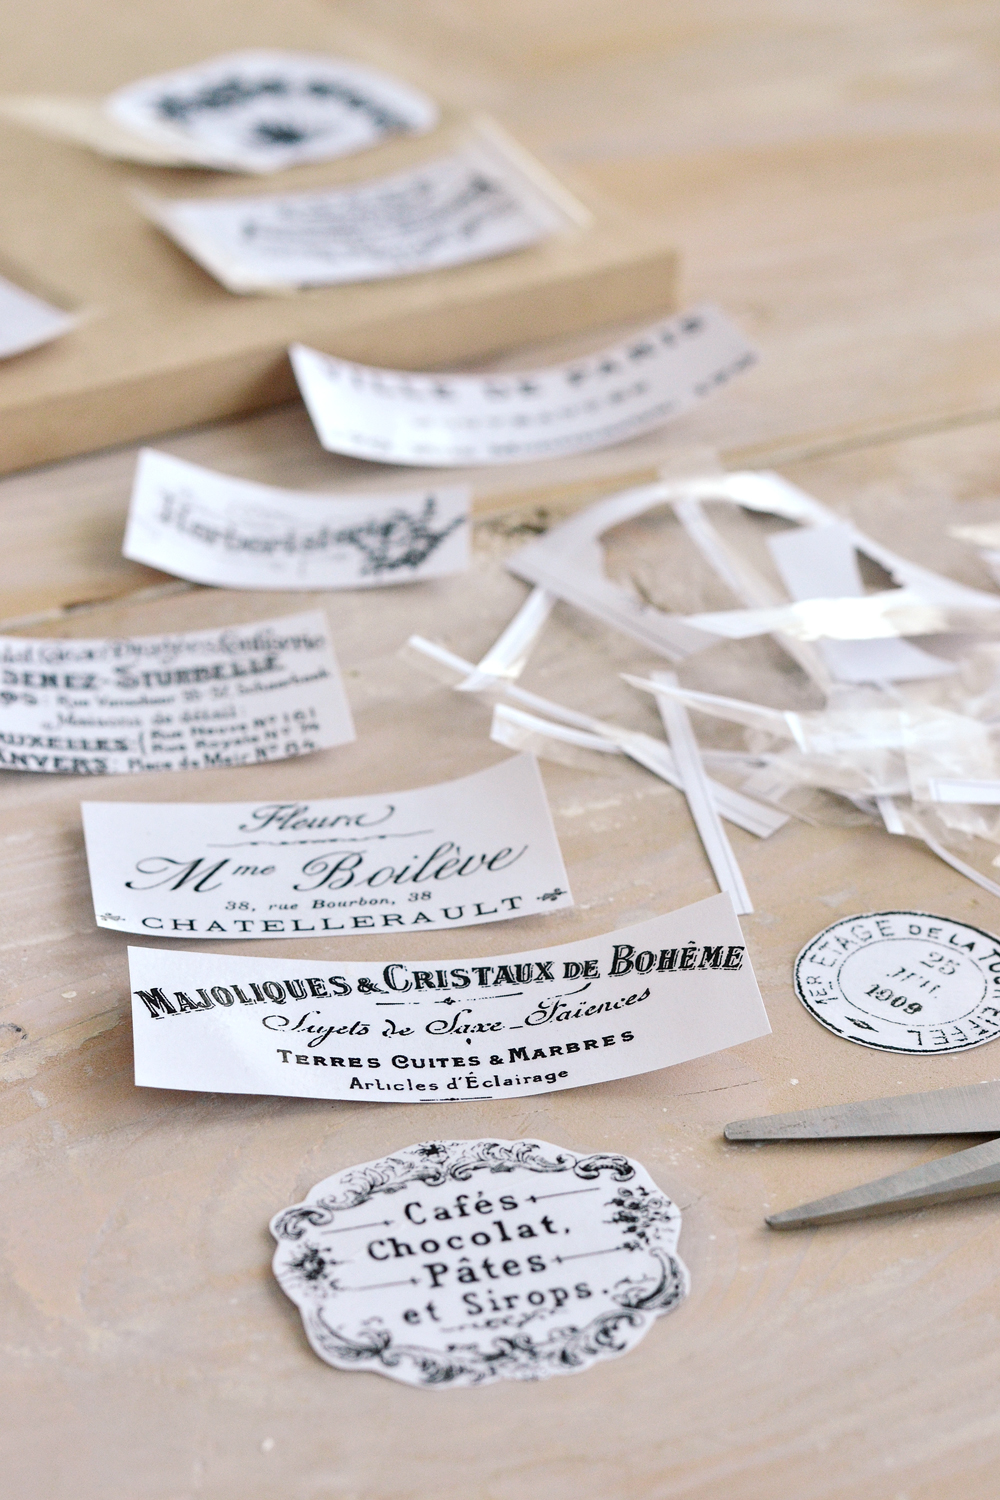
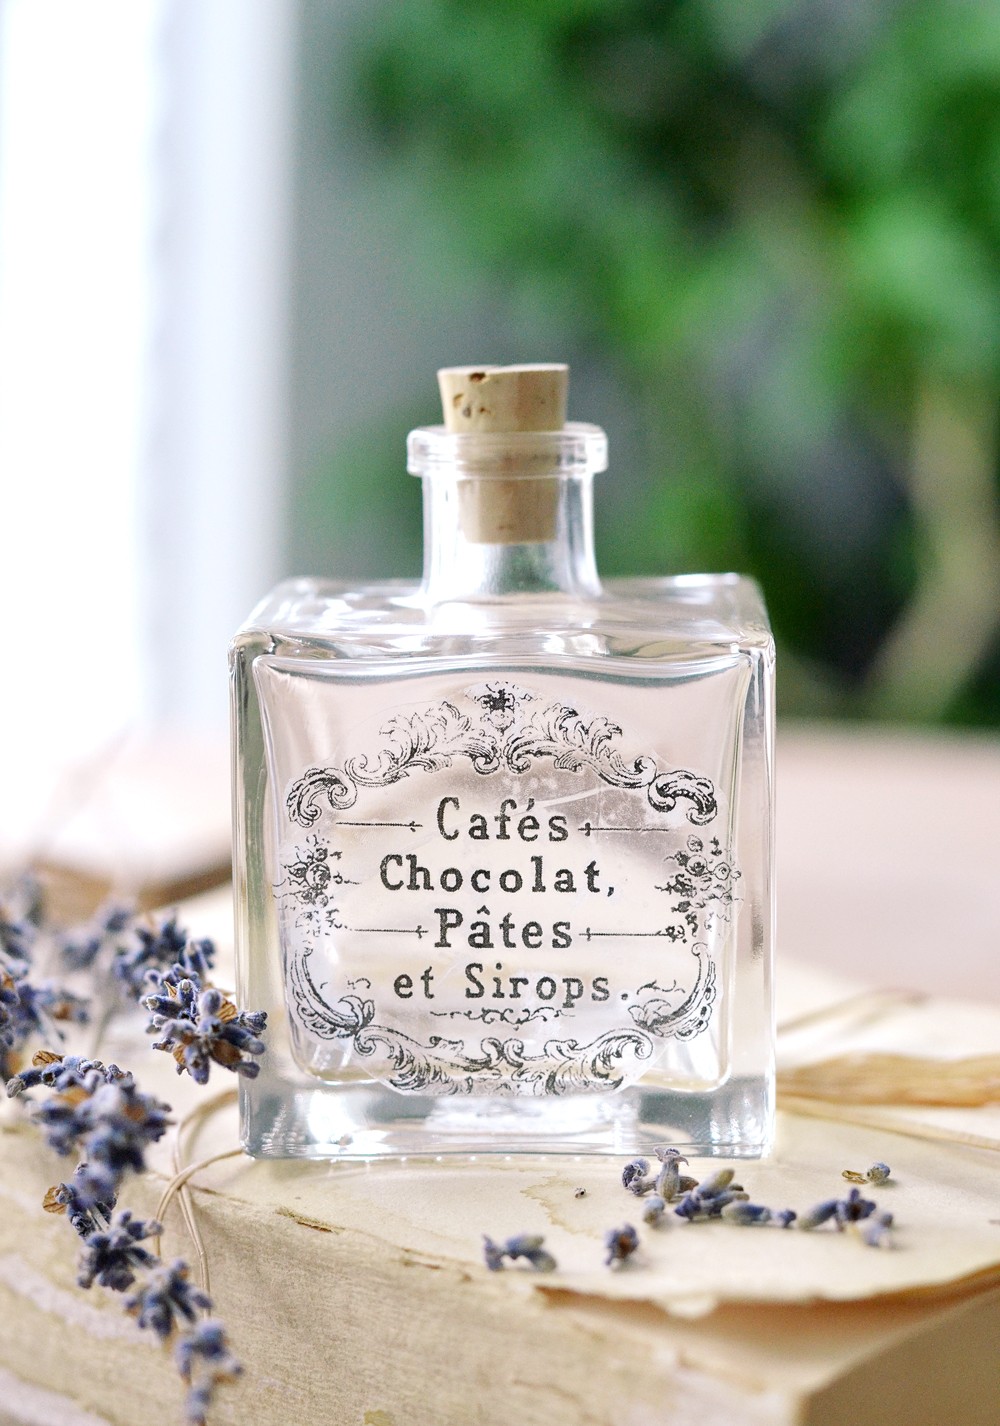
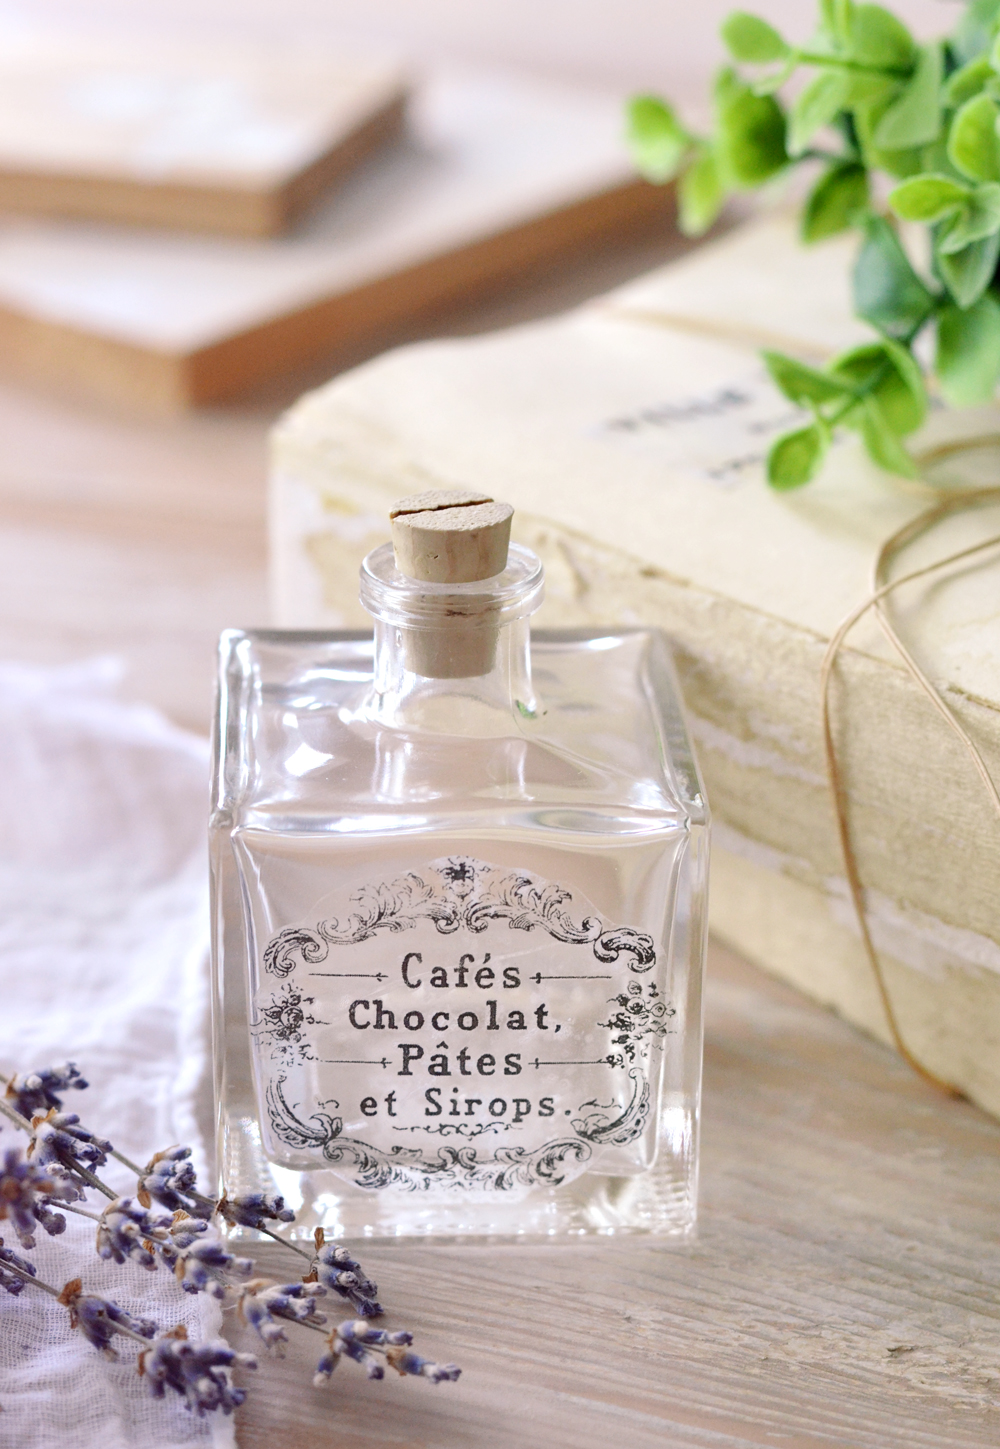
I know I mentioned earlier we need clean rectangular shapes for our labels, but we can actually try a few other alternatives. If the labels have a round specific shape or a beautiful border – like the French stamps that I included in this printable or the Cafes, Chocolat, Pates et Sirops image (see them on the picture above) – you can follow their shape and cut the labels accordingly.
If the label contains both an image and a writing (see the Chocolat Lombart graphic below), you can cut them separately and ‘assemble’ them again when finished. This works well if you have other images that you want to use that maybe are larger than the width of the tape itself. You can ‘deconstruct’ each image in smaller pieces, follow all the steps mentioned here and assemble it again afterwards, on the decorated object.
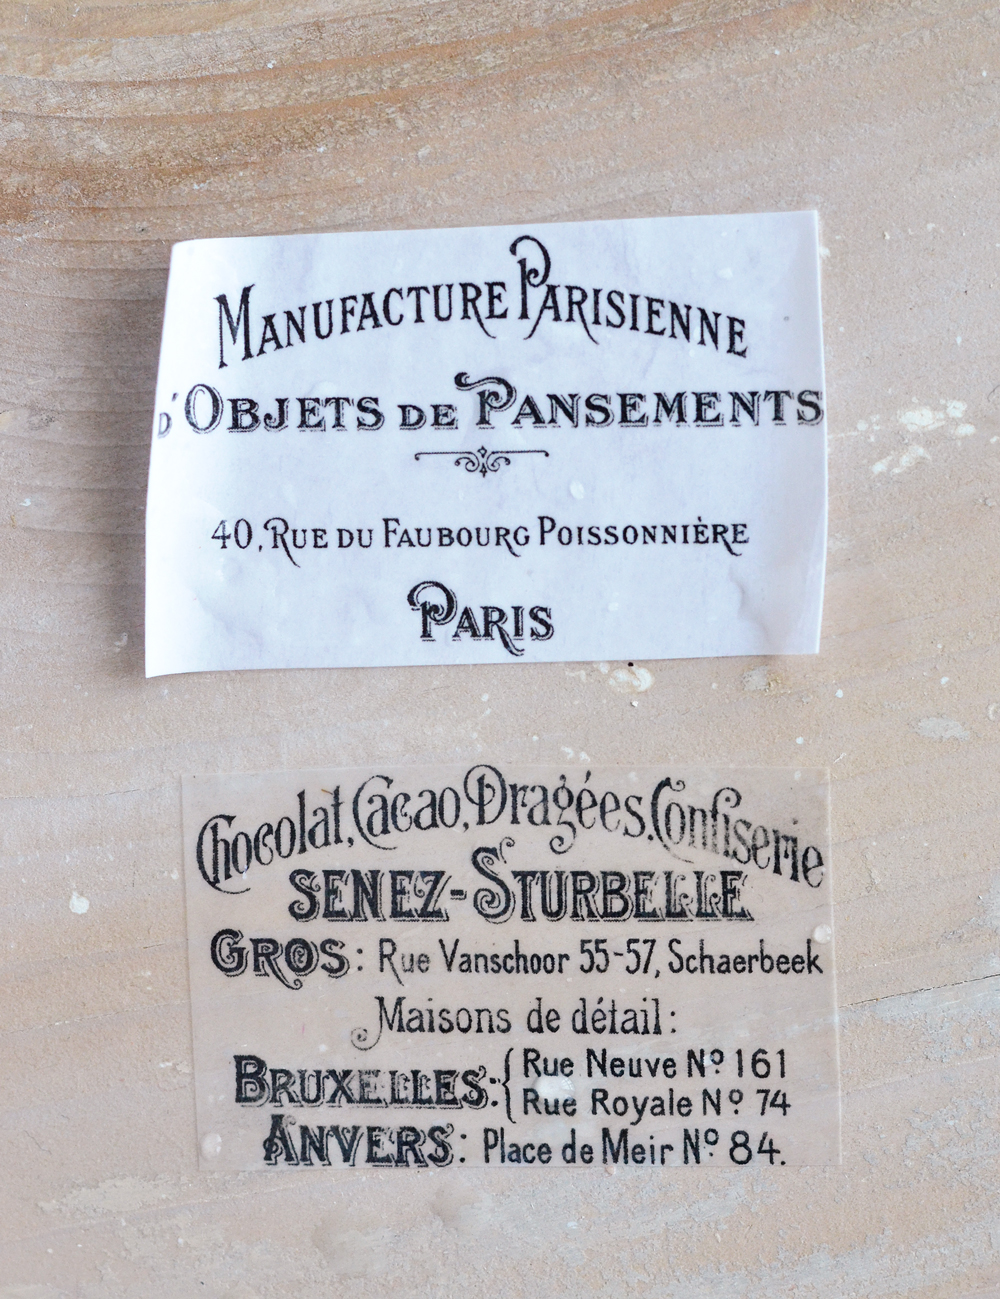
Below you can find other graphics that I gave more rounded cuts. You can do that too or you can just keep their rectangular shapes, its all up to you! Just keep in mind to follow straight clean lines when cutting rectangular labels and rounded harmonious cuts when going for other shapes.
Now it’s time to fill your bowl with warm water and add all the labels in! They will wrinkle when added to the water, but that’s totally normal! Let them soak for about 5-7 minutes at first. The soaking time will depend on the type of tape you are using, just experiment and see what works best for you! 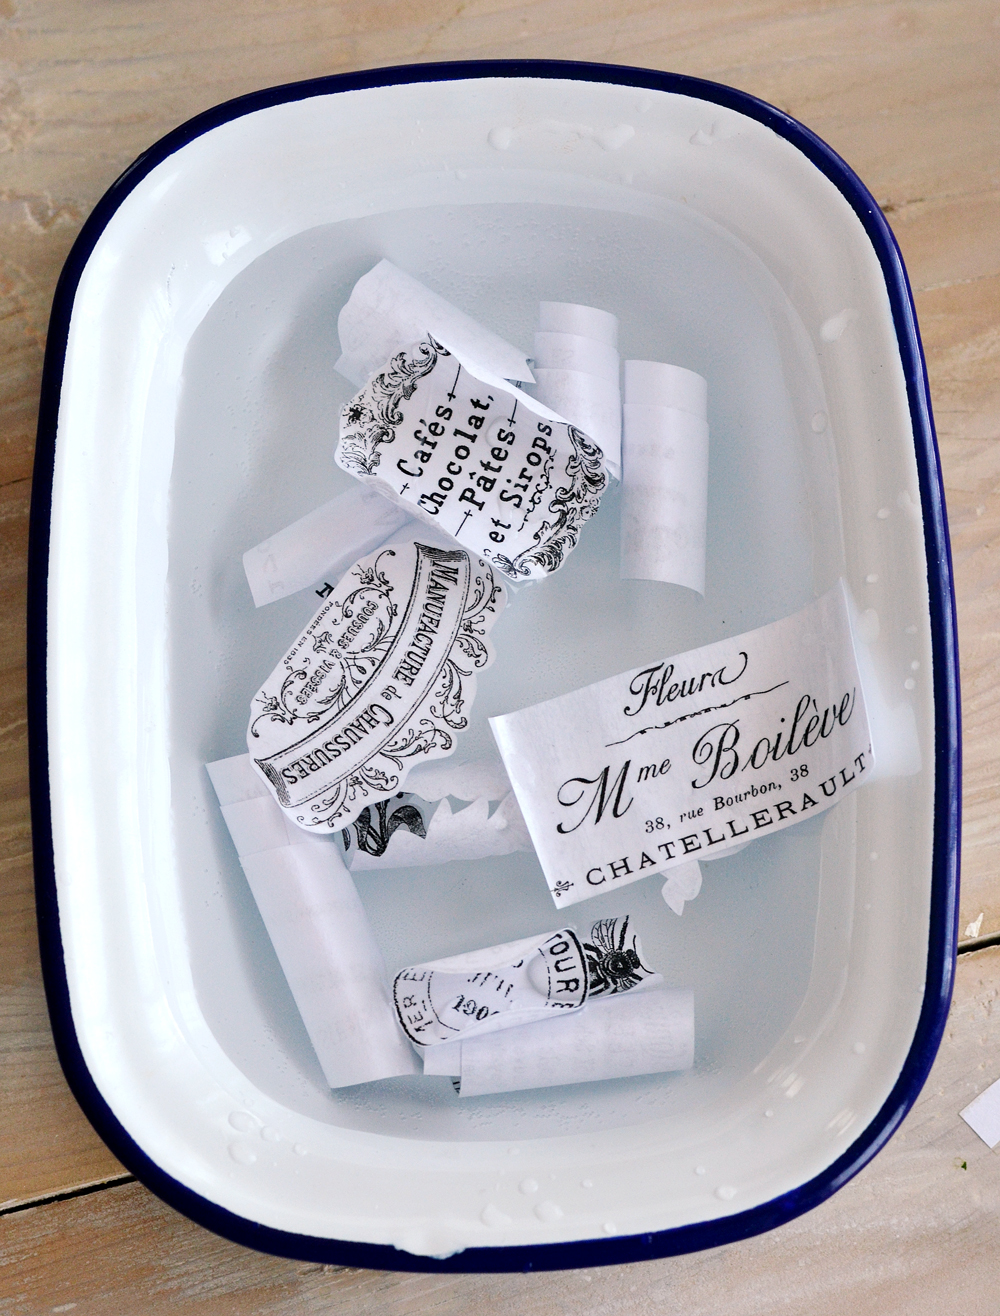
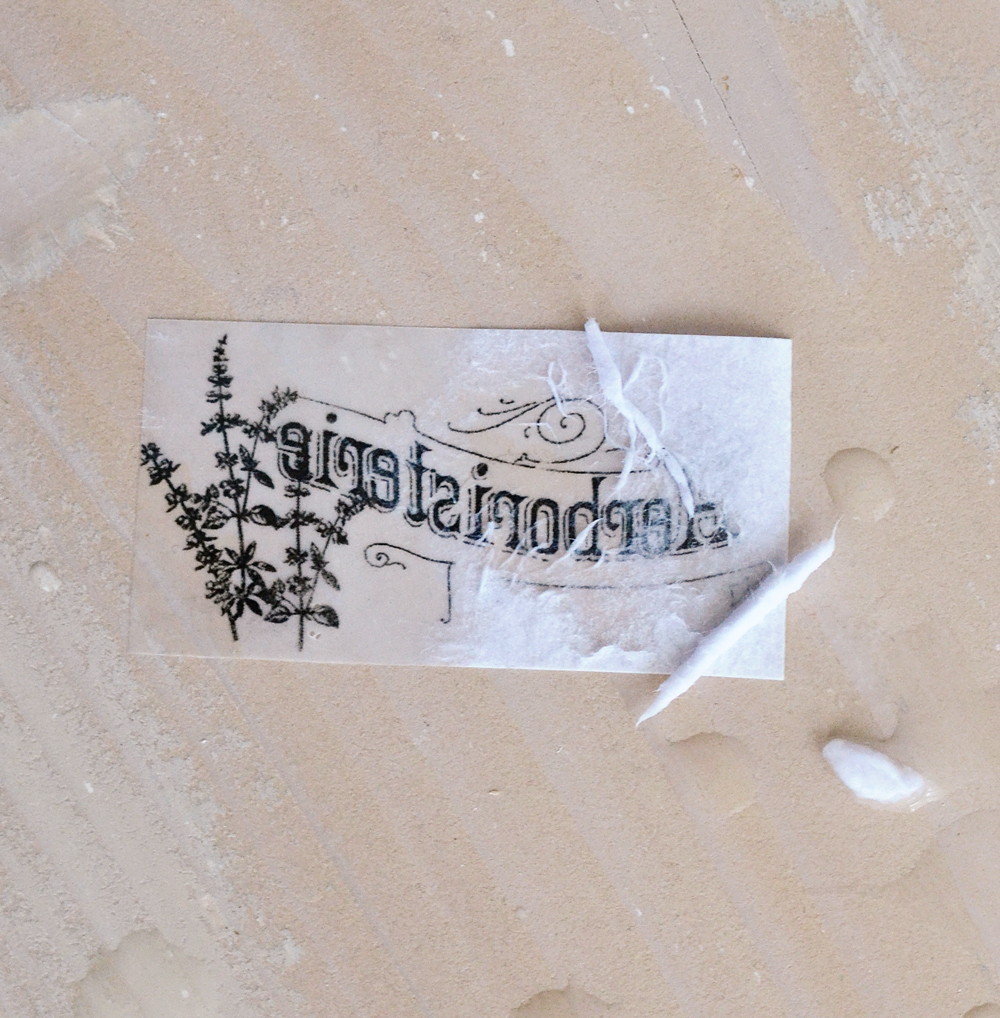
Remove one label from the water and put it on your working surface – with the regular white paper UP! Hold the label on the table with one hand, then use your fingers from the other hand and start rubbing on top. Check to see if the white paper comes off easily.
If it doesn’t, submerge the label into the water again and wait for a few minutes more.
If it does come off, remove all the white soaked paper from the back by gently rubbing it and submerging it into the water several times, until all the paper residues are removed.
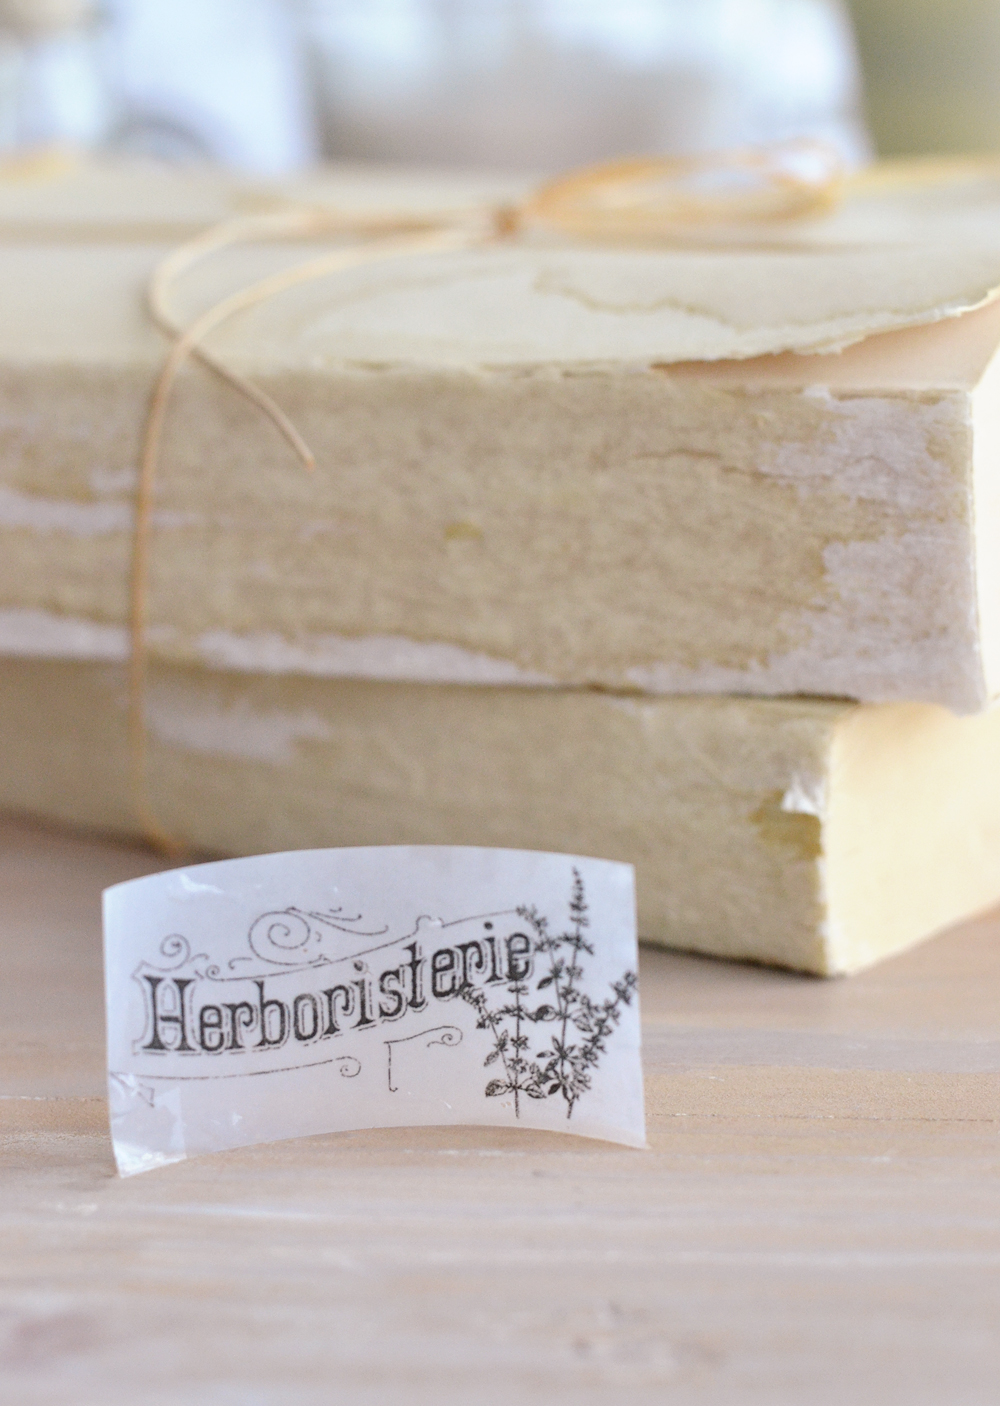
And now … just be amazed!!! The black toner from your image should have successfully transferred to the tape, giving you one of the many beautiful Clear French Labels! If you were skeptical at first (like I was when I first tried this) now you will be definitely impressed by how accurate all the intricate details transferred to the back of the tape!
So here below is a little before and after. Not too bad, right? Rightttt?
NOTE: This image is for demonstrating purposes only, please do not put your label with the sticky back on your table … just yet!
Things will get really splashy when completing this step, I managed to gently remove the white paper from the back of some of the labels, but I had to submerge a few of them several times until the white soaked paper completely rubbed off.
Starting from this point you will have to be really careful with the sticky back of your clear labels!!!
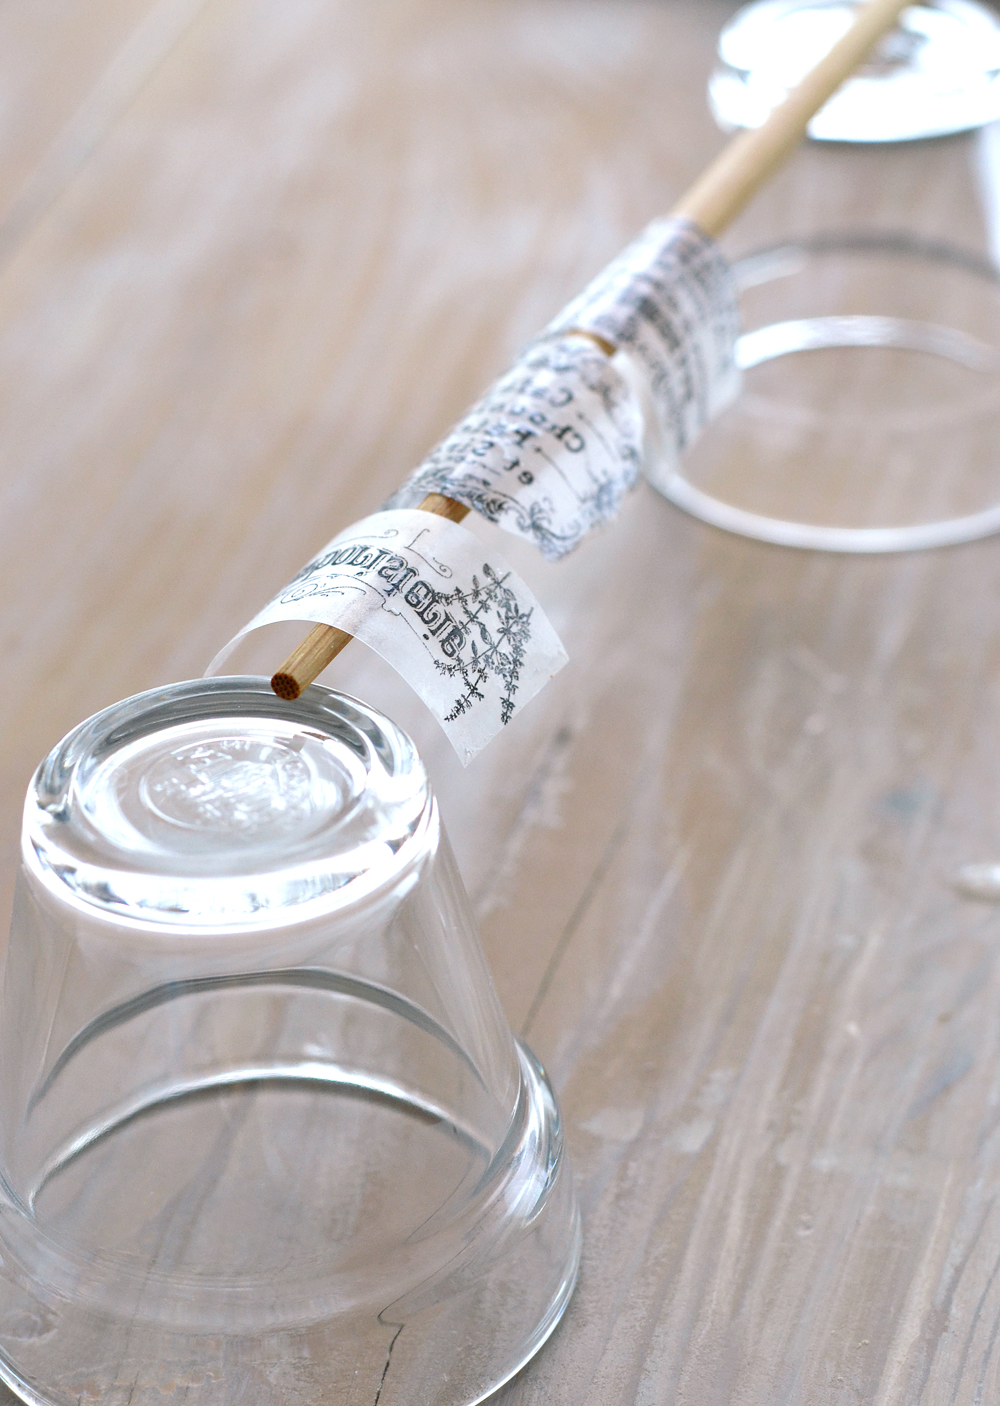
When you are done removing the white paper from the back of one label, put it on a clean surface with its back side (sticky side) UP and let it dry completely. Don’t worry if it doesn’t feel too sticky just yet, after drying, the label will just become sticky again! How cool is that!?
I improvised a drying rack using two small glasses and a chopstick and I put the labels to dry there … sticky side up!
After the labels dried, they regained their stickiness almost completely and I couldn’t be more happier! They still had some small white paper residues here and there (that were only visible after drying) and some white cloudy areas that I had no idea why they formed.
But I just loved my new stickers and I totally embraced their small imperfections as part of their beautiful handmade final look!
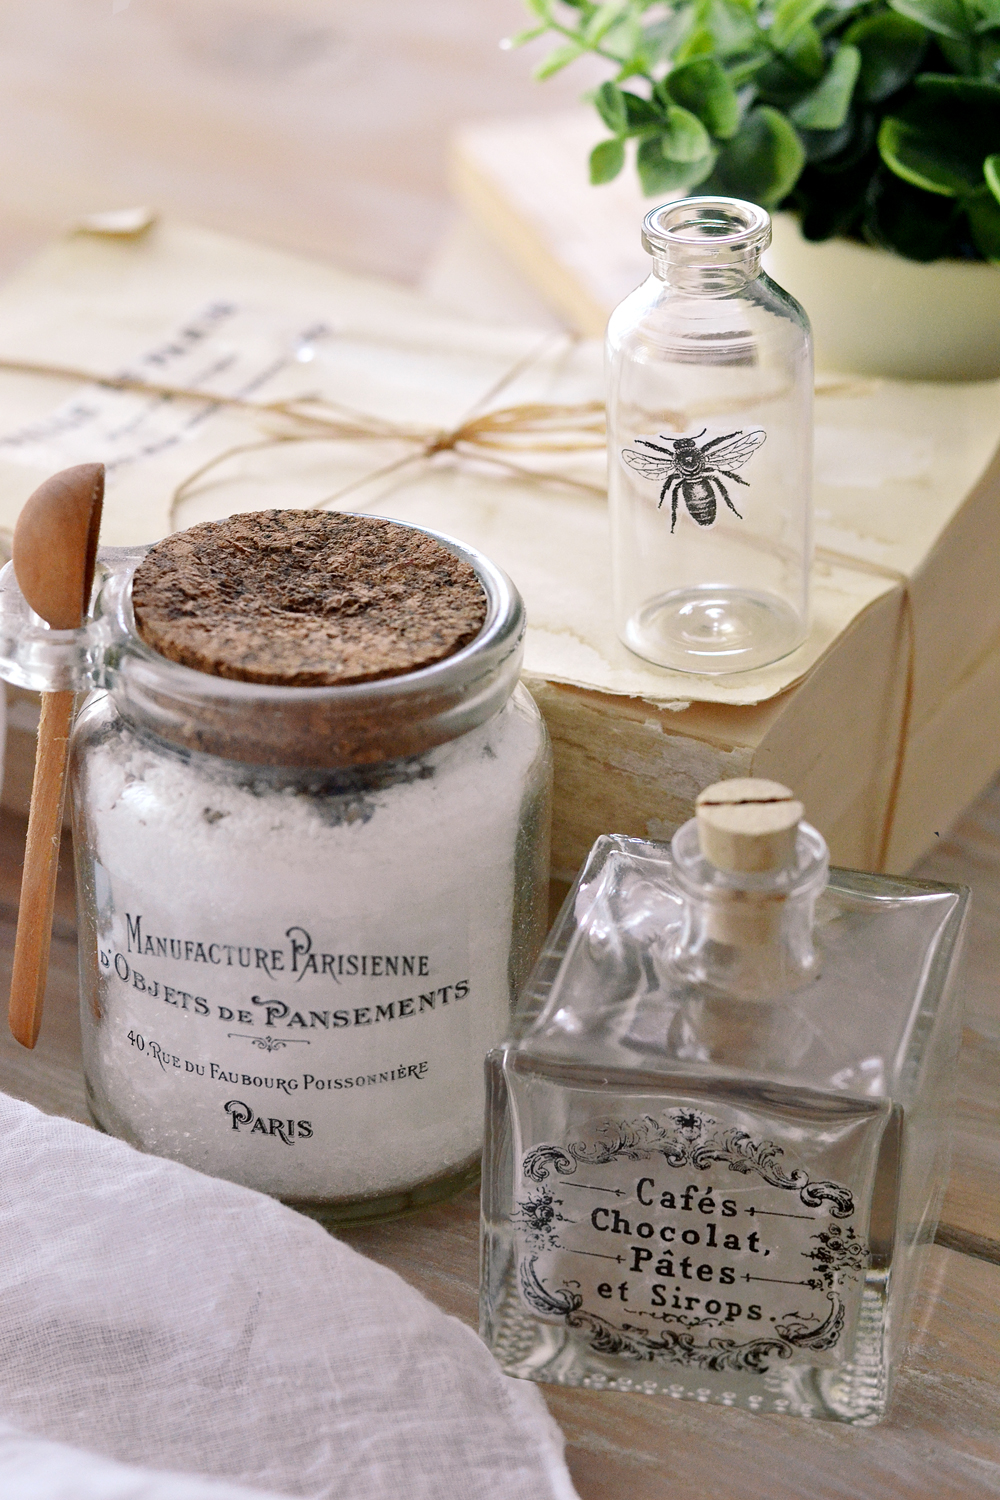
I happily stuck them on several different surfaces, here are a few ideas on where you can use them too.
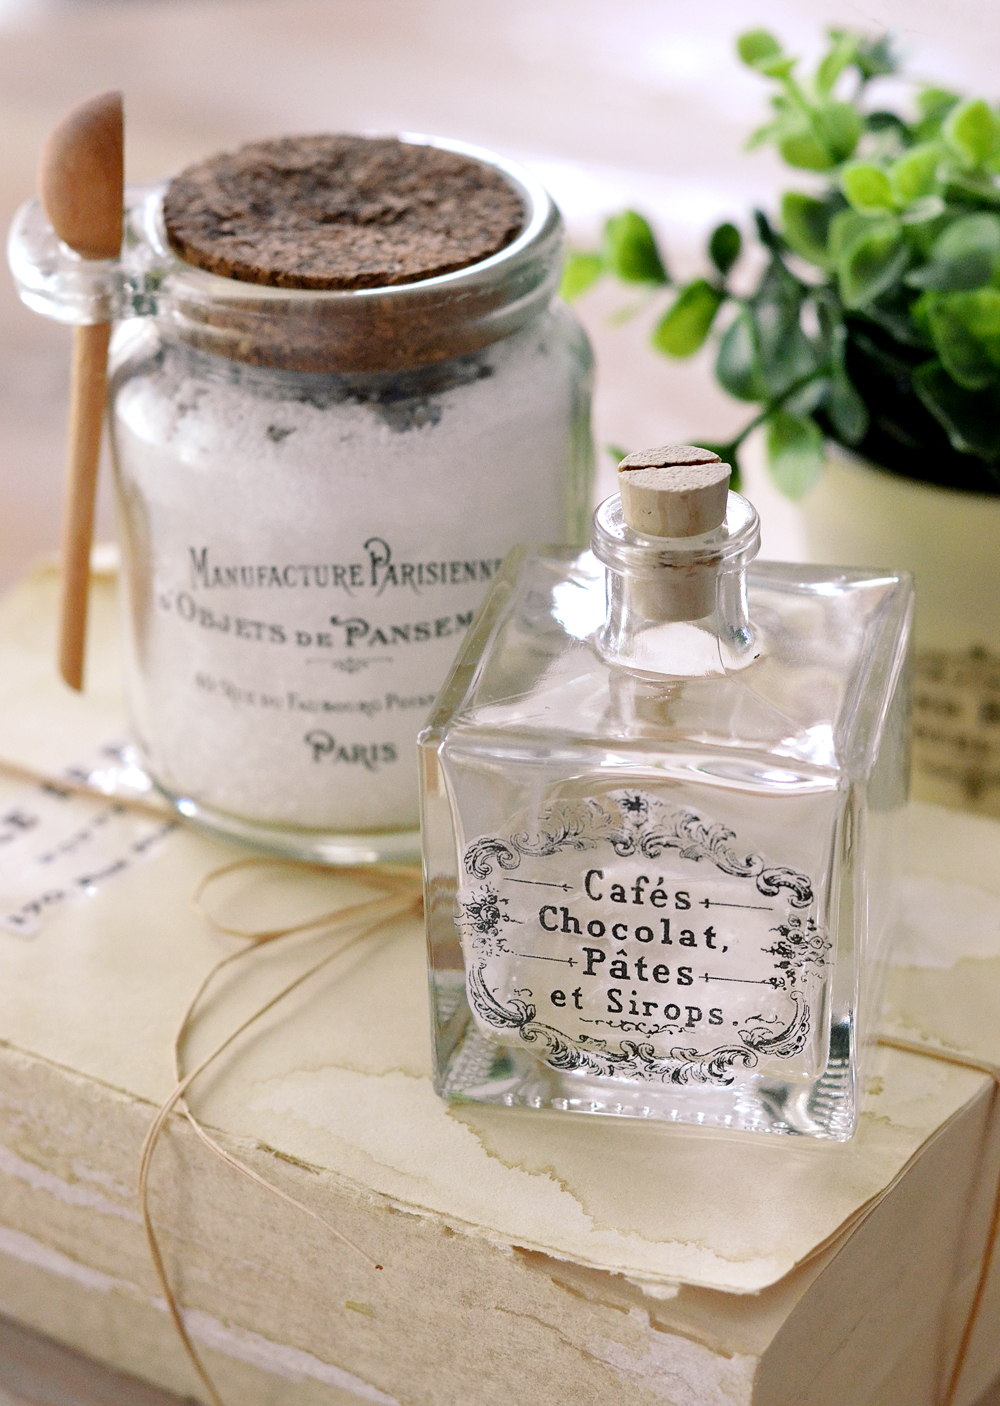
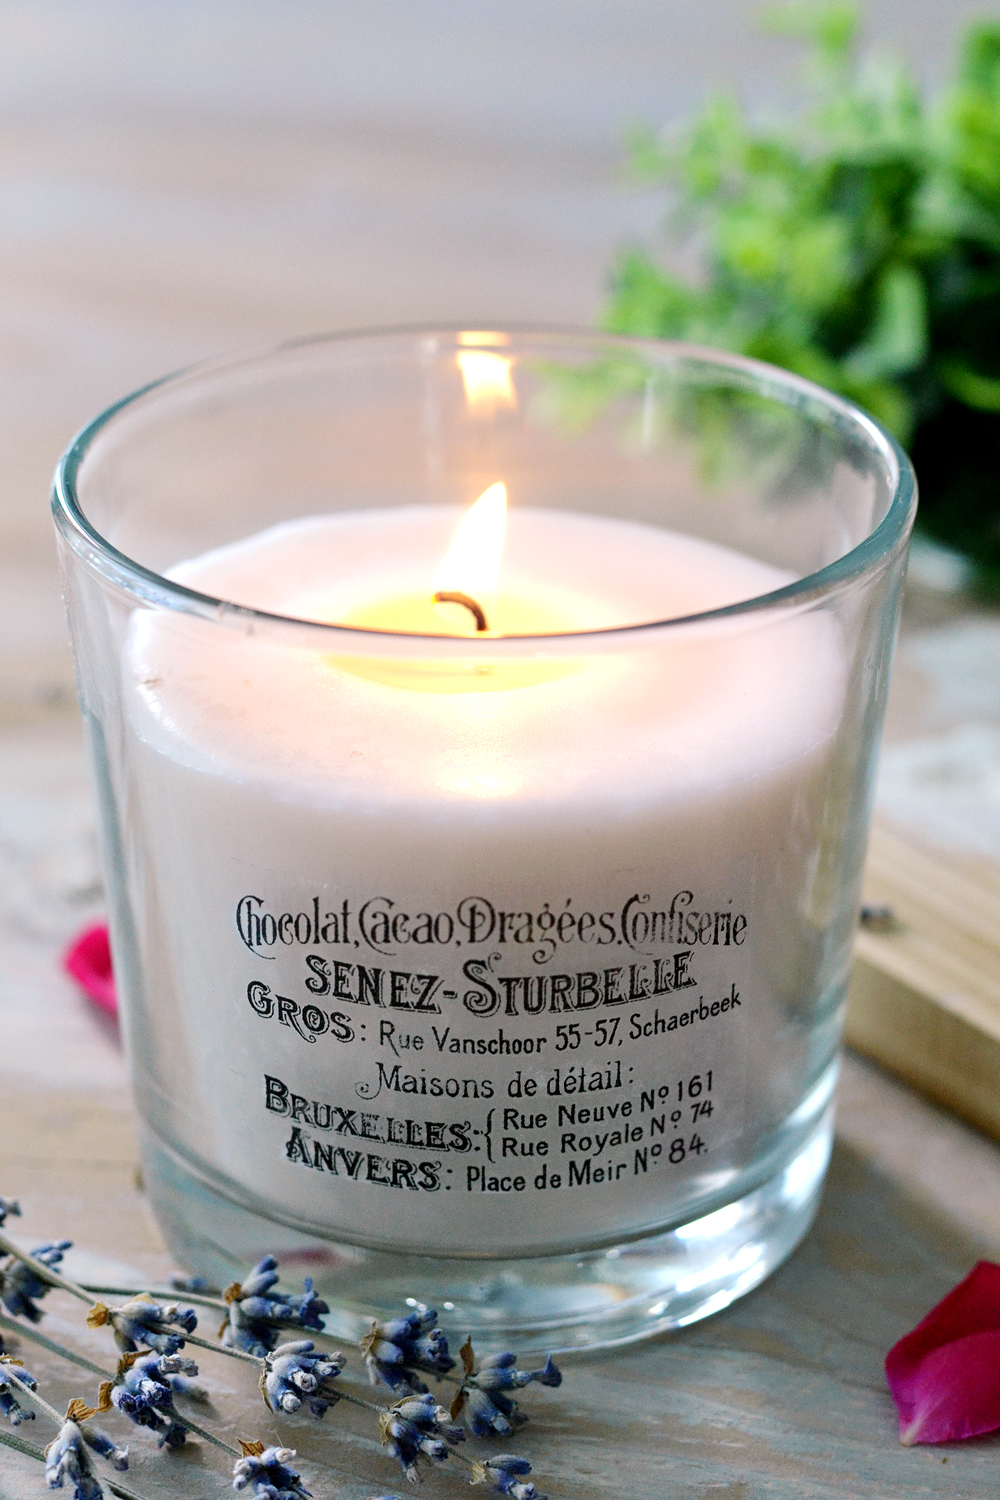
The first obvious choices would be jars, bottles or other glass recipients that would somehow complement their clear aspect. The possibilities are endless here, just use them to decorate everything that you can put your hands on!
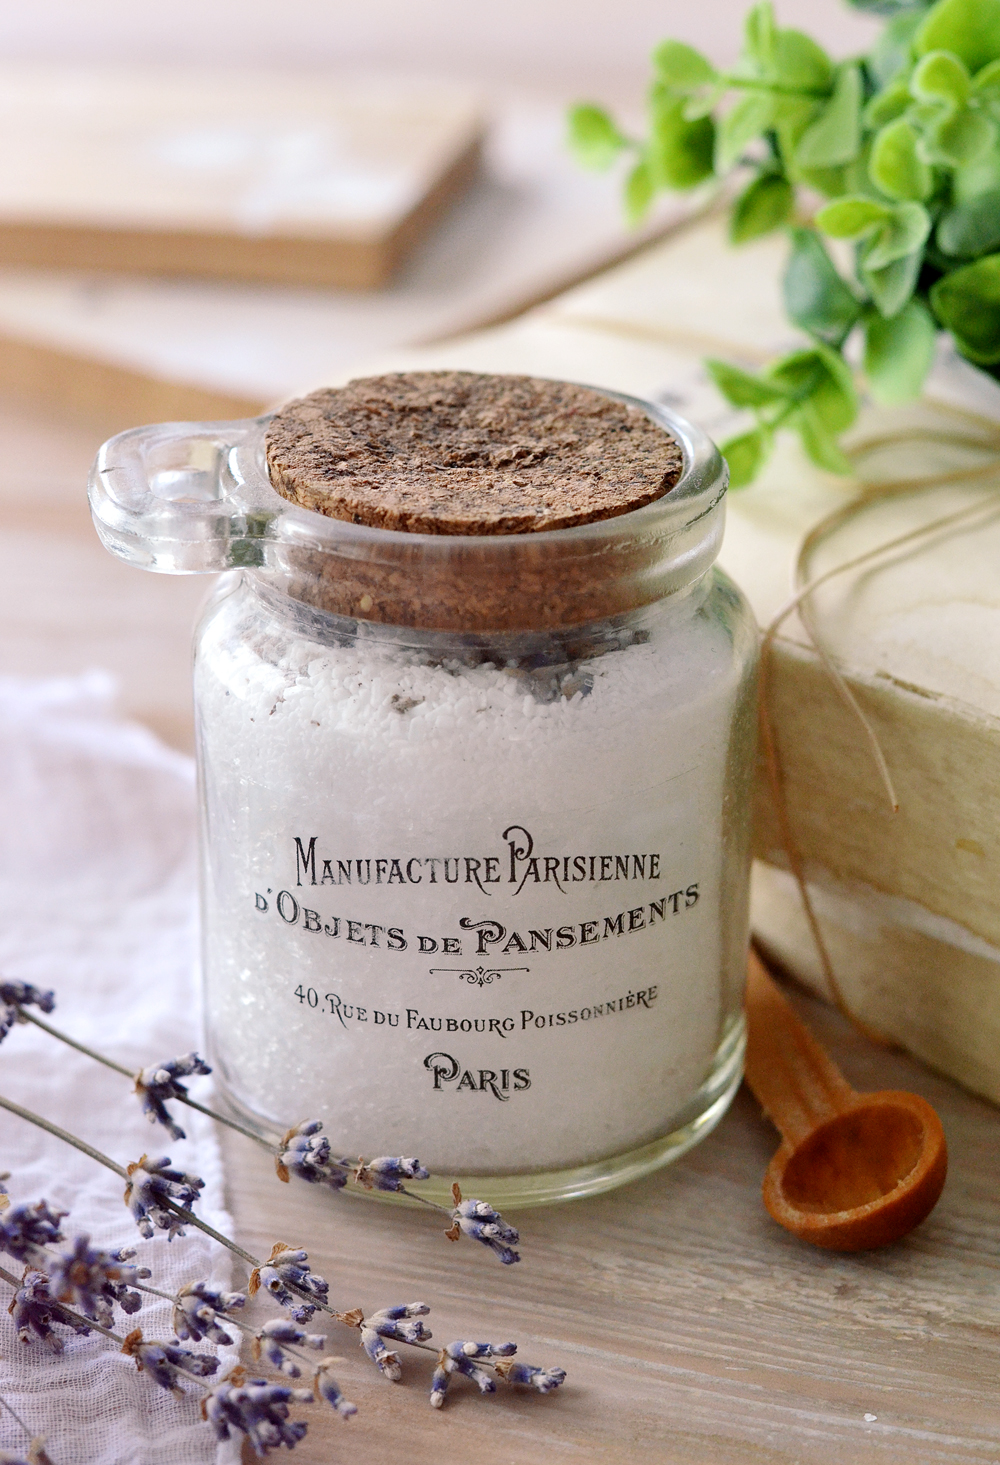
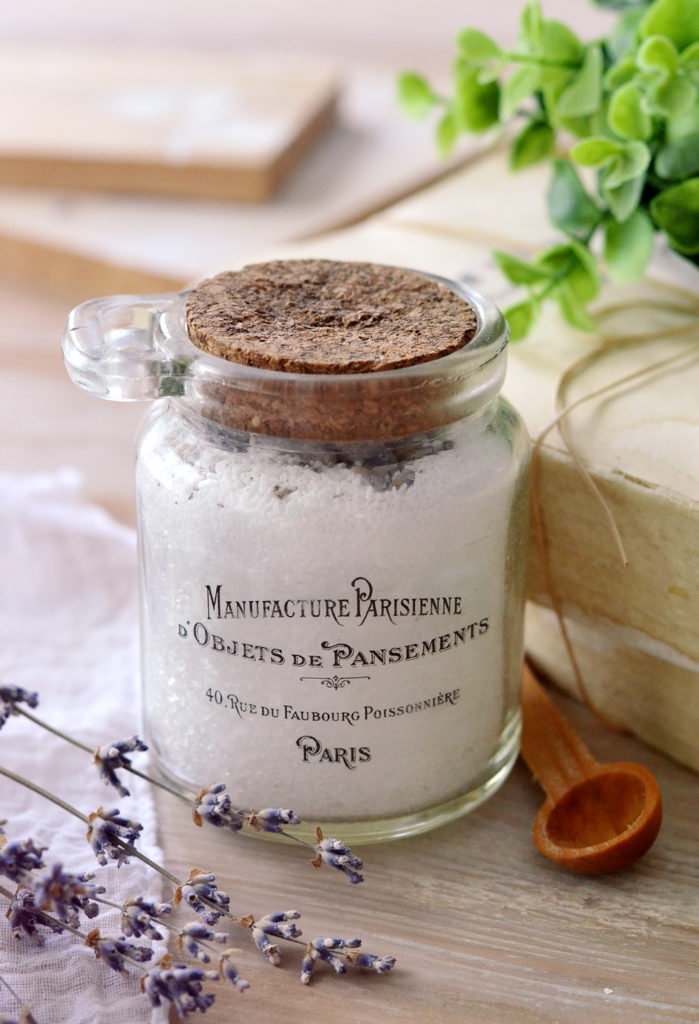
If you love making your own beauty products, like I do, you can check my blog for some DIY Beauty projects. In the image below you can see one of my Epsom Salt and Lavender bath soak jars. It looks pretty amazing with its new clear French label, don’t you think?
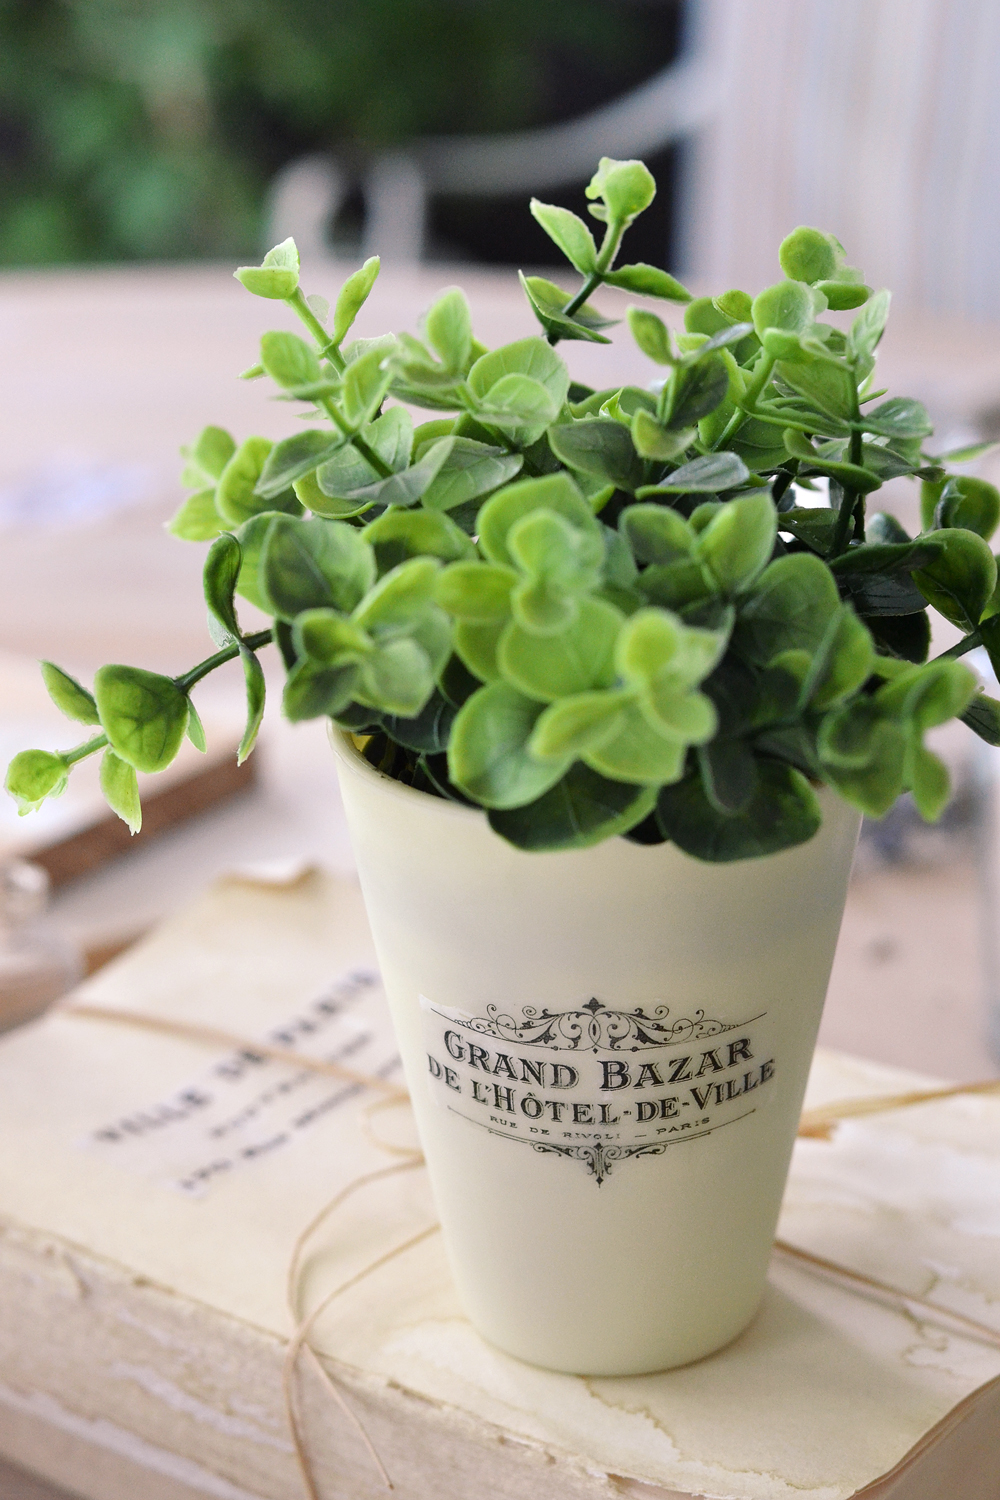
Another surface that you can try decorating? Plastic! I had a small plastic pot with artificial flowers (that you might have seen in some of my other projects too) that was instantly brought to life by one of these!
White enamel pitchers from Ikea decorated with one of these? Yes please! 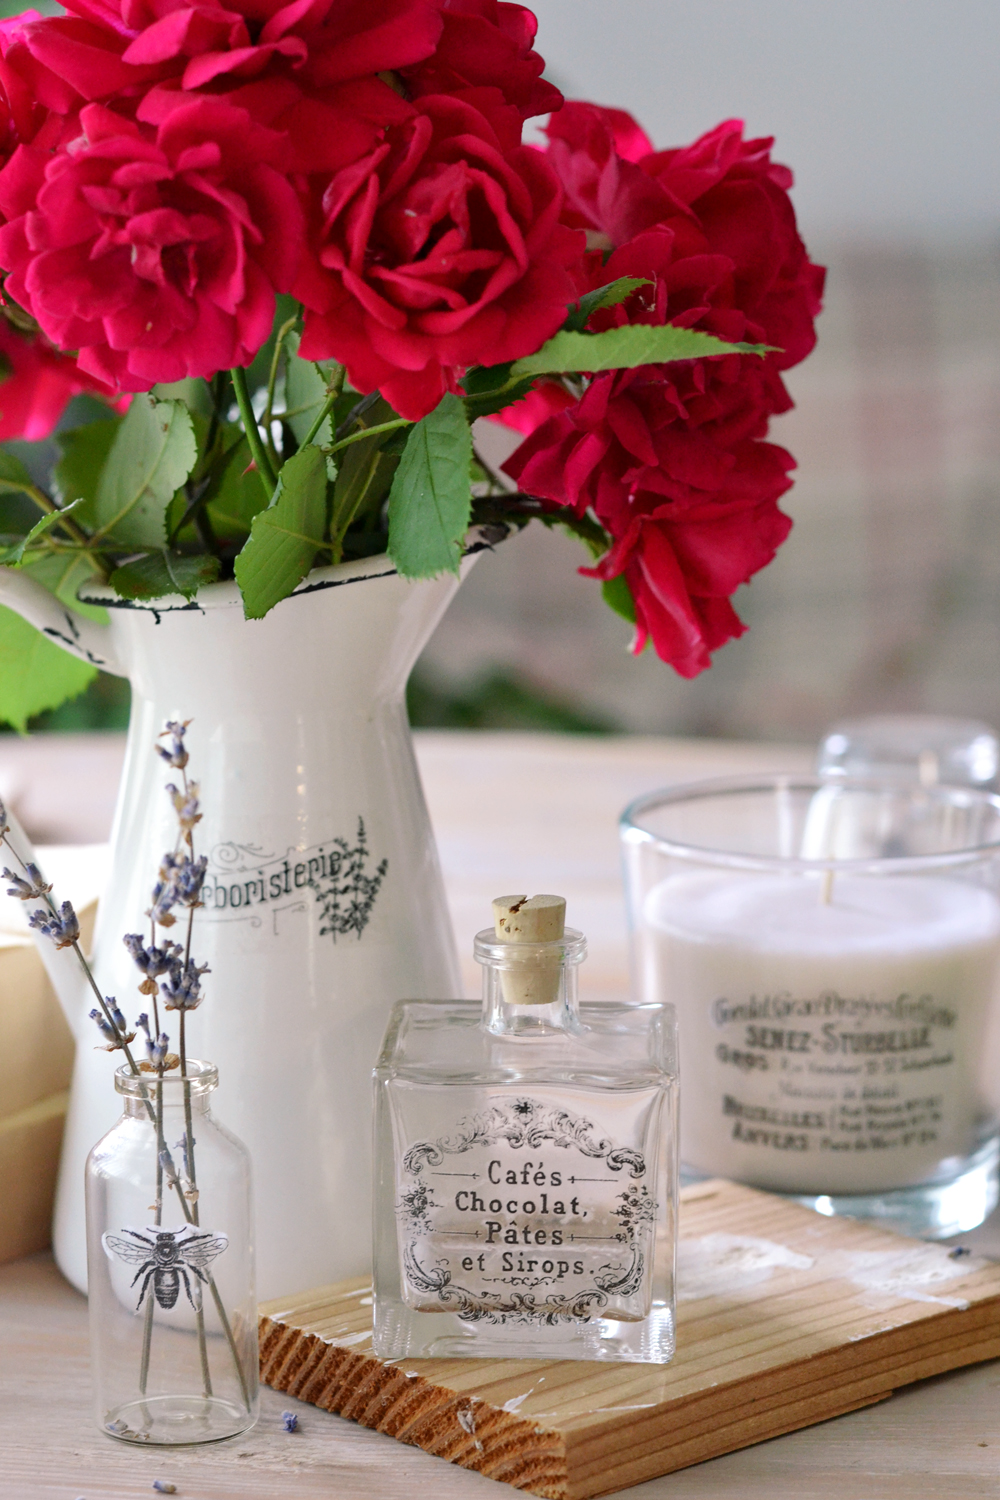
So we (literally) covered glass, plastic, paper and metal so far, and I’m sure you could also use them on porcelain! But what about wood?
So these perfectly imperfect bits were quite a revelation for me!
Tips and Tricks for DIY Clear Labels for Jars
- Don’t forget that this project only works with a laser printer!
- The labels are reusable, depending on what surfaces you are using them first, you will have more (or less) success of peeling them off and reusing them somewhere else. Plastic, glass and even wood would be on the safe side of peeling off and reusing the labels. Paper, on the other hand, because it has a more porous texture and is a little bit more fragile, might tear in the process of peeling off making the labels unusable.
- Do not let any porous material (like fabric towels or even paper towels) touch the sticky side of the labels when making them or they might ruin them!
- Depending on the surface you decide to use them on, the shininess of the clear labels might be more or less visible. If you have a problem with that, you can use a matte finish spray! I would use the spray right after cutting the excess border of the labels, letting them dry completely and then putting them into the water for soaking and rubbing. Another option would be to use the spray after sticking the finish clear labels onto the object, but this way the spray might end up on the object itself too.
- These clear labels could be a great alternative to the waterslide decal paper, especially if you can’t find decals where you live. It would me a little bit of trial and error involved until you get the right materials. But if I would have to compare the two types, I would say that even though these clear labels might be more time consuming to make and a little more shiny and visible (because of the thickness of the tape), I would definitely recommend them as a similar alternative!
- If you make this project and end up with more labels than actual objects to decorate, just stick the labels onto a CLEAR surface until you are ready to use them – I think plastic, metal or glass objects will work best.
This is such a great project to try if you love decorating and adding your personal touches to your home! Like I said before, don’t be afraid to experiment! And mostly … don’t forget to have fun! 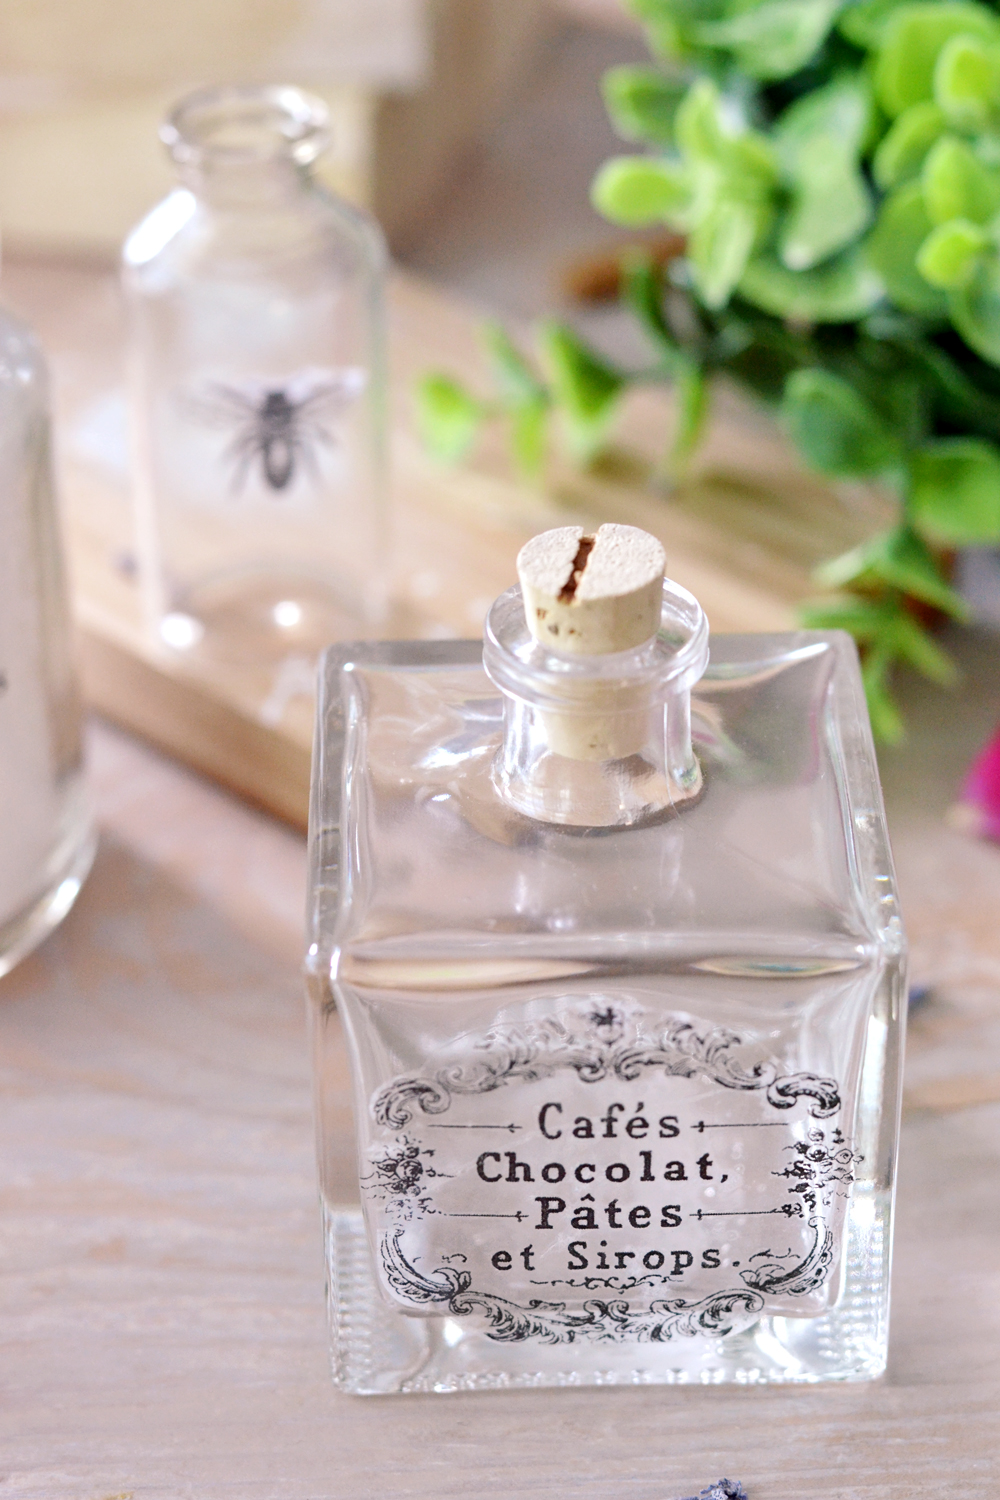
You might also like another similar post with Packing Tape Transfers HERE and a Gel Printing Technique with Packing Tape HERE.
Diana
For more similar project, pay me a visit on my blog -> Dreams Factory, would love to see you there!


C says
Got all excited about this project….and then realized I don’t have a laser printer. But I’d already printed the labels and figured why not give it a try anyway.
It worked! Not as clear as a laser printer would yield but still a fun, clear (slightly faded-looking) label.
Thanks for the fun project!
graphicsfairy says
That is awesome, thanks so much for letting us know, I am sure it turned out lovely!
glenda says
Clever lady, awesome project….but one question, so in the last step, you do leave the tape one the object, right?….unless you are wanting to re-use it somewhere else later?
graphicsfairy says
Yes, Glenda, the tape becomes your label 🙂
Deborah says
Another inspiring project. Thankyou! I have just used your images to decorate a tissue box cover I made and it was fun to make and looks great. ( There’s three photos on the end of my blog http://www.makecookgrow.com if you’re interested.)
graphicsfairy says
It looks awesome Deborah, thanks so much for sharing 🙂
Eileen says
Absolutely brilliant! Thanks to you and the Graphics Fairy (isn’t she wonderful??). For the beautiful images.
graphicsfairy says
Thanks so much Eileen 🙂