DIY Wooden Riser Tray
Hello, creative friends! I’m Diana from Dreams Factory and I’m happy to bring you today’s project – DIY Wooden Riser Tray. We will be using wood cutting boards, wood beads and coffee in a truly unique way to create some beautiful tray risers. It’s a super chic, adorable (and affordable) project… just perfect for your home decor and your life in general.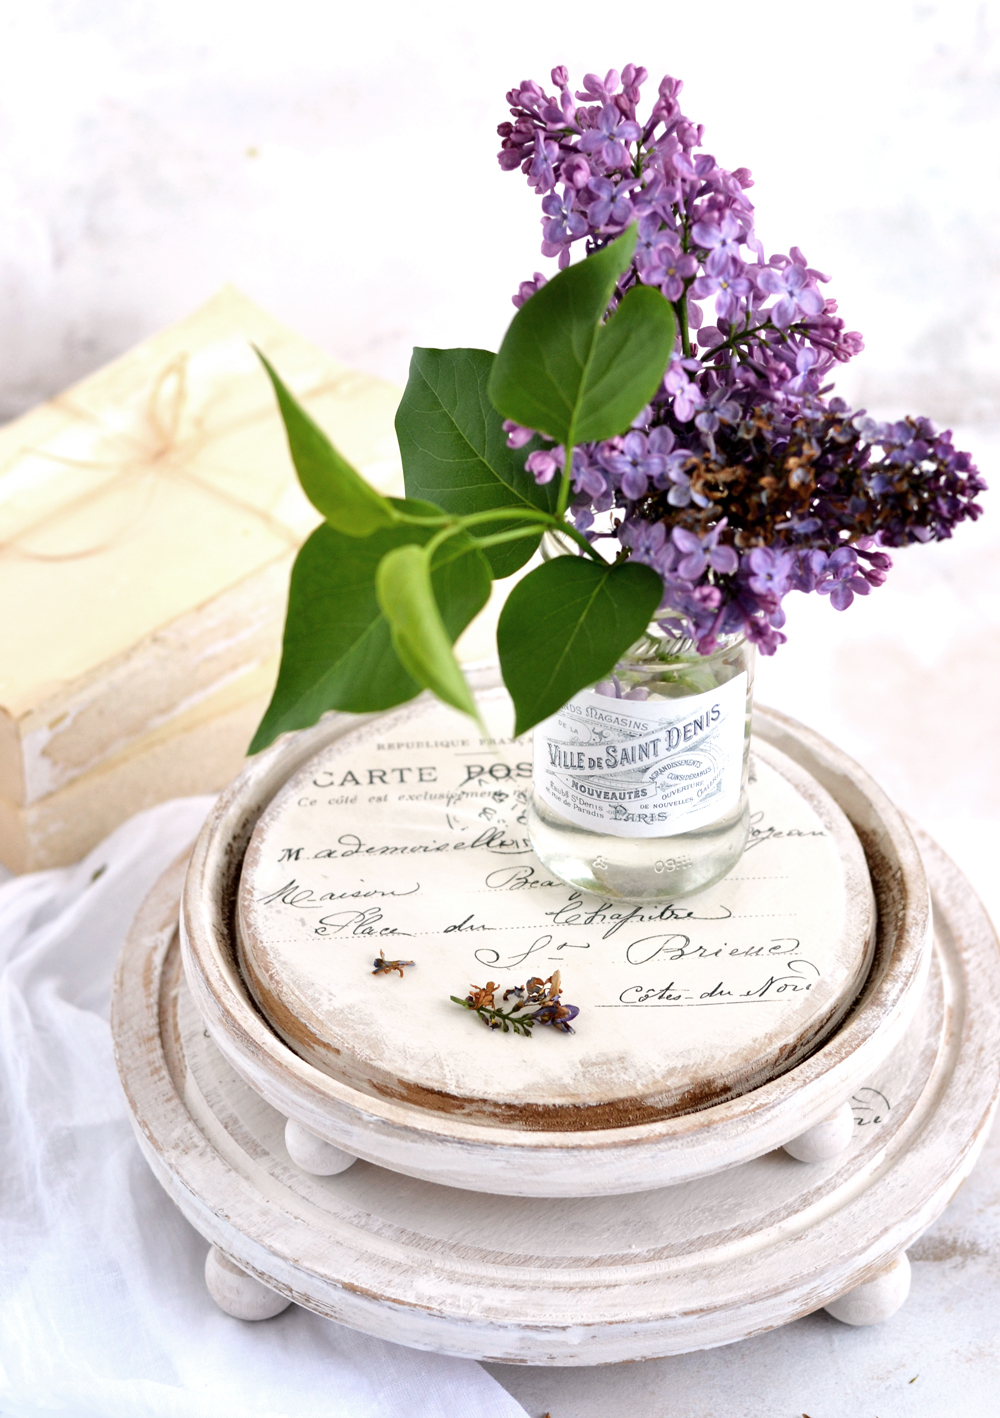
You can use some of your old wood cutting boards or buy a few new ones, you can even cut the wood boards yourself (with the right tools), there are so many options here! Just keep in mind that untreated plain wood cutting boards would be ideal for recreating this project.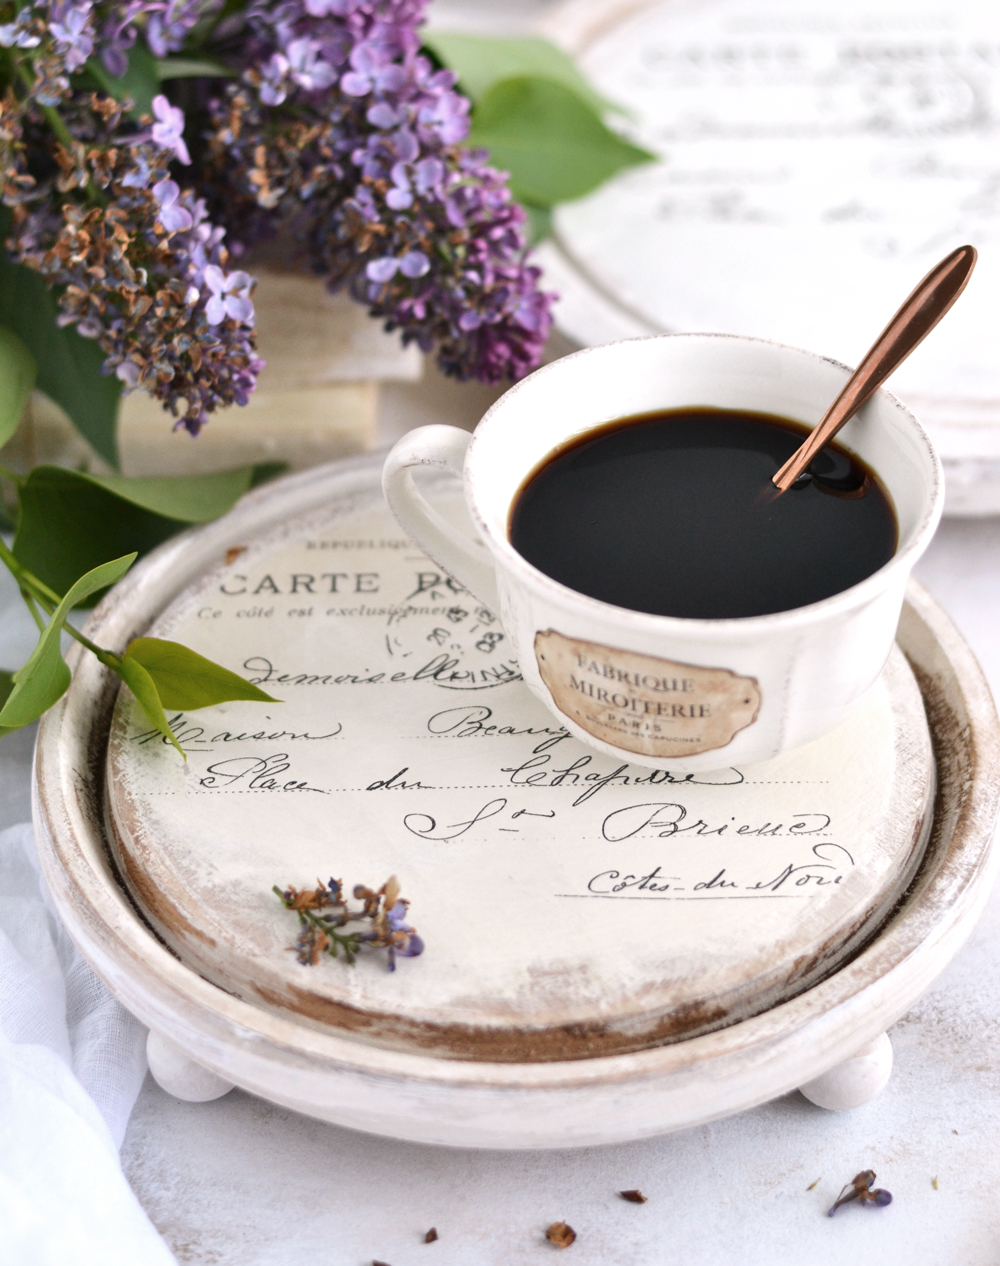
And even though it might sound strange, today I actually used coffee to stain the untreated wood cutting boards! It was not my first time using coffee for aging an object (remember my Faux Rusted French Labels and my DIY French Script Paper Feathers), but it was actually my first time when I used it to stain wood.
Why? First, because I love experimenting and sharing my results with you! And second, I thought coffee would help me achieve that aged, worn feel I was looking for and as it turned out, it actually did! The results were simply amazing!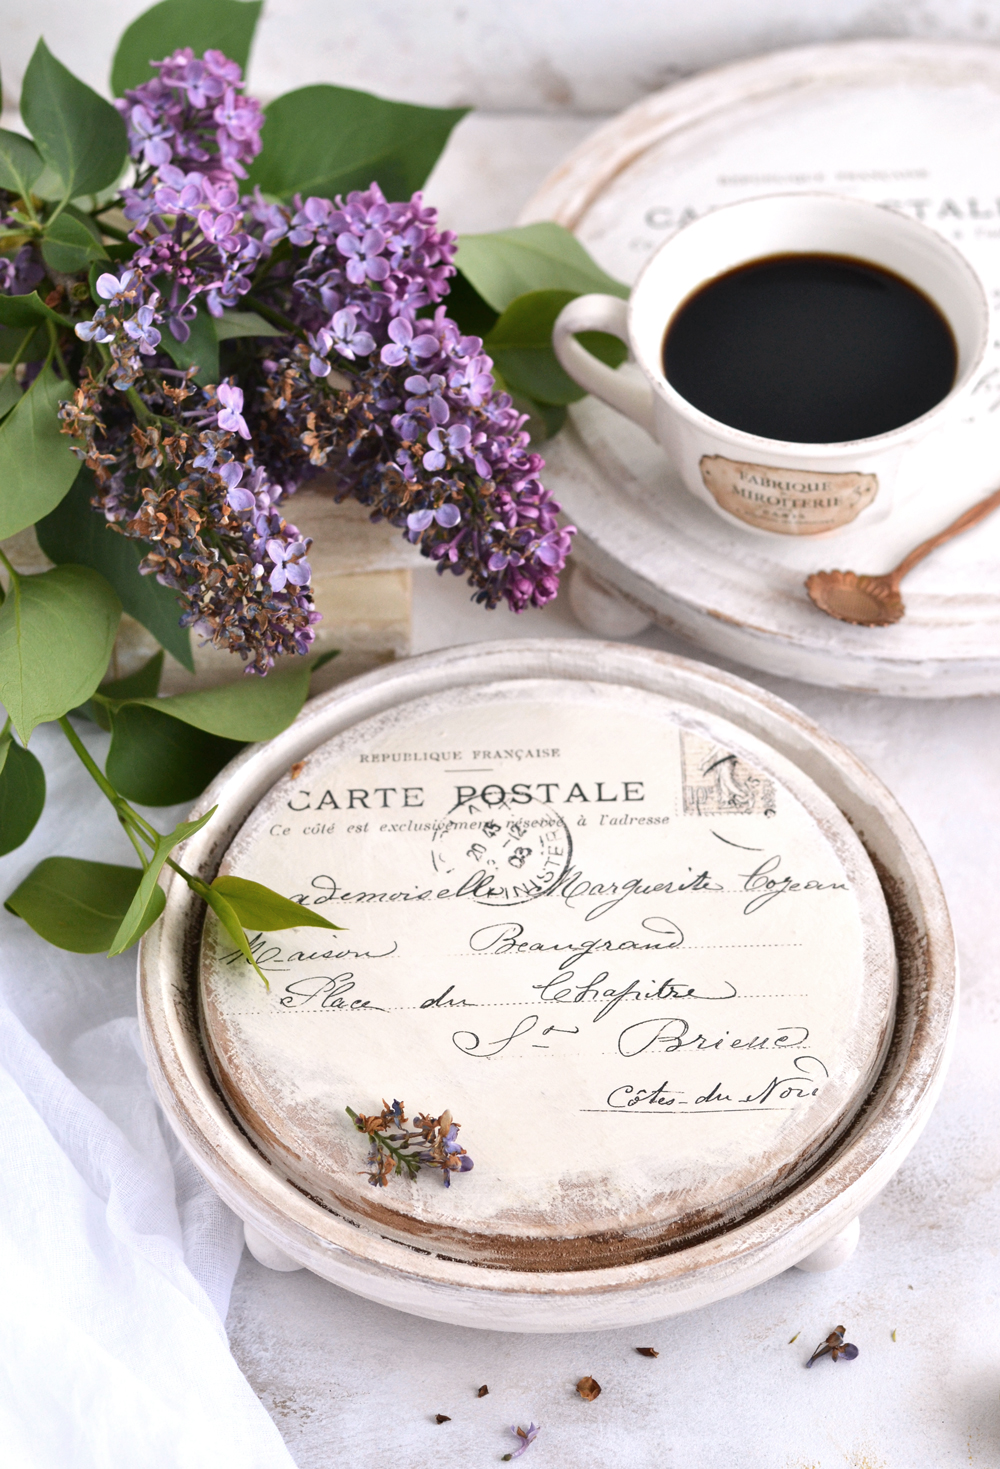
The thing about coffee – when used as a stain – is that it is ‘activated’ again and again when in contact with water. So when I added a slightly diluted white chalk paint on top of it, it created some beautiful hues, shadows and textures that I absolutely adored! And then, when I used the waterslide decal paper to French decorate the trays, the coffee activated again and added even more interest and depth to the whole aged look!
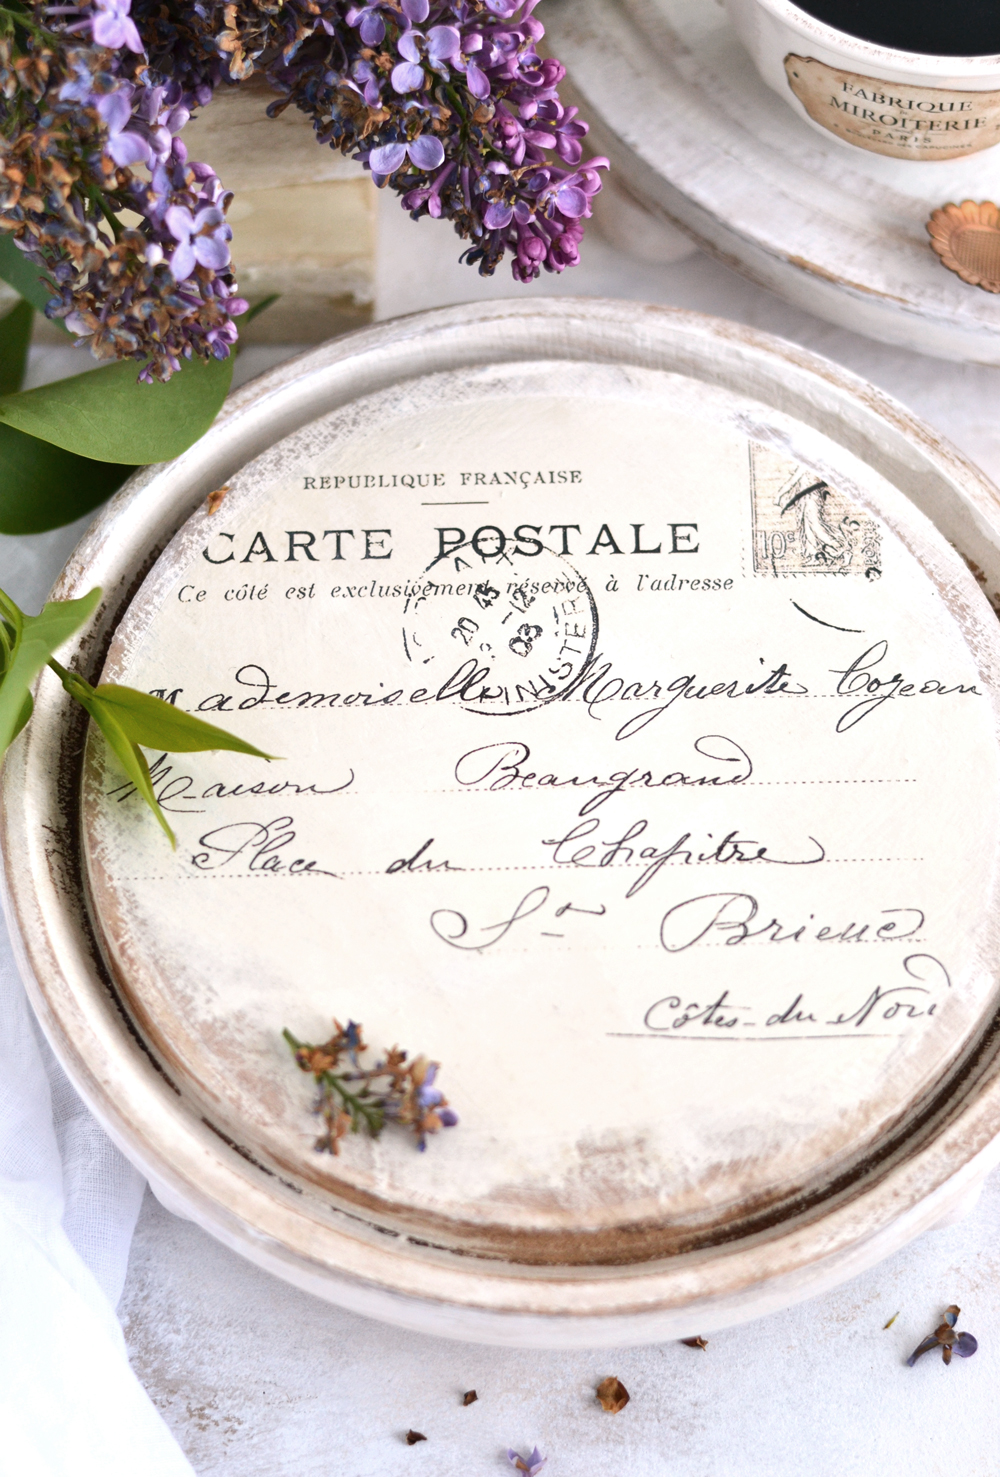
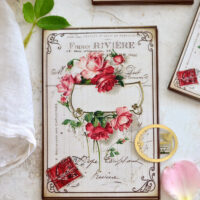
The printable needed for this DIY Wooden Riser is a simple but lovely French ephemera post card. It is available for free download, in two different sizes. If you only want to use one, just print the one you need by selecting page 1 or page 2 when actually printing.
Free Printable: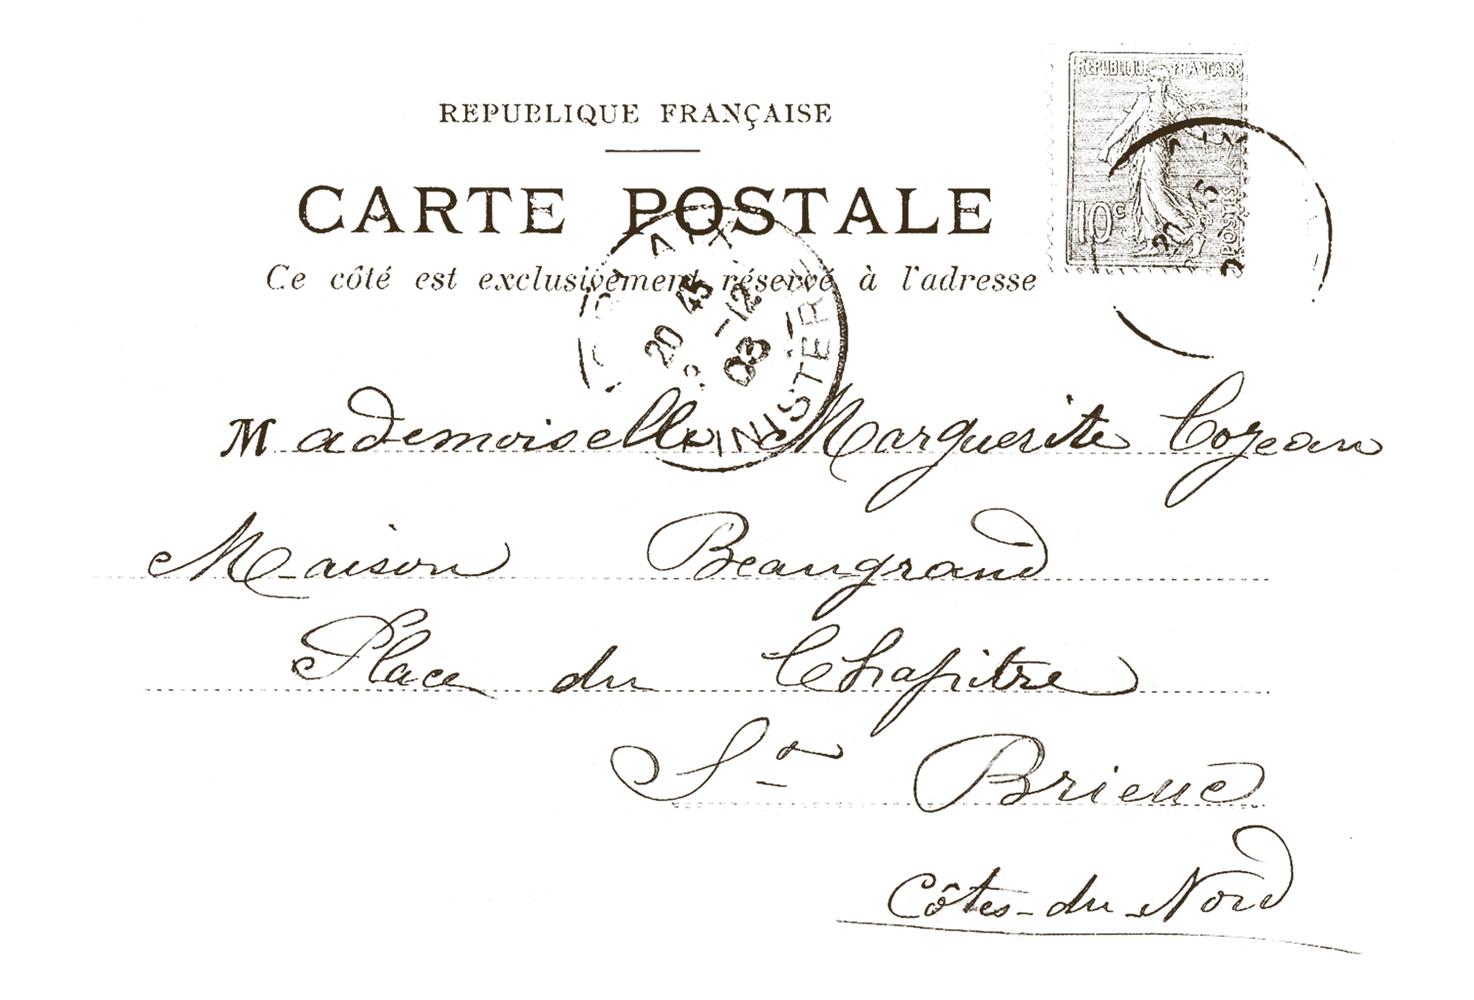
—-> Click HERE to Download the Full Size Printable PDF <—-
Supplies for DIY Wooden Riser Tray:
- round untreated wooden cutting boards – I used 1 large (25 cm) + one small (20 cm)
- wooden beads – I used 4 large (25 mm) + 4 small (20 mm)
- a pencil
- a ruler
- strong wood glue
- French graphics
- waterslide decal paper (this is the one I’m using with my laserjet printer)
- laserjet printer
- scissors
- small bowl with water
- paper towels
- 1/2 cup strong coffee (made with 1 cup water + 3 Tbsp coffee grinds, simmered for 10 minutes, cooled, then strained)
- white chalk paint (slightly diluted)
- a large brush and a small brush (for coffee)
- a large brush and a small brush (for paint)
- a plastic bag (to protect the surface)
- paper towel
- candle (optional)
- 120 or 180 grit sand paper (optional)
- matte finish spray OR other water-based sealer
Step by Step Instructions for Wooden Riser Tray:
1. Start by gathering your supplies, make the coffee and print the beautiful French postcards.
2. Use a plate to determine the top size of your wooden board that will be decorated with the French graphic.
3. Place that plate on top of your decal and if the plate forms a perfectly rounded shape (and does not go outside the decal) trace it using a ballpoint.
4. Use a smaller sized plate for the smaller wood board and trace the smaller sized decal in the same way. Then use your scissors to cut the two French decals, following the traced shapes. You will have two perfectly rounded decal shapes, ready to be used.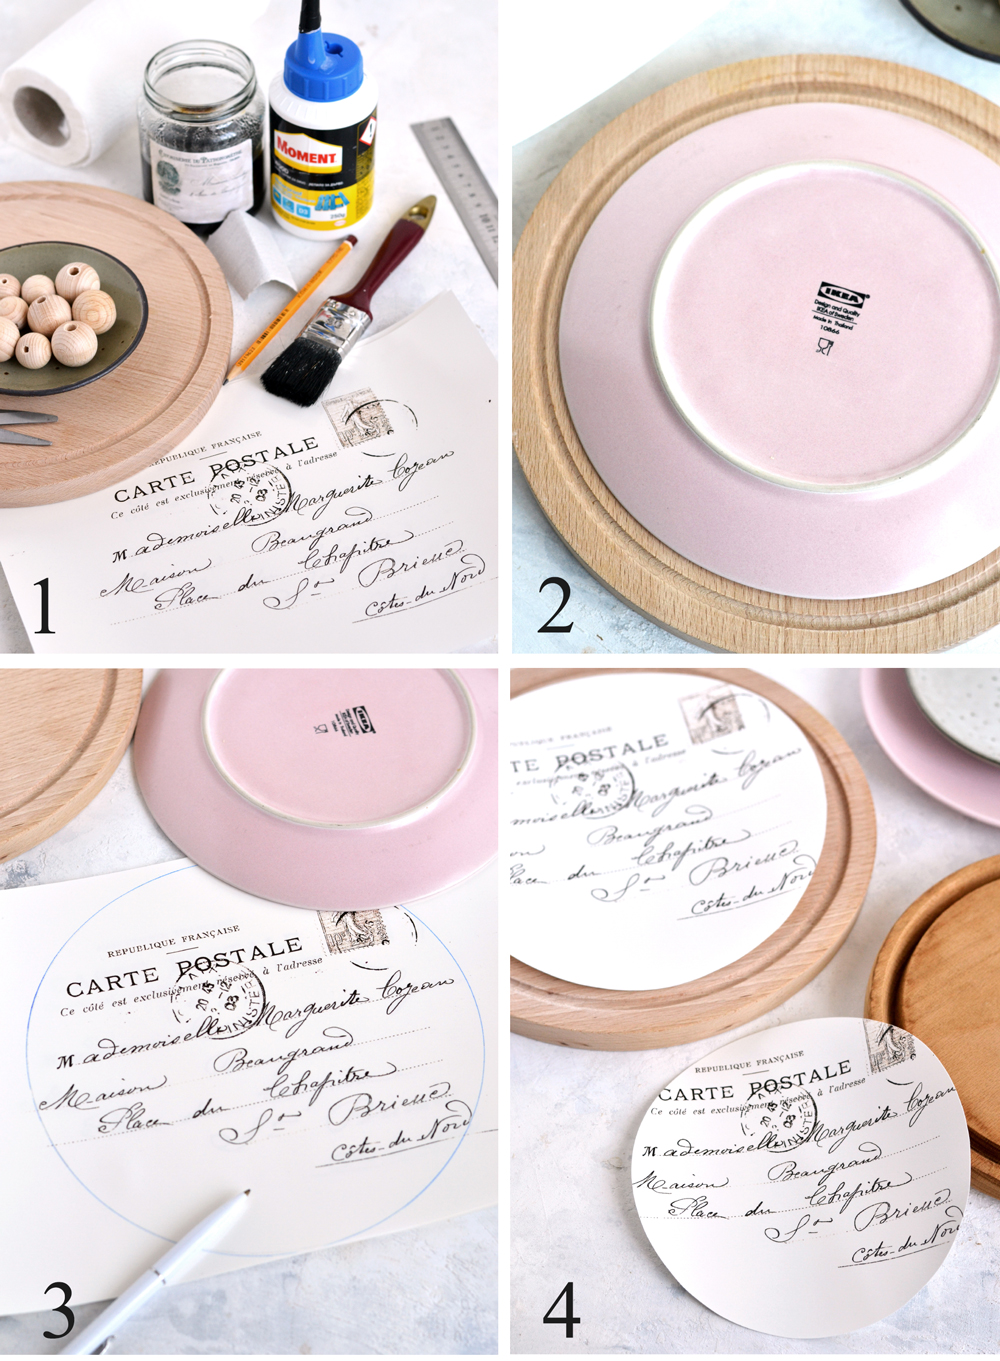
5. Turn the cutting boards over and use your ruler to trace two perpendicular lines that intersect in the middle and that section the boards into 4 equal slices. Just like you would slice a cake 😉 Place each of the wooden beads at the end of each line to see how they look.
6. If you are satisfied, dip each bead into the glue and carefully adhere it to the board. I ended up using a mix of wood glue and Mod Podge (which can also be used as an adhesive), but you can use anything you have. Just make sure it’s a strong wood adhesive that dries clear, so you don’t end up with any unaesthetic glue marks afterward. Because my beads already had holes in them, their top and bottom parts were a little bit flat. That helped when actually positioning them on the wood boards, but that can also act against us, because of the holes, there is a smaller surface that would actually adhere to the wood. If you are afraid your beads won’t be able to completely adhere to the wood, you could use some wood filler and fill the beads’ holes first, then glue them to the boards.
Let the glue dry completely (even overnight) before moving to the next step.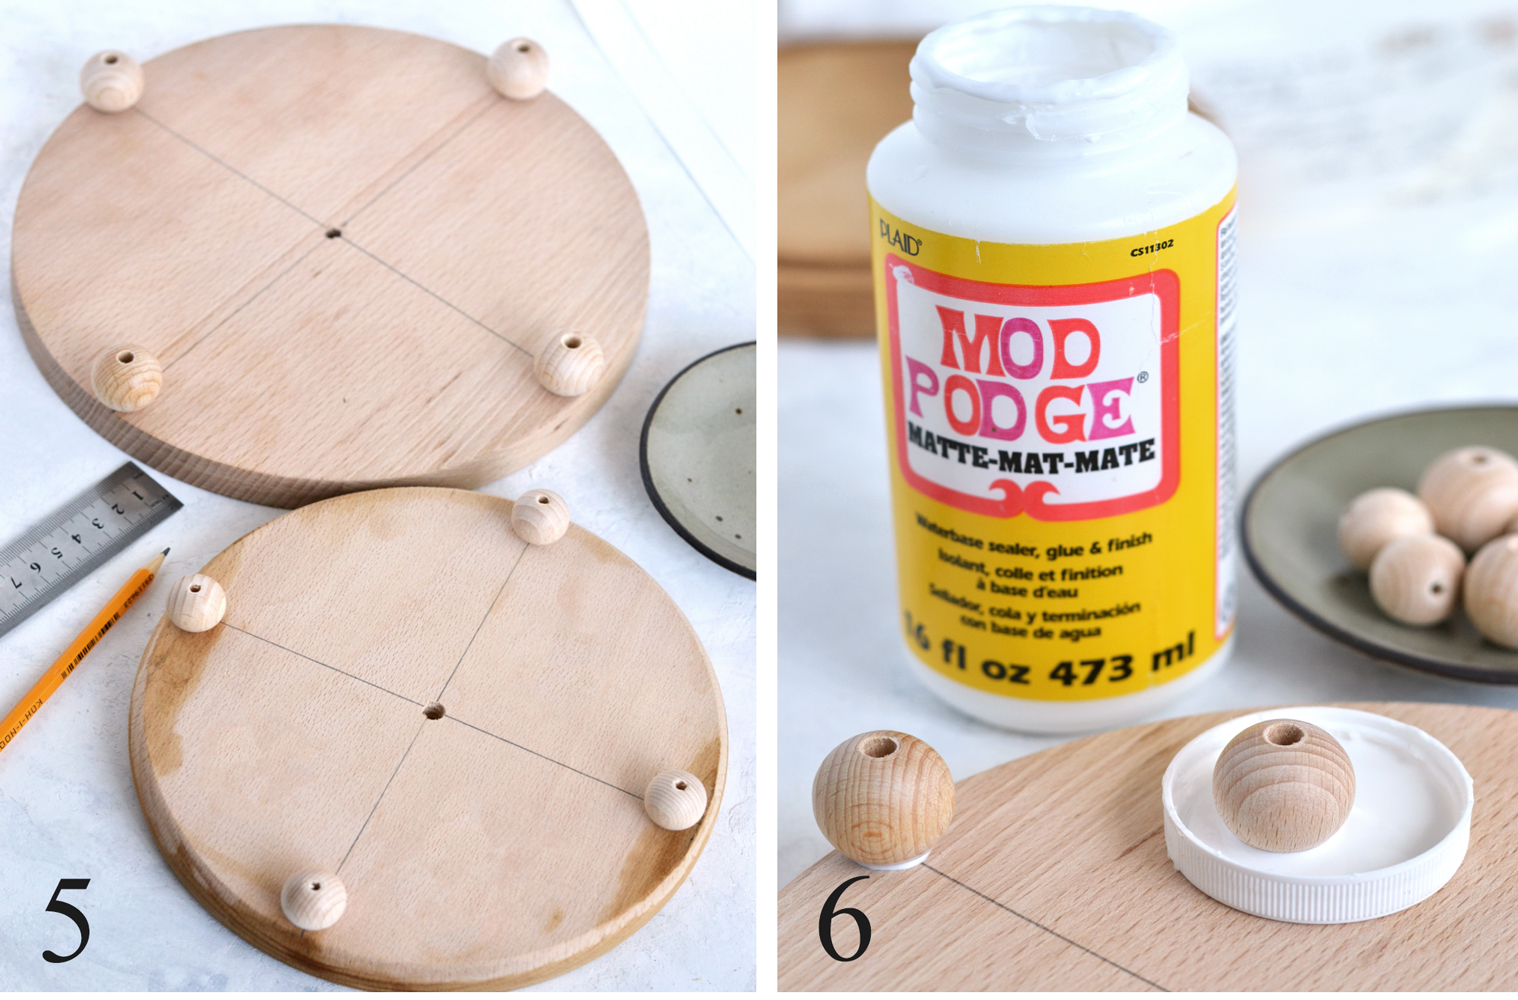
7. Moving next to the coffee staining! Make sure you use a plastic bag to protect your working surface first, coffee stains like crazy and we only want it on our wood boards … and not on everything else 😉
NOTE: The larger board is just a plain untreated wood board. For demonstrating purposes, I stained the smaller wood board (that you can see on the top right – image no. 7) the night before, so you can see the difference. You might be needing a few layers (letting each layer dry before adding another one) to achieve the color you want. The more layers you add, the more intense the color will be, but keep in mind that the wet coffee stain will be darker than the actual final dry look.
8. Use a large brush to completely cover the surface with the coffee stain.
9. Add as many layers as you want, until you reach the color you want. As you can see here, I added another layer on top of my already stained smaller wood board, that activated the coffee and created a quite dark finish.
10. But as the coffee starts to dry, the color starts to slowly fade away, creating a much lighter color. Use a smaller brush to stain the legs of your trays and let everything dry before moving to the next step.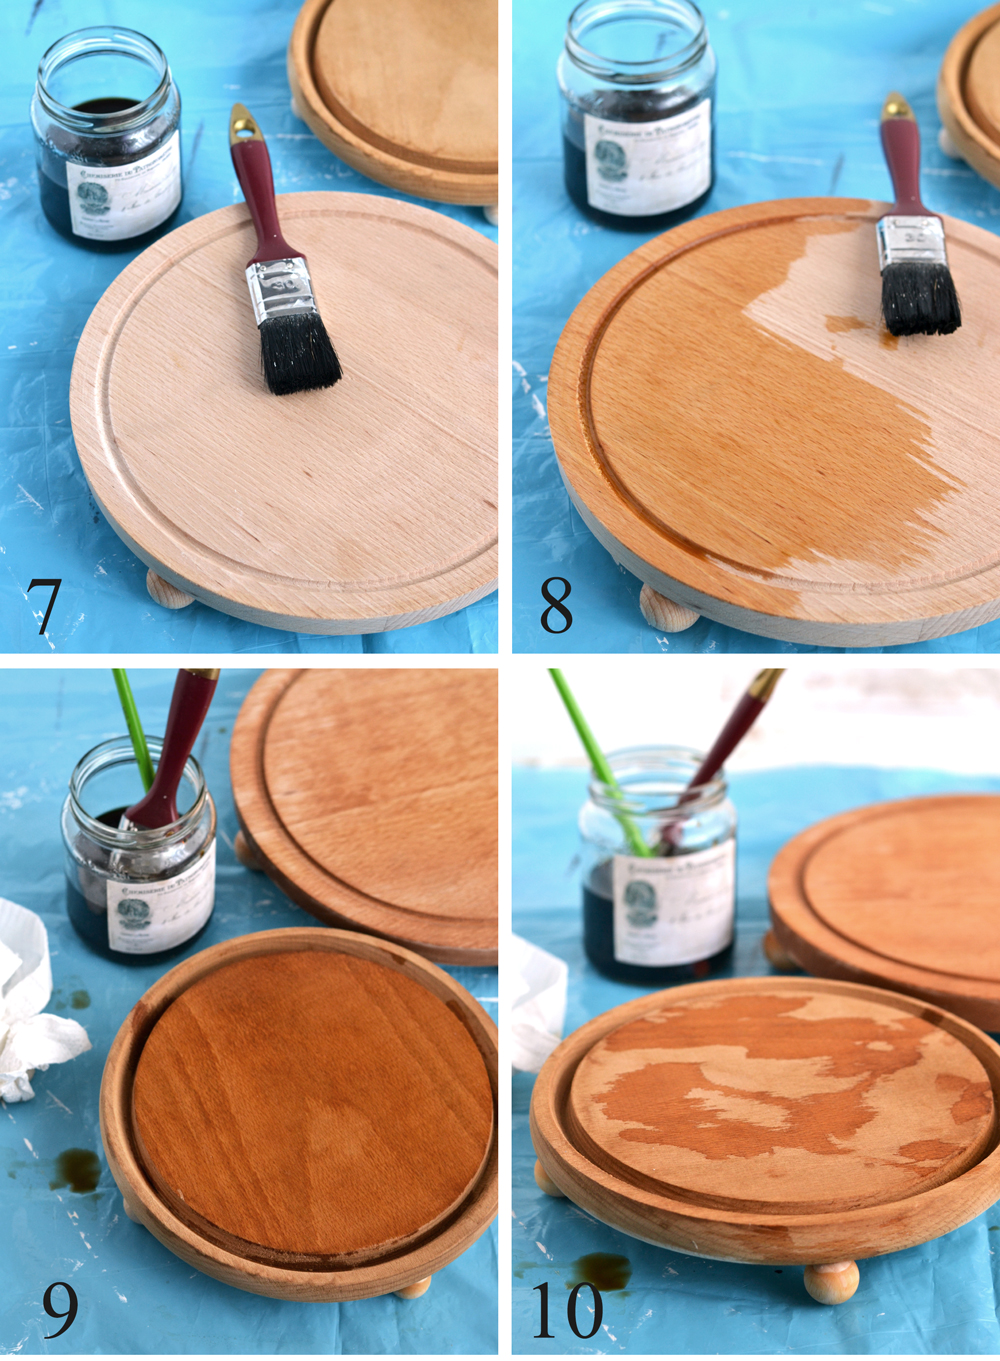
NOTE: This coffee staining technique can be used for giving a vintage rustic look to new wood, but also to revive old wood. Again, for demonstrating purposes, I thought it would be fun to show you how the trays would look with waterslide decals at this stage. As you can see, the coffee was activated again when I actually added the decals using water, but the color will get lighter after the coffee will dry. If vintage rustic looks are more fitted to your style, you can simply opt in for this method and call it a day! 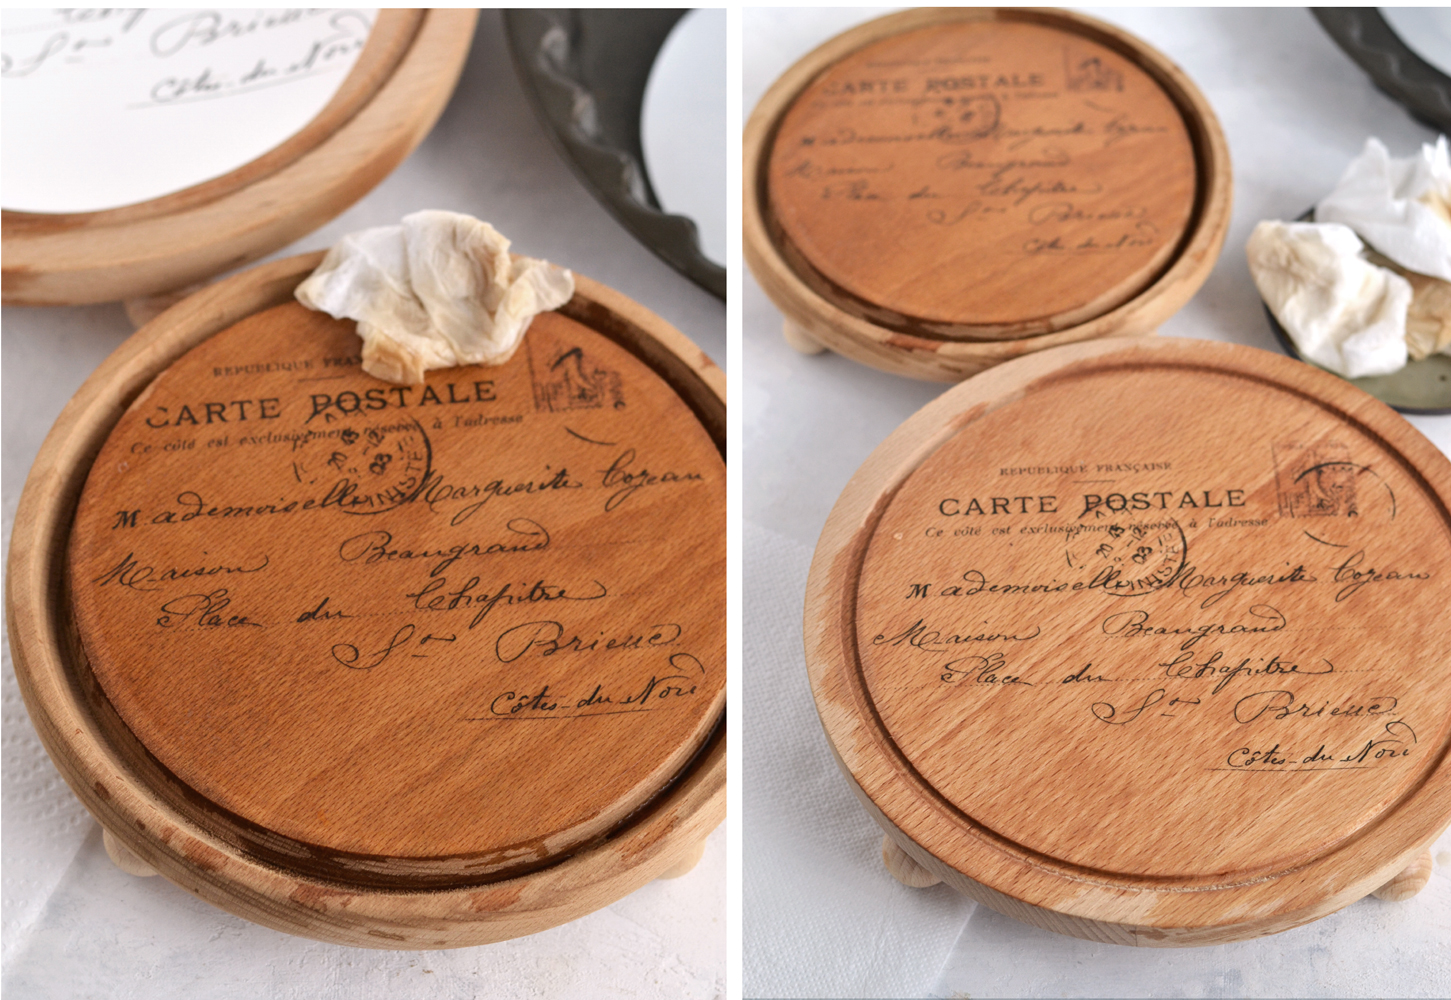
If not, let’s just move on to the painting part!
11. Rub some candle wax on the edges of your wood boards and use a clean brush to remove the excess. This step can be optional, but it will help you further distressing the boards afterwards.
12-13. Use slightly diluted white chalkpaint and paint the legs of your tray first, let them dry a little bit and then paint the margins. Apply large brush strokes trying not to apply too much pressure so you don’t completely cover your surface and you get slightly different paint strokes. Leave small unpainted areas to add dimension and create texture.
14-16. On top of the wood boards start painting from the middle and move outwards to the margins. Again, try not to cover the whole surface, but rather creating texture by using irregular brush strokes. Bring everything together with a paper towel and some water, trying to remove some of the paint in some areas and expose some of that coffee stain underneath.
Depending on how much coffee you used underneath, you will see that the coffee will be activated again and will start to somehow mix with the white paint, creating beautiful shades and tones.
Let everything dry completely before moving to the next step.
Optional, you can even distress the surface even more using some 180 or 120 grit sand paper.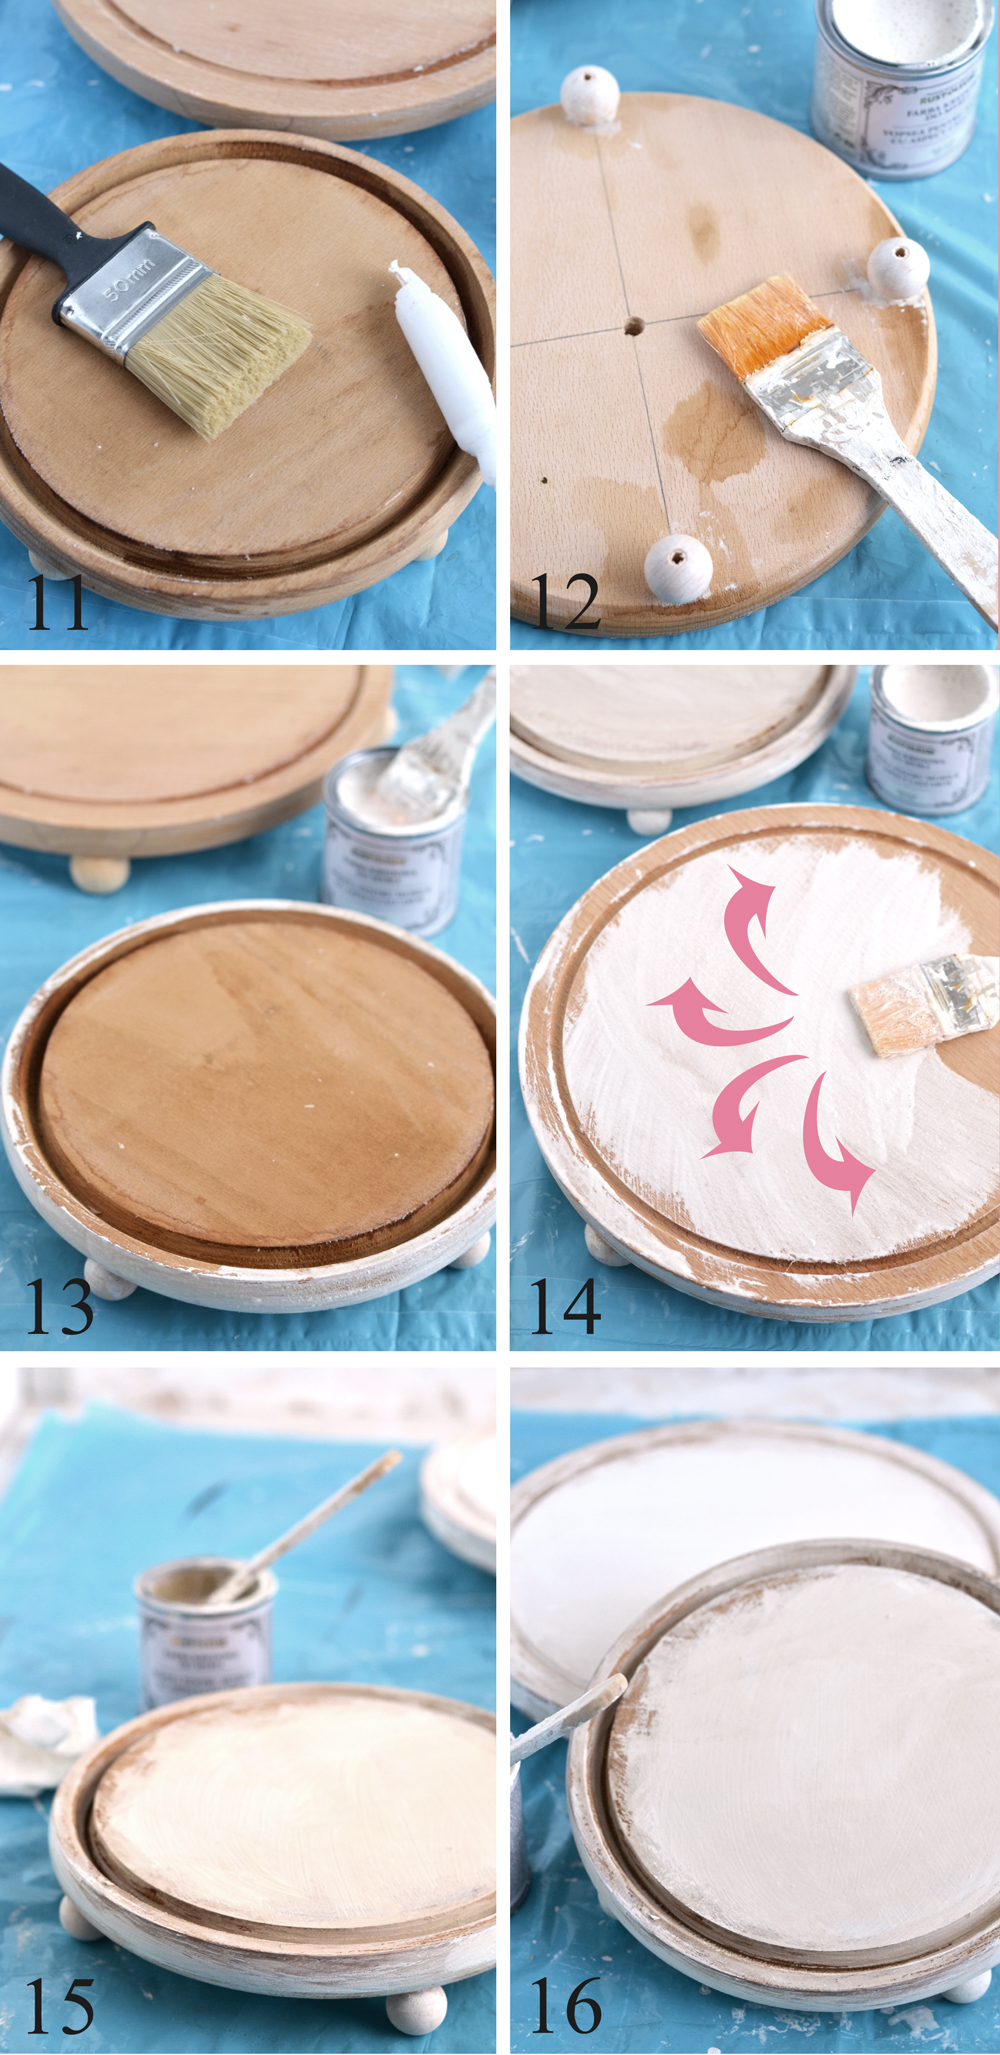
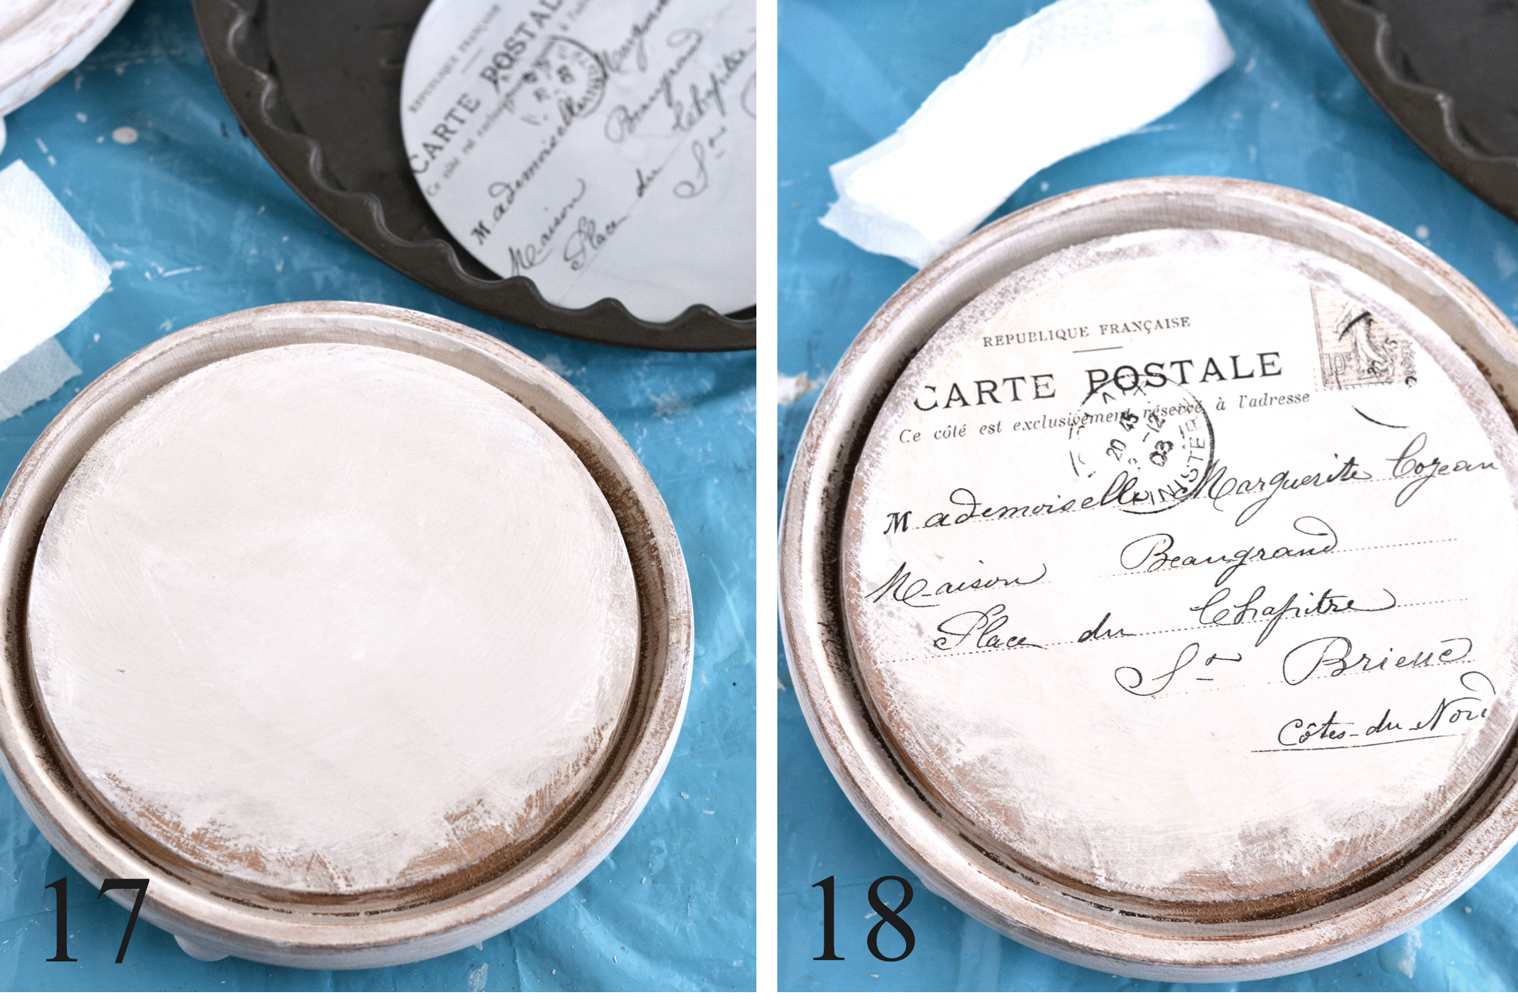
17-18. I used waterslide decal paper for adding the French postcards to the wood boards, because I simply love decals! They are easy to use, you simply add the decals to the water, let them sit for a few seconds, add them to the object removing the white paper underneath, remove the excess water and the air bubbles using a paper towel and your images are good to go!
NOTE: Because chalkpaint has a super dry finish, you will have to add some water to the surface of the object that needs to be decorated with decals before actually adding the decal, so you can easily move it around and center the image. After applying the decal, move quickly to remove the excess water but be carefully not to wrinkle it while doing that.
If you want to know more about decals, you can check this article on my blog – All about waterslide decal paper.
I have laserjet printer so this technique might be different for inkjet printers, just use the instructions that came with your package.
Of course there are also other images transfer technique that you can use, you can even find a few examples here on The Graphics Fairy – 12 Easy Image Transfer Methods for DIY Projects.
I love using decals because I usually have them on hand so I just print and use them whenever I need to. But feel free to adapt the to your own needs and use whatever works best for you!
Use a matte finish spray or a water-based sealer to cover all the surface (both the decal and the wood) and your new DIY Wooden Riser are now ready! 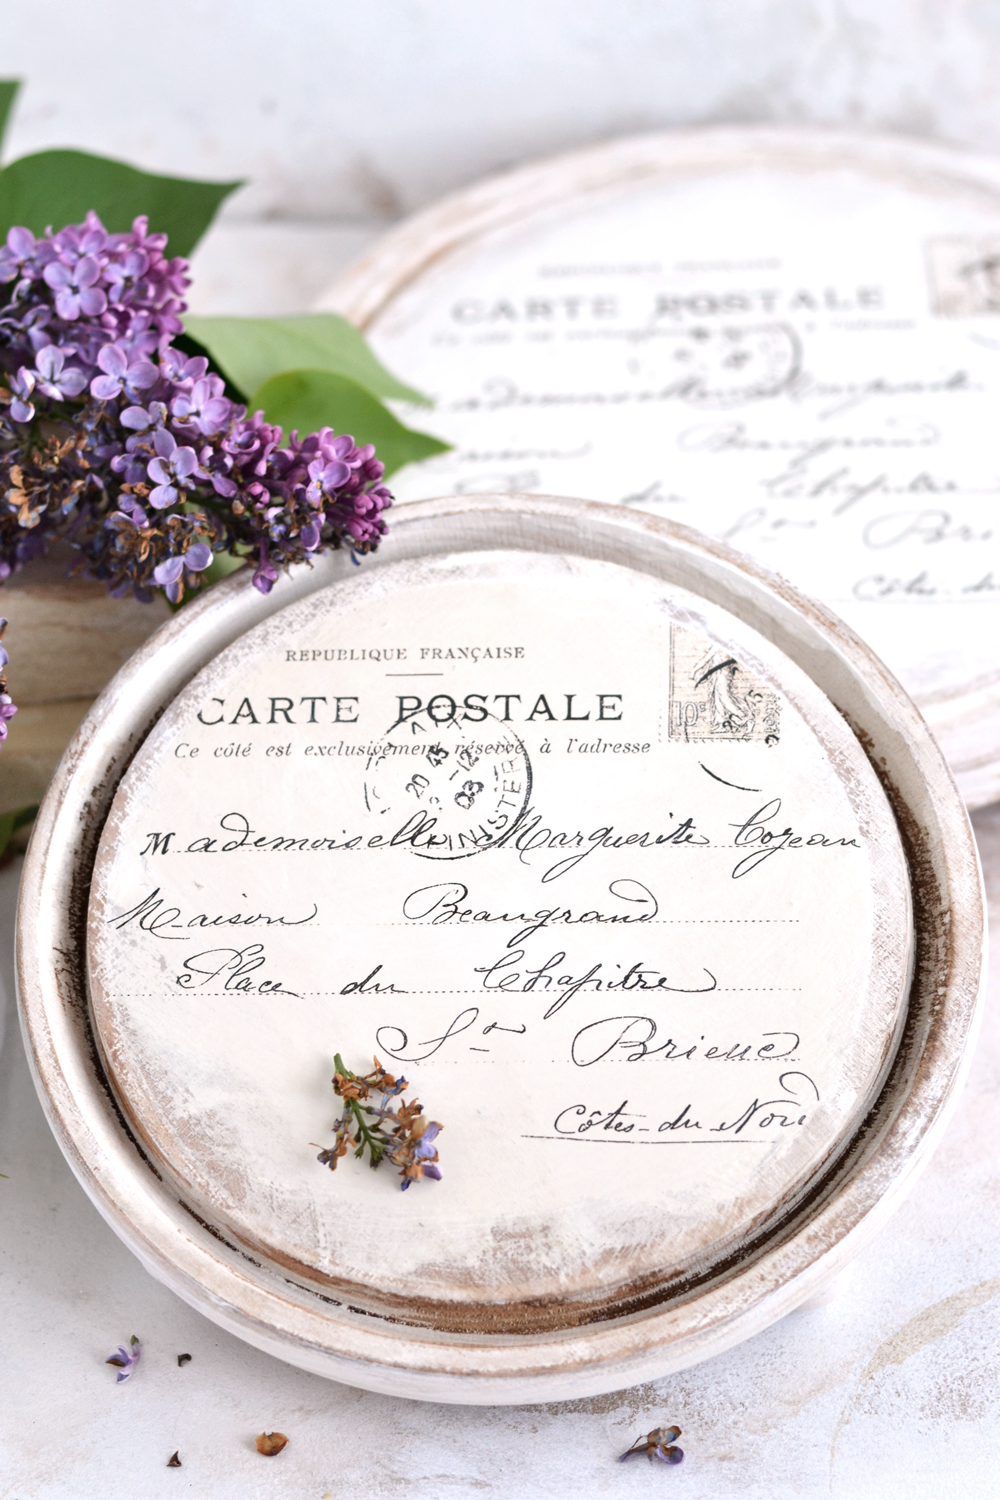
I know this tutorial might sound a little long, because of all the details, but I really wanted to cover everything so you will basically have no excuse but to try this project yourself!
You will see this is actually quite a simple project with a high-end designer look that will be such a great addition to your home.
And I have a feeling morning coffees will never look dull or boring again with this DIY Wooden Riser! Especially when paired with a lovely coffee cup decorated with one of my DIY Faux Rusted French Labels, don’t you think?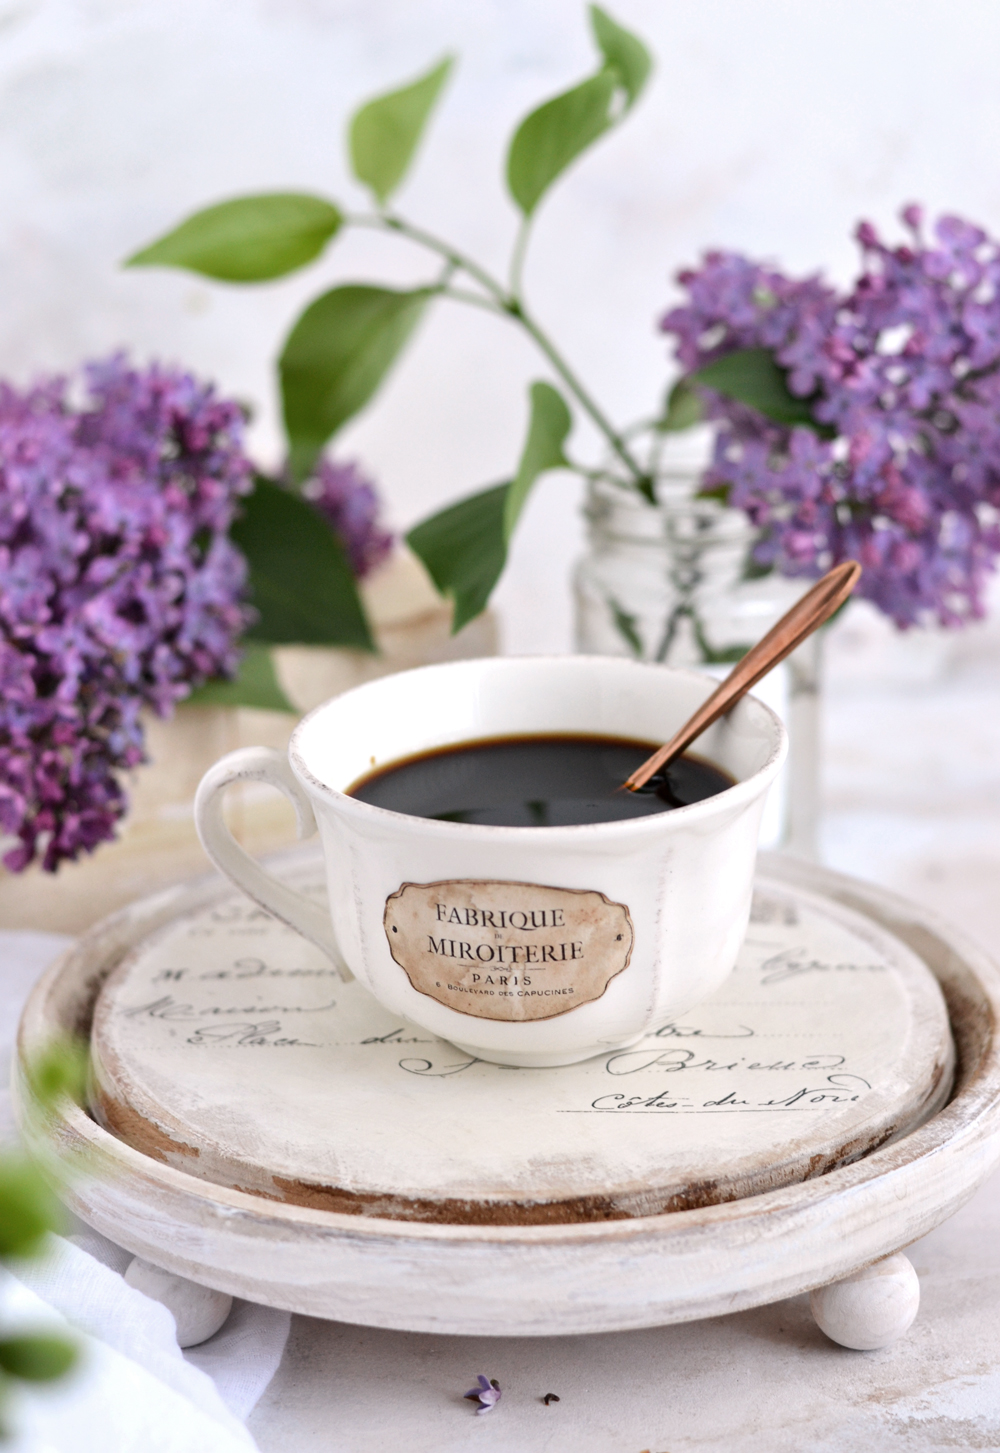
Because of their neutral colors, the risers can be easily adapted to any color scheme you have in your home and even to any season!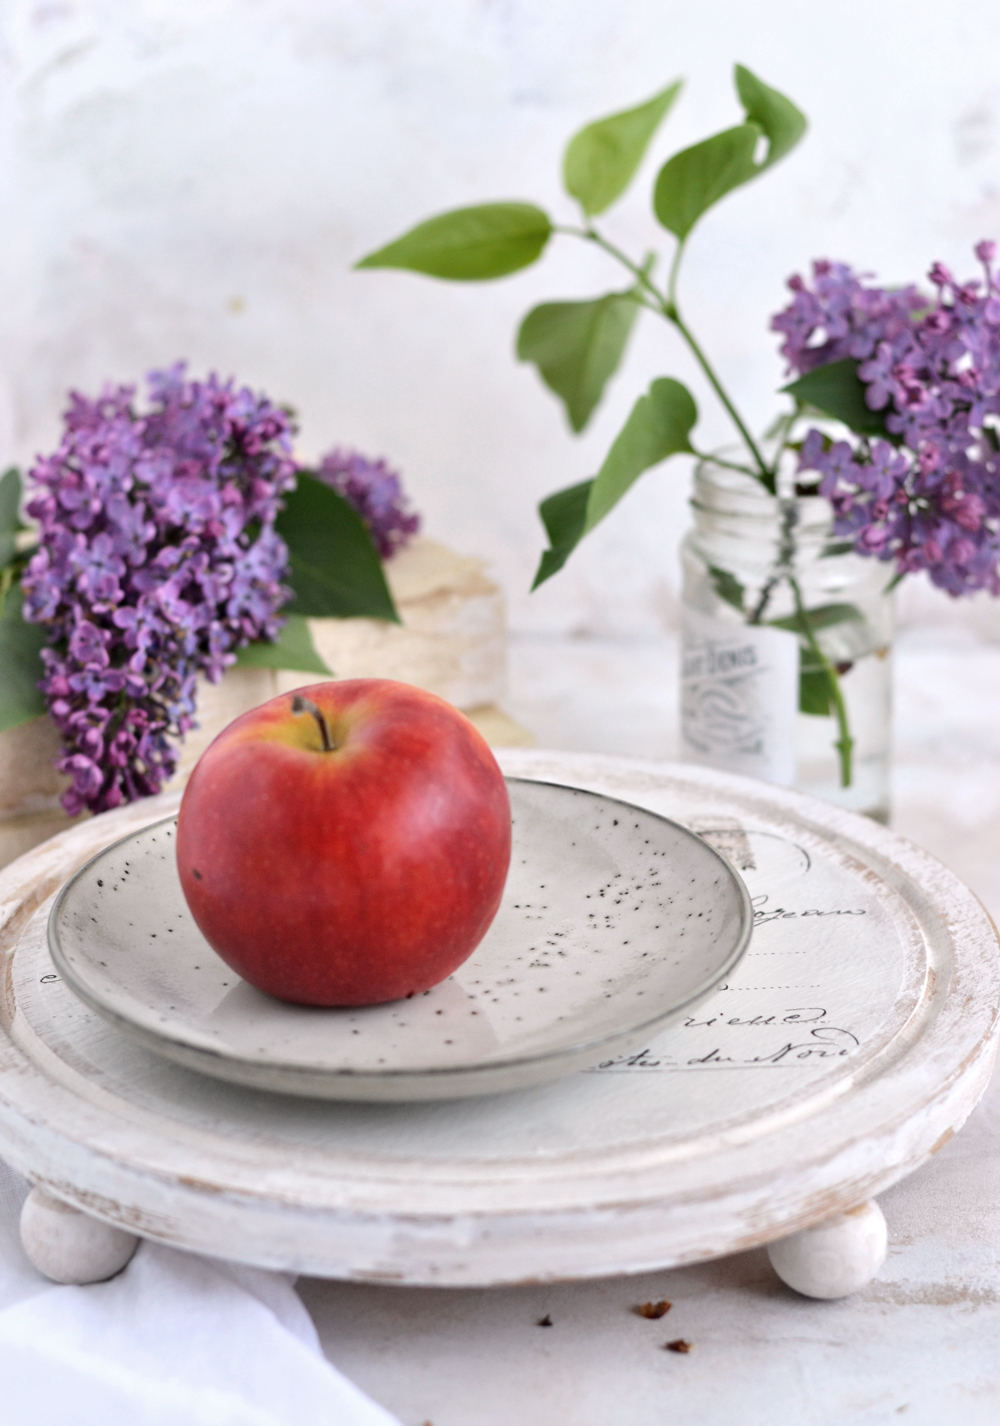
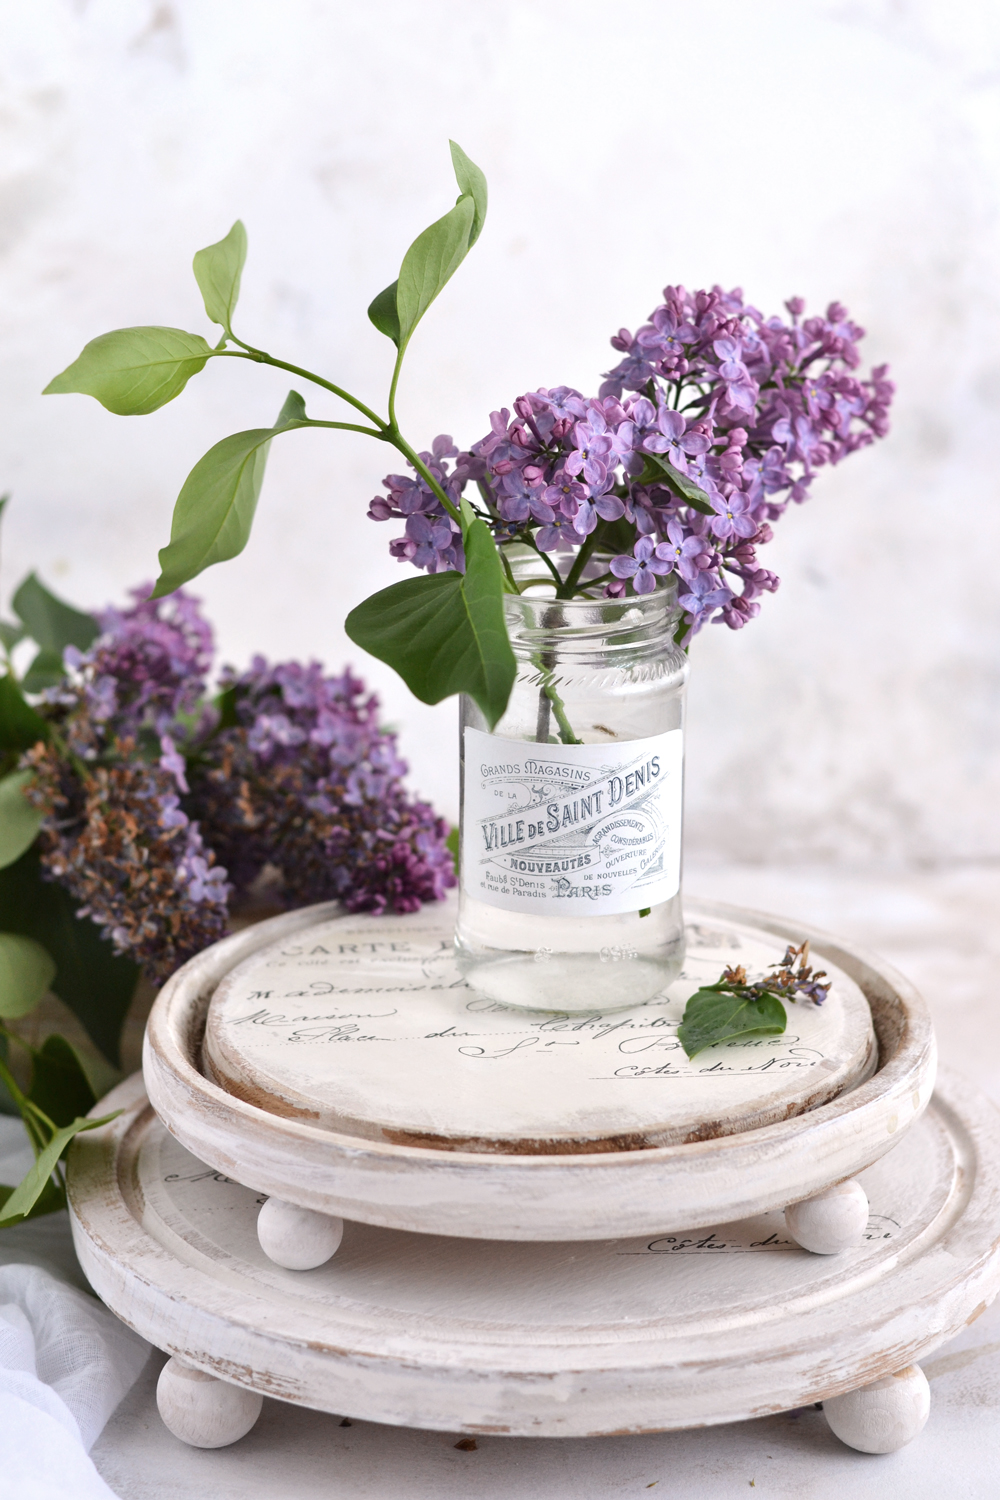
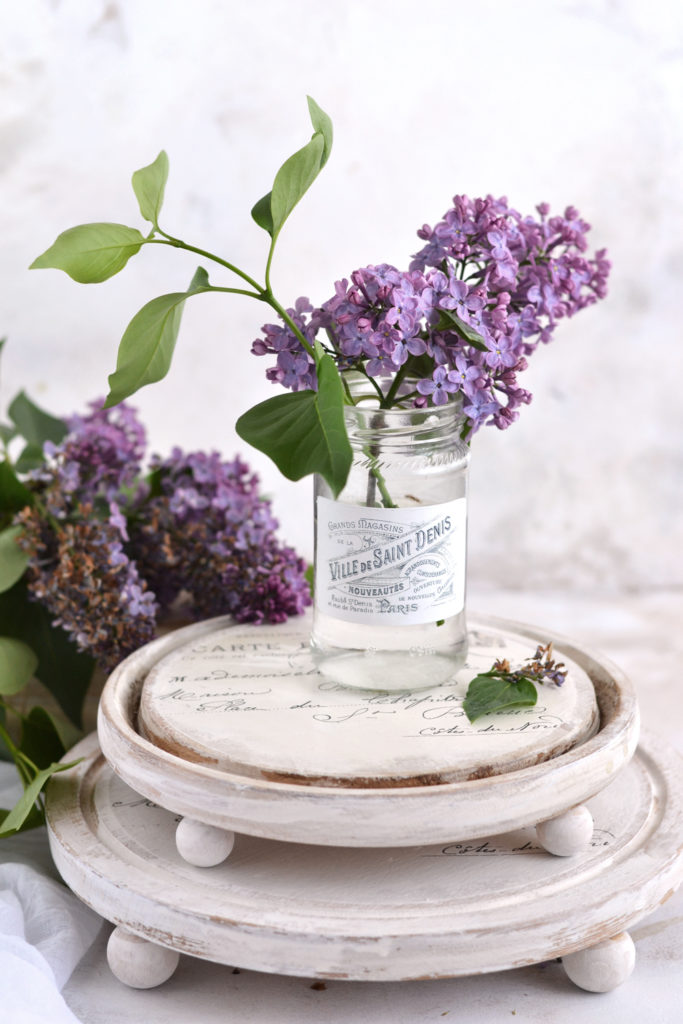
Pair your DIY Wooden Riser Tray with vintage books, apothecary jars and other decorative pieces from your home to create beautiful vignettes …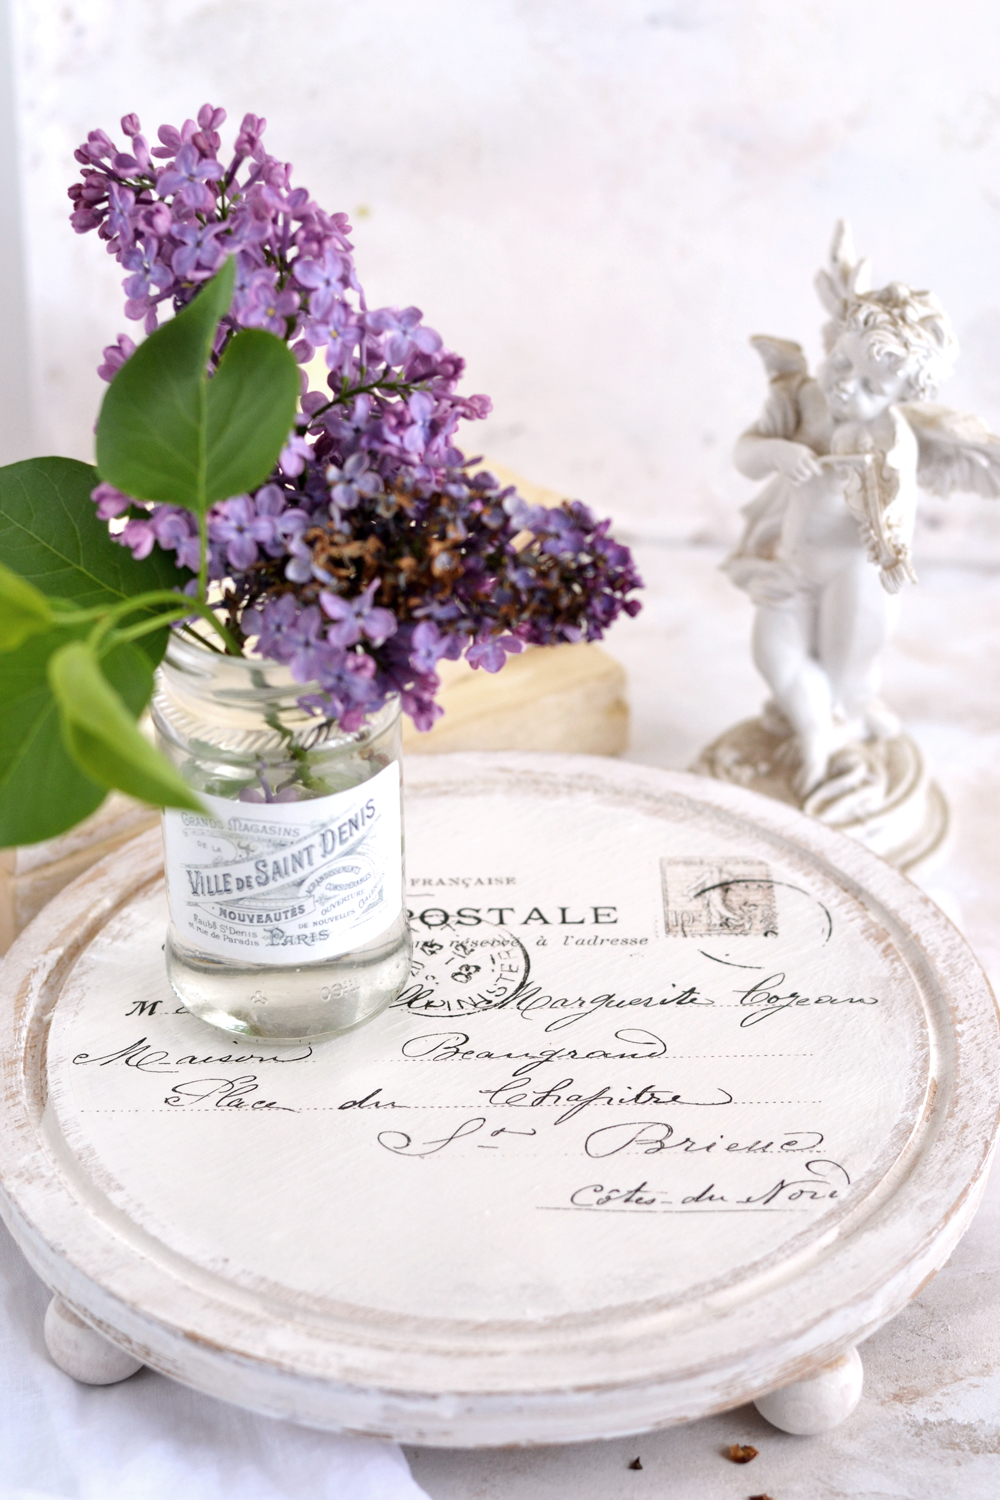
Or use them with your favorite flowers or herbs to create chic interest points in different areas around your home. 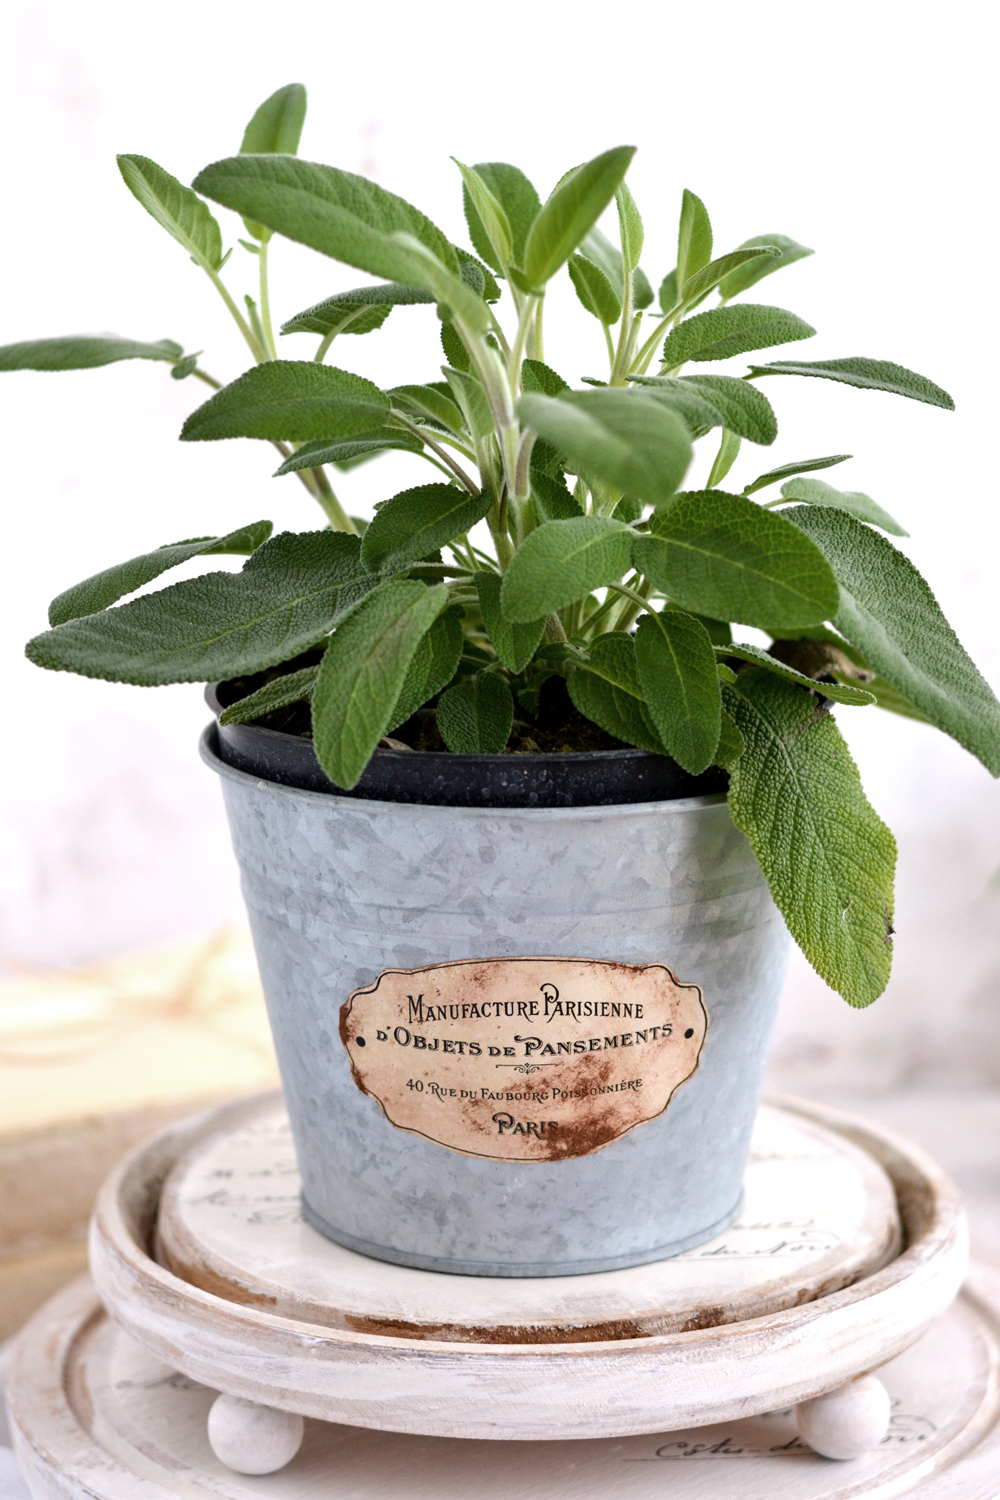
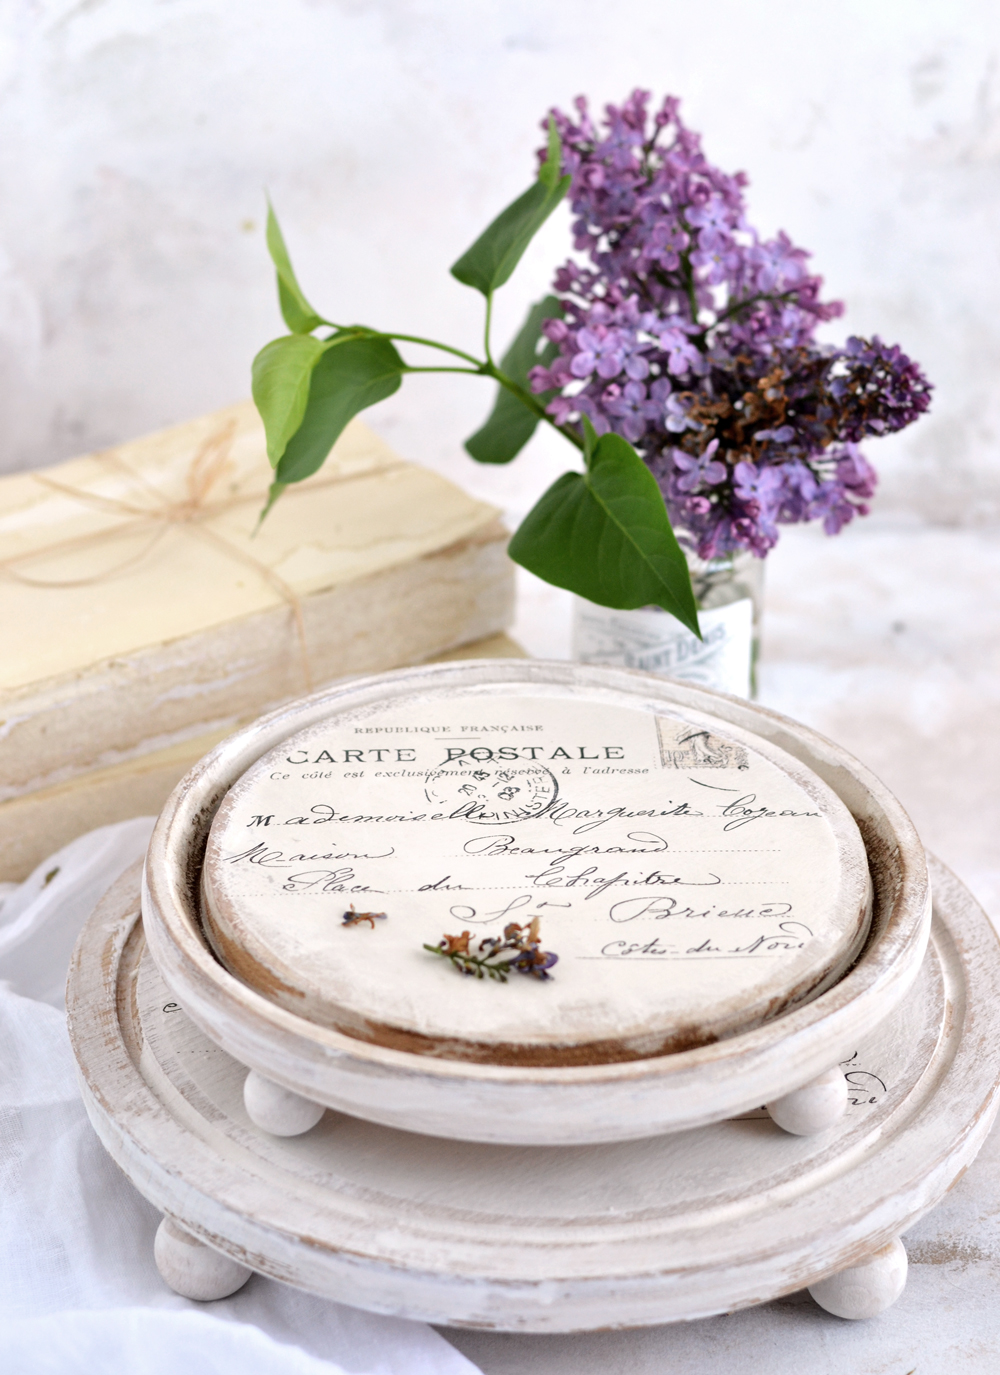
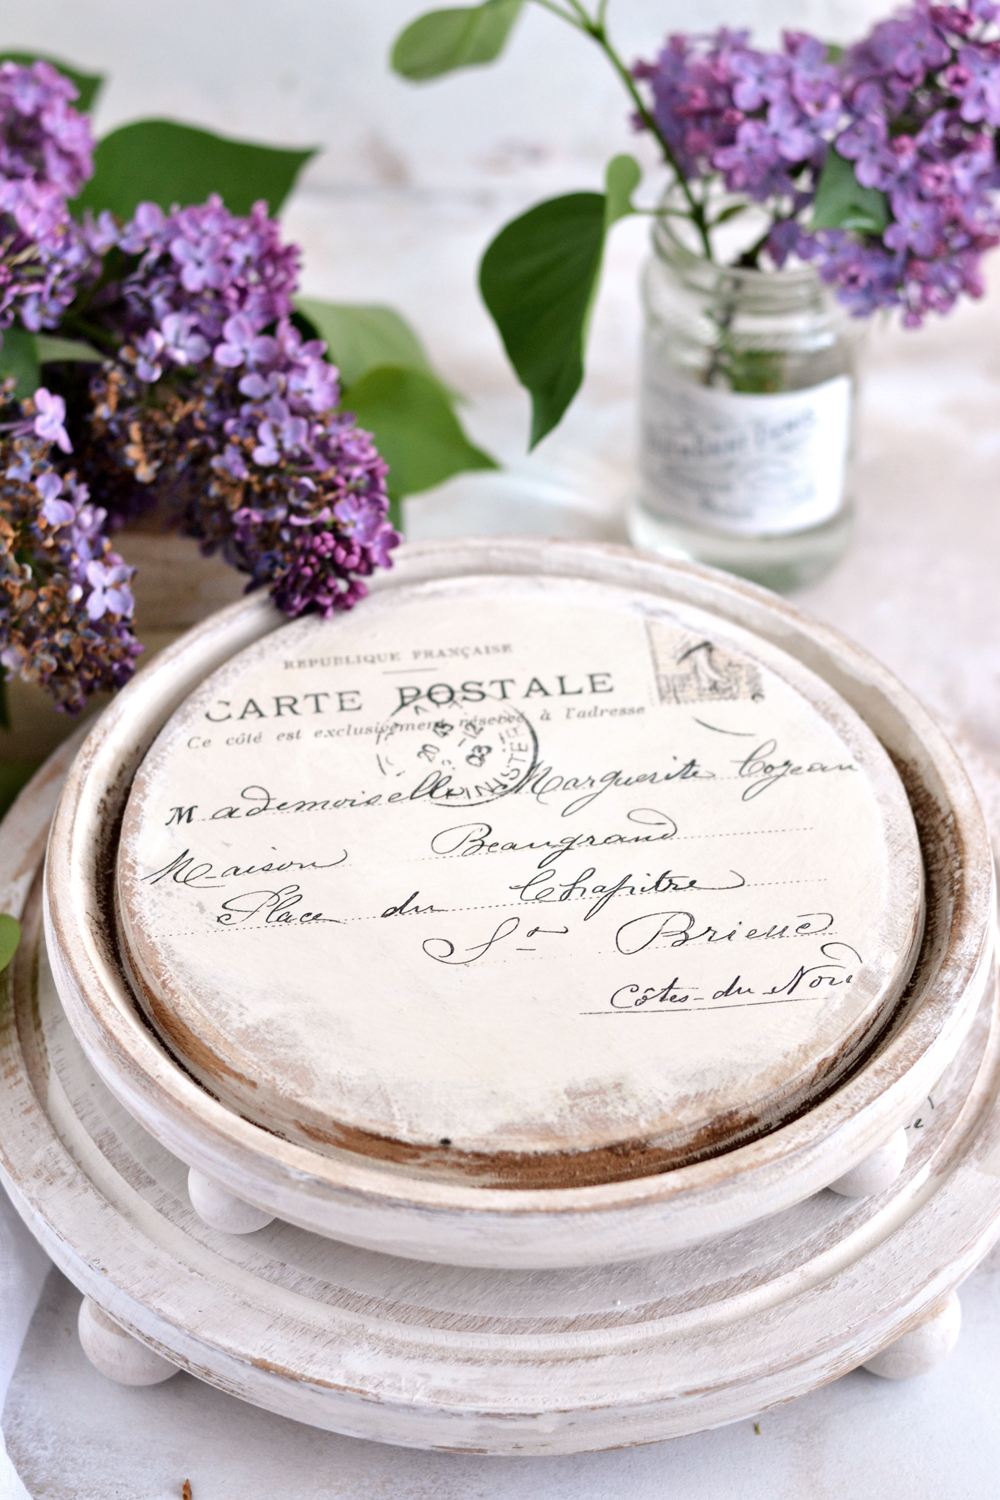
I hope you will simply love this project and decide to create one, two … or even more of these DIY Wooden Riser Trays for your home! You might also enjoy my DIY Bee Coasters HERE.
Have fun creating,
Diana / Dreams Factory



YVONNE says
You are so amazing, Love the things you do.
Karen Watson says
Thank you Yvonne. We love Diana’s projects too!
barb says
Wow!!! Great project with great directions and pictures too~ I love this and hope to make it very very soon.
Thanks for sharing!!!!
graphicsfairy says
Oh that is great Barb, have fun!!
Karen Gouvas says
Love,Love,Love the coffee stained French Tray Risers, can’t wait to start this project, Thank-you Diana from the Dreams Factory, this week I had my mum staying for a holiday and we created round DVD coasters for me, and mum recycled my 4 square coasters with the bird print for coasters, we made some lovely tags, printed the pretty Easter rose cross I coloured it for her, and dipped some cheap flowers into chalk paint, they are absolutely stunning once they drip dry, very shabby chic look like expensive upmarket flowers, thought I would share the flower makeover with you all, thanks to Karen and Emily for a fun week
graphicsfairy says
Wow Karen! You and your Mum were very busy and it sounds like a very successful craft week! Thanks for the flower tip that sounds beautiful!
Rupa says
Very nice project. May I ask where you got the round cutting boards with the deep ridge all around? Txs!
graphicsfairy says
Thanks Rupa,
I can’t remember when and where I bought these two cutting boards, but I usually love going to artisan fairs and flea markets, craft stores, home decor & kitchen stores, even supermarkets that sell everyday household affordable items.I basically try to keep an open eye whenever I go shopping, I found some beautiful items for my projects when I wasn’t actually looking for something in particular
Debs says
I’ve never heard of or seen ‘ tray risers ‘ before but I really want to make them! Absolutely charming and love the whole coffee staining,painting,distressing and cute French decals…just love your tutorials and printables,thank you x
graphicsfairy says
Thanks Debs, she made the risers by gluing wooden beads to the bottom of the cutting boards 🙂