Hello, all my wonderful Graphics Fairy Friends! Heather from Thicketworks here with a fun DIY Decorative “Brads” Experiment!
Although these look like brads once you finish them, they just stick on – no prongs needed!
If you like the idea of creating custom accents to gussy up your projects, you’ll love this!
{this post contains affiliate links}
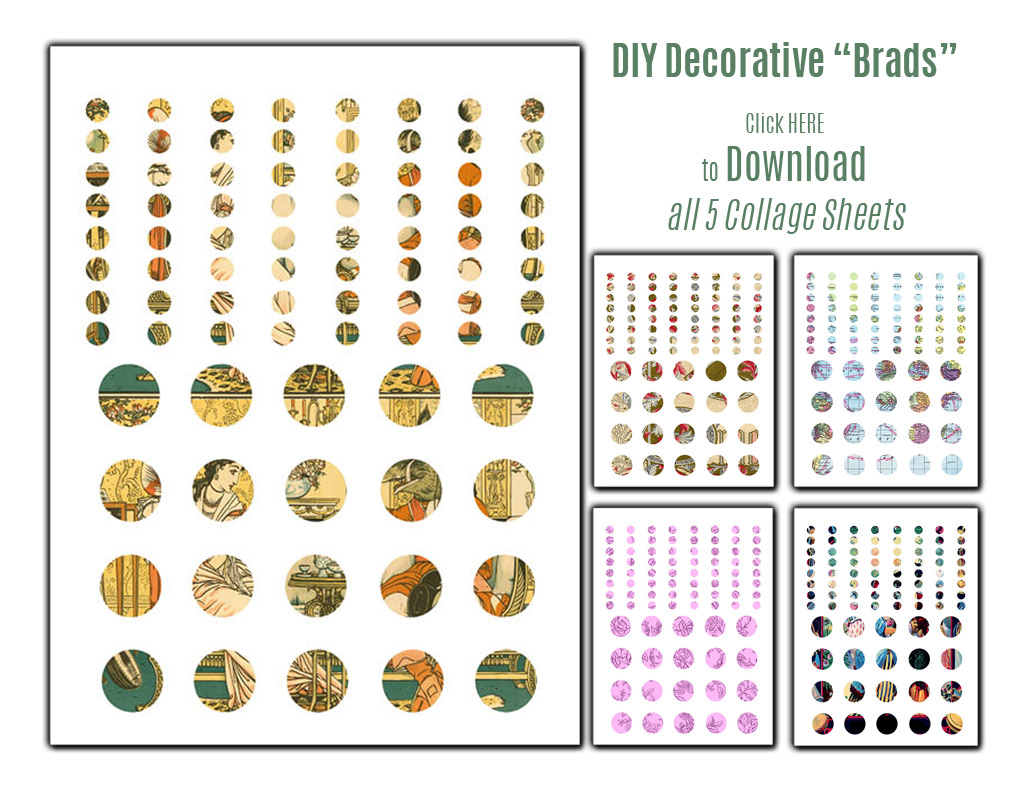
To make the process a little easier, we’ve prepared a few Printables for you to work with.
Graphics Fairy Source Images:
- World Maps Printable
- Masquerade Ball
- Ornate Vintage Book Title Page
- Vintage Beauty and the Beast Picture
- Lovely Ornamental Roses Design
If you would like to grab a copy of all five designs, just click HERE!
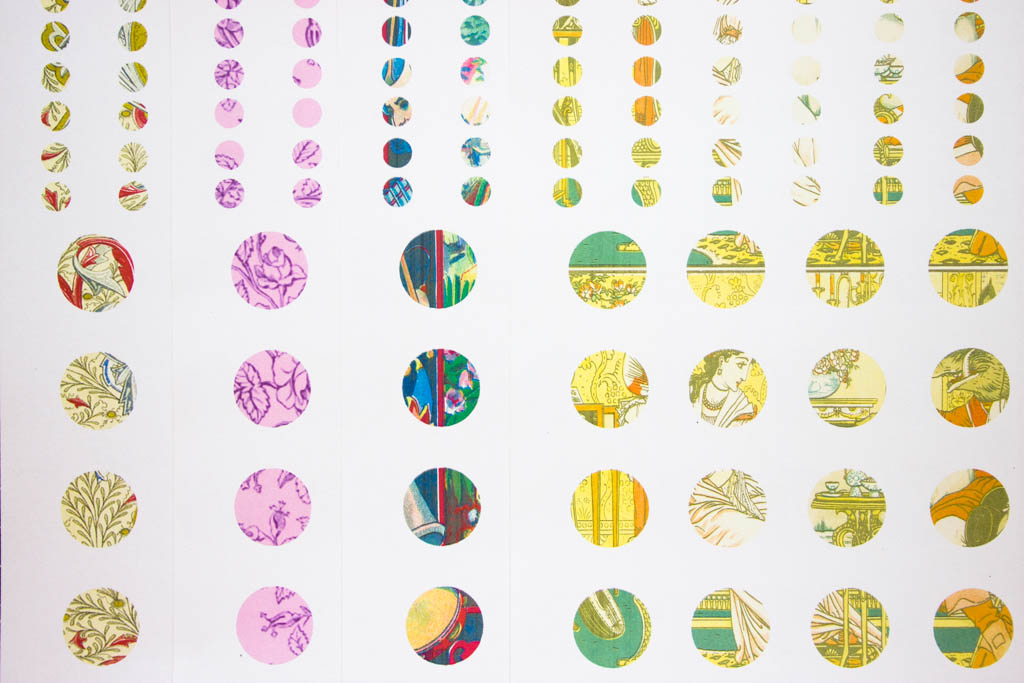
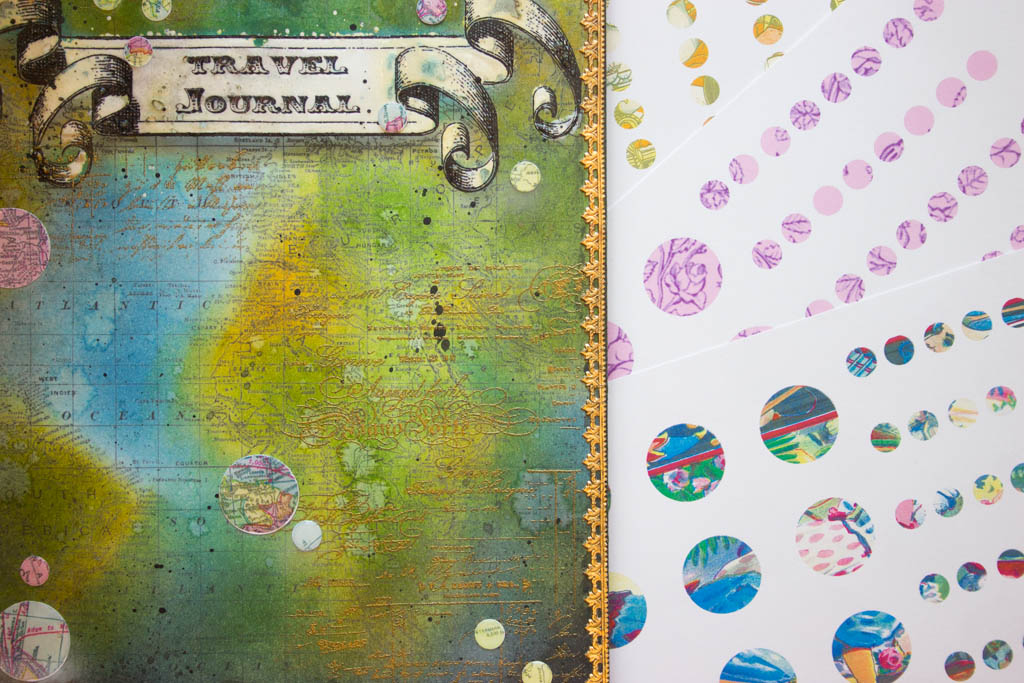
Each of these sheets is formatted to allow you quickly punch 1″ and 3/8″ circles from cardstock.
Note: all images used in this demonstration were printed on cardstock with a Laser Printer. If you use an InkJet Printer, test the prints with Glossy Accents before continuing.
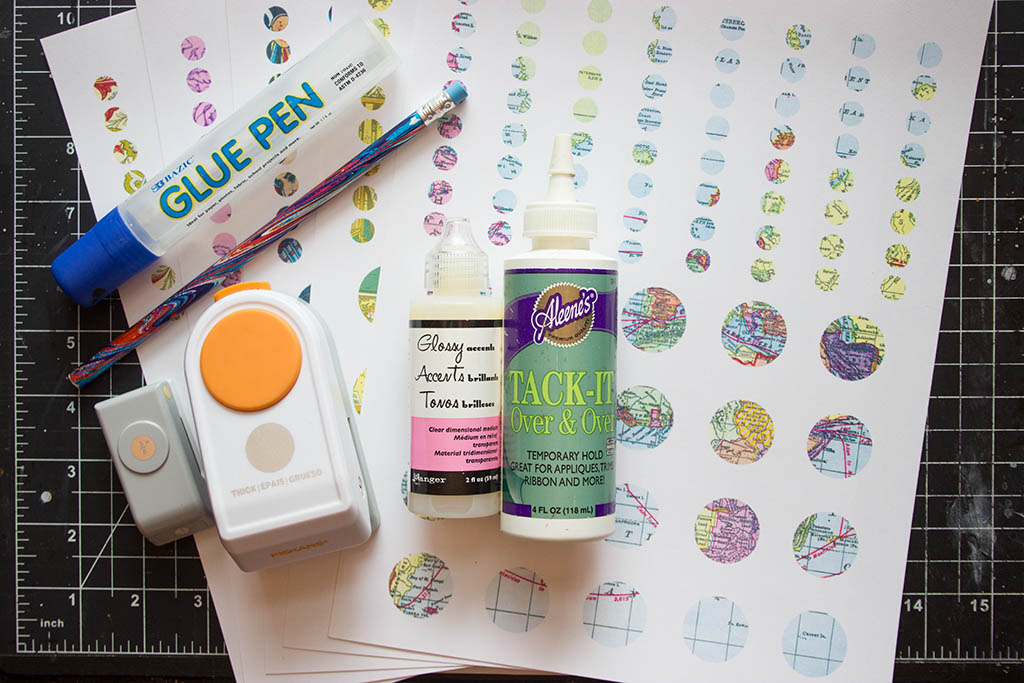
Supplies:
- 1 Inch Circle Punch
- Circle Punch: 3/8-Inch
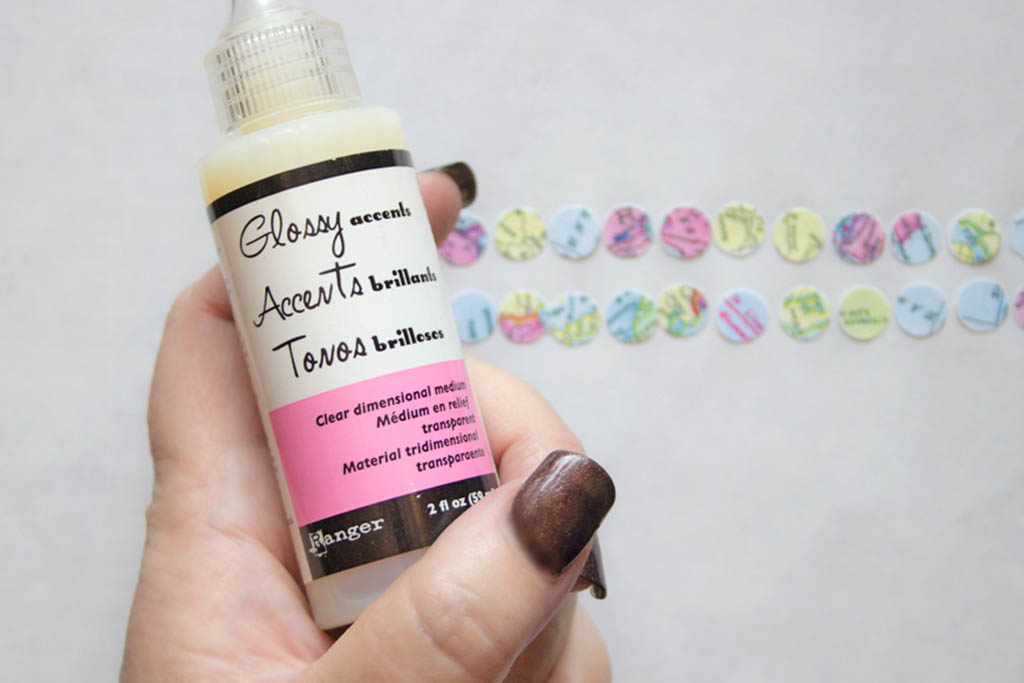
- Glossy Accents Adhesive
- Aleene’s Tack-It Over & Over
- A Craft Blade + Ruler
- Release Paper (like the backing paper from a roll of Contact Paper, or Sticker Sheets)
- A Pencil with an Eraser
- A 1″ diameter tool (I grabbed a Glue Pen – it was just the right size)
- An old Jar Lid, or other disposable container
- Isopropyl Alcohol + Baby Wipes for cleaning sticky fingers!
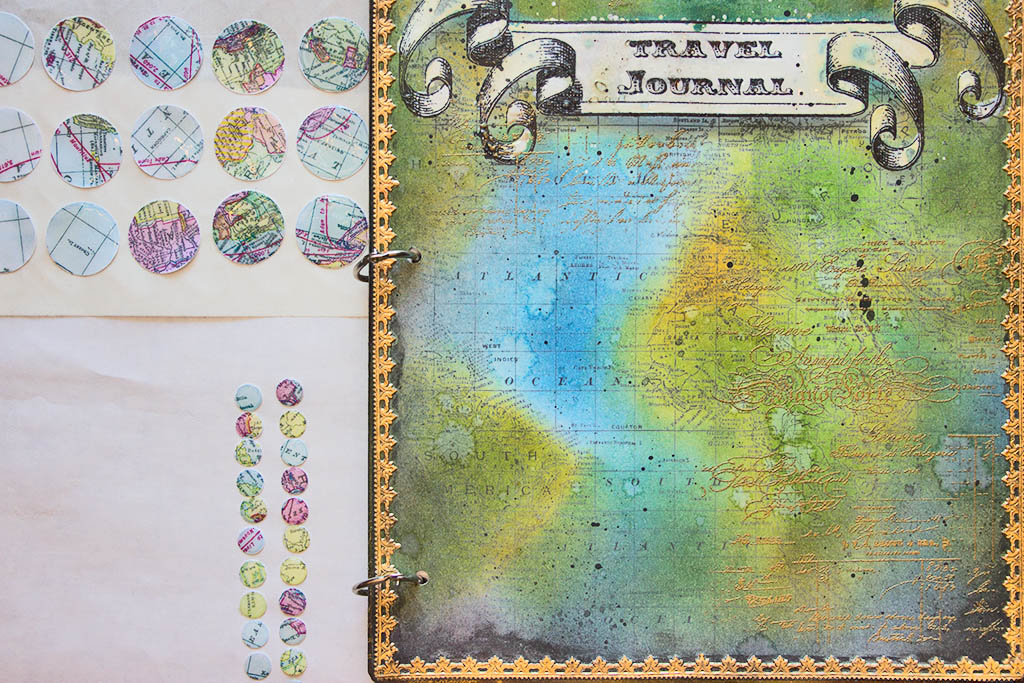
- A fun project to stick your DIY Decorative Brads to – like this fun Travel Journal!
How to make DIY Decorative ‘Brads’:
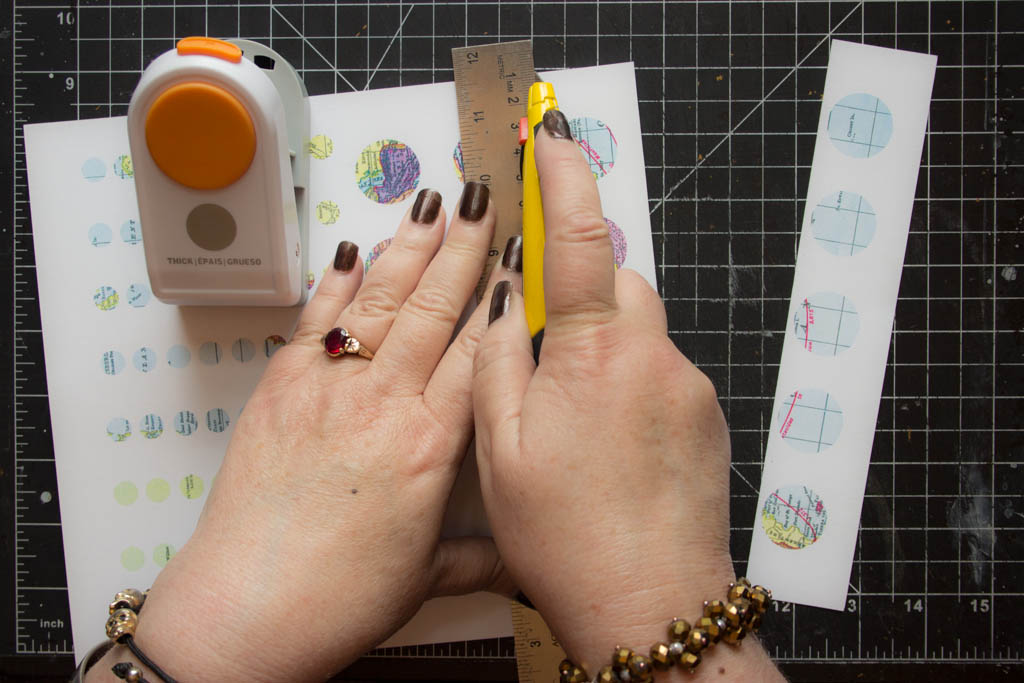
Once you’ve printed your chosen design, cut the cardstock into strips.
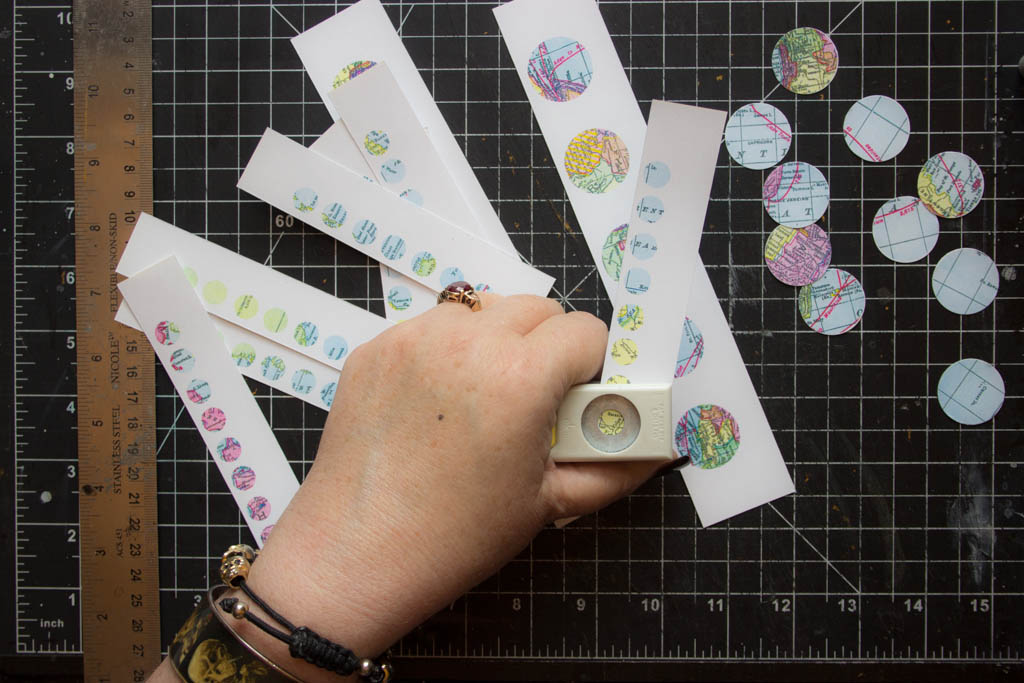
This will allow you to position the Circle Punch over each motif, then Punch!
Do the same for the 3/8″ Circle Motifs.
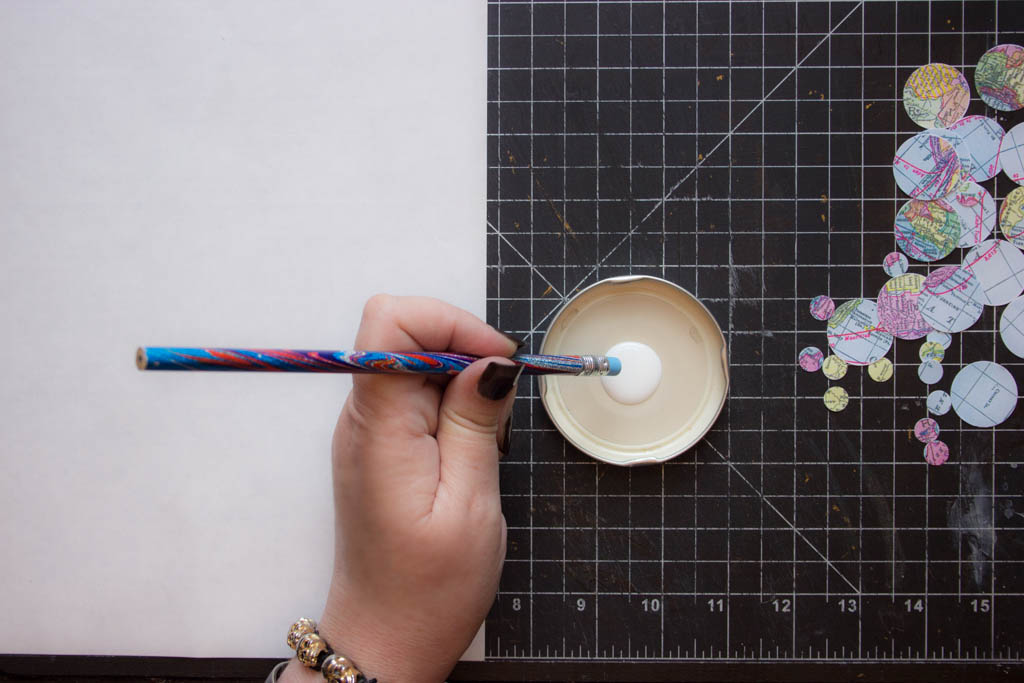
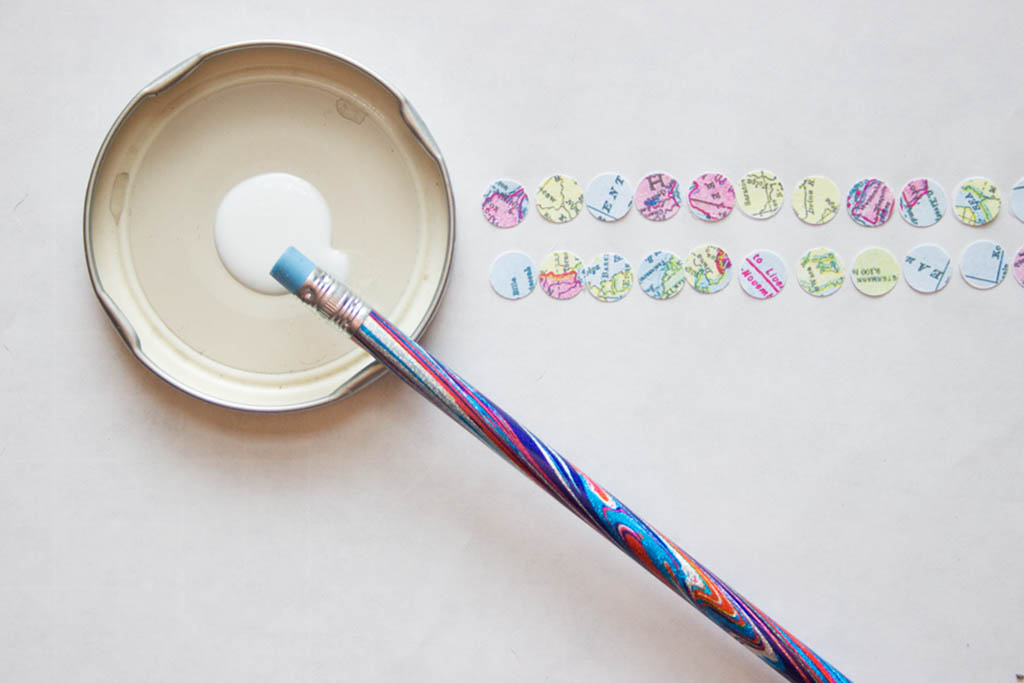
To make the job a bit easier, dispense a small amount of Aleene’s Tack it Over & Over onto a disposable surface, like this jar lid.
Have a piece of Release Paper close at hand – that’s what we’ll be applying the adhesive to!
Using the eraser of a pencil, pick up a small amount of glue…
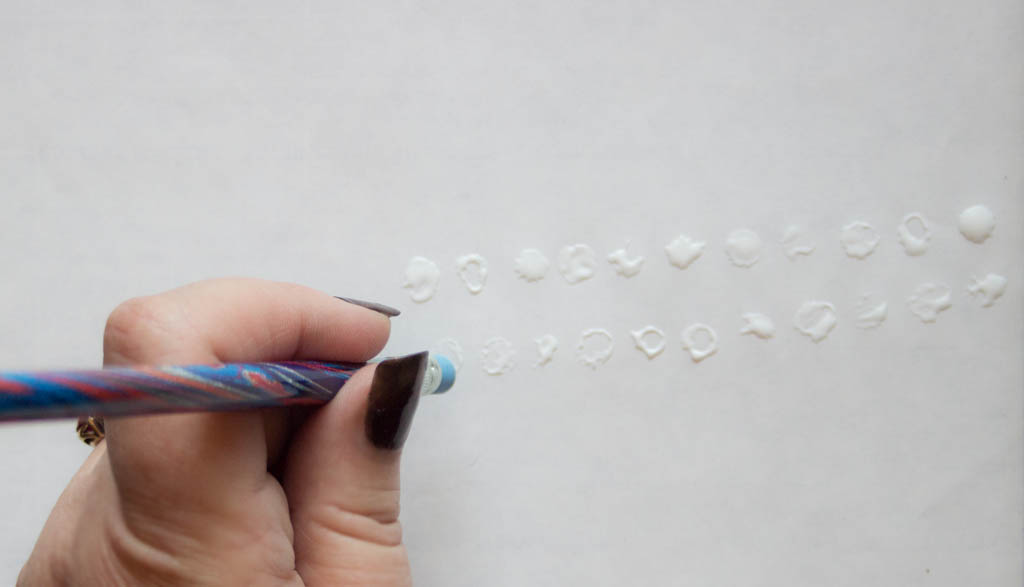
Then dispense it onto the Release Paper.
Create as many dots of glue as you desire ‘Brad’ heads.
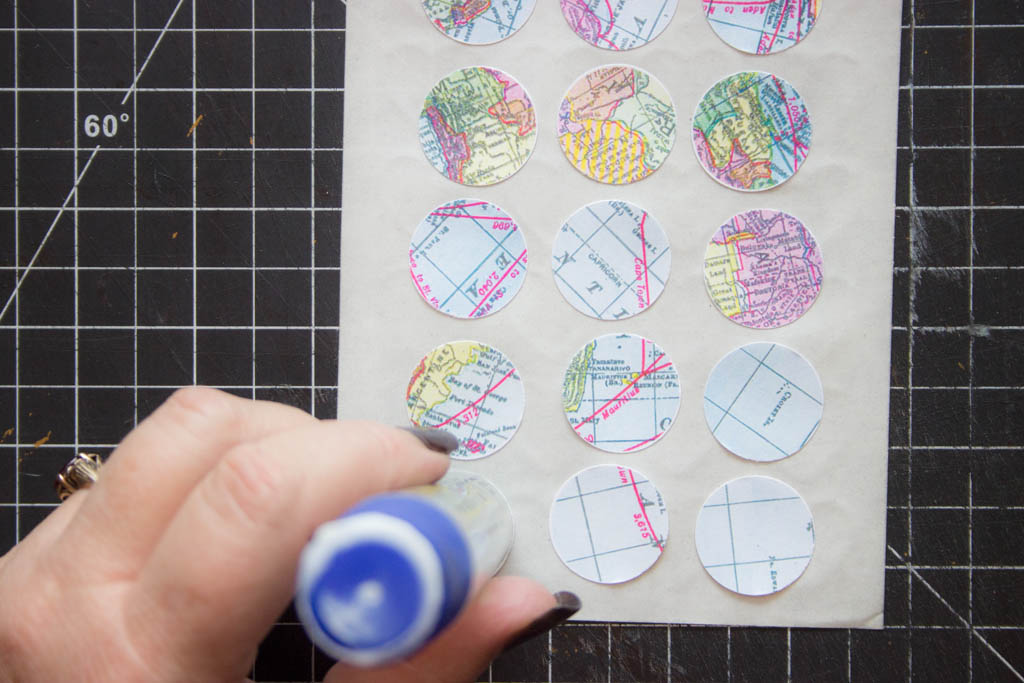
Then, firmly press your cardstock circle motifs onto each dot of glue.
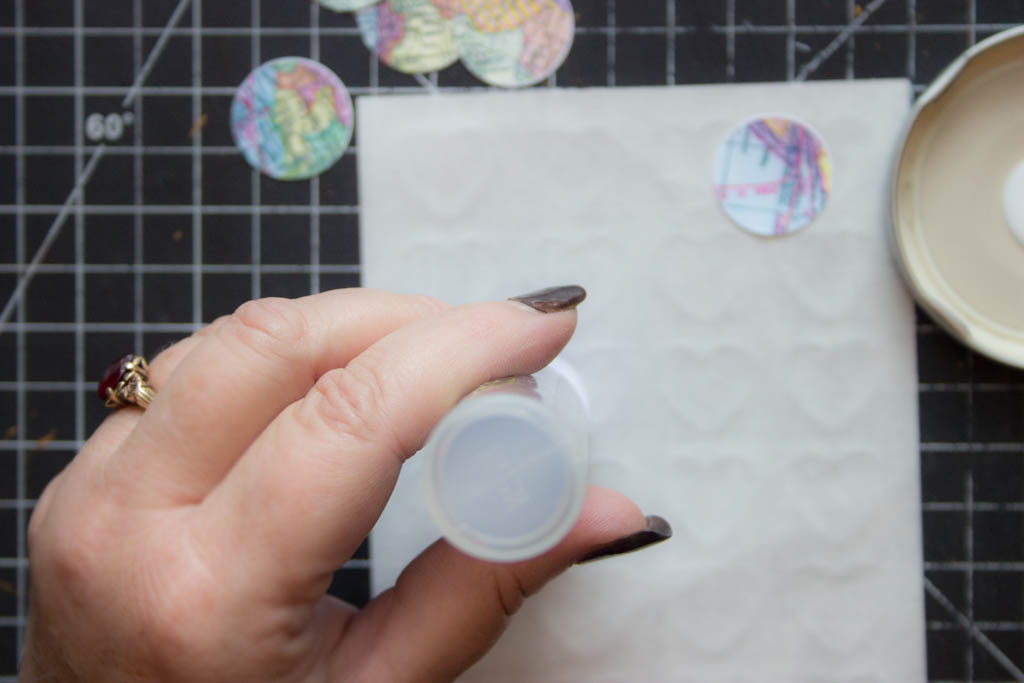
For the 1″ Circles, find a 1″ cylinder to apply the adhesive to the Release Paper.
Here, I’m using the cap to a Glue Pen from the Dollar Store. It works beautifully, and cleans up easily.
Press the Circle Motifs firmly against the adhesive.
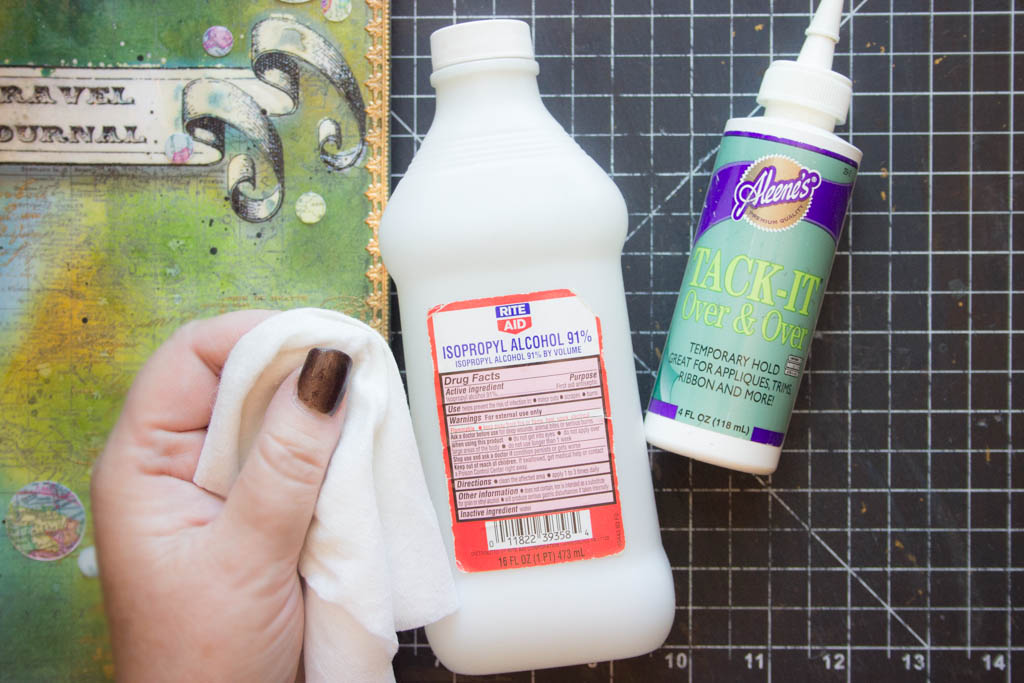
A baby wipe and rubbing alcohol will remove any stickiness from your fingers.
You can also use it to clean the pencil eraser and whatever you used to apply the 1″ glue dots.
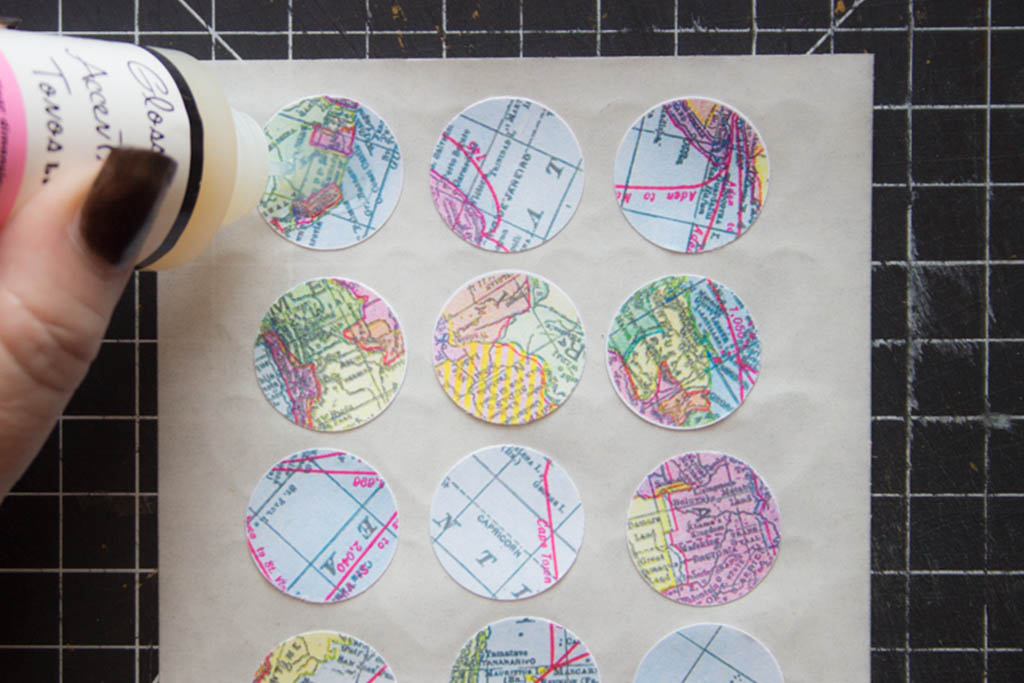
Now it’s time to add dimension and shine!
Glossy Accents does a good job of maintaining surface tension…it will stay within the boundaries of the cardstock circles if you are moderately careful.
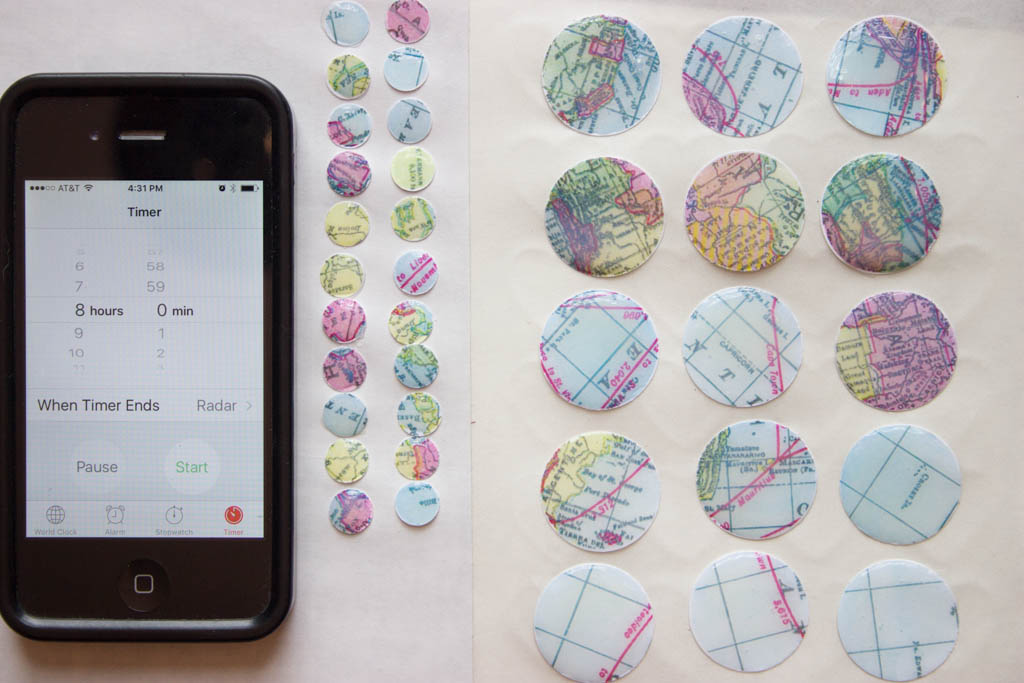
Once you have coated all of your DIY Decorative Brads with Glossy Accents, allow them to cure overnight.
Once they have fully cured, it’s time to play!
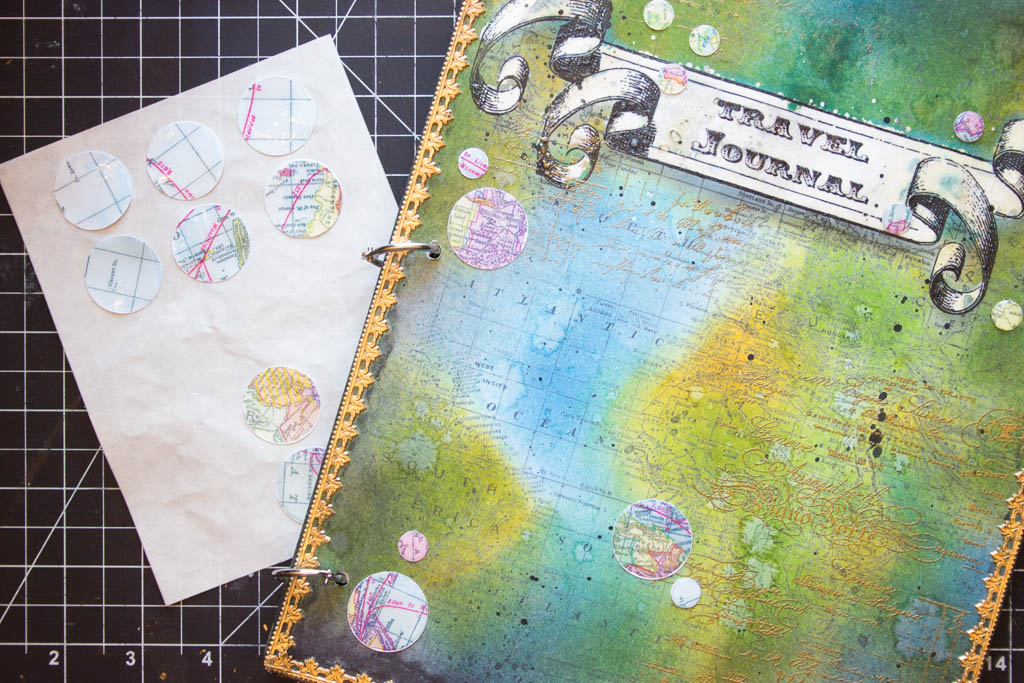
I want to sprinkle this Travel Journal with these fun Map “Brads”!
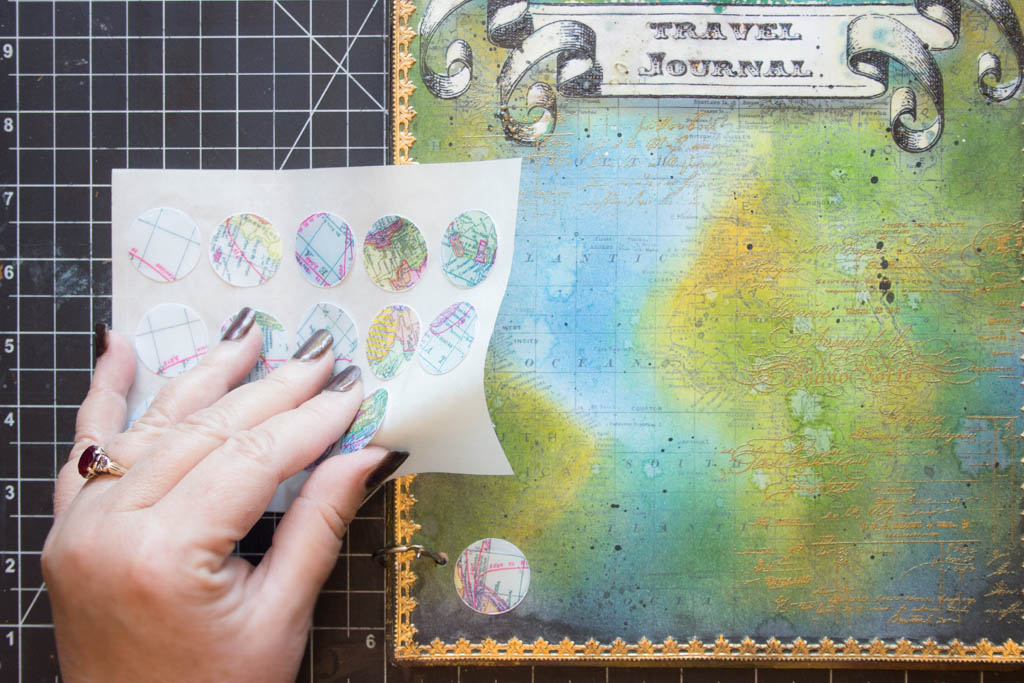
Just peel them off….
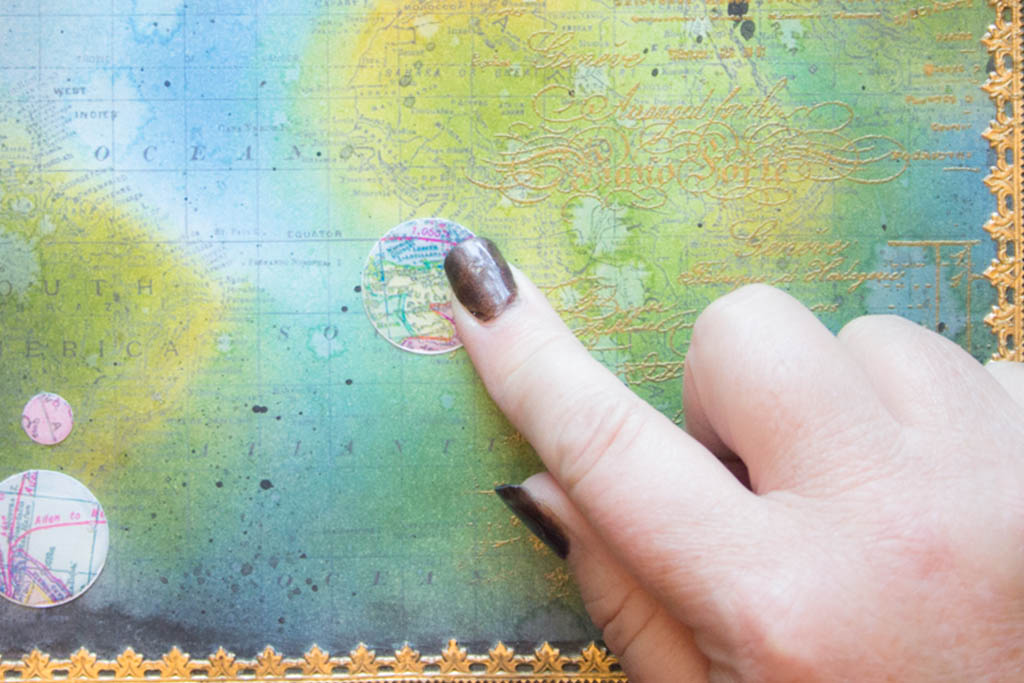
And press them on!
I went a little wild with them…but you get the point!
You can add fabulous little luminous domes of decorative goodness wherever you like!
You can design your own motifs, or use purchased patterned papers and customize any project! Yay!
And that, my friends, is THAT! It was great fun devising a way to make this happen – I hope that it inspires you to give it a go…
Thank you for visiting The Graphics Fairy!
Until next time,
Heather ♥
It’s finally here! Our first online crafting eCourse! If you’ve always wanted to try the art of Mixed Media, be sure and check out this amazing course by Heather Tracy!
Click HERE to learn more about it.





Letha says
Is the tack it over and over glue what makes them sticky on the back so you can apply in scrapbook? I have never used that. AND can you use wax paper for the glue/circle?
Heather Tracy says
Hi Letha – yes! The Tack it Over and Over creates a super sticky surface that can be adhered multiple times. And, yes, wax paper should work, but do a test before going ‘all in’. Thanks for stopping by. xox
Rupa says
Nice and simple when we need a quick craft fix! Wondering if we can just apply glossy accents and let them cure on wax paper (release paper) without applying glue on all at once. This way i can apply glue on a few as and when needed to stick to use in a project? I made this journal recently and could use these “brads” to hold momentos/tickets/little journal cards etc inside the journal. Thank you Heather for always helping me expand my creative horizons!
Heather Tracy says
Hi Rupa! I love your idea of adding adhesive on an “as needed” basis. Sounds very workable to me. Keeping the paper discs from moving whilst adding the Glossy Accents is the only challenge I can see. Glad this is useful, my friend…thank you for taking time to expand my creative horizons! xox
Rebecca says
Hello Rupa and Heather, my suggestion would be to coat the printed disc area with Glossy Accents PRIOR to cutting into strips and punching them out with the circle punch. That way it doesn’t matter if the Glossy Accents goes outside the lines, and it is very easy to handle. Once dry and punched out, glue onto release paper as per your instructions. I hope this helps. xxx
Heather Tracy says
Hi Rebecca. Good suggestions! Thank you. xox
rupa says
Thanks Rebecca, great idea!