DIY Embossed Envelopes
Hello my sweet crafting friends. It’s Rebecca, back with another gorgeous Mixed Media technique tutorial – DIY Embossed Envelopes! We love to use pretty envelopes for our handmade card snail mail, but they are also a vital part of our junk journals, scrapbooking pages, and many of the paper crafts here on The Graphics Fairy. This process takes your stationery to another level. I have been on a roll of late… embossing almost everything that I can find. See previous tutorials for Embossing Toilet Paper HERE and Embossing Aluminum Foil HERE!
Taking Envelopes Up a Notch
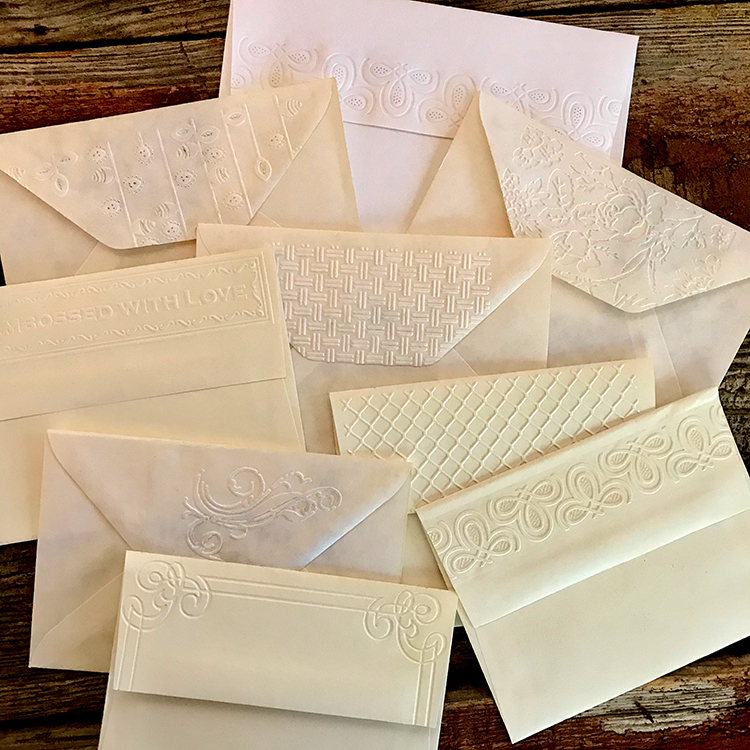
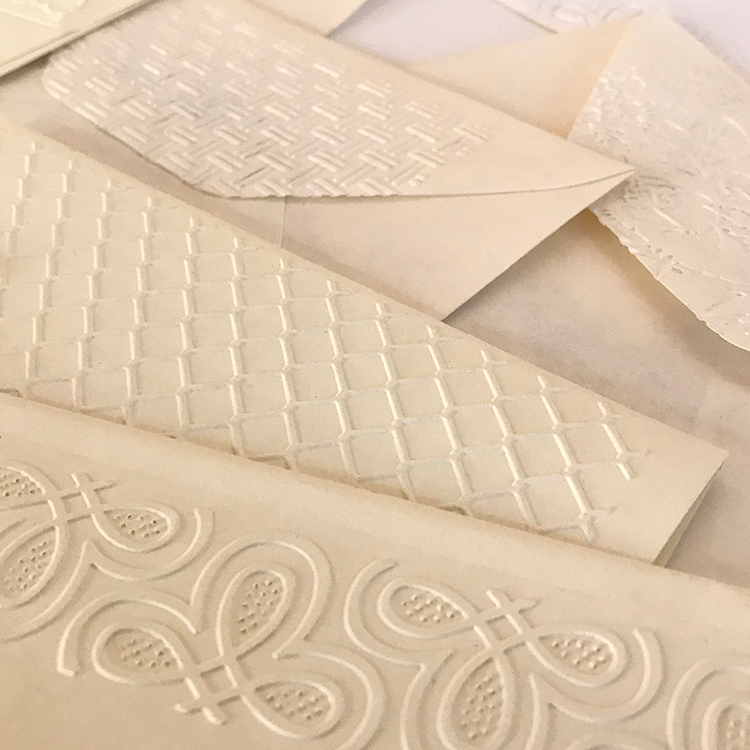
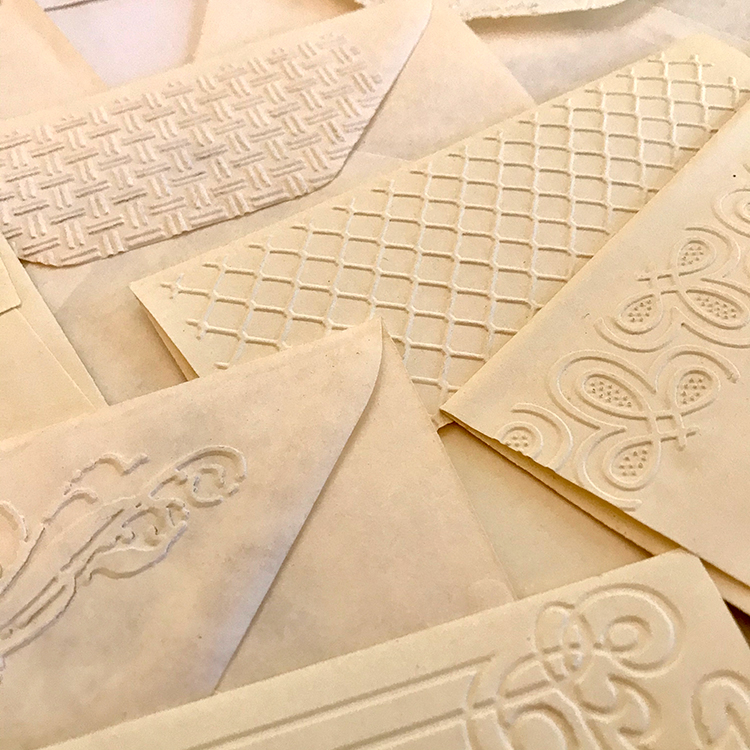
Embossing adds a lovely textured effect to any craft project. Embossing the flaps of your envelopes brings an elegance and glamor to them! And it is so very easy. A plain envelope transforms into one that is simply gorgeous and has yummy texture. People will love to run their hands over it! There are but a few simple steps, with hints and tips, to make these treasures. Let’s find out how.
Materials
Envelopes
Embossing Folders
Embossing Machine – There are so many different machines out there today. I have a Sizzix® Big Shot Pro, a CuddleBug®, and Sidekick®. Others are Gemini, Anna Griffin, Tim Holtz, Spellbinders, and Evolution, to name a few.
How to Emboss Envelope Flaps Step-by-Step Directions
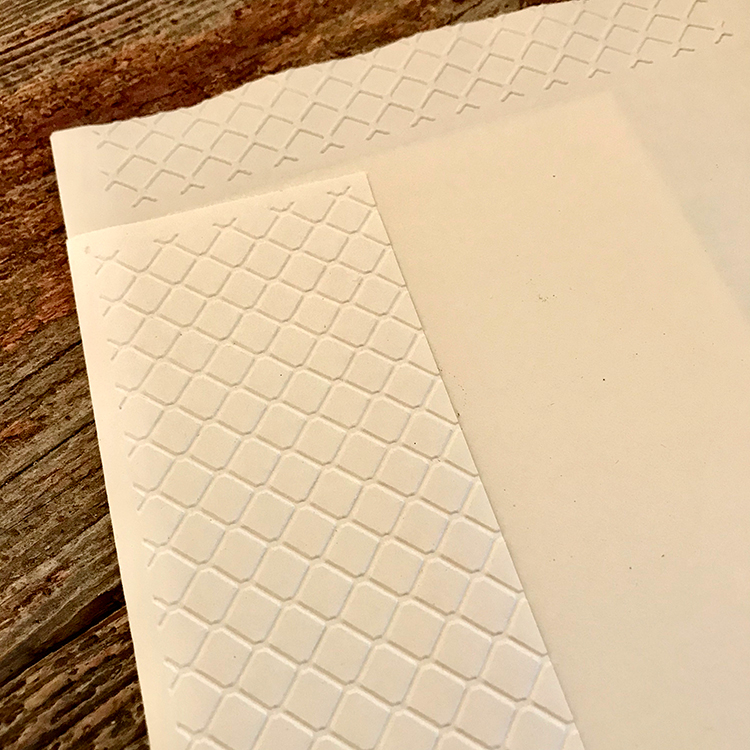
A word about envelopes and embossing folders. For this article, I tested several different envelope weights and types. Heavier and medium weight envelopes emboss well with all over patterns. TIP: All flap shapes work. HINT: Lighter weight envelopes tend to tear and rip when embossed. An all over pattern works best as long as the folder is larger than your envelope flap. Really deep embossing plates are not so good in this process. But I urge you to experiment and determine what works best in your machine plus your envelopes. Be prepared to lose a few envelopes!
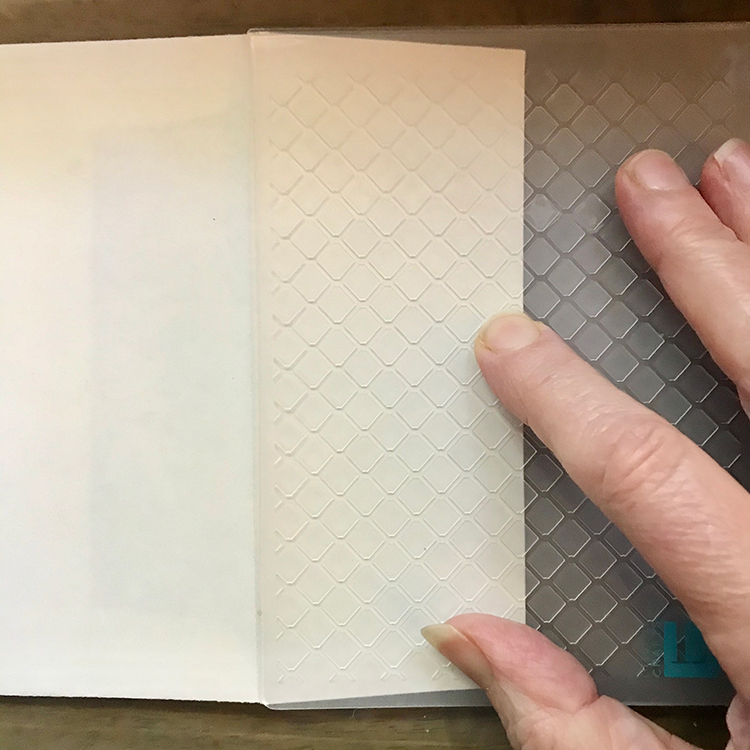
Step 1 – Place the Flap into the Folder: Carefully place the folder over the envelope flap. Line the edge of the embossing folder along the fold of the envelope flap so that the pattern will be straight. Any size folder that fits the width of your embossing machine is fine. Use your own judgement for fit.
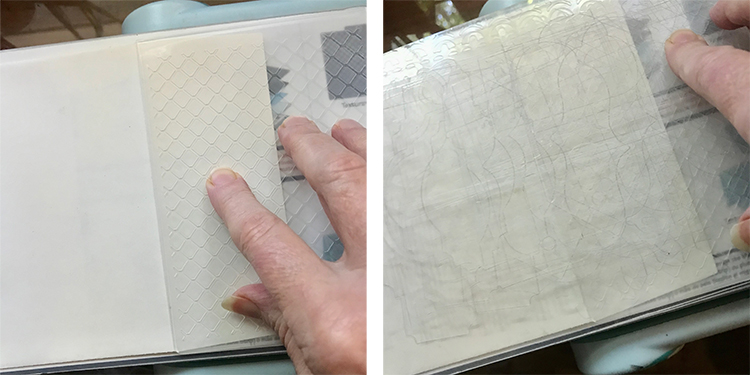
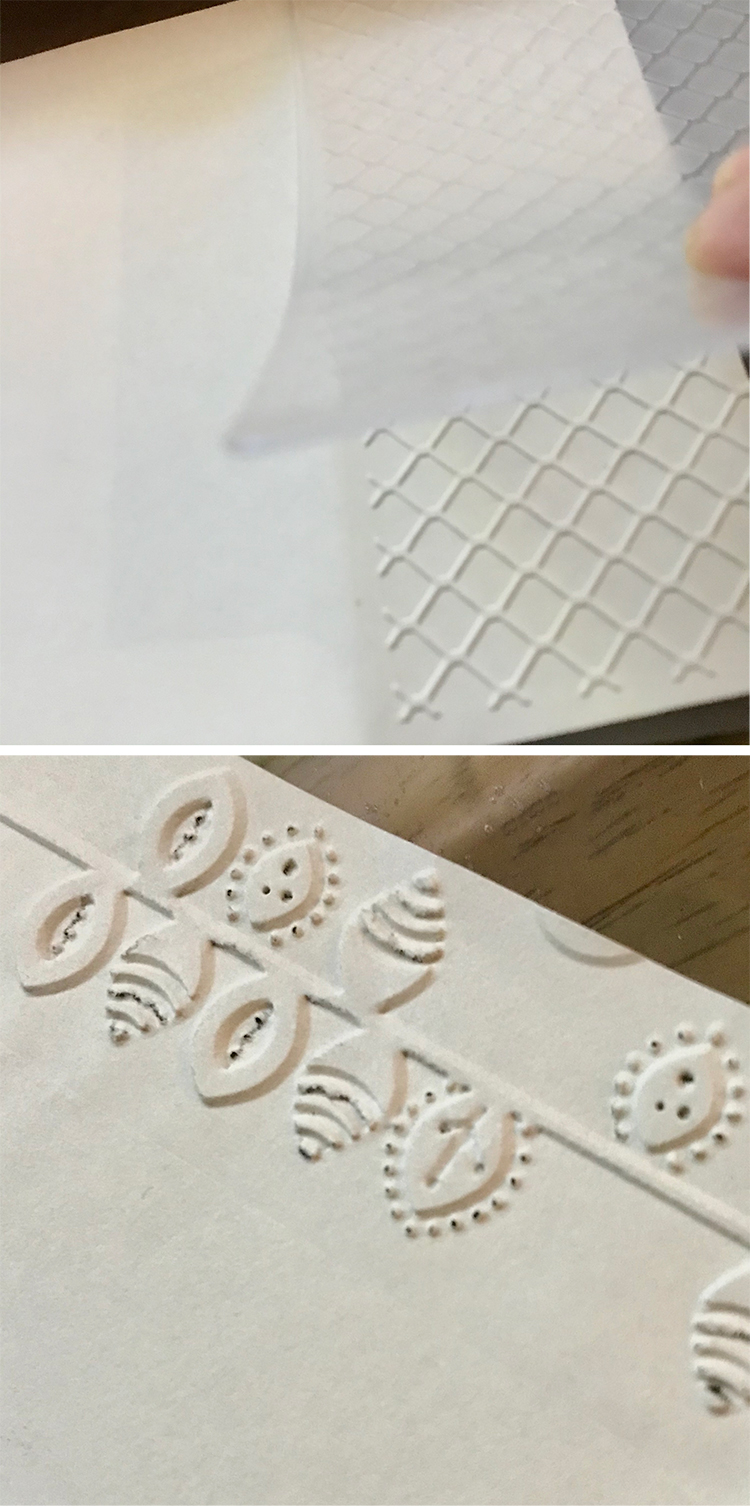
Step 2 – Place the Envelope on the Plate: Once the folder is closed around the envelope it can still slip around! ARGHHH! Just be careful as you place it between the plates for your machine. TIP: Hold your hand on the folder as you place it on the machine. (photo left) HINT: Double check once to ensure it’s between the plates. (photo right)
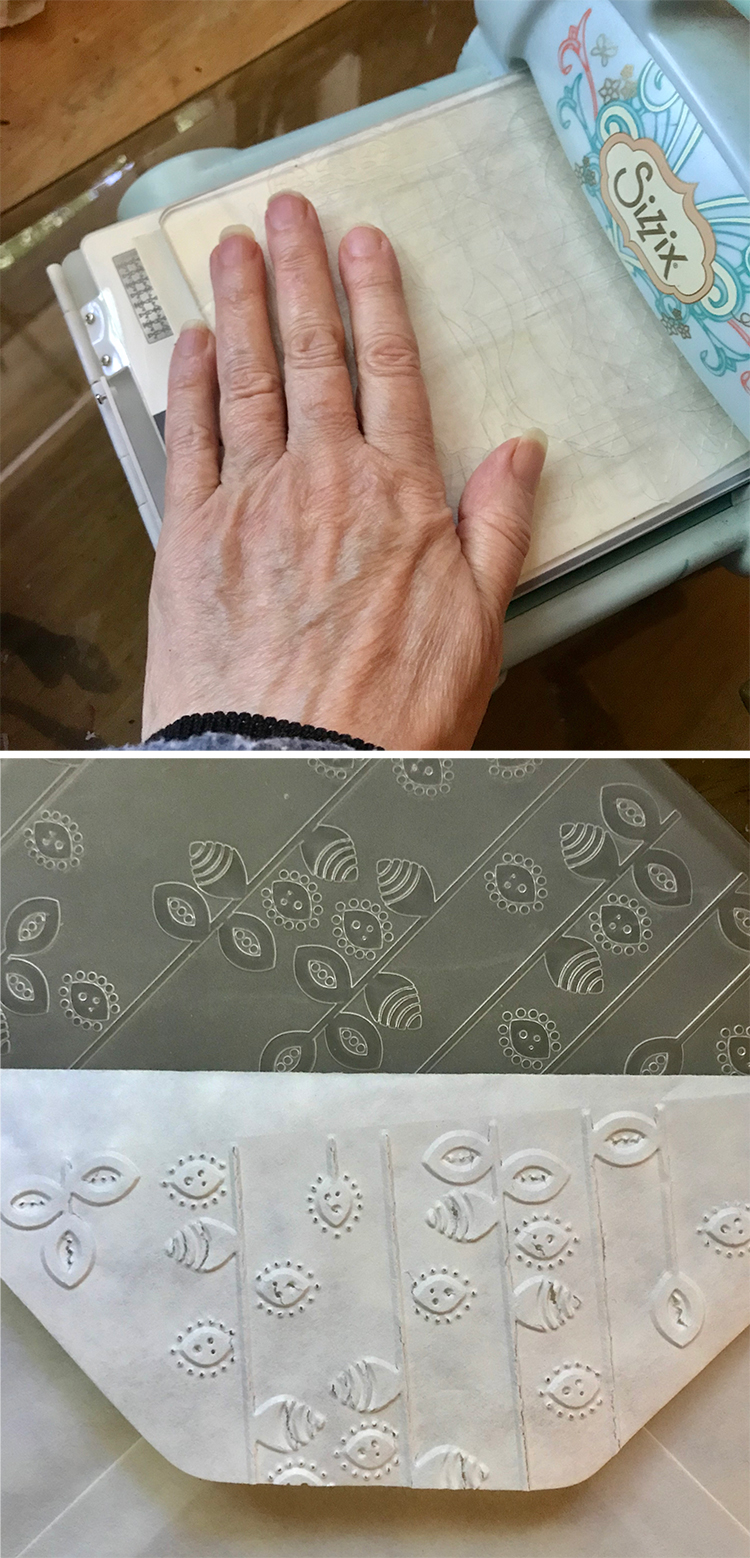
Step 3 – Embossing: Run it through your Embossing and Die Cut Machine. This can be fussy to get it aligned straight. TIP: Keep your hand on the top plate as you roll it through the machine. (photo top) I roll just the flap through the machine, then roll it backwards. I do not roll the entire envelope through the machine. Just the flap! I found that the acetate plates can mar the envelopes if they are slightly off. The envelope can move around. (photo bottom the plate shifted and the pattern is off)
Step 4 – Remove Folder: TIP: Take your time removing the folder from the envelope flap. (photo top) Be gentle. But you can tear the envelope flap if you remove it too quickly. Sometimes a deep embossing plate can cut or puncture the paper. (photo bottom) I found that I like the look on some of mine since it becomes sort of lacy.
You can emboss matching paper in a set of stationery for a custom look and feel!
OOPS
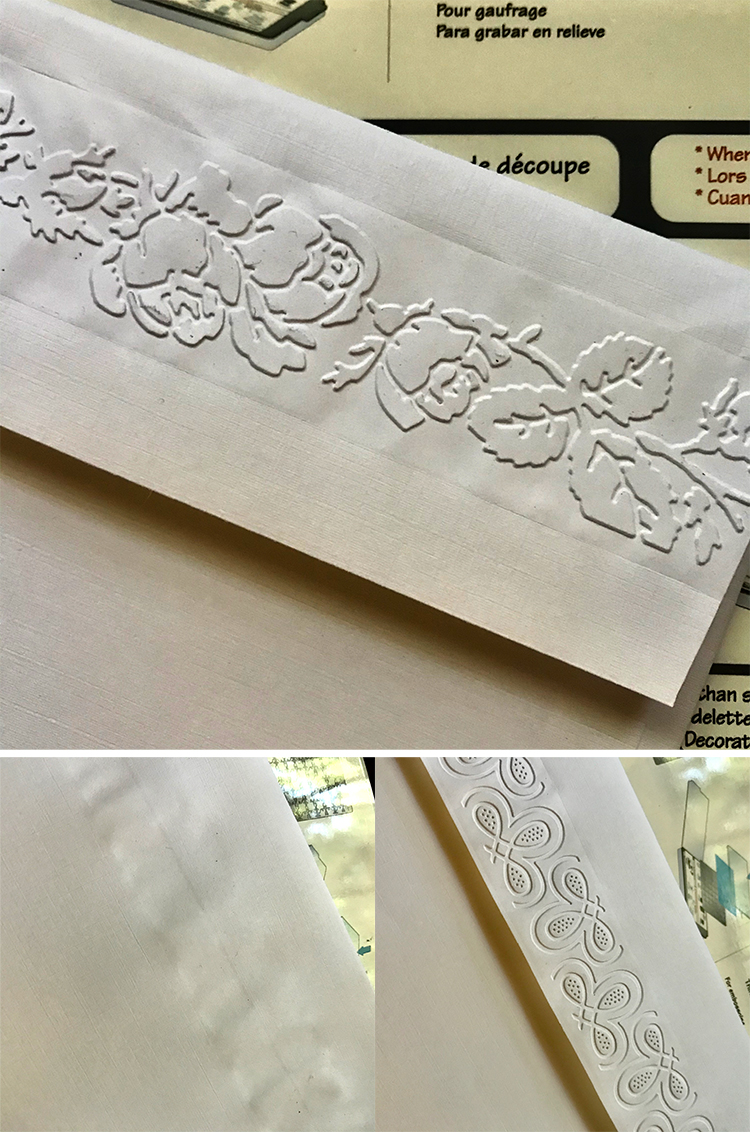
This might seemingly be a given, but you cannot emboss an envelope wider than your machine. TIP: One would think they could fold the flap down on a large envelope and run it through the machine. Not so much. I tried everything to get a larger envelope embossed; I even used a guard piece of cardstock under the folder to prevent marring the other side. But it did not work. I also found that the type of embossing folder matters. The thin strips do not work well as they tend to pinch along the edges and the ends. (top image) You can see this in the photos below. The embossed flap is beautiful (bottom right) but the front of the envelope is puckered. (bottom left)
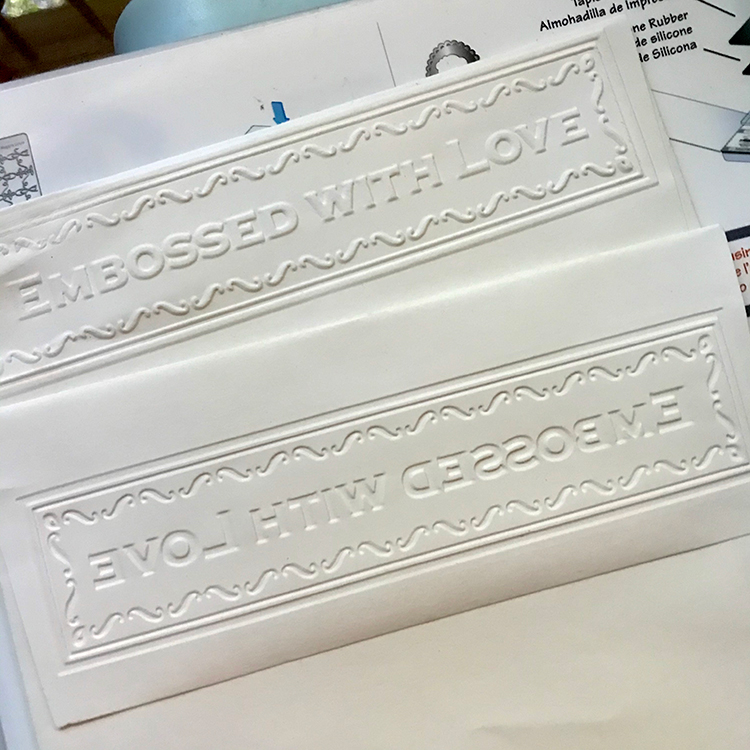
Also, be sure that you have the writing, word, or lettering folder positioned on the envelope flap correctly. Just sayin’! TEE HEE
I hope that you had fun learning How to Emboss Envelope Flaps with me!! When I am not exploring and experimenting with old and new Techniques for Mixed Media in my Graphics Fairy sandbox, I also create Photoshop Elements tutorials and craft project videos over on The Graphics Fairy Premium Membership site. You can find even more of my books, junk journals, mixed media art, classes, and whimsical shenanigans on Rebecca E Parsons Dot Com.



Denise Brady says
These are wonderful. I’m looking for an embossing machine
graphicsfairy says
Thanks Denise, oh fun!! Good luck 🙂
Diana says
Thanks! I had lots of fun today embossing envelopes! They really turned out lovely. I inked some of them as well.
graphicsfairy says
Oh that sounds like a fun day! Thanks for sharing Diana 🙂