DIY Faux Metal Crowns
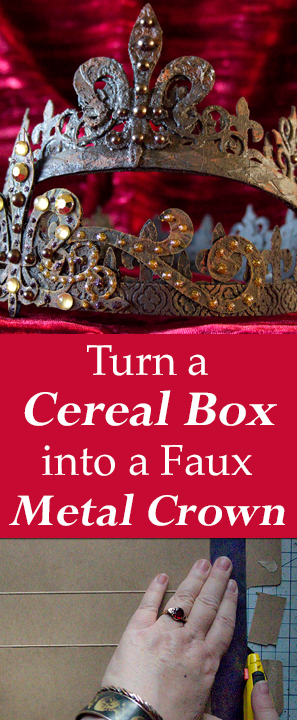
Hello, my dear Graphics Fairy Friends! Heather from Thicketworks here. Today we are making DIY Faux Metal Crowns! Rusty Grungy Goodness. Yep. That’s what I’ve been craving lately. Transforming humble materials into Faux Treasures is one of my VERY favorite things to do… If you’d like to convert a cereal box into an Ancient Relic – join me as we delve into this fun process! I’ve been on a Rust Effects Paste kick lately, and am thrilled to share some of my latest experiments with you!
If you’d care to play, grab a few tools and supplies and prepare to have a wonderful time!
Supplies:
- Lightweight Chipboard – (two cereal boxes were used to create these two crowns)
- A Metal Ruler
- A Sharp Craft Blade, and a cutting surface
- A Sizzix Big Shot or Big Kick
- Tim Holtz ‘Iron Gate’ Steel Rule Die
- Sizzix “Classic Icons” Steel Rule Die (Not currently Available, these dies could work as a replacement)
- Sizzix “Curly Gate” Steel Rule Die (Same as above)
- Your favorite Embossing Folders – (Embossing Folder: Anna Griffin “Foundry” and Embossing Folder: Anna Griffin “Acanthus” were used Here, Tim Holtz makes some great ones too!)
- Fabri-Tac Adhesive
- Black Gesso
- Scruffy Paint Brushes & a Container of Water for cleaning them
- Baby Wipes or Rags
- Finnabair Art Extravagance: Rust Paste Set
- A Heat Tool
- Scissors
- A piece of cardboard as a work surface will help to save your table top!
- Metal Tape (click HERE for a full tutorial on using this tape)
- Matte Medium as a sealer
- A cylindrical form (think old Quaker Oats box or similar) to support the Crown while applying Bling!
- Flat Backed Pearls and Gems
- Gem-Tac
- Glitter Glue
I wanted to find out how far we can push this humble cereal box… Can it be transformed into something Magical? Oh, yes it CAN!
How to create a DIY Faux Metal Crown:
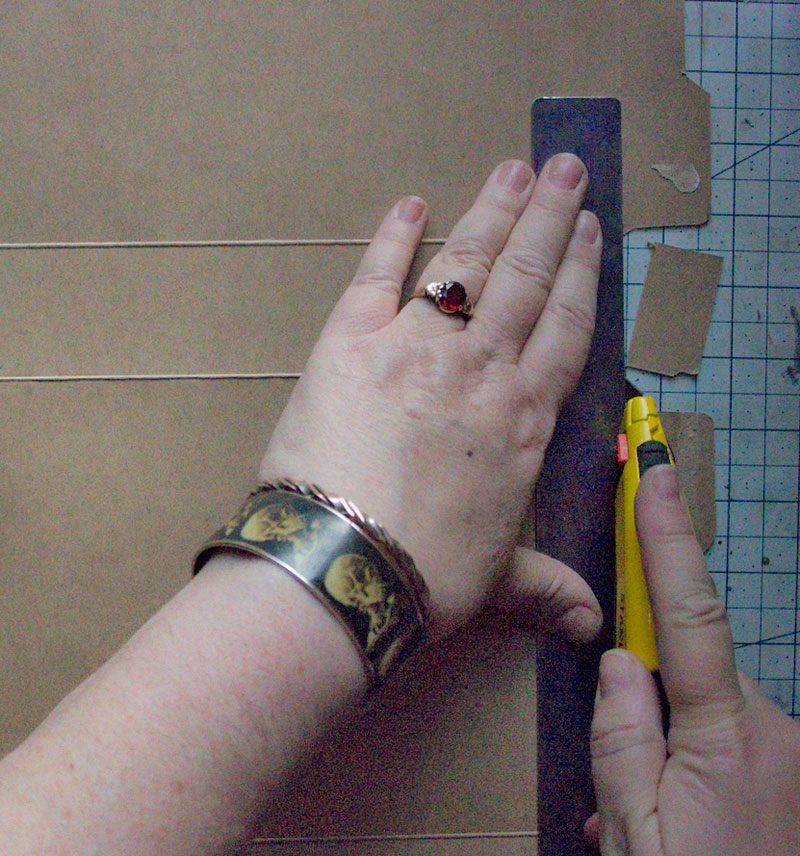
Begin by salvaging chipboard from the Recycle Bin! Trim the pieces to a size that will easily fit the Dies that you will be working with.
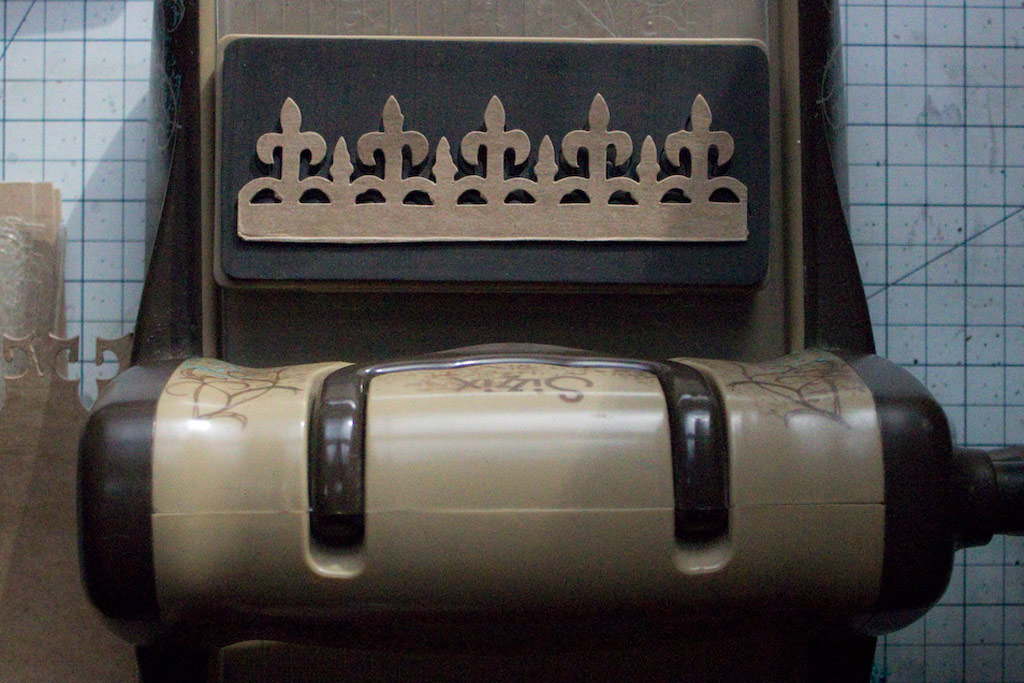
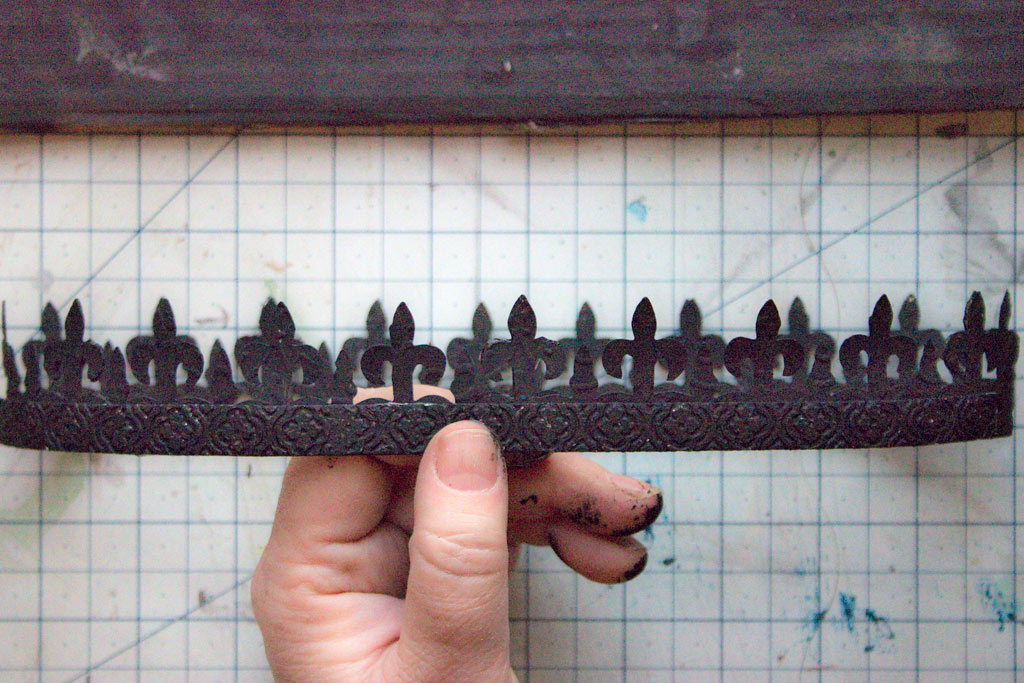
Use the Tim Holtz ‘Iron Gate’ Steel Rule Die to cut multiples of this lovely Fleur de Lis border.
For an Adult Sized Crown, 5 repeats (more or less – measure your head) will do the trick.
For the Smaller Sized Crown, 3 repeats were used.
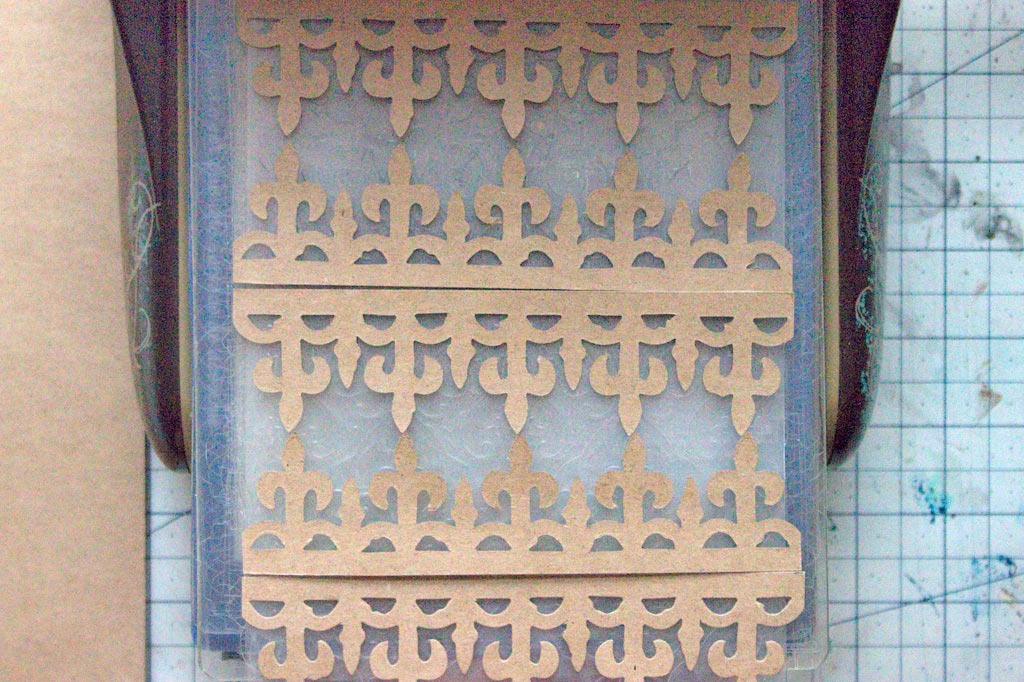
Here are the Die-Cuts, all trimmed by hand to the same height:
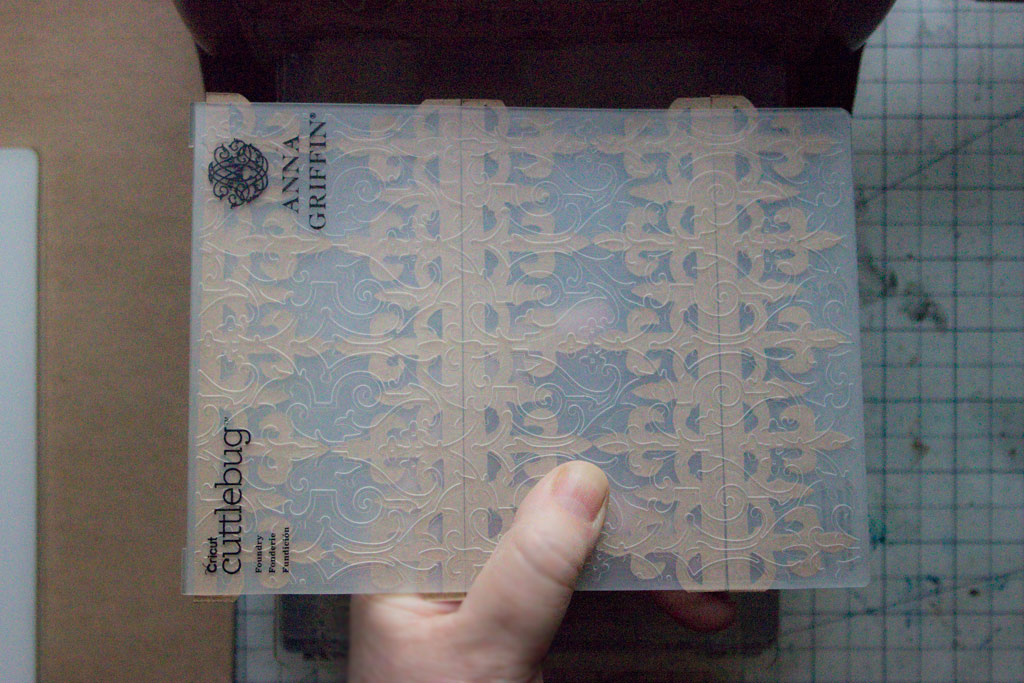
Once the chipboard has been Die-Cut, emboss the surface with your favorite Embossing Folder:
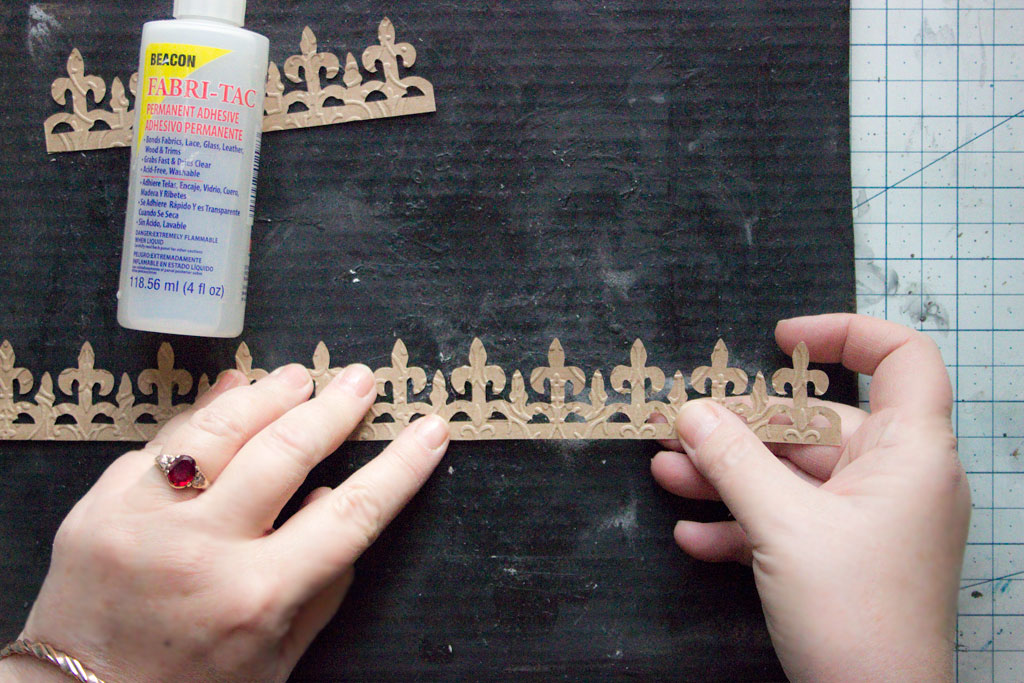
Attach the Die-Cuts end to end using a strong adhesive like Fabri-Tac Adhesive.
Overlap the repeating pattern, to create one long strip:
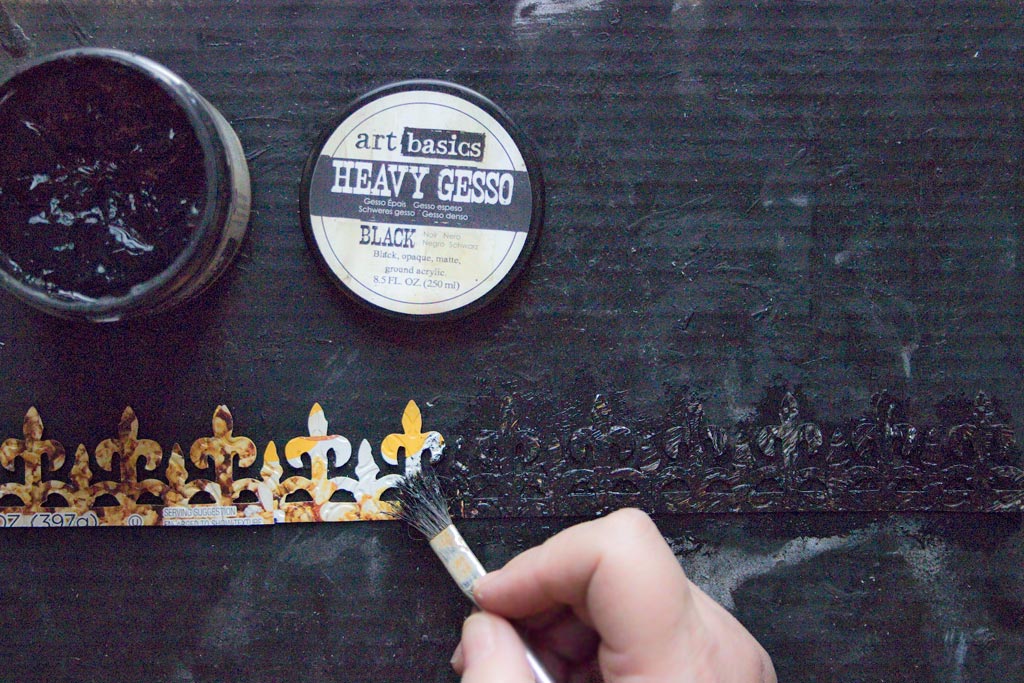
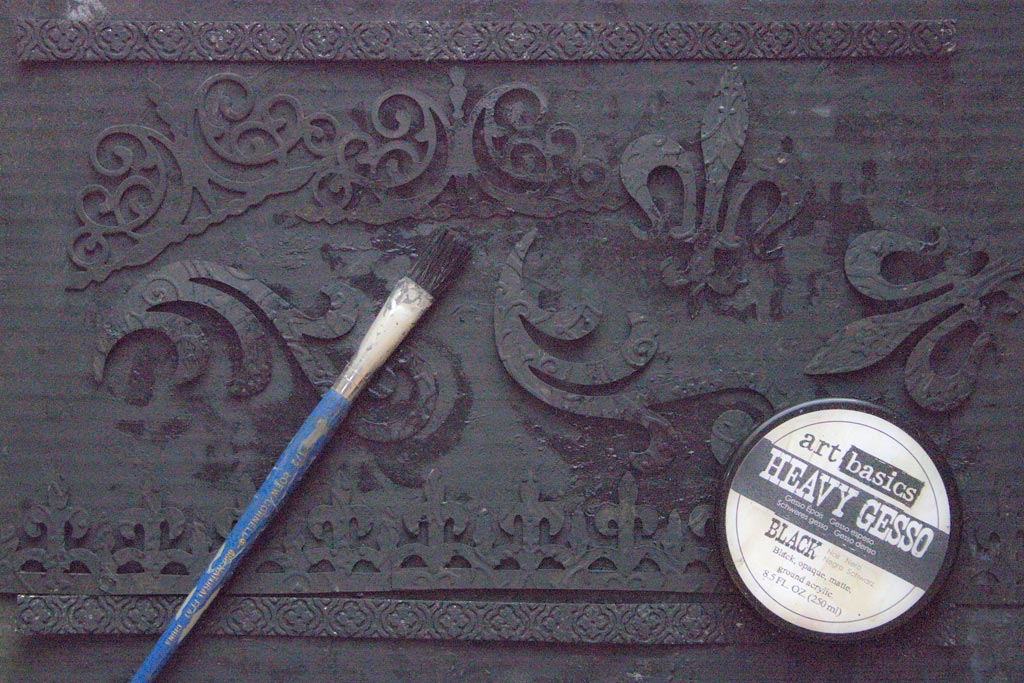
Once the adhesive has dried, coat the chipboard with Black Gesso, front and back:
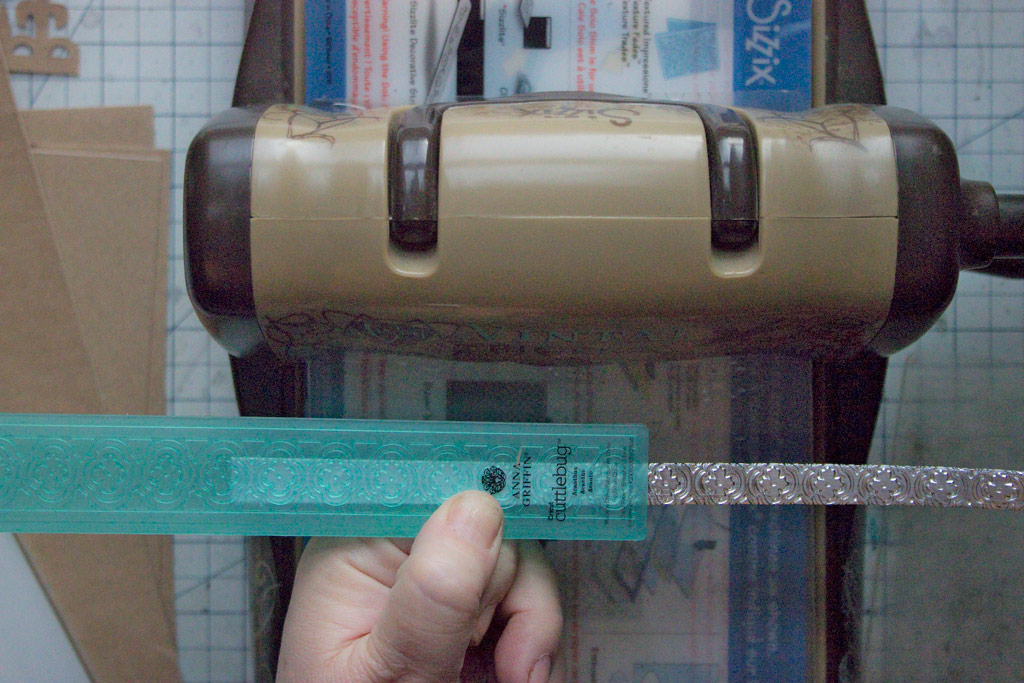
Fold matching lengths of Metal Tape into sturdy bands.
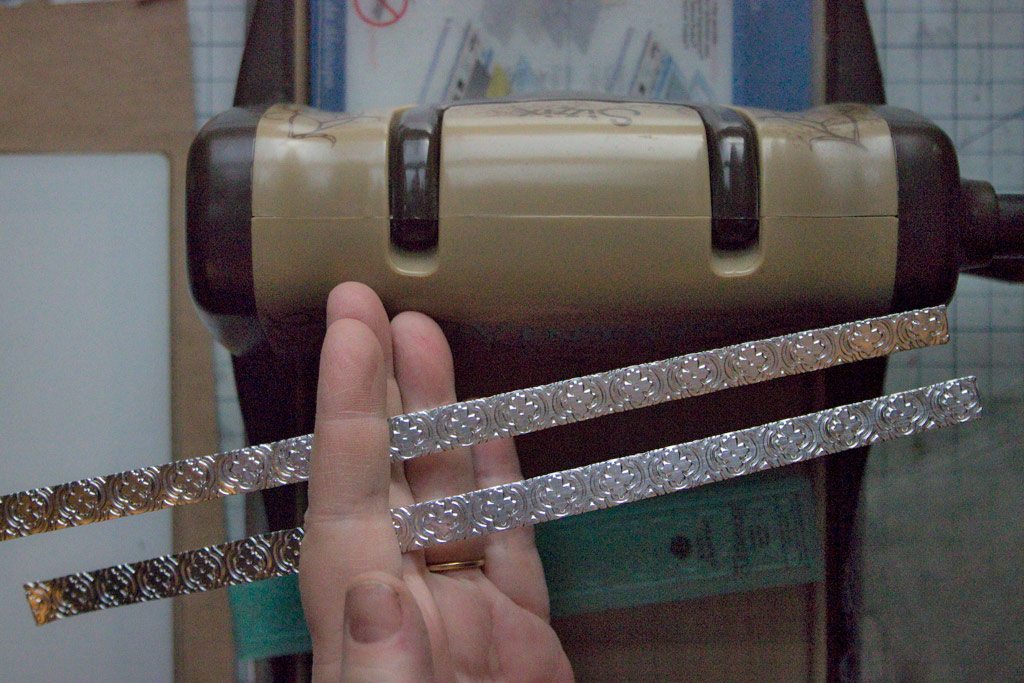
Emboss with a lovely pattern:
The resulting bands will be flexible and strong!
This will make your DIY Faux Metal Crowns robust and ‘moldable’, for a perfect fit!
Continue to Die-Cut the following pieces from Chipboard:
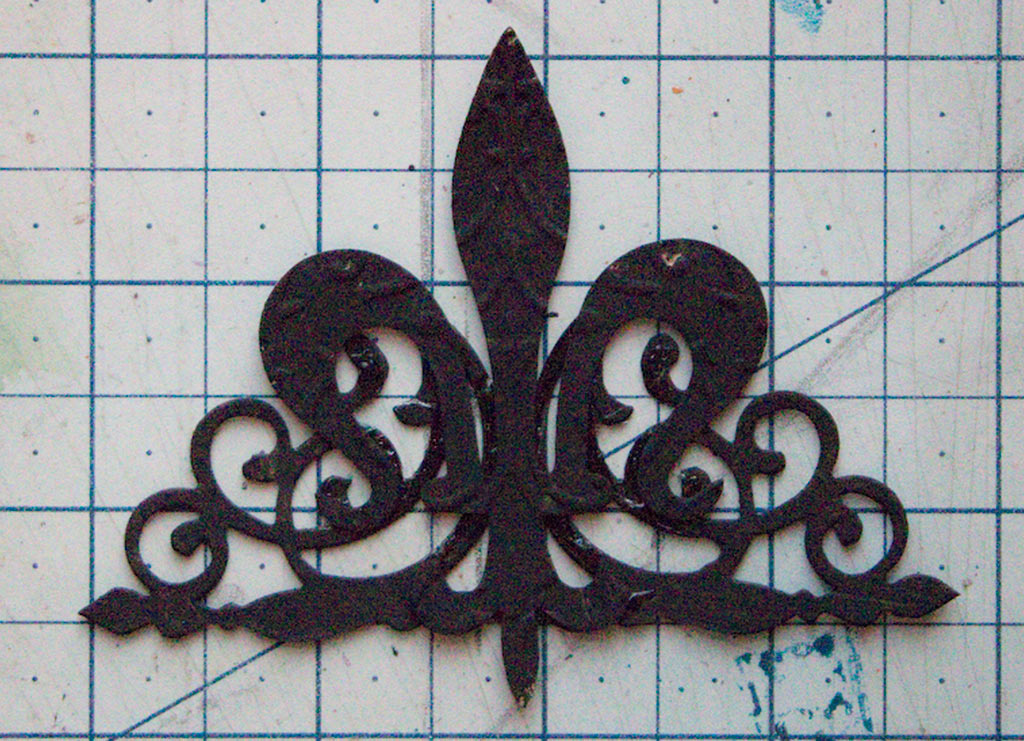
Sizzix “Classic Icons” Steel Rule Die : for the Fleur de Lis – cut 2 for each DIY Faux Metal Crown.
Sizzix “Classic Icons” Steel Rule Die : for the Flourish – cut 2 for each DIY Faux Metal Crown.
Sizzix “Curly Gate” Steel Rule Die : cut 2 for each Crown.
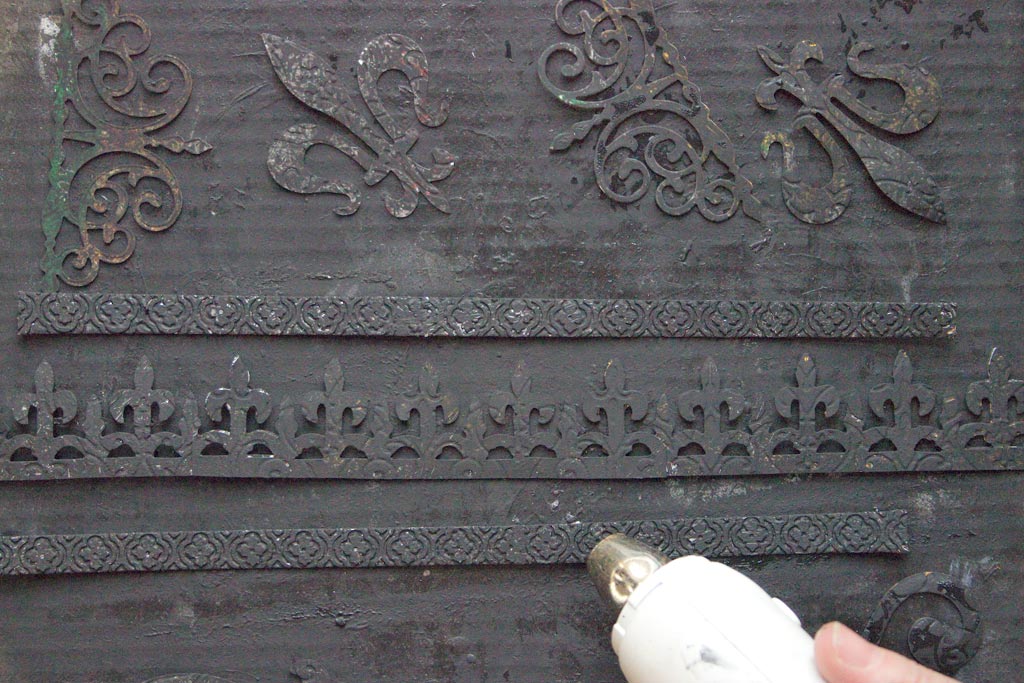
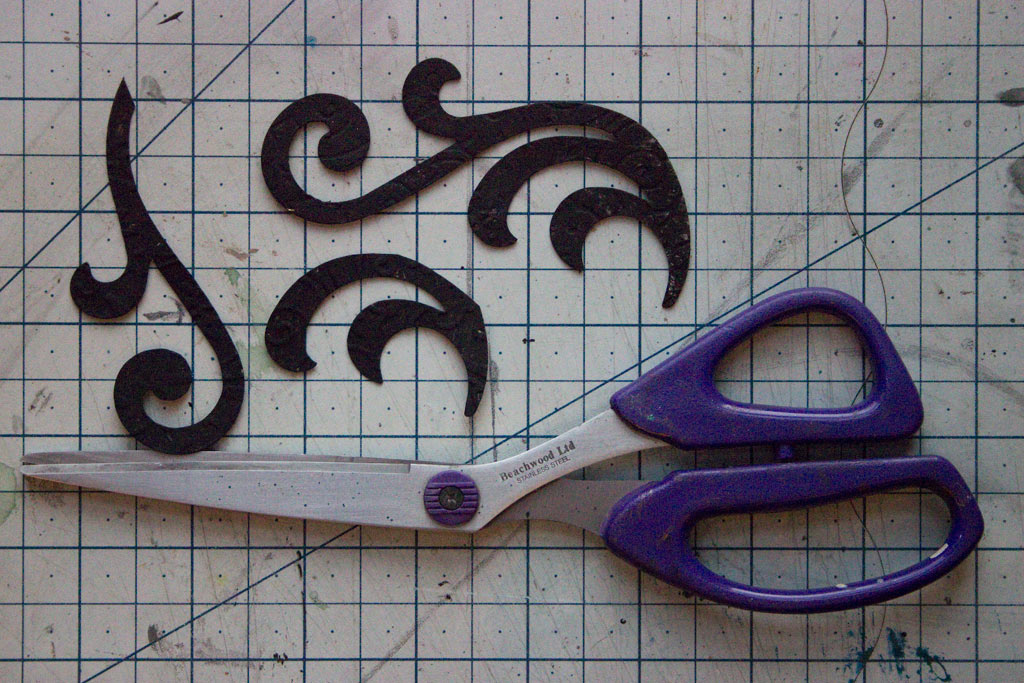
Coat all of the Die Cut Components with Black Gesso and dry with a Heat Tool:
Apply Black Gesso to the front and back of each piece:
Create a circle by adhering the ends of the Iron Gate Die Cuts together with Strong Adhesive.
Apply the bands of Embossed Metal Tape over the exterior of the circlet.
You may wish to clamp the pieces together for a few minutes to ensure a firm bond:
Layer the Large Fleur de Lis over the Curly Gate Die-Cut. Adhere.
Create two of these components for each DIY Faux Metal Crown:
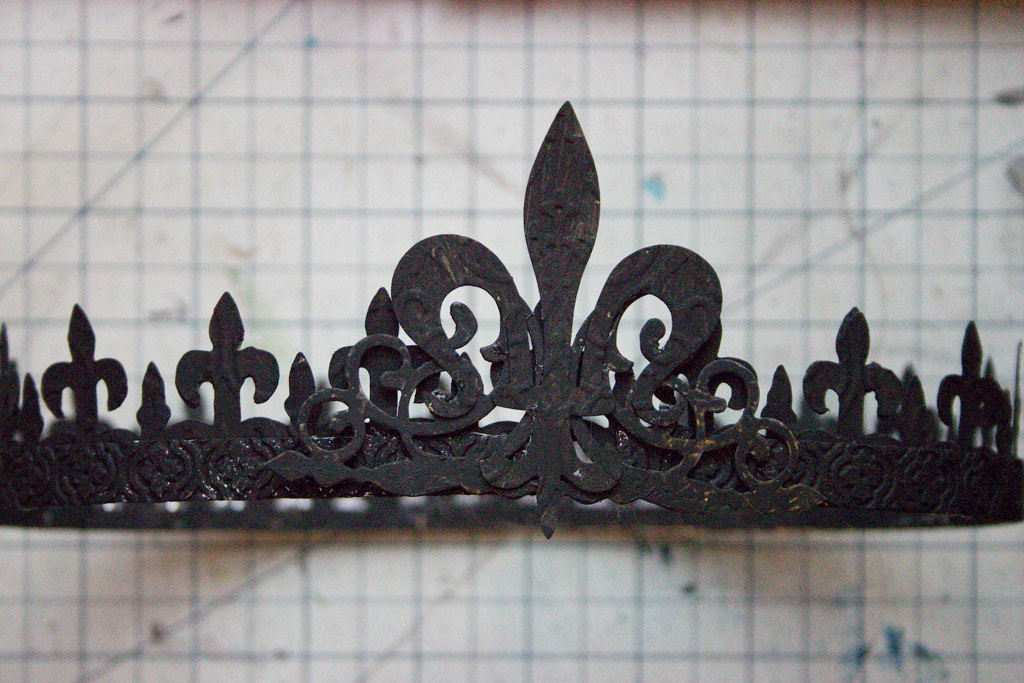
Sandwich the circlet between the Fleur de Lis / Curly Gate pieces, and adhere with Strong Adhesive:
Allow the adhesive to cure for a few minutes before proceeding:
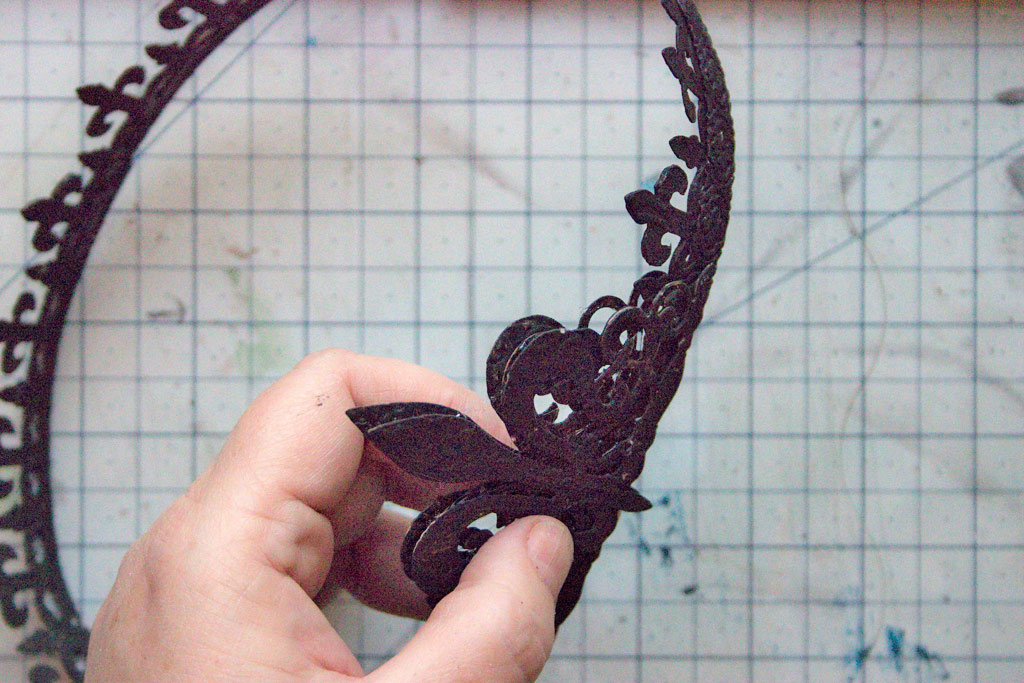
Snip the two Flourish Die-Cuts to isolate the longest curlycue.
Adhere the Flourish to either side of the Fleur de Lis.
You can incorporate the smaller pieces if you wish. Just make an Executive Designer Decision, and glue them in place!
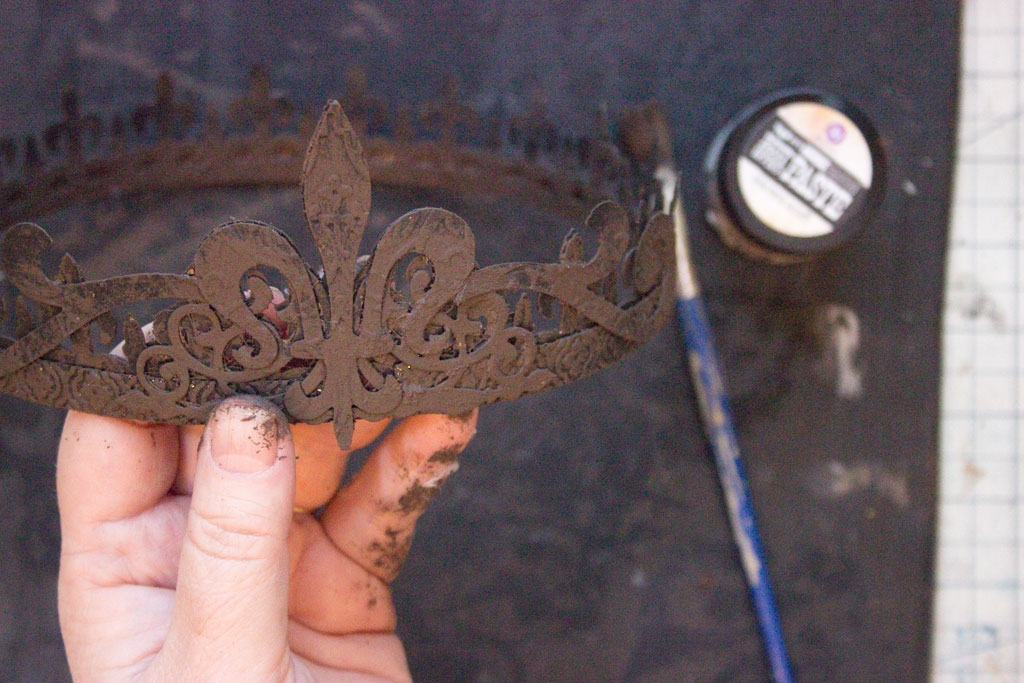
Once the adhesive is set, add a layer of Rust Effect Paste: Brown to the entire surface, inside and out:
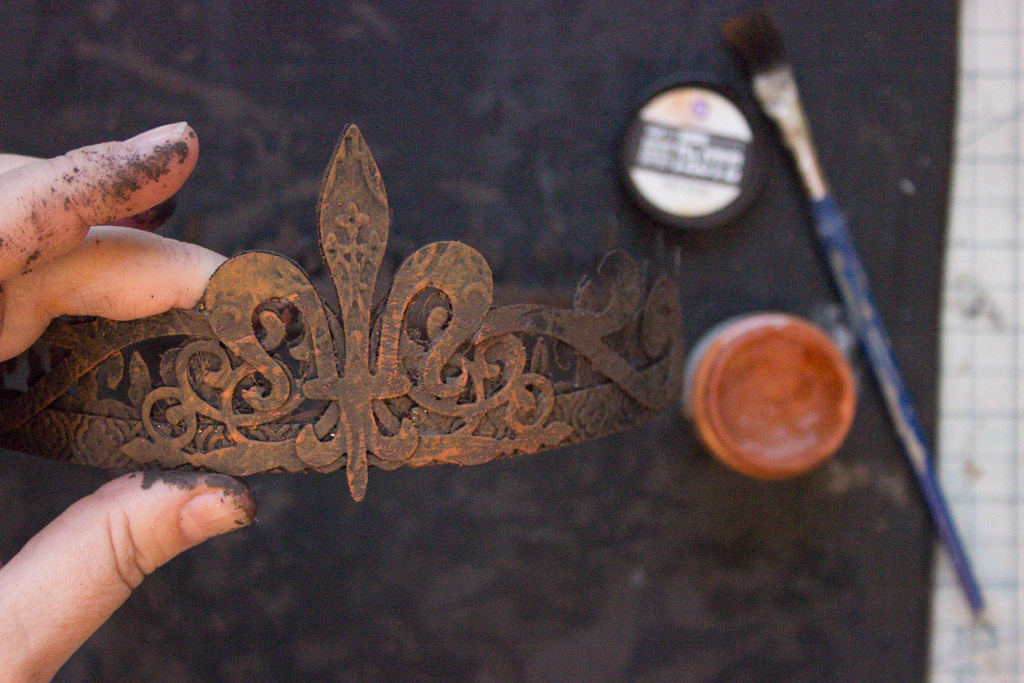
Follow with touches of Rust Effect Paste: Red, concentrating on the areas you wish to appear Deeply Rusty!
At this stage, you can really begin to appreciate the Grungy Magic of this finish:
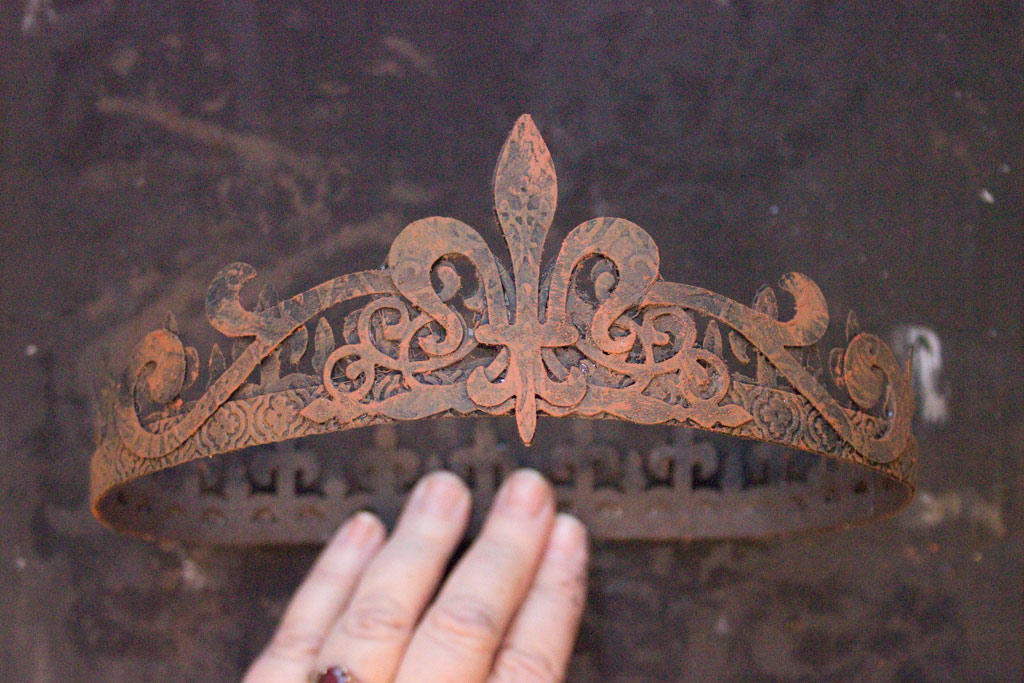
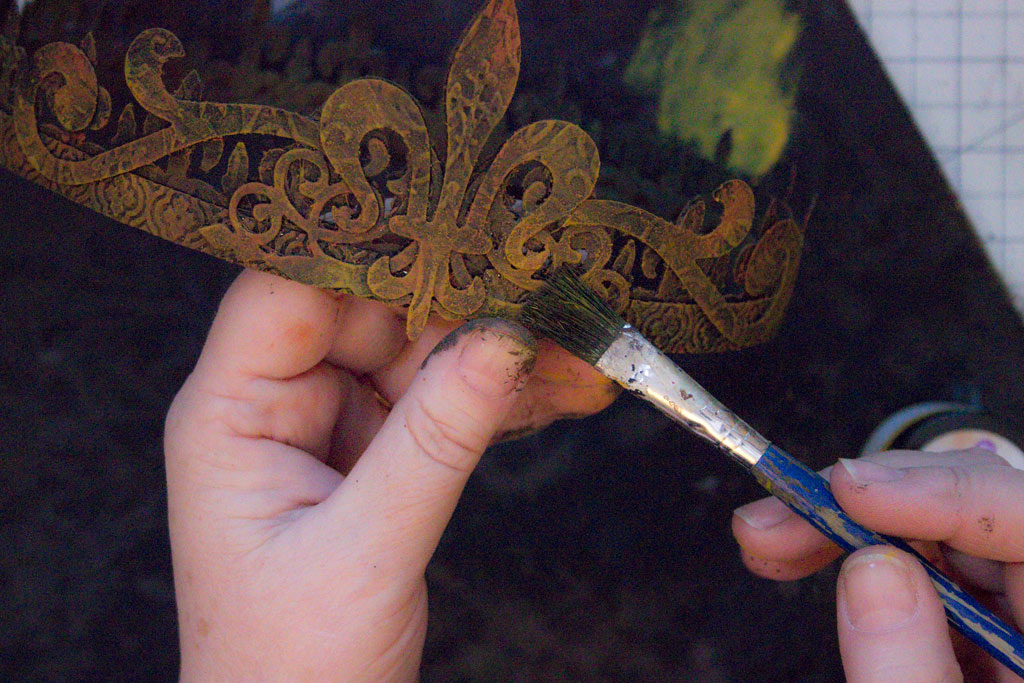
Highlight small areas with Rust Effect Paste: Gold applied in a ‘dry brushing’ technique.
Dry thoroughly with a Heat Tool.
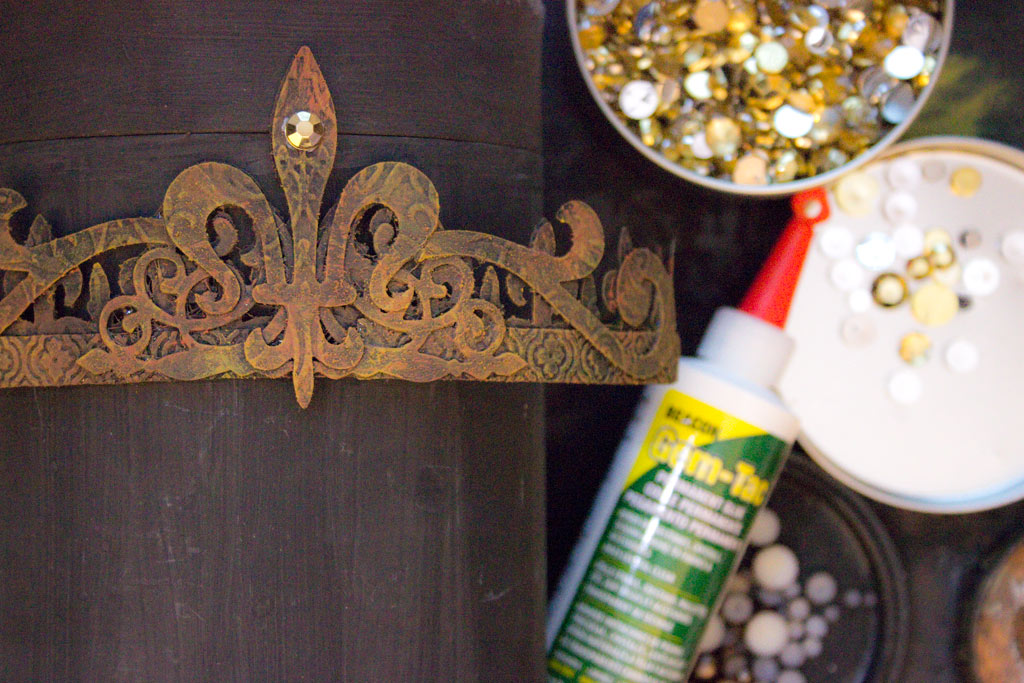
Slip the DIY Faux Metal Crown over a cylindrical form (an old Quaker Oats box or similar)
This will provide support to the Crown as you Embellish.
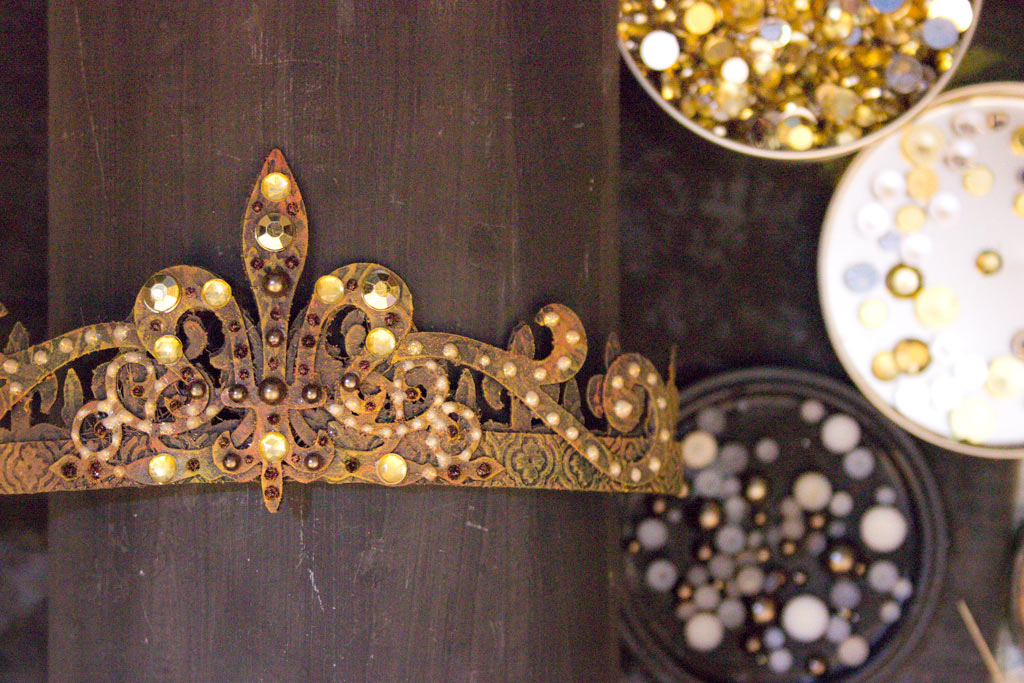
Grab your favorite assortment of flat backed pearls and gems and Let the Embellishment Begin!
I recommend Gem-Tac for this process, even if your gems are ‘adhesive’.
Nobody wants to lose the Royal Jewels!
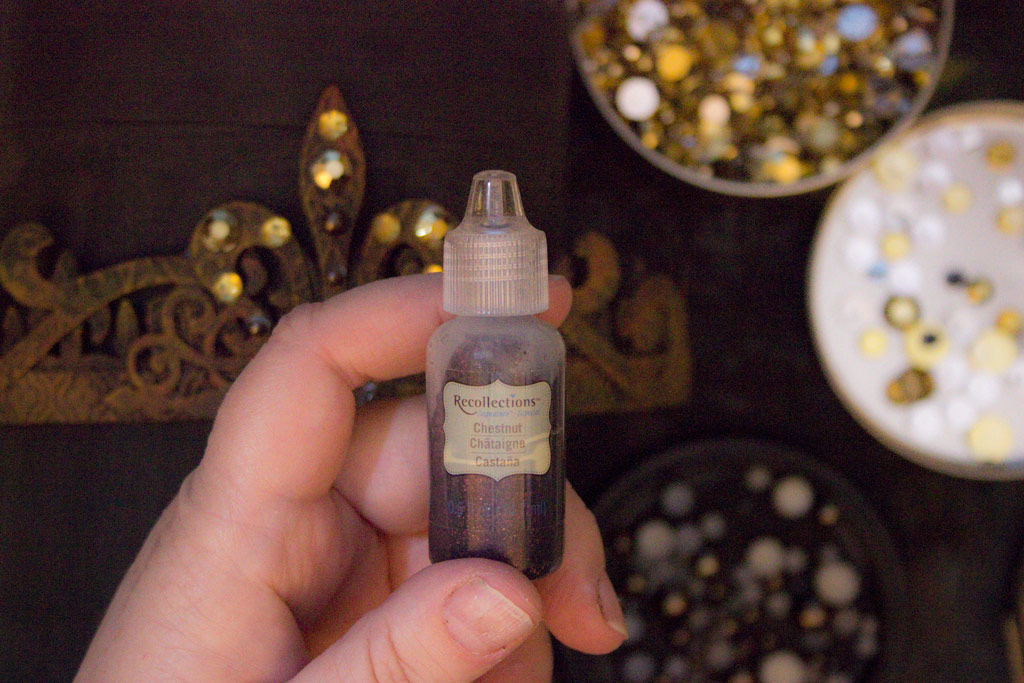
Add dots of Bronze Glitter Glue, to accentuate the Rusty Glamour of this Crown.
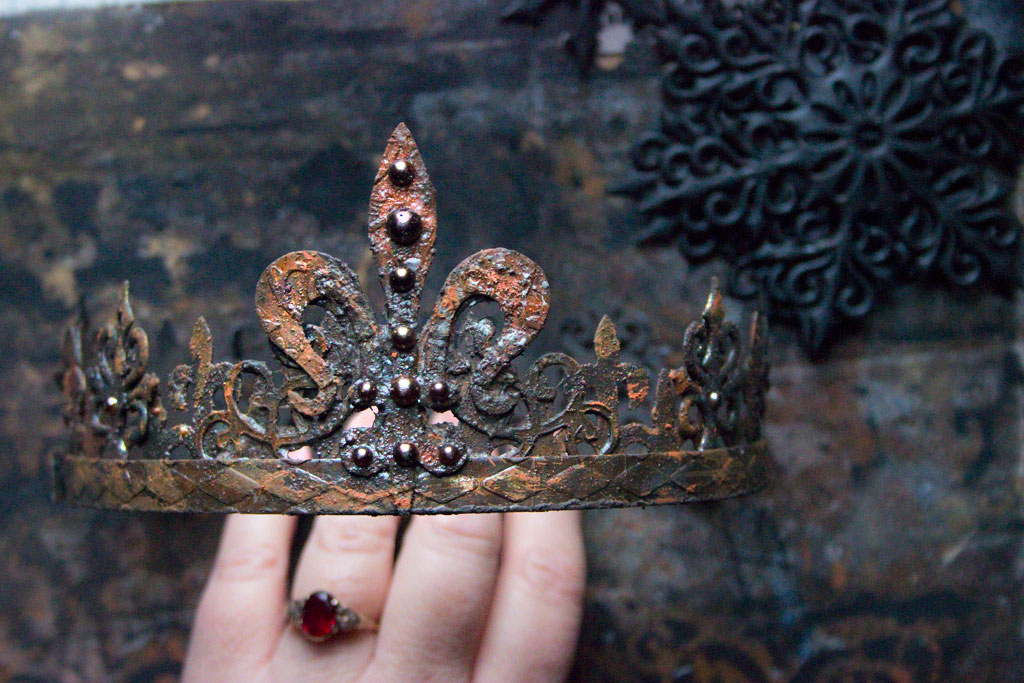
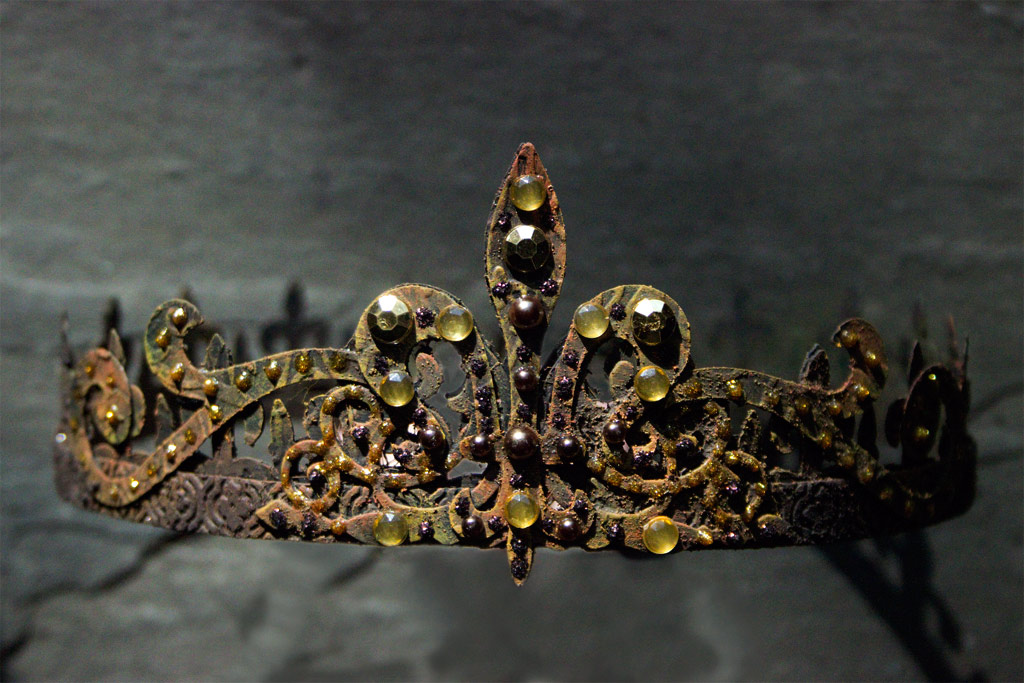
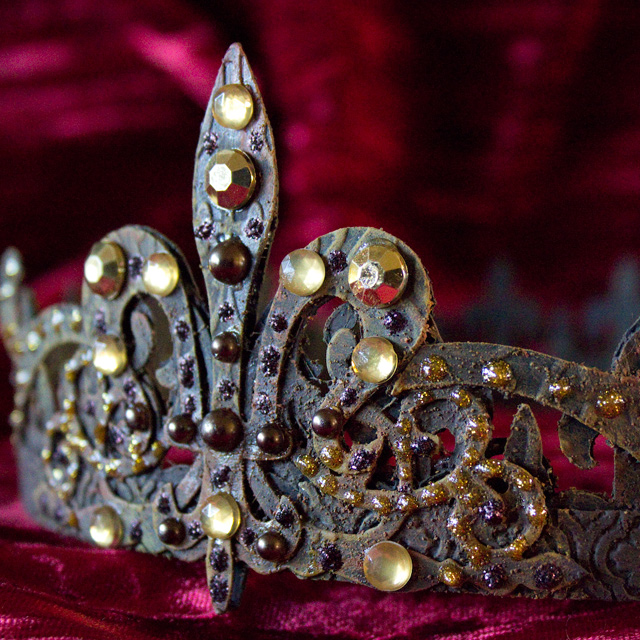
A few dots of brighter gold sparkle, and we have an elaborate Crown, fit for Royalty…like YOU!
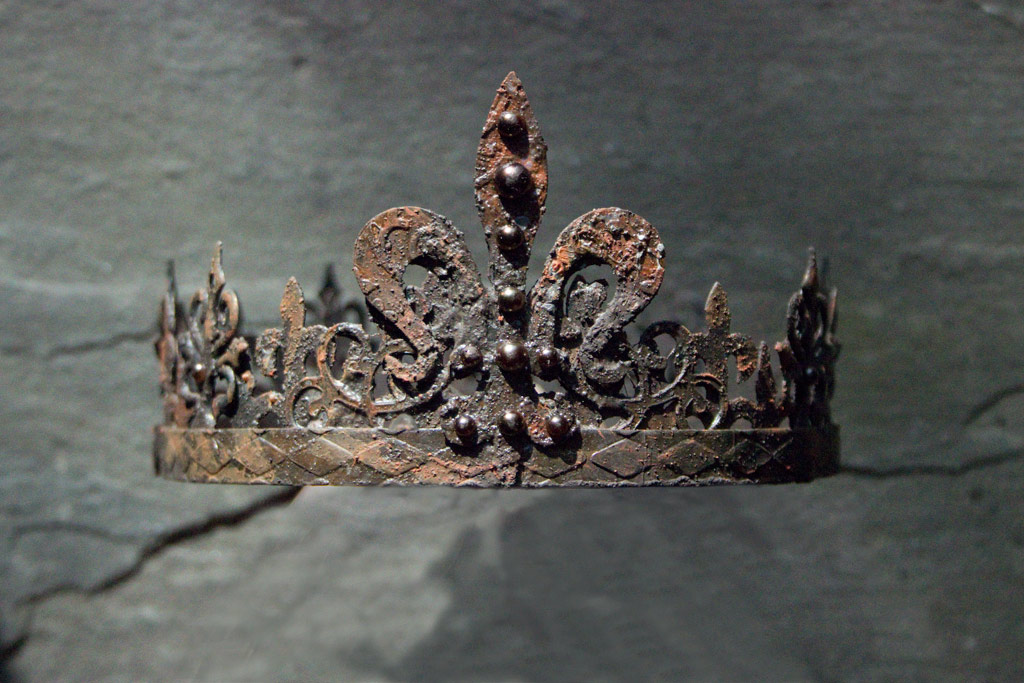
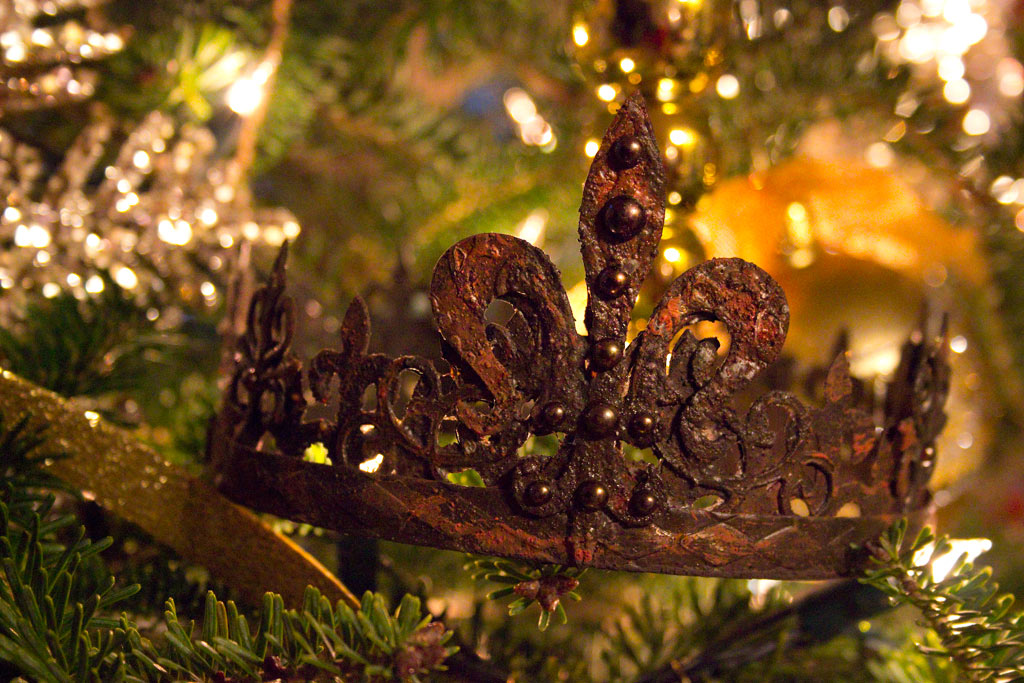
Here is a smaller, less elaborate version.
This one is sized perfectly to perch in the branches of a Christmas Tree, or sit fetchingly on the head of that Grecian Bust that you have tucked away in a corner!
The combination of Rusty Goodness and soft touches of Bling melts my heart!
Our more Elaborate and Stately version…
This one is sized to fit on your own lovely head, whilst you issue Royal Decrees!
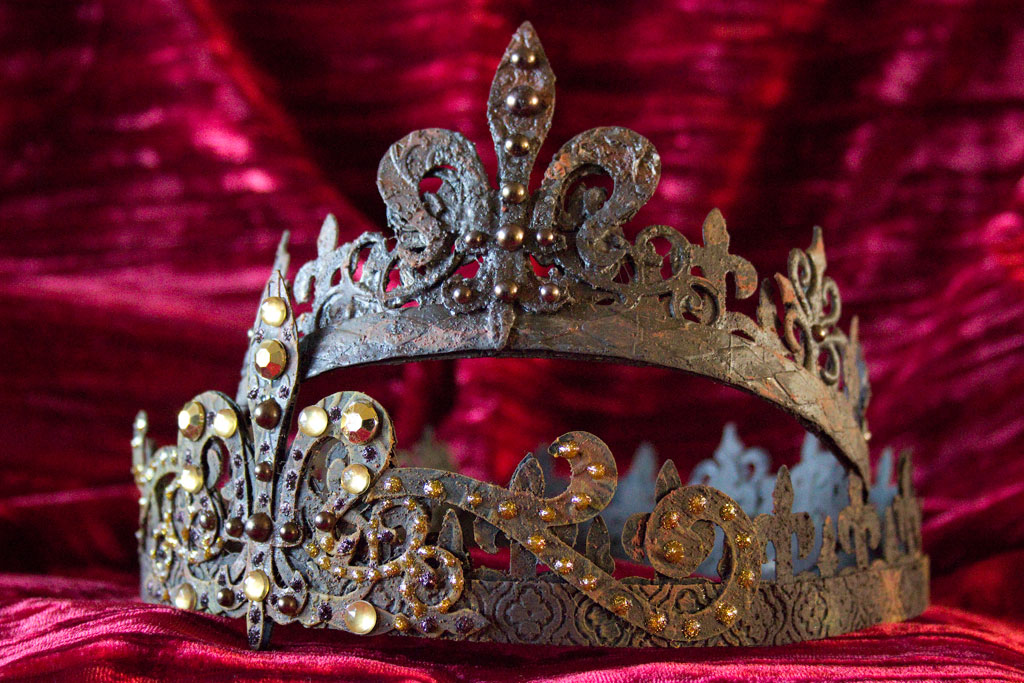
Both DIY Faux Metal Crowns have Serious Presence!
And could make Fabulous Presents for your Retinue…
And there we have it: from Humble Cereal Box to Royal Treasure!
Thank you SO much for visiting The Graphics Fairy today! I hope that you have enjoyed this Royally Frivolous Experiment, and that the techniques will spark ideas for your very own Precious Projects!
Come see me at Thicketworks, if ever you crave a bit of Quirky Crafting Madness!
Until next time,
Heather ♥
It’s finally here! Our first online crafting eCourse! If you’ve always wanted to try the art of Mixed Media, be sure and check out this amazing course by Heather Tracy!
Click HERE to learn more about it.



Valerie says
Thank you Karen for all of your French labels, I love them. I made a flower pot and put a label on and it looks great.
graphicsfairy says
I bet it does Valerie! I am so glad you like them 🙂