DIY Faux Postage Stamps
Hello, Graphics Fairy friends! I’m Diana from Dreams Factory and I’m happy to be here once again, sharing another DIY project with you. And what a project, you guys! Today is all about experimenting with different types of scissors and entering a new exciting and dare I say fascinating era … the era of making your own DIY Faux Postage Stamps!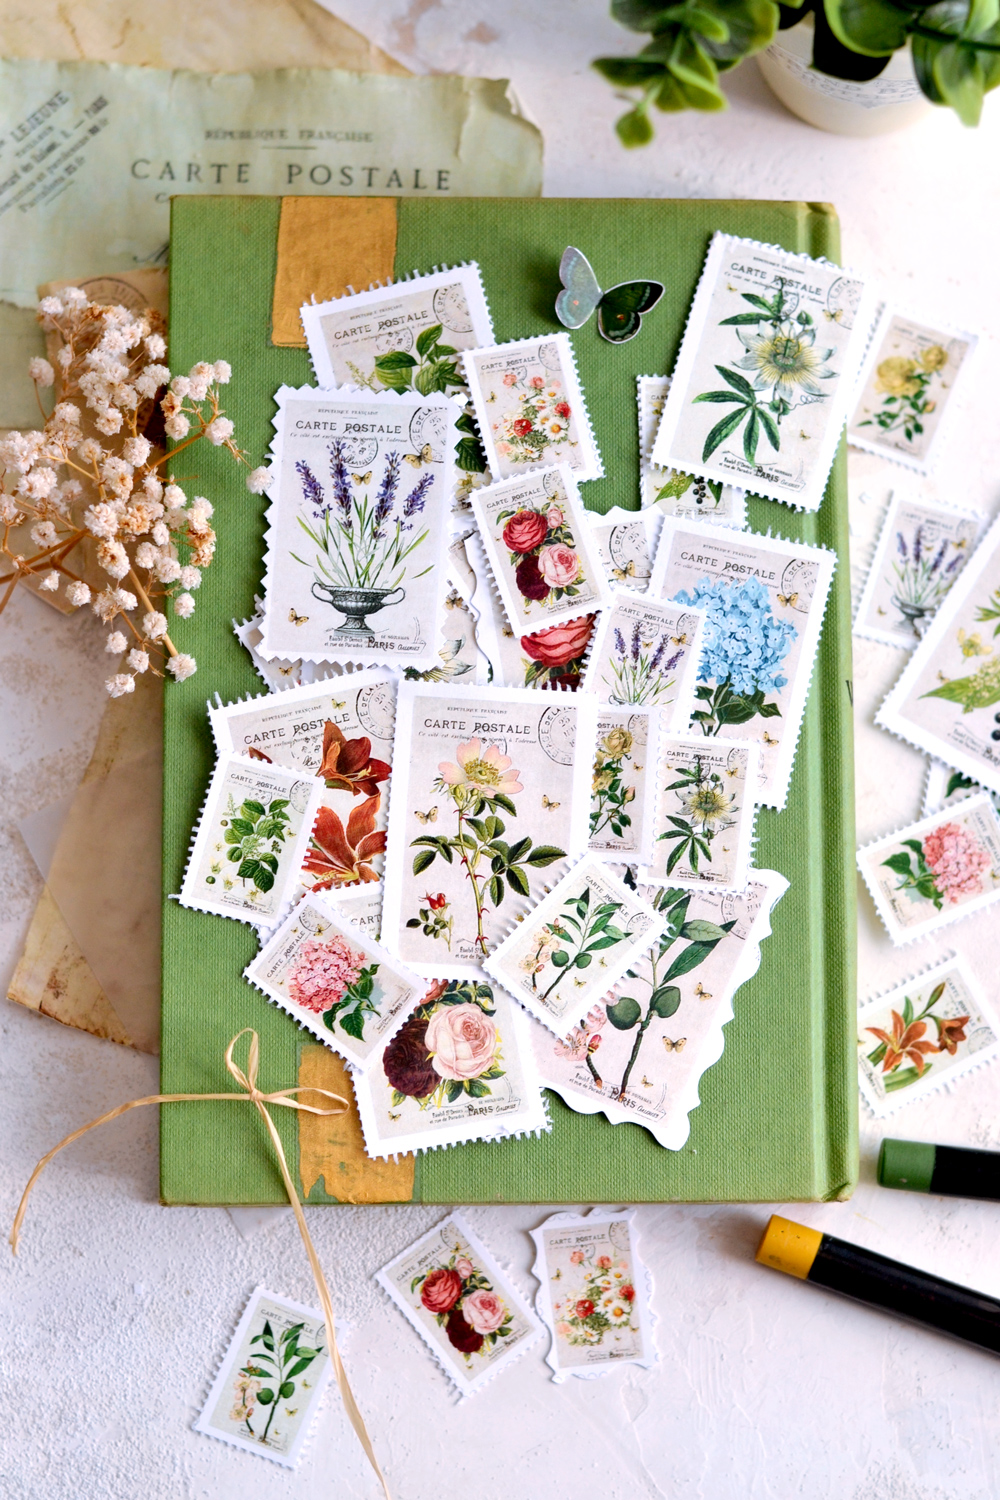
I had this project in the back of my mind for a long time, but I wasn’t totally convinced I would ever be able to mimic that specific perforated edge postage stamps always have. But I did! And after quite (a few failed and) a few successful experiments, I realized the answer was basically in front of my eyes the whole time! You will see in a minute what I’m talking about.
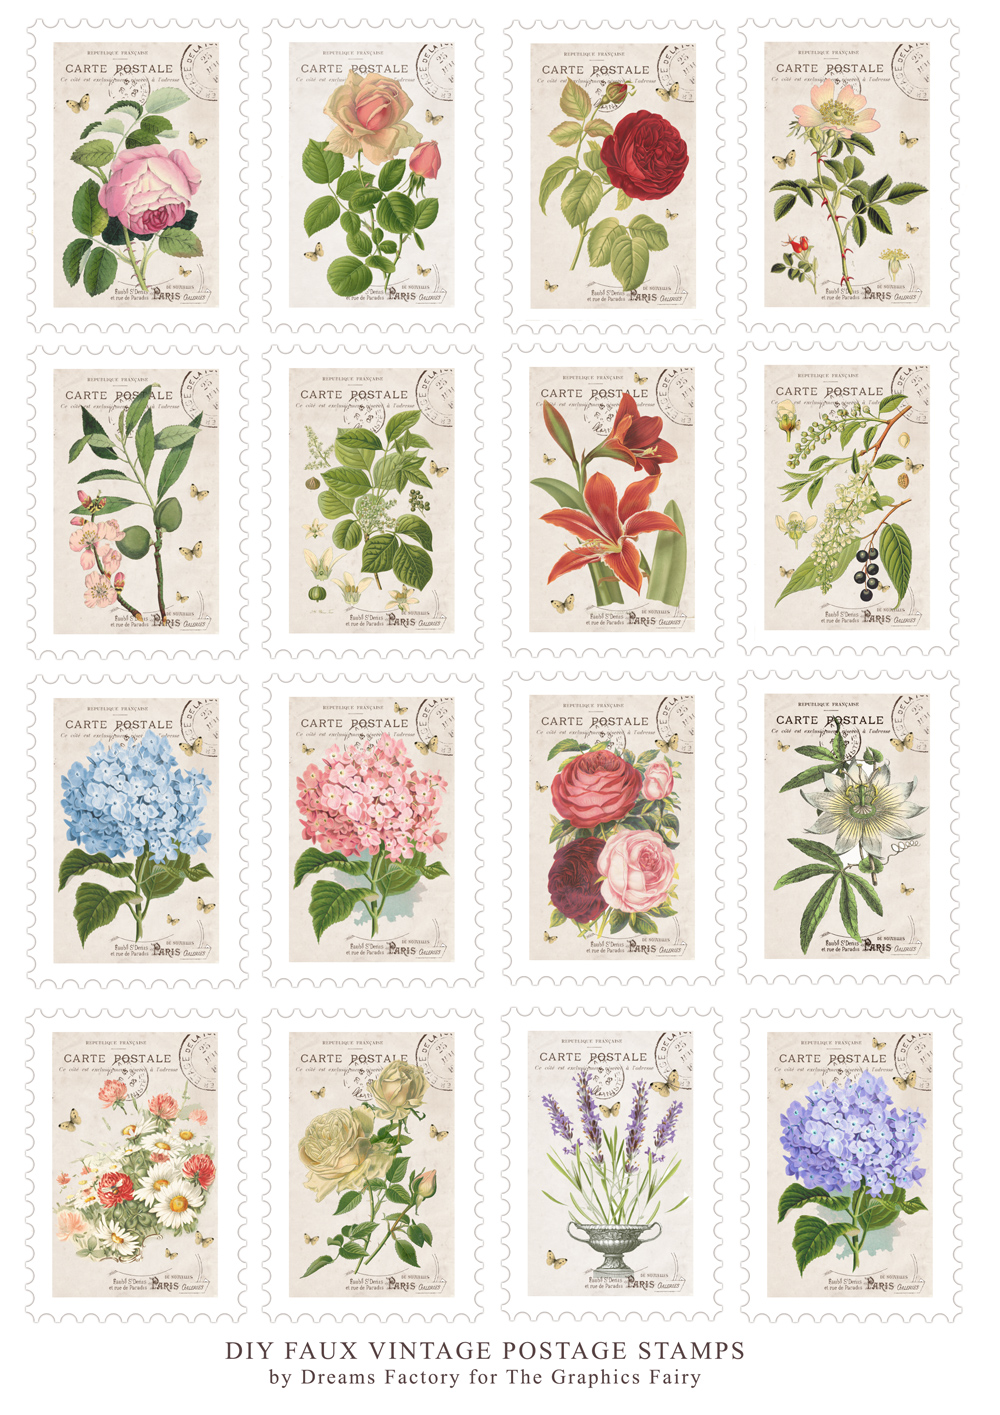
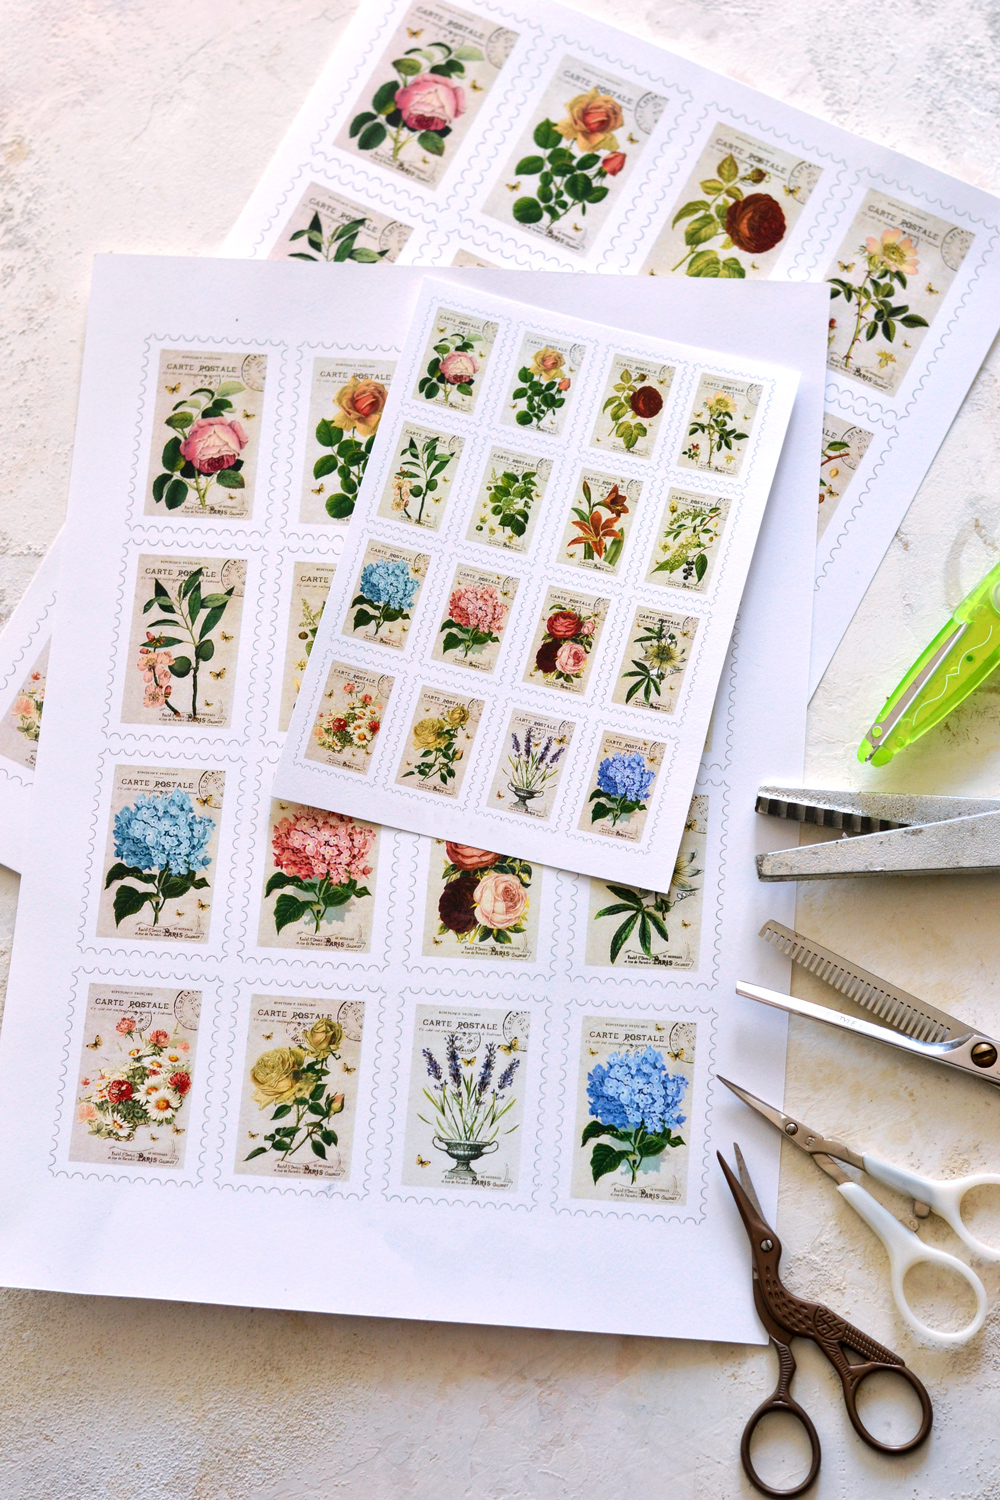
But first, let’s talk about the beautiful free printable that I created for this project! Aren’t these like the most amazing floral postage stamps that you have ever seen?! I knew you would feel this way!
I actually designed the postage stamps border in Photoshop a few years ago (I told you I had this on my mind for quite some time) and now it seemed it was (finally) the time to put them to good use! The printable also contains some of my favorite flowers and botanicals from The Graphics Fairy, lovely butterflies and a few French elements that manage to complete the whole chic look. The printable is available in 3 different sizes that will surely satisfy all your creative needs!
Printable for DIY Faux Postage Stamps:
—> Click here to download the full size PDF – the large size <—
—> Click here to download the full size PDF – the medium size <—
—> Click here to download the full size PDF – the small size <—
Supplies:
- regular white paper OR cardstock paper OR white sticker paper
- ink or laserjet printer
- scissors
- a brush
- Mod Podge or paper glue
- white acrylic paint (optional)
- correction fluid (optional)
Step by Step Tutorial:
NOTES:
– You can choose regular paper or cardstock paper (I liked the cardstock better) for printing the postage stamps, either one of these two will work just fine. You will then have to use Mod Podge or any type of paper glue to adhere your stamps wherever you want.
– You can also use white sticker paper for printing them, in this case you will have self adhesive stamps ready to be used at any given time!
– The scissors mentioned above are not the exact ones that I used, they are just a few similar suggestions.
The perfect tools for creating the perfect perforations
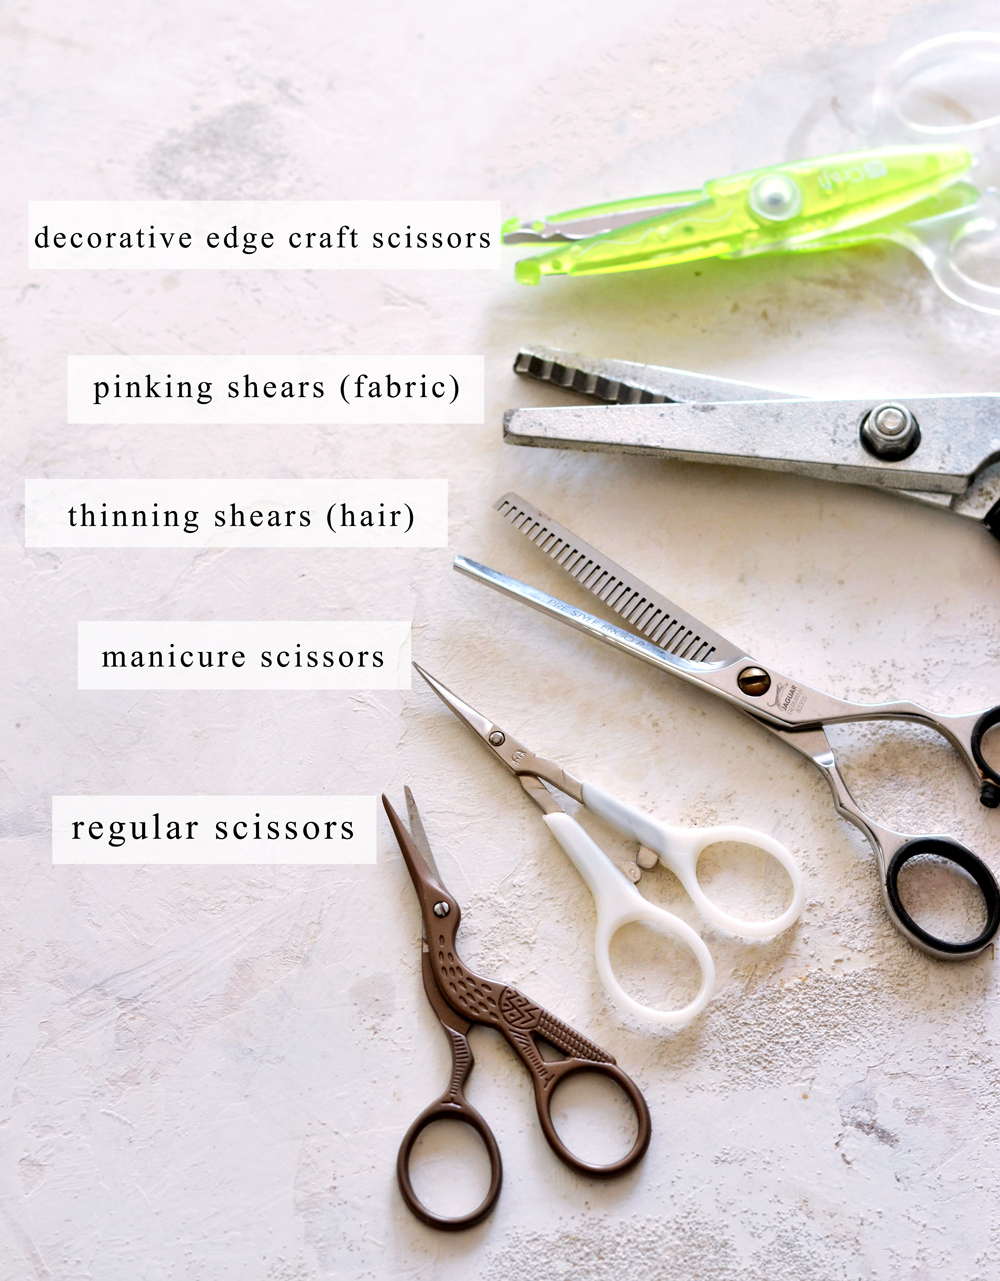
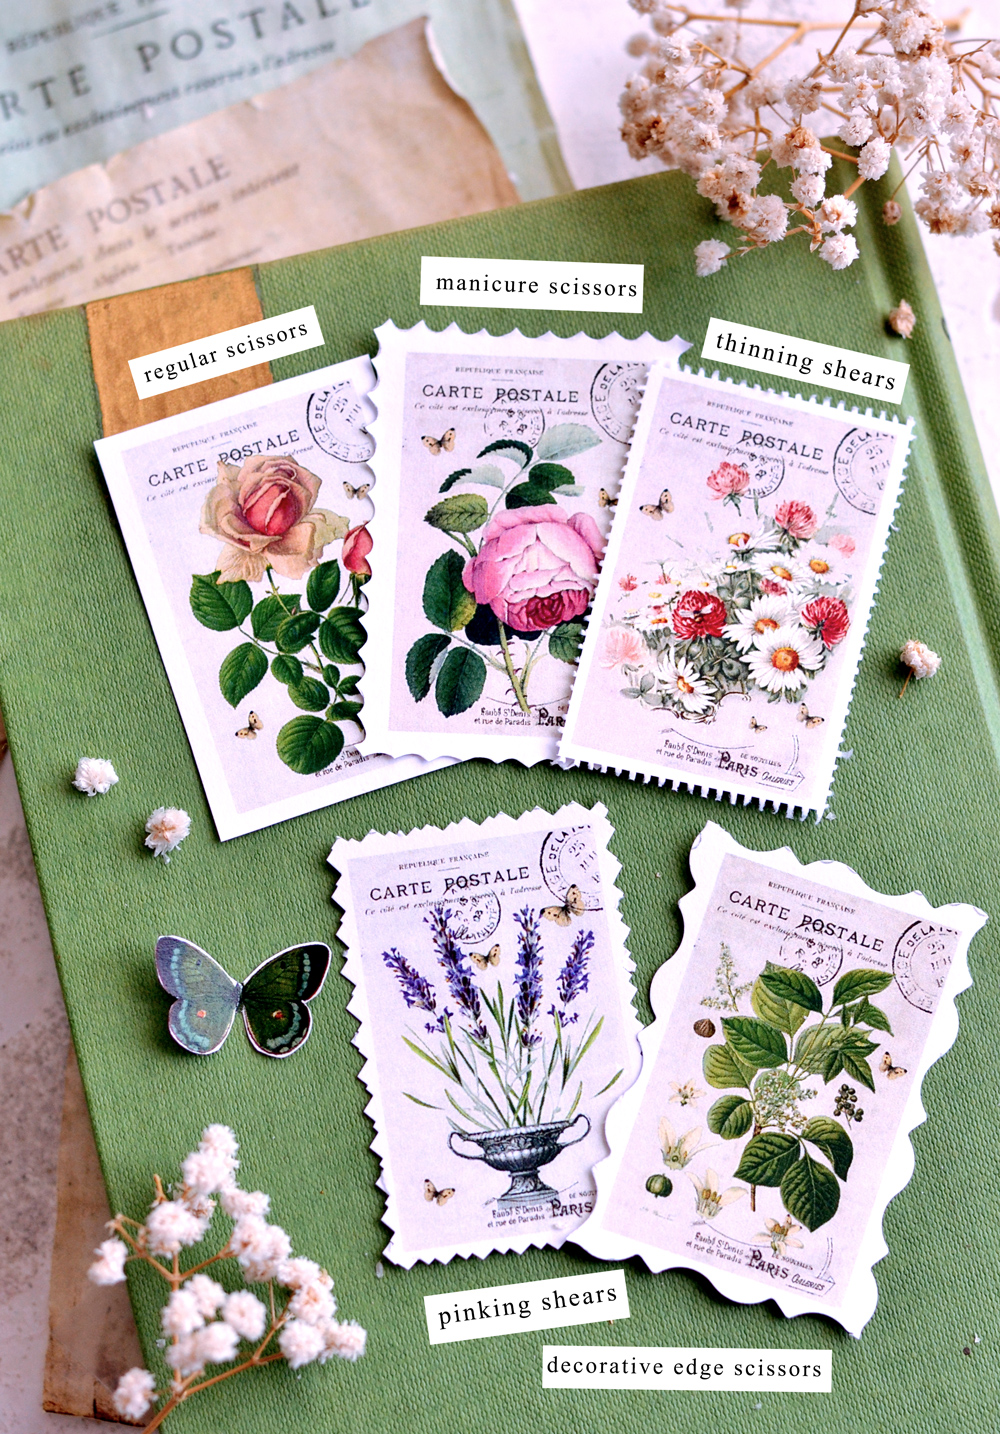
Let’s just dive into the amazing world of creating (pretty) perfect Faux Vintage Postage Stamps perforations, shall we? I experimented with regular scissors, manicure scissors, thinning shears (for hair), pinking shears (for fabric) and decorative edge craft scissors. As you can see I played with quite a few types of scissors, all with different – but equally charming – results. You can try them all or you can simply choose the one(s) that you have around.
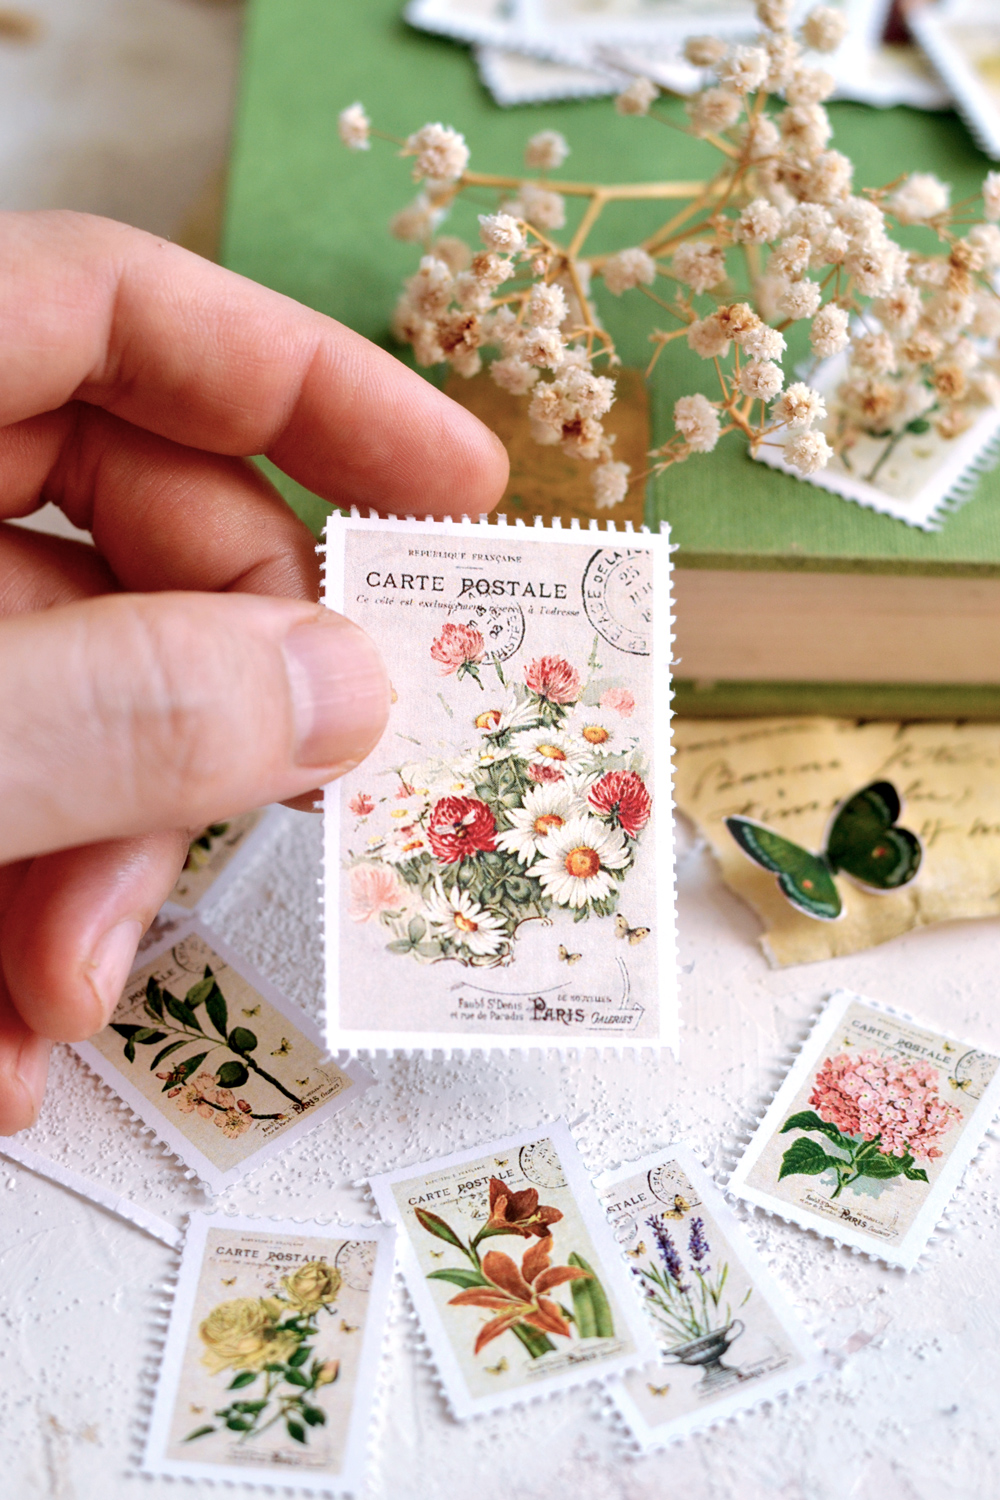
My revelation for this project were definitely the thinning shears, they managed to make my Faux Postage Stamps look very realistic! I have no idea how the whole thinning shears solution came into my mind (because I was looking for one for a really long time), but it surely felt like Heaven when I made that first cut! I just couldn’t believe how authentic the perforations felt and was so excited to discover such a unique use for my good old thinning shears! I know thinning shears might not be something to have at home on a regular basis (they can get pricey) and are most likely to be found in professional hair salons. Except maybe if you are a DIY-er like me in that department too and have been thinning and layering your hair at home for years? Who knew a pair of thinning shears would prove to be the PERFECT solution for creating those PERFECT perforations on postage stamps?!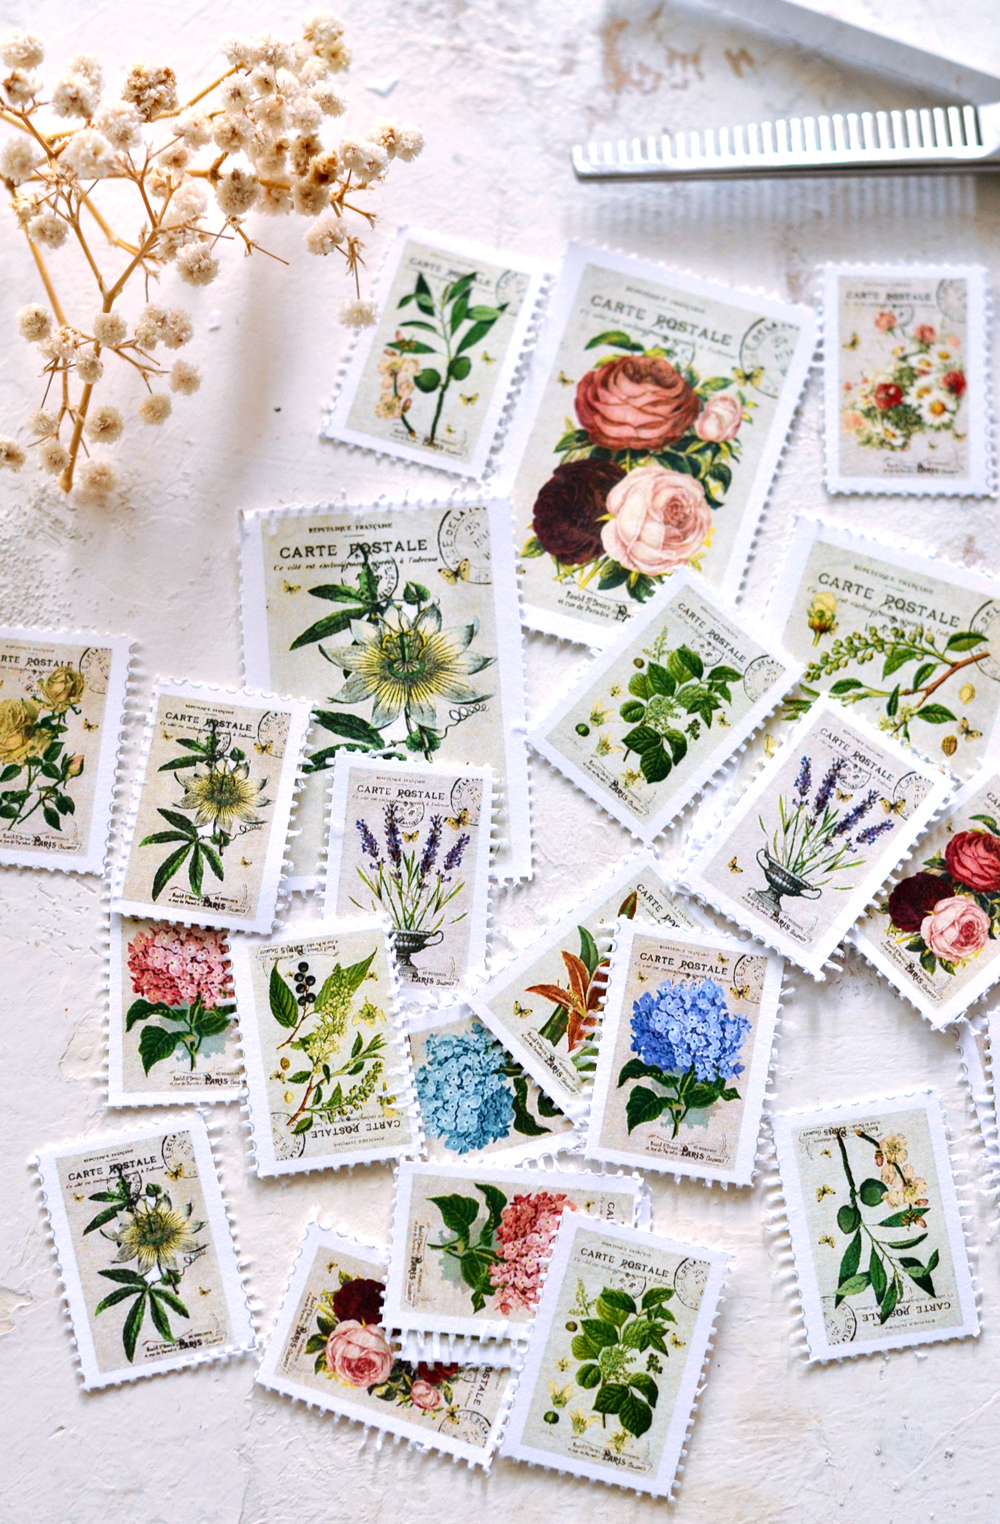
P.S. There will be people telling you that scissors that are specifically designed for cutting hair or fabric are preferably not to be used on paper, because the blades might dull more quickly (because of some of the elements used in the paper). If this is a concern to you, you can invest in a cheaper pair of thinning or pinking shears and use those only for paper. As for me? I simply choose other important things to stress about and right now I’m just minding my own business making stunning Stamps.. until the end of shears times!
Print your beautiful printable and let’s just see what each of these scissors can really do!
1. Regular scissors
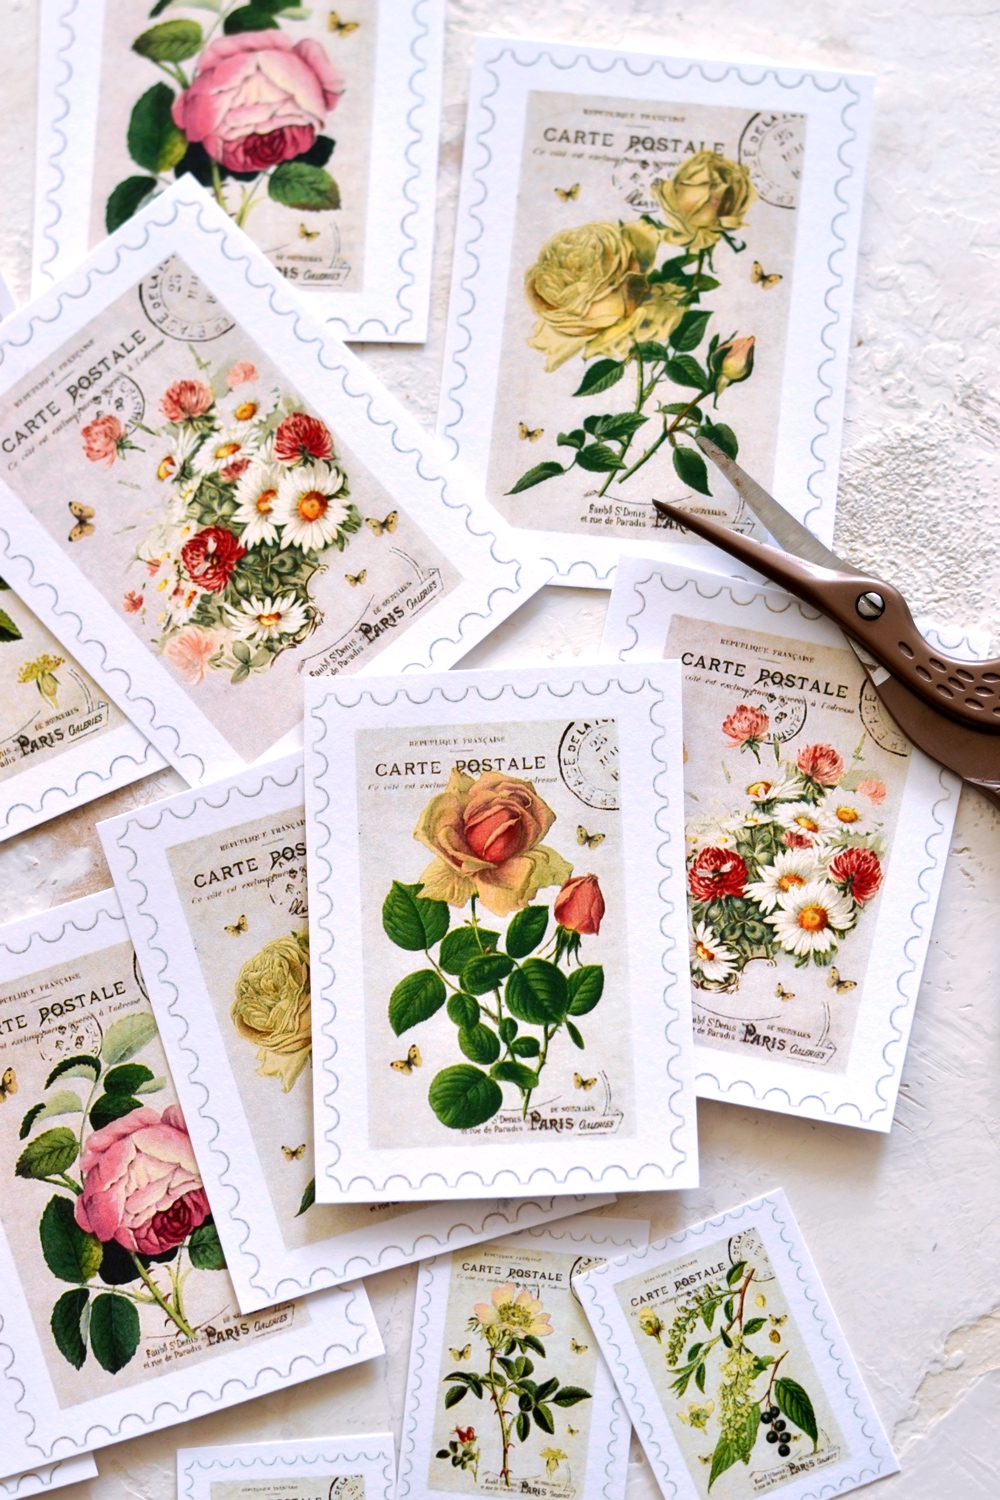
The first somehow obvious choice would be regular scissors, because we all have them around! You’ll have to simply cut a straight line outside the black borders and use the stamps like that! This is the lazy option if you wish
Another option using the regular scissors would be to completely remove the postage stamp borders that I created and just leave a simple white border all around the stamps. This could work at some extent, you will still get a simpler idea of a postage stamp!
2. Manicure scissors
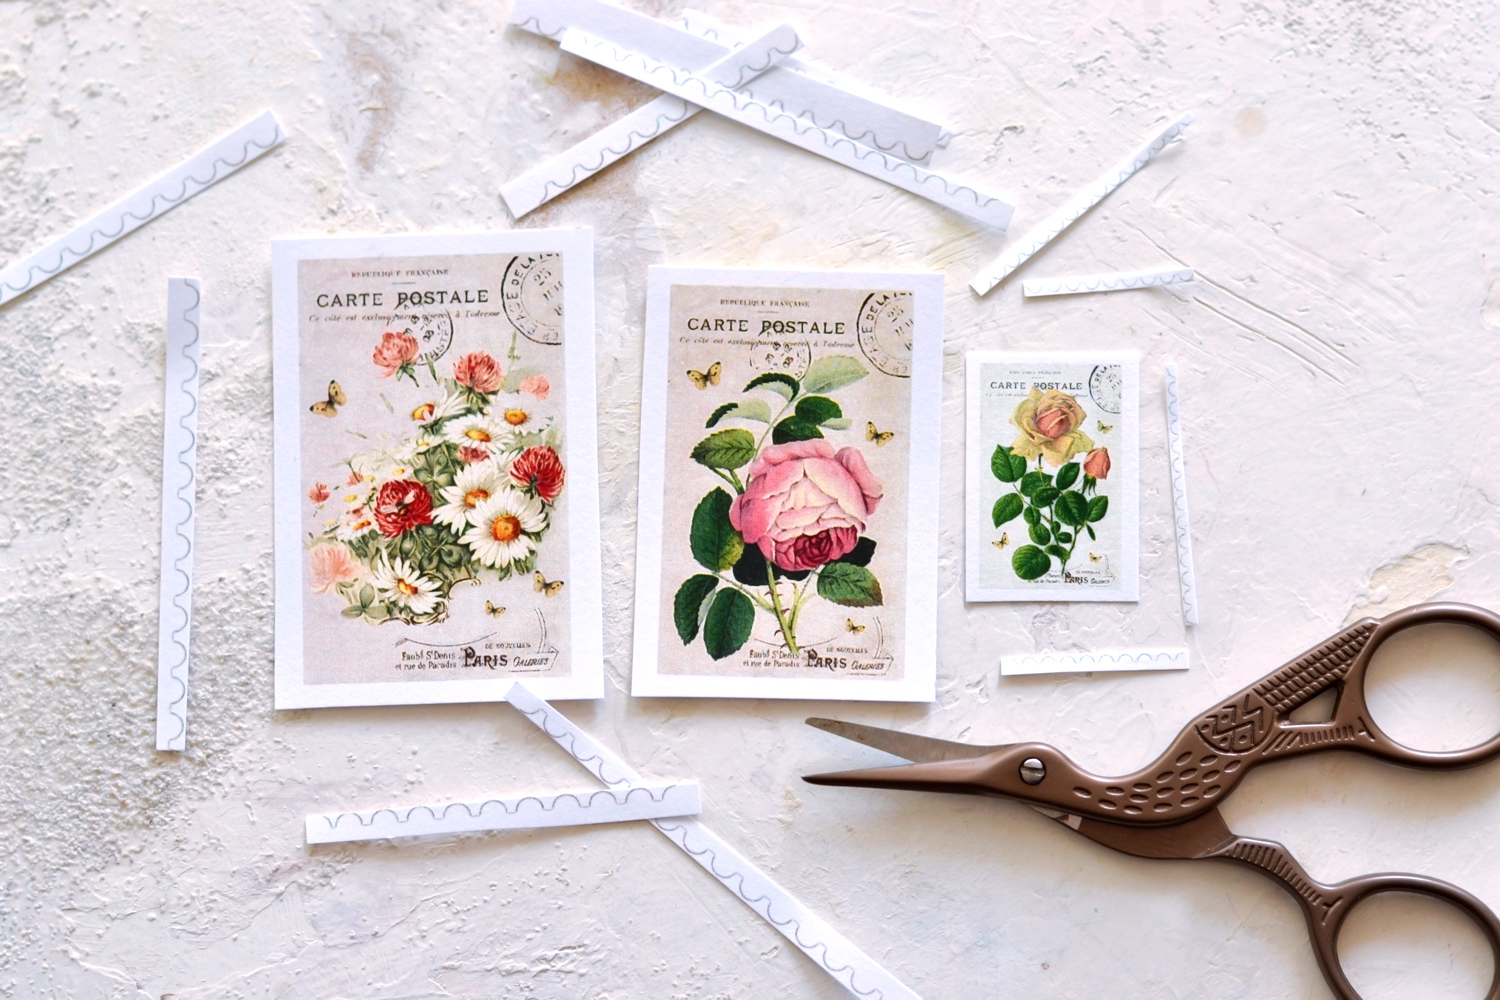
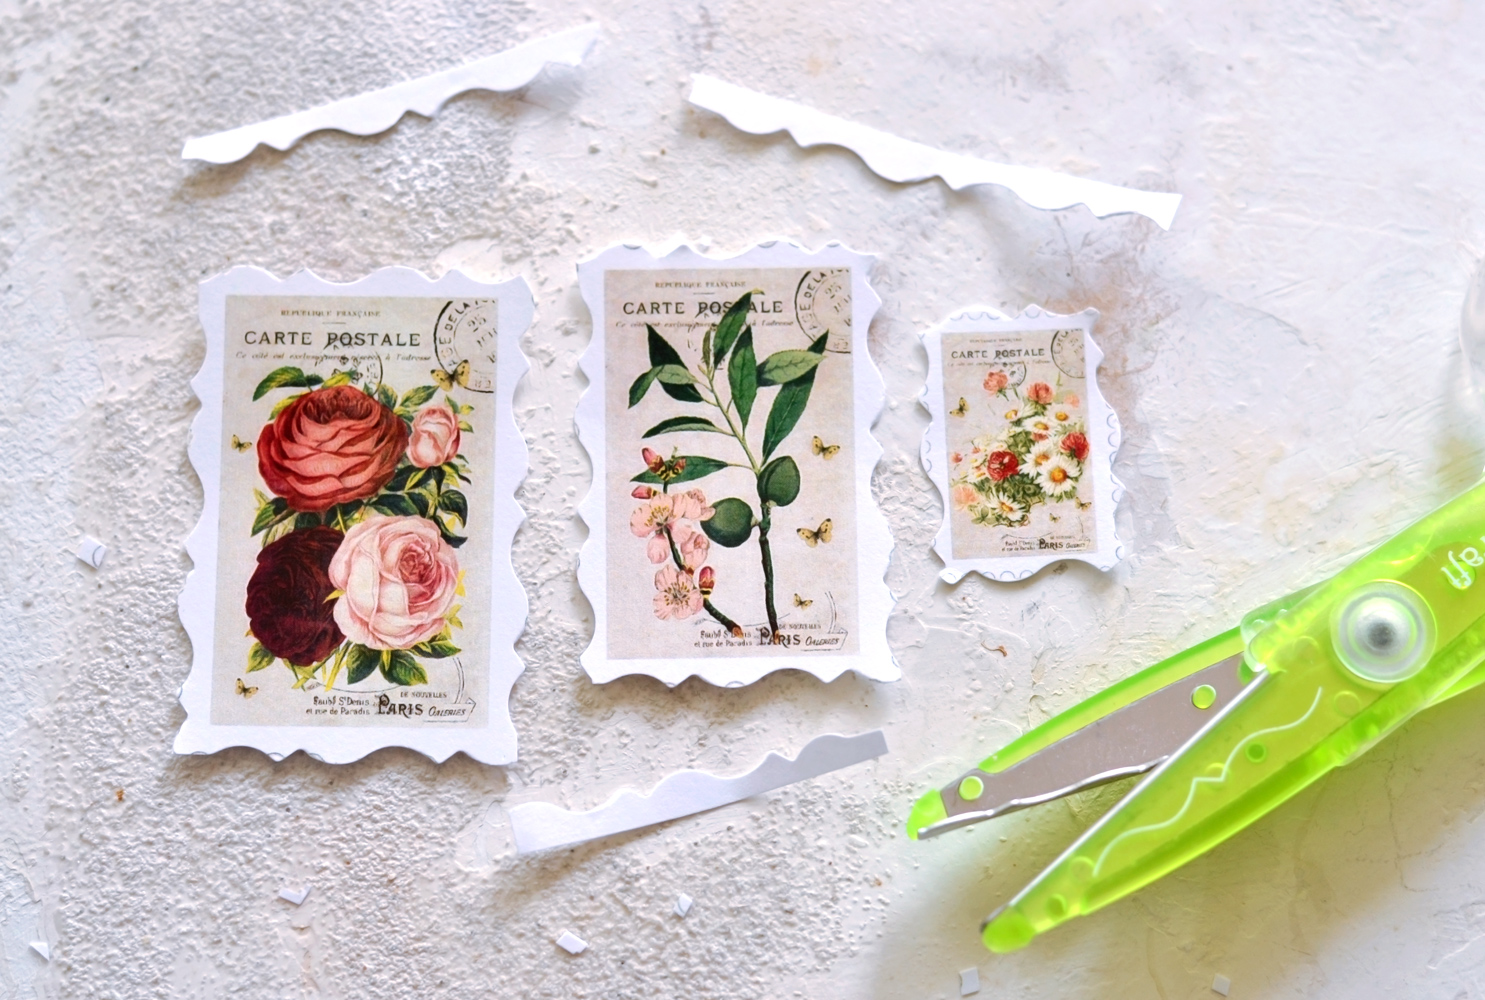
For this version of a postage stamp, you will have to use manicure scissors (or other scissors) with really thin blades, because you will manually create the specific border on your postage stamps! You will have to follow the shape of the black border that I created around the stamps and cutting inside the border, you will have to completely remove it! It’s a tedious work, I know, especially when doing the smaller stamps, but you will get some amazing results and all your effort will be well worth it, I promise! I actually challenge you to try cutting all the border in one piece … just like cutting an apple peel in one piece! Can you do that? Sure you can! 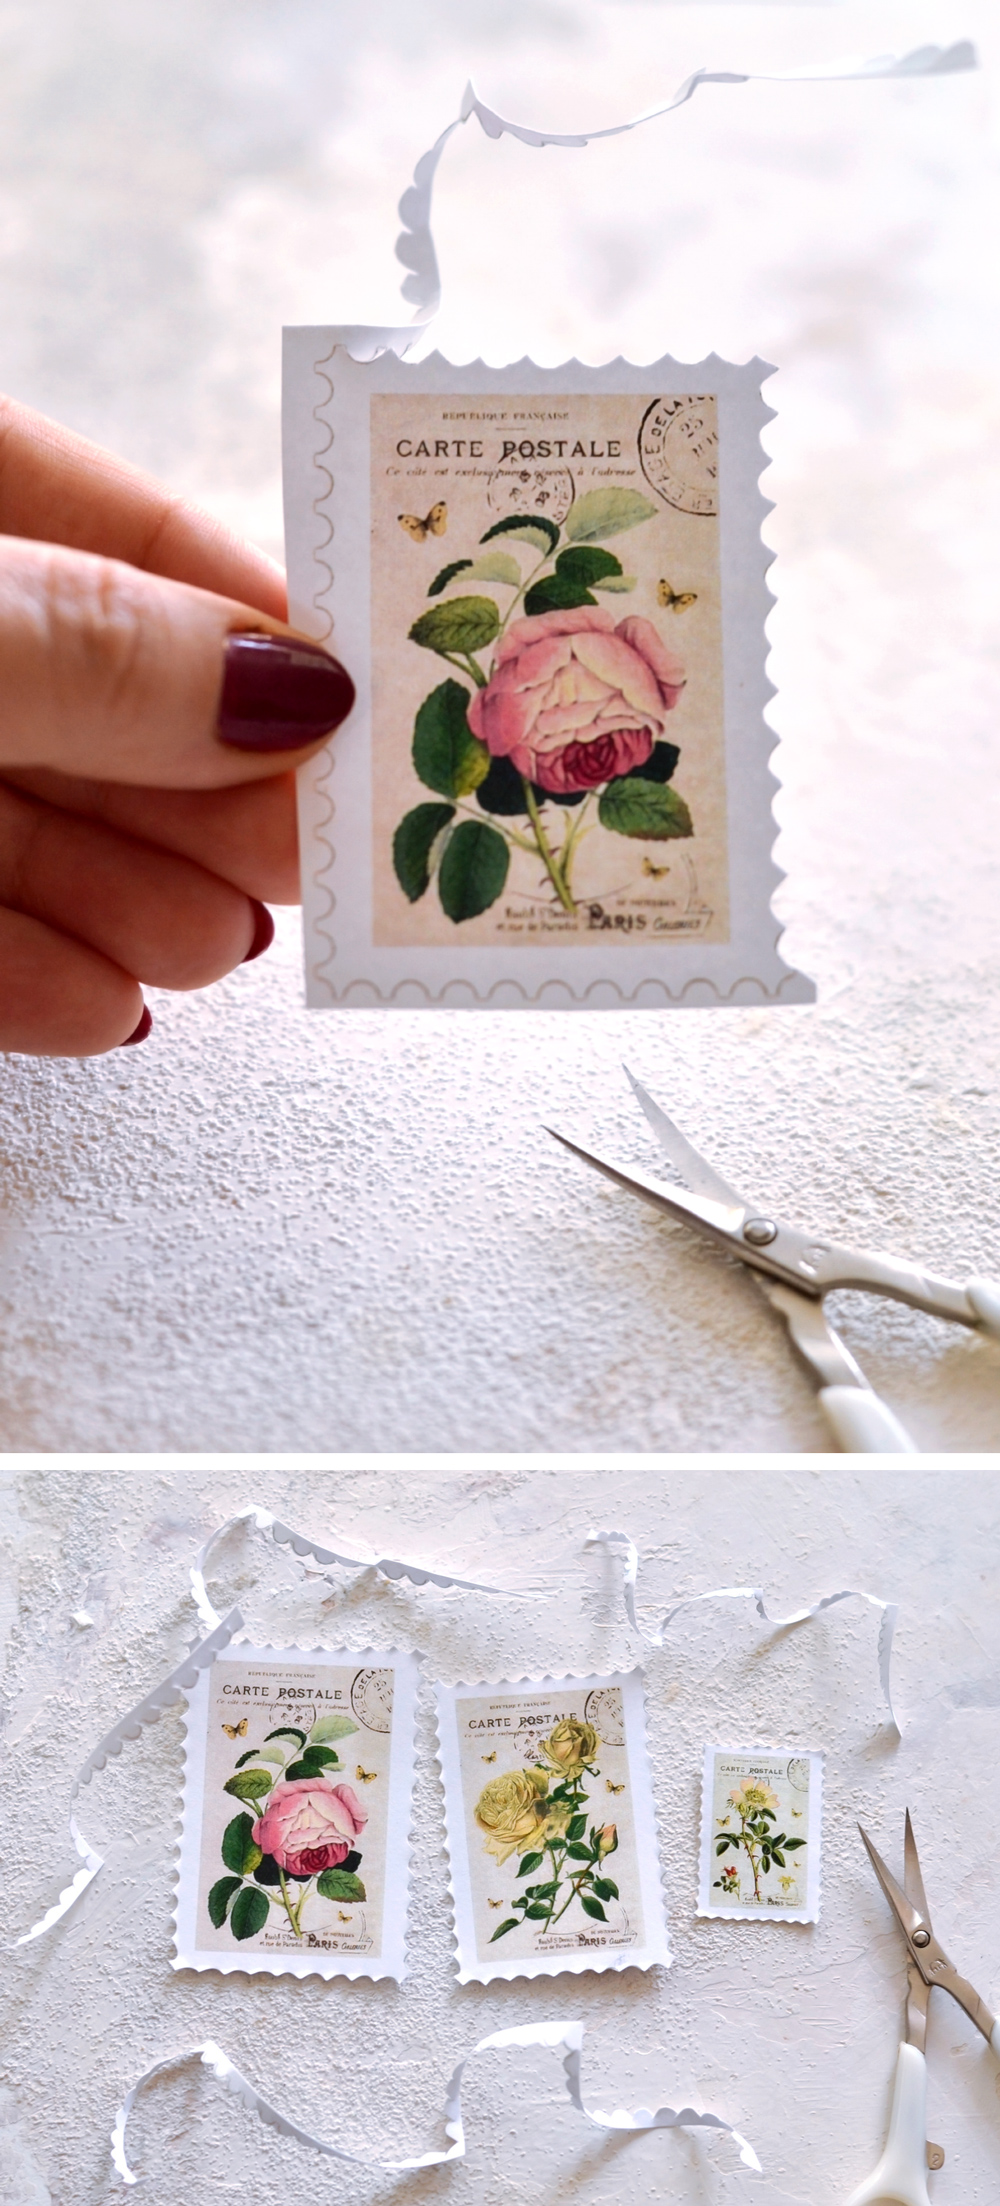
3. Thinning shears
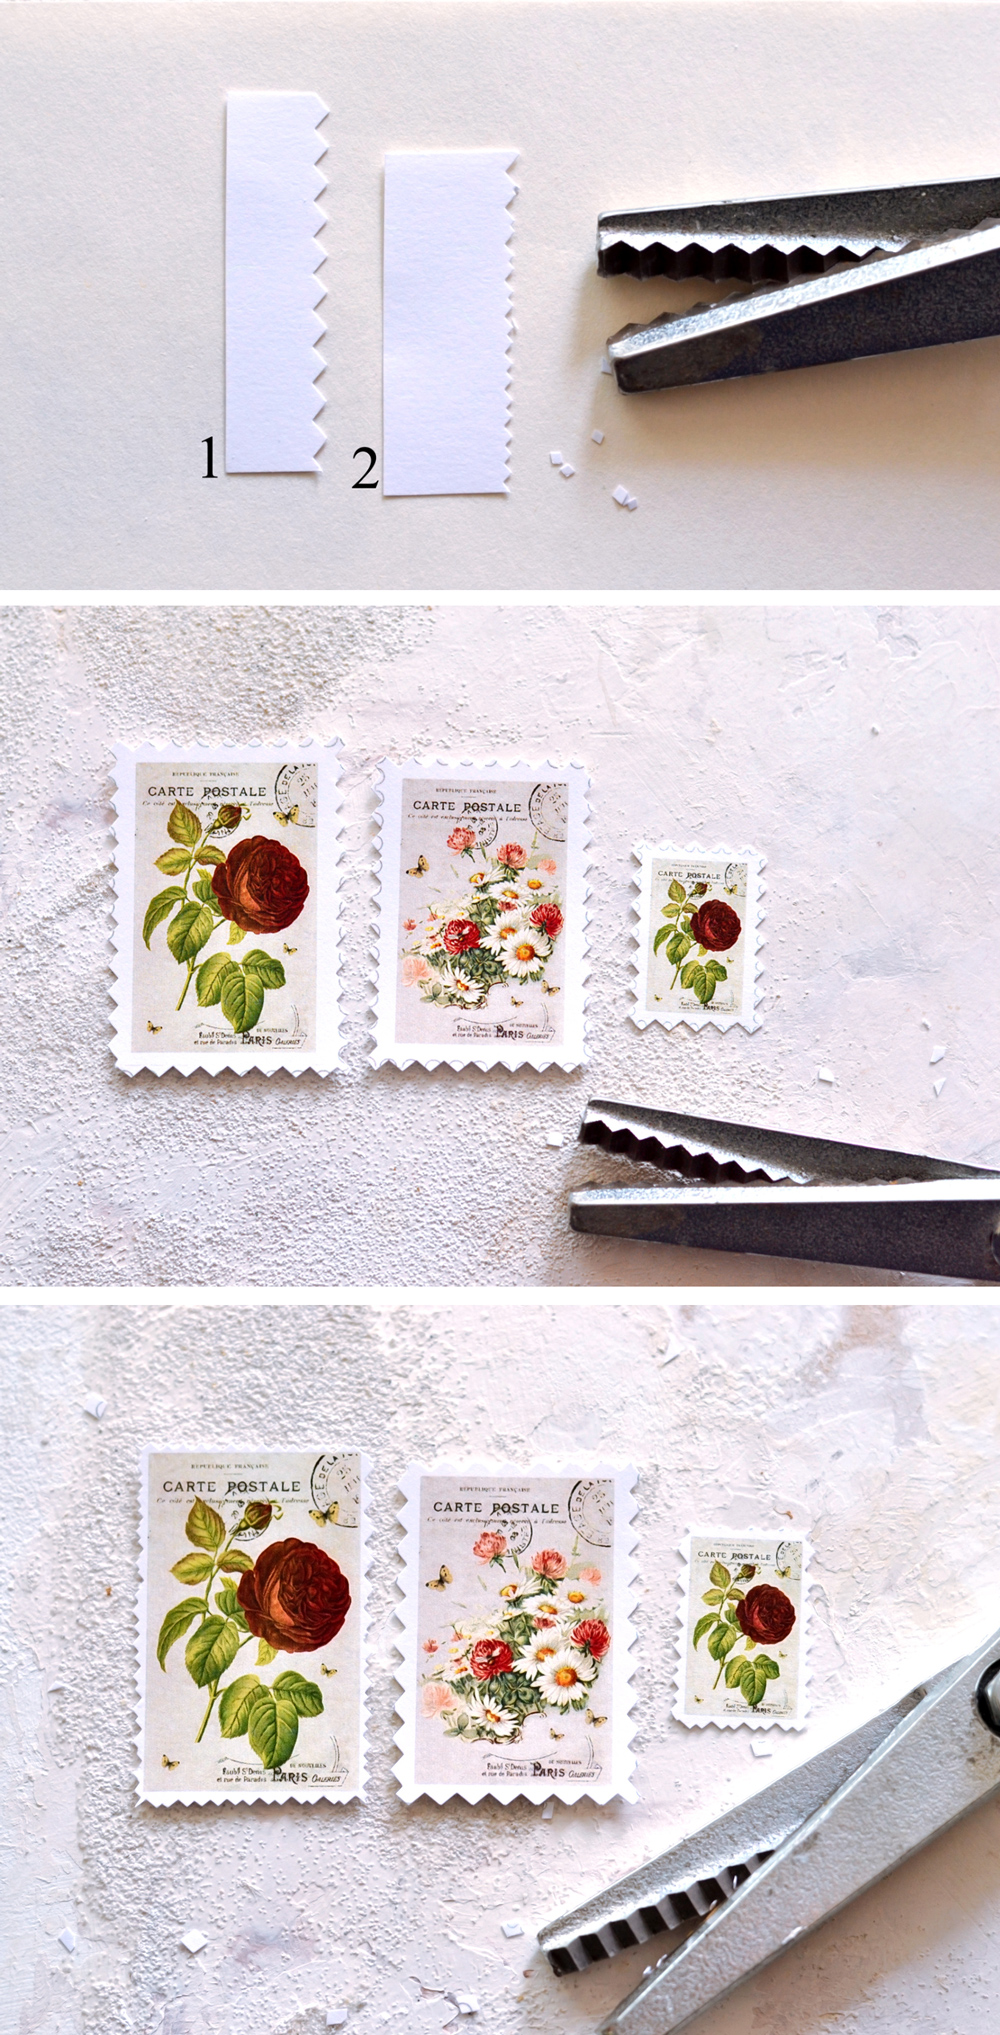
These amazing shears used for thinning or layering your hair will definitely yield the most satisfying and quicker results! You will simply have to cut a straight line (inside the black borders that I created) and the thinning shears will do all the magic work for you. How AMAZING is that?!
A few tips to keep in mind when using the thinning shears:
- you will have to always keep the serrated blade on top when cutting
- you will have to always rotate the stamp clockwise in your hand while cutting each edge, the stamp should always be on the left side of your scissors (for right handed people)
Make a few cuts on a test paper to get used to the scissors, but this is basically quite straight forward … literally!
If you were to really pay attention to details, you will notice that depending on how the paper is oriented when actually cutting, the two parallel edging of your postage stamps will be more or less serrated. It might be something related to how the paper is actually made, but I’m not sure what is the science behind all that. The truth is I kind of liked these slightly irregular cuts, because they really gave the stamps a more authentic feel.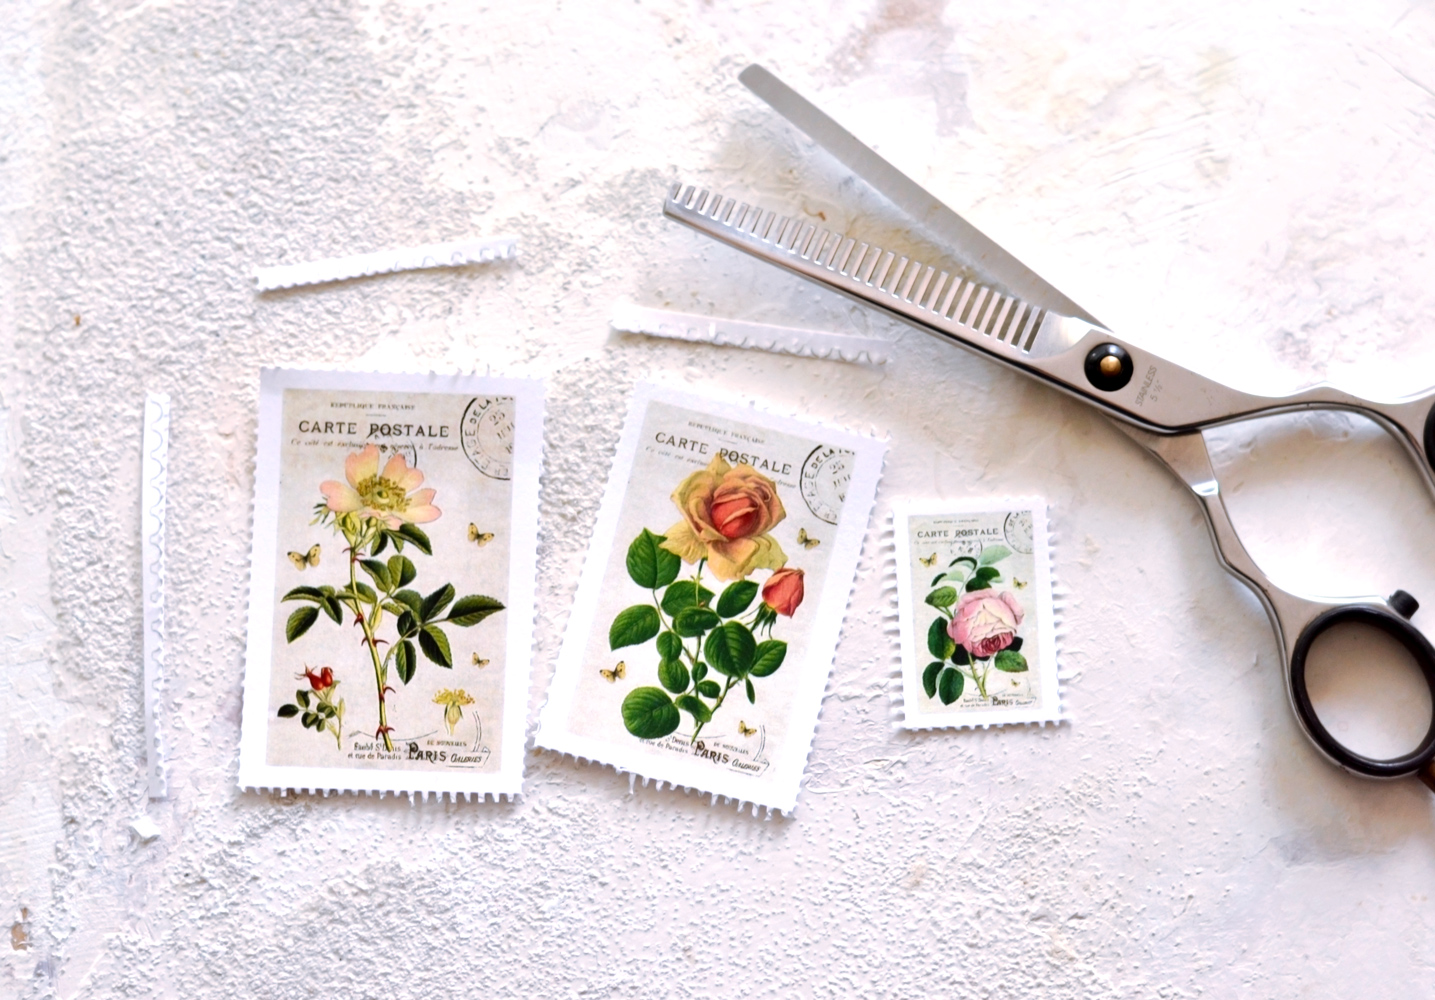
4. Pinking shears
This is yet another method that you can use, giving you quite satisfying results! And even though pinking shears are usually quite large and heavy (mine definitely are), if making a few tests before, you will be able to create a beautiful serrated border on your paper stamps! You can cut once to create a larger jagged border OR you can cut once and then make another intertwined cut on top of that (starting from a different cutting point), creating a smaller, more delicate border. Intertwining the borders will not always give you the same results, but yet again, that might not be a bad thing, because it will add that beautiful handmade feel to your work.
Tips: Depending on how large your pinking shears actually are, your first cut might leave some visible black border traces behind. To remove those traces you can go ahead and make that second intertwined cut to narrow the border or simply use some white acrylic paint (or even some correction fluid). Done! Problem solved!
5. Decorative craft edge scissors
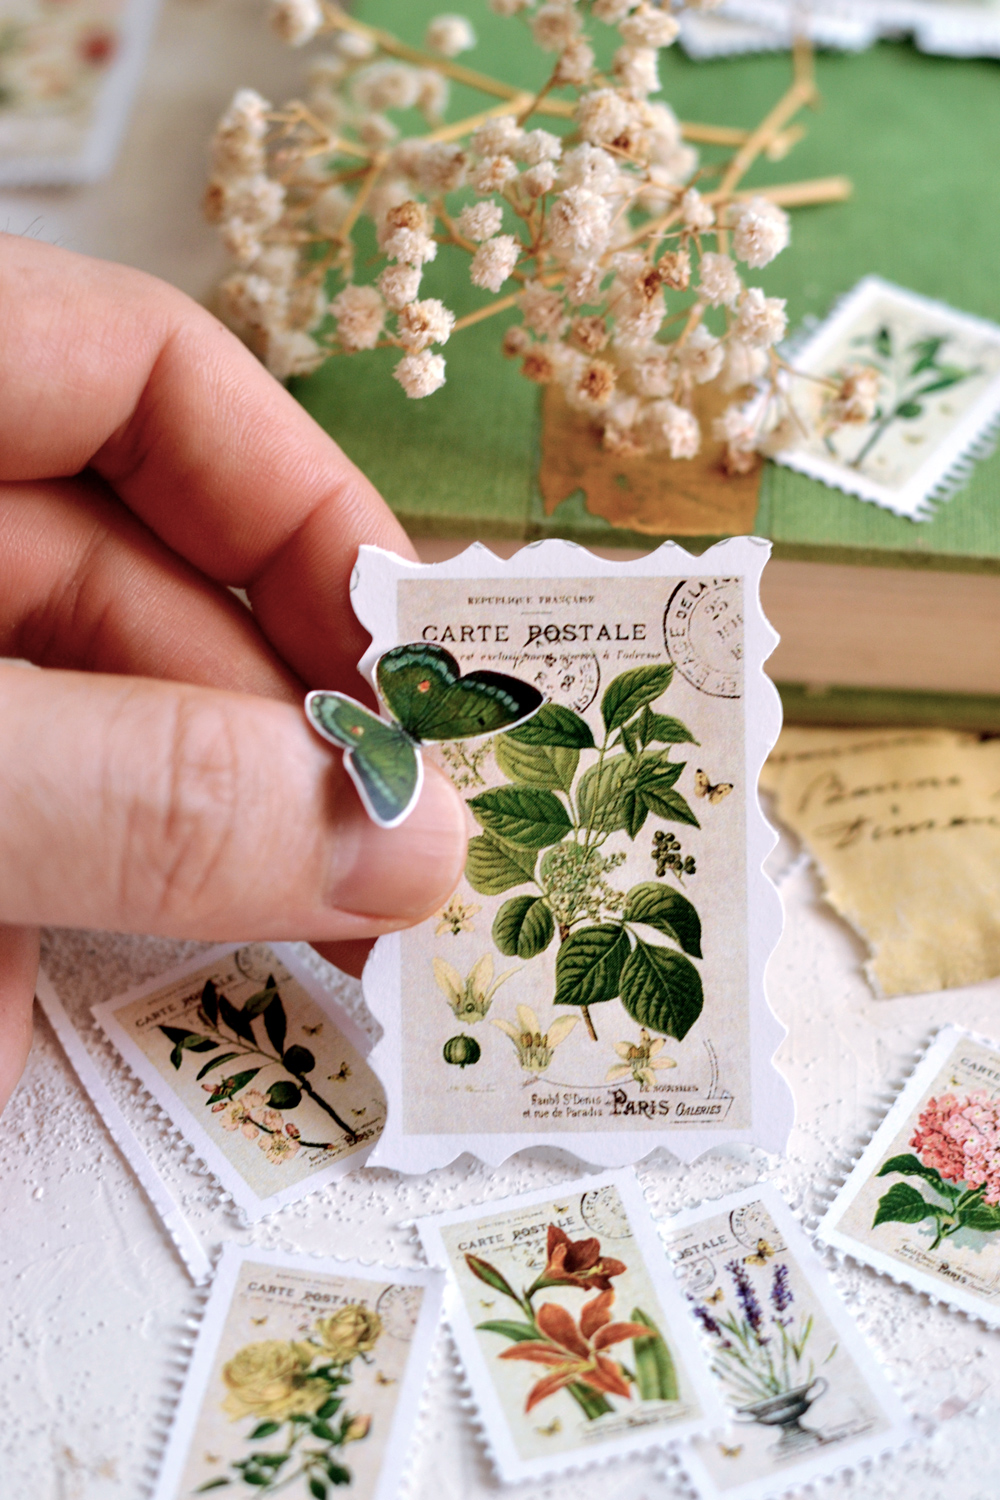
I had a pair of these decorative scissors around but haven’t actually put them to work until now. I simply loved the Shabby romantic feel this type of scissors gave to my project. The thing you’ll have to keep in mind when cutting one of the sides is that you have to make one complete cut. If the side is not cut all the way through, you’ll need to carefully pull away the scissors and then re position the scissors again following the organic shape of the previous cut. This will give you a more cohesive final look.
Tips & tricks: Depending on your scissors’ design (mine had a vintage photo looking kind of design) you might have some visible printed black border traces left behind (especially on the smaller stamps). Again, a small brush and some white acrylic paint or even some correction fluid will do the trick!
Make sure you also keep the beautiful decorative trimmings, they can be use on other projects too!
That’s it! The whole process sounds more complicated than it actually is, believe me! It will just be you and your scissors, having a good time while creating the most beautiful stamps in the universe! Can I please just say that about my stamps?
Now I have a strong feeling you are already contemplating all the amazing possibilities here!
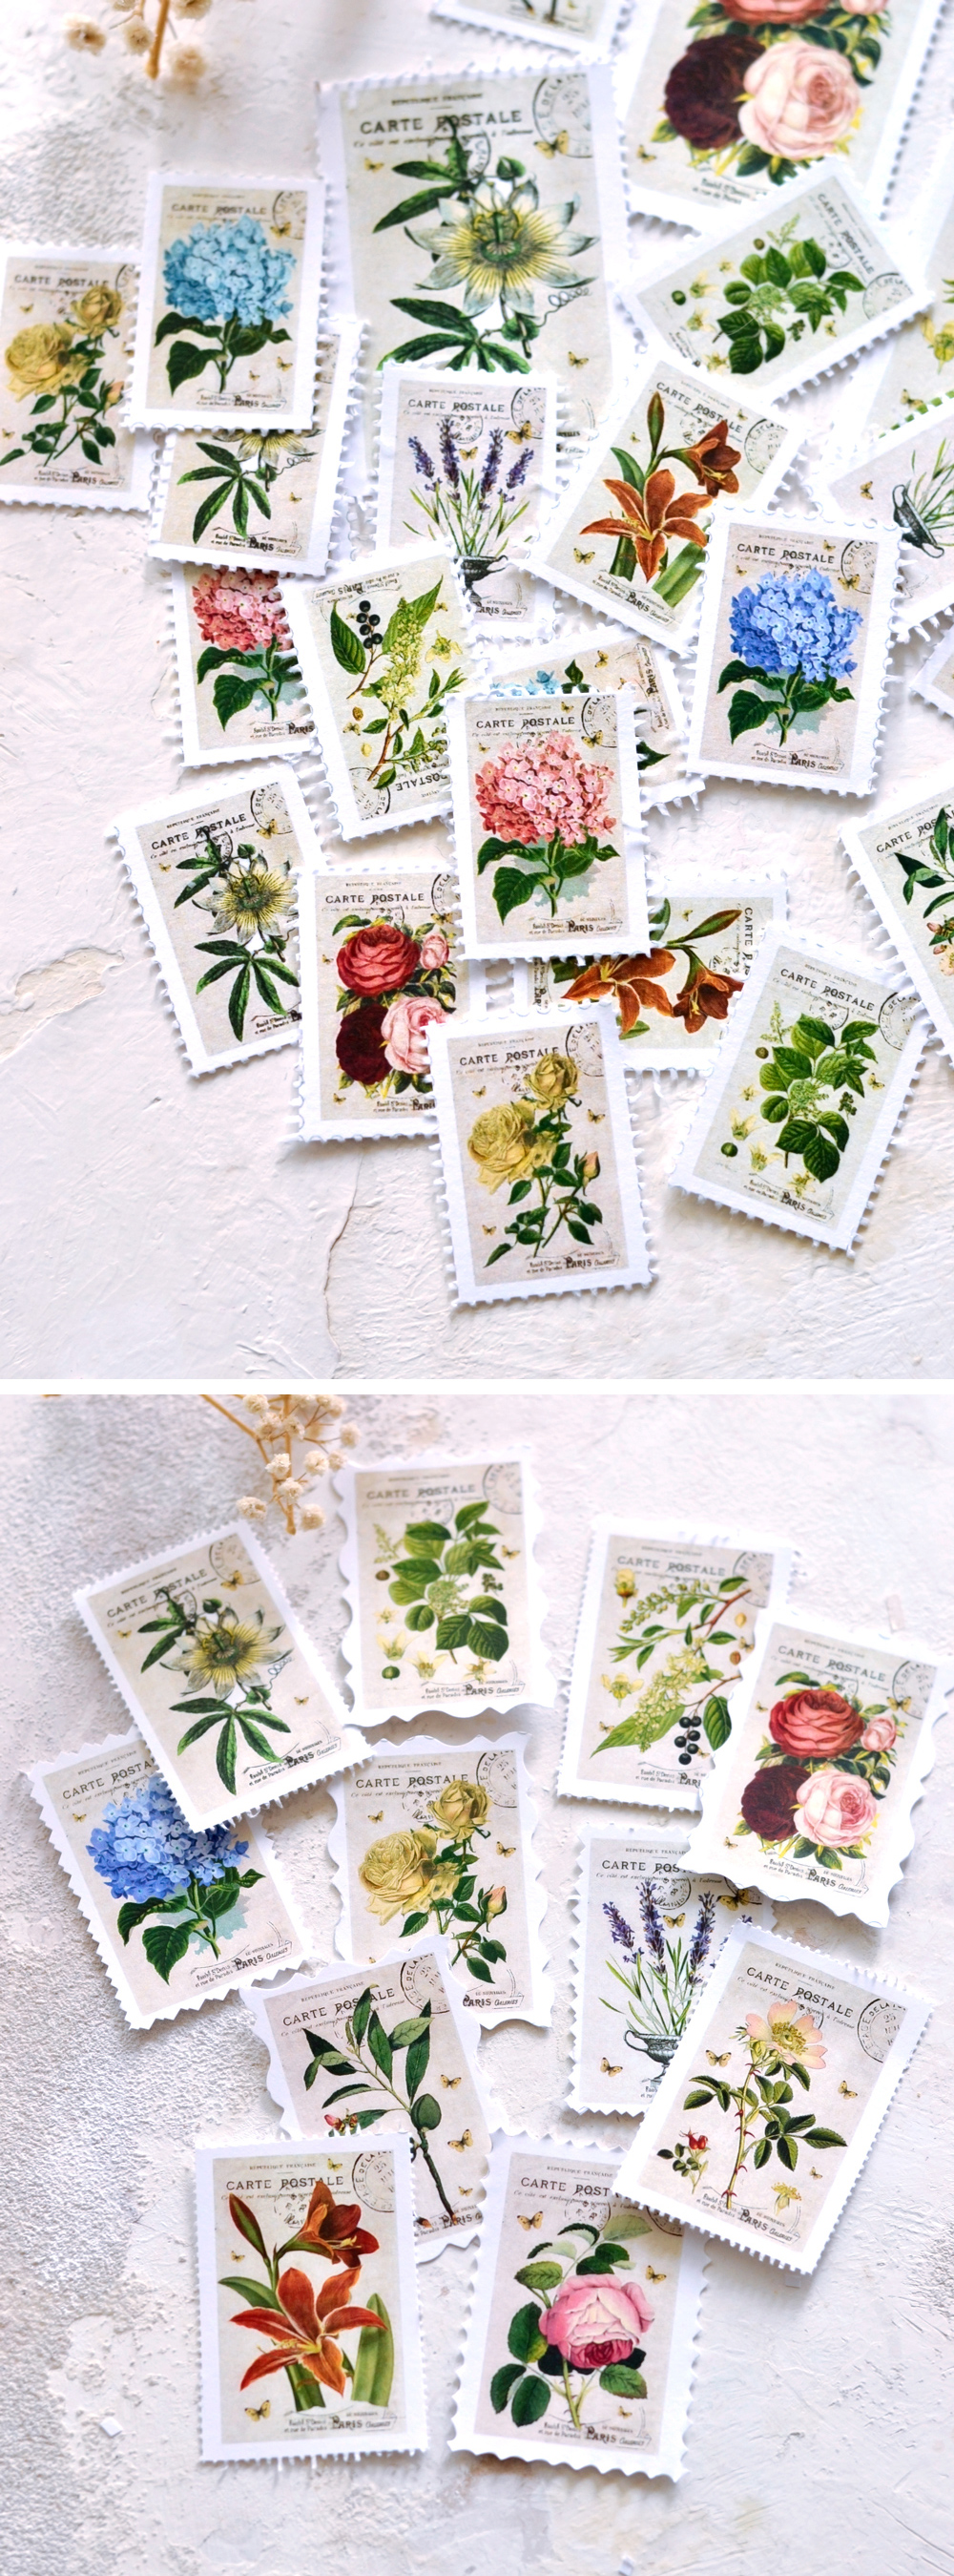
You can choose only one of the methods to create similar looking edges for all your postage stamps, or you can simply choose them all to create interest and more of a mix and match overall feel.
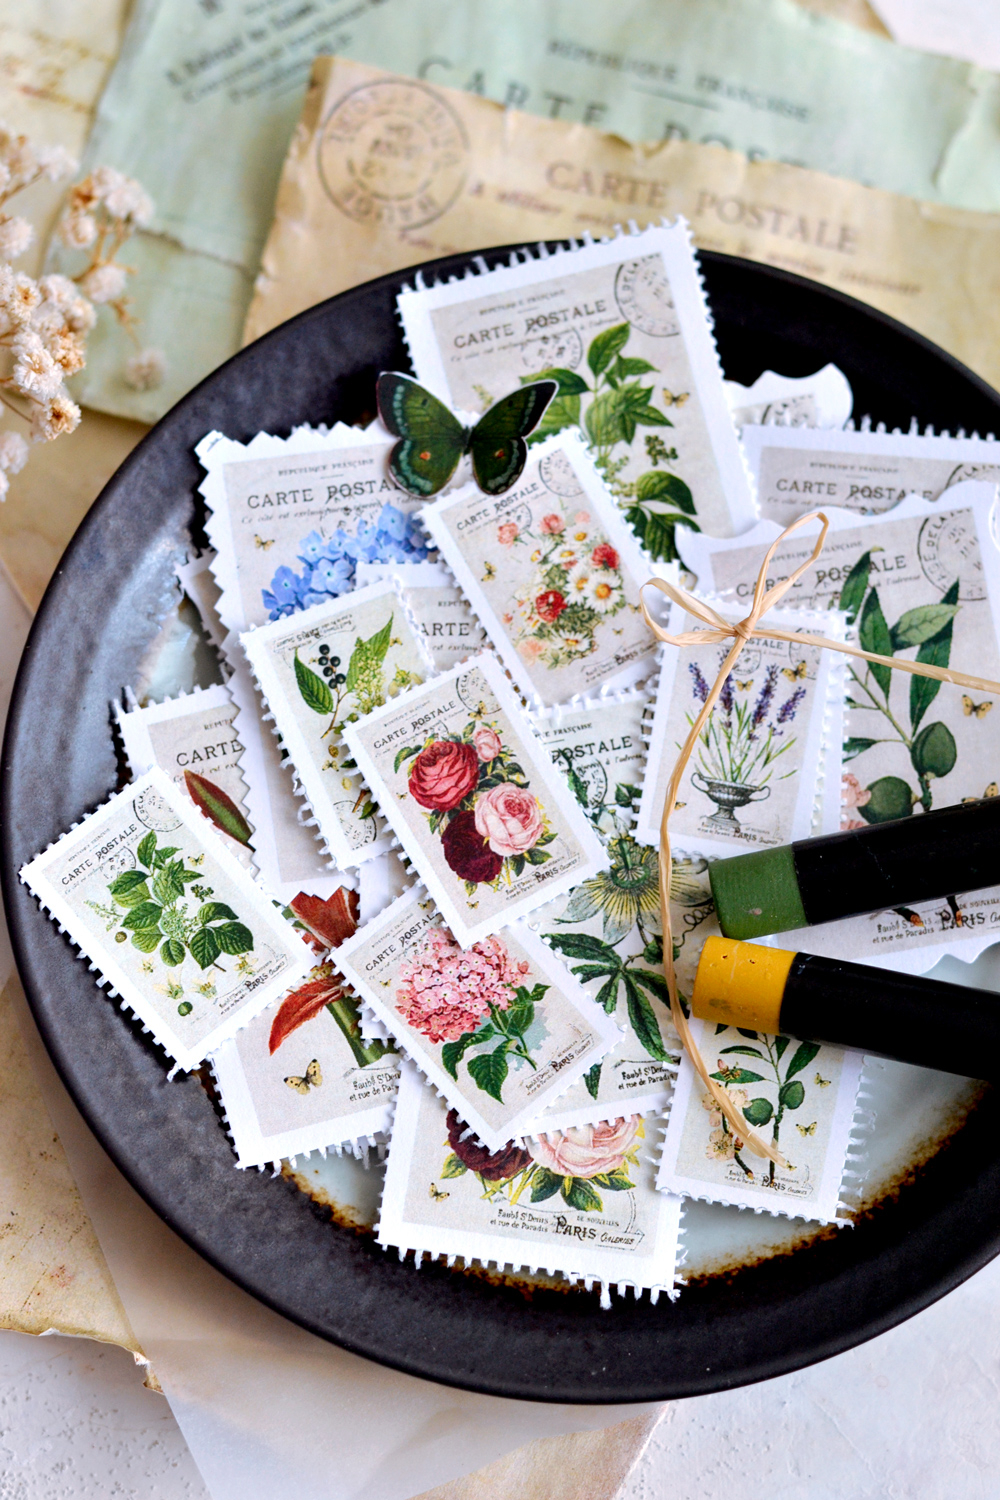
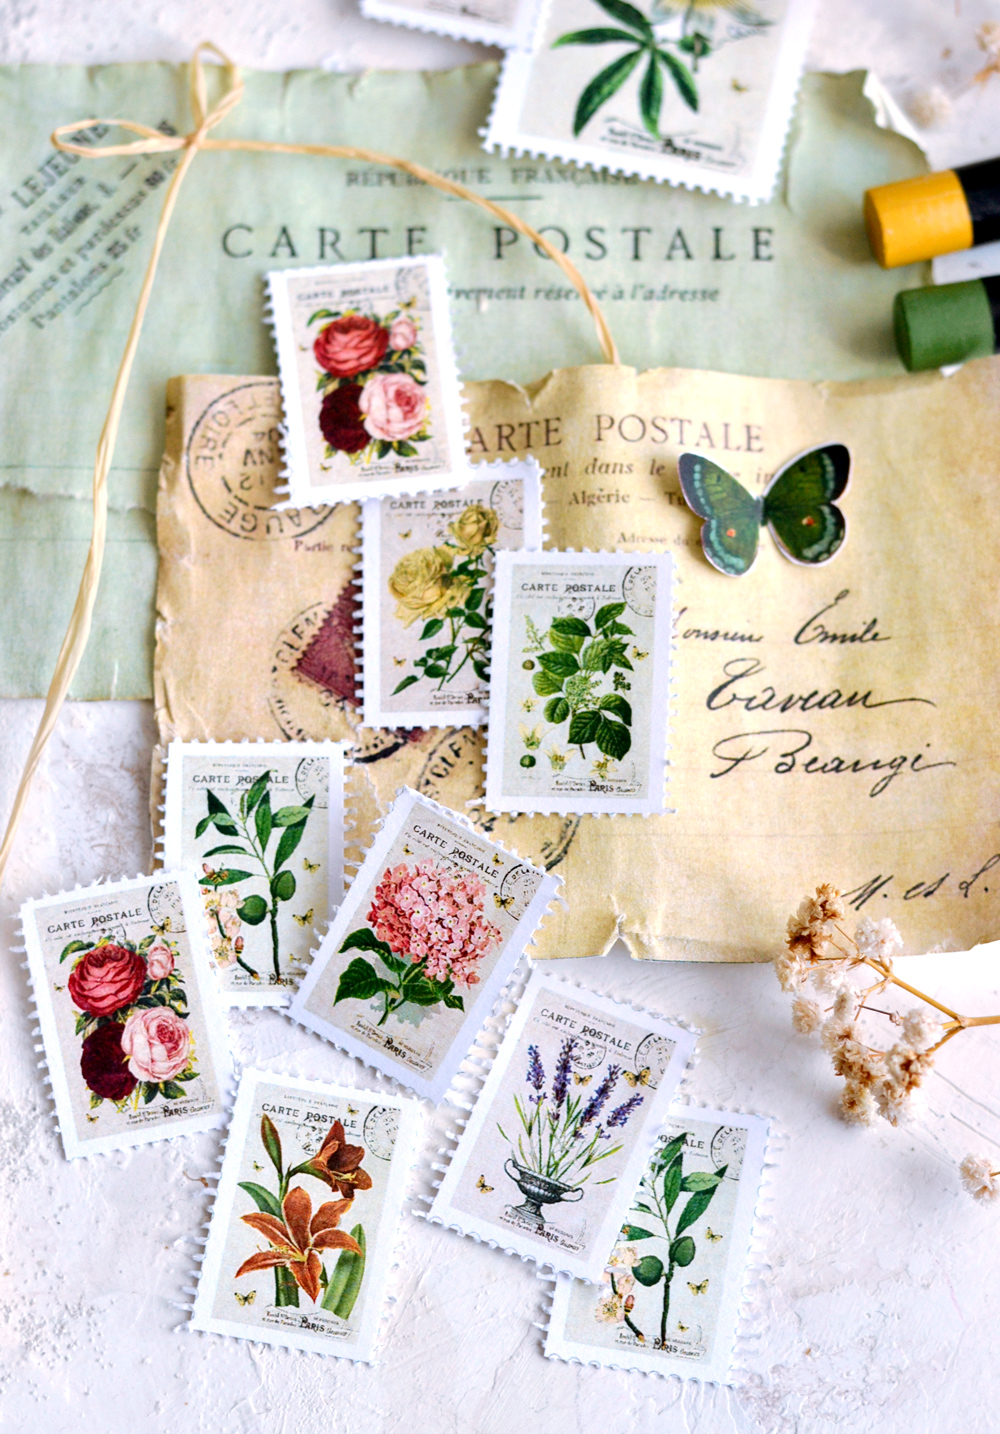
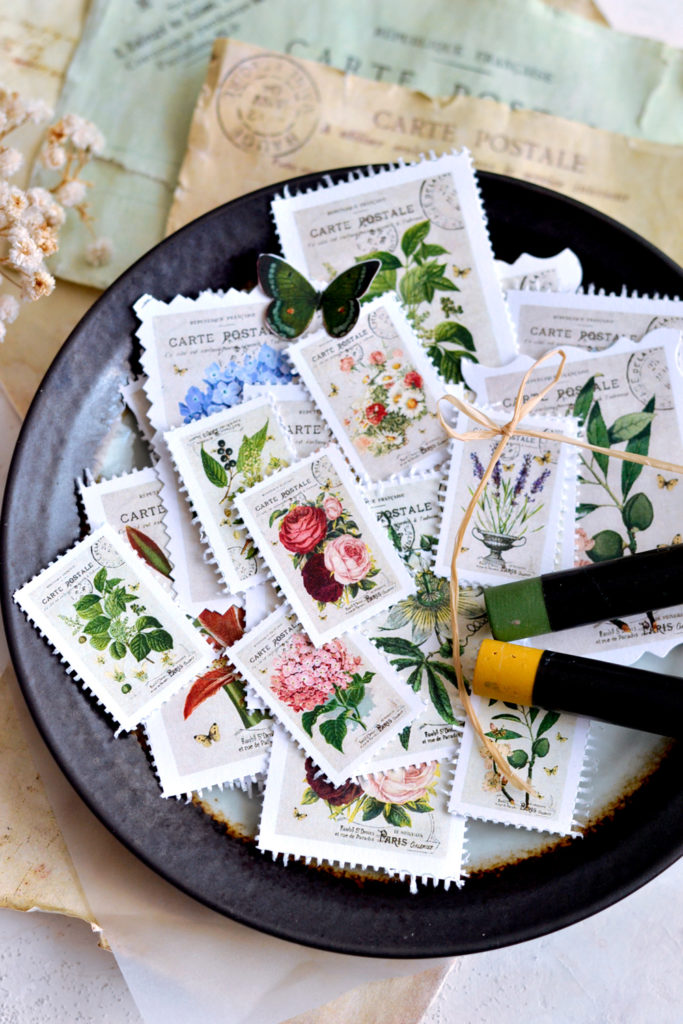
Either way, you will be left with some of the most amazing Faux Postage Stamps, that can be used in scrapbooking projects or art journaling but also in so many of your future creative adventures. You could use them as labels or tags, you can use them to decorate all kind of different objects all around your house, the sky is truly the limit!
Vintage flowers are pretty universal and timeless. Everyone loves beautiful flowers so you can pretty much use these stamps all year long to make personalized cards (or postcards) for all your friends’ birthdays.
You could even write a letter to someone you love and use these stamps to beautify the envelope … or the letter itself! Does anyone do that anymore? Writing heartfelt letters to people they love? Maybe we should do that more often, these would be truly the most precious gifts – especially around the holidays, but on any other special occasions, too!
P.S. Mr. Dreamy hand modeled for me here, can you believe how realistic these stamps actually look?
I hope you will give this project a try, can’t wait for your impressions. But please be warned! After starting the whole Printable Faux Postage Stamps madness, there will be literally no turning back! You will love these beauties so much, you’ll just want to use them everywhere!
You might also like my 3d Butterfly Bookmark Tutorial HERE or my Faux Christmas Postage Stamps Printable HERE.
Have fun creating,
Diana / Dreams Factory


Lavonda says
Oh Diana these are just beautiful! I absolutely adore pretty stamps. I check every envelope in my mail immediately each day for any treasures. What a delight it was to see these beauties! If you decide to make mor please consider doing some butterflies. Thank you so much.
Karen Watson says
I’m glad you enjoyed Diana’s pretty project Lavonda!
Carol Parker says
Brilliant Diane. I never thought to use thinning scissors but of course!!!!!! I have one of those old gadgets for marking up sewing patterns. Not sure what it’s called but it’s basically a spiky wheel that rotates along your pattern lines. It’s a good tool for making perforations on faux stamps. My usual ‘go to’ is the sewing machine itself and my pinking shears that have not been relegated to crafting scissors ( far more important ). Both work well but really can’t wait to try out my thinning scissors as your pictures show the perfect finish. Thanks so much for sharing. C xx
Karen Watson says
We’re so glad you found Diana’s tip useful Carol! Good to know about the spiky wheel rotary tool too!
Sue Legault says
Karen & Diana, Thank you so much for sharing your ideas for these gorgeous postage stamps. I now know what I will be working on in the time before Christmas.
graphicsfairy says
Oh thanks so much Sue, have fun!
Michelle Flynn says
I saw a tip to perforate the edges of the stamp if you have a tape dispenser use the blade that cuts the cellotape to cut around the edges and it gives you a perforated edge to your paper. Hope this helps
graphicsfairy says
Thanks so much for the tip Michelle, that is such a fun trick!
eussane says
Thanks so much for sharing these beautiful stamps!
graphicsfairy says
I am so happy you are enjoying them, thank you 🙂