DIY Honeycomb Coasters
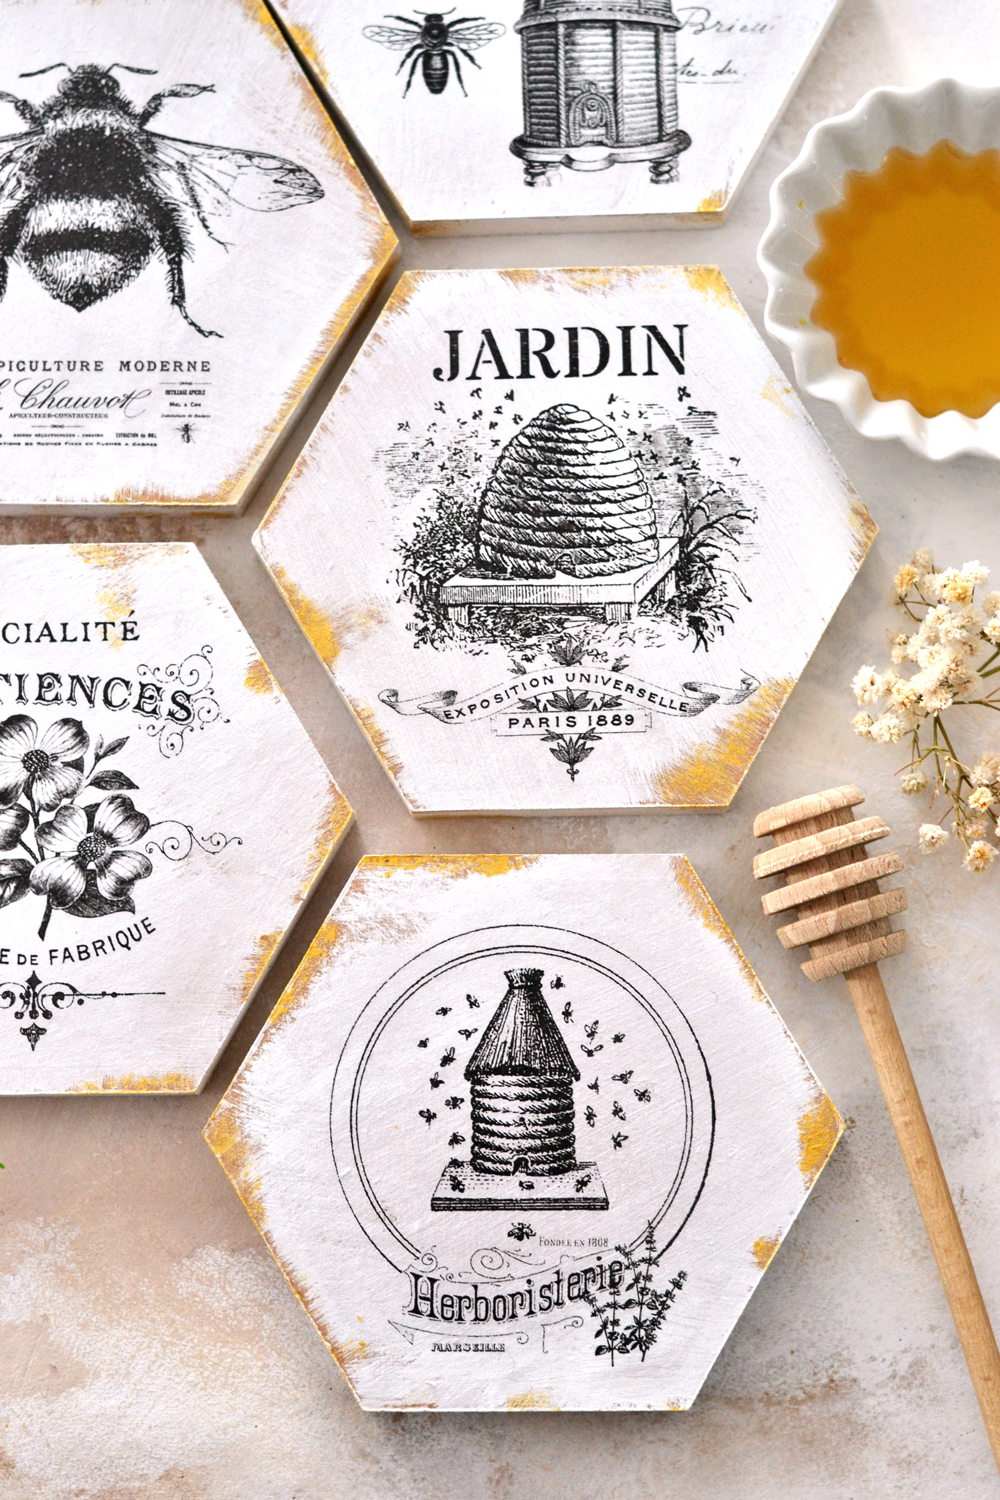
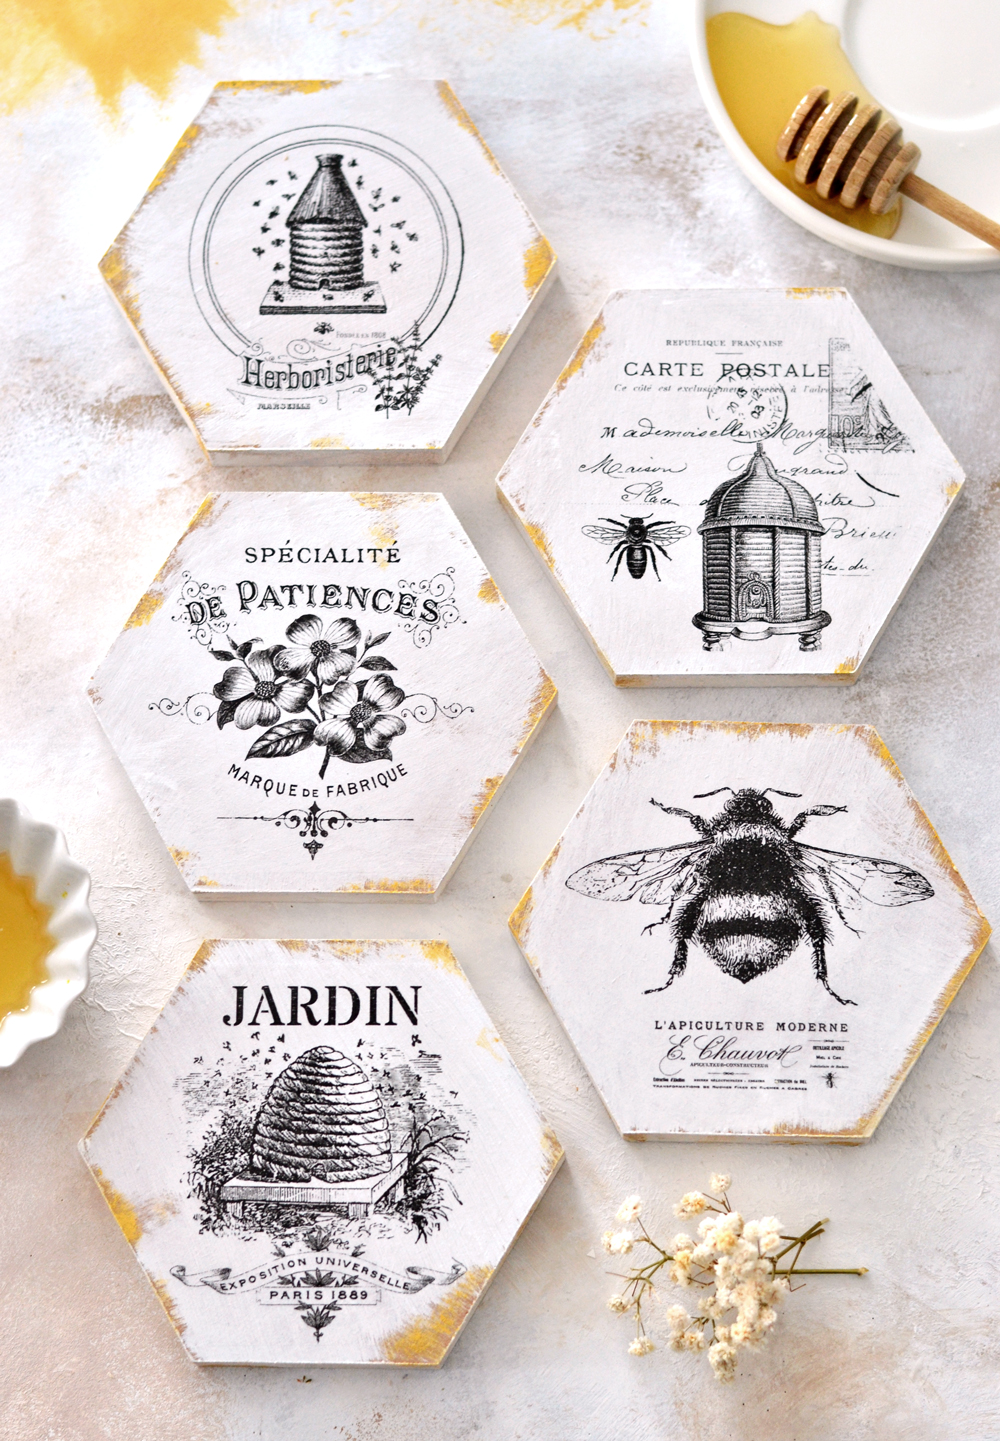
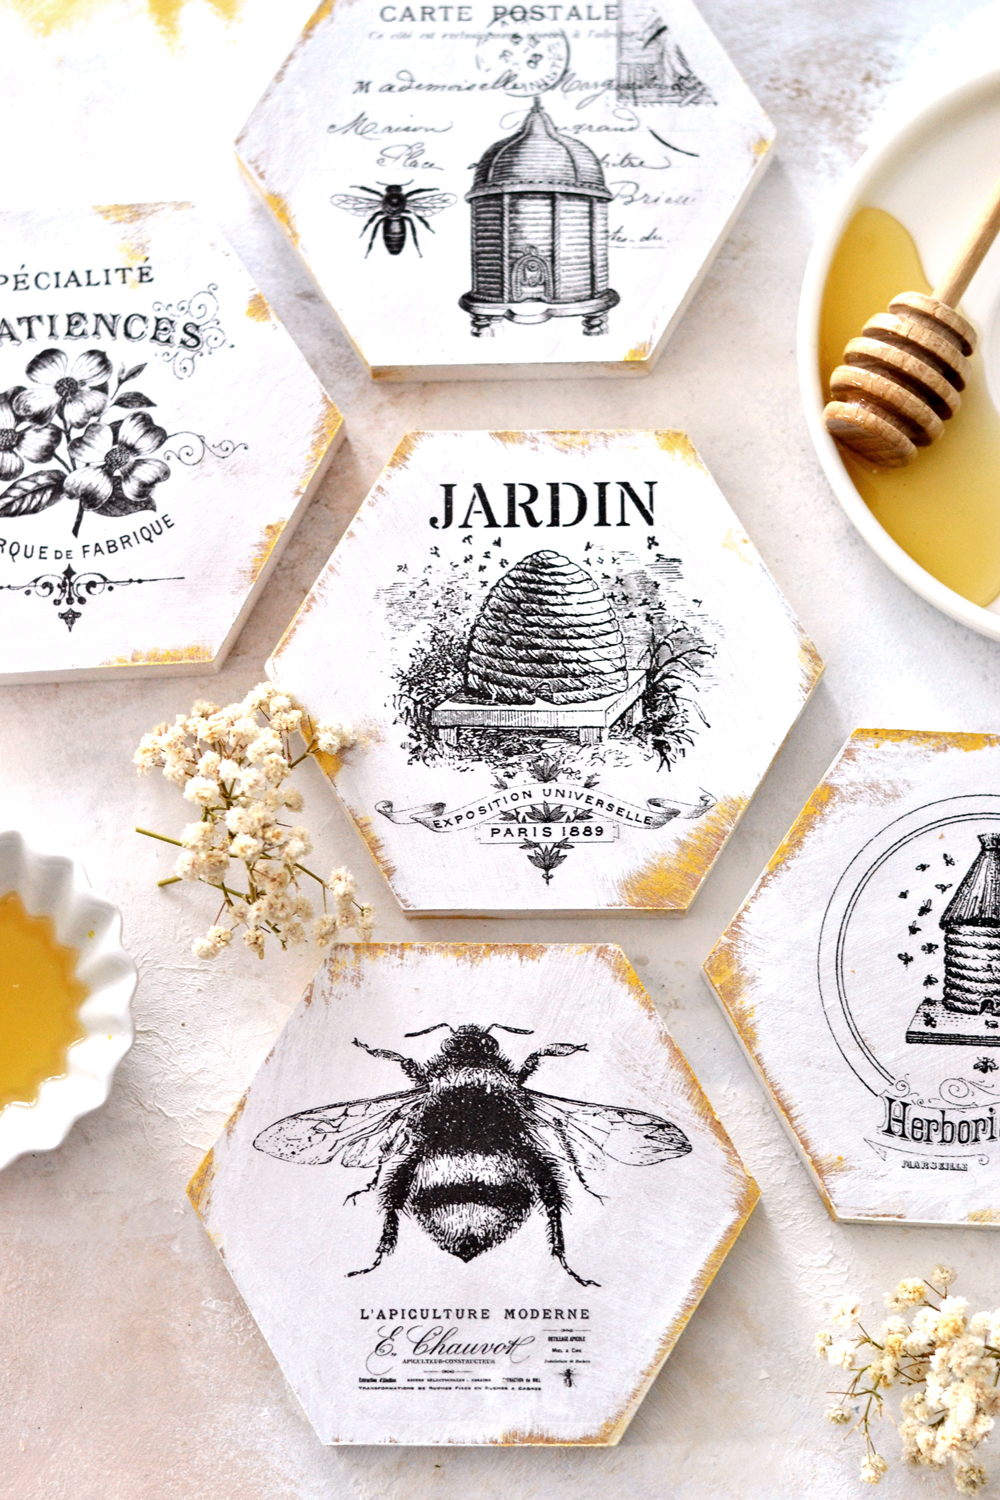
Hello creative friends! I’m Diana from Dreams Factory and today we will be making some charming DIY Honeycomb Coasters, that would be just perfect for entertaining …but also they would make a fantastic homemade gift! I think these would be wonderful as a hostess gift or for Christmas or Birthdays. They would make a lovely housewarming present too. And they would go beautifully with these French Bee Tags. 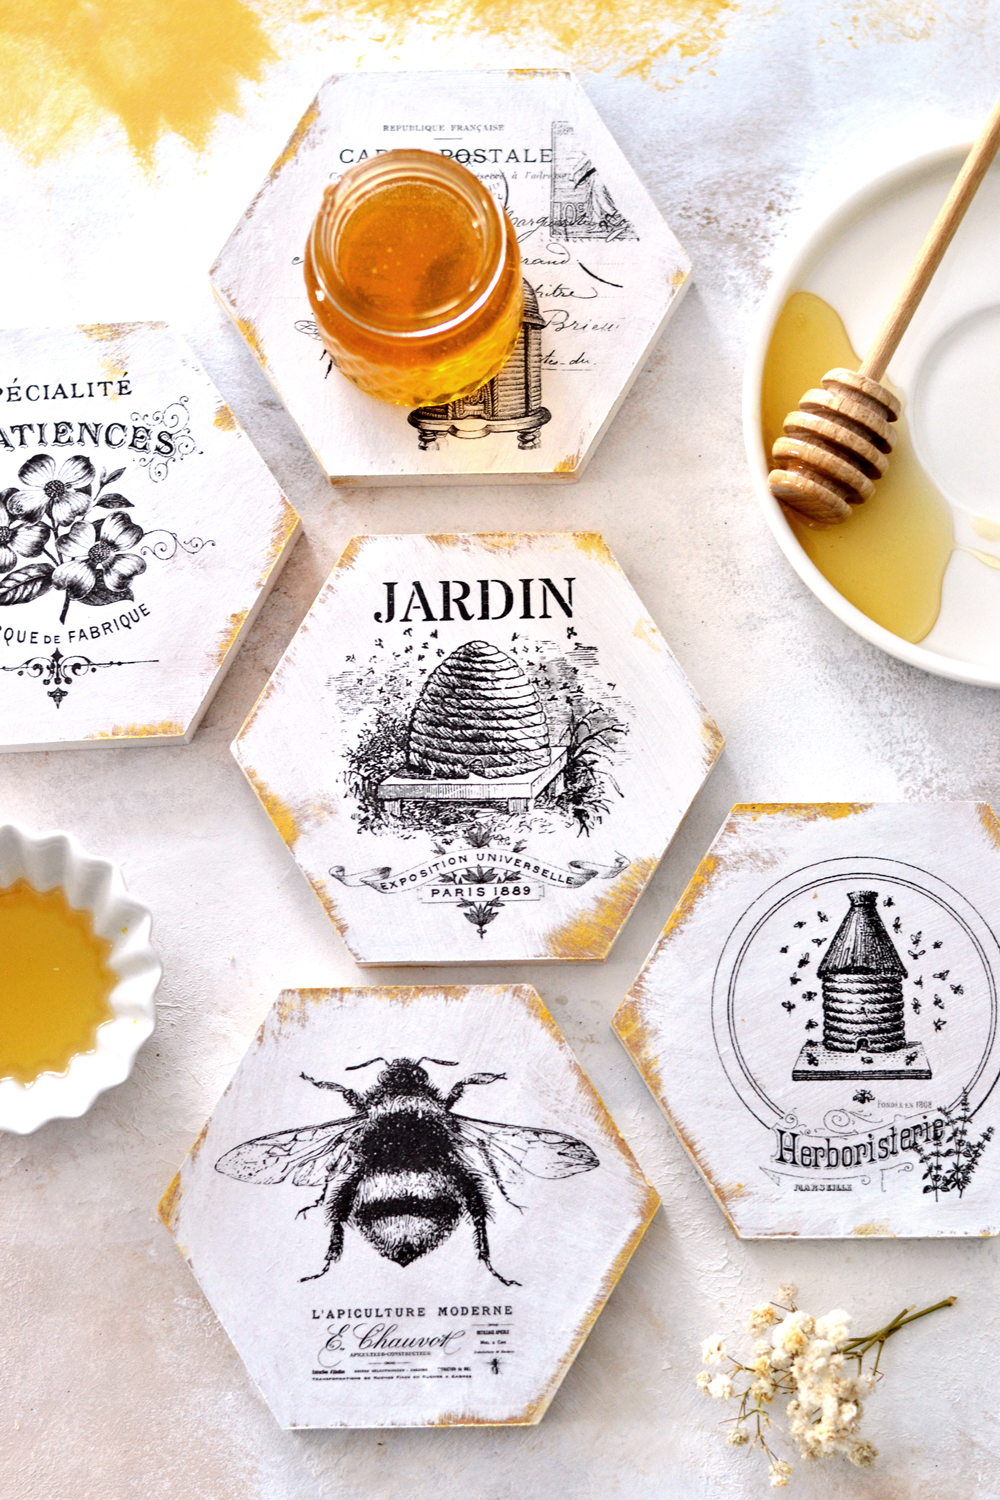
I will be showing you:
1. how to cut the hexagonal shapes that we will need to create the honeycomb coasters
2. how to quickly paint and faux distress the coasters with white and gold acrylic paint, for a more authentic look
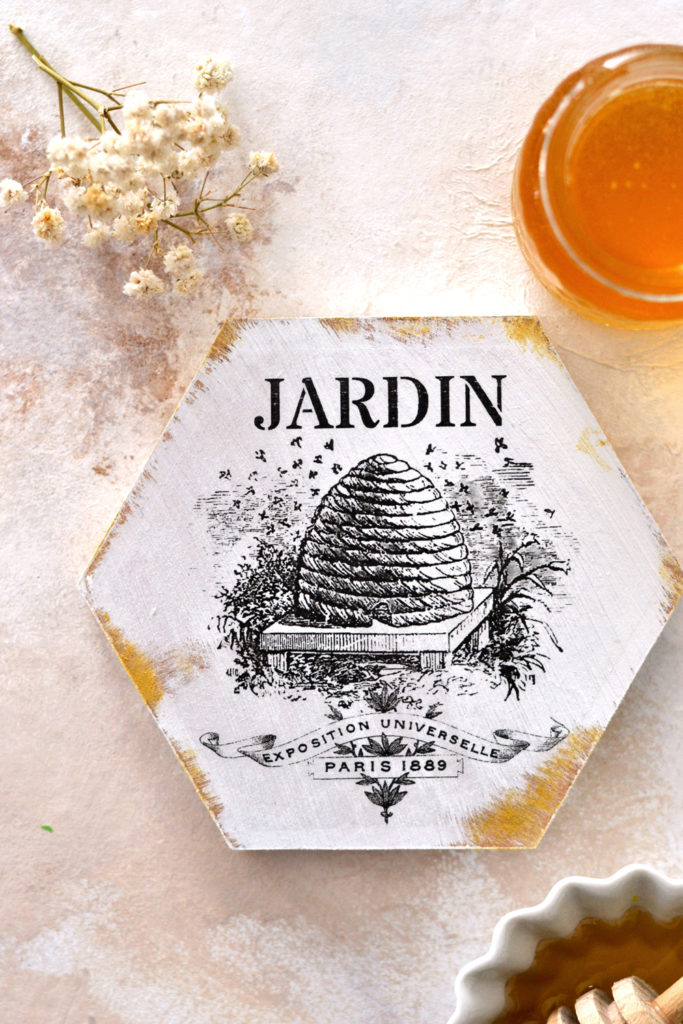
3. how to decorate the coasters with these ‘très chic’ French graphics that I made for this project
4. how to protect your work so you can enjoy these beauties forever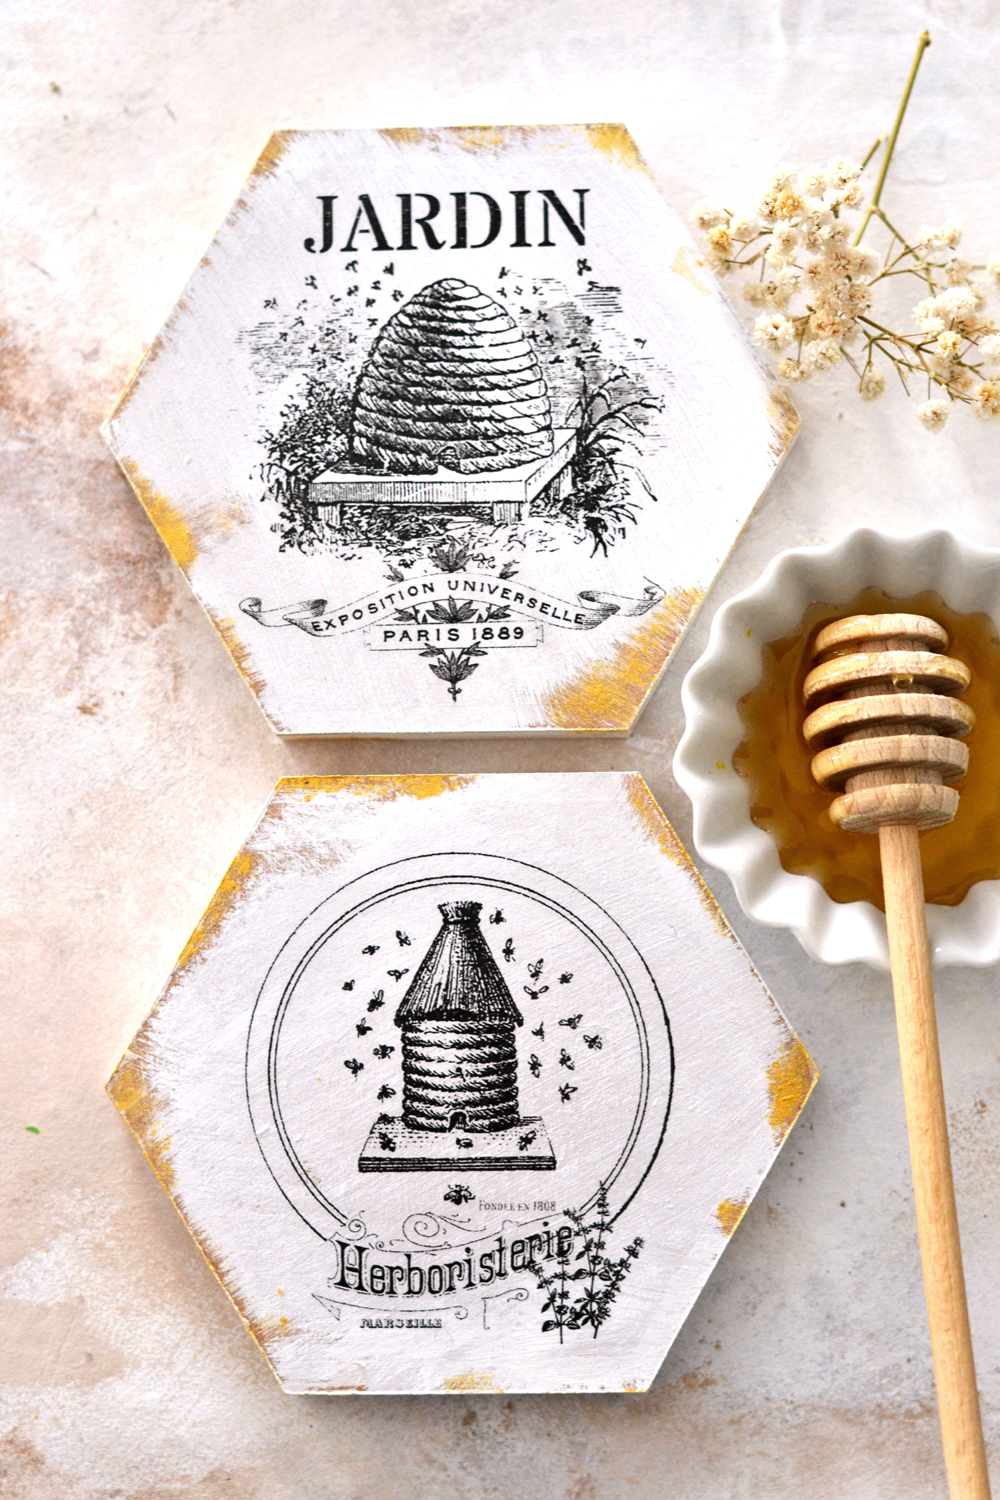
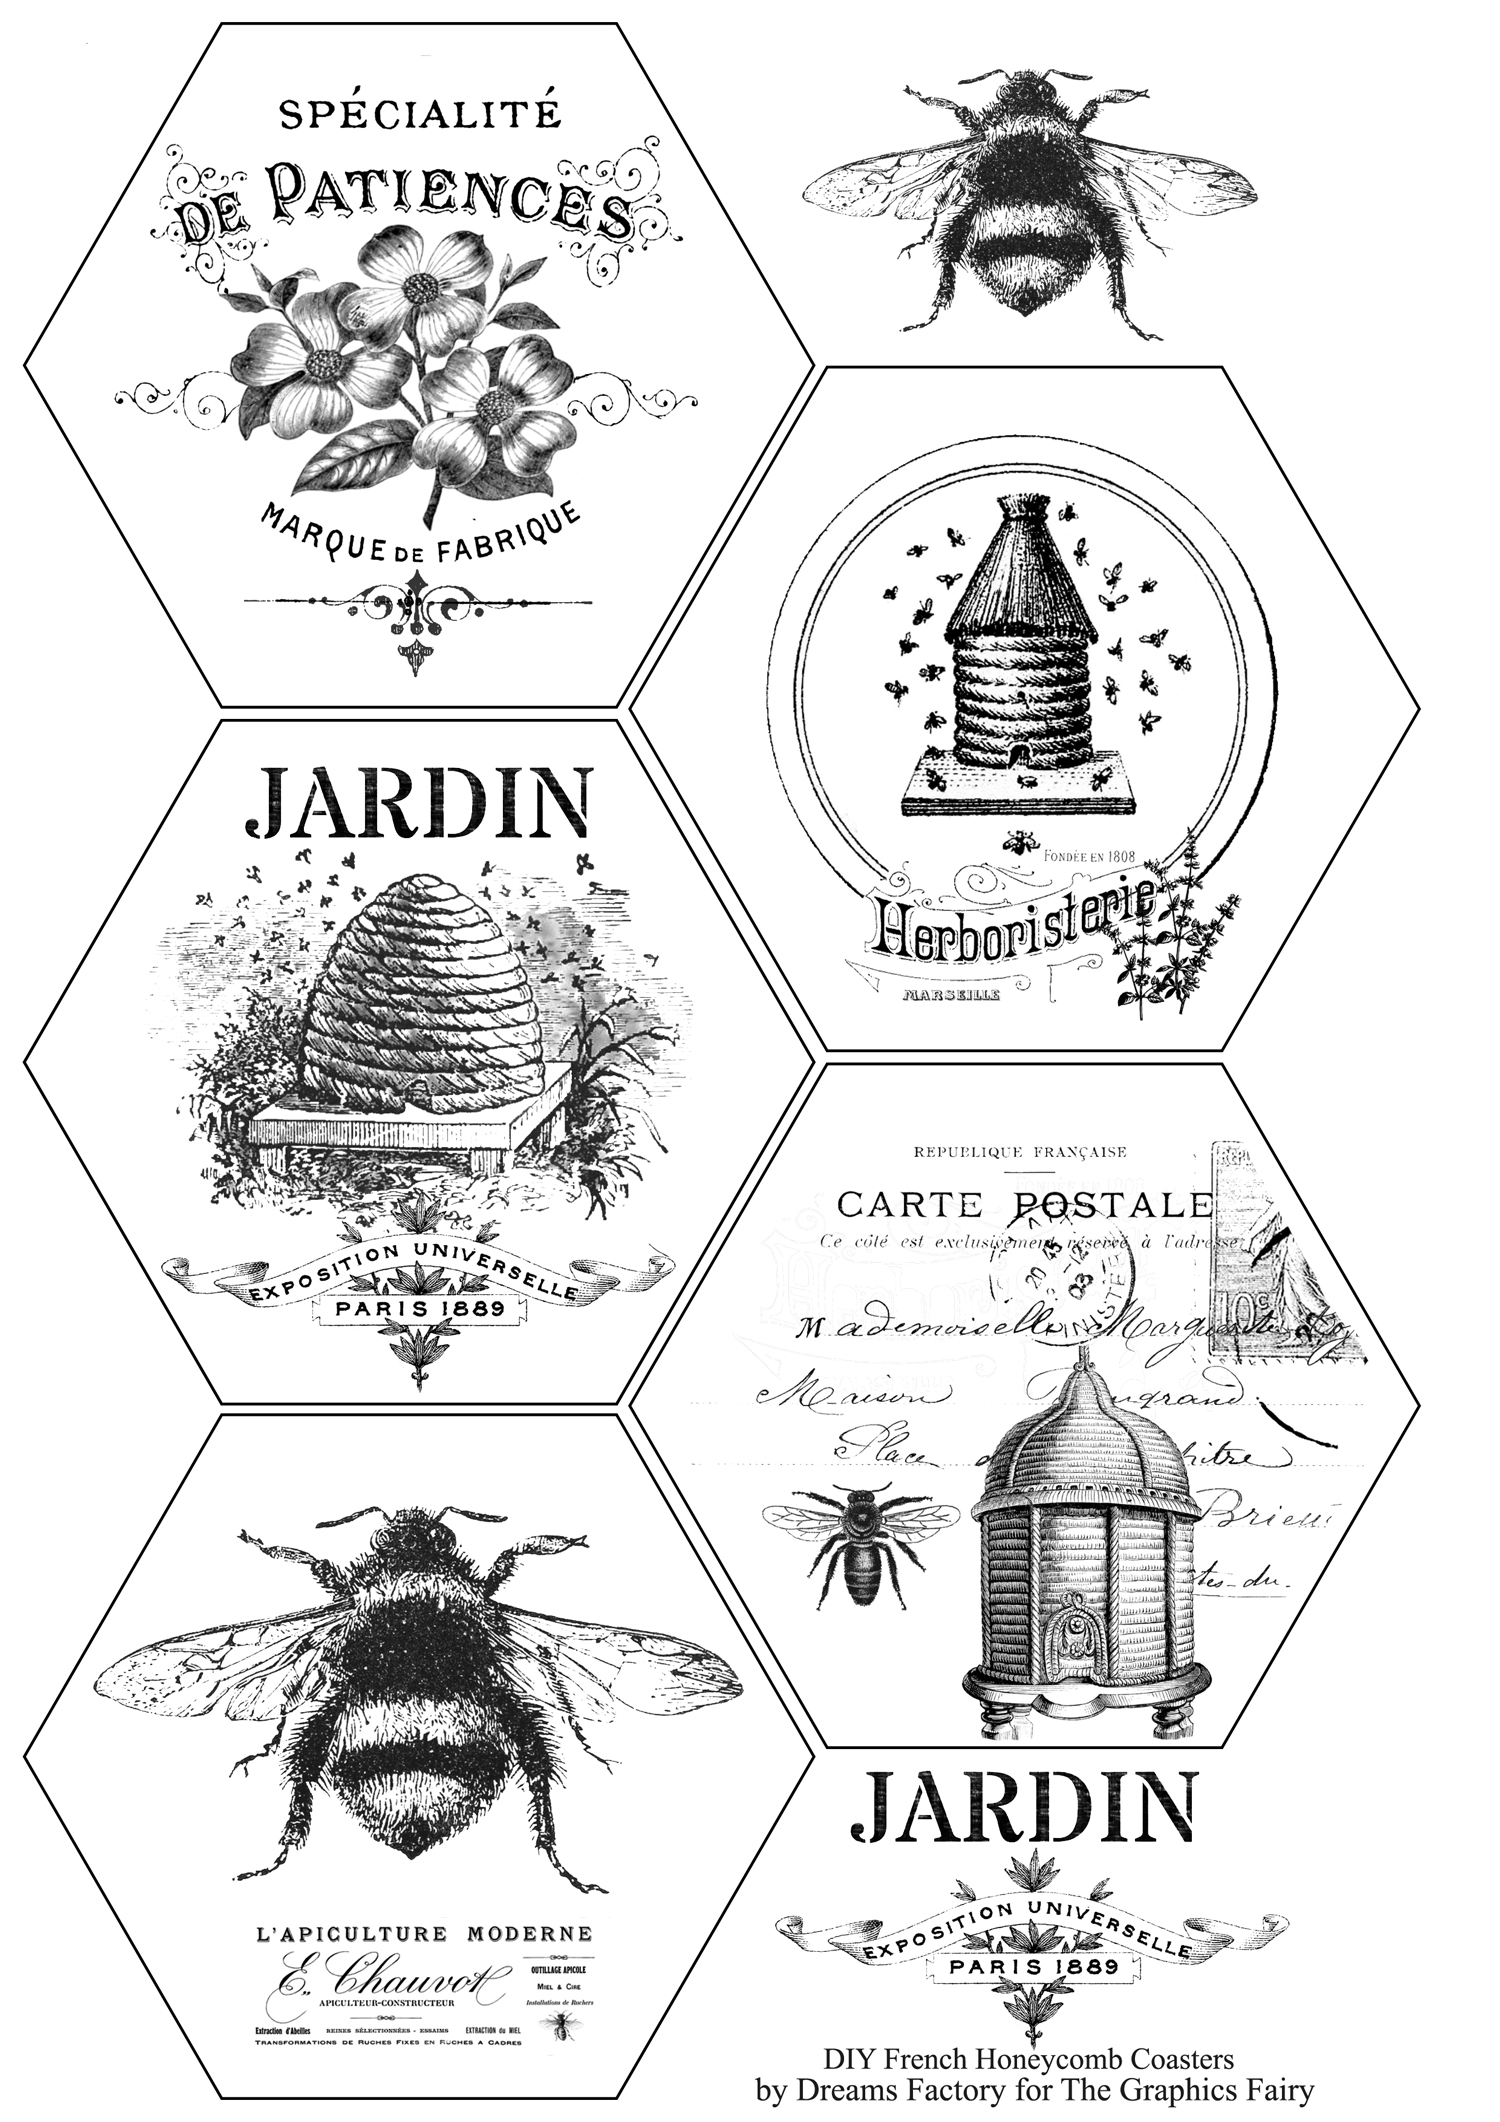
As always, I’m sharing the French graphics that I designed for this project using images from The Graphics Fairy – you will be able to create 5 beautiful DIY Honeycomb Coasters. I only had enough space on my page to add 5 honeycomb French graphics and I initially created the project having this number in mind. But if you are dreaming of a perfect set of six, I added a few other individual elements that you can combine to create the 6th element … I mean coaster.
Free Printable for DIY Honeycomb Coaster
—-> Click HERE to Download the Full Size Printable PDF <—-
How to make the DIY French Honeycomb Coasters
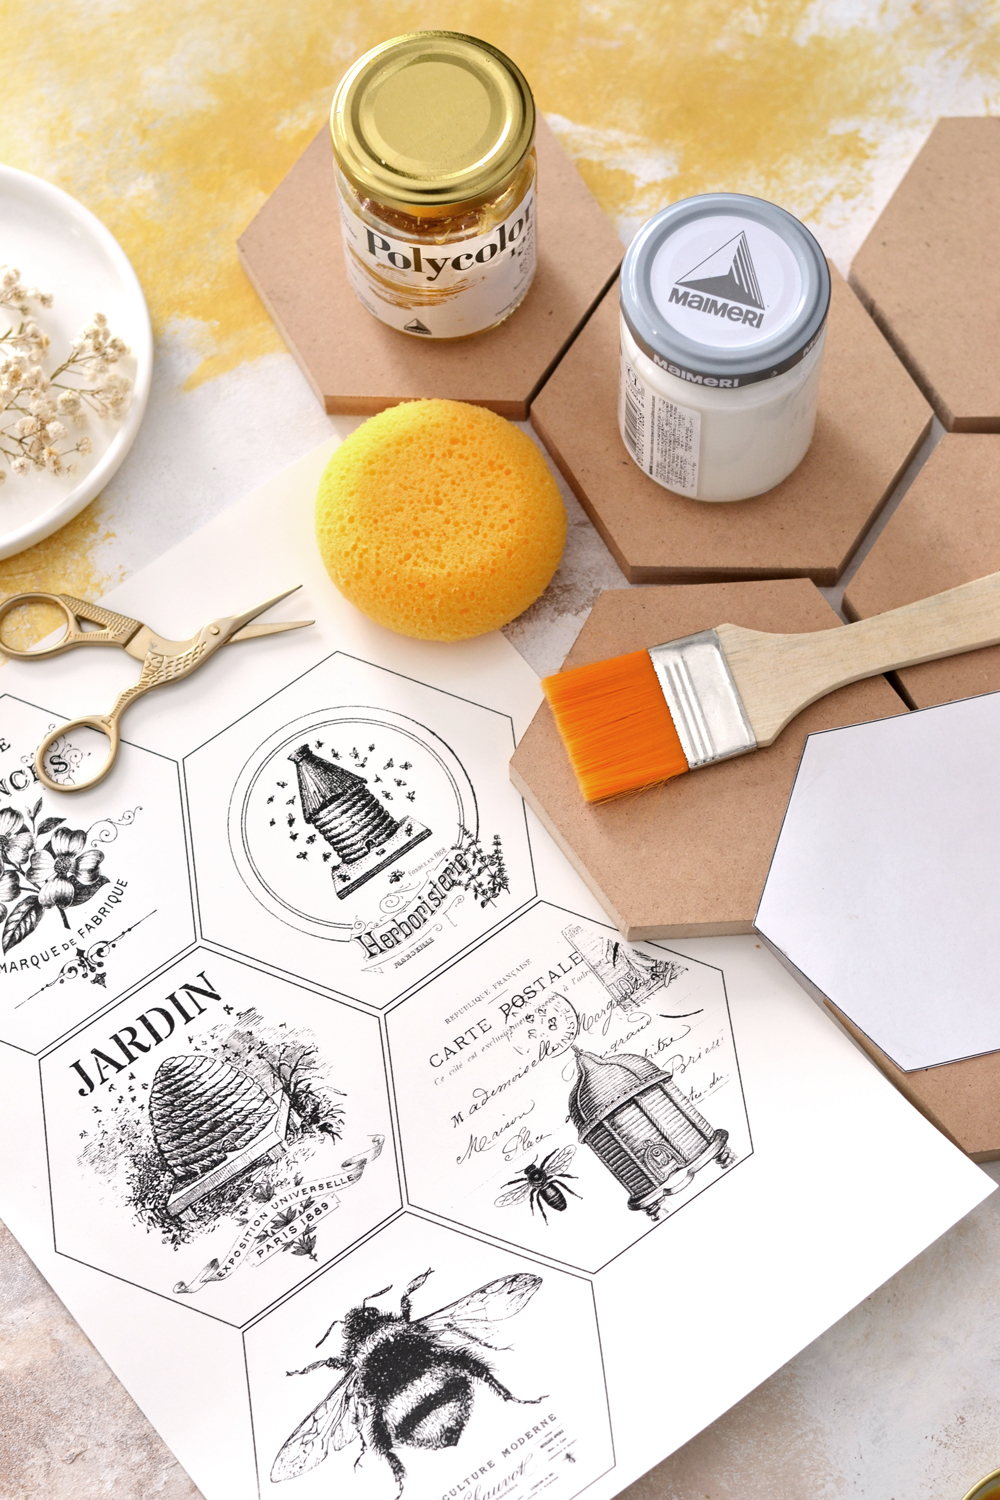
Supplies for DIY Honeycomb Coasters:
For creating the hexagon coasters
- hardboard (HDF – Hight Density Fiberboard) OR MDF (Medium Density Fiberboard) OR any other scrap wood
- hexagon template (download here)
- a pencil
- cardstock paper
- scissors
- laserjet printer
- top handle jig saw OR table saw
- 120 or 180 grit sand paper
For painting & faux distressing the coasters
- white acrylic paint
- a large brush
- a small brush OR a sponge
- gold acrylic paint
For decorating the coasters with the beautiful French graphics
- French graphics
- waterslide decal paper (laserjet printer) waterslide decal (inkjet printer)
- home printer (I have a laserjet)
- scissors
- small bowl with water
- paper towels
For sealing the coasters
- matte finish spray OR other water-based sealer
- brush
How to create & cut the hexagon coasters
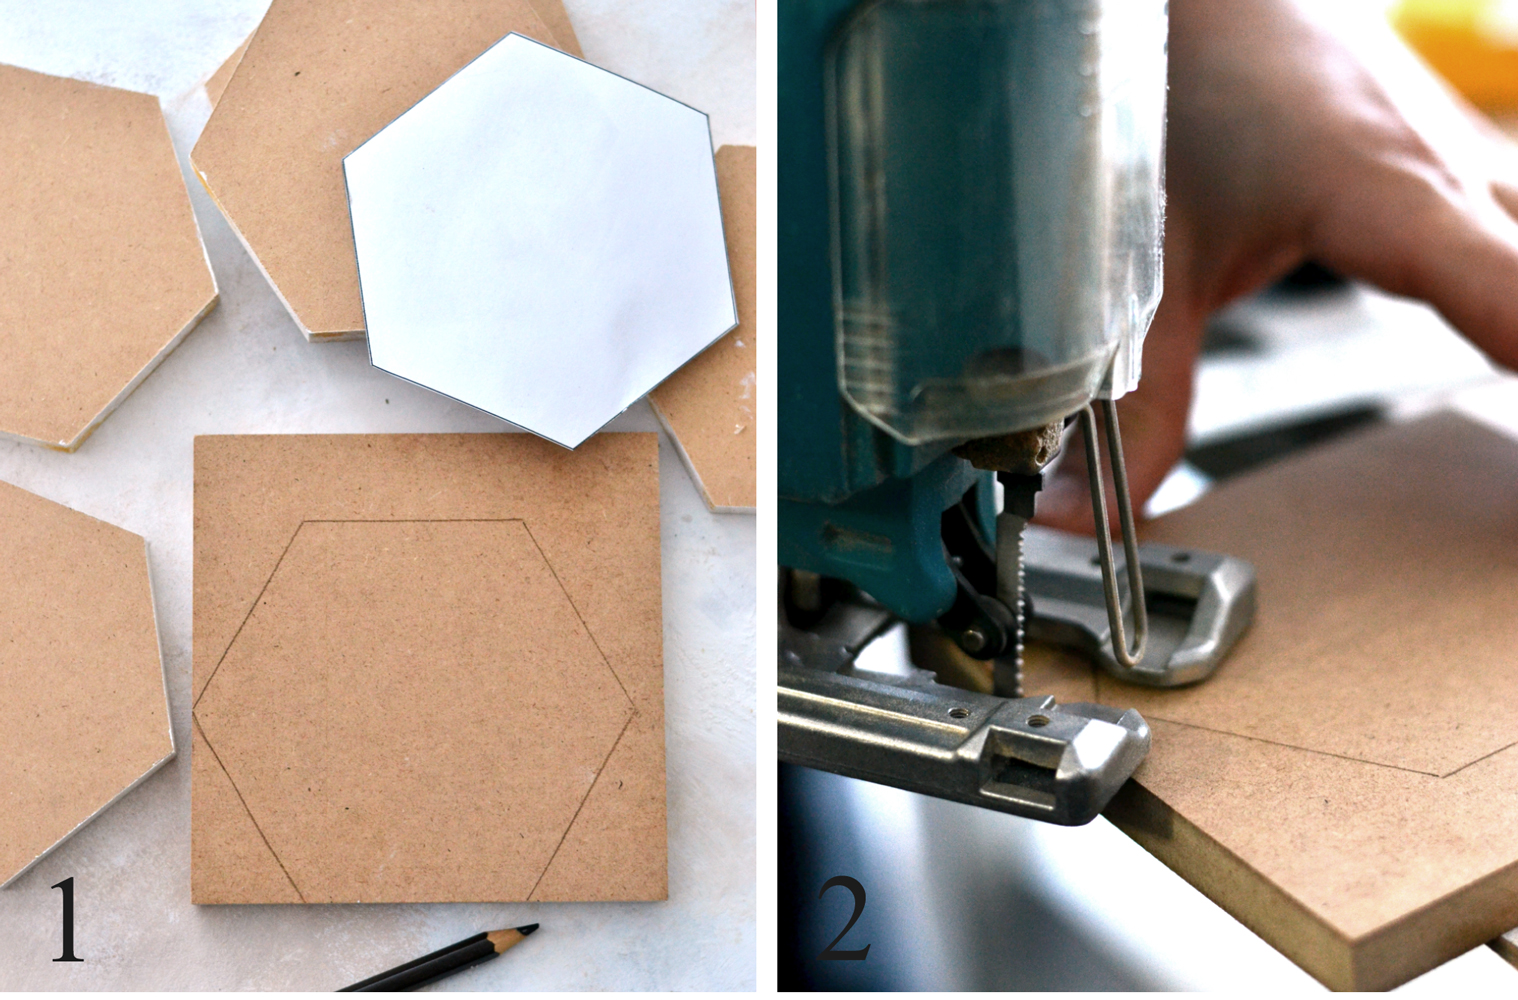
1 . Let’s start by creating the honeycomb shapes first! You will find a printable with a simple hexagon shape in the supply list, you can just print it on cardstock paper and use your scissors to cut the shape outside its black border. Use this shape as your template and trace 5 (or 6) hexagons on wood using a pencil. I used MDF, but you can use any scrap wood you have around.
2. Use a top handle jig saw to cut all the 5 (or 6) coasters. Mr. Dreamy helped me with this part … jig saws are not really my thing. Then use sand paper if needed, to sand the edges until smooth.
How to paint & faux distress the hexagon coasters
3-4. I decided to dry brush my coasters to create a faux distressed finish. Just keep in mind that when dry brushing a surface you will only need a small amount of paint and no water! So I used a little bit of white acrylic paint and a large brush and starting from the middle of each coaster, I began brushing outwards. I didn’t completely cover the surface of the coasters and I tried to create a faux distressed finish, especially on the edges. I didn’t follow a pattern, I just tried to leave smaller or larger areas unpainted to give the coasters a more worn and distressed look. Because I used such a small amount of white paint, the coasters dried super fast and I could quickly move on to the next step.
5-6. I knew gold would be able to accentuate the whole honeycomb idea I envisioned, so I used a little bit of gold acrylic paint and a small brush (you can also use a sponge) to add gilded accents here and there. Again, I used only a small amount of paint and no water and I dry brushed the areas I left unpainted earlier. You can choose to completely cover these areas with gold or you can just add subtle highlights, it’s all up to you! Let the paint dry completely before moving on.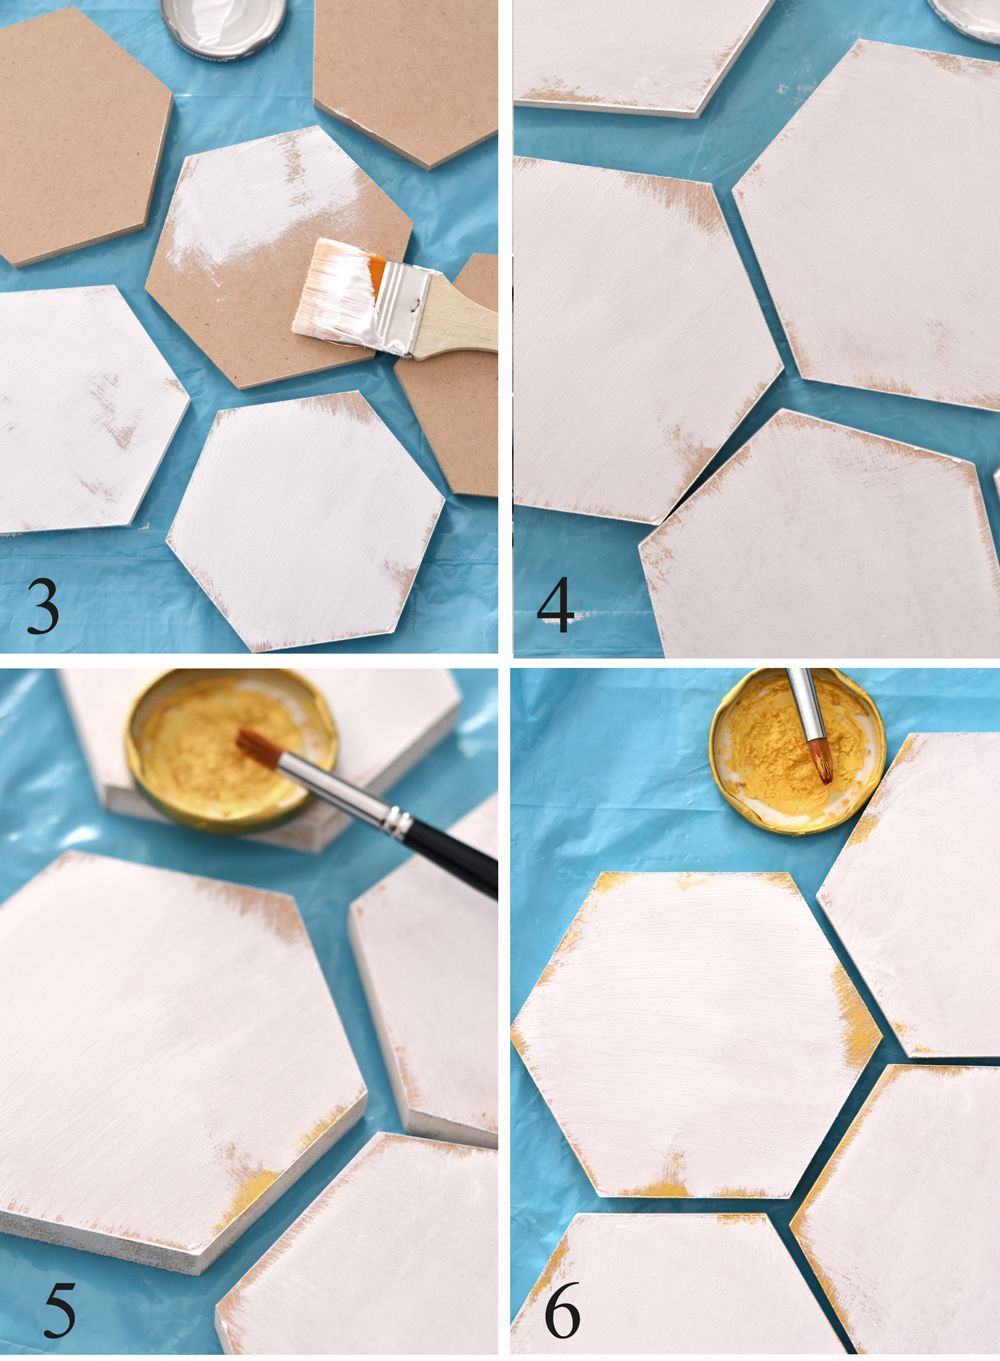
How to decorate the coasters with the beautiful French graphics
NOTE: The following instructions are suitable for waterslide decal paper created for and printed using a laserjet printer. The steps might be different if using an inkjet printer, just follow the instructions that came with your decals if using an inkjet printer!
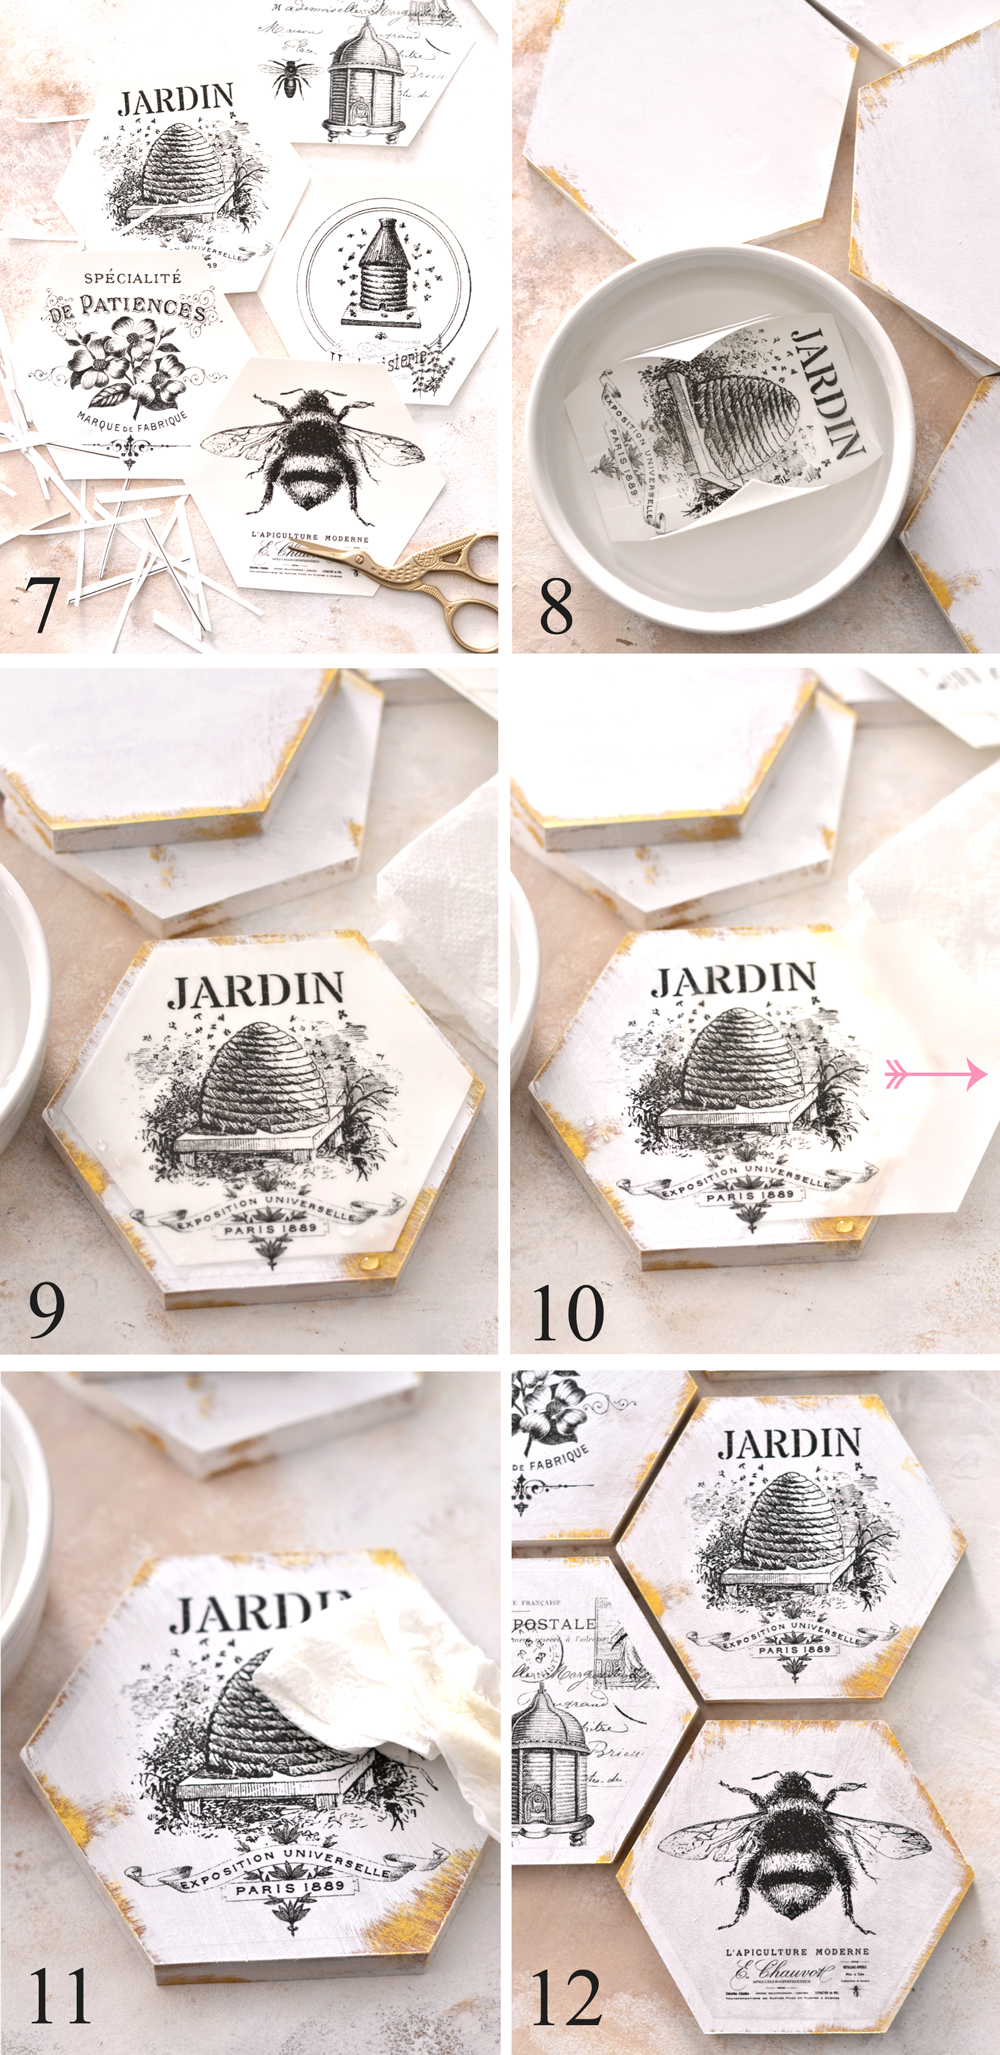
7. Print the French graphics on waterslide decal paper. Use your scissors to cut all the images and completely remove their black borders.
8. Add a the decal paper into a bowl with water and wait for a few seconds.
9. Use your fingers to drop a little bit of water on the surface of the coaster, remove the decal from the water and add it on the coaster.
10. Try to center the decal as much as you can, then remove the white paper from its back by slowly gliding it on one side.
11. If the decal is not perfectly centered, you will still be able to gently move it around at this stage (but only if you added enough water). Center the decal, gently remove all the excess water using paper towels … and admire your first French honeycomb coaster!
12. Follow the same steps to decorate all the coasters and let them dry for about 1/2 – 1 hour .
NOTE: If you can’t find decals where you live and still want to try this project, you can use cardstock paper to print the French graphics (instead of decals) and just use Mod Podge to adhere the images to the coasters. Your images will be a little more ‘visible’ and won’t ‘blend’ in as much as the decals would, but I think this could be a really good alternative!
13-14. To finish the coasters you will need to add one or two coats of sealer. You can choose either a matte or a glossy acrylic spray (use it in a well ventilated area or even outside) or a water-based sealer. I went for the water-based sealer and simply brushed two coats on top and on the sides of my new DIY Honeycomb Coasters (letting the first coat dry before adding the next one). This step is really important if you want to be able to use and enjoy your coasters … foreva’.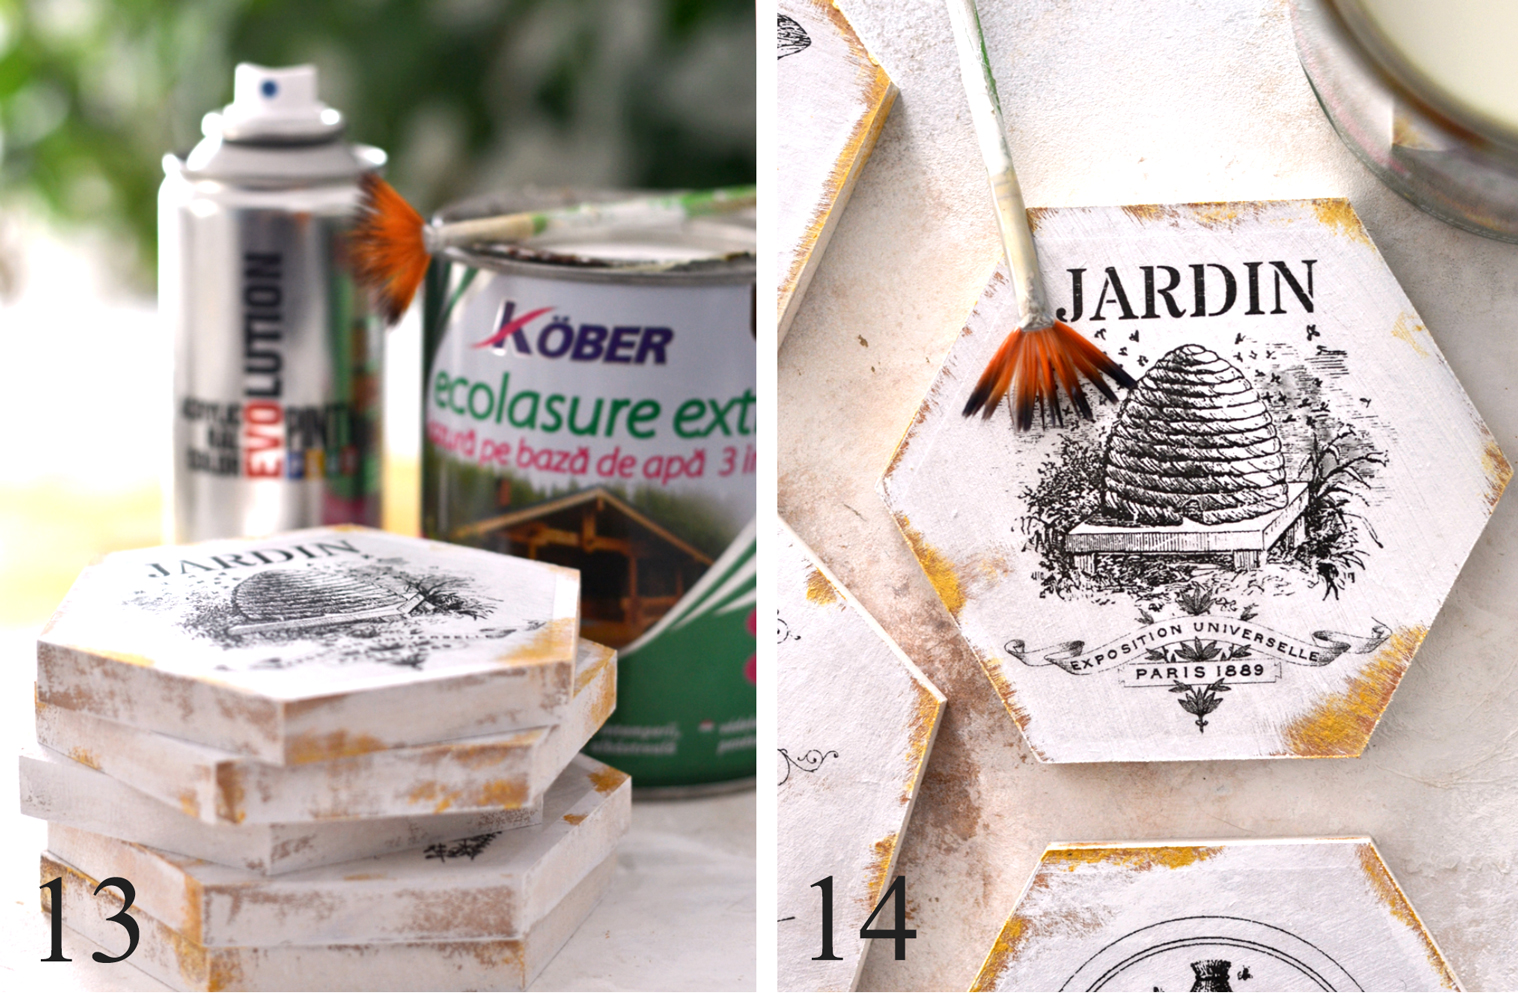
That’s it! Pretty simple … and pretty amazing, right?
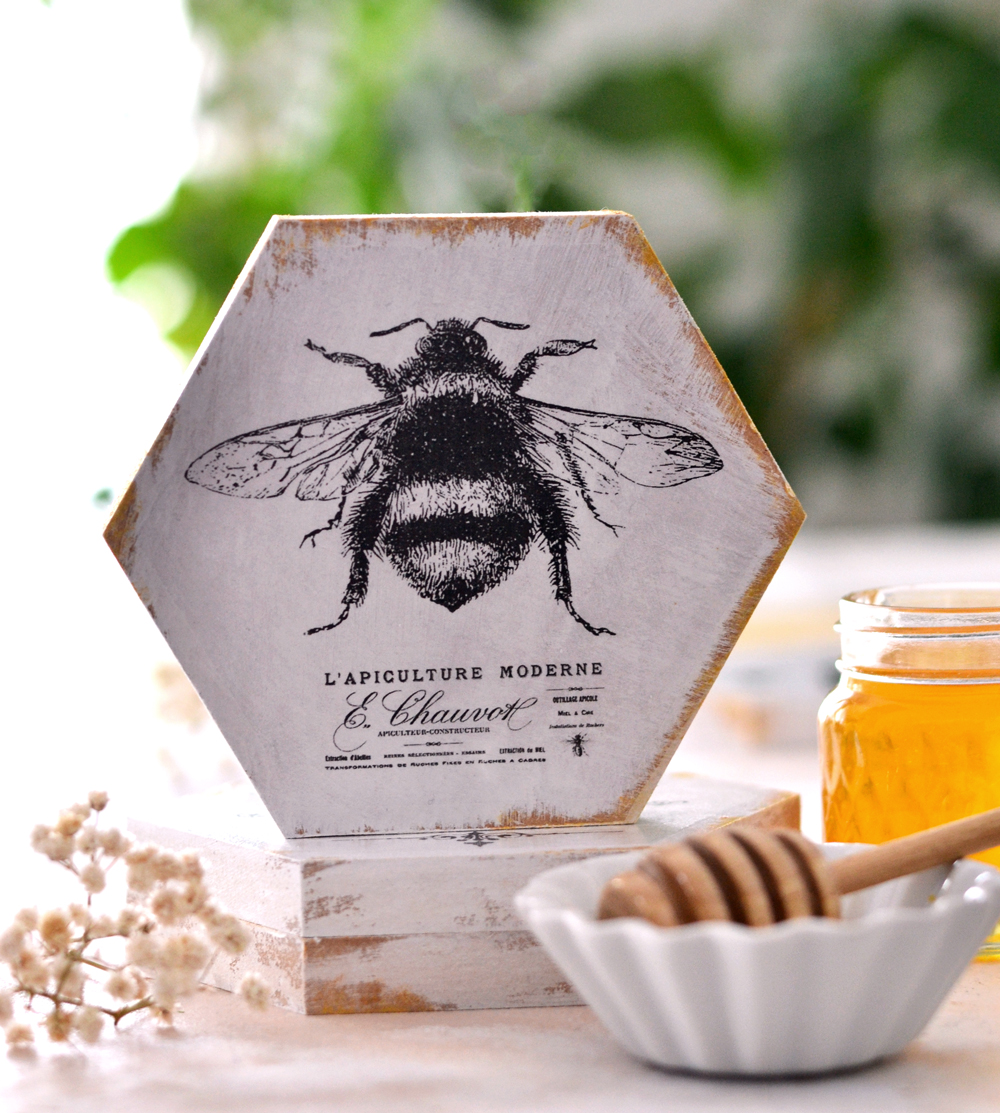
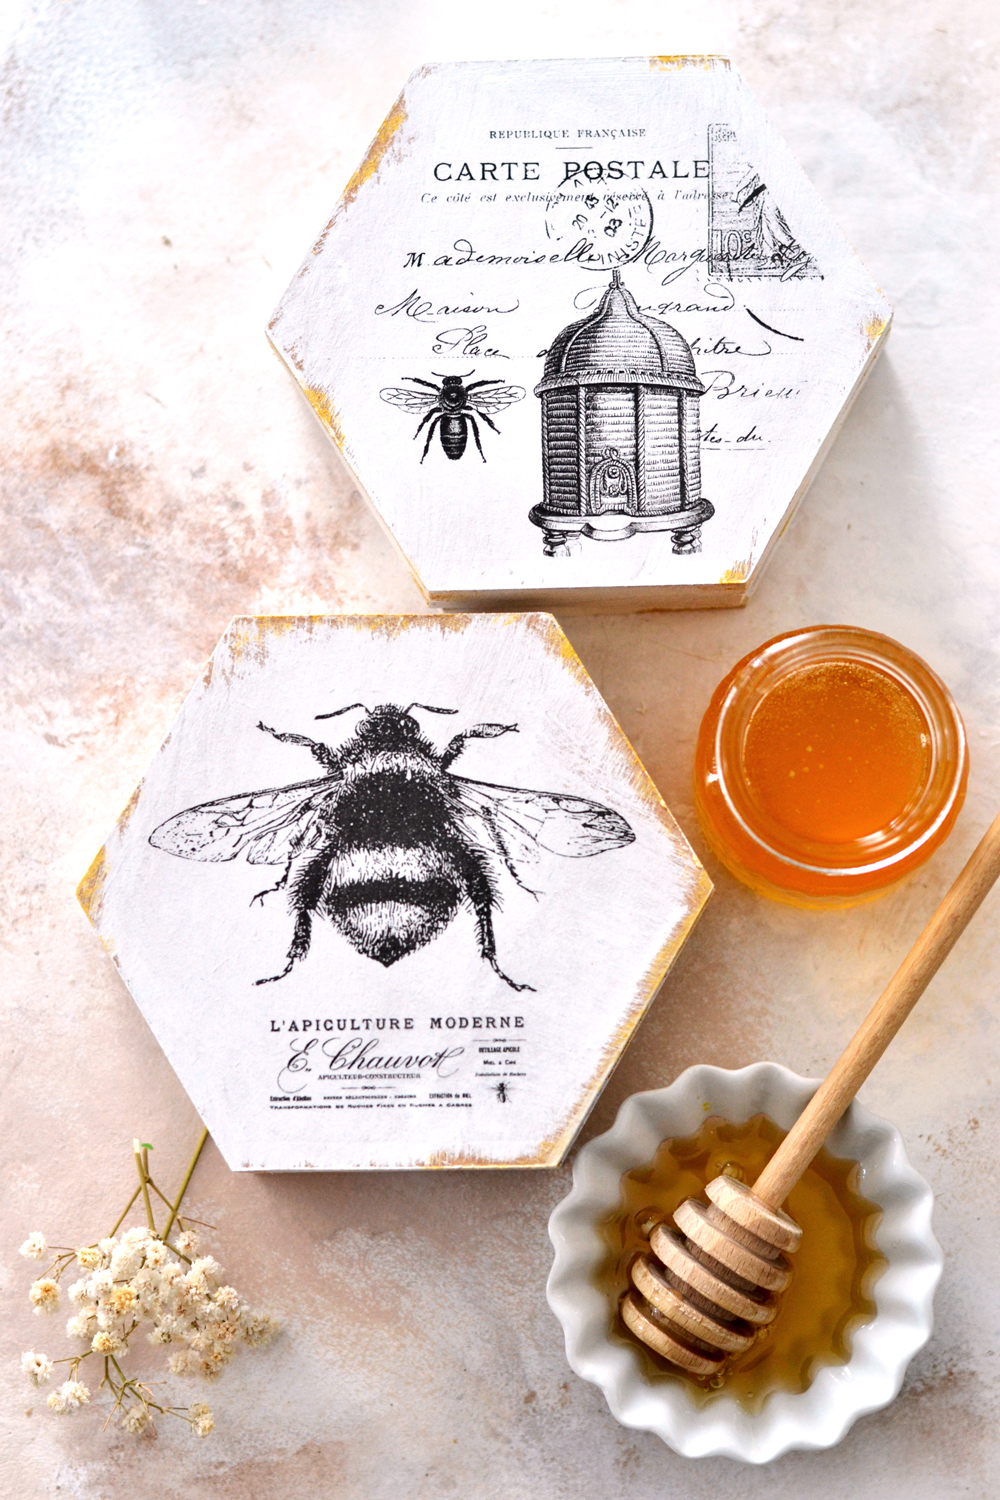
I’m really happy with how these coasters turned out and I believe the waterslide decal paper played a huge role in creating this beautiful look. More exactly – the transparency of the decals and how they sort of blended in. I was able to faux distress the coasters as much as I wanted and I simply added the decals on top of that beauty! 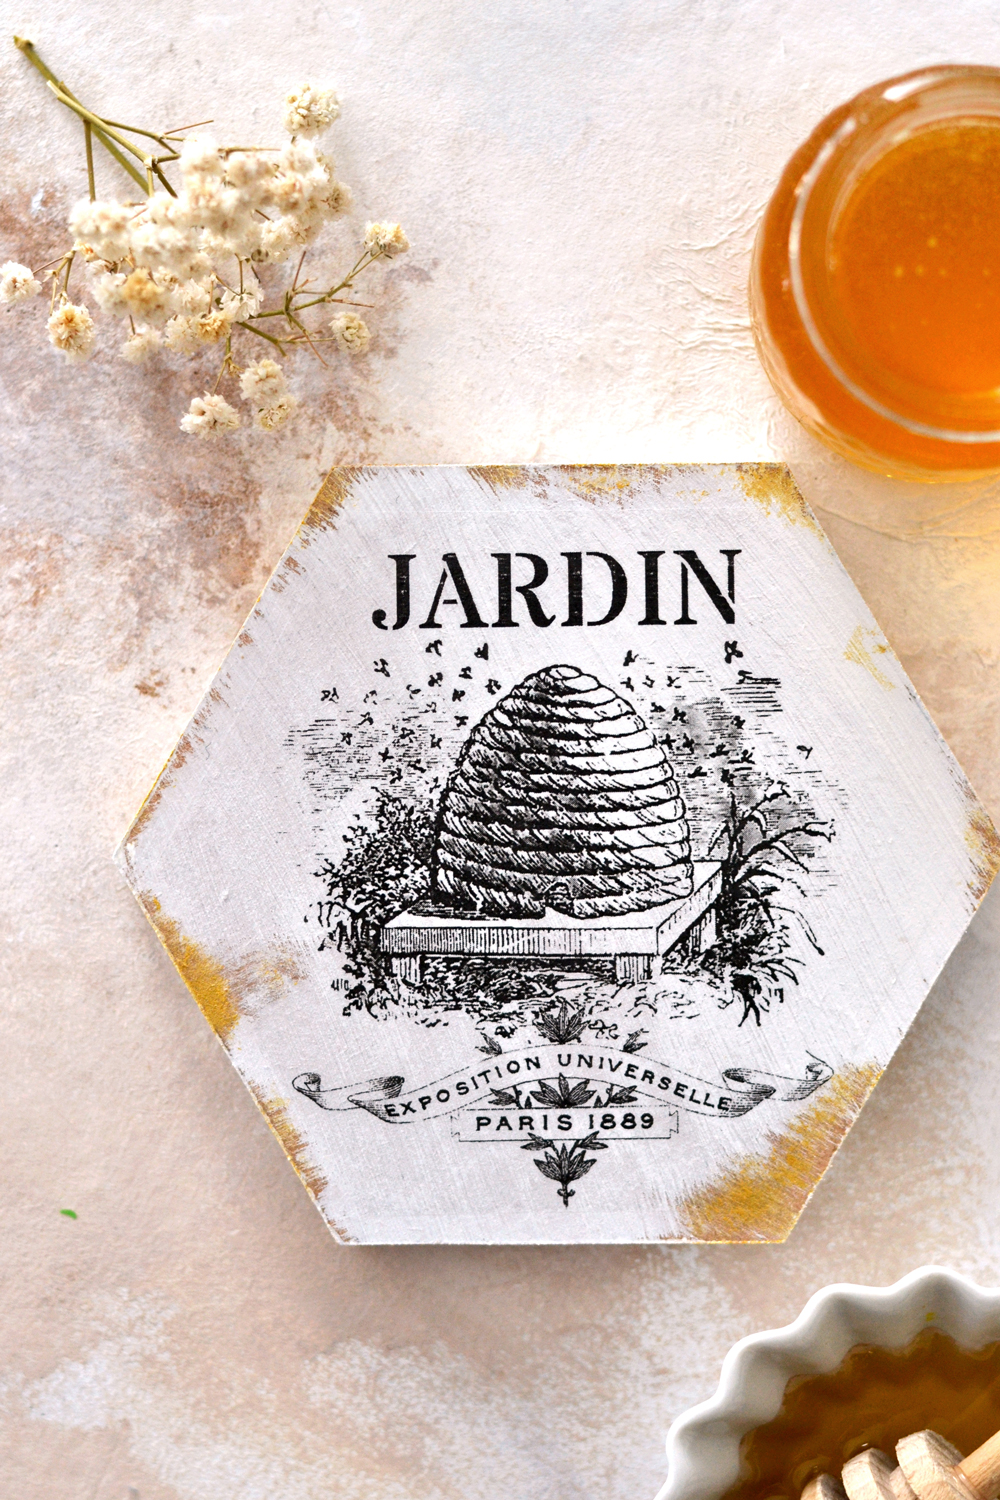
Your DIY Honeycomb Coasters are now ready for spending good quality time with all your friends and family!
They can be stacked and quickly used when needed!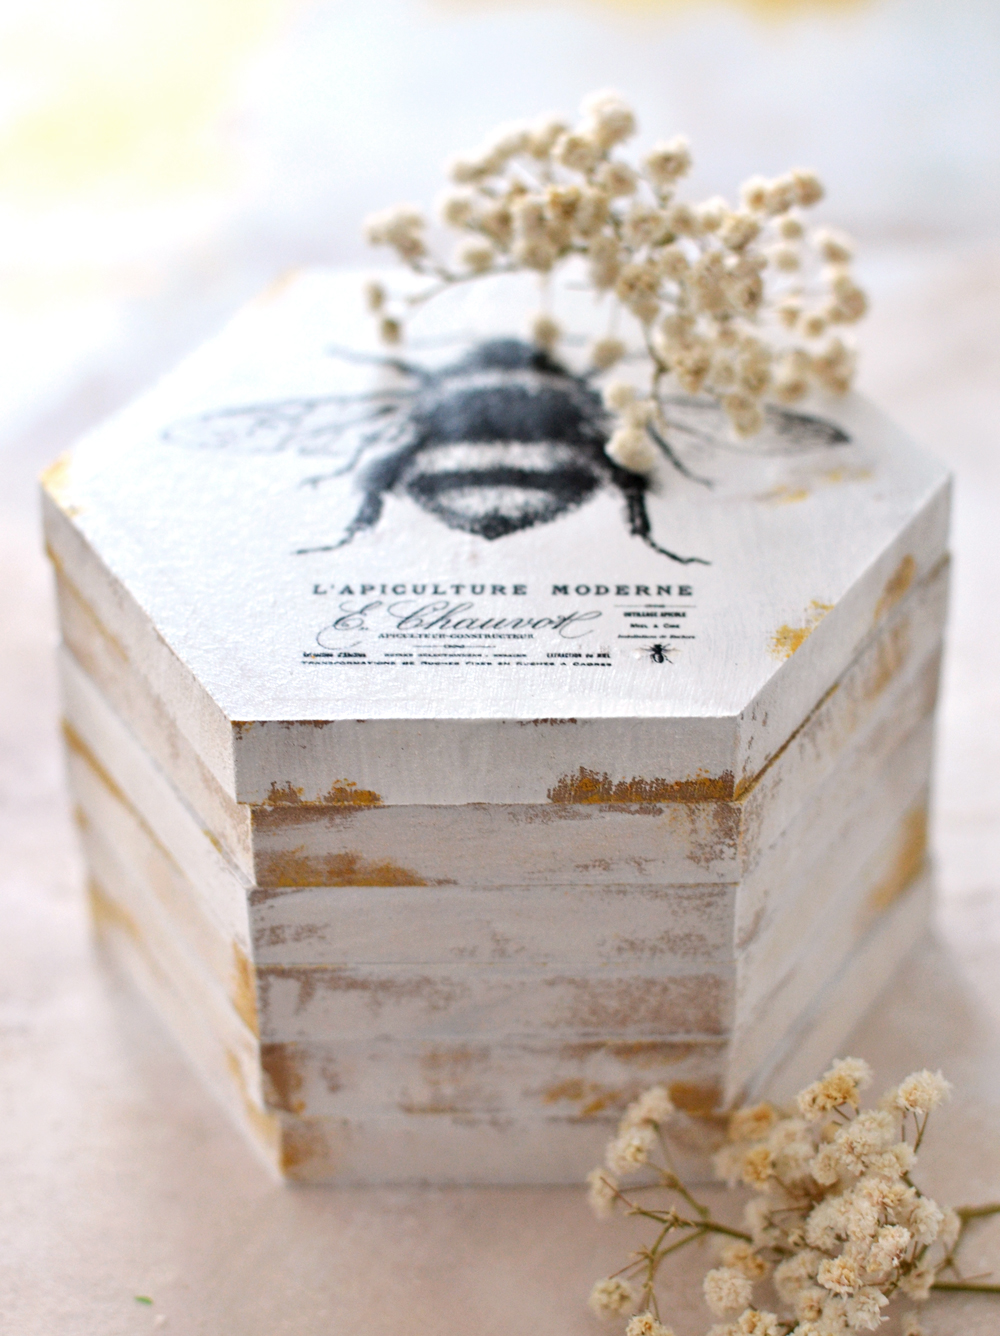
They will make a beautiful setting for your spring or summer table whether you use them for indoor or outdoor entertaining and can be easily paired with different sized glasses, even jars or small bottles.
Maybe with a delicious honey lemonade infused with some fresh mint? 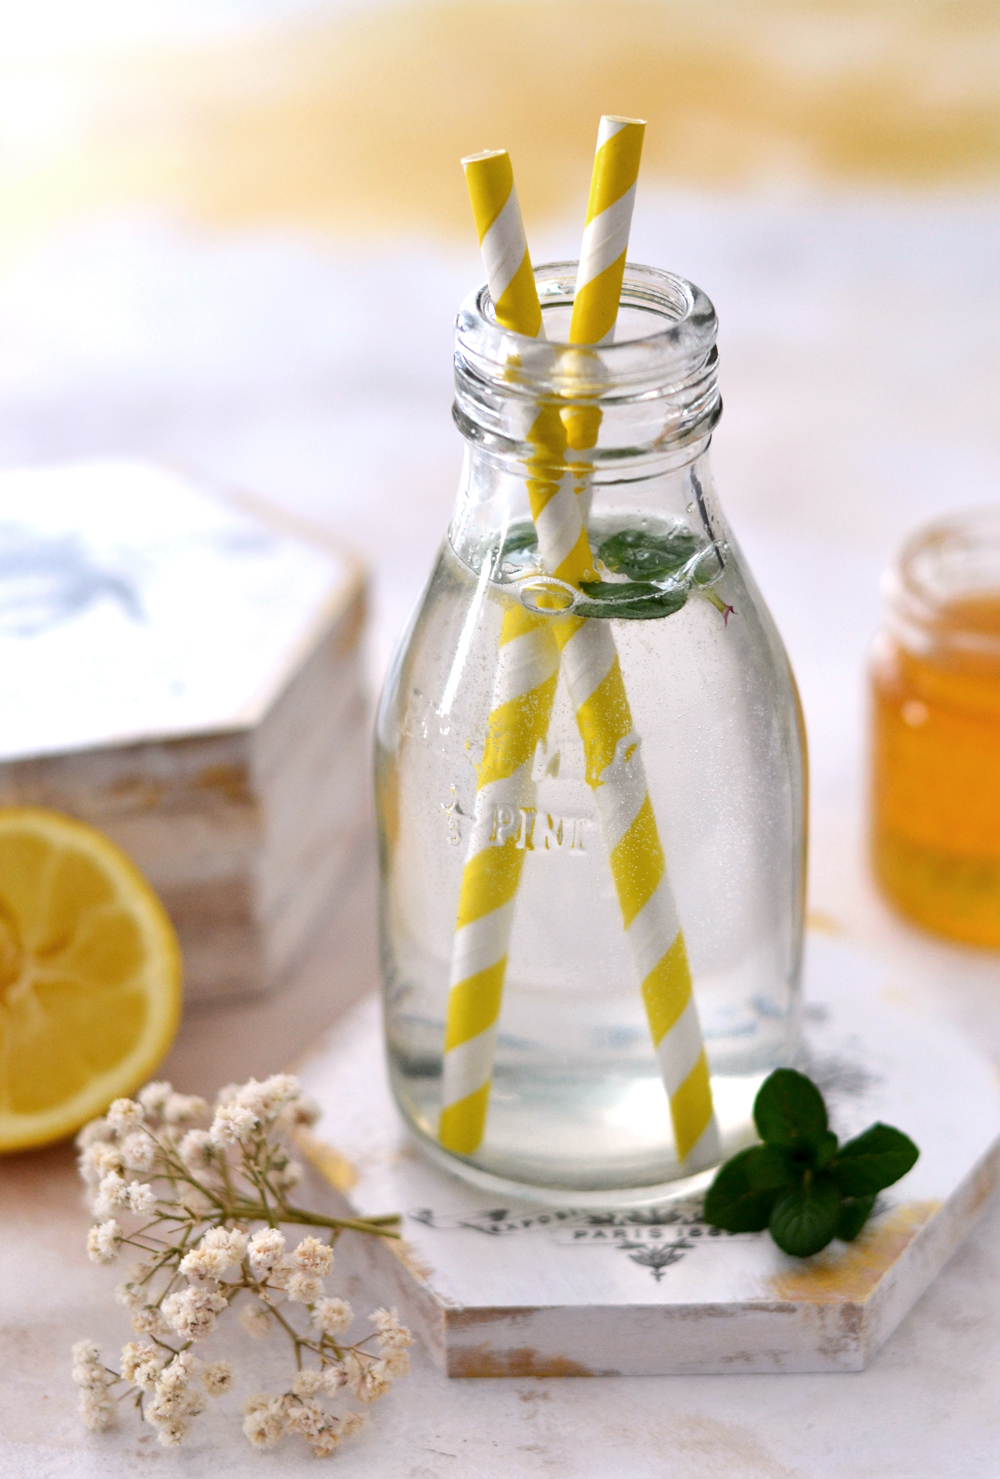
They would also make such amazing gifts for your friends! Just pack them with a small jar of honey and a cute honey dipper and you’ll have an original gift ready in no time! A handmade gift can be quite unique and much more meaningful than any other expensive gifts, don’t you think? 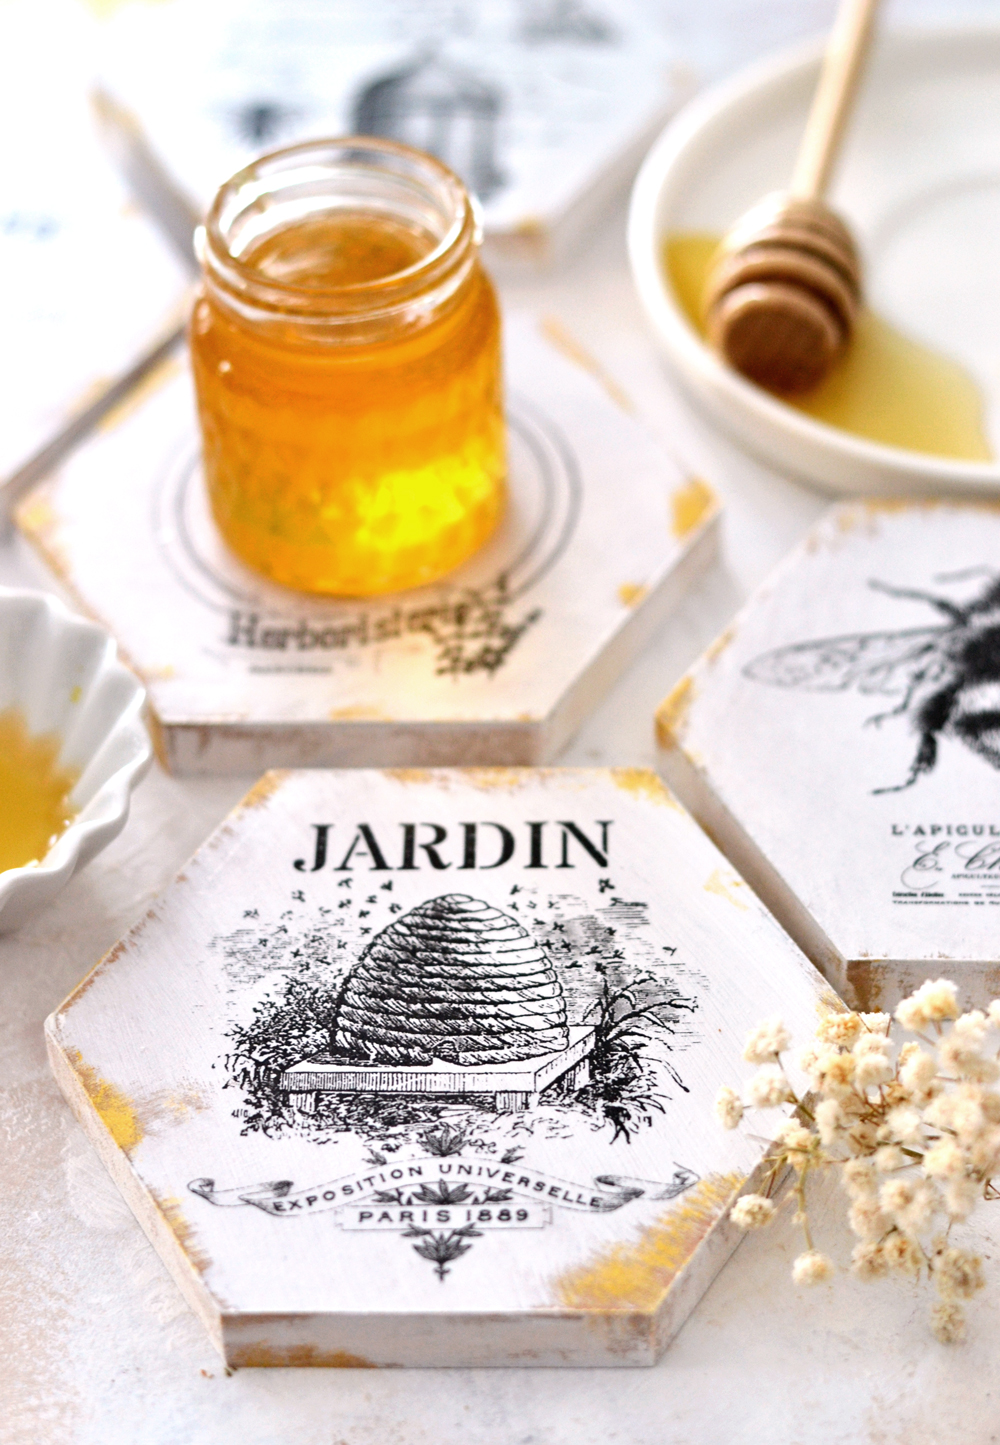
I really hope you will give this project a try, the DIY French Honeycomb Coasters would be such a great addition to your home … or to your friends’ homes! You may also like DIY Picture Coasters HERE.
Have fun creating,
Diana / Dreams Factory


Nina says
Thanks Diana – what a fun project and perfect gift idea. I have a friend named Bea, and she loves all things “Bee”.
I haven’t worked with MDF or HDF before. Will it hold up to a glass that “sweats”, or will it eventually start to dissolve?
I’m also curious about water-based sealer…any worries about it getting messed up from the wet glass sitting on it?
graphicsfairy says
Hi Nina,
Thanks so much! A water based sealer that is made specifically for protecting wood and can be used both for indoor and outdoor projects shouldn’t give you any problems if a few cold drink ‘sweatings’ happen:blush:
To take things further on the safer side, you could apply 2-3 coatings (instead of just one) on all the sides and all the margins (letting each layer dry in between).
This way each coaster will be perfectly sealed and will also assure that the MDF / HDF / wood is completely protected.
For a longer life though, I wouldn’t completely submerge them in water, for example. They should be treated with a little bit of care … and love, they are handmade items after all 🙂
Ann-Charlotte Eriksen says
Thank you for a wonderful project and freebie.
Appreciated….saved and shared 🙂
graphicsfairy says
Thanks so much Ann-Charlotte 🙂
rk says
Beautiful coaster set! Thank you for sharing the images as well. May I suggest that if one doesn’t have the water slide decal, you can use the mod podge image transfer method and get results with no seams/borders showing. It’s not necessary to use mod podge to just stick the image as that won’t be as seamless and pretty. You can get the exact same results as Diane did with the mod podge transfer method (or even other image transfer methods so kindly shared here by GF). I will be making some of these as well 🙂
graphicsfairy says
Thanks so much Rupa and thank you for sharing your insight and inspiration for others to try new transfer methods 🙂
Sherlene Mats says
Just darling!
graphicsfairy says
Thank you Sherlene 🙂
Denise says
I love these images and your use of gold paint! Do you think this project would work with ceramic tiles? I don’t have a way to get the cut wood.
graphicsfairy says
I’m not sure Denise, the best thing to do is try it out on a scrap piece and see how it goes, let us know if you do 🙂
Sue Malizia says
Love this…going to attempt! Thank you for sharing! =)
graphicsfairy says
Good for you Sue, enjoy and good luck!
Tanaria Carey says
Beautiful Project! I need to make these for my sister! Thanks for sharing! <3
graphicsfairy says
I am so glad you like them and good luck with your project 🙂