How to Make Paper with Seeds
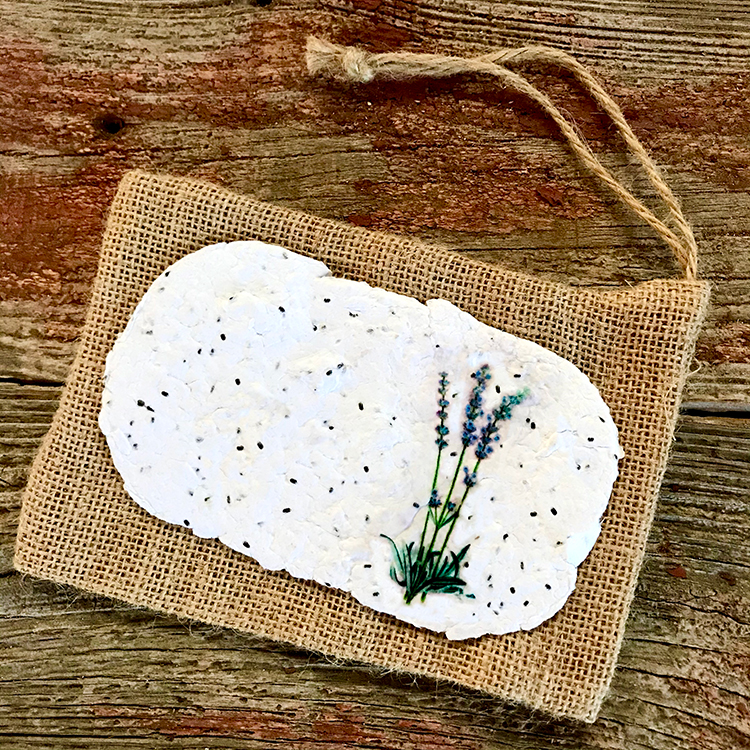
Hello Graphics Fairy friends and makers! It’s Rebecca E. Parsons, aka Cre8tiva, sharing a fun DIY tutorial with you – How to Make Paper with Seeds! I am sure you love the look and feel of handmade papers as much as I do and if you’ve always wondered How do you make Homemade Seed Paper this post is for you. The best part is you can plant it and grow flowers ( in this case Lavender or any other plant with smallish seeds). You can also write on it or make a card or tag that all become gifts within a gift. We will add a beautiful TGF Lavender Frond on ours. As always, I will include my hard earned tips and hints to help you achieve great results!
A Word About Seed Paper
You create seed paper by mixing plant seeds into new or recycled papers, which has been blended into pulp. I have made papers with all sorts of seeds – flower, herb seeds, and veggie. Two of my faves are lavender and wildflower mix. Additionally, I love to place a drop of scent on the paper, for just a hint of fragrance. TIP: This paper works best with seeds that are on the smaller and softer side, not the larger pod like ones. As always, go with what you have or what you love.
Gifting Seed Papers
I usually try to match the seed choice to the person I am going to gift. You can even make the paper or tag the gift itself. You could use the paper to make a gift card for a loaf of homemade lavender bread. Include the recipe for an added touch. Hang the tag around a bottle of wine as a hostess gift that keeps on giving
Papers to Use
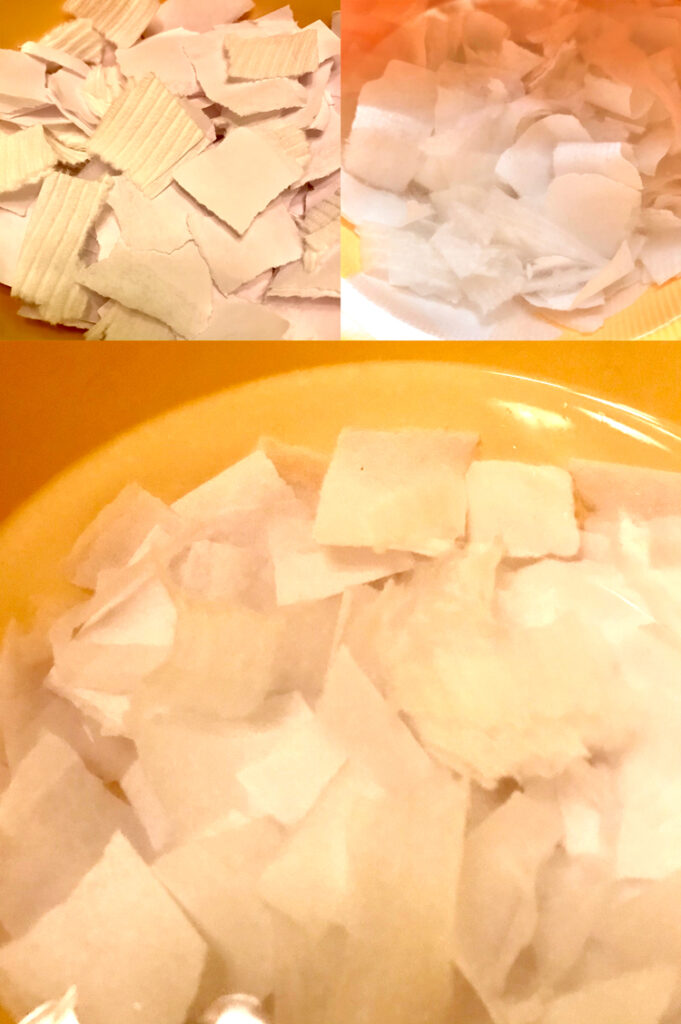
I actually like to use plain white papers for most of my seed papers. I like the contrast between the white of the paper and the seeds. Sometimes I will use a high-fiber cotton stationery or resume paper because it feels so yummy to the touch. But you can recycle letter or bill papers, newspaper, tissue paper, light cardboard, cards, construction paper, toilet paper, napkins, or paper towels. Almost any non-glossy or coated paper will do. Hint: Printed newsprint will give a gray look to the paper you may love.
Materials
Mixing bowl
Papers (I used plain white copy paper/printer paper and white toilet tissue)
Warm Water
Blender or Hand Blender
Plastic Lid (I used a butter container lid with rounded corners)
Washcloths (3 or more)
Lavender Seeds (or plant or Wildflower seeds of choice)
Optional: Cookie Cutter and/or Paper-making Screen Deckle
TGF Lavender Branch (I printed mine on tissue paper – inkjet can work, but is prone to smear)
How to Make Paper with Seeds– Step-by-Step Directions
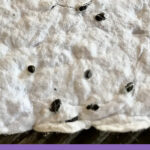
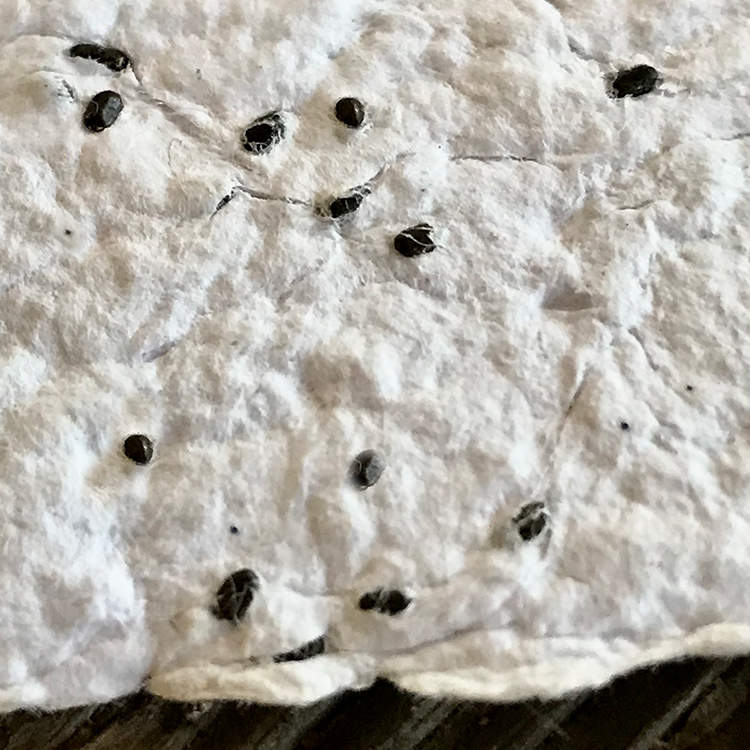
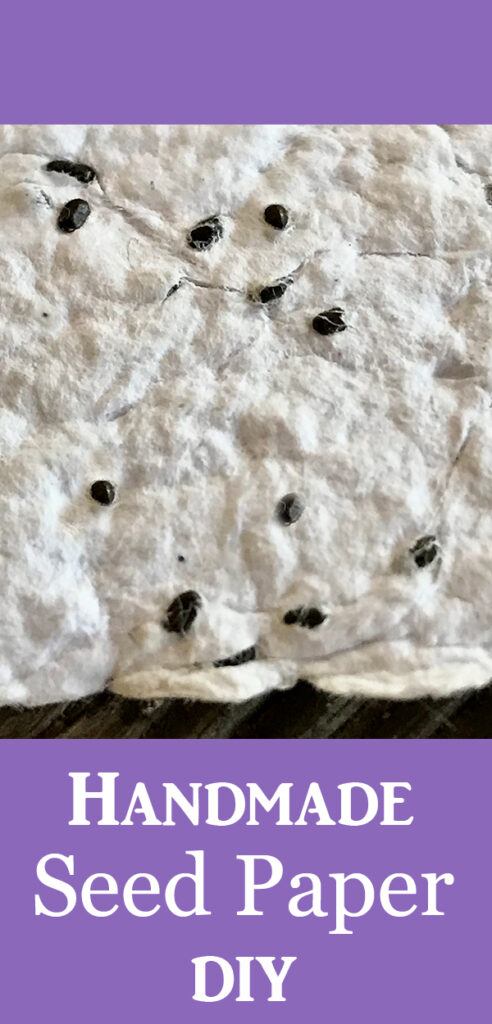
We will be making a small piece of paper (6′ X 4″) with textured edges and rounded corners. Think greeting card size. My process is simple and fairly easy. I am most excited to share my method to form the paper without any special paper making equipment. It will be a bit more rustic than the one made with a traditional deckle screen, but it is charming nonetheless. See the lovely texture and how the fibers wrap the seeds below.
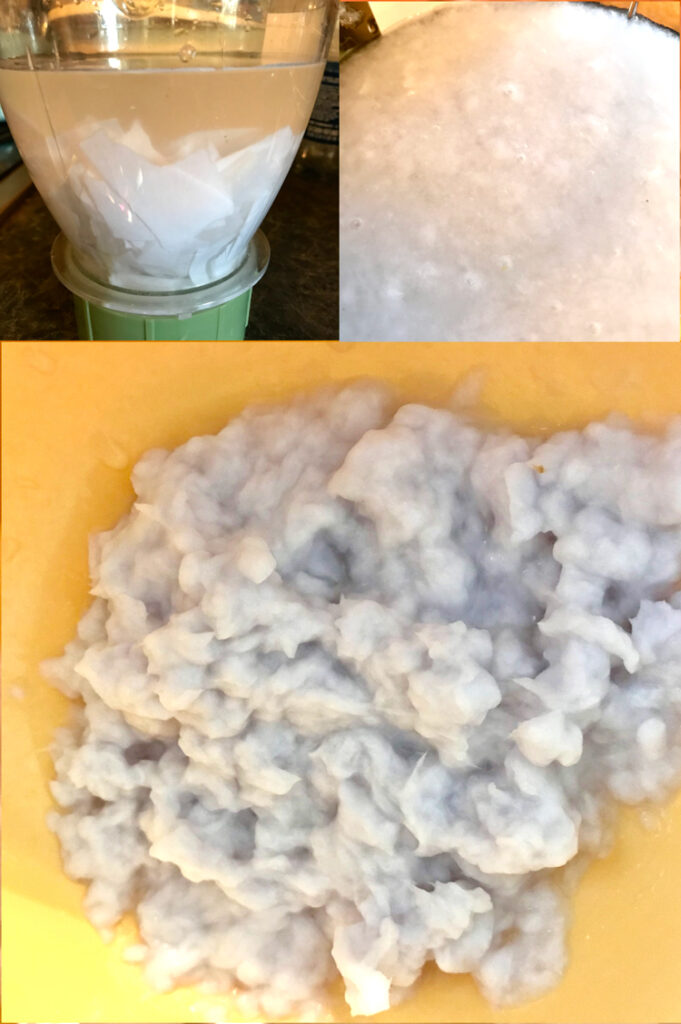
Step 2 – Make Paper Pulp: When fully soaked, pour the paper pulp mixture into a blender, water and all. Cover with more water if necessary. (image top left) Blend the paper into a pulp with no large pieces visible. Transfer pulp back into the mixing bowl. It will be slushy. (image top right) If there is too much water, you can strain some of it off. It should be the consistency of lumpy oatmeal. (image bottom) Option: You can also perform this step in the mixing bowl with a hand blender to the same consistency.
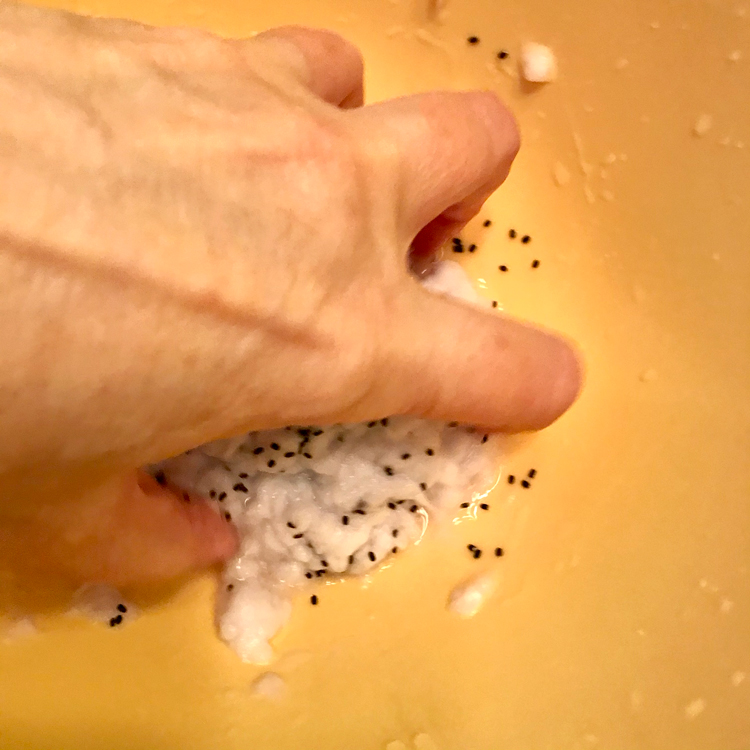
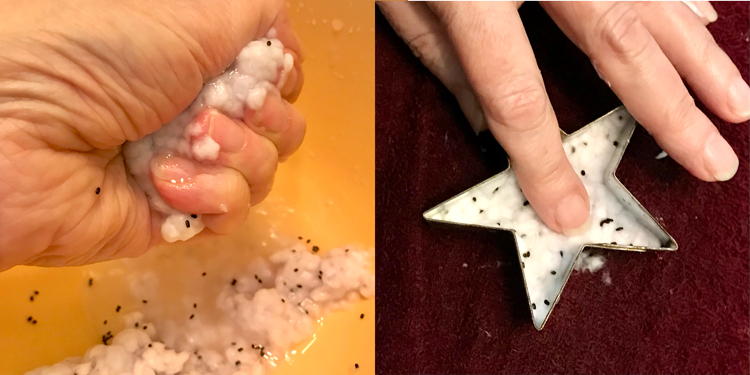
Step 3 – Add seeds: Drain any excess water out of pulp. Work quickly as wet seeds can begin to sprout if wet too long. Mix the seeds into the pulp with your hands. I used about 1/4 teaspoon of seeds in my mixture. TIP: Do not use the blender to mix seeds. It can damage the seeds. How many seeds is a personal choice. You can use a few seeds if you want the paper to be dotted or spotted with them. You can use more if you want a more seeded look.
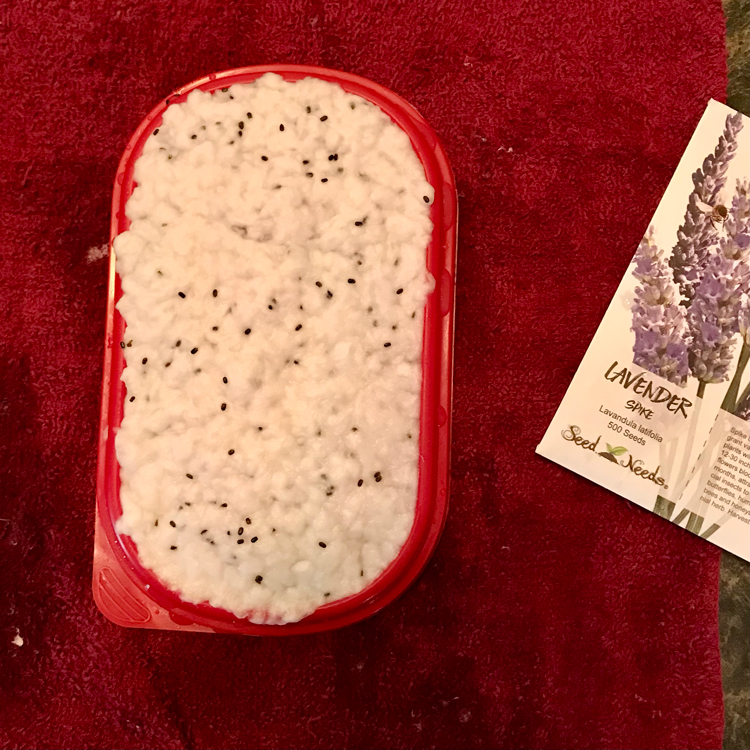
Step 4 – Spread Pulp in Mold: Place the plastic lid on a washcloth on a protected surface. Pick up a handful of wet pulp and place onto your plastic lid. I love the rounded edges of the butter container, but you can use any flat plastic lid with a low rim. BIG TIP: You might want to line your lid with plastic wrap so you can easily remove the paper. Sheepish Grin! I had to work hard to get the paper off the lid in one piece. Using your fingers, press the pulp to spread it to the edges like below. TIP: It is easier to spread if it is a little wet.
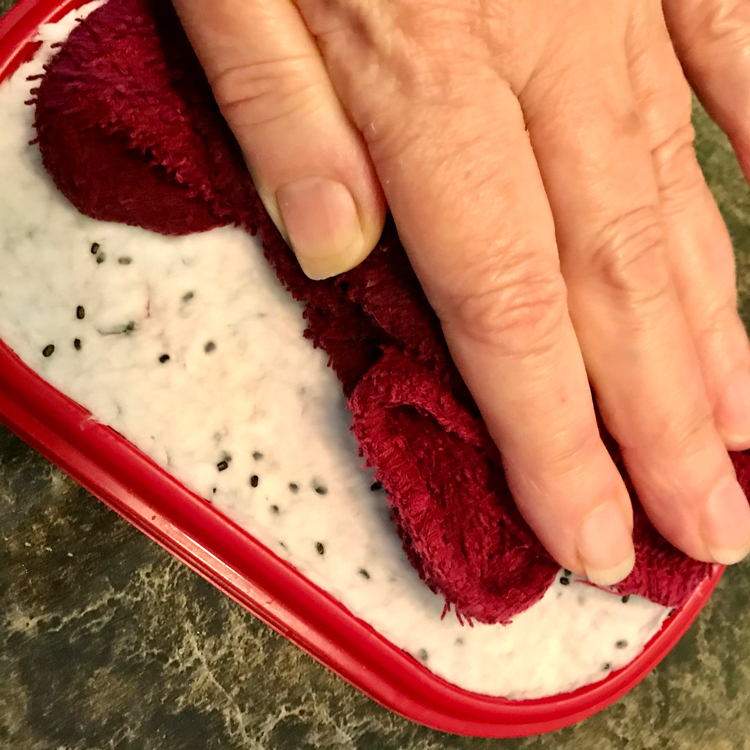
Step 5 – Remove Excess Water: Once you have the pulp spread as you like, place another washcloth or several paper towels on top and press to soak up excess water. You may repeat this several times to remove water until it is dry enough to handle. TIP: If you have a paper making screen deckle, you can certainly use it. I wanted to share how you can make it without specialized equipment.
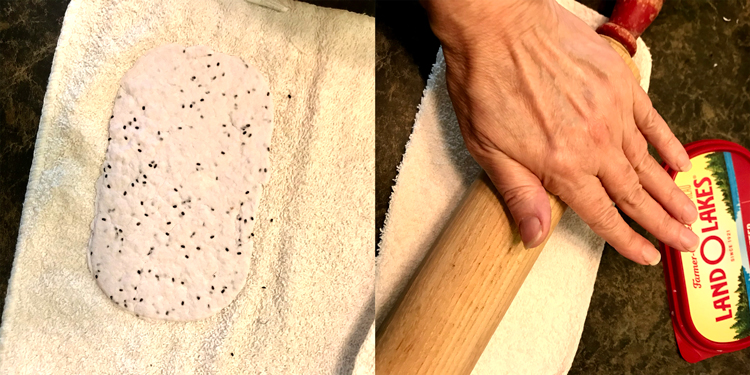
Step 3 – Remove Paper from Mold: When the majority of the water soaked up, gently remove the paper from your mold. Place it carefully on a washcloth or kitchen towel. (image left) HINT: The paper is very fragile when wet, so handle with extra care. If the paper is still fairly damp, you can cover it with another washcloth and gently roll it with a rolling pin. (image right) Be careful!
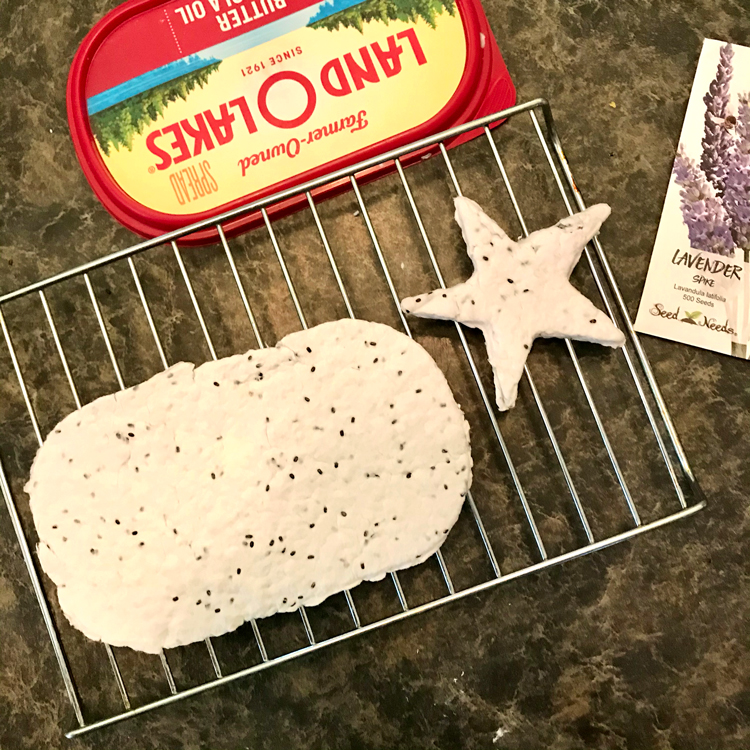
Step 5 – Dry the Paper: When you can handle the Homemade Seed paper without it falling apart, place it on a drying rack in a warm environment to dry completely. It is great if you have air circulating around it outside or even a fan on low. It may take a day or two to dry depending upon the humidity and the thickness.
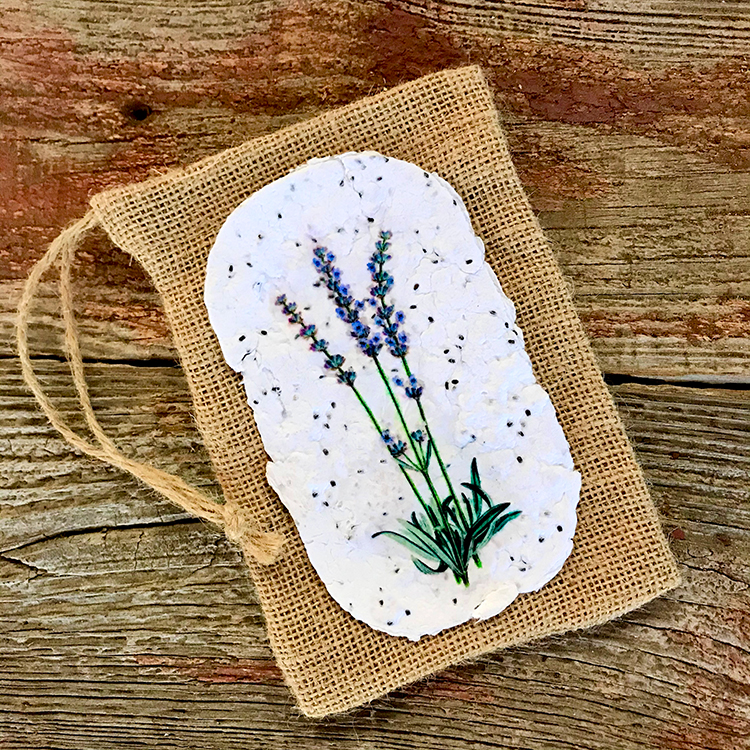
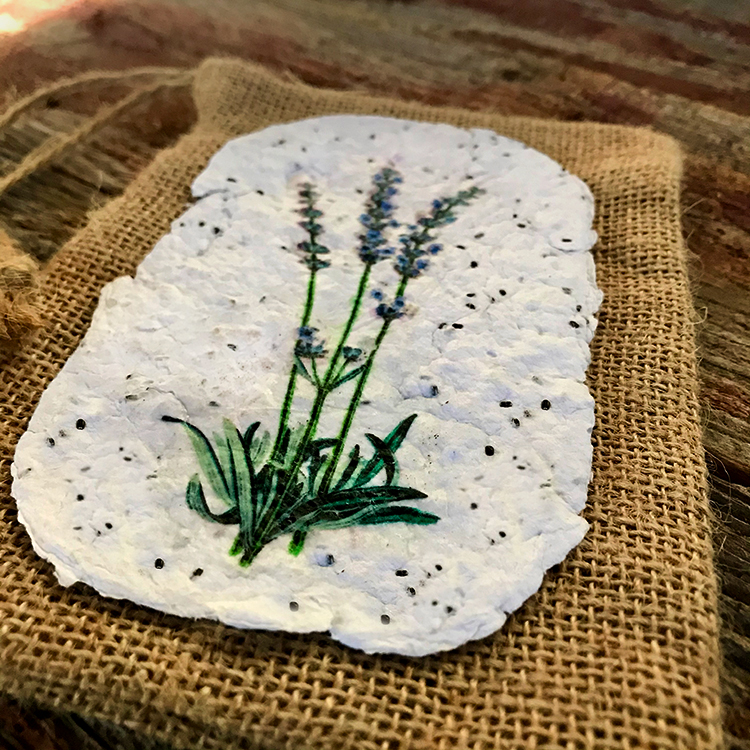
Step up 6 – Finishing: When paper is thoroughly dry, apply the TGF Lavender Image onto the paper. I printed my images on tissue paper. See our tutorial on How to Print on Tissue paper HERE. TIP: InkJet images can smear and bleed so seal them with several light coats of spray sealer before you apply them. You can use your favorite transfer method to place the image on the paper as well. We have several transfer methods for you HERE. Add a drop of lavender oil or scent to the edge of the paper for a light fragrance. You will have a textured paper with a natural look and feel with a heavenly scent. Now you have your own Seed Paper!
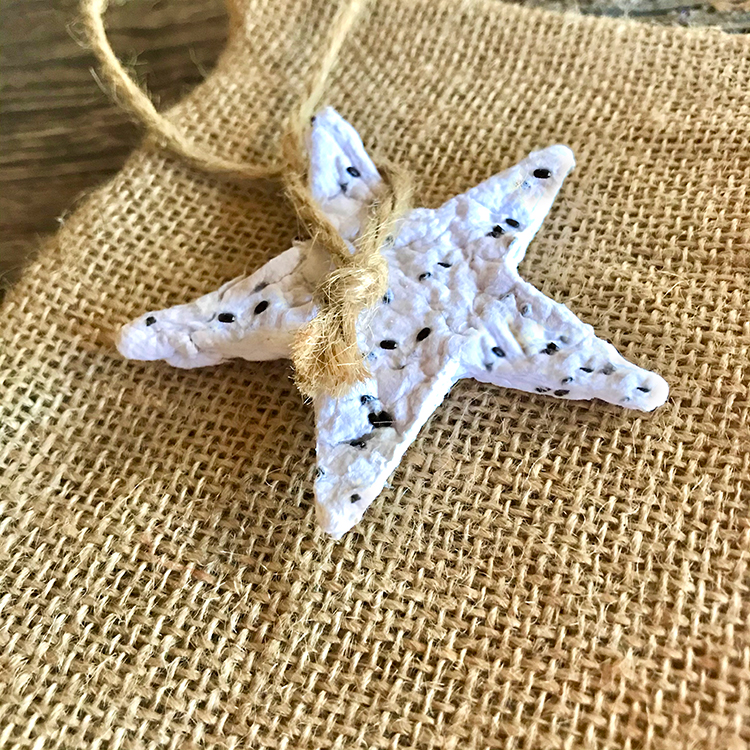
Optional Tag: If you have enough pulp left, you can make a gift tag. Just use an open cookie cutter in the desired shape. I usually make hearts, but could not find the cutter for some reason. I used a star this time, which was more tricky because of the points. Squeeze excess water from pulp. (image left) Make sure you press the pulp into all the areas. (image right) Let it dry in the mold and gently press it out with your finger.
How do you Plant Seeds embedded in Paper:
Our Handmade Seed Paper can be planted in soil. Yep, you can grow plants with these lovely handmade papers. HINT: Make sure to tell the recipient what the paper is and which seeds you used. It should be apparent that the seeds on our paper are lavender since we included a lavender image. WINK! Here are directions you can send to the recipient.
- Rake moist soil to make it loose. Smooth to flatten.
- Place paper on the soil and cover it with ¼ inch of good, top soil.
- Water lightly daily to keep it moist.
- The seeds should sprout within two weeks.
Questions and Answers:
Q. What Seeds do you use for Seed Paper?
Tiny seeds work best, including Flowers, Wildflowers and Herb Seeds.
Q. What Can I make with Seed Paper?
You can make beautiful Handmade Cards, Gift Tags, or even Christmas Tree Ornaments with Seed Paper.
Q. What else can you add to the Paper?
You can also add yarns, fibers, junk mail, flower petals, etc. to the pulp if you like before you mold it. The Handmade Seed Paper can also be tinted with dyes, inks, food coloring, or even torn pieces of colored tissue paper.
I hope that you had a bunch of fun creating DIY Handmade Paper with Seeds with me!! I made several sheets to use as thank you notes for people who gifted me during my cancer journey this Fall. When I am not exploring new and old Techniques for Mixed Media in my Graphics Fairy sandbox, I also create Photoshop Elements tutorials and craft project videos over on The Graphics Fairy Premium Membership site. You can find even more of my books, junk journals, mixed media art, classes, and whimsical shenanigans on Rebecca E Parsons Dot Com.
You might also like our and Paper Clay Recipe post HERE.


Gisela Cañizales says
Maravilloso su tutorial sobre el papel artesanal con semillas. Lo que más aprecio es que mostró cómo hacer este papel sin moldes profesionales. Tengo mucho material para hacer proyectos de este tipo y, hasta ahora, no los he realizado porque todos los tutoriales revisados indican el uso de un bastidor para escurrir y darle forma a la mezcla. Gracias por su técnica, ahora sé que puedo confeccionar papel artesanal sin un bastidor profesional.
Karen Watson says
Gracias Gisela. ¡Nos alegra mucho que lo hayas encontrado útil! 😊
Erica says
PLEASE DO NOT USE GLITTER.
IT GETS INTO THE OCEAN AND INTO THE FLESH OF THE MARINE BEINGS.
IT IS INDESTRUCTIBLE, IT GOES ON FOREVER.
PLEASE DO NOT EVER USE GLITTER FOR ANY PROJECT.
LET’S PROTECT THE OCEANS AND THE BEINGS WHO LIVE IN IT.
THIS IS THE ONLY HOME WE HAVE.
DON’T WASH IT DOWN THE DRAIN OR PUT IT IN THE TOILET.
JUST DON’T USE IT. EVER.
graphicsfairy says
We appreciate your feedback Erica, thank you for sharing.
graphicsfairy says
Additionally Erica, we removed the word glitter from the post 🙂
Diana says
Hello, Rebecca.
I love the Handmade Seed Paper tutorial in my 1/8/2021 Friday Freebie. Love it! Thank you.
Question…I am the Program Chairman for our Holborn Herb Guild Society in Mahoning County in Ohio. We are in charge of the gardens at the Western Reserve Village at the Mahoning County Fairgrounds in Canfield, Ohio.We have about 35 active members.
We are not meeting in person due to Covid.
We send a monthly newsletter and I am trying to find herb or flower related crafts the members could do during these winter days.
May I have your permission to share your Friday Freebie website so the ladies might receive your articles and enjoy this and other posts?
I look forward to my weekly fun and craft, etc idea for the week.
Thank you for your dedication. I will pray for you and your health.
Love and prayers,
Diana Holzer
[email protected]
Karen Watson says
Hi Diana,
We’re so glad that you enjoyed Rebecca’s tutorial! Rebecca is one of several crafters that we have here on the The Graphics Fairy site. Your Herb Guild sounds like a wonderful group and we would be thrilled if you would want to share this site with them. Here is a link to the blog that you can share https://thegraphicsfairy.com/ The Friday Freebie, is actually our weekly email that we send out, and not actually a stand alone site. If you share that link to the The Graphics Fairy blog though, they will be presented with a sign up box where they can sign up to get the Friday Freebie newsletter. We’re so glad that you have been enjoying the different offerings that we have here as well as in the newsletter! 😊
Rebecca E. Parsons says
Oh Diana, it would be wonderful to see the herb seed papers your members will make. Please share the site and the post. I grew up on the Ohio River and know how blessed the soil is! Enjoy!