DIY Journal Cards
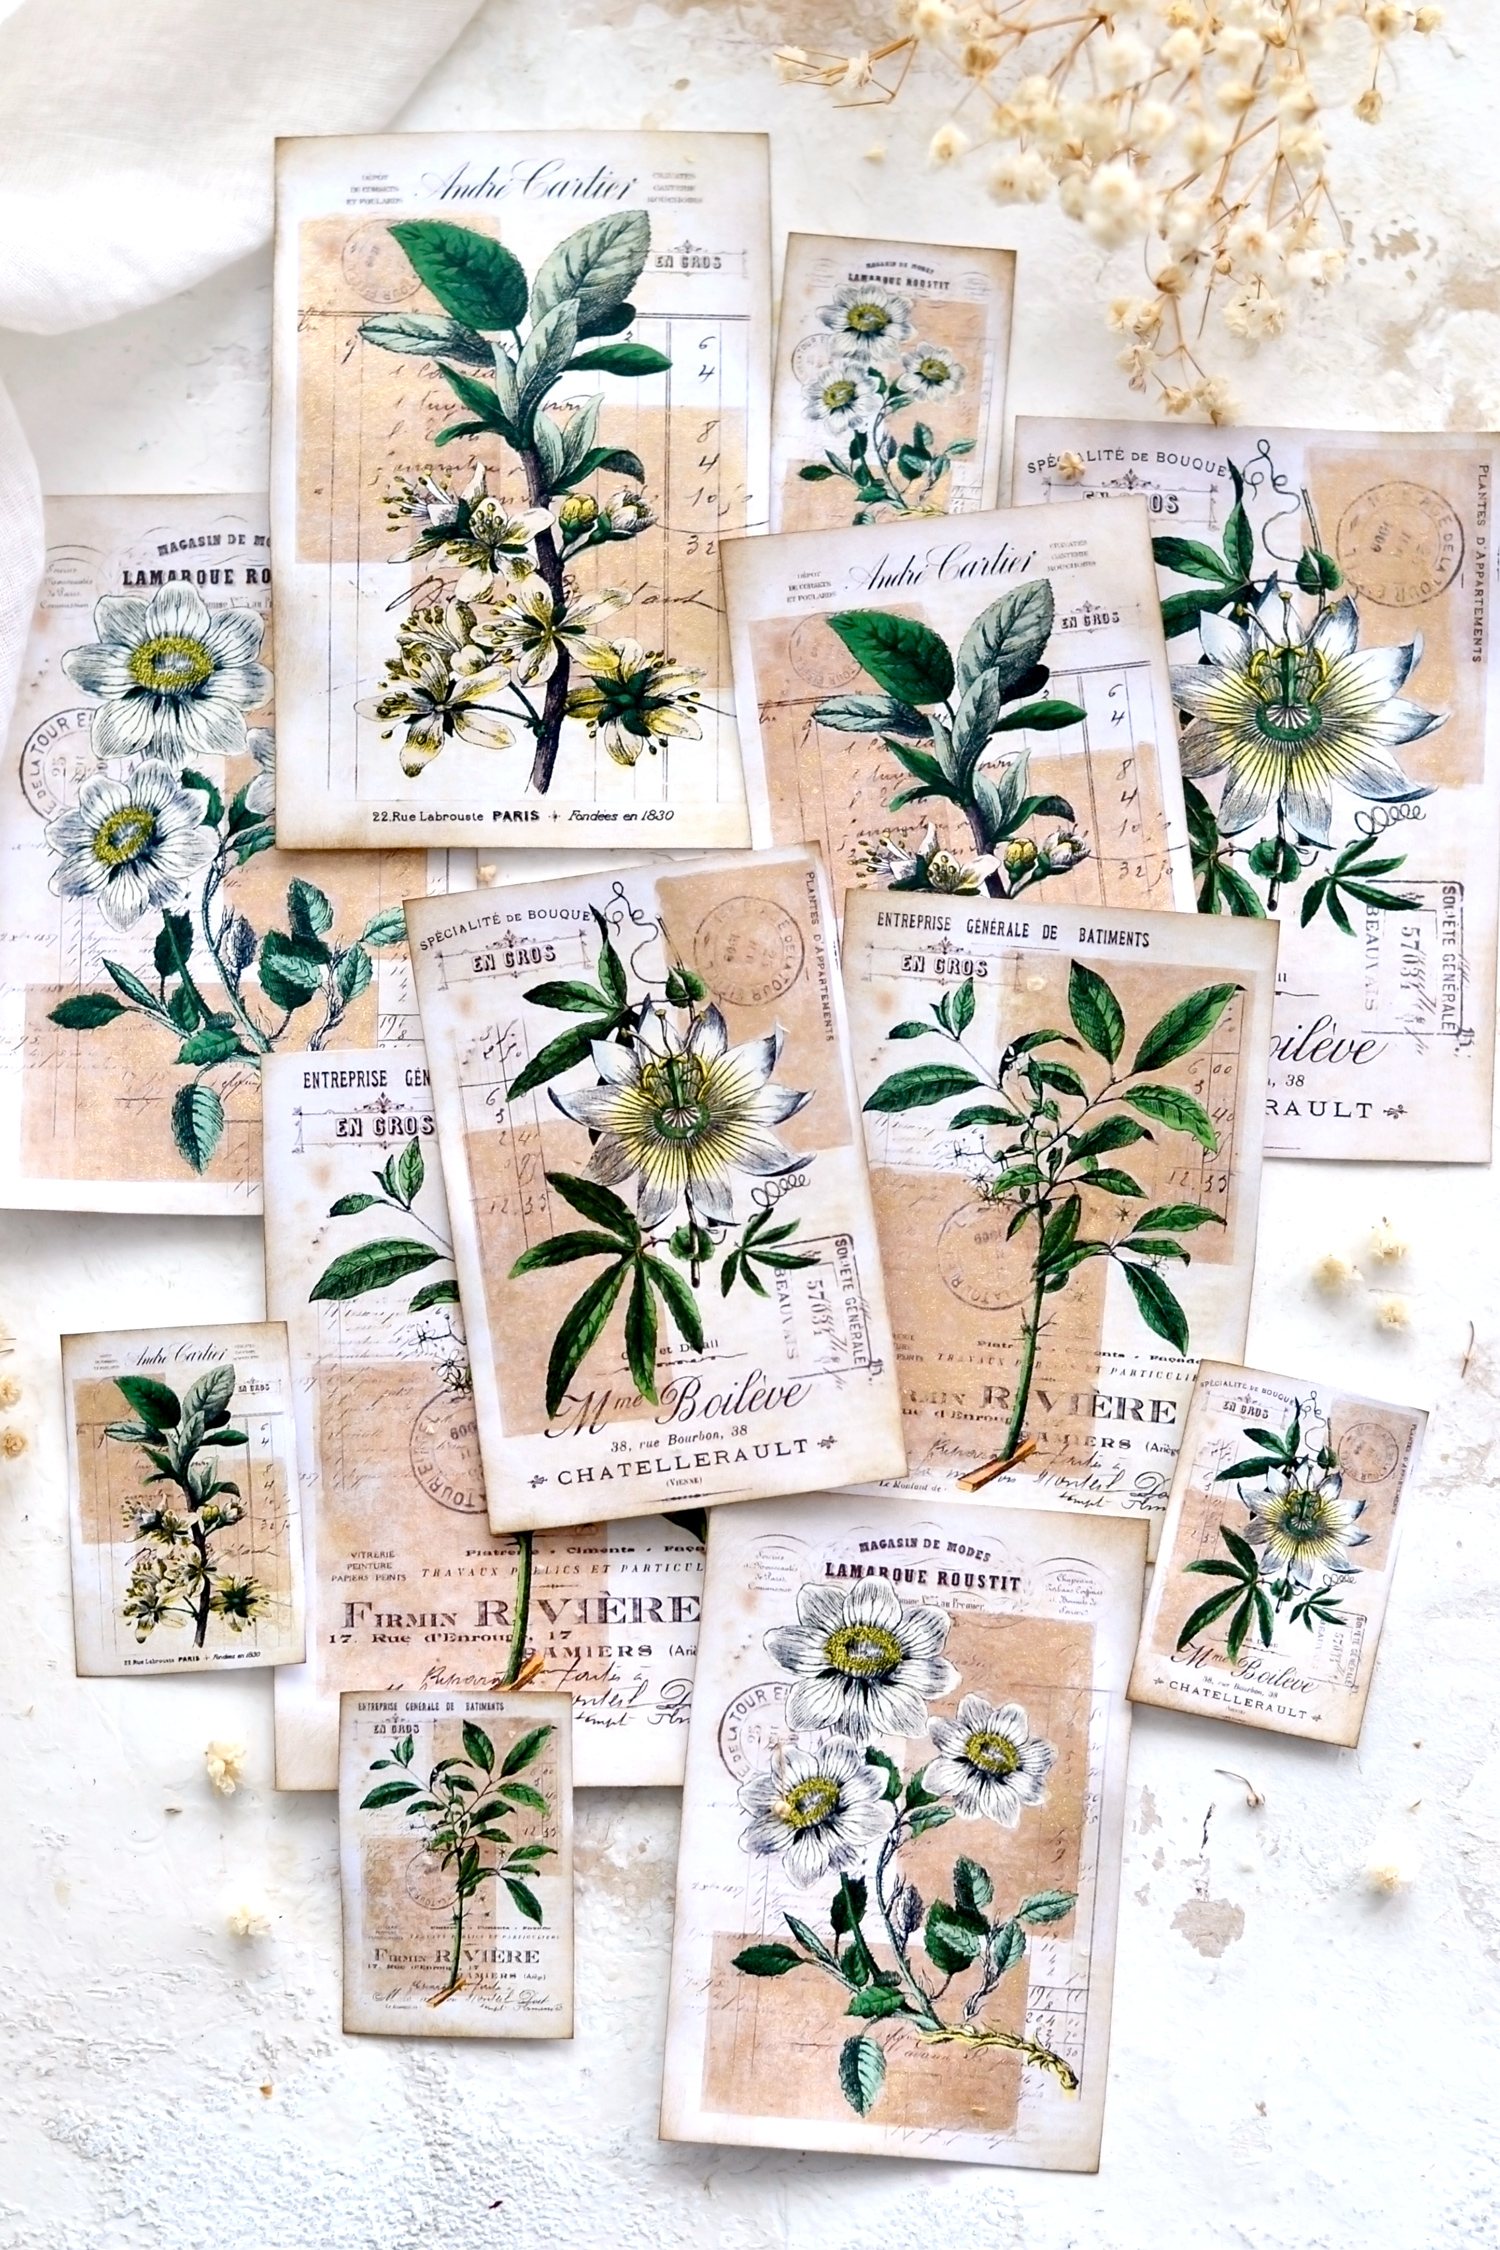
Hello Graphics Fairy friends! I’m Diana from Dreams Factory and I’m happy to be here again to share another DIY tutorial with you! Today I will show you how to make these gorgeous Antique Gold Botanical DIY Journal Cards that you can use in your junk journal but also on all sorts of other creative projects! I intentionally used white flowers to design the cards because I wanted to keep a somehow cohesive color scheme and I added a few of my favorite French ephemera cutouts to imprint them with a super chic French vibe.
While creating the design, I included a few decorative geometric shapes in a darker shade because I wanted to add a little bit more interest to our lovely cards. My idea was to make the shapes look like scrap pieces of paper that had been ‘glued’ to our vintage background.
You will see that the geometric shapes actually serve a double purpose because we will decorate and turn them into beautiful gold-painted blocks! I had so much fun painting the gold blocks on my cards especially since I couldn’t wait to see how my new bottle of metallic gold pigments would perform.
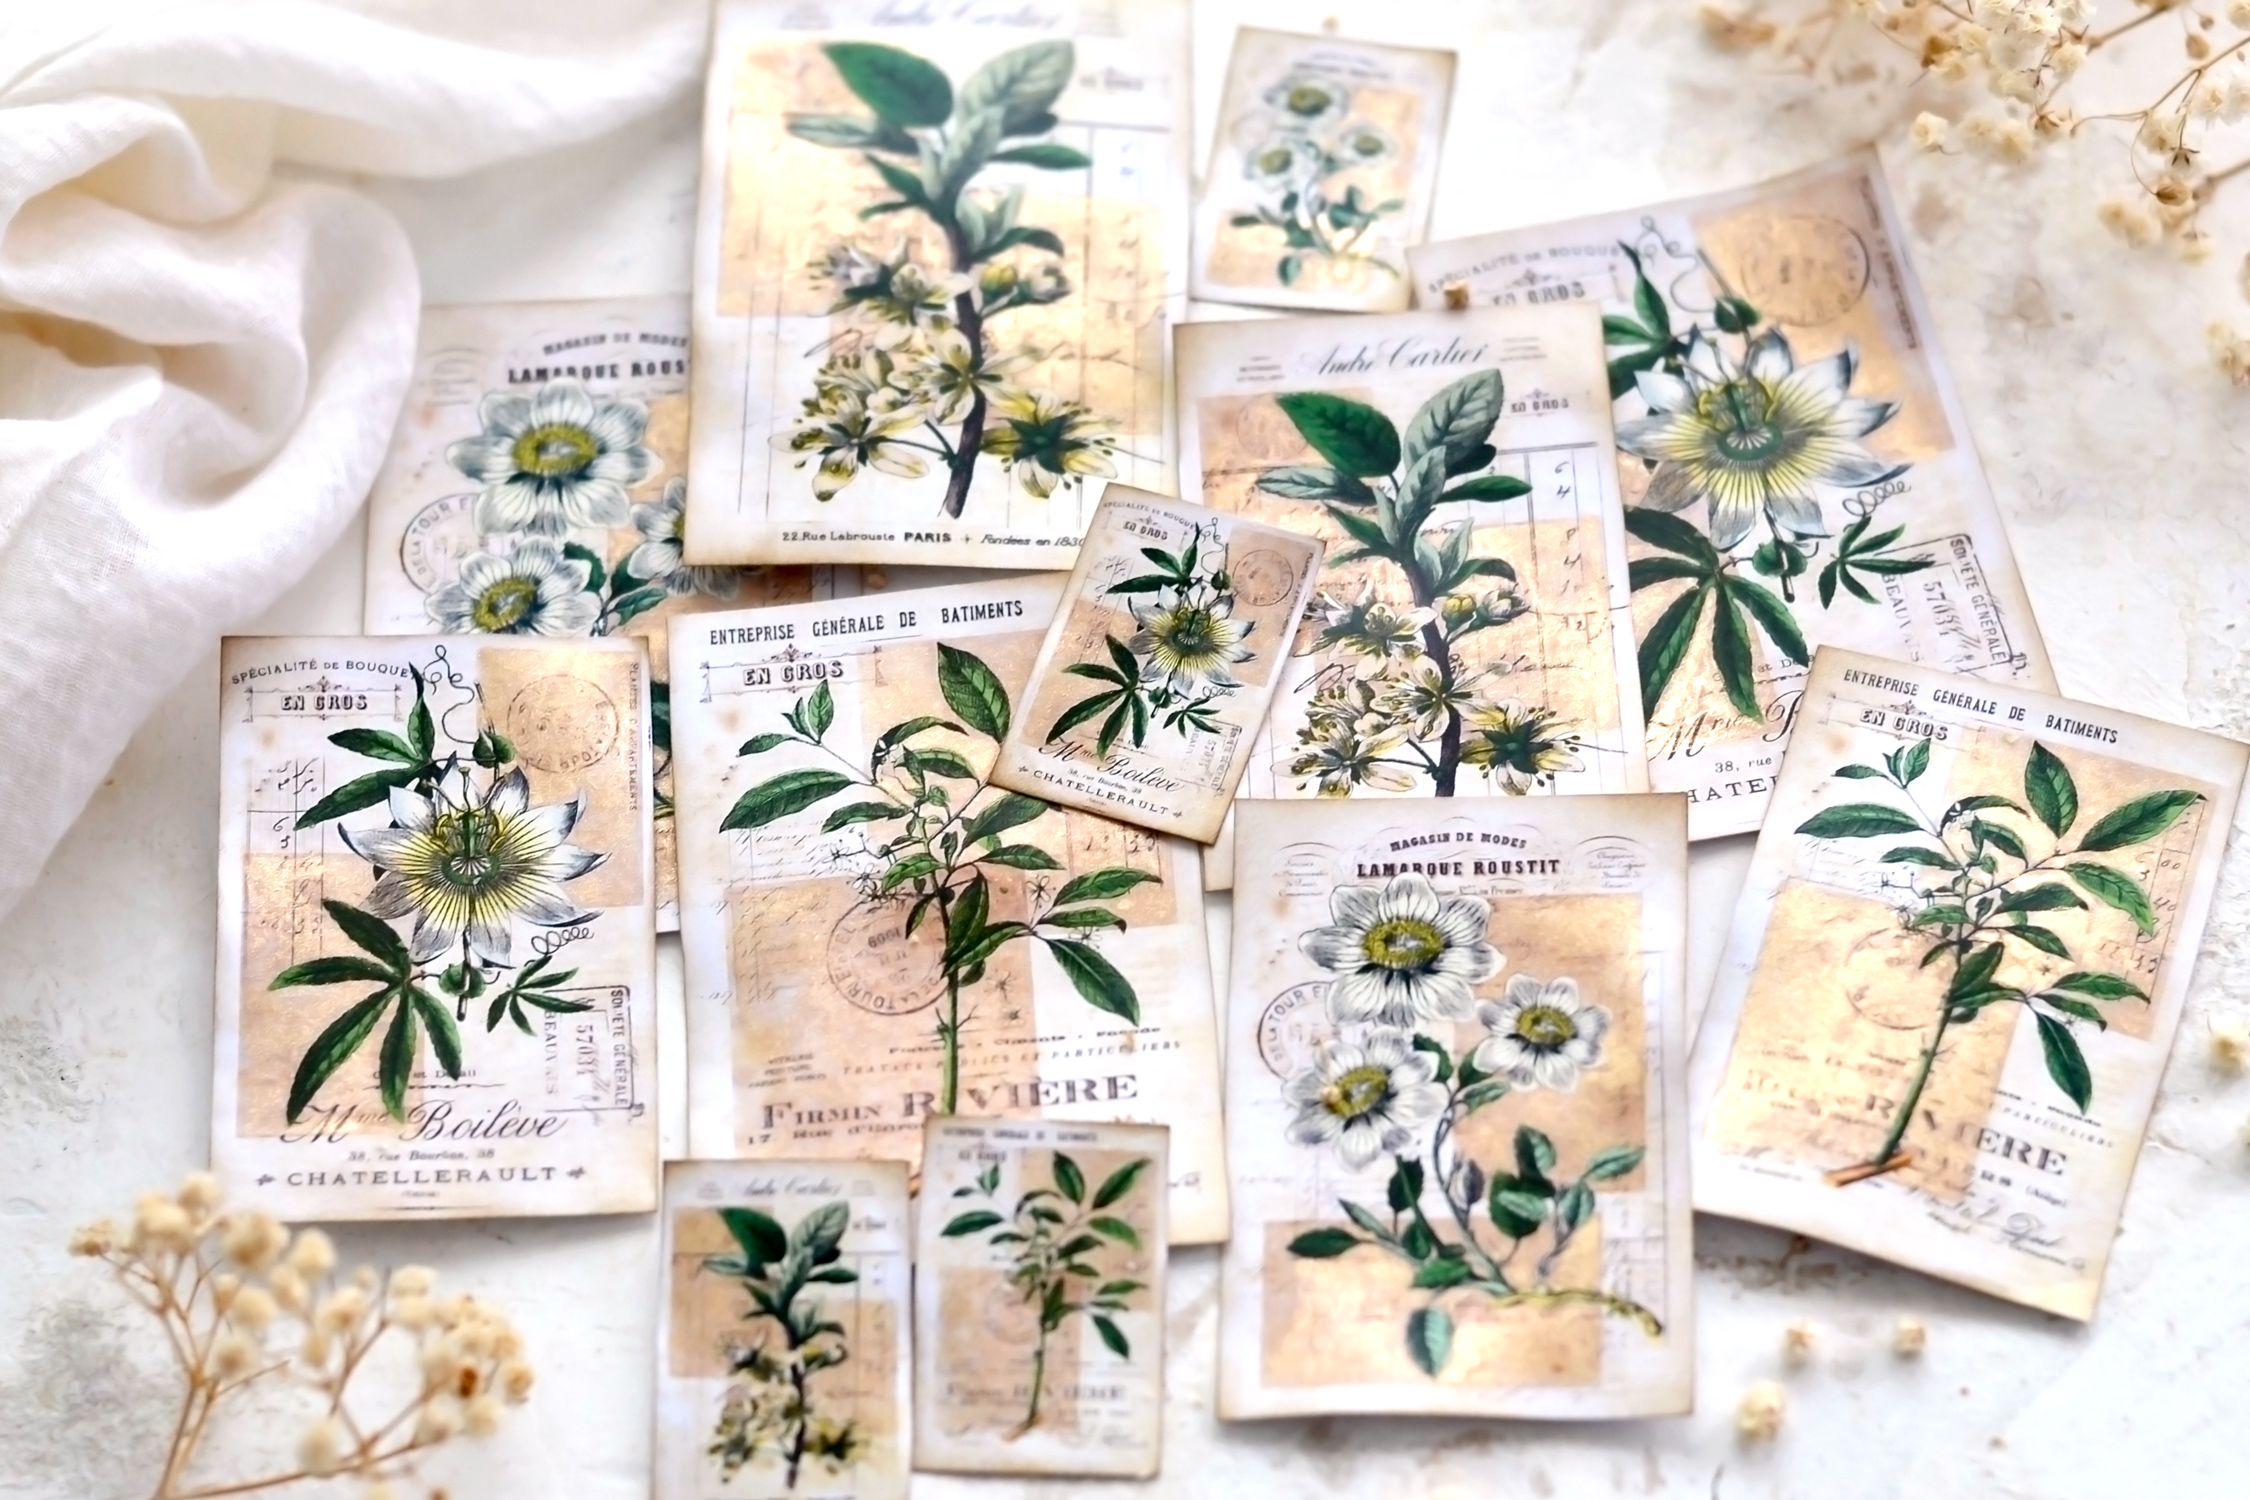
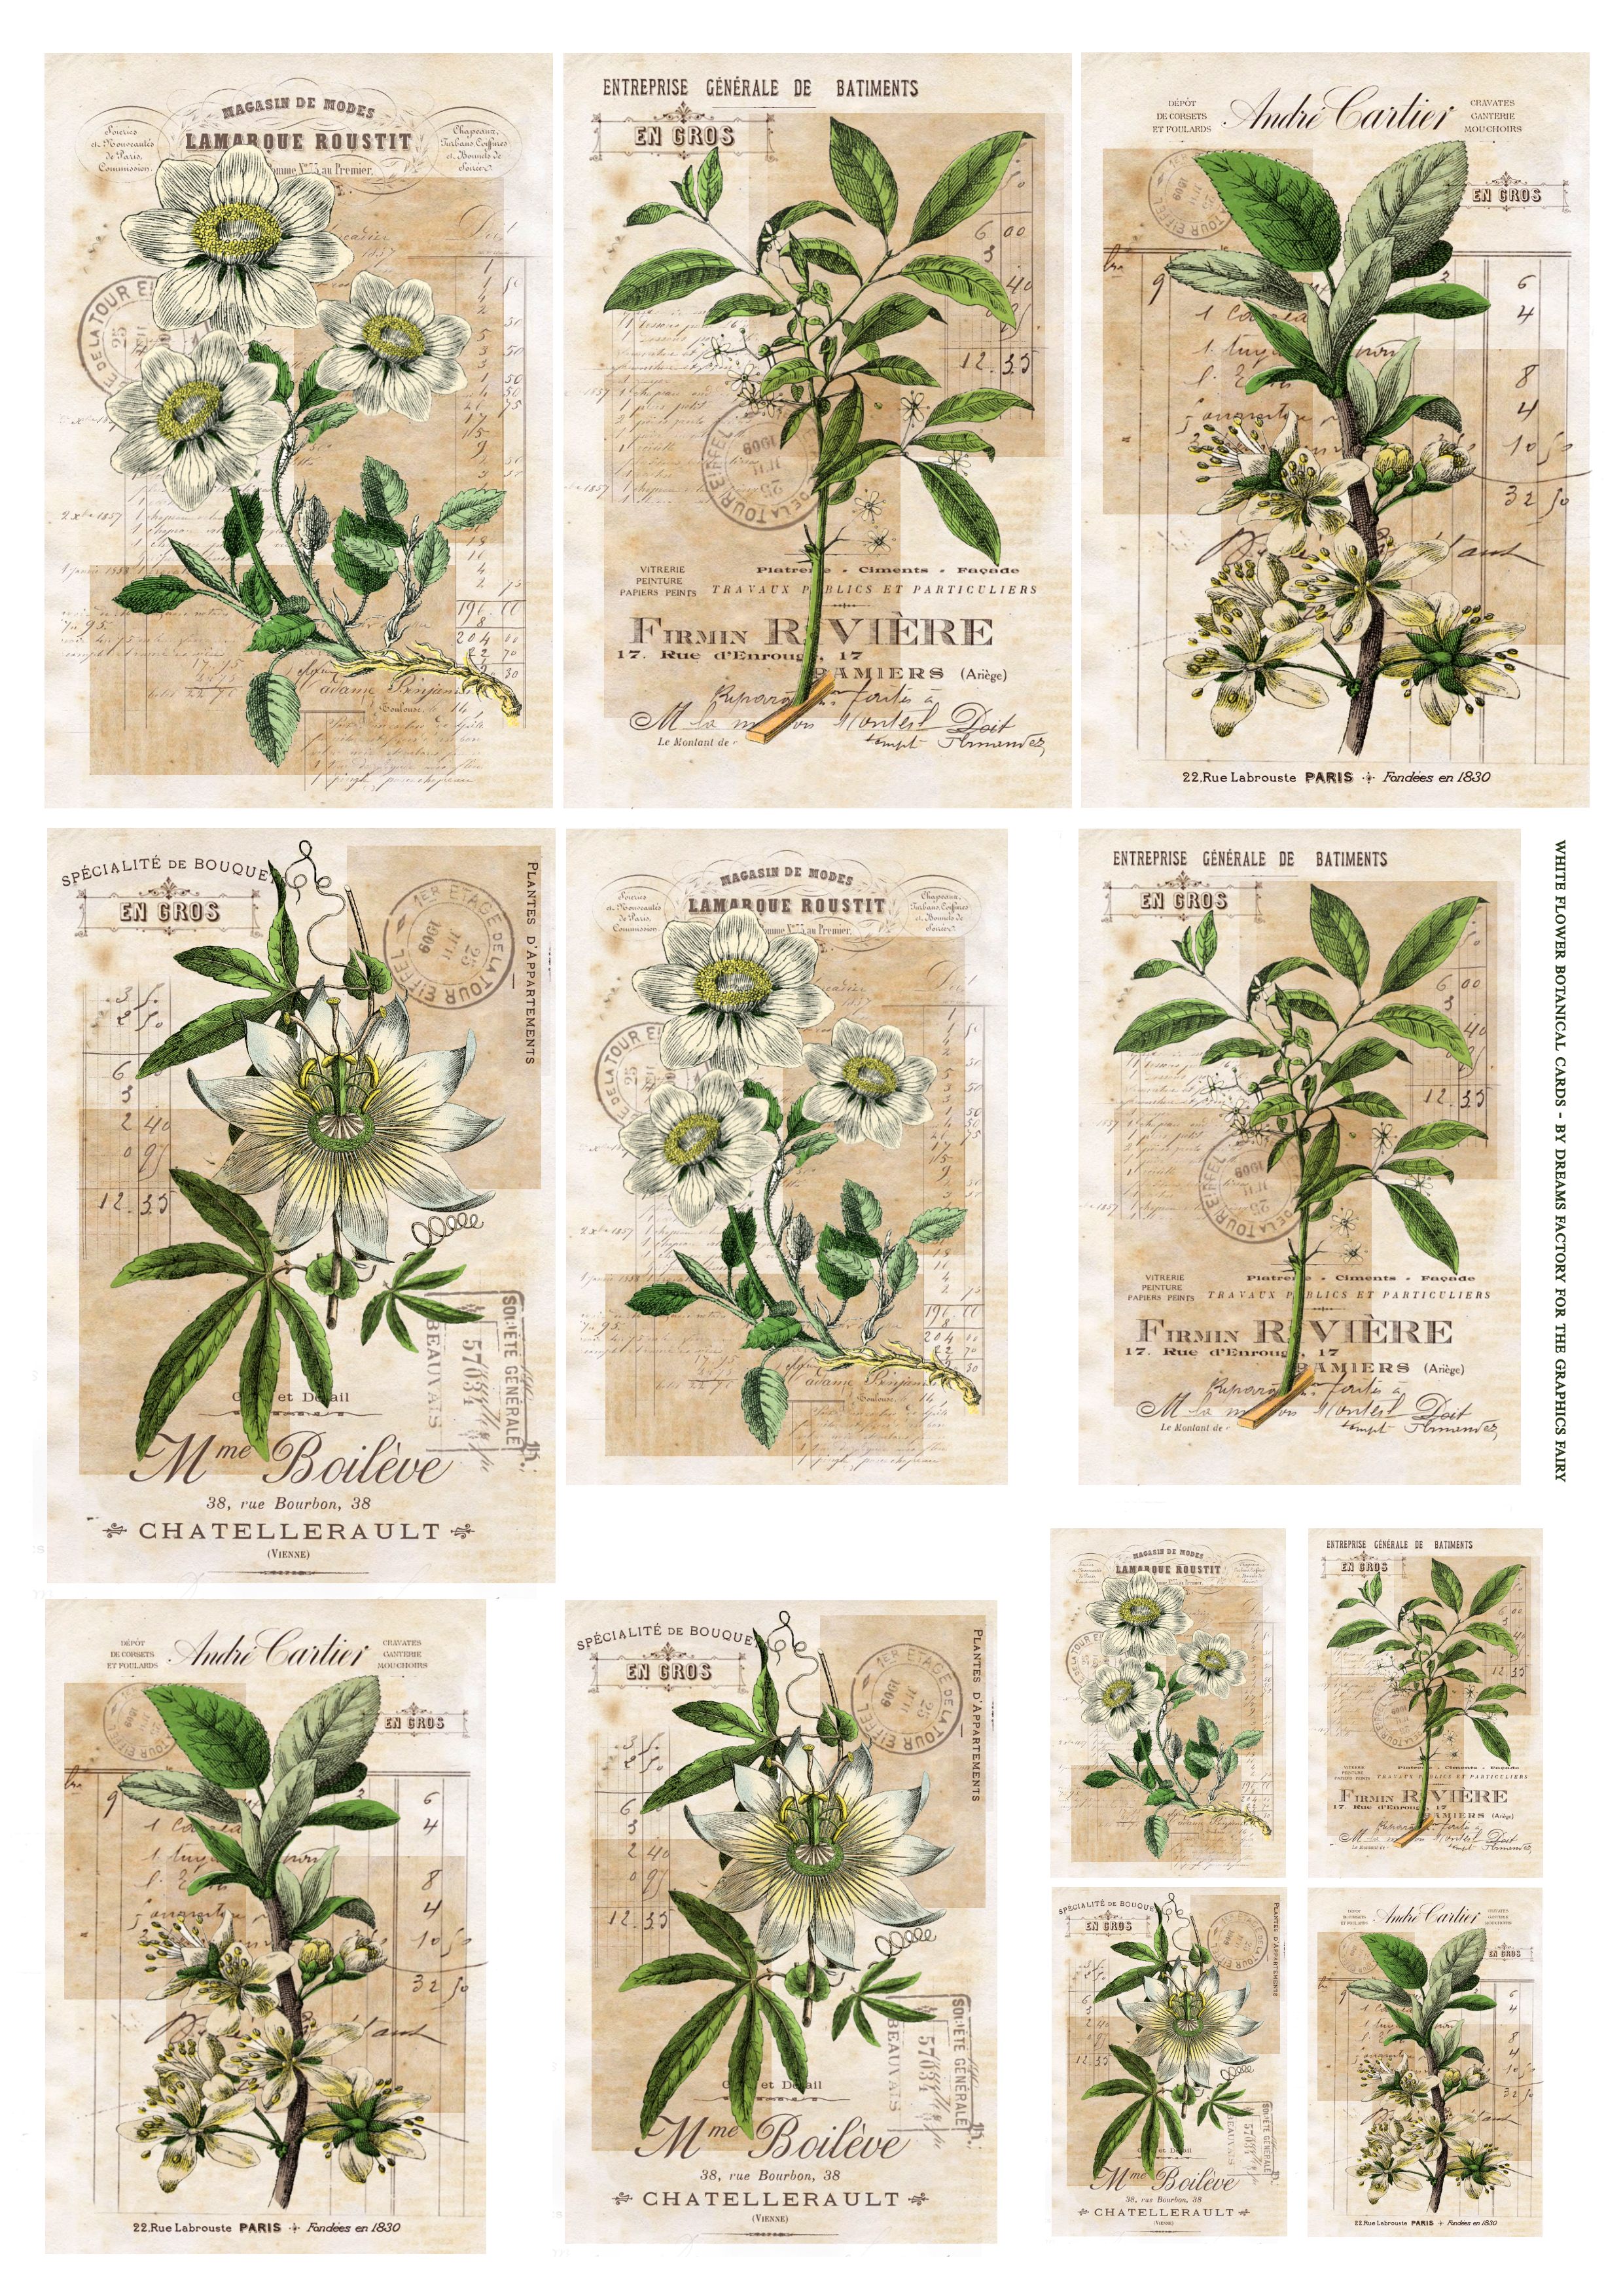
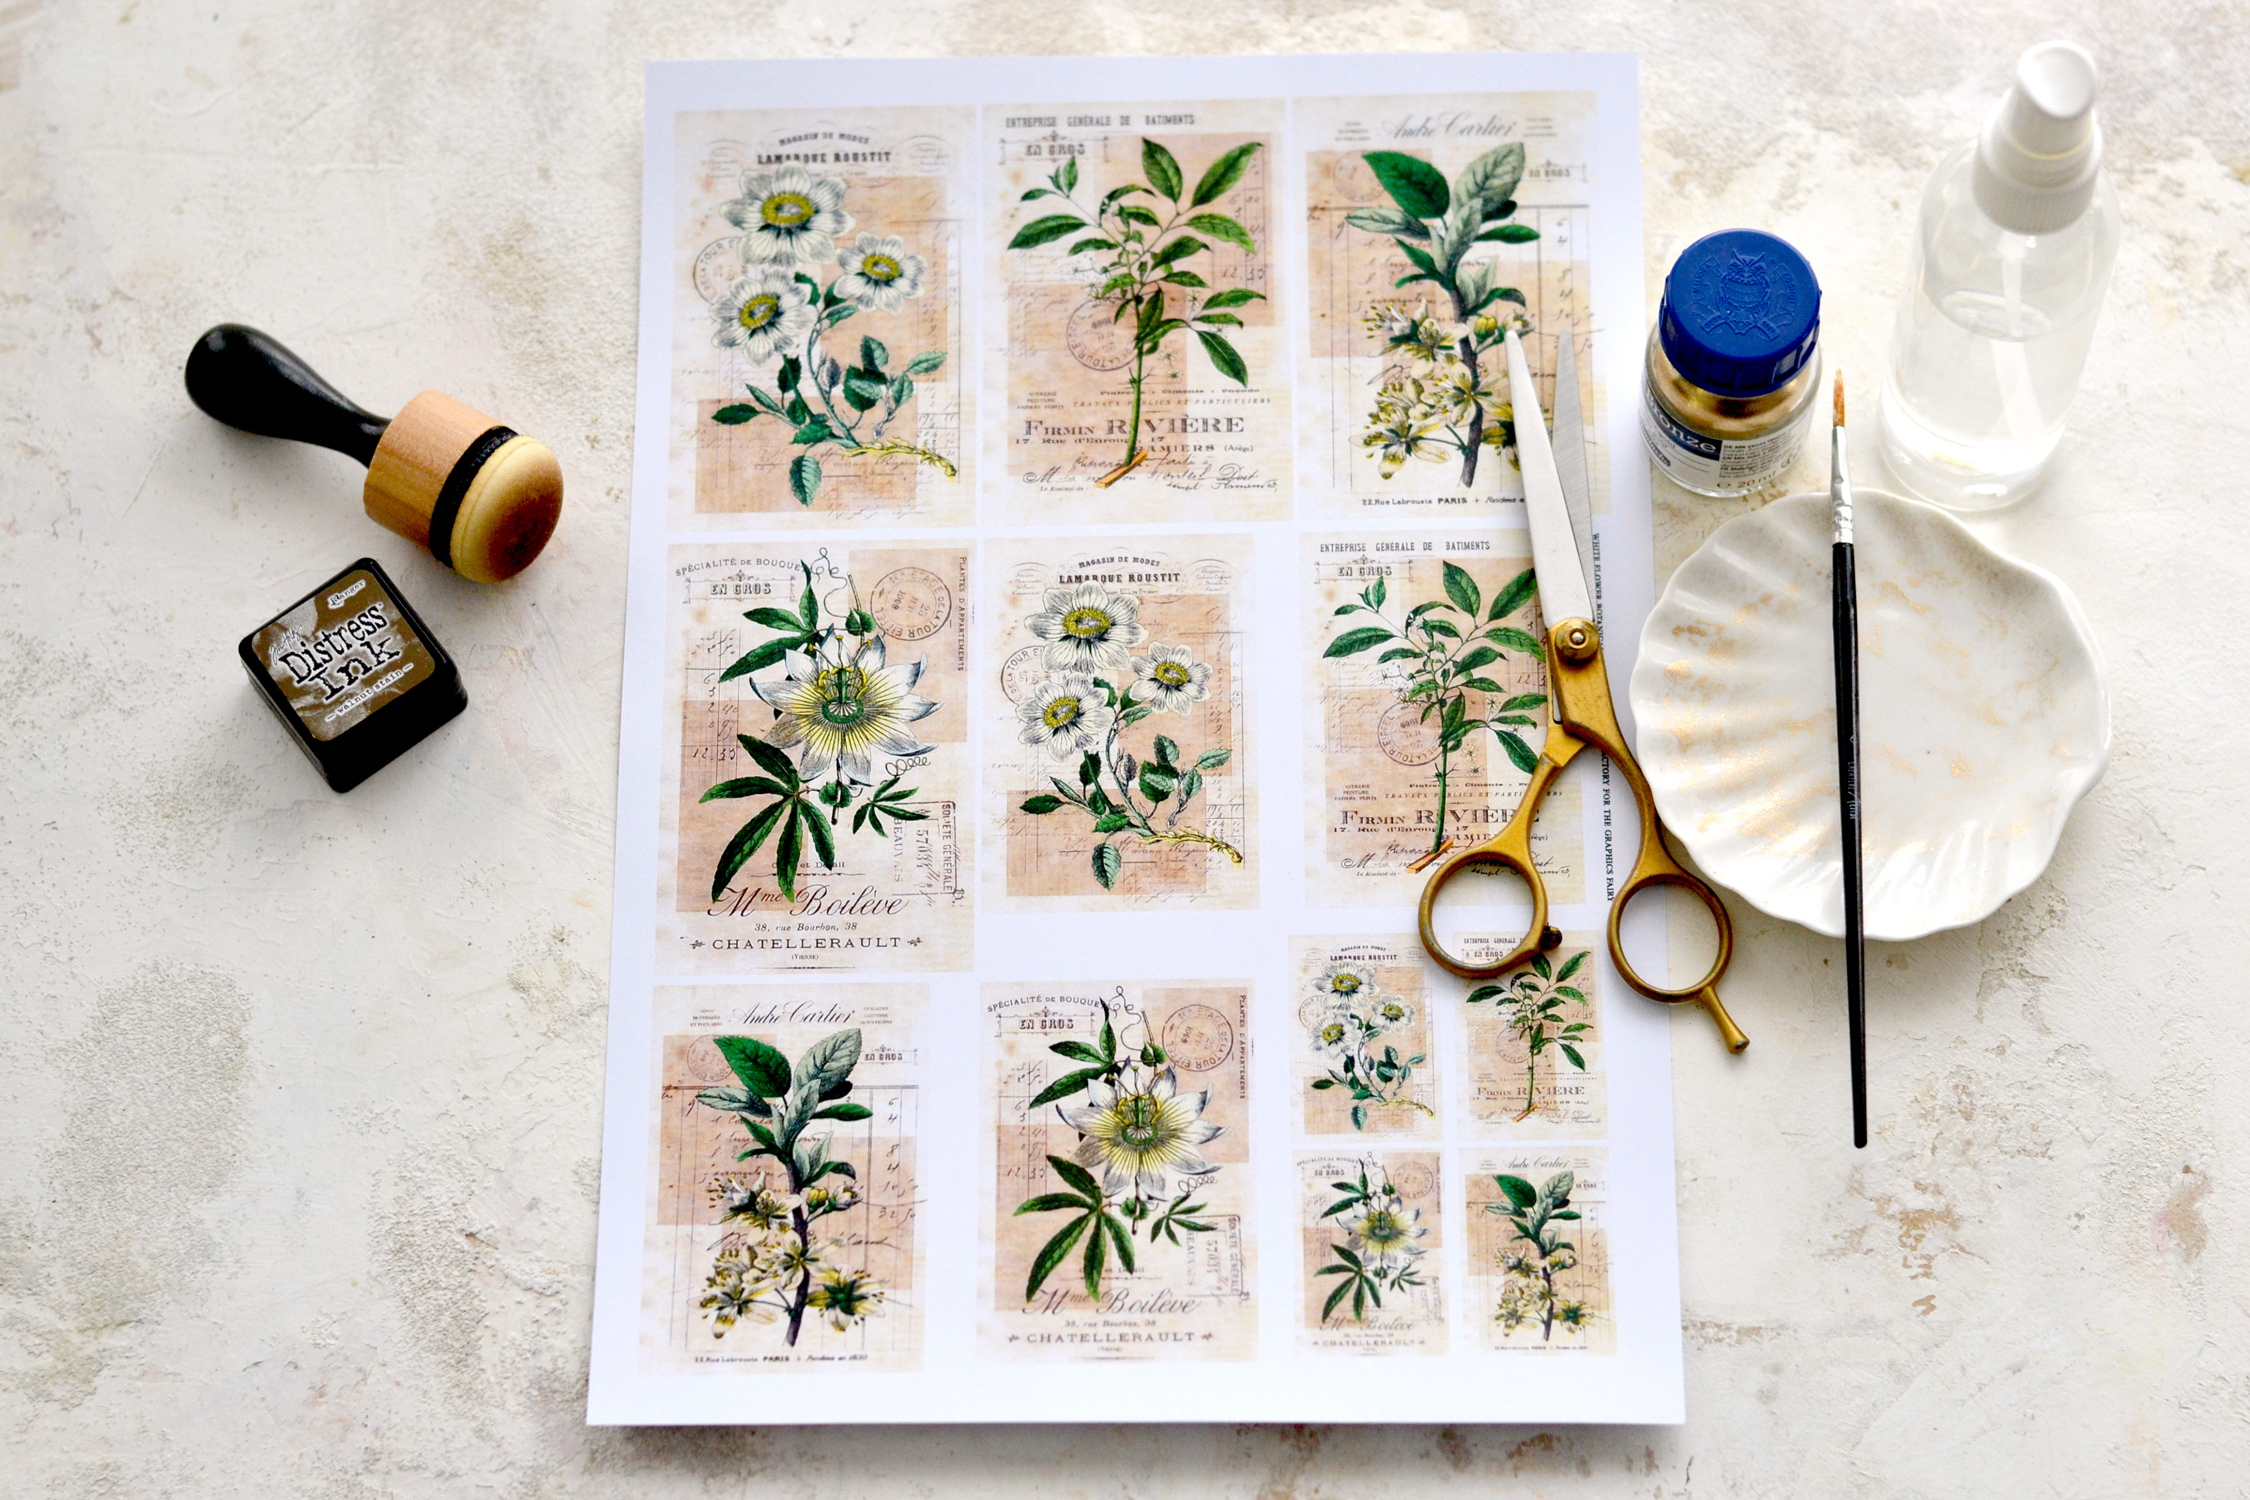
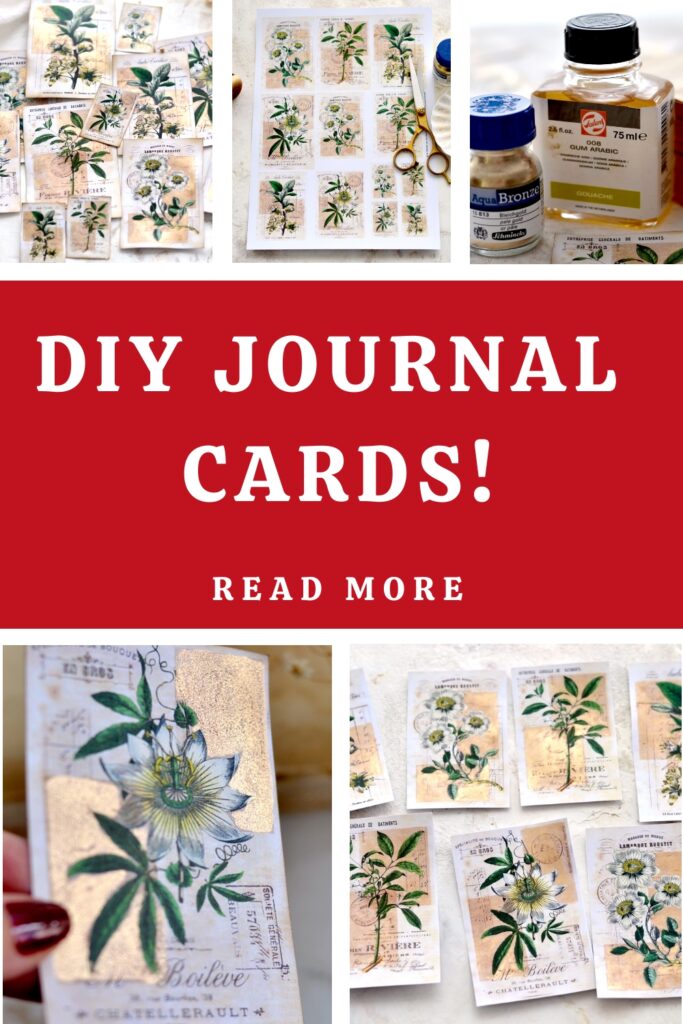
Here is the gorgeous printable that I created for this project, you can easily save it on your computer and print it as many times as you want!
P.S. I used the botanicals from the 26 White Flower Clipart, you can use any of the other flowers to create a matching theme in your projects.
Free Printable
—-> Click HERE to Download the Full Size Printable PDF <—-
Before we jump right in, let me tell you that you can use any type of gold to paint the geometric shapes on your cards. You can use gold watercolors, gold acrylic paint or gold gouaches – just use what you have around but keep in mind that we don’t want to completely cover our design, we only need to lightly brush a shimmer of gold!
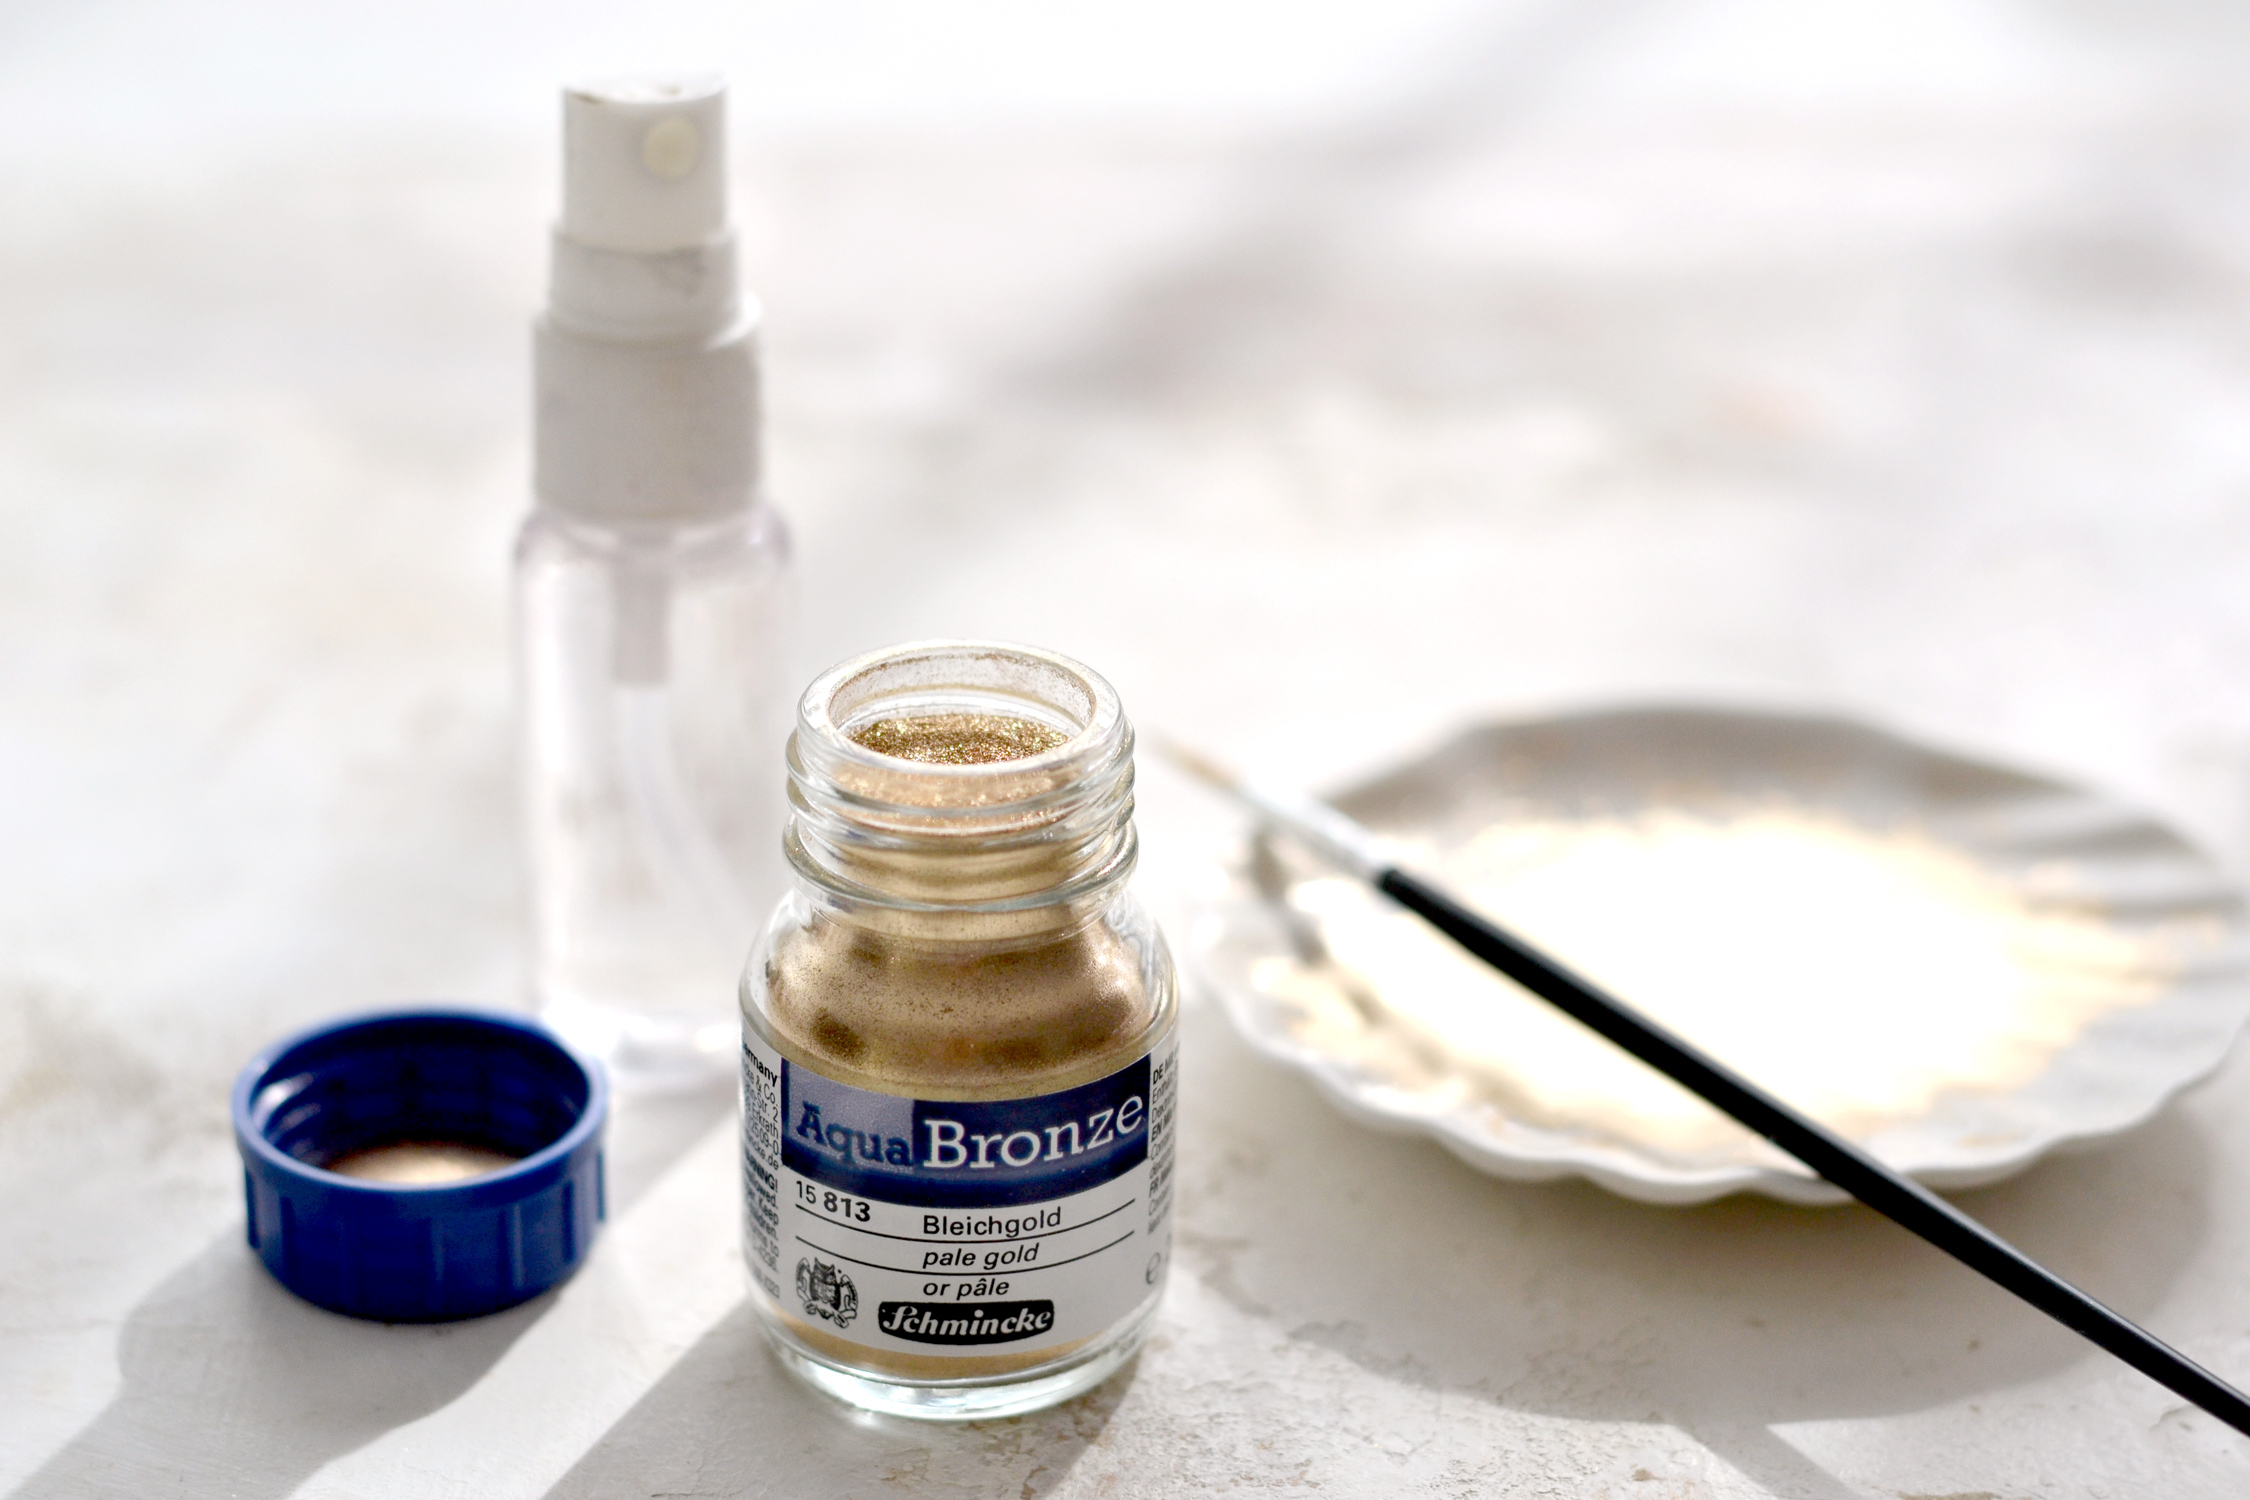
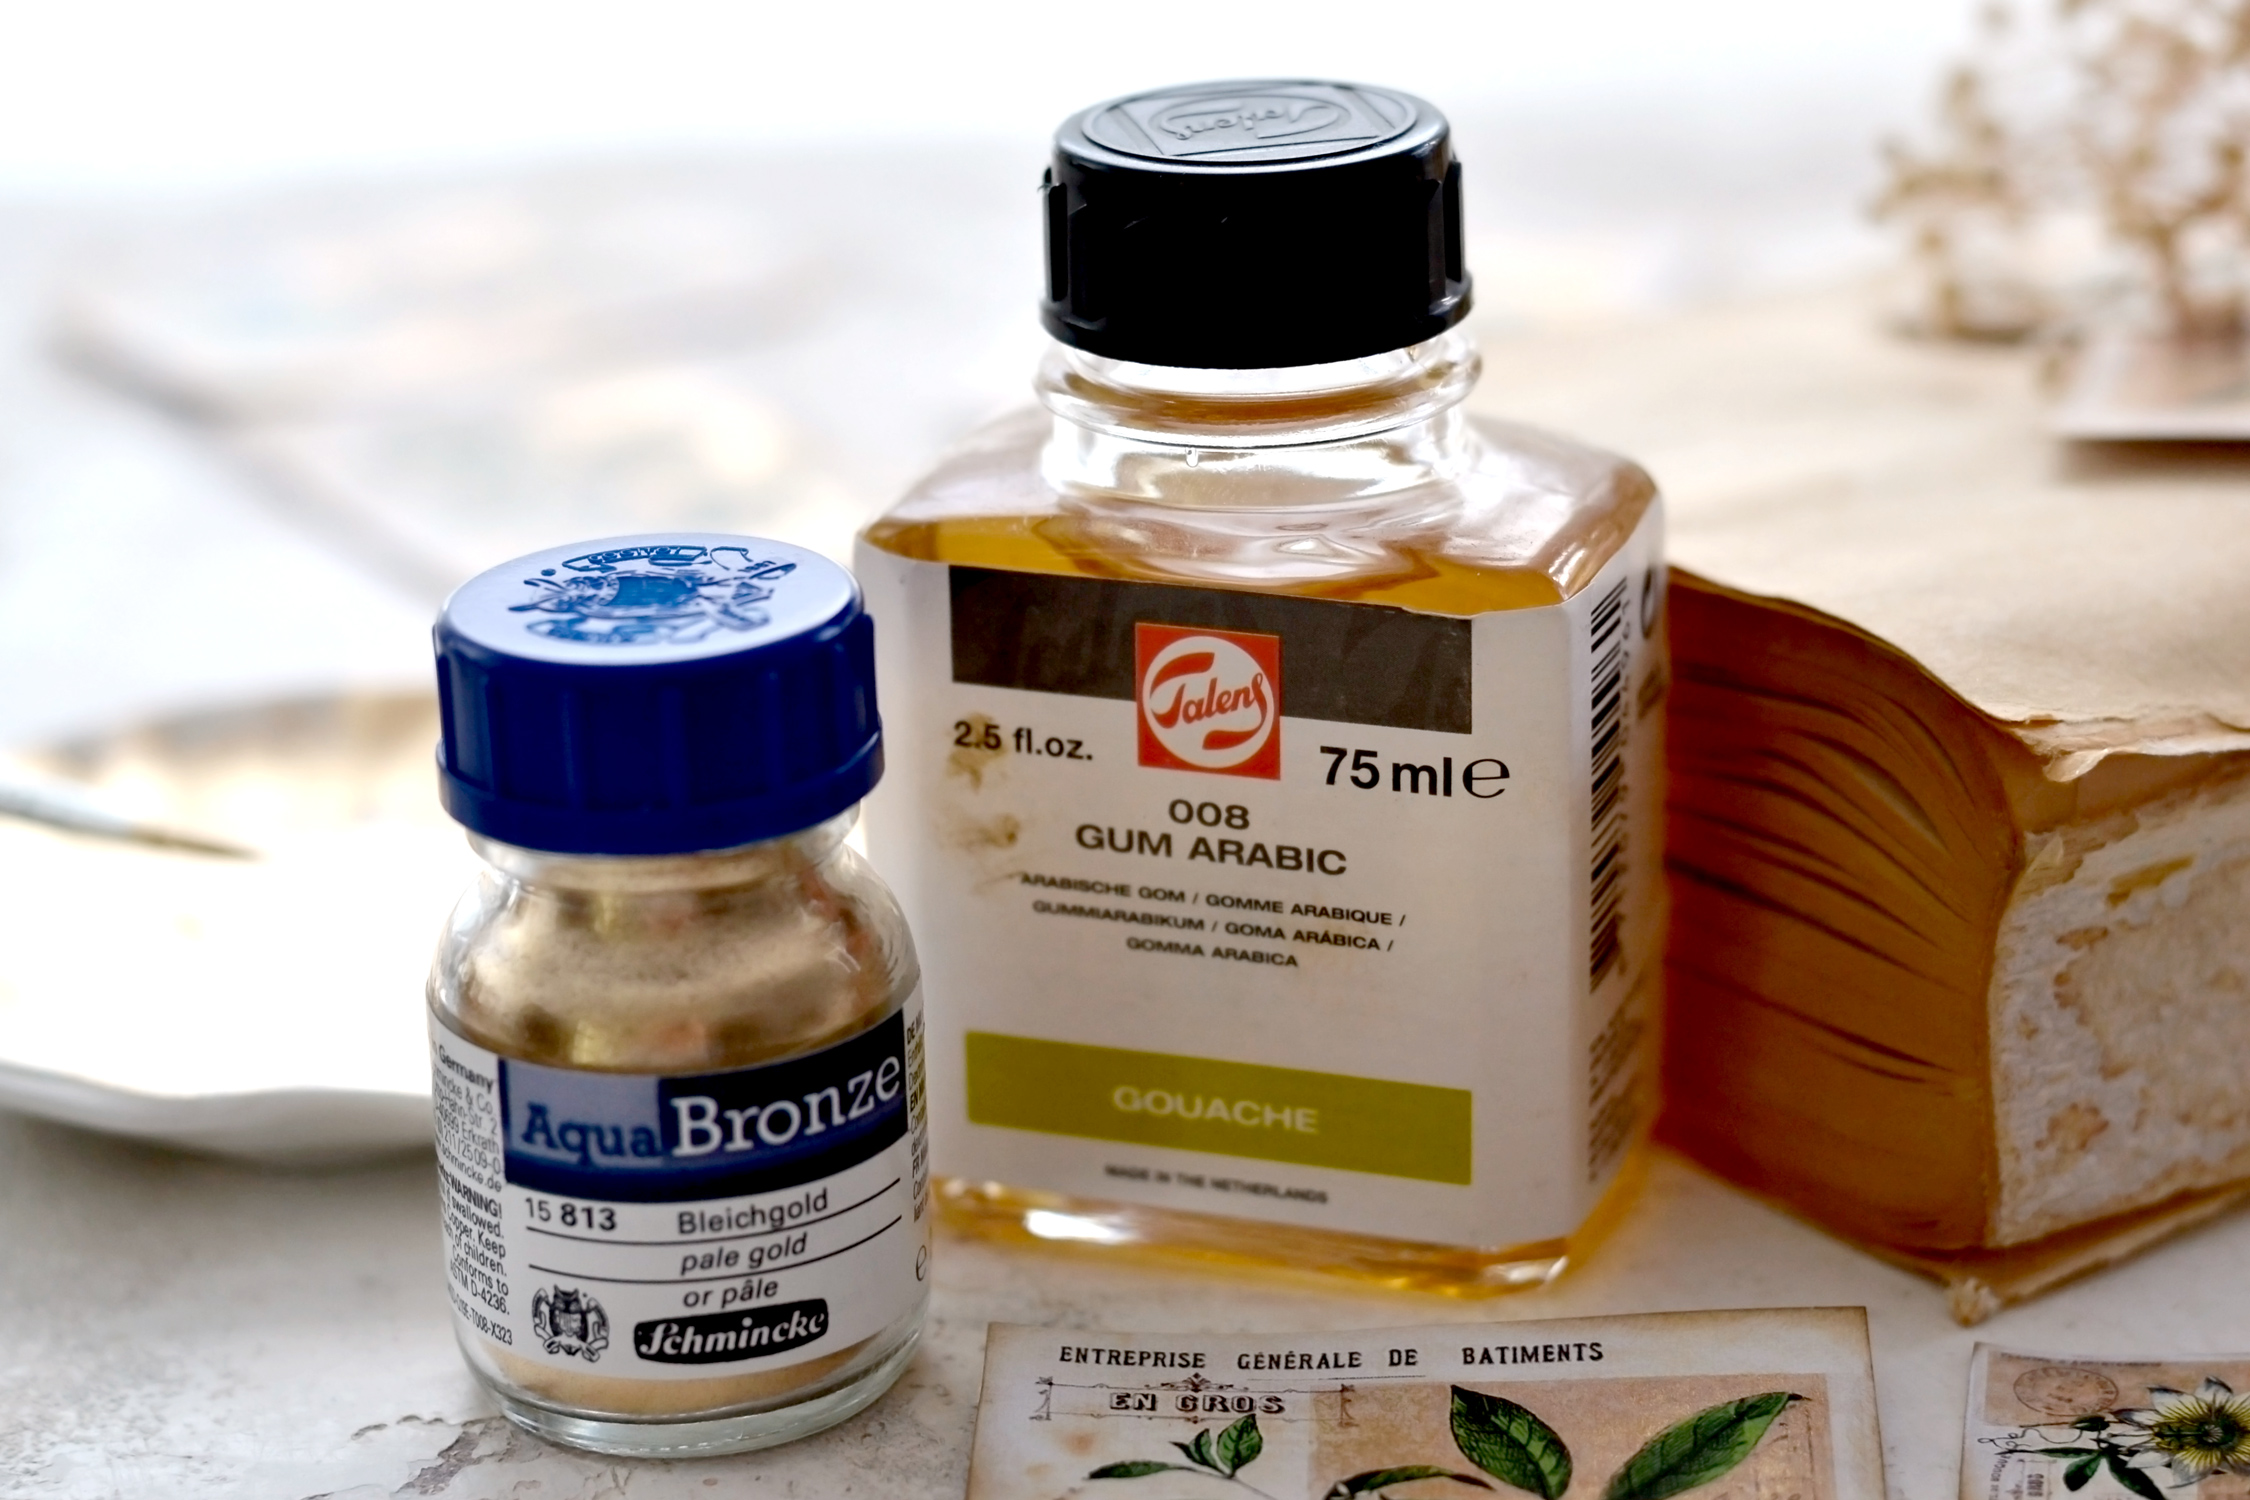
If you are considering using the Aqua Bronze from Schmincke in Pale Gold like I did, you will be amazed to see how beautiful this pigment is! You can easily mix it with a little bit of water to create the most amazing ‘paint’ that looks like melted gold! It’s really amazing! But because I only wanted to lightly cover the blocks with paint, I used quite a bit of water and I noticed that after the ‘paint’ had dried, some of the metallic pigment came off. Although it looked really beautiful, I knew I had to experiment a little bit to come up with a solution.
I remember I had some Gum Arabic laying around so I mixed it in and brushed another layer of my beautiful gold ‘paint’ on the cards. After drying, everything looked perfect and stayed in place, this time none of the metallic pigment came off! I only used a tiny bit of pigment and Gum Arabic (which is actually a binder), so if you are worrying about the costs, they were minimal. These bottles will probably last me forever, so I would say they are well worth it!
You can check the end of this post for a side-by-side comparison of the two mixes – the simple one with water and the one with the binder.
DIY Journal Cards Supplies:
- cardstock paper
- home printer
- scissors
- mini distress inks
- blending tool with foams
- gold pigment – I used the Aqua Bronze in Pale Gold from Schmincke or gold watercolors or highly diluted gold acrylic paint or gold gouaches – you can use metallic gold, copper or bronze
- gum Arabic (binder) – I used the one from Talens – optional, but recommended (only if using the gold pigment)
- small brush
DIY Journal Cards Tutorial:
Start by printing your printable using a laserjet printer. If you don’t have one, ask your friends if they would print it for you or take it to a copy center and print it there.
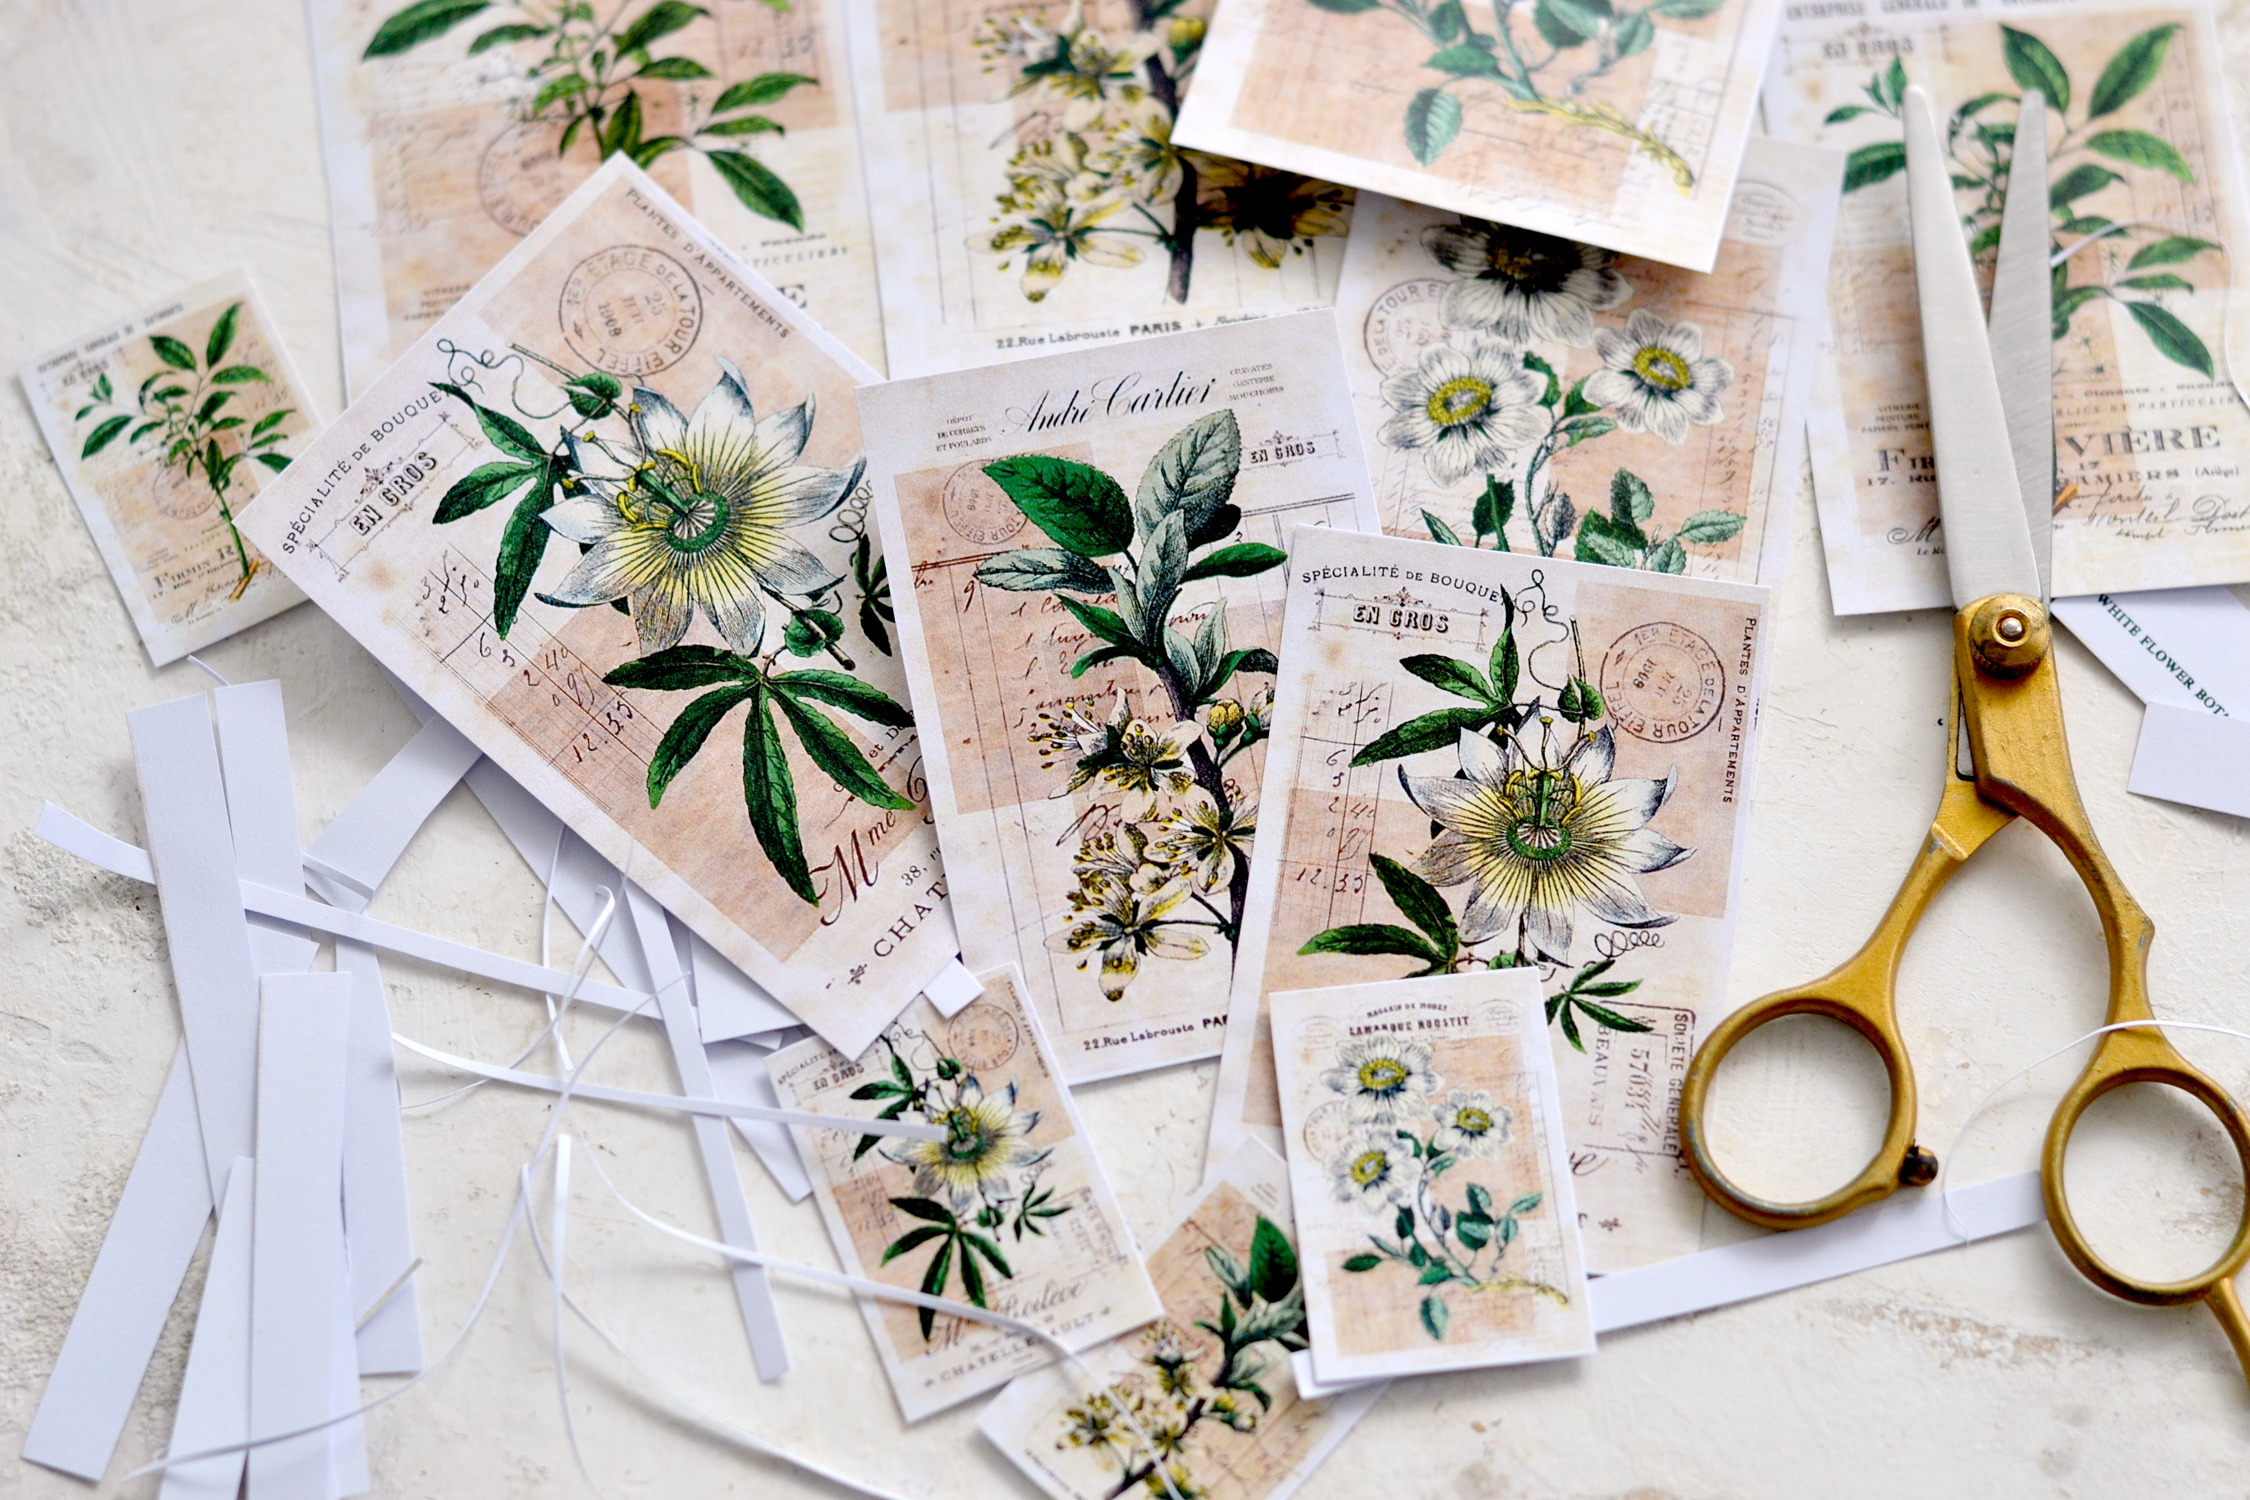
Use your scissors to cut each card.
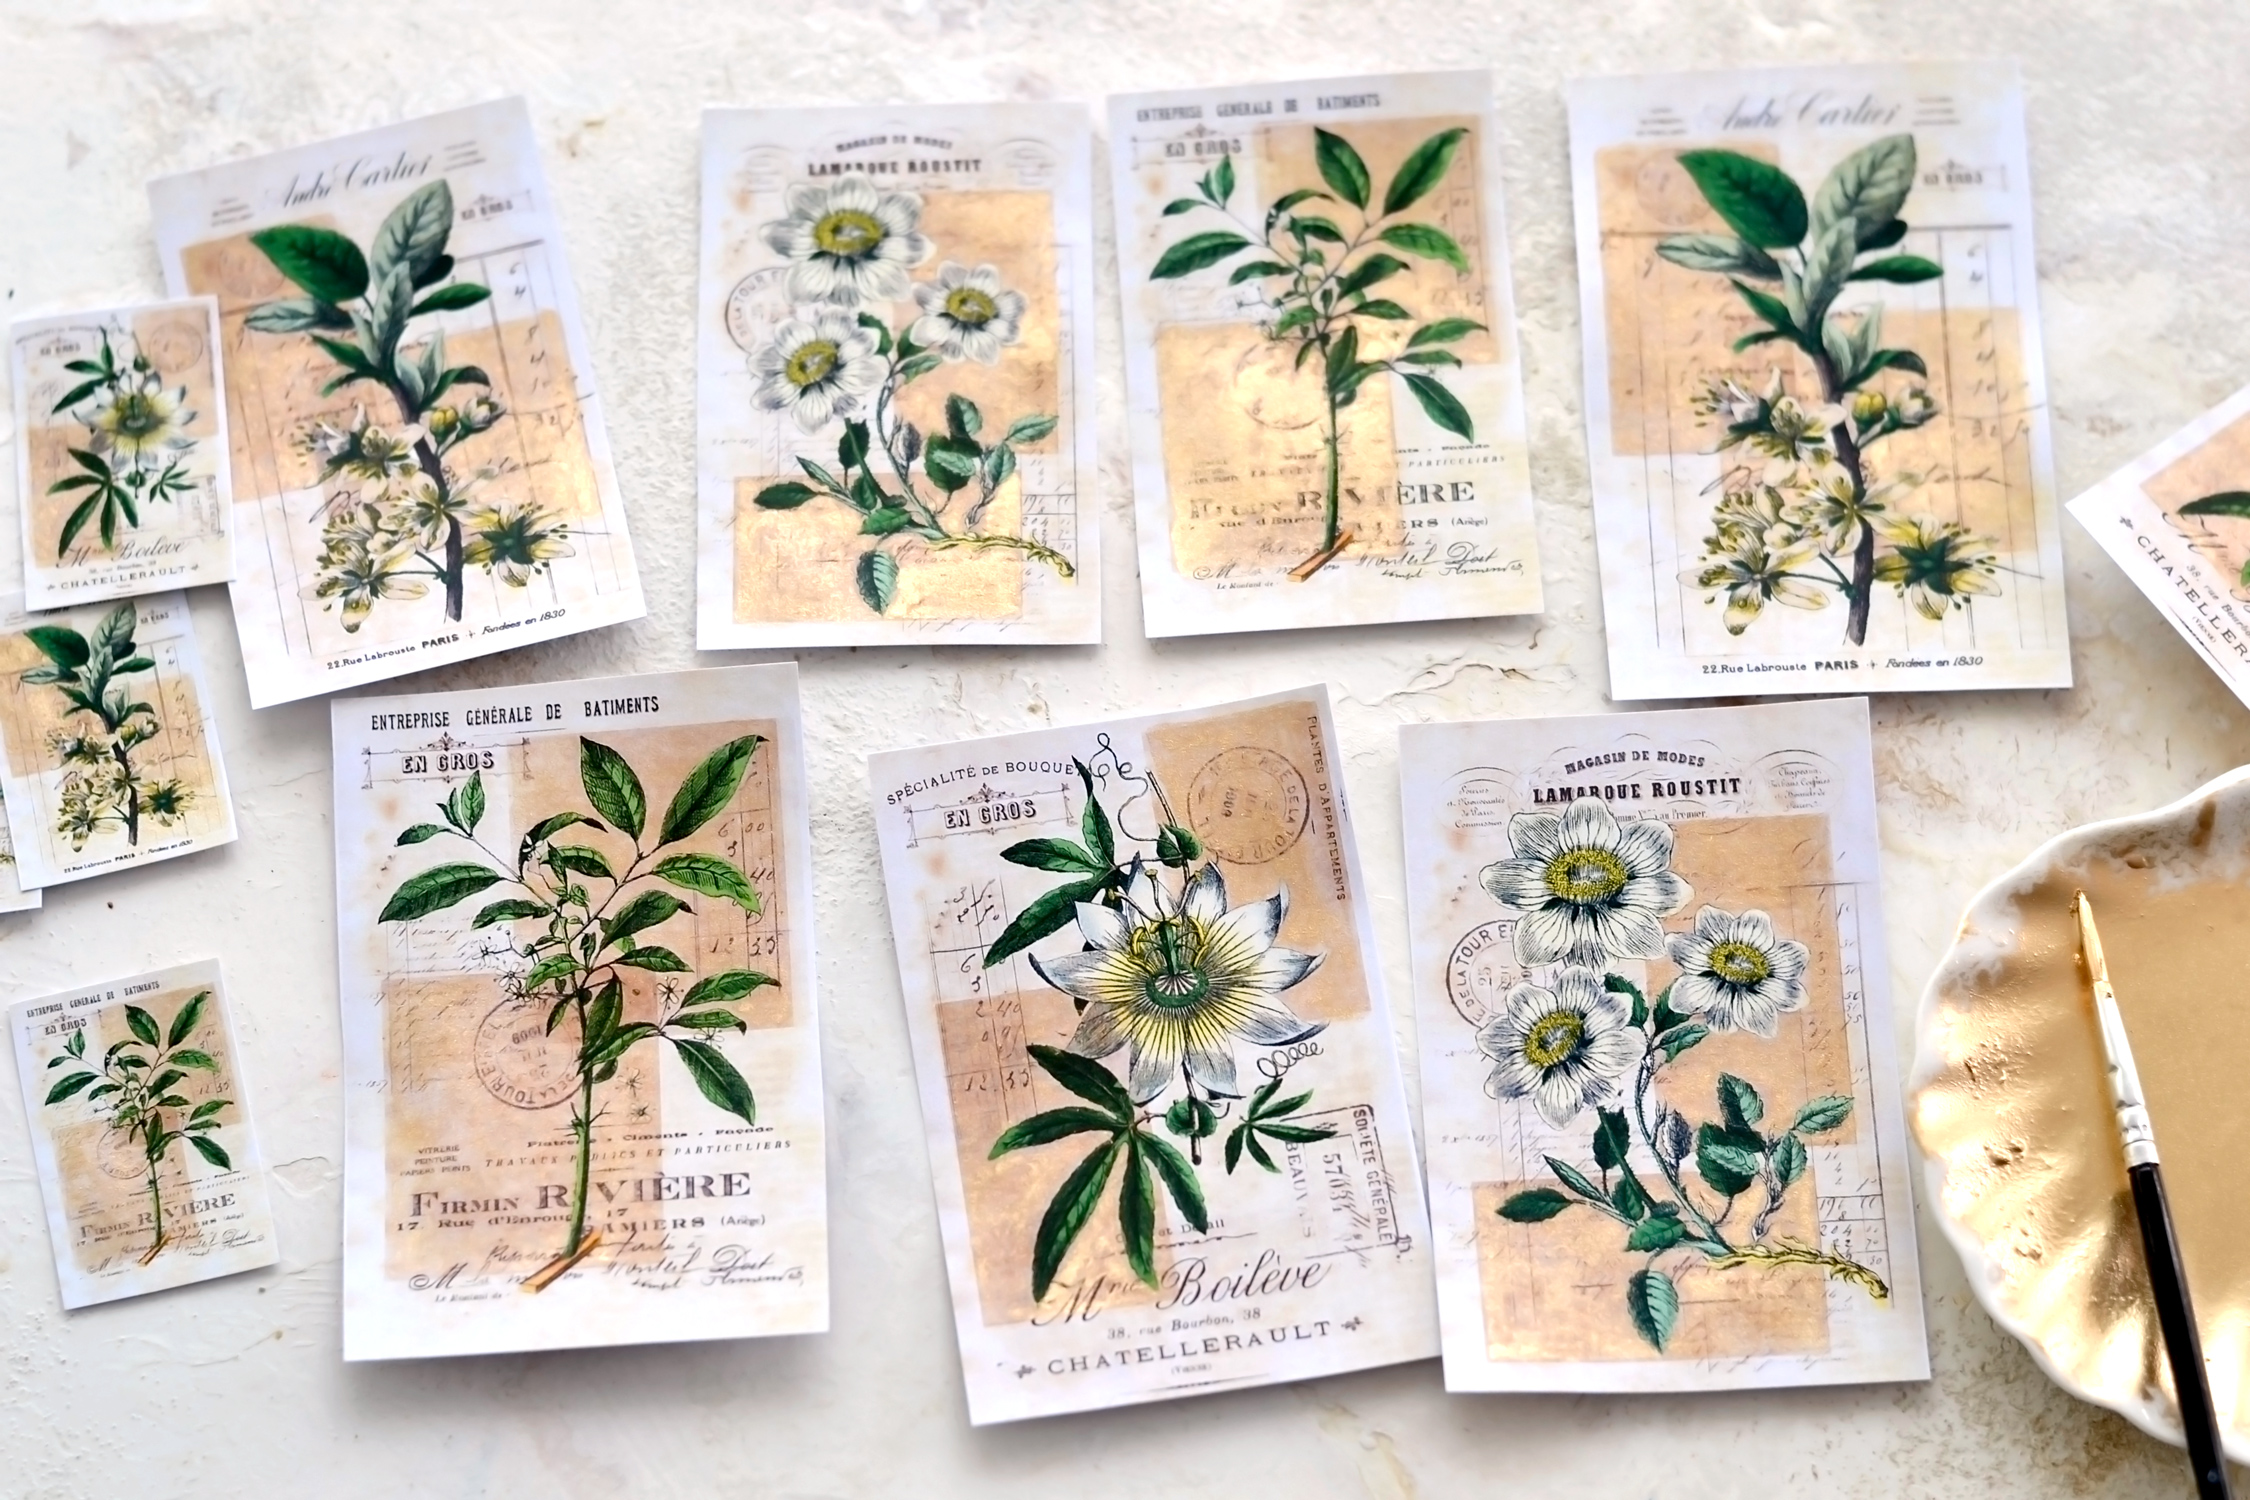
Paint the two geometric blocks from each card using a small brush and your preferred paint. Use a bit of extra water in your paint just to make sure you don’t completely cover the design, you just need to add a shimmer of gold. Only paint the blocks and not the flowers or the leaves, we want to make the blocks look like they are behind the botanical images. This will take a little bit of time to finish, but if you love painting like I do, I’m sure you will find this process of filling all these small details around the focal images quite relaxing.
Let the cards dry completely before moving on to the next step.
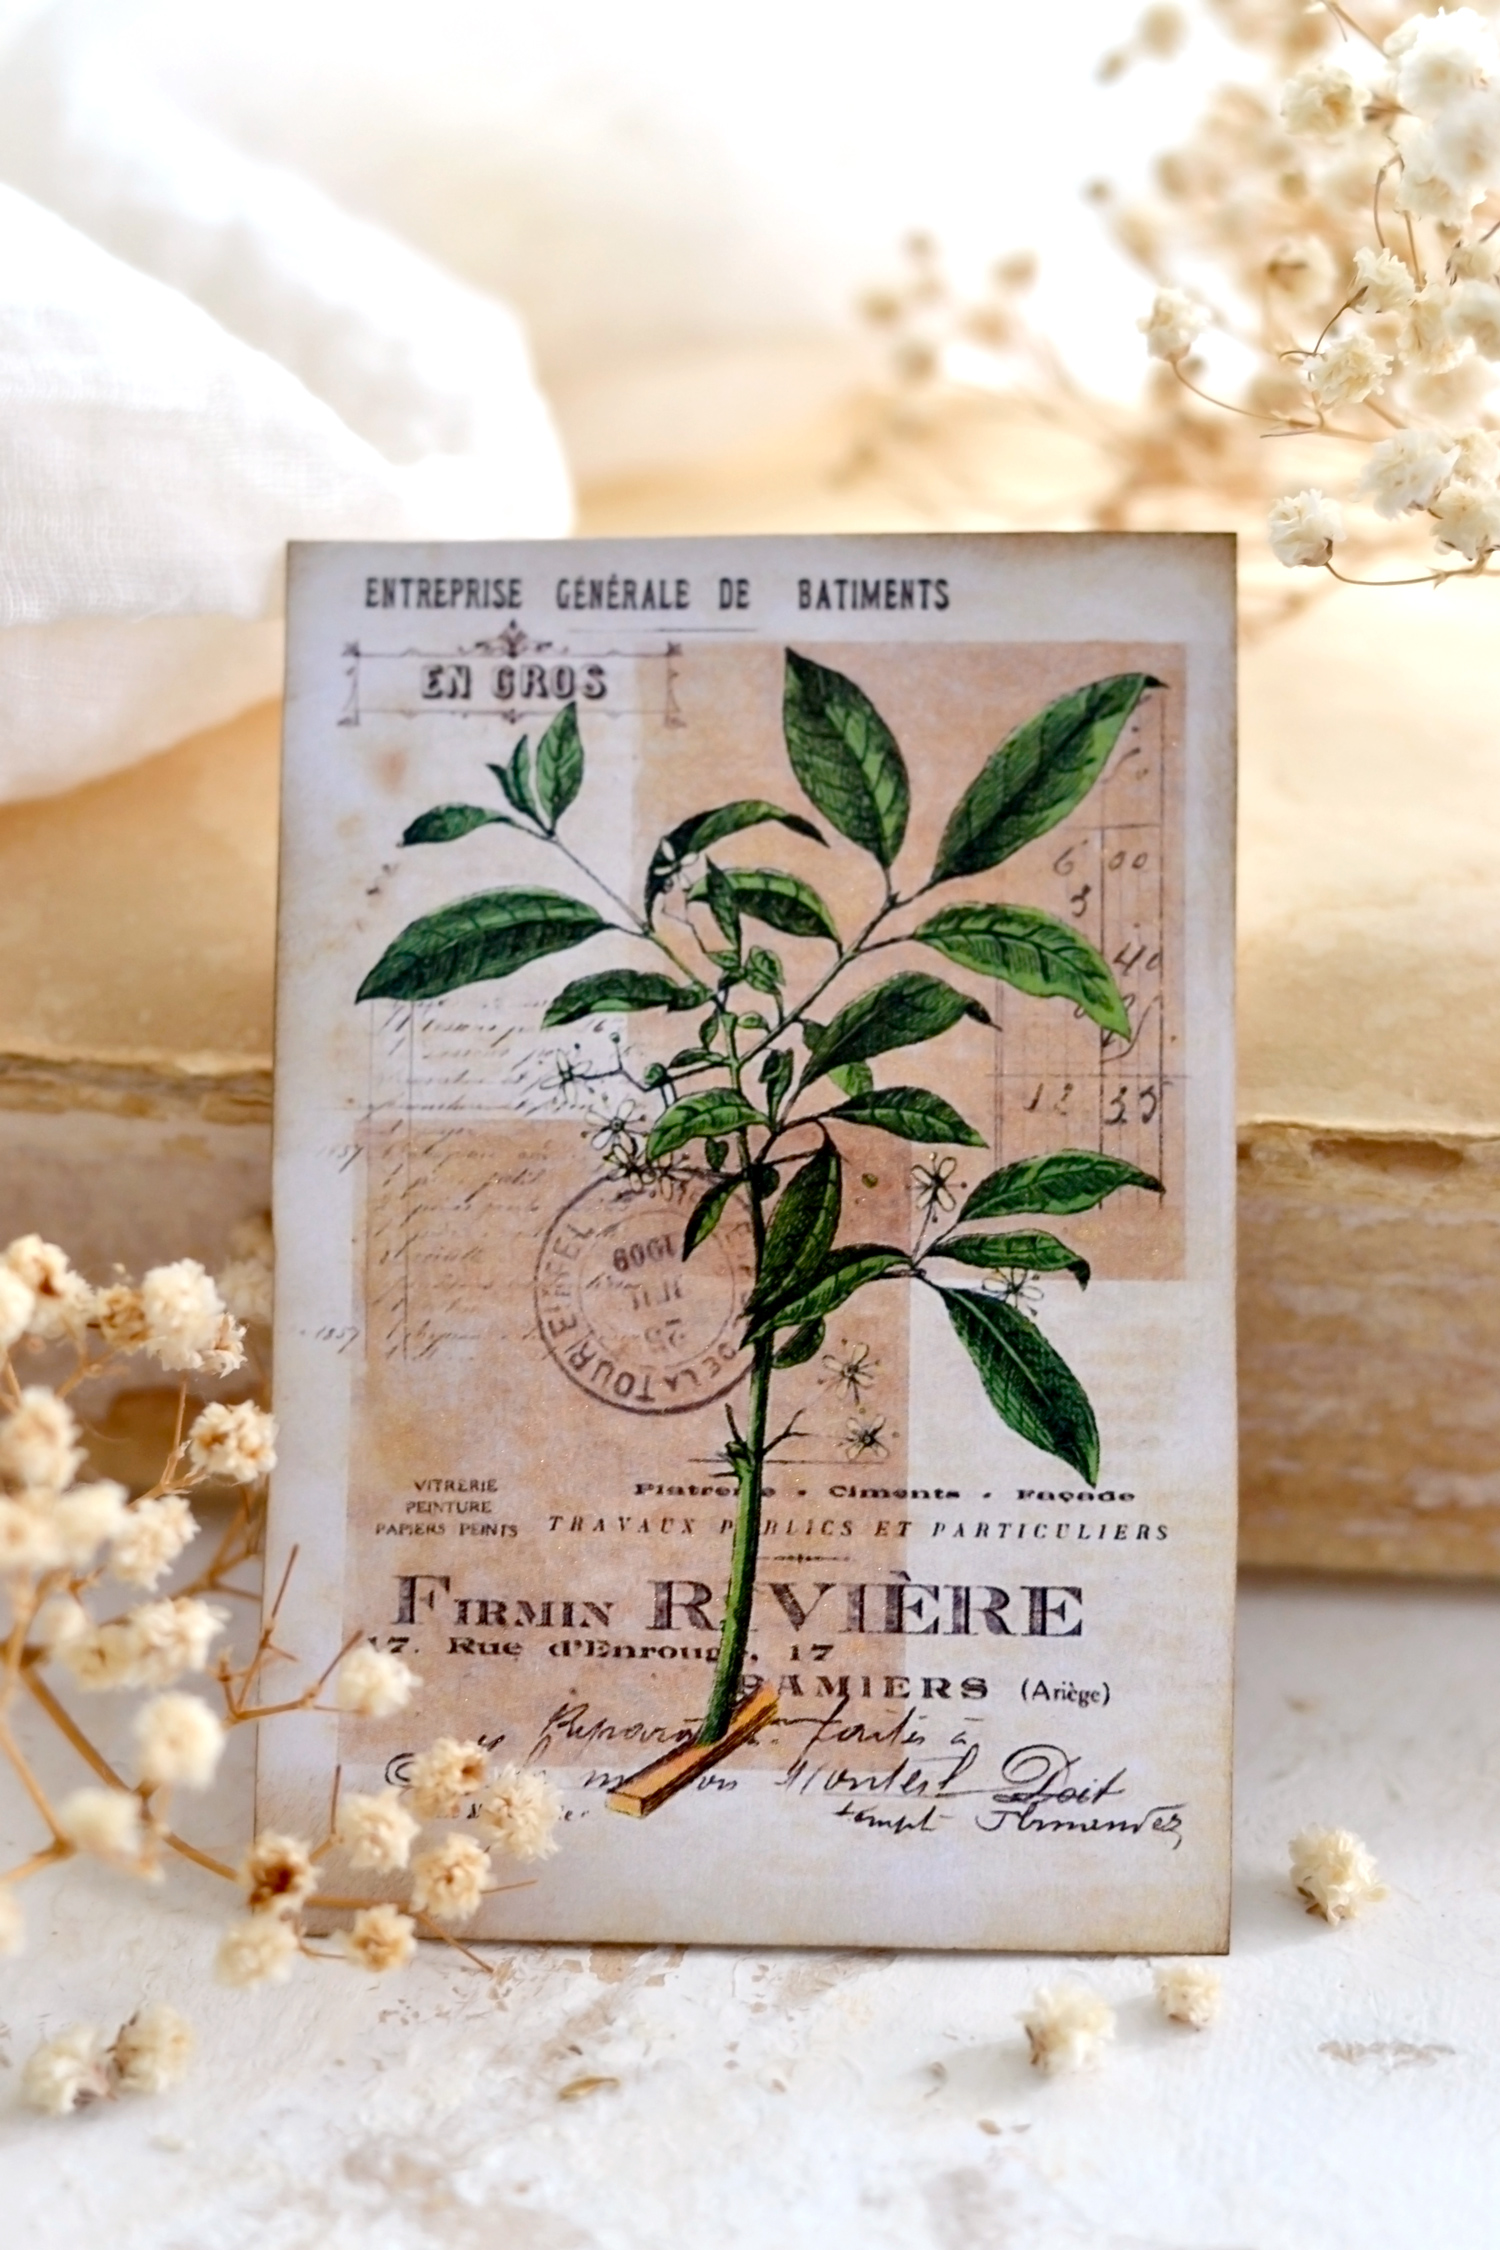
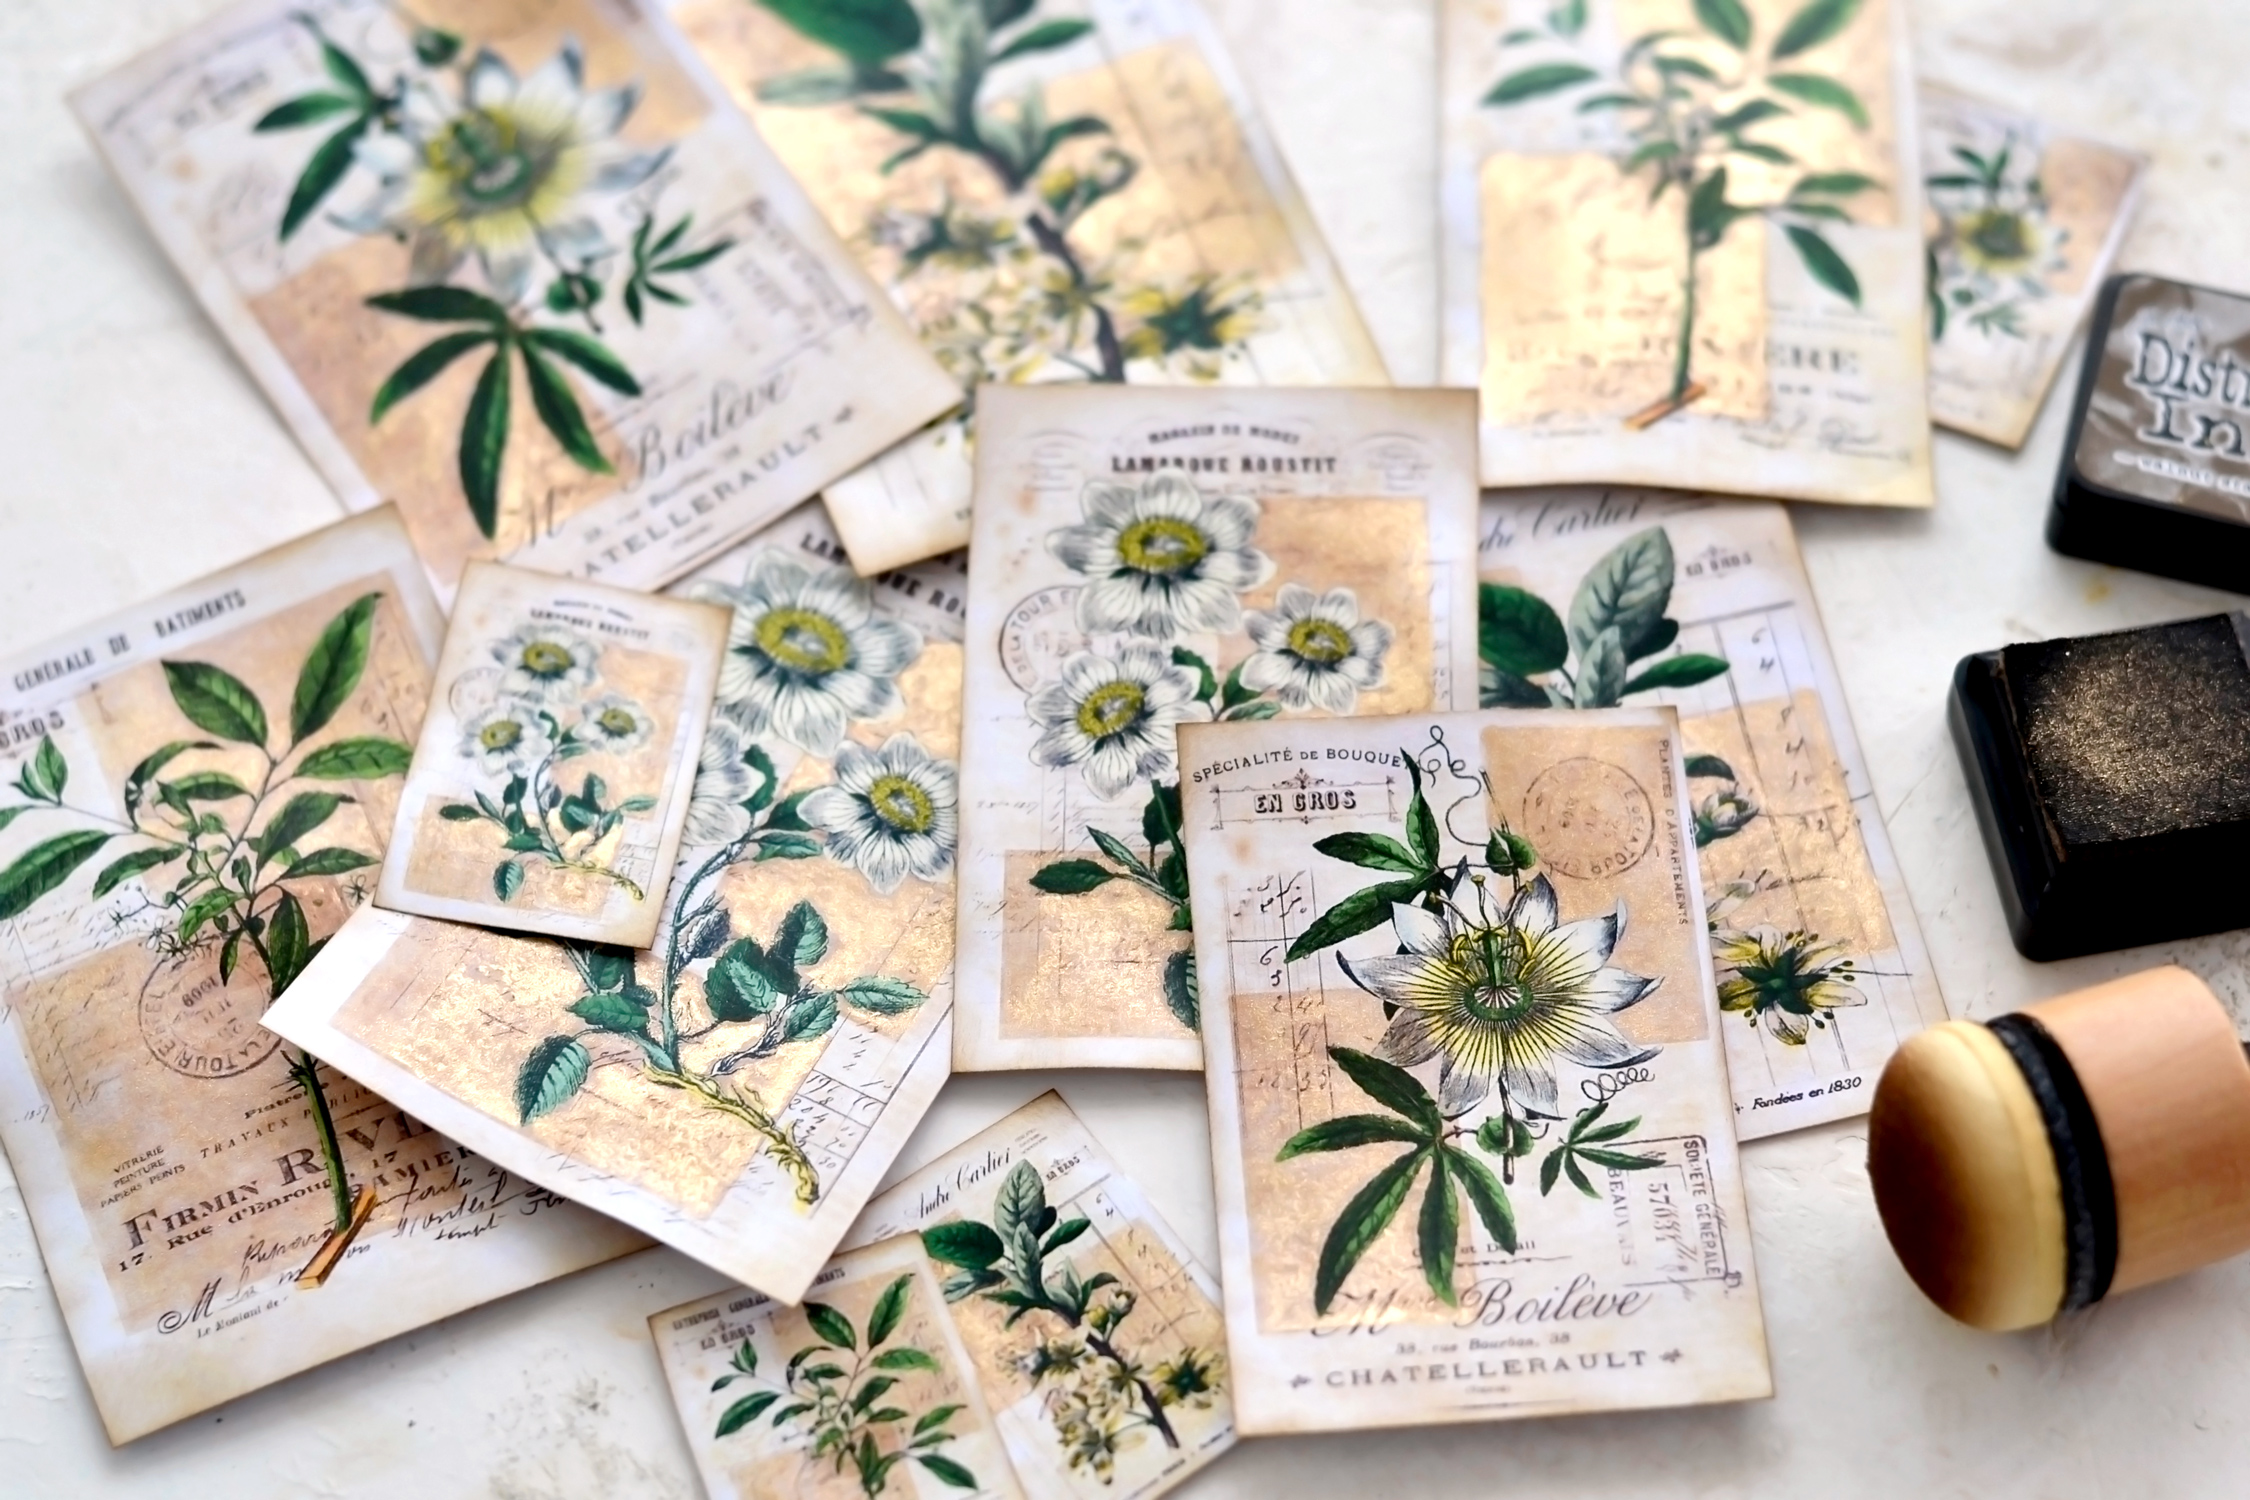
Use your favorite brown distress ink on the edges to give the paper a beautiful worn look – I usually love using the mini Walnut Stain from Ranger. If you look really closely at my distress ink pad on the image below you can see that some of the metallic pigment already started to come off. So if you are not using the binder, you need to be careful not to take too much pigment off at this stage.
And that’s pretty much it, your gorgeous Antique Gold Botanical Cards are now ready to be used!
All these amazing designs that come in different sizes will be perfect to tuck in and decorate your junk journals, but of course, they can be used in other projects too! Why stop there when we can have so much more fun with these beauties, right? 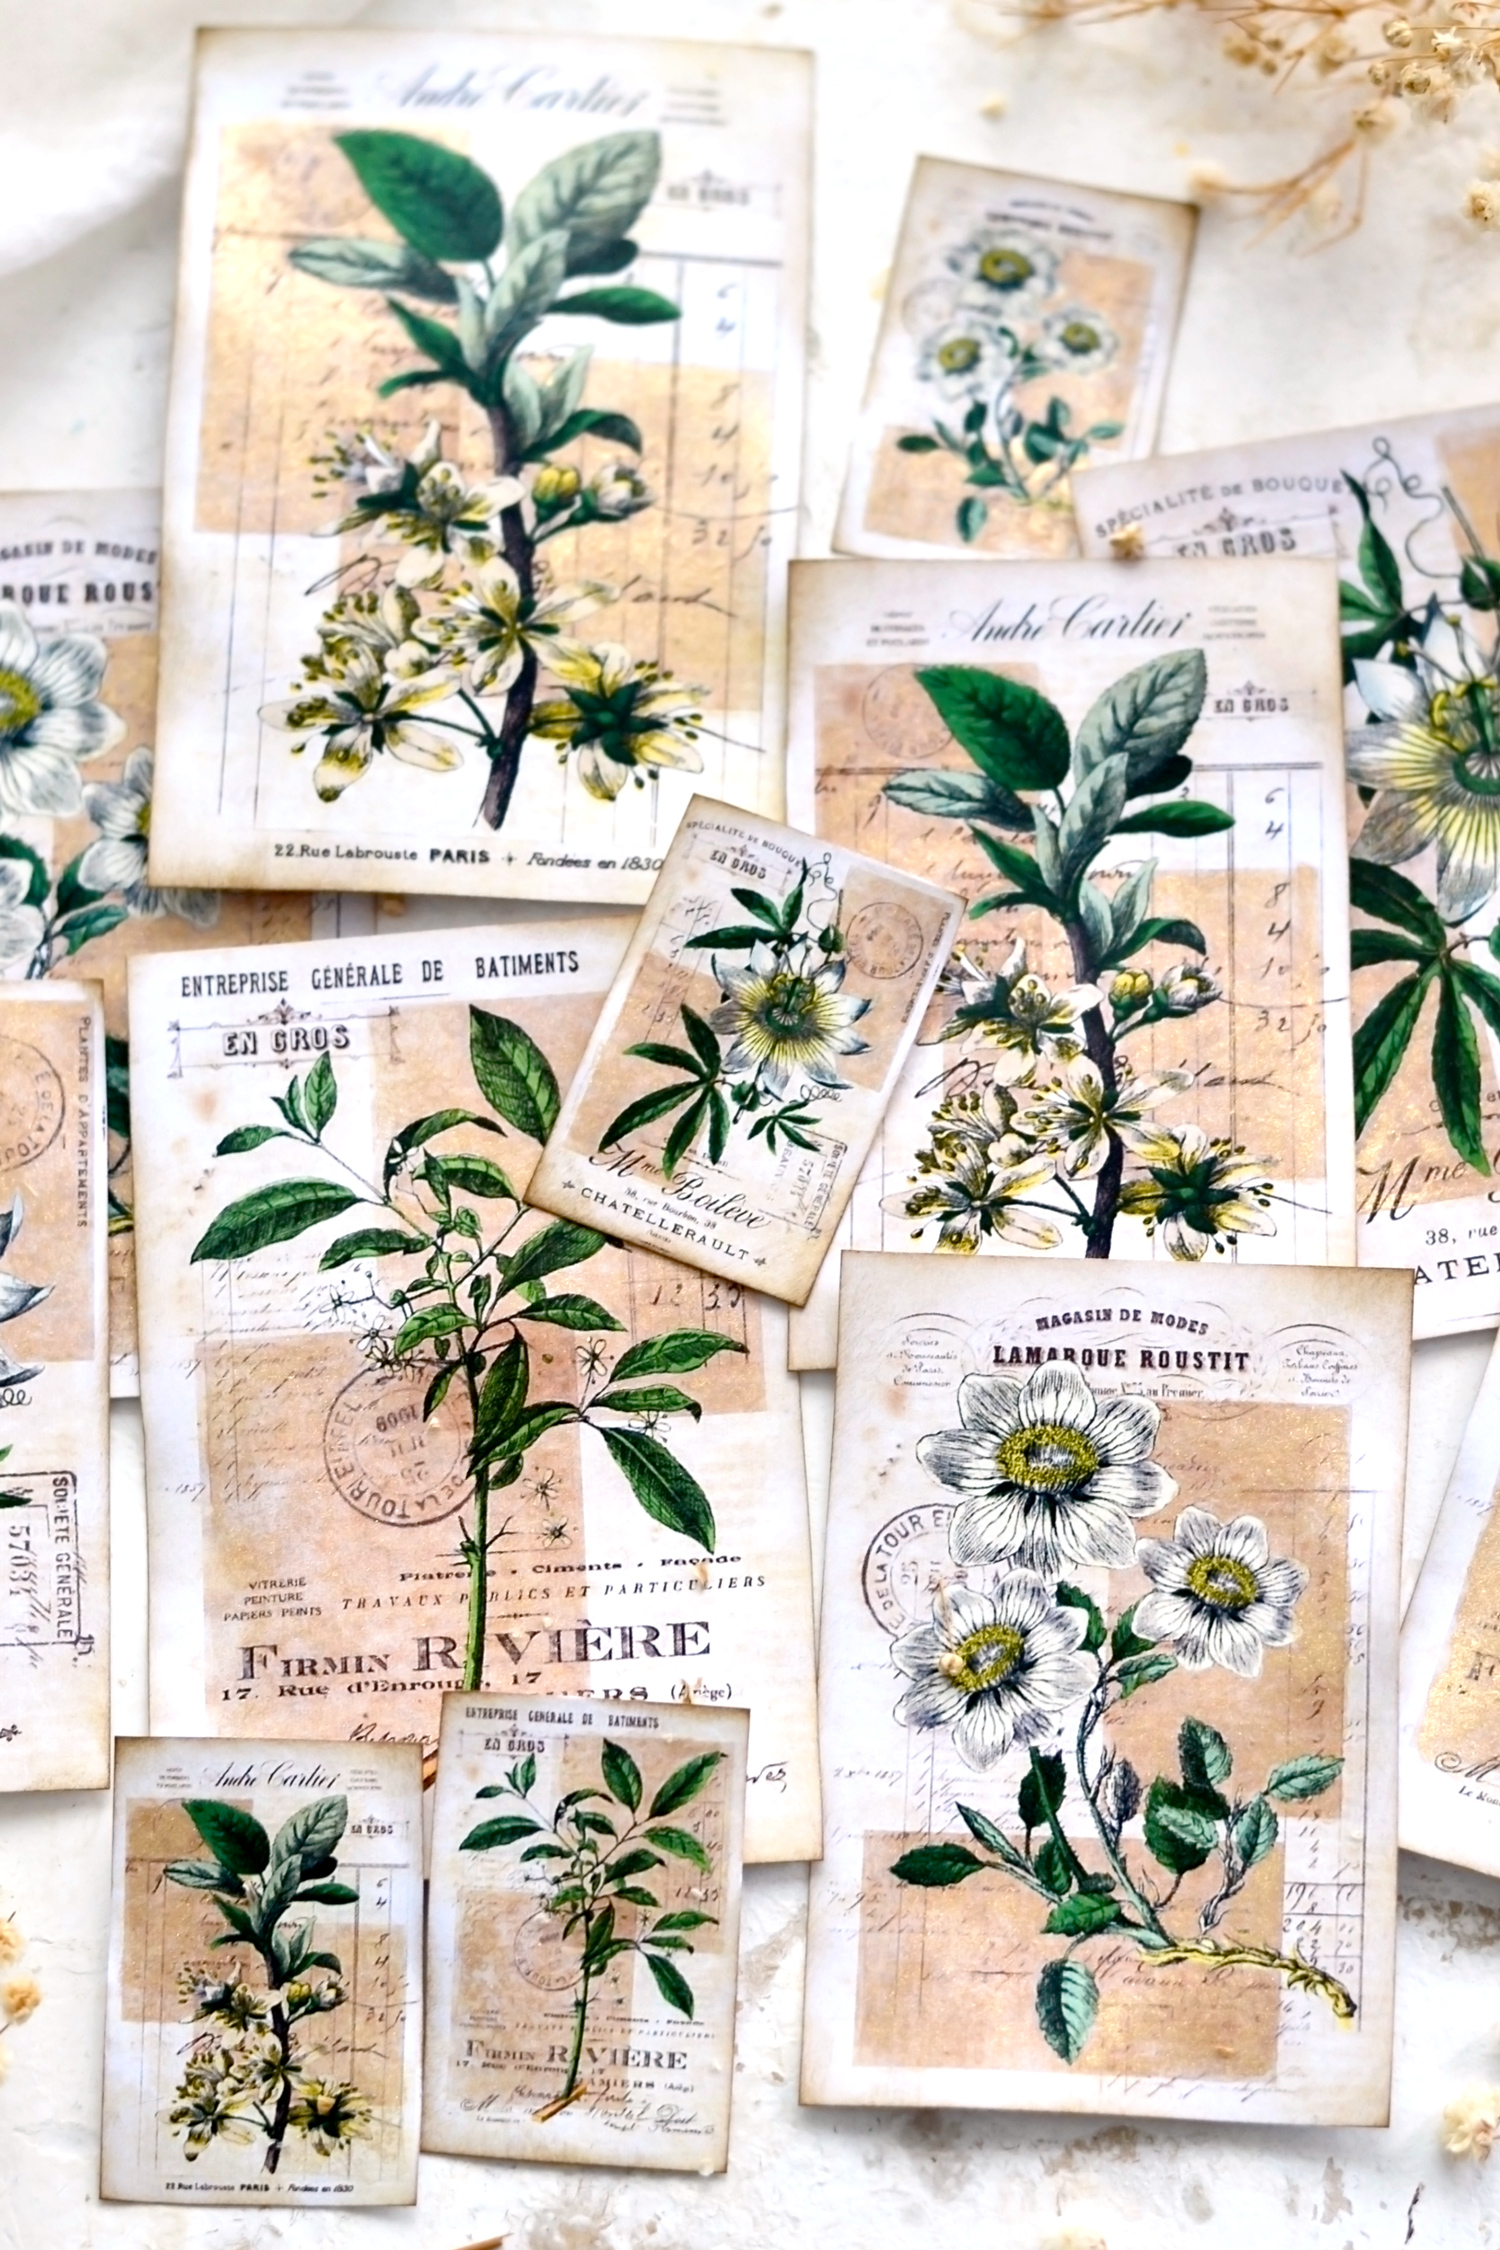
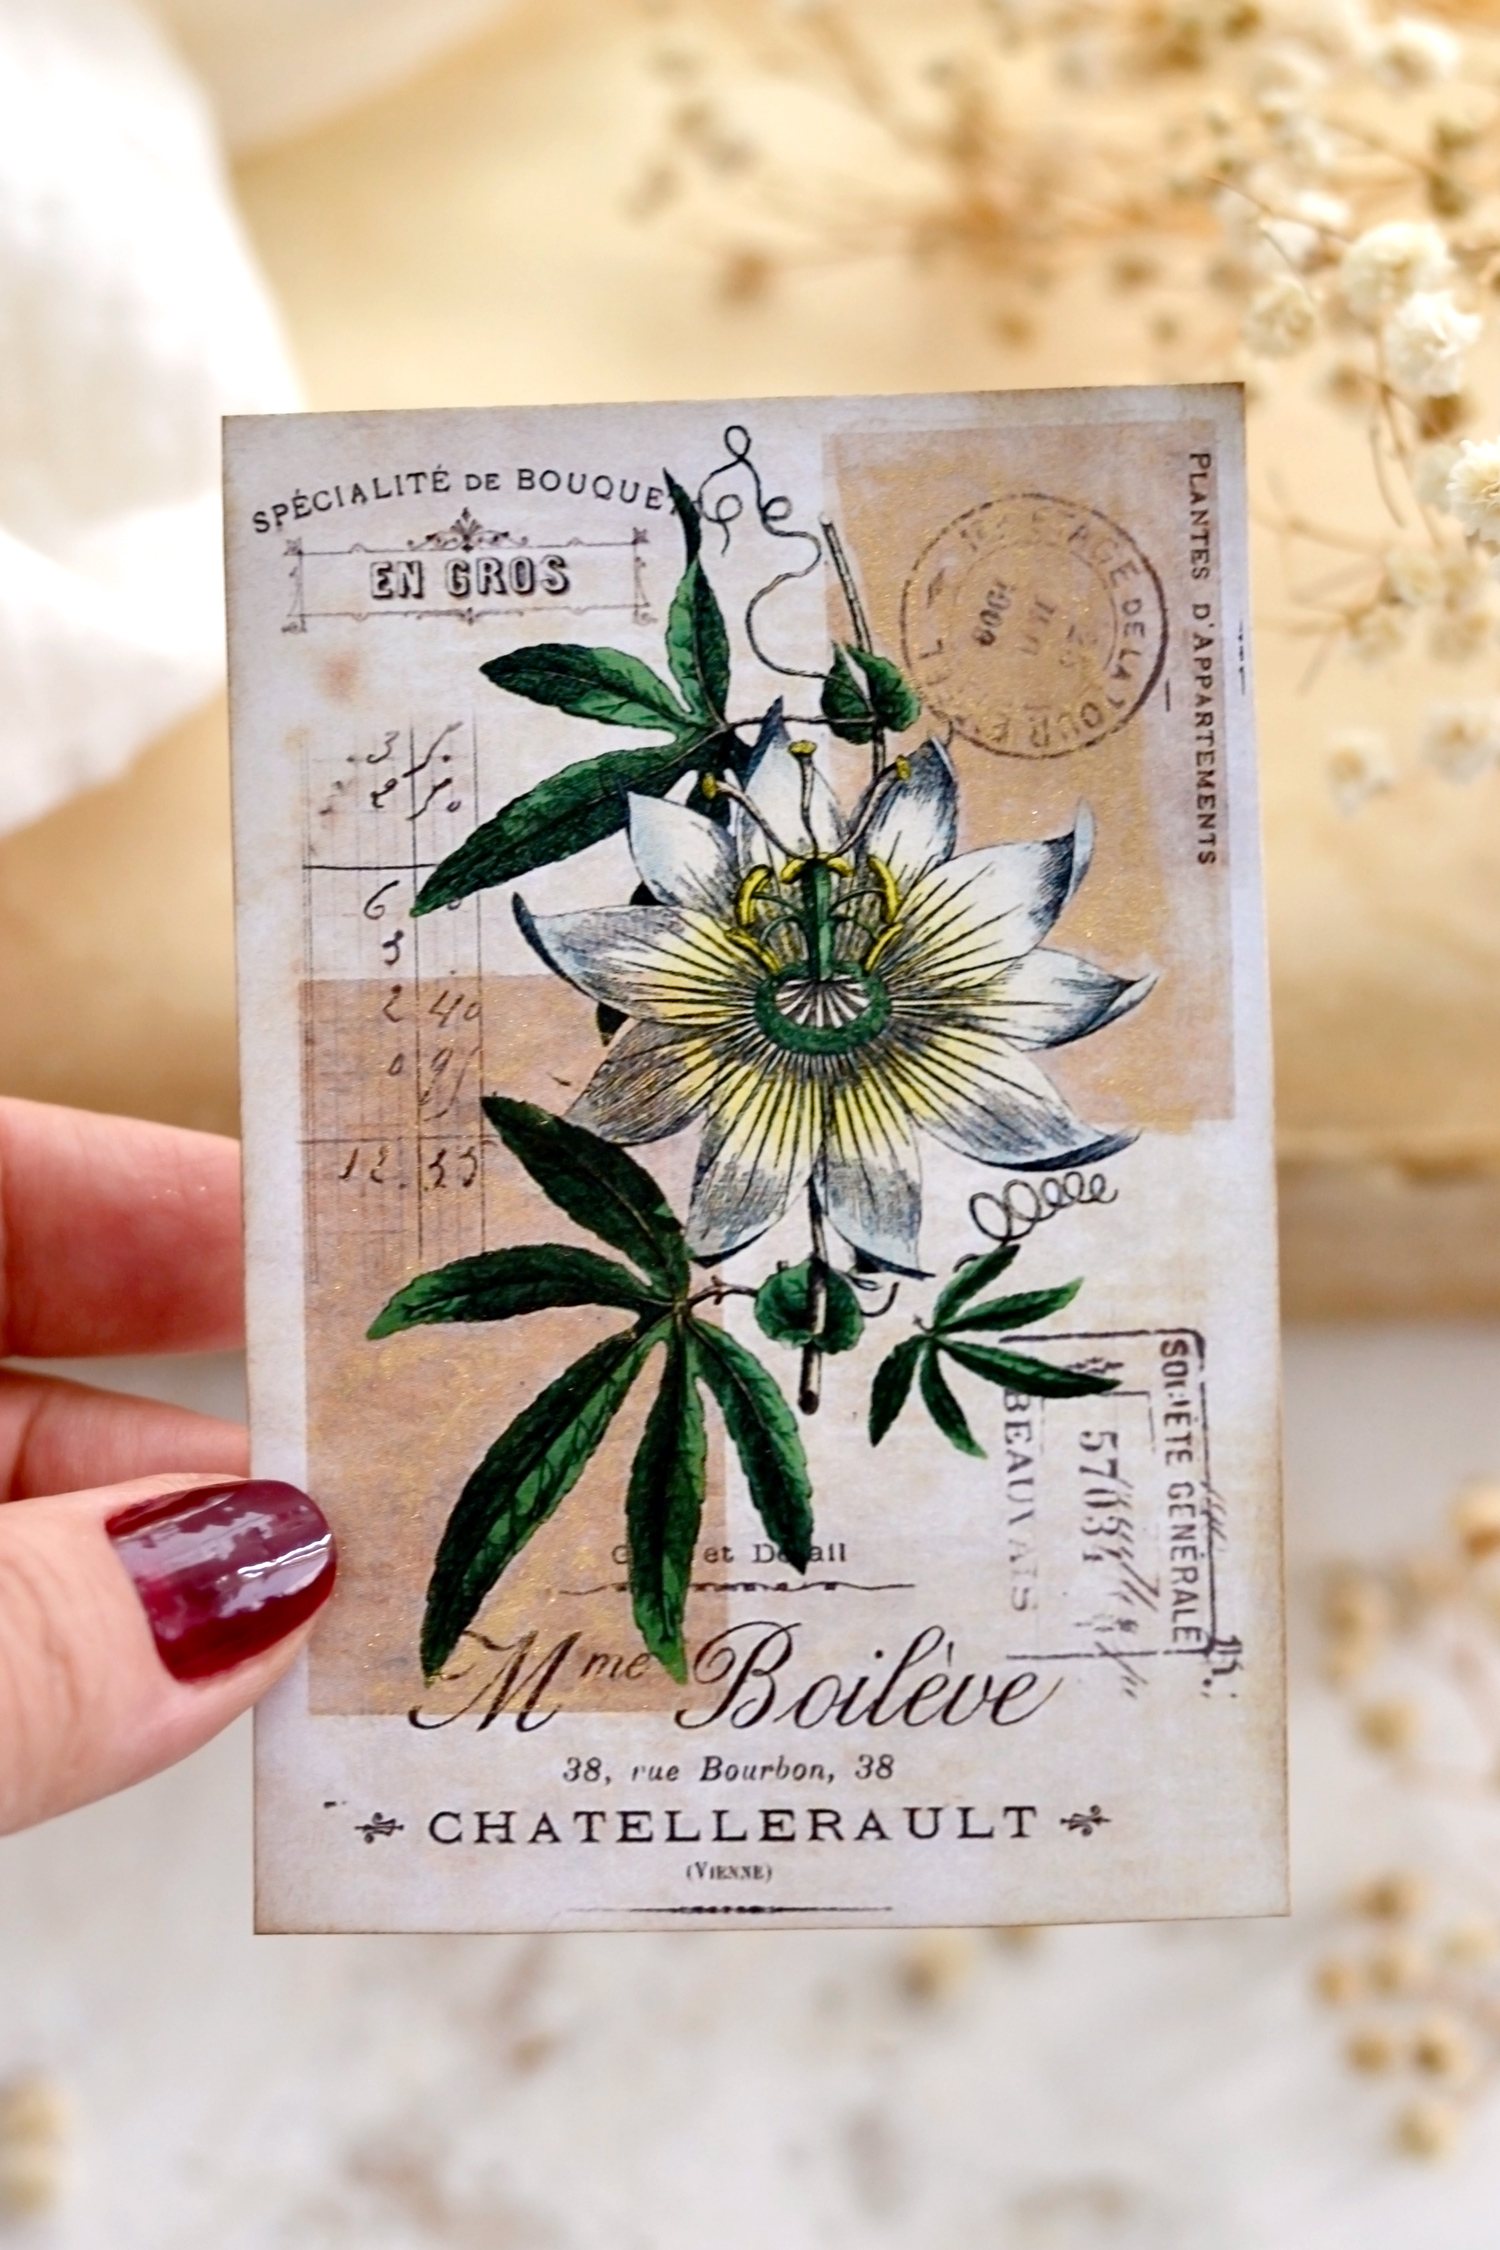
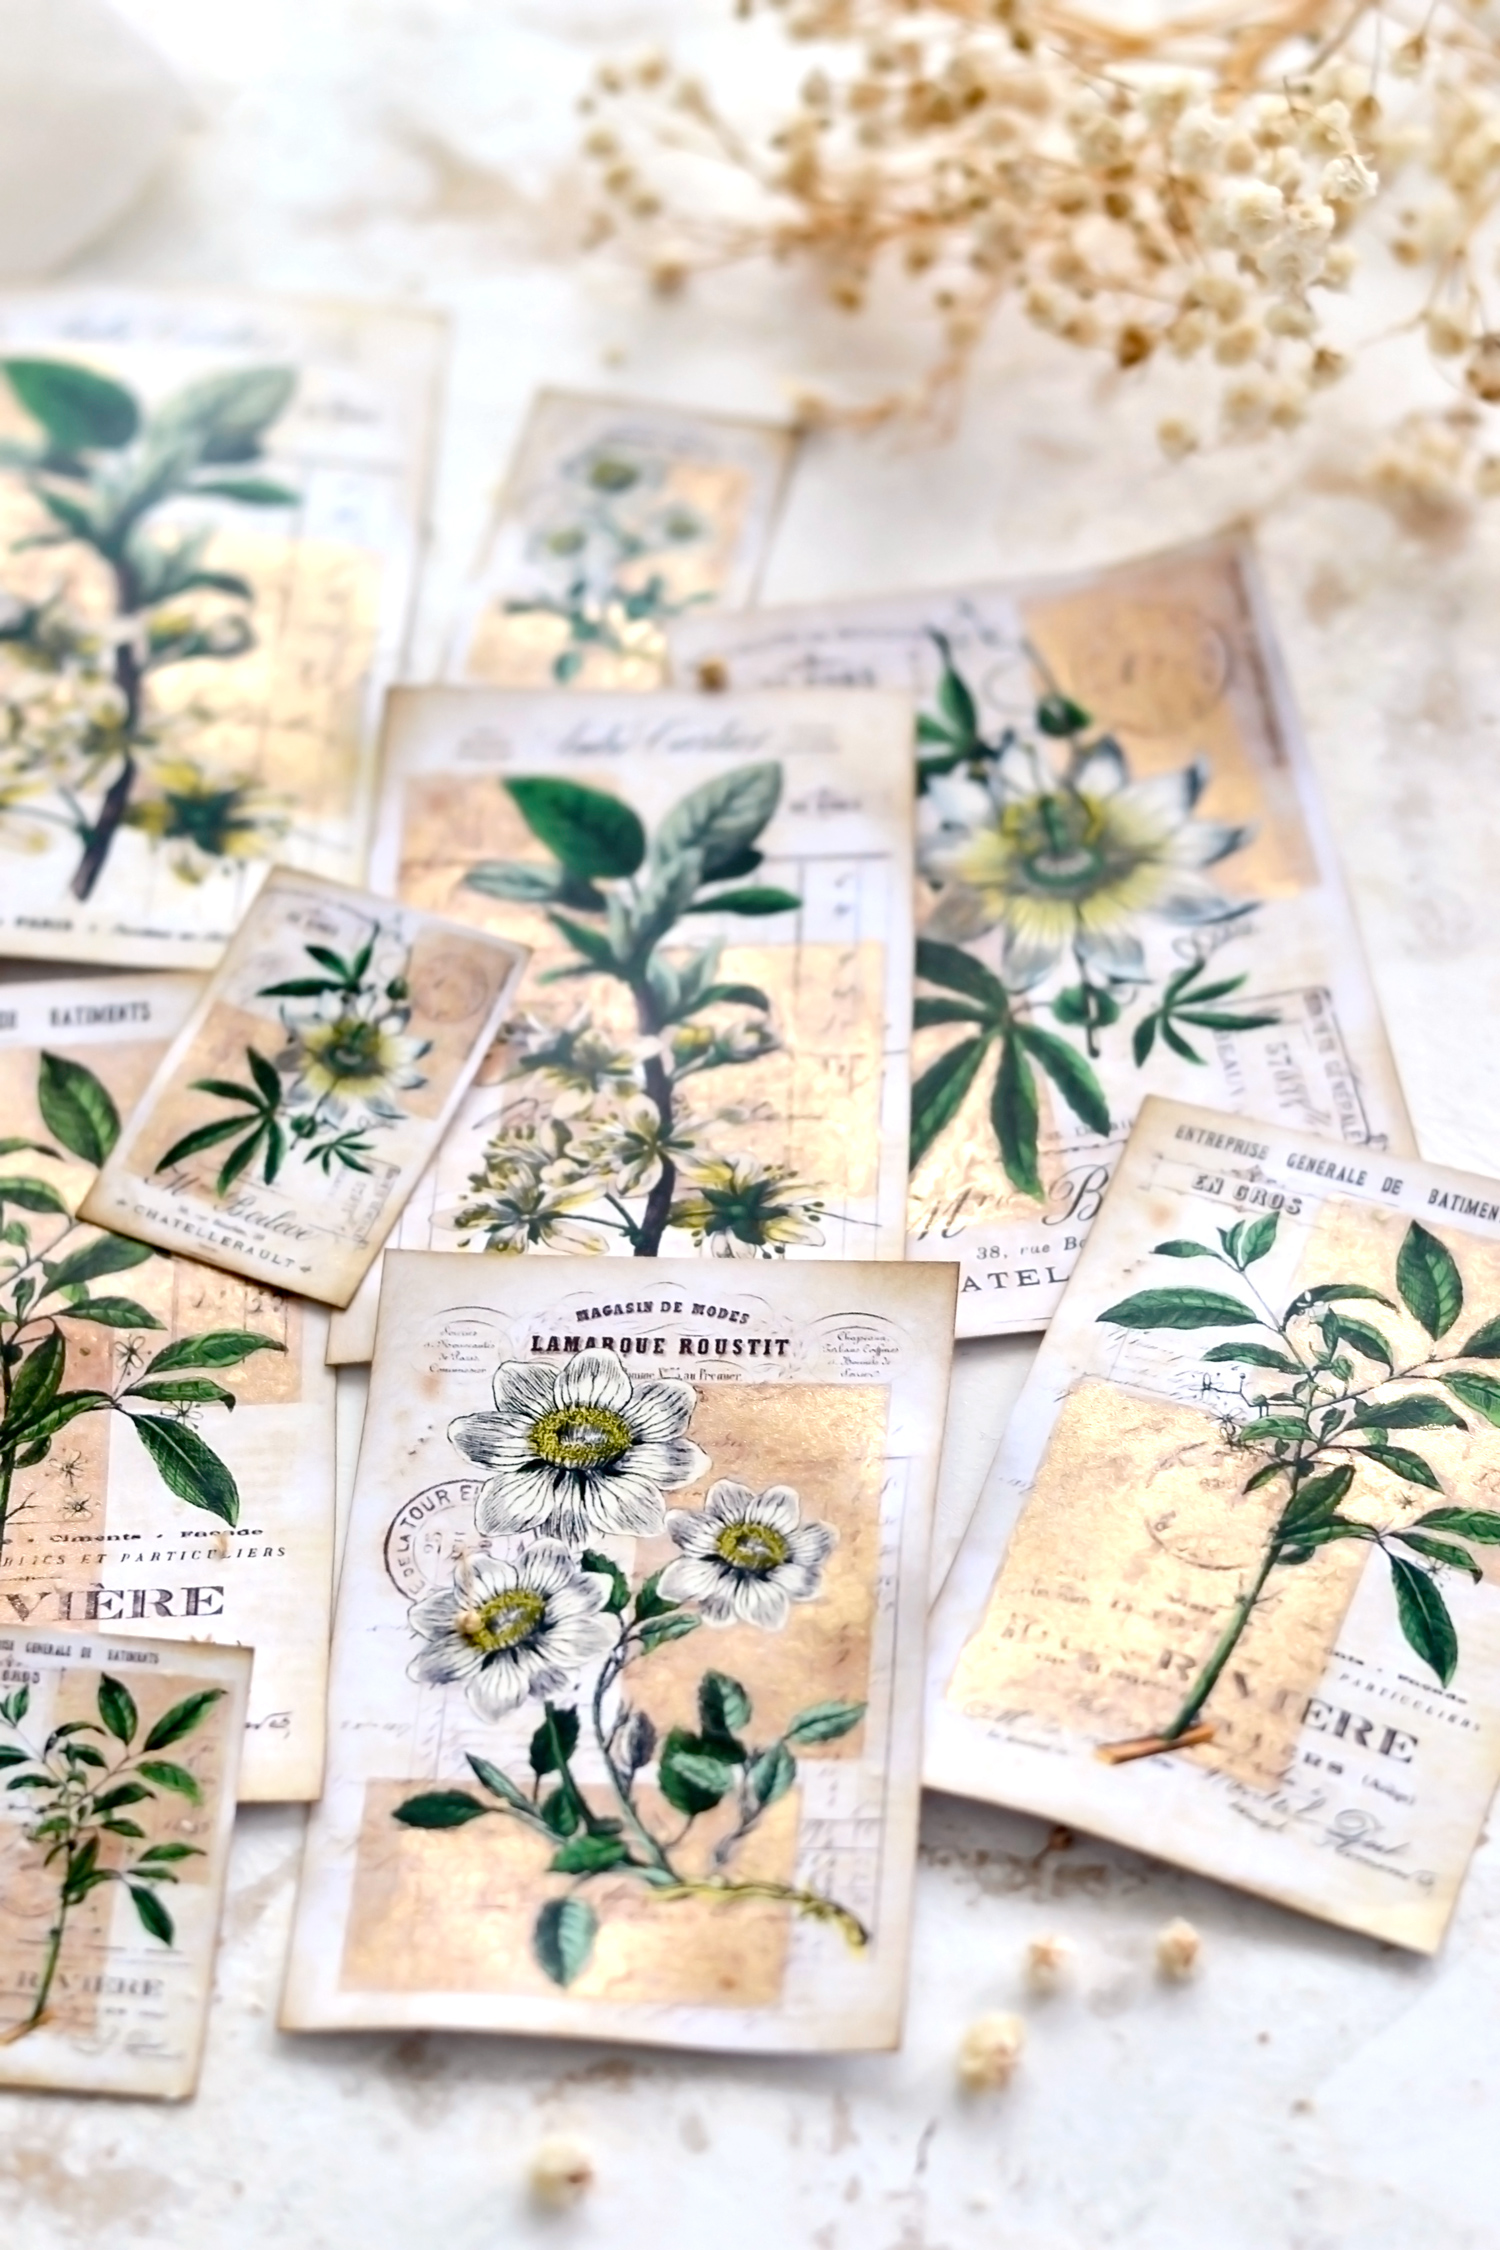
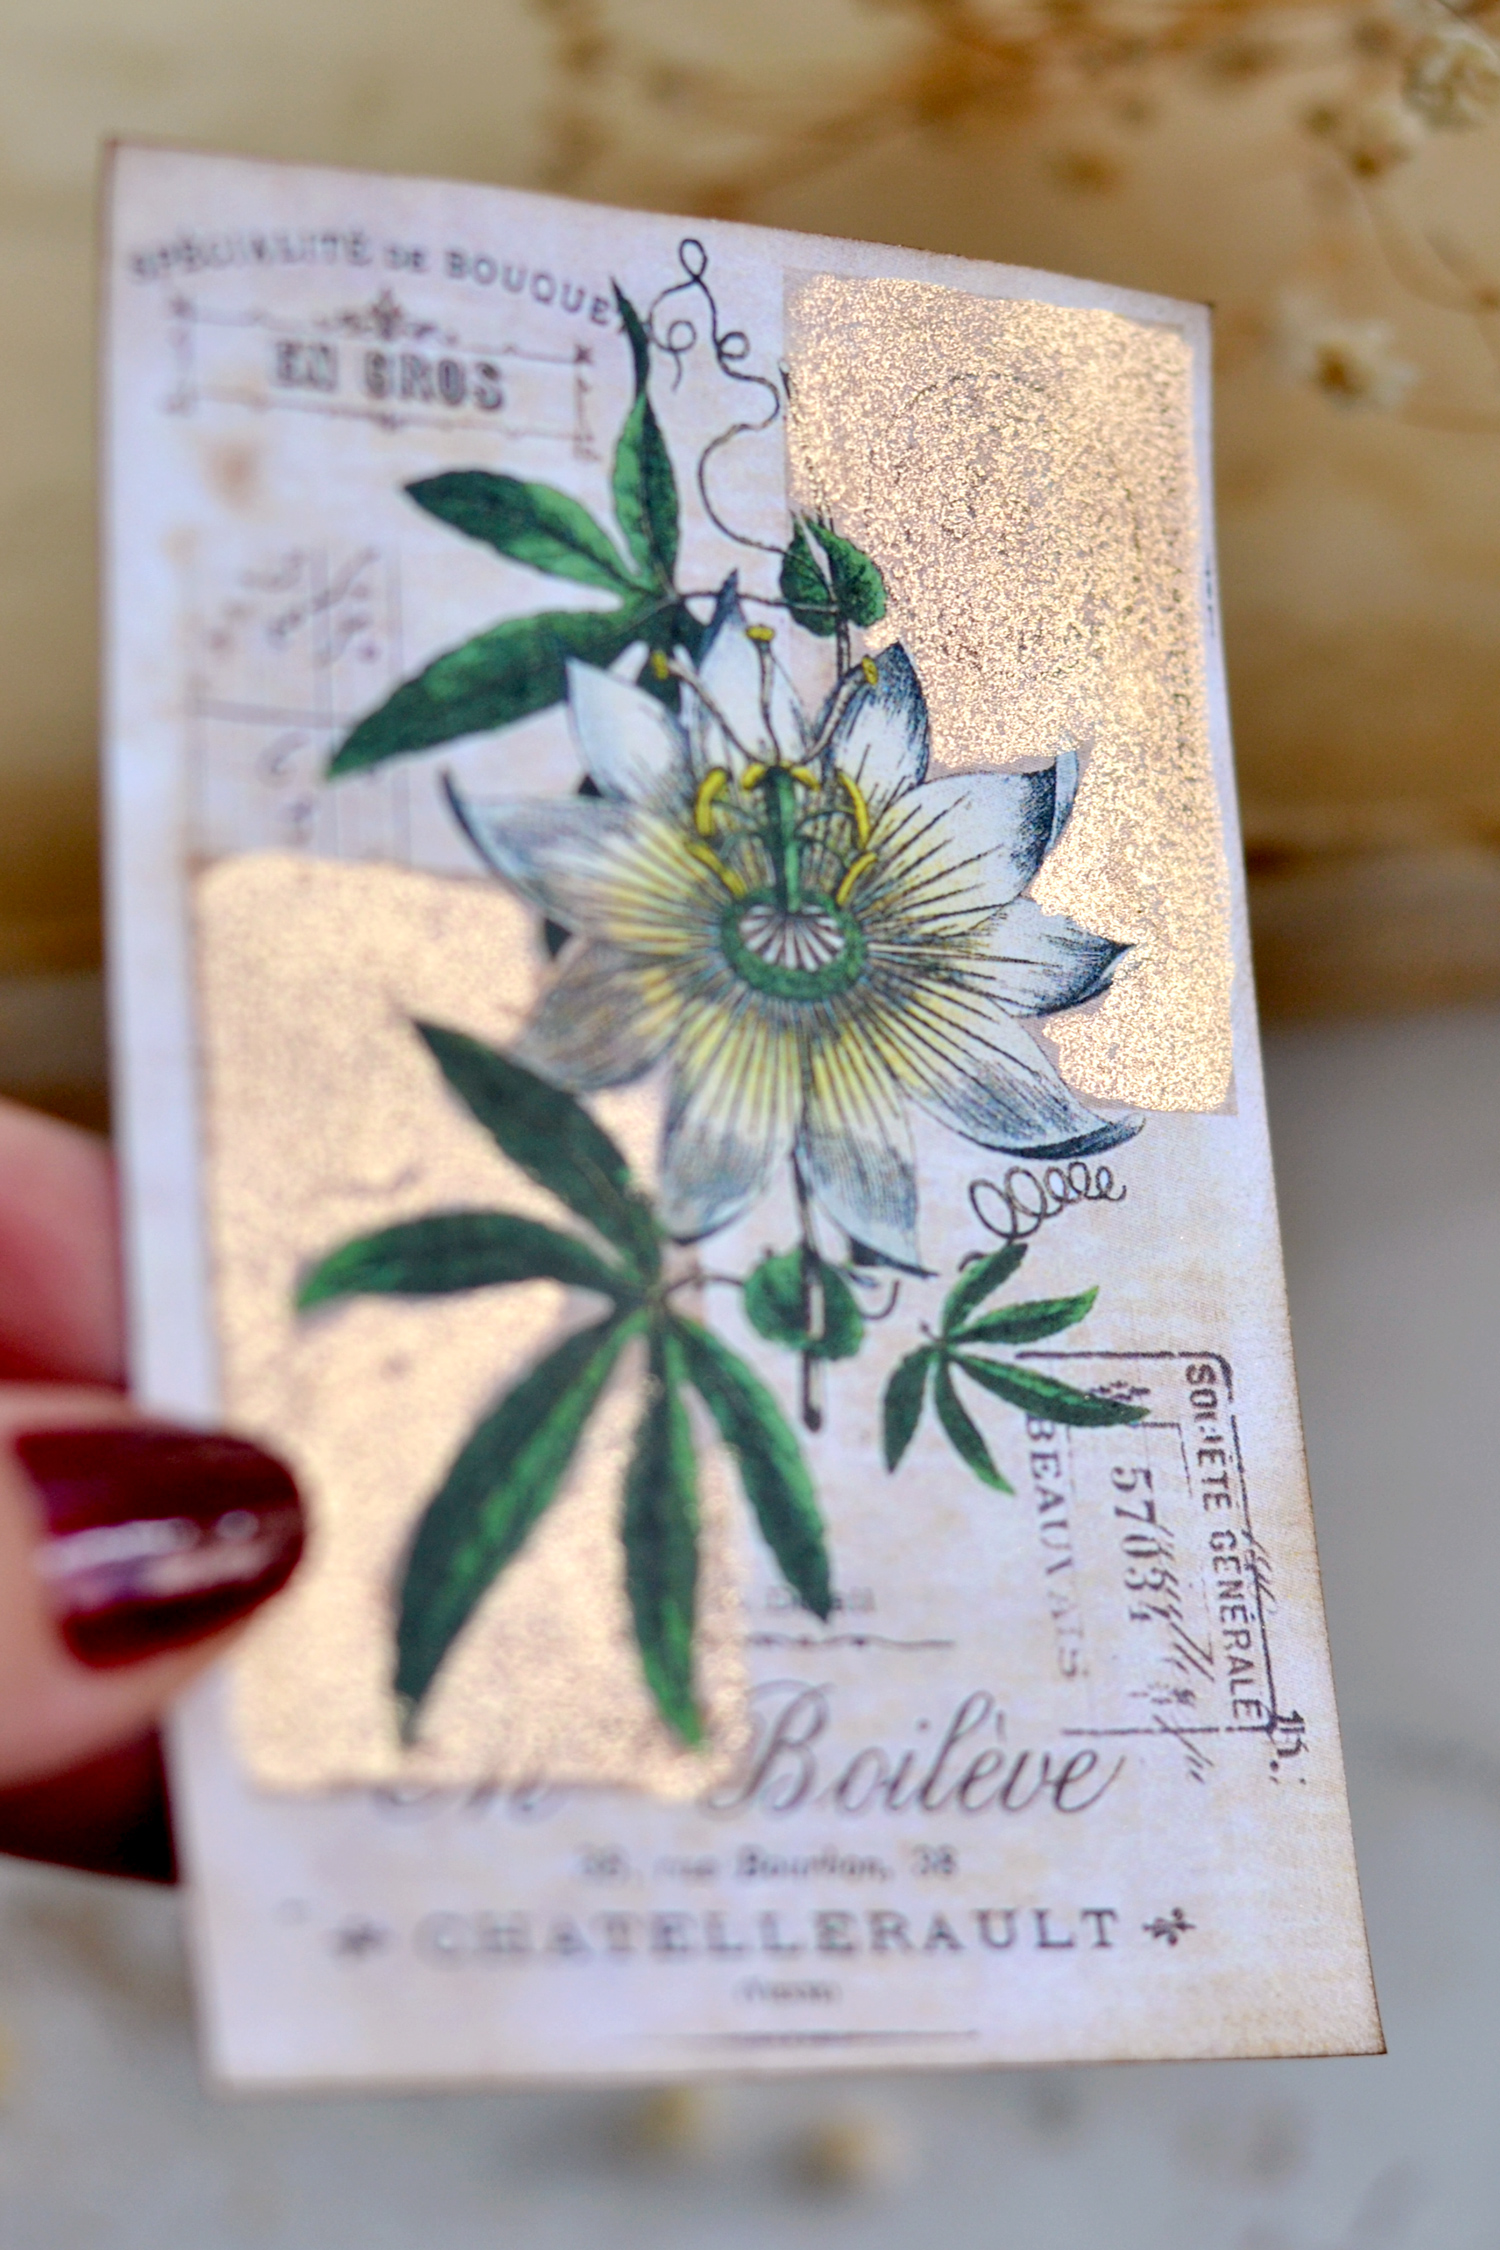
As you can see, the shimmer of gold is not always visible when looking at the cards, but when you tilt or hold them at a different angle or light, they (literally) start to shine! This gold is absolutely gorgeous and I feel like it manages to perfectly complement the antique, vintage vibe and the chicness of our cards.
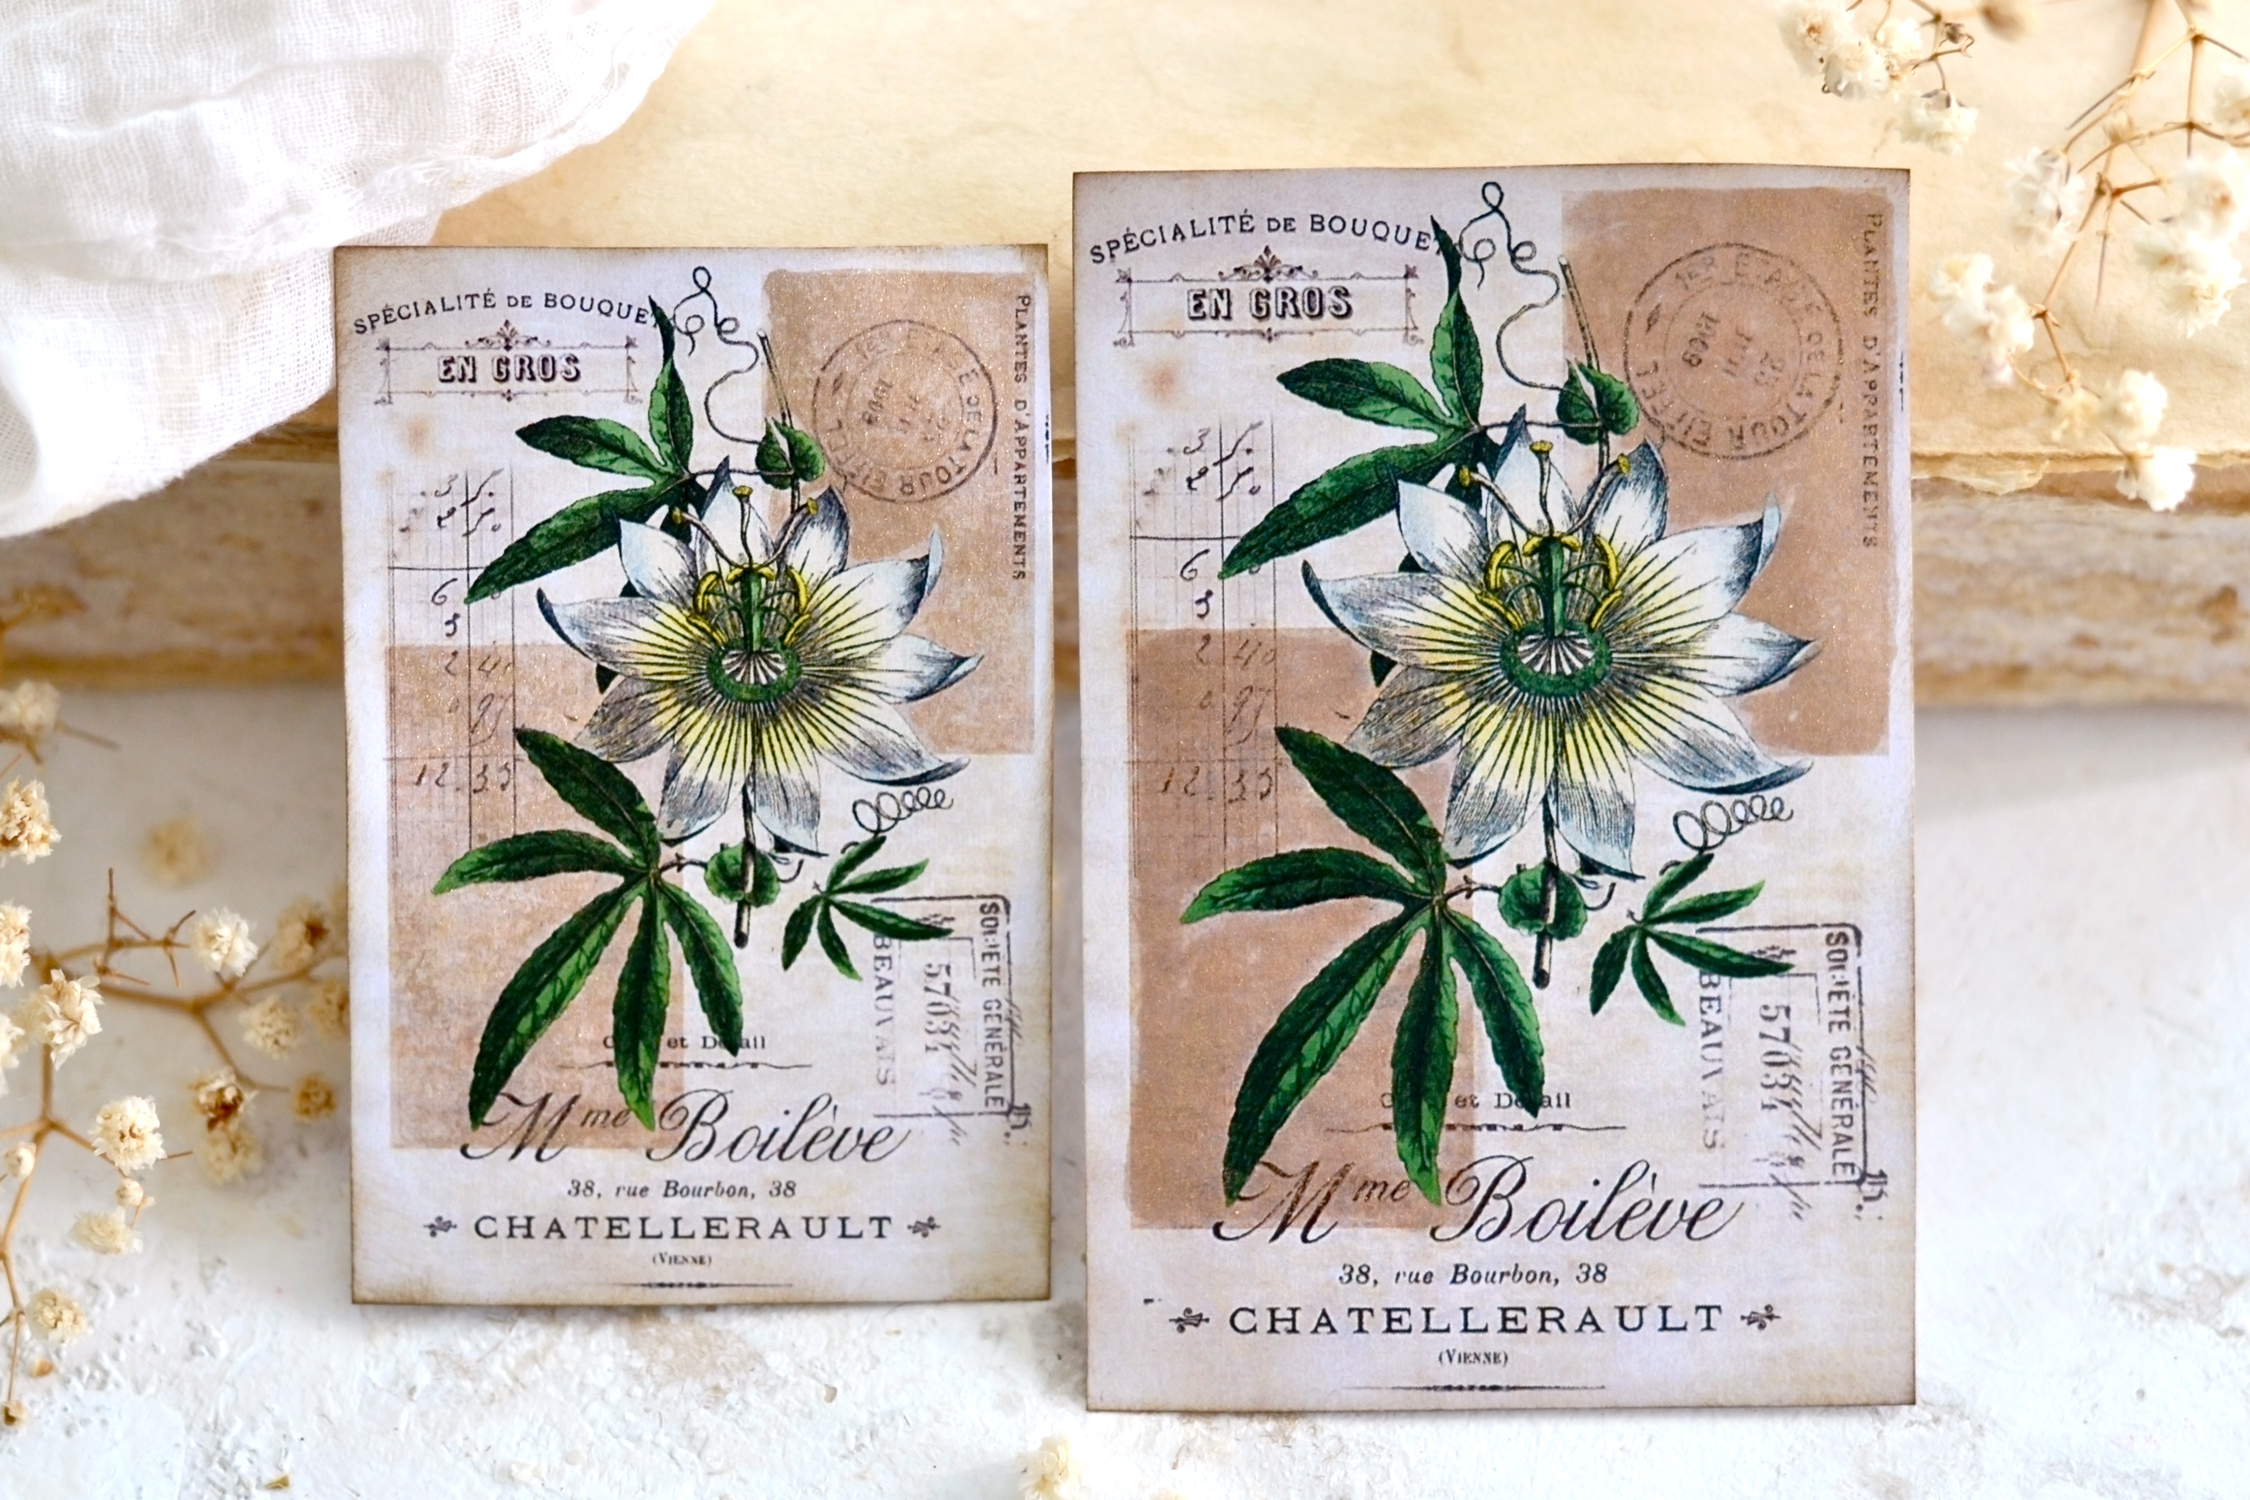
Below you can see two of our lovely cards side by side, this passion flower design was one of my favorites from the whole bunch! These two cards are not here by accident, I actually want to show you the difference between the gold pigment when only mixed with water (the card on the left) and the gold pigment when mixed with the Gum Arabic and water (the card on the right). I would say that each finish has its own charm, but I actually preferred the one mixed with water, even though some of the gold pigment came off because it looked more worn and vintage-y. So I guess in the end it’s all about experimenting and deciding which one you like best!
I had fun designing, creating, and photographing this card project for you so I’m really hoping you will love it! These DIY Journal cards look even better in real life, gold is not the easiest thing to realistically depict in photographs, so I guess you just need to give them a try! You can use the finished cards in your junk journal, but you can also turn these into lovely tags, bookmarks, gift embellishments, thank you cards, or even unique mini signs for your home decor.
 You might also like these Printable Junk Journal Pockets HERE and these Printable round Journal Tags HERE.
Happy crafting,
Diana | by Dreams Factory



Nell says
You do such beautiful work! Thank you for sharing.
Karen Watson says
Have fun making Diana’s pretty project Nell!
Cynthia Murphy says
I loved these! Can’t wait to try. Thank you.
Karen Watson says
Yay! Have fun making these lovely cards Cynthia!