
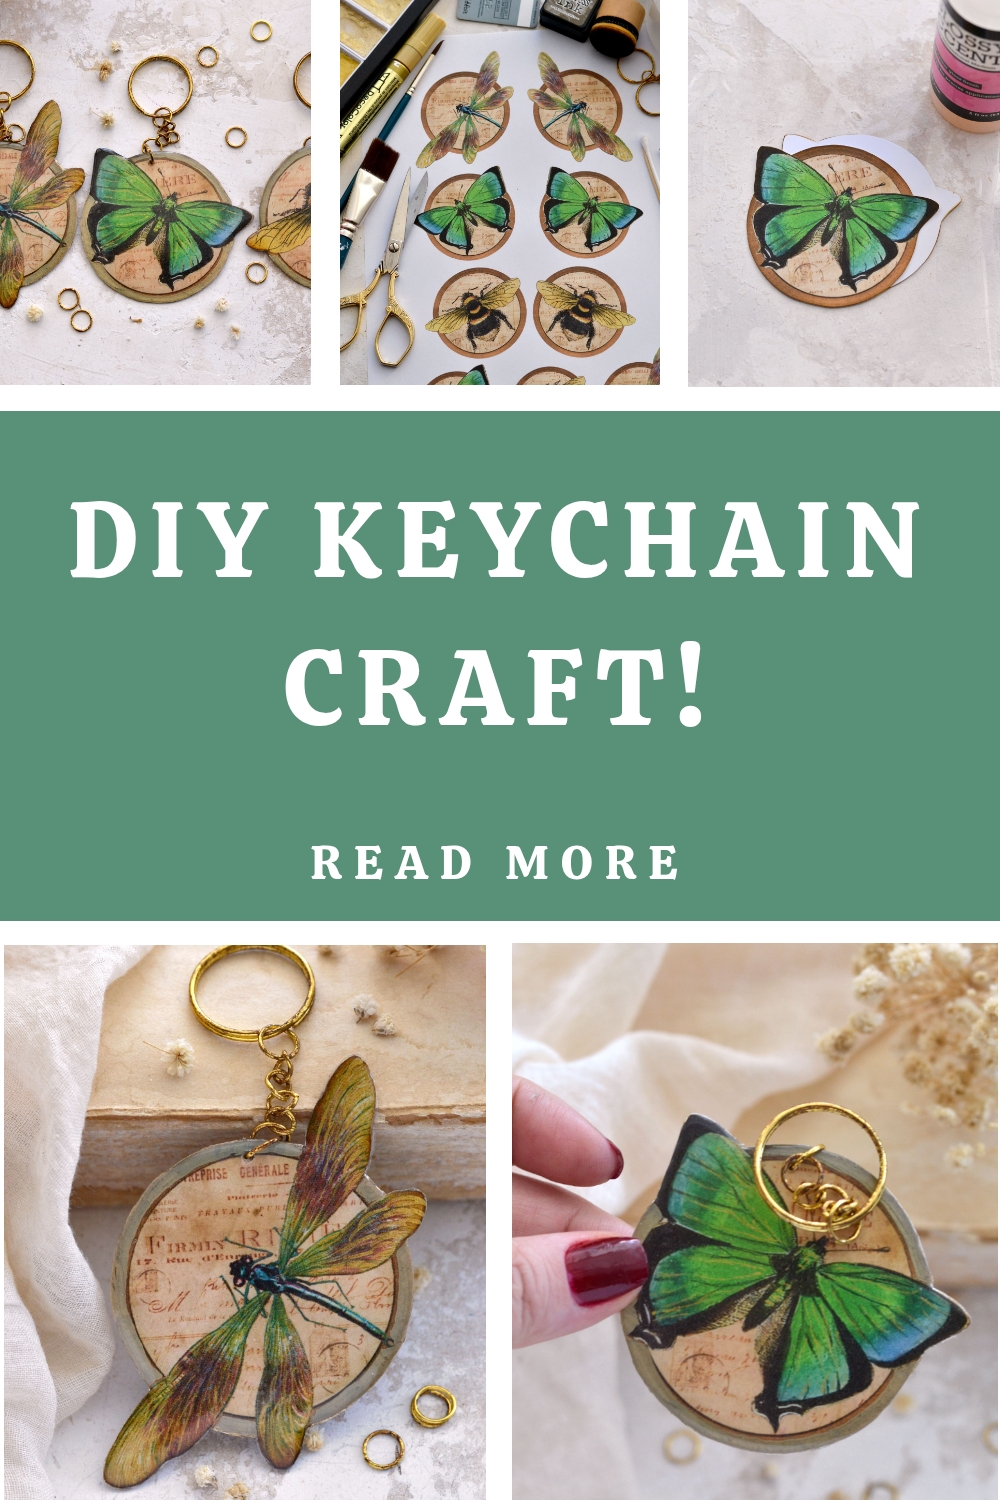
DIY Keychain Ideas
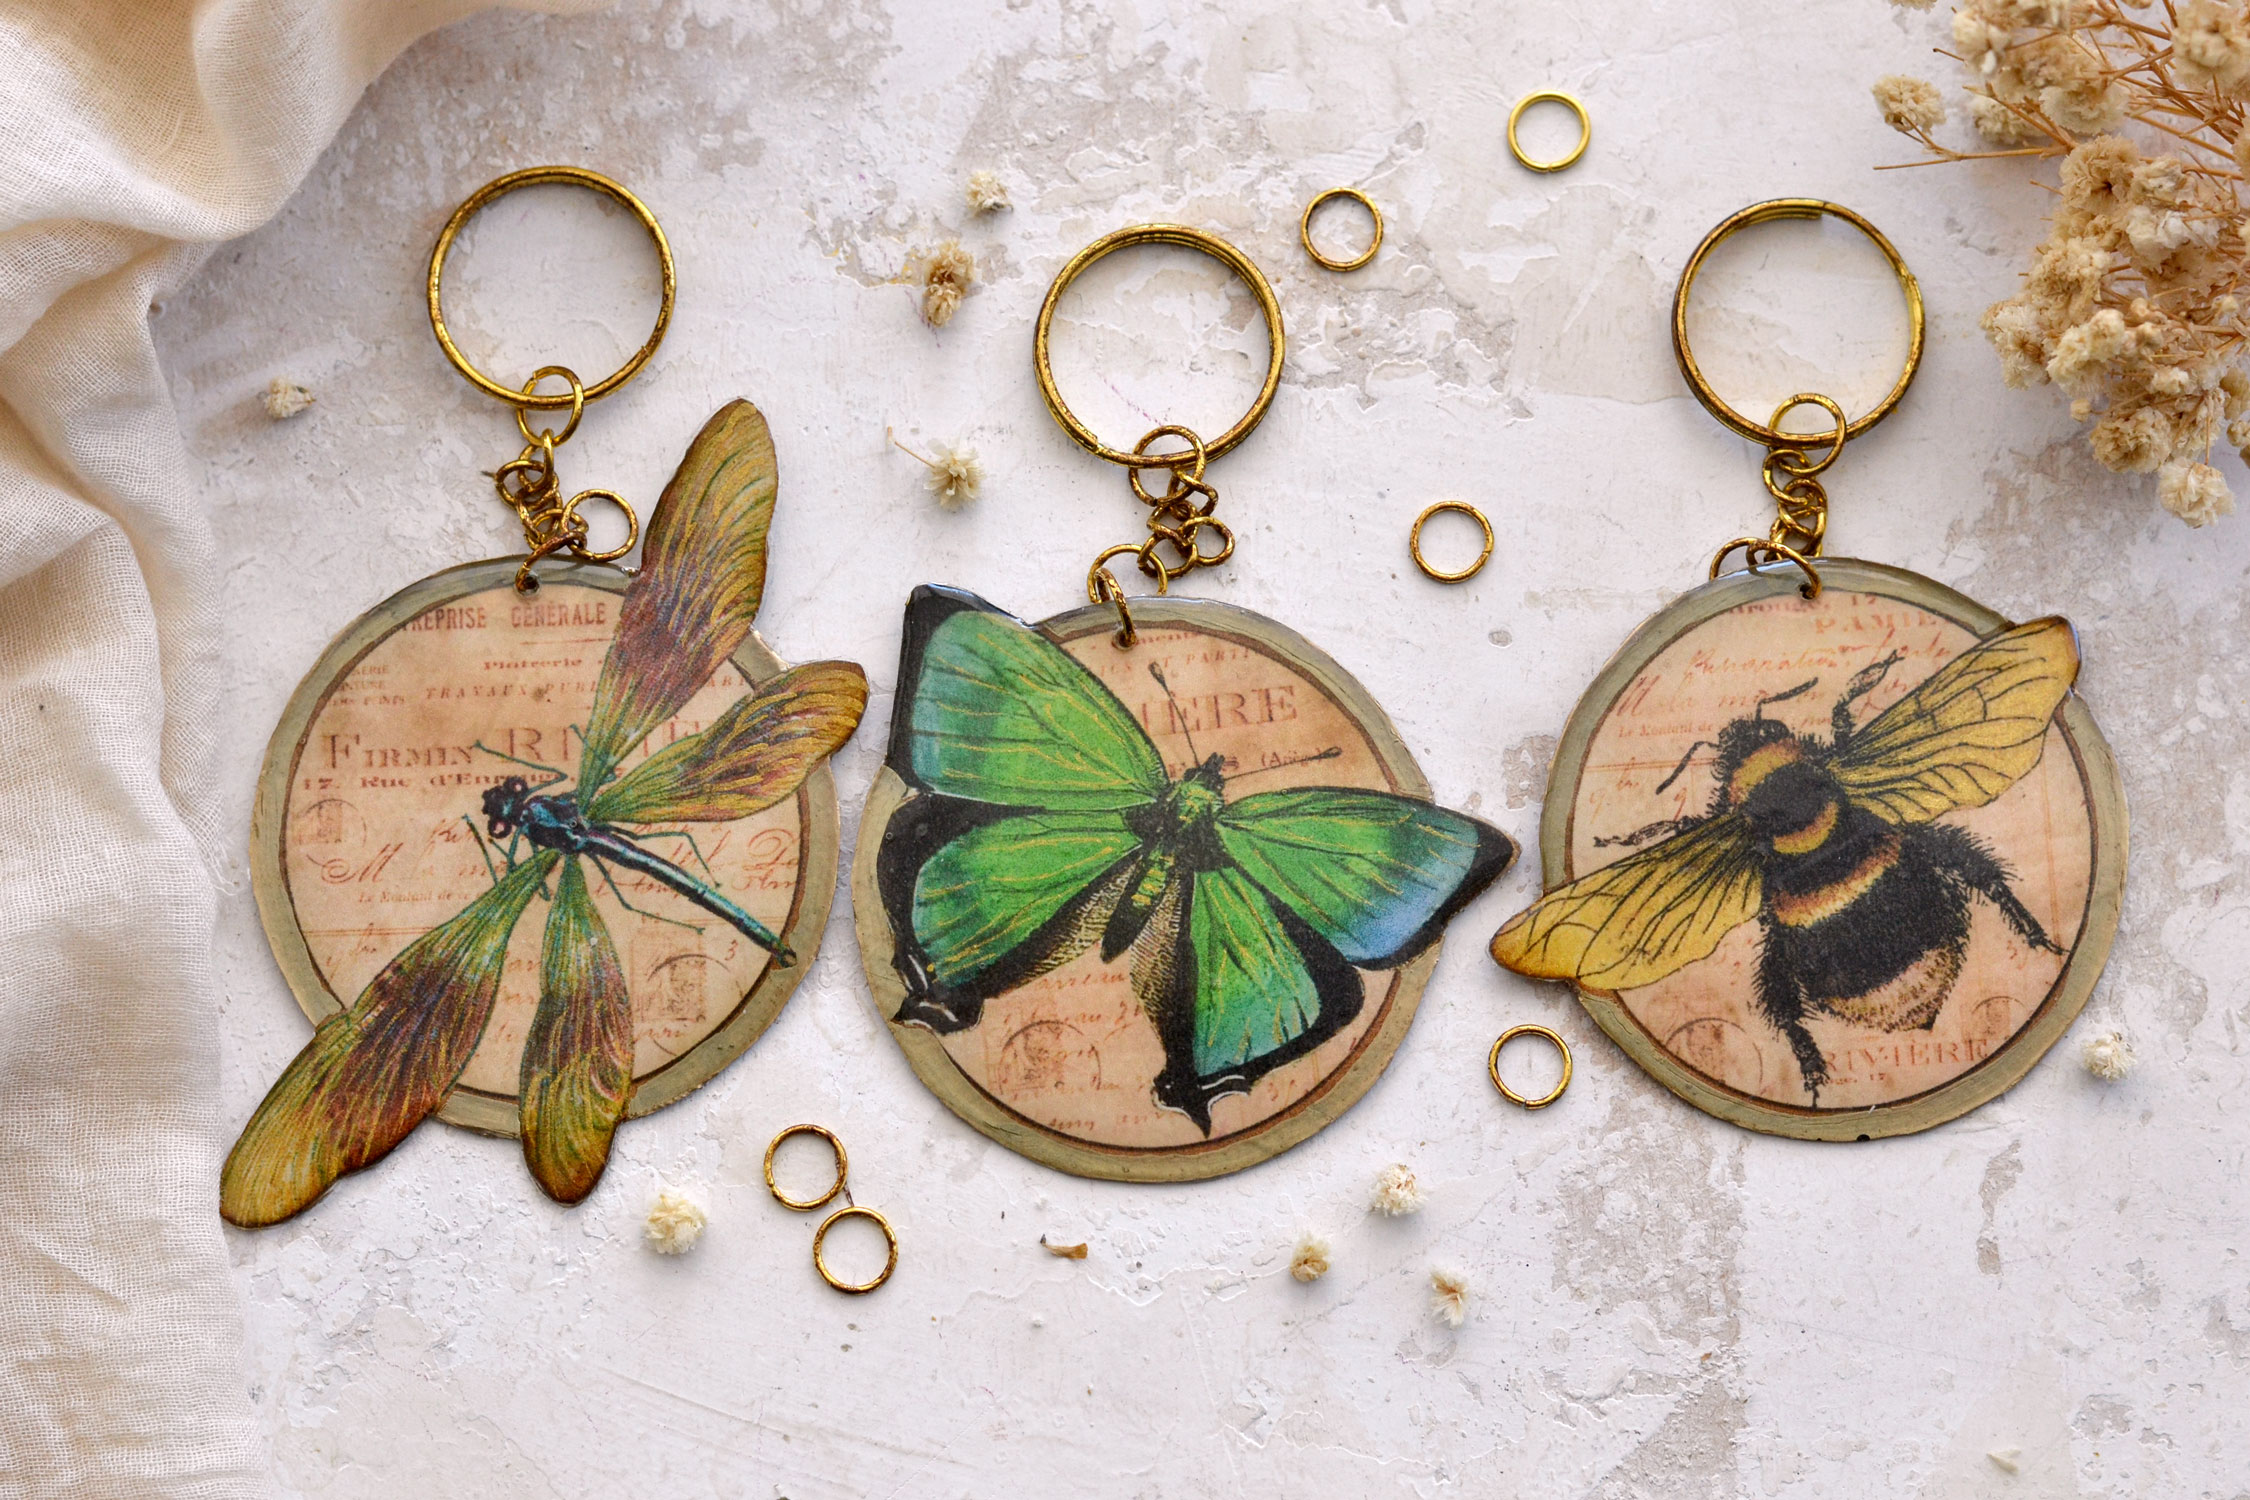
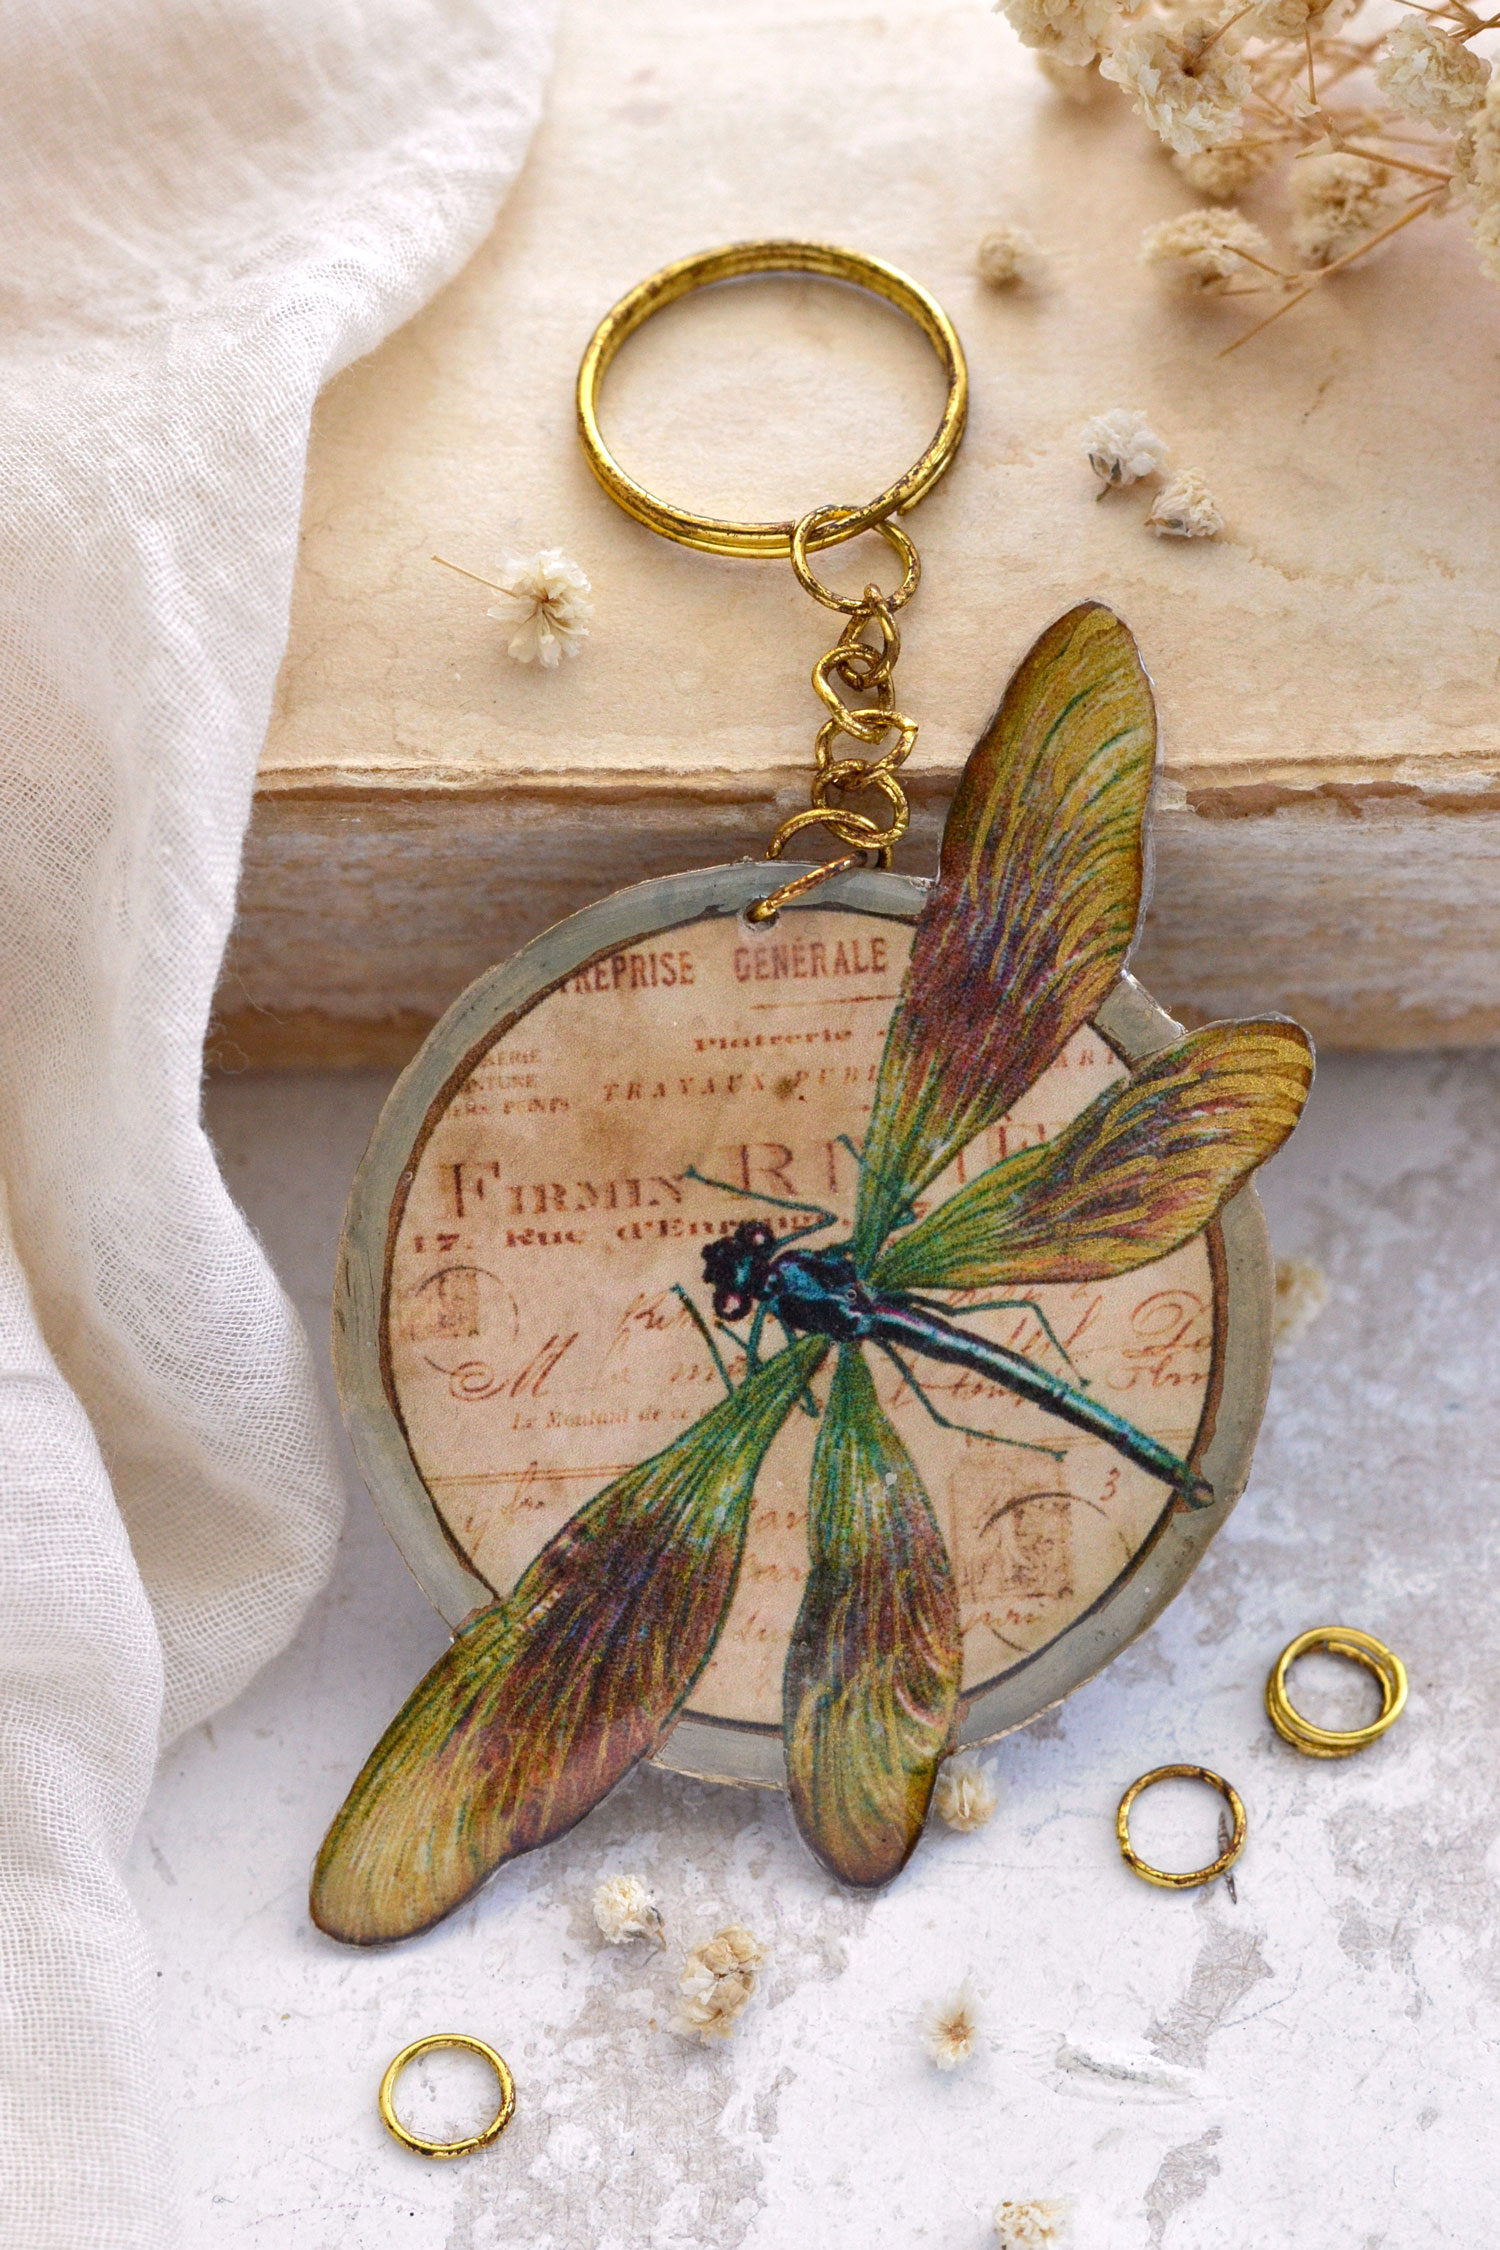
Hello Graphics Fairy friends! I’m Diana from Dreams Factory and I’m happy to be here again to share another DIY project with you! Today, I will show you how to make these gorgeous DIY Keychain Ideas with gold touches. These double-sided beauties would make the perfect handmade gifts for all your vintage-loving family and friends. The process itself is not complicated, but there is a little bit of patience involved! And a few other things you need to consider to make sure that you get great results.
I’ve had this project in mind for quite some time, but I never got around to making it until now. I’m happy I finally did it, because I’m simply in love with how they turned out. I experimented a little bit with different types of glue, as we need to seal the paper first. But I found a way to skip that and cut a lot of the additional waiting time using duct tape instead. The star of the show today is the Glossy Accents medium from Ranger, which we’ll be using as a glaze. It will help us create a beautiful faux resin domed effect on top of the medallions.
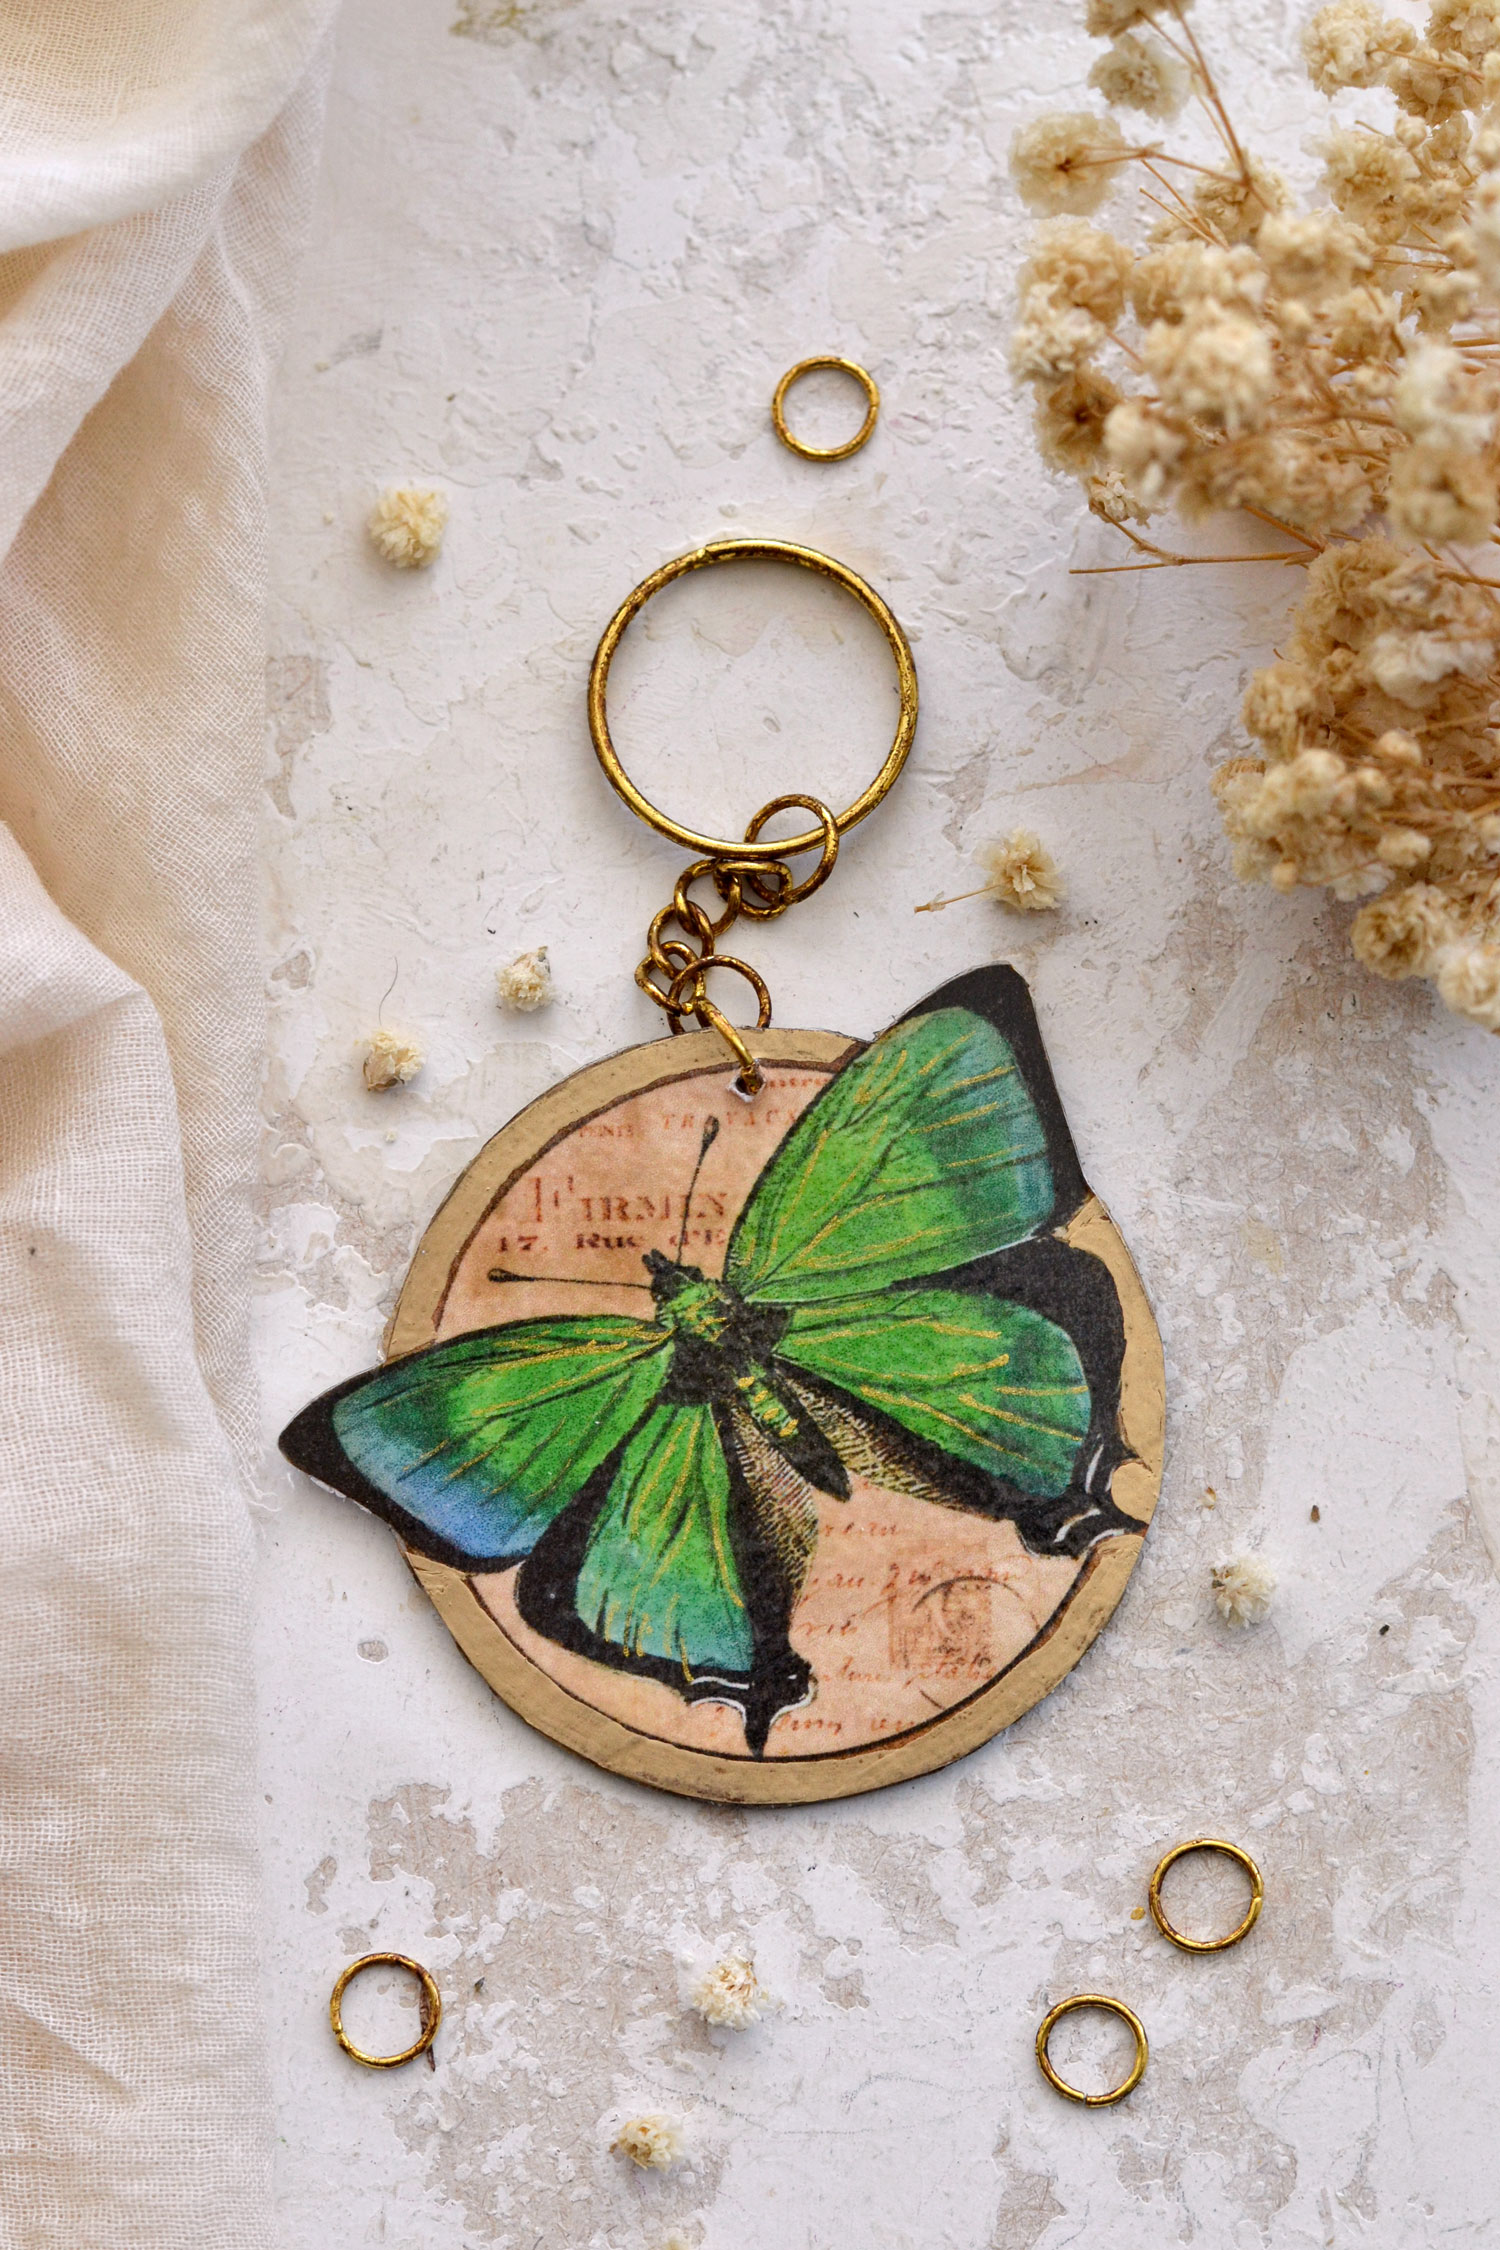
I’m sharing below the printable that I created for these super chic vintage keychains. I designed it using a butterfly, a bee and a dragonfly image. I’m loving all these three images, but I have to confess I’m obsessing over the dragonfly one.
You will be able to make three double-sided keychains using the larger images from the printable. As a bonus, I also included a few smaller images below, just in case you want to use them on other projects, too!. You can download and use these beauties as many times as you want!
Free Printable:
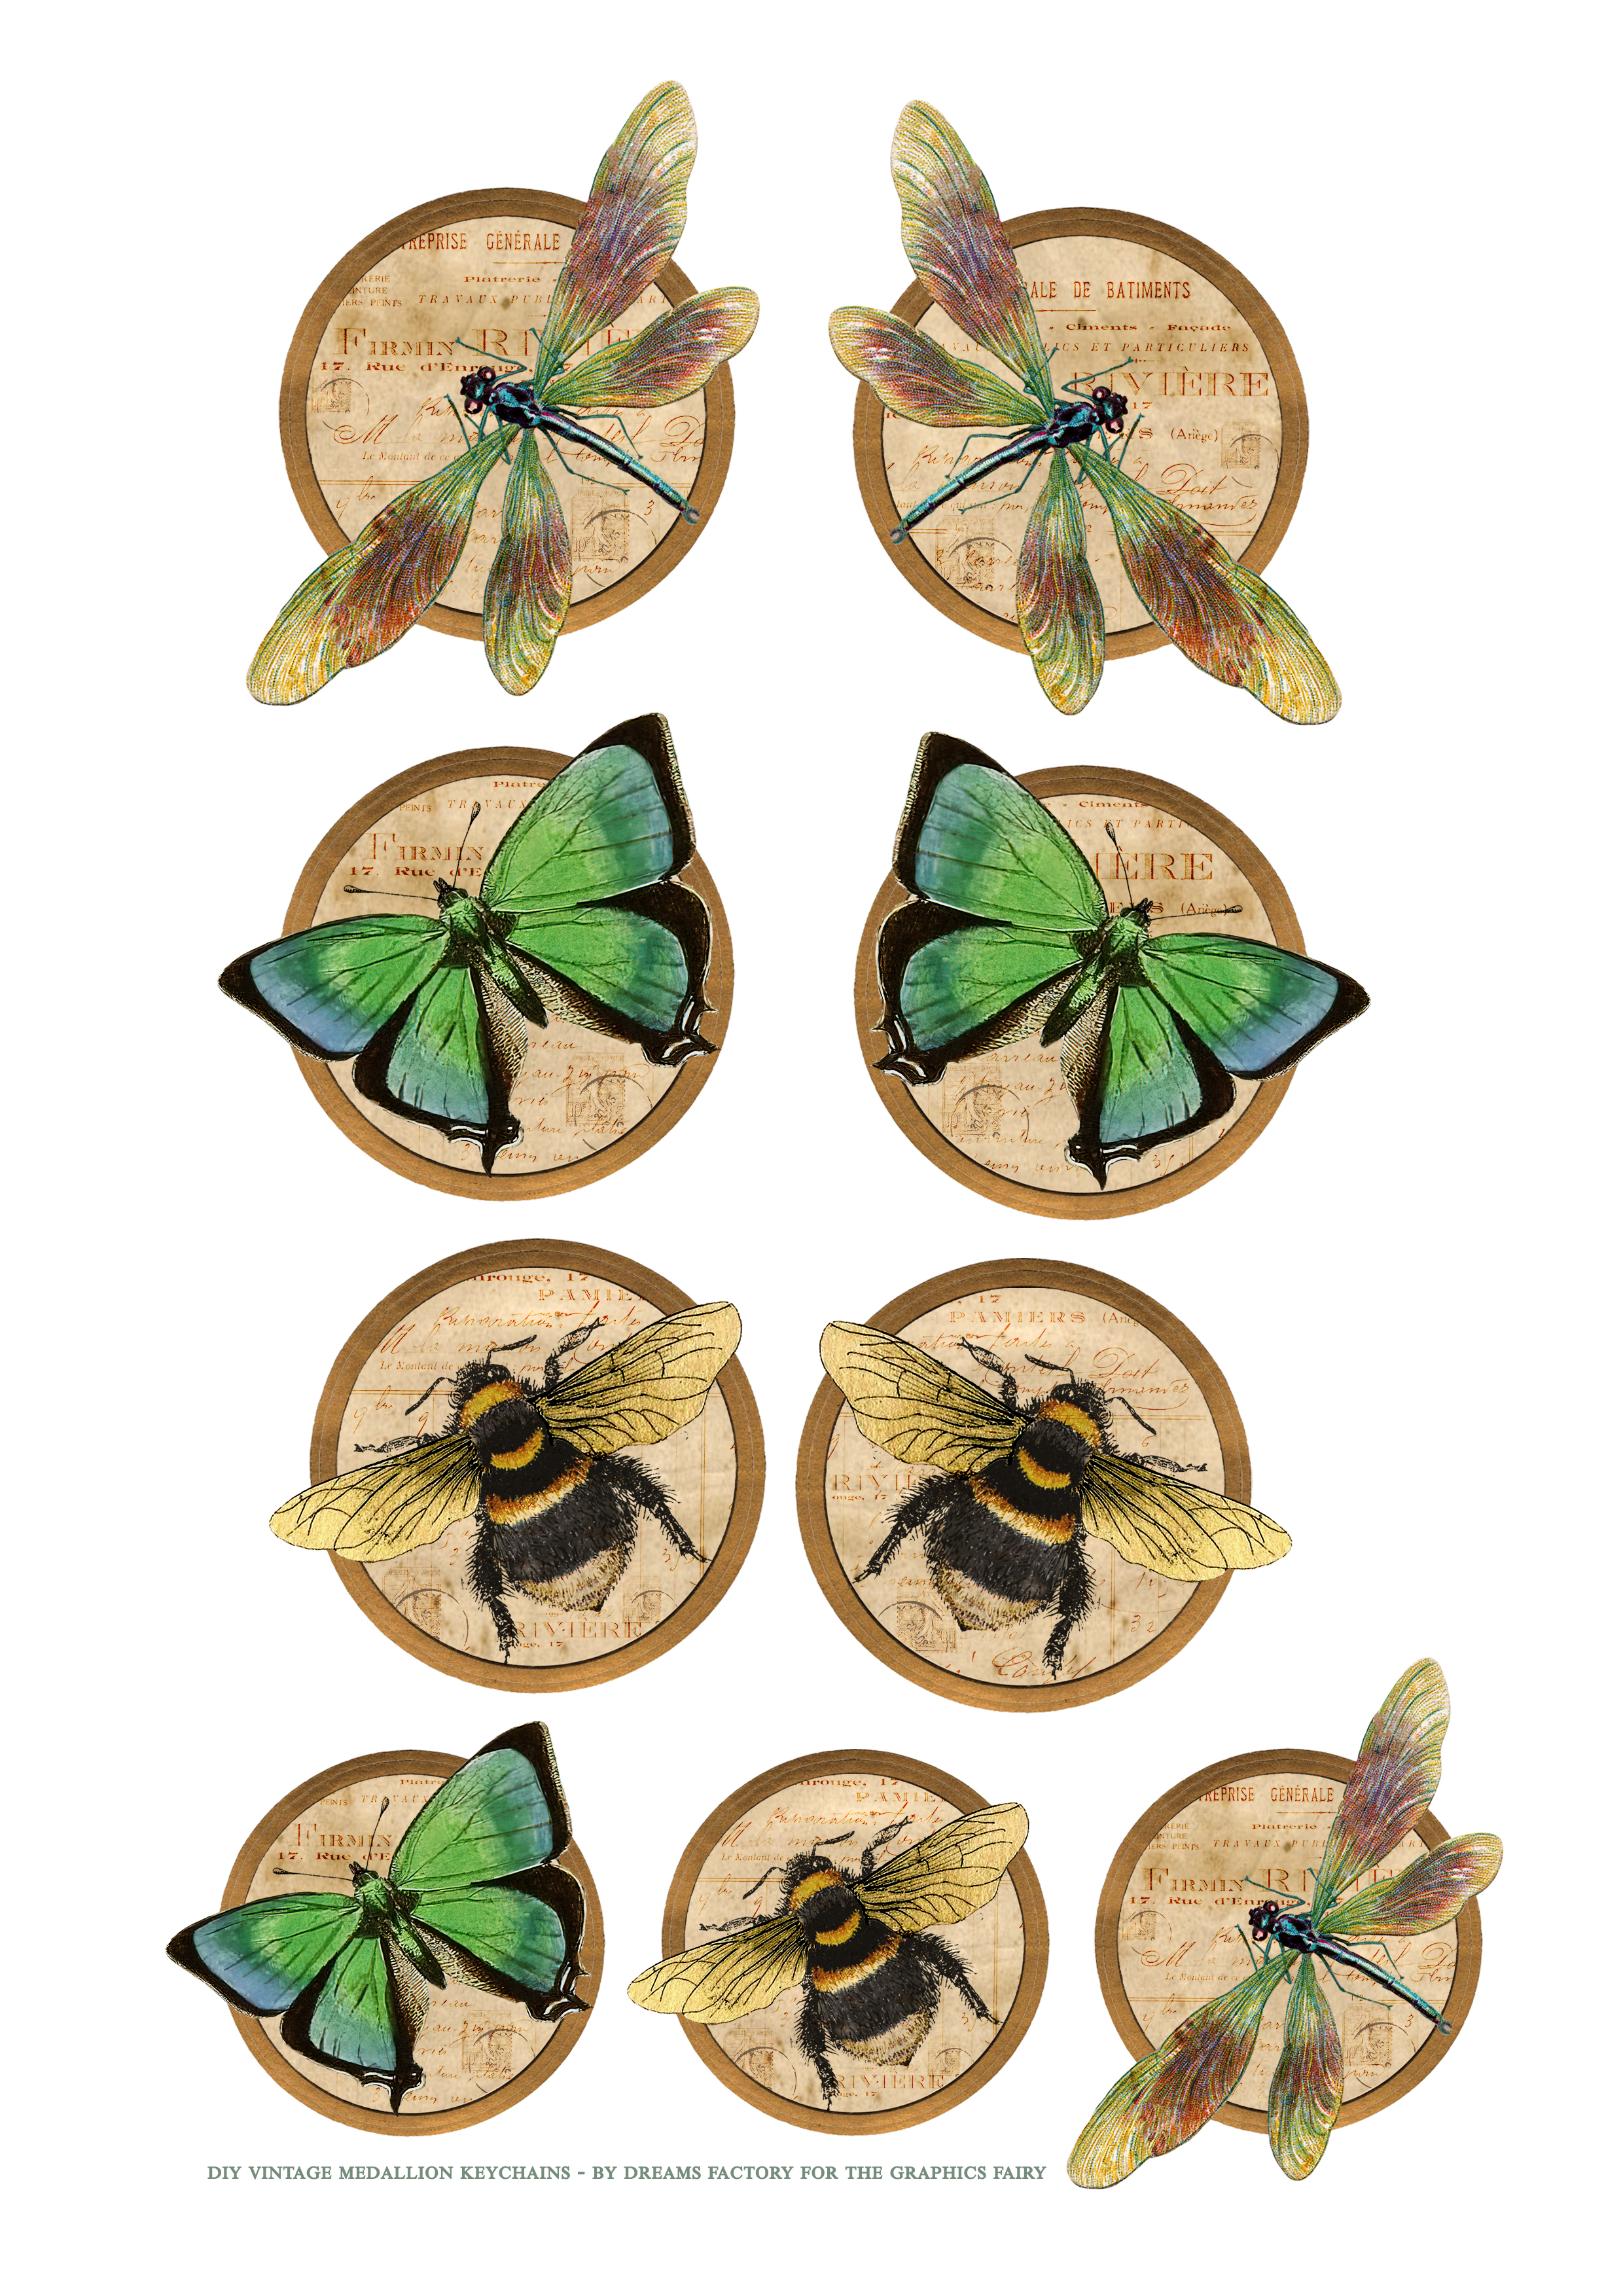
—-> Click HERE to Download the Full Size Printable PDF <—-
DIY Keychain Ideas Supply List:
- white cardstock paper
- home printer
- scissors
- mini distress inks
- blending tool with foams
- Glossy Accents
- DecoColor gold marker
- gold watercolors or gold acrylic paint
- brushes
- duct tape
- old credit card
- key rings with a chain and open jump rings
- drill hole tool
- jewelry pliers
- toothpick
- Q-tips

STEP BY STEP TUTORIAL:
Start by printing your printable on cardstock paper. The thicker the paper, the better, just use the heaviest cardstock your printer can handle.
Use your scissors to cut each piece, trying to follow the shape of the design as accurately as possible – we need to overlap them by the corresponding design.
Use distress ink to distress the edges. Distress each piece individually, but also together, by overlapping the two matching designs. This way, you will be able to cover with distress ink the excess white paper if things don’t match perfectly.
P.S. If you want, you can use a black colored pencil to sketch over the white details around and inside the wings of the butterfly.

Overlap the two matching pieces in your hand one more time to see if you need to make small adjustments. Then, use Glossy Accents and a brush to glue them together.
We’ll need a generous amount of glue on the back of each piece, but don’t add it directly from the bottle, so the paper doesn’t warp. Instead, squeeze some glue on a piece of scrap plastic, pick some with your brush and then brush it onto the back of each medallion. Make sure everything is well-coated, we need to completely cover the back of each piece with glue.

Use your fingers to press the overlapped pieces in your hand, while trying to match the shape of the two designs as well as you can.
After gluing them, you can use a plastic pouch folded in half (or a recycled plastic bag) and place the overlapped medallion in between. Gently press with your fingers from the center toward the edges to glue the two pieces together and gradually remove the excess glue (if there is any). Using a plastic pouch will also ensure you don’t smear the glue all over your design. You can take out the glued pieces when you are done and place them on another piece of plastic or a silicone mat to dry.
Glue all the other matching images and let the glue dry completely before moving on.

You can keep the images as they are or you can choose to add a little bit of gold to further embellish them.
I used my favorite gold watercolors from Kuretake and a really, really small brush to paint some gold touches on the wings. I added small strokes following the design of the veins on the wings of the dragonfly and the butterfly. I also covered in gold the wings of the bee, but I tried not to paint over the black veins, so I wouldn’t mess up the design.

I then used my favorite Decocolor gold marker to draw around the edges, while also keeping the small black border intact. The gold marker looked really beautiful at this stage, but was not that visible after finishing the project, so you can skip this step if you want.

Now it’s time to seal our paper! I used clear duct tape for this step and it worked like a charm!
Just add a strip of tape to cover the upper side of your medallion, making sure you go outside all the edges. You can imagine you are taping your medallion to your table! Use an old credit card or a small burnishing tool to burnish the surface and remove all the air bubbles.
Then, add a second strip of tape on the lower side of your medallion, making sure it slightly overlaps the one you previously added. Burnish it again.
We need to completely cover all the surface of the paper with the tape.
Carefully flip your medallion over and follow the same steps to add two strips of tape on the back, too!

The medallions should now be embedded in the tape! You can use your scissors to remove some of the excess tape around the edges, but don’t cut close to the edges just yet.
Use your fingers to press the tape around the edges so the back and front overlapping pieces adhere even better, then place the medallion on your table and use a Q-tip to press some more. We need to seal the edges as well as we can, so that the glue doesn’t seep into the paper afterward.
This duct tape technique is great because it can be used to seal both an inkjet or a laserjet printed project!
Use your scissors to cut around the design. Try to cut as close as you can to the edges, making sure everything looks organic and you don’t have any blunt cuts. You might need to use smaller scissors to cut around the smaller areas near the wings.

And then, you can finally add the Glossy Accents ‘glaze’ on top!
Start from the top and work in small sections, gradually glazing your way down. The tip of the bottle is really helpful in applying the glue for this specific project!
Add enough glue to cover the edges, but don’t add too much – we don’t want it to drip all over the edges.

The Glossy Accents medium has a great leveling effect, but you’ll need to add at least two layers to gradually create that raised domed effect that resin objects usually have.
After applying a layer, always check it from the top, but also from the side. You will be able to see if you need to add more glue in some areas to level it or pop the accidental air bubbles. As you apply the glue, you can use the tip of your bottle or a toothpick to pop the air bubbles.
Let each layer dry before adding another one on top! This is where your patience comes into play, as the drying time will vary depending on the thickness of your layers and the temperature in your home. You can then follow the same steps to glaze the back of the medallions, too.

For our last steps, you’ll need to use a small drill first to make holes on top. Check the French writing on each piece so you’ll know how to position it before making the holes.
Move on to adding the key rings. If you have two jewelry pliers, use them both (instead of just using one). It will make your life so much easier while opening/closing the open jump rings and assembling everything.

I thought my key rings were a little bit too gold and shiny for my tastes, so I used a touch of brown acrylic paint to dry brush some ‘rust’ on top first. 
Your perfectly imperfect, faux resin medallion keychains with a super chic vintage vibe are now ready to be admired!

I think they turned out quite amazing, I just love them! And to be honest, I can’t wait to use them! They somehow remind me of those pin badges we used to wear on our clothes and school bags while we were kids. Do you remember them? We had so much fun trading them with our friends, so maybe now it would be the perfect time to gift some of these to your old (or new) friends!

If I were to give you a few tips for making this project, I would say to keep in mind to gradually add the Glossy Accents on top of your medallions. Gradually and patiently are the key words here – it should be enough glue to cover your surface, but not too much so it doesn’t overflow. We need to keep the shape of your medallions intact. Take your time to do this right so everything looks good in the end.
Can you believe how gorgeous this dragonfly keychain turned out? This one is rapidly becoming one of my all-time favorite images … or at least for now that is.
I’m really happy with how this covering-with-duct-tape-to-seal-your-paper technique worked. I can’t wait to use it on other projects, too!

Another tip would be to make sure you don’t squeeze your Glossy Accents bottle too strongly or flip it over too fast while applying the glue. Be gentle with it. You need to avoid creating air bubbles as much as possible because you will have to ‘chase’ and pop them. I noticed it is easier to pop them by dragging the larger air bubbles on your surface using the tip of your bottle or a toothpick, rather than just poke them. Make sure you don’t miss any, because they will look unesthetic afterward.
I’m loving this vintage bee keychain too!

Of course, these would look amazing if used on other projects too! I want to show you how different, but equally beautiful, a dragonfly medallion can look if left unglazed. You can get as creative as you want and find unique ways of including these charming medallions in so many other creative projects!

I think the most important thing about creating the medallion keychain project would be to properly seal the paper before adding the glue on top! A properly sealed surface will make your life so much easier! So take your time to do it right. The final results will make everything well worth it and you will be able to create these vintage beauties for your family members and friends. They will make the perfect gift, no matter the occasion, I’m sure everyone will appreciate all the effort and care you put into crafting these yourself!

For more Handmade Gift Ideas, you might also like my DIY Fall Coasters HERE.
Happy crafting,
Diana | Dreams Factory


Jill says
Are these strong enough to hold up to daily use, like in a purse?
Karen says
Hi Jill! Yes, they’re sturdy enough for daily use in a purse. Just keep in mind they’re paper-based, so a little extra care (like avoiding water or heavy wear) will help them last longer.