
Transfer Image to Glass: Packing Tape Transfers
Hi everyone, it’s Andrea from The Cottage Market. Today I have another quick and easy DIY for you, and I really think you are going to enjoy it…we are going to transfer images to glass with a DIY Packing Tape Transfer technique, this is a great technique for transferring onto glass. In case you haven’t done them before and are a little hesitant…do not fear…I just learned and guess what? It really works and it really is easy! I used Graphics Fairy Images for this project, but you could transfer photos to glass too, which would be great for personalizing items for a party, shower or even a wedding!
This post may contain affiliate links which won't change your price but will share some commission, you can find our privacy policy here.
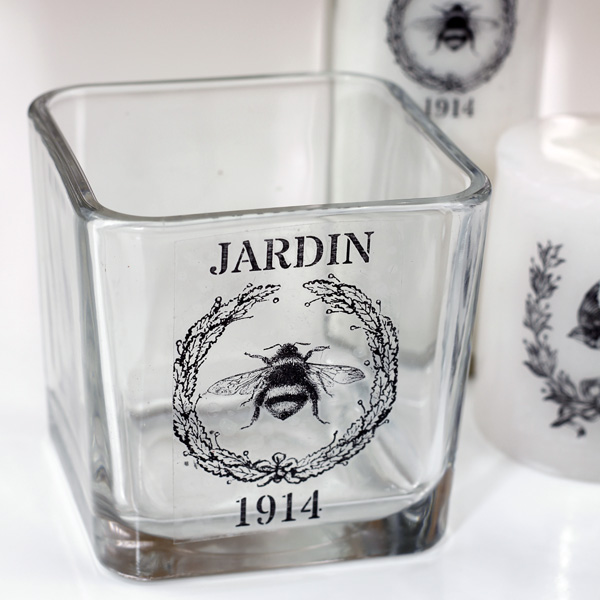
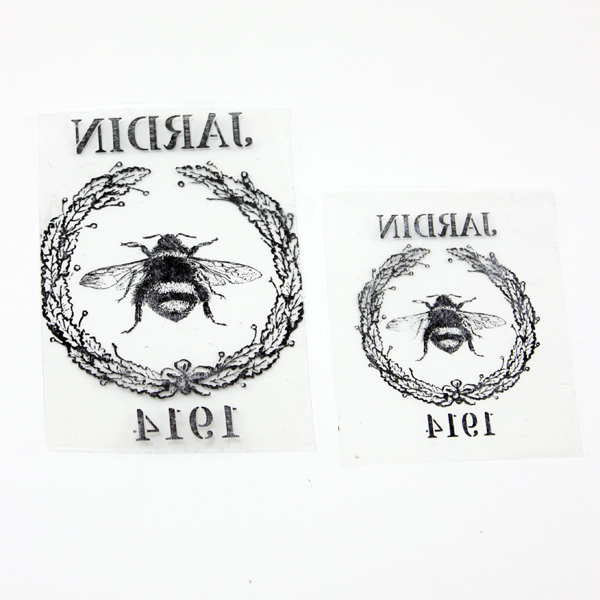
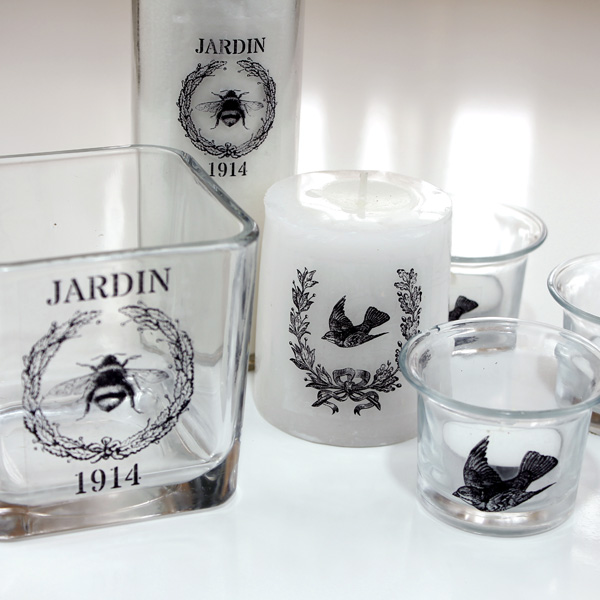
What I really like about them is that there are a million and one uses for them. Our examples are on glass so you can see how they are transparent, but I know that you will love using them to decorate a package to making a label for a canister! I used black and white, but it does work with color also…the one thing you have to remember is that you MUST use prints that are either LASER or TONER based. You can visit The Printable Transfer Section for these graphics and MANY others that are perfect for this project. If you don’t have that printer, you can always go to your local office supply store and get your prints made for pennies on the dollar. Let’s go see how we do this…

How to Transfer Images onto Glass
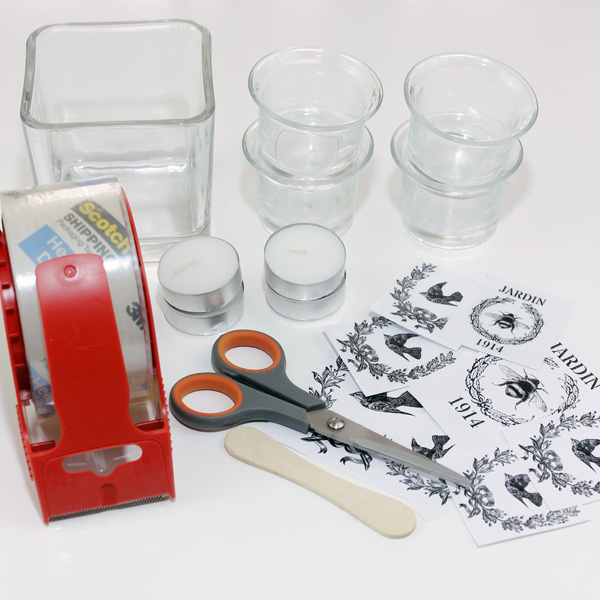
You will need Heavy Duty Packing Tape (you can use regular…but the heavy-duty tape works better and is easier to work with), scissors, a burnisher (you can purchase one or use a craft stick), images of choice and your vessels. You don’t need special photo paper or anything like that, just your laser prints.
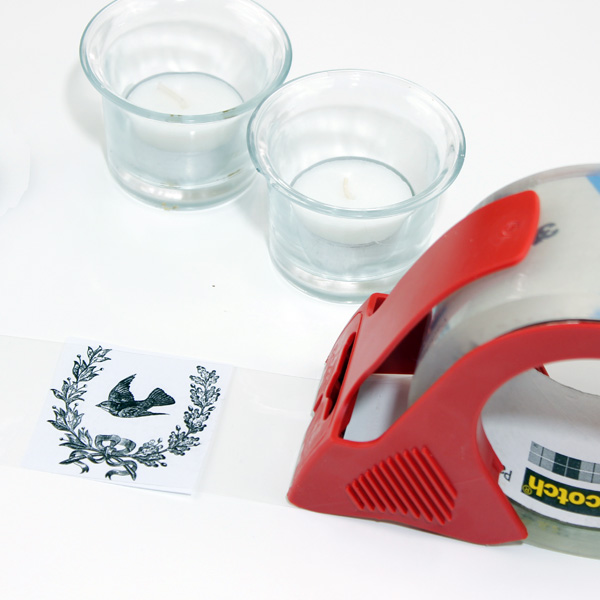
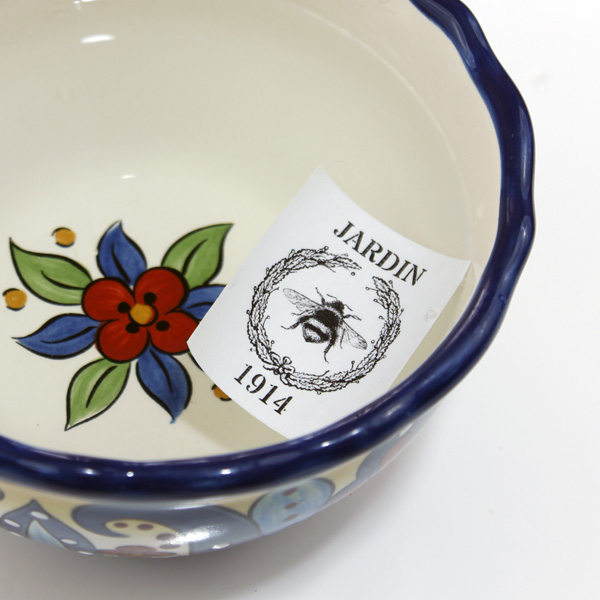
After you trim your image, it is time to apply the packing tape…remember one important thing…whatever is white will be transparent. Just lie your image down and center the package tape over it evenly and press. Then cut the tape.
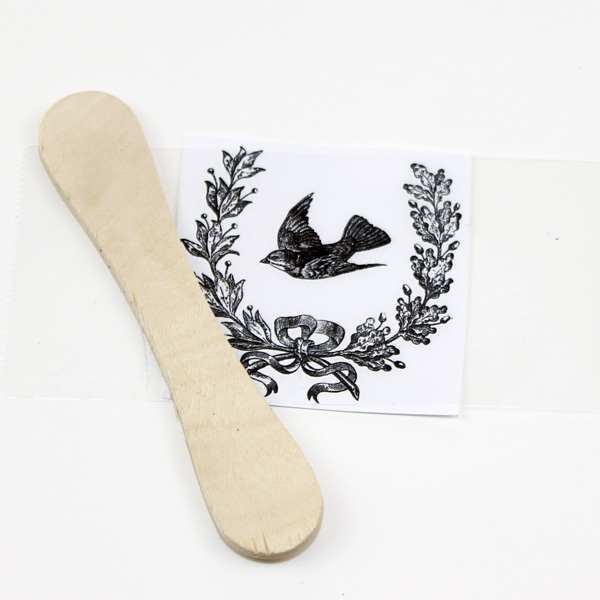
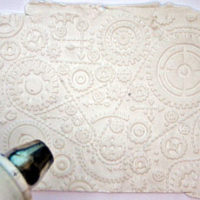
Now it is time to burnish it…make sure to press heavily over the entire space it is very important. I went over it a few times to be sure…from corner to corner…end to end to insure a great finished product.
Now get yourself a bowl with very warm water in it and place your packing tape burnished image into the bowl and allow to soak about 2-3 minutes.
Then remove your image, or photo transfer, from the bowl and place it in between your thumb and index finger and begin to rub back and forth with force…you will see the paper coming off…continue to dip it into the water and keep working it till all the white is off. DO NOT WORRY about the sticky side…it will be just like new when it dries. Also, there might be a tiny bit of white residue on your tape…that too is ok.
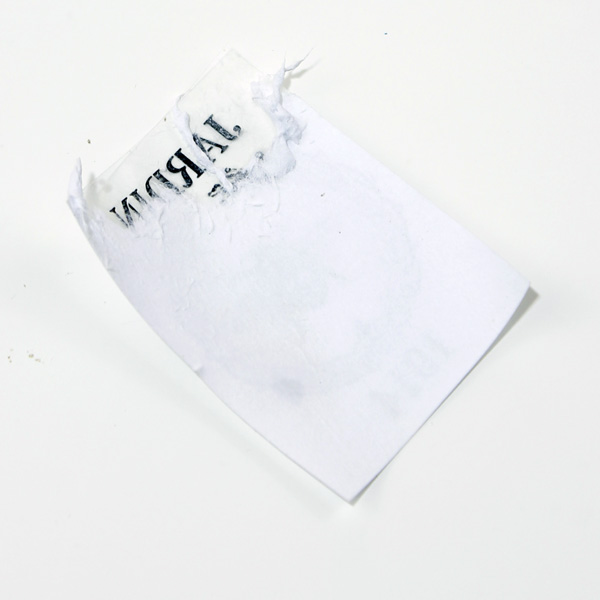
Now that all the paper is removed…place it on a flat surface and allow it to dry.
Once the stickers are dry it is time to apply them to your surface…it couldn’t be easier…it goes on just like a sticker…it is that easy! Make sure to smooth it nicely. If you have stickers that you are not going to use…just place them on wax paper for another day.

Dress us any glass piece you have…clear or color! Mason jars would be so cute too! I was thinking of making small ones all different and using them as wine glass charms…just place them on the glasses and then remove them at the end of the night when you do the dishes. They are so inexpensive you can choose new graphics each time you have a party! Dress up a package…label your canisters…with all of the graphics at The Graphics Fairy you can have different graphics for years!
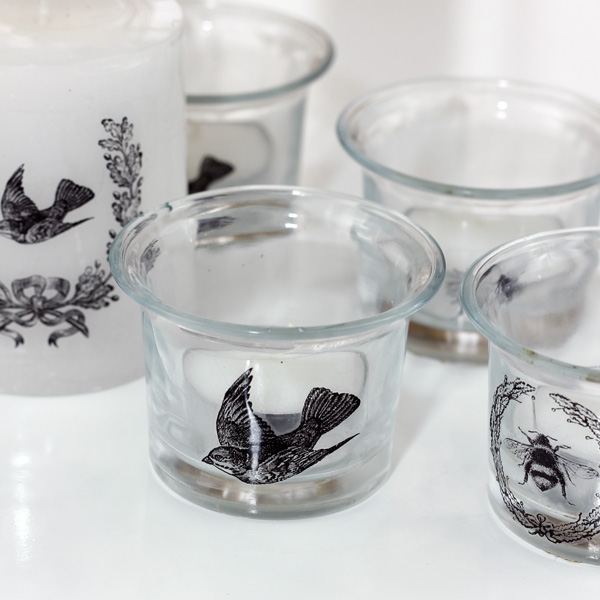
You can make tiny ones for small votives, or you can double your package tape making sure that the edges but and cover the entire image for larger ones. You can also use photos of your family or your pets! SOOOOO many possibilities!
I sure hope you have tons of fun transferring images to glass items with these packing tape transfers…the more you do it the better you get at it!!! I will see you again really soon and if you want to visit in the meantime…come and see me over at The Cottage Market…it’s where I hang out.

For more fun Image Transfer Methods and Techniques be sure and check out the post Easy Image Transfer Methods HERE!

Hugs…Andrea


QweenButterflyy says
This absolutely worked! Im excited because now I can finish customizing my husband’s mug for his birthday! Thank you for this easy tutorial!!
graphicsfairy says
Oh yea! Good luck, I am sure he will love it!!
Sara says
Thanks for this ! Worked perfectly. Is there any way to stick just the image without the tape ? Is there any way to take the tape away and just keep the image there ?
graphicsfairy says
Hi Sara,
There are so many different ways to transfer images, here is a link to some of my favorites, https://thegraphicsfairy.com/12-easy-image-transfer-methods-for-diy-projects/ I hope that helps 🙂
Christine says
I’ve been doing this for some time. Since I do a few at once I’m pressed for time so I use a hair dryer to get some or all of the moisture out quicker. Dry it on the tacky side. I also find that the heavy duty tape and the cheaper versions both have their strengths and weaknesses. The cheaper versions are not too tacky so the paper comes off easier provided you did your burnishing thoroughly. The heavy duty tapes are easier to work with if your prints are small. For larger projects I use clear self adhesive rolls. The sticky back type to cover school books with.