DIY Scented Sachets
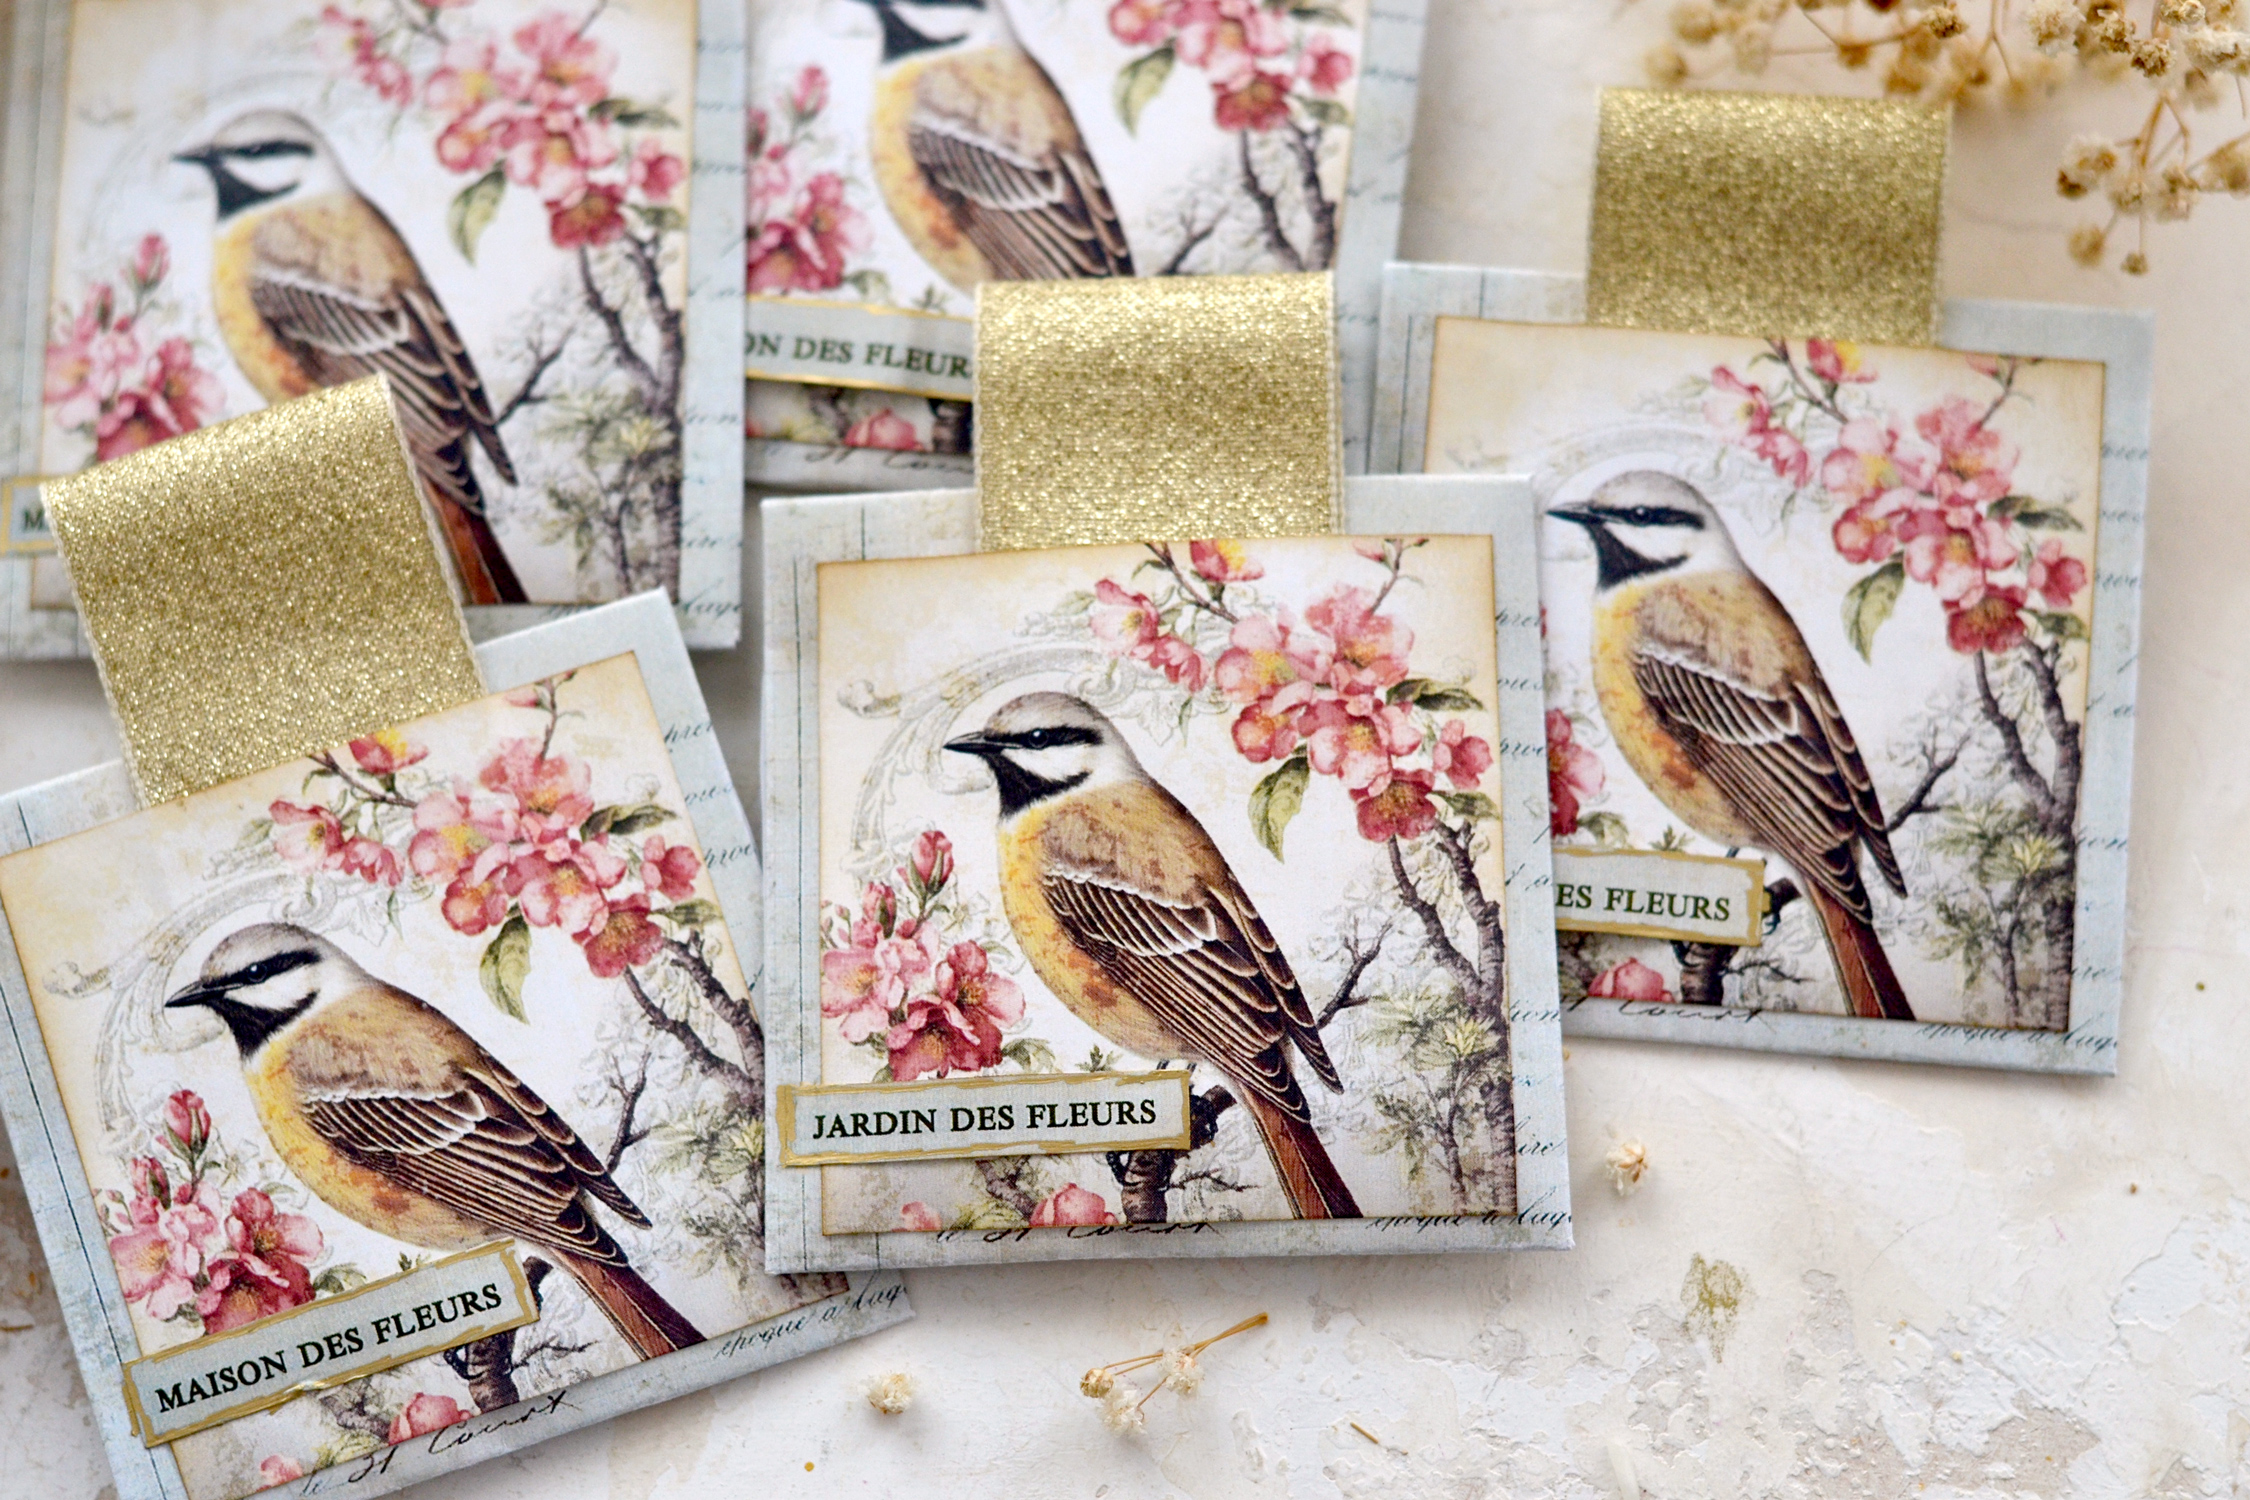
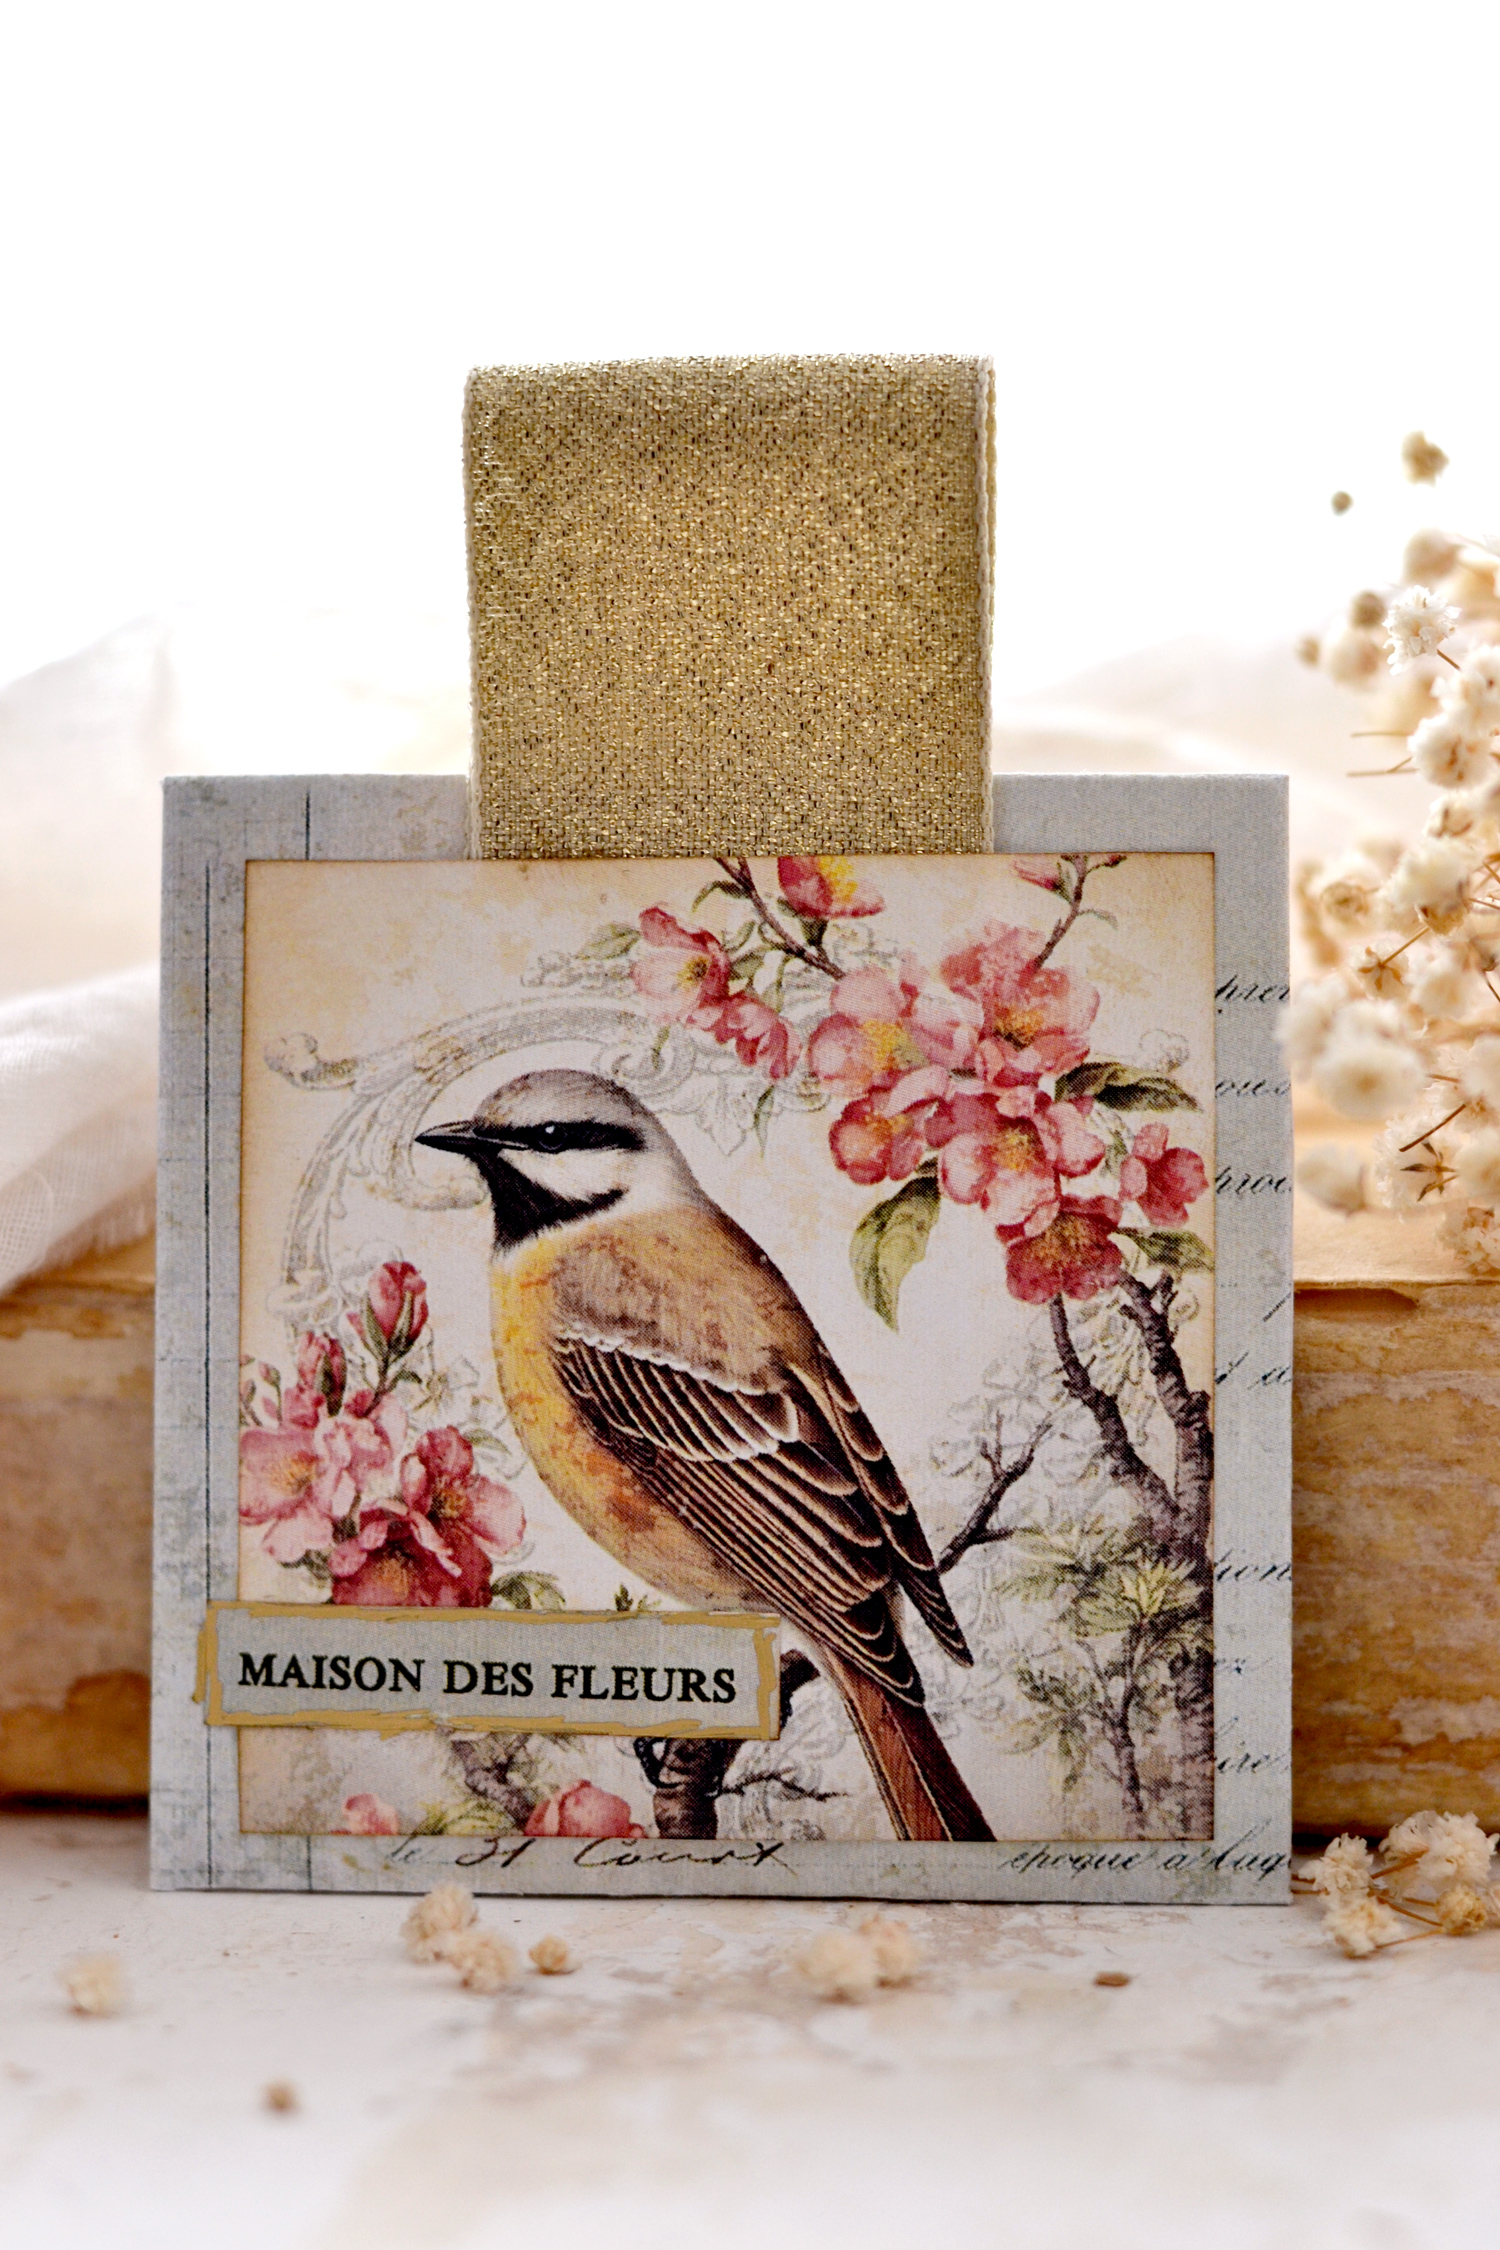
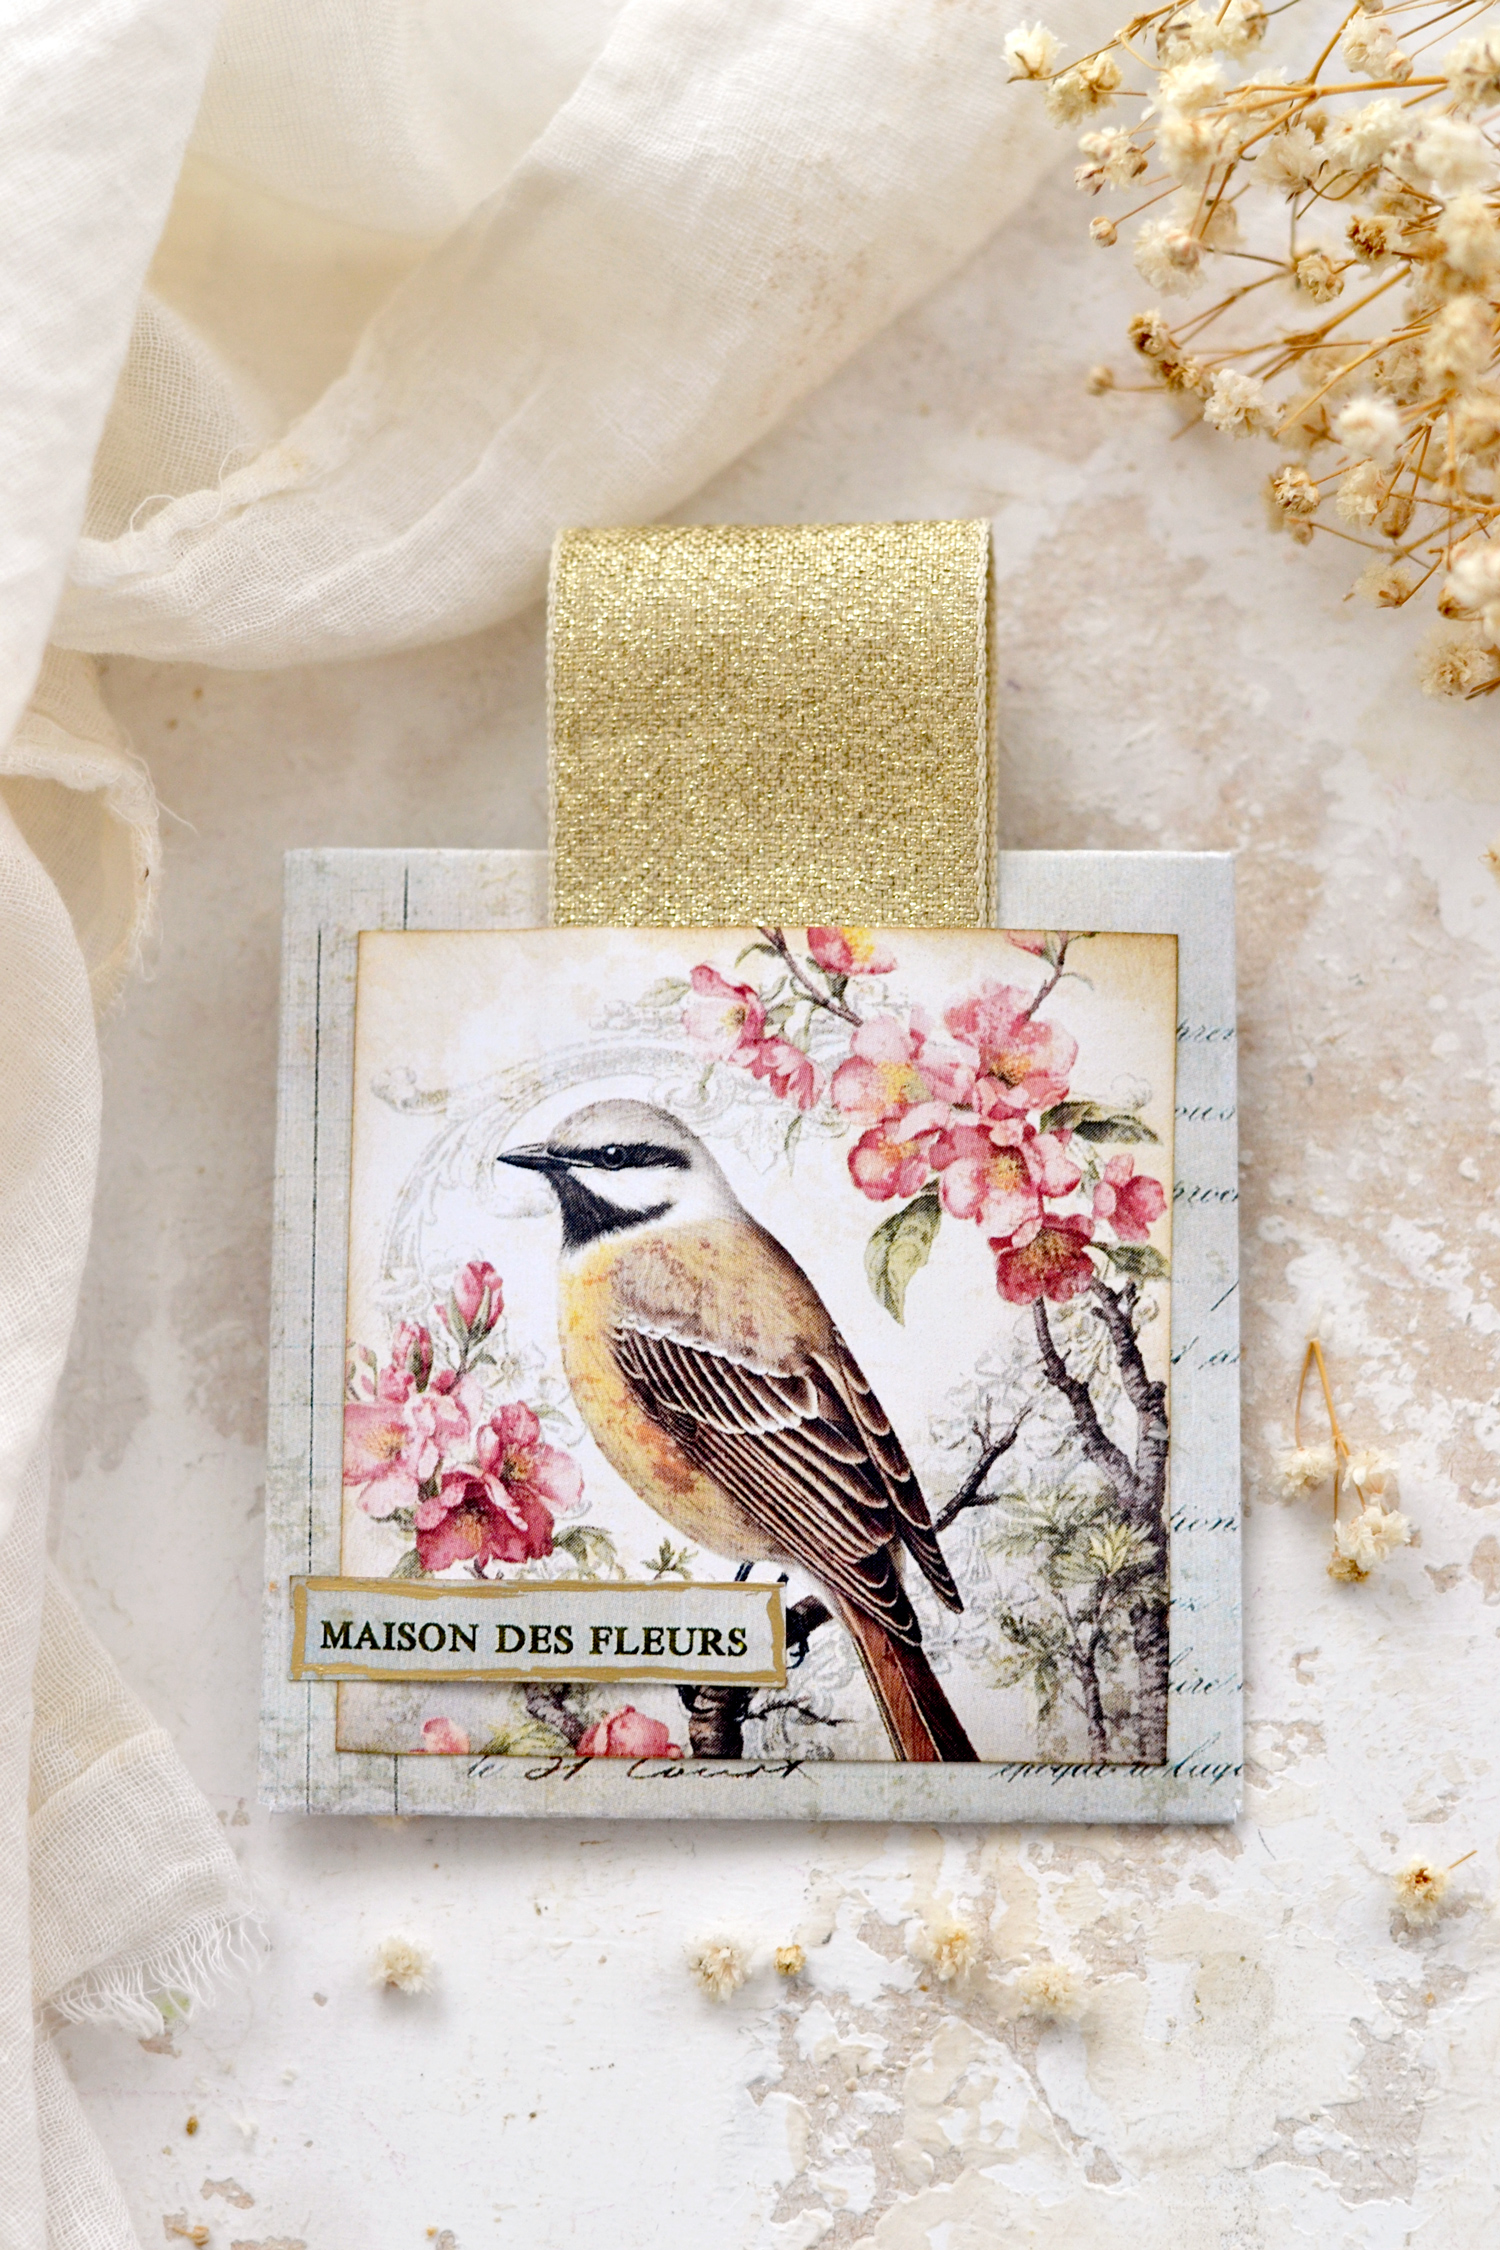
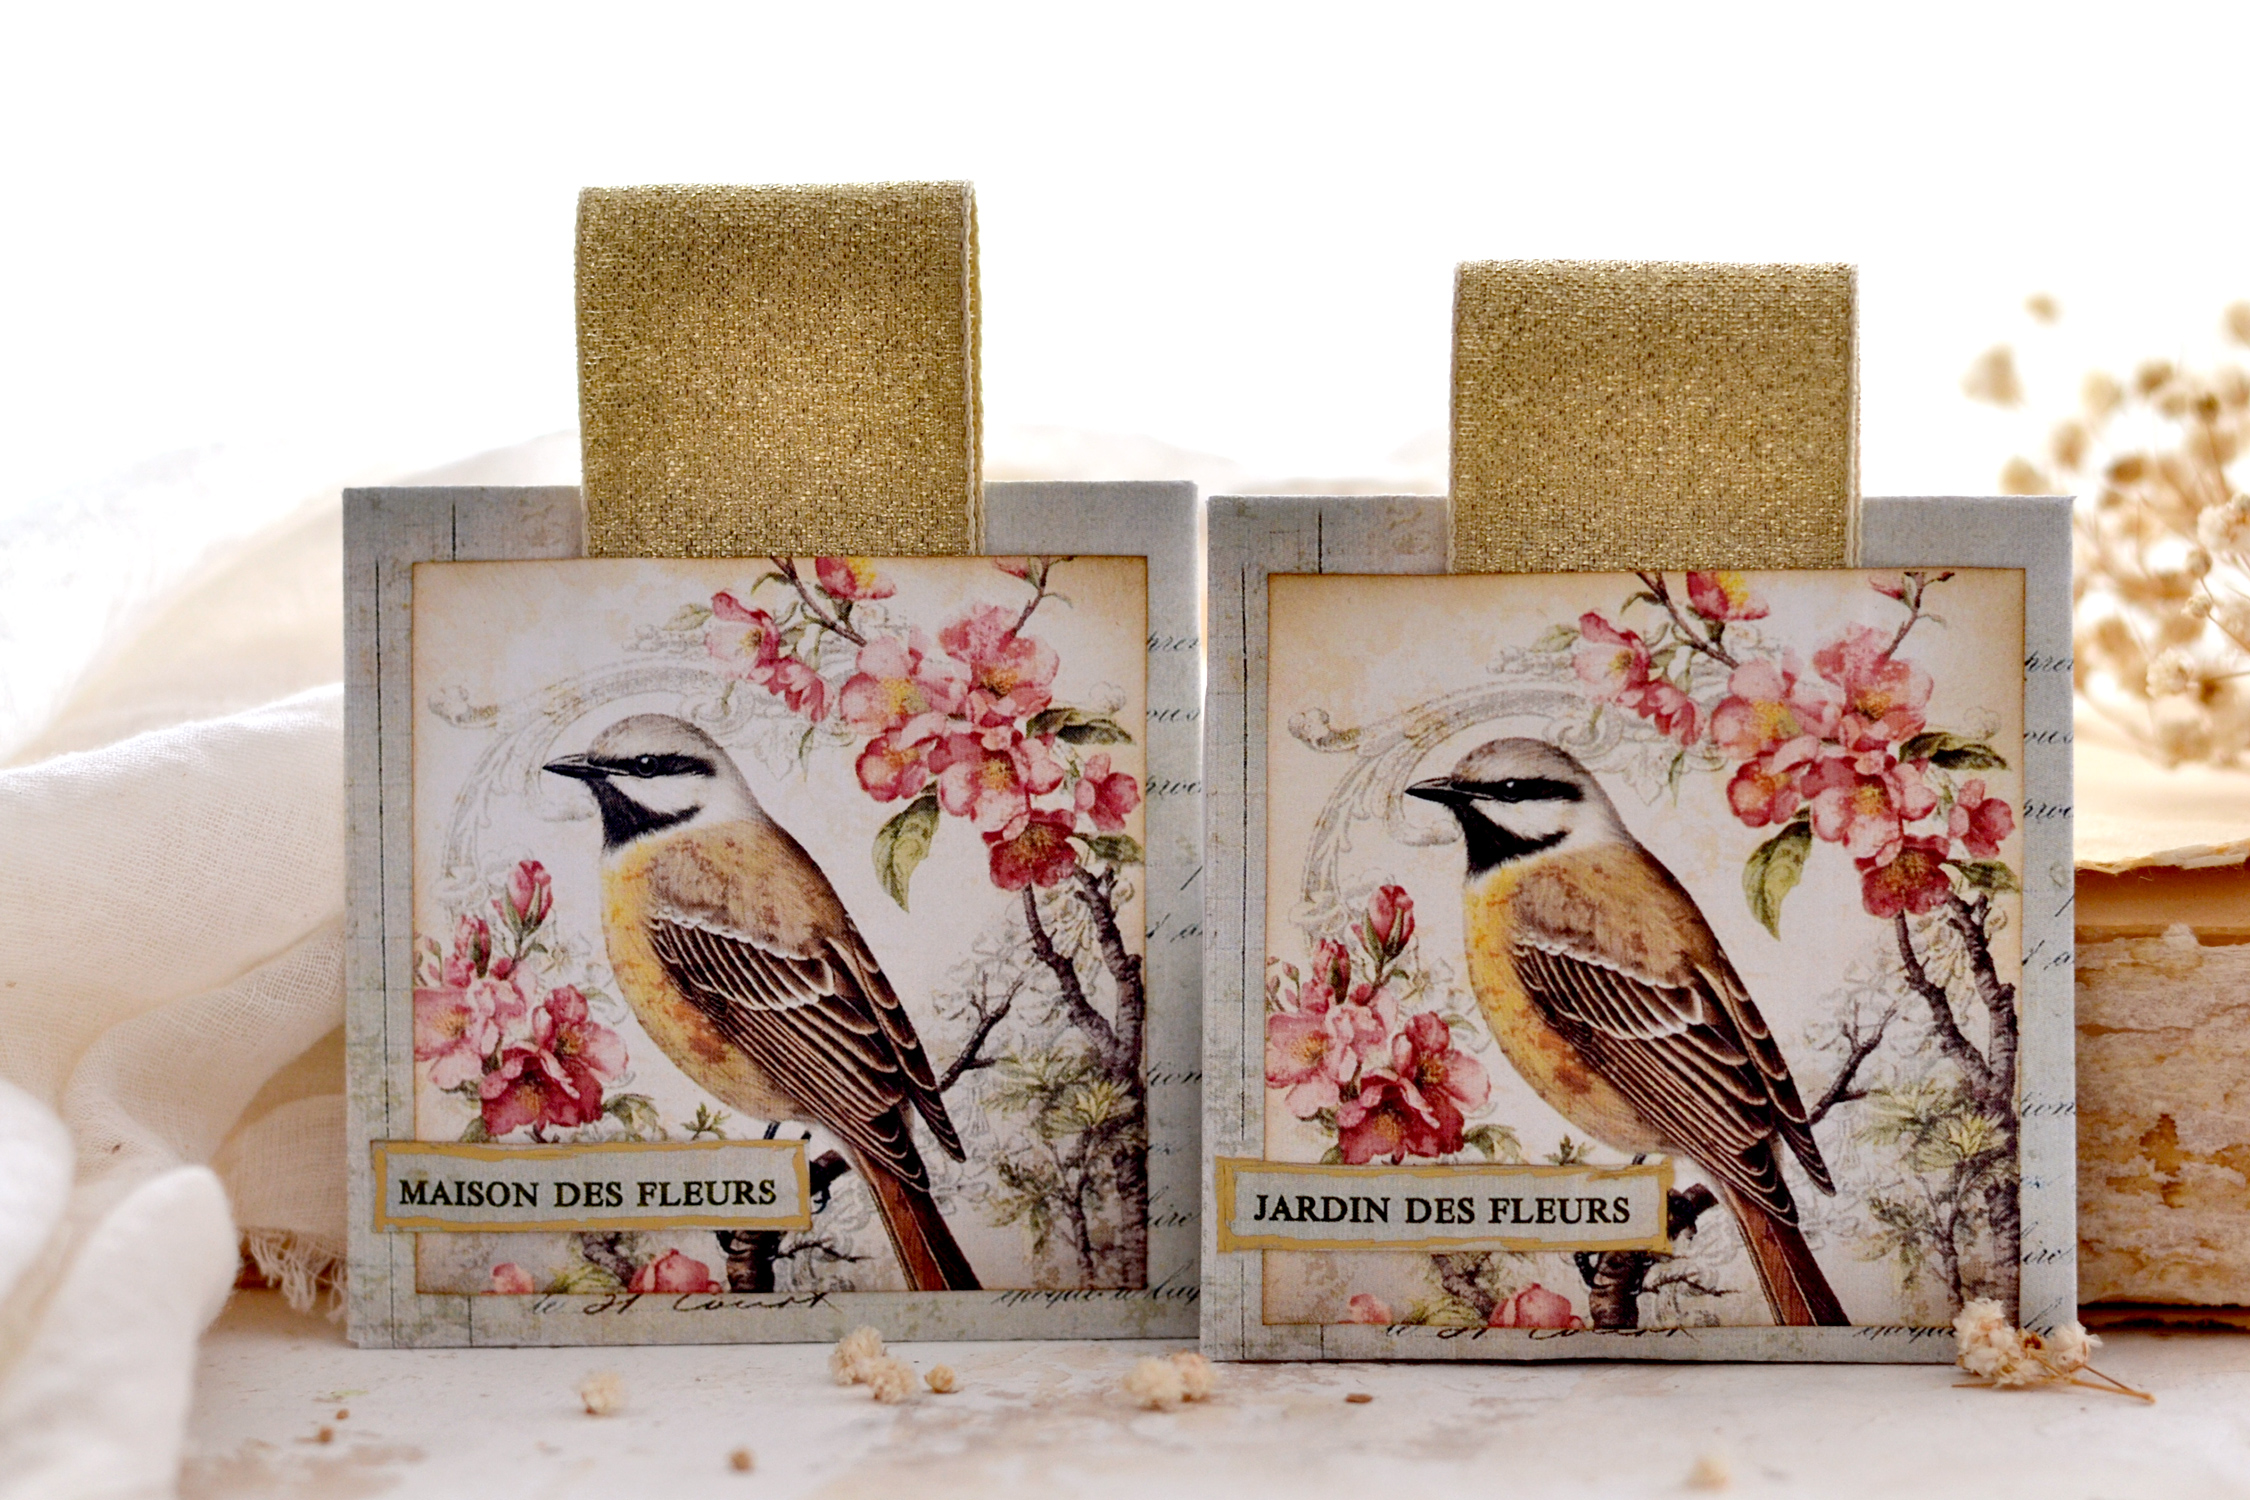
Hello Graphics Fairy friends! I’m Diana from Dreams Factory and I’m happy to be here again to share another DIY project with you! Today I will show you how to make these absolutely gorgeous DIY Scented Sachets that have a lovely vintage vibe! I added this superb bird with pink blossoms image to embellish the top of the sachets and a few French cutouts that will bring even more chicness to our project. These beauties not only look stunning but will blow your mind when it comes to heavenly scenting your home using essential oils and a secret ingredient that will perfectly preserve all the fragrance!
This will be one of those projects that will open so many doors for endless experimenting, I will share a super cool ingredient that you can use inside the sachets which can be infused with your favorite essential oils! You will have the power to personalize the scents according to your tastes and make your home smell divine without too much effort on your part!
Are you ready to know what the secret ingredient is? Drum roll please… the secret ingredient is vermiculite! This might sound strange at first, but as it turns out vermiculite comes from a natural mineral that is porous and highly absorbent, which makes it the perfect carrier for our essential oils fragrance! If you love gardening you might already have it in your stash because it is usually used as a soil additive for growing healthy plants. If you don’t have it yet I would suggest buying a bag ASAP, I promise you will just love it! The best part is that it’s quite inexpensive and you can easily find it online or in gardening stores.
My inspiration for this project came from an old scented sachet that I kept in my scrap paper stash for its lovely package and a faded hint of lilac fragrance. The ingredient list had all sorts of hard-to-pronounce ingredients that I’m pretty sure are not the safest to breathe in, but vermiculite was the one that got me quite intrigued. What if I tried to replace the nasty ingredients and use it with essential oils instead? I knew I had to give it a try and I have to say the final results are beyond my wildest expectations!
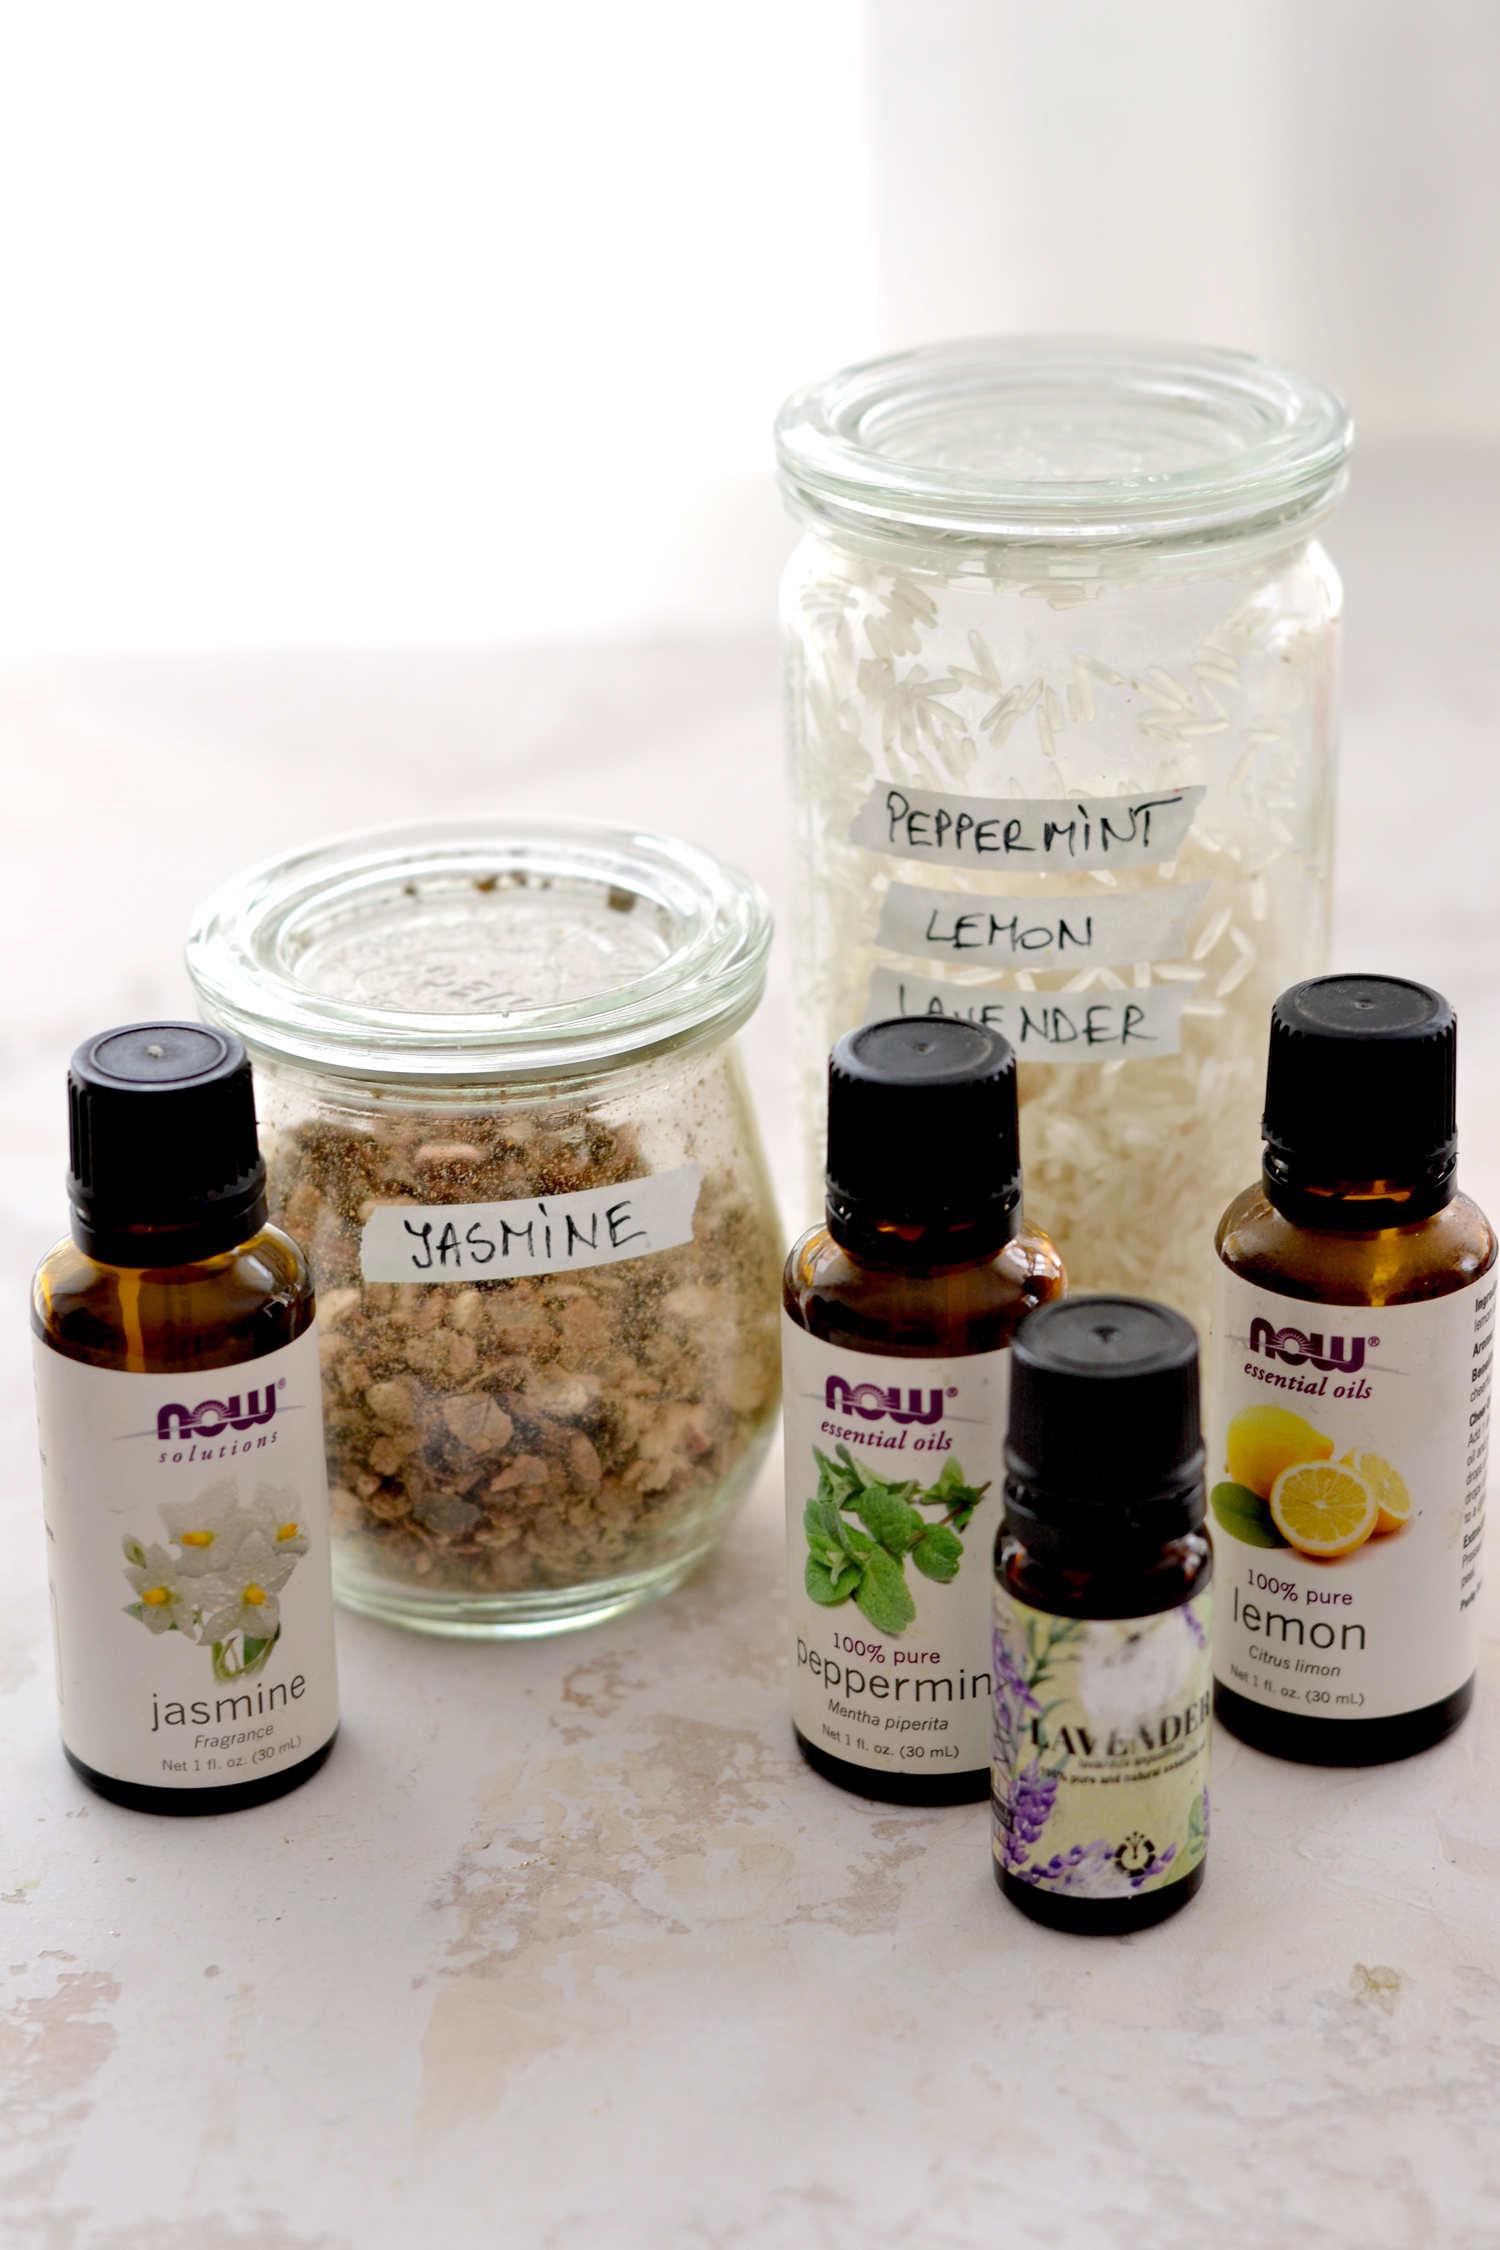
P.S. You can see the vermiculite I used in the image below in the jar on the left, but you can also see a jar with rice on the right. If you are wondering what is the deal with the rice, I have to tell you that as part of my experiment, I also tried to use essential oils to infuse some rice. This could work as an alternative if you can’t find vermiculite where you live, but you will have to experiment on your own with a small amount first to see if you like it. I wasn’t too happy with how the essential oils infused with the rice and how much time they took to dry, especially when compared with the vermiculite, so I’ve decided not to use it.
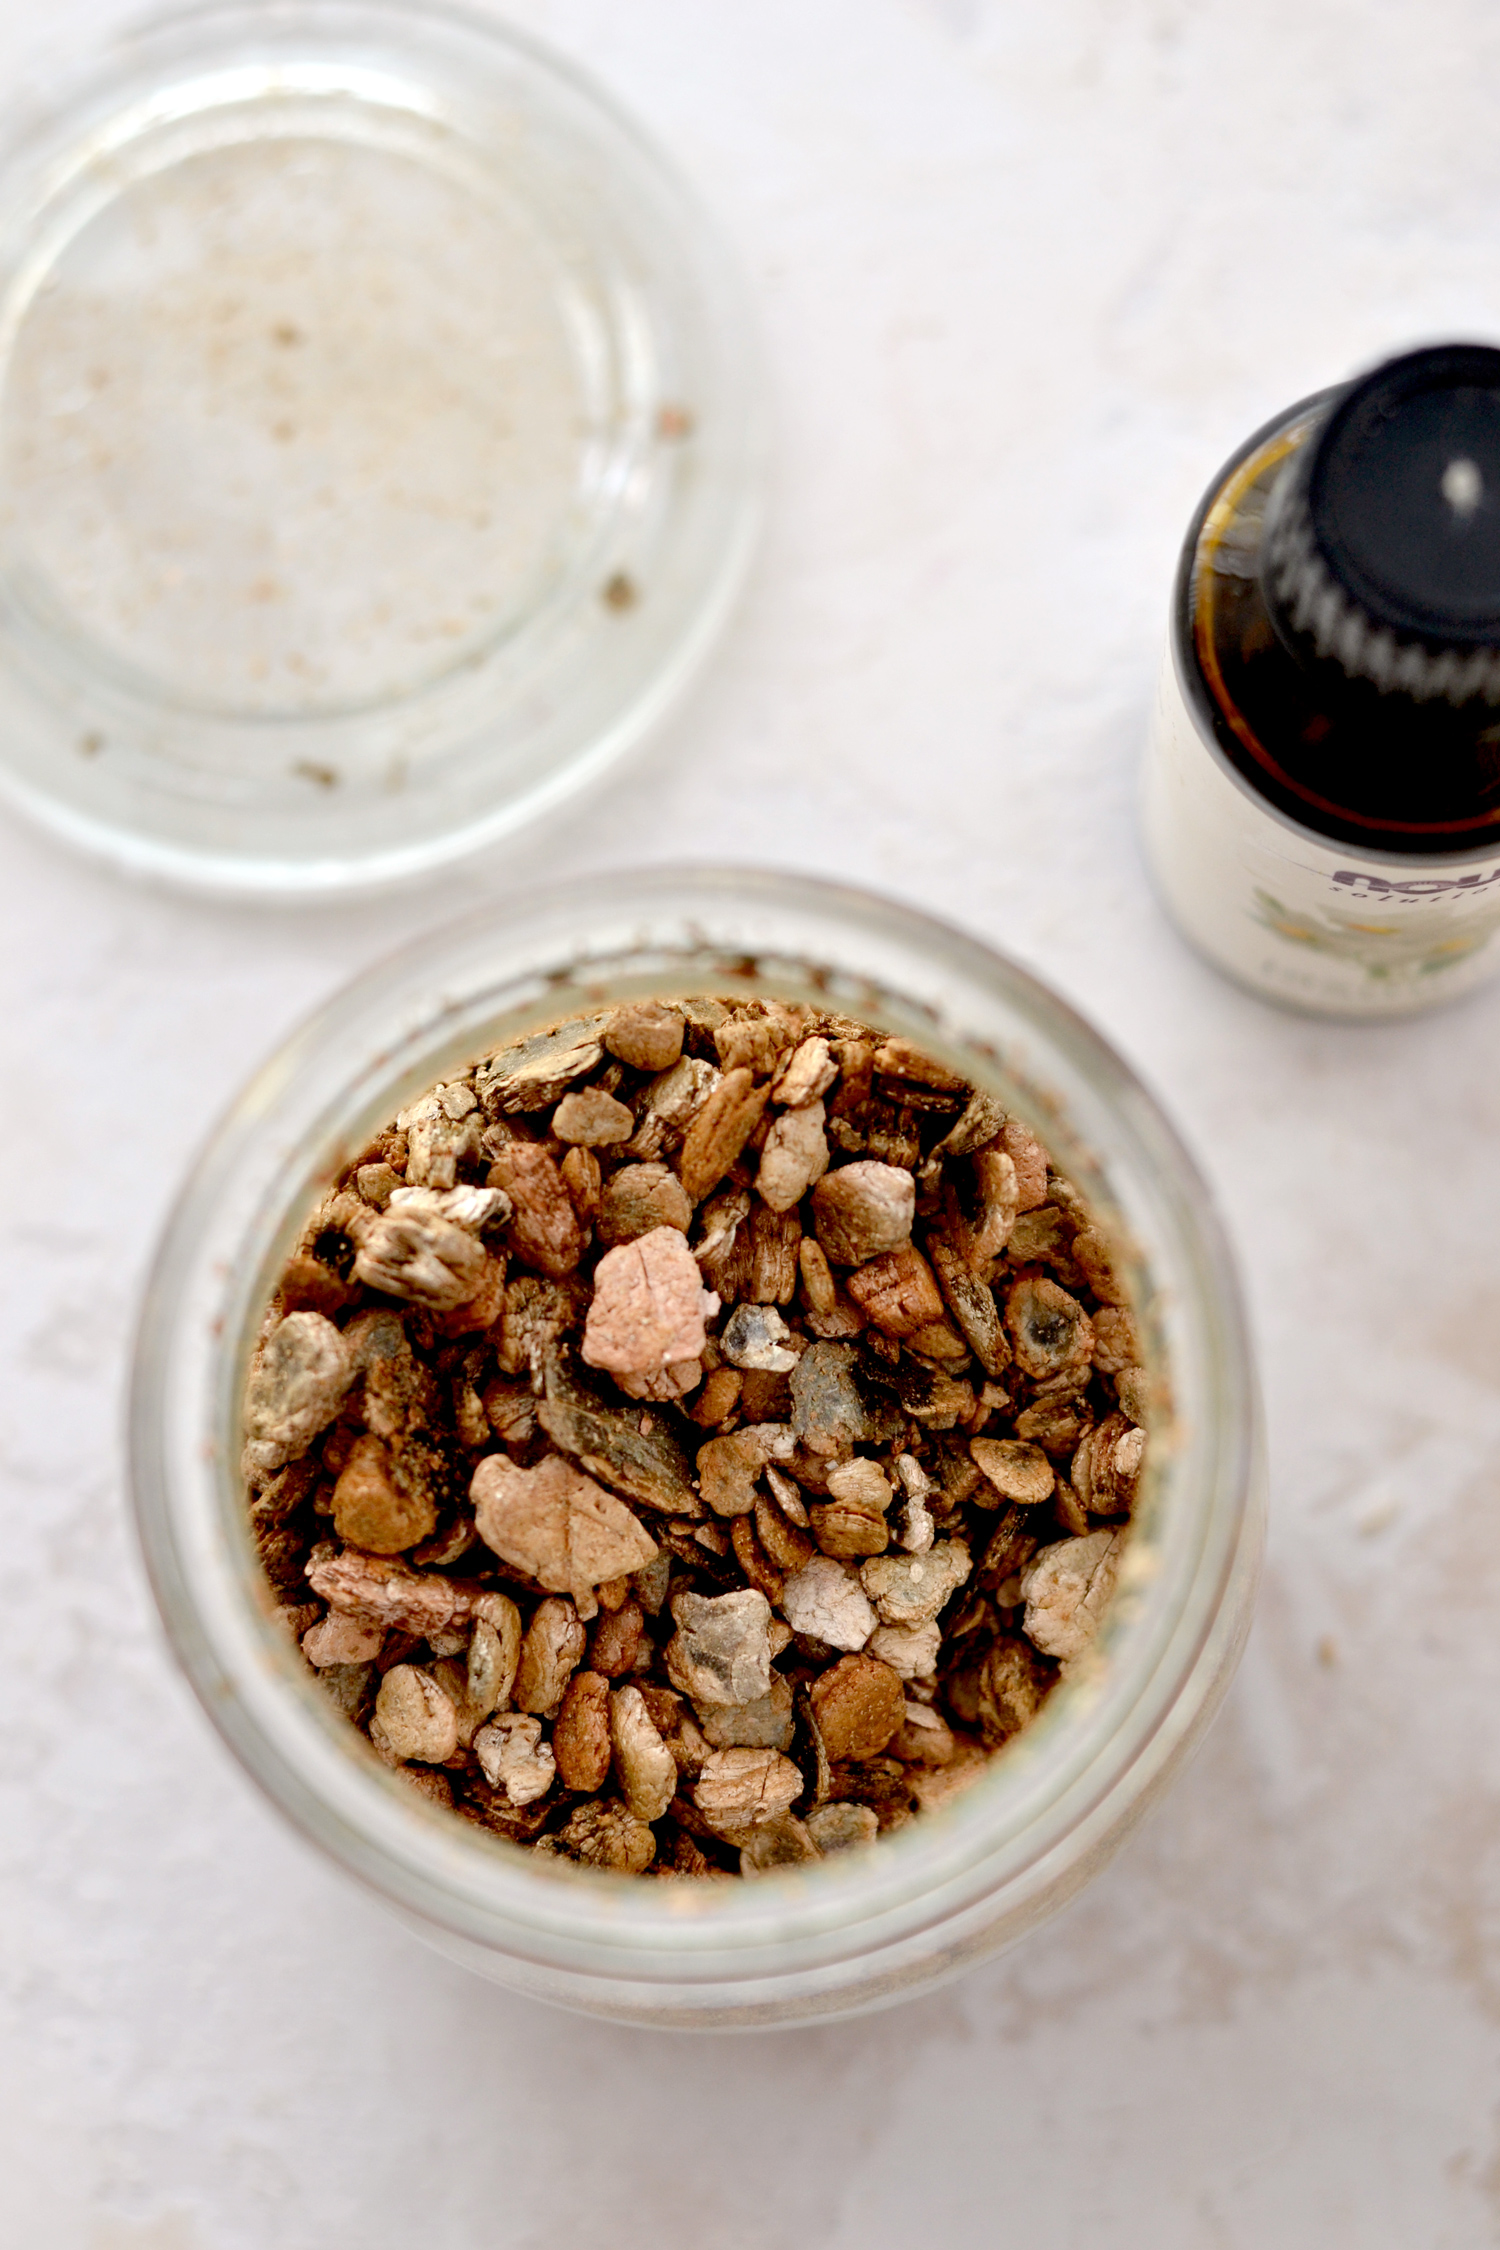
The vermiculite that I bought has quite an interesting appearance. I know there are many types, but mine looks like a quirky mix of small pebbles, but what’s surprising is that because it is lightweight, it also makes you think of cork. Cork pebbles? How strange is that!?
You can infuse the vermiculite with a single essential oil fragrance or a mix of several, depending on your preferences. It’s important to use a jar that has a lid, a strong closing system is the key for locking all the fragrance in!
GOOD TO KNOW: I used about 2 and 1/2 teaspoons to fill each sachet with vermiculite after infusing it with the essential oils. You can use this as a starting point so you’ll know how much vermiculite you need to infuse, depending on how many sachets you are planning to make. As for how many drops of essential oils to use, I used about 20 drops to infuse all this jar and I was able to make 6 sachets. So that would make around 3-4 essential oil drops per sachet, but I would say you could also add more if you want. Use a small spatula (I used a recycled ice cream spatula) to mix everything, then keep the jar closed for a few hours before using it, or leave it overnight to make sure you don’t have any essential oil seeping through afterward.
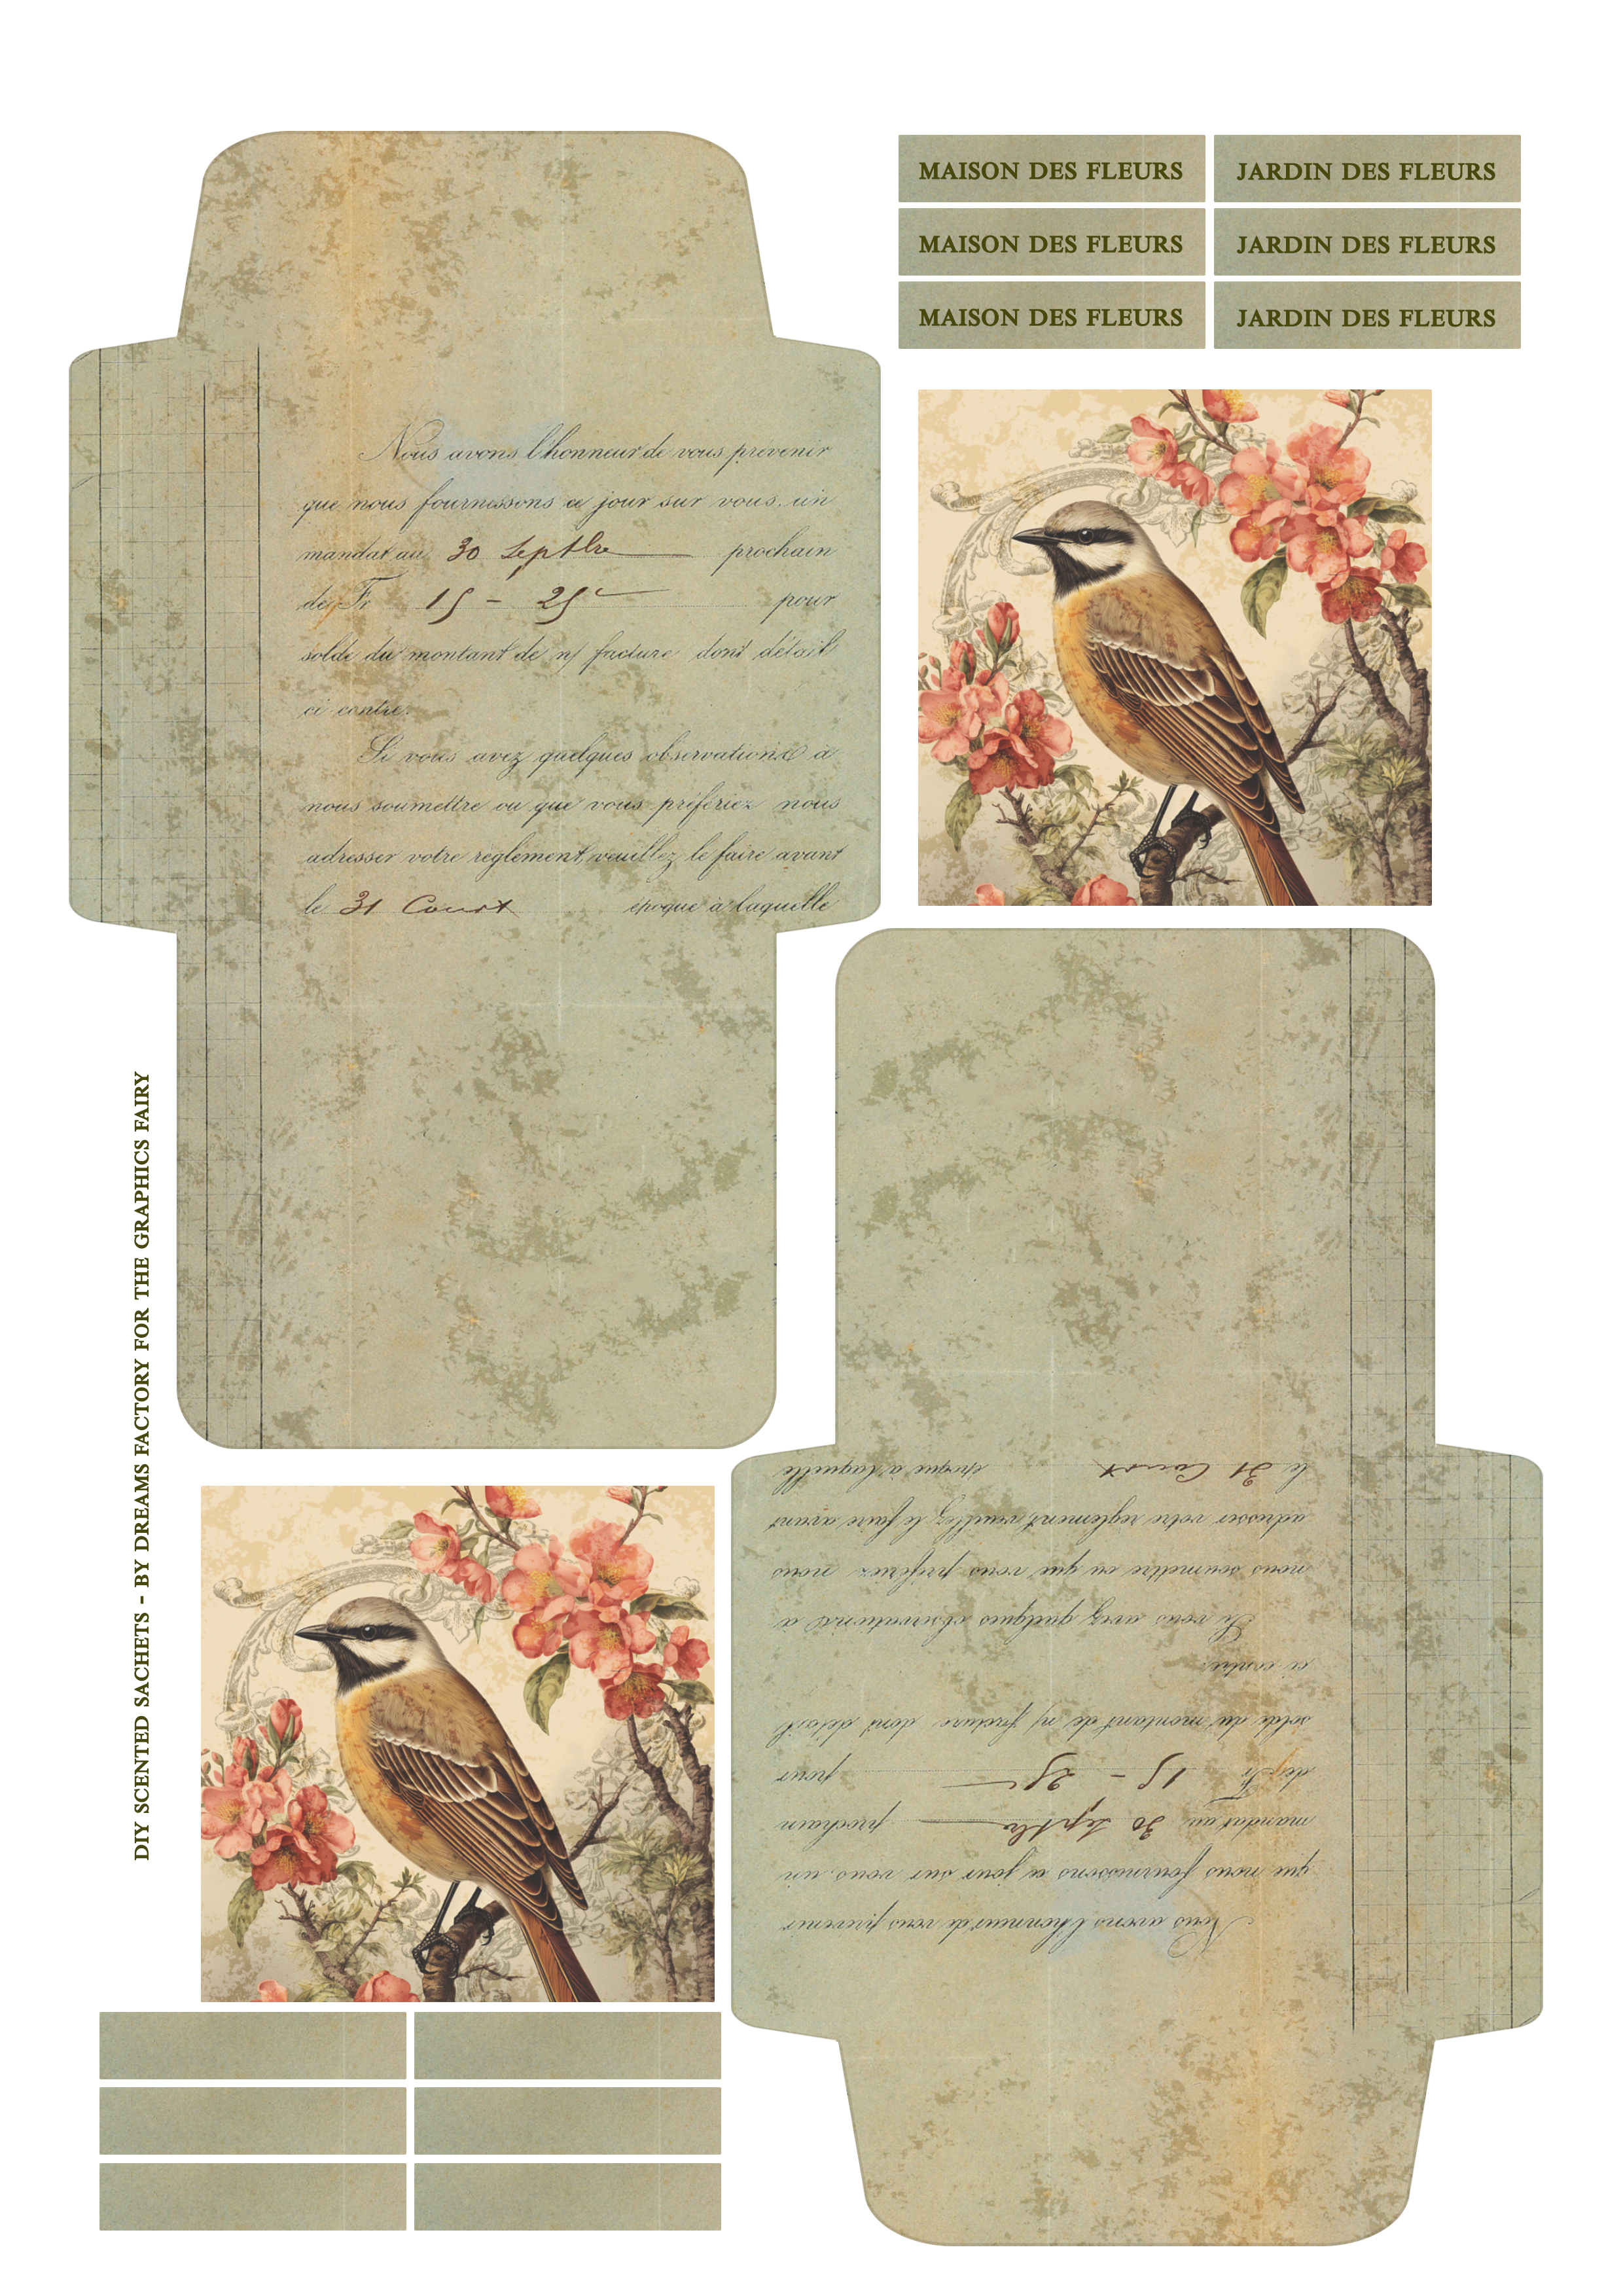
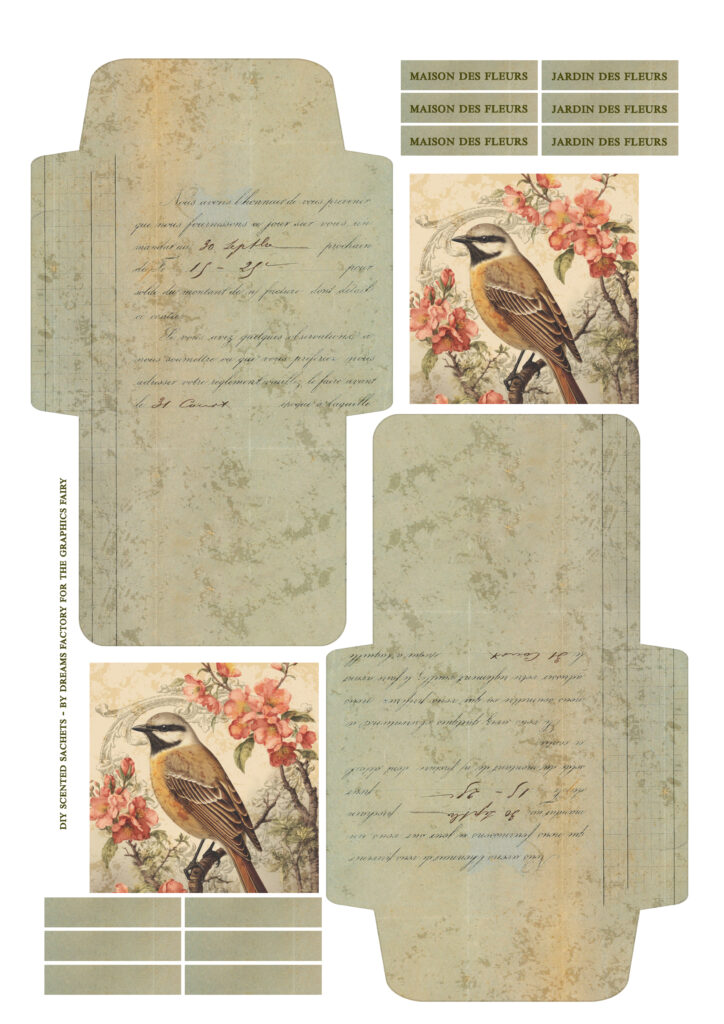
Here is the printable that I created for this lovely project, you can download it and save it on your computer. You will be able to make two sachets from one printable, just print it as many times as you want to make as many sachets as you need! As you can see, the sachets are green and have a super chic French appearance and of course, they can be used for other projects too! You will also find the adorable vintage bird with pink blossoms and a super chic subtle frame that you can add on top. I also included some French MAISON DES FLEURS and JARDIN DES FLEURS cutouts that you can use to further embellish these beauties, and also a few blank cutouts that you can use on the back if you want to mention the fragrance you used.
Free Printable
—-> Click HERE to Download the Full Size Printable PDF <—-
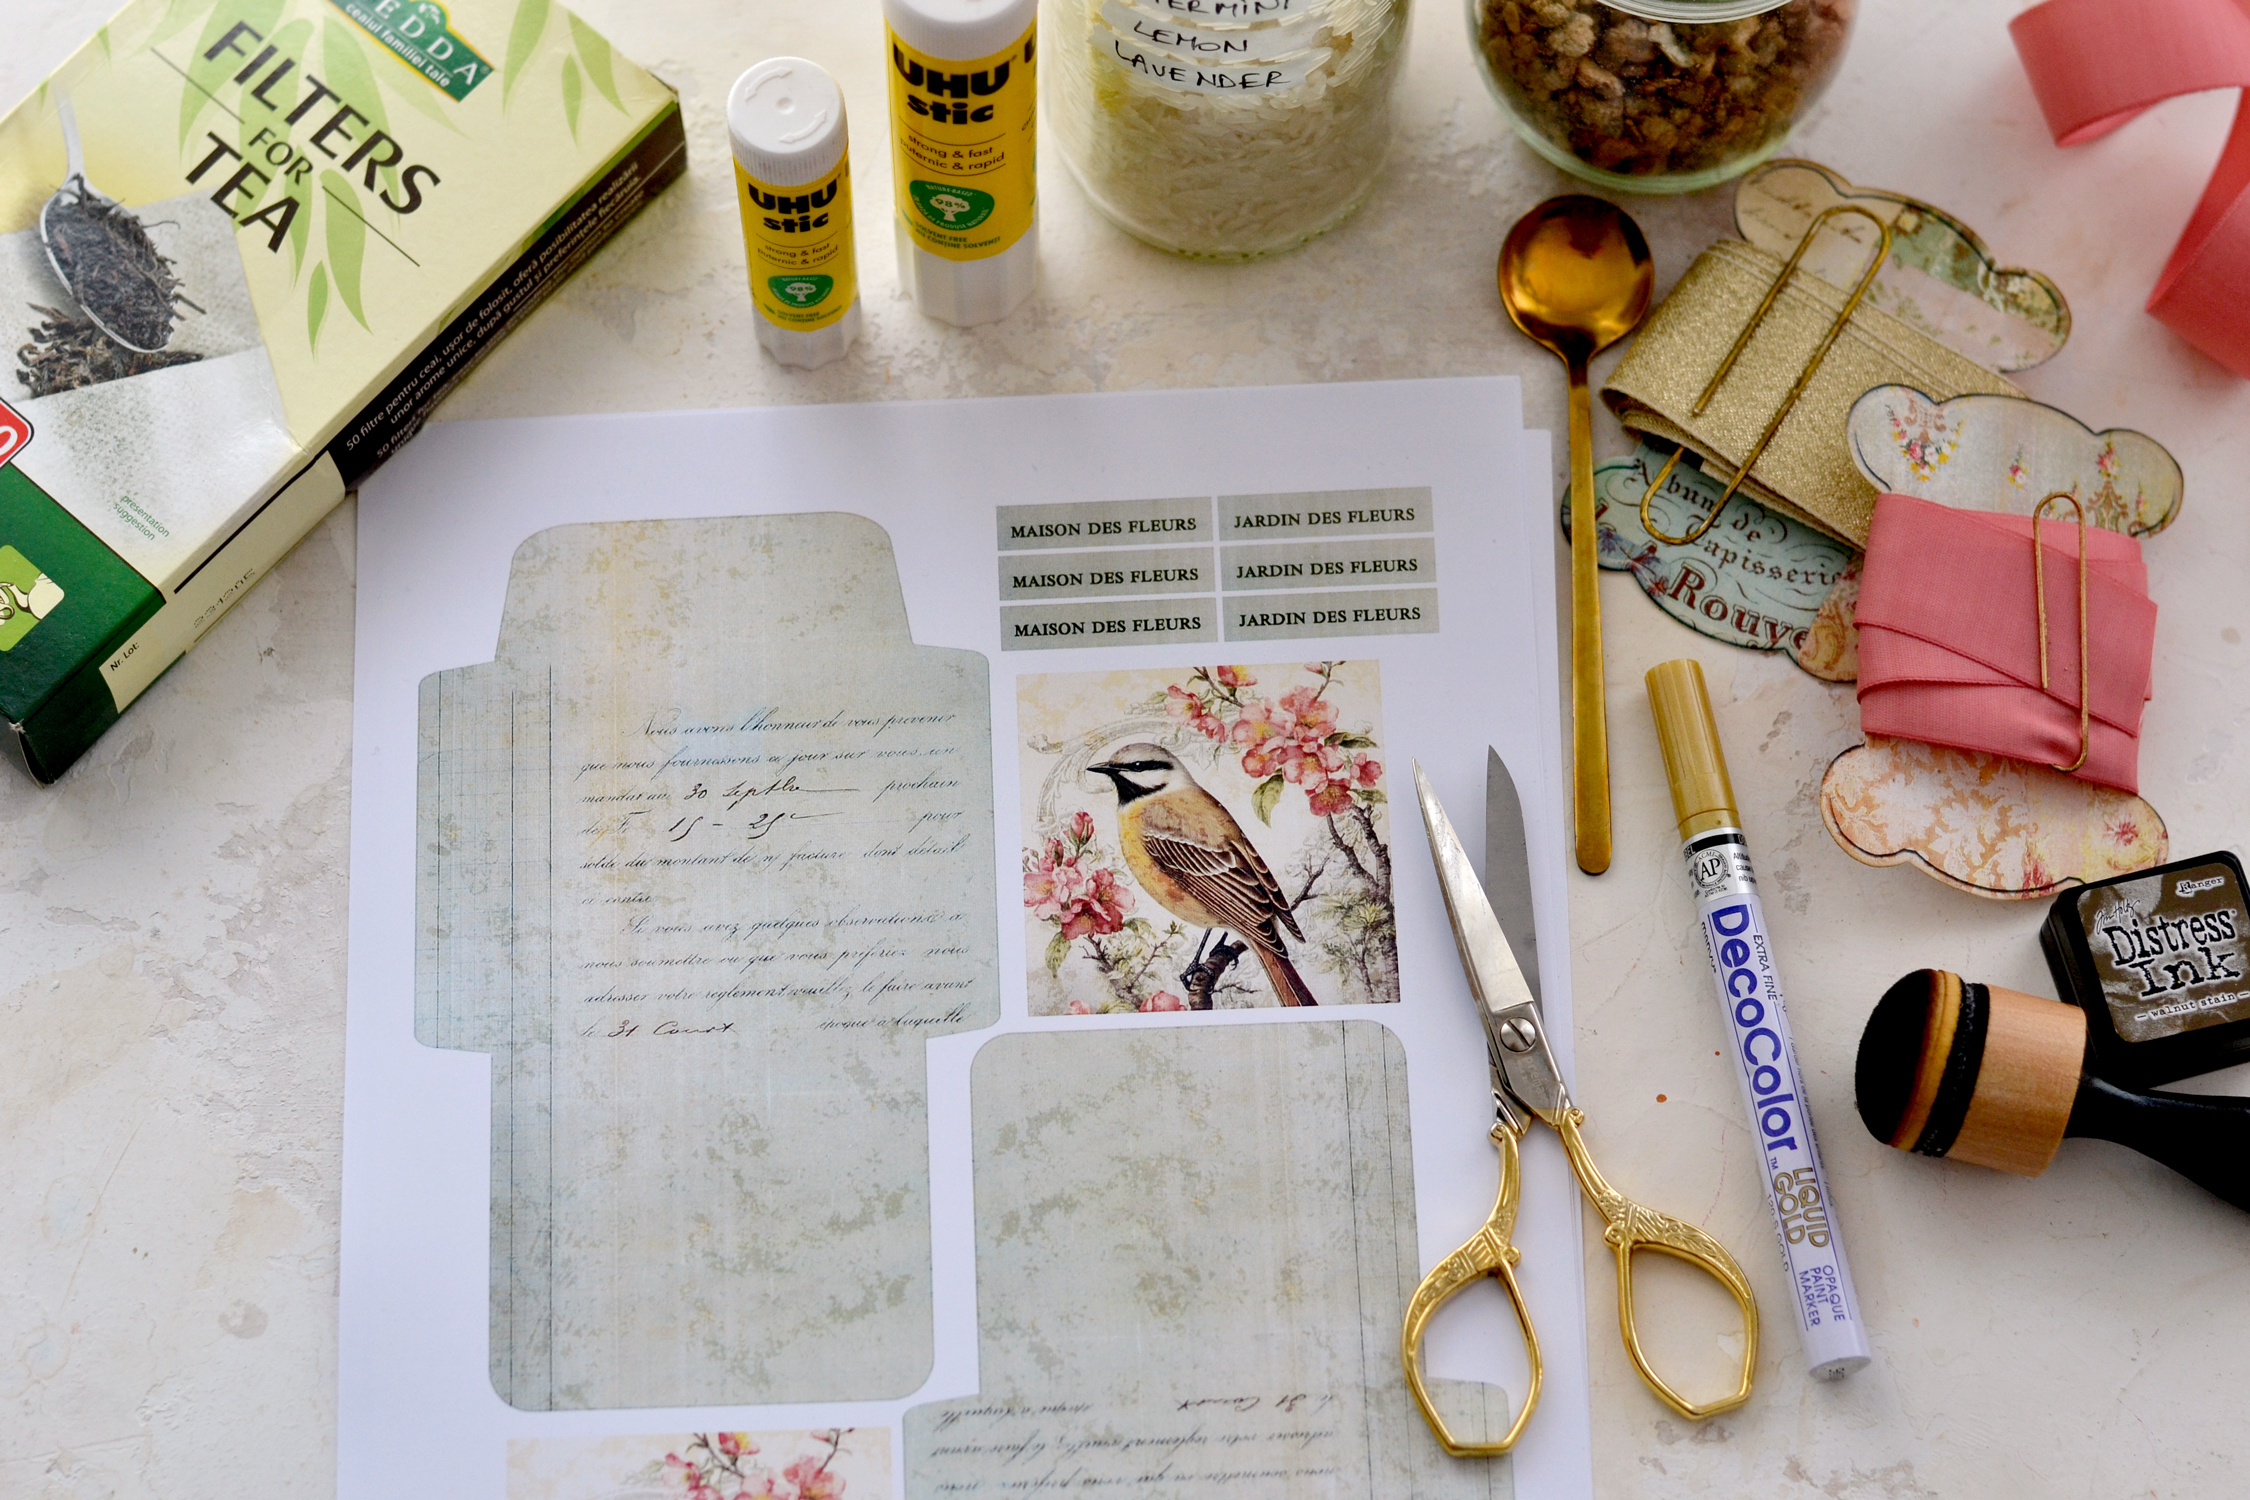
DIY Scented Sachets Supplies:
- white cardstock paper or regular printing paper (I used cardstock)
- home printer
- scissors
- mini distress inks
- blending tool
- paper glue and/or craft glue with a fine-tip applicator
- tea bags (new)
- vermiculite
- your favorite essential oils – use one or a mix
- ruler
- teaspoon
- jar with lid
- ribbon
- gold marker – I used my favorite Decocolor (optional, but highly recommended)
Full Step by Step Tutorial:
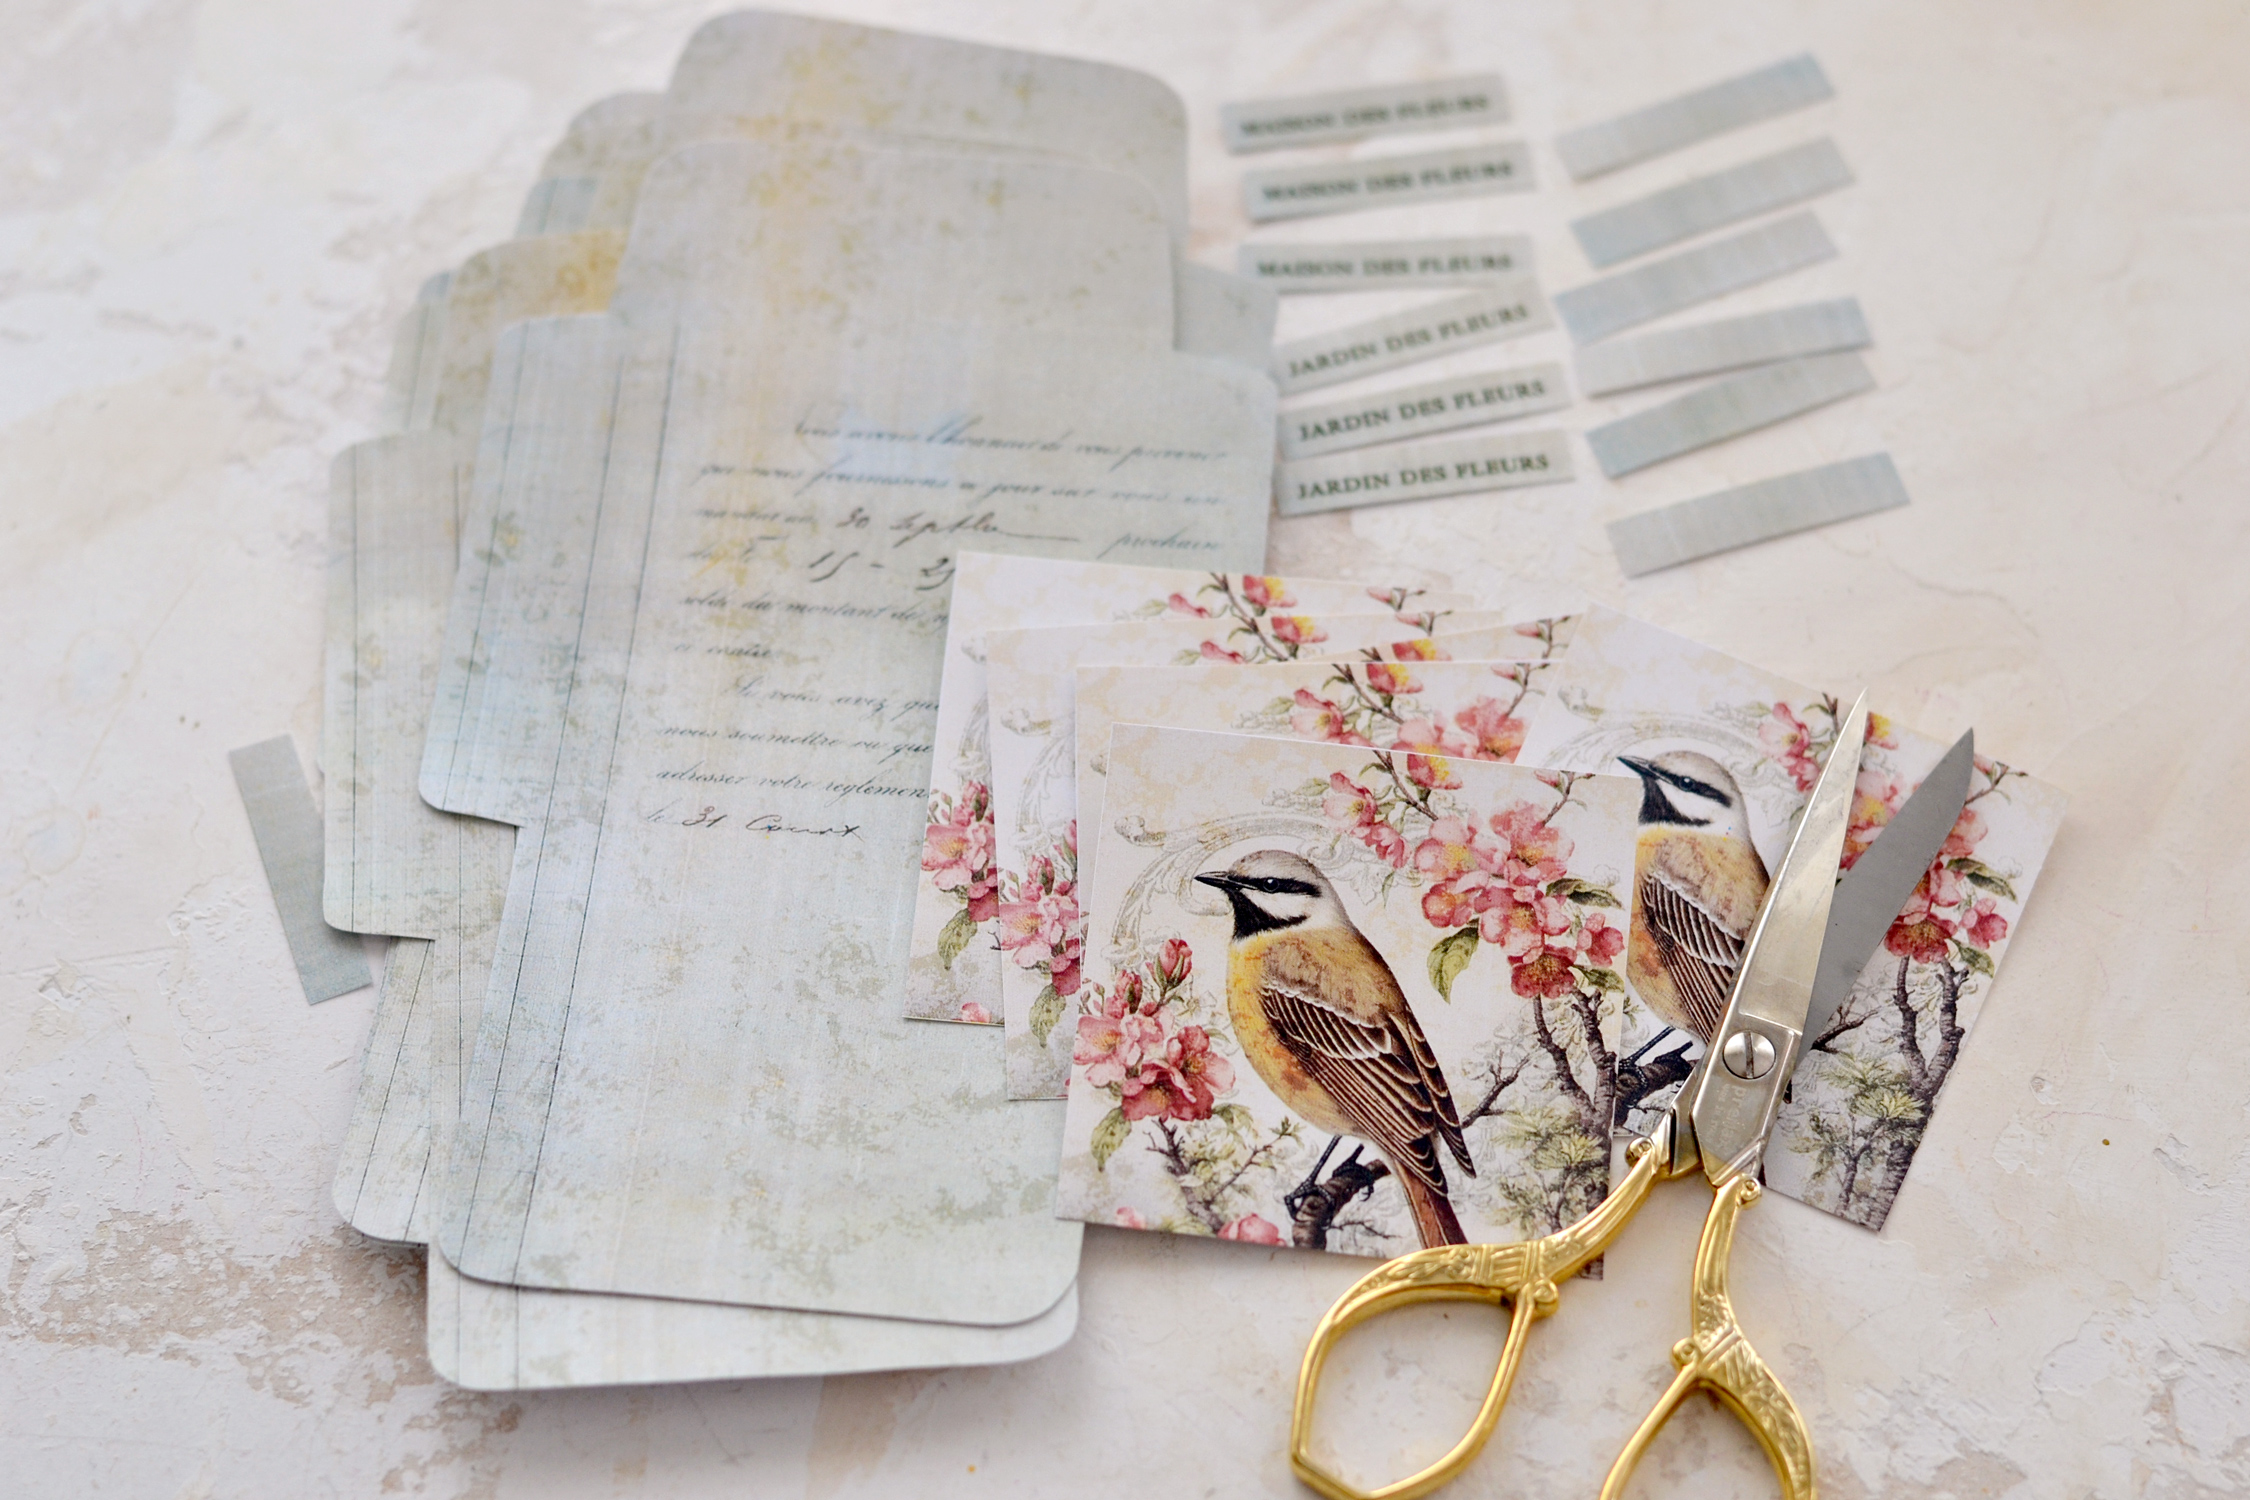
Start by printing the printable on cardstock paper as many times as you want. I printed it three times to make a total of six sachets.
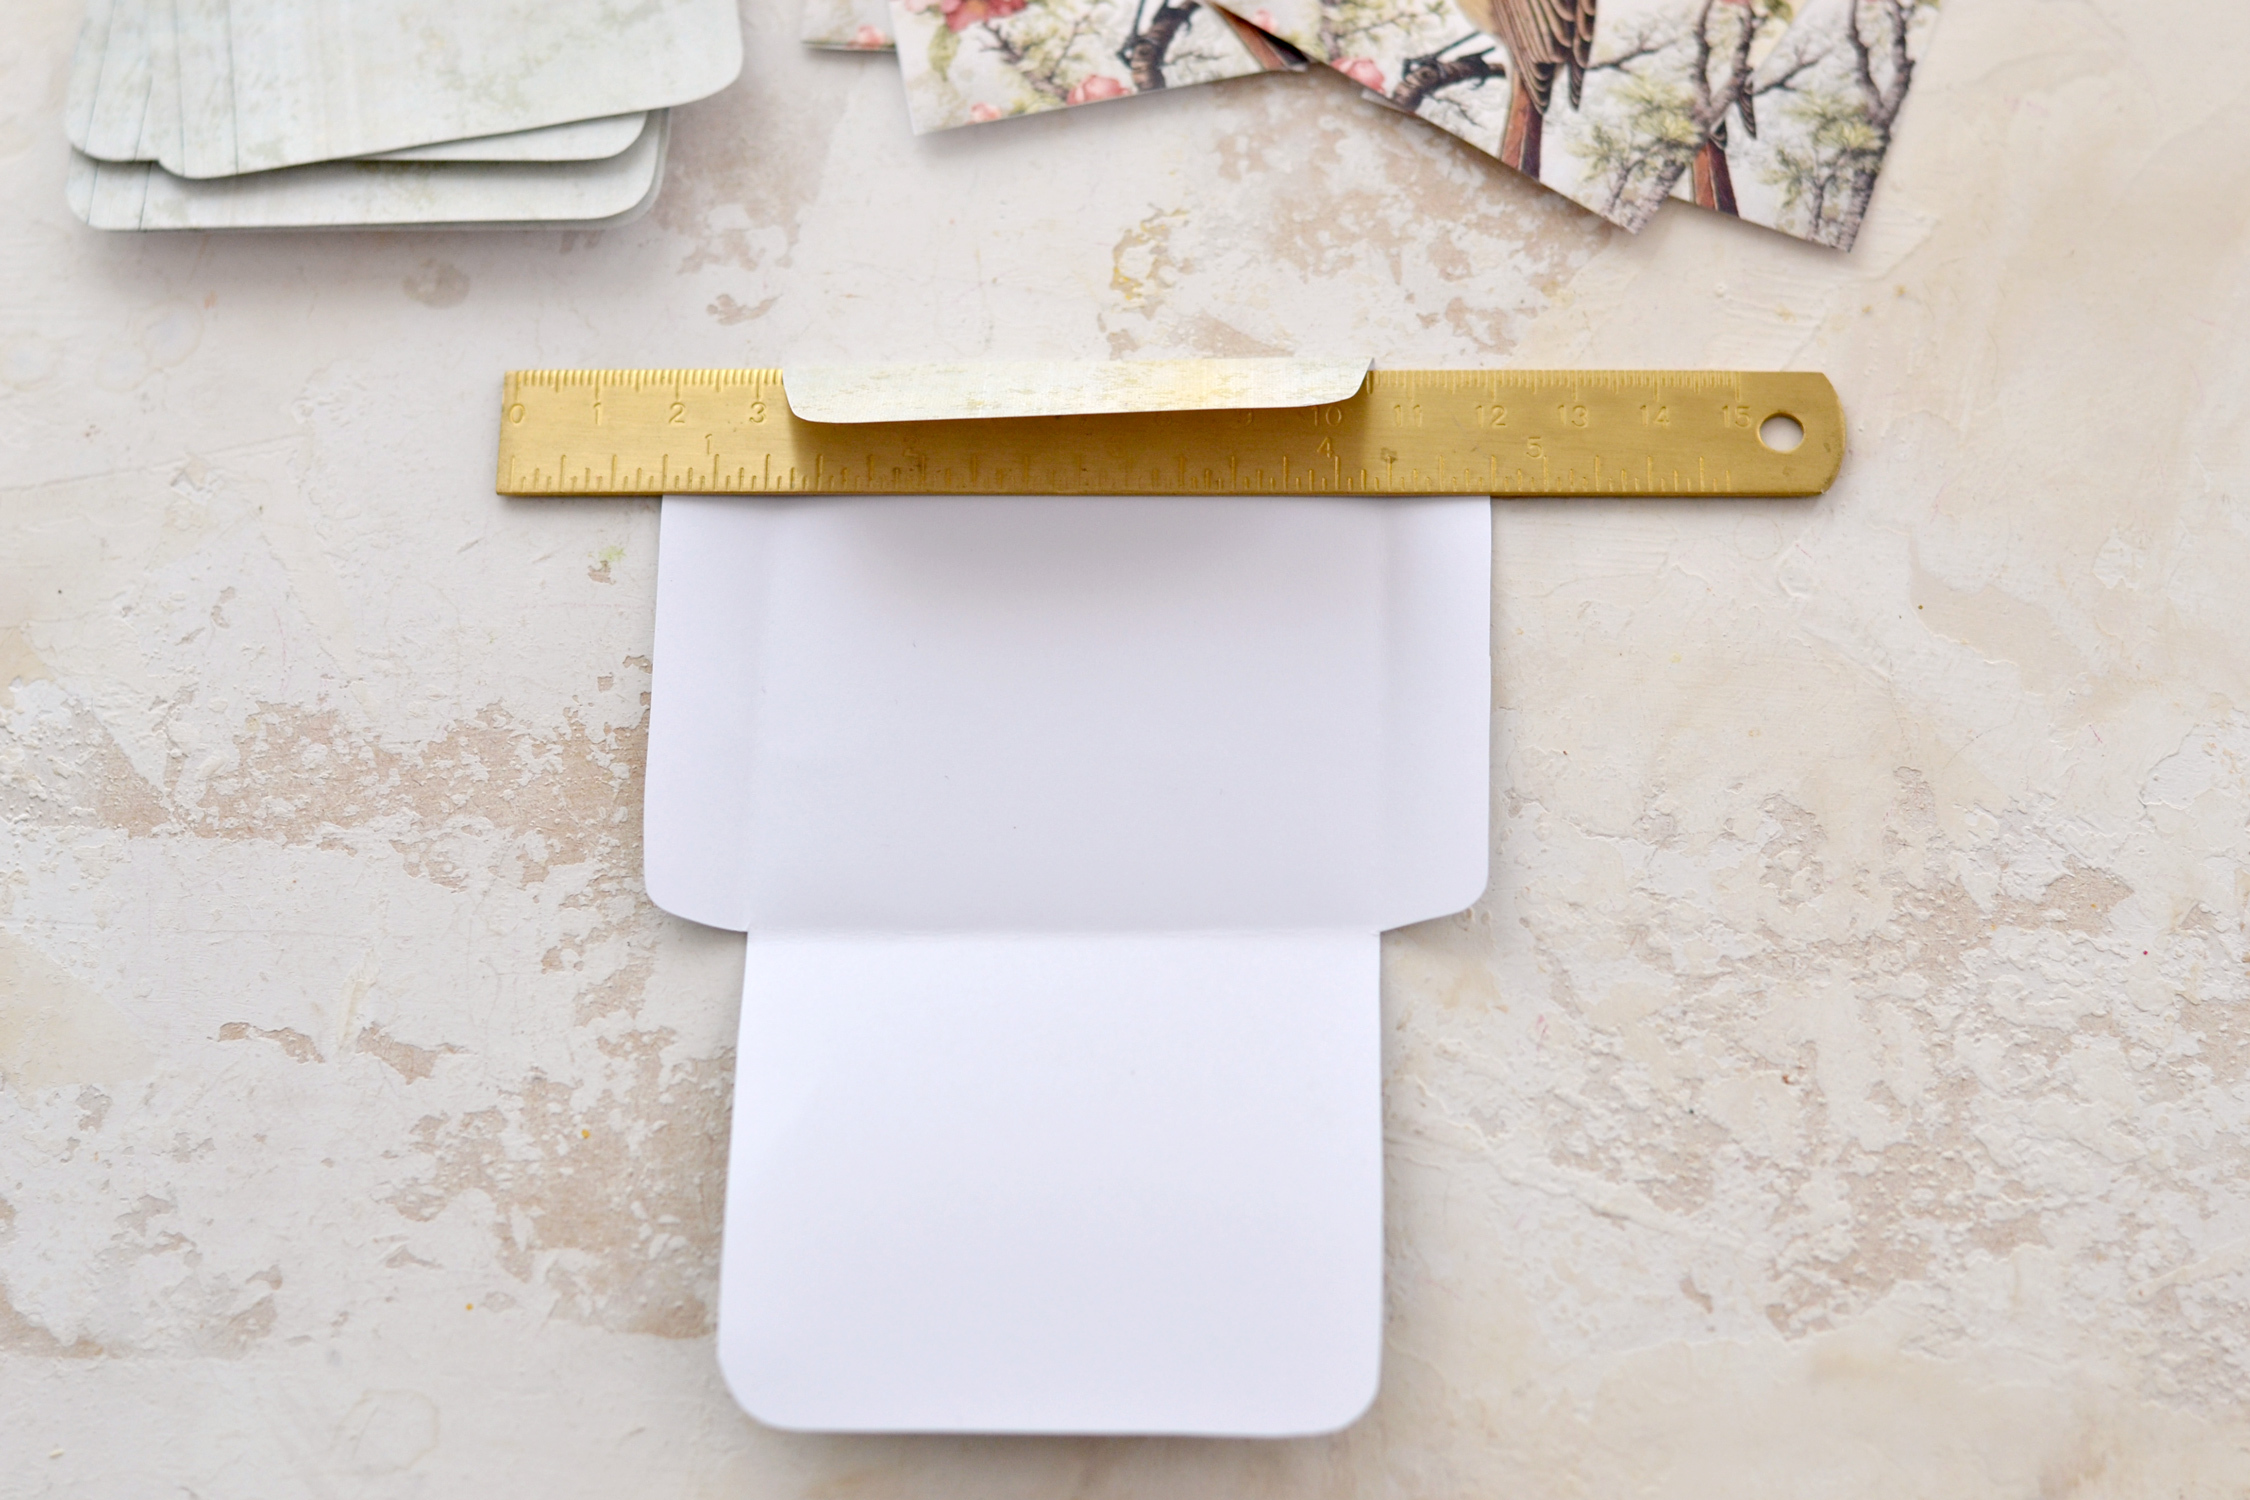
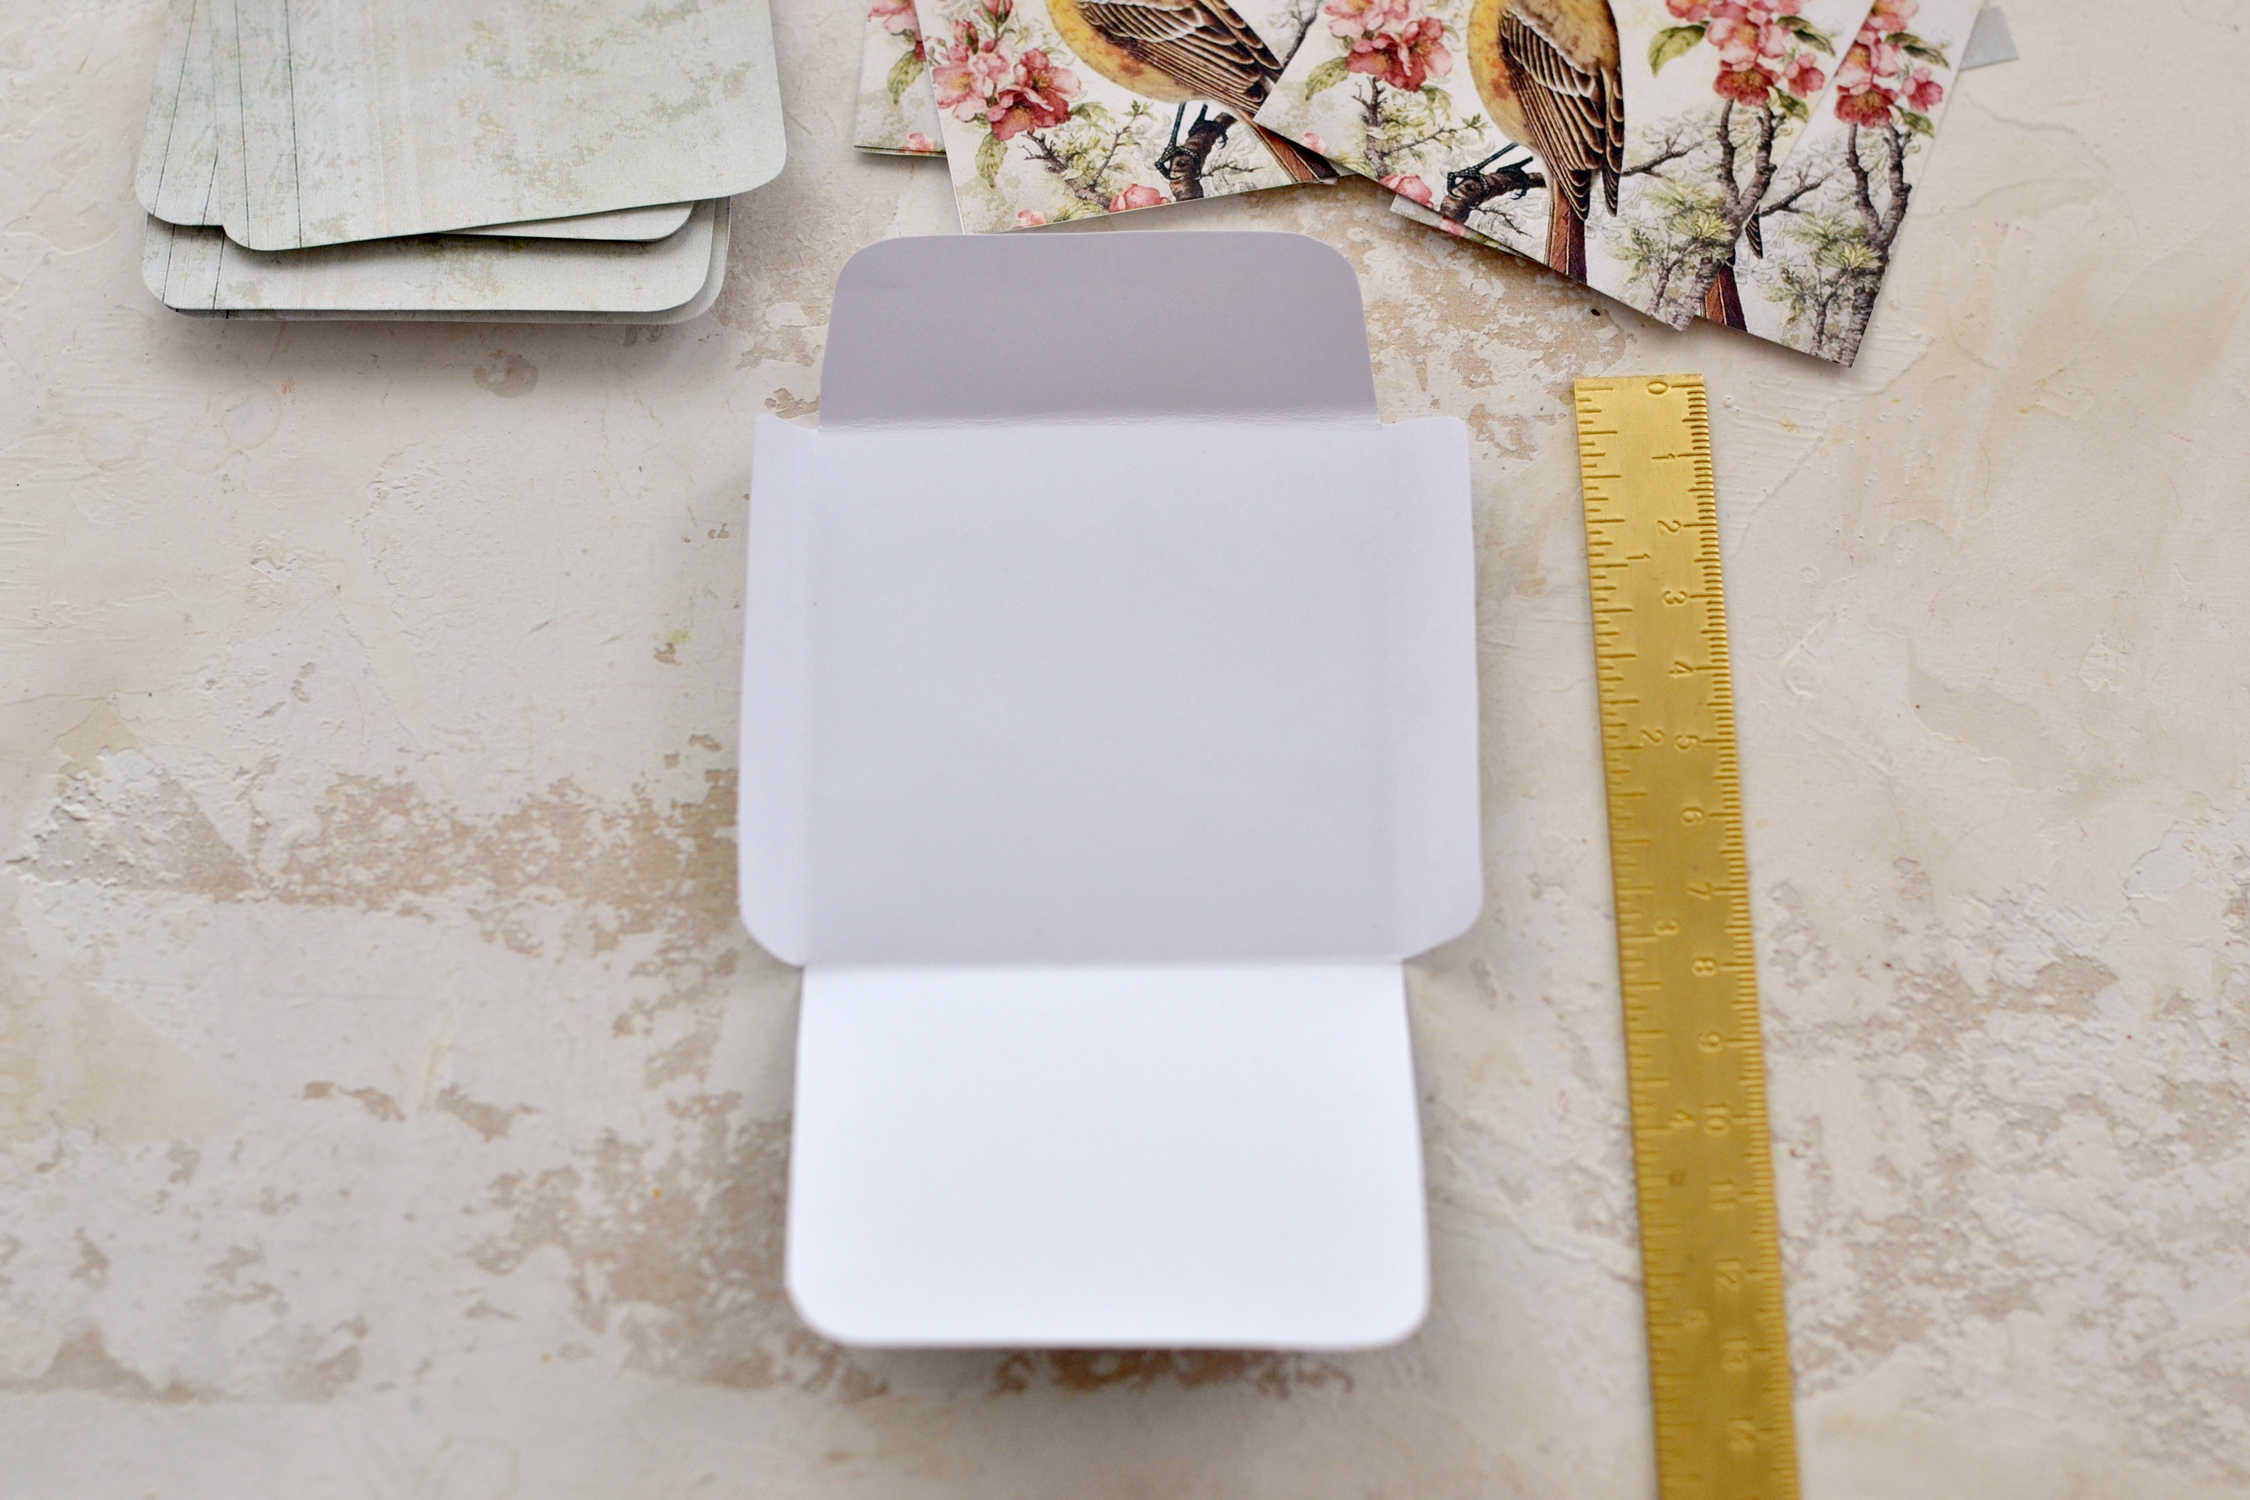
Flip the sachet with the printed side underneath and use a ruler to fold each of the flaps on the edges.
This is how your sachet envelope should look after folding all the flaps using the ruler.
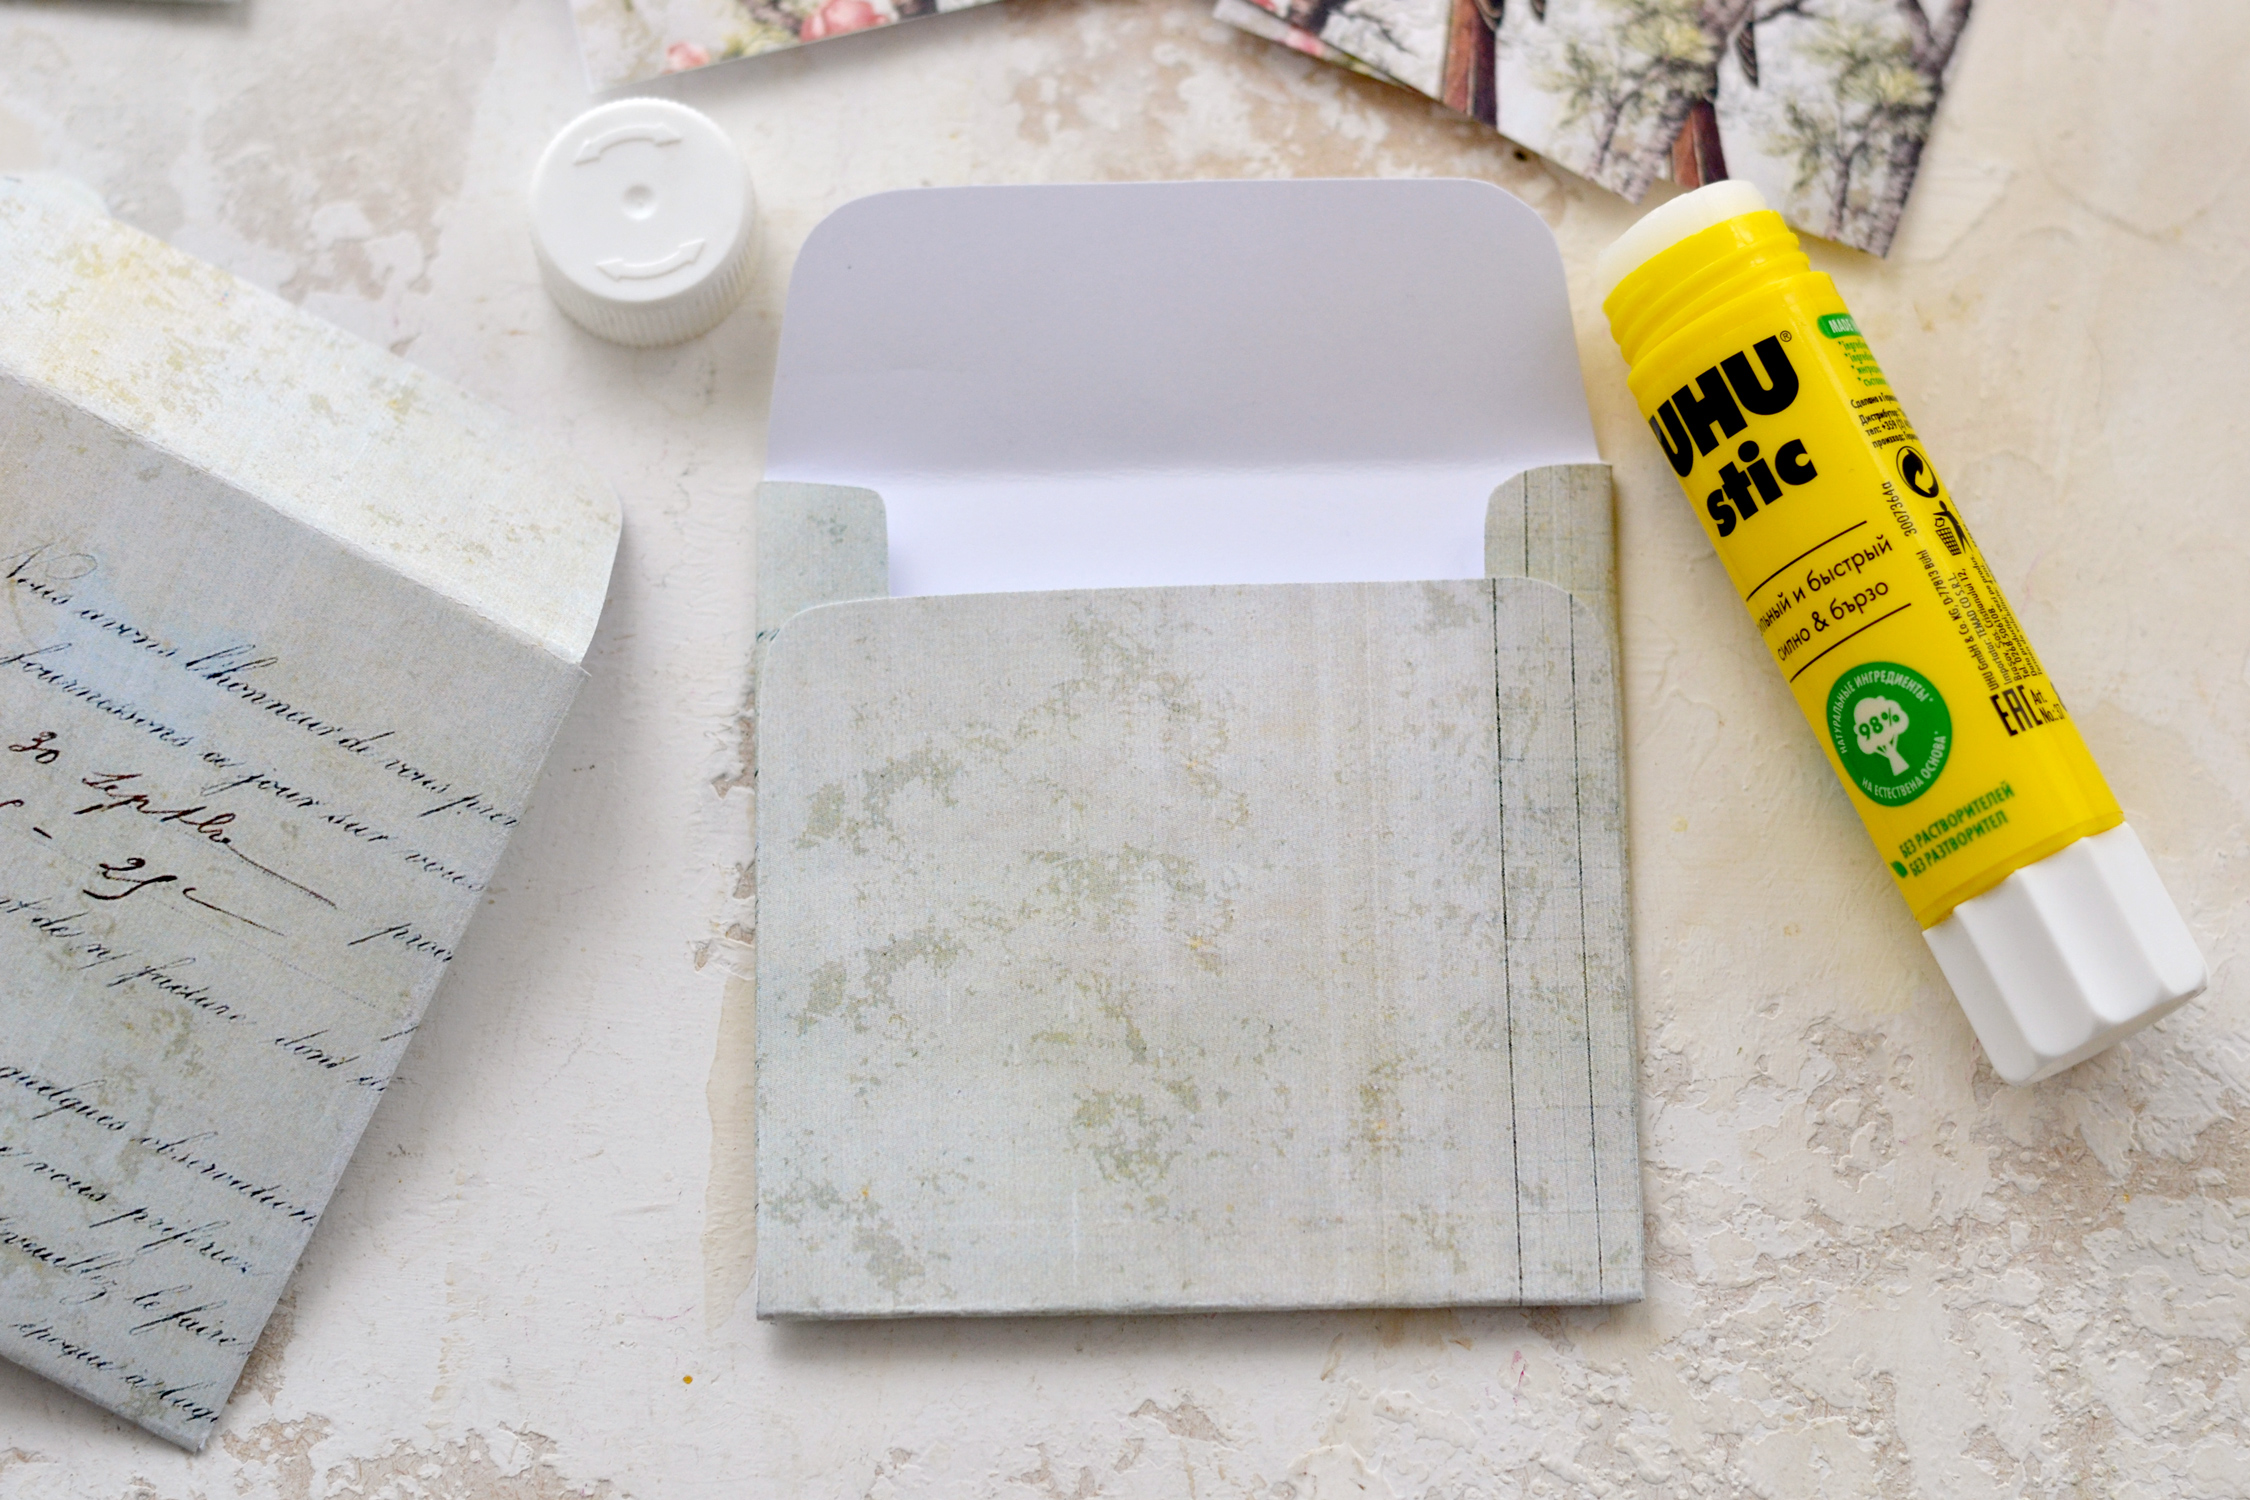
Use your fingers to gently press all the flaps inwards and check to see if everything looks good – start with the left/right flaps, then bring the bottom flap upward, over them. Don’t press too much because we don’t want to completely flatten the sachet, we still want to keep a little bit of volume. Make small folding adjustments if you need to better align some parts here and there, then glue everything down. Leave the top unglued at this point, we need to tuck our vermiculite inside.
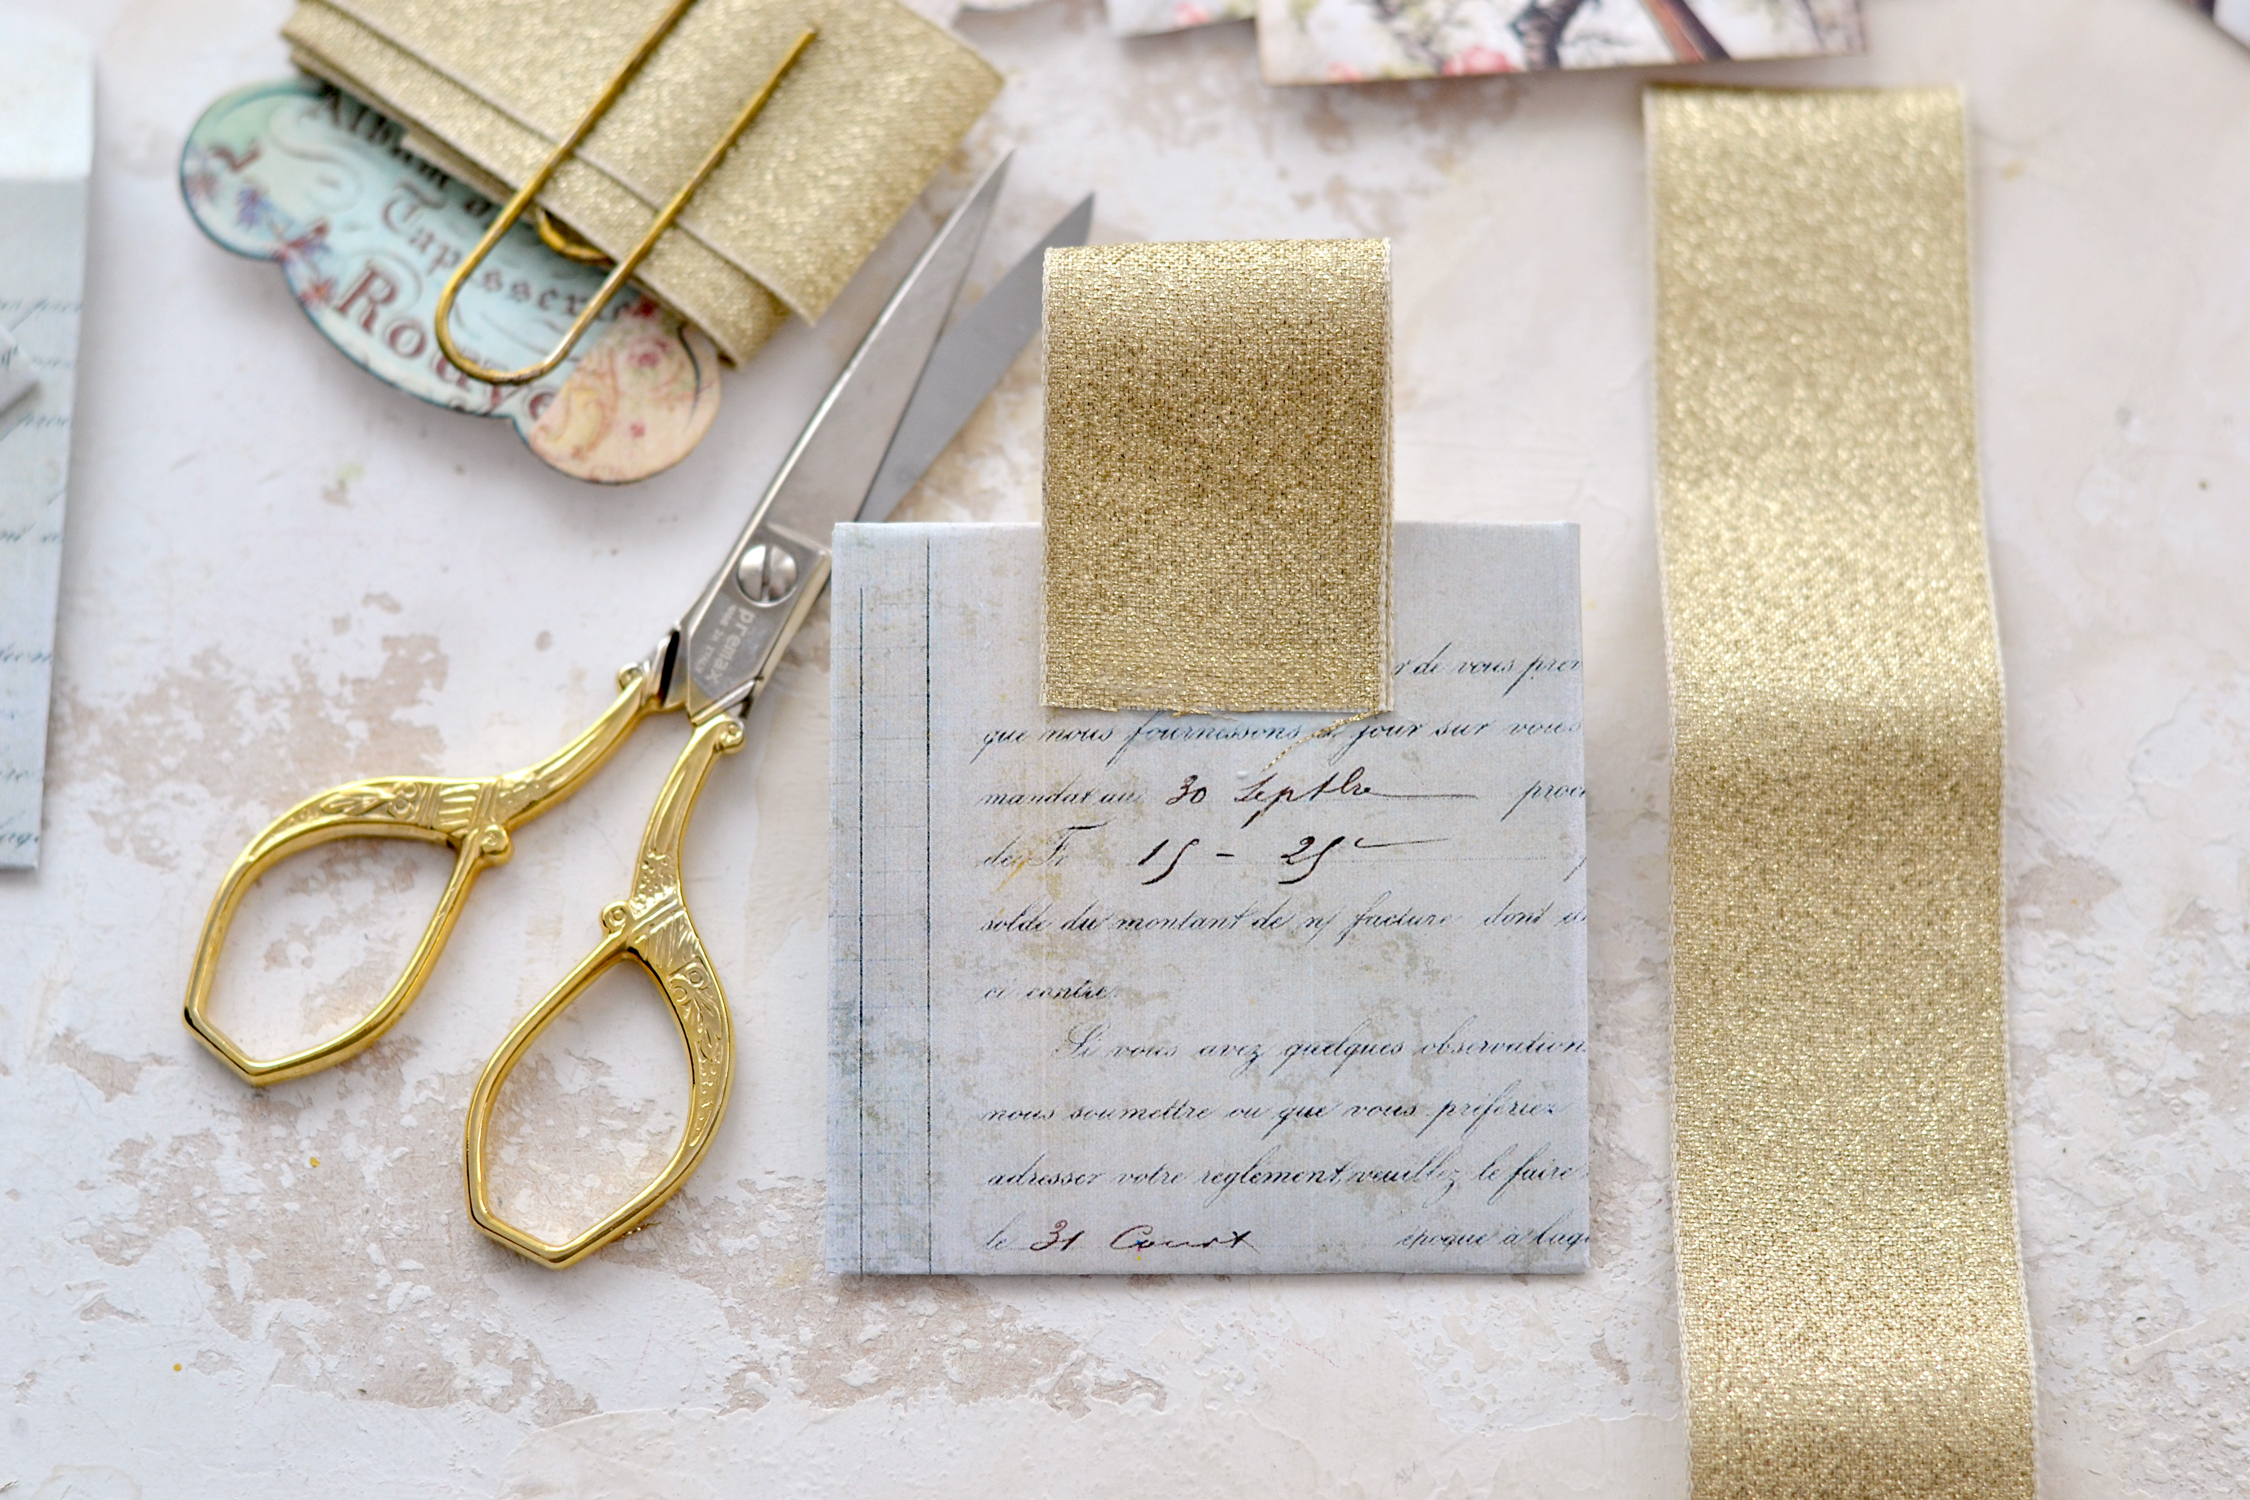
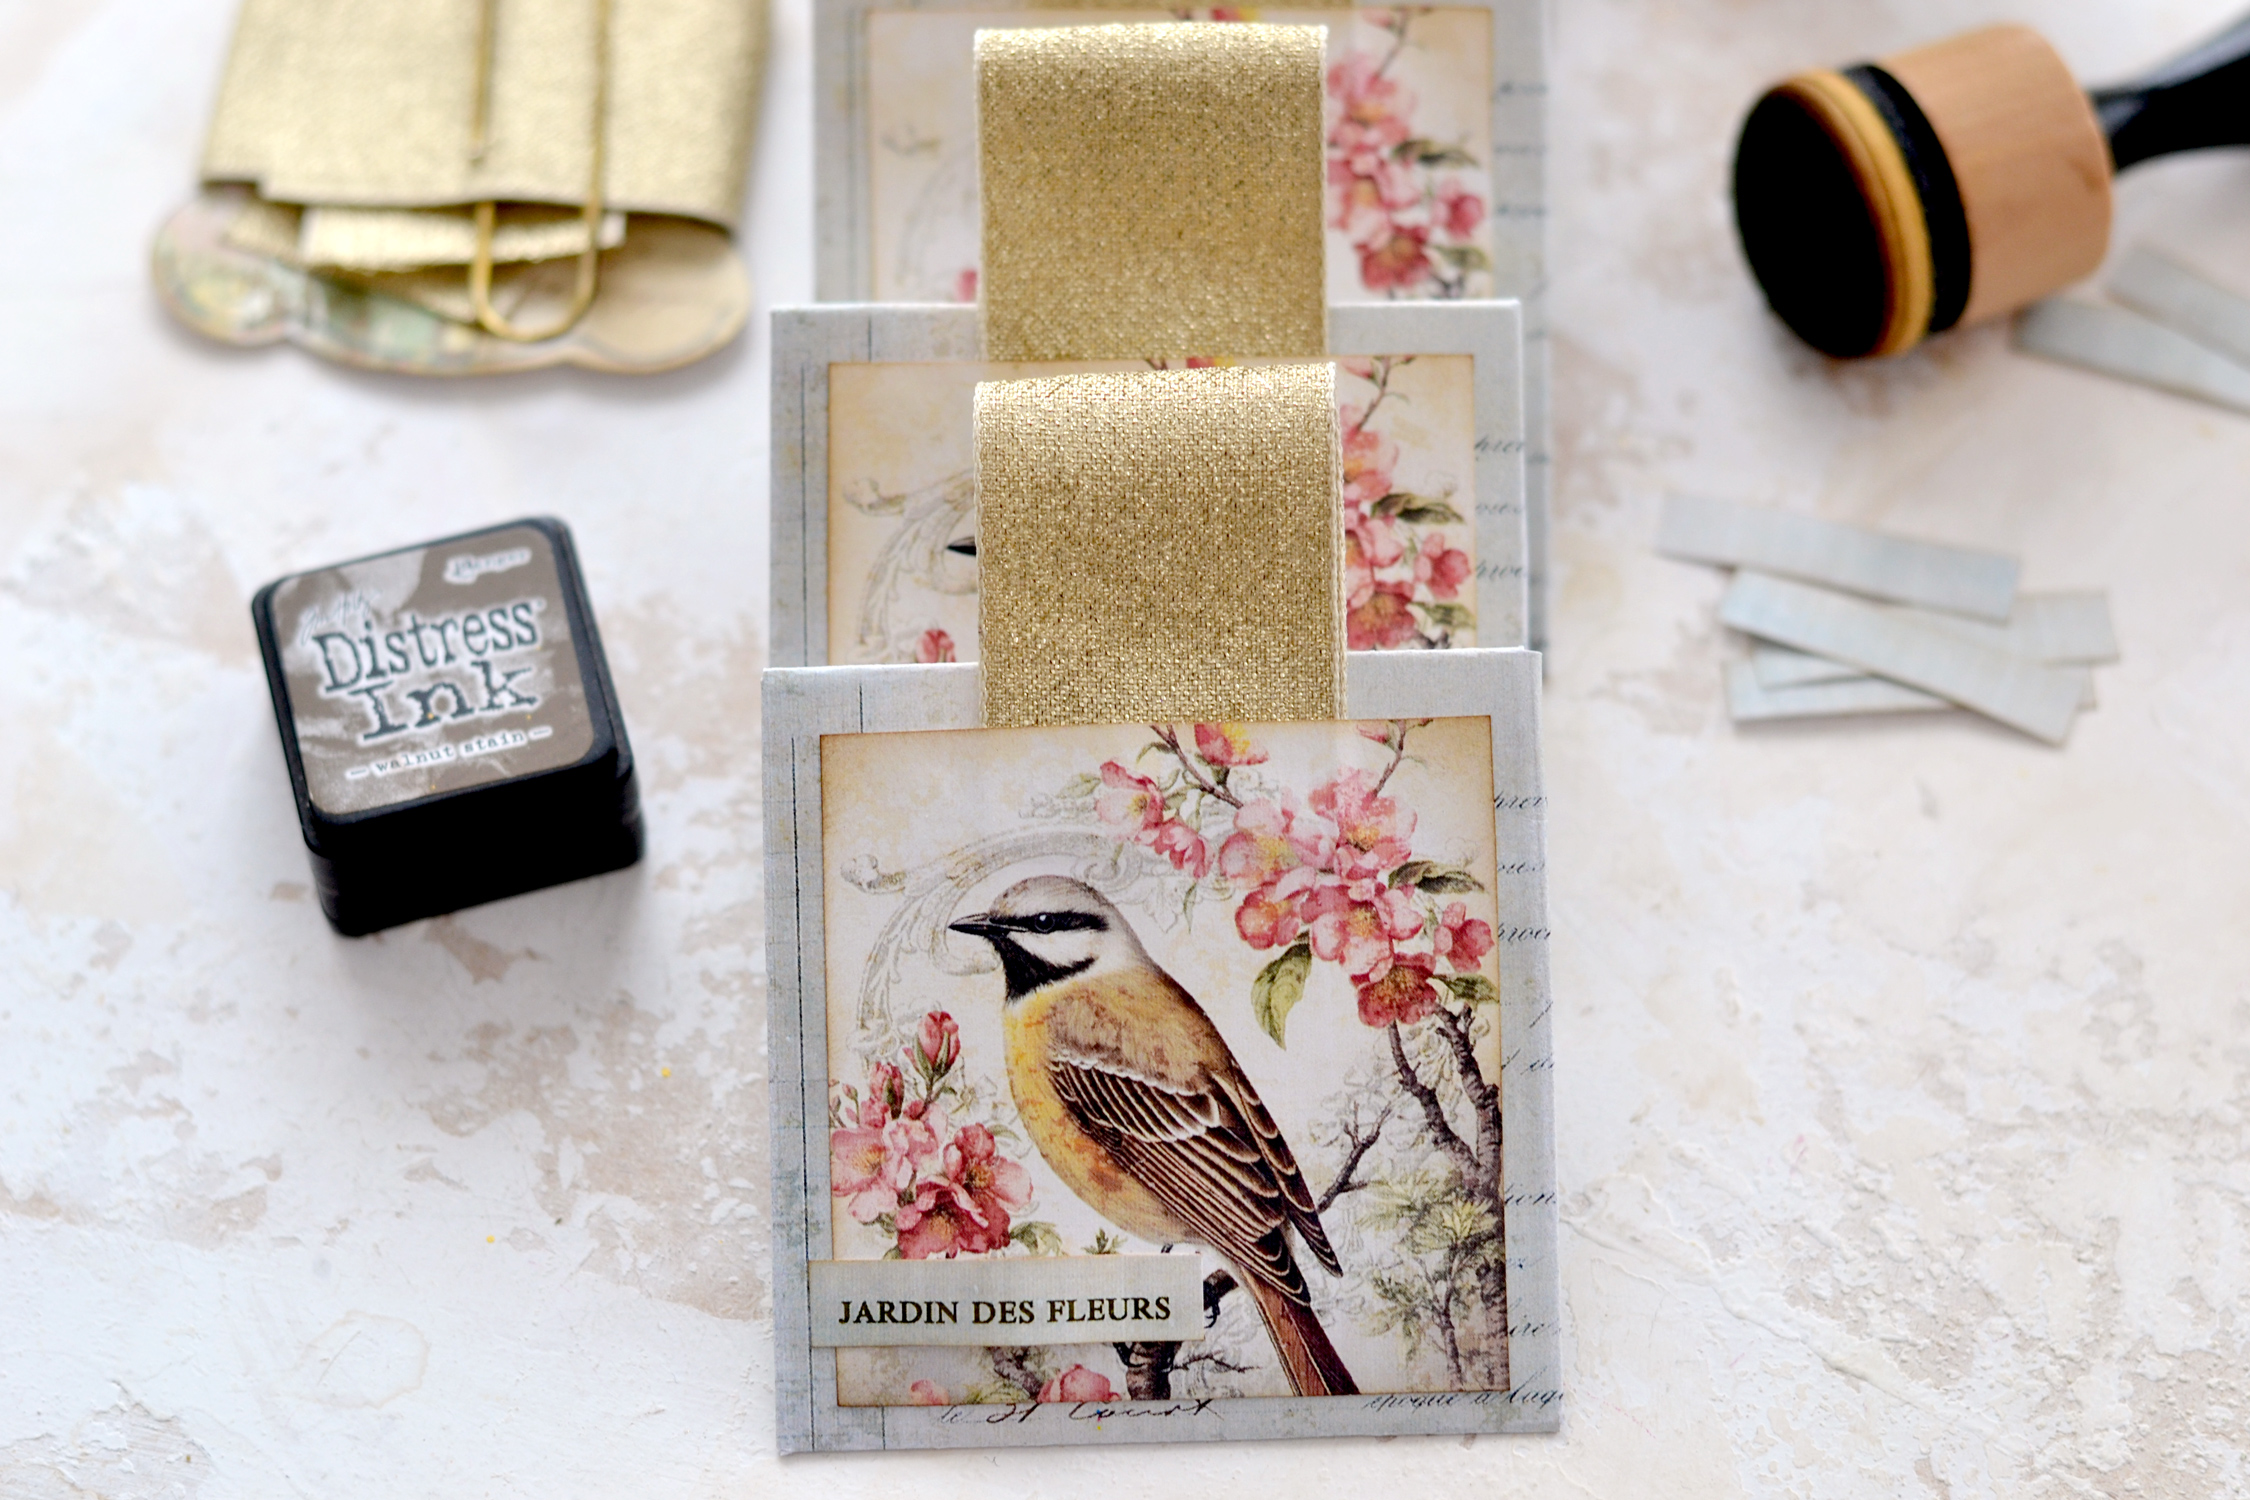
Flip the sachet over and decide how would you like to embellish it. I initially wanted to use some pink matte satin ribbon that I had around and some gold ribbon, but I ended up using only the gold. It’s hard for me to choose when something shiny is involved and I somehow always end up choosing the gold. Hehe, I’m sure you’ve been in this situation more than once! So I’ve decided to go with this oversized gold ribbon that has a gorgeous dusty vintage vibe. I was afraid that it would look a little bit overwhelming, but then I thought why not follow my instinct and create this bold gold statement on my scented sachets? I just folded a piece of gold ribbon in half and used a fine tip applicator bottle to glue it in place.
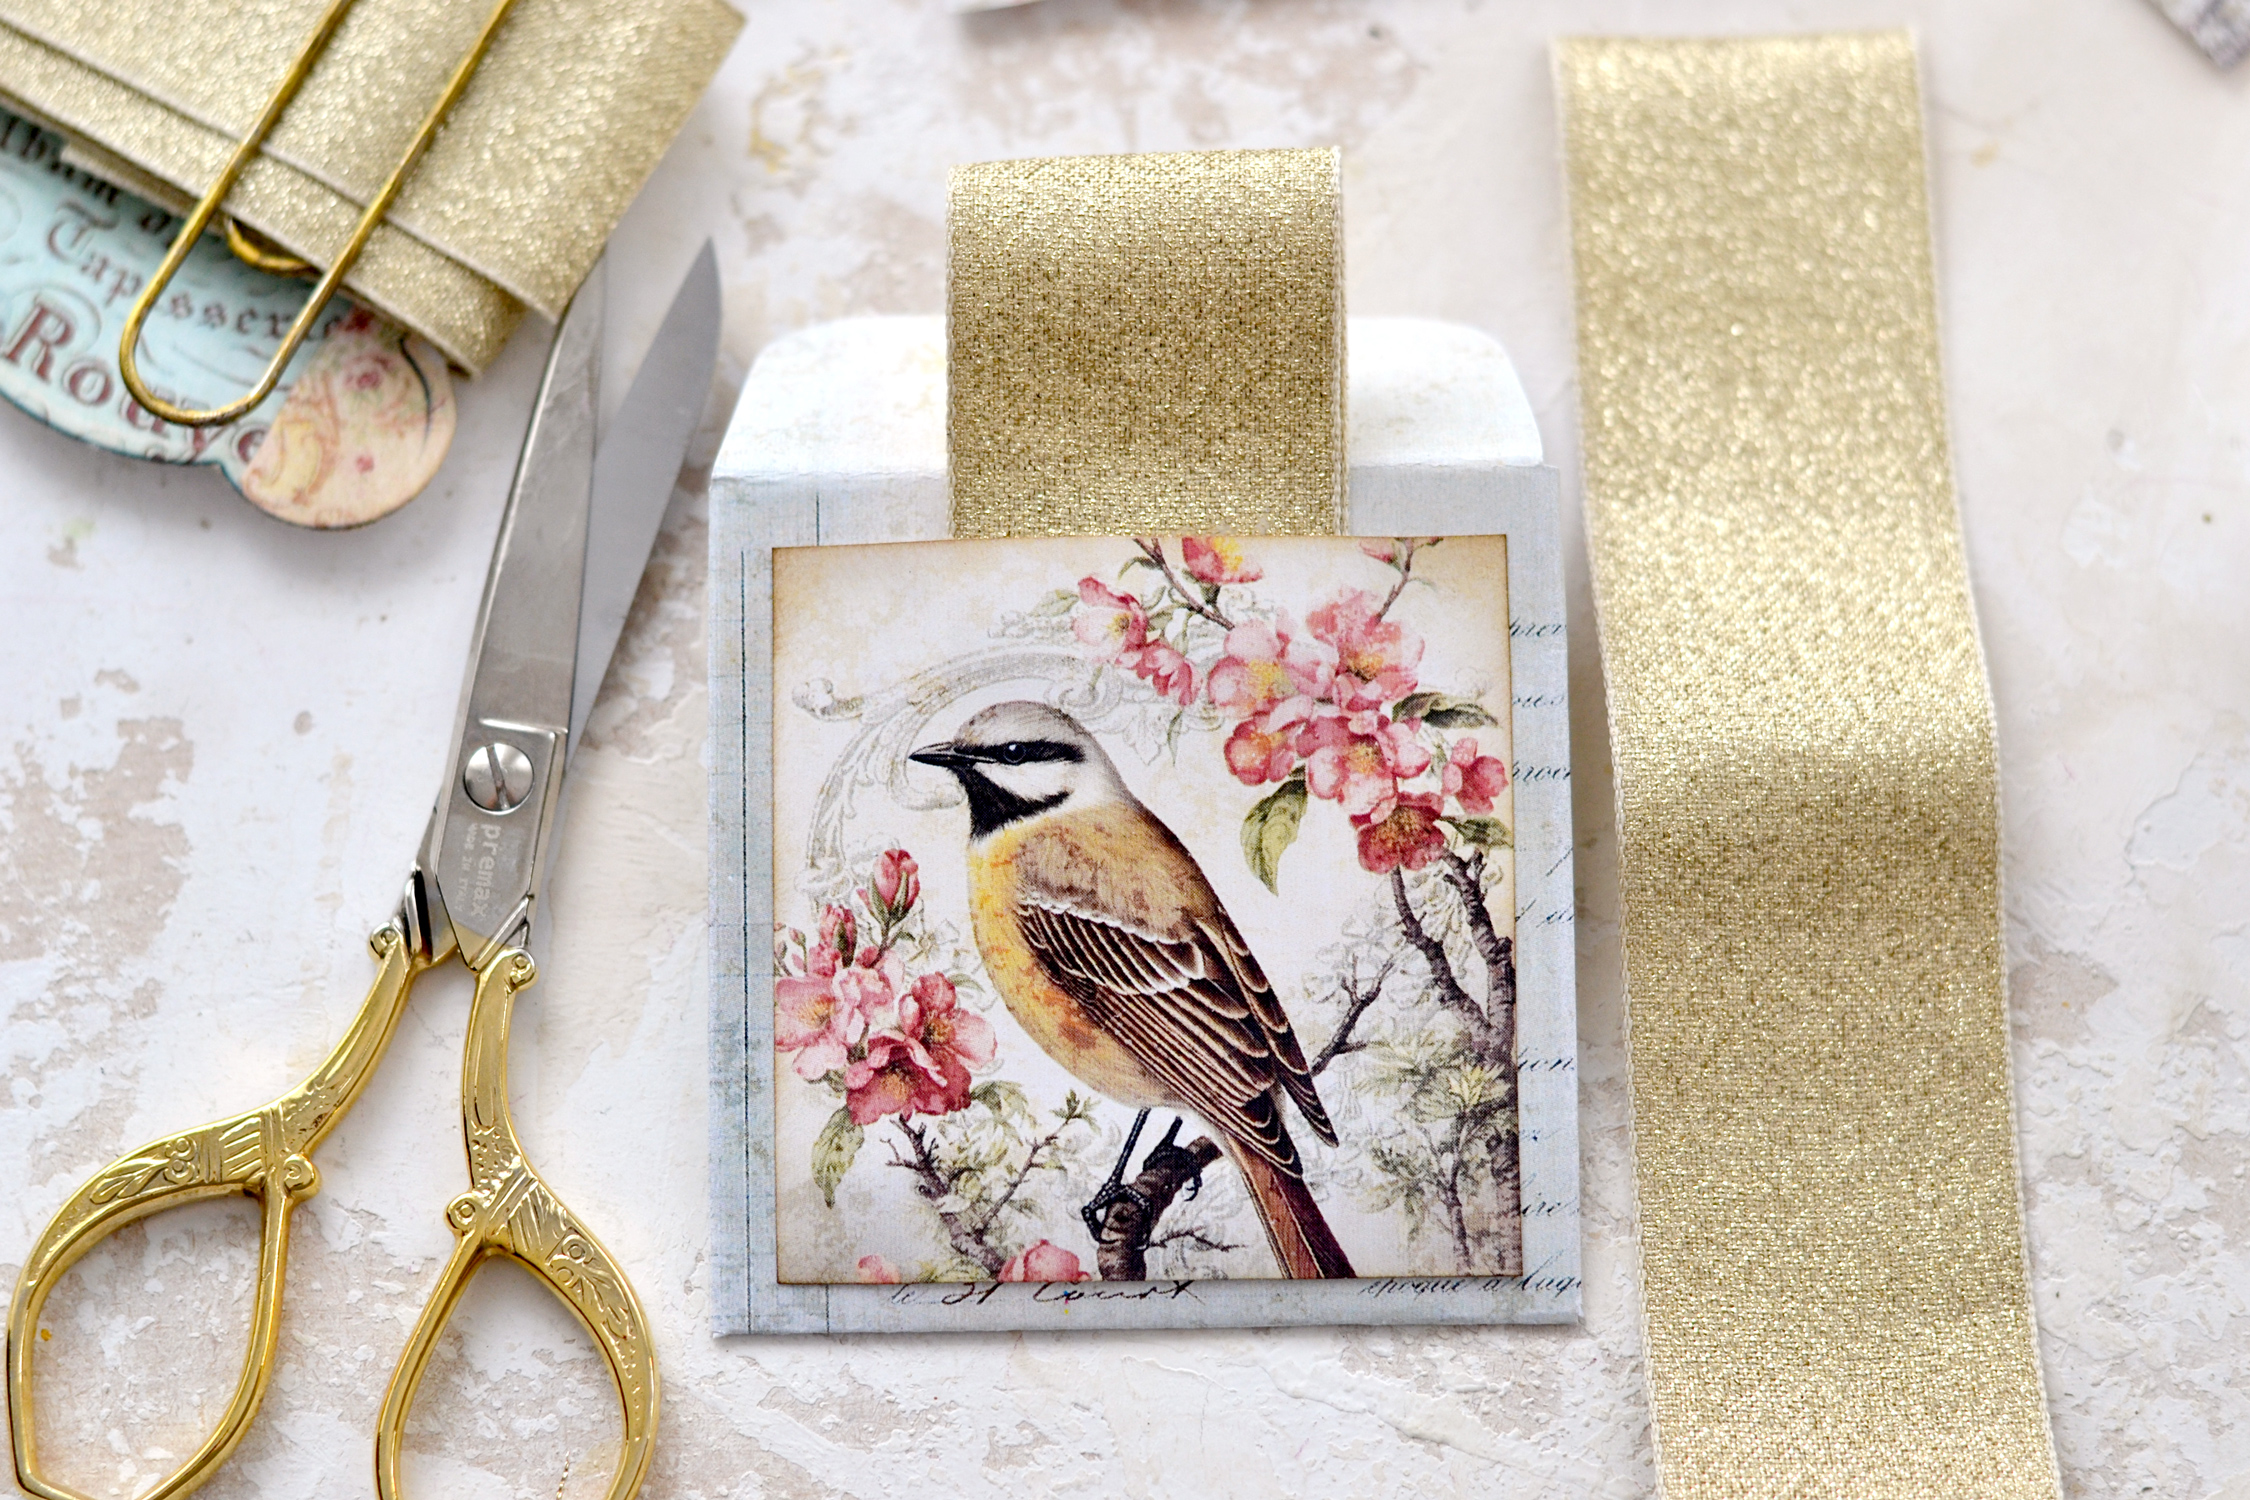
Then I used a little bit of distress ink to lightly distress the top image with the bird and glued it on top.
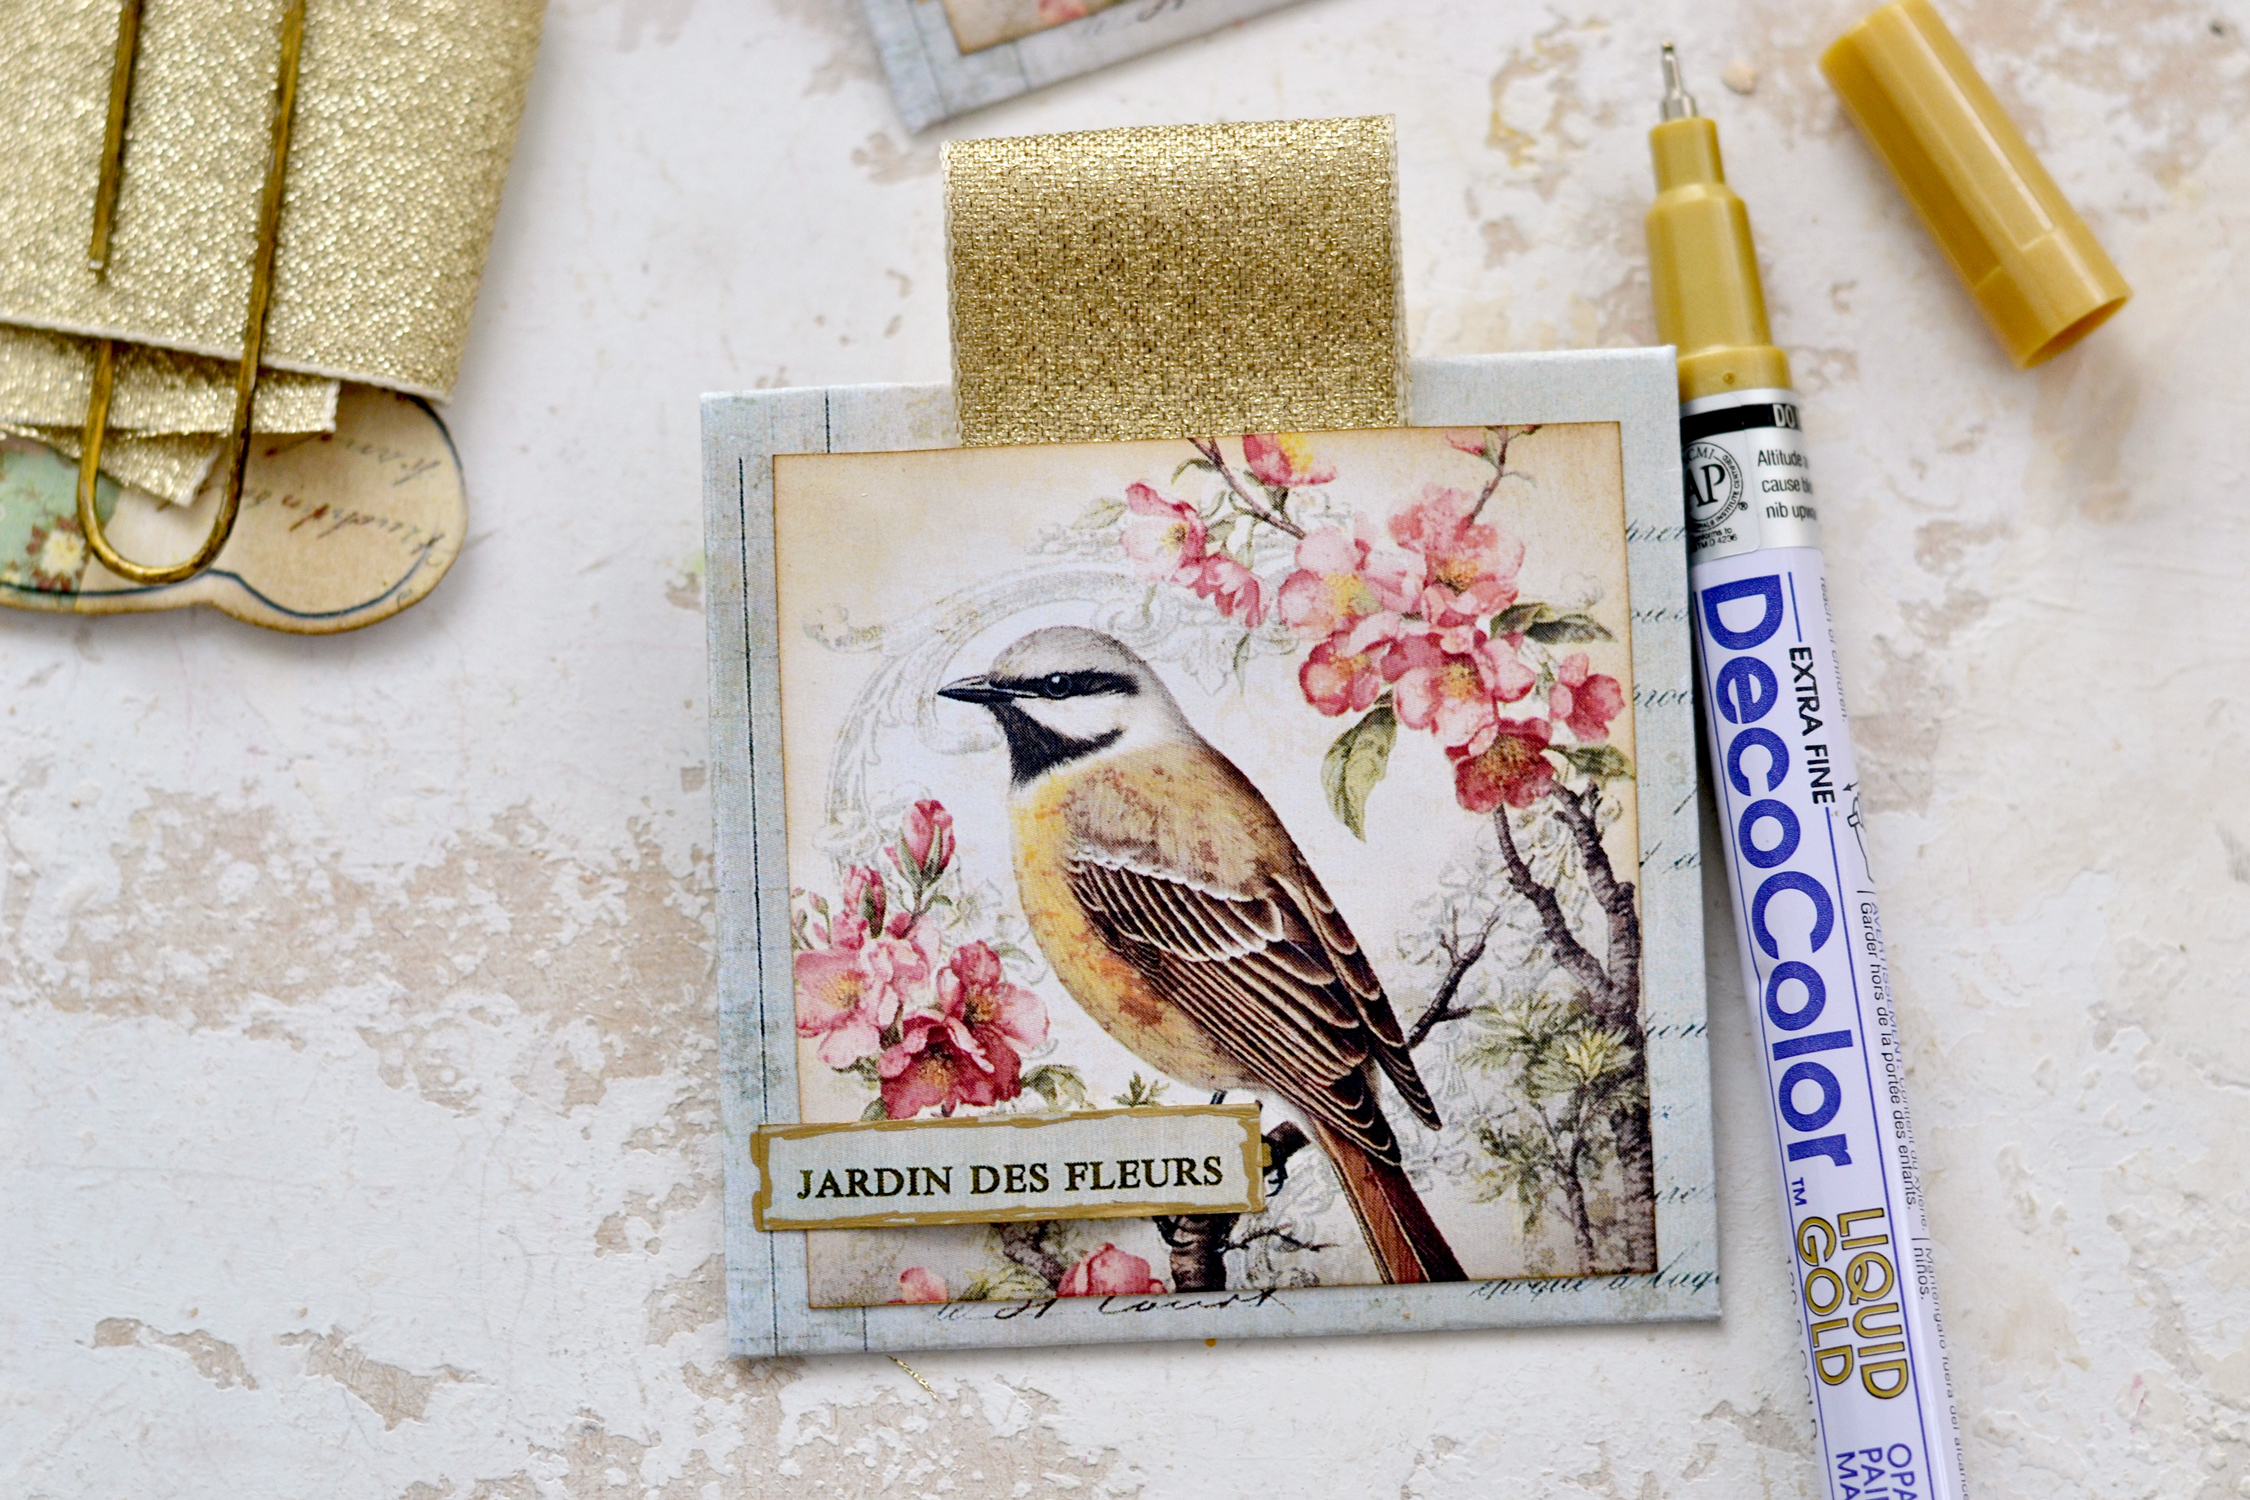
You can add the French cutouts on top or why not, use other embellishments if you want.
You could also use a little bit of gold to further embellish the cutouts. I used my old-time favorite gold marker from Decocolor, but this time I tried the latest addition to my craft supplies, this super cool gold marker with an extra fine tip.
HOW TO FILL THE SACHETS
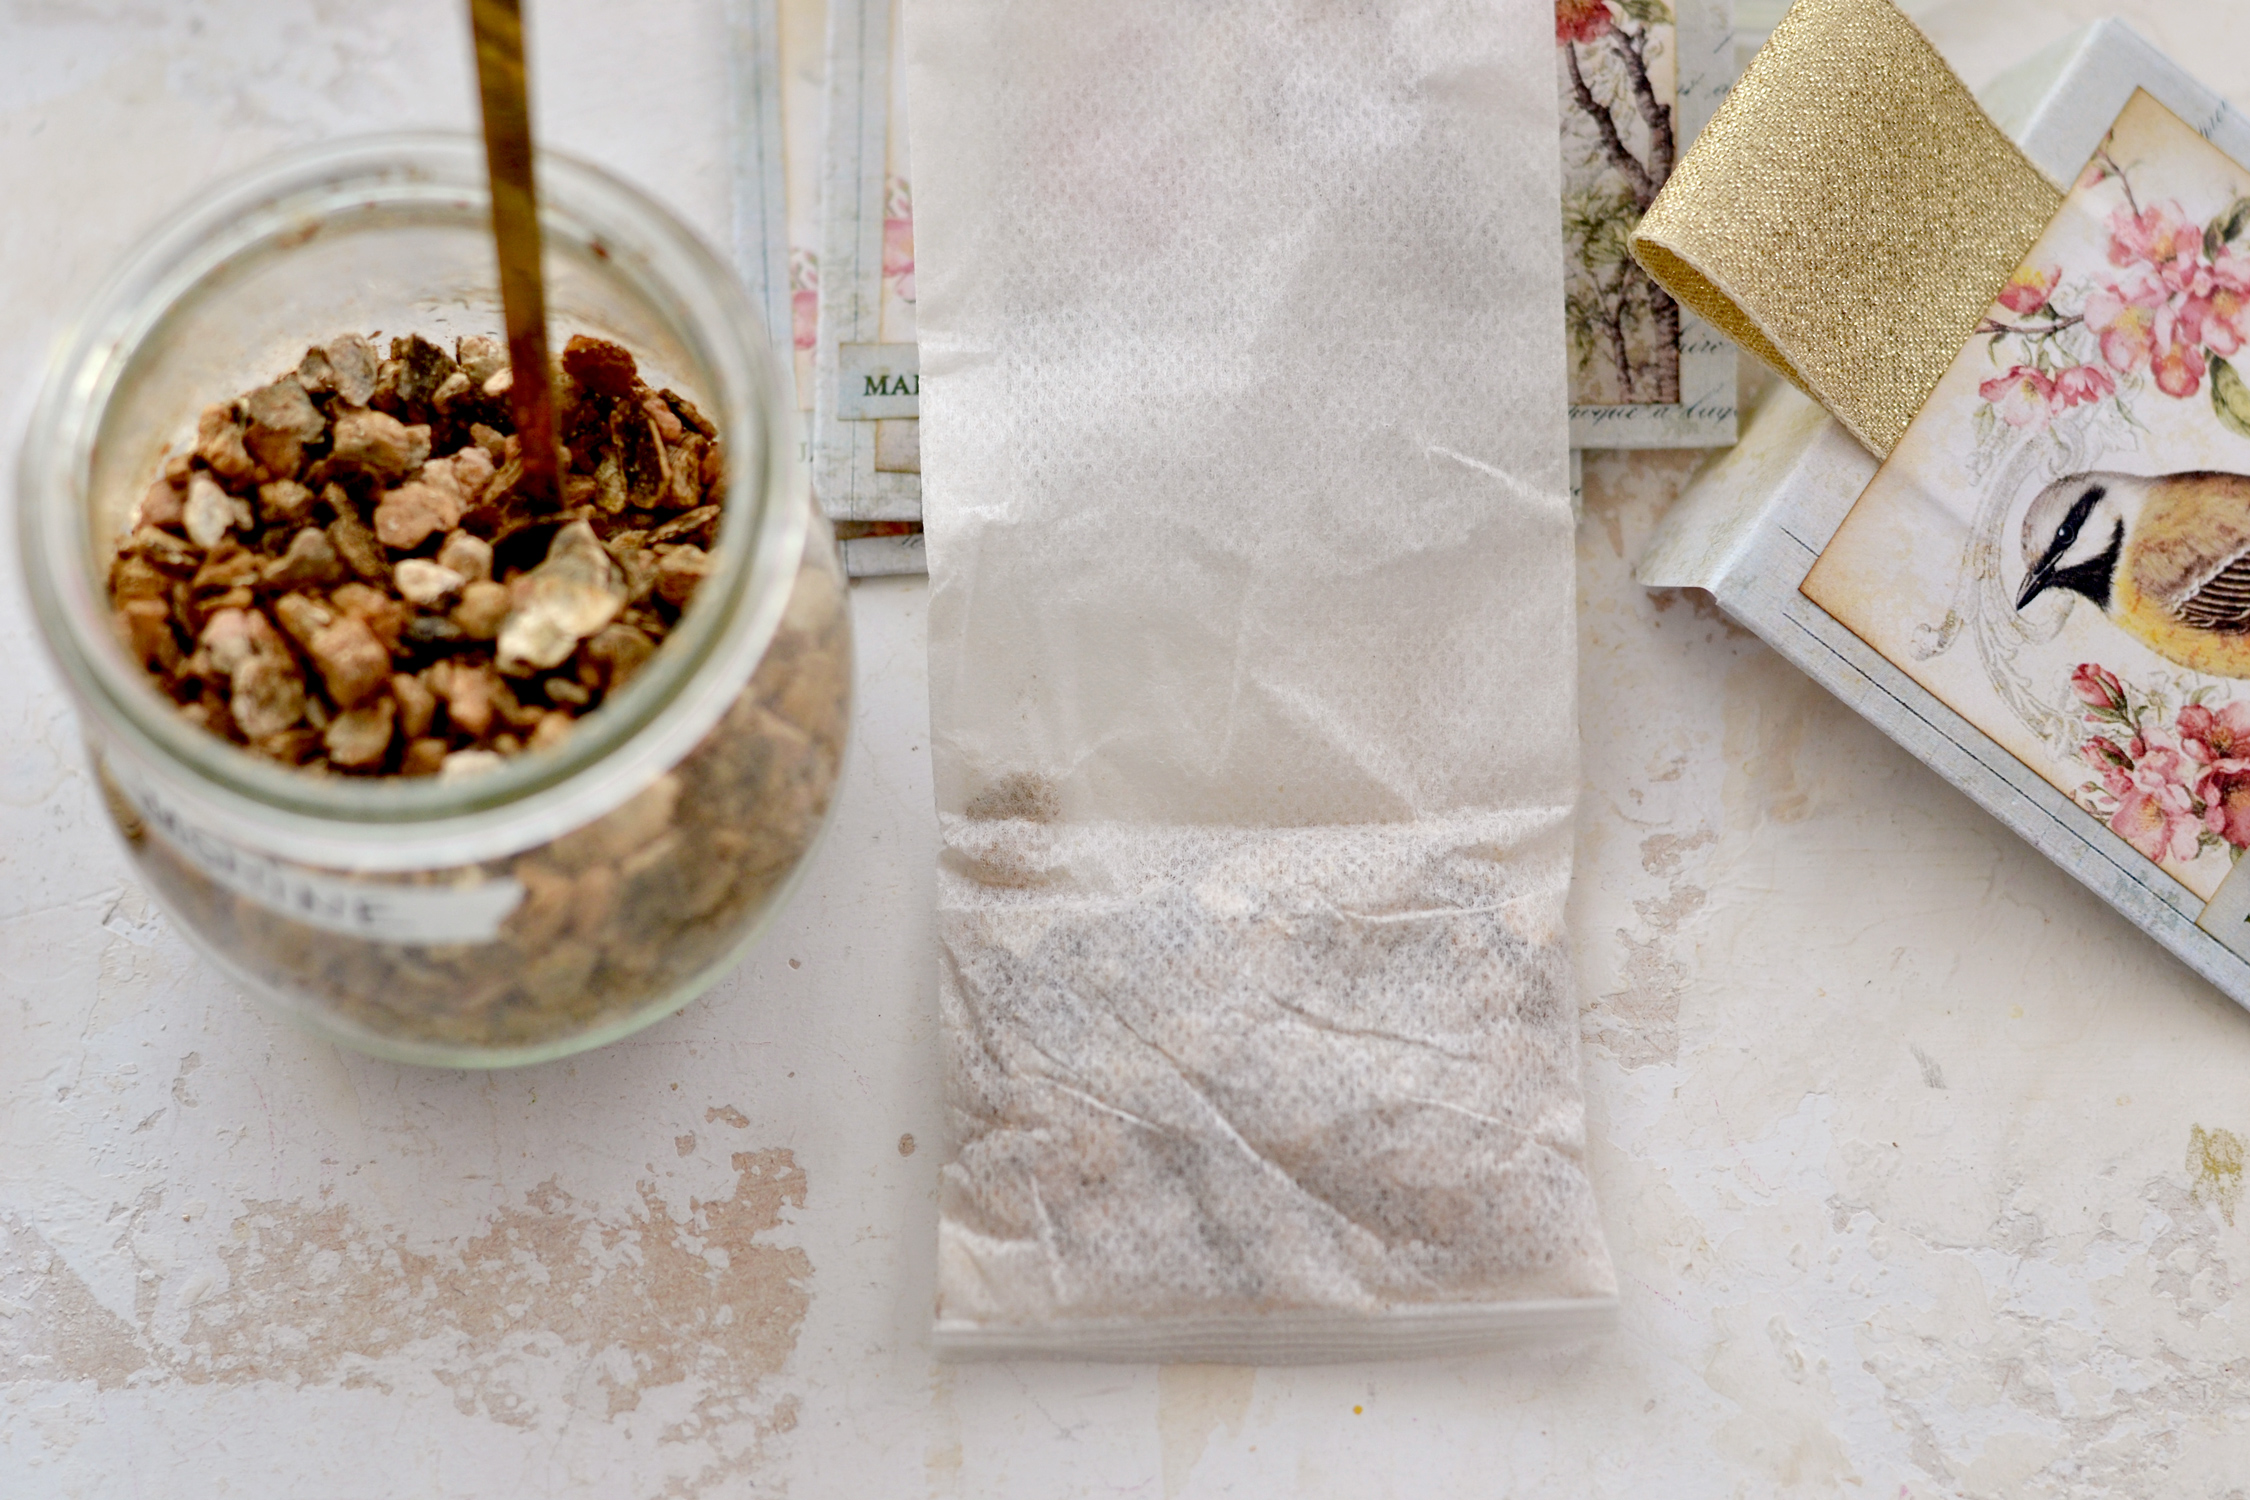
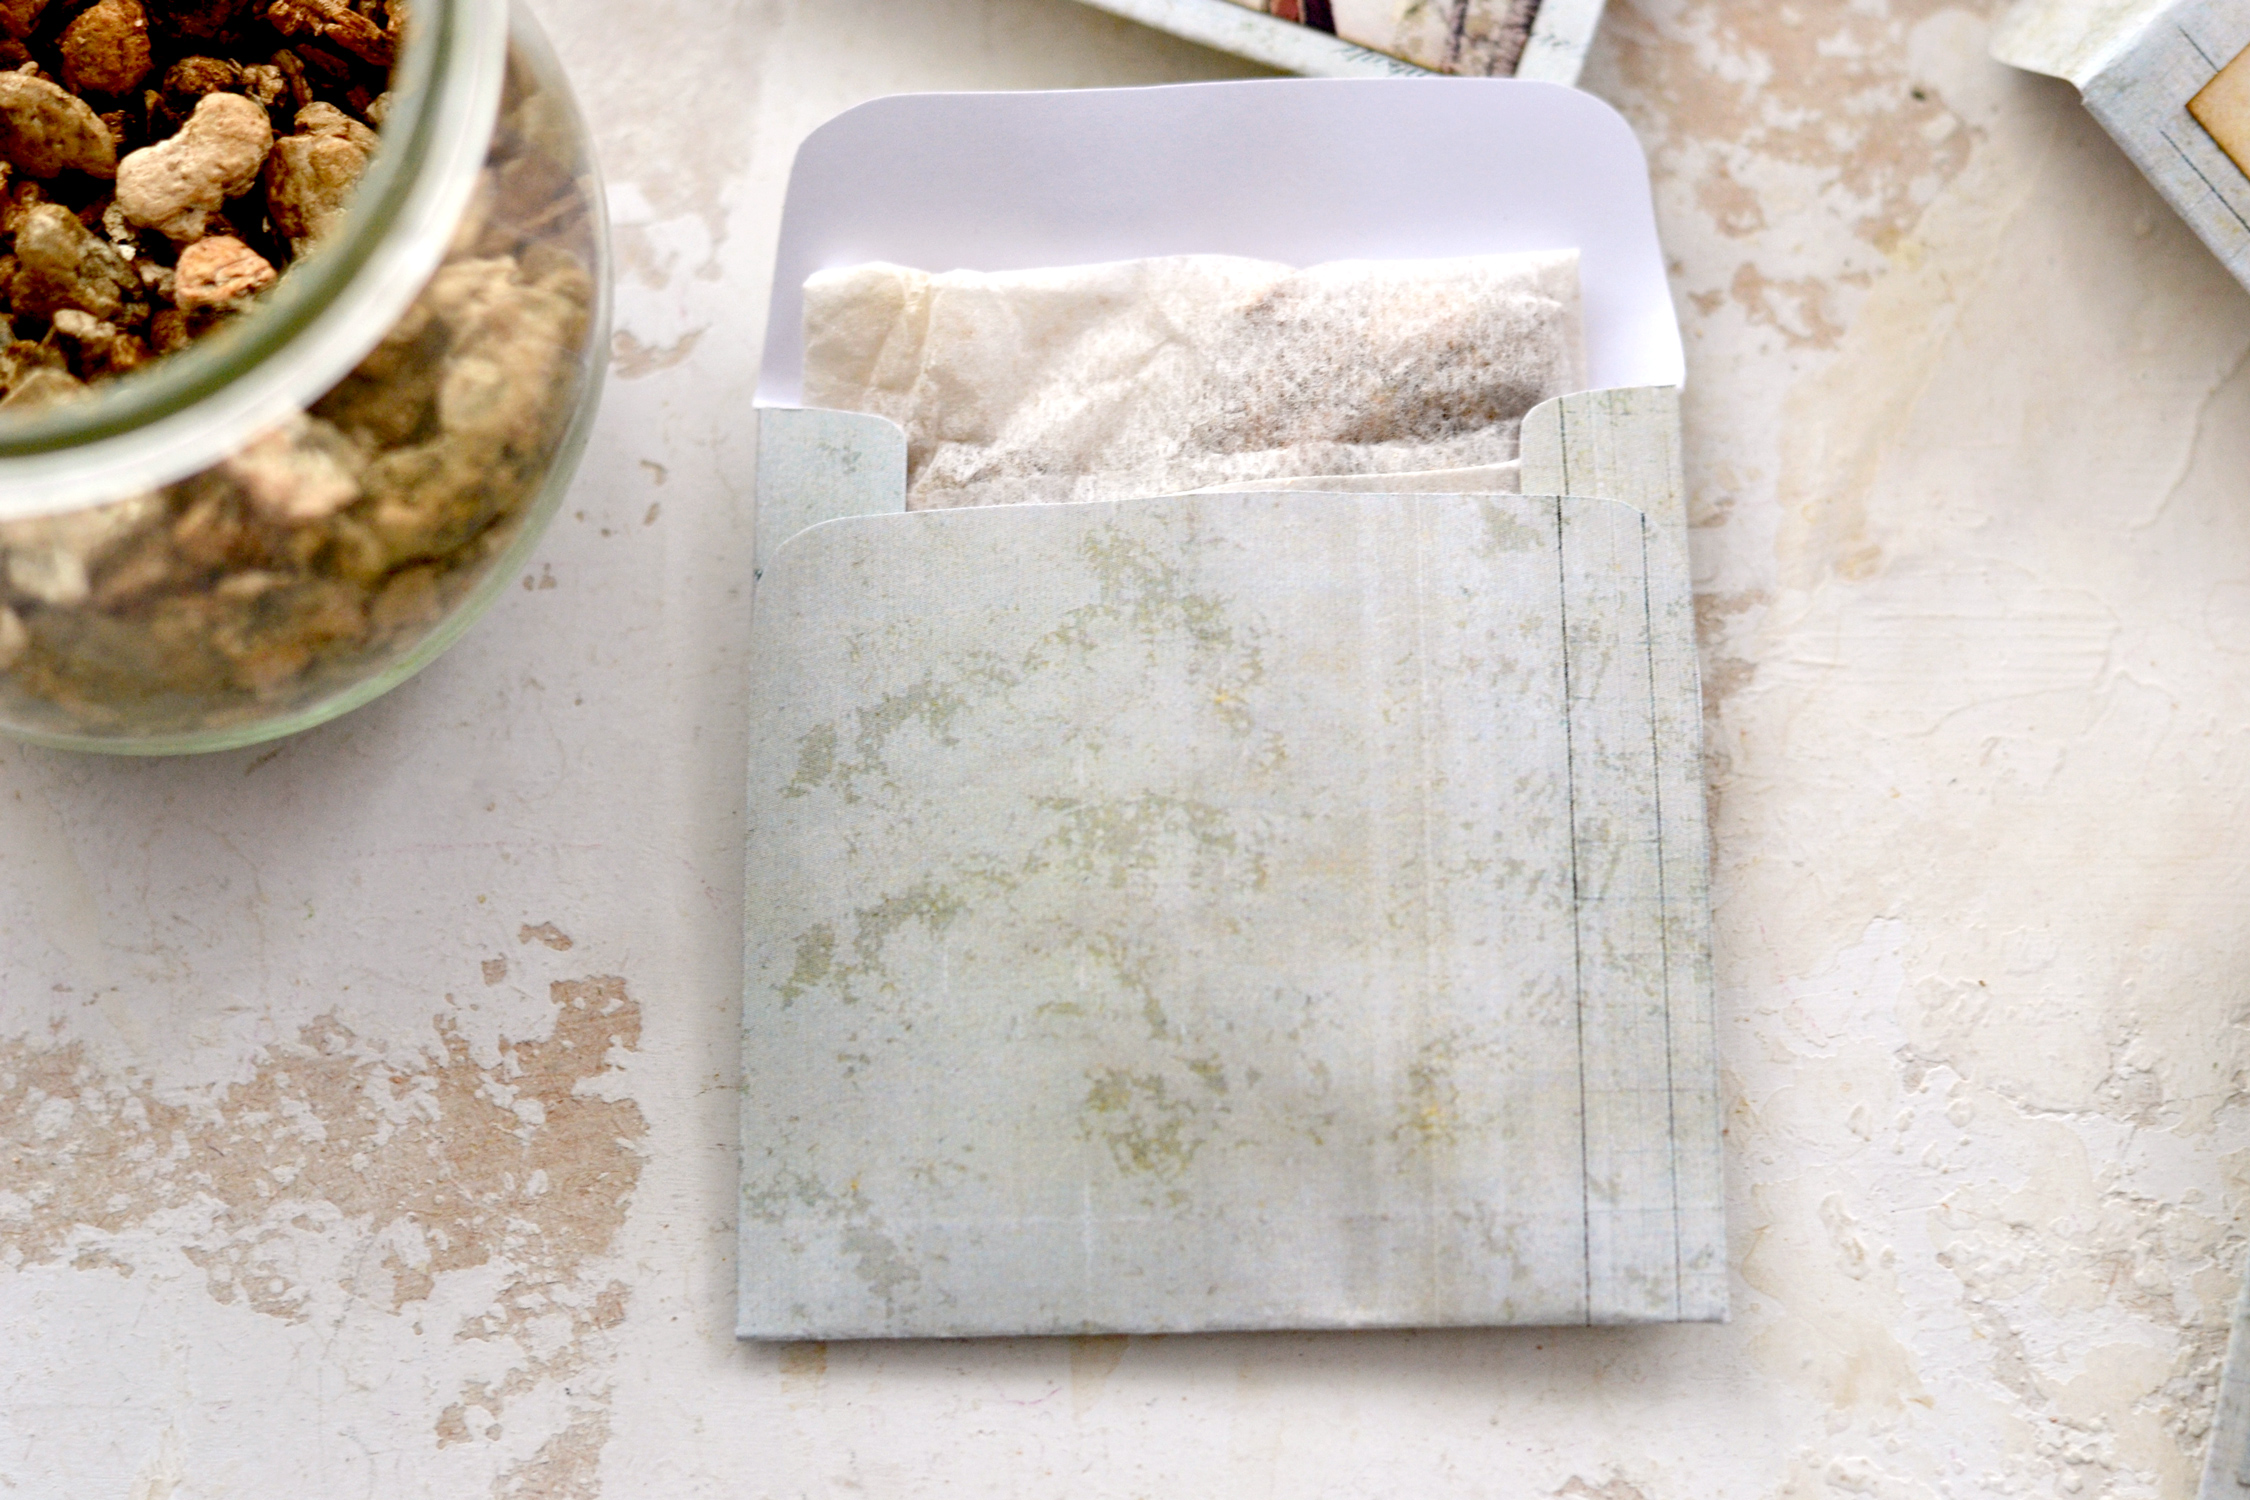
Add about 2 and 1/2 teaspoons of essential oil-infused vermiculite into a blank tea bag.
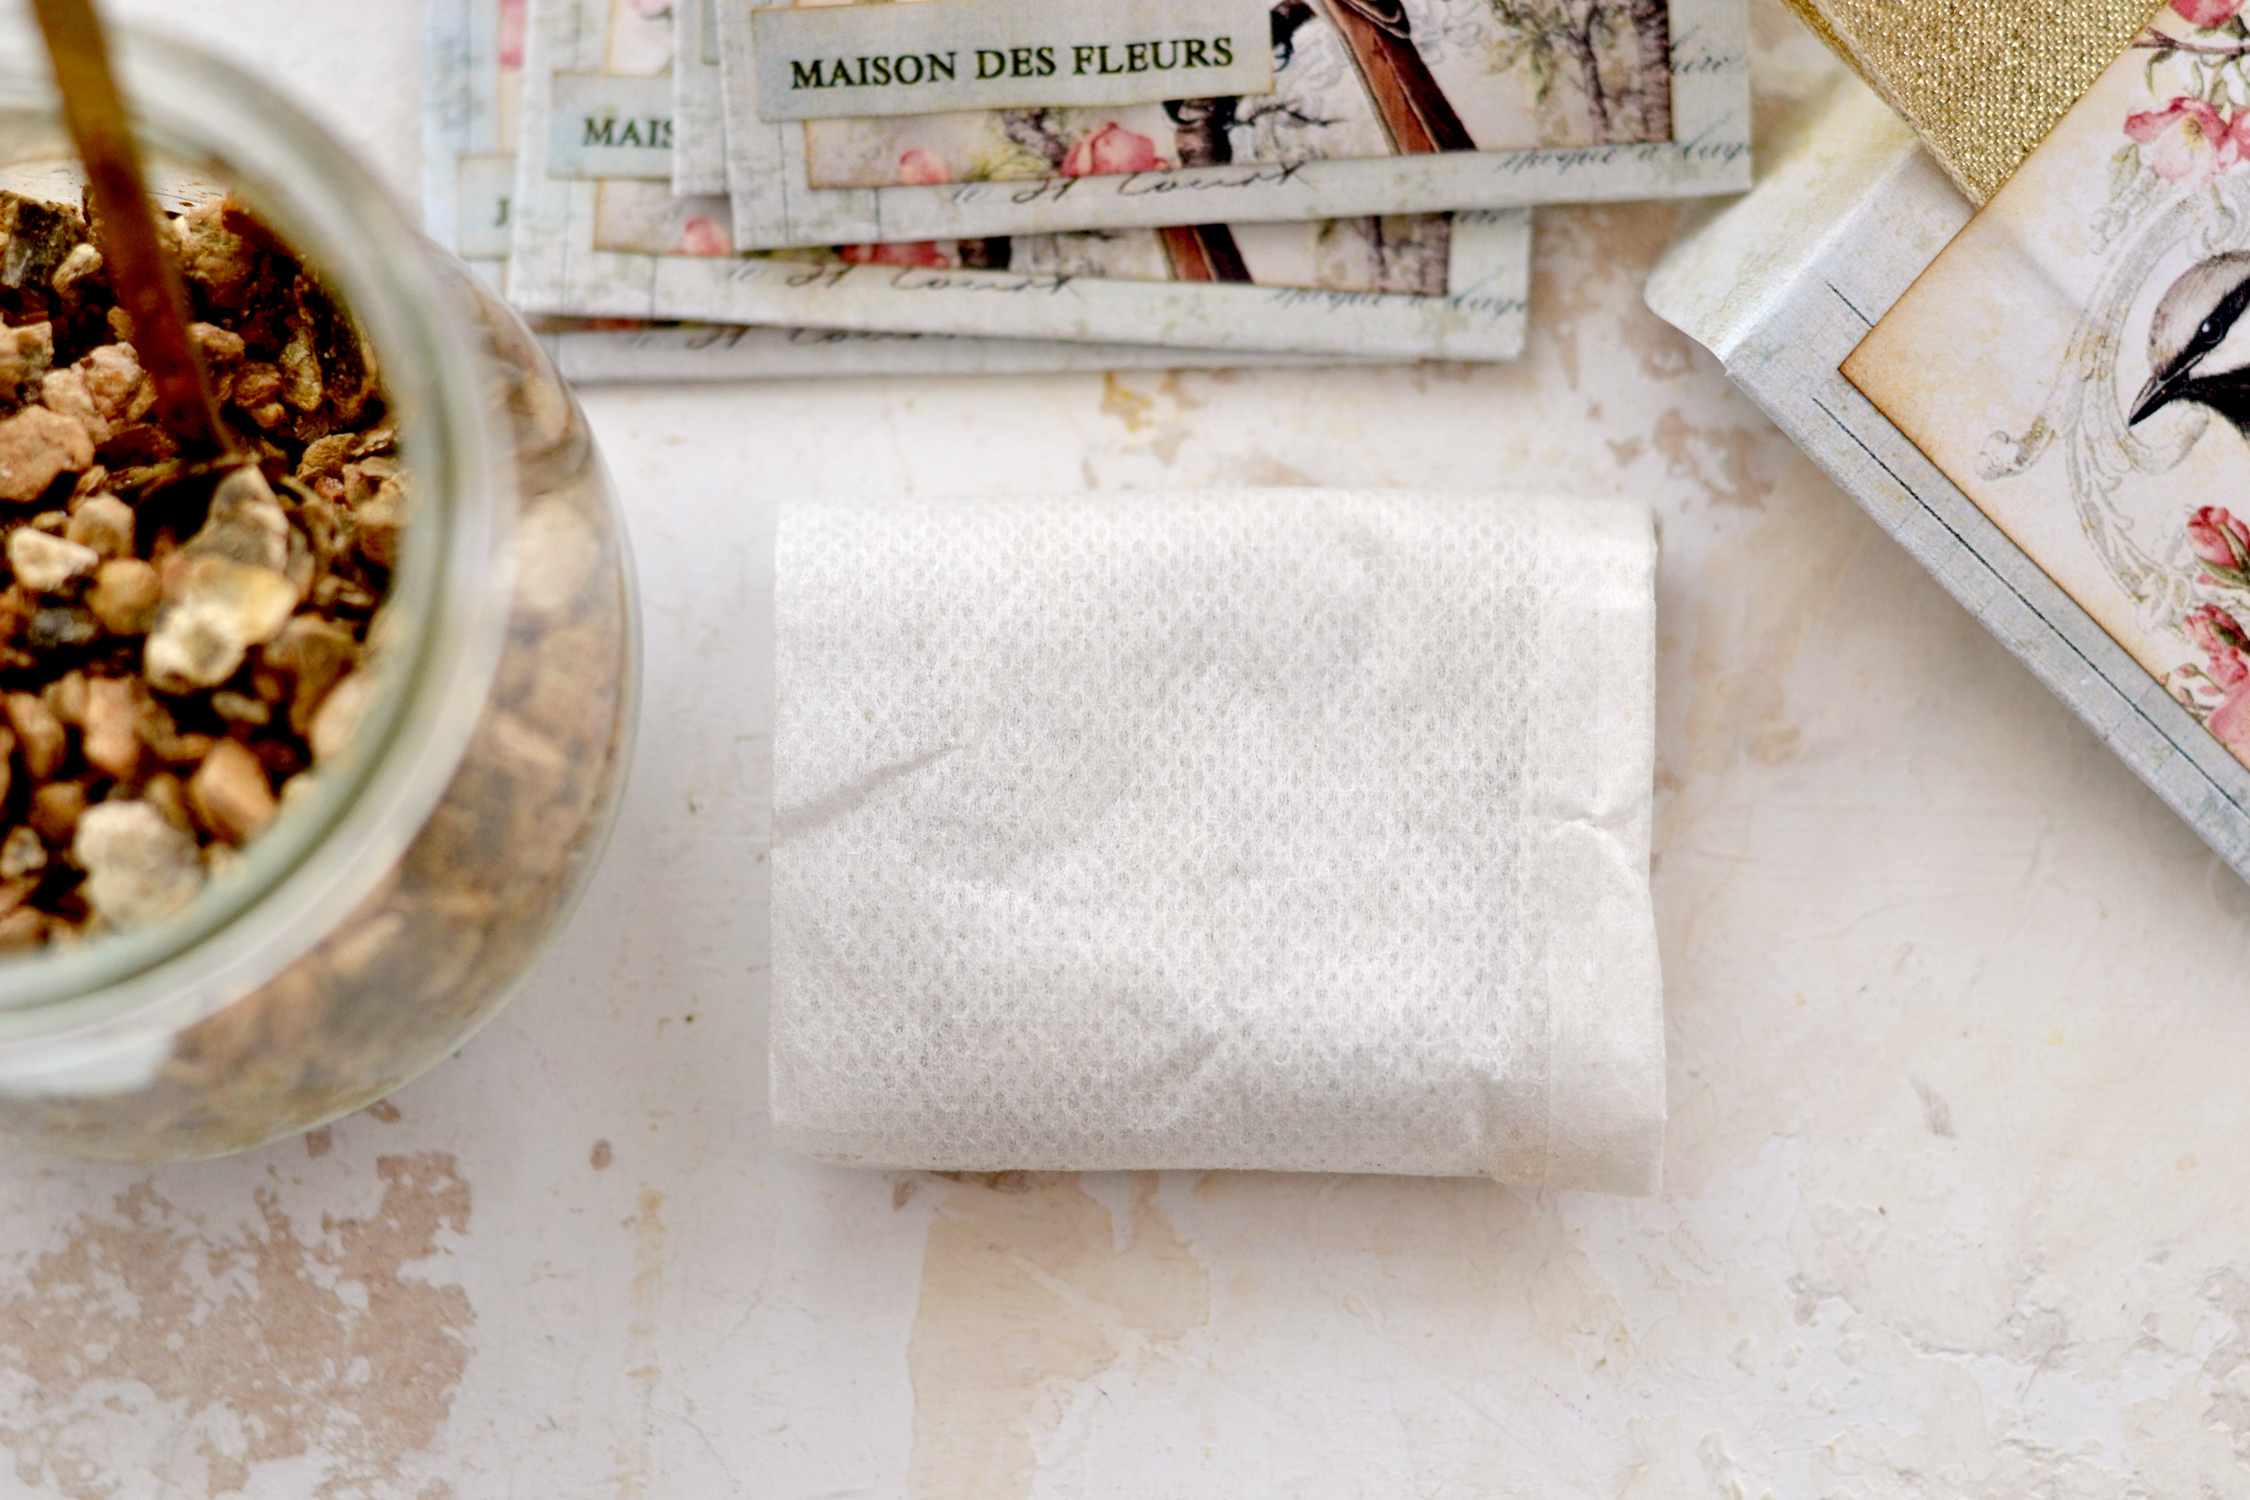
Depending on the size of your tea bag, you might need to fold it a few times so it would fit the inside of your sachet.
Make a few tests so you’ll know how to fold the tea bag so the vermiculite is evenly distributed on the whole surface inside.
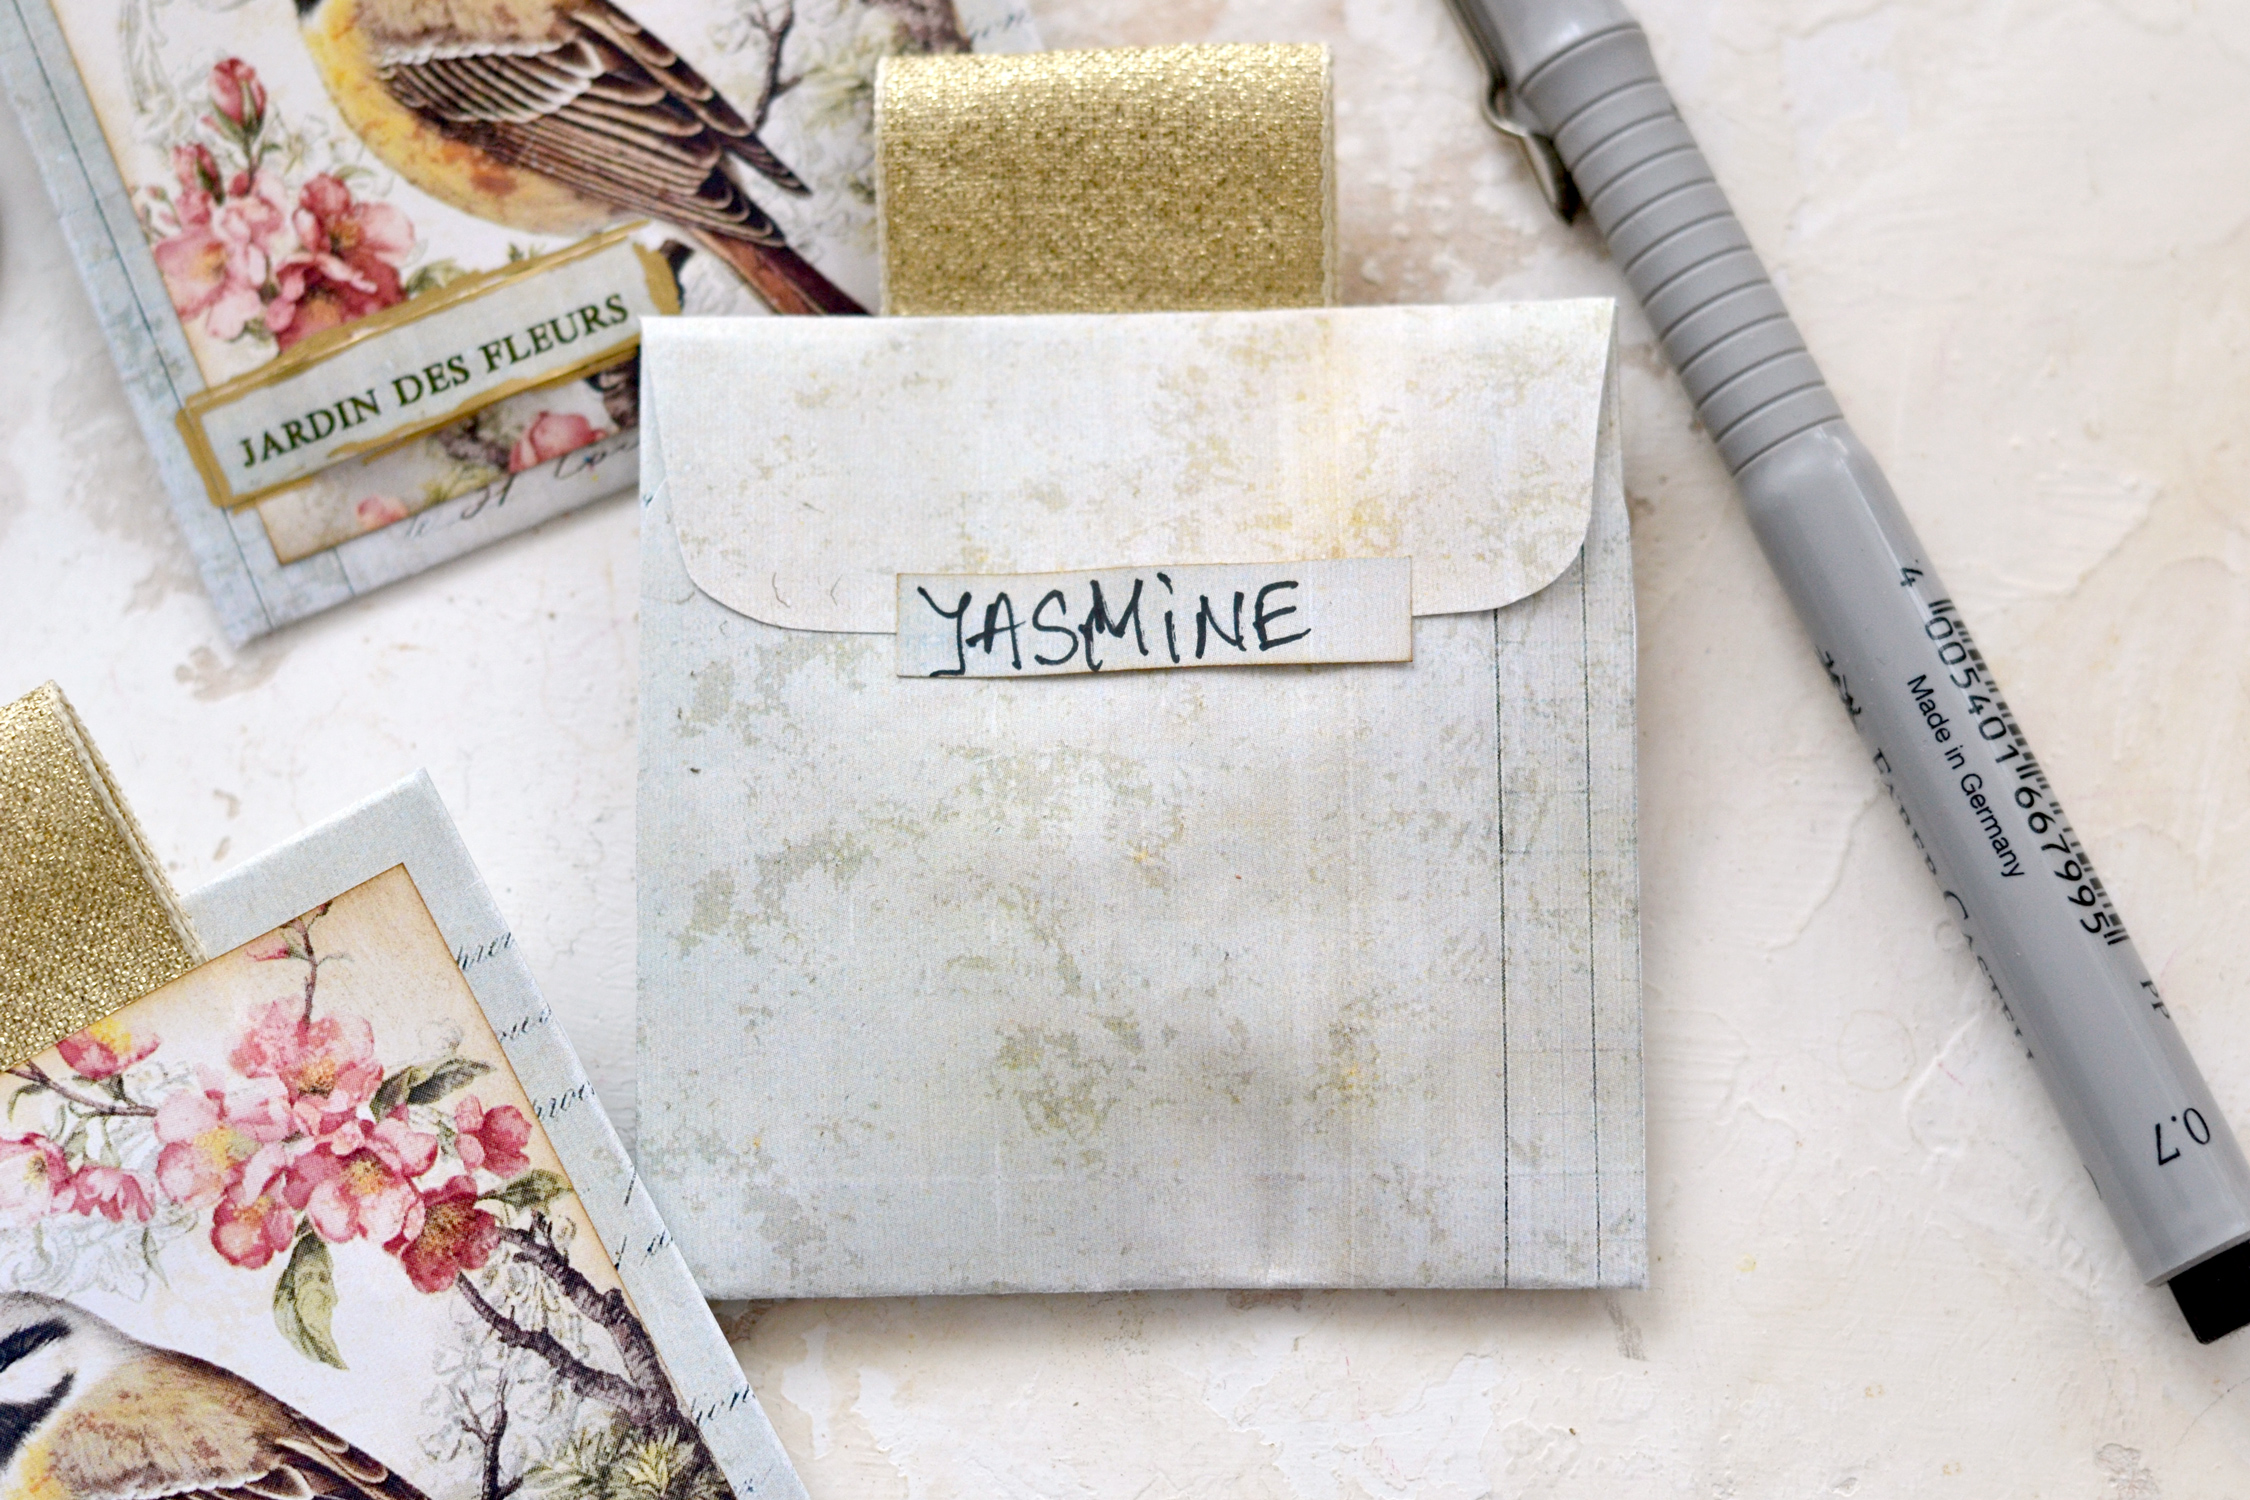
Use glue to glue the top flap, then use one of the blank cutouts if you want to write down what fragrance you used. This is really helpful especially if you are making several different fragrances or are planning on giving them as gifts.
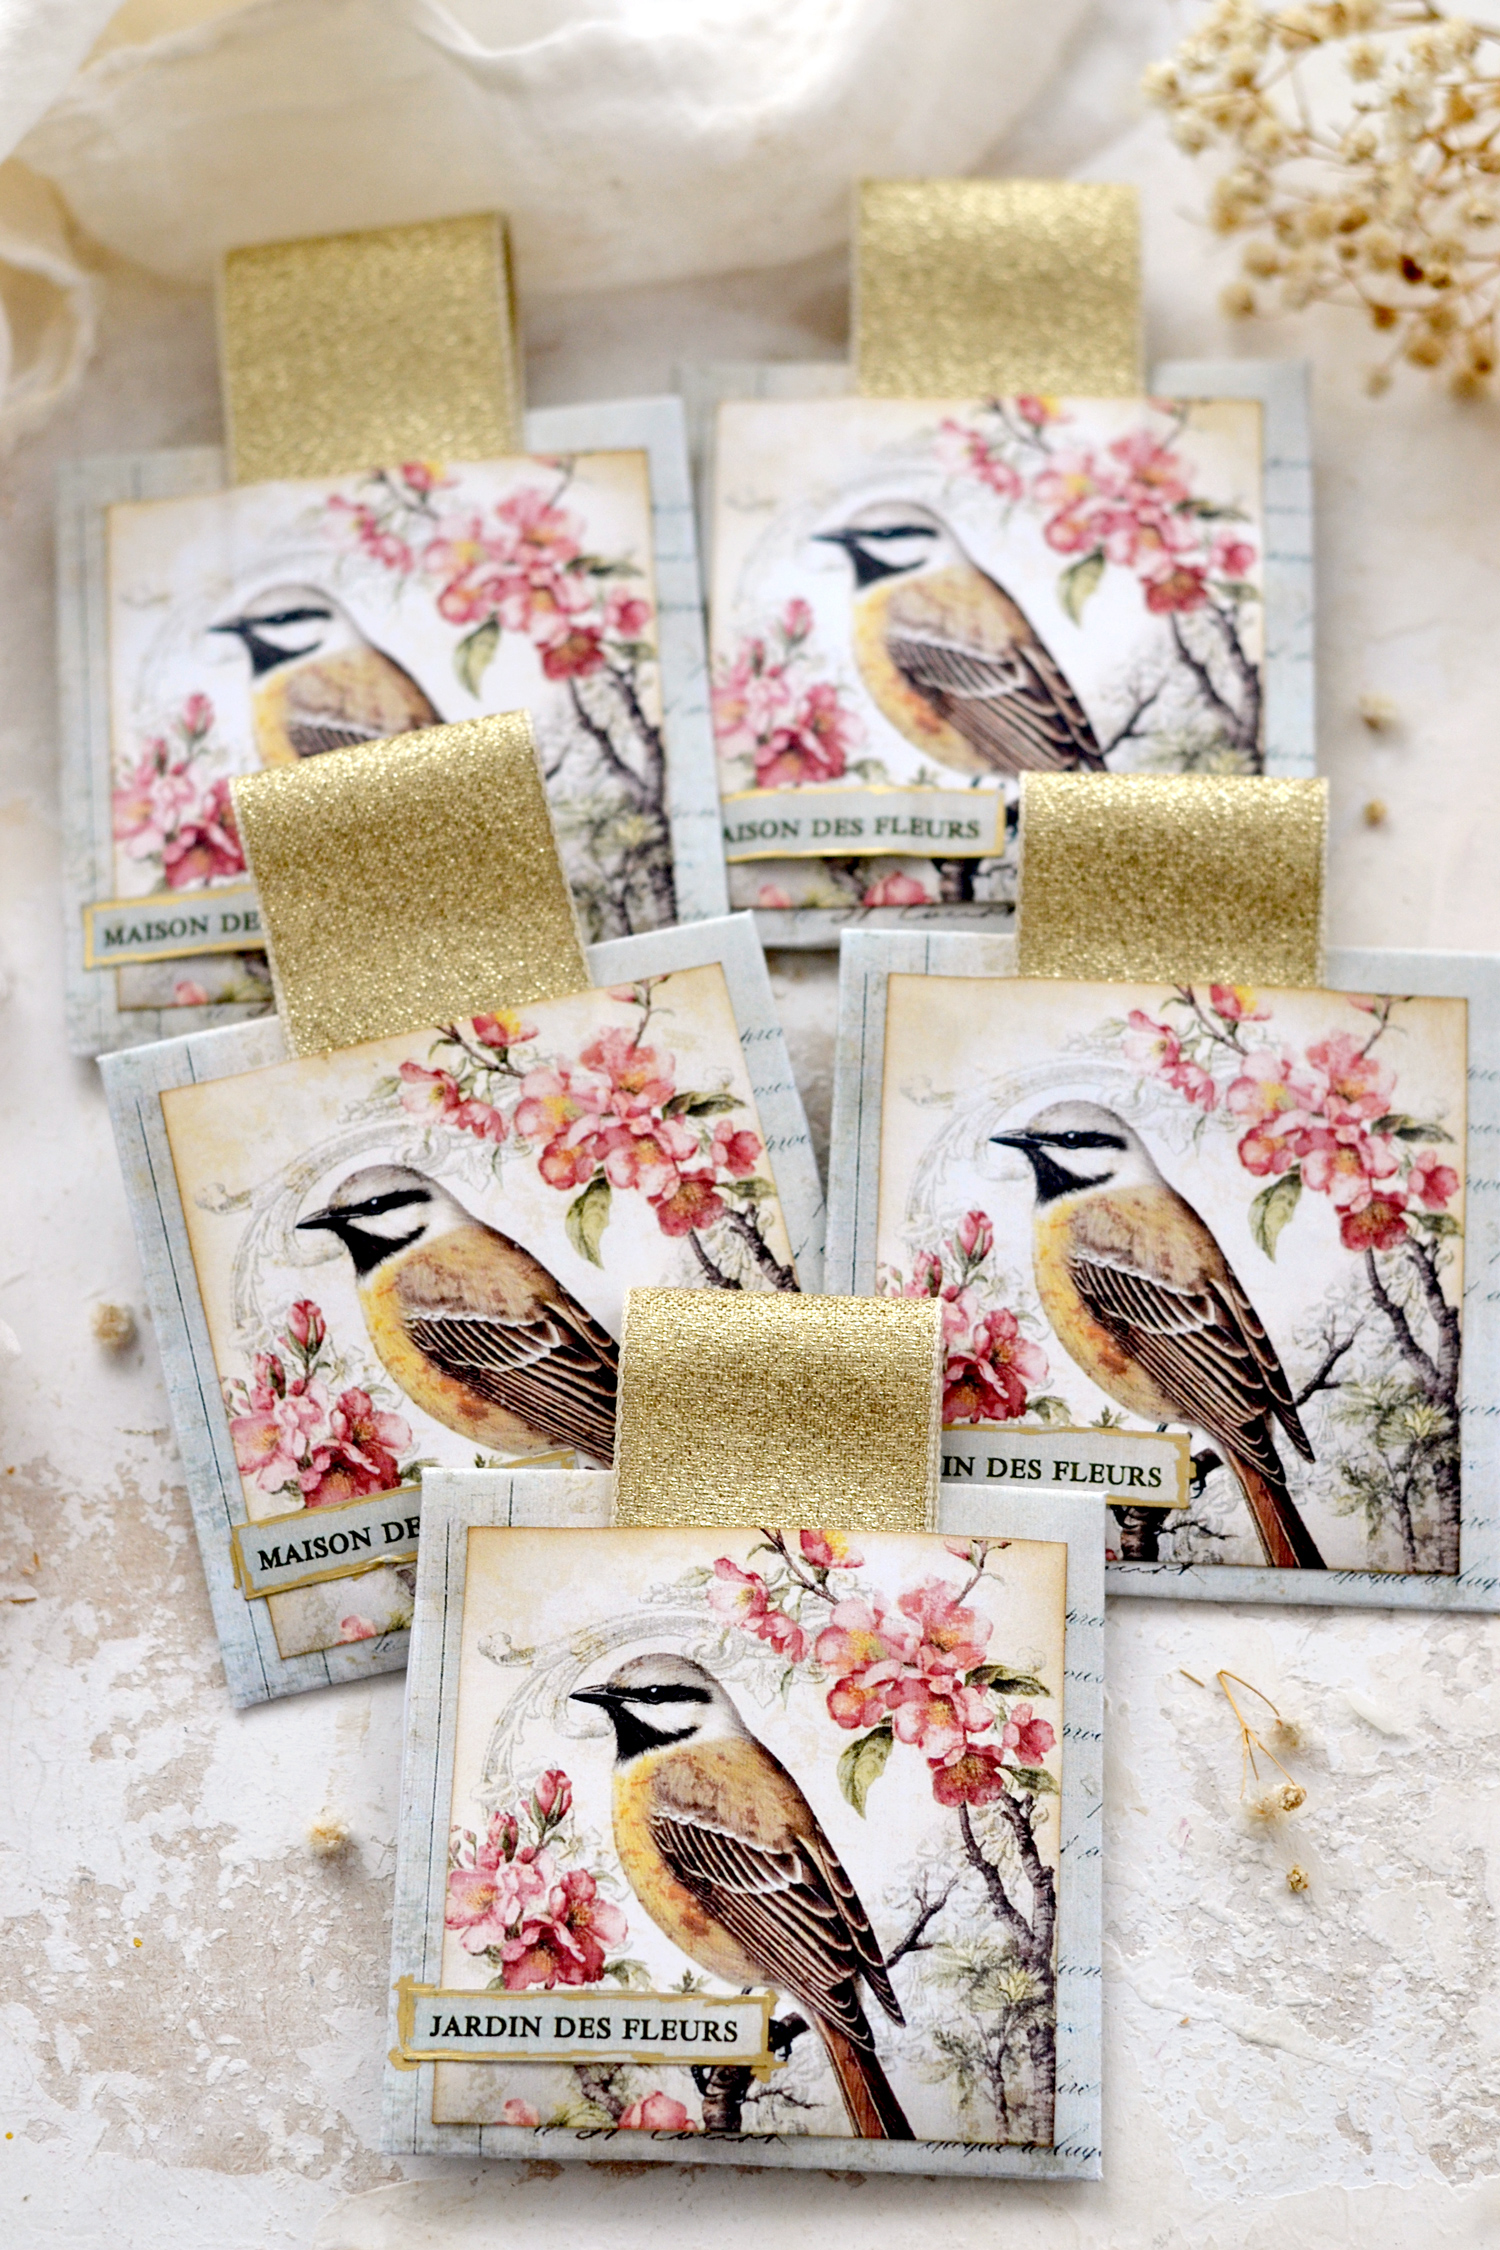
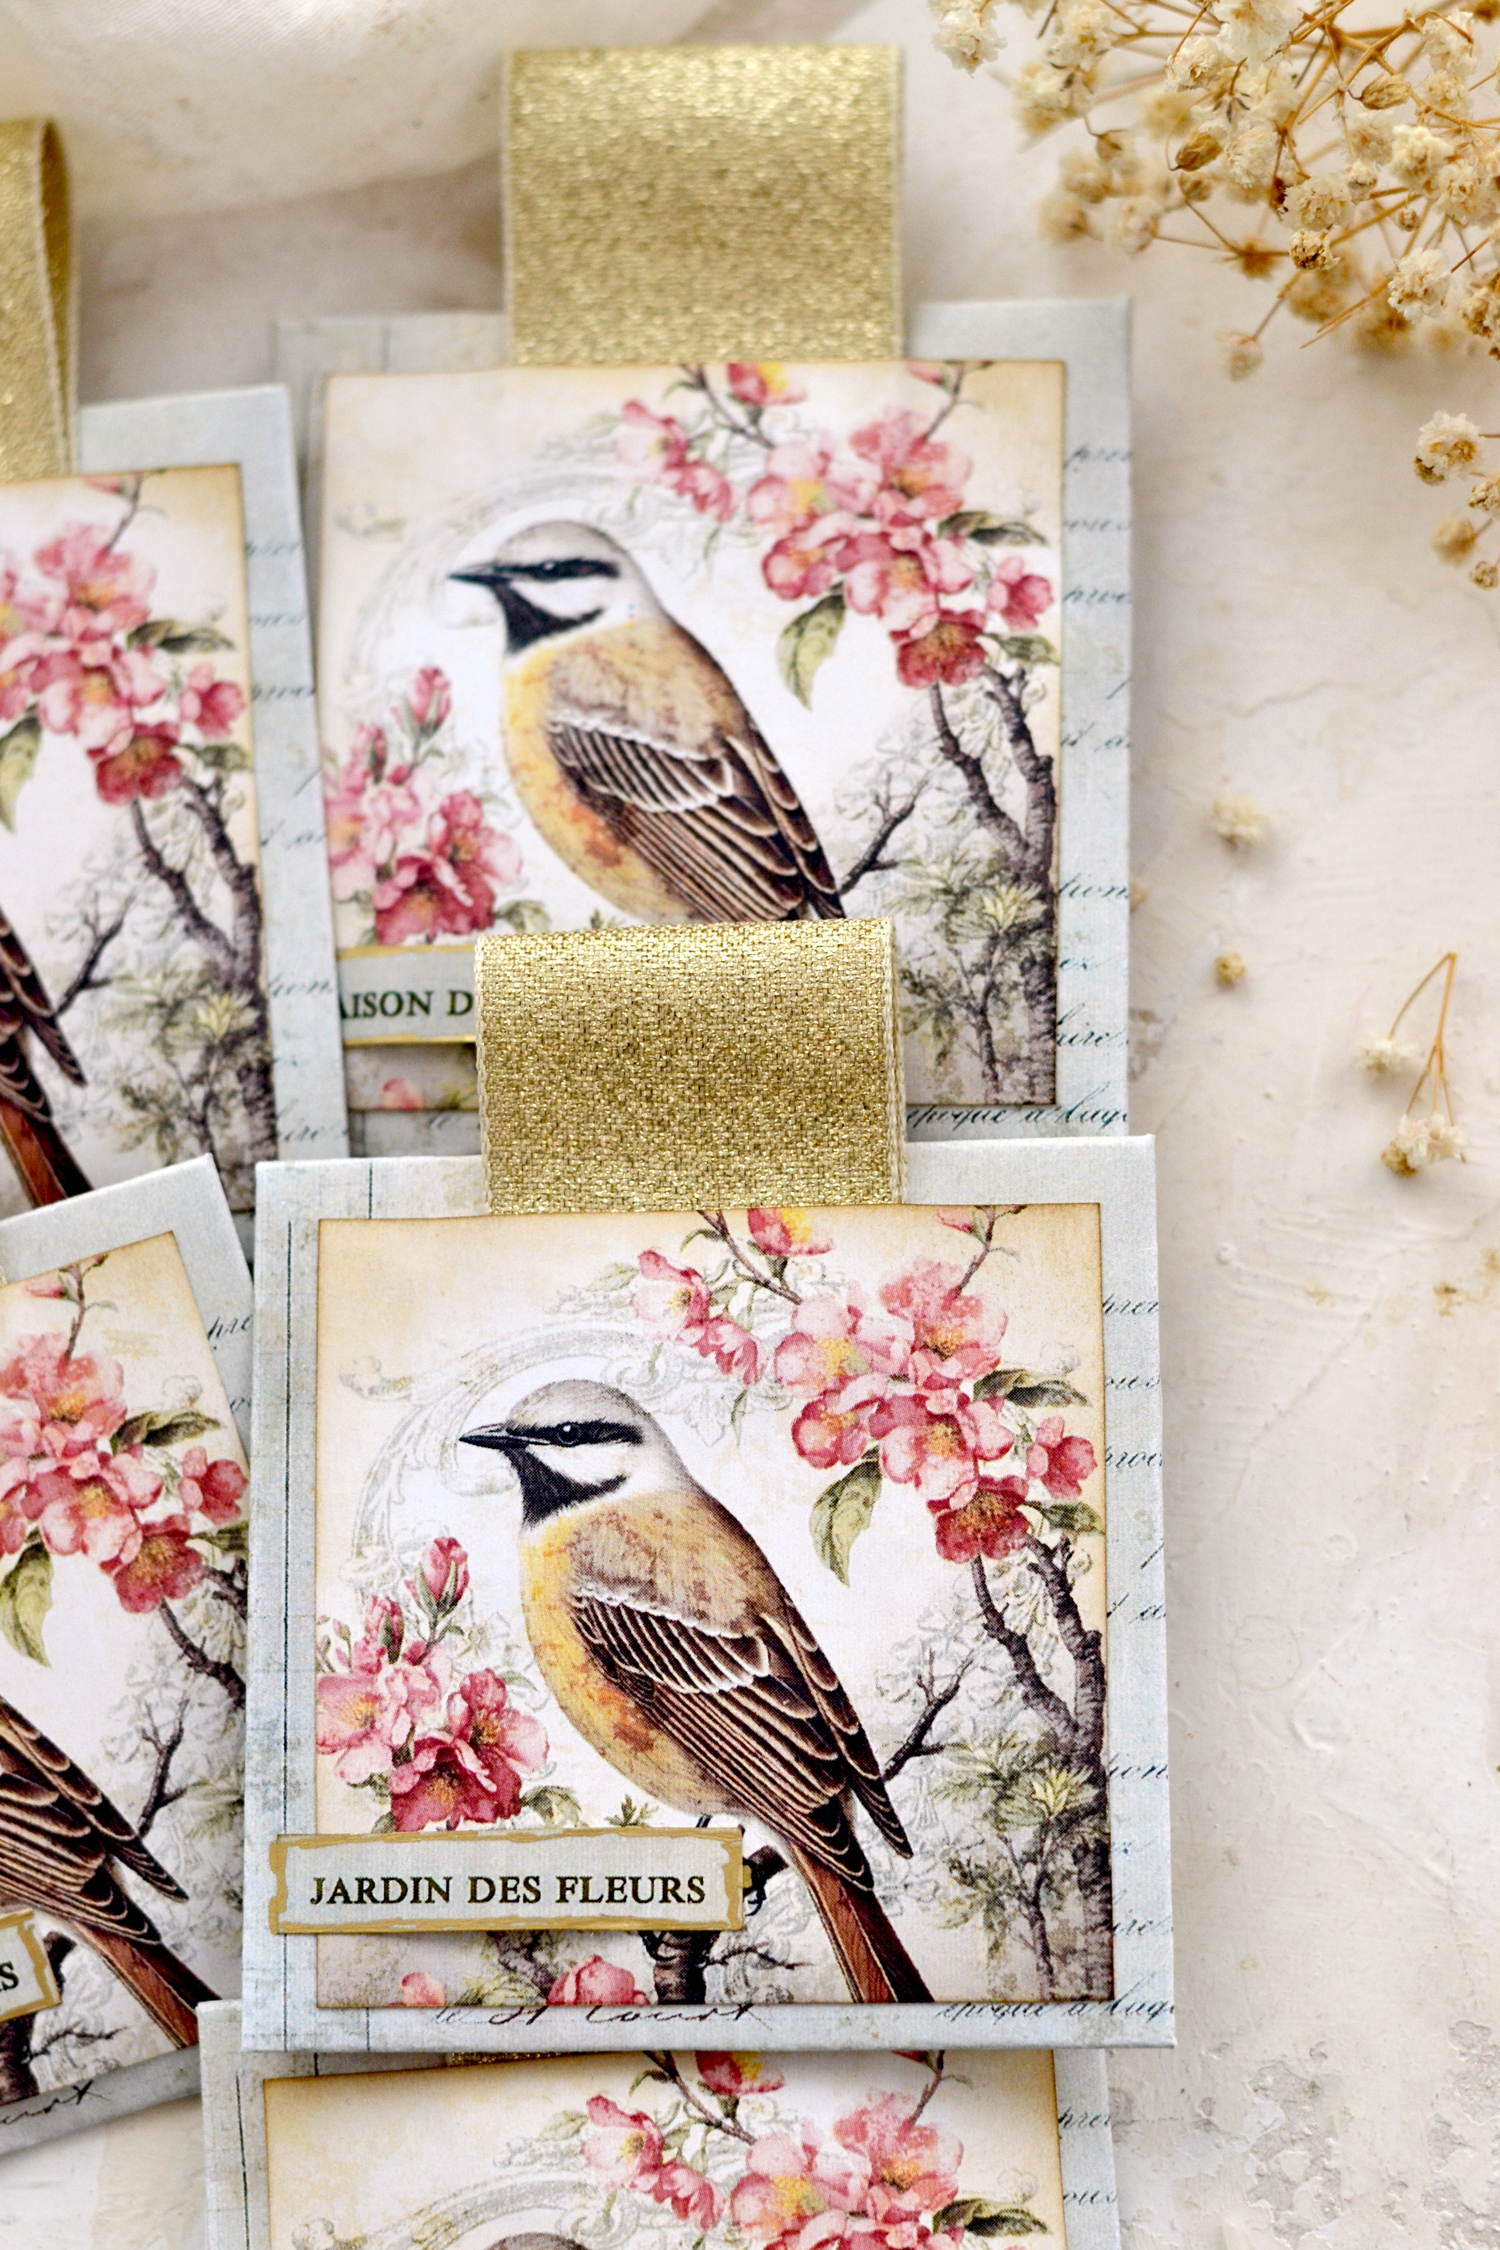
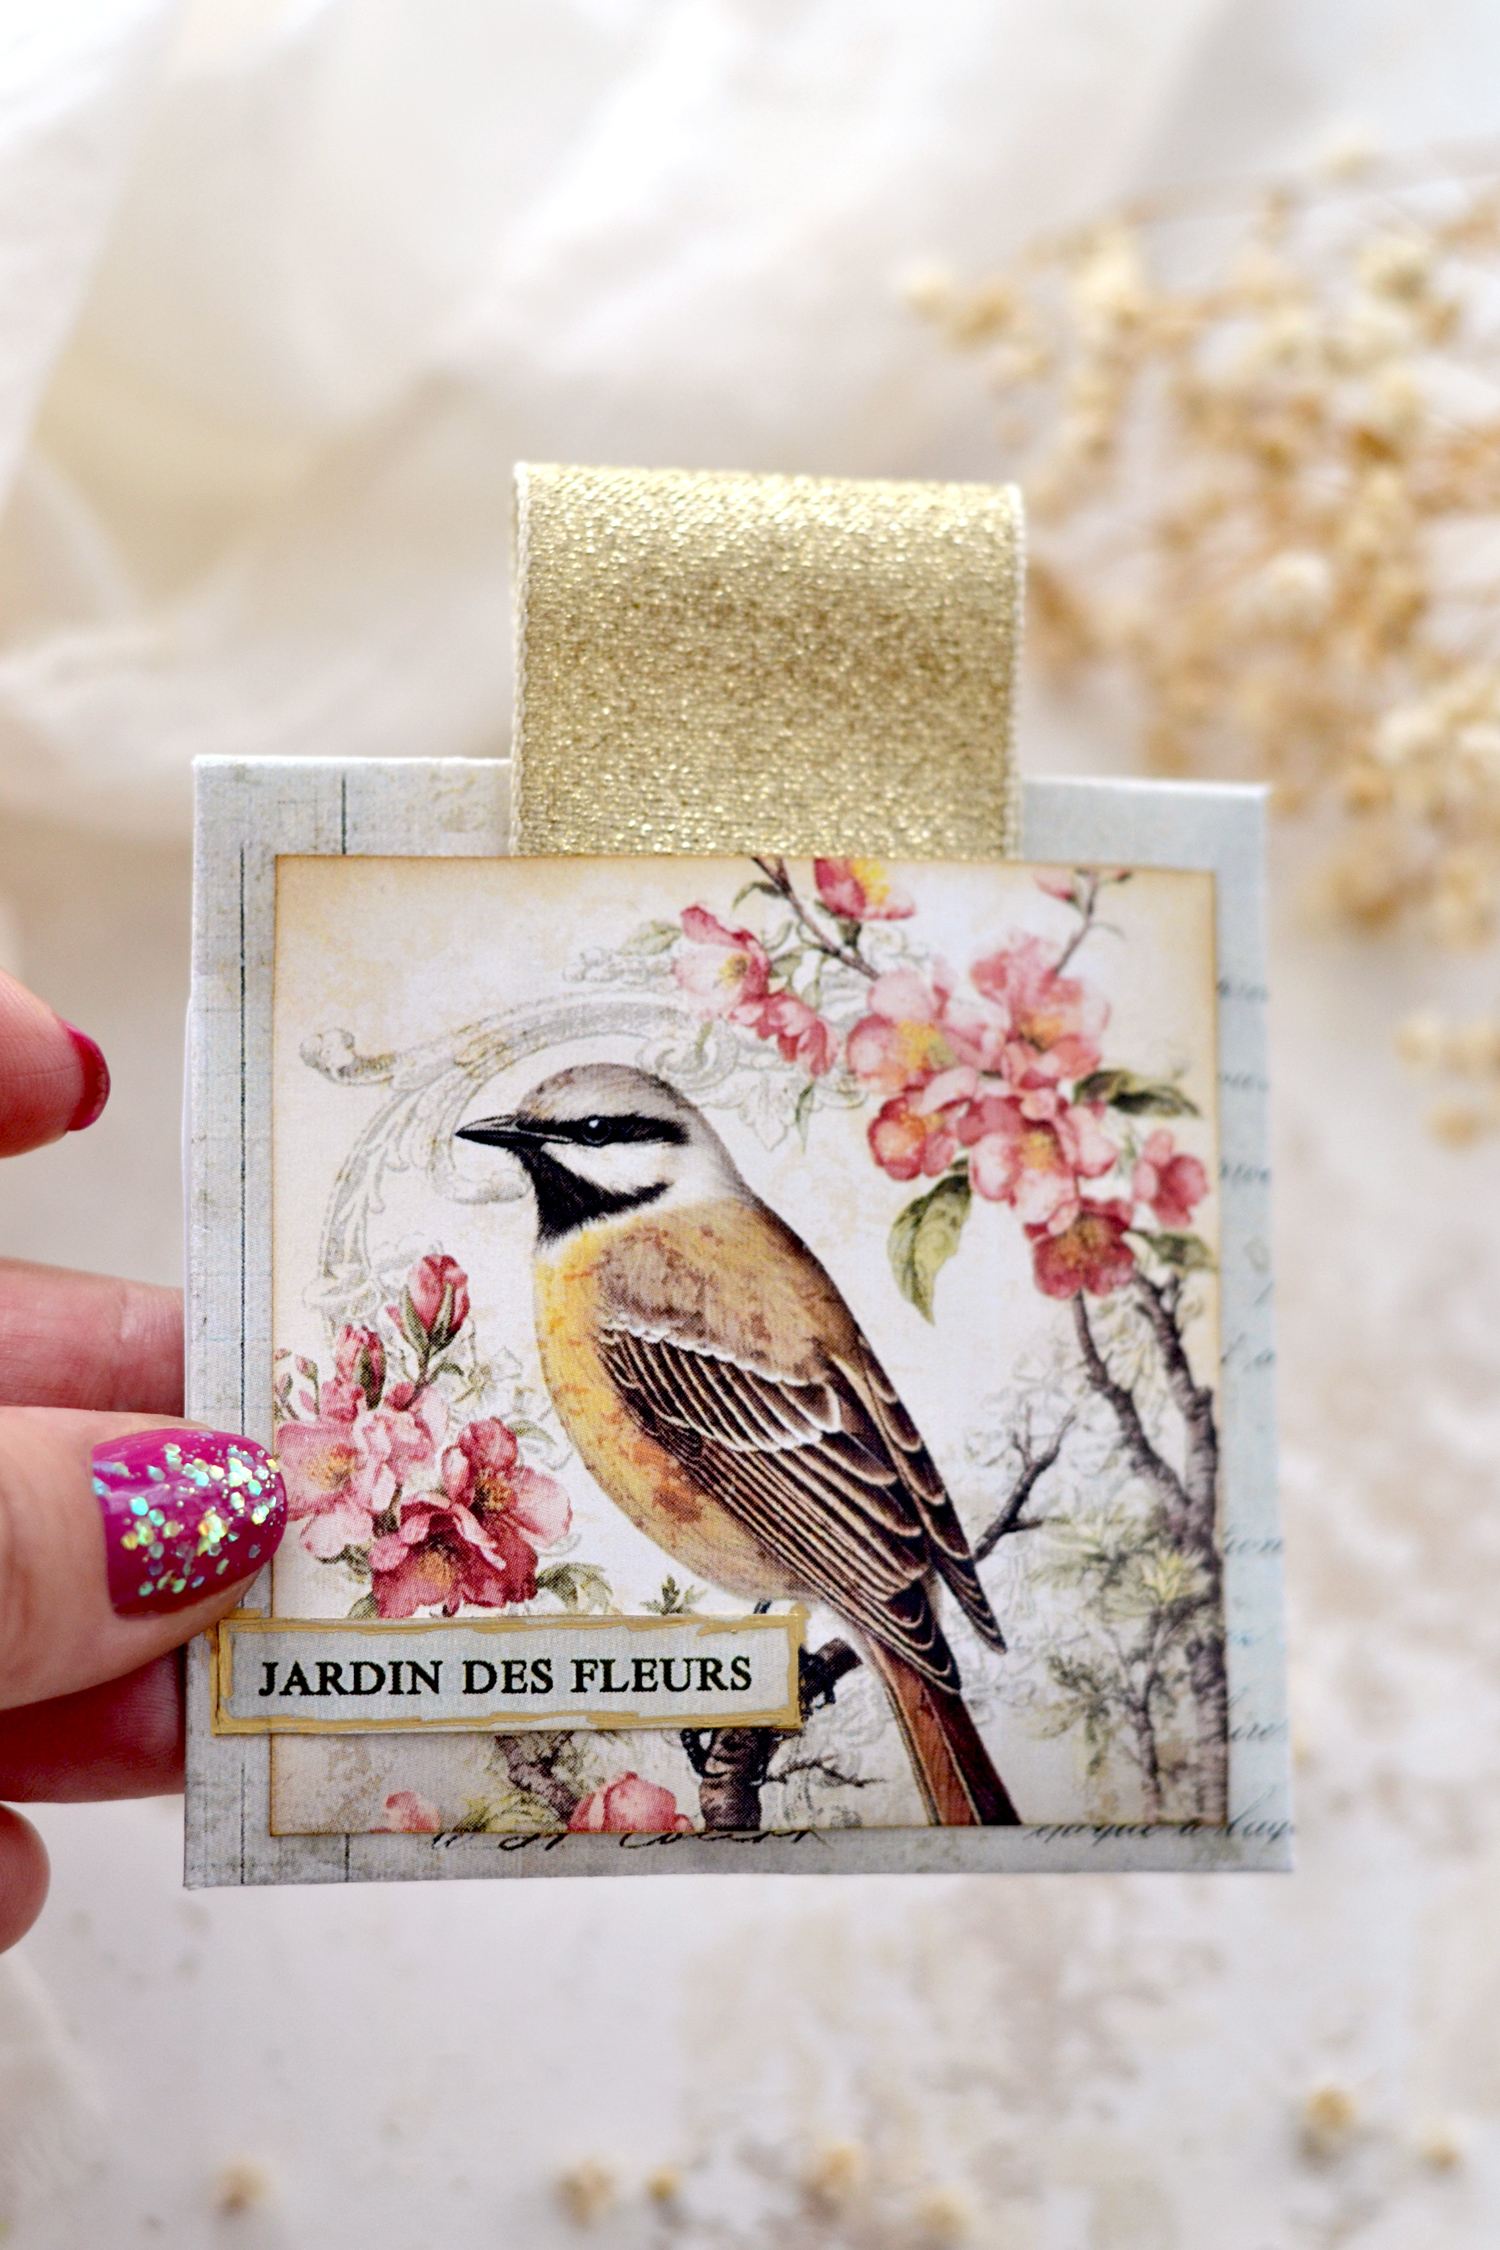
And now, your super chic DIY Scented Sachets are ready! The vermiculite will gradually release the fragrance through the paper and you’ll be able to enjoy these for quite some time.
I absolutely love how these scented bundles of joy turned out, I think they would be such a nice addition to any home when it comes to their lovely appearance!
But the truth is their fragrance is what makes them truly unique! I’ve always been such a huge fan of diffusing essential oils and I feel like I just opened up a whole new universe with these.
Feel free to personalize them with one of your favorite essential oils fragrances or why not, mix several ones to create a signature blend. And then infuse all the vermiculite that you can find to create the scented sachets of your dreams!
Create a peppermint-scented sachet and place it in your office for when you need to work and keep your mind sharp and focused. Peppermint is one of my all-time favorites, along with lemon, I love mixing these two to create a lovely sharpen-your-mind-and-wake-up-your-senses blend.
Lavender essential oil is also on my top 5 favorite list, if you love it too you could create a lavender-scented sachet! Place it near that lovely dried lavender bouquet in a French white pitcher to make the whole experience even more authentic. Lavender can be used in the summer to bring a little bit of Provence charm into your home, but it’s also great for decompressing when you are having a stressful day or just feel like taking a moment to breathe in and relax.
To test them, you can hang or place them in your home where you want. I added one in our living room and a subtle Jasmine fragrance immediately flooded the room. If your room is large, you can strategically place several ones in different areas so that the fragrance ‘covers’ the whole surface.
I added one in a drawer with clothes because I wanted to see how they would perform in a closed small space and I have to say that the scent was quite intense. So I would suggest adding just one teaspoon inside or even decreasing the essential oil drops if used like this, for smaller spaces.
I carefully placed the other ones in a small ziplock bag like small pieces of treasure because I would like to give them as gifts. If you are not planning on using them right away, I would suggest you do the same just to make sure you lock in all their amazing fragrance until ready to be used … or gifted!
You can combine their gorgeous aesthetics with their heavenly fragrance and find other unique ways of using your new favorite DIY Scented Sachets! Create special blends and proudly display these lovely sachets in your home, make some for your friends and family, add them to flower bouquets or special gifts, turn them into wedding favors or why not use them in your car. Place them between the pages of your junk journal or use them in your craft room to keep your creativity flowing, the sky is the limit for using these beauties! You might also like the DIY No Sew Lavender Sachets HERE.
Happy crafting,
Diana | Dreams Factory


Rupa says
I have some essential oils as well as lavender buds. I will def give this a try. The images alone are so beautiful, birds of course lol. Thanks for the wonderful project idea!
Karen Watson says
Yes, I know you love your birds Rupa! Have fun making Diana’s pretty sachets!