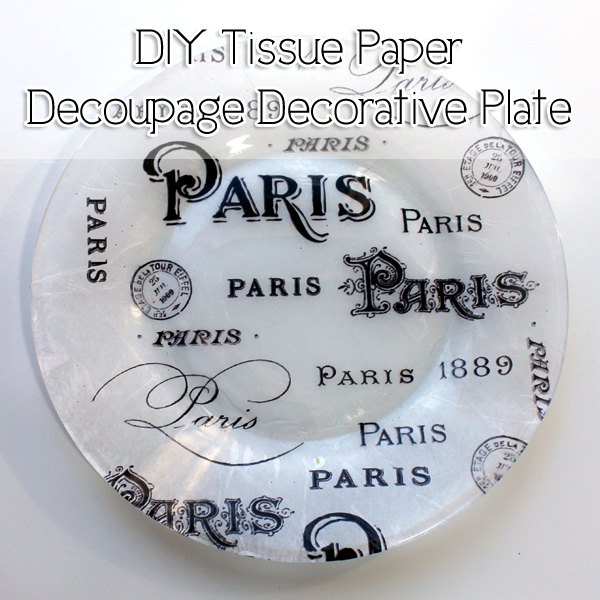
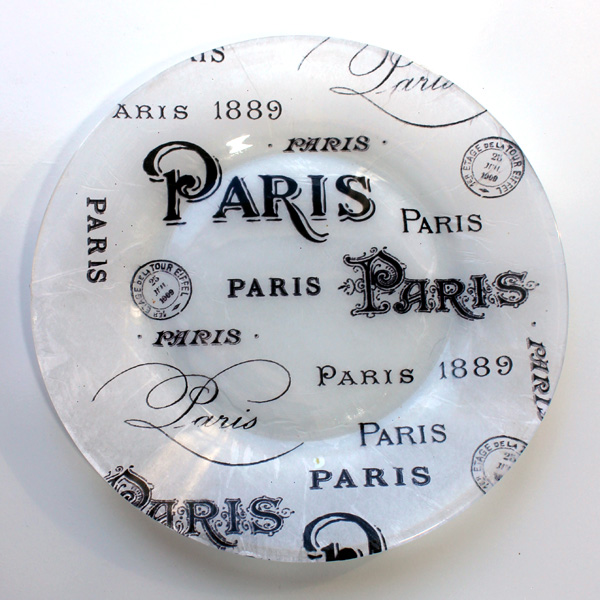
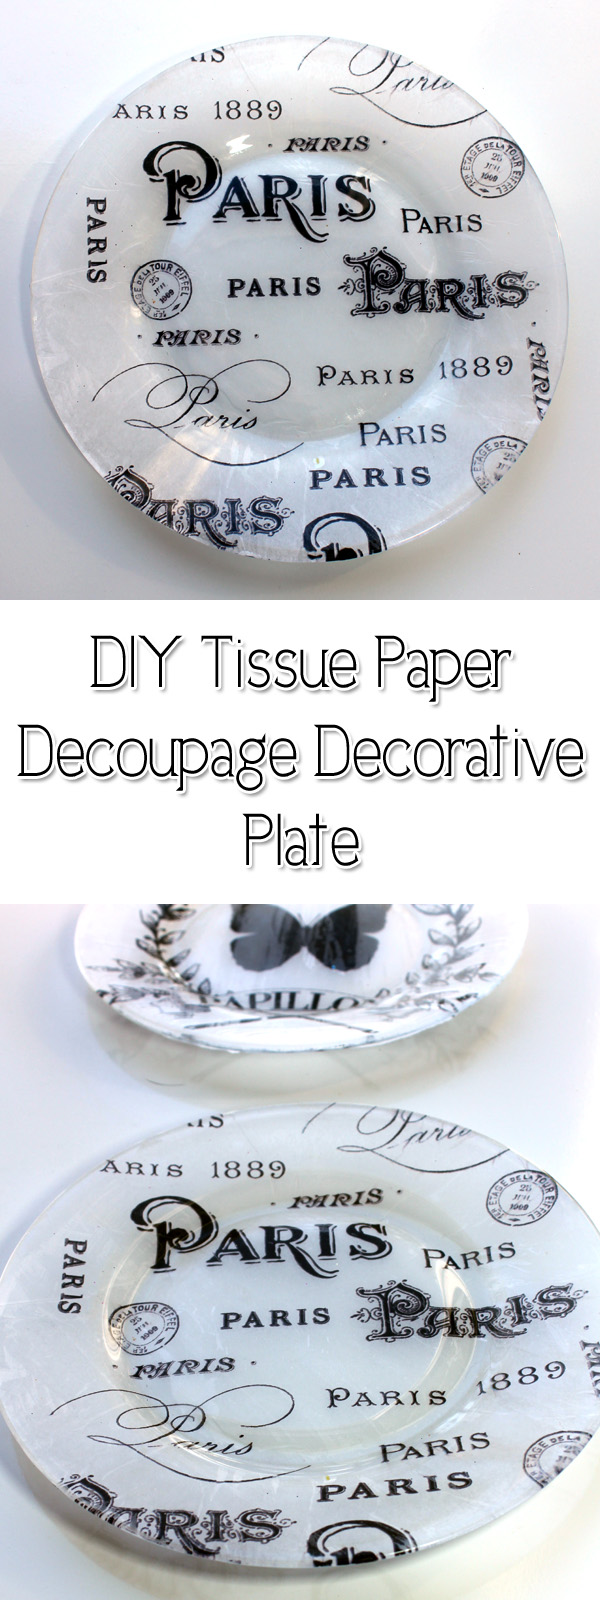
Hi everyone, it’s Andrea from The Cottage Market and I am here with you today to share another fun…fast and easy Tissue Paper Decoupage DIY…this time it is a DIY Tissue Paper Decoupage Decorative Plate. I picked the Paris Typography Printable HERE from right here at The Graphics Fairy…the Paris Sheet and it worked perfectly but ANY graphic can be adapted from the vast collection from The Graphics Fairy…black and white…color…it is totally your call. One thing you are going to have to do is refer back to our post that explains how to print on tissue paper. Just think about all the possibilities there are waiting to be made. You can make these beauties to display…add to a Gallery Wall…you can even use them as a serving dish and if you go larger…maybe even a charger. So let’s see what we need to do…
This post contains affiliate links
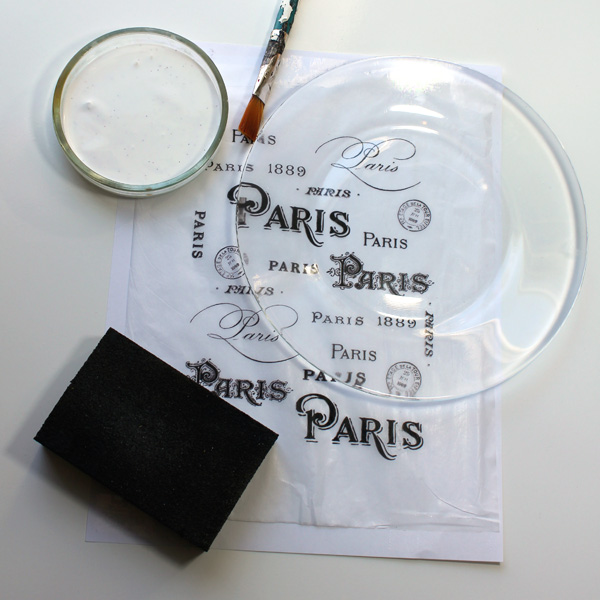
SUPPLIES:
- Tissue Paper Transfer
- Paint Brush
- Mod Podge
- Sanding Block
- Glass Plate
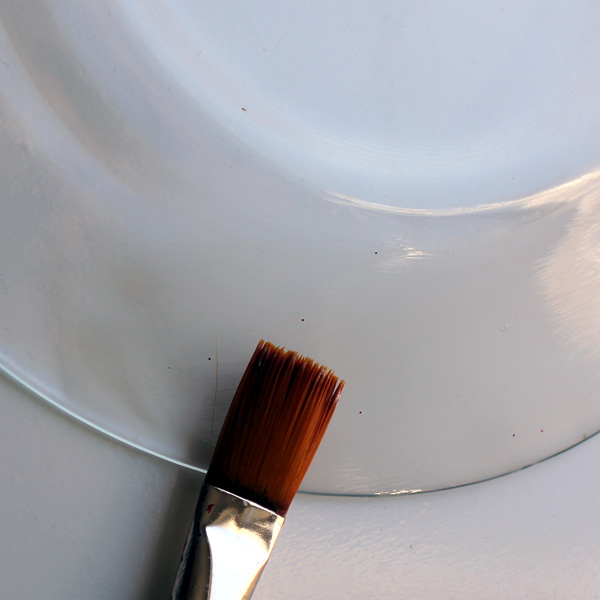
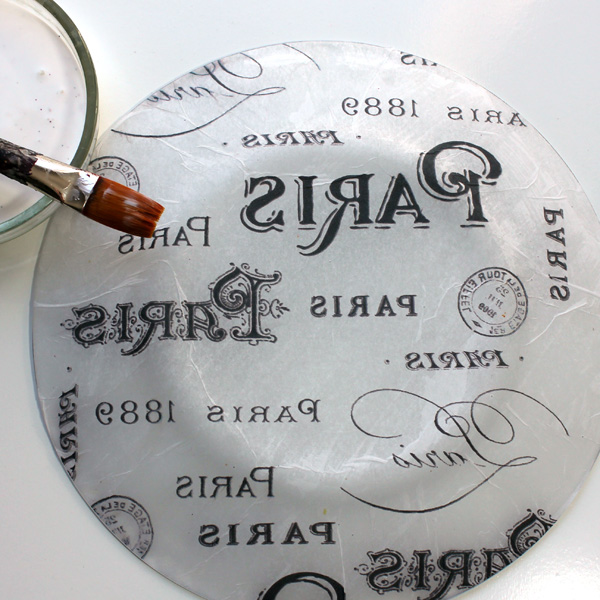
First…slightly thin your Mod Podge and then brush a nice light as even as you can coat over the entire plate…
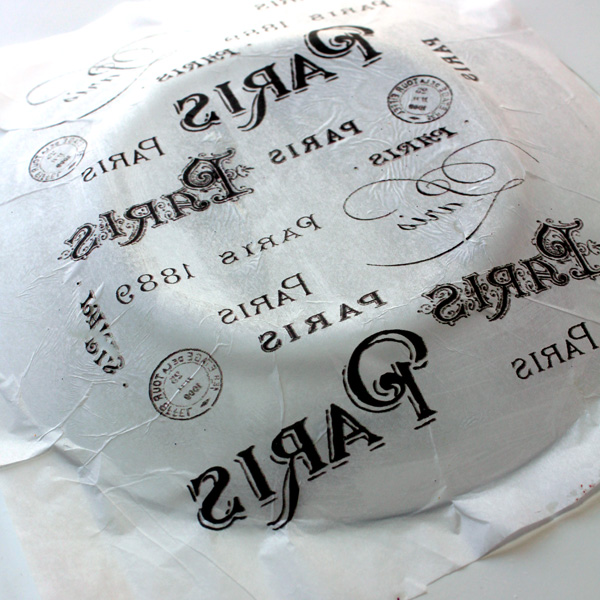
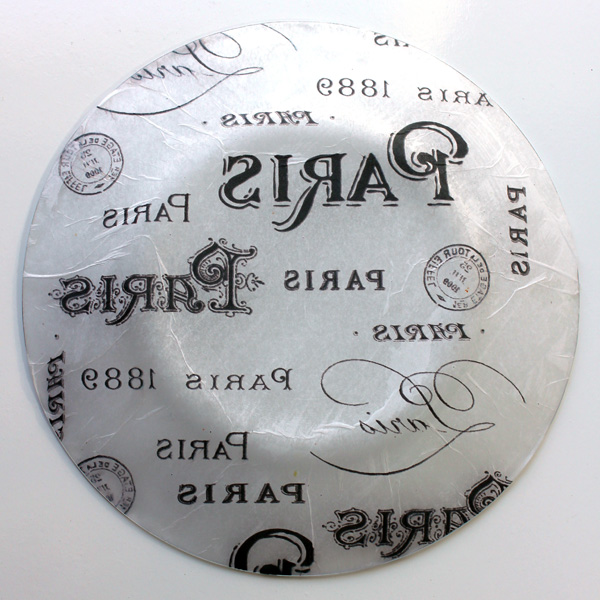
now place your tissue paper print onto the back of the plate very carefully and slowly from the center of the plate out attach the print. Let me tell you straight out…it is impossible not to get some wrinkles…but not to worry they add to the character. When you are completely finished applying your print…allow it to dry good for about 1 hours. (when you are picking out a design…think about what is going to fall in the center of the plate…that is very important. I also recommend printing on a full sheet…that way you have a little bit of room for error.
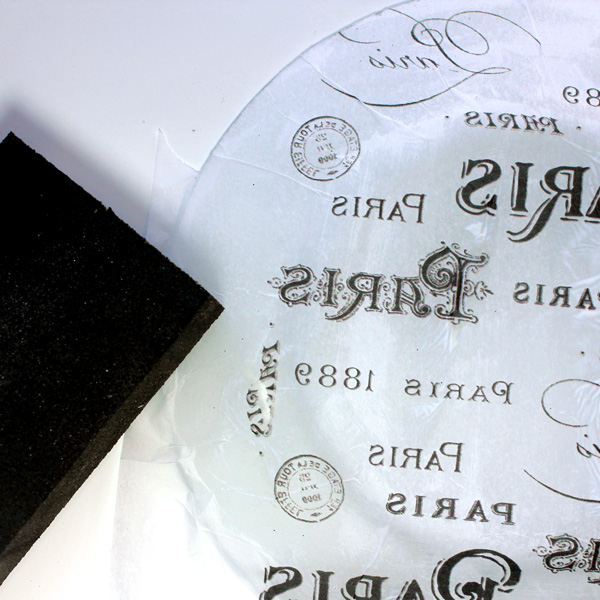
Now use your sanding block and LIGHTLY sand the edges clean…
Sand until the entire plate is rid of all excess.
Now once again take your Mod Podge and apply 2 thin coats to the back (allowing to dry in between coats).
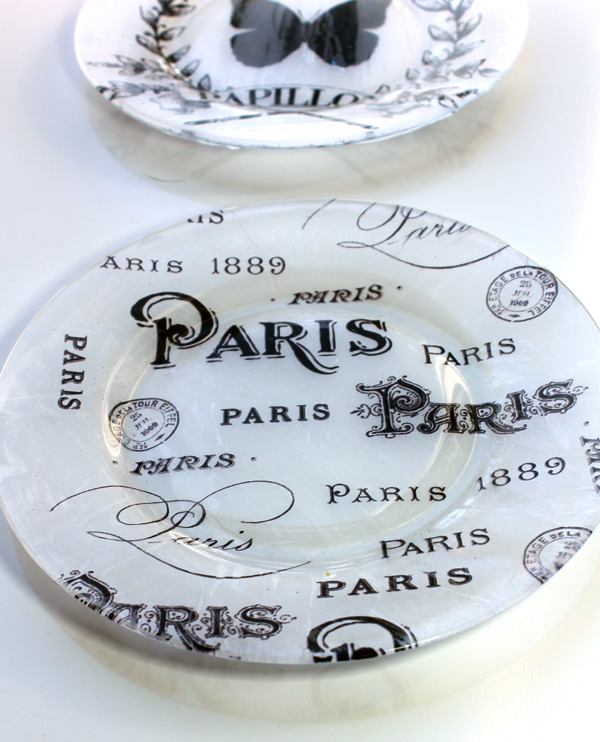
Once it is dry you are ready to use in a display…on the wall…wherever your heart desires. It is that simple! Just letting you know one more time…Please be gentle. If you do happy to rip a bit of the tissue paper you can repair it or you can soak the the paper off…dry the plate and start again : )
So many possibilities! Sure hope you enjoyed this and I hope to see some of your creations on some features! Have fun and I will see you once again very soon…but till then if you would like to say hi…drop by The Cottage Market…that’s where I hang out! Hugs…andrea
You might also like to check out our Comprehensive Post on Decoupage HERE.


Sheri says
I love this! Do you happen to have the printable available for the butterfly plate in the background of the last picture?
Karen Watson says
Hi Sheri, Yes, you can find it here https://thegraphicsfairy.com/transfer-printable-french-wreath-with-butterfly/
Sharleen says
Love the craft idea for the Paris Themed plate!
Thanks Karen for sharing this idea and showing us how to do it.
Karen Watson says
You’re welcome Sharleen!
Lauren Rey says
I am looking for tissue paper suitable for decoupaging on kitchen cabinets. French country side or maybe French poems. any idea where I might be able to locate to buy ? Or even French sayings on paper that can still be decoupage. thank you
Karen Watson says
Hi Lauren, We have a tutorial that will show you how to print on tissue paper, so that you can customize it any way that you like. Here’s the link https://thegraphicsfairy.com/how-to-print-on-tissue-paper/ I hope that helps!
Sue says
Ah ha! It’s glass! Of course! Makes sense now. Thanks for explaining it, Karen 🙂
Karen Watson says
No problem Sue!
Sue says
Am I being dense? The title image suggests the decoupage is adhered to the front of the plate, but the tutorial and pictures say to treat the back and the tissue print is in reverse, which seems odd. Is it just me?
Karen Watson says
Hi Sue, It’s on the back of the plate. Must be an optical illusion! If you look close you can see some shine spots where the glass is reflecting. Sorry for the confusion!
rk says
Simple and beautiful project. I can’t wait to do this soon as I have a glass plate and that is required. I presume that the mod podge is applied to the back of the glass plate before adhering the tissue paper? The first step didn’t mention it but may be it’s obvious to every one 🙂
Karen Watson says
Hmm. I would think so, yes.
Suz says
OMG, That is beautiful, this would also be nice on a cheap white plate, platter and put the tissue paper on the front. Many years ago my Granddaughter gave me one of these only she used a Christmas cloth, I still have it some 18 years later. Thanks for refreshing my memories of a wonderful family Christmas some years ago, and also a new twist on how to do this. Suz
Karen Watson says
Hi Suz, Yes, I love that look! That’s actually what this post was supposed to be, but sometimes when you are working on a project it morphs into something else. Andrea did a nice job and I think they are really pretty too!
Heather says
This project is so fun and easy – thank you for walking us through the steps you used to get such a pretty result!
Chris williams says
Thanks for sharing this technique. Love the Paris themed plate. Did you know if you had used Mod Podge Dishwhwe Safe you would be able to use you decoupaged plate for more than decorative purposes. Mod Podge Disheasher Safe is top shelf diswhwasher safe once cured!
Karen Watson says
Wow thanks for the tip Chris!! I’m going to look for that for sure, that’s a new one for me!