DIY Tote Bag
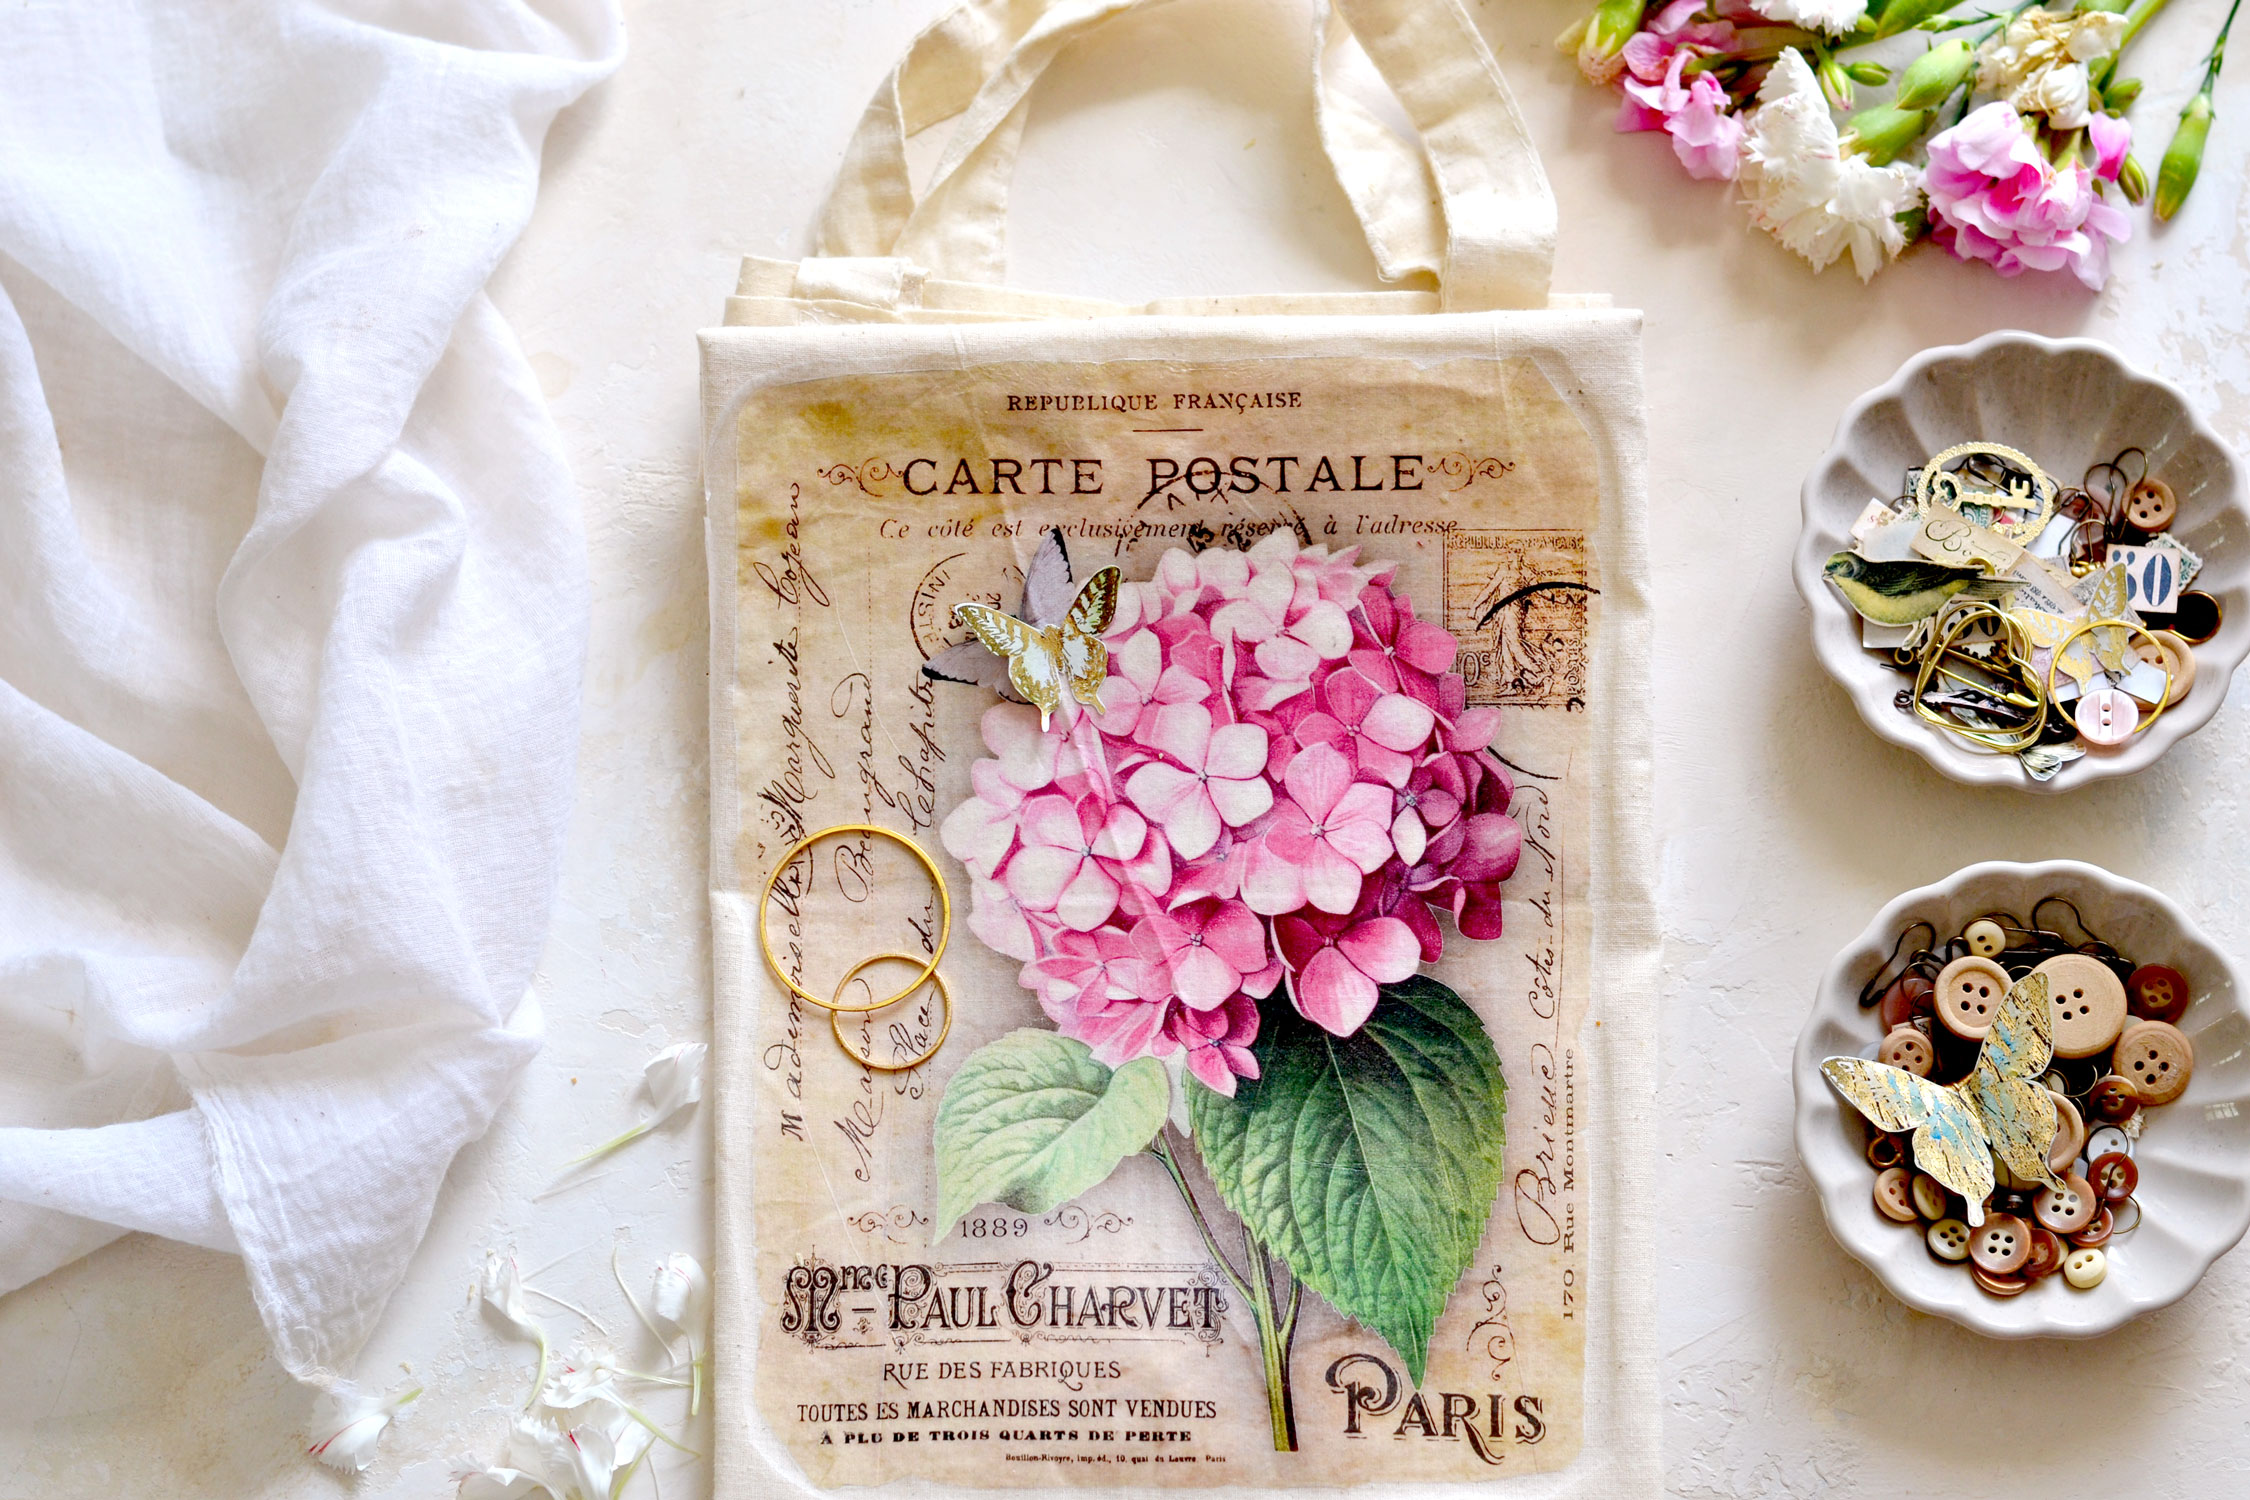
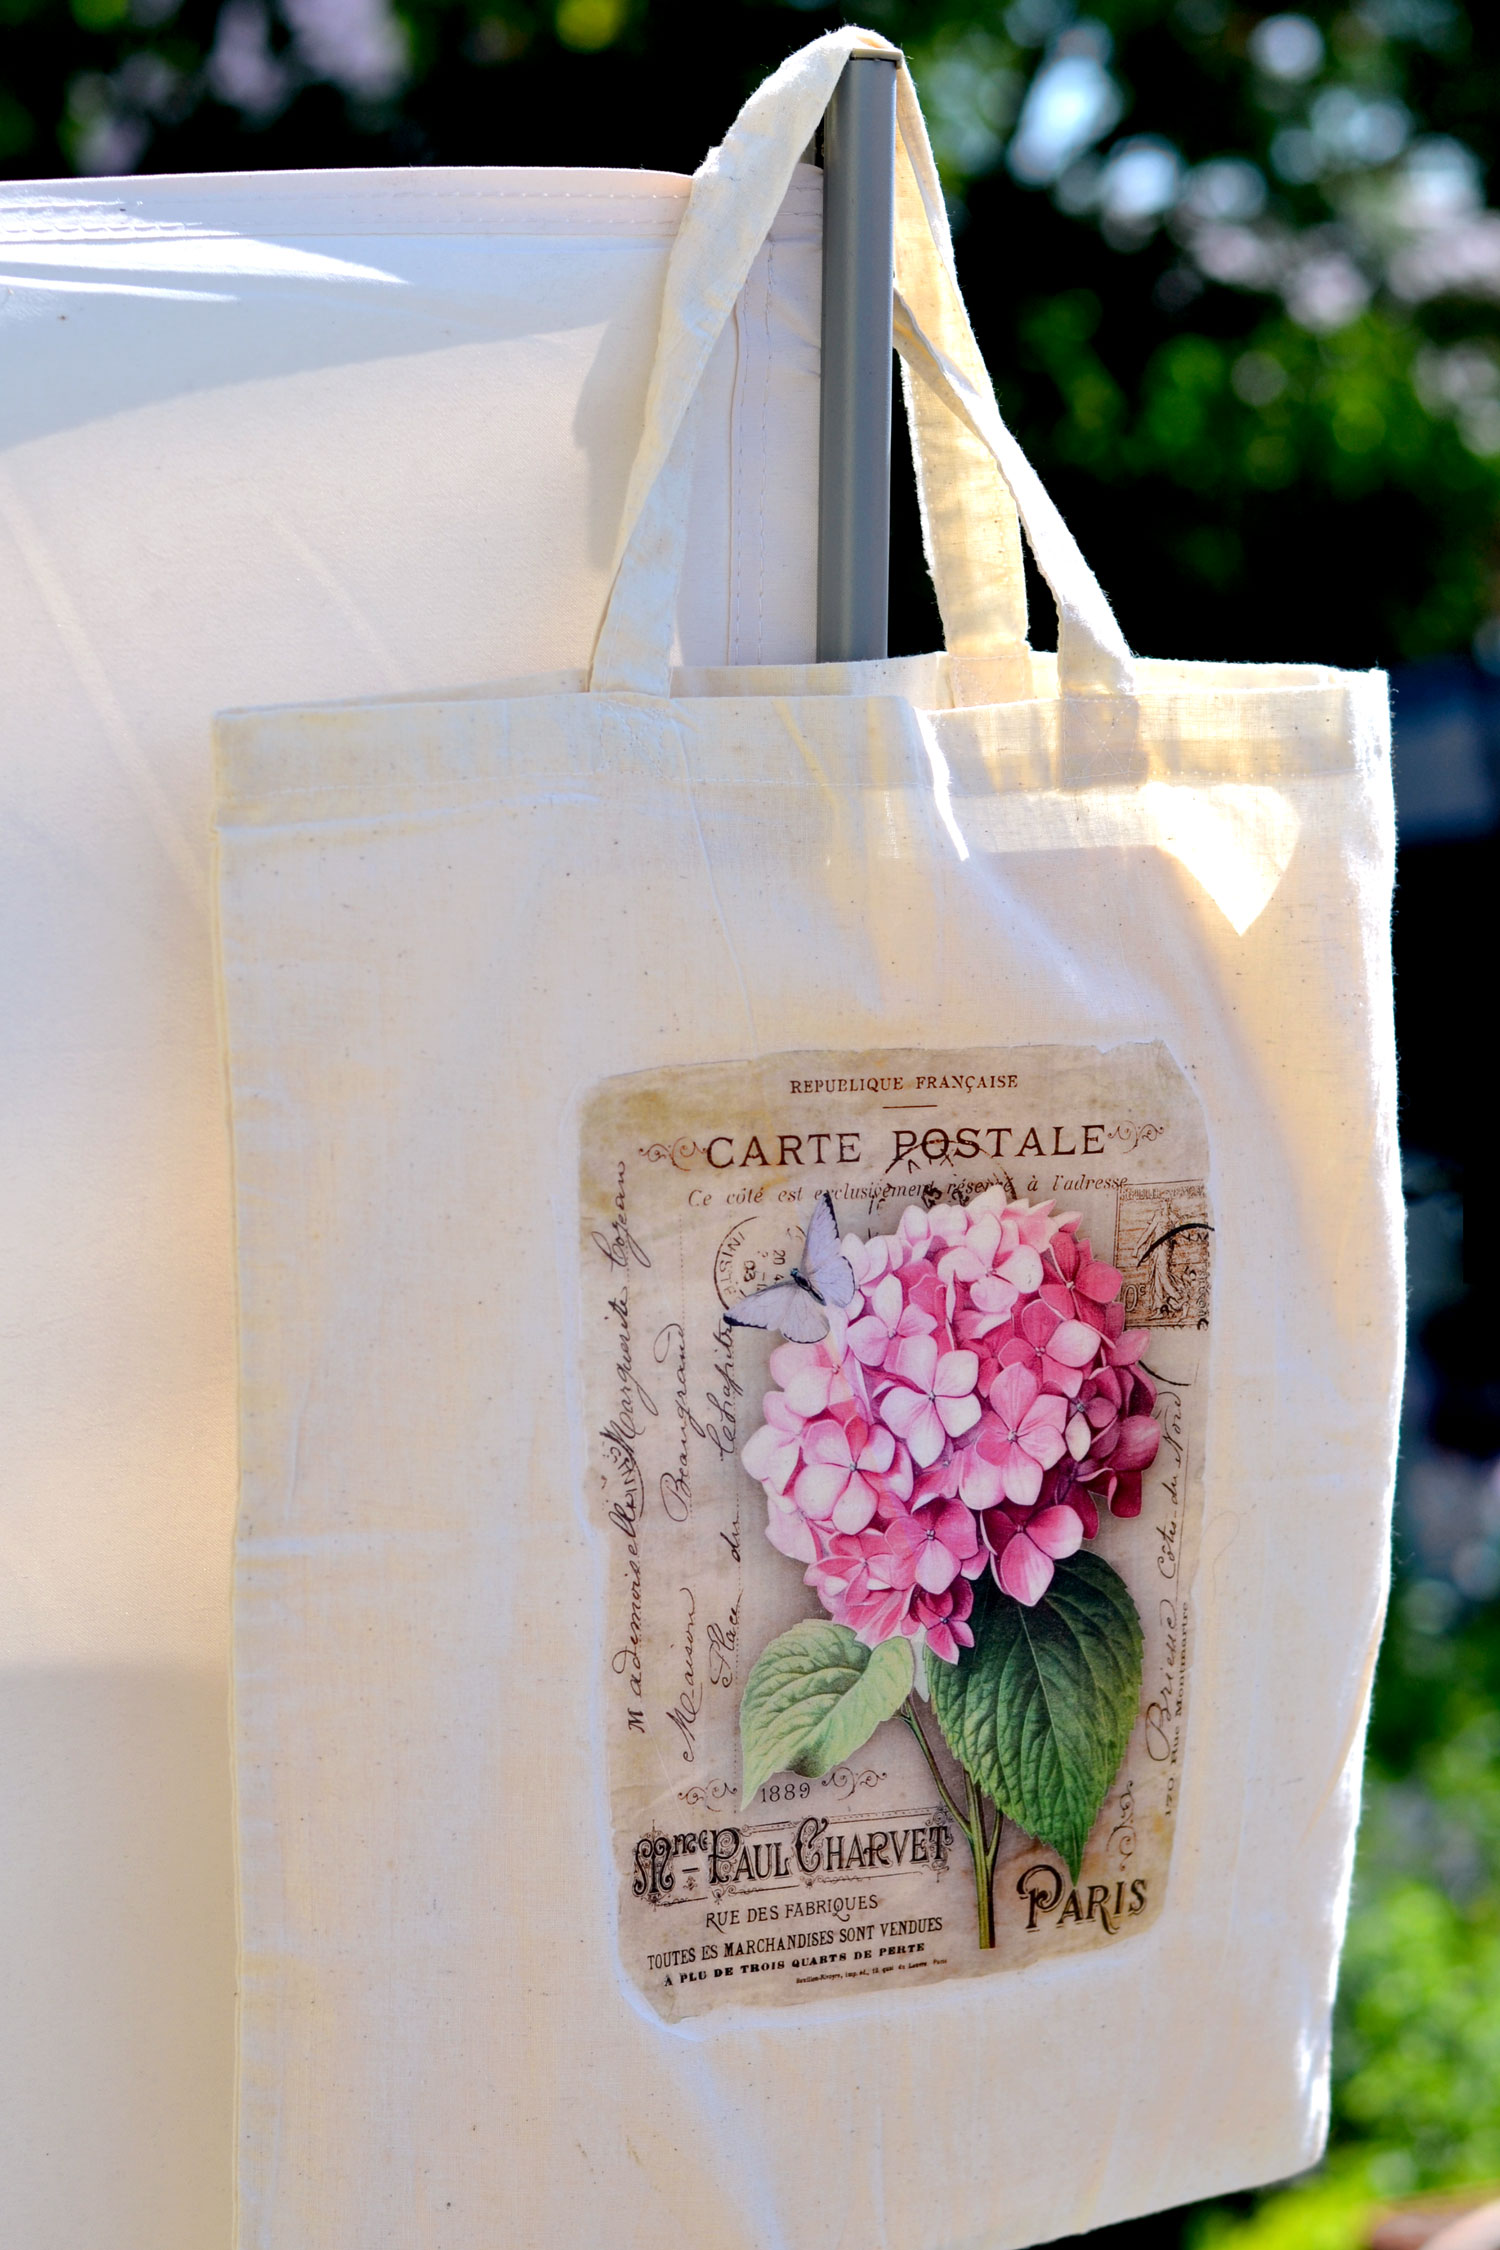
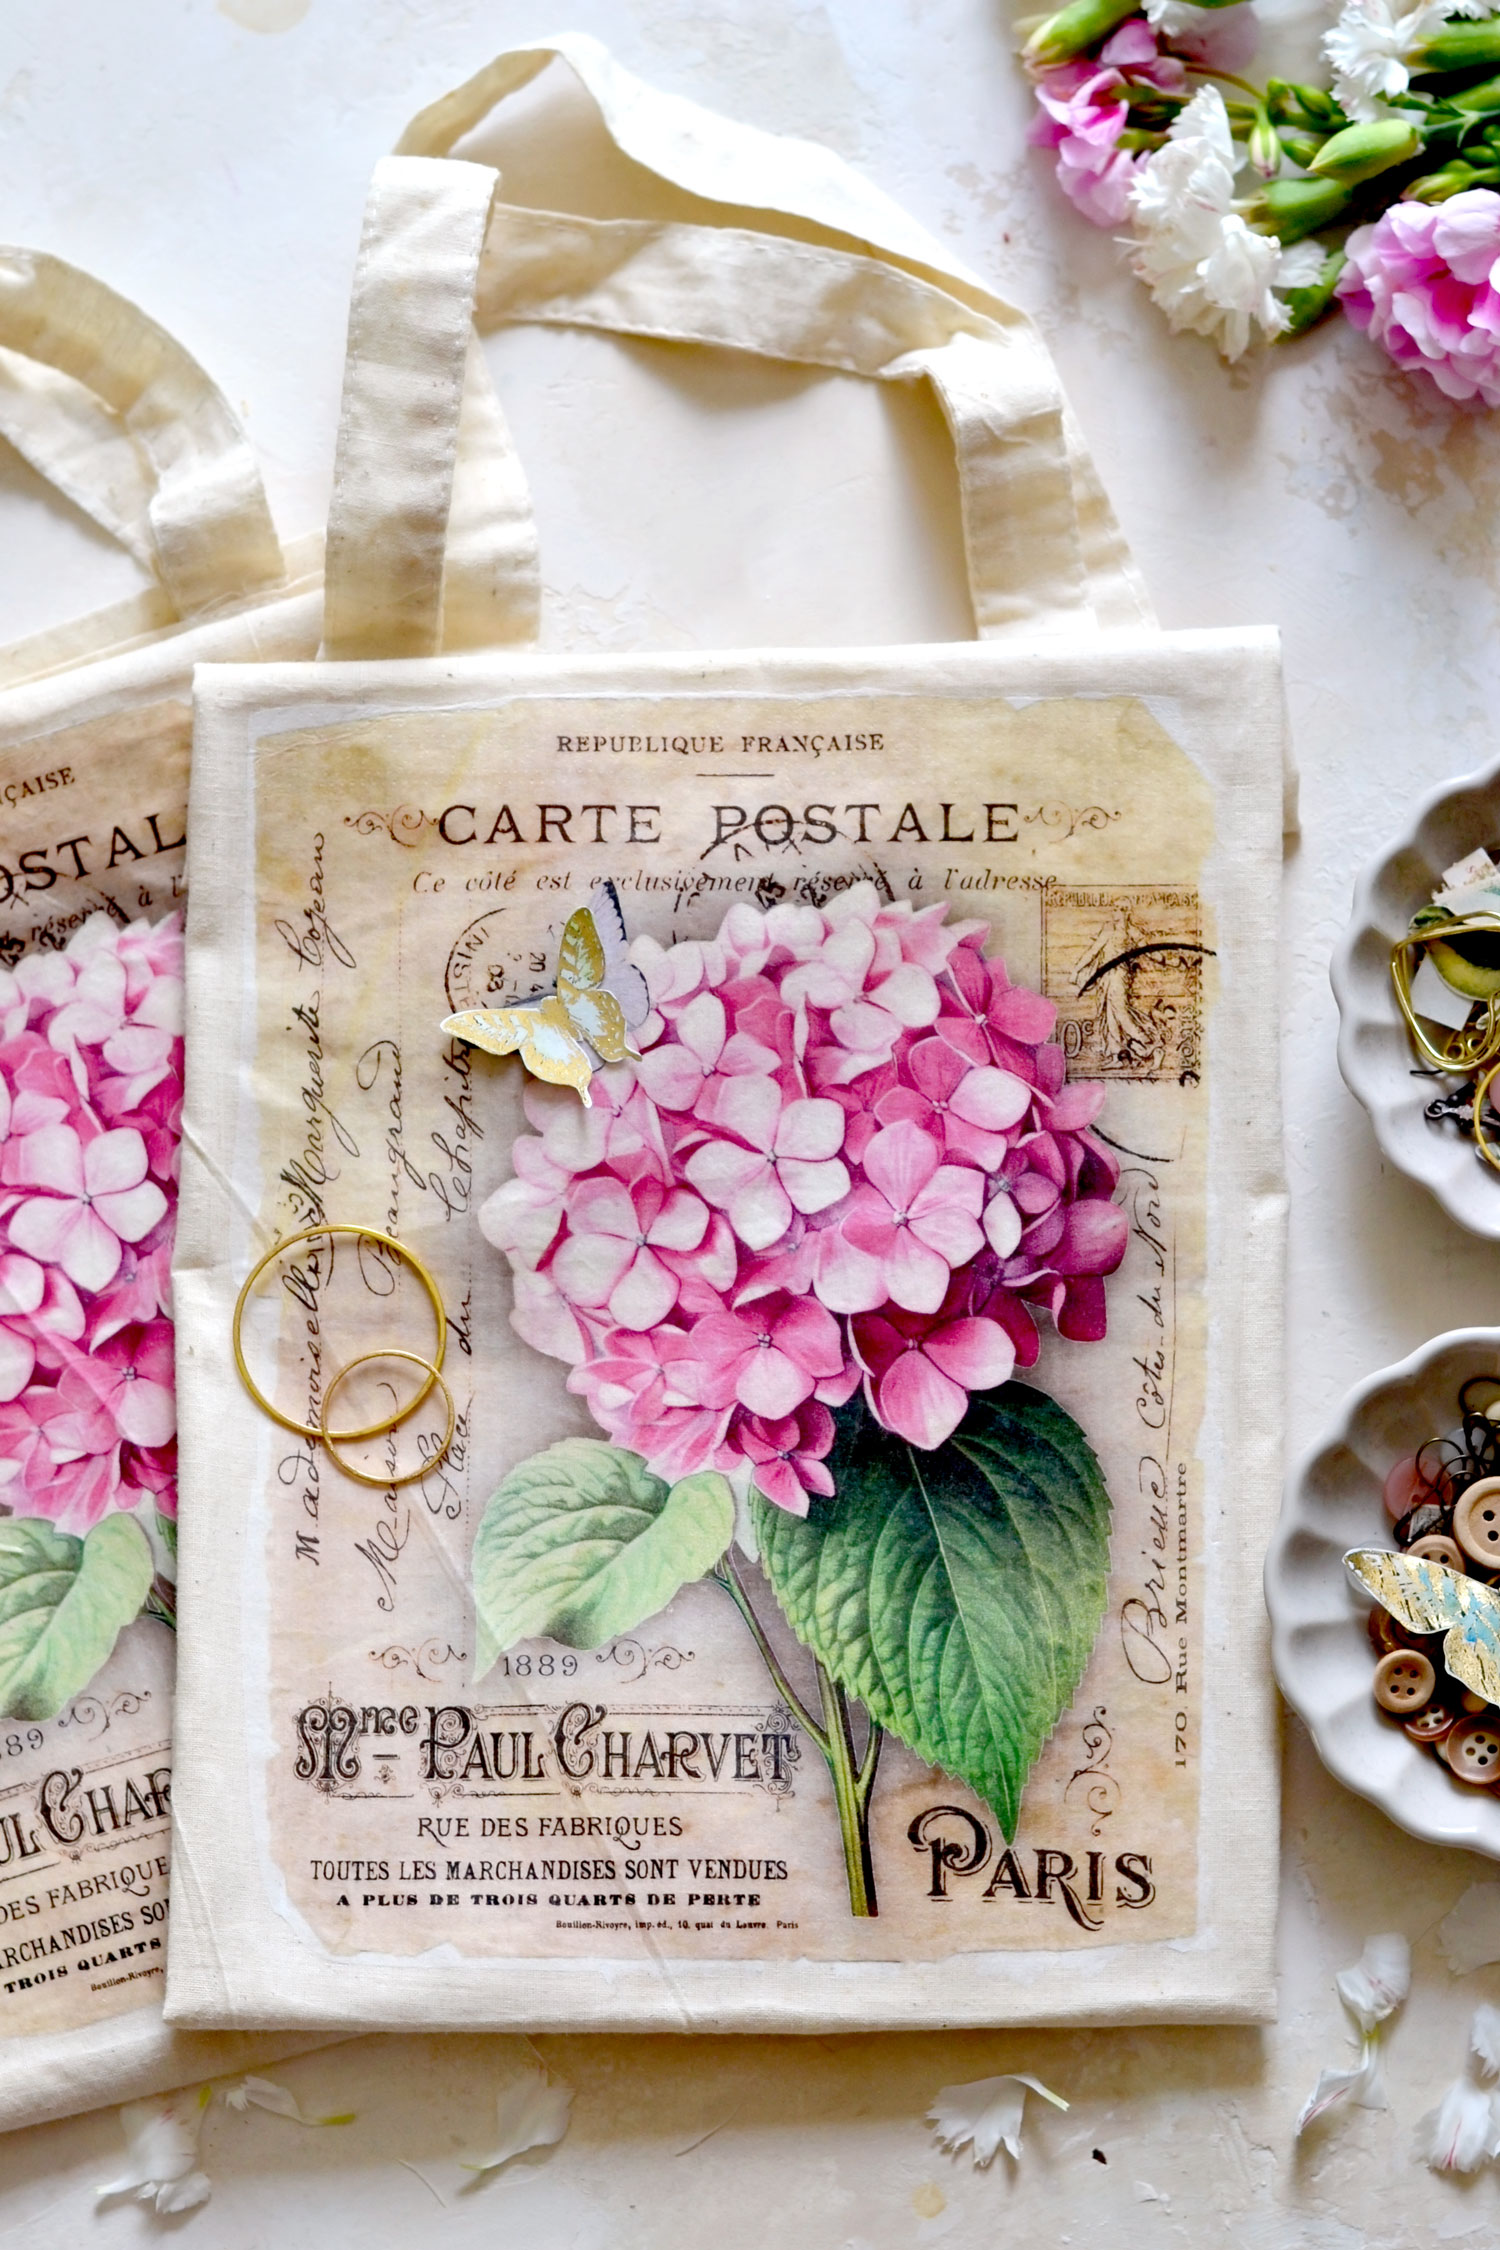
Hello Graphics Fairy friends! I’m Diana from Dreams Factory and I’m happy to be here again to share another DIY project with you! Today I will show you how to make this super chic DIY Tote Bag using an easy cling wrap and napkin image transfer technique. Chances are you already have all the supplies you need at hand, so if you do, this can be ready in no time!
This is not my first time using a cling wrap transfer for a project but the first time I used it on fabric. It was more like an experiment because I wanted to see if it would be possible to give a simple tote bag a super chic makeover using this image transfer method. And the final results, even though not perfect, are absolutely gorgeous!
I had a project like this in mind for quite some time so I thought why not put my creativity to work and design a super amazing collage for this?! I have quite a few simple tote bags that I usually keep in the car or my purse for when I need to do small shopping, but they are quite plain and I wanted to see if I could print and transfer my own design.
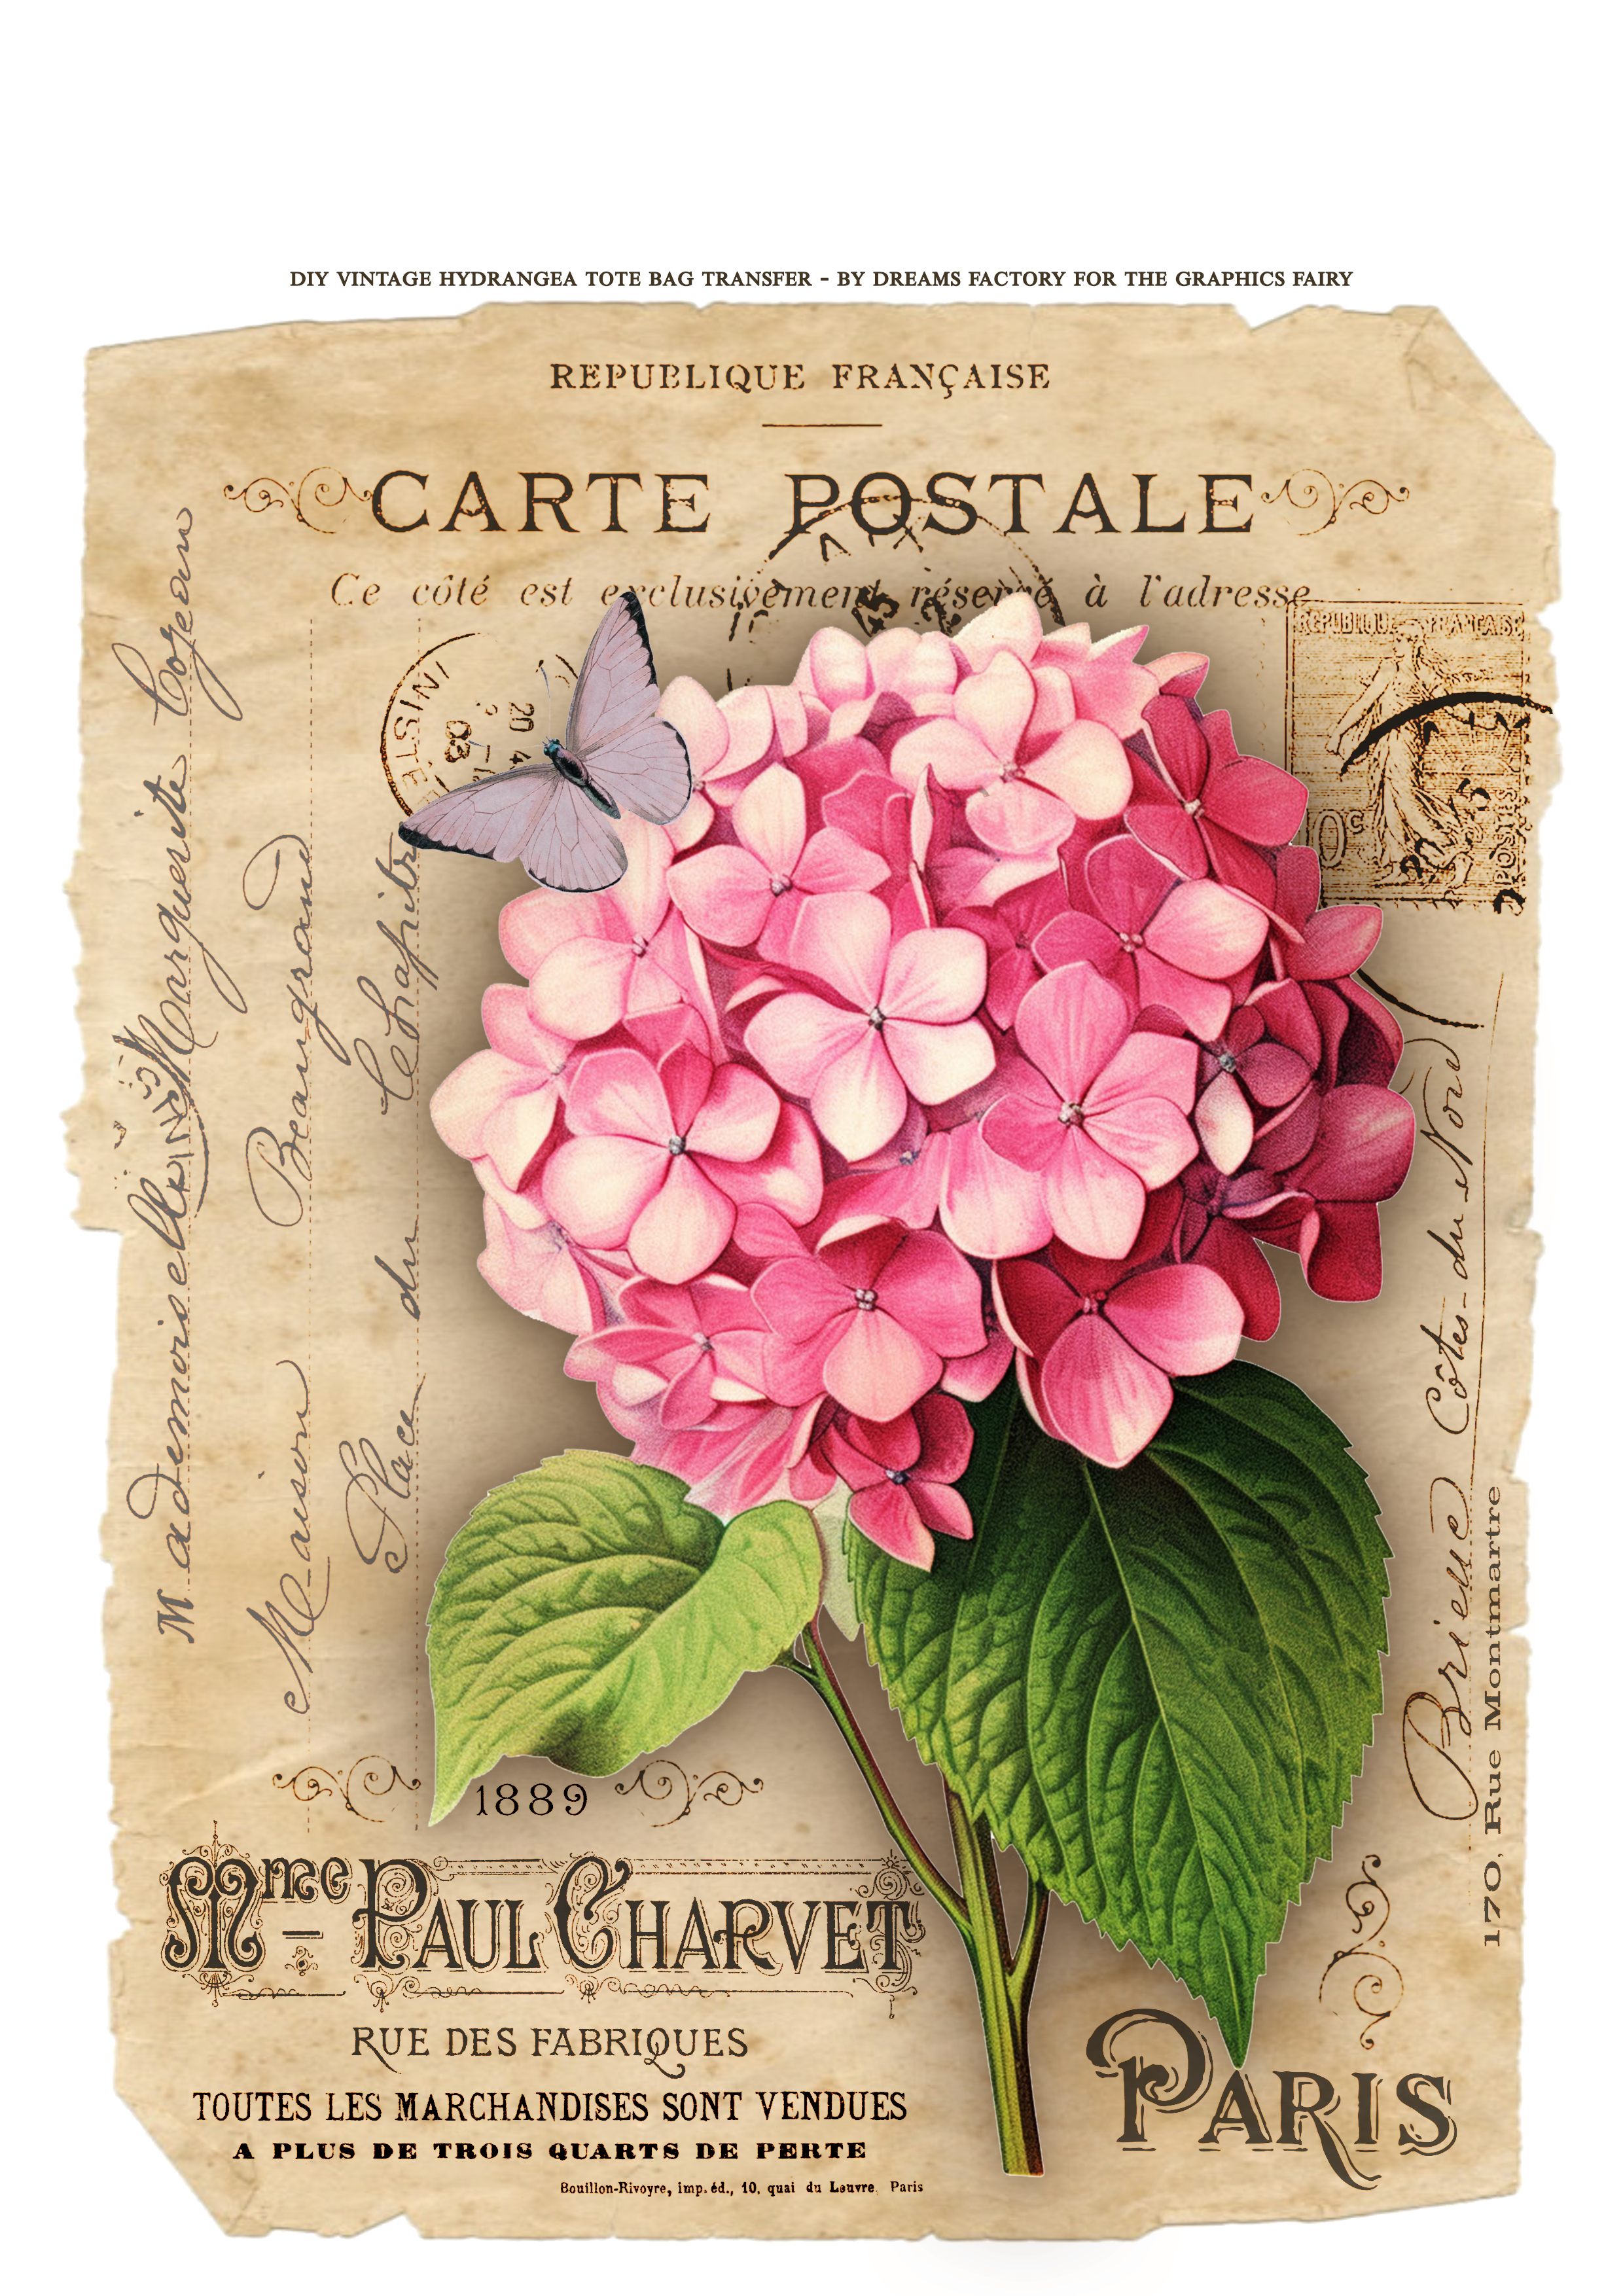
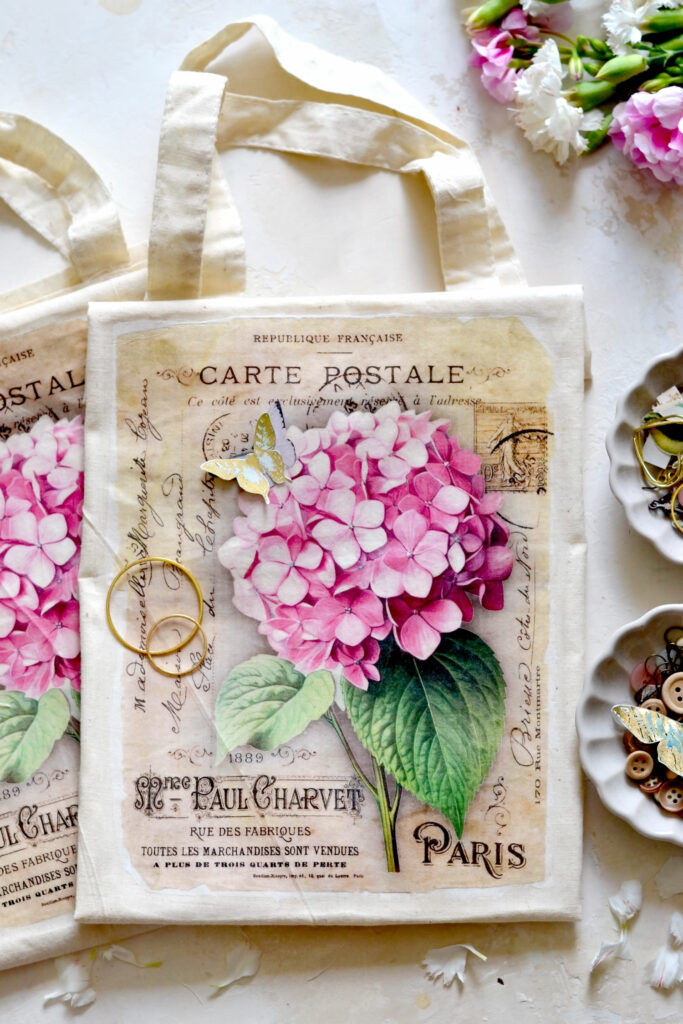
I created this French ephemera collage using a lovely vintage background along with a few French ephemera elements and some stamps to start with. Then I tried different flowers like lilac and lavender (which are amongst my favorites), but this stunning pink hydrangea simply stole my heart! I knew this was it, it looked perfect! I also added a small butterfly to make it even more charming, if that was even possible!
Free Printable:
—-> Click HERE to Download the Full Size Printable PDF <—-
DIY Tote Bag Supplies:
- cardstock paper, white paper napkin and masking tape (to print the hydrangea printable)
- home printer – I have a laserjet printer
- scissors
- tote bag
- cling wrap (also known as saran wrap or cling film)
- clothes iron
- parchment paper (also known as baking paper)
Step by Step Tutorial:
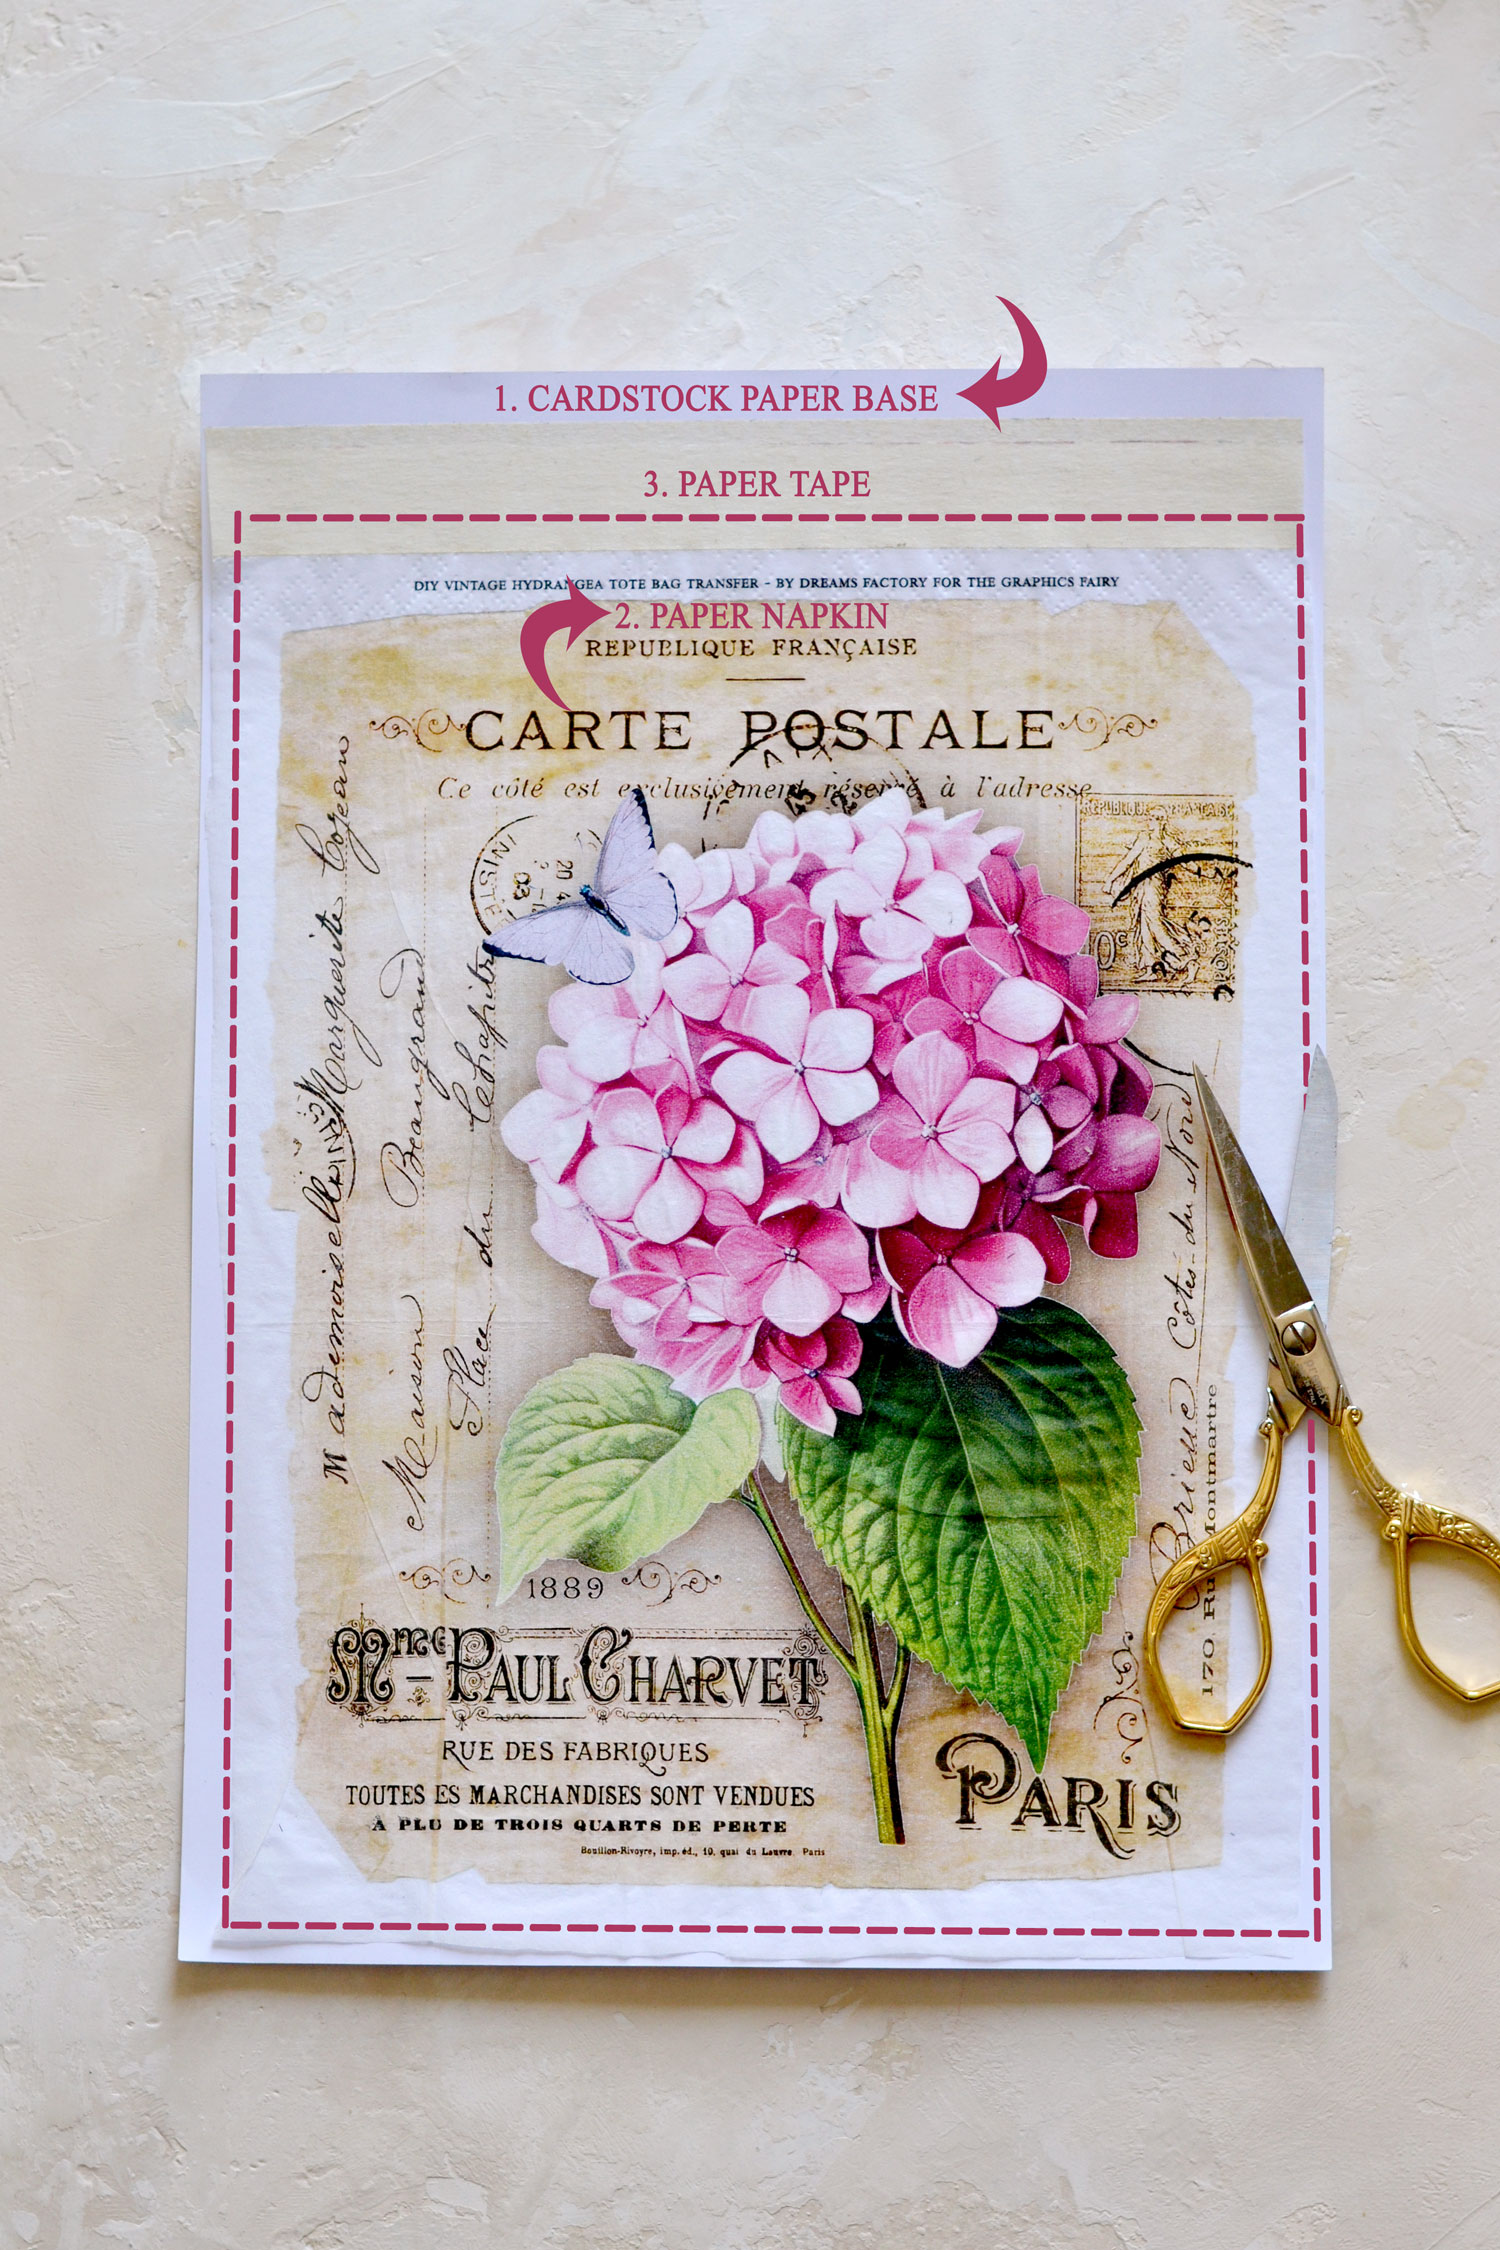
To make this project you will need to first print the design on white napkin paper. If you have found a method that works for you, you can use it to print the hydrangea collage. I usually like to use cardstock paper as the base, I cut a white paper napkin to size (but a little bit smaller on top), and then I use masking tape to hold the napkin in place. I always leave a little bit of space on top because I feel I can ‘trick’ my printer into thinking it’s just cardstock paper that needs to be printed. And it works every single time, I can print all the napkins (or the tissue paper) that I need!
IMPORTANT: All paper napkins usually come with 2 or 3 layers, just make sure you separate the layers before printing, you only need one of the layers for this!
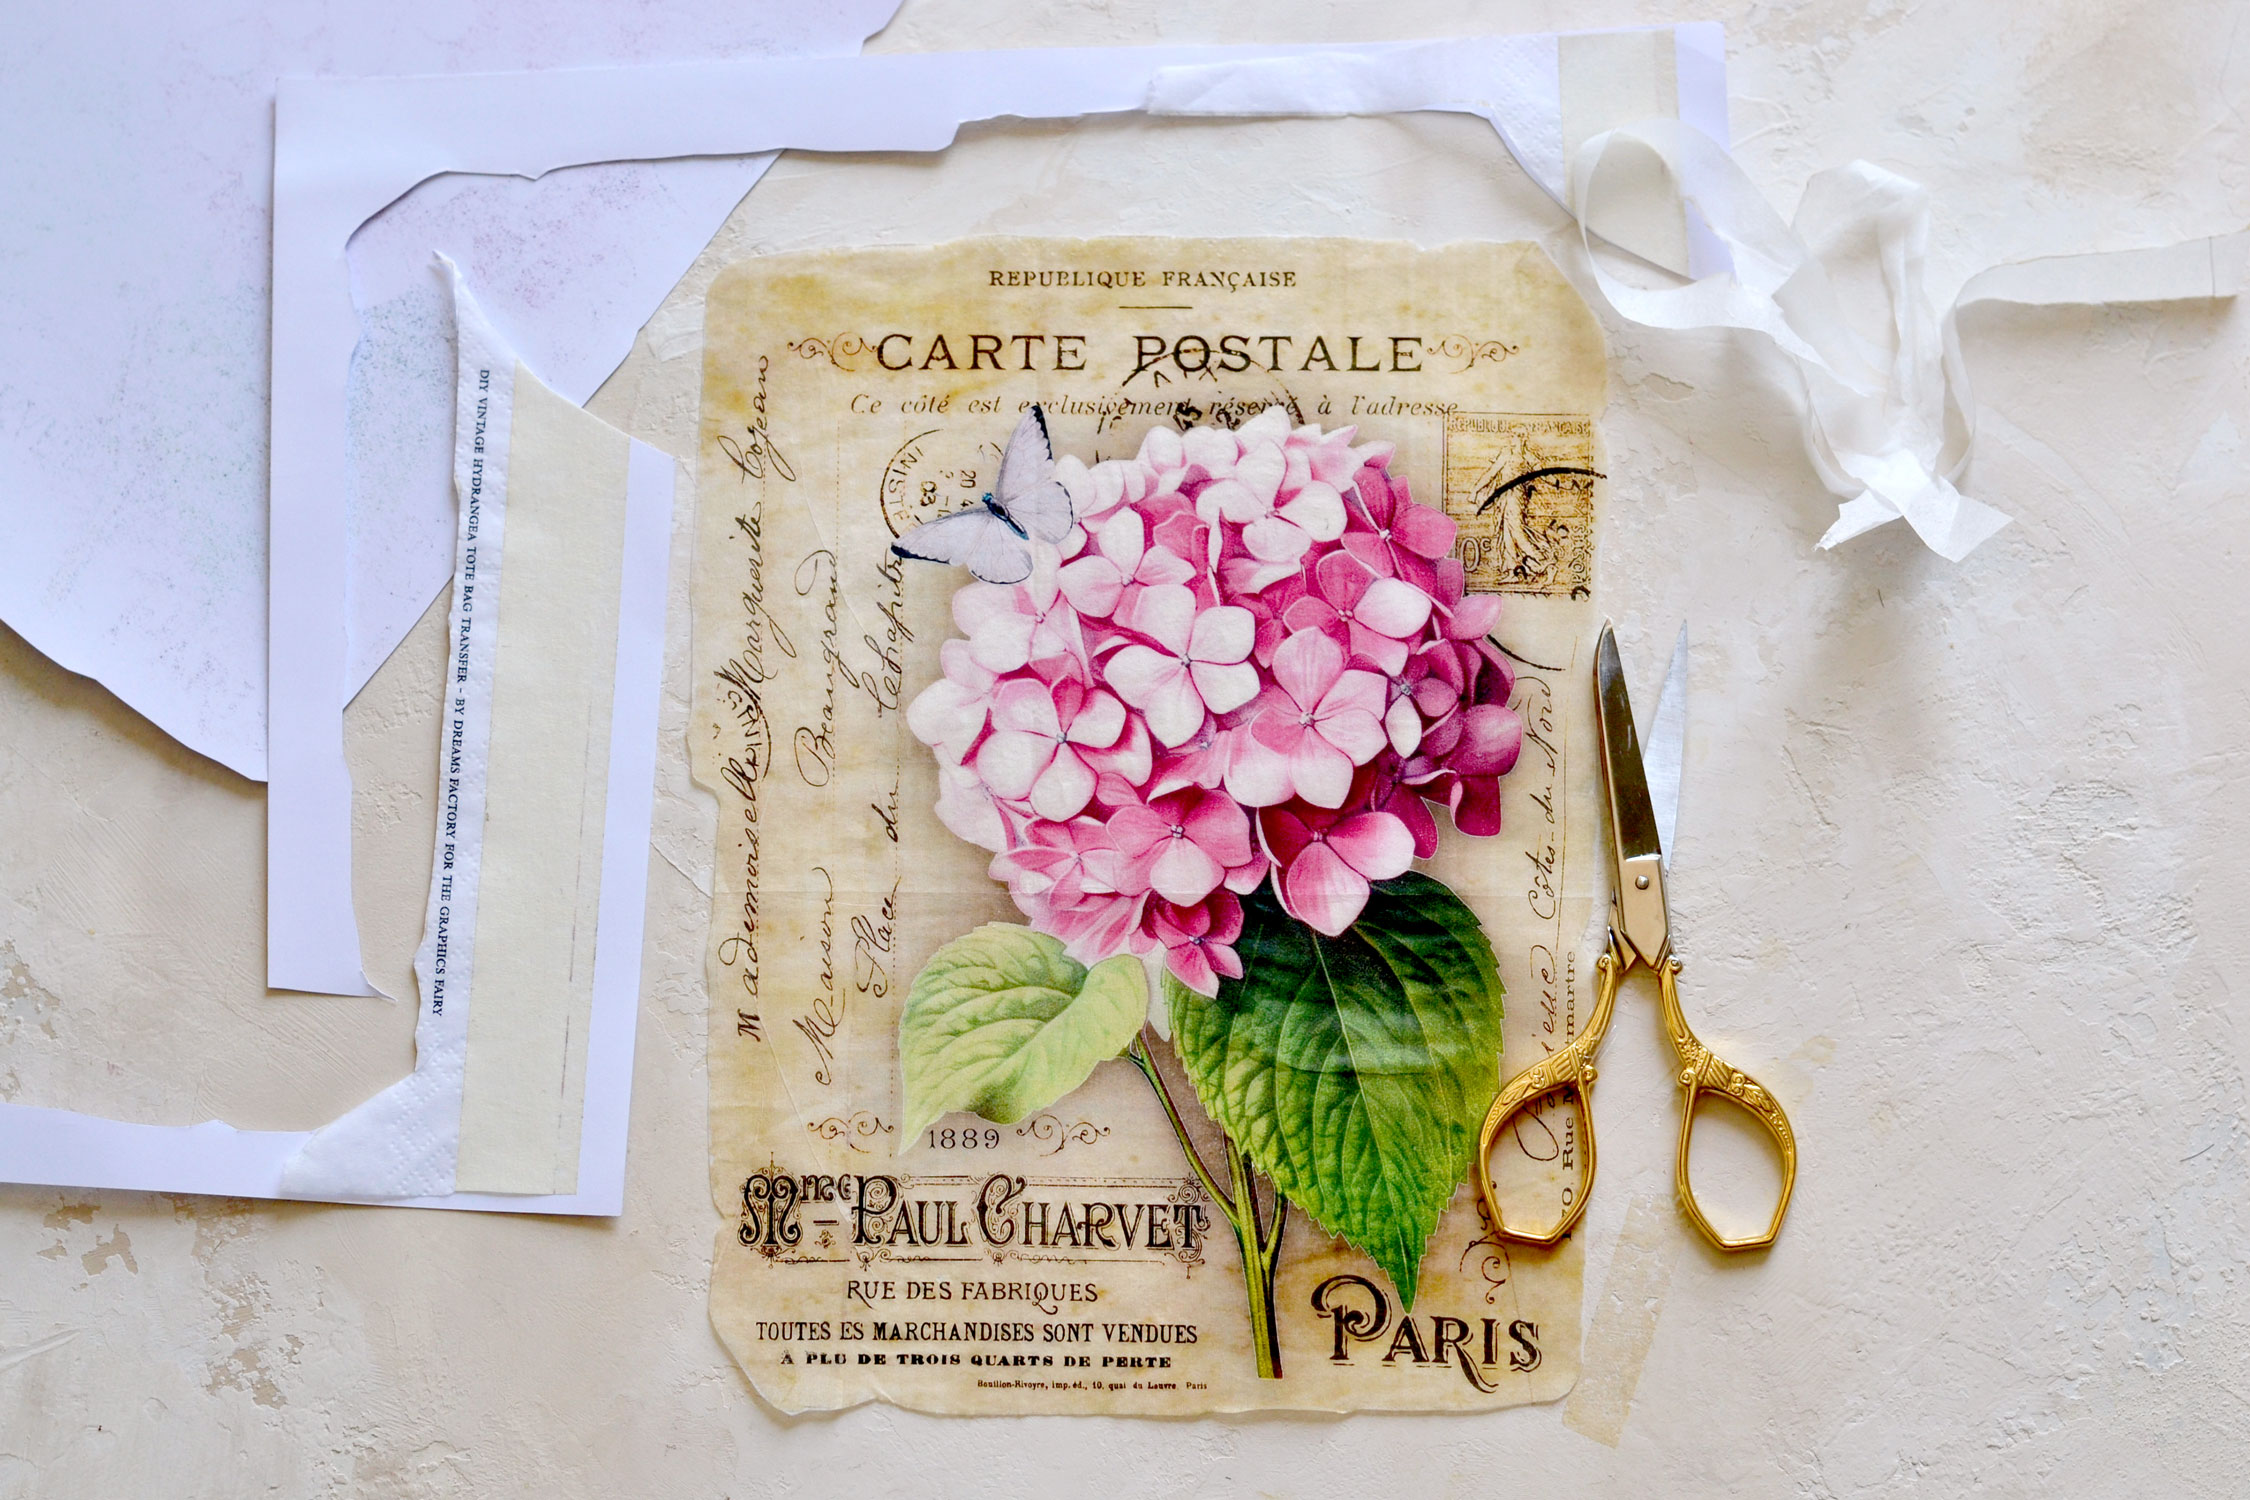
After printing the hydrangea collage, you can use your scissors to cut around it. Try to remove as much white paper as you can, because it might show up on your tote bag afterward if not completely removed. I also cut the cardstock base this time (even though I usually reuse it) because I wanted to be able to better see the design so I could remove all the white edges.
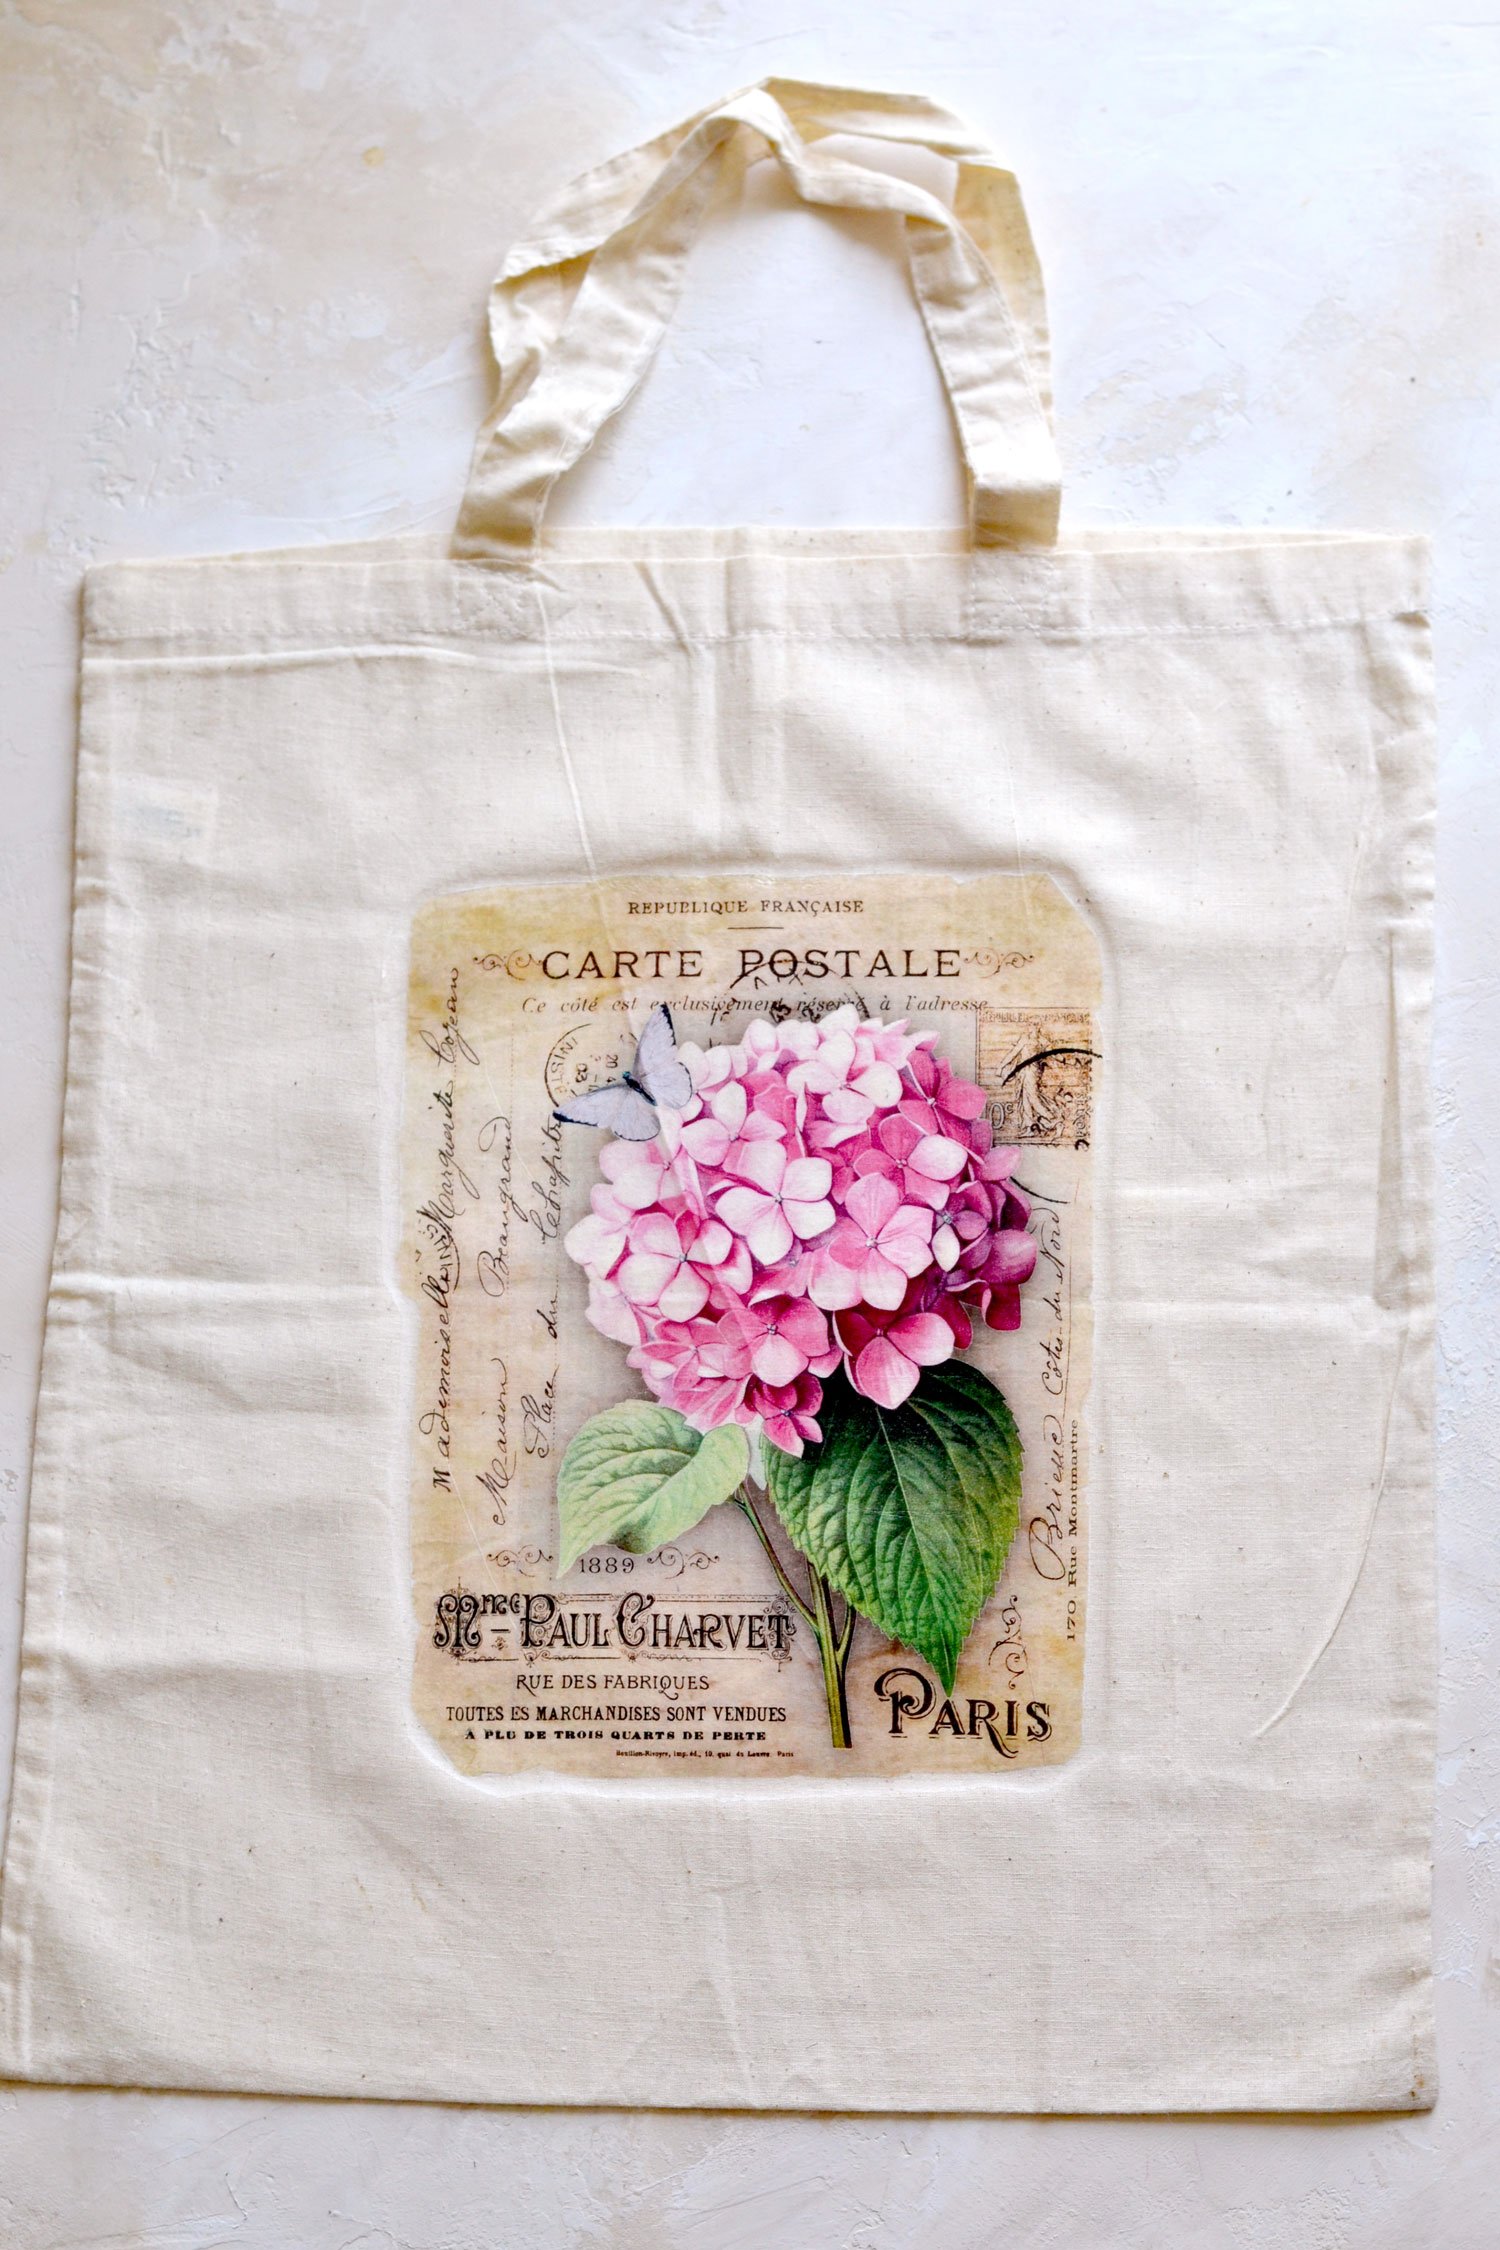
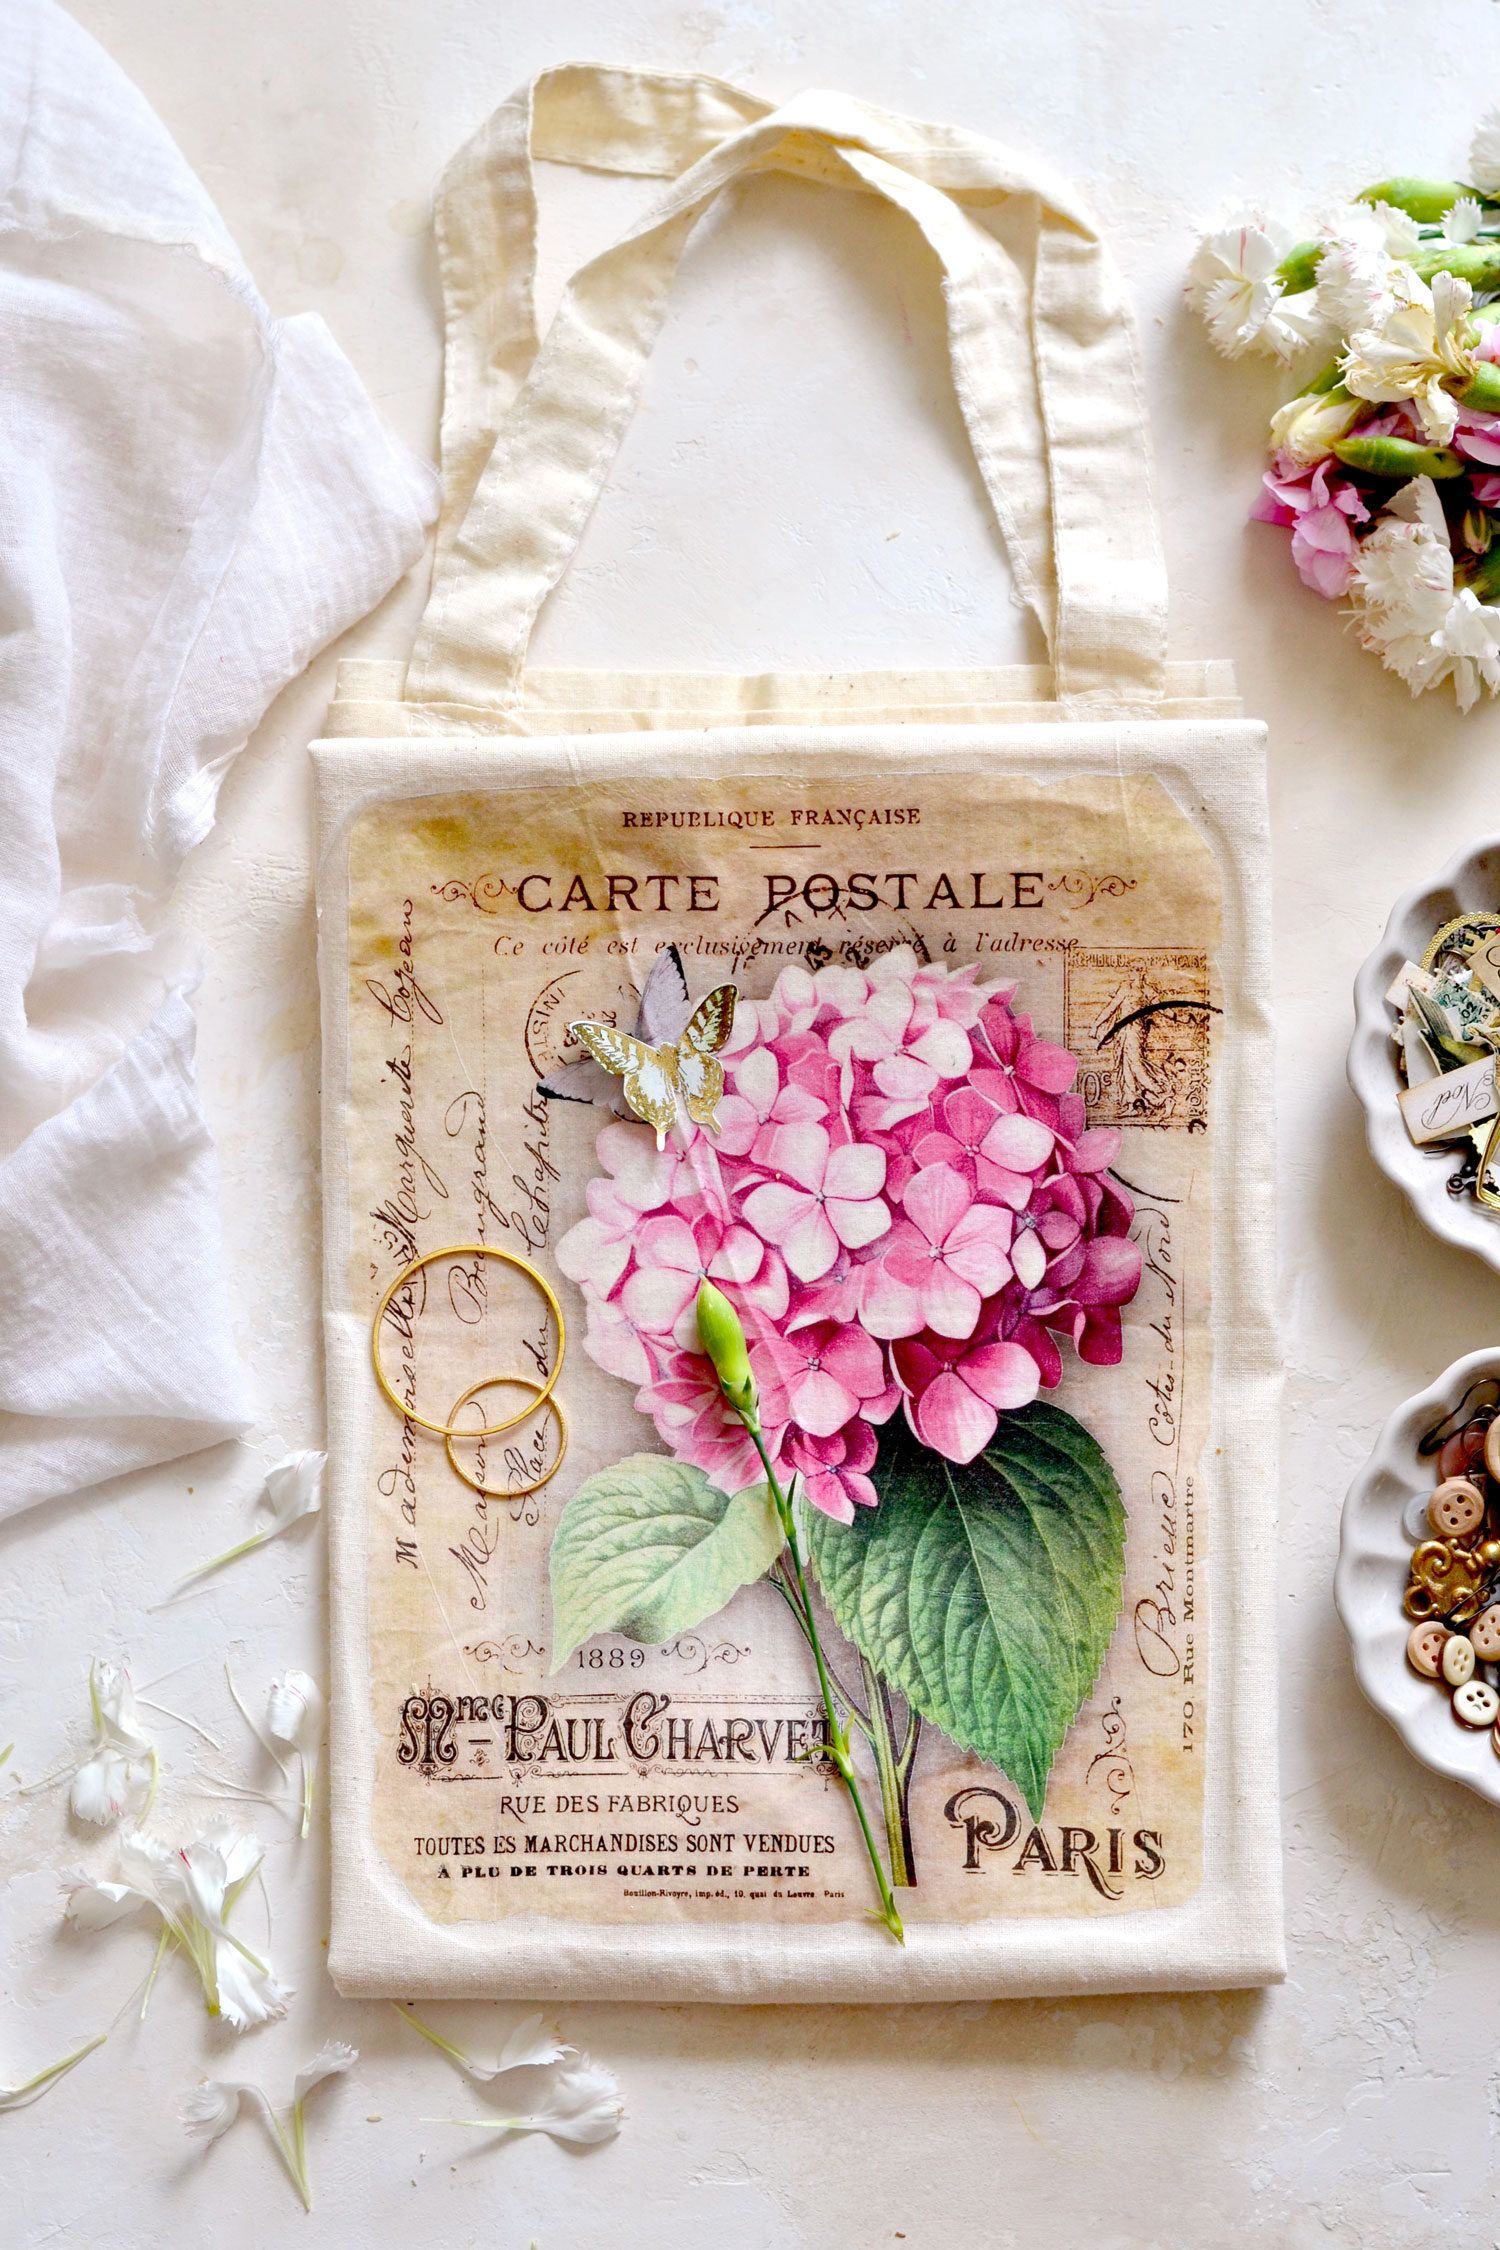
As you can see in the image below, my tote bag is actually larger than in the first pictures that I shared above. This is the actual size, but I had to fold it a little bit after completing the transfer so I could photograph it better because it was quite large. If you have the chance to pick a size, you can choose a size that is at least the size of a regular printing page or something even bigger, as I did.
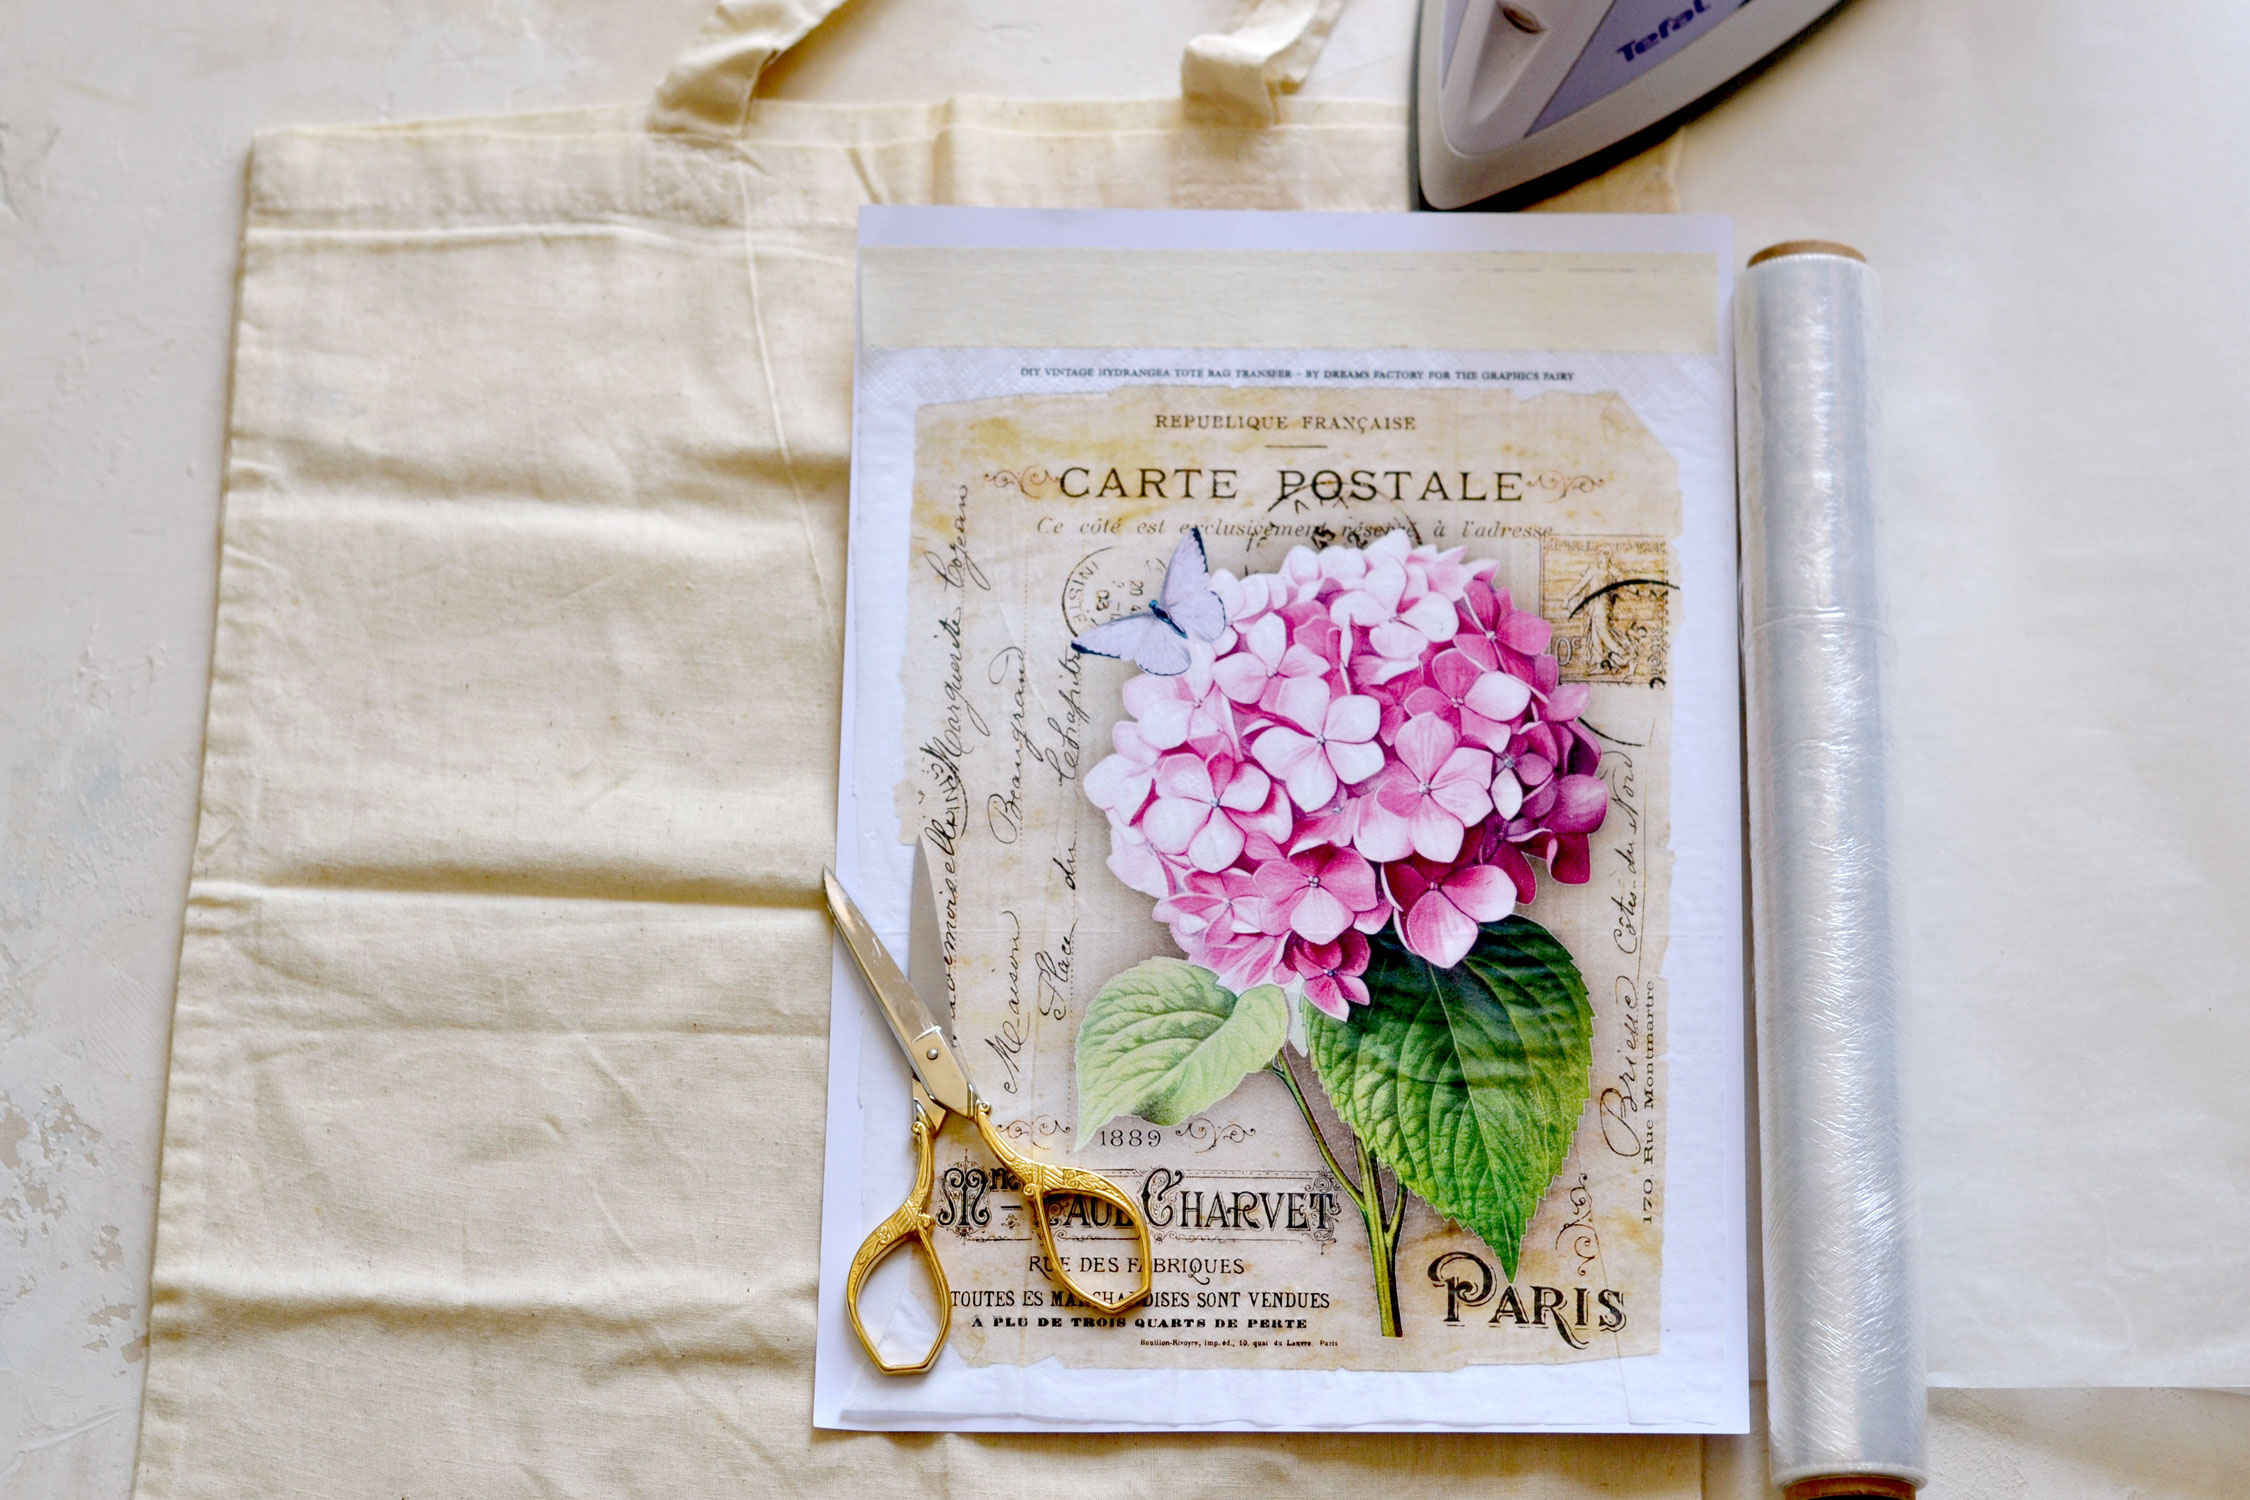
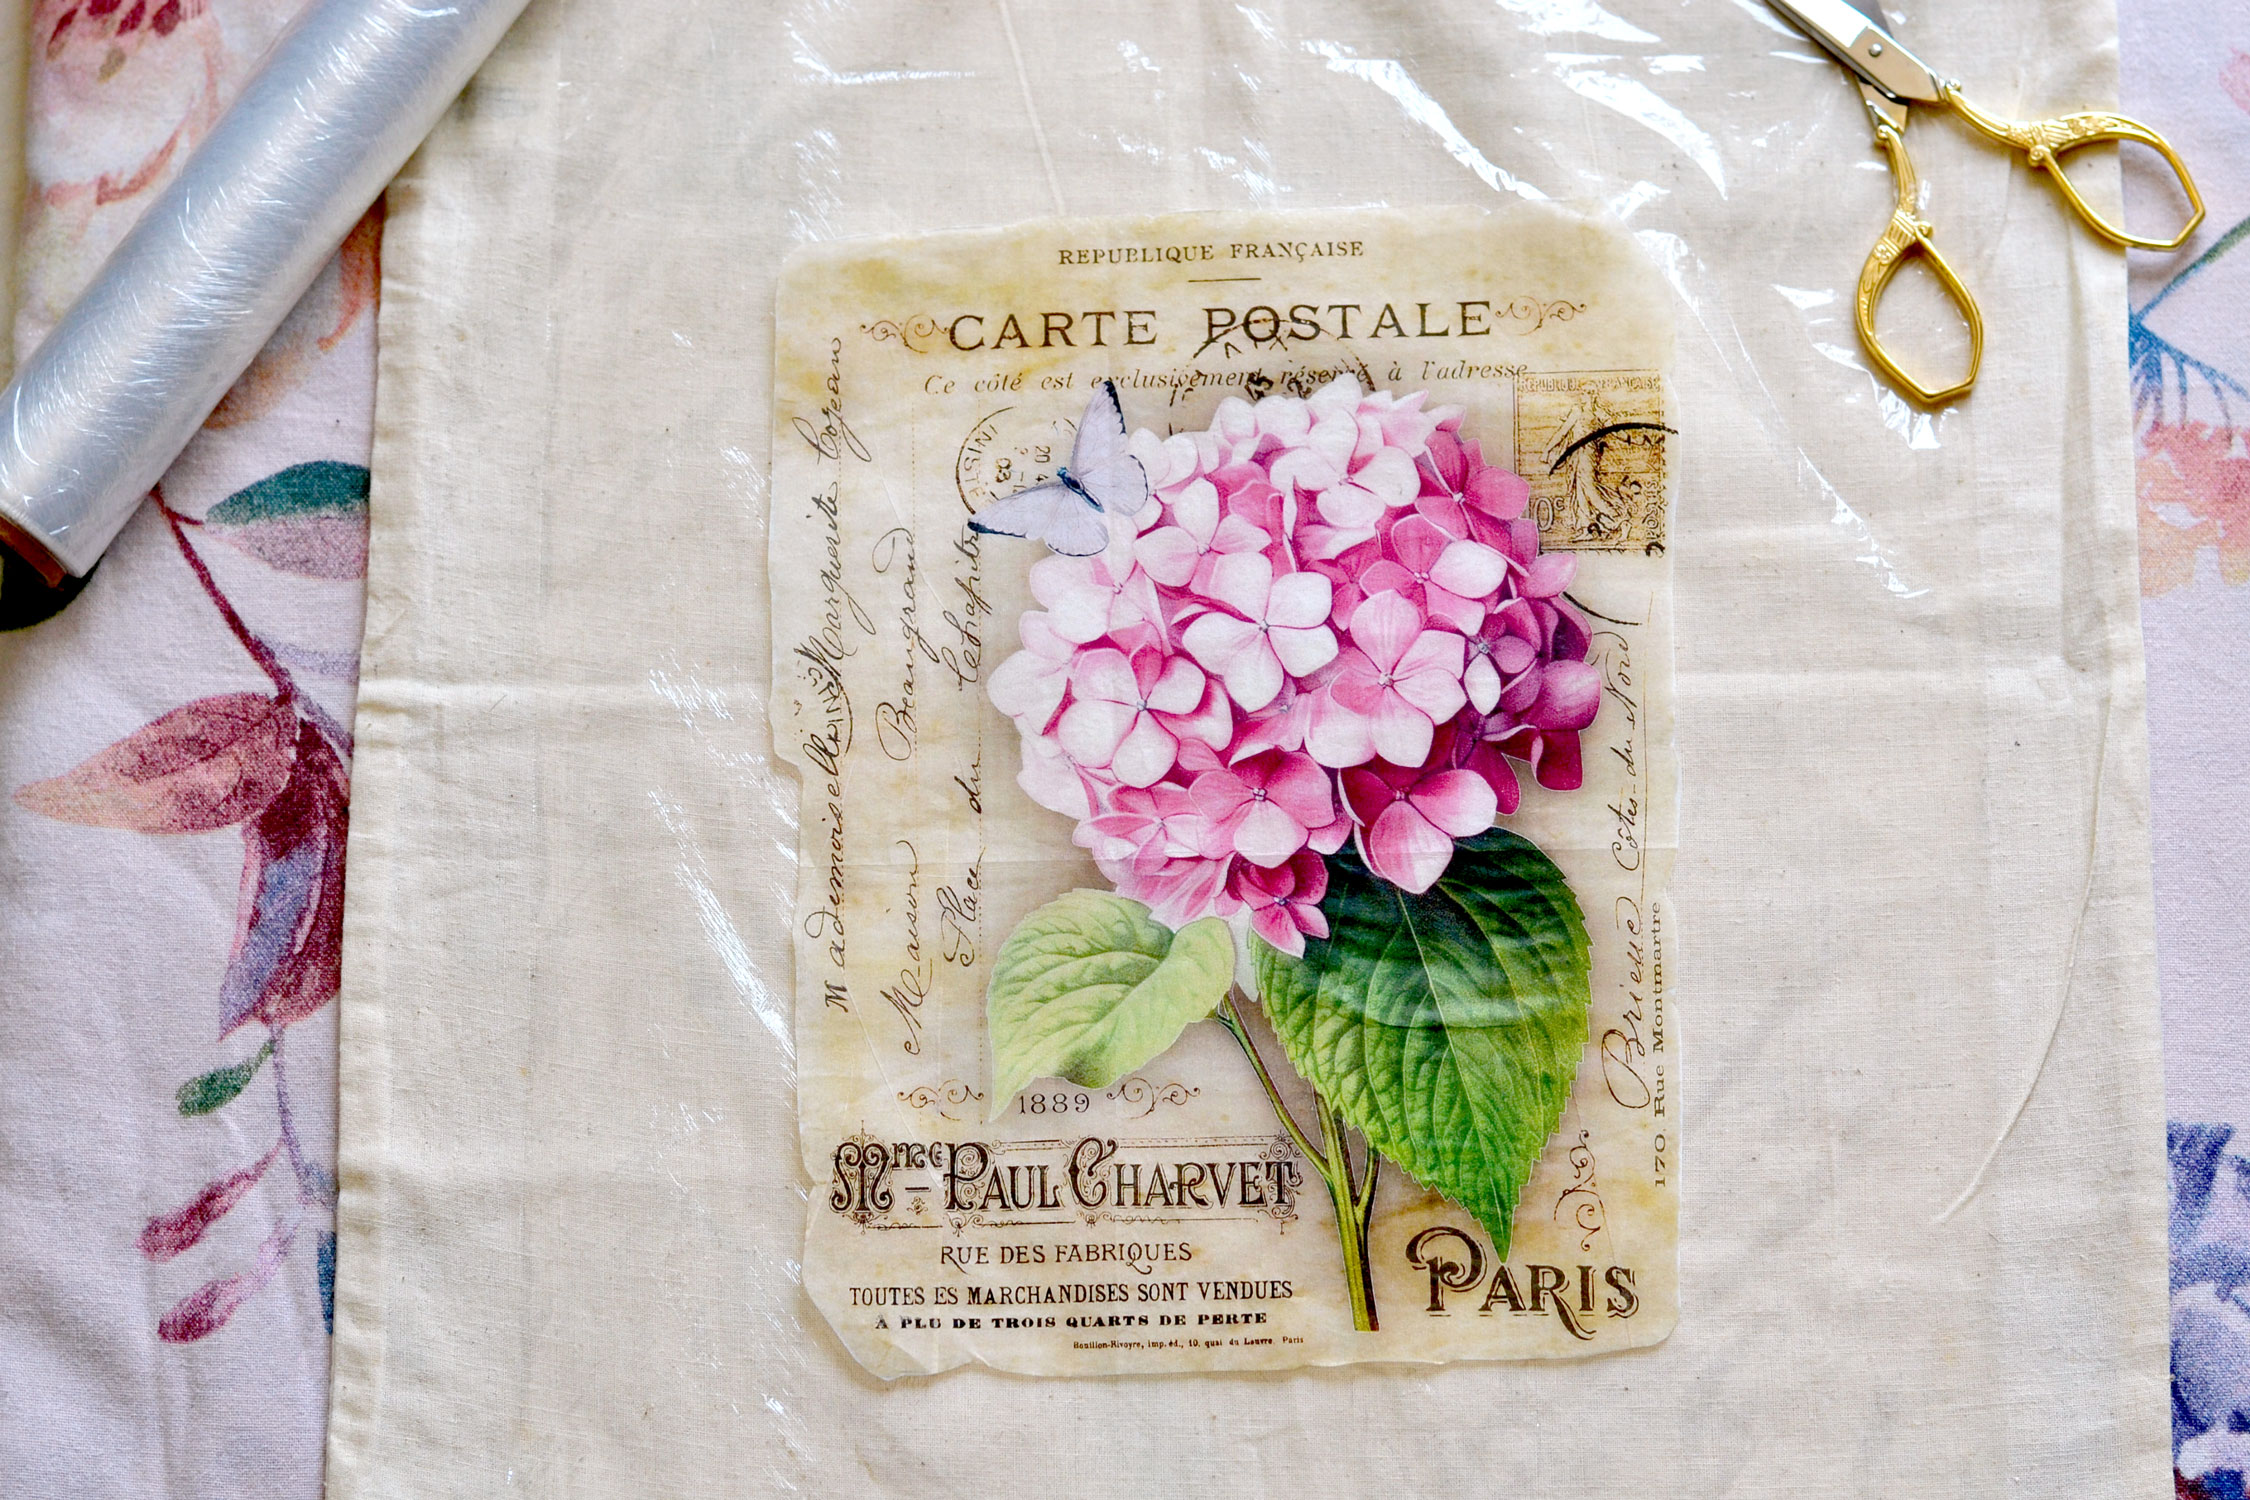
Use an ironing table or fold some fabric a few times as I did, then place your bag there. Cut a piece of cling wrap that is larger than the printable and place it on your bag, then place the napkin printable on top.
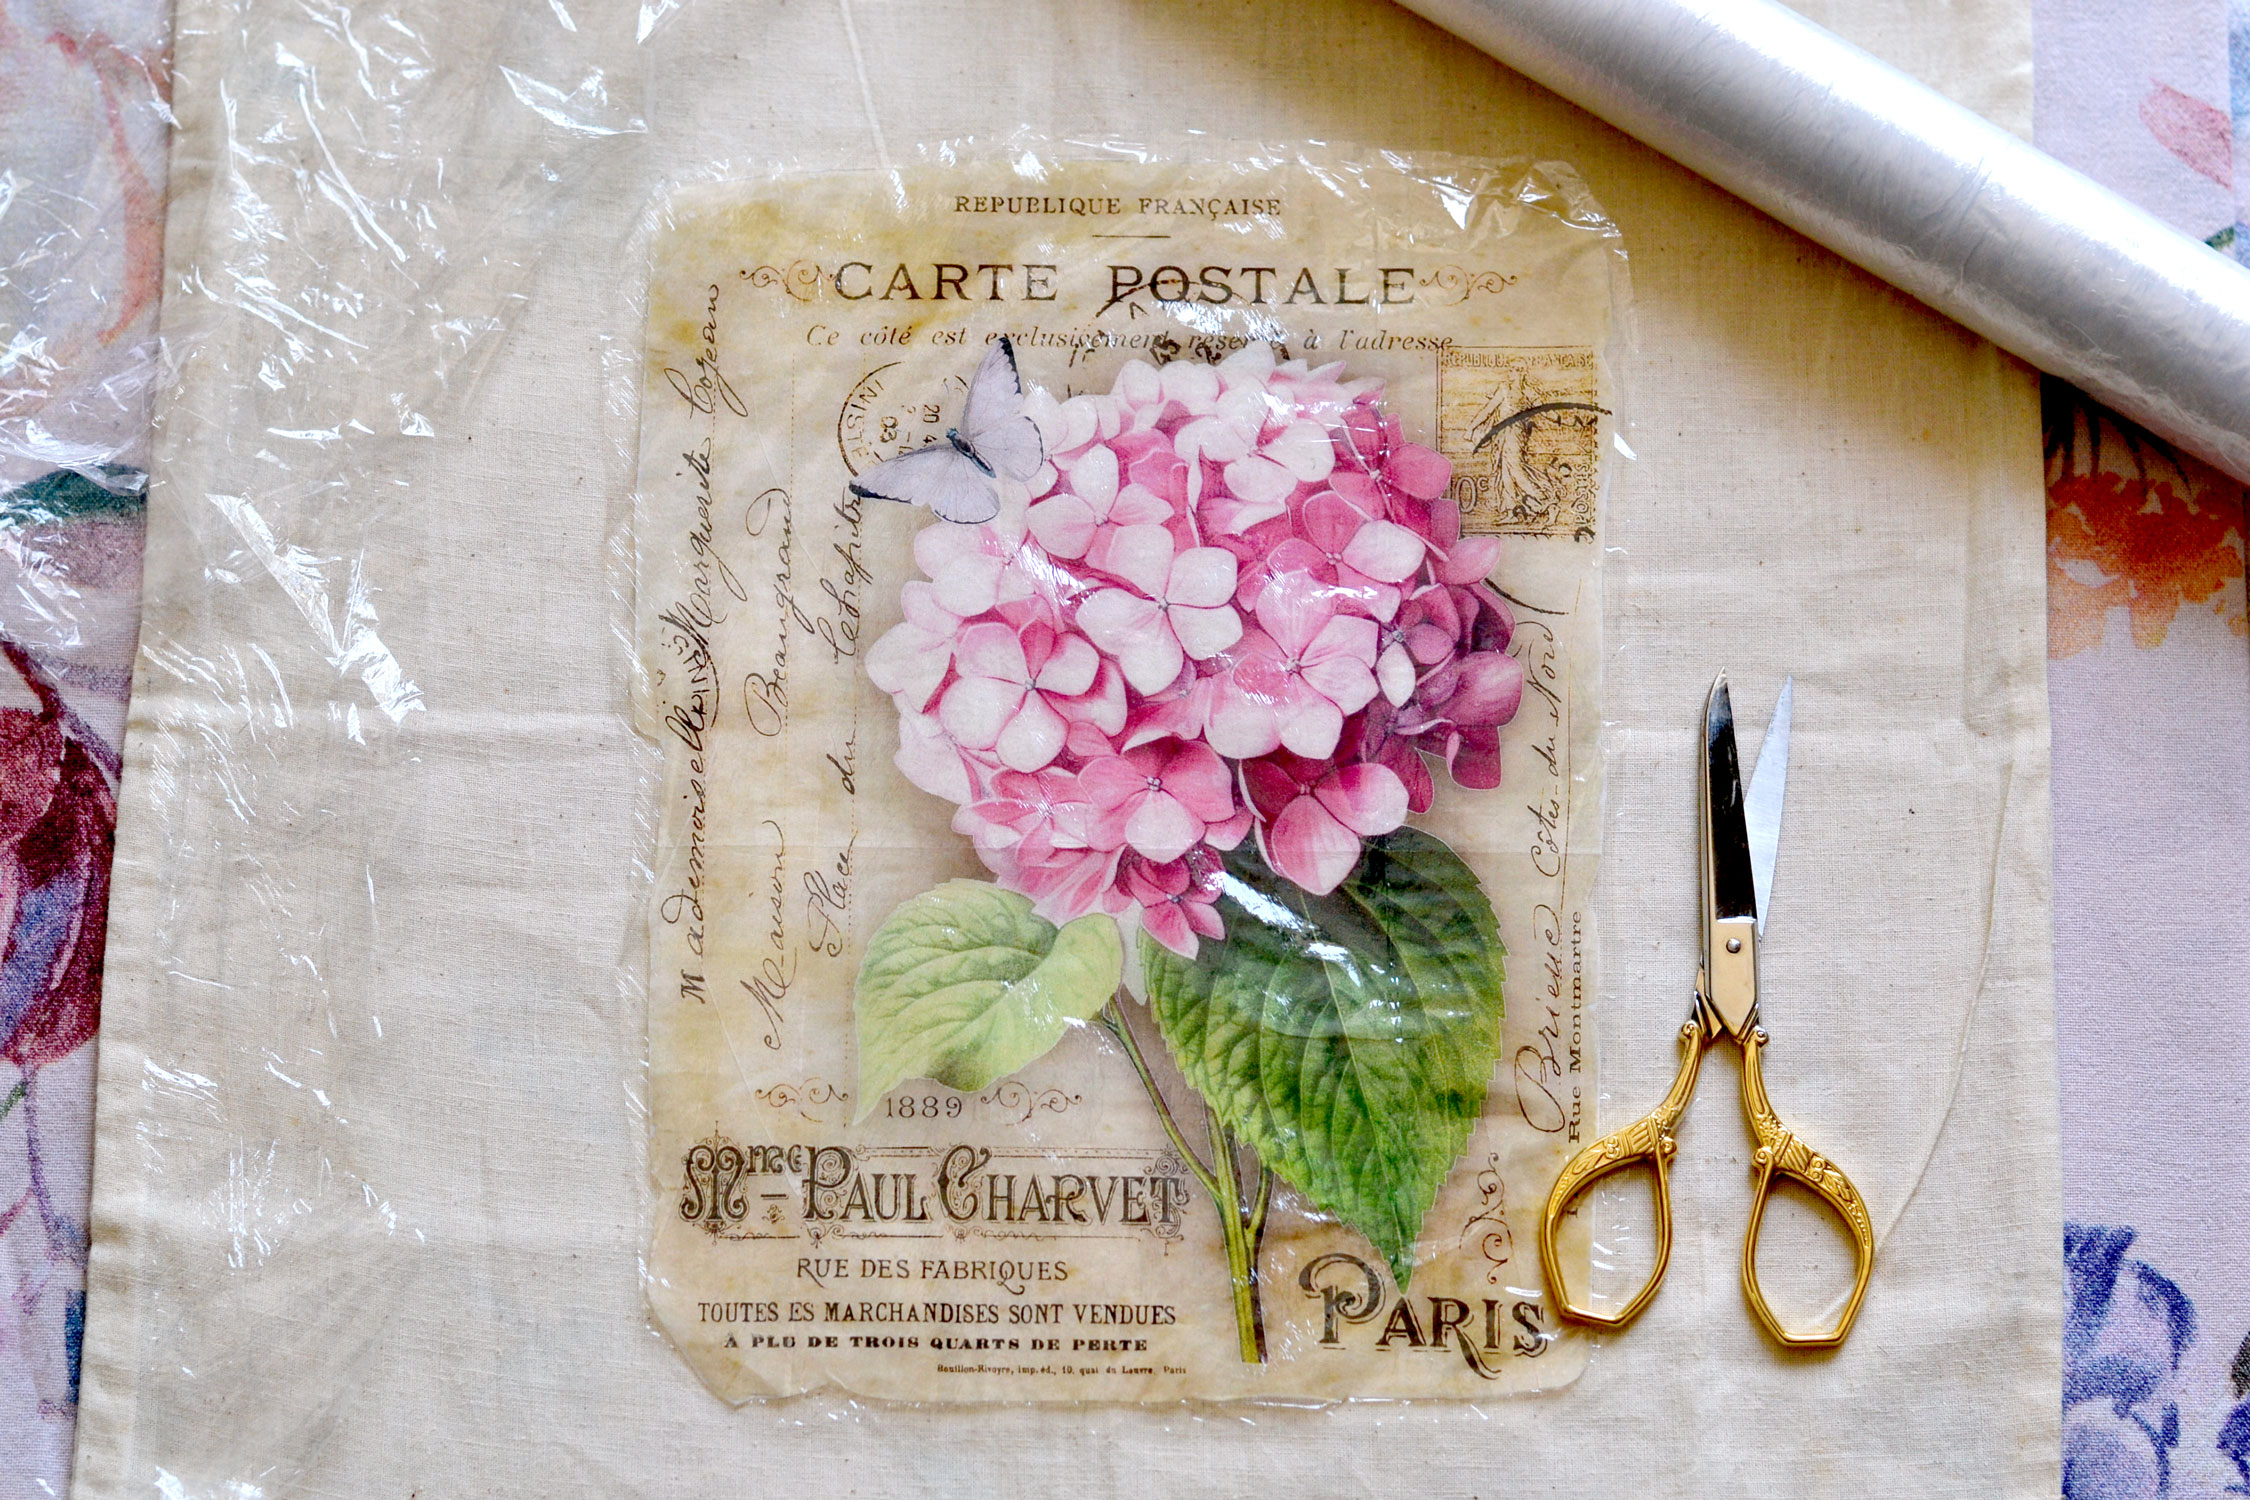
Cut another sheet of cling wrap and place it on top of your printable, then use your fingers to gently press around the edges to partially ‘glue’ the two pieces of cling together. Use your scissors to carefully cut around the printable, making sure you leave a little bit of cling to go outside its edges.
Be gentle when cutting and handling this cling wrap & napkin ‘sandwich’, you want to keep everything as flat as possible, without too many wrinkles.
Place the sandwich on your tote bag and try to center it as much as you can. Keep it in place with one hand, then use the other hand to place a piece of parchment paper on top which has to be larger than all the other pieces underneath.
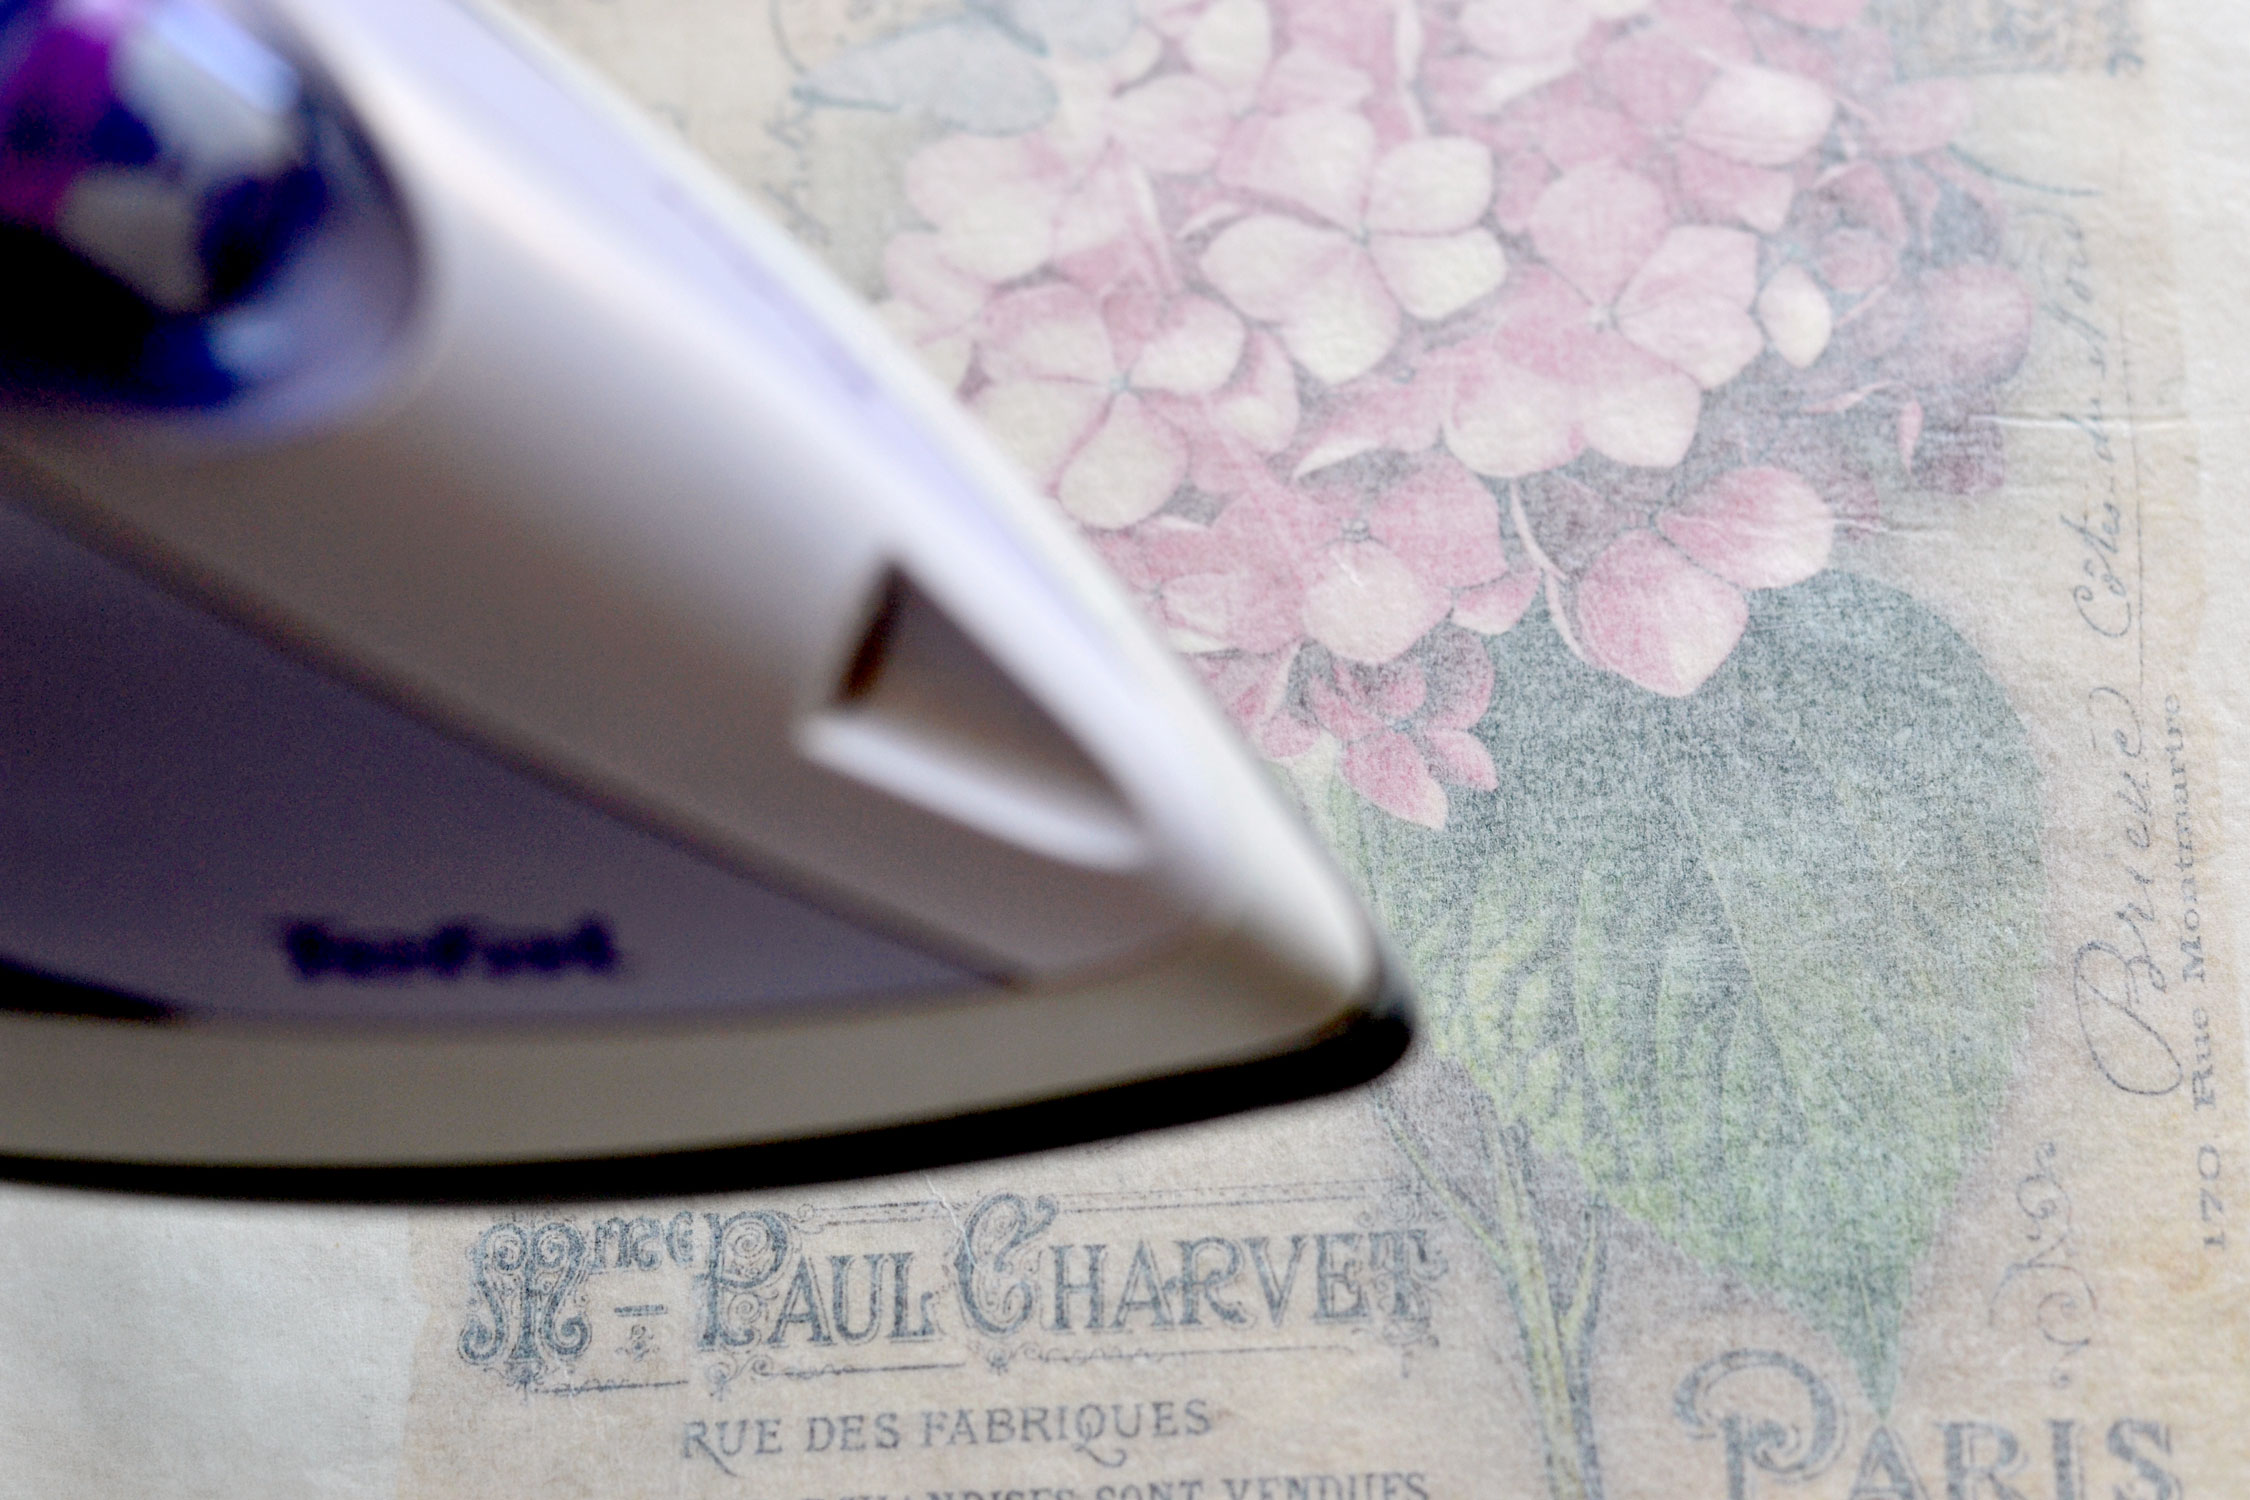
Use the middle (to high) cotton heat setting on our iron to go all over the parchment – you will be able to see the printable underneath, making sure you insist more on the edges. We want the cling wrap to fuse with the fabric, you will see the design will become more and more visible from underneath.
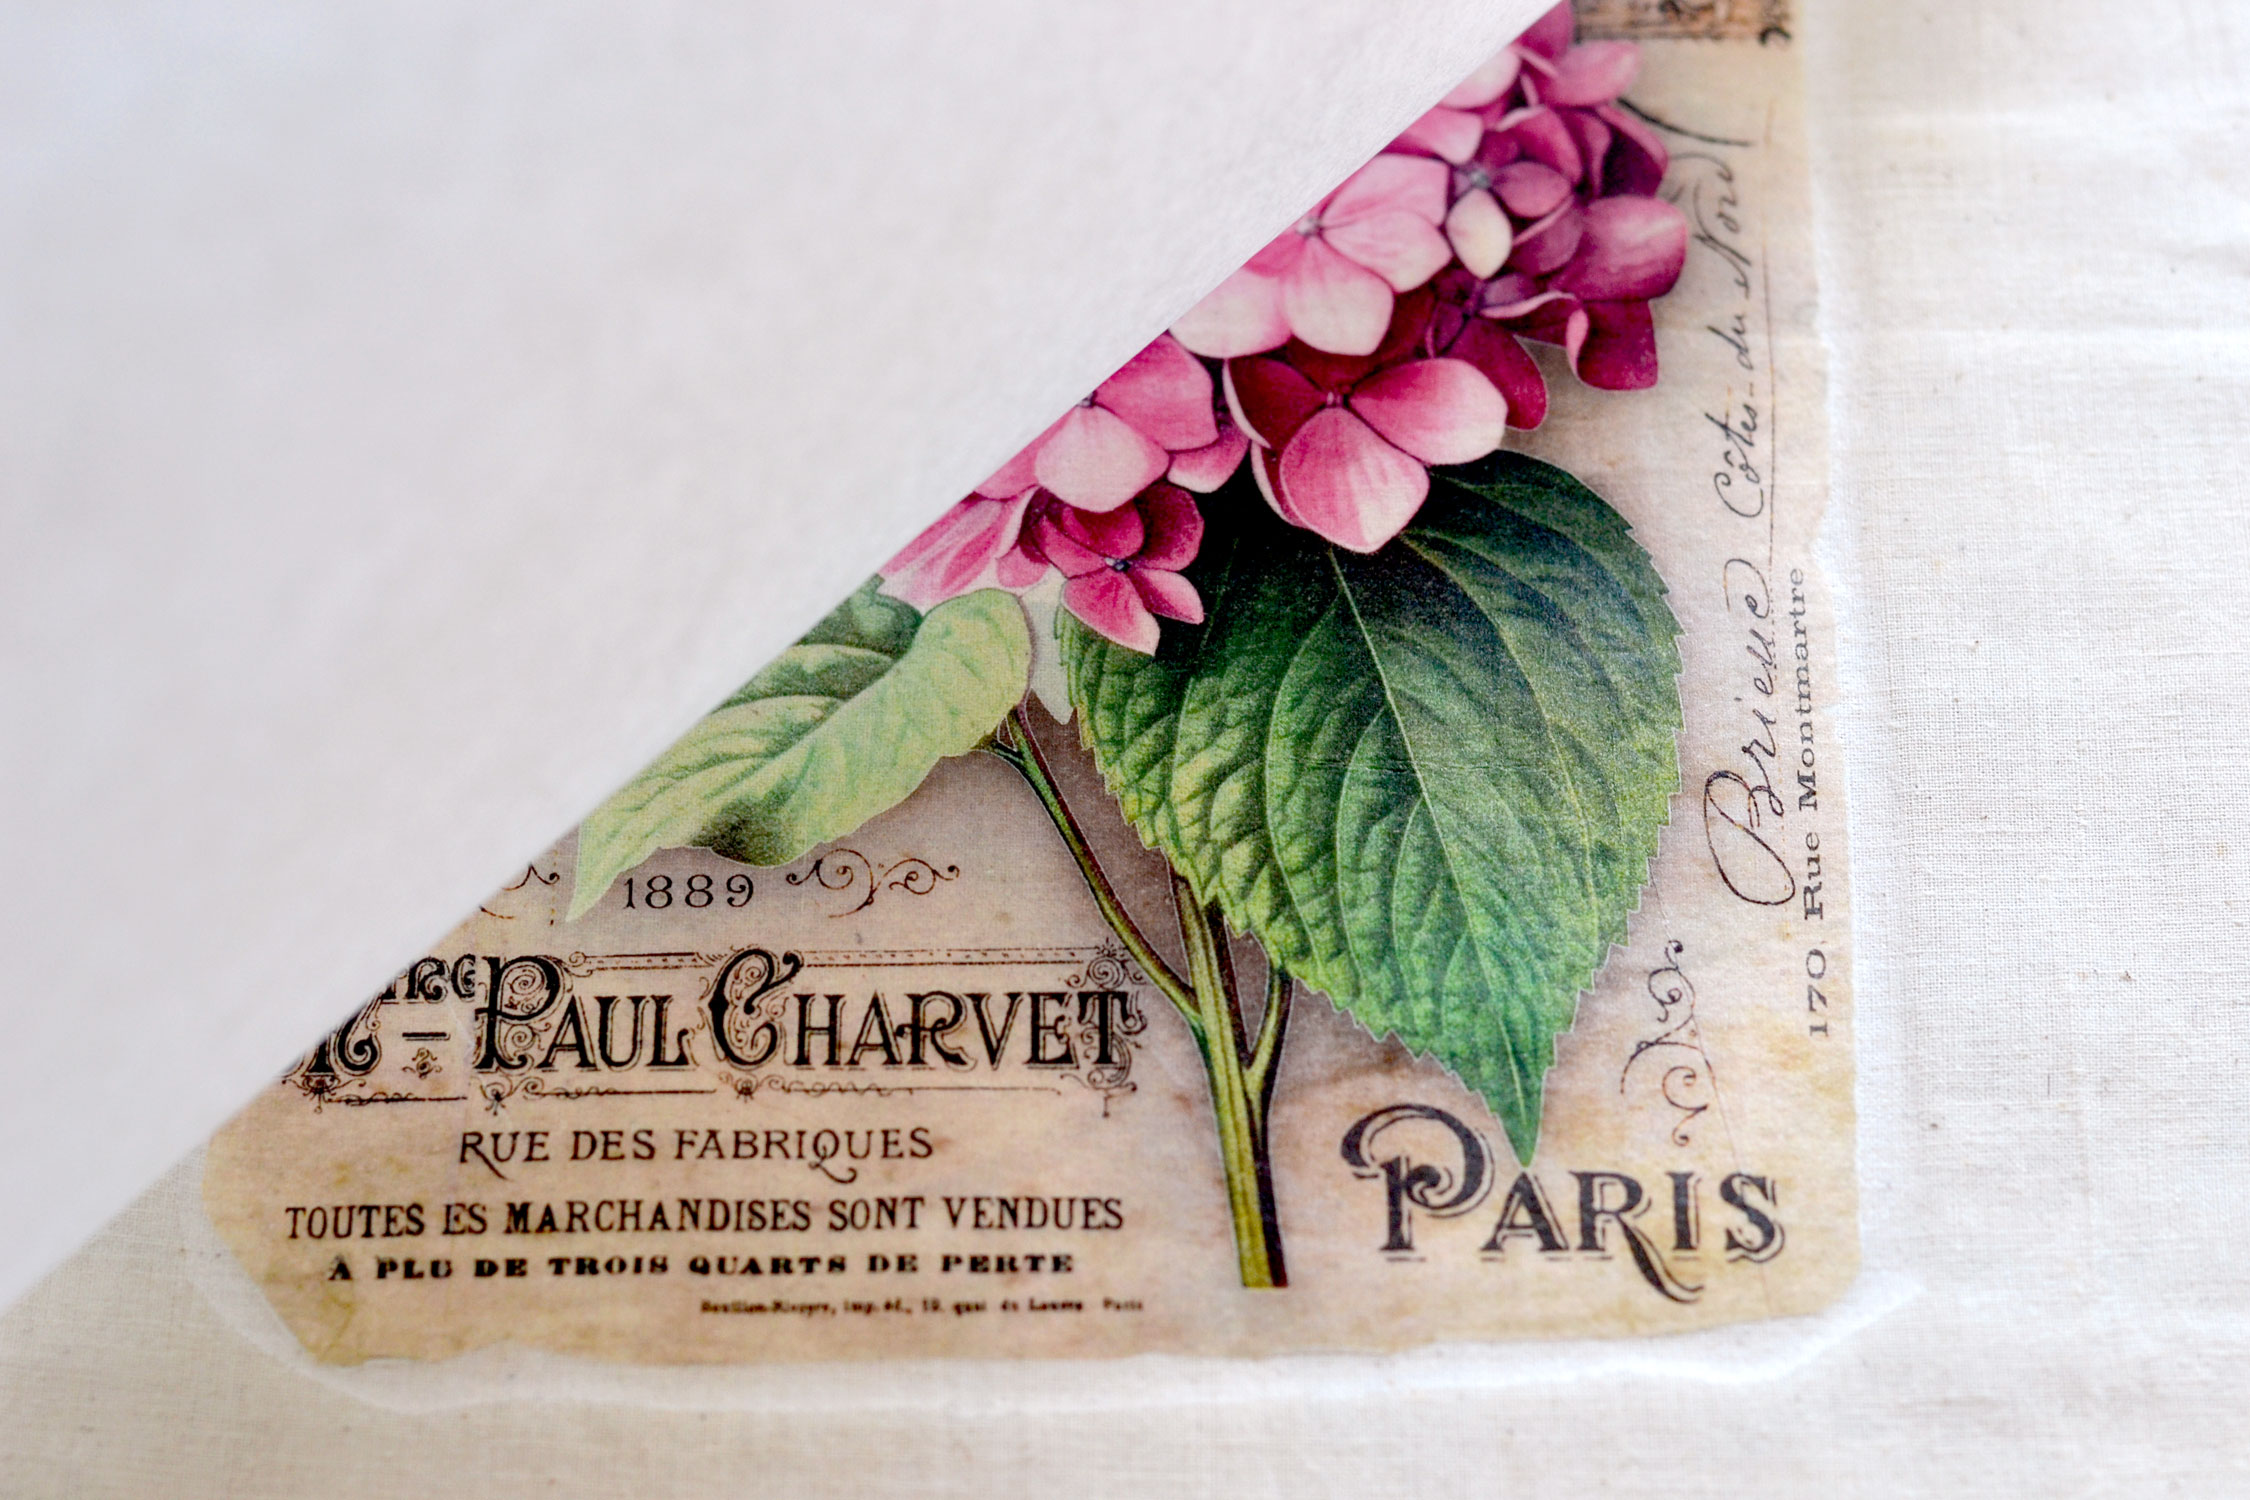
You can lift the parchment paper to see if everything looks good, you can even scratch the edges here and there to see if they are completely fused with the fabric. If they are not, you can place the parchment on top again and iron some more!
And voila! Your image transfer is now completed! It might have been a good idea to iron the whole tote bag first, before proceeding to the transfer but I wanted to keep things as uncomplicated as possible. OK, I might have also been a little bit lazy because it’s so hot these days and I just hate ironing, in extreme weather conditions … or in any other conditions for that matter, hehe! But you can definitely iron everything before if you want!
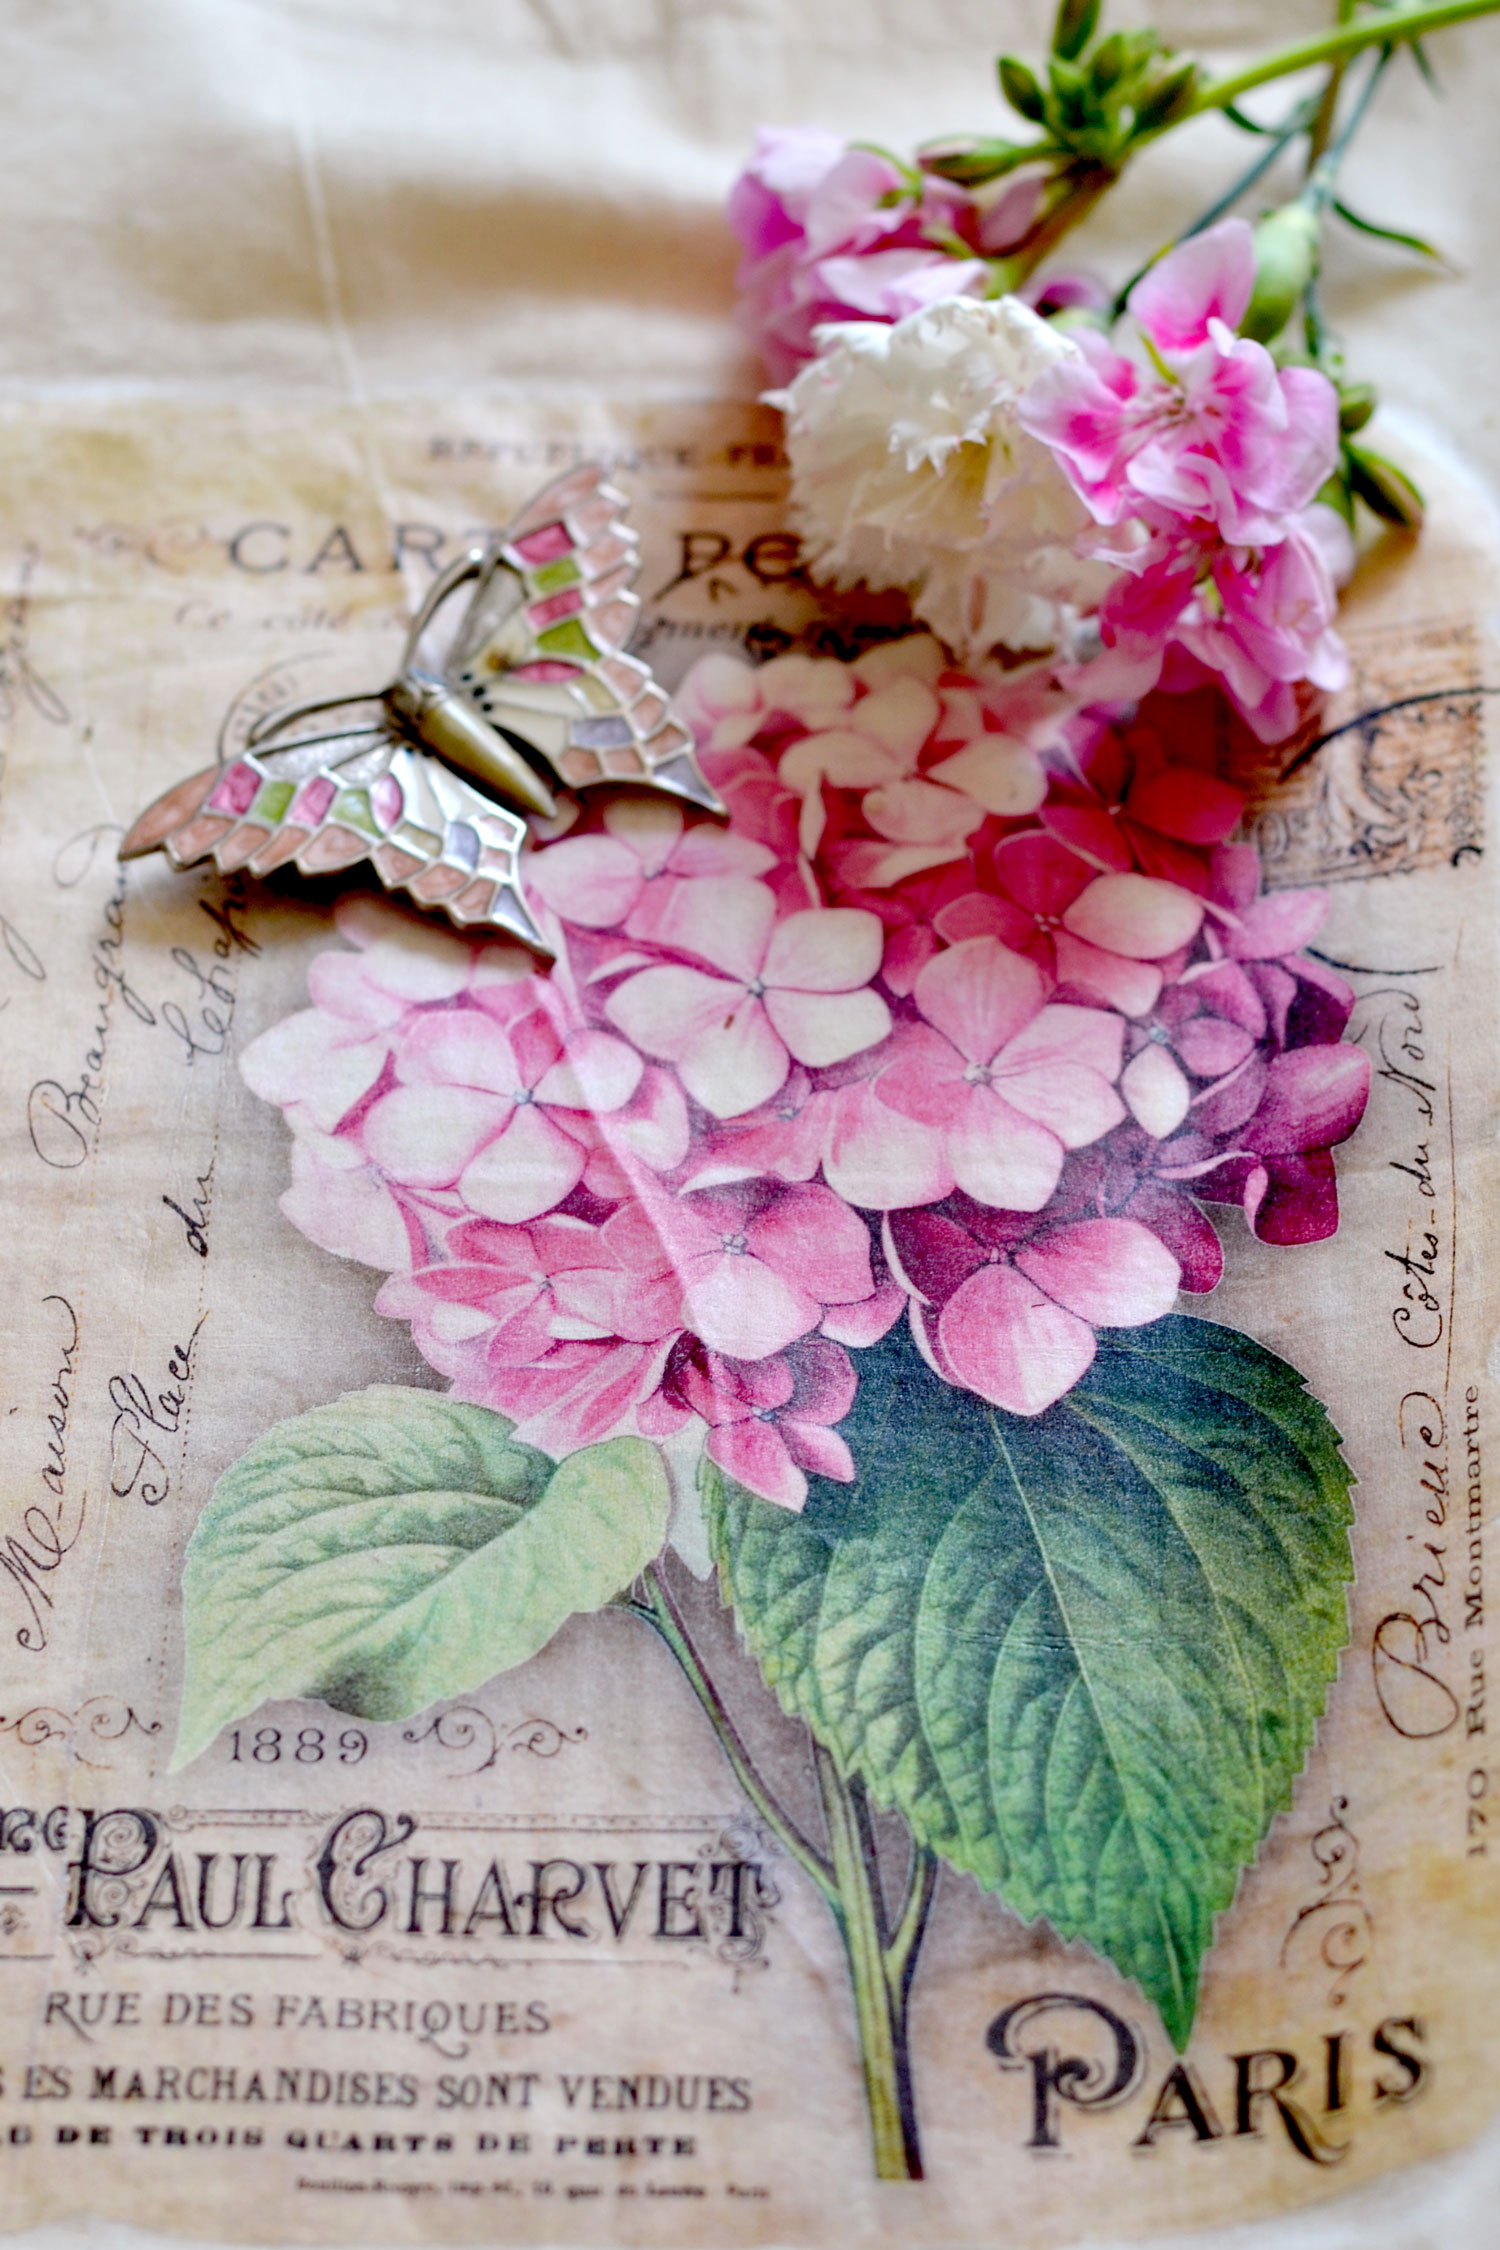
I was more than excited with my super quick and super easy image transfer on fabric technique, even though there were some wrinkles and creases here and there. And a small area around the design where the cling created a small dent, which was more or less visible, depending on the lighting. But we are not looking for perfection here, I feel like these small imperfections can add to that lovely handmade vibe that we all love!
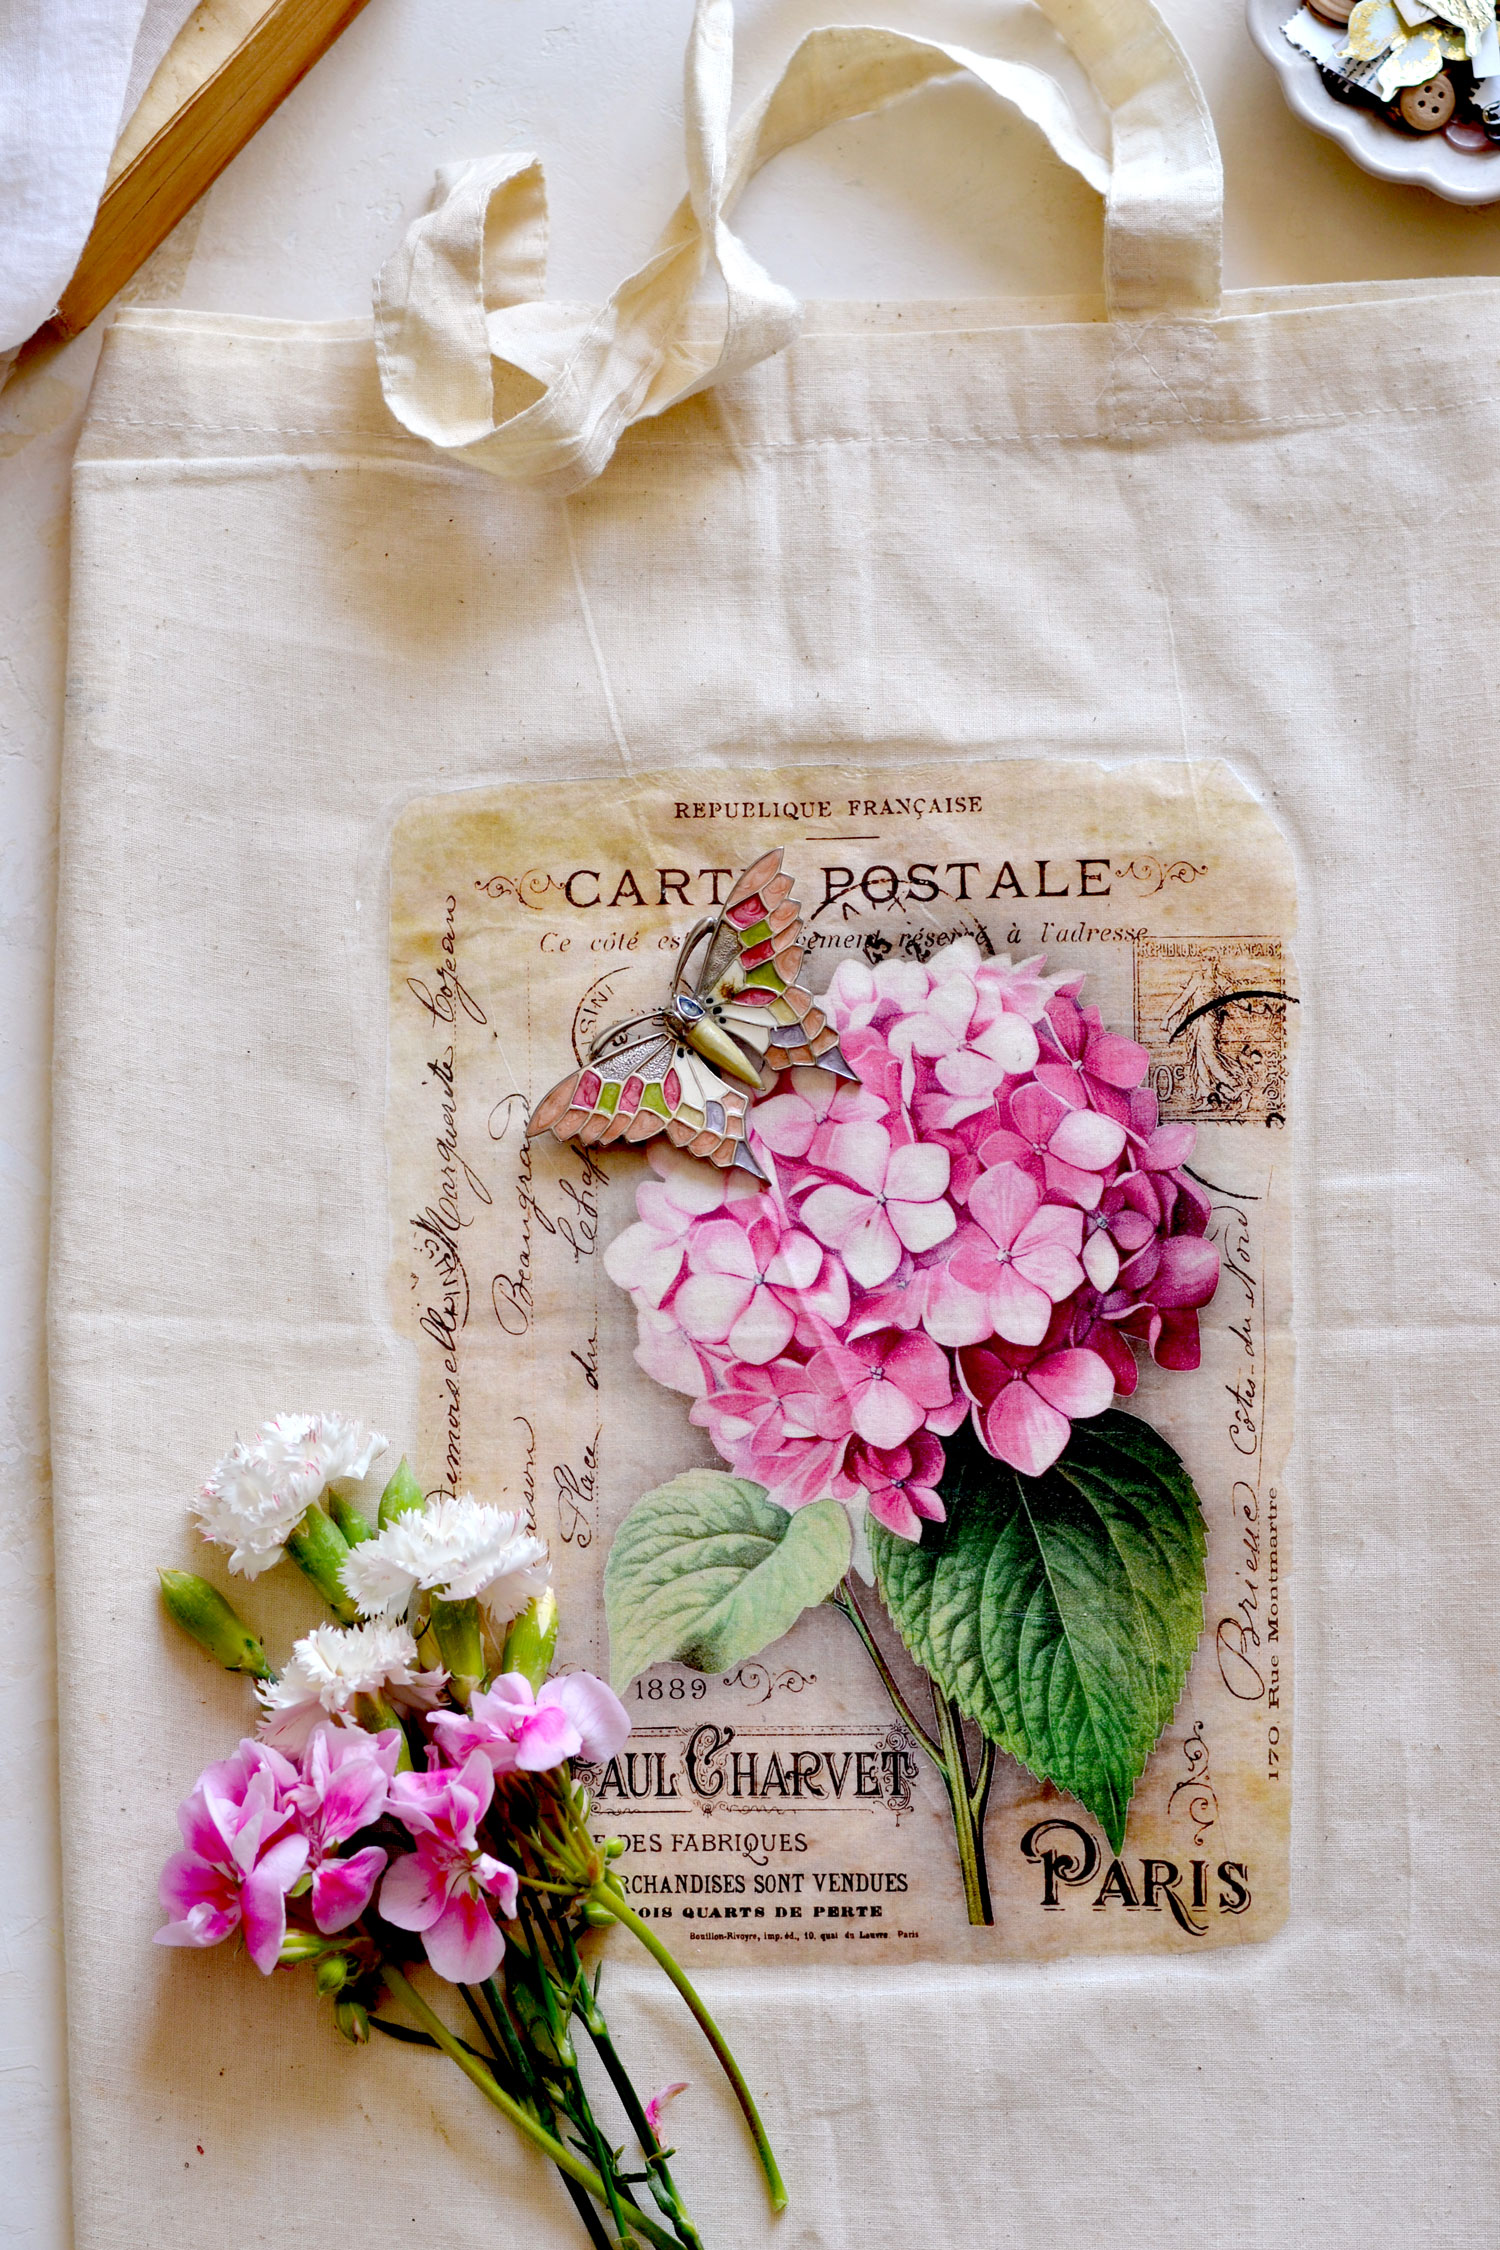
If you have some summer brooches with butterflies, birds or bees, maybe you could further embellish this beauty with any of these lovely accessories!
You can now take your gorgeous hydrangea tote bag outside, mine is waiting impatiently for a small shopping session!
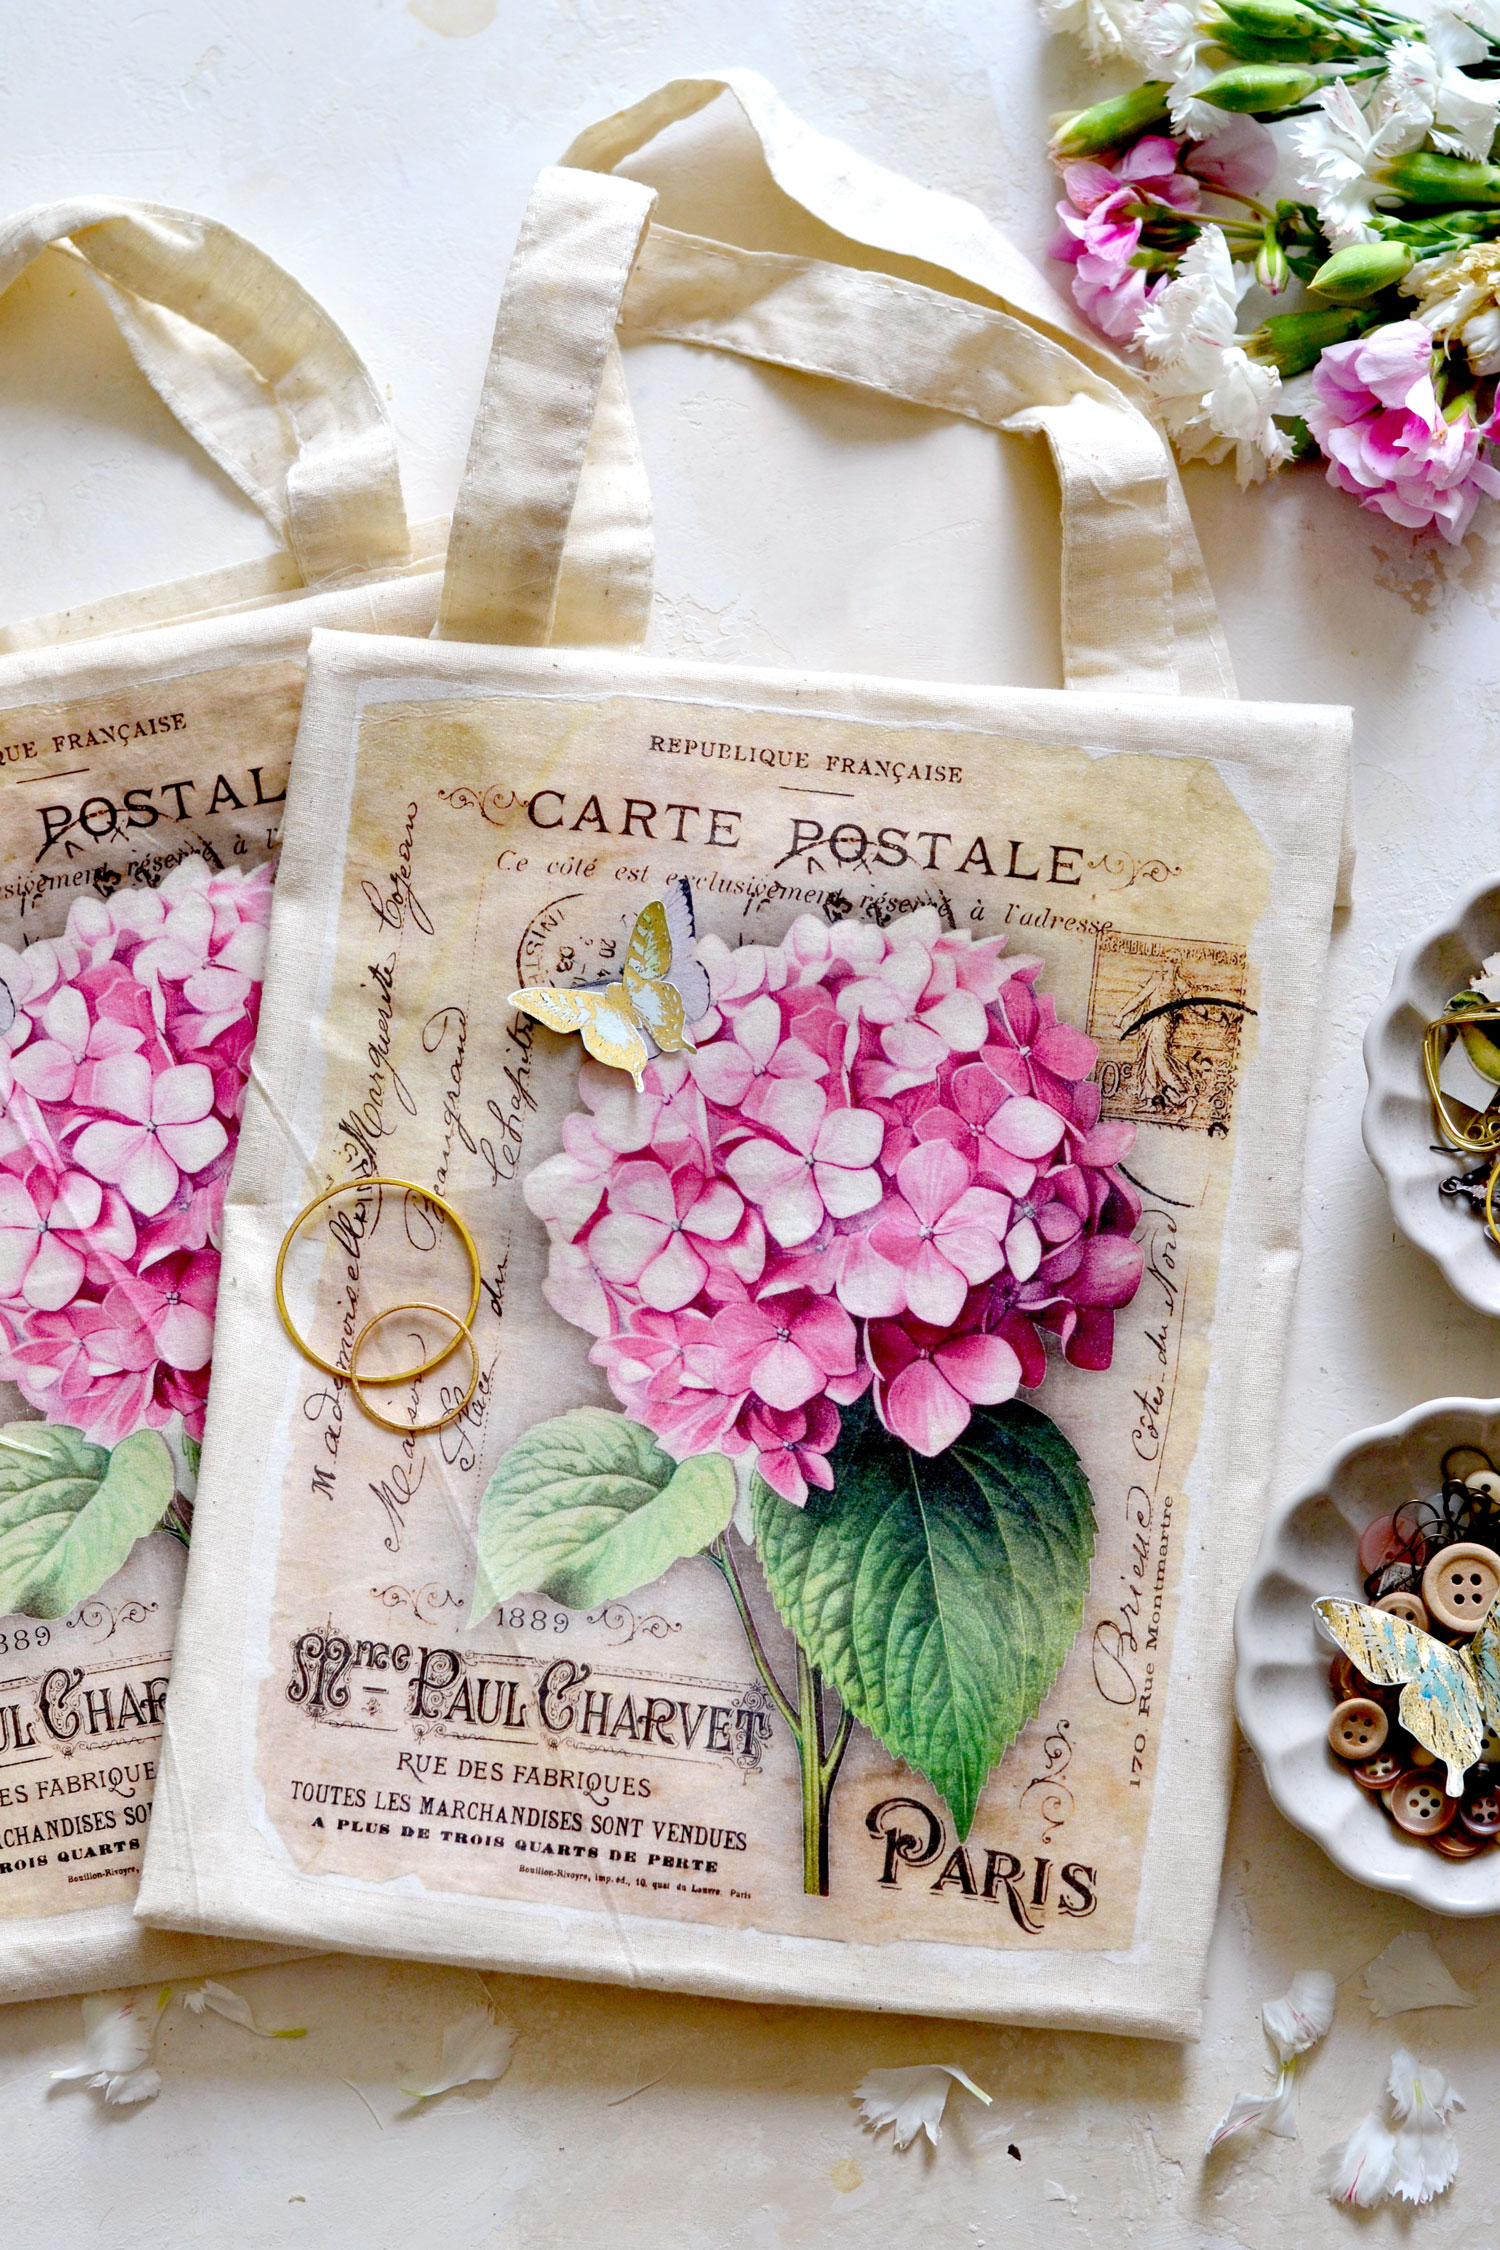
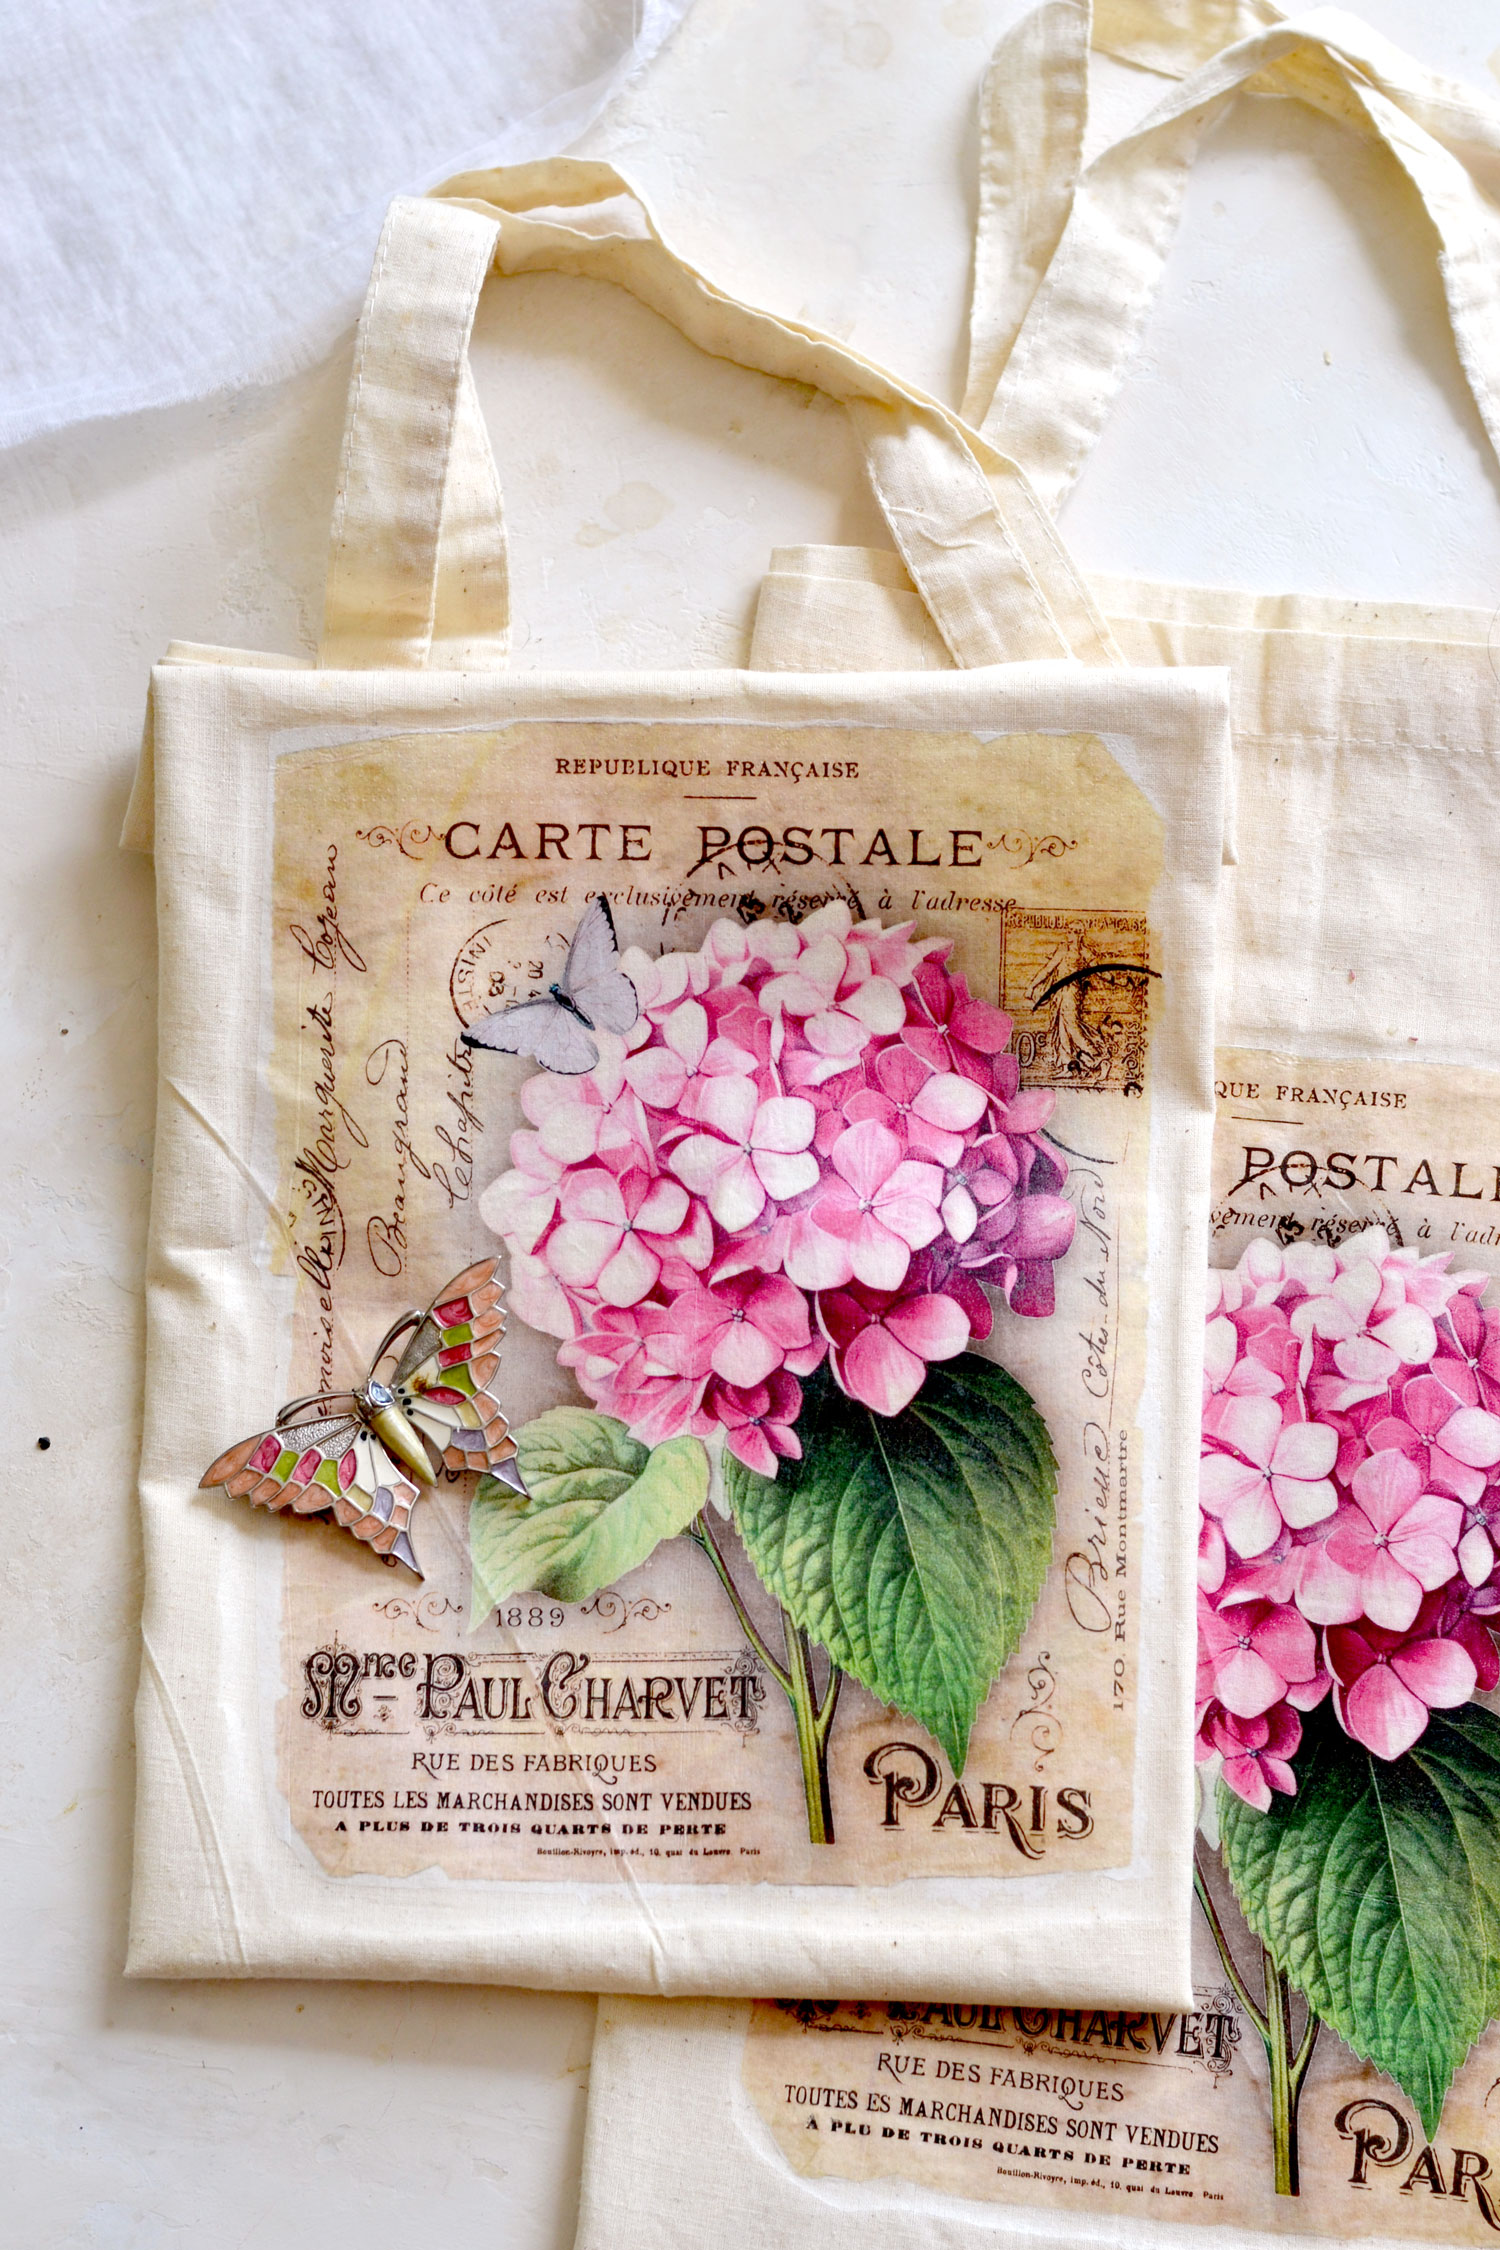
As I was folding this gorgeous bag so I could make it a little bit smaller and photograph it for you, I realized that this smaller size would also look amazing! Then I thought I should ask my mom (who has sewing ninja genes that I didn’t get) to resize it for me, it looked so pretty!
And then I decided that I would love both a small and a large version, so I just created another transfer on a second bag! This one too wears its wrinkles and some white leftover paper around the edges proudly, and I love it nonetheless!
Now I can keep one as it is and resize the other, this way I’ll have a lovely set that I can mix and match as I want.
The details of this super chic French ephemera hydrangea collage are absolutely beautiful, I think this might climb up to my top 5 all-time favorites! And I think that the best part about this type of cling wrap image transfer is that you get a super smooth and pliable printed surface with a matte finish!
I’m not sure if It would hold well after washing it, but I would suggest washing it by hand anyway. And if you want to give it an extra layer of protection, you could just use some matte finish spray on top or even a thin layer of Mod Podge, just to be on the safe side.
This is a quick and easy method of transferring an image to fabric without having to use that special paper that is usually used for iron-on transfers. You could try the ‘classic’ iron on transfer if you have the transfer paper (you can check my DIY Lavender Sachets if you want more details), just keep in mind that you’ll need to flip the image before printing it if taking this approach.
The cling wrap transfer that we used for our tote bag project is still an iron-on transfer now that we think about it, but it’s less pretentious and more accessible for everyone to make. And even though the results are not perfect every time, the finished pieces look absolutely stunning!
These will make the perfect companion for all your shopping sprees, but would also make the perfect gift for all your family and friends. Don’t wait for their birthdays to make them a gift like this, fill the tote bags with flowers from your garden and watch their big happy smiles as they receive it!
Happy crafting,
Diana / Dreams Factory



Debbie Harper says
Thank you so much for the free printables. They are gorgeous (as always!).
Karen Watson says
I’m happy you liked them Debbie!
Sandy says
I love this idea!! The image you shared is so lovely, too – thank you for that!
I have not tried the transfer process yet, but I noticed this week that my friend
has been using a “gift bag” to tote things around in, and it looks like it’s seen
better days – I was just thinking that I should make a tote bag for her, and then I
opened my mail today and TADA! Here’s the perfect solution!! I think she will
love it.
Karen Watson says
Woohoo! I’m sure your friend will adore her gift from you Sandy!
Stephanie Adams says
This tutorial looks amazing, I can’t wait to try it out! Thank you so much for sharing! Stef
Karen Watson says
Have fun making this pretty tote bag Stephanie!
Yvonne A. says
So lovely!😍👏🏽👏🏽🙋🏻♀️💜
Karen Watson says
So glad you liked this one Yvonne!
Carolyn Cohen says
I would really like to learn how you made your collage.
Karen Watson says
Hi Carolyn, Diana teaches Photoshop Tutorials over on our Premium Membership site. She often does these types of collages over there in her tutorials and shares all of her tips and techniques! You can find that site here https://members.thegraphicsfairy.com/ I hope that helps!
Karen Bright says
This looks like a fabulous idea and I can’t wait to try it. What a perfect idea for a gift too!!! Thanks so much.
Karen Watson says
Hope you have fun making Diana’s pretty tote Karen!